There is a reason every little sidewalk cafe you've ever loved strings bulbs over the tables — warm light overhead makes dinner taste better, I swear it does. The good news is you don't need a restaurant patio to get that glow at home. These bistro string light ideas are the exact layouts I use (and keep tweaking) in my own backyard, from a simple swag over a farmhouse table to a full crisscross canopy that makes guests linger long after dessert. My philosophy is the same one I use everywhere outdoors: layer the light. String lights give you the ambient layer, and then candles, lanterns, or a few path lights fill in the sparkle and the safety. In this list I'll walk you through hanging patterns, bulb styles, solar and smart options, and the little hardware tricks that keep strands tidy instead of saggy. Every idea includes spacing, heights, and honest costs, so you can pick one for this weekend or plan the full cafe treatment by summer.

1. The Classic Crisscross Canopy Over the Table
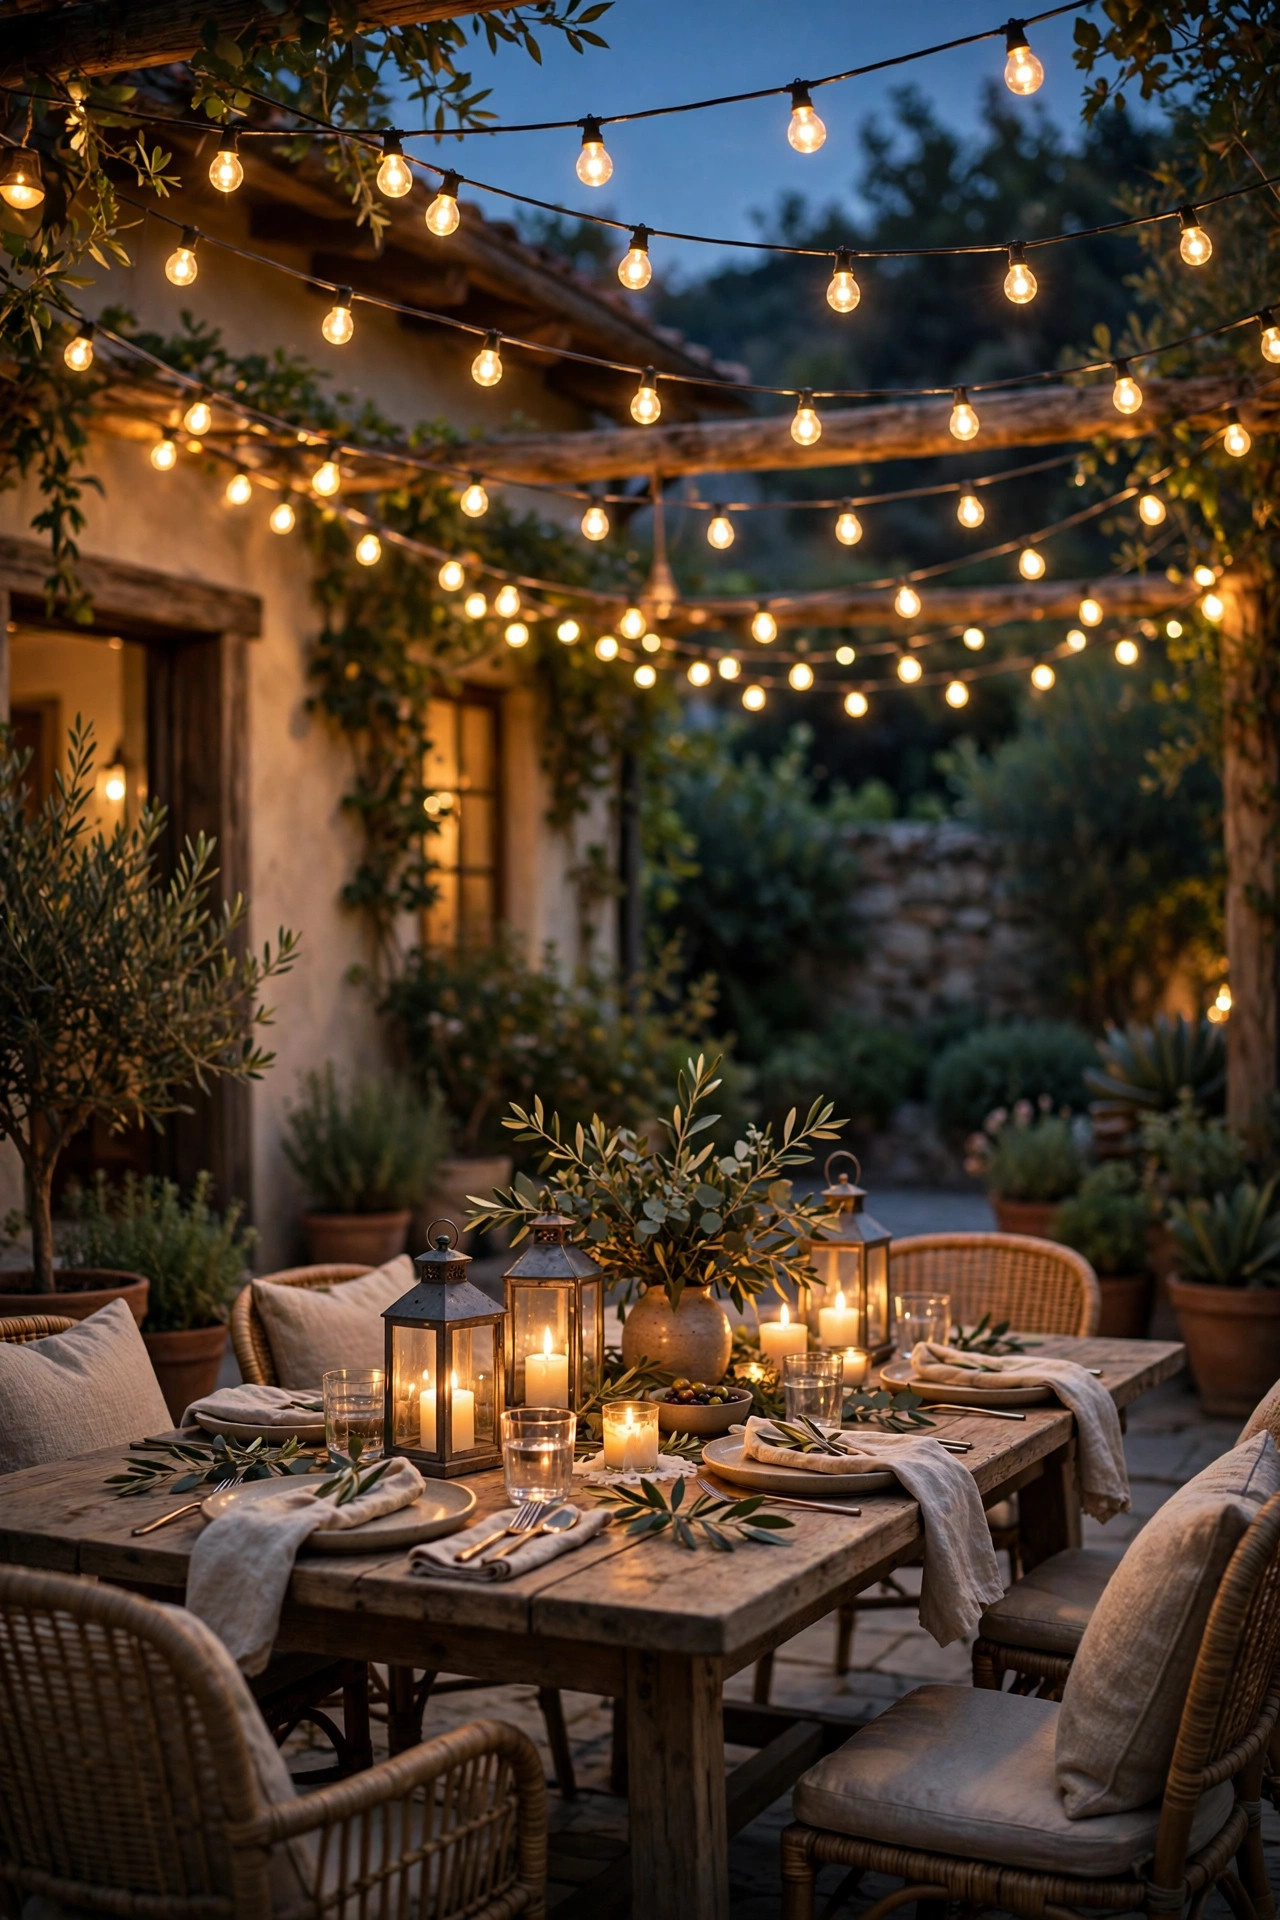
If you only ever try one layout, make it this one. A crisscross canopy — strands running both directions over your dining area — is what turns a plain patio into an outdoor dining room. Here's how I do it: measure the space over and around your table, then plan strands every 3 to 4 feet in each direction. For a 12-by-12-foot patio that's about four strands each way, and 48-foot commercial-grade strands usually cover a run plus its swag. Hang the lines 8 to 9 feet above the ground so the lowest dip of the swag still clears a standing guest's head by a good foot — remember, the middle of each run will sag 6 to 12 inches, and that gentle drape is part of the charm. Anchor one side to the house fascia or studs with screw-in hooks, and the other side to trees, poles, or the pergola. Use strands with sockets that hang straight down, keep bulbs at 2700K for that golden cafe warmth, and put the whole canopy on one switch or smart plug so it lights as a single scene at dusk.
Suggested budget range: $80 – $220.
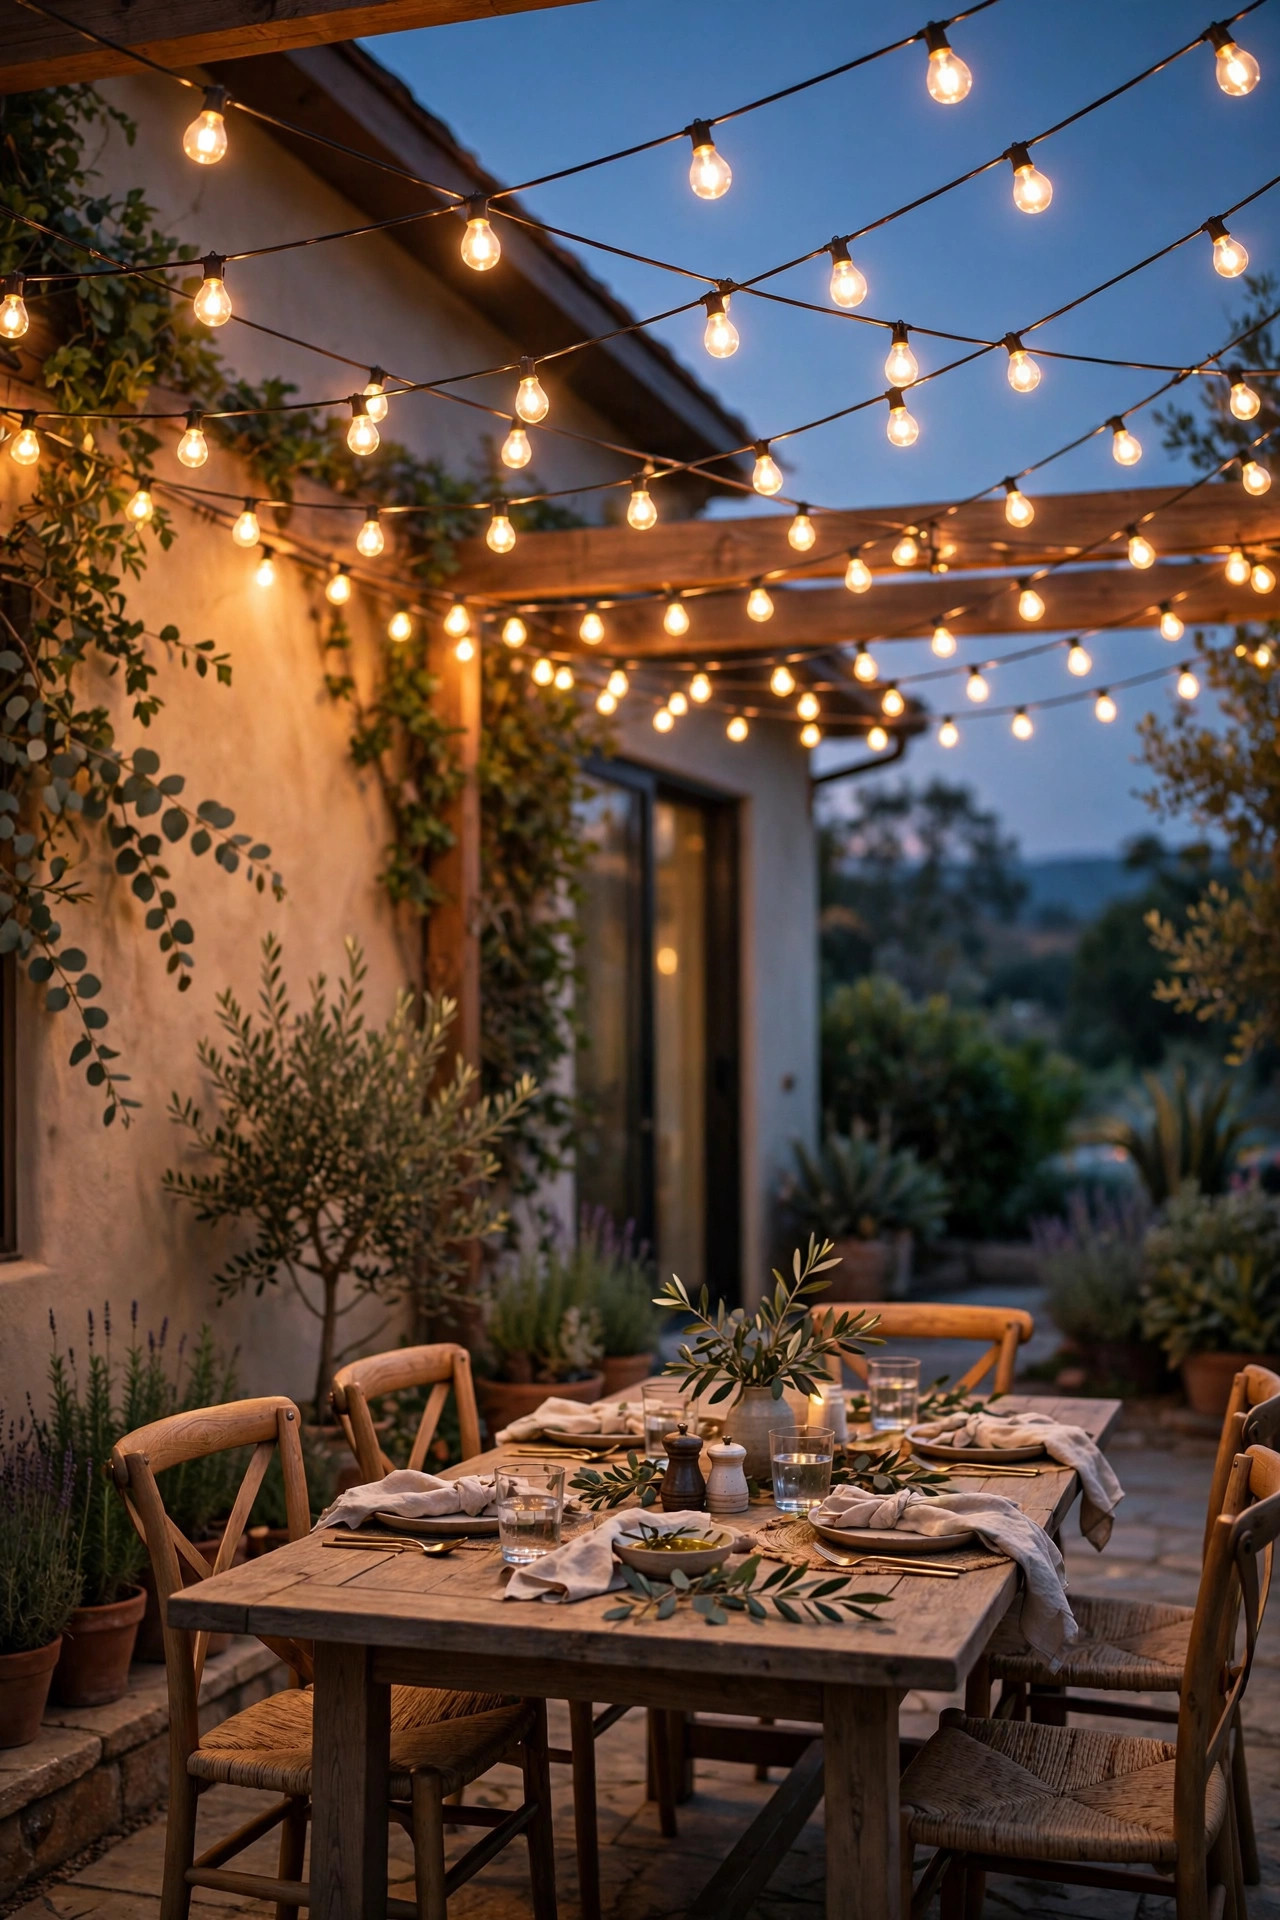
2. A Single Center-Line Swag, the Most Forgiving of All Bistro String Light Ideas
For a long farmhouse-style table, a single strand swagged right down the center line is simple, symmetrical, and almost impossible to mess up — honestly, it's the layout I recommend to first-timers. Run one strand from a point behind one end of the table to a point behind the other, letting it dip in one or two soft swags. Keep the lowest point of the swag about 7½ feet off the ground: low enough to feel intimate, high enough that nobody's serving platter meets a bulb. If your table seats eight or more, run two parallel lines about 3 feet apart instead — it widens the pool of light so guests at the edges aren't eating in shadow. Anchor into something solid at both ends: a house wall, a pergola post, or two sturdy poles. A single 48-foot strand handles most tables up to 10 feet with drape to spare. Because there's just one line, bulb style really shows here — this is the place to splurge on pretty LED filament bulbs. Add a dimmer and the whole table glows like a trattoria.
Suggested budget range: $30 – $75.

3. Trace the Perimeter to Define Your Outdoor Dining Room
Walls make a room feel like a room, and a perimeter outline of string lights does the same job outdoors. Run strands along the edges of your patio or deck — following the fascia, the fence line, or the outer beams — and suddenly the dining area inside that glowing rectangle feels intentional. I like to mount the perimeter at a consistent 8 to 9 feet, using screw hooks every 8 to 10 feet and a hook at every corner so the line turns crisply instead of drooping. This layout is also the easiest to expand: once the outline is up, any canopy or swag you add later simply ties into it. One practical tip from experience: put the perimeter on its own plug or dimmer channel, separate from any canopy strands. On weeknights you may only want the soft outline on while you eat; for a party, light everything. Perimeter lighting also quietly handles safety — guests can see exactly where the patio ends and the lawn (or the steps down) begins. It flatters every other idea on this list, so if you're building your setup in stages, honestly, start here.
Suggested budget range: $60 – $160.

4. Pergola Swags With That Borrowed-From-a-Vineyard Look
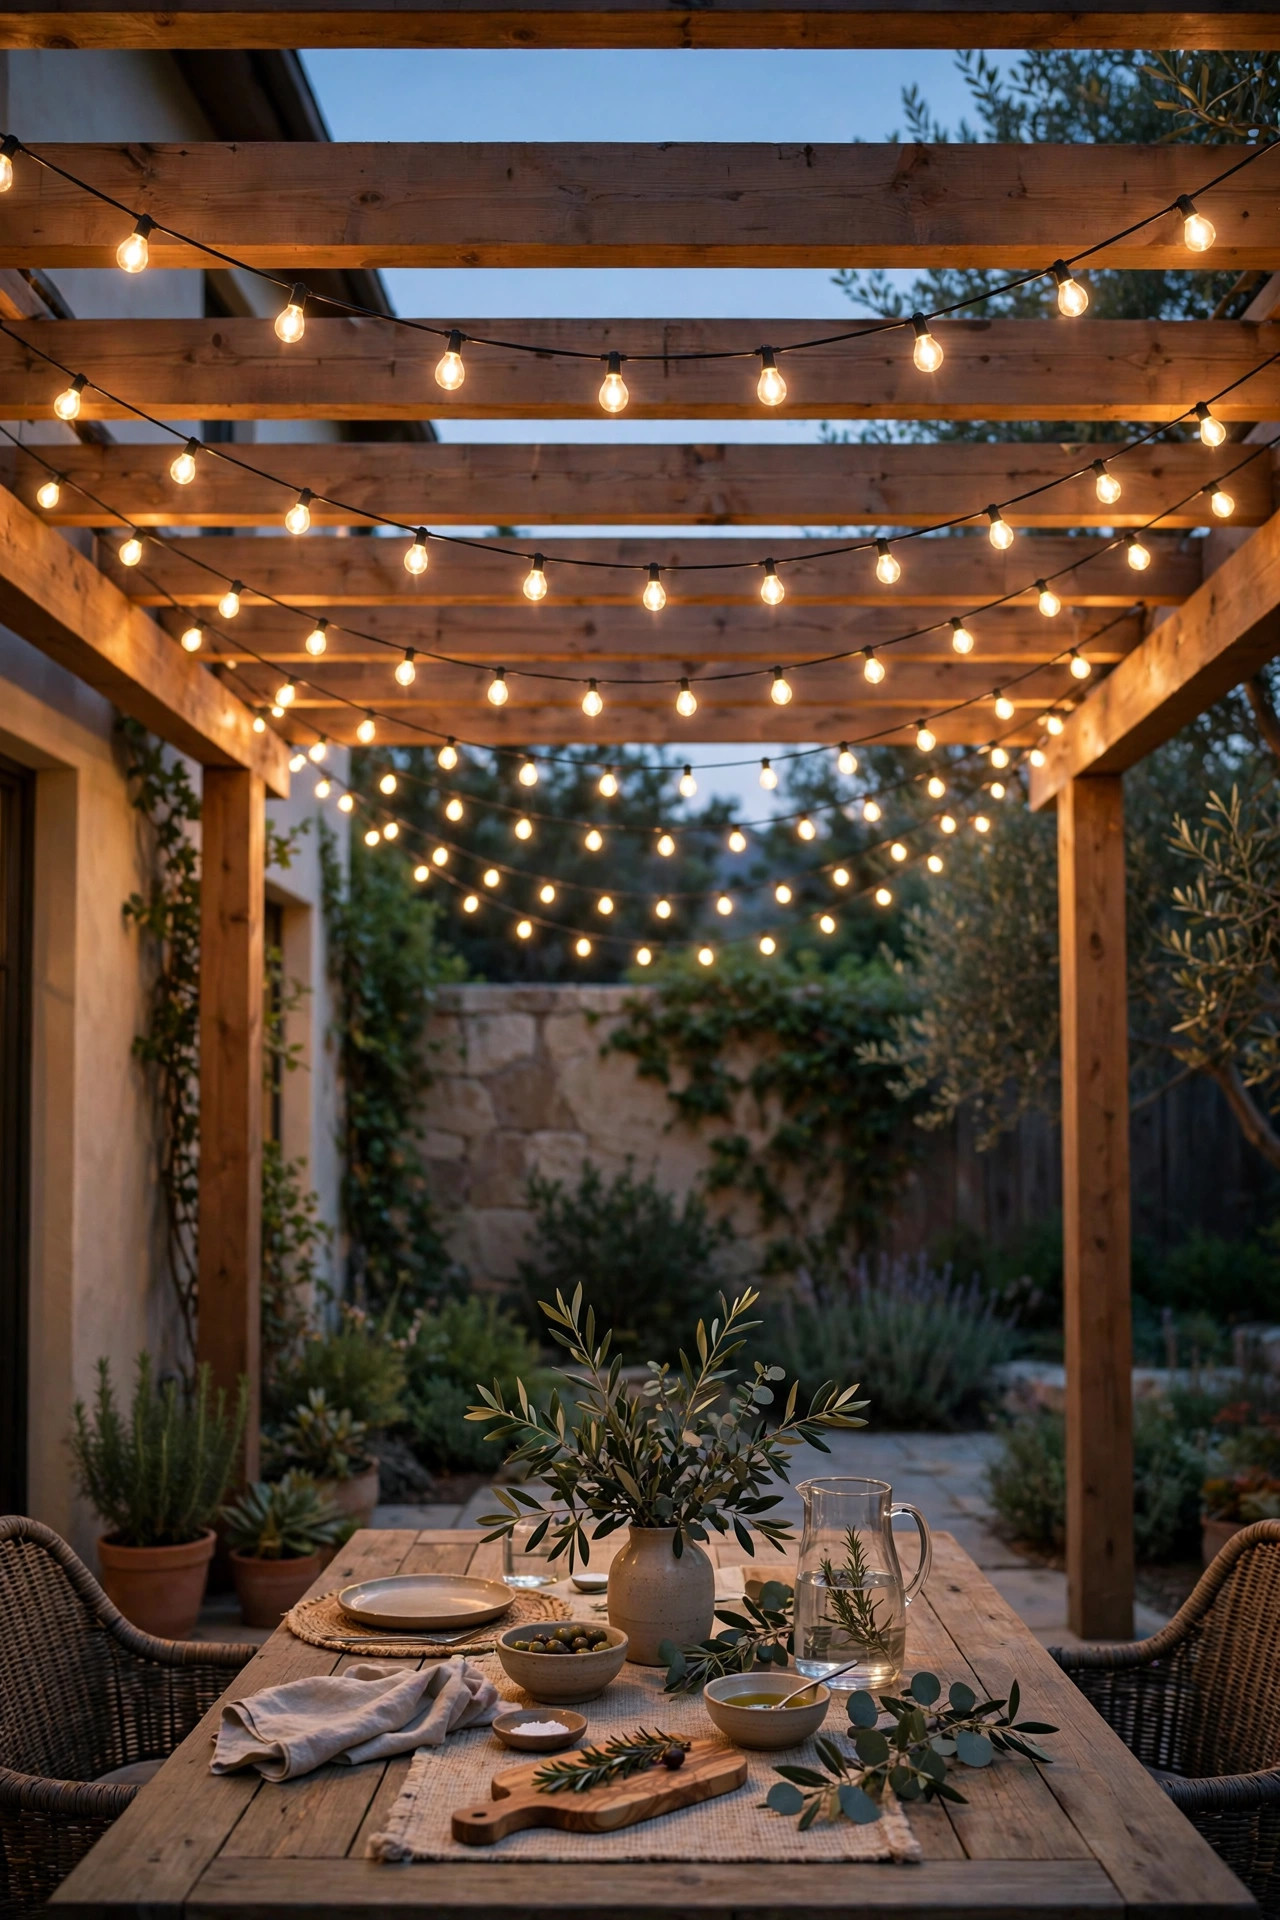
A pergola is basically a string-light frame that somebody already built for you. The classic move is parallel swags: run strands from one beam to the opposite beam, letting each one drape 8 to 12 inches between attachment points. Space the swags 2 to 3 feet apart across the top so the light over the table is even, and use small stainless eye screws or UV-resistant zip ties at each beam so nothing chafes in the wind. If your pergola has a fabric shade or climbing vines, stick with LED bulbs only — they stay cool to the touch — and keep strands a few inches clear of leaves and canvas. I cover more pergola-specific patterns in my pergola lighting ideas, including how to light the posts themselves. One thing I learned the hard way: run your power drop down a post in a tidy line and plug into a GFCI outlet with an in-use cover, because a dangling cord across the beams ruins the whole vineyard illusion. Finish with a table lantern or two and you'll never want to eat indoors again.
Suggested budget range: $70 – $180.
5. Zigzag the Side Yard Into a Secret Bistro Nook
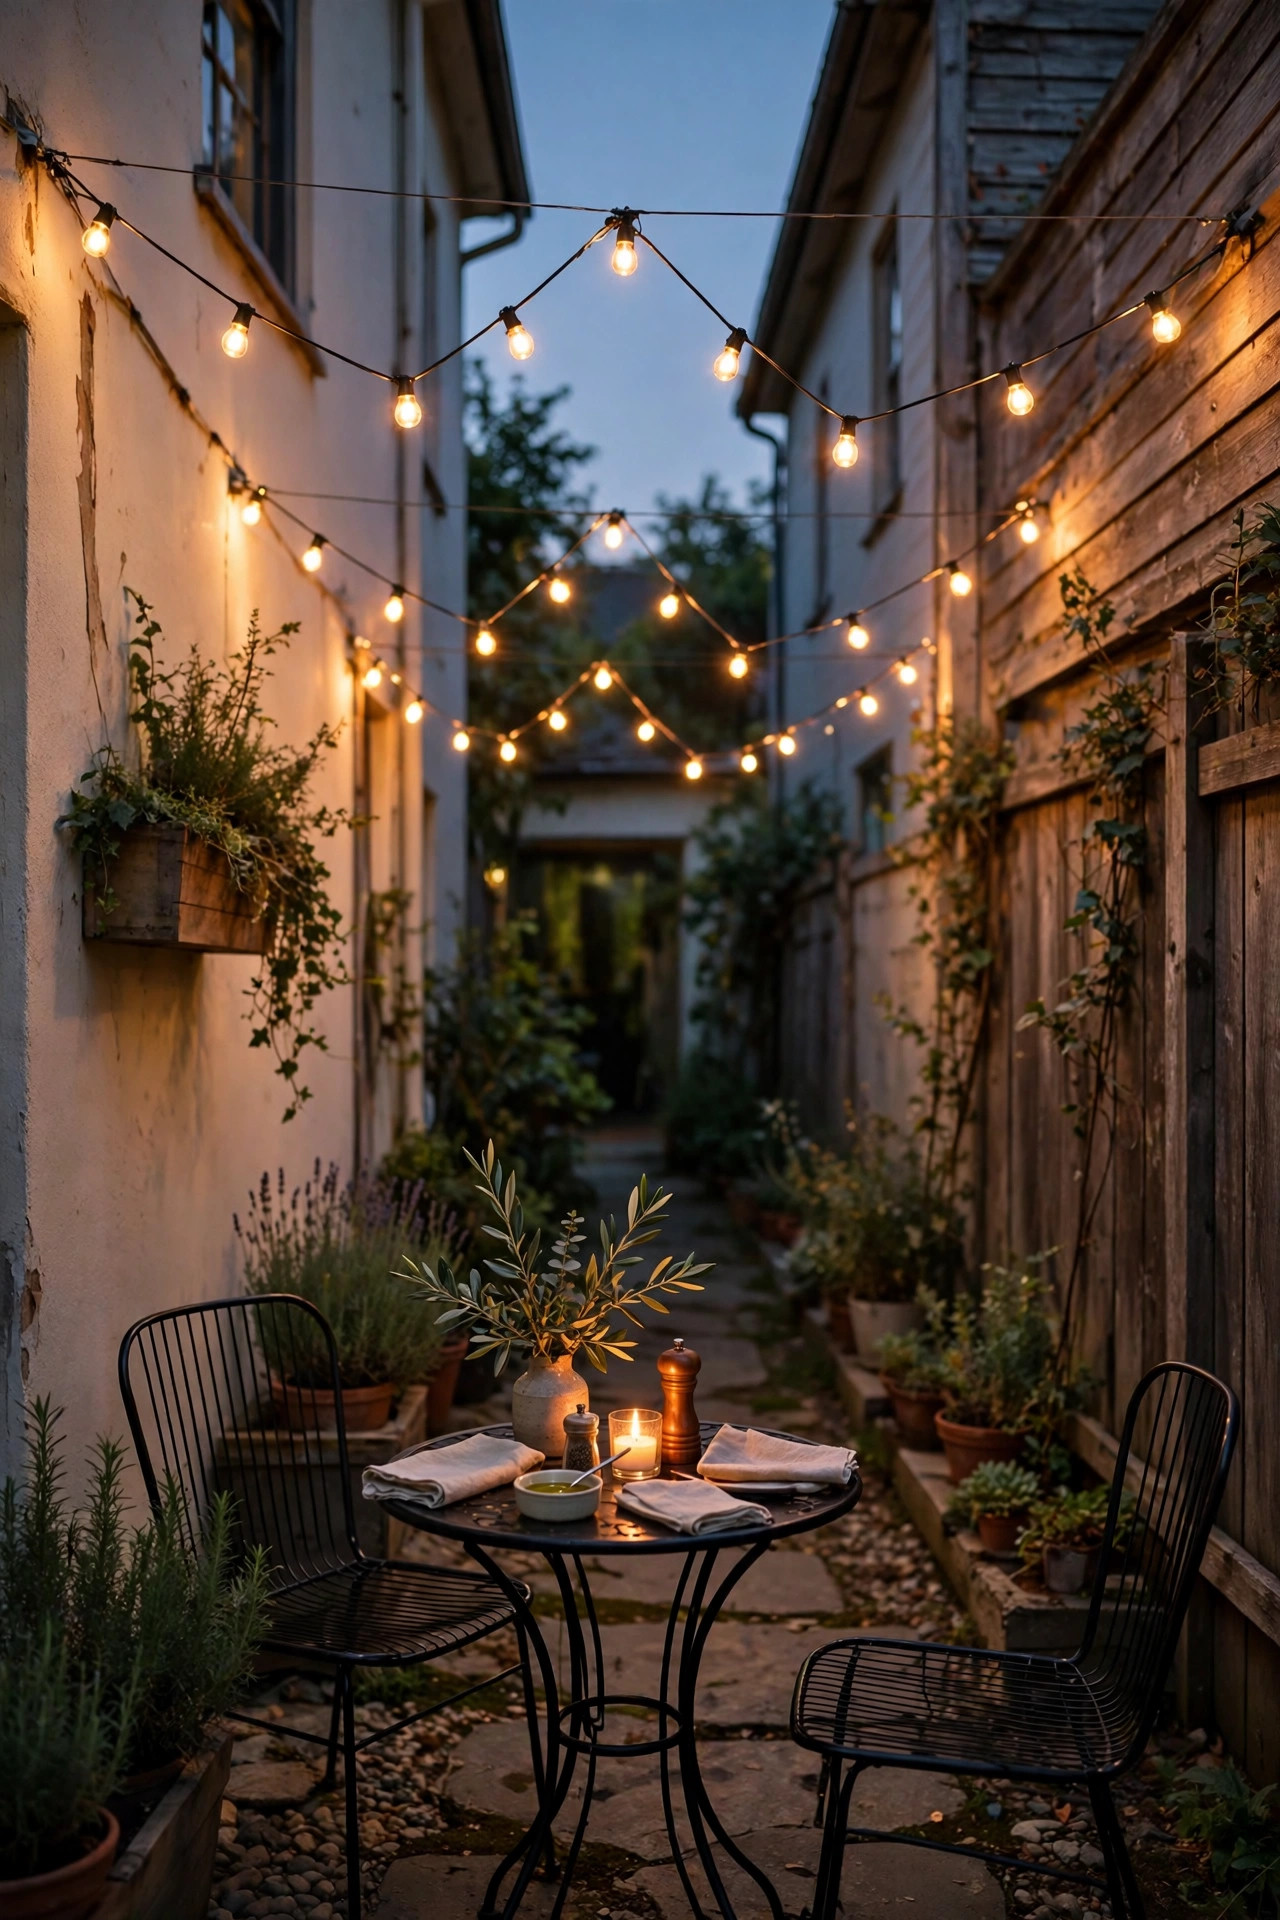
That narrow strip between your house and the fence — the one currently storing bins and a hose — is secretly the perfect size for a two-person bistro set. A zigzag pattern is made for tight spaces: run the strand back and forth between the house wall and the fence, anchoring every 5 to 7 feet so each V is short and perky instead of saggy. Because the runs are short, a lightweight 25-foot strand works fine here and solar is a real option. Keep the zigzag at about 8 feet so it feels like a ceiling, not a clothesline, and angle your little table diagonally under the brightest crossing points. Anchor into fence posts or wall studs, never into siding alone — a loaded strand pulls harder than you'd think, especially in wind. This is also a forgiving place to mix in a few outdoor lanterns hung at the corners. Honestly, some of my favorite dinners at home have happened in this "leftover" space, precisely because the lights make it feel discovered rather than designed.
Suggested budget range: $40 – $110.
6. String Light Poles for Yards With Nothing to Hang From
No trees, no pergola, no problem — poles are the great unlock for open lawns and plain patios. You have three good options: heavy planter pots filled with concrete or gravel with a 9- to 10-foot pole set in the middle, poles that clamp to deck railings, or purpose-built string light poles with ground stakes for lawn edges. Space poles roughly every 10 to 12 feet along your run; for spans longer than about 15 feet between poles, add a guide wire (idea 18) so the cord isn't carrying all the tension. I set the planters right where I also want a visual boundary — a pot of flowers at each pole softens the hardware and marks the edge of the dining zone for guests wandering with a drink. Make sure poles stand dead vertical before the concrete sets, because a leaning pole only leans more under load. And a practical note: in windy regions, choose poles rated for outdoor string loads and bring strands down before big storms. It takes ten minutes and saves a season of untangling.
Suggested budget range: $90 – $260.

7. Tree-to-Tree Runs Over a Lawn Dining Spot
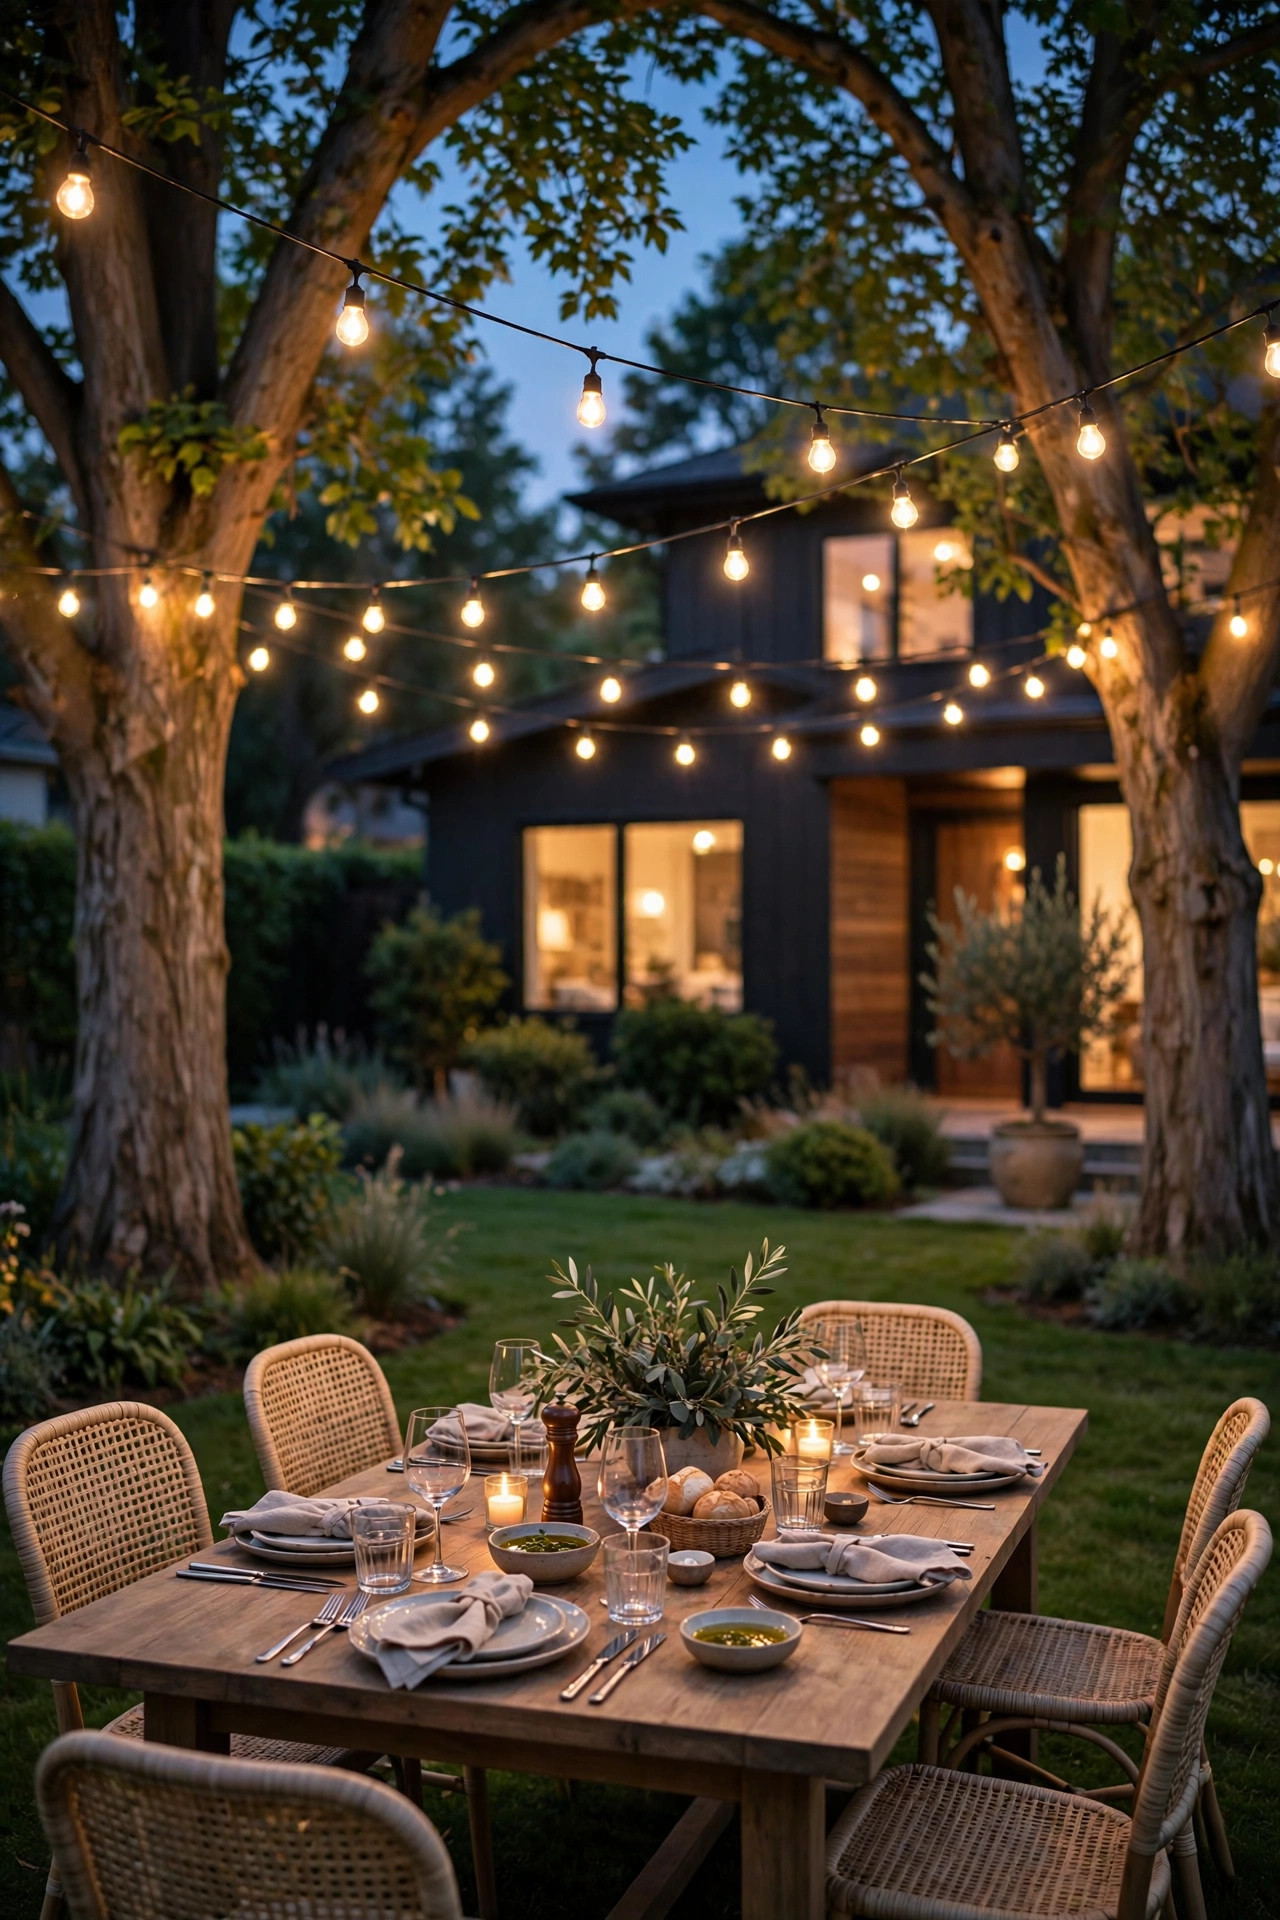
If you're lucky enough to have two sturdy trees flanking your outdoor table, you already own the best anchors in the yard. Please be kind to them: use wide tree straps or padded hooks rather than screwing into the trunk, and leave a little slack in the system because trees move — a rigid line will either snap or saw into bark over a season. Spans between trees are often 20 to 30 feet, so run a guide wire first and clip the strand to it; the wire carries the weight and the lights just come along for the ride. Hang the line 9 to 10 feet up if you can reach it, since lawn seating tends to sprawl and people stand up with drinks in hand. One strand tree-to-tree plus a second parallel strand a few feet over gives a small canopy effect for almost no extra hardware. Watch the drip line in wet weather — position the table so guests aren't seated where the canopy of the tree sheds rain. Dusk under real trees, with warm bulbs overhead, is the closest thing to a woodland restaurant I've found.
Suggested budget range: $50 – $140.
8. Umbrella-Spoke Lights for Small Patios and Balconies
A market umbrella is a ready-made hub: run short strands from the top of the pole outward along the ribs to the umbrella's edge, then drop or extend them to a railing, wall hook, or small pole. The result is a little starburst of light directly over a cafe table — incredibly charming on a small patio where a full canopy would overwhelm. Short 10- to 15-foot strands, often sold as umbrella or patio sets, are sized for exactly this, and battery or solar versions mean no cord snaking across the floor. Keep total weight modest so the umbrella frame isn't strained, and use the rib clips or small ties at each rib end. Because the bulbs sit closer to diners here — sometimes just 5 to 6 feet above the table — choose smaller G40 globes or fairy-style bulbs and definitely LED, which stays cool. Close the umbrella in storms as you normally would; the strands flex with it if you've left a touch of slack at the hub. Small space, big cafe energy.
Suggested budget range: $35 – $90.

9. Solar Bistro String Light Ideas for Yards Without an Outlet
No outdoor outlet near the dining spot? Solar strands have gotten genuinely good, and they're the fastest route from bare yard to lit dinner — unbox, hang, stick the panel in the sun, done. The panel is the whole game: mount it where it gets at least 6 hours of direct sun, ideally on a fence top, a pole, or a stake at the edge of the patio rather than under the very lights it's powering. Expect a softer glow than wired strands and a runtime of about 5 to 8 hours after a full charge — plenty for dinner, less ideal for an all-night party. Solar works best as the main light over a small table or layered with candles, and it's unbeatable for far corners of the lawn where running power would mean trenching. Choose strands with replaceable batteries if you can; the panel usually outlives the battery by years. And keep expectations seasonal: December's short days mean dimmer, shorter evenings of light than June's. For renters and no-fuss setups, though, solar is my honest first recommendation.
Suggested budget range: $30 – $80.

10. Edison Filament Bulbs for Vintage Cafe Charm
If the look you're chasing is "old European cafe," the bulb matters as much as the layout. LED filament bulbs — the kind with the visible glowing "filament" inside clear glass — copy the warmth of vintage Edison bulbs without the heat, fragility, or electric bill. Look for 2200K to 2700K color temperature; the lower end reads amber and romantic, which flatters food and faces at the table. The classic shapes are ST40 and the larger ST64 teardrop, and on a canopy or center-line swag they become part of the decor even in daylight. Because the glass is clear, the filament itself is the light source you see, so keep brightness per bulb modest — around 1 to 2 watts LED each — or the table will feel like an interrogation. Filament bulbs are dimmable in most quality strands, which pairs beautifully with idea 13. One caution: real glass Edison-style bulbs are breakable, so over a hard patio, either handle takedown gently or choose the shatterproof versions in the next idea. Either way, this is the single fastest style upgrade you can give a basic strand.
Suggested budget range: $45 – $120.

11. Frosted Globe Bulbs for a Soft, Parisian Glow
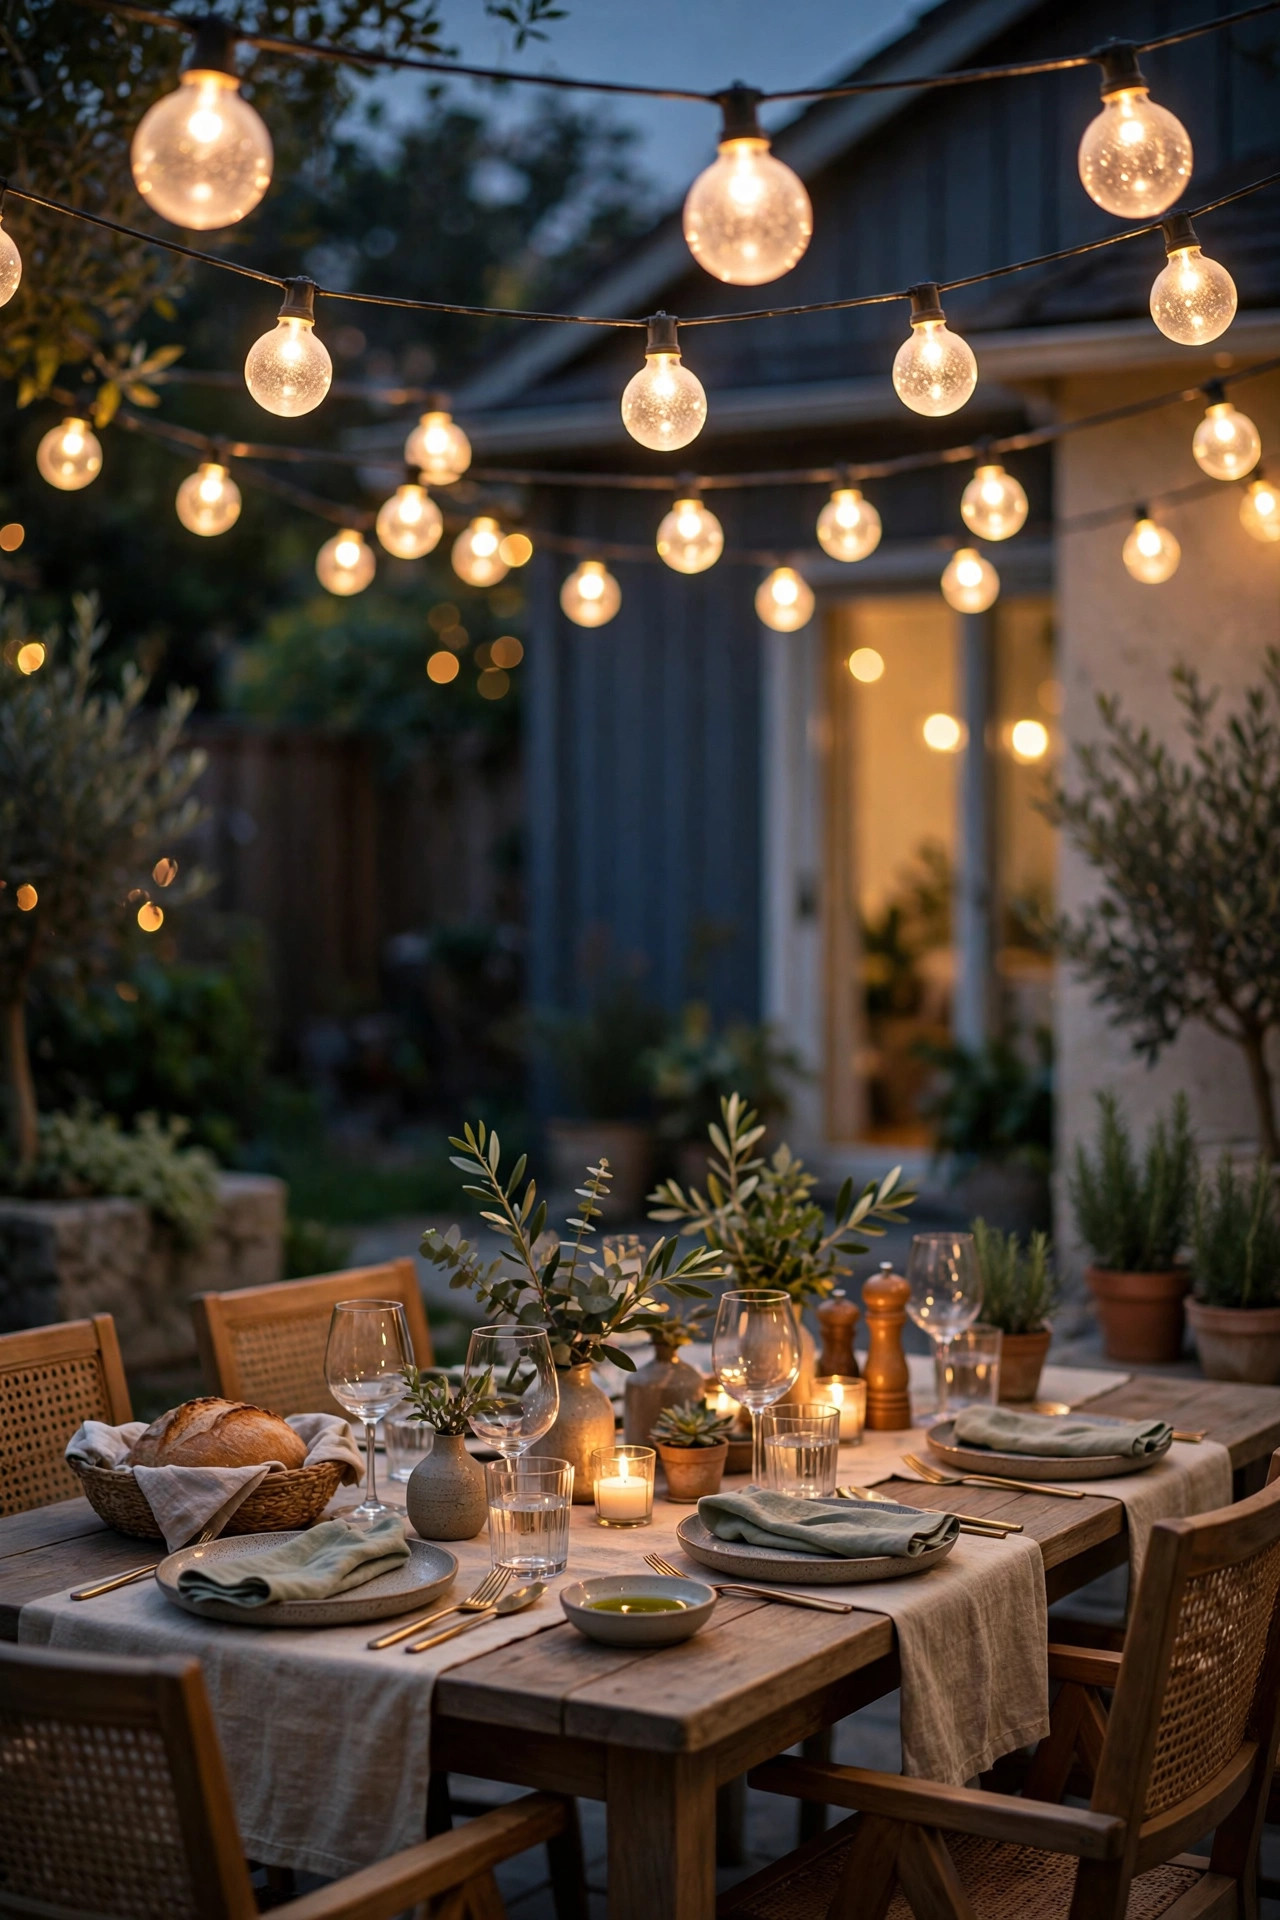
Globe bulbs — the round G40 and G50 styles — give the most forgiving, flattering light of any bistro setup, and the frosted versions are my pick when the strands hang low over a table. The milky coating diffuses the light so you're looking at a soft glowing orb instead of a bright point, which means no squinting across the table and kinder light in photos. Clear globes sparkle more and throw light farther, so I use clear on high canopies and frosted anywhere near eye level. Globes read a touch more "Paris cafe" than Edison shapes — round, simple, a little playful — and they mix happily with both modern and cottage-style yards. Keep globe strands at 2700K to stay warm; frosted bulbs in cooler temperatures can look like office lighting, which is nobody's dinner goal. Spacing on globe strands is usually tighter (sockets every 12 inches), giving that continuous dotted-line effect in the sky. If you entertain people who are sensitive to glare — grandparents, I'm looking at you — frosted globes are the kindest choice on this list.
Suggested budget range: $40 – $110.
12. Shatterproof LED Strands for Worry-Free Dinners
Some of my favorite dinners are the slightly chaotic ones — kids reaching across the table, a dog underfoot, a summer storm threatening. That's exactly when shatterproof strands earn their keep. These use plastic instead of glass bulbs, so a strand that comes down, gets stepped on, or swings into a pole just shrugs it off. Modern shatterproof LEDs are proper outdoor gear: look for IP65 ratings, heavy-gauge commercial wire, and replaceable bulbs so one dead bulb doesn't retire the whole strand. The honest trade-off is a tiny bit of sparkle — plastic diffuses light slightly differently than glass — but at dusk over a table, I genuinely cannot tell the difference once they're up. They're also lighter, which means less sag on long runs and less load on your anchors and poles. For takedown and storage, you can coil them into a bin without the bubble-wrap ceremony glass demands. If your dining spot doubles as a play area, a fire-pit zone, or anywhere a ball might fly, consider shatterproof your default and save the glass beauties for the pergola.
Suggested budget range: $35 – $95.

13. Add a Dimmer and Set the Mood Like a Restaurant
Restaurants don't run their dining rooms at full brightness, and your backyard shouldn't either. An outdoor-rated plug-in dimmer between the outlet and your strands lets you serve dinner at a flattering 50 to 60 percent, then click up to full for cleanup and finding the dropped fork. The key detail: your strands and the dimmer must speak the same language — use dimmers sold for LED string lights, and confirm your strand is listed as dimmable, because the cheapest non-dimmable sets will flicker or buzz. Keep the dimmer itself tucked under an eave or in a weatherproof box; most are "outdoor rated" but still happier out of direct rain. I set mine at the host's seat end of the patio so I can adjust without a production. Dimming also extends that golden feeling as the sky darkens — start brighter at dusk, ease down as the evening deepens. It's a small upgrade that makes a modest strand look like a professionally designed installation, and once you've eaten under dimmed lights, full-blast will feel like a parking lot.
Suggested budget range: $55 – $140.

14. A Smart Plug So the Lights Greet Your Guests
The most luxurious lighting feature costs very little: never walking outside to plug anything in. An outdoor smart plug (or a simple photocell timer plug) can switch your strands on at sunset and off at 11 p.m., so the yard is already glowing when guests arrive and you never wake up to lights still burning at breakfast. Set an astronomical or dusk-sensing schedule and it self-adjusts all season. I run my canopy and perimeter on one plug and table lanterns on another, staggered by a few minutes, which looks oddly intentional. Smart plugs also give you the vacation trick — lights on in the evening make the house look happily occupied. Choose a plug rated for outdoor use with a proper in-use outlet cover, and if your Wi-Fi is weak at the patio, a mechanical or photocell timer does the same job with zero signal. Group the plug with your other outdoor lights in one app routine if you have smart landscape lighting; one tap for "dinner outside" is the kind of small delight you'll use every single week.
Suggested budget range: $40 – $100.

15. Layer String Lights With Lanterns and Candlelight
String lights alone can look a little flat — beautiful, but one-note. The cafe look everyone pins is actually three layers: the overhead glow from your strands, a mid layer from lanterns on the table and steps, and a low sparkle from path lights or hurricanes along the ground. I keep two or three lanterns as a permanent centerpiece (LED candles on timers inside, so they're lit before I even carry food out), then add real candles in glass hurricanes for the table only, where they can't be knocked into anything flammable. This layered approach is the same one I use across the yard — my notes on backyard lighting for evening entertaining go deeper on balancing the layers. Practically, layering also rescues you: if one strand's fuse goes mid-party, the lanterns carry the evening and nobody notices. Match color temperatures across layers — all warm, all near 2700K — so the scene reads as one designed moment rather than three competing ones. This is the idea that turns "nice lights" into "your yard feels like a boutique hotel."
Suggested budget range: $50 – $150.
16. A Fence-Line Backdrop Behind the Table
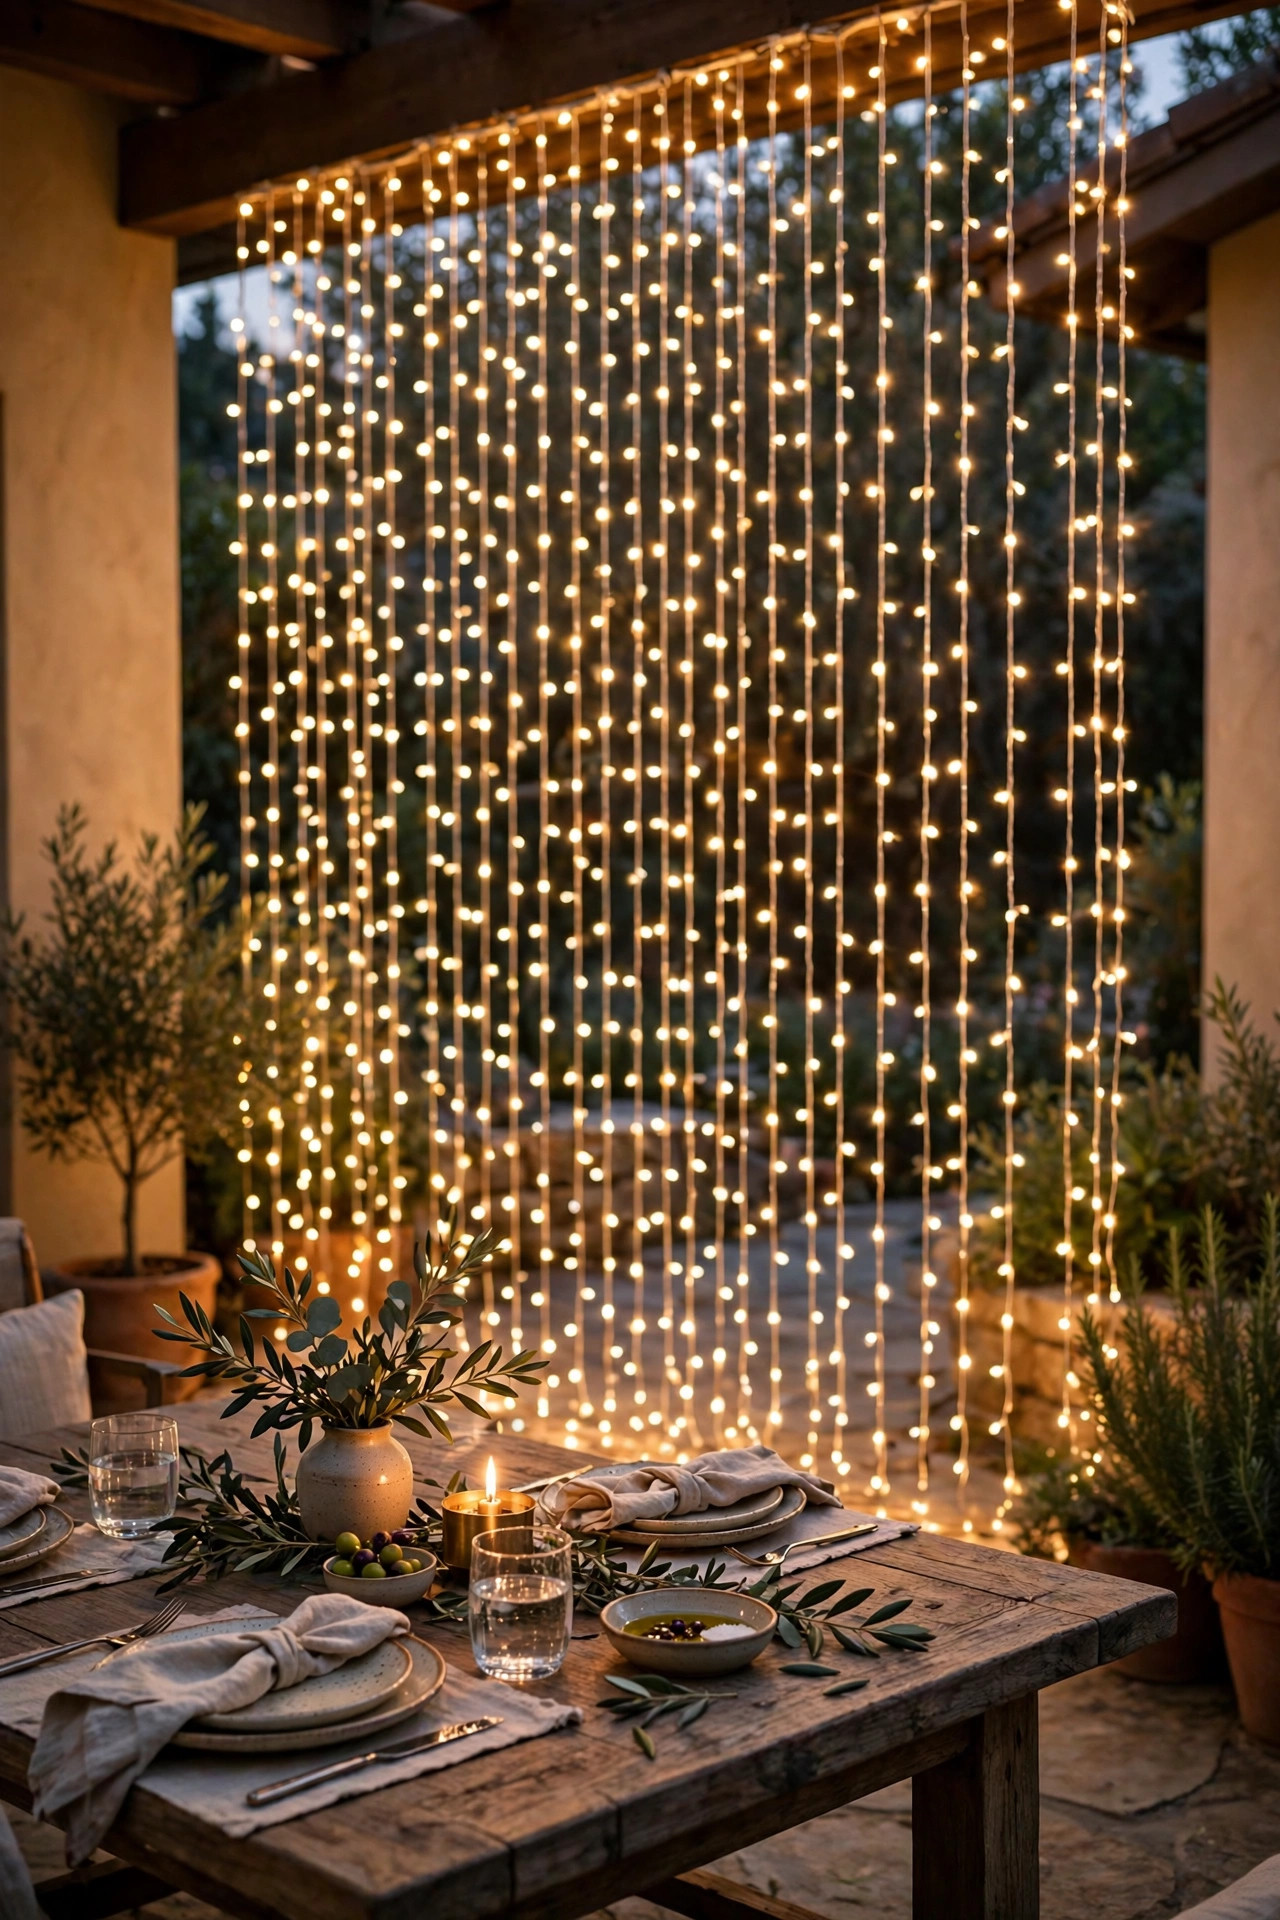
Position your dining table a few feet out from a fence or wall and hang the lights behind the diners, and every photo from the evening suddenly looks staged (in the good way). Two versions work: a straight run along the top of the fence for a clean horizon line, or a "waterfall" of vertical strands hanging from a high line down the fence face for full backdrop drama. For the waterfall, space vertical drops every 18 to 24 inches and anchor the bottoms loosely so they sway a little rather than straining. Use fence-post tops or a mounted board as your high anchor, and clips rather than staples to protect both the fence and the cord. This backdrop does double duty as a privacy screen of light — it draws the eye and softens the view of whatever's beyond the fence. Keep the table's own overhead light simpler if you go big on the backdrop; one star of the show is enough. Guests will take pictures. I promise. Plan the backdrop and you'll look like you planned everything.
Suggested budget range: $45 – $120.
17. Weave Strands Along the Deck Railing
If your dinners happen on a deck, the railing is free infrastructure. Weave a strand in and out of the spindles along the top rail, or run it in gentle swags from post to post along the railing's outer face — either way you get a glowing outline at exactly the height where people lean, talk, and set down drinks. Shorter 25-foot strands suit deck perimeters, and this is a spot where battery-powered sets shine for renters or anyone without a deck outlet. Keep bulbs off the wood itself if you're using anything but LED (another reason LED wins: it stays cool against railings, sleeves, and paper napkins). Post-to-post swags of about 6 feet with a 6-inch dip look tailored rather than draped. I like to leave the stair opening unlit by strands and use a proper step light there instead, so nobody mistakes the glowing line for a path cue. Combined with one canopy line from the house over the deck table, railing strands complete the "room" — it's the deck version of the perimeter outline in idea 3.
Suggested budget range: $25 – $70.

18. Guide Wires: The Pro Secret Behind Tidy Bistro String Light Ideas
Every saggy, tangled installation I've ever fixed had the same root cause: the electrical cord was doing a job it was never hired for — holding itself up. Professionals run a galvanized steel guide wire (also called aircraft cable) between anchors first, tension it with a small turnbuckle, then clip the light strand to the wire every few feet. The wire carries the load, the strand just drapes, and you control the swag instead of gravity deciding for you. Guide wire is essential for any span over about 15 to 20 feet, any run with heavy glass bulbs, and anywhere wind gets a vote. I lay out the full hardware list and tensioning steps in my outdoor string lights guide — it's the least glamorous and most useful page I own. Use stainless or galvanized hardware outdoors so nothing rusts onto your siding, and put the turnbuckle at the end you'll actually reach for seasonal takedown. Twenty minutes of wire work buys you years of tidy, safe, swag-exactly-where-you-want-it lights. This is the difference between "we hung some lights" and "we installed lighting."
Suggested budget range: $35 – $90.

19. Two-Tier Heights for a Designed, Layered Canopy
Ready for the graduate-level move? Hang your lights at two heights: a higher canopy at 9 to 10 feet that defines the space, and one lower swag at about 7½ feet directly over the table. The eye reads the two layers as depth, the same way a restaurant uses a ceiling plus pendants, and the table itself gets its own intimate pool of light. The trick is restraint — the upper layer can be a simple perimeter or a couple of parallel runs, and the lower layer just one or two swags, so the sky doesn't turn into spaghetti. Keep both layers the same bulb style and color temperature or it looks accidental. This layout photographs beautifully because the lower strand frames the top of the shot. It also solves a real problem: on a big patio, a single high canopy can feel distant and dim at the table, while lights hung only low make tall guests duck. Two tiers give everyone headroom and the table its glow. Once you've eaten under a two-tier setup, a single flat layer will always look a little unfinished.
Suggested budget range: $90 – $240.

Frequently Asked Questions
How high should bistro string lights hang over a dining table?
Aim for the lowest point of the swag to sit at least 7 feet above the ground — 8 to 9 feet of mounting height is ideal once you account for 6 to 12 inches of drape. Over the table itself that puts bulbs roughly 3 feet above the tabletop, close enough to feel intimate, high enough that standing guests and serving platters clear them easily.
Are cafe string lights safe to leave up in the rain?
Commercial-grade strands rated IP65 or higher are built for rain and can stay up season after season. What needs protection is the connection: plug into a GFCI outlet with an in-use (bubble) cover, keep plug joints off the ground, and never let sockets hang where they can pool water. LED bulbs only, always, near fabric, foliage, or anything flammable.
How many strands do I need for a 12-by-16-foot patio?
For a perimeter outline, one 48-foot strand usually traces three sides with the house as the fourth. For a crisscross canopy over that space, plan on roughly 4 strands running the 12-foot direction and 3 to 4 running the 16-foot direction once swag is included — most people land between 150 and 250 total feet of strand. Measure with a tape, then add 10 percent for drape; running short by one strand is the classic mistake.
Is solar or wired better for backyard dinners?
Wired strands are brighter, dimmable, and identical every night, so they're my choice for the main dining area. Solar is perfect for accents, far corners, and anywhere running a cord is impractical — just expect a softer glow and shorter runtime in winter. Many of the prettiest setups I know use wired overhead and solar everywhere else.
Conclusion
The through-line in all of these bistro string light ideas is simple: warm light, hung thoughtfully, at more than one height. Start with the layout that fits your space — a canopy if you have the anchors, a center swag if you don't, poles or solar if you're starting from zero — then add the layers and the little upgrades, a dimmer here, a smart plug there, as the season goes on. You don't need all nineteen ideas; you need the two or three that make your table the place everyone wants to sit. Browse the rest of my outdoor lighting ideas here on the site for the paths, planters, and porches around your new dining room — and then send dinner invitations. The lights are ready when you are.