A rock garden is the hardest-working feature in my front yard all day long — and then the sun goes down and it just… disappears. All that beautiful stone texture, the boulders I hauled and placed one by one, the gravel I raked into soft waves: invisible by 8 p.m. Good front yard rock garden lighting fixes that in one weekend. The secret is the same layering philosophy I use everywhere: never blast a rock bed with one bright fixture. Instead, combine a low glow at ground level, a focused beam on your best boulder, and a soft wash behind the plants, and the whole bed turns into a sculptural night garden. In this list I'll walk you through 13 ways to do it, from a $15 strand of fairy lights to a proper low-voltage spotlight setup, with honest budgets on every single idea so you can mix and match.
1. Uplight the Hero Boulder First
Every rock garden has one stone that does the heavy lifting — the biggest boulder, the one with the interesting face. Start there. I place a low-voltage LED spotlight 12 to 18 inches in front of the boulder, angled up at about 30 degrees so the beam rakes across the surface instead of flattening it. A narrow 15- to 24-degree beam works best on tall stones; go wider, around 36 degrees, for broad, low boulders. You want roughly 100 to 200 lumens — enough to model the texture, not enough to make it look like a interrogation scene. Stake the fixture into the soil or gravel, not into loose rock, and bury the cable 6 inches deep in a slit trench along the bed edge. If your boulder sits near the front walk, this one light doubles as a welcoming landmark for guests arriving after dark. In my experience, lighting the hero stone well makes even a modest rock garden look professionally designed, because the eye reads the whole bed from that one glowing anchor. Everything else on this list is supporting cast — this is the star, so aim it at dusk and adjust after full dark before you commit to the angle.
Suggested budget range: $40 – $120.

2. Add Solar Spotlights When You Have No Outlet Nearby
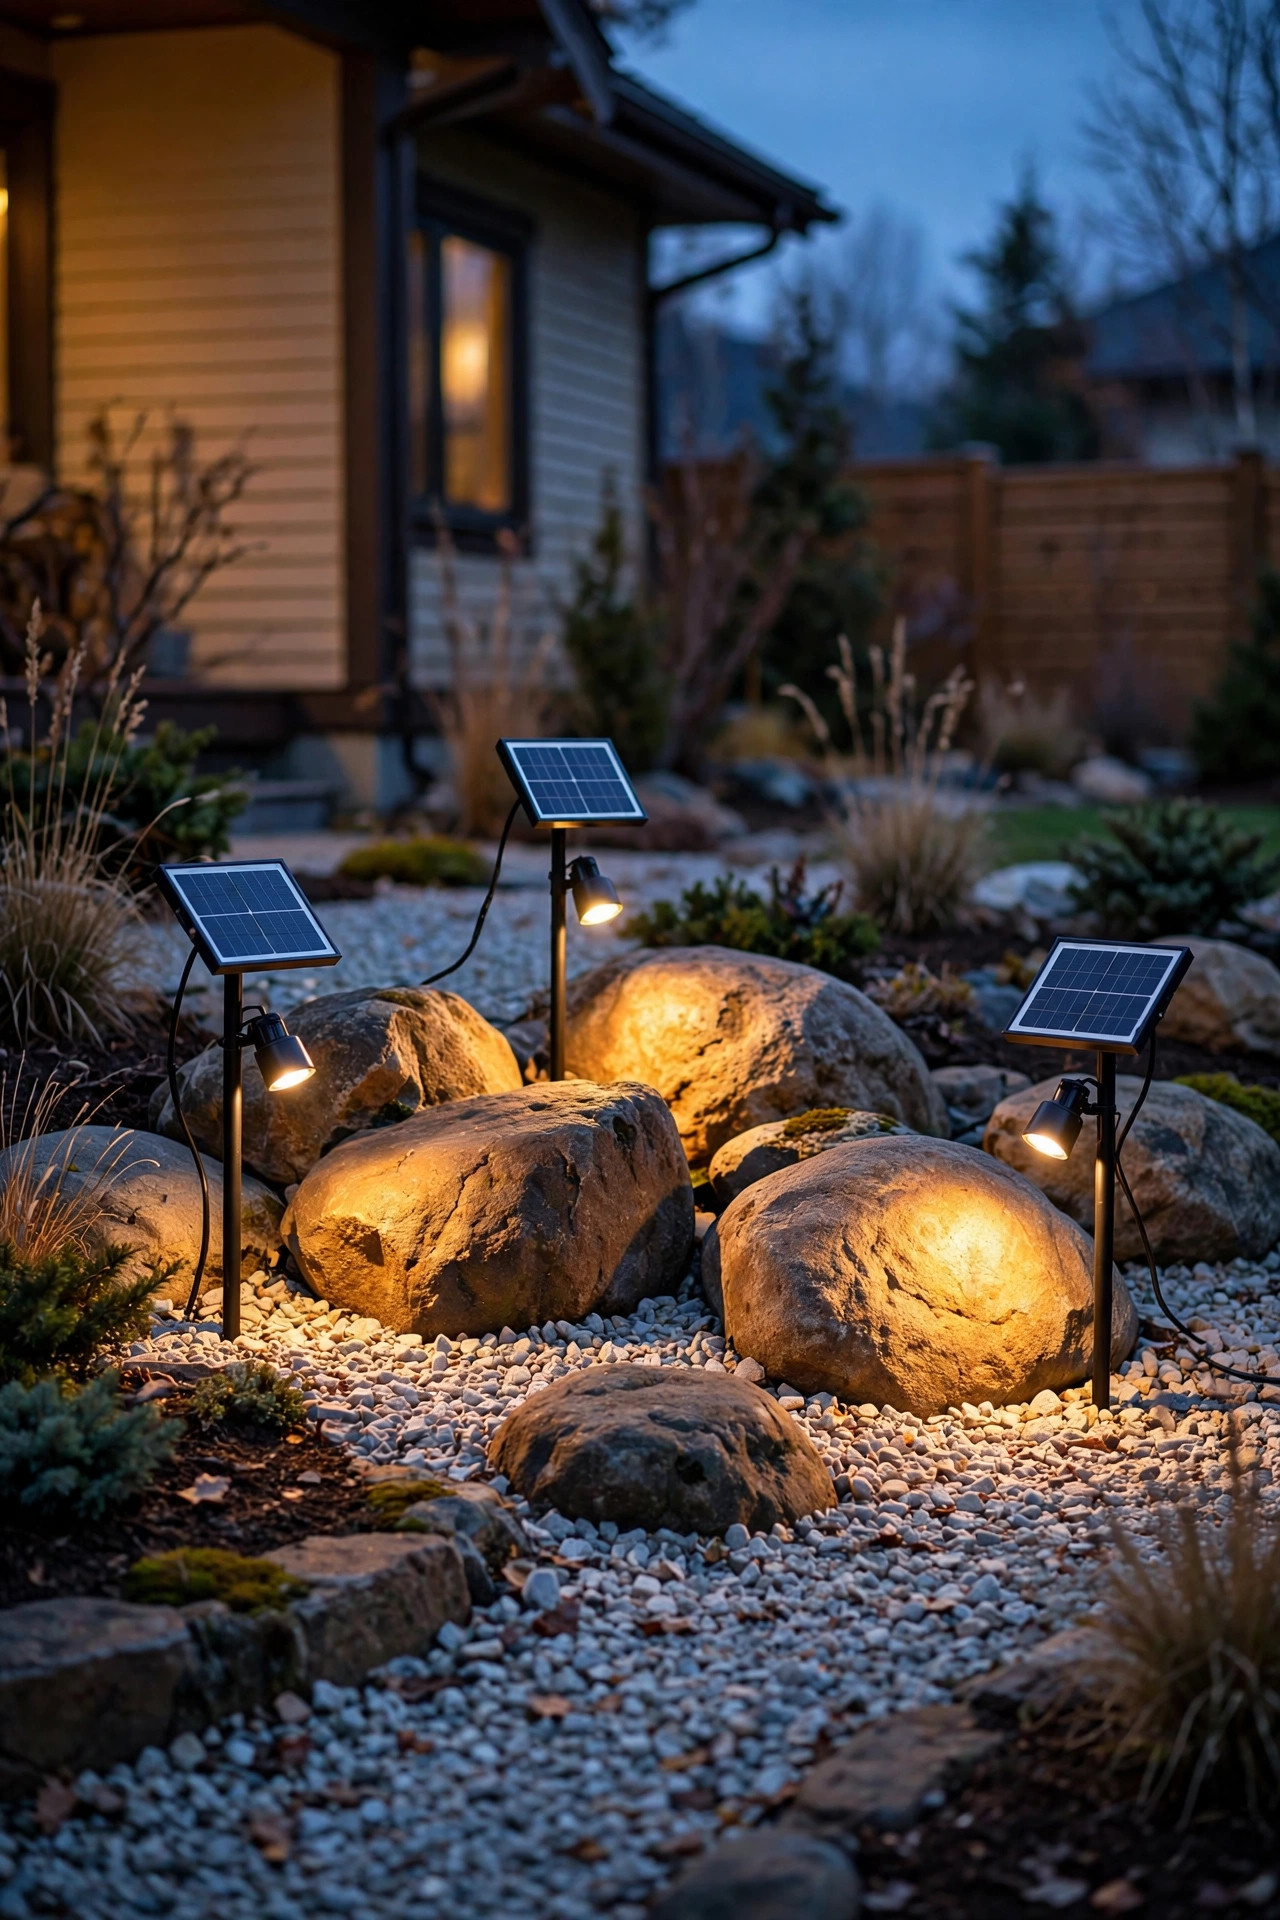
Not every rock bed sits within cord's reach of an outdoor outlet, and honestly? Solar spotlights have gotten good enough that I reach for them first in the far corners of the yard. Look for solar spots with a separate panel you can stake in full sun — panels hidden behind a boulder charge poorly, and a panel getting six-plus hours of direct light makes the difference between a light that dies at 9 p.m. and one still glowing at midnight. Choose warm white (2700–3000K) models; the bluish solar lights make gray stone look cold and institutional. Two spots crossed at angles on a mid-size boulder look far better than one straight-on beam. Expect 50 to 150 lumens per fixture, adjustable heads, and a dusk-to-dawn sensor. Wedge the stake firmly between stones if your bed is all gravel — loose fill lets fixtures tilt after the first rain. I group solar spots in twos and threes around secondary boulders and save the wired fixtures for the hero stone. They're also my favorite renter-friendly trick, since nothing gets buried and everything lifts out in minutes when you move.
Suggested budget range: $25 – $80.
3. Hide the Source With In-Ground Well Lights
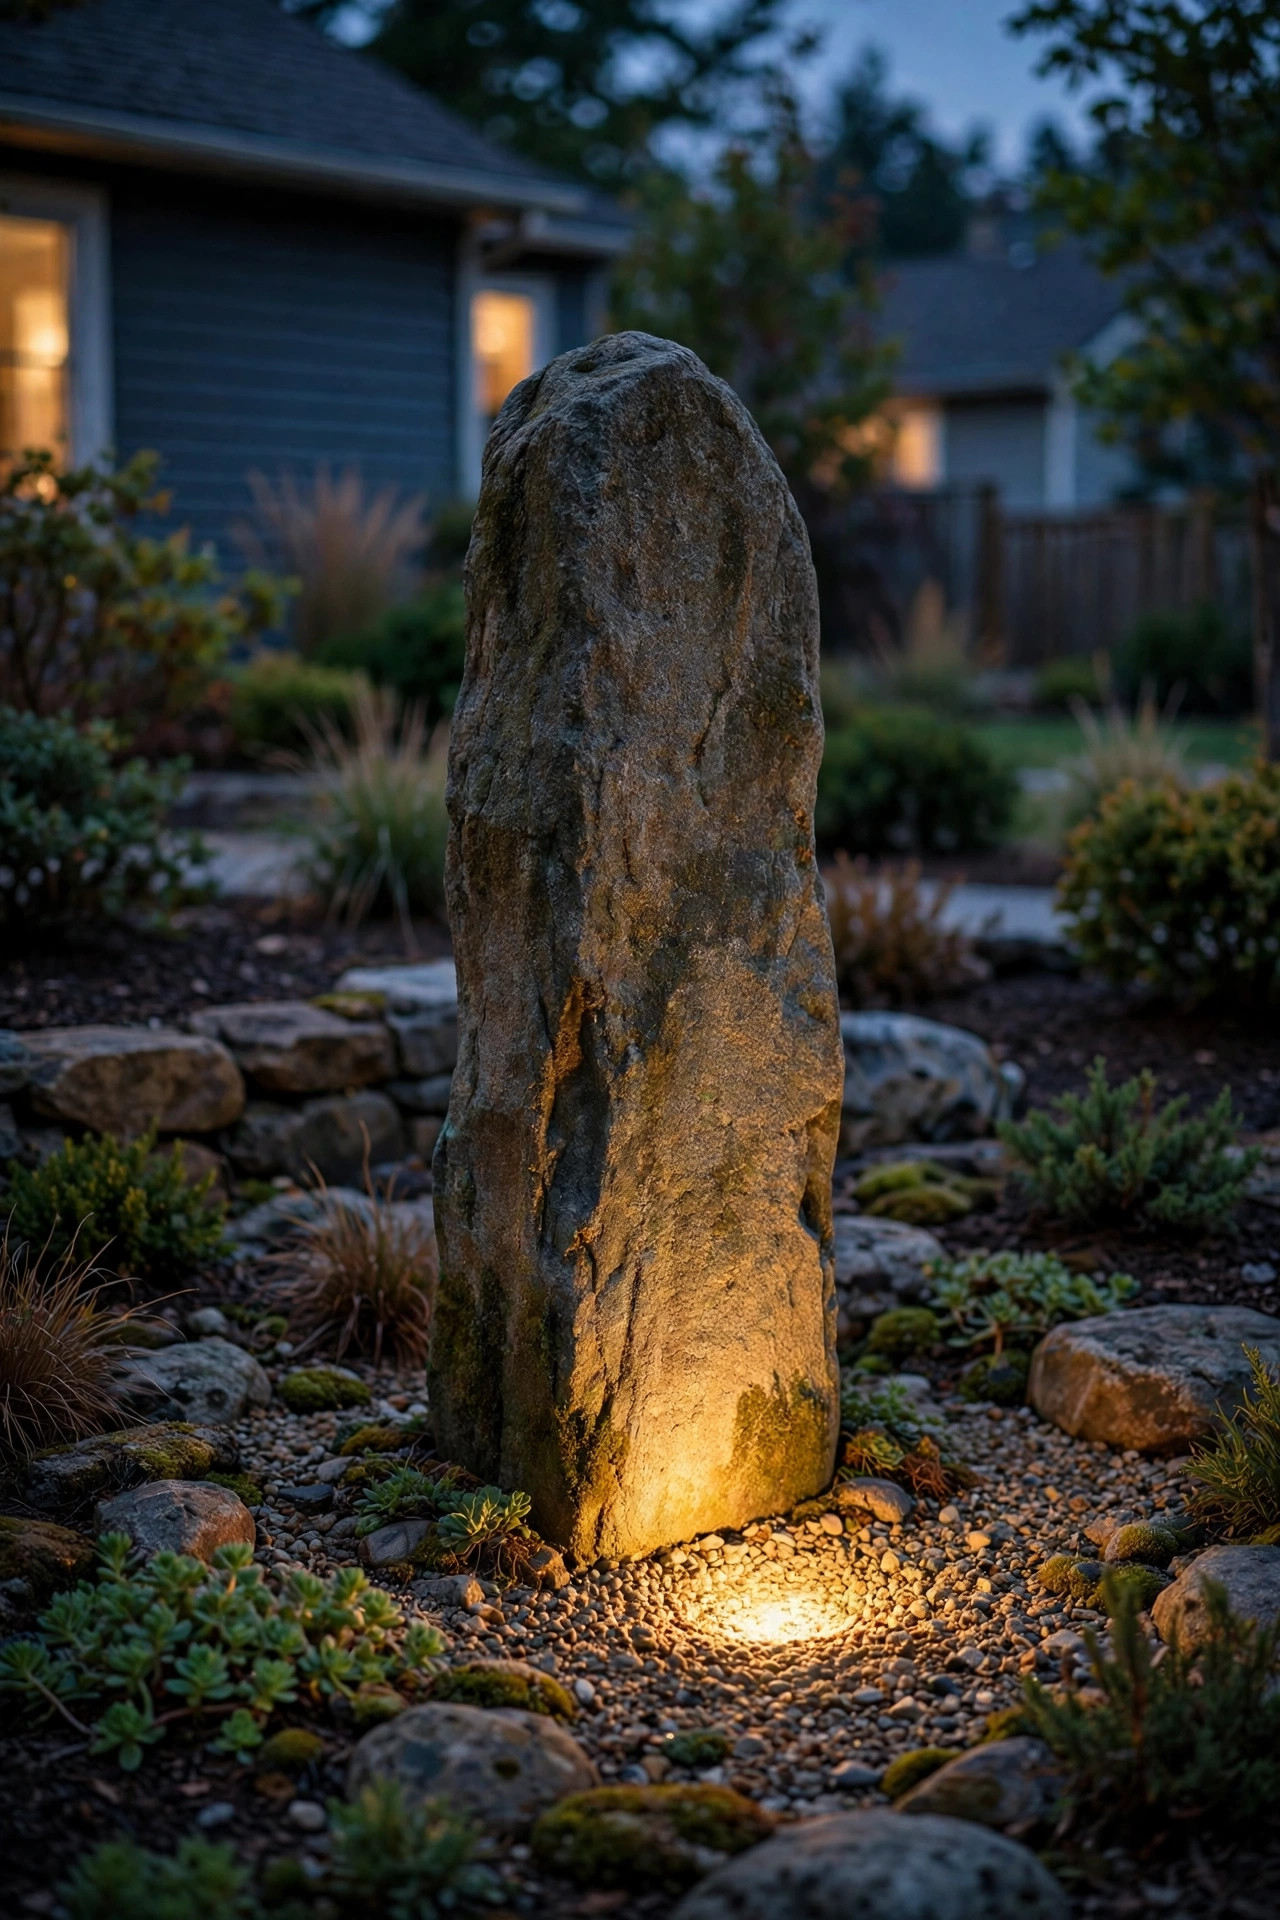
If you love the glow but hate seeing hardware, in-ground well lights are the answer. These fixtures sit flush in a buried housing so all you see after dark is light rising out of the gravel itself. I install them 8 to 12 inches from the base of a boulder or a cluster of standing stones, with a grate or louvered top if the bed sits near a walkway, so the source never glares into visitors' eyes. Because they live at ground level, drainage matters: set the housing in a pocket of coarse gravel so rainwater moves through instead of pooling, and choose fixtures rated IP67 or higher. Well lights throw a beautiful, steep wash up a rock face — the texture of rough granite or sandstone just explodes under that angle. They're pricier and more work to install than staked spots, since you're digging a proper hole for each one, but the invisible-source effect is the closest thing to the lighting in high-end landscape photos. If you're planning a bigger install, my guide to in-ground well lights covers housing depths and grate styles in detail.
Suggested budget range: $60 – $180.
4. Graze Light Across the Rock Faces
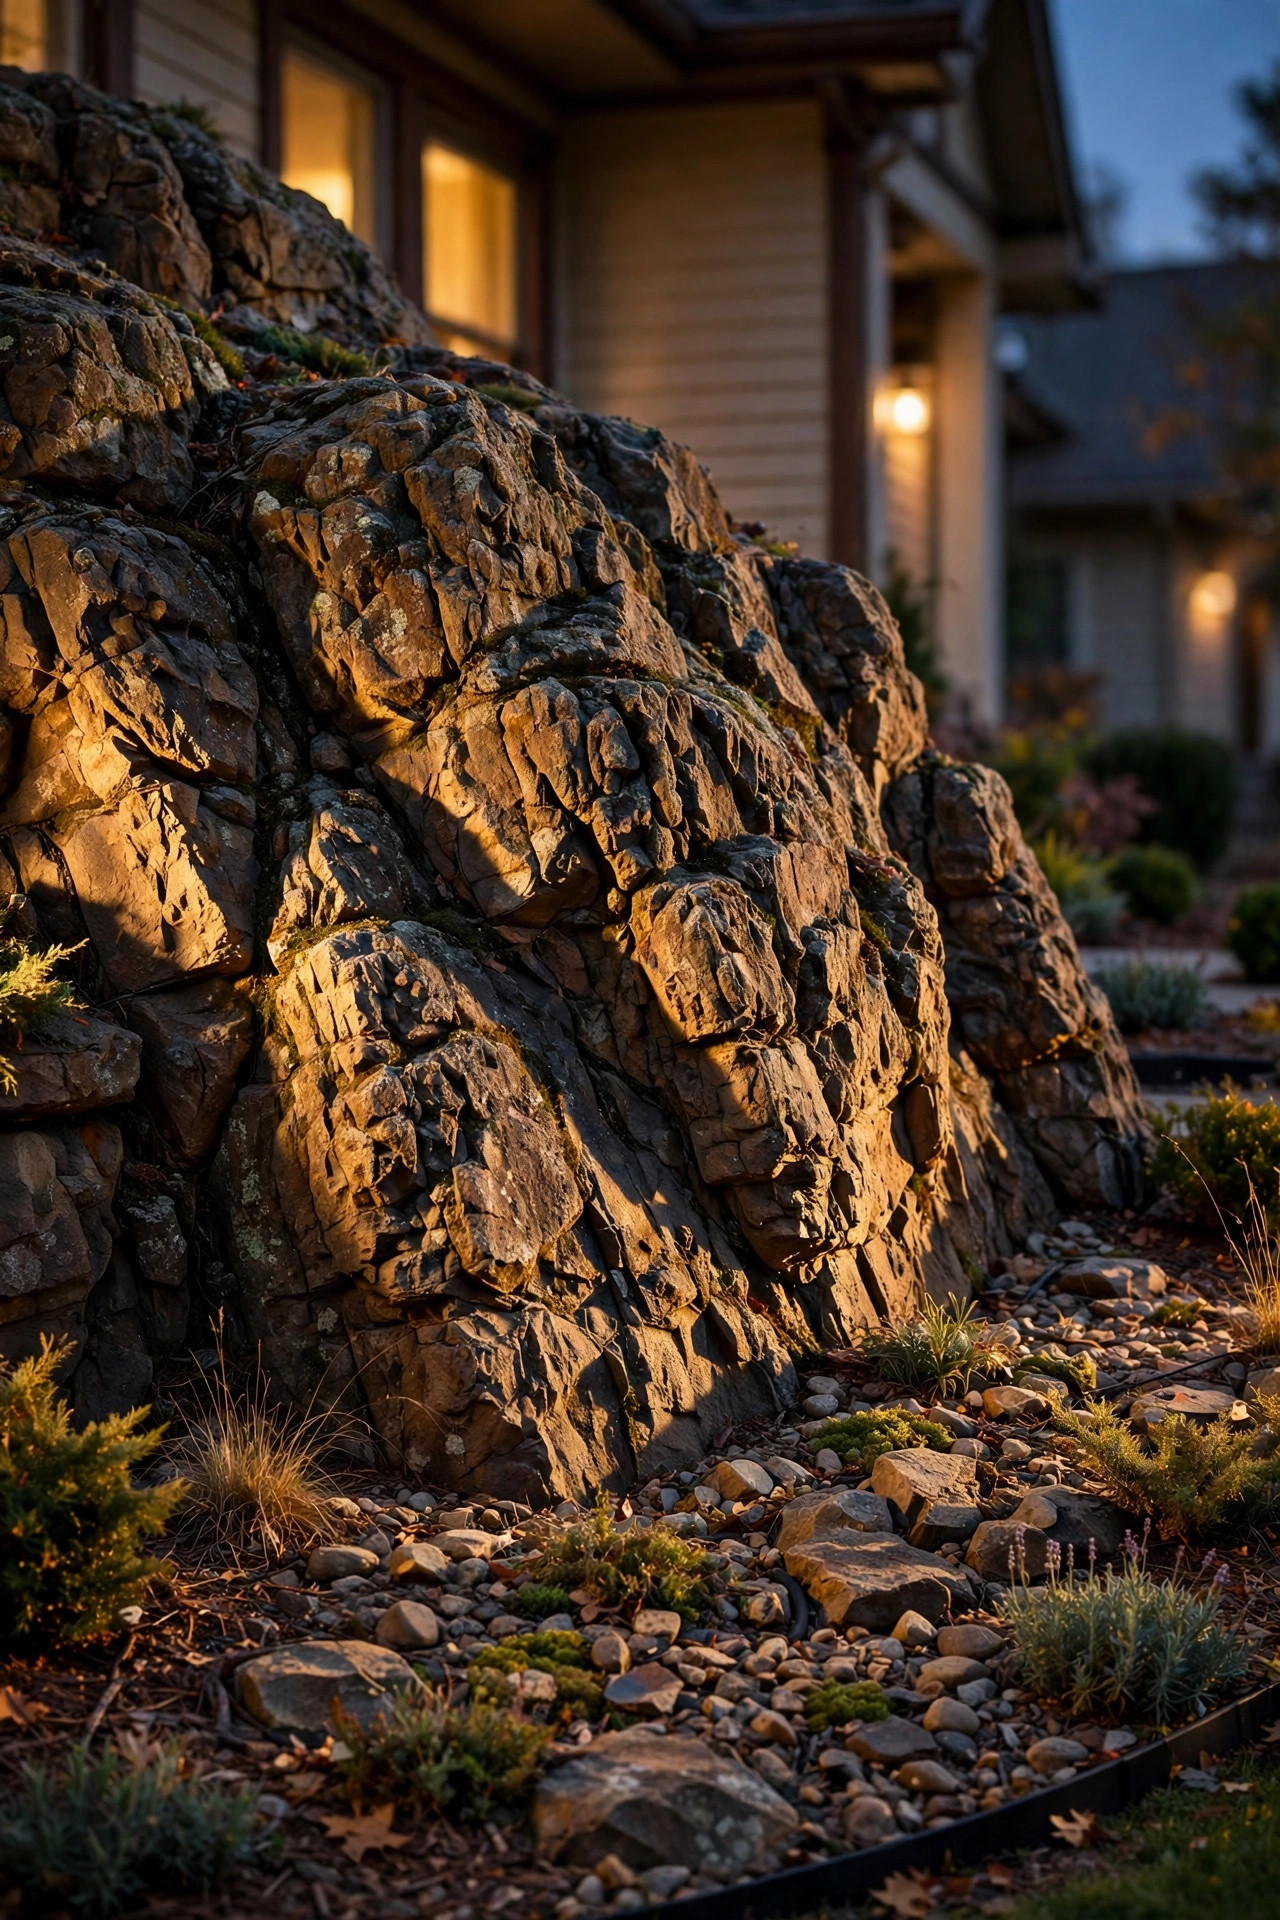
Here's the technique photographers and landscape designers swear by: grazing. Instead of aiming a light at a rock from several feet away, place the fixture close — 4 to 8 inches from the face — and angle it nearly parallel to the surface. The beam skims across every bump, fissure, and mineral streak, throwing tiny shadows that make smooth-ish stones look dramatically craggy. Grazing works especially well on stacked stone groupings, dry-laid rock walls at the bed's edge, and split-face boulders. A low-voltage bullet light with a 10- to 15-degree beam is ideal; too wide a beam wastes the effect. I run two grazers along a long rock face rather than one, overlapping slightly, so the texture reads continuously. Keep the fixtures tucked behind a foreground stone so the hardware disappears from the street view. One caution: grazing exaggerates everything, including a cracked or spalling face, so pick your prettiest stones for this treatment. At dusk, walk out to the curb and look back — if the bed reads like a relief sculpture, you've nailed it.
Suggested budget range: $35 – $110.
5. Backlight Smaller Stones for Silhouettes
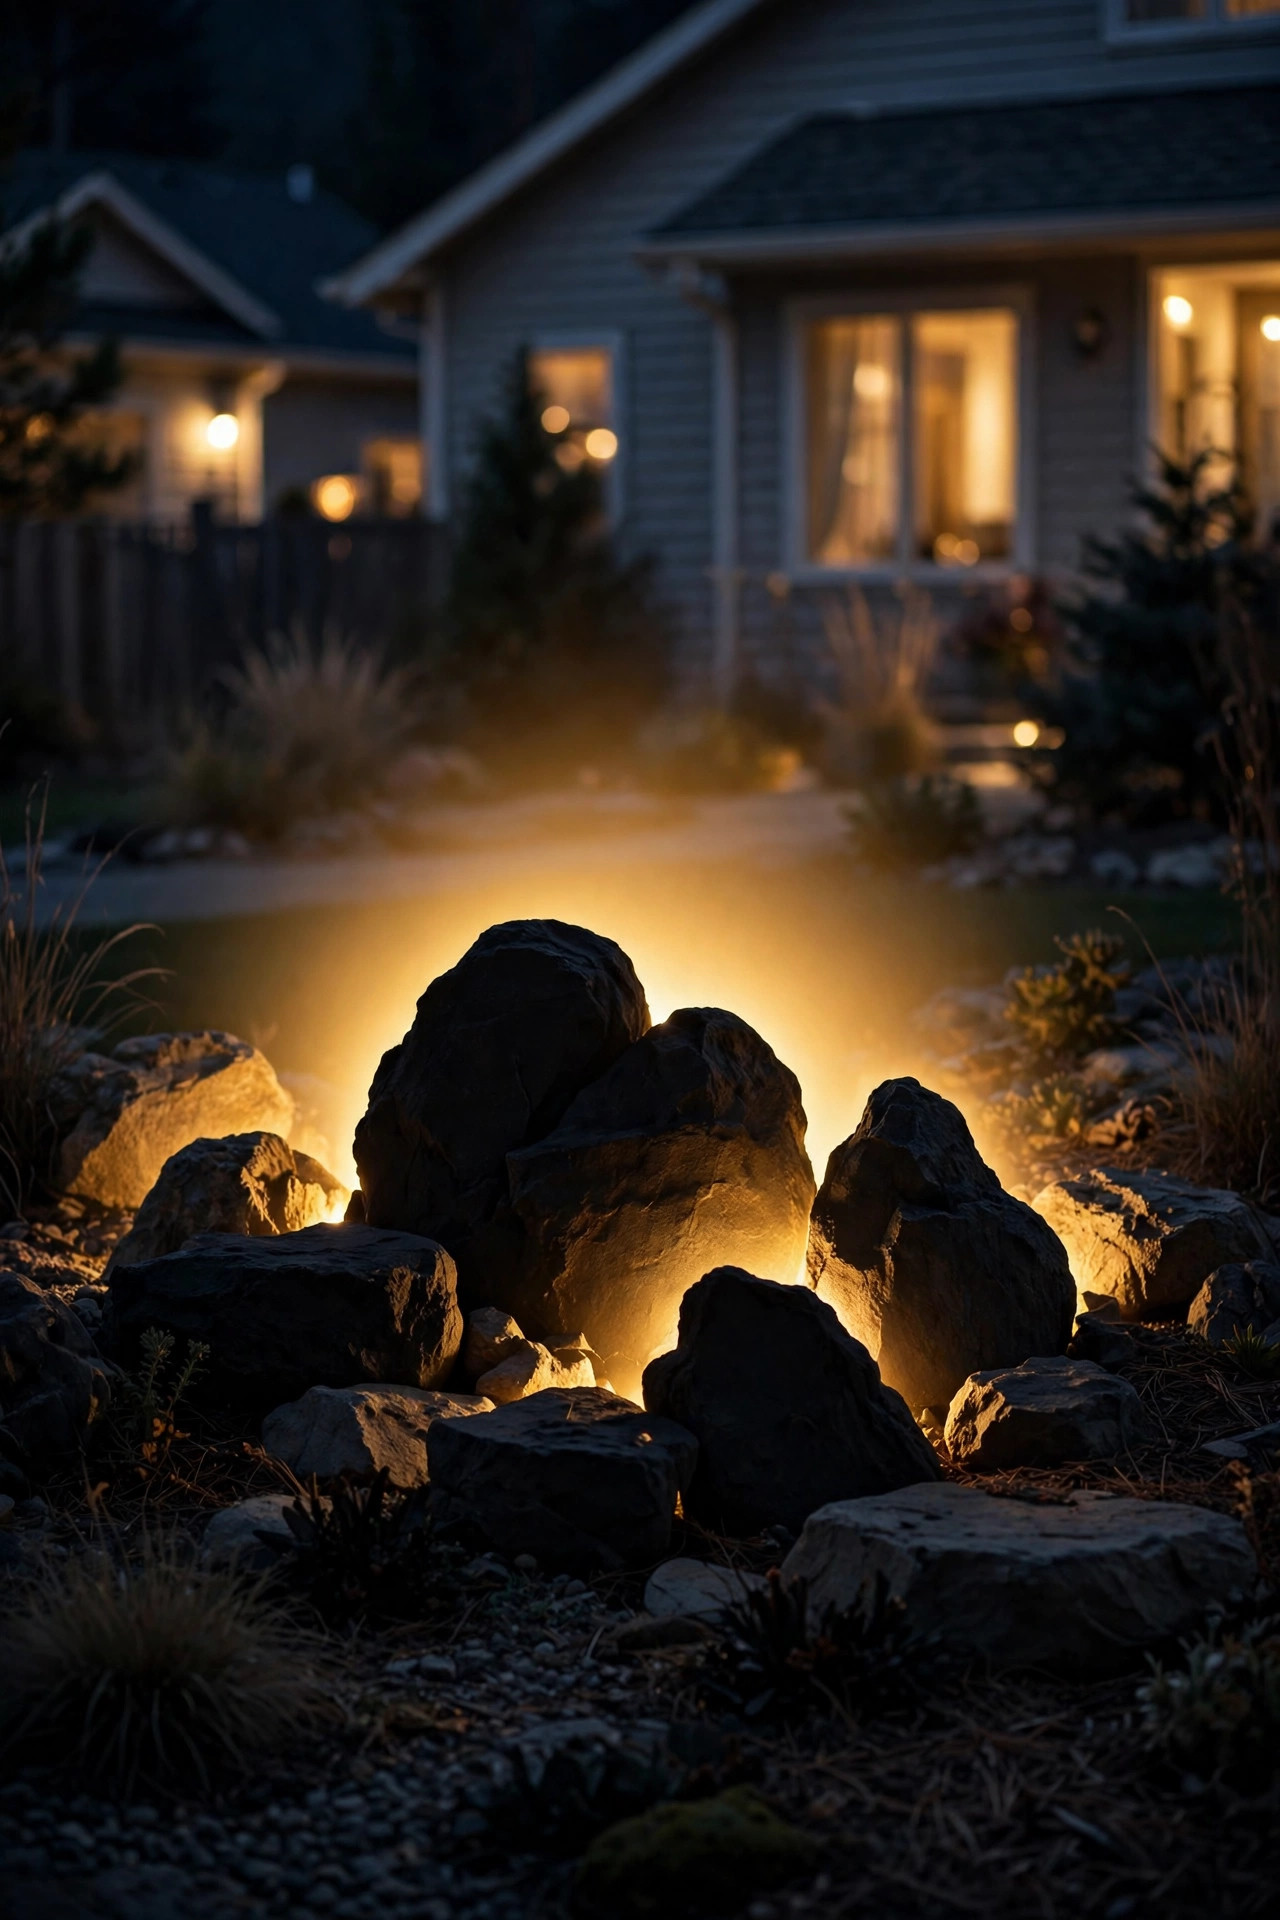
Front-lighting shows you the rock; backlighting shows you its shape. Tuck a small spotlight or well light behind a cluster of medium stones — 6 to 10 inches behind them, aimed at a fence, wall, or larger boulder behind the group — and the stones become bold black silhouettes against a warm halo. This is the most artistic trick on this list, and it's nearly free to try if you already own a spare fixture. It works beautifully with upright, jagged stones and with ornamental grasses planted among the rocks, since the backlit blades glow like fiber optics. Keep the backlight modest, around 80 to 120 lumens, so the halo stays soft instead of nuclear. Silhouettes also solve a real problem: a rock bed against a dark house wall can look like a void, and one backlit grouping gives the eye a layered composition — dark shape, warm glow, dark wall. I use this behind the stones closest to my porch, where I see them every evening. Play with distance: the closer the light sits to the stones, the sharper the silhouette edge.
Suggested budget range: $30 – $90.
6. Run LED Strips Along the Rock Garden Edge
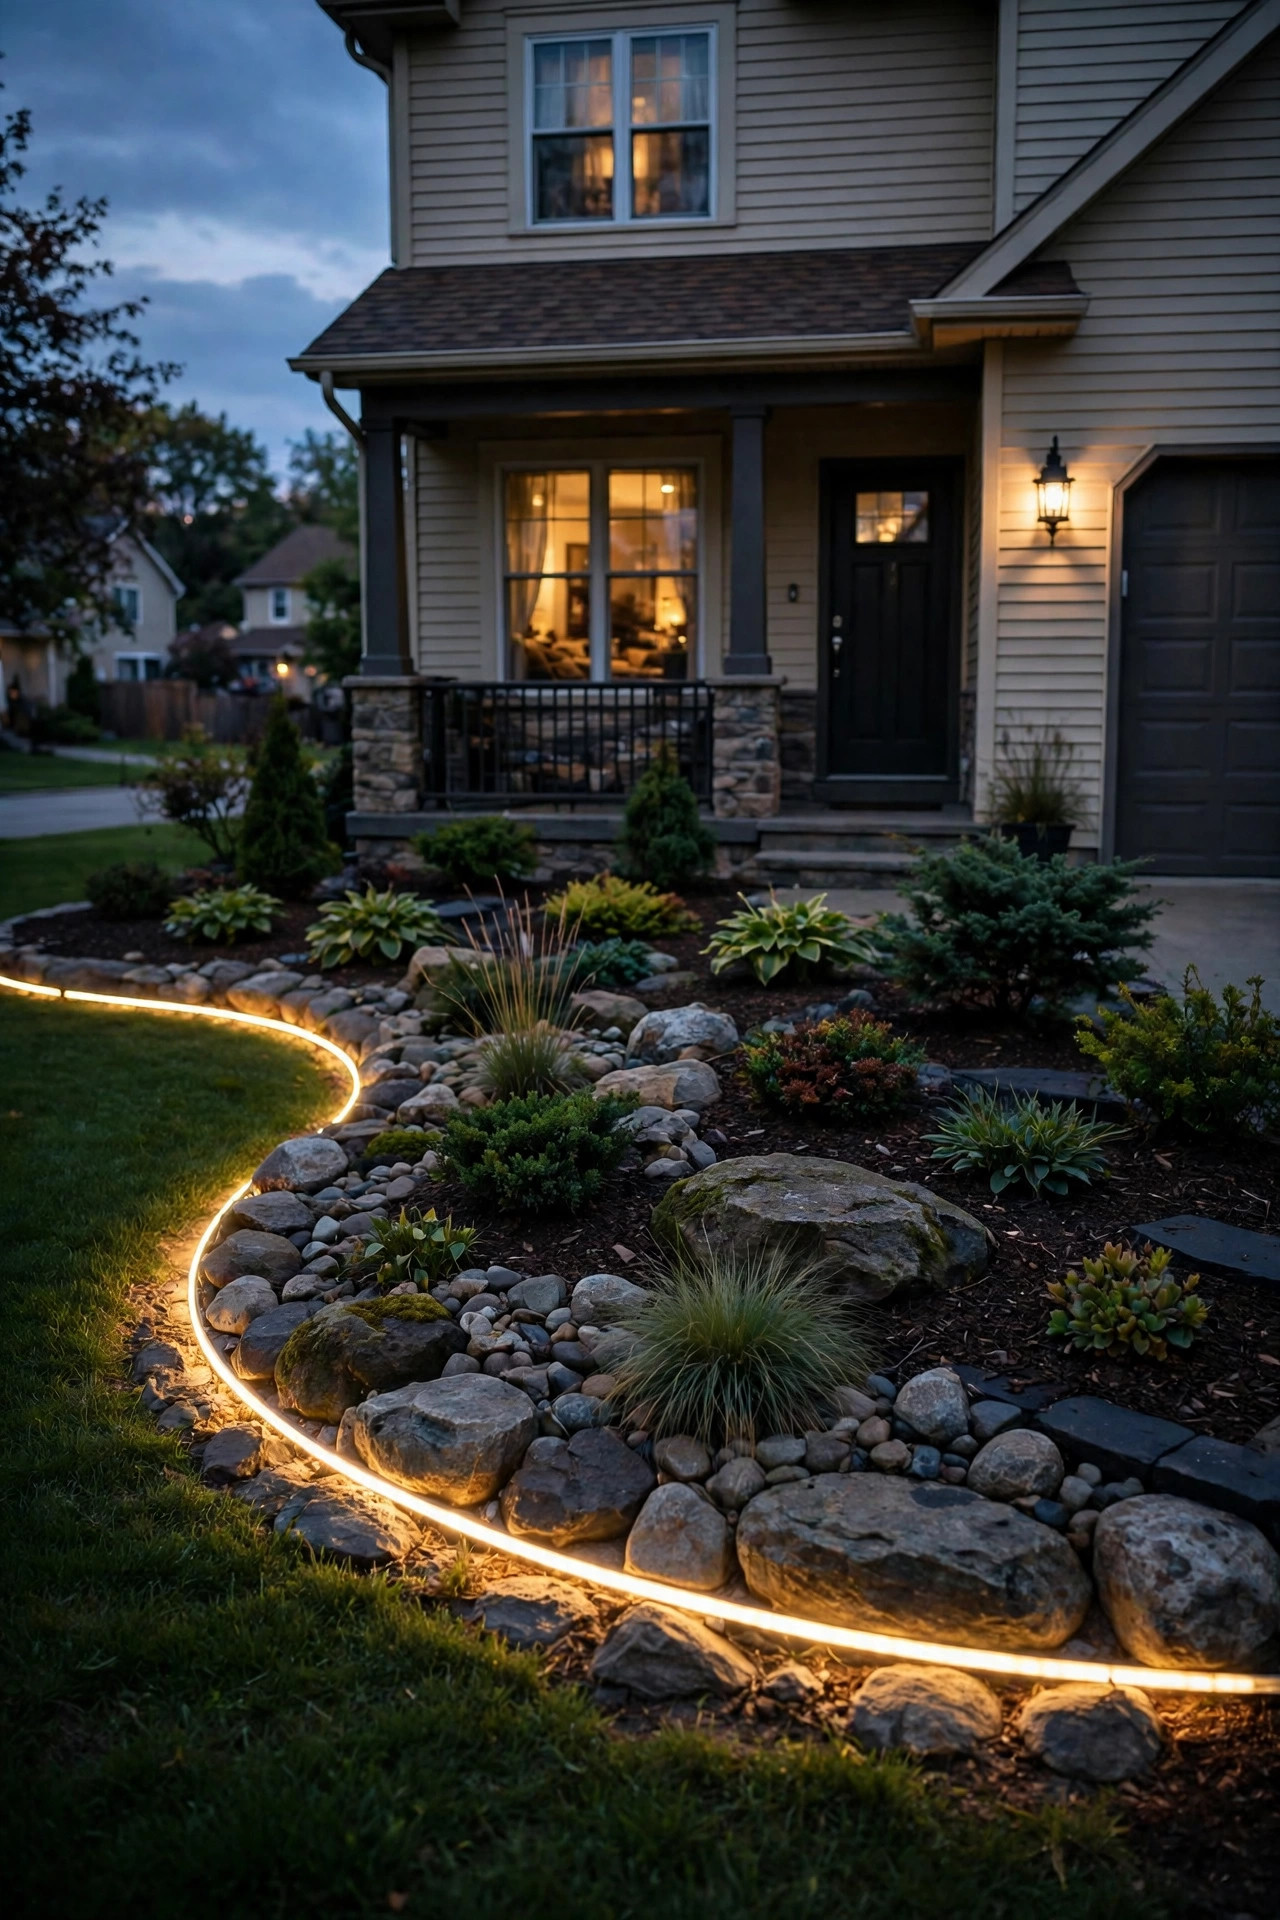
For a modern, architectural line, nothing beats a hidden LED strip tracing the edge of the bed. I mount outdoor-rated (IP65 or higher) strip lights under the lip of a metal or stone edging, or along the inside face of a timber border, so the source stays invisible and a clean ribbon of light spills onto the gravel. The effect outlines the whole rock garden like a drawing — gorgeous on curved beds and along a dry creek swale. Use warm white 2700K tape and a low-voltage driver connected to your landscape transformer; most strips cut to length every few inches, so custom curves are easy. Press the strip into an aluminum channel if your edging allows it — the channel protects the tape and diffuses the dots into a continuous glow. This is a subtle layer, not a spotlight: it defines the bed's shape while other fixtures light the stones themselves. Combined with one hero-boulder uplight, the strip edge makes the whole front yard rock garden lighting scheme feel intentional and finished.
Suggested budget range: $30 – $100.
7. Weave Copper-Wire Fairy Lights Through the Rocks
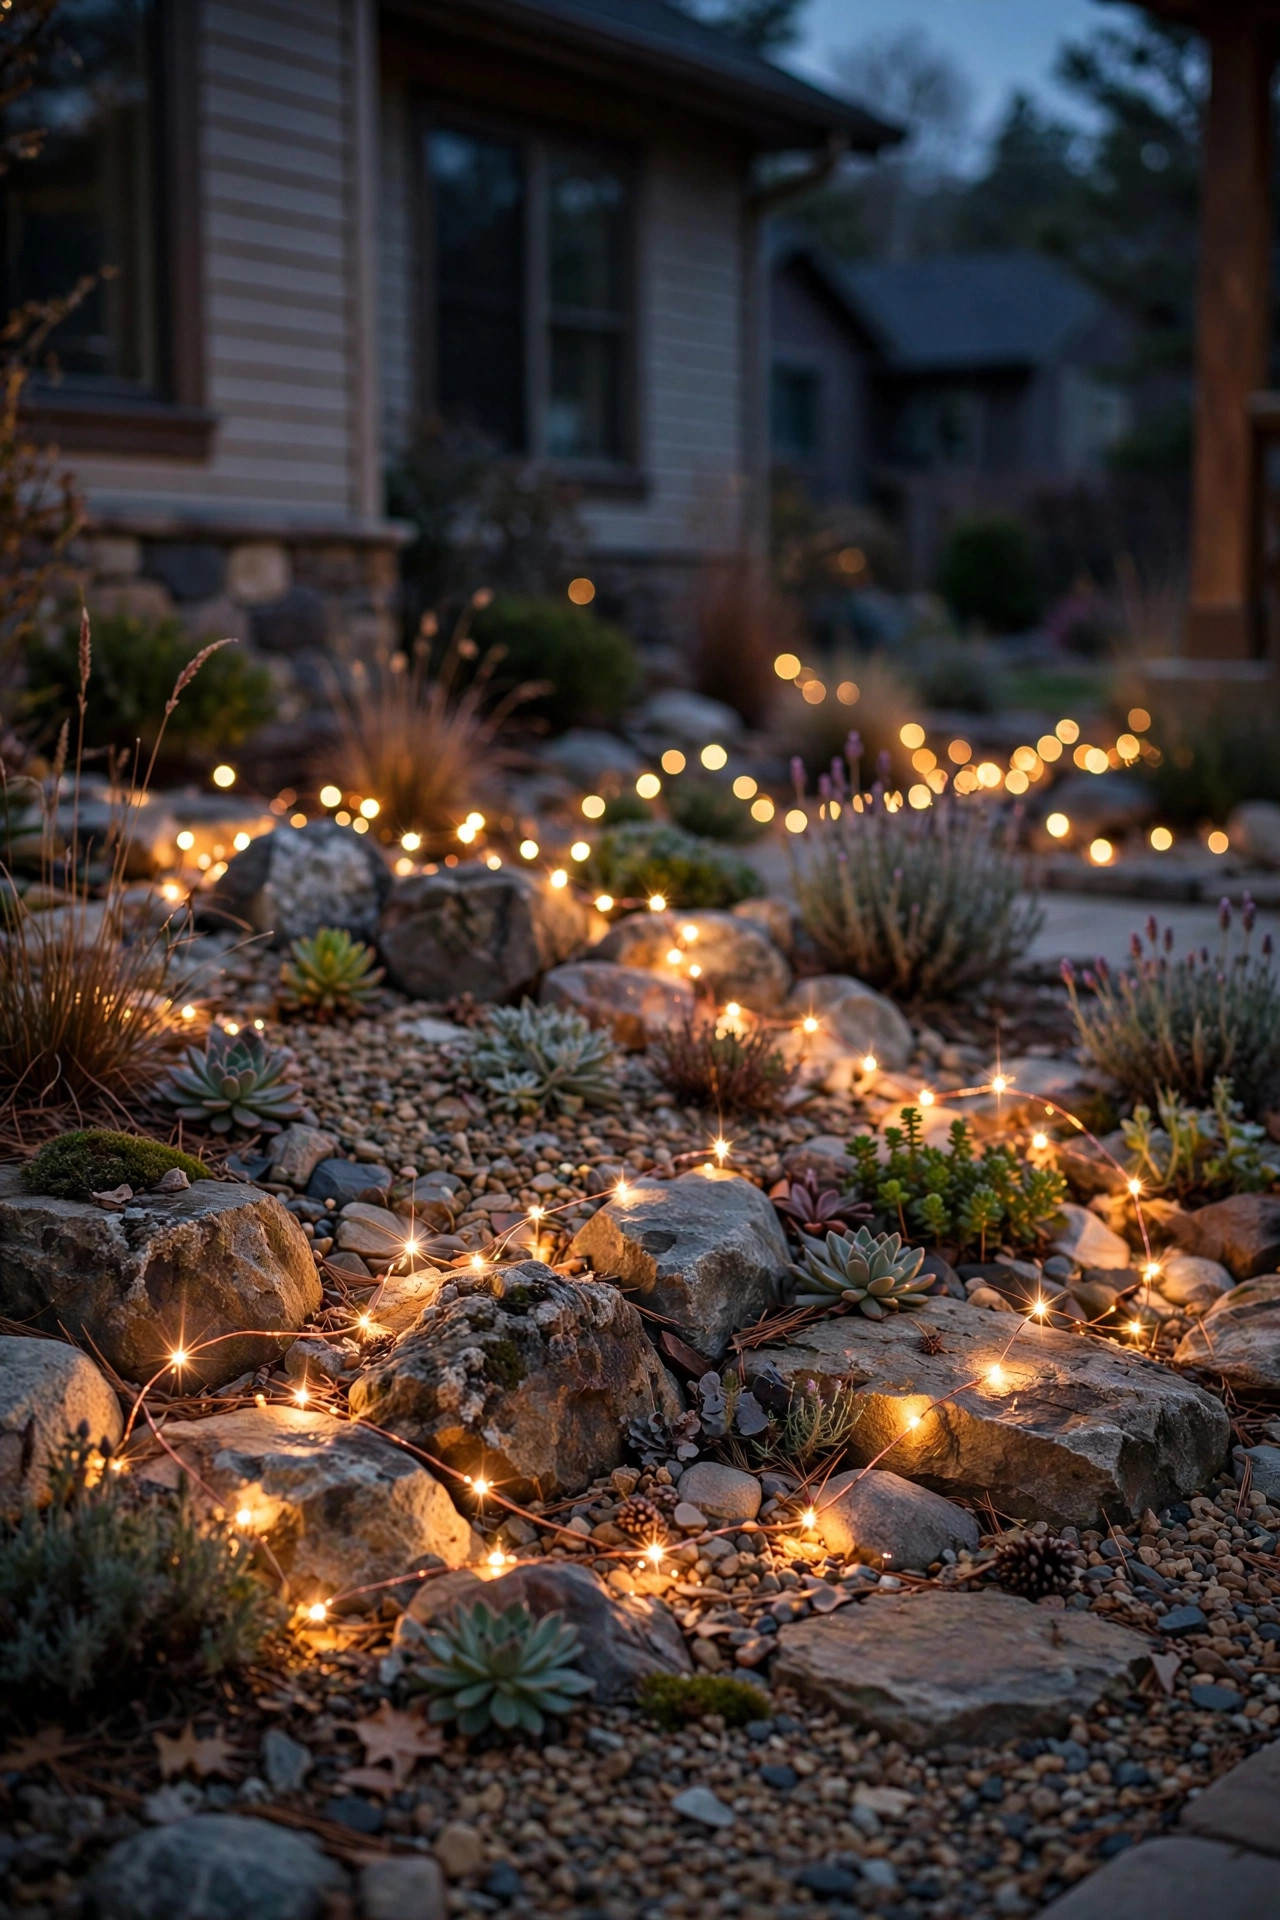
Fairy lights in a rock garden sound whimsical, and they are — but threaded low through a stone bed they read less "holiday" and more "fireflies settled in for the night." I use warm white copper-wire strands because the wire practically disappears between stones in daylight, and the tiny LEDs nestle into crevices where no fixture could fit. Drape the strand loosely, letting it pool slightly in the hollows and climb over one or two smaller boulders. Solar-powered strands with the panel staked at the bed's sunny edge are the easiest version; battery strands with a timer (six hours on, eighteen off) are the most reliable in shady yards. Because the individual lights are so small — a fraction of a lumen each — this is pure accent: it sparkles rather than illuminates, so pair it with at least one real spotlight for structure. Keep strands LED-only, which they virtually always are, and avoid running them under heavy mulch where heat and moisture shorten their life. In gravel beds they last for seasons, and at this price, experimenting costs less than a pizza night.
Suggested budget range: $15 – $45.
8. Tuck Lanterns Between the Boulders
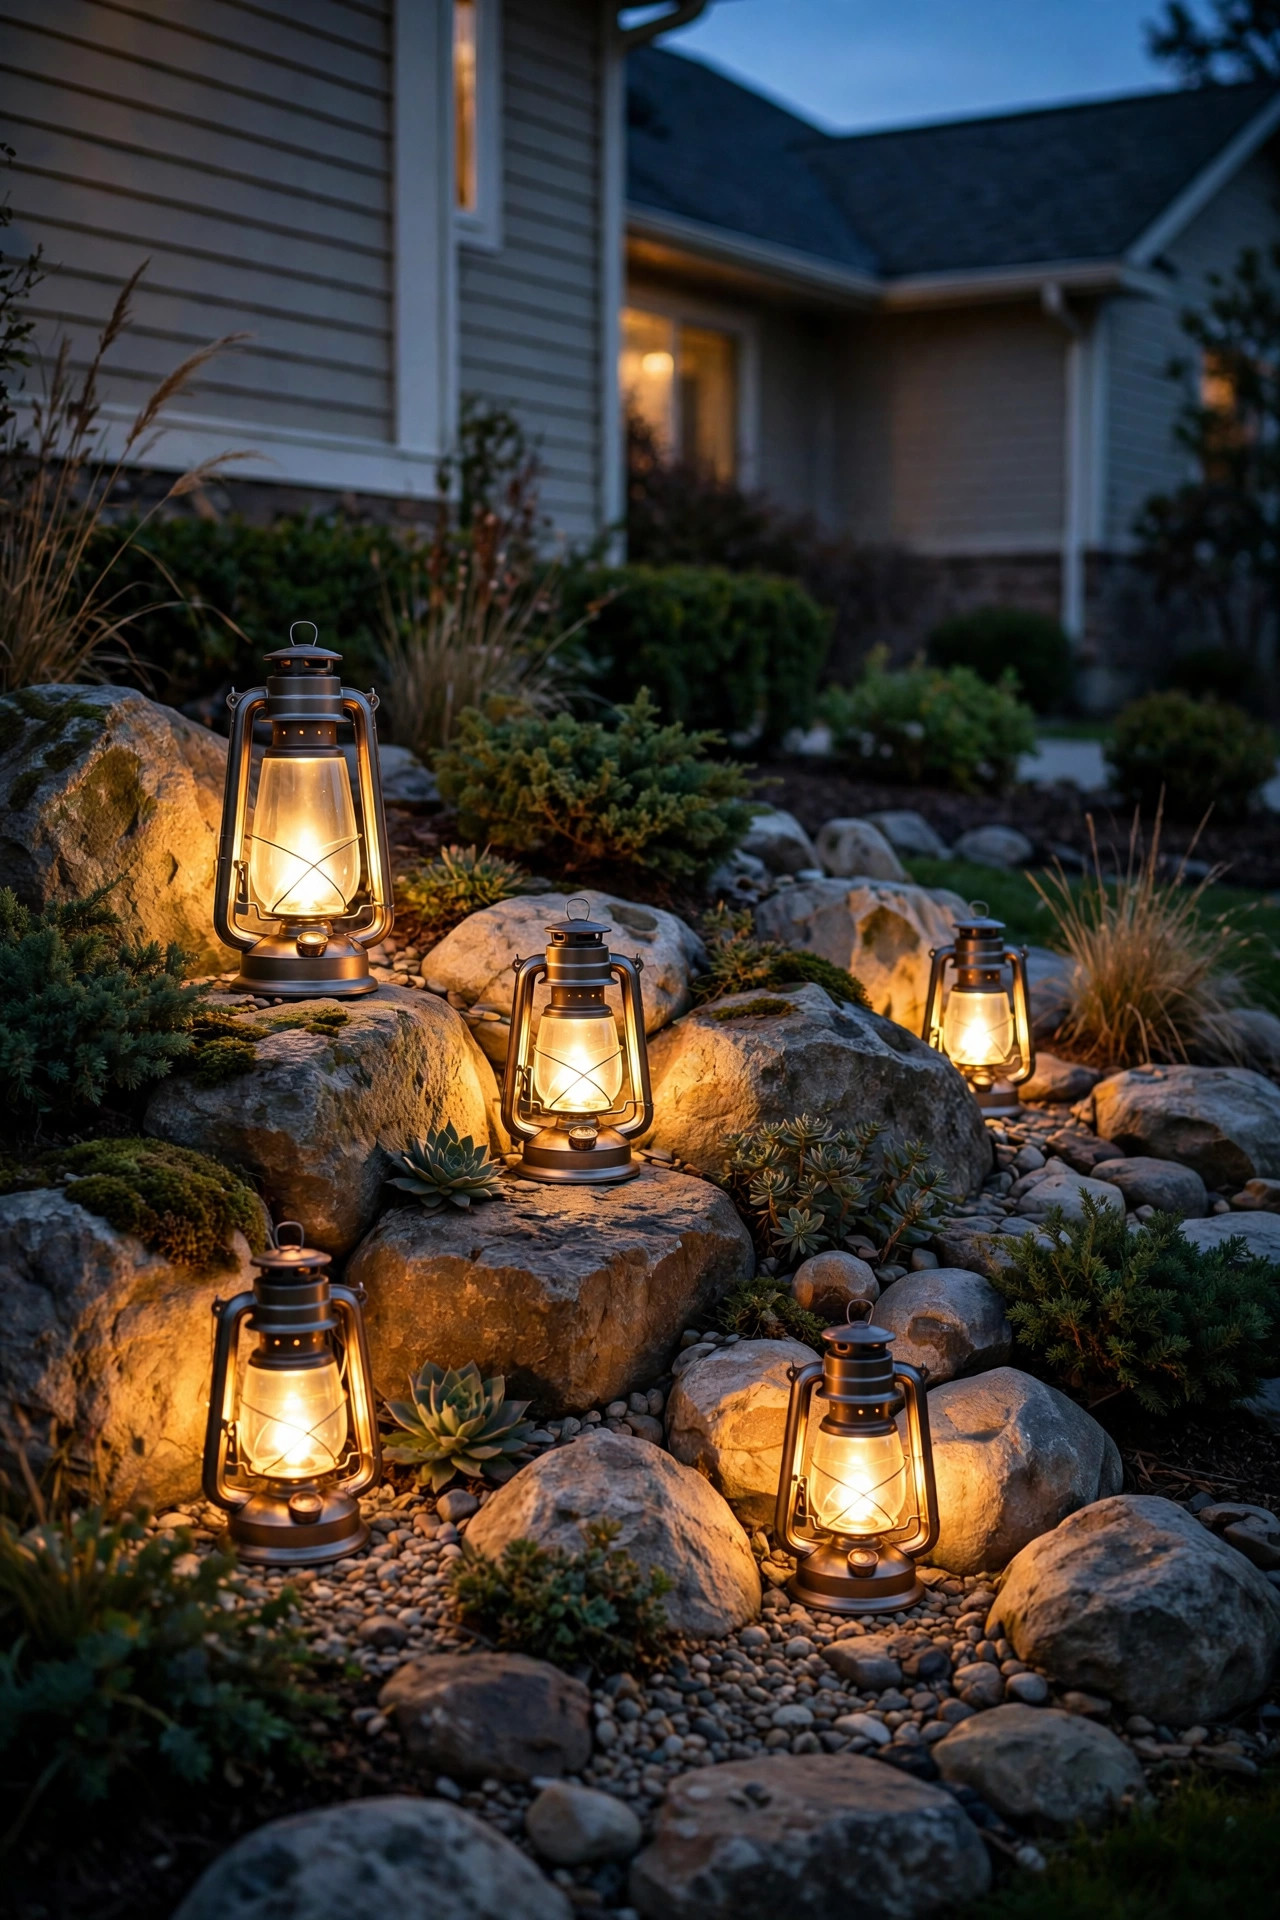
A lantern nestled into a rock garden brings the glow down to human scale — eye-level when you're sitting on the porch, and welcoming in a way overhead light never is. I set two or three flameless LED lanterns of different heights into natural pockets between boulders, choosing weatherproof resin or powder-coated metal frames with flickering amber "flame" bulbs. Real candles in a rock bed are a fire risk near dry leaves and mulch, so flameless is the only way I'll do it. Look for lanterns with dusk sensors or timers so they switch on with the rest of your lighting, and place the tallest one near the hero boulder to echo its shape. The lantern glass softens the light into a pool that spills across the surrounding stones — lovely on pale gravel, which reflects it back up. Group in odd numbers, vary the heights by perching one lantern on a flat stone, and the arrangement looks collected rather than placed. Battery models run a season on one set of batteries if you pick the timer versions.
Suggested budget range: $25 – $85.
9. Moonlight the Bed From Above
Most of this list lights rocks from below; moonlighting flips the direction. Mount a downlight high — in a tree overhanging the bed, under the eave, or on a tall shepherd's pole at the back of the garden — and aim it down through the stones so light pools and shadows fall the way they do in nature. A soft 36- to 60-degree beam at low intensity (100 to 150 lumens) mimics a full moon and is the gentlest light on this list: no glare, no hot spots, just the rock garden revealed. If a tree branch crosses the beam, you get dappled leaf shadows dancing over the stones, which is the single prettiest effect I've ever gotten in my own yard. Moonlighting pairs beautifully with one uplight on the hero boulder — the contrast between the cool, soft wash from above and the warm drama from below gives the bed real depth. For more on choosing between the two directions, my breakdown of uplighting vs. downlighting explains when each one wins. Use shielded fixtures so the source stays invisible from the street.
Suggested budget range: $80 – $250.

10. Thread Path Lights Through the Rock Garden Beds
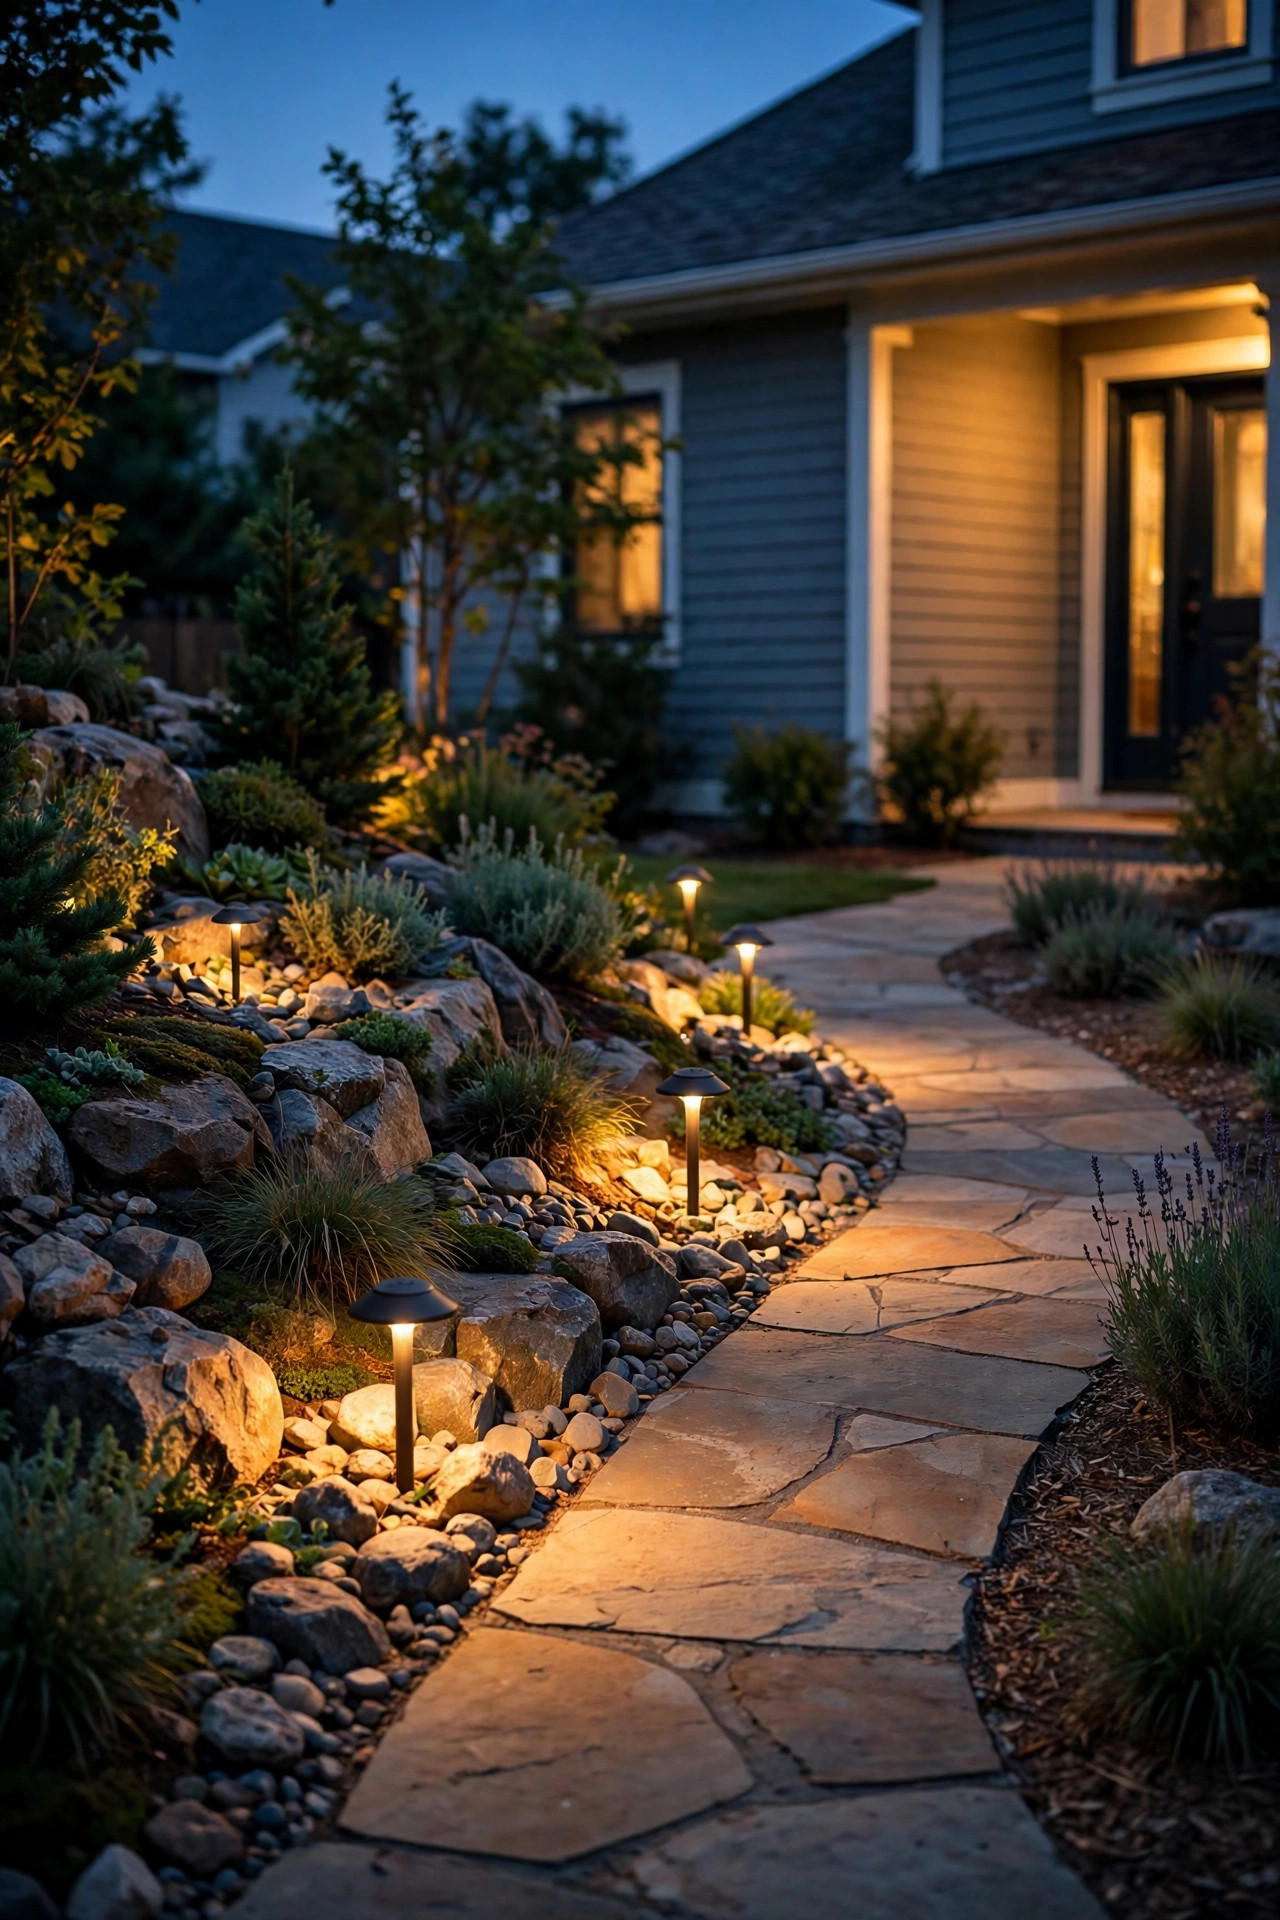
When a rock garden borders or surrounds the front walk — one of the most common front yard layouts — path lights can do double duty. Instead of marching them down the walkway's edge in a straight runway line (my least favorite look), I thread a few low path lights into the rock bed itself, a foot or two back from the path, so their pools of light wash over stones and spill gently onto the walk. Choose short fixtures, 12 to 18 inches tall, with a downward throw and a cap that hides the bulb from eye level. Space them 6 to 8 feet apart, staggered rather than mirrored, and let one land beside a favorite boulder so the light grazes it on the way down. This gives guests safe footing and gives the rock garden a rhythmic glow you can see from the street. Match the color temperature to your other fixtures — 2700K across the board — so the bed reads as one composition, a principle I lean on in all my garden lighting ideas. Low-voltage wired path lights are the dependable choice here; solar versions work if the bed gets real sun.
Suggested budget range: $45 – $140.
11. Hide Puck Lights Under Boulder Overhangs
Big boulders often have a natural shelf or overhang, and the underside of that shelf is prime real estate for the most magical effect on this list: light that seems to pour out of the stone itself. I mount small recessed or surface-mount LED puck lights — the kind sold for hardscape and deck steps — under the overhang with outdoor-rated adhesive or small stainless screws into a mortar joint, never drilled into a prized stone's face. Aimed downward, each puck throws a soft cone onto the gravel below, so the boulder appears to float on light. Two or three pucks along a long overhang look like a glowing seam. These are low-voltage fixtures, typically 1 to 3 watts each, and they daisy-chain neatly along one cable run hidden in the gravel. Keep the color warm and the brightness low; floating-stone subtlety is the whole point. It also lights the ground right where people step off the path to admire the bed, which is a quiet safety win. Guests always ask how I did this one, and honestly? It's a twenty-minute install once the cable is in.
Suggested budget range: $35 – $95.

12. Give One Plant in the Rocks the Spotlight
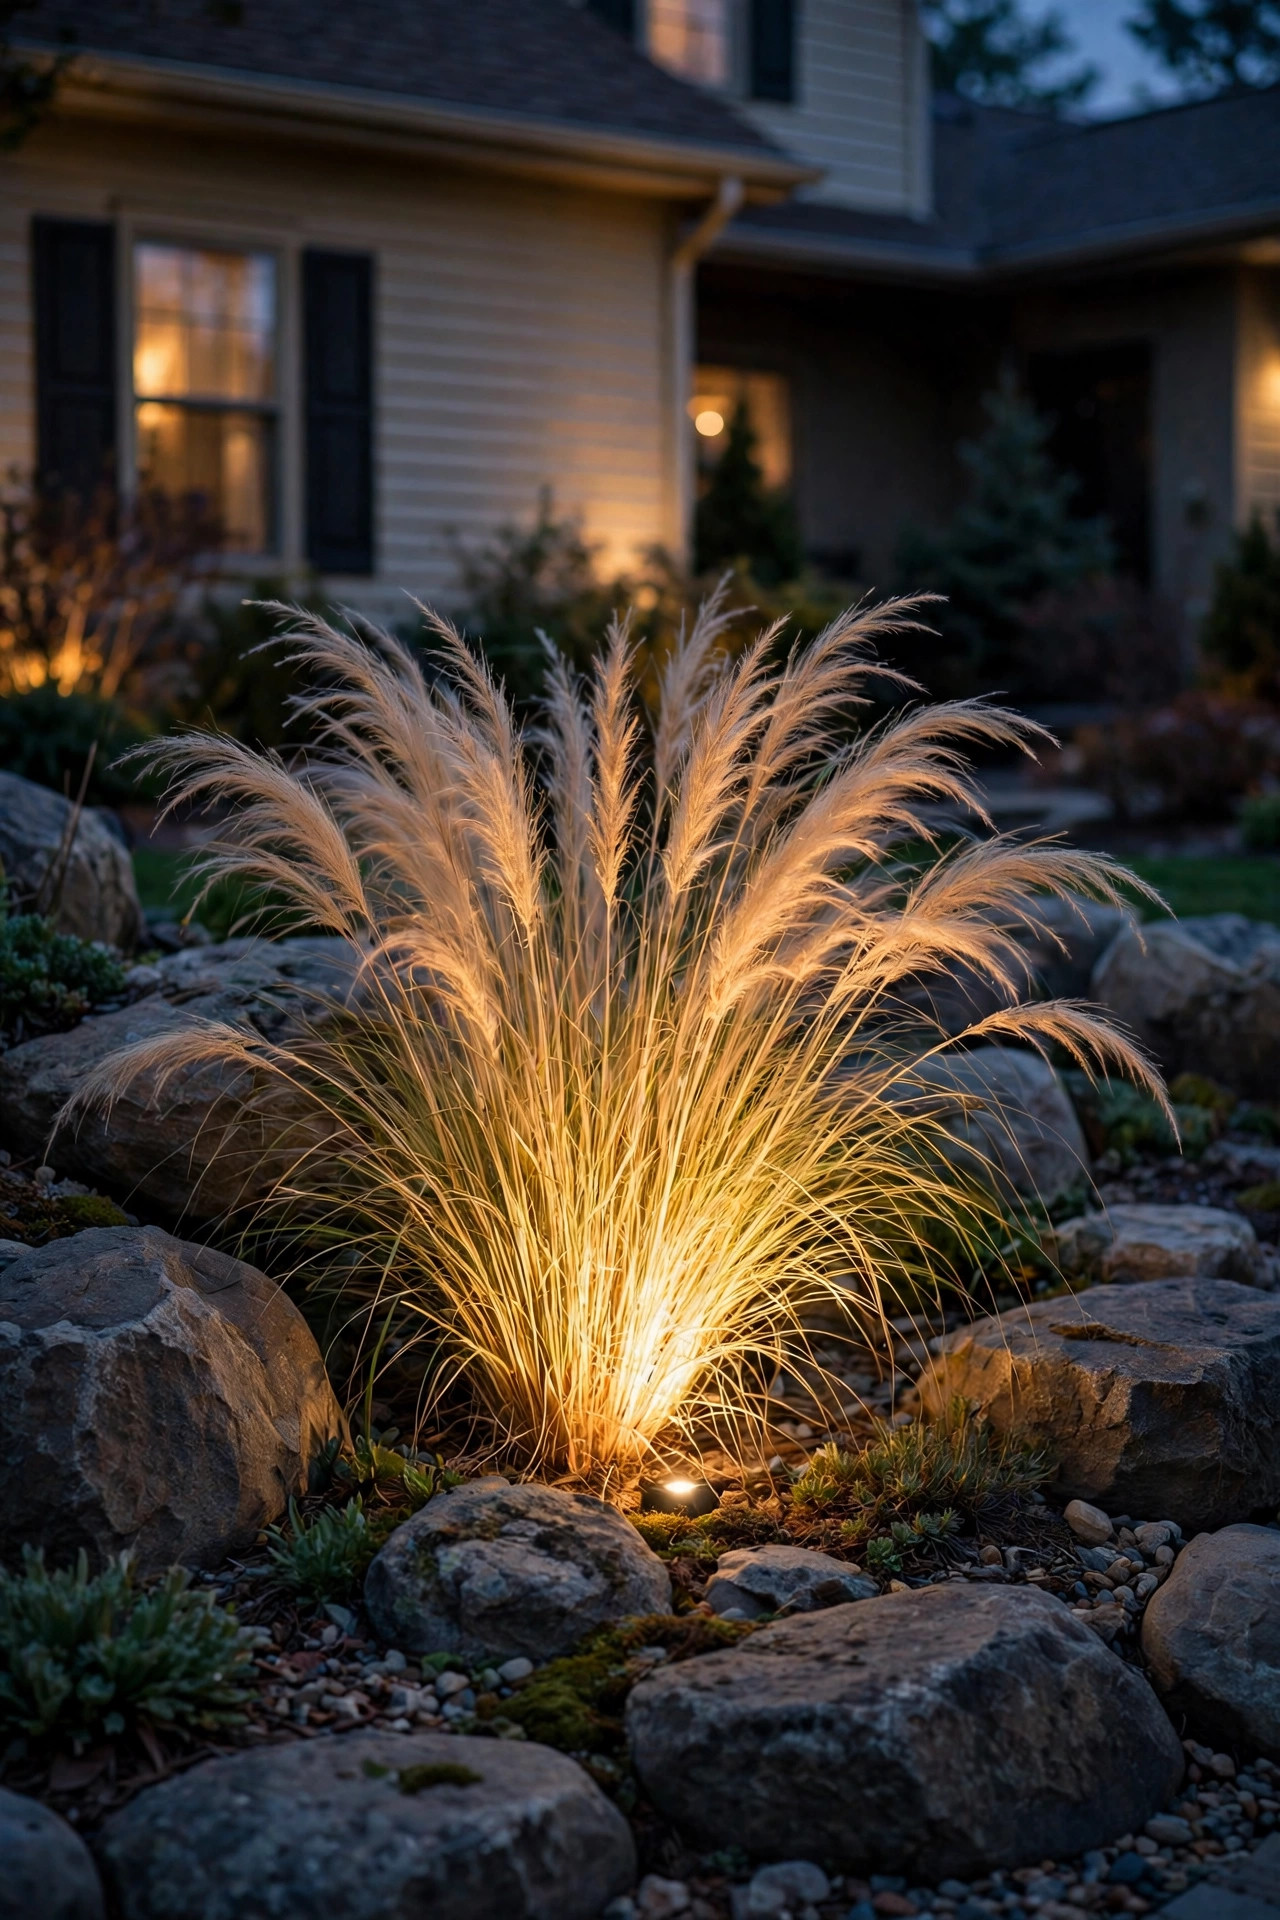
A rock garden with a single beautiful plant — a Japanese maple sapling, a sculptural agave, a mound of ornamental grass — deserves one light devoted entirely to it. Plants and stone light completely differently: stone wants a hard, raking beam, while foliage glows best with a softer wash from slightly farther back. I place a wide-beam spotlight (60 degrees is not too much) two to three feet from the plant, aimed up through the foliage so the leaves transmit the light and the whole plant becomes a lantern sitting in the rocks. The stones around it catch the spill and frame the glow. This single light often becomes the true focal point of the bed after dark, outshining even the hero boulder, so position it off-center — the rule of thirds works in gardens just like in photos. If the plant is deciduous, enjoy the bonus: bare winter branches backlit against your largest boulder make architecture out of twigs. Keep the fixture off the plant's drip line so you're not trenching through roots when you bury cable.
Suggested budget range: $30 – $100.
13. Layer Three Heights — The Front Yard Rock Garden Lighting Rule I Never Break
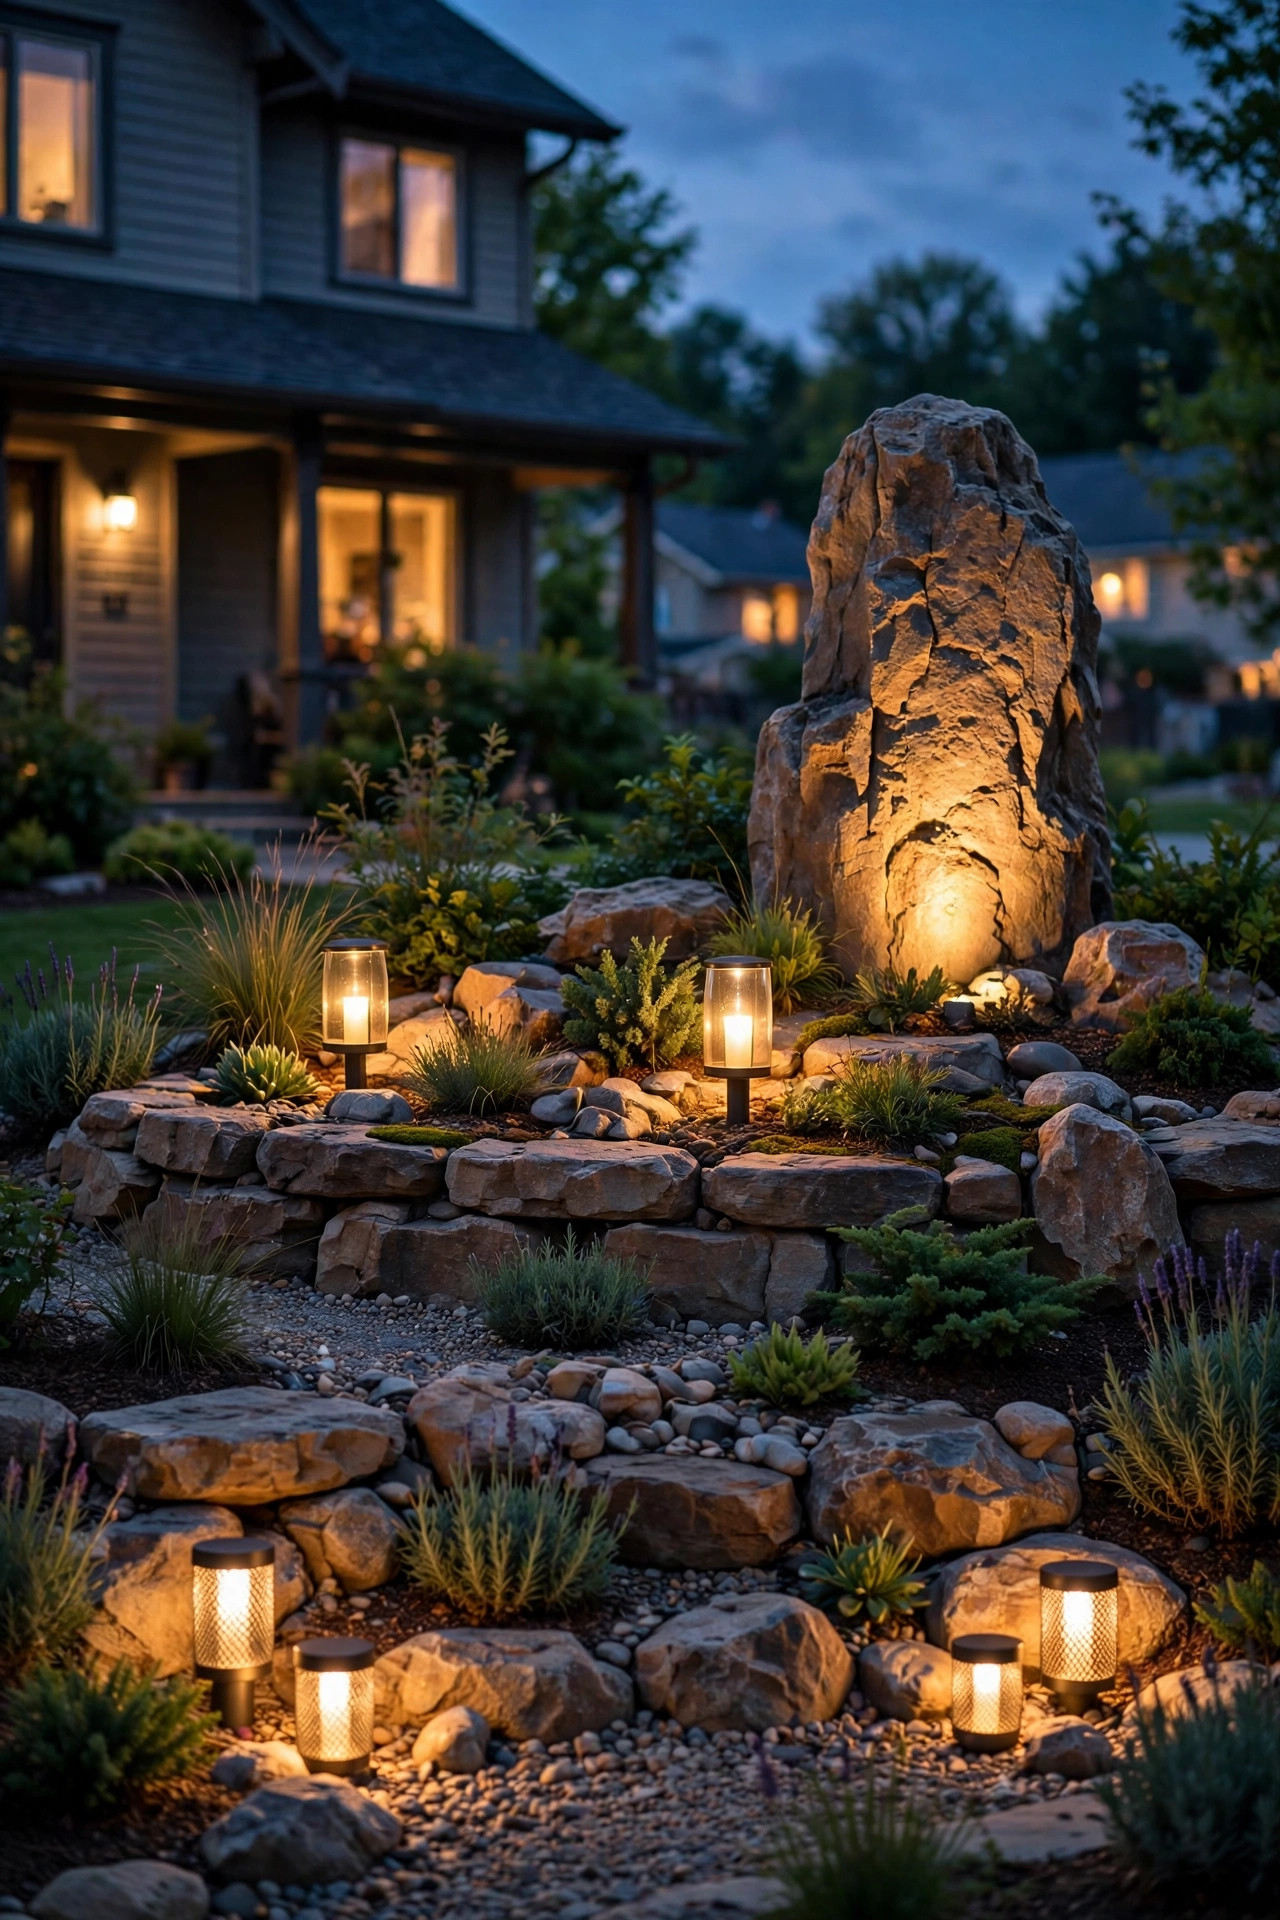
After twelve individual tricks, here's how I combine them into one scheme that works every time: light at three heights. Ground level first — well lights, puck lights under overhangs, or a strip along the edge — so the bed has a glowing foundation. Mid height second — path lights, lanterns, and backlit clusters — which is the layer your eye meets from the sidewalk. High third — one uplight raking the hero boulder, or a moonlight washing down — to give the composition its peak. A small bed might use one fixture per layer; my own front bed runs seven lights total and looks rich, not busy. The discipline is in what you leave dark: shadows between the layers are what make the lit stones read as sculpture, so resist adding "just one more." Put everything on a single timer or smart plug set for dusk, check the view from the street and from the front door, and adjust angles after a week of living with it. Layered this way, front yard rock garden lighting stops being a collection of fixtures and becomes the reason neighbors slow down on their evening walks.
Suggested budget range: $90 – $300.
Frequently Asked Questions
What color temperature looks best on rocks and boulders?
Warm white, 2700K to 3000K, wins almost every time. Warm light flatters the browns, rusts, and creams in natural stone and makes gray granite look golden instead of blue-gray and cold. I match every fixture in the bed to the same temperature, because one cool-white solar light among warm wired lights breaks the whole spell instantly.
Are solar lights strong enough for rock garden lighting?
For accents, absolutely — modern solar spotlights produce 50 to 150 lumens, plenty for backlighting, fairy-light sparkle, and secondary boulders. For your hero boulder, a wired low-voltage spotlight is still stronger and more consistent, especially in winter when short days starve solar panels. Many of the best-looking beds, mine included, mix both.
How far should a spotlight sit from a boulder?
For uplighting, 12 to 18 inches from the base with a 30-degree upward angle is my starting point. For grazing texture, move in close — 4 to 8 inches — with a narrow beam nearly parallel to the face. Always aim at dusk and judge after full dark; a foot of distance changes the effect more than most people expect.
How do I hide the wires in a rock garden?
Rock beds are actually the easiest place to hide cable. Run low-voltage cable under the gravel or along the bed's edge, buried 6 inches deep where it crosses soil, and let the stones themselves conceal the rest. Wireless solar fixtures skip the problem entirely for far corners. Always leave a little slack loop at each fixture so you can re-aim or swap it later.
Conclusion
A rock garden already has everything it needs to be the best-looking feature on your street after dark — texture, shape, and presence. It just needs light with a plan: one hero boulder uplit, a soft layer at ground level, a mid-height glow, and the discipline to leave some shadows. Start with two or three ideas from this list, live with them for a week, and add layers as the mood strikes. That's exactly how my own bed grew, one fixture at a time. For more ways to make the whole yard glow, browse the rest of my lighting ideas here on the site — your front yard rock garden lighting is only the beginning.