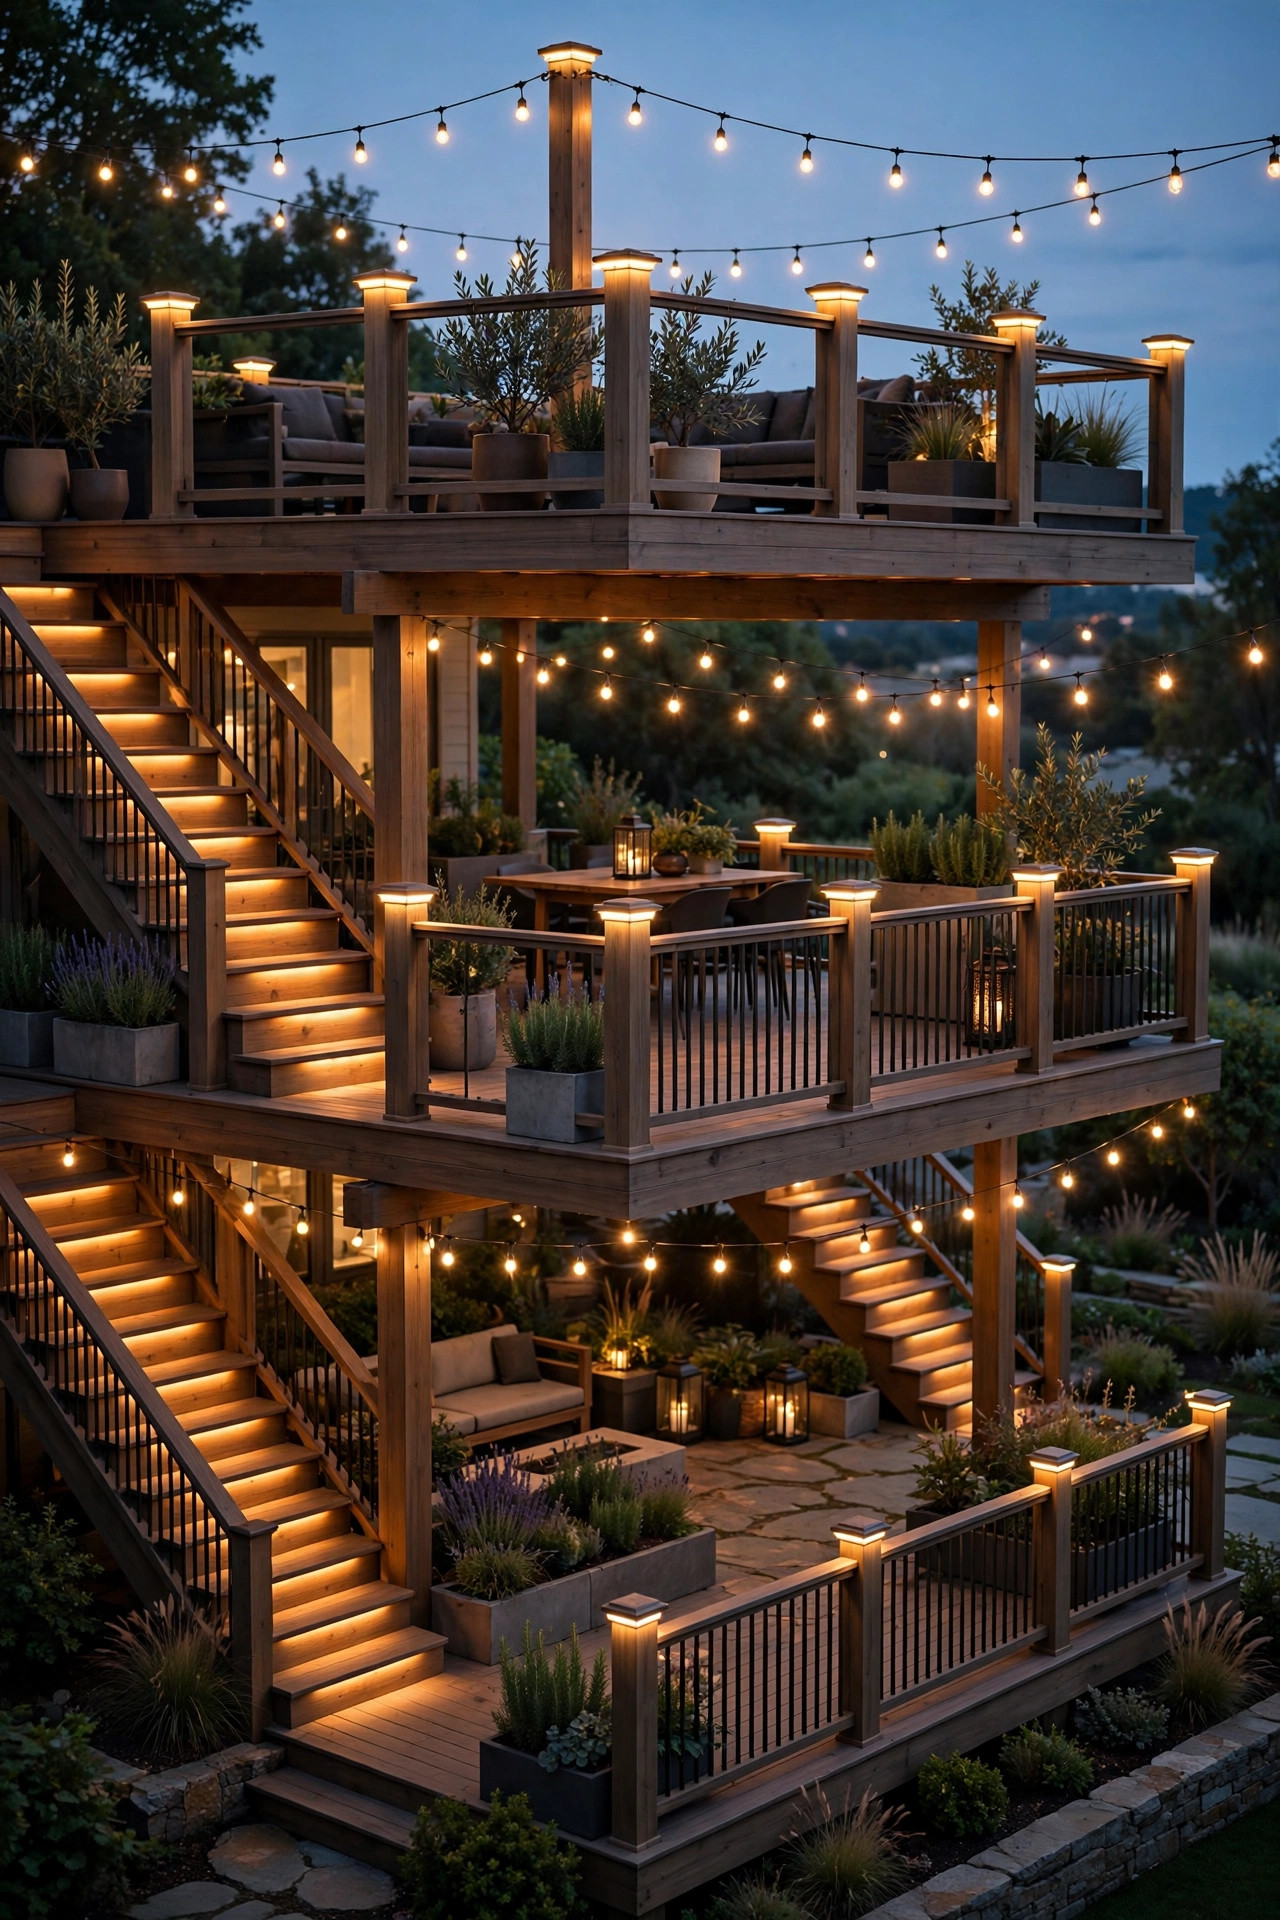
A multi level deck gives you rooms without walls — dinner up top, a fire pit below, maybe a hot tub tucked onto its own little platform. But after dark, those separate tiers can feel like separate addresses. The fix is lighting that treats the whole structure as one connected space. In my experience, the best multi level deck lighting ideas all follow the layering philosophy I use everywhere: something overhead, something at eye level, and a soft glow down low, repeated on every tier so your eye reads it as one flowing design instead of three competing ones. Match your color temperature, repeat a fixture style or two, and light every change in height so nobody misses a step in the dark. Below you'll find 19 ideas, from a Saturday-afternoon solar fix to a full low-voltage weekend project, with honest budget ranges for each. If you're starting from a blank slate, my roundup of deck lighting ideas covers the single-level basics first.
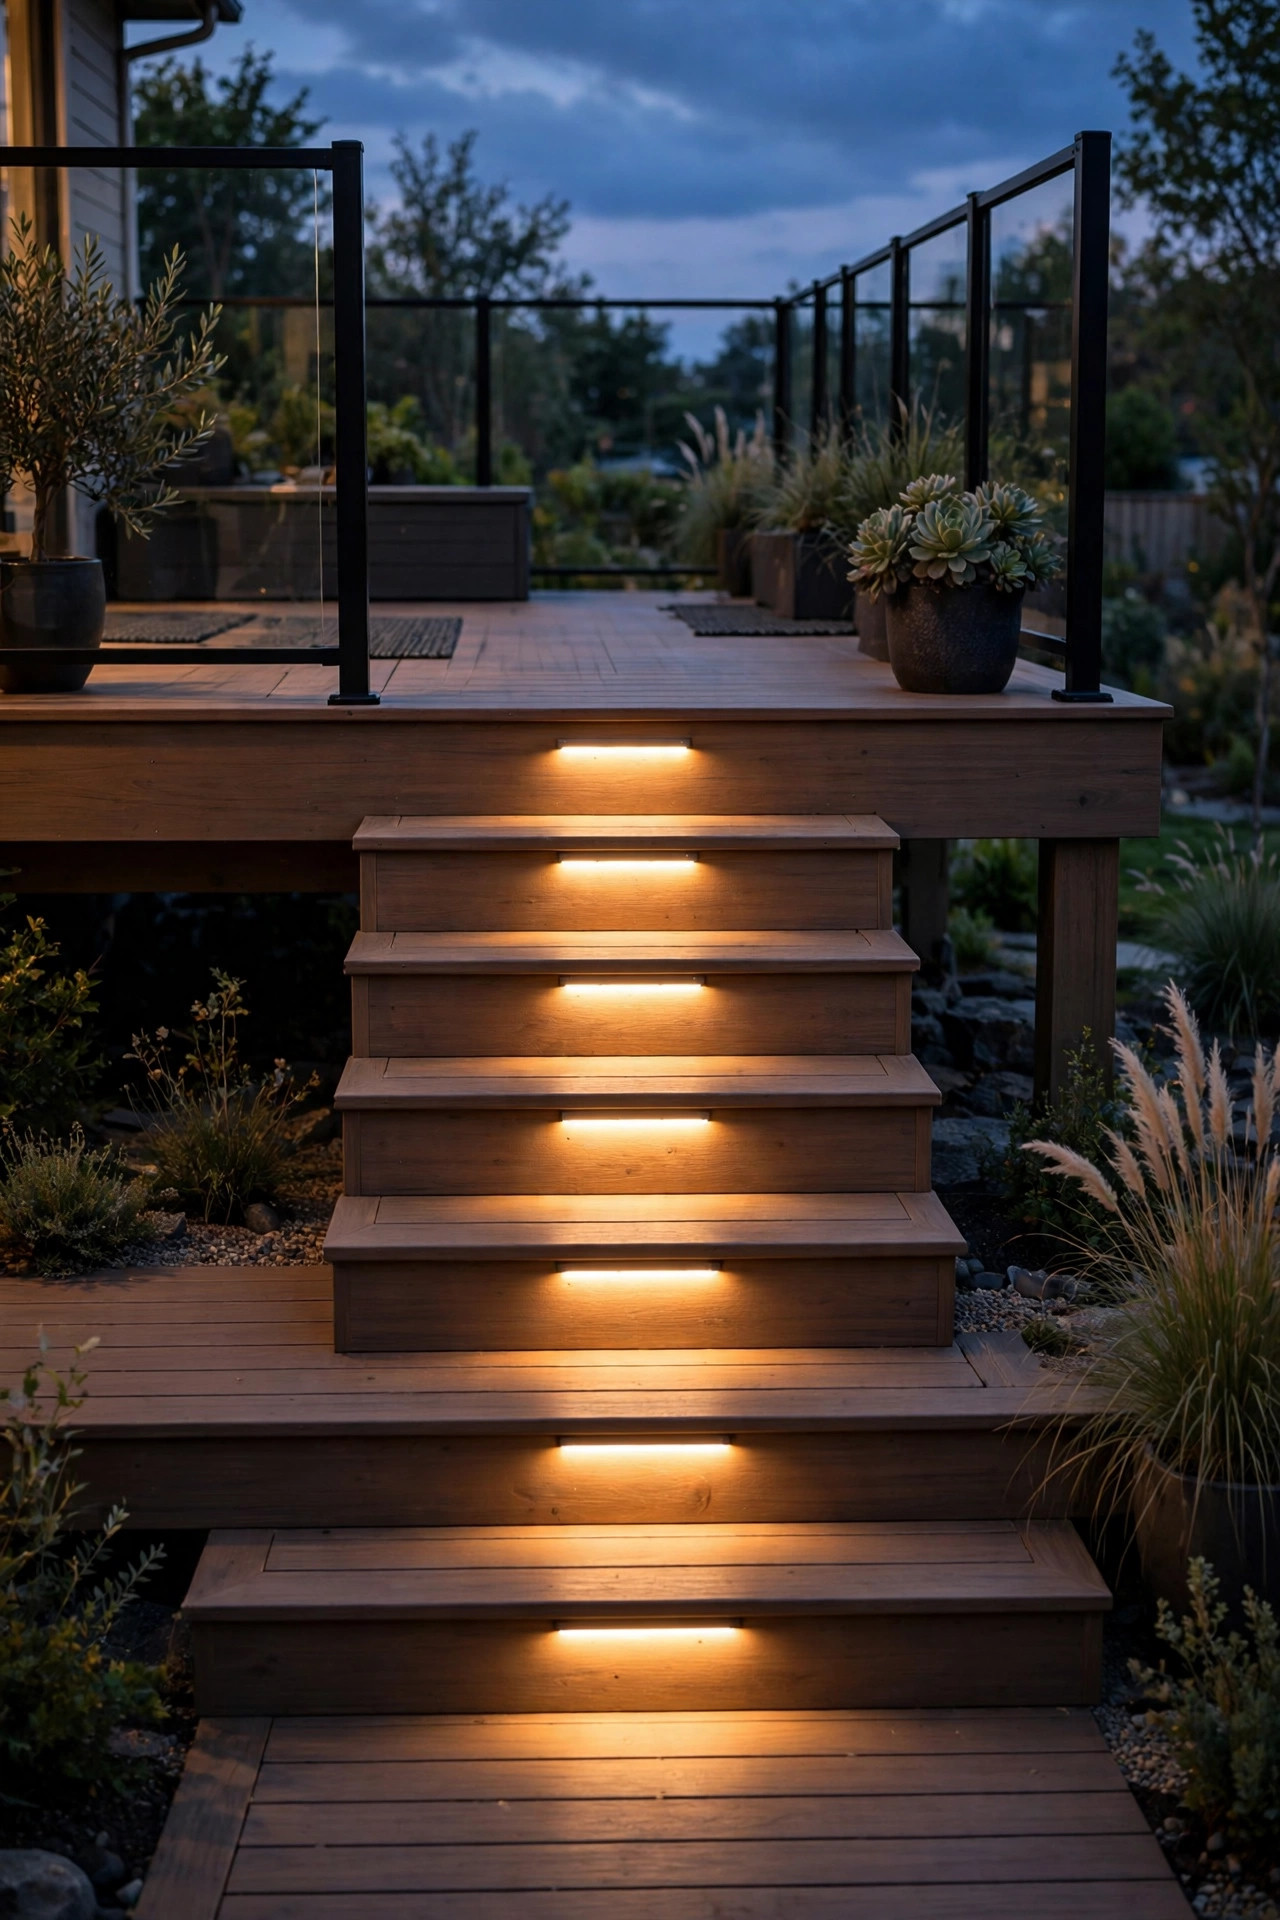
1. Start With the Stairs: The Backbone of Multi Level Deck Lighting Ideas
Every tier change on your deck is a trip hazard after dark, so stairs are where I always begin. Small recessed lights set into the riser — the vertical face of each step — wash the tread below with a soft pool of light without blinding anyone walking up. Plan one fixture per step on stairs up to about four feet wide, centered or offset toward the handrail side, and wire them on the same circuit so every flight between tiers lights up together. Low-voltage LED versions draw almost nothing, stay cool to the touch, and are safe around bare feet and curious pets. If your stairs were built without wiring in mind, surface-mount lights that screw onto the riser face are a much easier retrofit than cutting into the decking. Keep the color temperature at 2700K to match the rest of your deck lighting, and put the whole run on a timer or dusk-to-dawn sensor so you never have to think about it. I have a full walkthrough of placement and spacing in my guide to deck stair light ideas if you want the measurements before you drill.
Suggested budget range: $60 – $180.
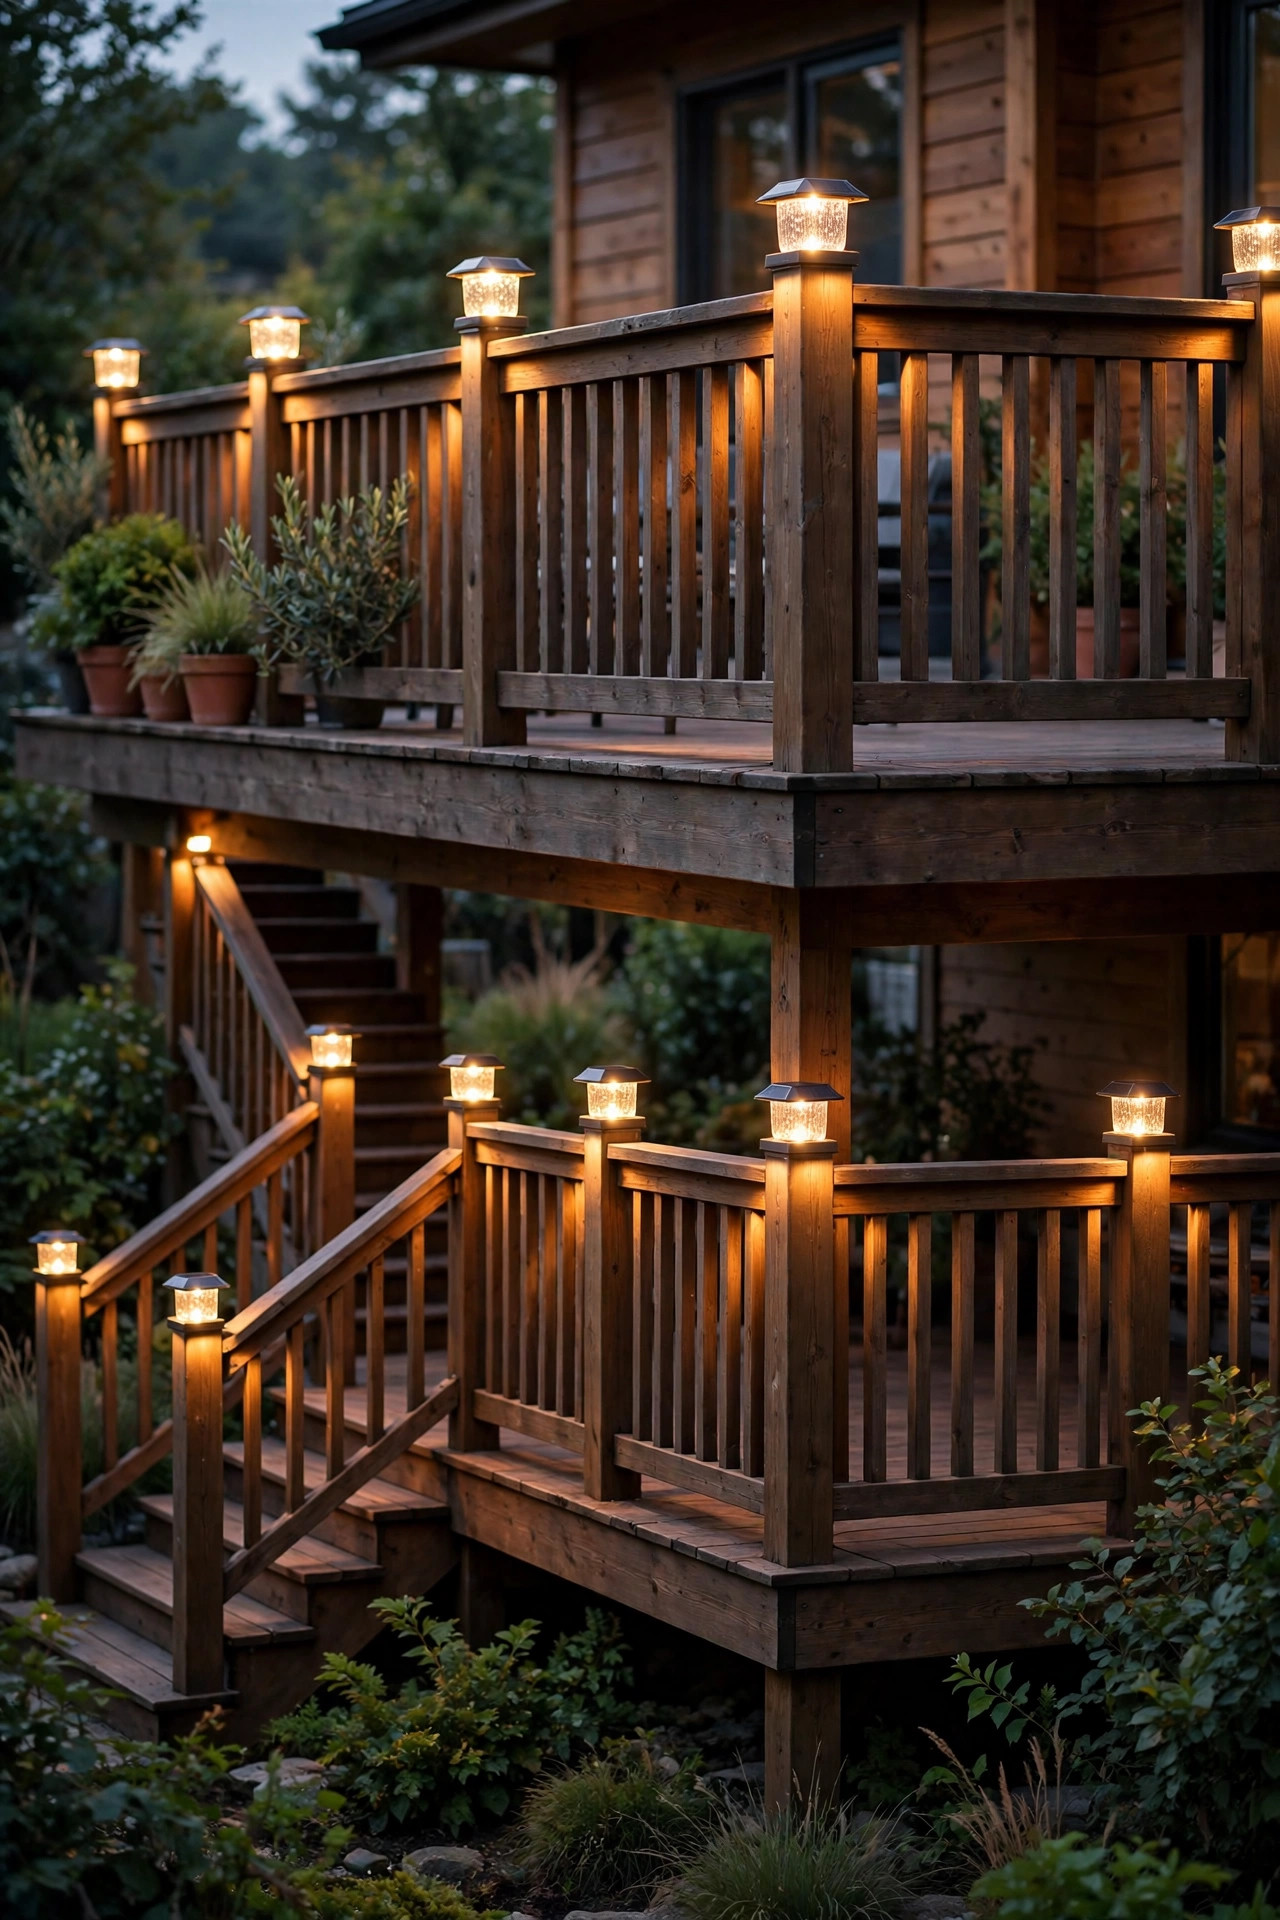
2. Repeat Post Cap Lights on Every Tier
Railings are the one element that repeats on almost every level of a tiered deck, which makes post cap lights the easiest unifying trick in the book. Choose one style — a simple pyramid cap, a flat modern square, a solar version with a frosted lens — and install the identical cap on the railing posts of the top deck, the mid landing, and the lowest tier. Your eye instantly reads them as a set, and the whole structure feels planned instead of pieced together. Solar caps are the budget-friendly route and need no wiring at all: most just sit over a standard 4×4 or 6×6 post and fasten with two screws. For a brighter, more reliable glow, low-voltage wired caps tap into the same transformer as your stair lights. Space them on every post if your railing runs are short, or every other post on long runs, keeping the pattern consistent from tier to tier. Honestly, this is the single change I'd make if I could only pick one. My notes on styles and sizing are in my deck post cap lights guide.
Suggested budget range: $80 – $300.
3. Run LED Strip Lights Under Every Handrail
An LED strip tucked under the handrail throws a continuous ribbon of light down onto the deck boards and the steps beside it, and because the strip itself is hidden, all you see is the glow. Repeat the same detail under the railing on each tier and up the stair rails, and the levels suddenly feel stitched together by light. Use outdoor-rated, waterproof strip — look for an IP65 rating or better — in warm white around 2700K, and mount it in an aluminum channel if you can. The channel protects the strip, diffuses the dots into an even line, and makes the install look professionally finished. Strips run on low-voltage drivers you can hide under the deck or inside a bench, and most can be cut to length every few inches, so corners and short landing rails are no problem. One safety note: keep the driver and all connections in weatherproof boxes, and never use indoor strip outside, even under a covered railing. The effect is modern, subtle, and honestly the one guests ask about most.
Suggested budget range: $50 – $150.

4. Give the Landing Its Own Accent Light
Landings are the crossroads of a multi level deck — the spot where you pause, turn, and decide whether you're heading up to dinner or down to the fire. Treat each landing like a tiny room and give it one deliberate accent: a small lantern on the corner post, a low bollard at the turn, or a wash of light from a fixture mounted on the stair stringer. That single pool of light does two jobs at once. It marks the change in direction so nobody shuffles off the edge in the dark, and it gives the whole deck a rhythm of bright pauses between the longer, dimmer runs of railing and stair lights. Keep the landing fixture in the same finish and color temperature as everything else — this is a supporting actor, not a soloist. If the landing is big enough for a bench or a planter, tuck the light beside it so the object glows and the source stays hidden. On my own deck, a pair of copper-finish lanterns on the mid landing is what finally made the two levels feel like one backyard instead of two projects.
Suggested budget range: $30 – $120.

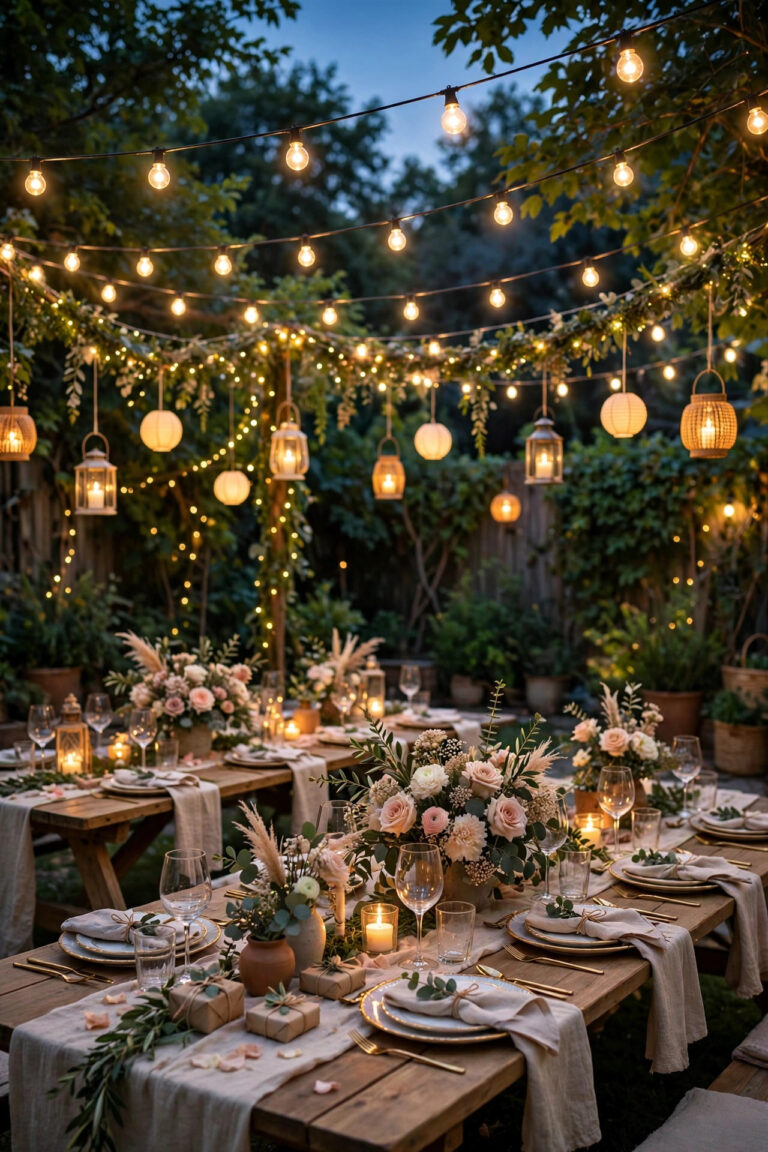
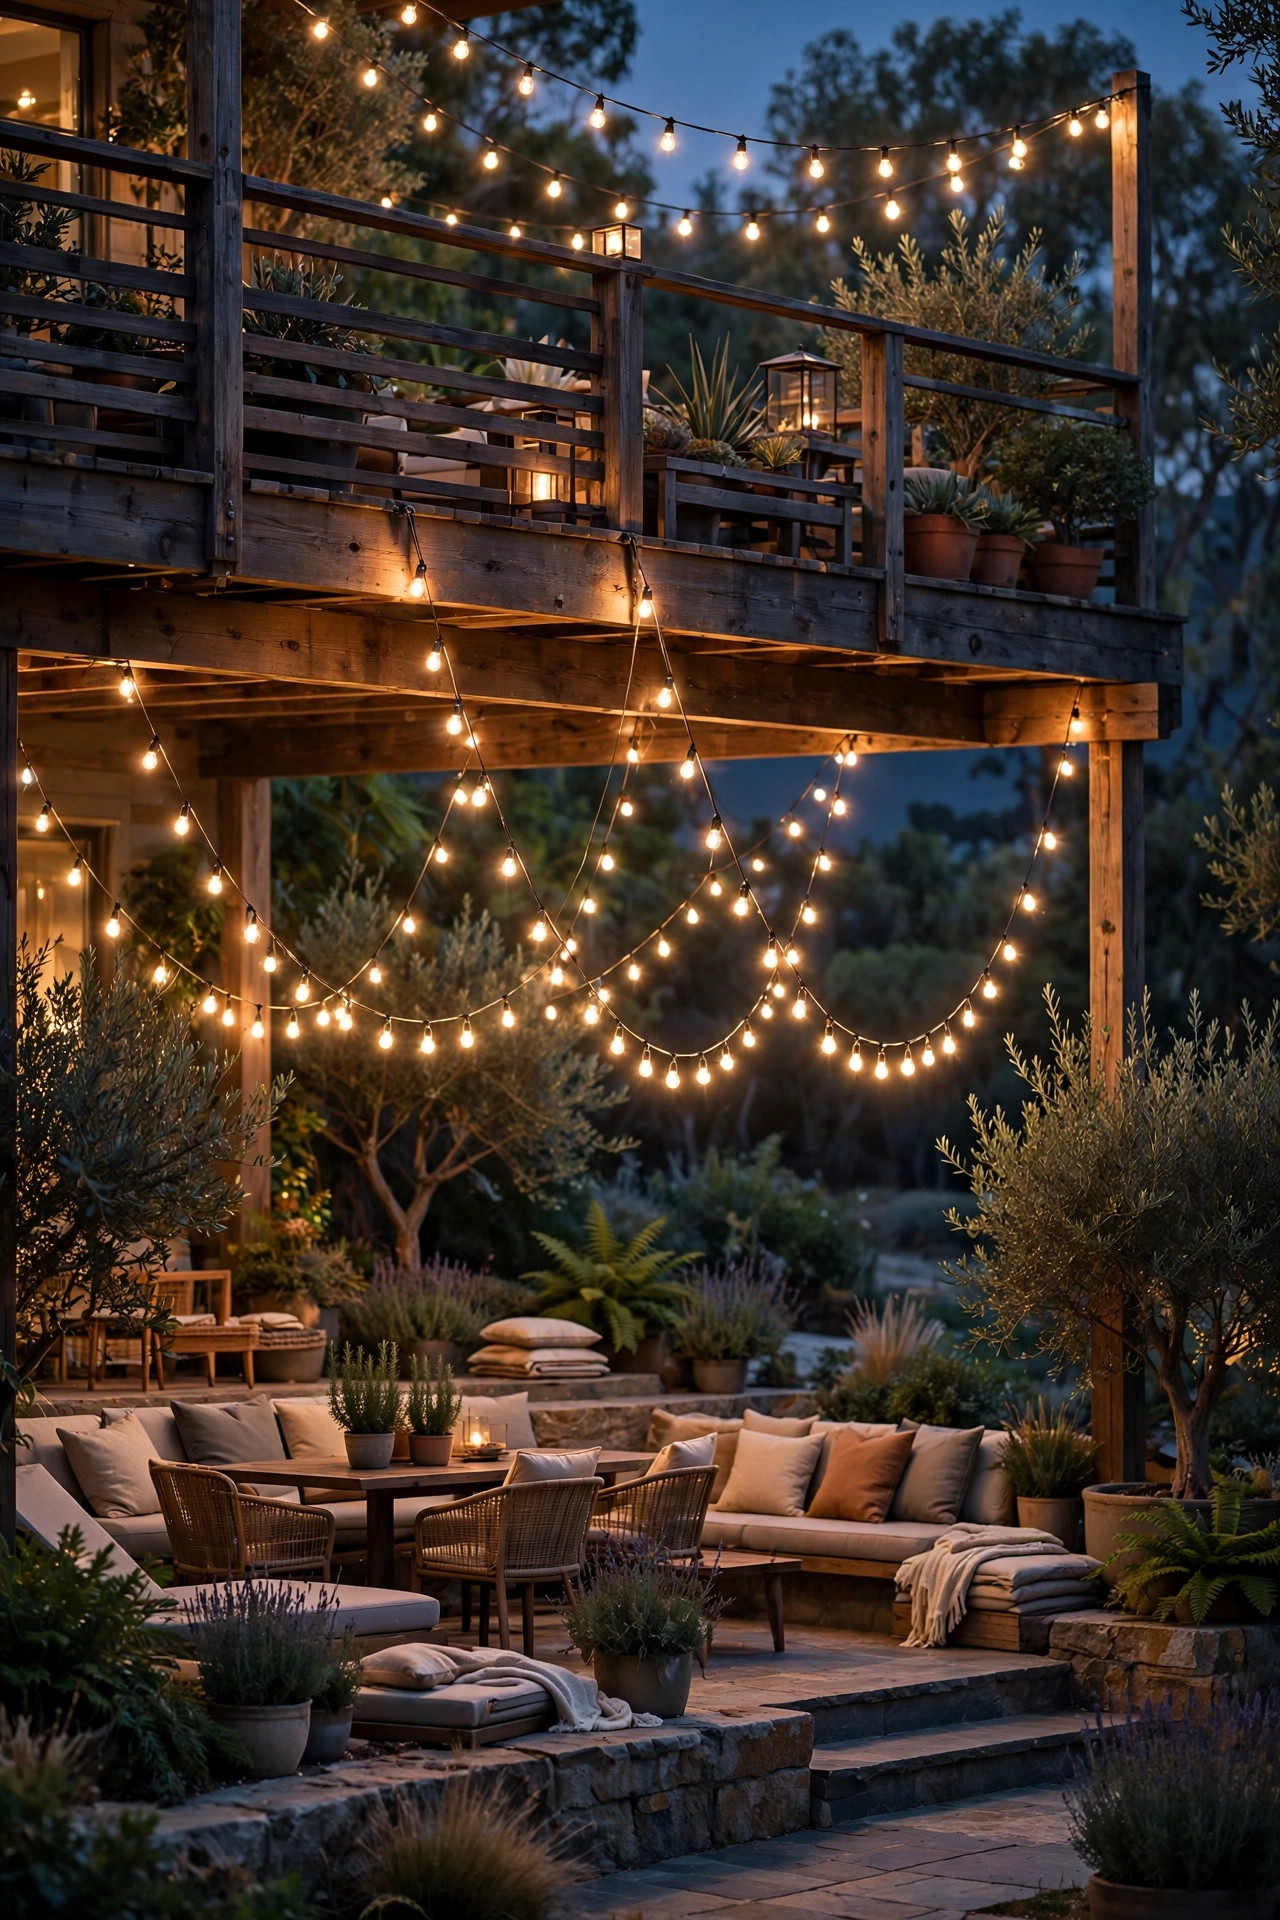
5. Sweep String Lights From the Highest Tier Down
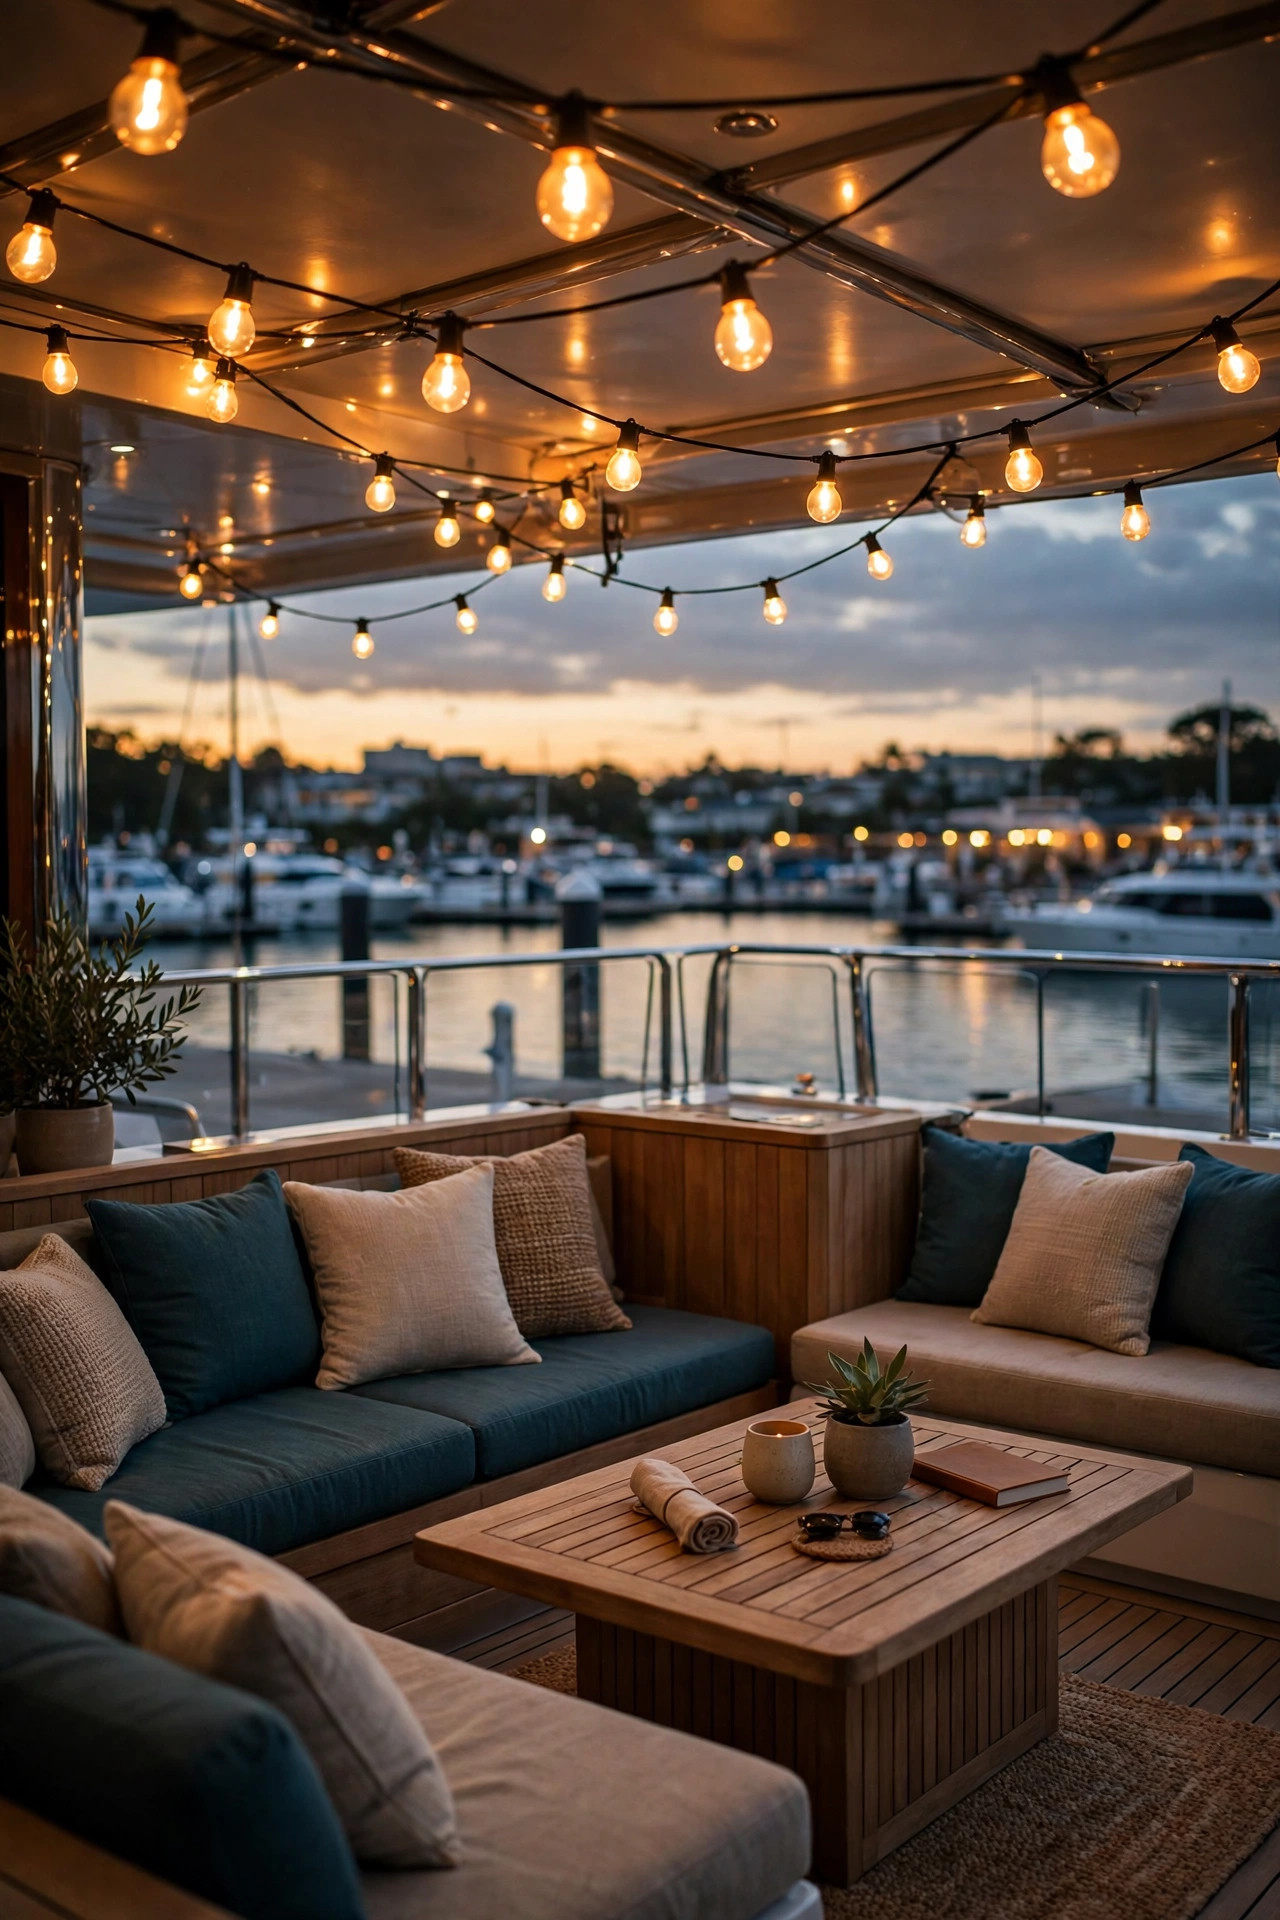
String lights are the quickest way to make separate tiers feel like one party. Run a strand from the house or a tall post above the top deck, let it swag gently over the dining area, then continue the same line down to a pole at the edge of the lower tier instead of ending it at the railing. That continuous diagonal pulls the levels together visually in a way separate strands never do. Use commercial-grade outdoor string lights with replaceable LED filament-style bulbs, hang them with a guide wire on runs longer than about 15 feet so the weight isn't all on the sockets, and keep bulbs at least a couple of feet above head height on walkways. One strand on a dimmer is perfect; two swags crossing over the main gathering tier looks even better. Always choose LED bulbs near any fabric cushions or shade sails, and check that your outlet is GFCI protected — non-negotiable outdoors. If a tier has nothing tall to anchor to, a simple planter-pot pole with a hook does the job beautifully.
Suggested budget range: $40 – $160.
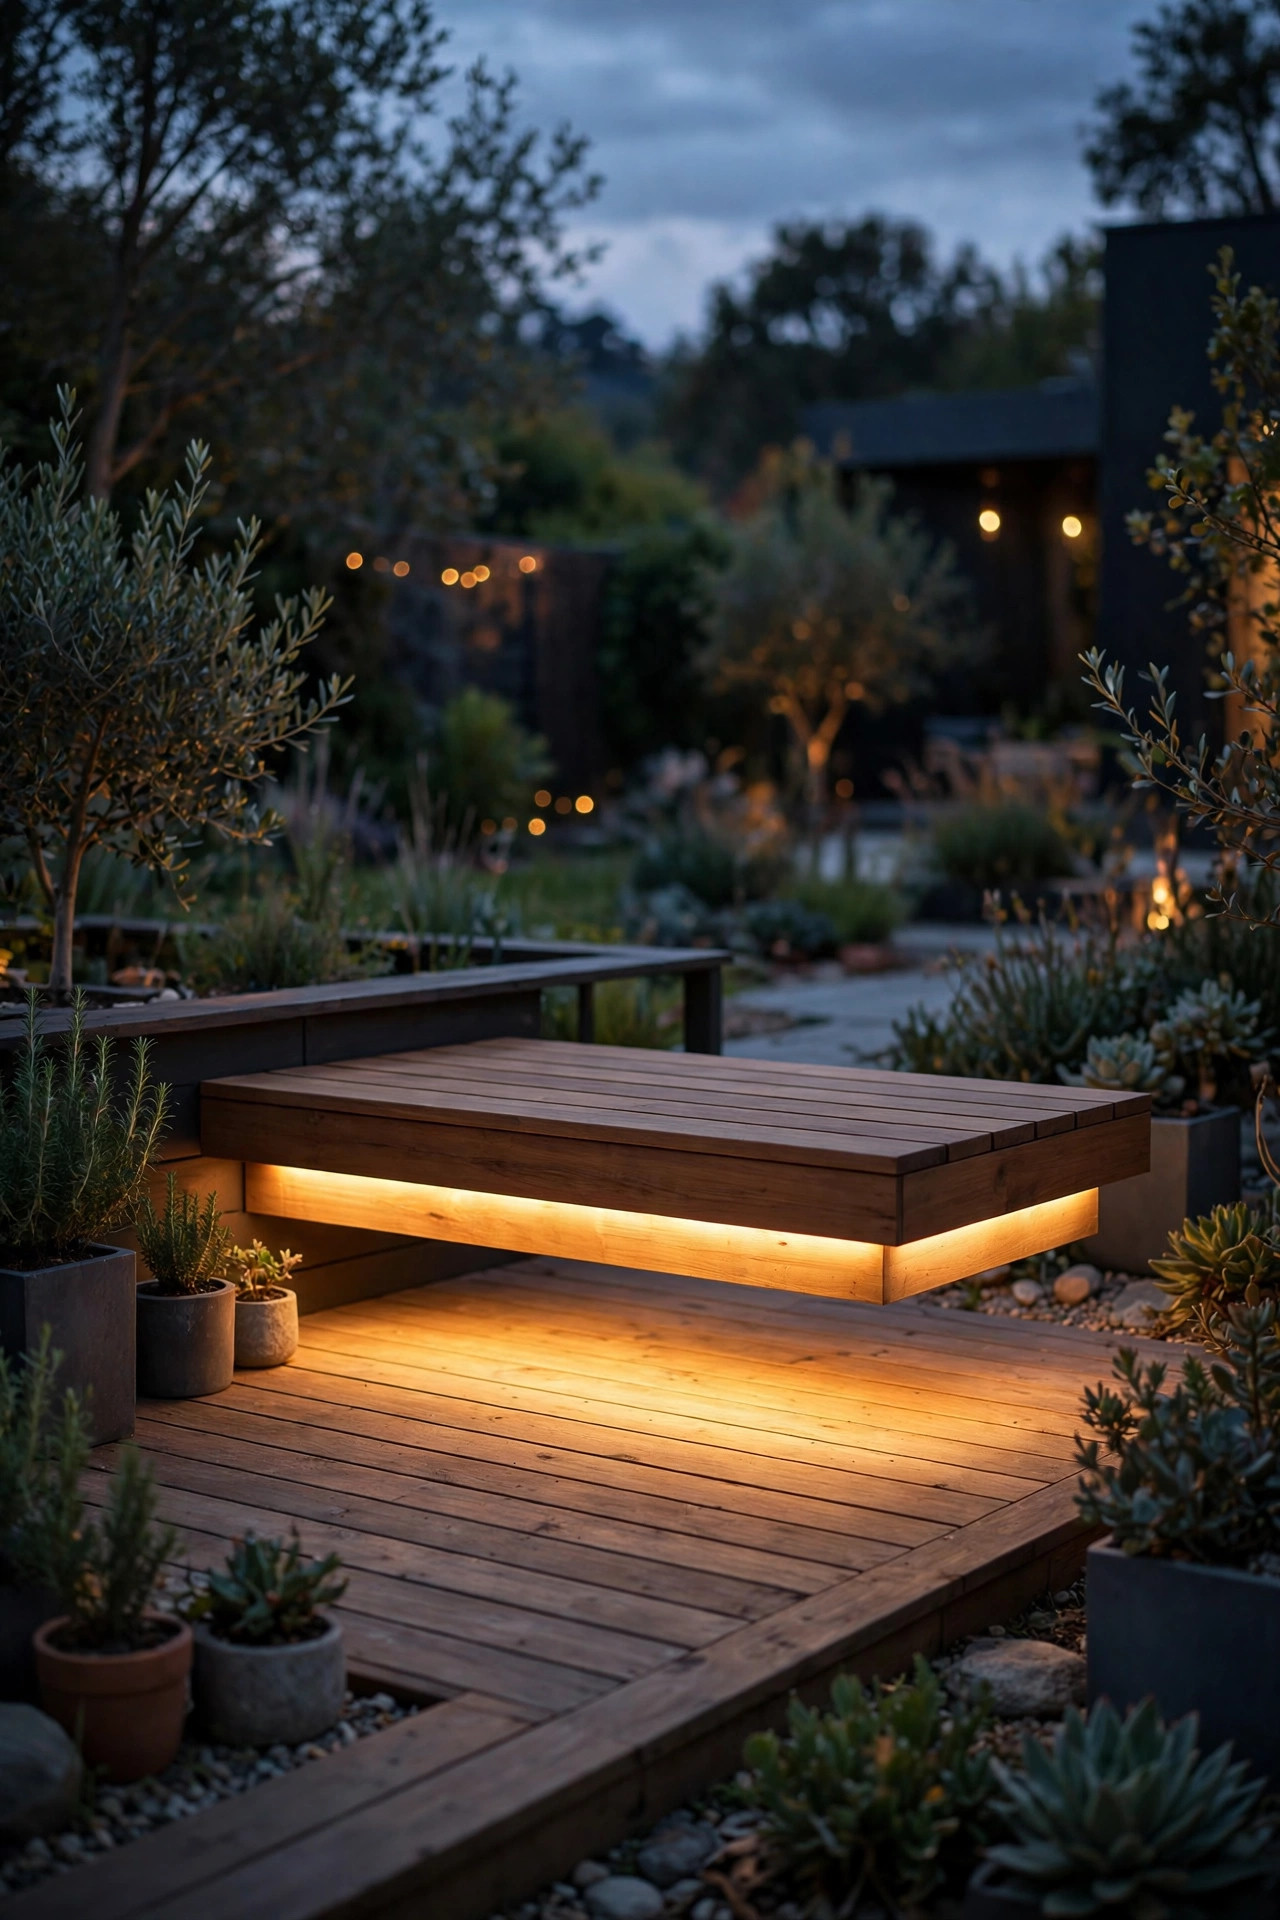
6. Slide Lights Under Built-In Benches
Built-in benches and planter boxes usually sit right at the edges where one tier meets another, and the shadowed gap underneath them is prime territory for a hidden glow. A short run of LED strip or a few puck lights mounted under the bench seat washes the deck boards below with light, makes the bench look like it floats, and quietly marks the edge of the level so nobody clips a shin walking past in the dark. Because the fixtures face down and stay sheltered under the seat, even basic outdoor-rated strips last for years here. Wire them into the same low-voltage run as your stair lights so the whole safety layer comes on together at dusk. If your benches are on different tiers, repeat the exact same treatment on each one — that repetition is what turns a nice detail into a design language across the whole deck. Add a warm 2700K tone, dim them slightly below your main lighting level, and the effect reads as architecture rather than decoration. Honestly, floating benches are the detail that makes a tiered deck look custom-built.
Suggested budget range: $35 – $110.
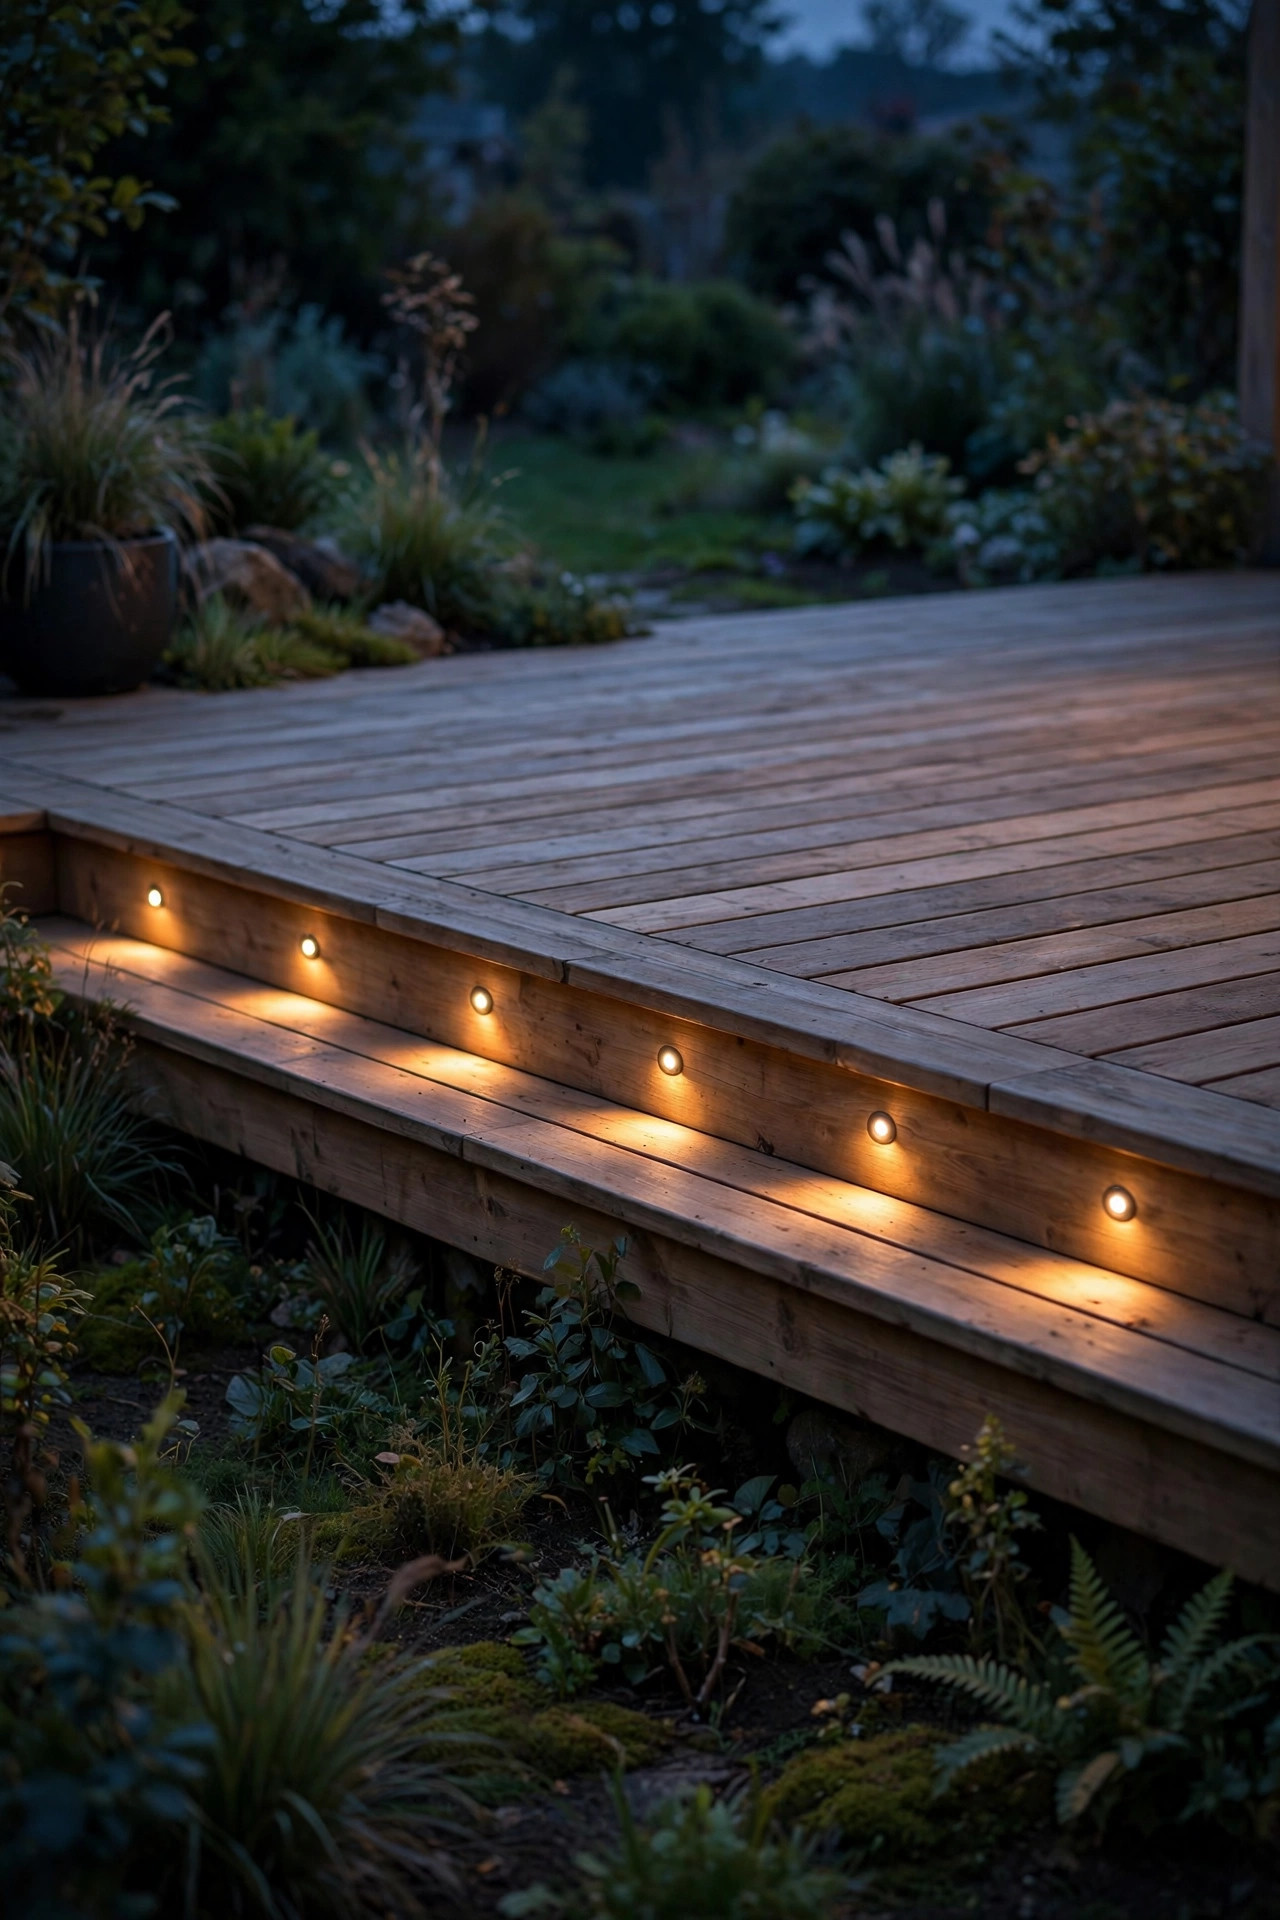
7. Outline Each Tier With Recessed Deck Dots
Recessed deck lights — the little round or square pucks that sit flush in the decking — are perfect for drawing a dotted outline around the edge of each tier. Set them in the floorboards a few inches in from the fascia, spaced about four to six feet apart, and each level gets its own soft perimeter line that reads clearly from the yard and from the tier above. They're walk-over safe, mower-proof, and subtle enough for even a formal deck. The install is a drill-and-drop job: a hole saw, a low-voltage cable run beneath the boards, and silicone around the flange to keep water out. Put the perimeter dots and the stair lights on the same zone so the whole "where are the edges" layer switches on together at dusk. Choose frosted lenses to avoid hot spots, and warm white to match your other fixtures. I especially love this on the lowest tier, where the deck meets the lawn — the dotted line tells bare feet exactly where the boards end and the grass begins, no stubbed toes involved.
Suggested budget range: $90 – $260.
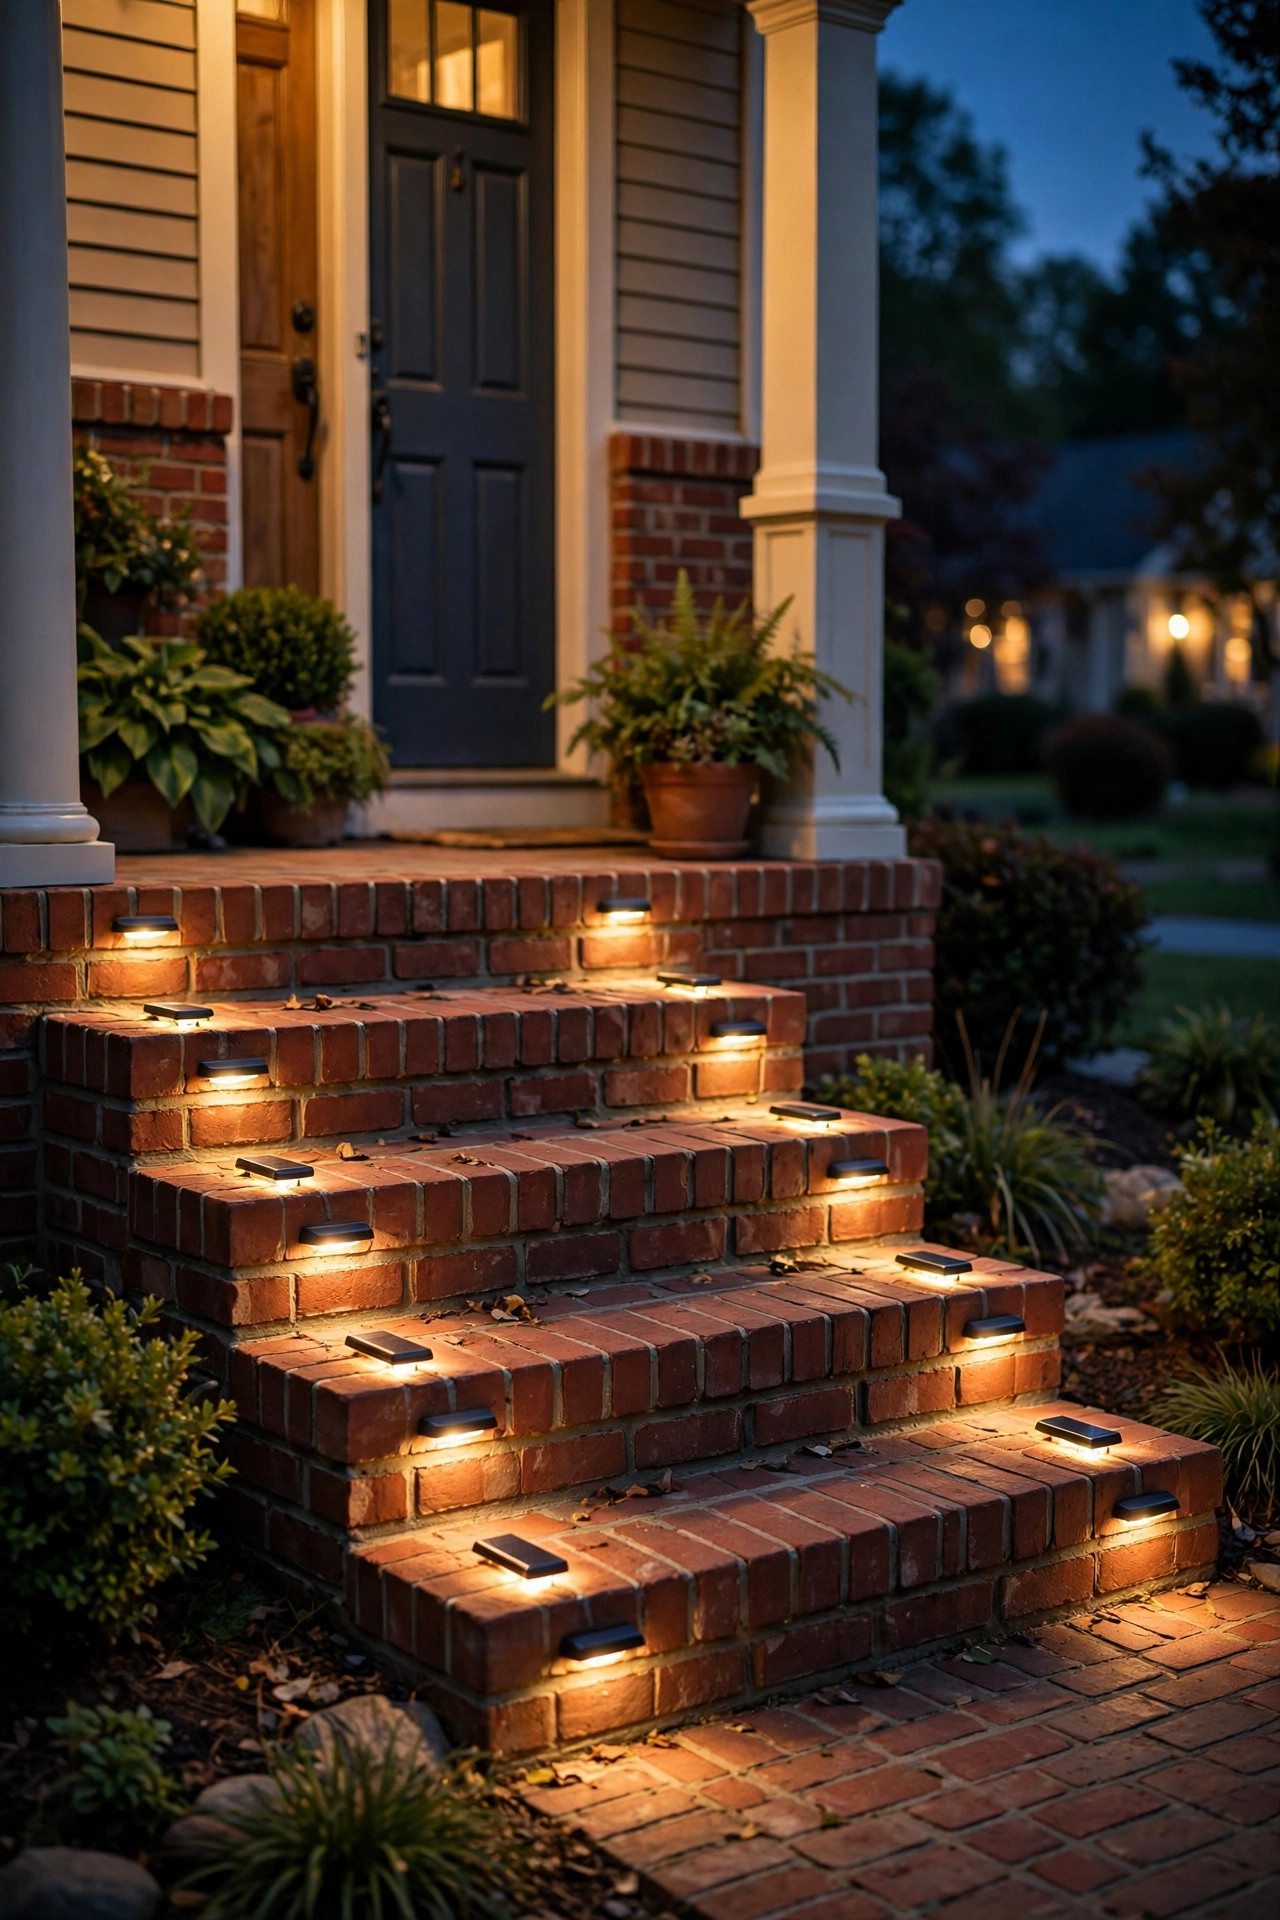
8. Use Solar Step Lights Where Wiring Can't Reach
There's always one flight of steps or one far corner tier where running cable would mean tearing up finished decking — and that's exactly where solar step lights earn their keep. Modern solar step lights are small L-shaped or rectangular fixtures that screw onto the riser or the side stringer, charge all day from a little panel on top, and switch themselves on at dusk. Look for versions with replaceable batteries and at least eight hours of rated runtime, and mount them where the panel gets real sun, not under a railing shadow. The light output is gentler than wired fixtures, so use them as markers on every step rather than every other one. The trick for tying solar into a wired deck is color temperature: choose warm white solar lights around 2700–3000K so they blend with your low-voltage fixtures instead of glaring blue-white against them. Wipe the little panels clean every few weeks — a dusty panel is the number one reason solar lights fade by midnight. For a no-wiring project, nothing else comes this close to instant.
Suggested budget range: $25 – $80.
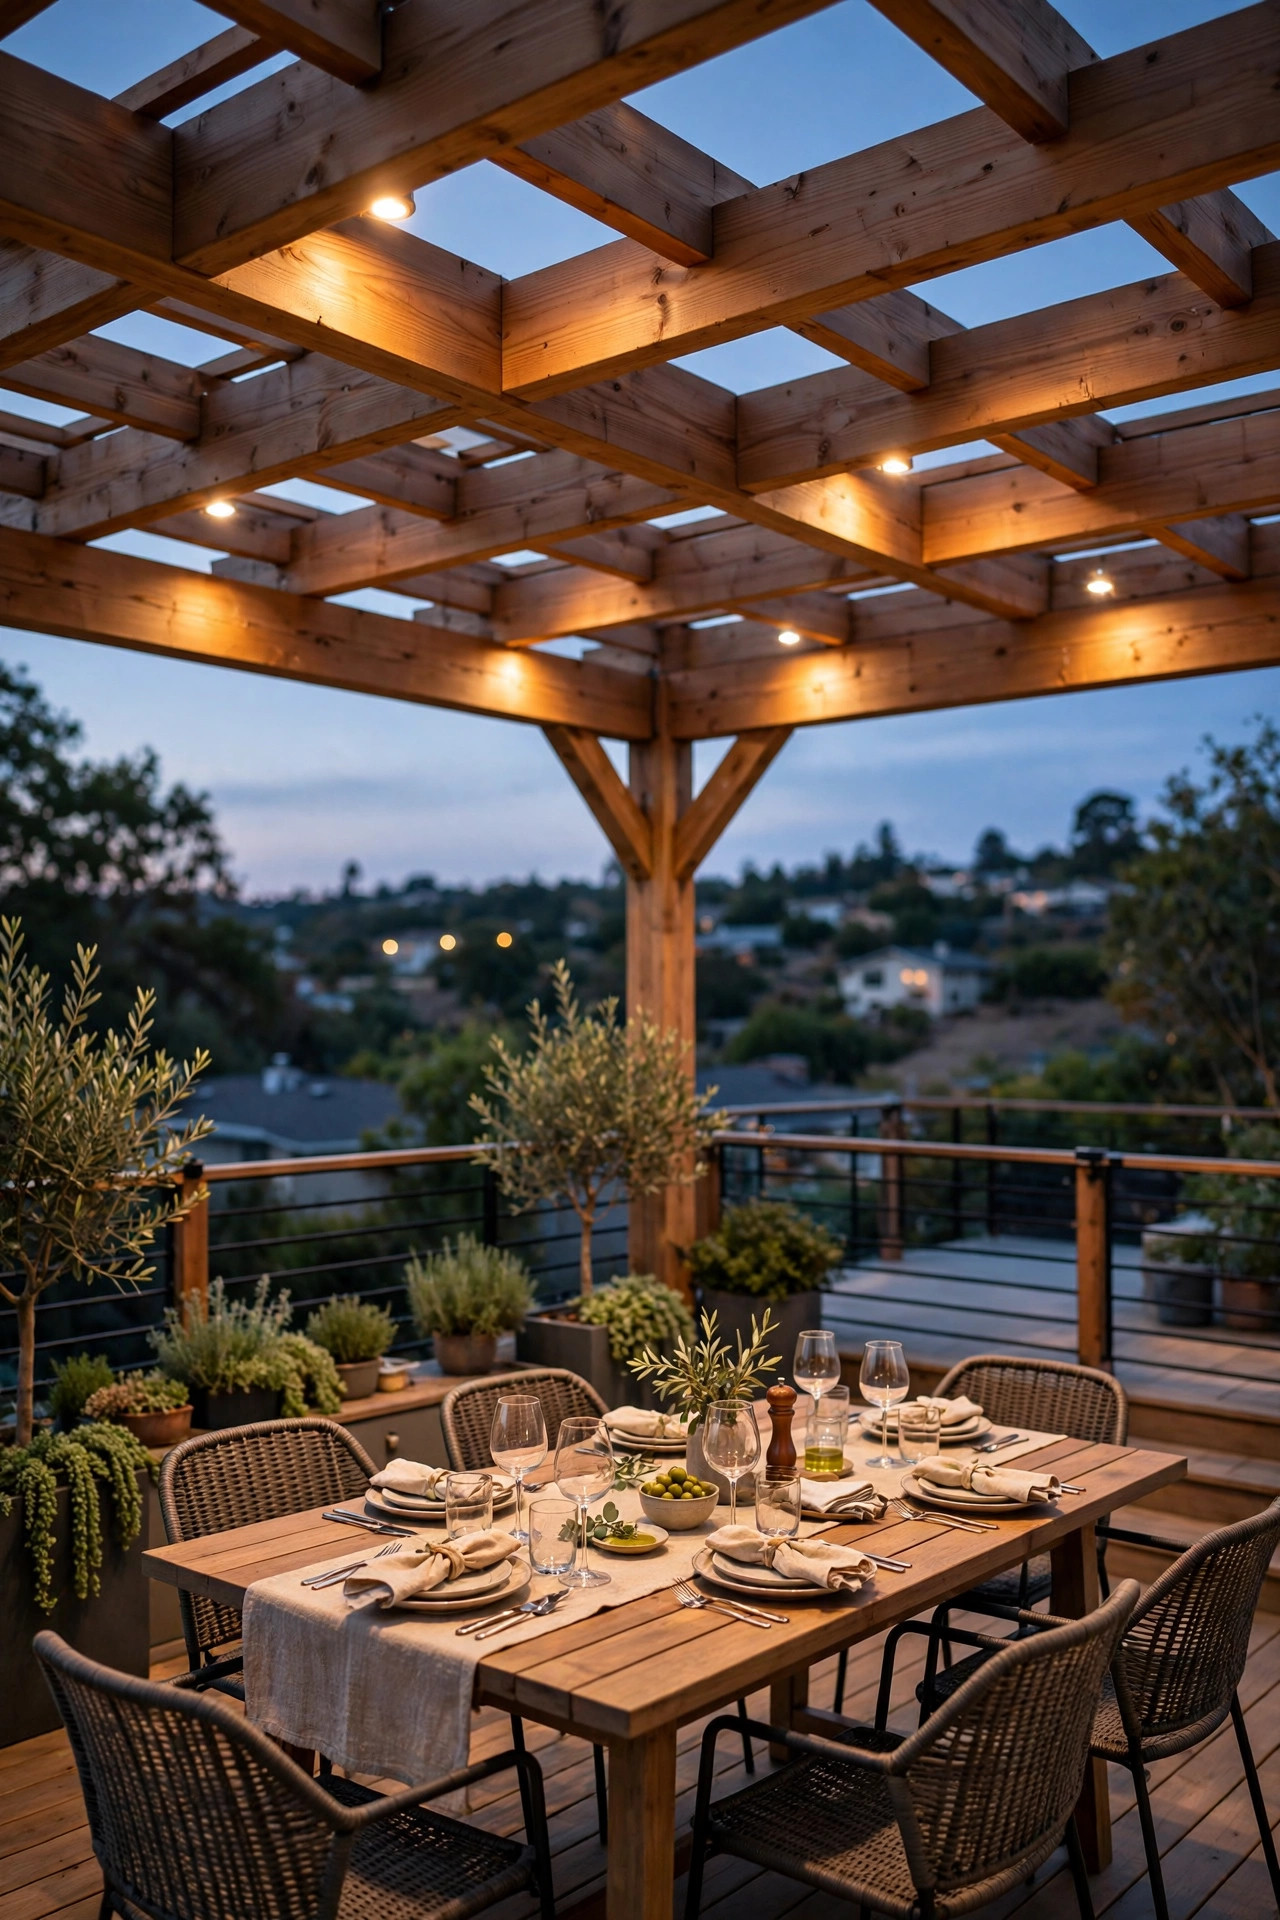
9. Downlight the Top Tier From a Pergola or Overhang
The highest tier usually has something over it — a pergola, the eave of the house, maybe a shade sail — and that overhead structure is your chance to add the top layer of the layering recipe. Small downlights mounted on pergola beams or under the eave wash the dining or grilling area in even, shadow-free light that feels like an outdoor room ceiling. On a pergola, space fixtures roughly four to five feet apart along the beams and aim them straight down; if you have a ceiling fan outdoors, lights placed just outside the blade sweep avoid strobing. Keep the wattage modest — this is ambient light, not stadium light — and put it on its own dimmer so the top tier can glow softly while the lower tiers do their own thing. Because this is the brightest, most "indoor" layer of the deck, matching its color temperature to your interior lights makes the house-to-deck transition feel seamless through the patio doors. Weatherproof, damp- or wet-location rated fixtures only up here, please — they take the worst of the wind and rain.
Suggested budget range: $120 – $400.
10. Define Every Edge With Fascia Strip Lighting
If recessed dots feel too subtle, a continuous strip of light along the fascia — the vertical board that caps the edge of each tier — draws the boldest possible line between levels. Mount an outdoor LED strip or rope light just under the rim board, angled slightly down, and each tier gets a clean glowing outline that you can read from anywhere in the yard. It looks especially sharp on contemporary decks with wide, flat fascia boards, and it doubles as real safety lighting by marking exactly where each level drops off. Install it in a channel with a diffuser to avoid the dotted-diode look, and feed it from the same transformer zone as your stair lights. One honest caution: this is a strong, modern look, so if the rest of your deck is rustic, repeat it on every tier for consistency or choose the softer recessed dots instead — mixing one bold fascia line with otherwise traditional lighting can look like two different decks arguing. Warm white only, and dim it a touch below full brightness for the prettiest result.
Suggested budget range: $60 – $200.

11. Set Lanterns on the Wide Middle Steps
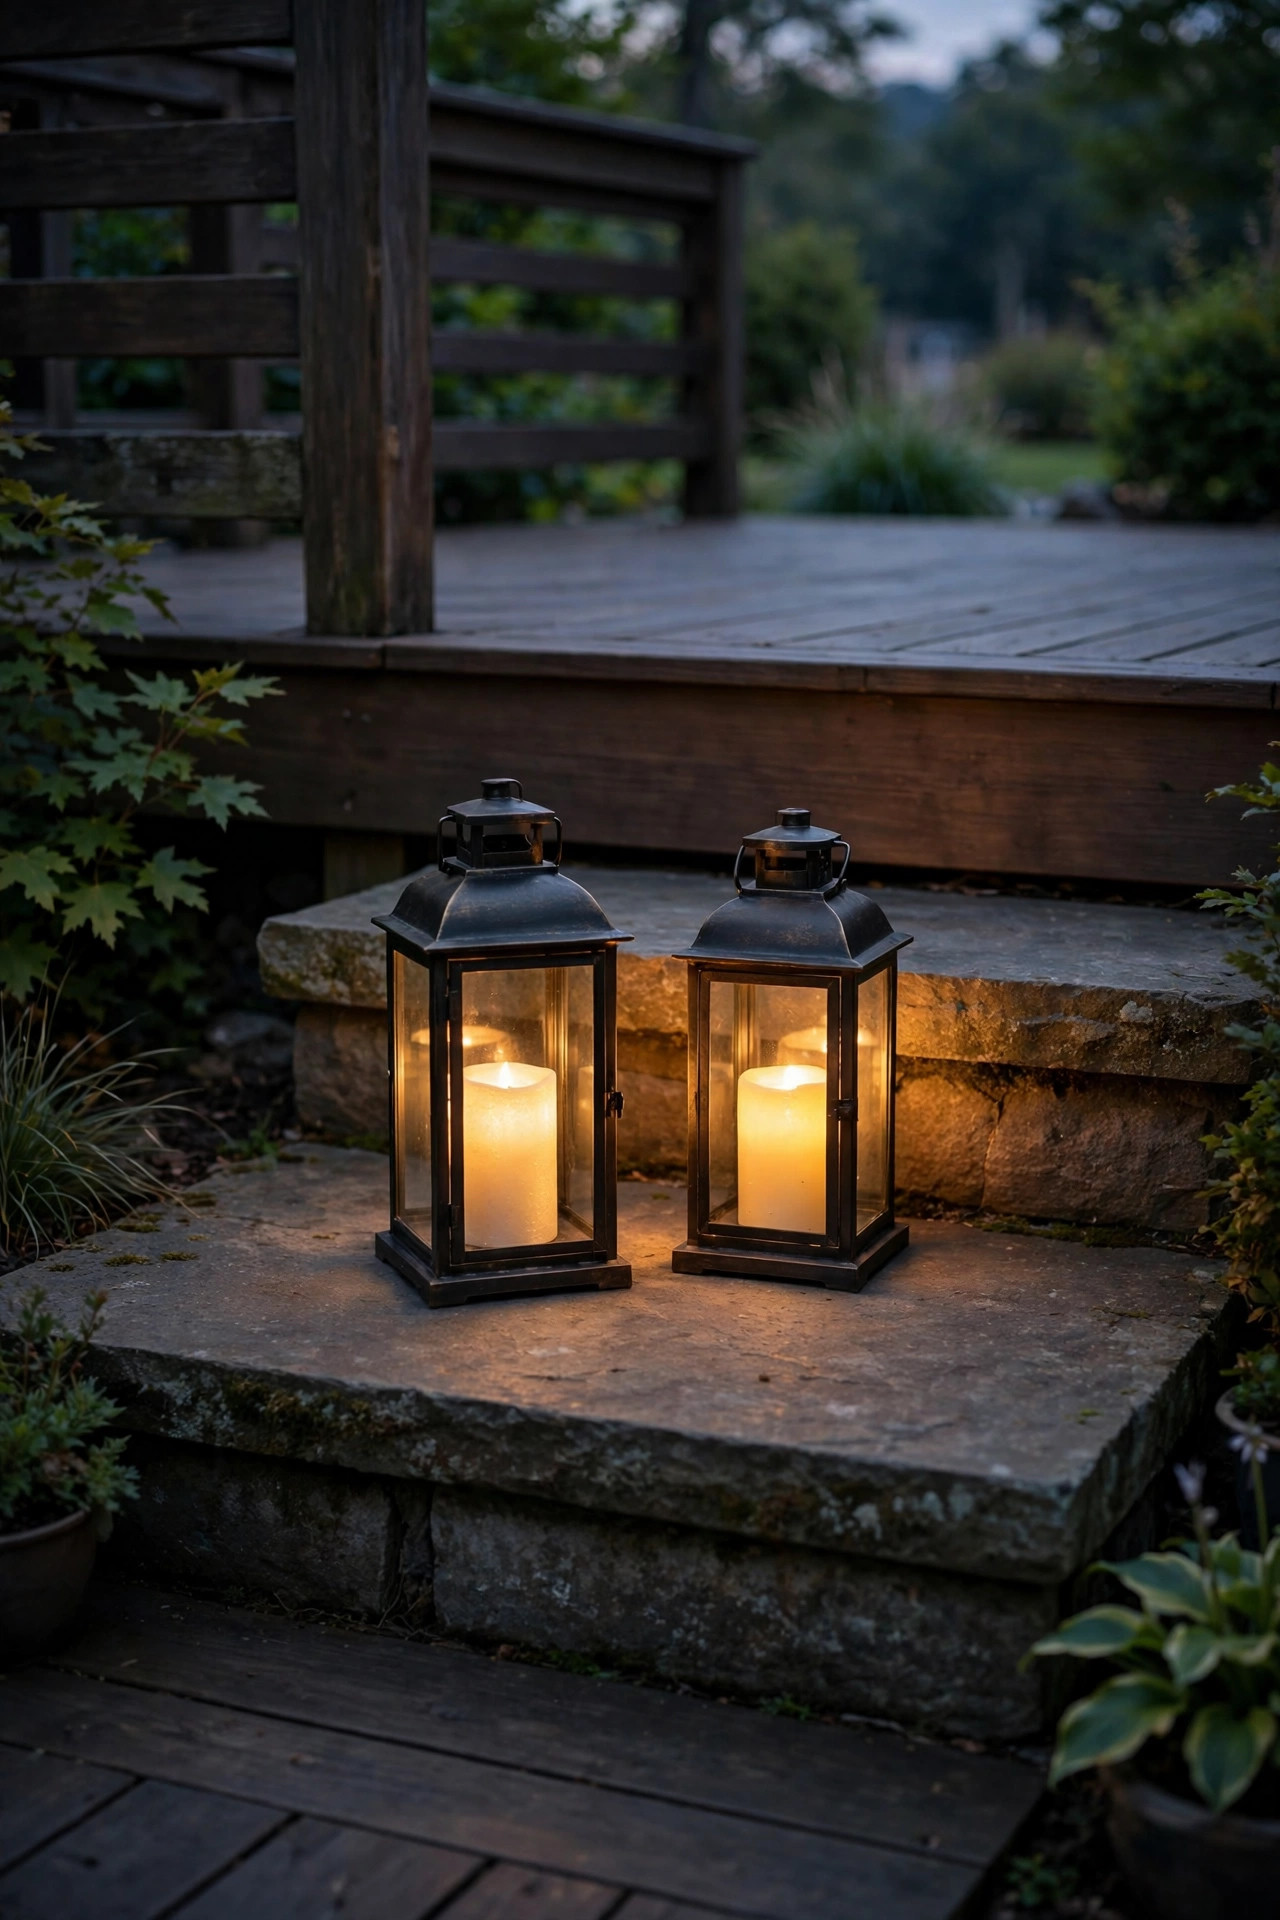
Plenty of tiered decks have a couple of extra-wide steps or a generous landing step that acts like a shelf — and it's the perfect perch for lanterns. A pair of battery-operated or solar lanterns with LED flameless candles, one on each side of a wide step, frames the passage between tiers like a doorway and adds the eye-level layer of light that strips and dots can't provide. Because they're portable, you can bring them in for winter, move them for parties, and cluster three at different heights when you want a little drama. Choose lanterns in the same finish family as your post caps — black metal, copper tones, weathered wood — so they feel like part of the set rather than yard-sale extras. LED candles on a timer are my strong recommendation: they flicker on at the same time every evening, there's no open flame near deck boards or dry leaves, and the batteries last a whole season. On narrow steps, skip this one for safety — lanterns belong only where feet never land. Where they fit, though, nothing warms up a level change faster.
Suggested budget range: $30 – $100.
12. Put Each Tier on Its Own Timer Zone
Here's the idea that turns a collection of fixtures into a system: wire or group your lights by tier, and control each zone separately. The upper dining deck, the stairs and landings, and the lower lounge level each get their own switch, smart plug, or transformer tap. Then the magic happens — the safety layer of stair and edge lights comes on at dusk and stays on all evening, while the dining tier dims after dessert and the lower lounge glows for the night owls. Zoning also saves real money and bulb hours, because you're never lighting an empty tier just because it's wired to a busy one. A low-voltage transformer with multiple taps, a few smart outdoor plugs, or separate solar groups all get you there at different budgets. Label everything at the transformer with a tag or a strip of tape; future you, troubleshooting one dark tier in October, will be so grateful. This is the least visible idea on the list and honestly the one that makes all the others feel intentional.
Suggested budget range: $45 – $220.

13. Light the Space Under the Deck, Not Just On It
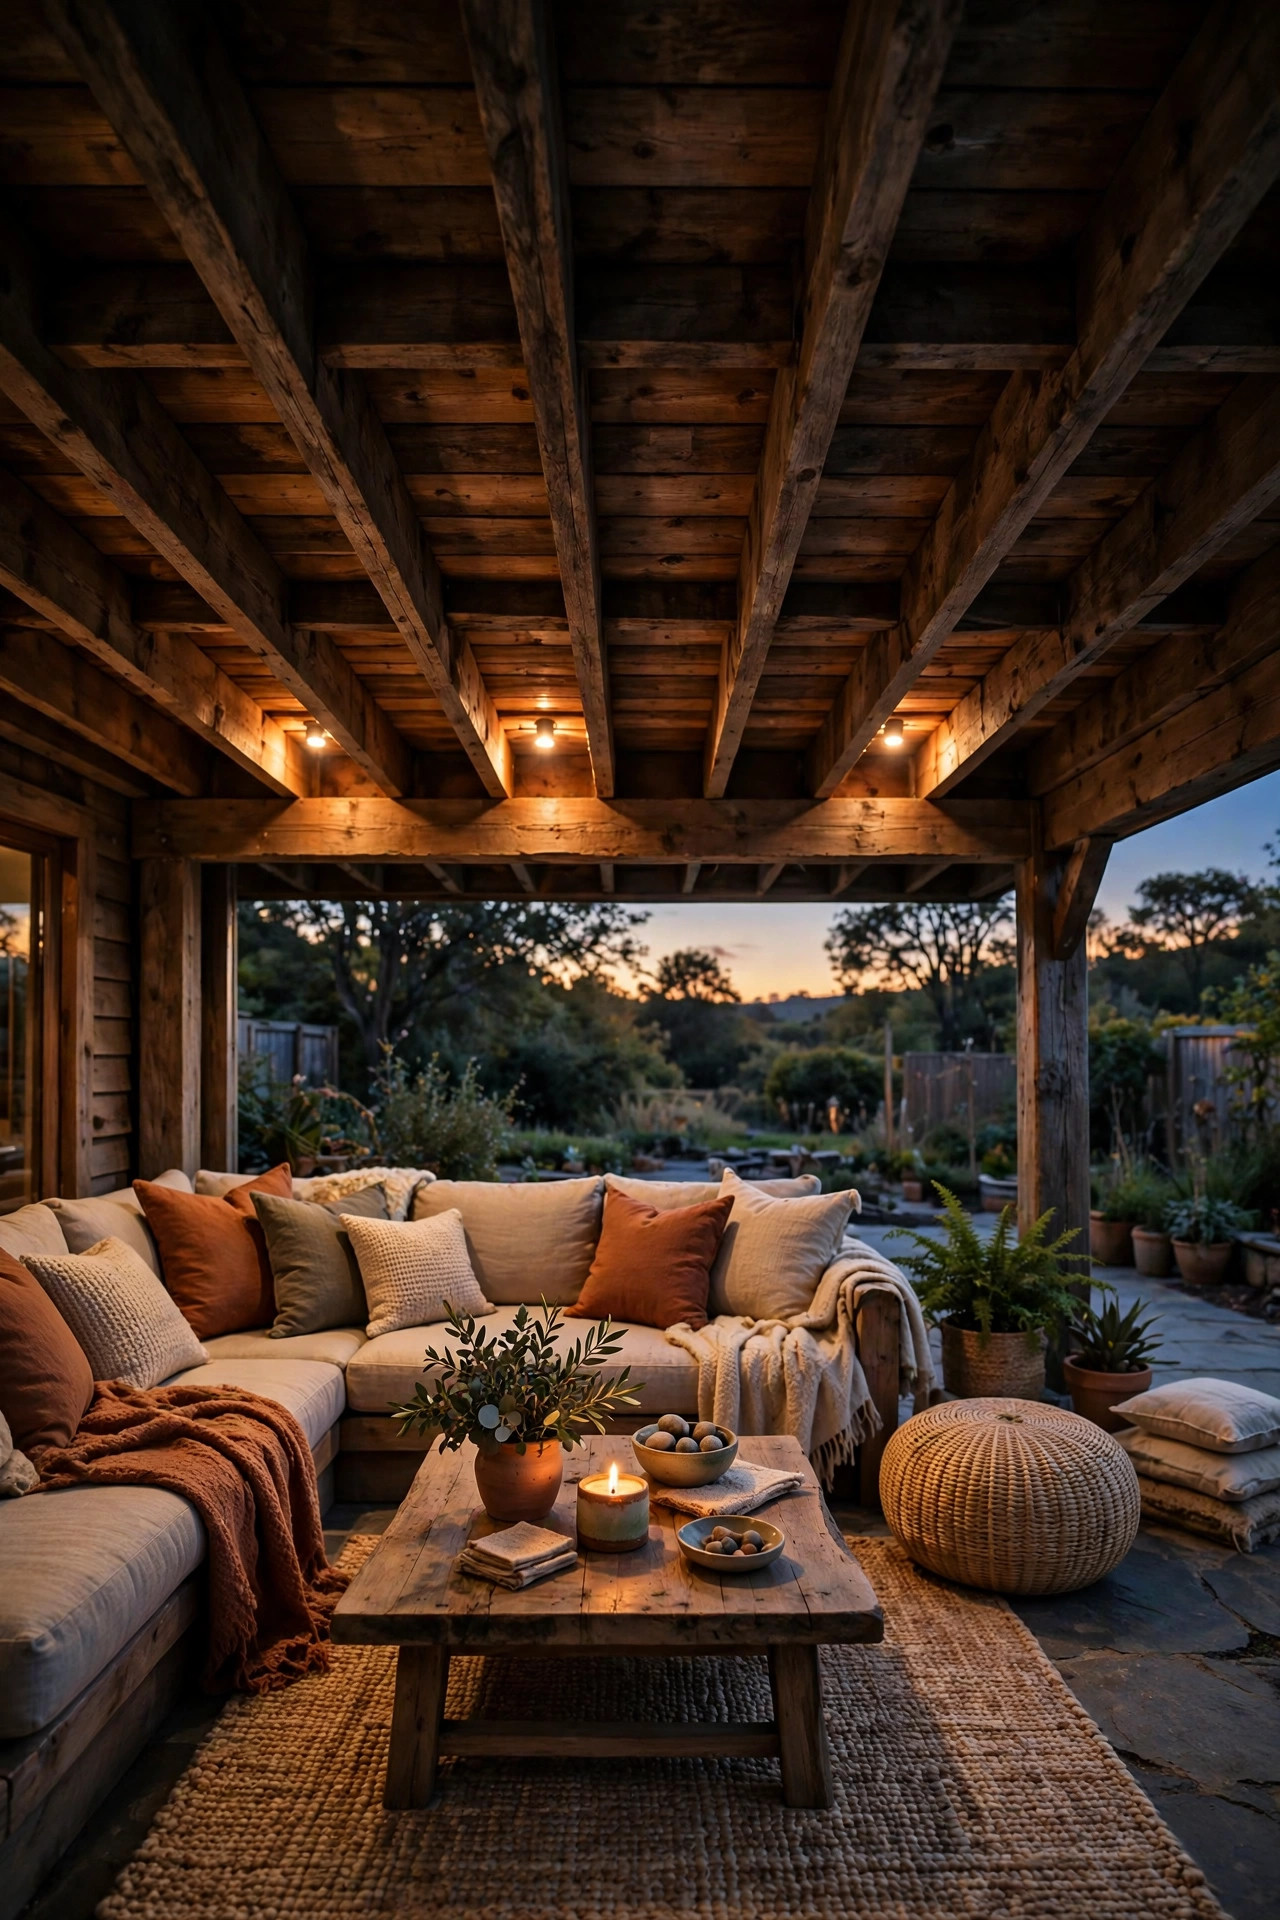
A tall upper tier creates a bonus room underneath it, and on most decks that under-deck space is a dark cave of lawn chairs and forgotten planters. If your lower tier or patio sits beneath the main deck, a ceiling changes everything: surface-mount LED fixtures or a strip run between the joists turns the underside into a genuinely usable, dry-feeling lounge. There are under-deck ceiling systems that channel rainwater away and give you a finished surface to mount lights on, but even without one, weatherproof fixtures fastened to the joists work well where headroom allows — aim for at least seven feet of clearance for lights you walk under. Keep fixtures out of the drip line where water falls off the deck edge, and choose sealed, wet-location rated models since this area stays damp after rain. Lighting the underside also throws a soft reflected glow onto the lower tier's floor, which reads as one connected space from inside the house. It's the most transformative project on this list for two-story decks, and worth every penny in October when the evenings close in early.
Suggested budget range: $150 – $600.
14. Trace the Deck Skirt With Rope Light
The skirt — the vertical face closing off the bottom of your lowest tier, or the steps' side stringers — is a long, unbroken line that's begging for a soft outline. A warm LED rope light tucked along the top edge of the skirting, hidden behind a small trim strip, washes the ground along the deck's base and makes the whole structure appear to hover slightly above the lawn. That floating effect is subtle in person and gorgeous in photos. Rope light is forgiving to install: clips every foot or so, cut-to-length at marked intervals, and an outdoor-rated power cord to a GFCI outlet. Run it the full perimeter of the lowest tier and, if your deck steps down in several places, repeat the same line where each tier meets the ground or the tier below. Consistency sells it. One caution: rope light reads slightly more playful than architectural, so pair it with the calm, matching fixtures elsewhere on the deck rather than with color-changing party lights at the same time. Keep it warm white, keep it dim, and it will look like moonlight pooled at the deck's feet.
Suggested budget range: $30 – $90.

15. Connect the Lowest Tier to the Yard With Path Lights
A tiered deck shouldn't glow like a spaceship that landed in a dark yard. Carry the light story all the way down: two or three low-voltage path lights leading from the lowest tier's steps across the lawn to the fire pit, the garden gate, or the driveway gives the whole backyard one readable route after dark. Match the path light style to your deck fixtures — same finish, same warm 2700K color — and they'll read as one system even though they're in the ground. Space path lights about six to eight feet apart, staggered rather than in a runway line, and aim for overlapping pools of light on the walking surface. Because they're low-voltage, they can share the transformer and timer zone with your stair lights, which keeps the "arrival" path lit whenever the deck is in use. If the yard beyond the deck is completely dark, even two path lights make a surprising difference to how safe the lowest tier feels — your eye wants to see where the route goes next, not a wall of black at the bottom step.
Suggested budget range: $70 – $220.

16. Save Color-Changing Bulbs for One Gathering Tier
Color-changing smart bulbs are wonderful fun and a fast way to ruin a layered lighting design if they're everywhere at once. My rule: pick one tier — usually the lower lounge or the one with the fire pit — and let that be the party level, with smart bulbs in its sconces, string lights, or lanterns that can shift to amber, soft red, or team colors on game night. Keep every other tier steady warm white, and the contrast reads as a deliberate zone instead of a carnival. Set your everyday scene to the same 2700K warm white as the rest of the deck so most nights everything matches perfectly; the colors become a sometimes treat. Smart bulbs need a weatherproof fixture and decent Wi-Fi reach outdoors, so test the signal at the far tier before buying a dozen. Group them in the app by tier name — "Lower Deck Party" — so one tap changes the whole zone. Used with restraint, this is the idea that makes a tiered deck feel like several venues in one backyard.
Suggested budget range: $60 – $240.
17. Anchor the Lowest Tier With a Fire Feature Glow
The bottom tier is where decks usually put the fire pit, the chiminea, or the outdoor fireplace — and open flame is a lighting layer all by itself, the warmest and most flickery one you've got. Design around it instead of competing with it: keep electric lighting on the fire tier deliberately dim, with just stair lights for safety and a low lantern or two, and let the fire be the star. Then, so the tiers still feel connected, match the fire's color story — your fixtures at 2700K are already close to flame tones, and amber-tinted bulbs near the fire zone blend in beautifully. Keep all fixtures and especially anything with batteries or solar panels at a safe distance from heat and sparks; most manufacturers want at least a few feet, and common sense wants more. A stone or metal fire feature also gives you a masonry edge or hearth that takes a small uplight wonderfully on nights when there's no fire lit. Guests will naturally drift down toward the glow — which is exactly the traffic pattern a tiered deck is built for.
Suggested budget range: $100 – $500.

18. Wash the House Wall to Bridge the Levels
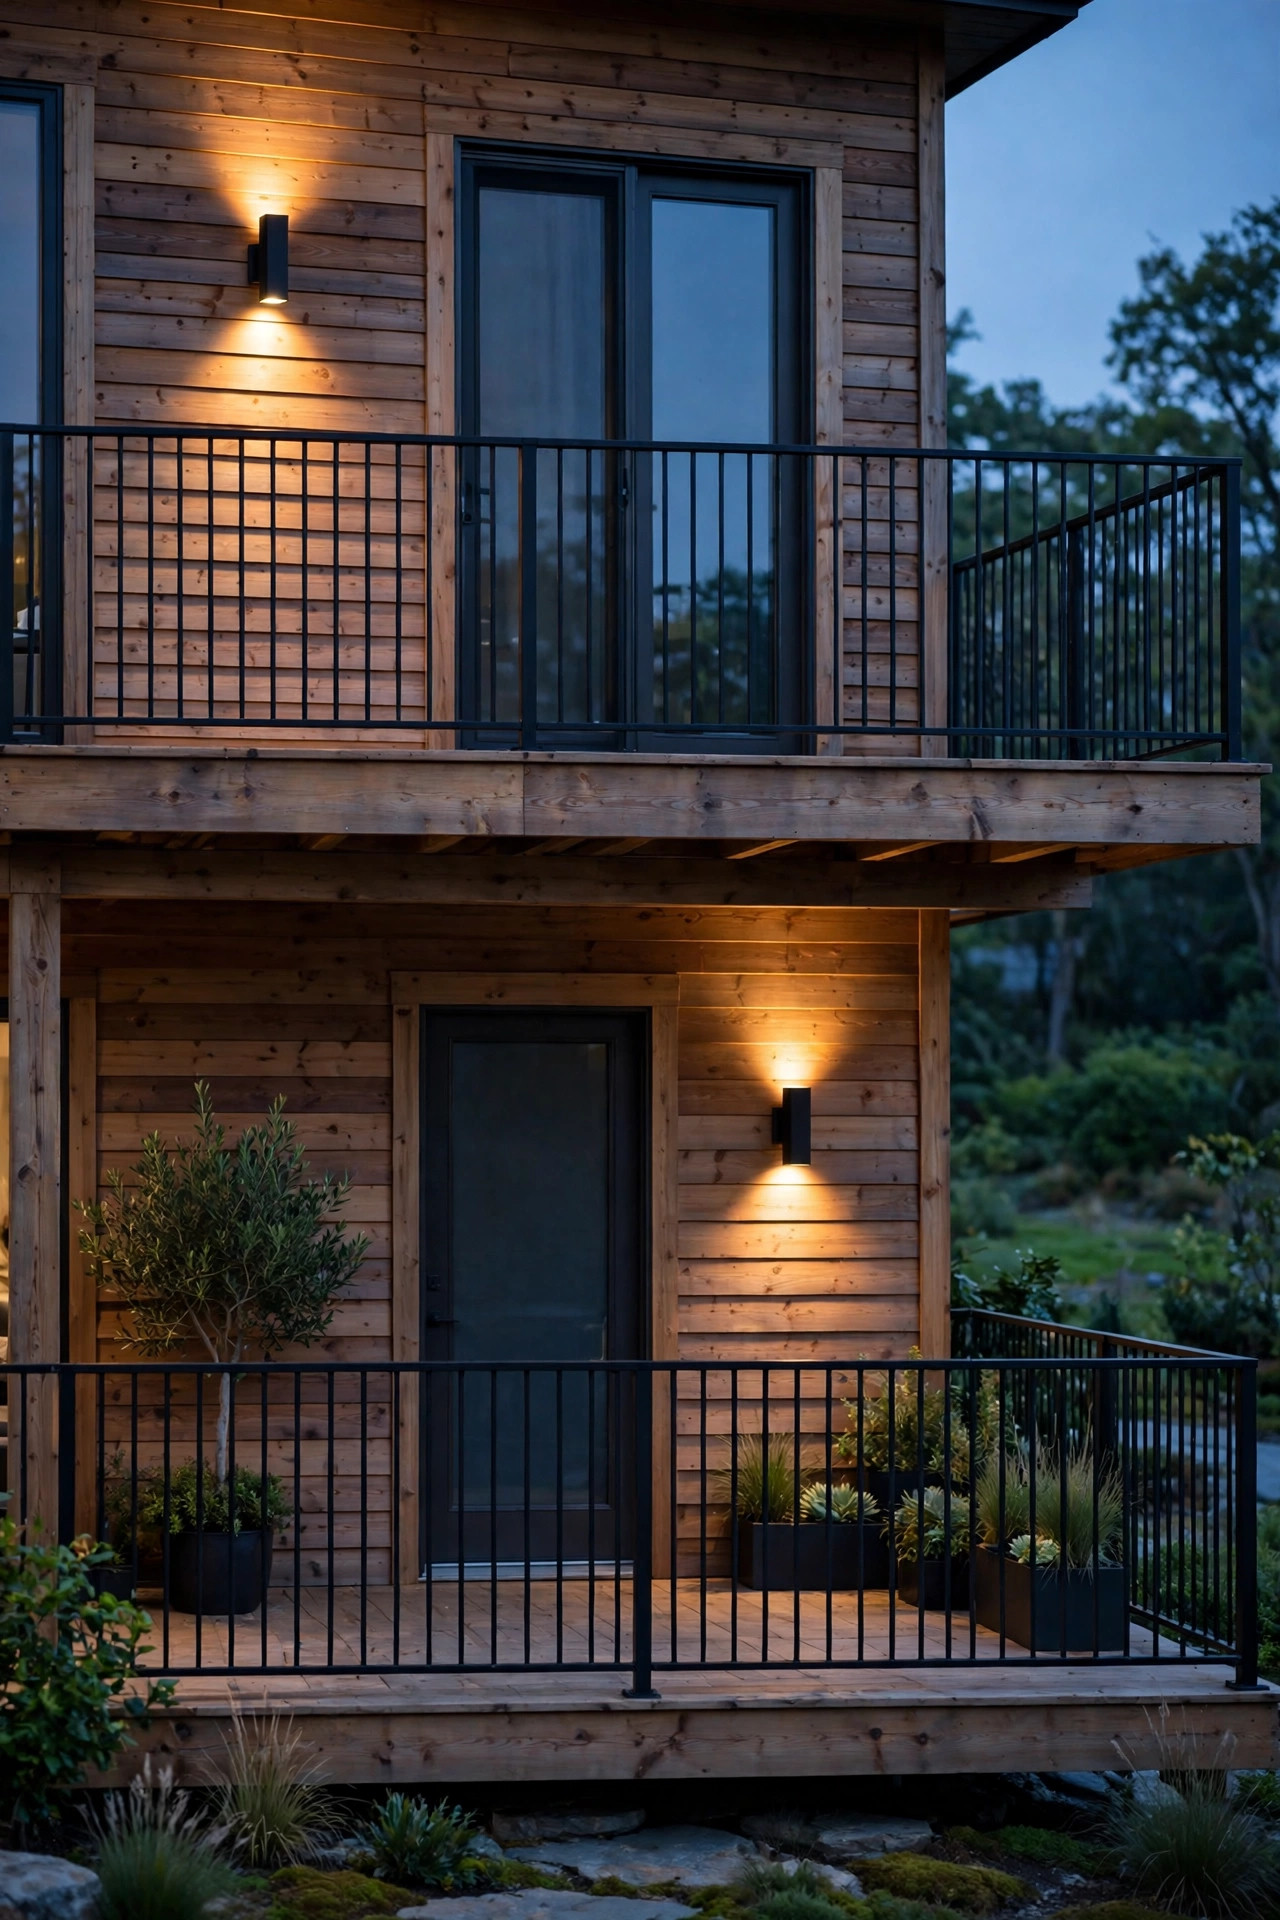
One wall touches every tier of your deck — the house itself. A pair of sconces or a soft wall wash on the siding does more to unify the levels than almost anything, because it's the one light source visible from every tier at once. Mount fixtures beside the patio door at eye level, around six feet up, and if the wall runs along two levels, repeat the same fixture lower down by the lower tier's door or window so the wall reads as one lit backdrop. Up-down sconces are especially pretty here, throwing a gentle cone above and below that shows off siding texture without glaring into anyone's eyes. Keep them on the same dimmer as the main gathering tier if you can, so the wall glow can settle down as the evening does. Choose fixtures rated for wet locations — wall or not, they're outdoors — and shielded or frosted designs if the wall faces a neighbor's windows. In my experience, once the house wall glows, the tiers stop looking stacked and start looking composed.
Suggested budget range: $70 – $260.
19. My Favorite Multi Level Deck Lighting Ideas Layer All Three Heights
After years of tinkering, the decks that make me stop and stare all do the same simple thing on every single tier: one light overhead, one at eye level, and one down low. Overhead might be string lights or pergola downlights. Eye level is lanterns, sconces, and post caps. Down low is stair lights, recessed dots, and under-bench glow. When each level repeats that three-layer recipe with the same color temperature and fixture finishes, the tiers stop competing and the whole deck reads as one designed space — and honestly, it photographs like a magazine. You don't have to install it all at once. Start with the safety layer on every stair, add post caps for rhythm, then spend a season choosing your overhead moment for the main gathering tier. That phased approach spreads the cost across a year and lets you live with each layer before adding the next. If you take nothing else from this list: repeat a little of everything everywhere, rather than a lot of one thing in one place. That's the whole secret, and it works on two tiers or five.
Suggested budget range: $150 – $500.

Frequently Asked Questions
What color temperature is best for a multi level deck?
Warm white, around 2700K, is my recommendation for every tier. It flatters wood tones and skin, sits close to candlelight and firelight, and — most importantly on a tiered deck — matches easily across fixture types, from low-voltage stair lights to string light bulbs to solar caps. If some of your existing fixtures are 3000K, that's close enough to blend, but avoid mixing anything cooler or one tier will glow blue-white against the others. Whatever you choose, buy all your bulbs and fixtures in the same Kelvin number so the levels read as one design.
How many stair lights do I need between deck tiers?
Plan on one light per step for typical residential stairs up to about four feet wide, mounted in the riser or on the side stringer. Wider stairs — five feet and up — do better with two per step or one brighter fixture plus a handrail strip for even coverage. The goal is a visible pool of light on every tread with no dark step in the run, since a single unlit step is exactly where someone misjudges the drop. If budget forces a choice, light every step on the main flight and every other step on secondary ones, then fill in later.
Can I mix solar and wired lights on different tiers?
Absolutely, and it's often the smartest budget move: wire the high-traffic stairs and main tier with reliable low-voltage lights, and use solar on the far landing, the lowest tier, or anywhere cable would be a hassle. The two things to watch are color temperature and expectations. Choose warm white solar fixtures around 2700–3000K so they blend with your wired lights, and remember that solar output is gentler and weather-dependent — use solar for marking edges and accents, not as the only light on a busy staircase.
Do deck lights need a GFCI outlet?
Anything that plugs into an outdoor outlet should be on a GFCI-protected circuit — it's required by electrical code for outdoor receptacles and it's what keeps a wet deck safe. Low-voltage systems plug their transformer into that GFCI outlet, and the deck side of the system runs at a much safer 12 volts. Check your outdoor outlets for the little test and reset buttons; if they're missing, an electrician can swap in GFCI protection, often right at the breaker. Never defeat the protection or run an indoor extension cord outside to power permanent deck lighting.
Conclusion
A tiered deck is a gift — built-in rooms for dining, lounging, and gathering — and the right multi level deck lighting ideas simply let you use all of them after sunset. Light every step, repeat your fixtures and your warm color temperature from tier to tier, and layer a little light overhead, at eye level, and down low on each level. Start with safety, add the pretty layers over a season, and your deck will feel like one welcoming space instead of a stack of dark platforms. Browse the rest of my outdoor lighting ideas here on the site for the yard, paths, and garden beyond the deck — the glow doesn't have to stop at the bottom step.