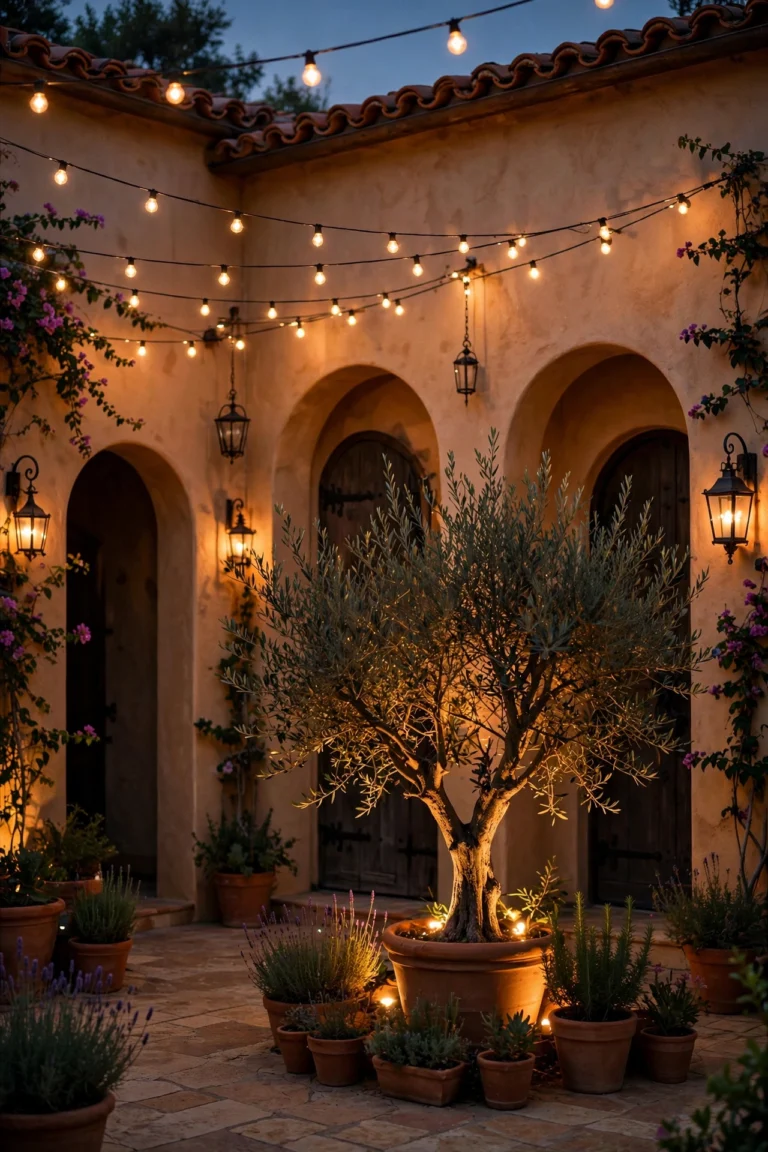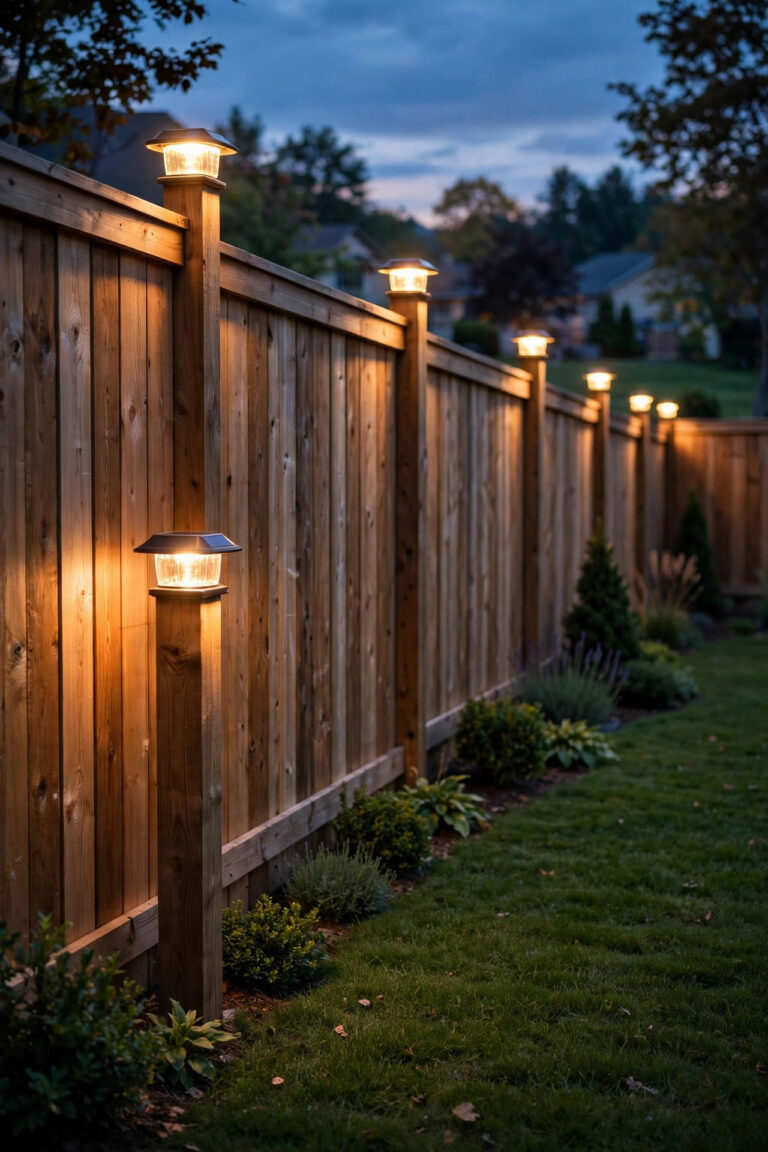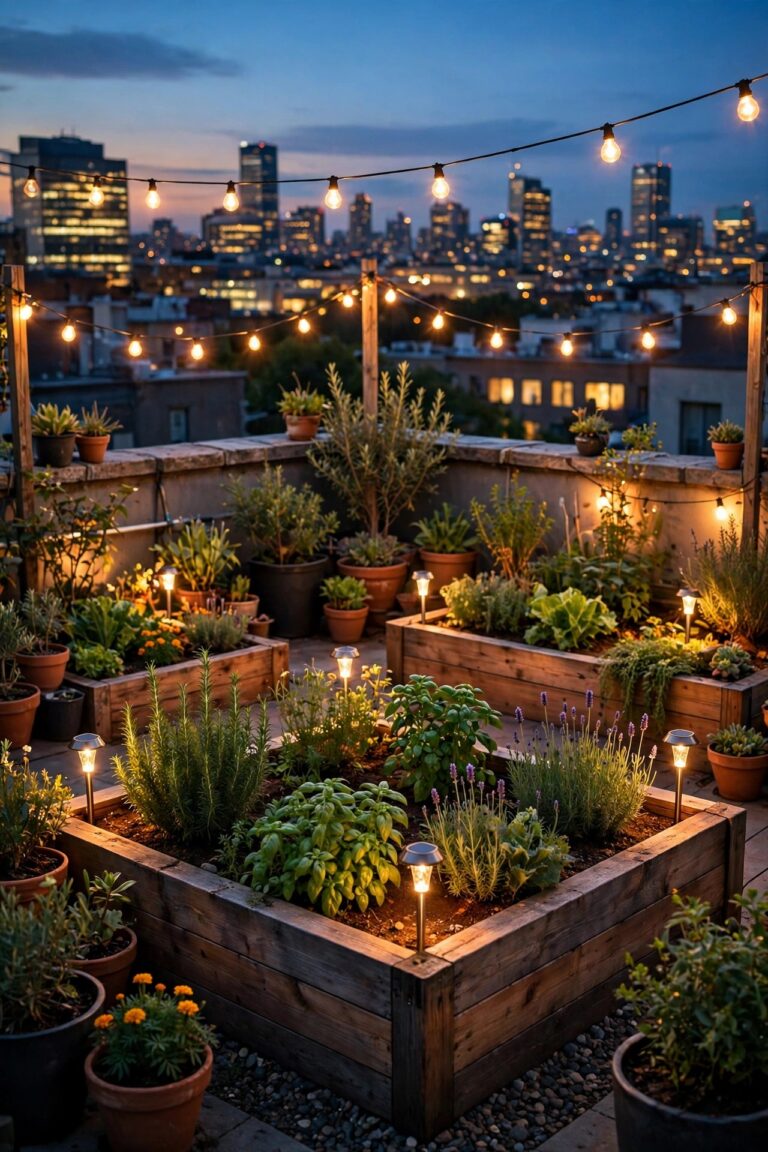
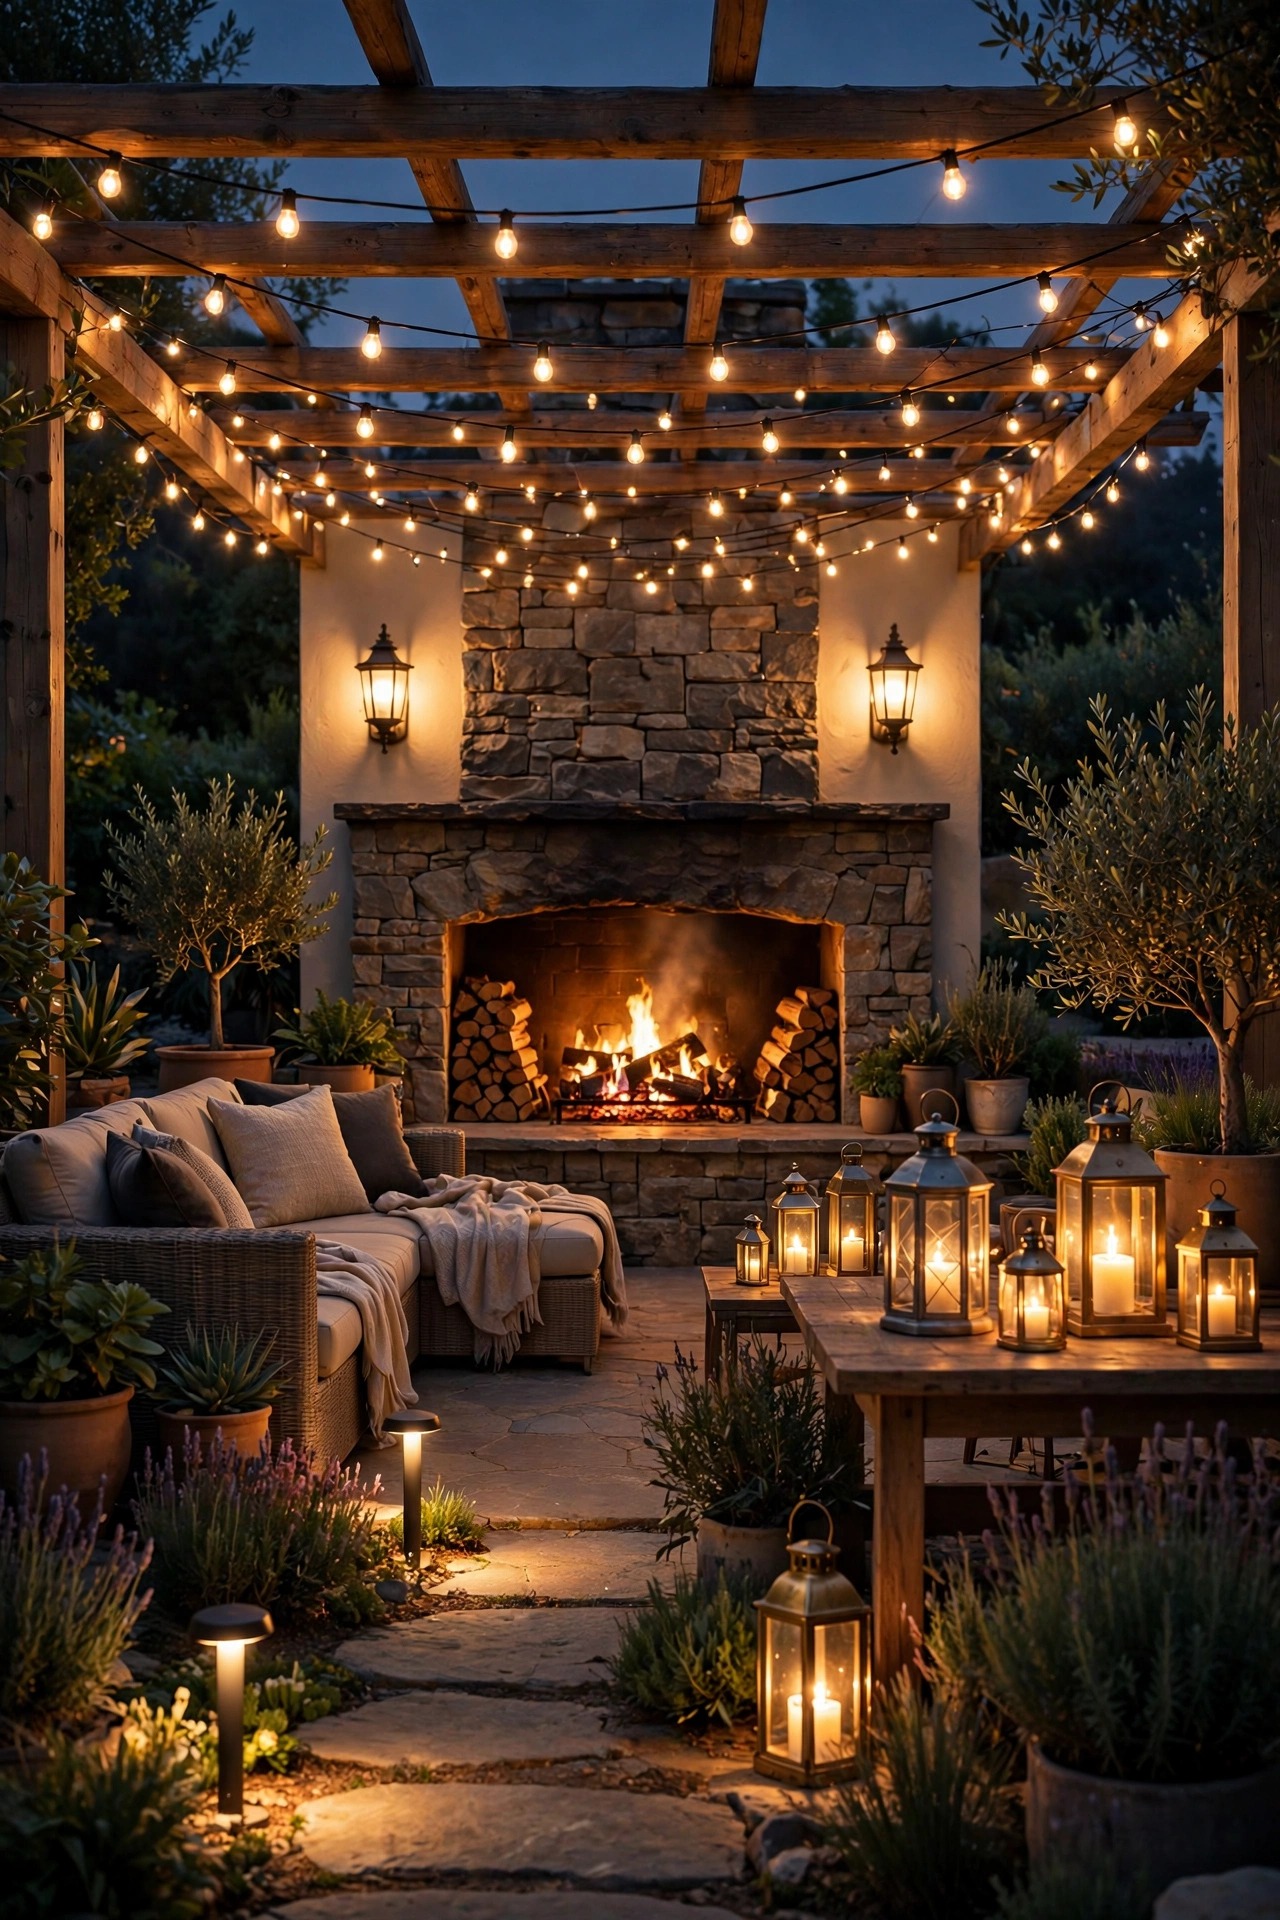
There is a moment every cool evening when the fire catches, the sky turns that deep blue, and I think: this is exactly why we built this patio. But honestly? The fire alone only lights the circle of chairs right in front of it. The steps down from the house, the side tables, the far edge of the seating wall — all of that disappears into the dark. That is where good patio fireplace lighting ideas come in. The goal is never to outshine the flames; it is to support them with soft layers of warm light so the whole space feels finished and nobody trips carrying a tray of s'mores supplies. In my experience, the formula that works is layering: a little light overhead, a little at eye level, and a gentle glow at the ground, all in the same warm 2700K family as the fire itself. Below I am sharing 17 ways to light around an outdoor fireplace or a chiminea, from five-minute lantern clusters to hardwired sconces, with an honest budget range attached to each one. Pick two or three, and your fire feature becomes the coziest room in the house — the one with no walls.
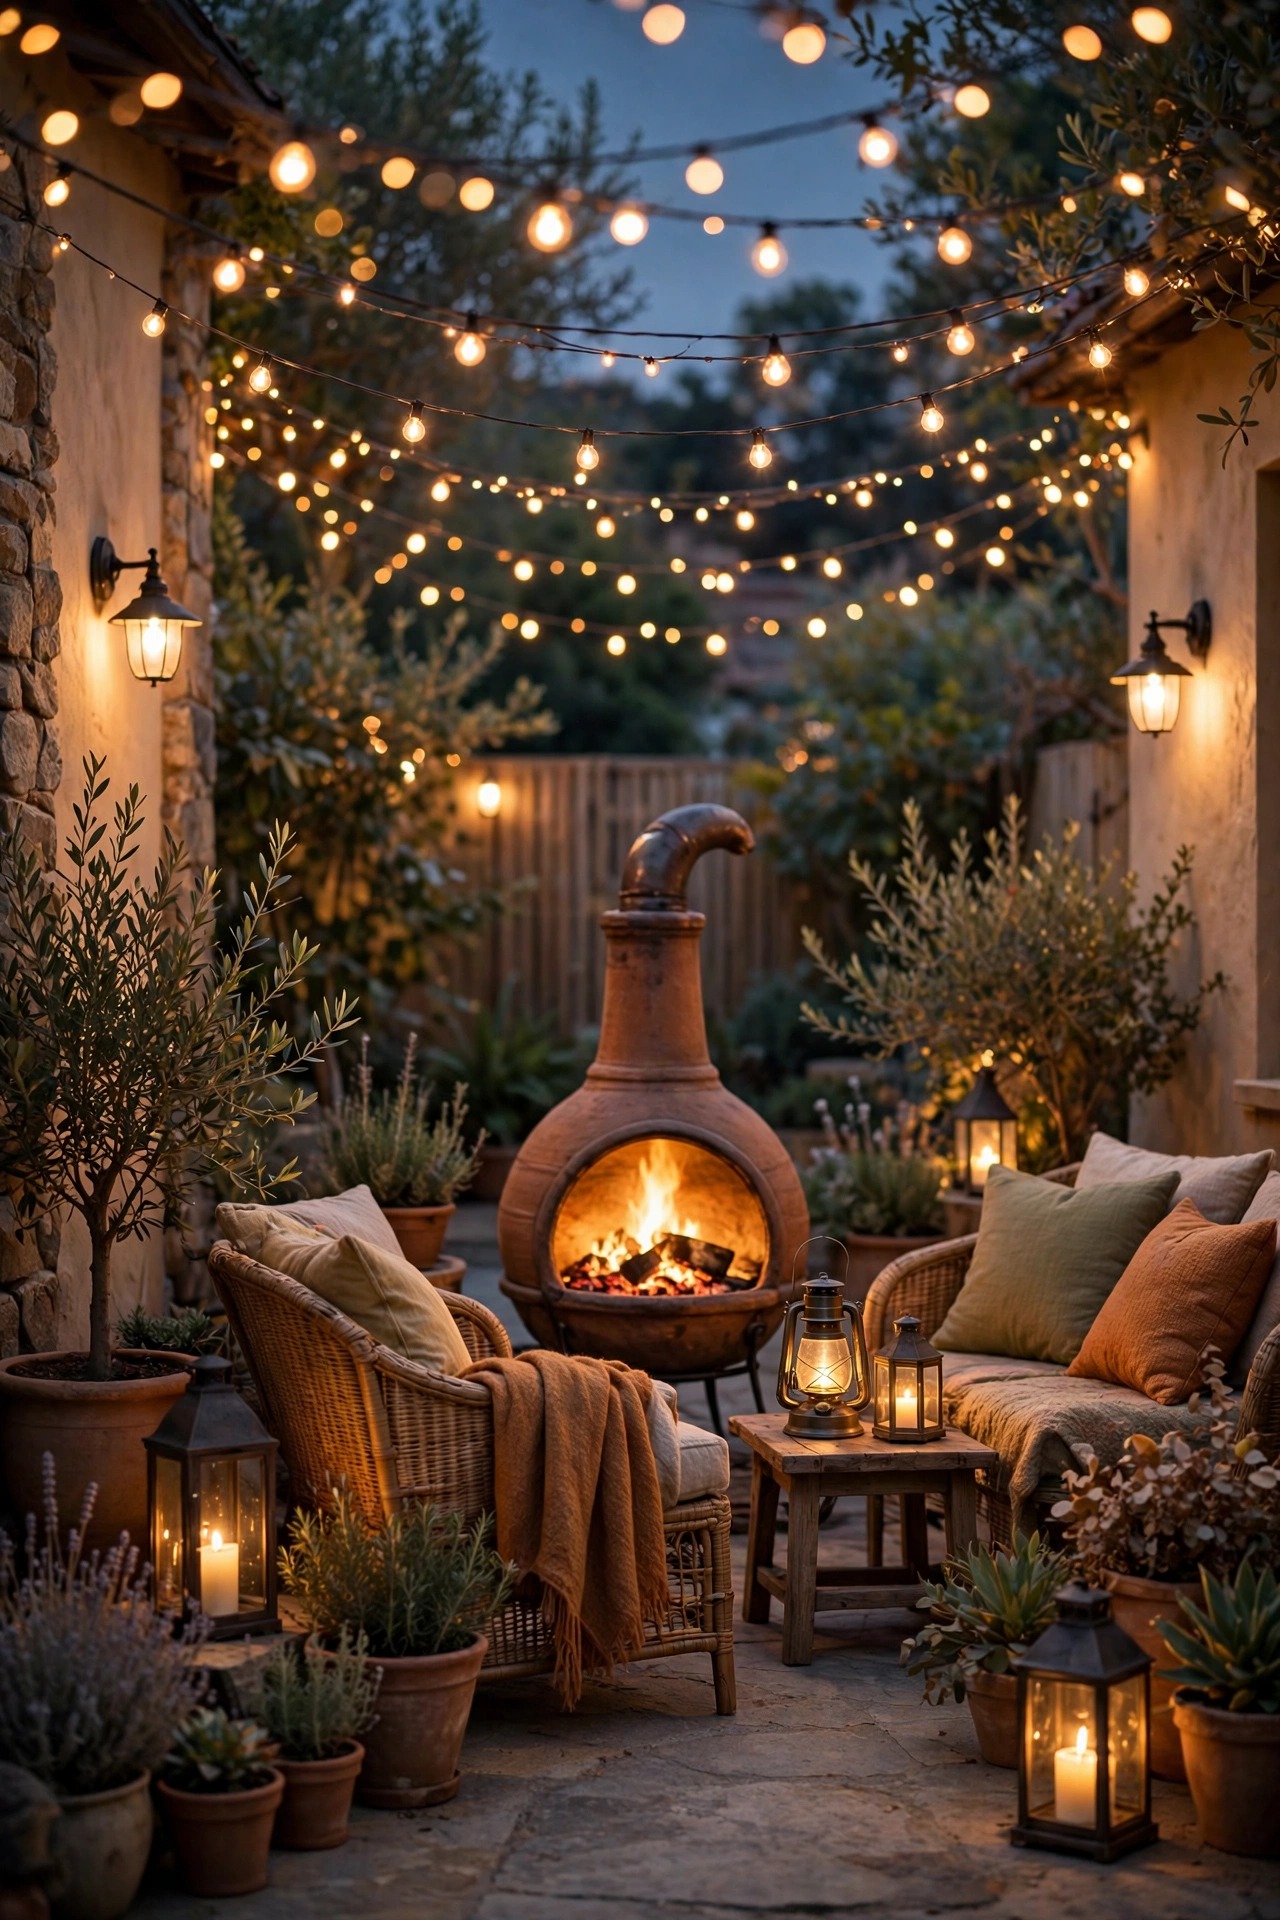
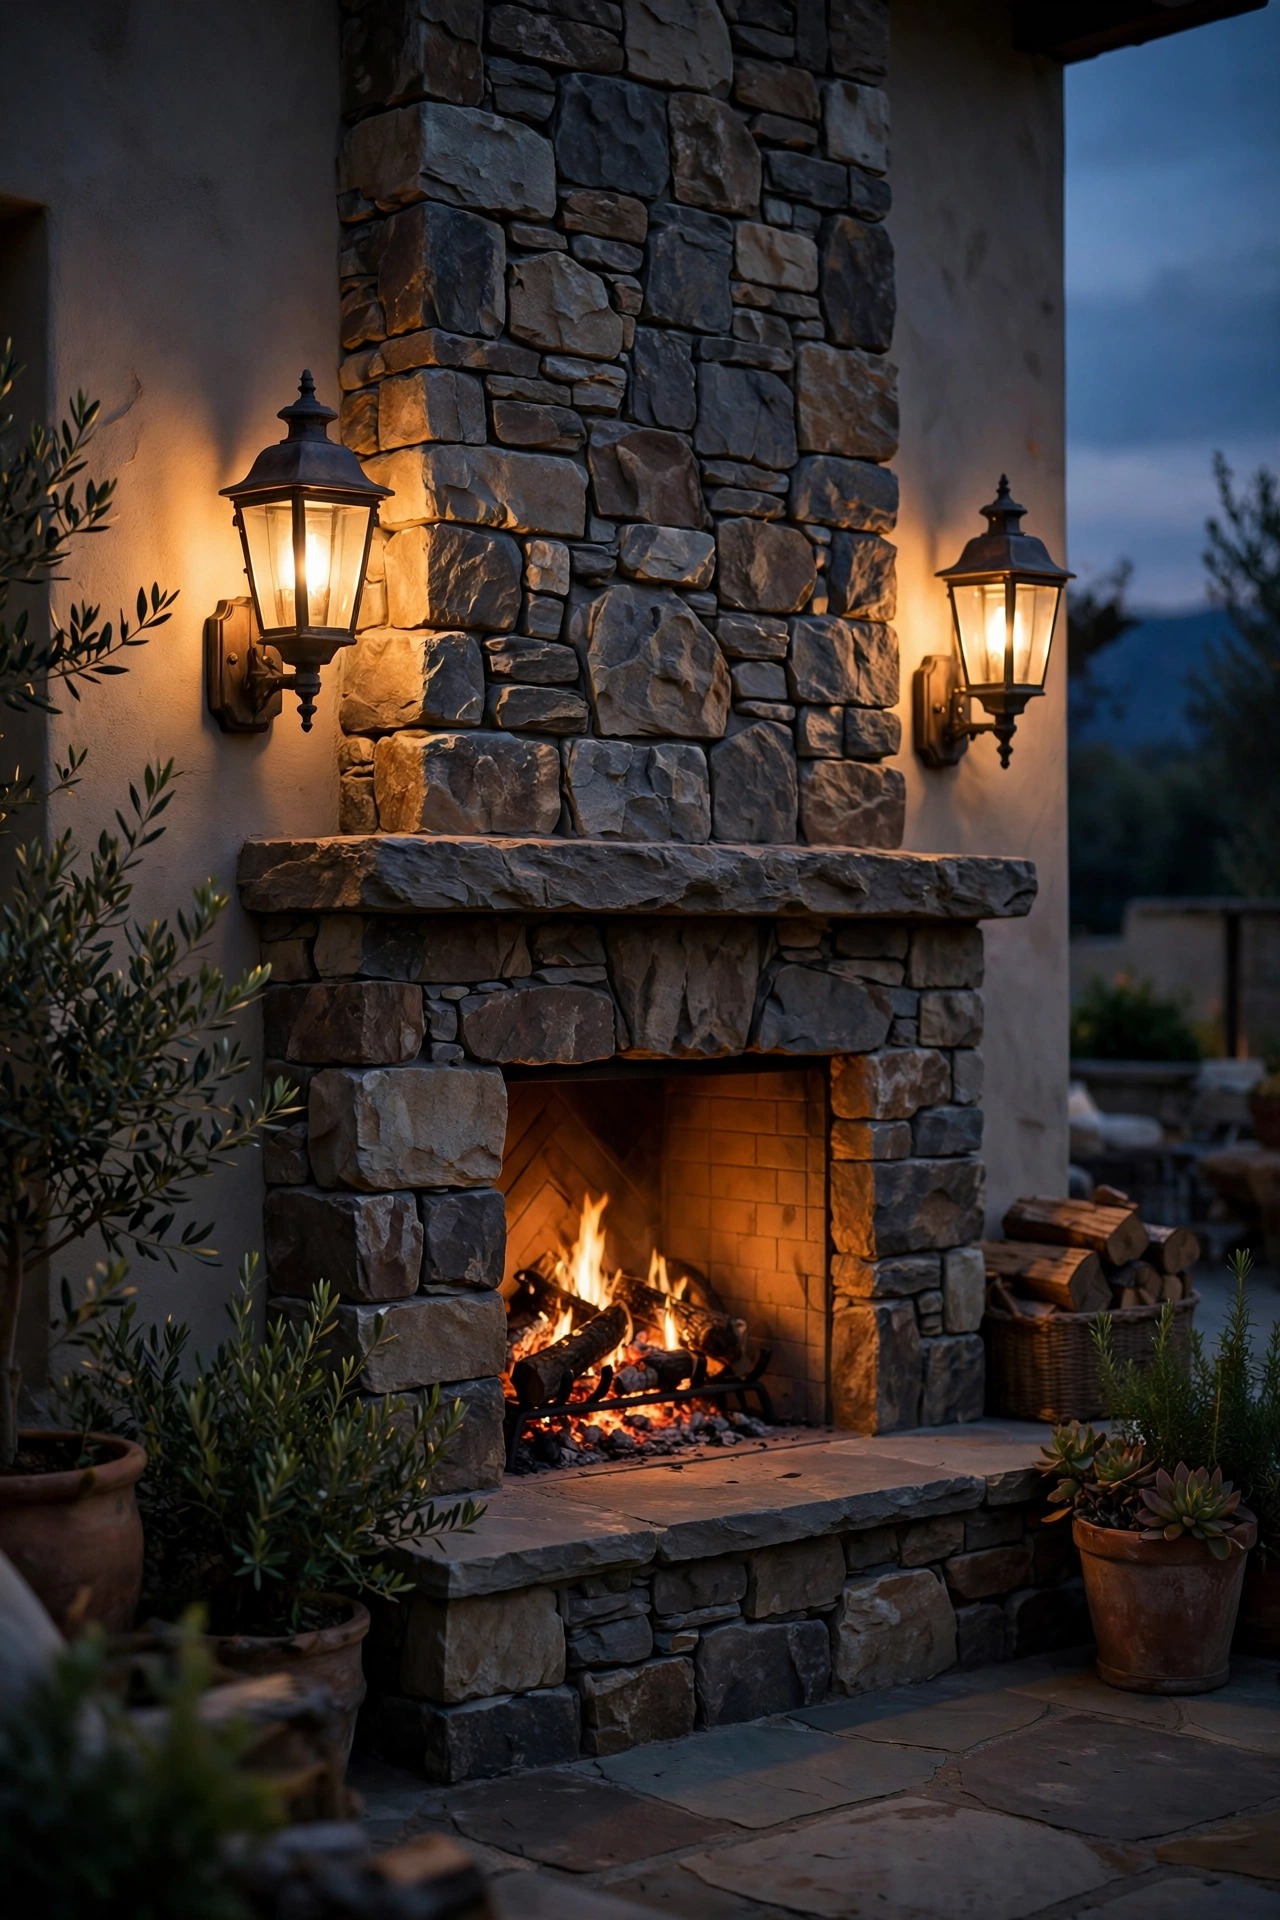
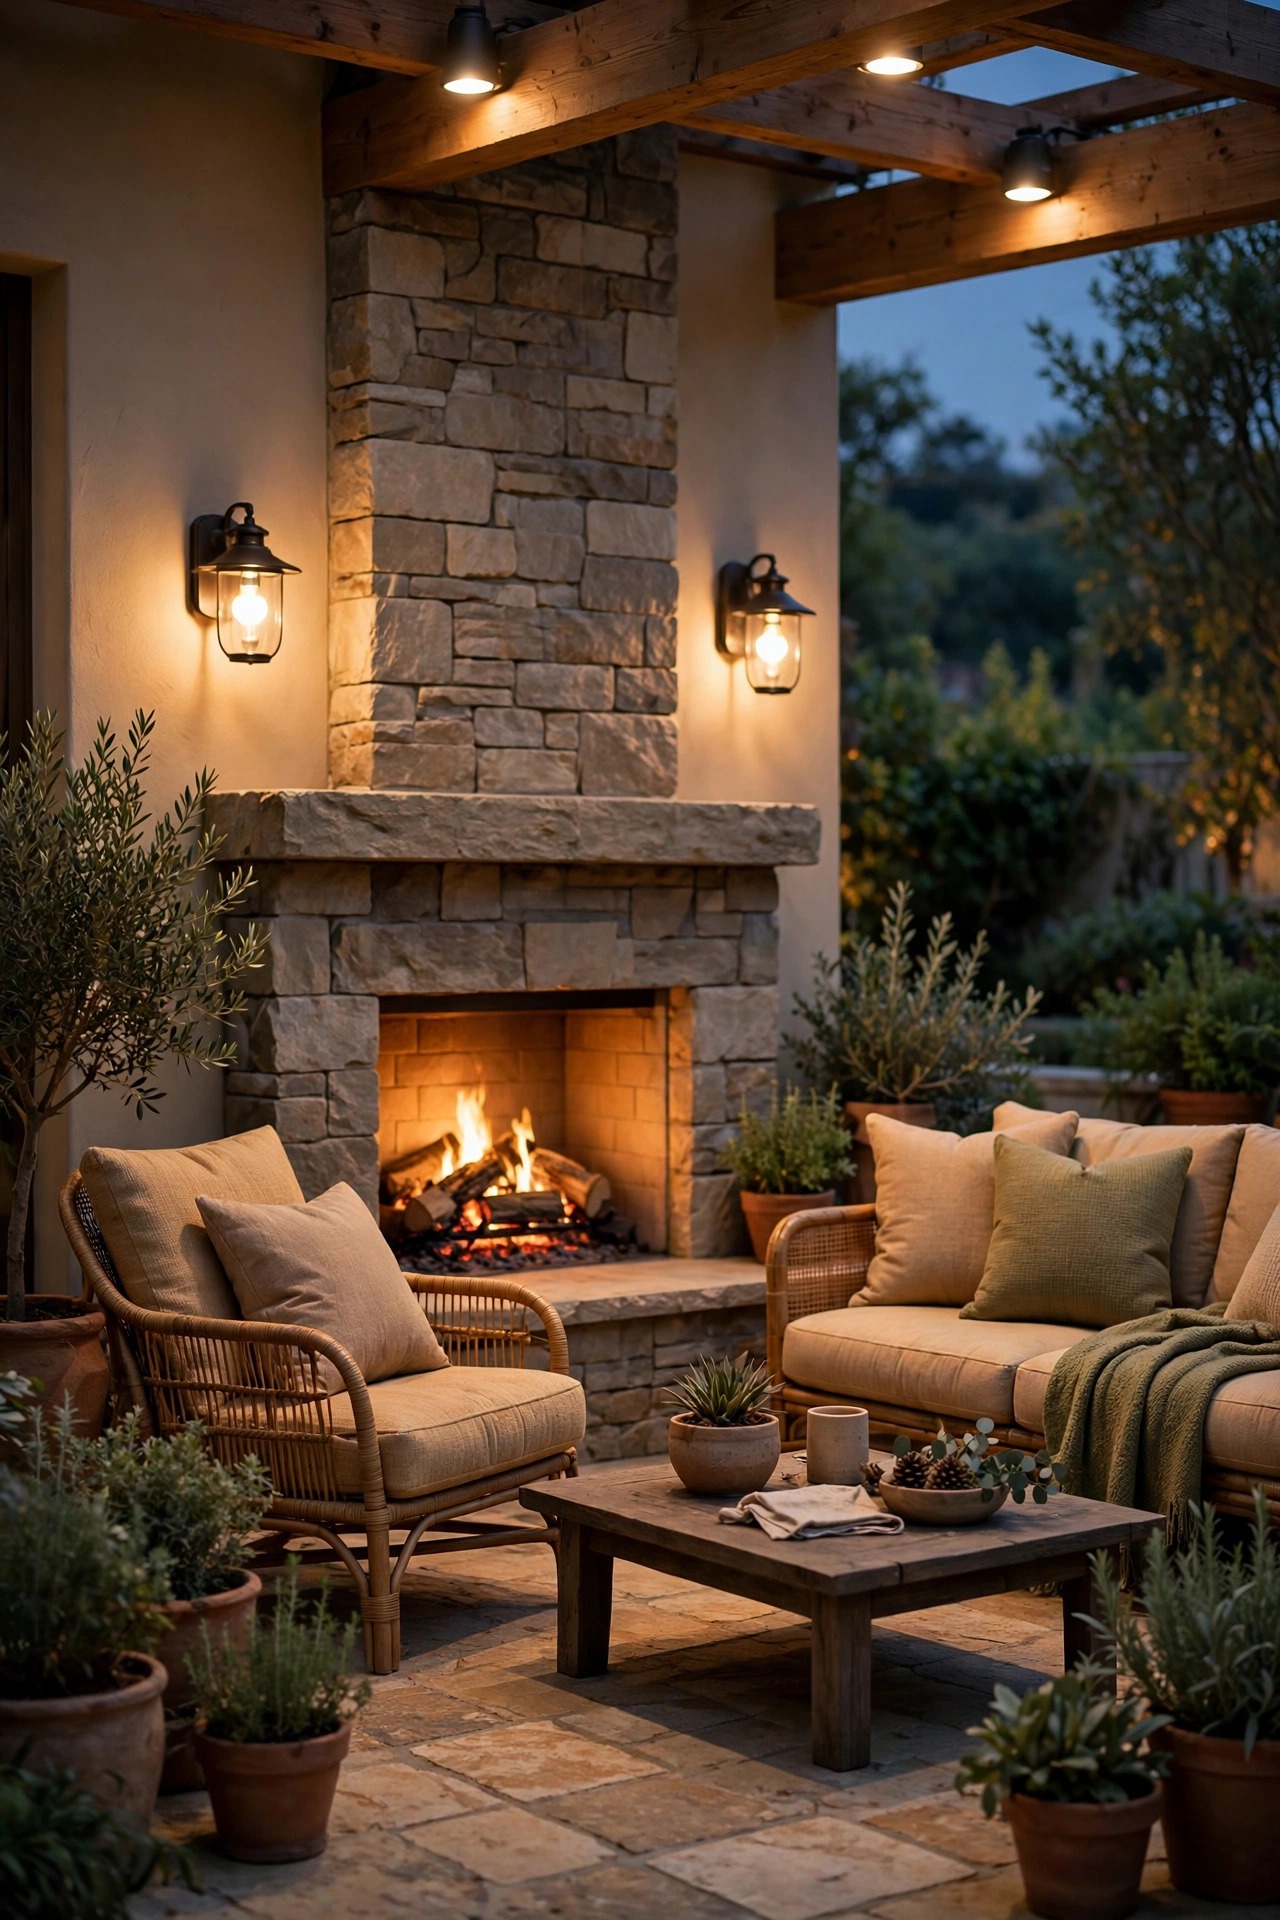
1. Flanking Wall Sconces Beside the Firebox
If I could only add one thing, it would be a pair of sconces flanking the fireplace. Mount one on each side of the surround, or on the posts of a covered patio, at about 66 inches above the floor so the glow sits right at eye level when you are seated. Choose wet-rated fixtures with warm 2700K LED filament bulbs and put them on a dimmer, because on a fire night you want them at maybe 40 percent — present, but never competing. Keep the fixtures at least a foot away from the firebox opening and off the chimney breast itself, since heat rising off the stone will shorten a bulb's life. On our patio, the sconces are the layer I switch on first, before I even strike a match, because they define the "room" and make the fireplace feel like architecture instead of an appliance. If hardwiring is not in the cards, solar or battery sconce lookalikes exist, but the hardwired pair is worth saving for — it is the backbone everything else builds on.
Suggested budget range: $60 – $180.
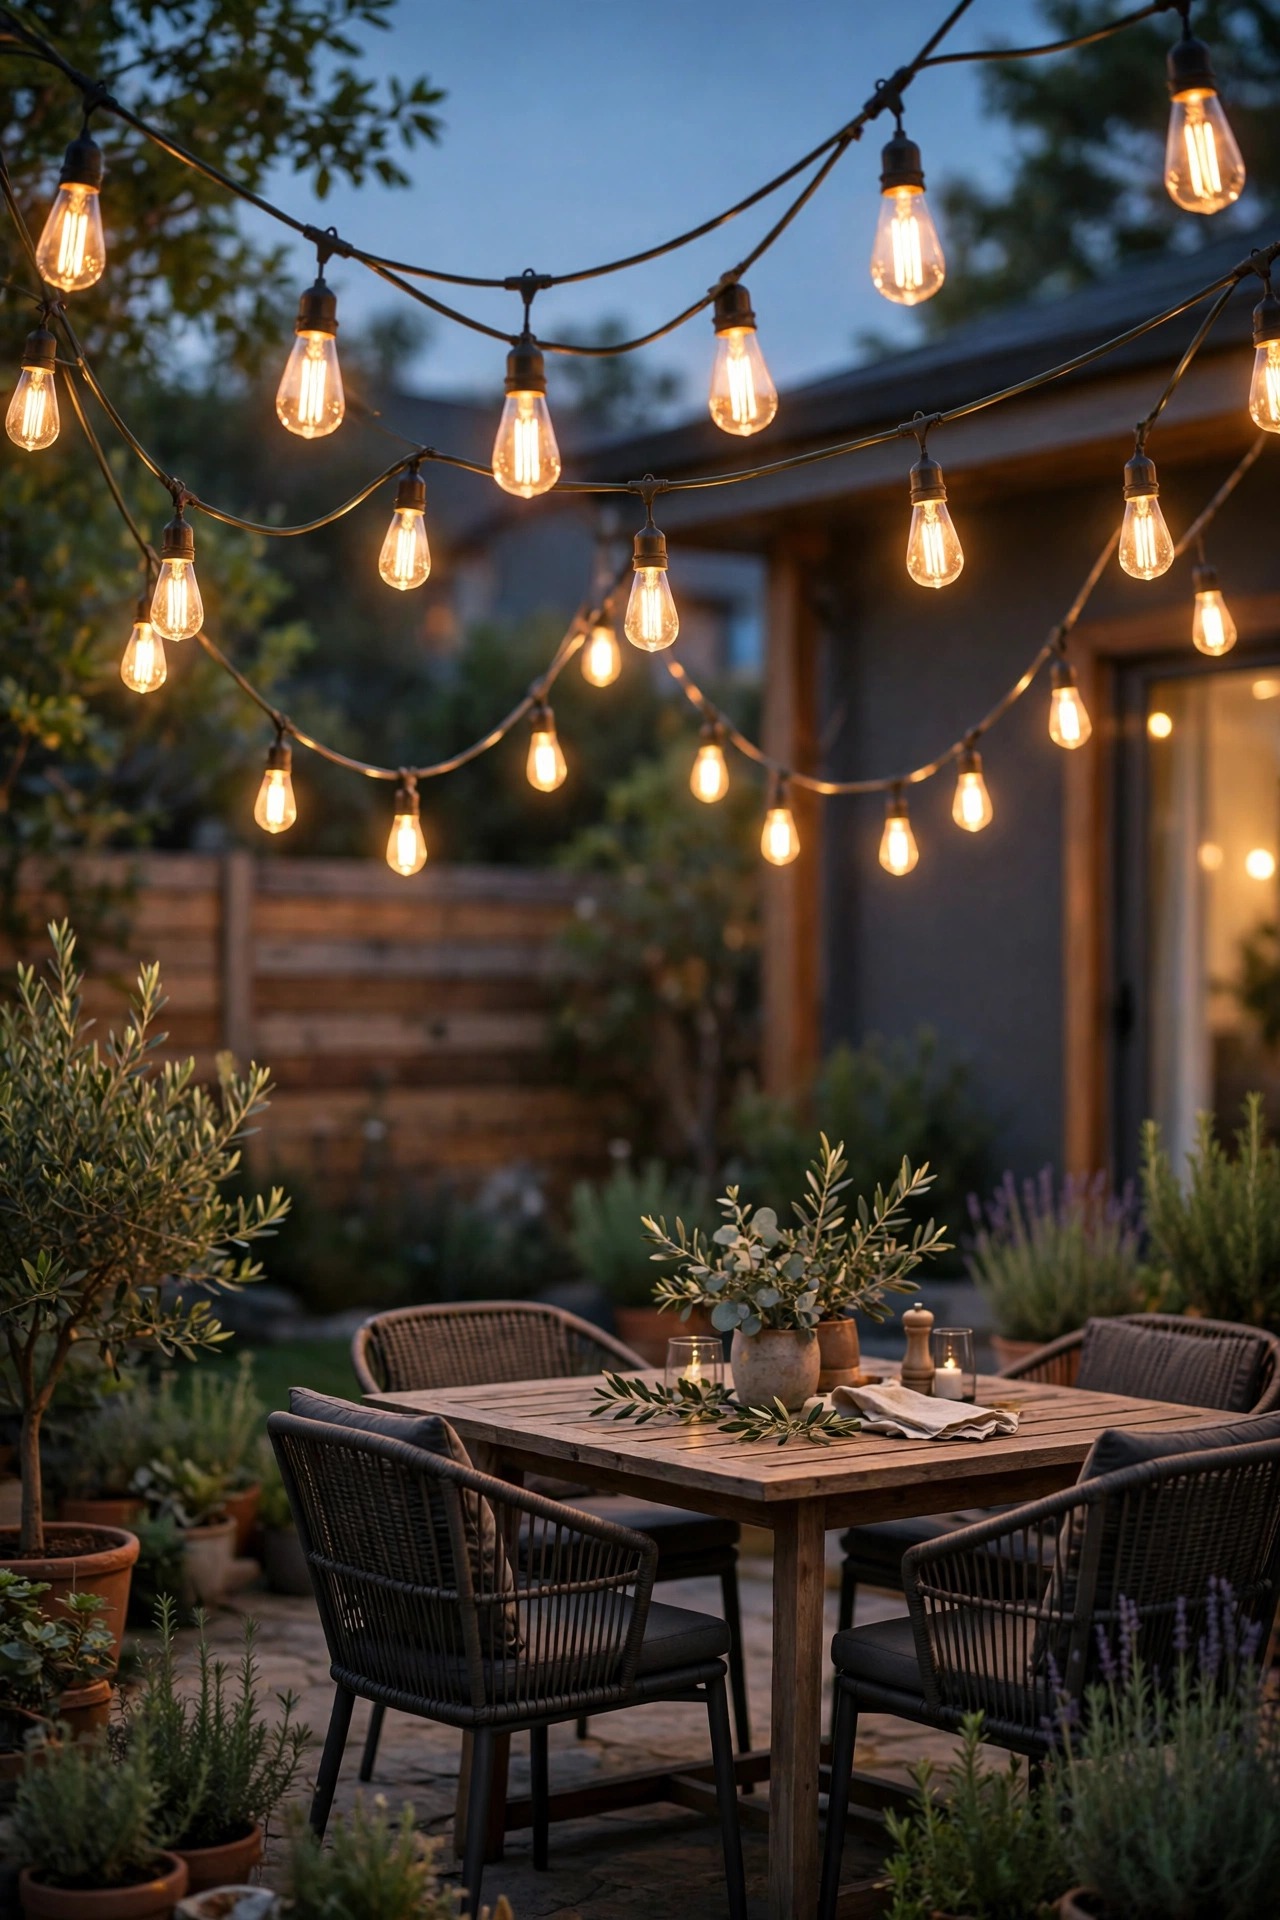
2. Bistro String Lights Swagged Overhead
String lights are the layer that makes guests look up and sigh. I run two or three swags from the house eave or a pergola beam out to poles at the patio's edge, letting each strand dip in a gentle catenary curve. Use a steel guide wire so the weight never hangs on the sockets, and pick shatterproof LED filament bulbs — glass over a stone patio near a fire is a headache waiting to happen. One firm rule from my own scorched experience: never run a strand directly over the flue or a chiminea's chimney. Rising heat and soot will cook the bulbs and blacken the cord. Keep the strings over the seating, offset from the smoke path, and let the fire be the thing glowing in the middle. An inline dimmer plug turns the whole canopy from "party bright" to "ember soft" in one slide, and that little gadget might be the best twenty dollars I have spent on this patio.
Suggested budget range: $35 – $120.
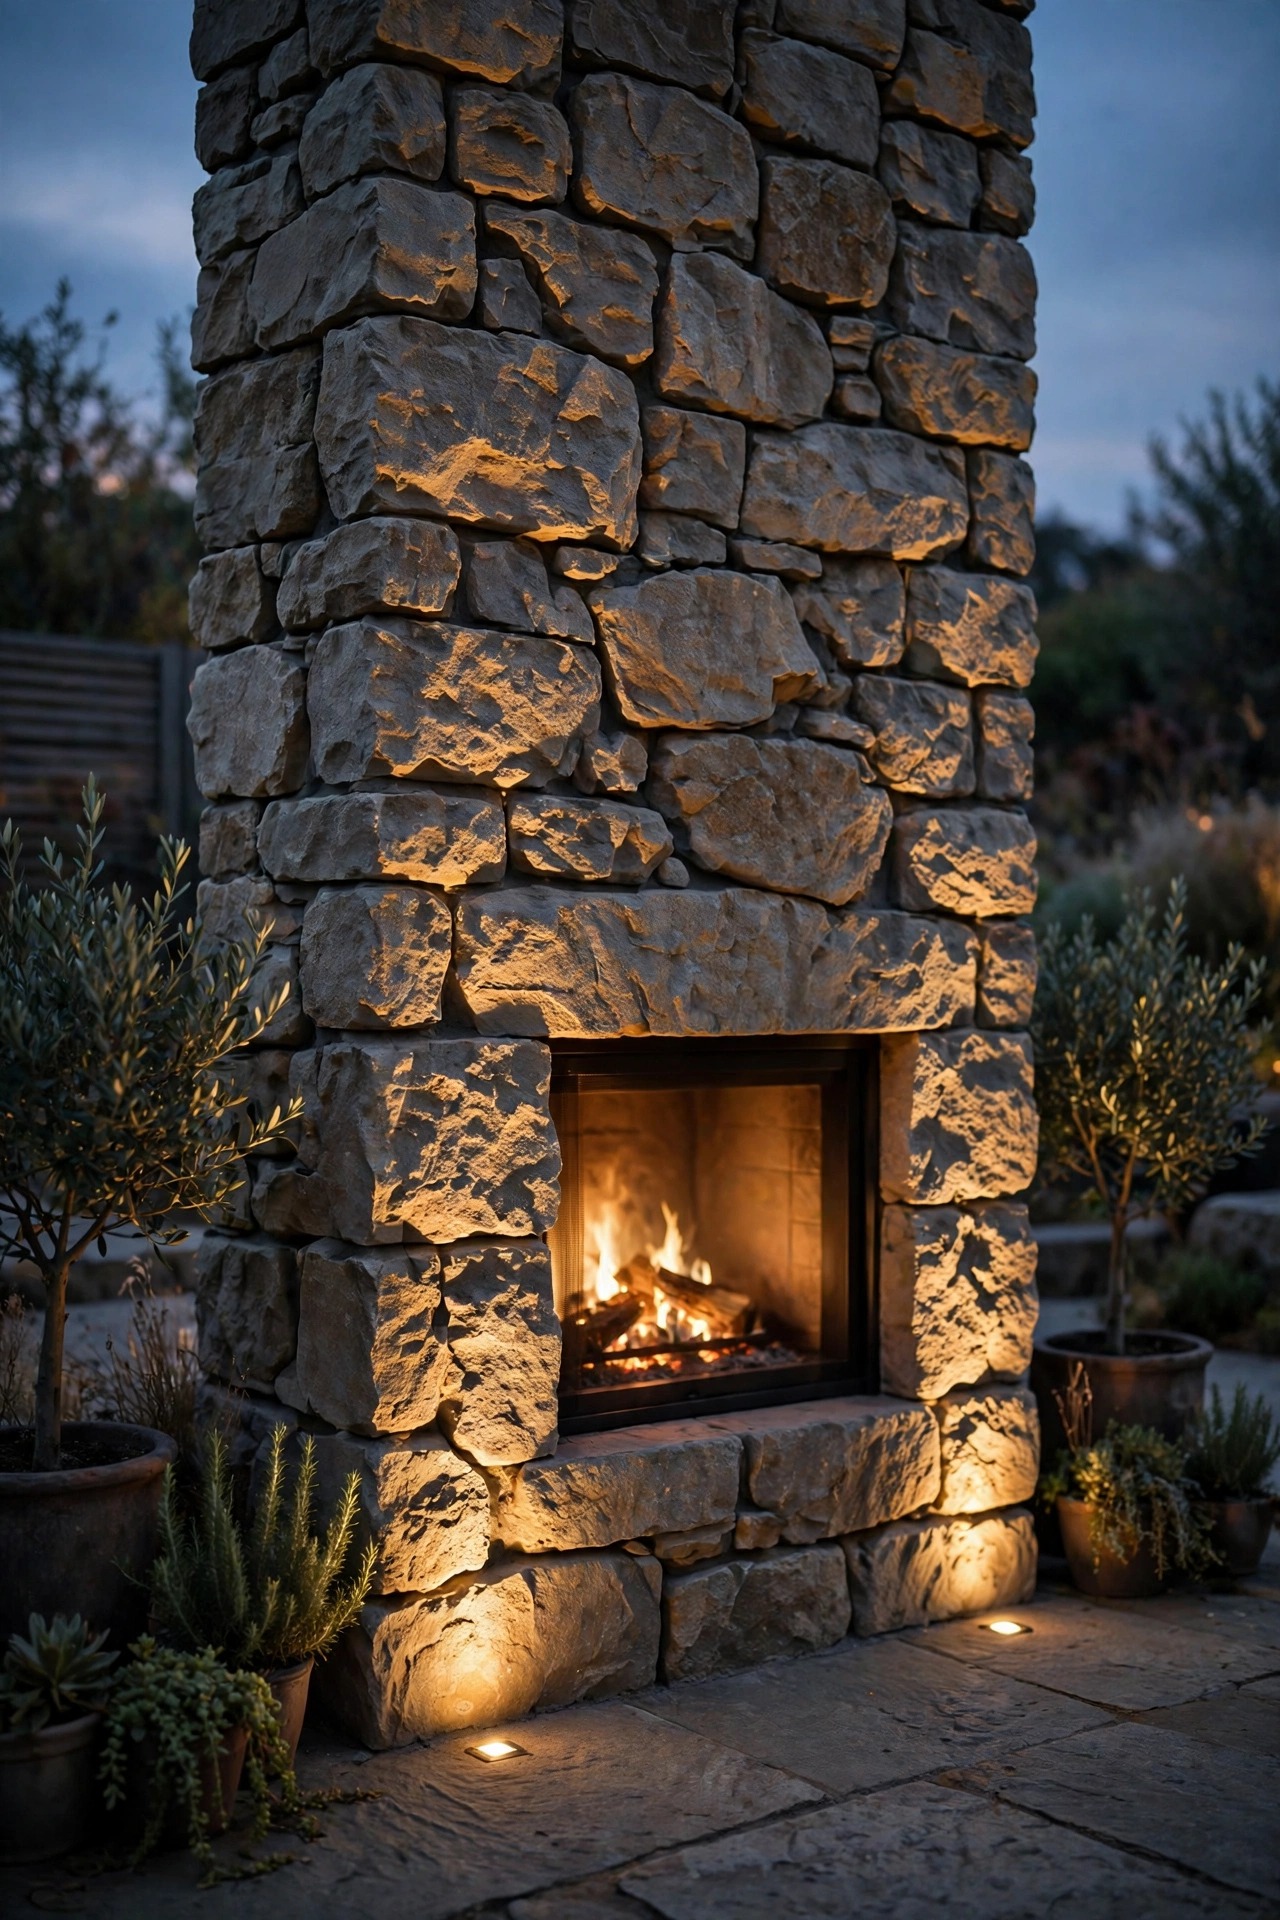
3. Uplights That Graze the Stonework
Stone and brick are hiding their best feature until you light them from below. I place two low-voltage spotlights or well lights about 12 to 18 inches out from the base of the fireplace, aimed steeply upward with a narrow 15- to 30-degree beam. That raking angle drags every bump and mortar line into relief, and at night the surround honestly looks twice as expensive as it was. Keep the fixtures out of the ash and log-carrying zone in front of the hearth — I tuck mine just outside the traffic path and angle them slightly inward from each corner. A low-voltage system is the right call here: it is forgiving to install, safe to reposition while you experiment, and cheap to run. Spend one evening moving the lights a few inches at a time with the fire lit. When the shadows on the stone match the flicker of the flames, you will know you have found the spot.
Suggested budget range: $50 – $160.
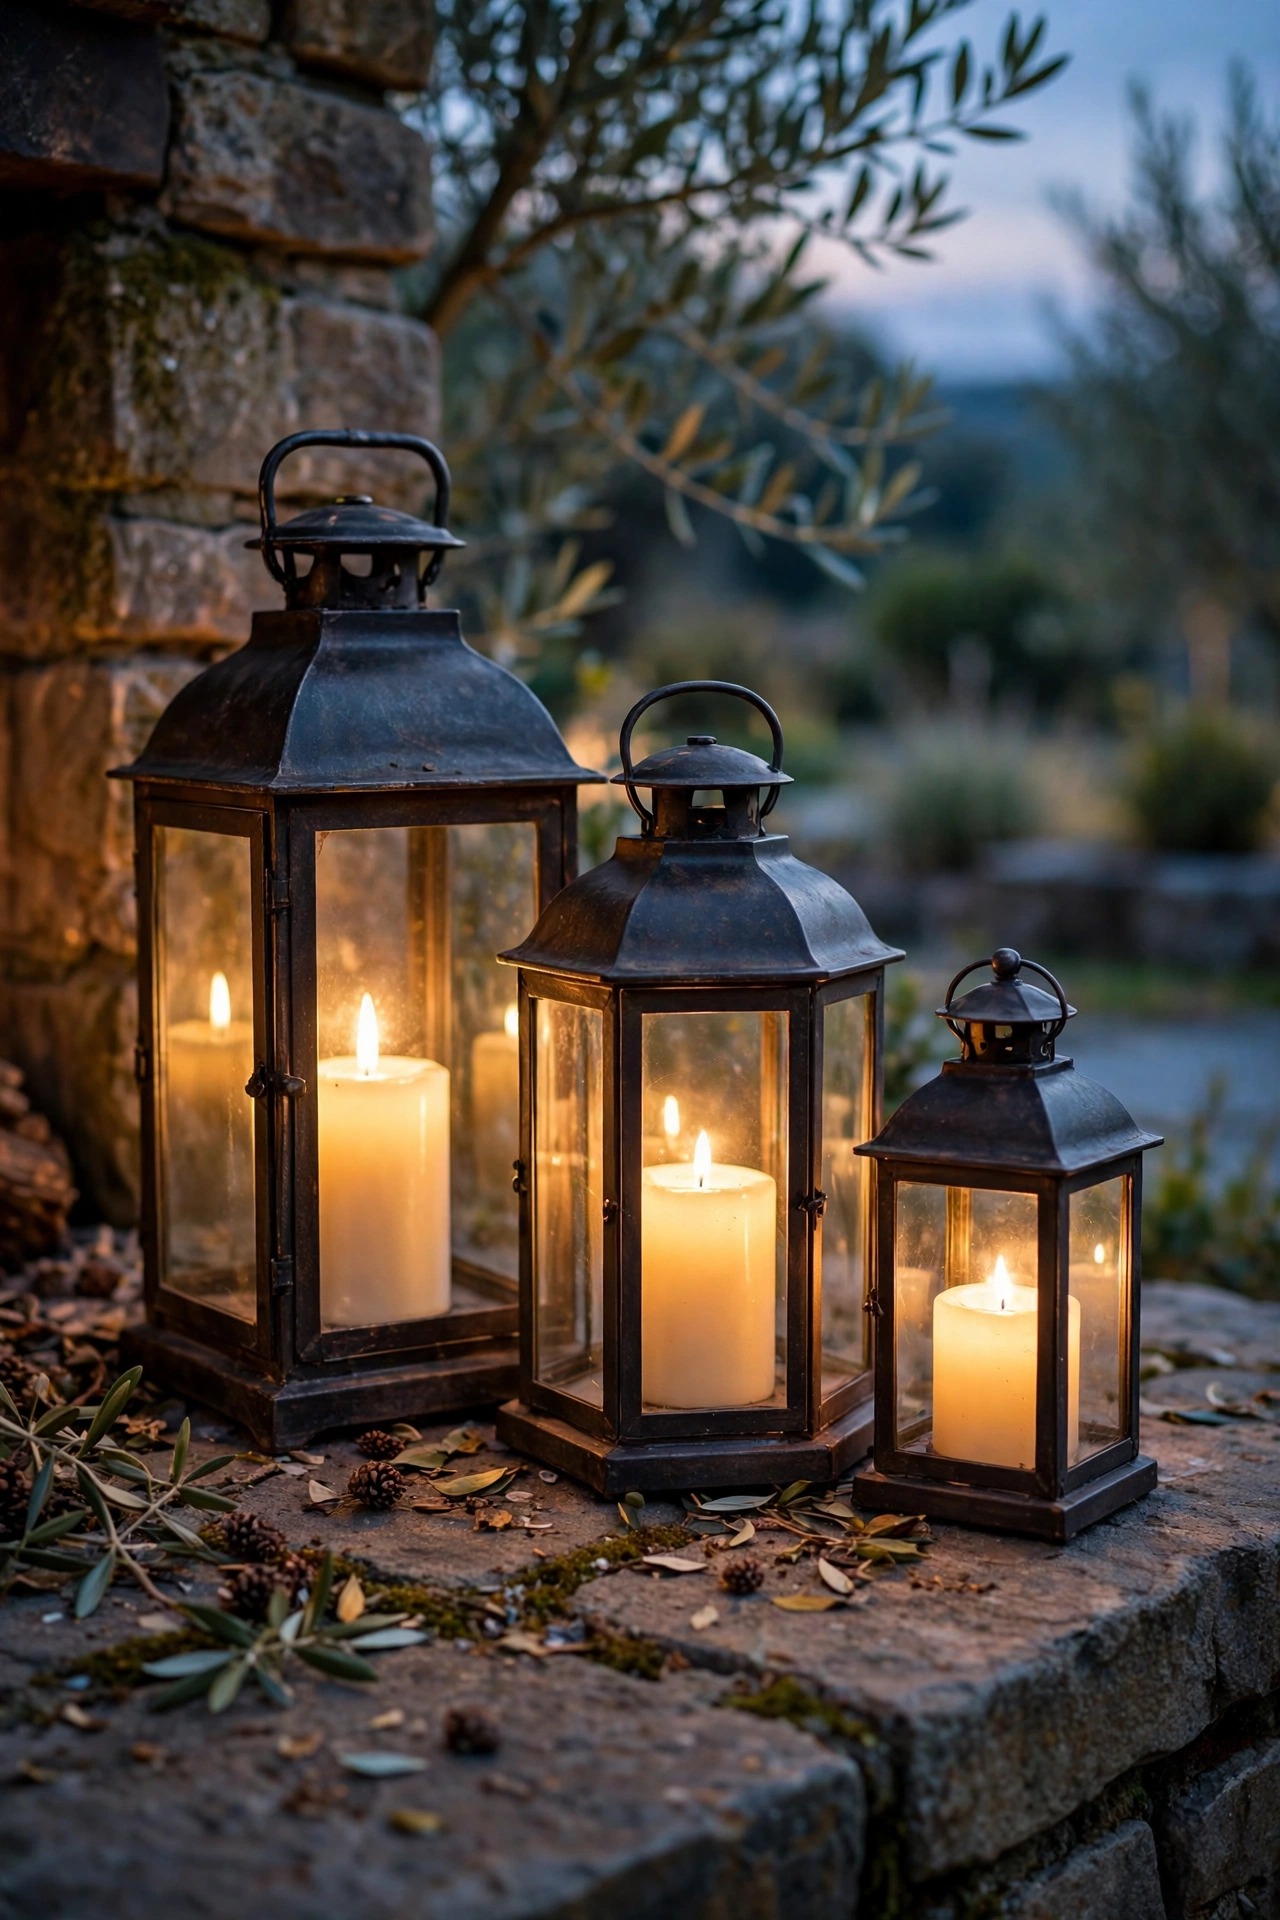
4. Lantern Clusters Arranged on the Hearth
This is my five-minute, no-tools favorite. Group three lanterns in mixed heights — say 12, 18 and 24 inches — on one side of the hearth extension, and a single tall one on the other side to keep things asymmetrical and interesting. Inside go flameless LED candles with timers, not real candles; you already have one live flame to enjoy, and wax near a working fireplace just melts into a mess on a warm night. Set the timers to click on at dusk so the patio is glowing before you carry out the first log. Black metal lanterns read classic against stone, while weathered wood or copper finishes soften a brick surround. Because nothing is fixed, I reshuffle the cluster every season — clustered tight in winter for a cozy huddle, spread along the hearth edge in summer. If a lantern's candle looks too perfect, choose one with a realistic flicker mode; side by side with real firelight, a steady glowing candle gives itself away instantly.
Suggested budget range: $25 – $90.
5. Path Lights Guiding Guests to the Fire
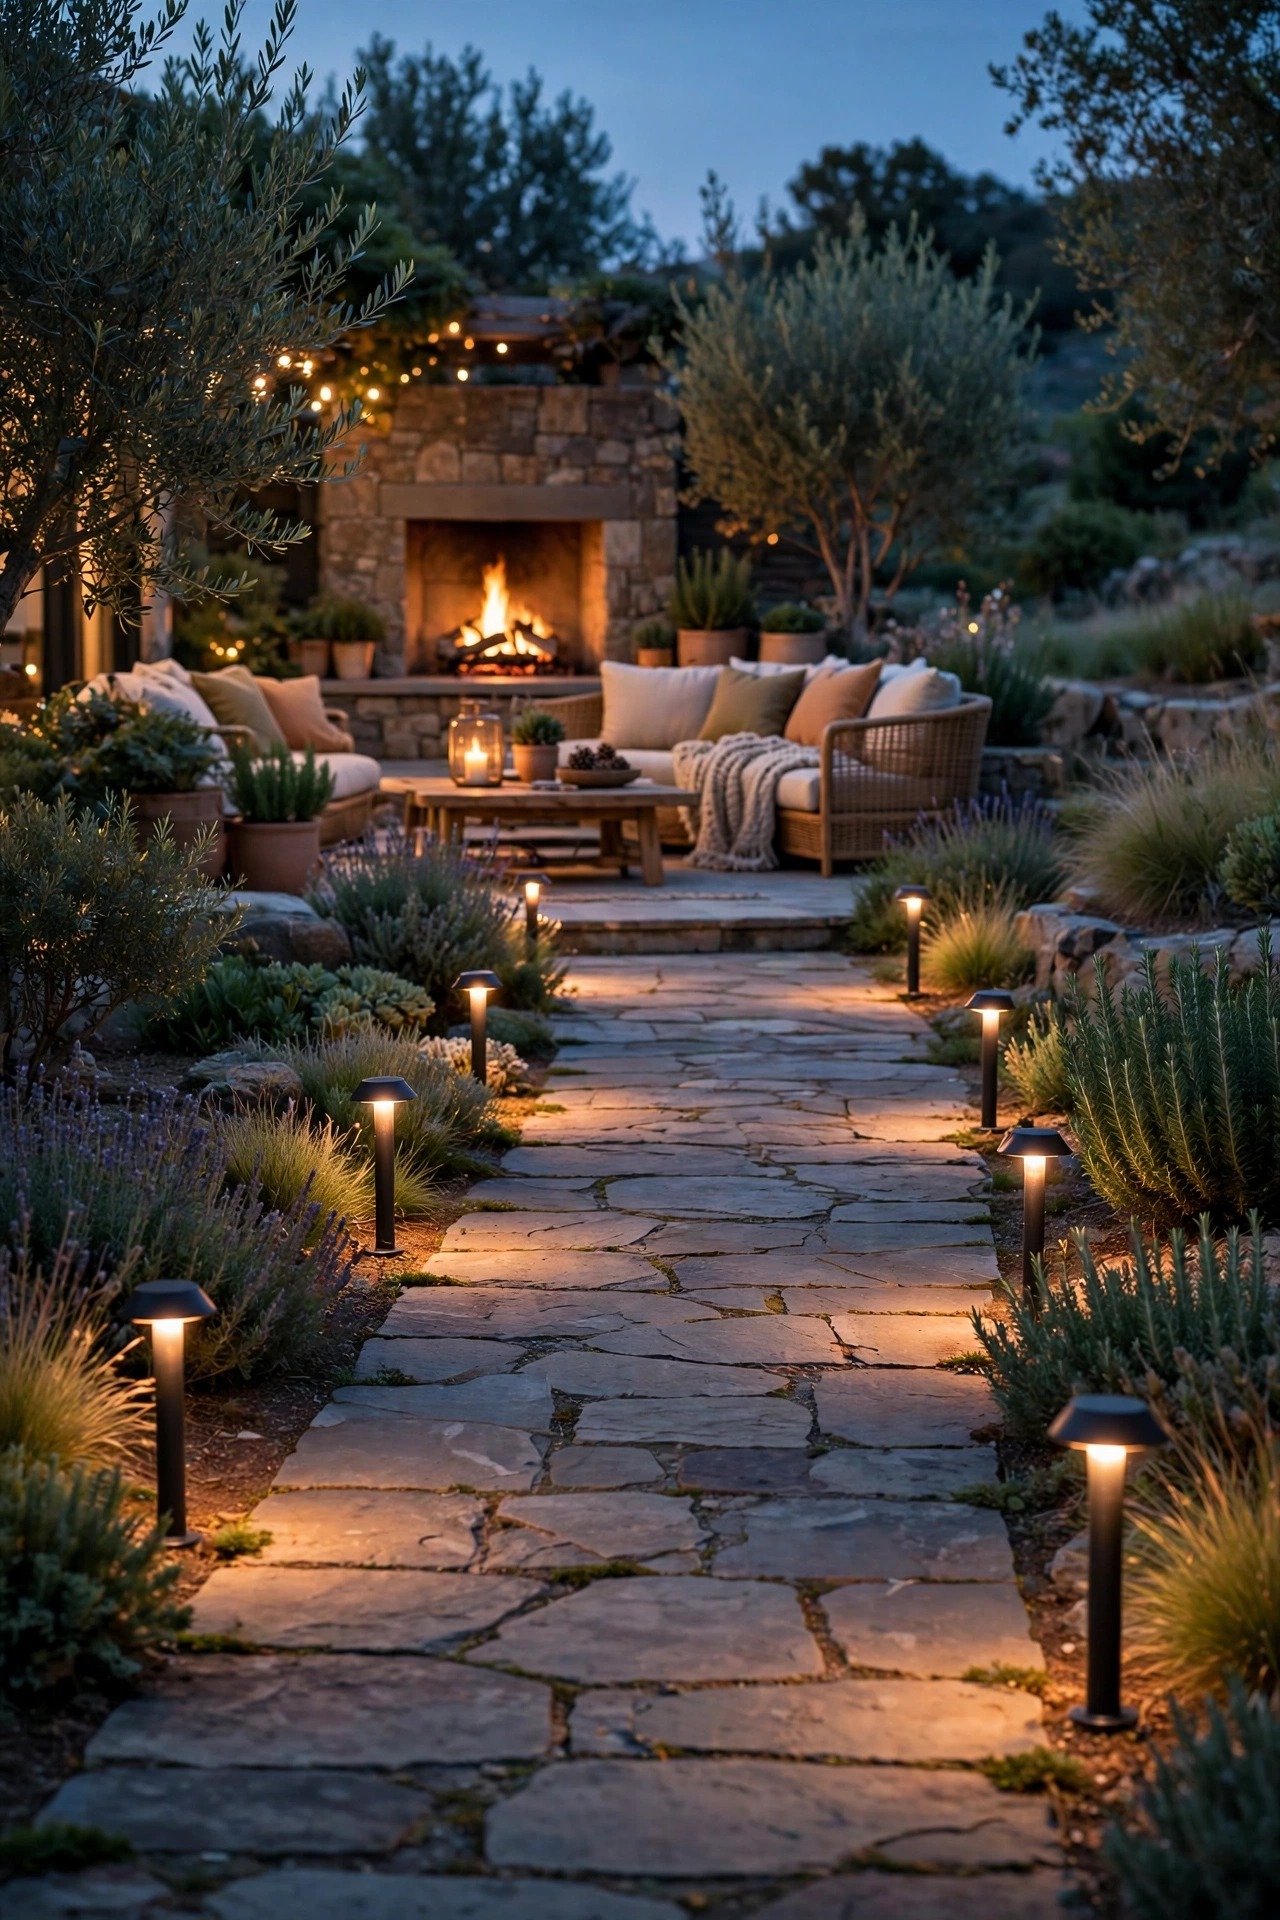
A fire draws people across a dark yard, so give them a lit route to follow. I run low path lights from the back door and the patio steps out to the fireplace seating, spaced about 6 to 8 feet apart and staggered rather than lined up like a runway. Pick shielded fixtures that throw their light down onto the pavers — bare bulbs at ankle height glare straight into seated eyes once guests settle in, which ruins the mood you worked so hard on. Warm 2700K, always; cool white path lights next to firelight look like a parking lot wandered into your evening. The same thinking works around a fire pit, and my notes on fire pit area lighting cover spacing in more detail if your setup has both features. Low-voltage sets wire up in an afternoon, and solar stakes can fill gaps while you decide whether the layout earns a permanent run.
Suggested budget range: $40 – $150.
6. Step Lights for the Raised Hearth
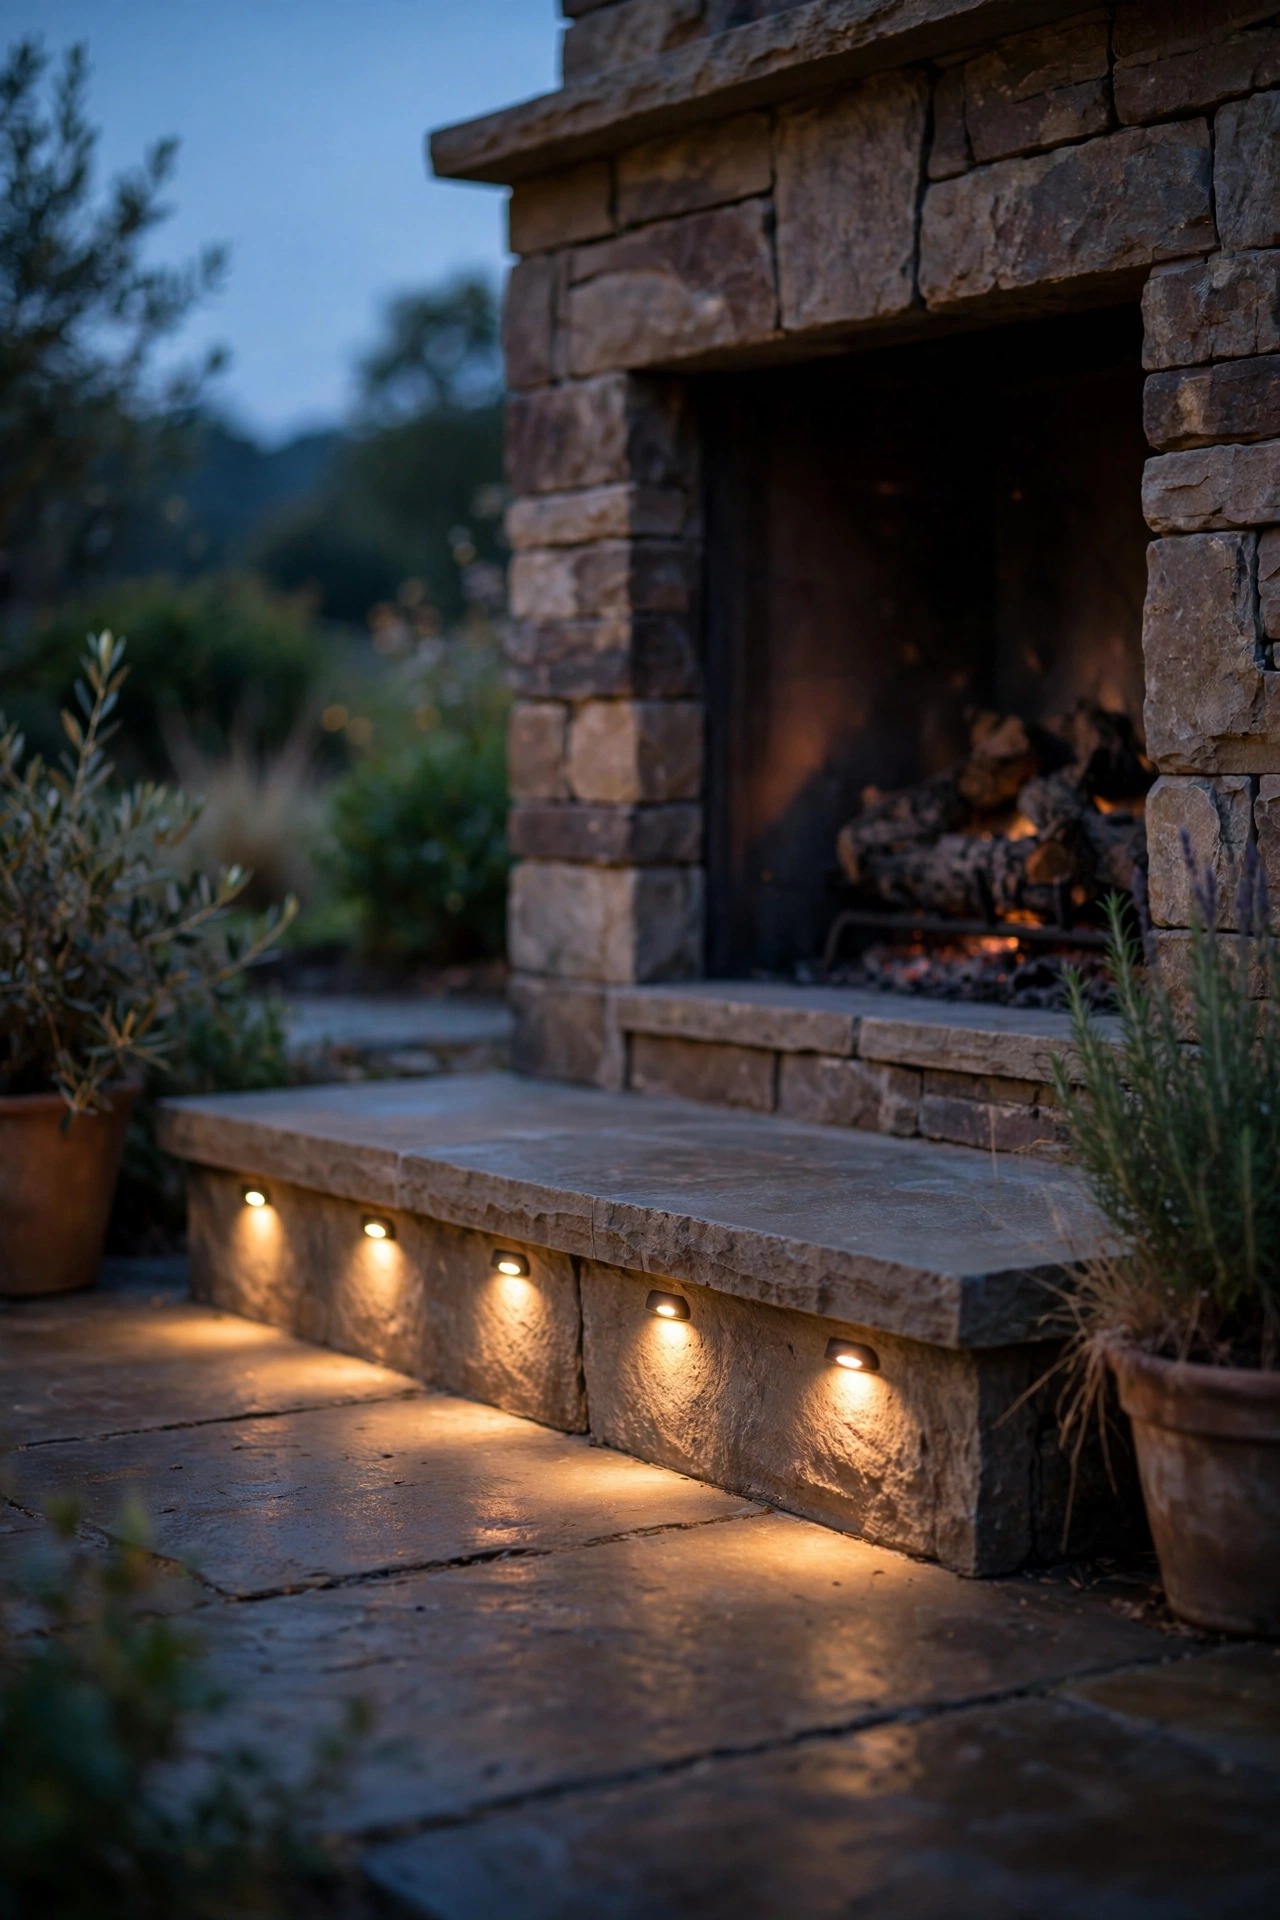
Raised hearths and seating walls create exactly the kind of level change people misjudge after dark, especially carrying drinks. Recessed step lights tucked into the hearth riser or the face of a seating wall fix it quietly — a soft wash across the step, no glare, no fixture to kick. I install them about 12 inches above the tread surface, one for every 4 to 5 feet of width, so the whole edge reads as a gentle line of light. Hardwired low-voltage versions disappear into masonry during a build, but surface-mounted LED pucks are a respectable retrofit if your fireplace is already finished. In my experience this is the layer guests never notice and always benefit from; nobody says "great step lights," they just never stumble. Choose fixtures with hooded or louvered faces so the light stays on the step where it belongs. It is a safety layer, yes, but it also quietly outlines the architecture of the whole fireplace wall.
Suggested budget range: $45 – $140.
7. Flame-Effect Candles Along the Mantel
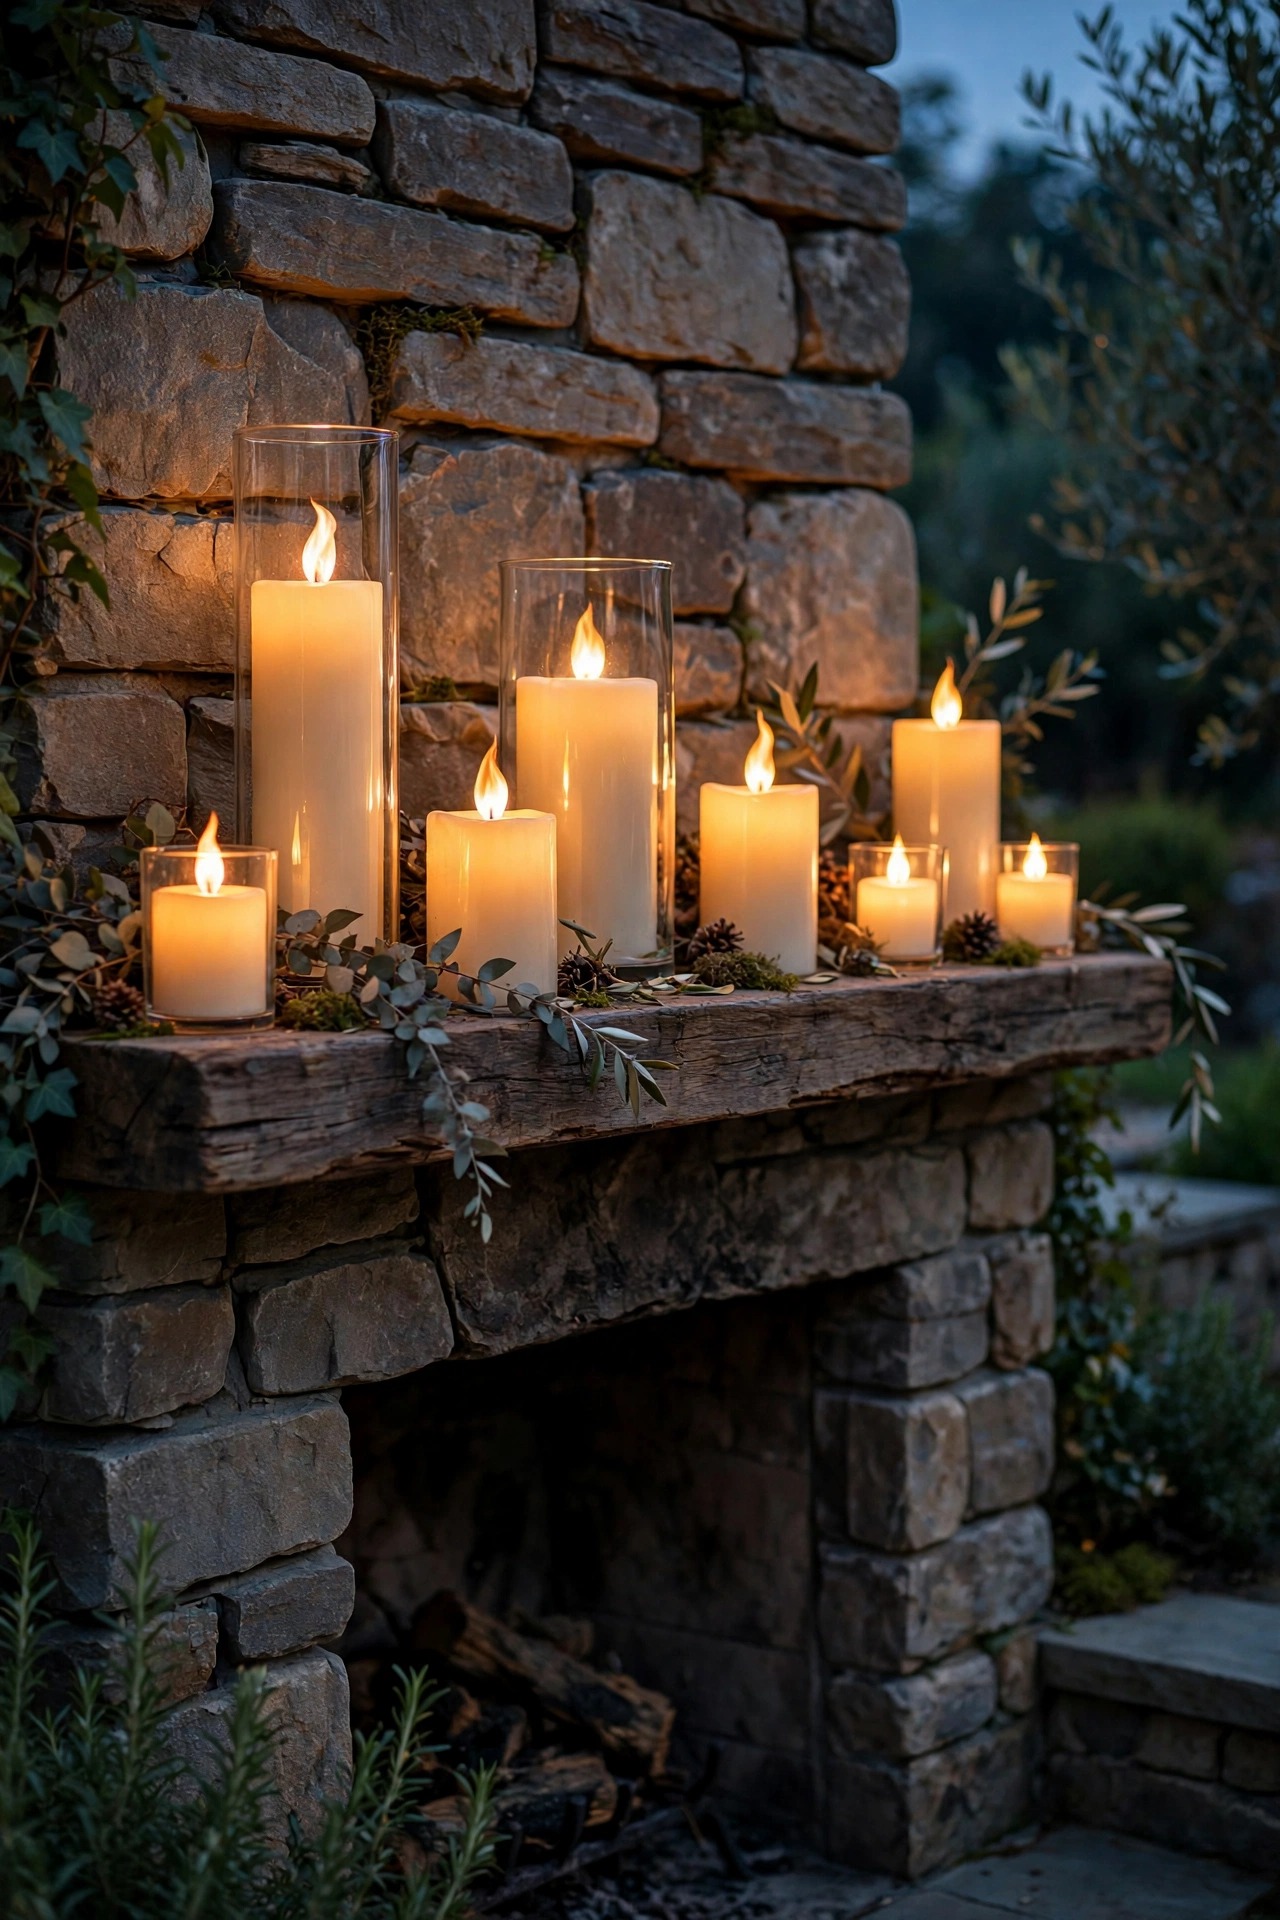
A mantel shelf is prime real estate, and flame-effect LED candles were made for it. Their flicker is convincing enough that from a chair six feet away, guests genuinely cannot tell them from the real thing — and unlike real candles, they will not puddle wax in the afternoon sun while they wait for evening. I line up five to seven in mixed heights, nestled between a small potted herb and a stack of spare coasters, all on a shared timer. My full roundup of flame effect light ideas has more flicker styles if you want to compare before buying. Keep the candles toward the front edge of the shelf and well back from anywhere sparks could land if your fireplace throws them; most outdoor fireplaces with a proper screen will not, but habits are cheap insurance. When the real fire dies down at midnight, the mantel candles keep the glow going while you finish the last conversation.
Suggested budget range: $20 – $70.
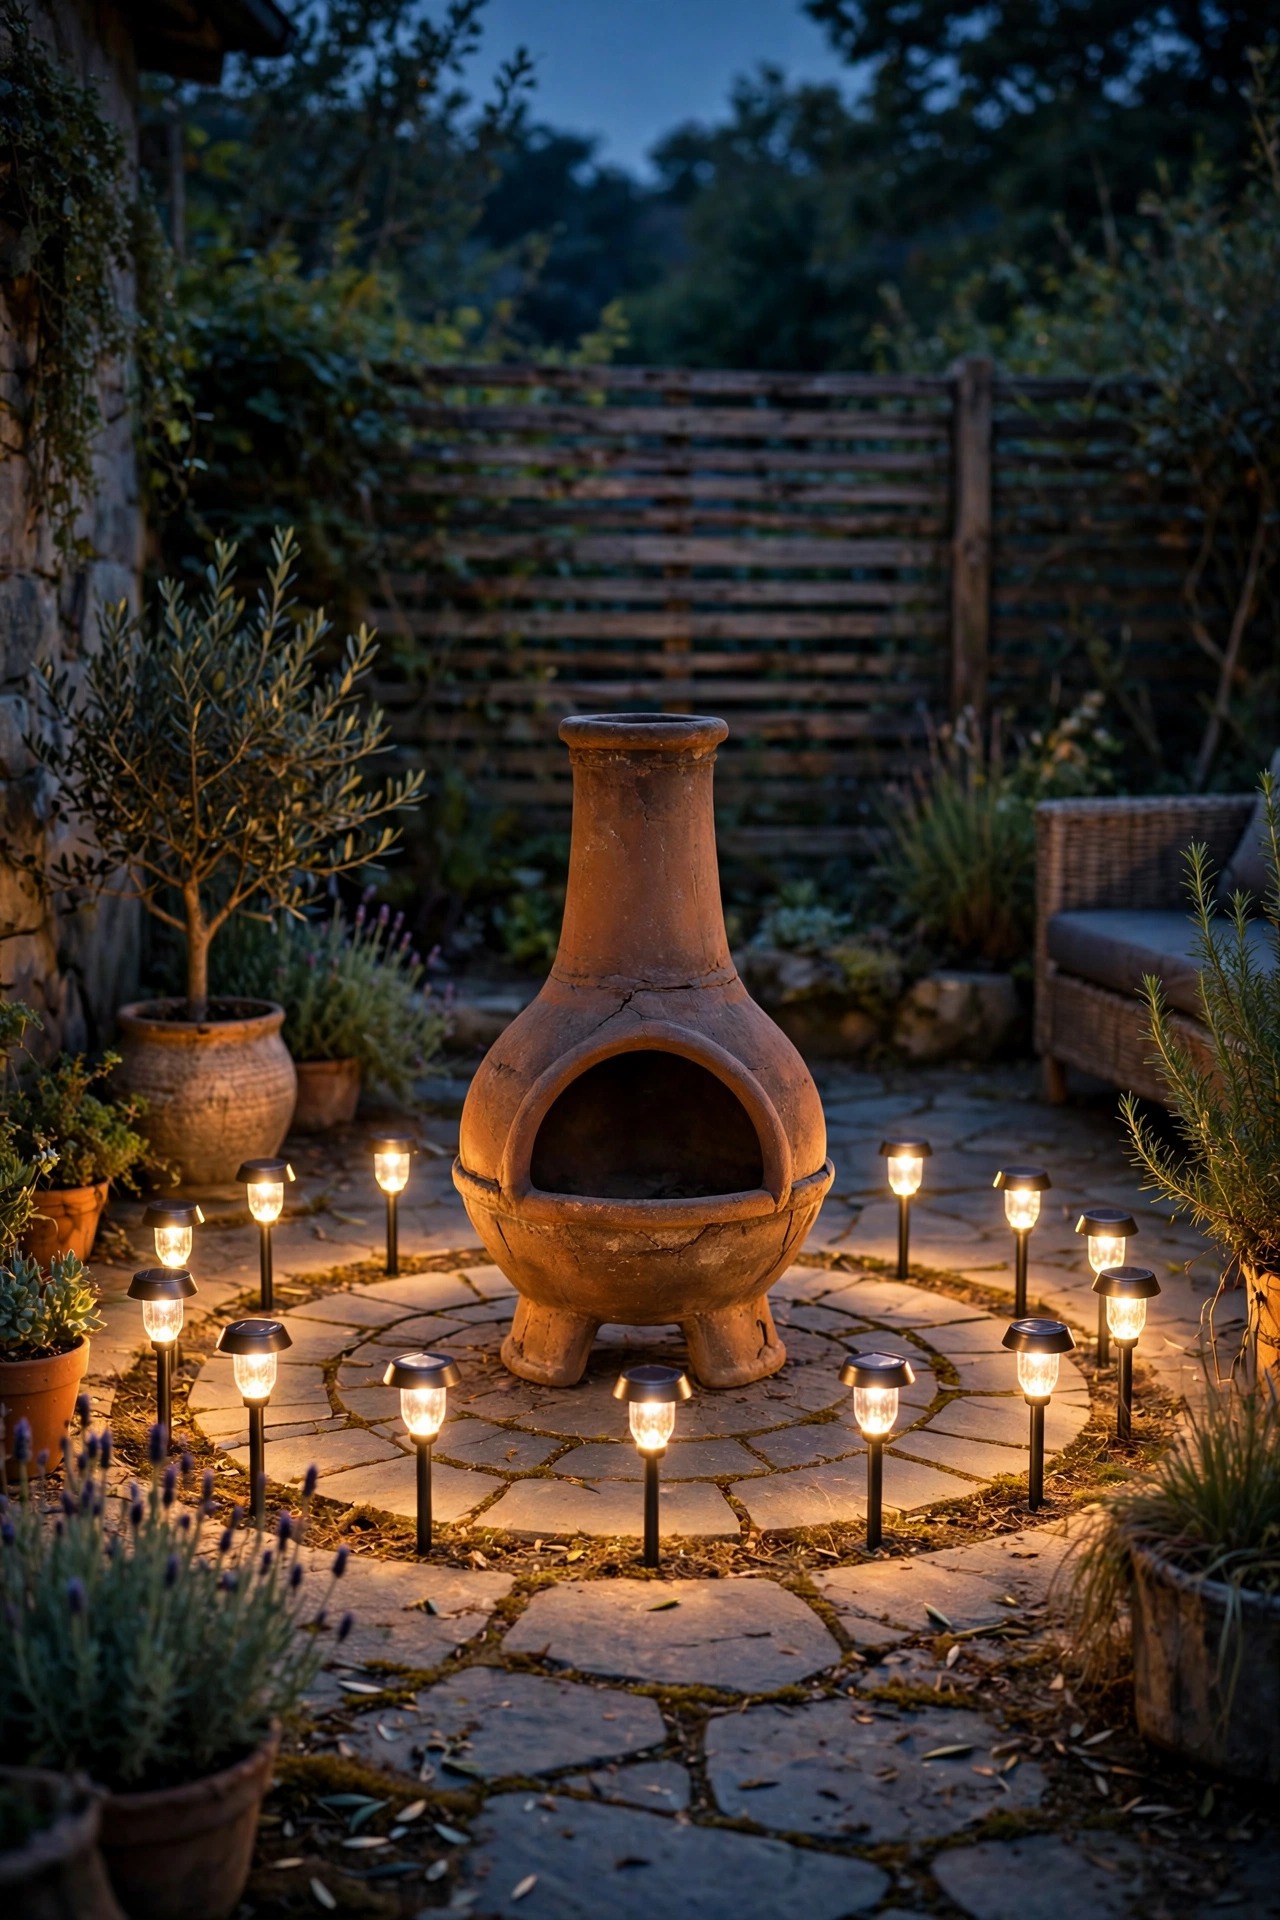
8. Chiminea Corner: Patio Fireplace Lighting Ideas for Small Spaces
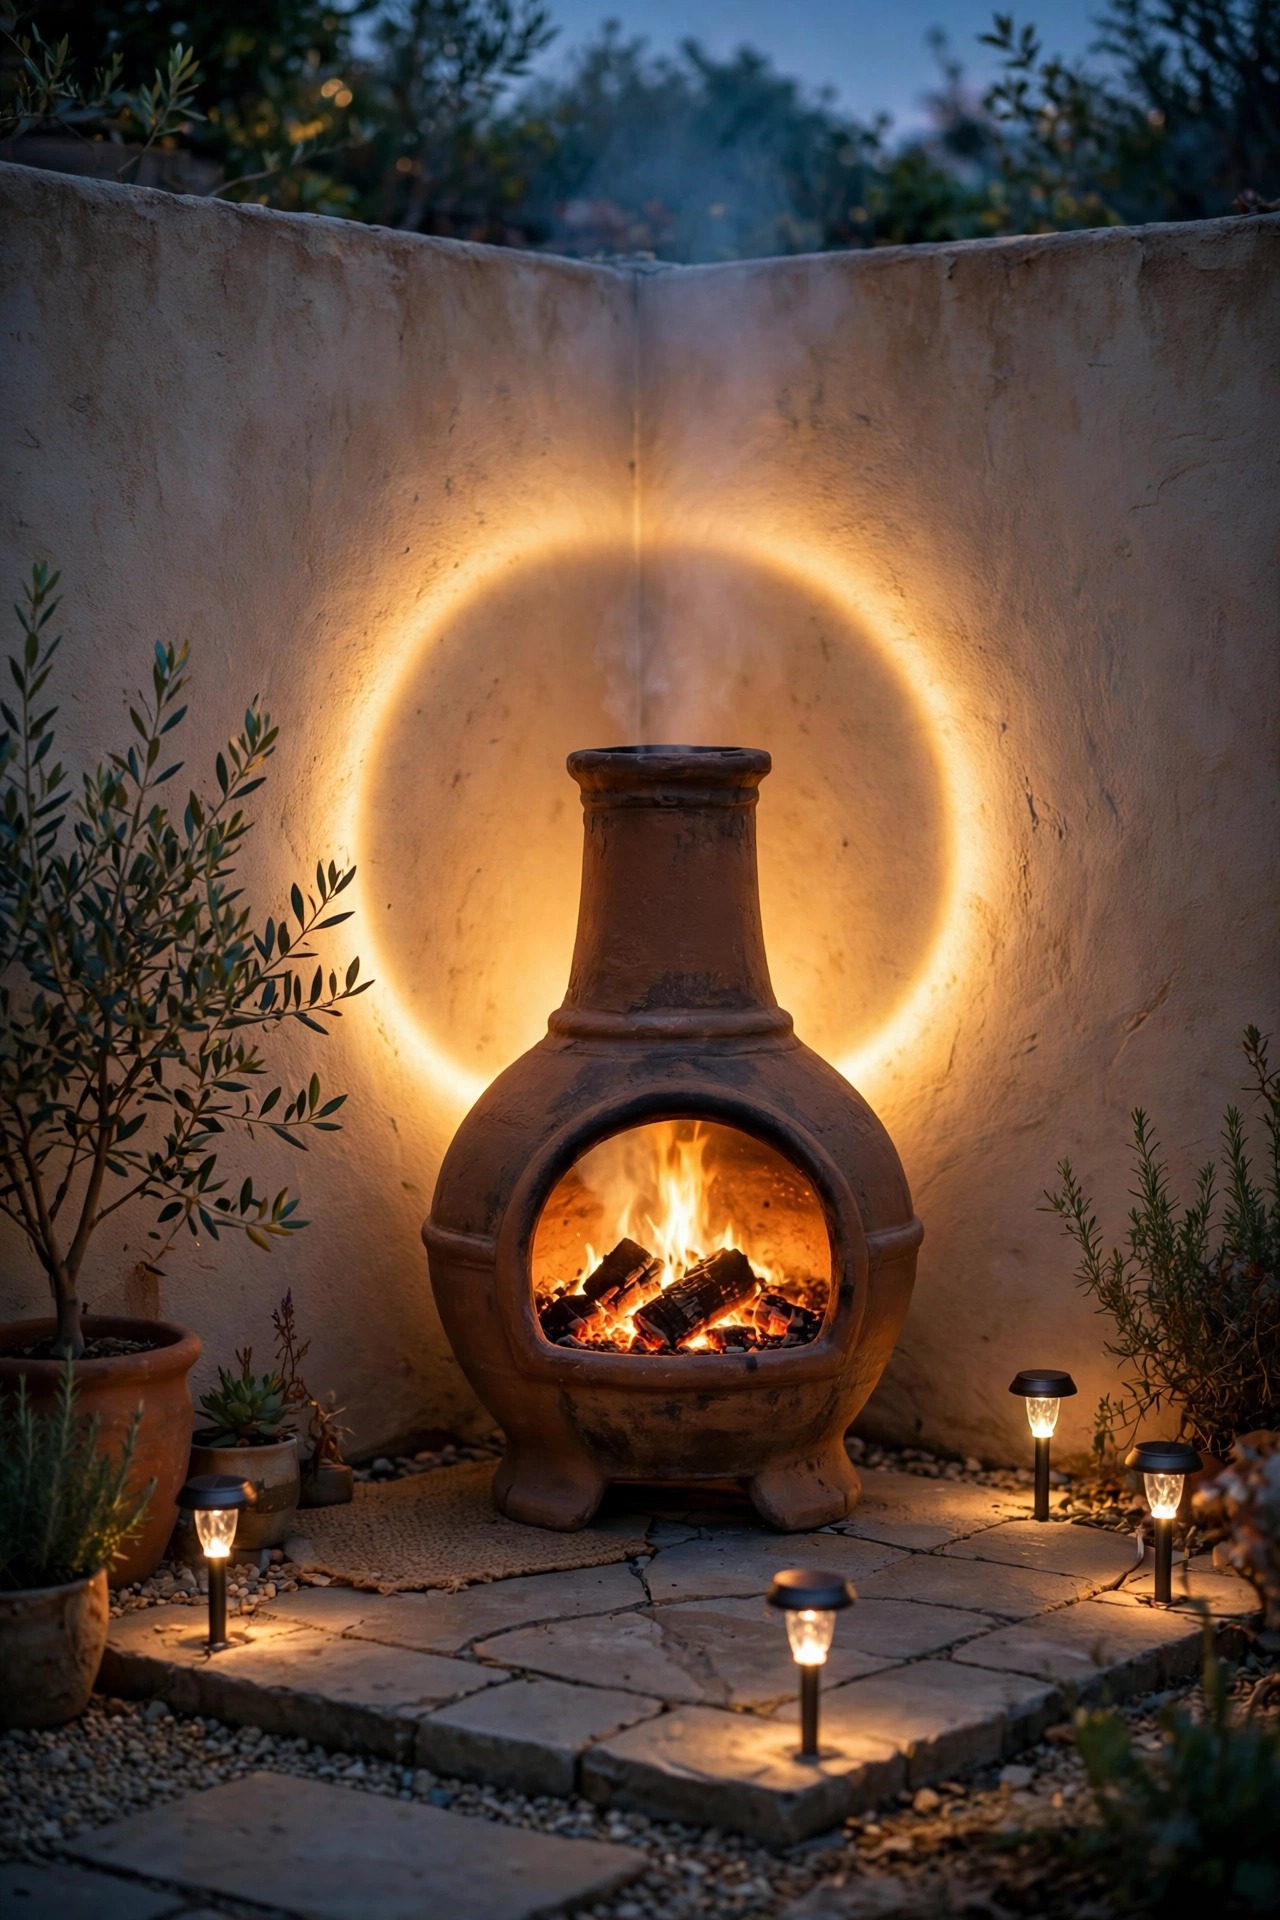
A chiminea on a small patio does not need much, but it needs intention. My small-space recipe has three parts. First, one small spotlight tucked behind and to the side of the chiminea, aimed at the fence or wall behind it, so the whole corner gets a halo and the chiminea's silhouette reads against it. Second, a loose ring of low solar stakes or a short strand of string lights defining the edge of the pad, so bare feet learn the boundary. Third, keep everything flameless within about 3 feet of the chiminea body — a clay or cast-iron chiminea radiates serious heat out of its sides, and plastic fixtures too close will soften and scorch. Set the chiminea on a non-combustible pad, keep its spark screen on, and let the lighting frame the scene from a respectful distance. A small lantern on the side table finishes it. Small patio, same cozy payoff.
Suggested budget range: $30 – $110.
9. Solar Stake Lights Ringing the Chiminea Pad
For a chiminea that lives on grass or a gravel pad, a ring of solar stake lights is the simplest boundary you will ever install — push them in, done. I space mine about 18 inches apart in a loose arc around the front and sides of the pad, leaving the back open for adding wood. Be honest with yourself about brightness: these are markers, not work lights, and that soft dotted outline is exactly the job. Warm-white versions only, please; the bluish solar glow fights firelight something fierce. Two habits keep them happy. Wipe the little solar panels with a damp cloth every few weeks, because wood smoke film quietly throttles charging near a fireplace. And in deep winter, if your chiminea hibernates in the shed, pull the stakes and store them indoors too — batteries that freeze and thaw all season rarely see a second spring.
Suggested budget range: $20 – $60.
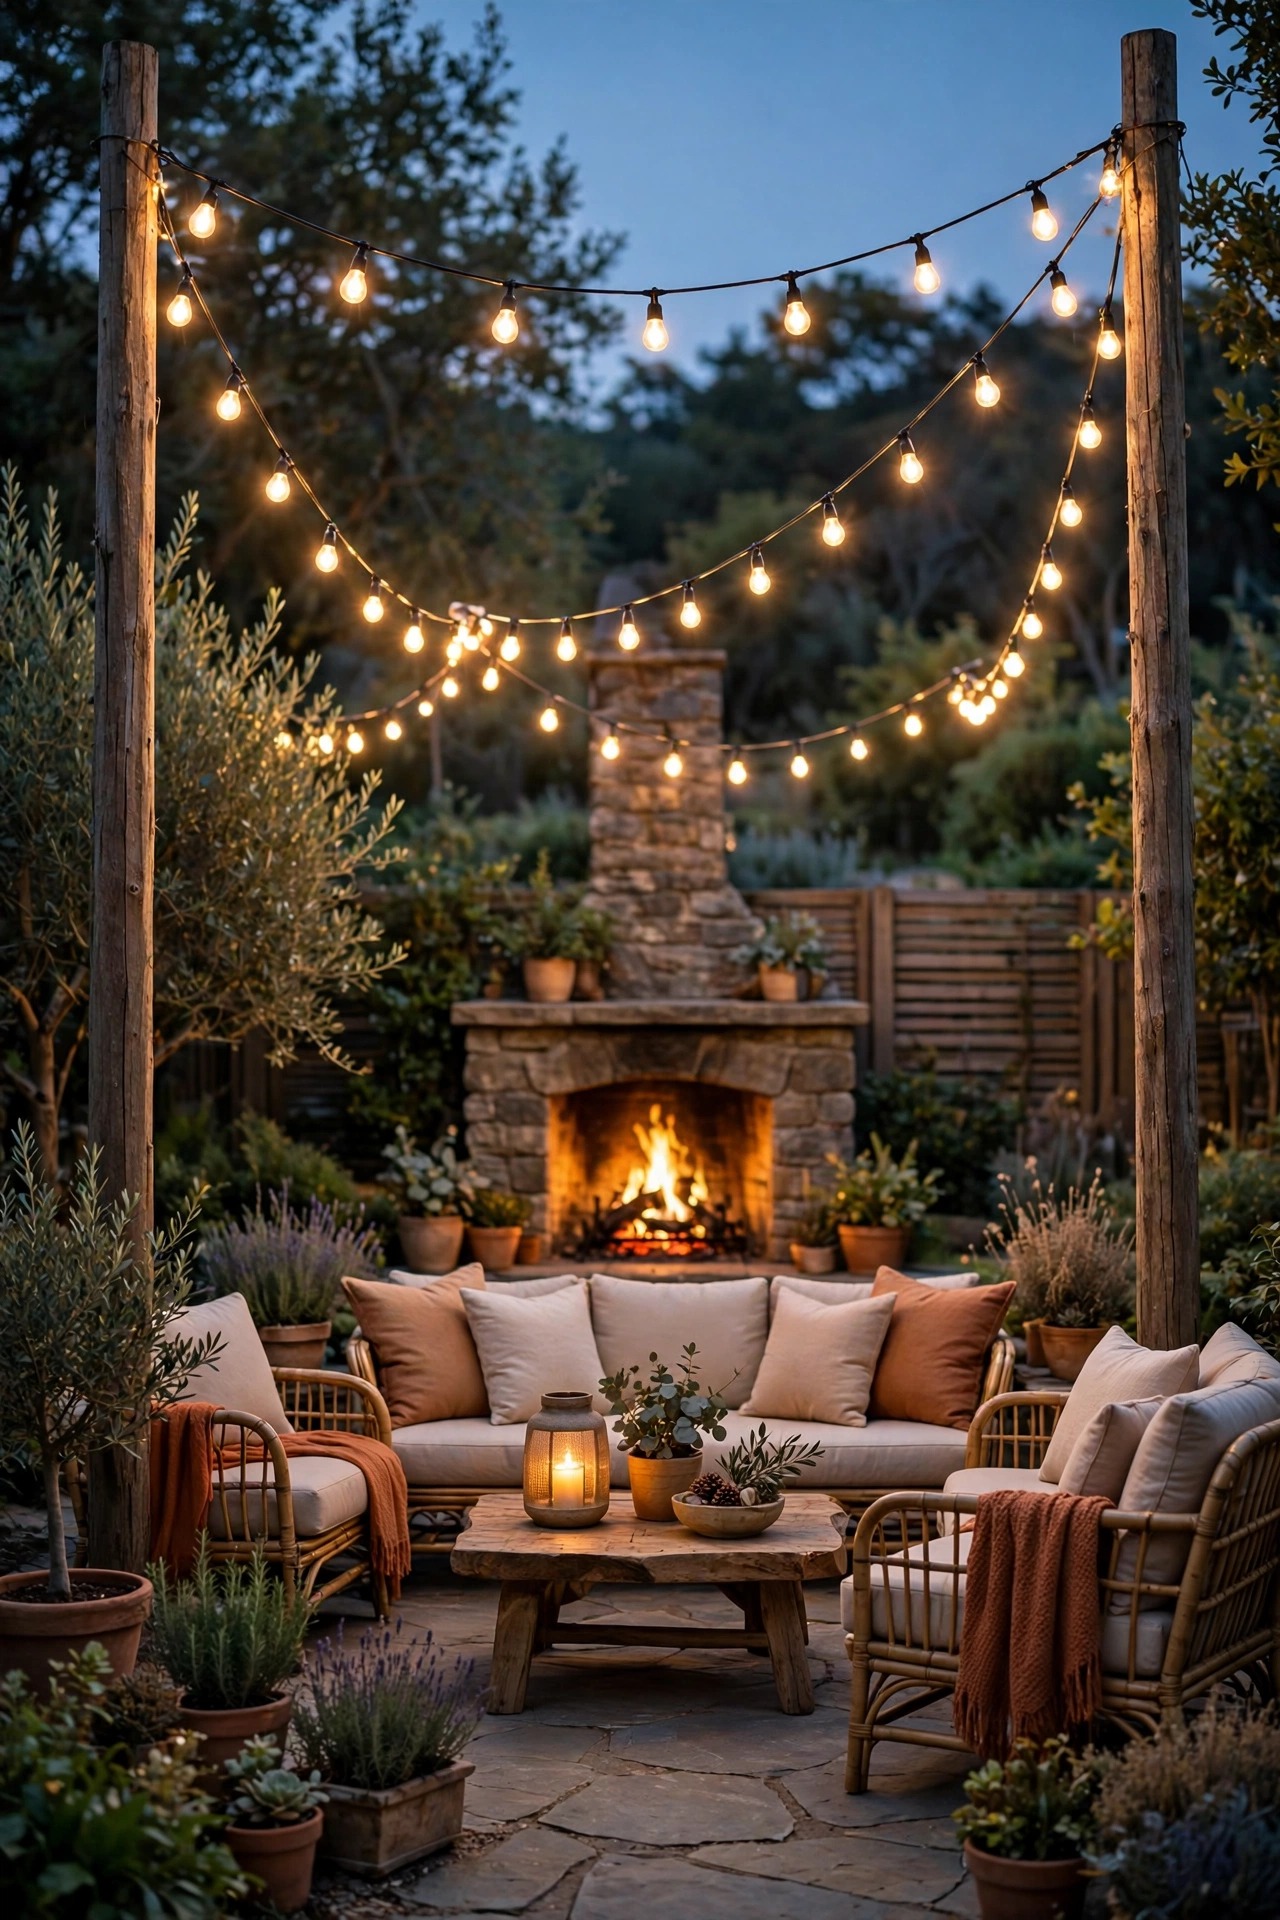
10. String Light Poles Framing the Fireplace Zone
No pergola, no eave, nothing to hang from? Poles solve it, and they make the fireplace feel like a destination. I set two sturdy poles in heavy planters or ground sleeves at the back corners of the patio, about 8 to 9 feet tall, then swag string lights between them and the house so the canopy sits over the seating — never over the flue. The poles visually frame the fireplace wall between them, like curtains on a stage. Fill planter bases with gravel or concrete for weight; a sail of string lights in a gust will test a light base, trust me. Run the cord down the pole and along the ground in a low-voltage-safe route where feet and log carriers will not snag it. If your patio is rented or temporary, the planter version packs up in twenty minutes and leaves nothing behind but a very good evening.
Suggested budget range: $50 – $170.
11. Dimmable Smart Bulbs for Fire-Night Scenes
Smart bulbs earn their keep on fire nights because nobody wants to get up. I swap the bulbs in our sconces and the covered-patio pendant for outdoor-rated smart versions, then save one scene — I call it "Ember" — with everything at 35 to 45 percent and the warmest temperature setting. One tap as the fire catches, and the whole patio settles. The catch, honestly, is reliability: your Wi-Fi has to reach the patio, and enclosed fixtures can muffle the signal, so test from the farthest chair before committing to a full set. Keep at least one plain manual switch in the mix for the night the app updates at the worst moment. I also set the smart bulbs to fade off at midnight automatically. The fire is usually coals by then, the mantel candles carry the last glow, and the patio puts itself to bed even if I forget.
Suggested budget range: $25 – $80.
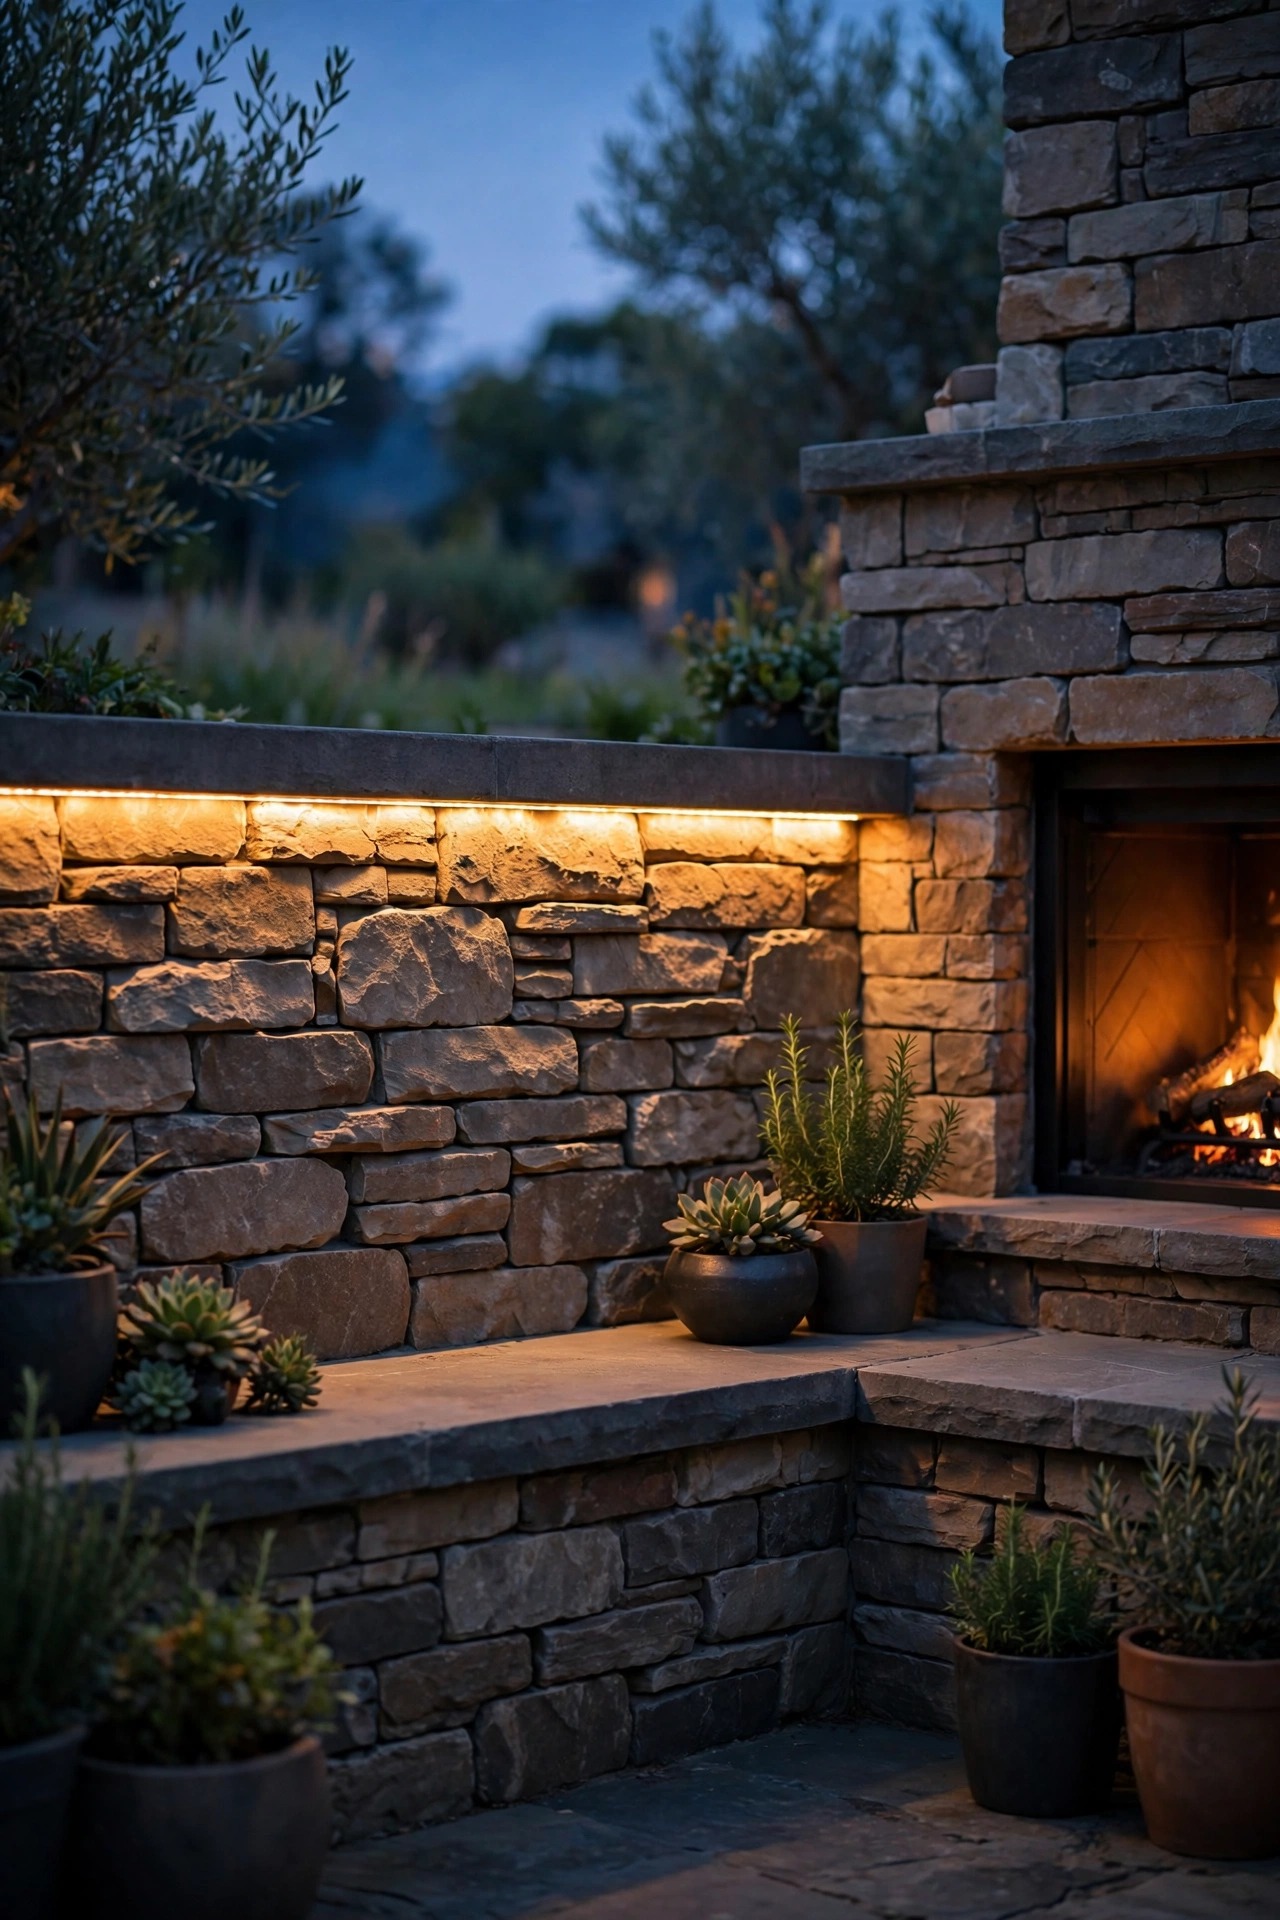
12. LED Strip Light Under the Seating Wall Cap
Here is the layer that makes people ask who designed your patio. Run a waterproof LED strip — IP65 or better — under the capstone lip of the built-in seating wall, so the source hides and only a warm ribbon of light spills down the stone face. It outlines the seating, gives guests a soft glow at knee level, and makes the whole fireplace wall feel custom-built. Low-voltage strip with a proper diffuser channel looks best; the bare dotted look of exposed diodes reads unfinished against nice masonry. Mount the driver somewhere cool and ventilated, well away from the firebox — heat is the enemy of every electronic in this list. Because the strip sits low and indirect, it never glares, and combined with the sconces it gives you that high-low layering designers charge for. Measure twice before ordering, and buy the strip a few feet long so corners can be mitered neatly instead of bunched.
Suggested budget range: $35 – $100.
13. Fairy Lights Woven Through Flanking Planters
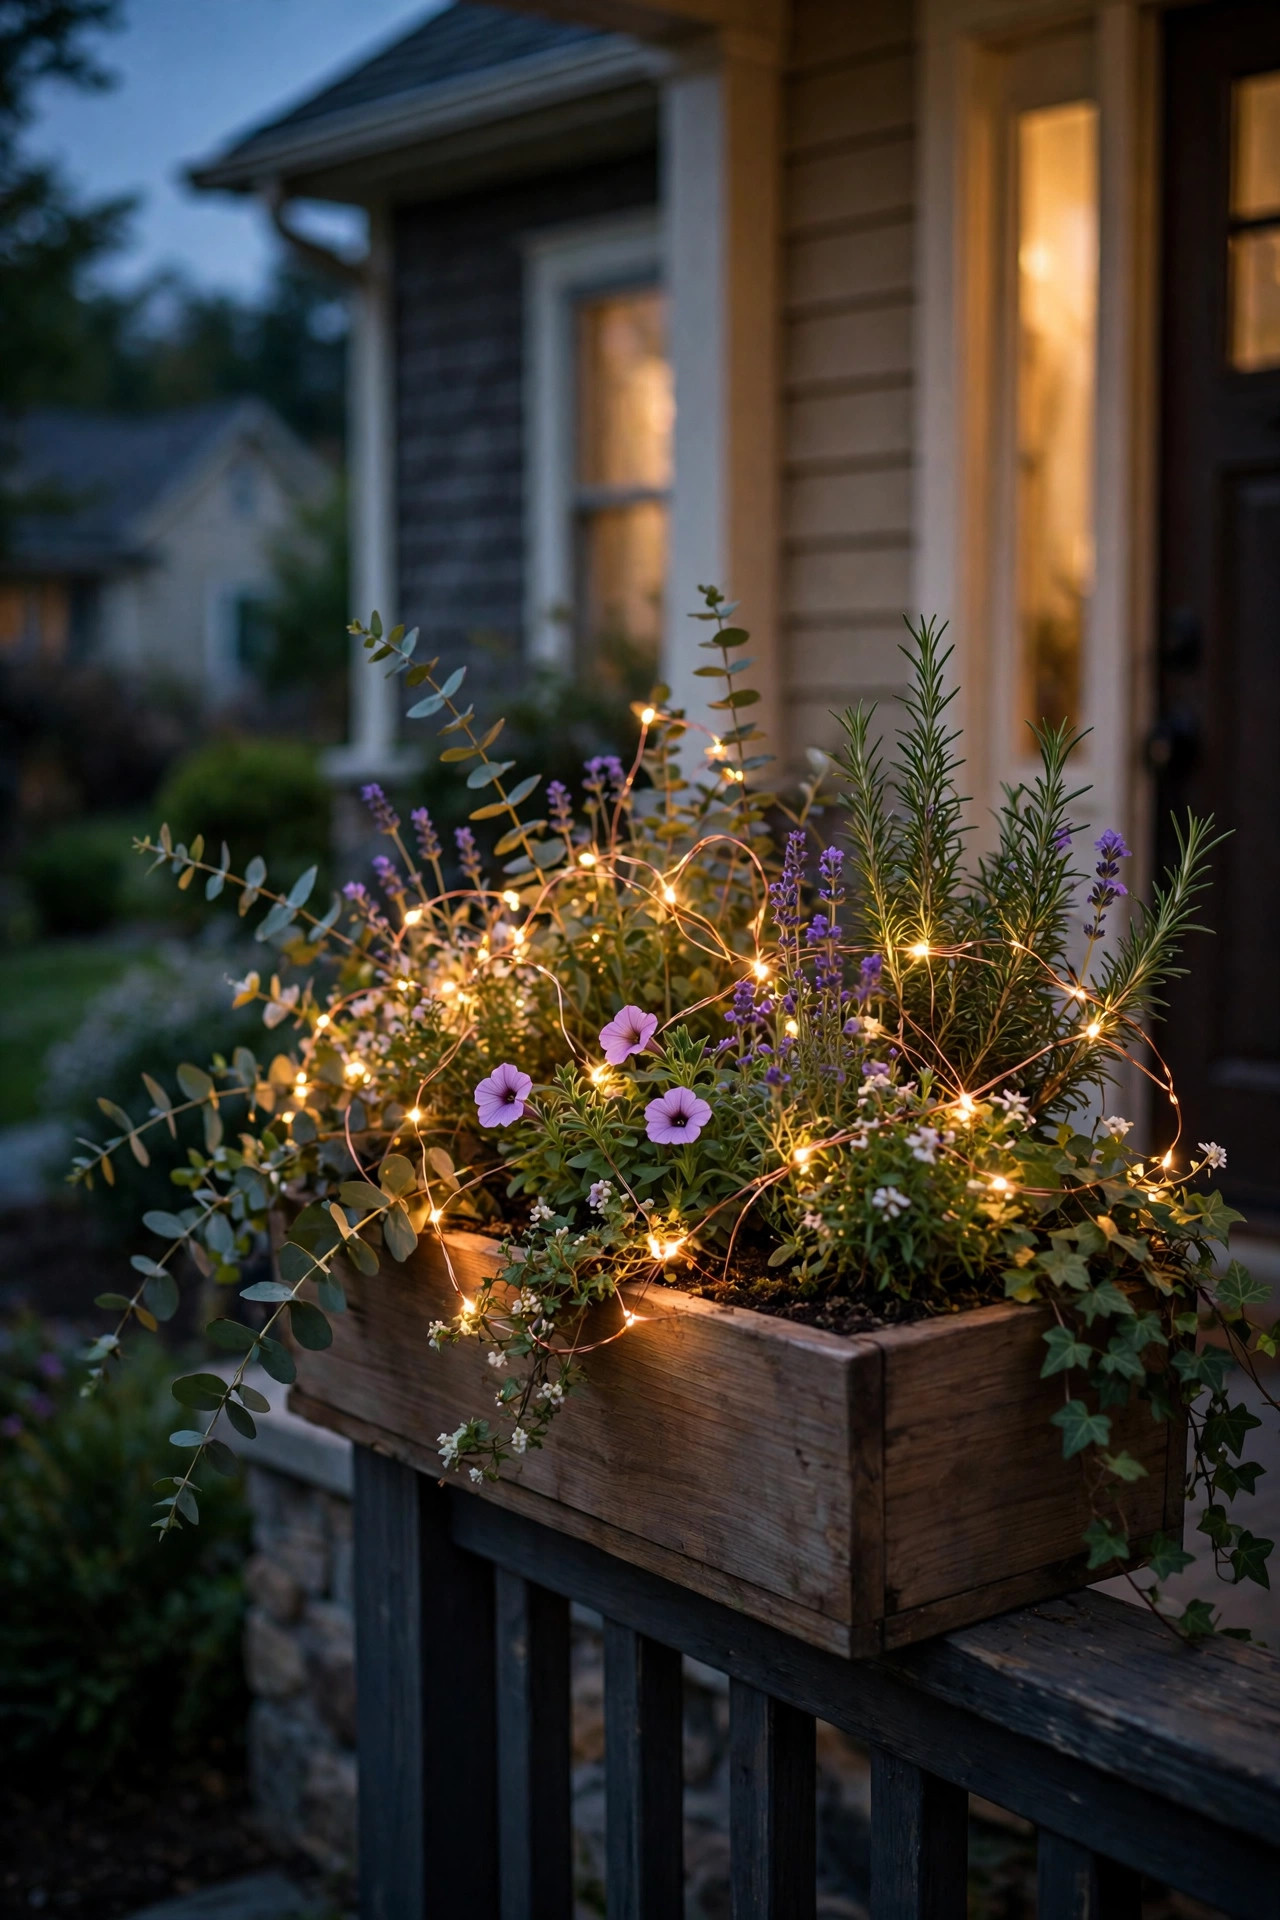
Copper-wire fairy lights are my soft-focus filter. I weave a battery or solar strand through the planters flanking the fireplace — a small olive tree, a pot of ornamental grass, whatever is green and full — and the tiny points of light make the whole vignette shimmer without adding real brightness. Keep the planters a sensible distance from the firebox opening; two to three feet of clearance keeps foliage safe from sparks and heat, and keeps you from watering plants with a fire roaring beside you. Battery packs tuck behind the pot, timers handle the schedule, and the strands are so light they never damage stems. This layer is pure jewelry, and that is fine — every room needs one thing that is only there to be pretty. In winter, when the planters hold evergreen cuttings instead, the fairy lights carry the arrangement, and the fireplace corner never looks bare between seasons.
Suggested budget range: $10 – $35.
14. Hurricane Lanterns on the Side Tables
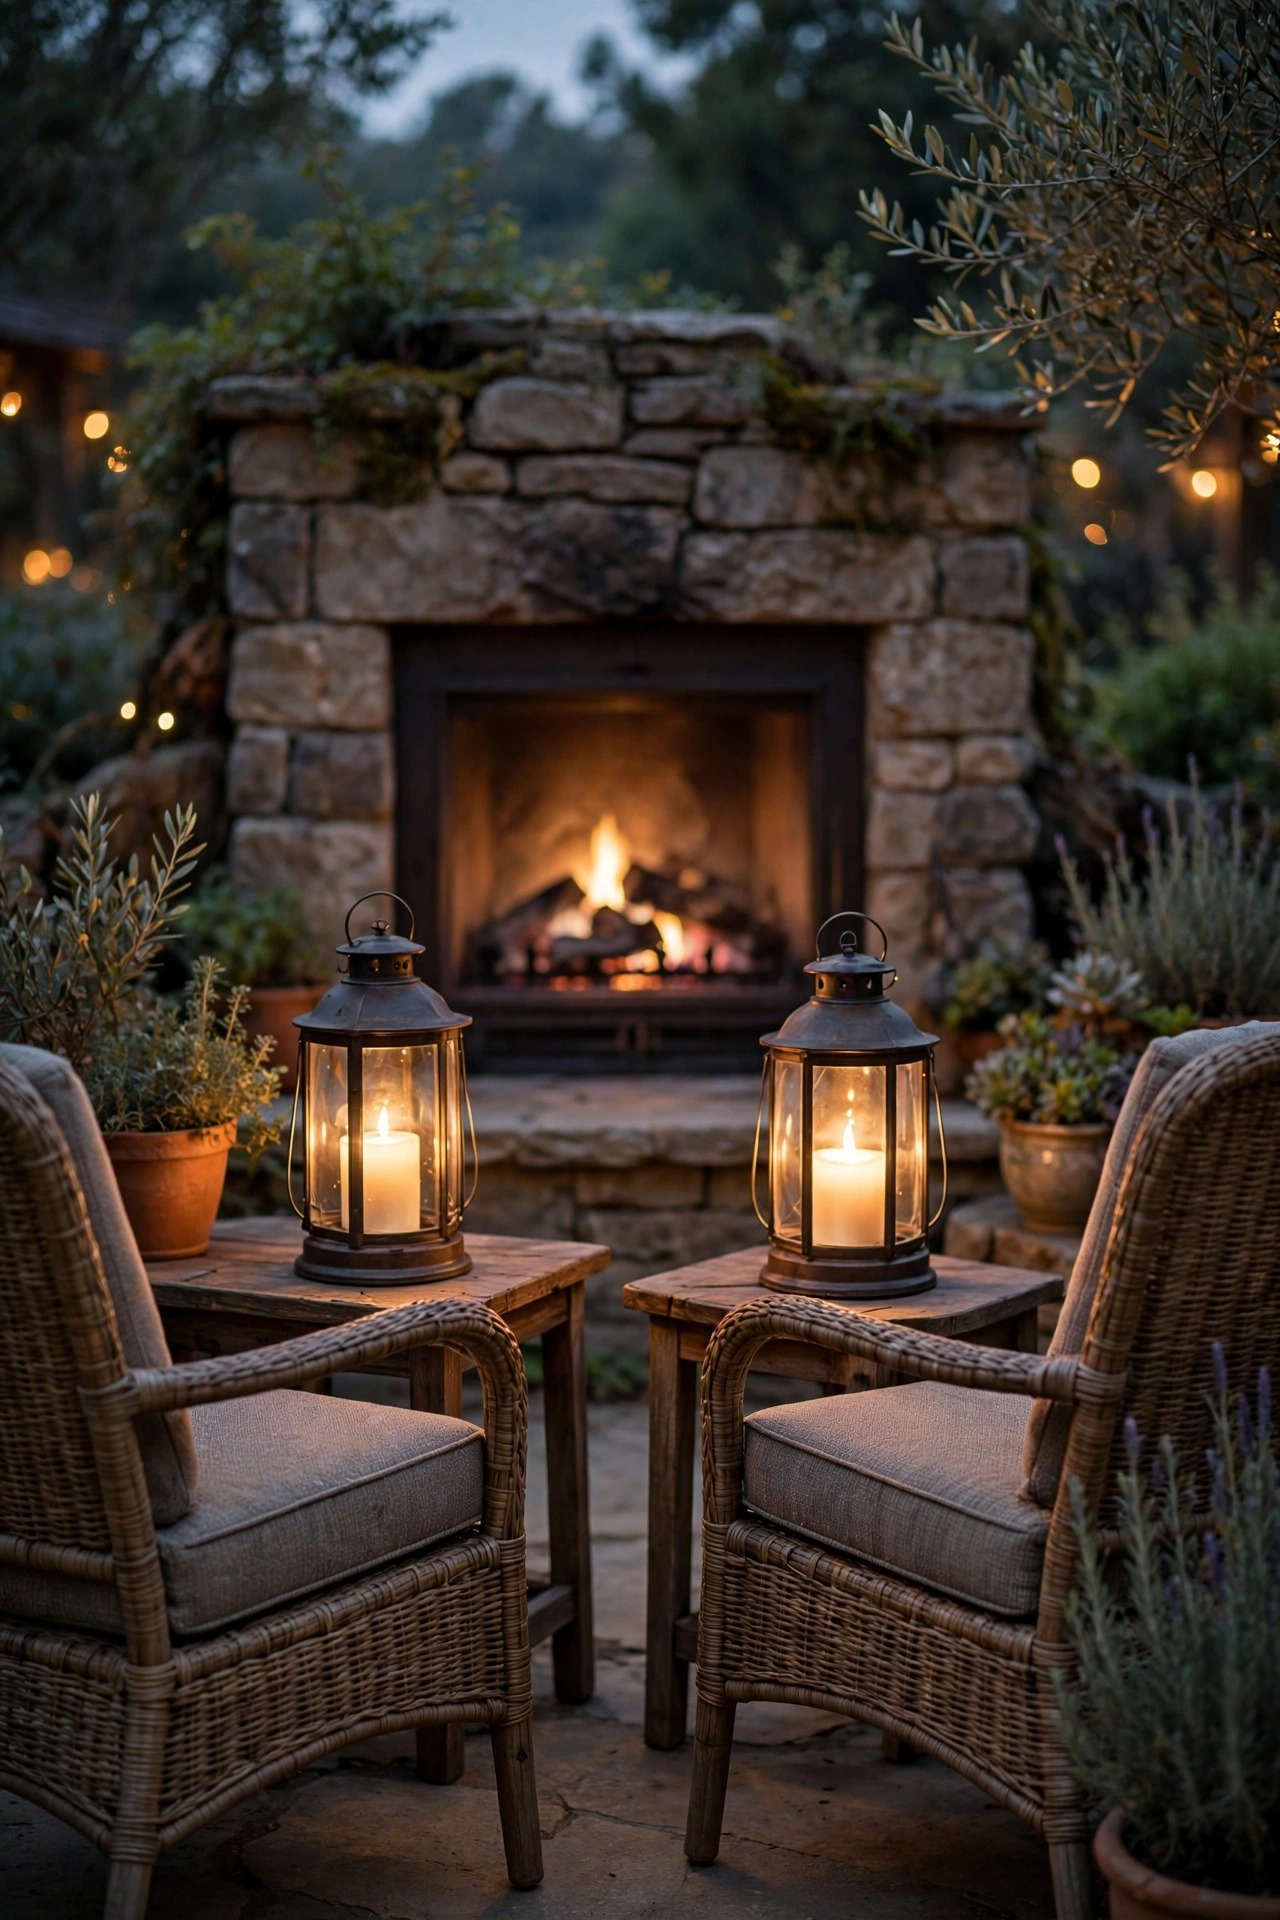
Every chair deserves its own little pool of light, and hurricane lanterns on the side tables deliver it. The glass chimney shields a flame-effect candle from the evening breeze, so the flicker stays steady instead of guttering, and the taller silhouette lifts the light closer to book-and-drink level where it is actually useful. I choose lanterns with some heft — a weighted base survives elbows and enthusiastic gesturing — and keep the glass clean, because a month of wood smoke film will haze it more than you expect. Matching pairs look tidy; I prefer near-matches in the same finish so the patio feels collected rather than decorated. On nights we are not burning the fireplace at all, two hurricane lanterns and the string lights are honestly enough to keep us outside — they make an ordinary Tuesday feel like an occasion. Store them under cover in the off-season and the finish will last for years.
Suggested budget range: $30 – $95.
15. Soft Downlighting From the Pergola or Roofline
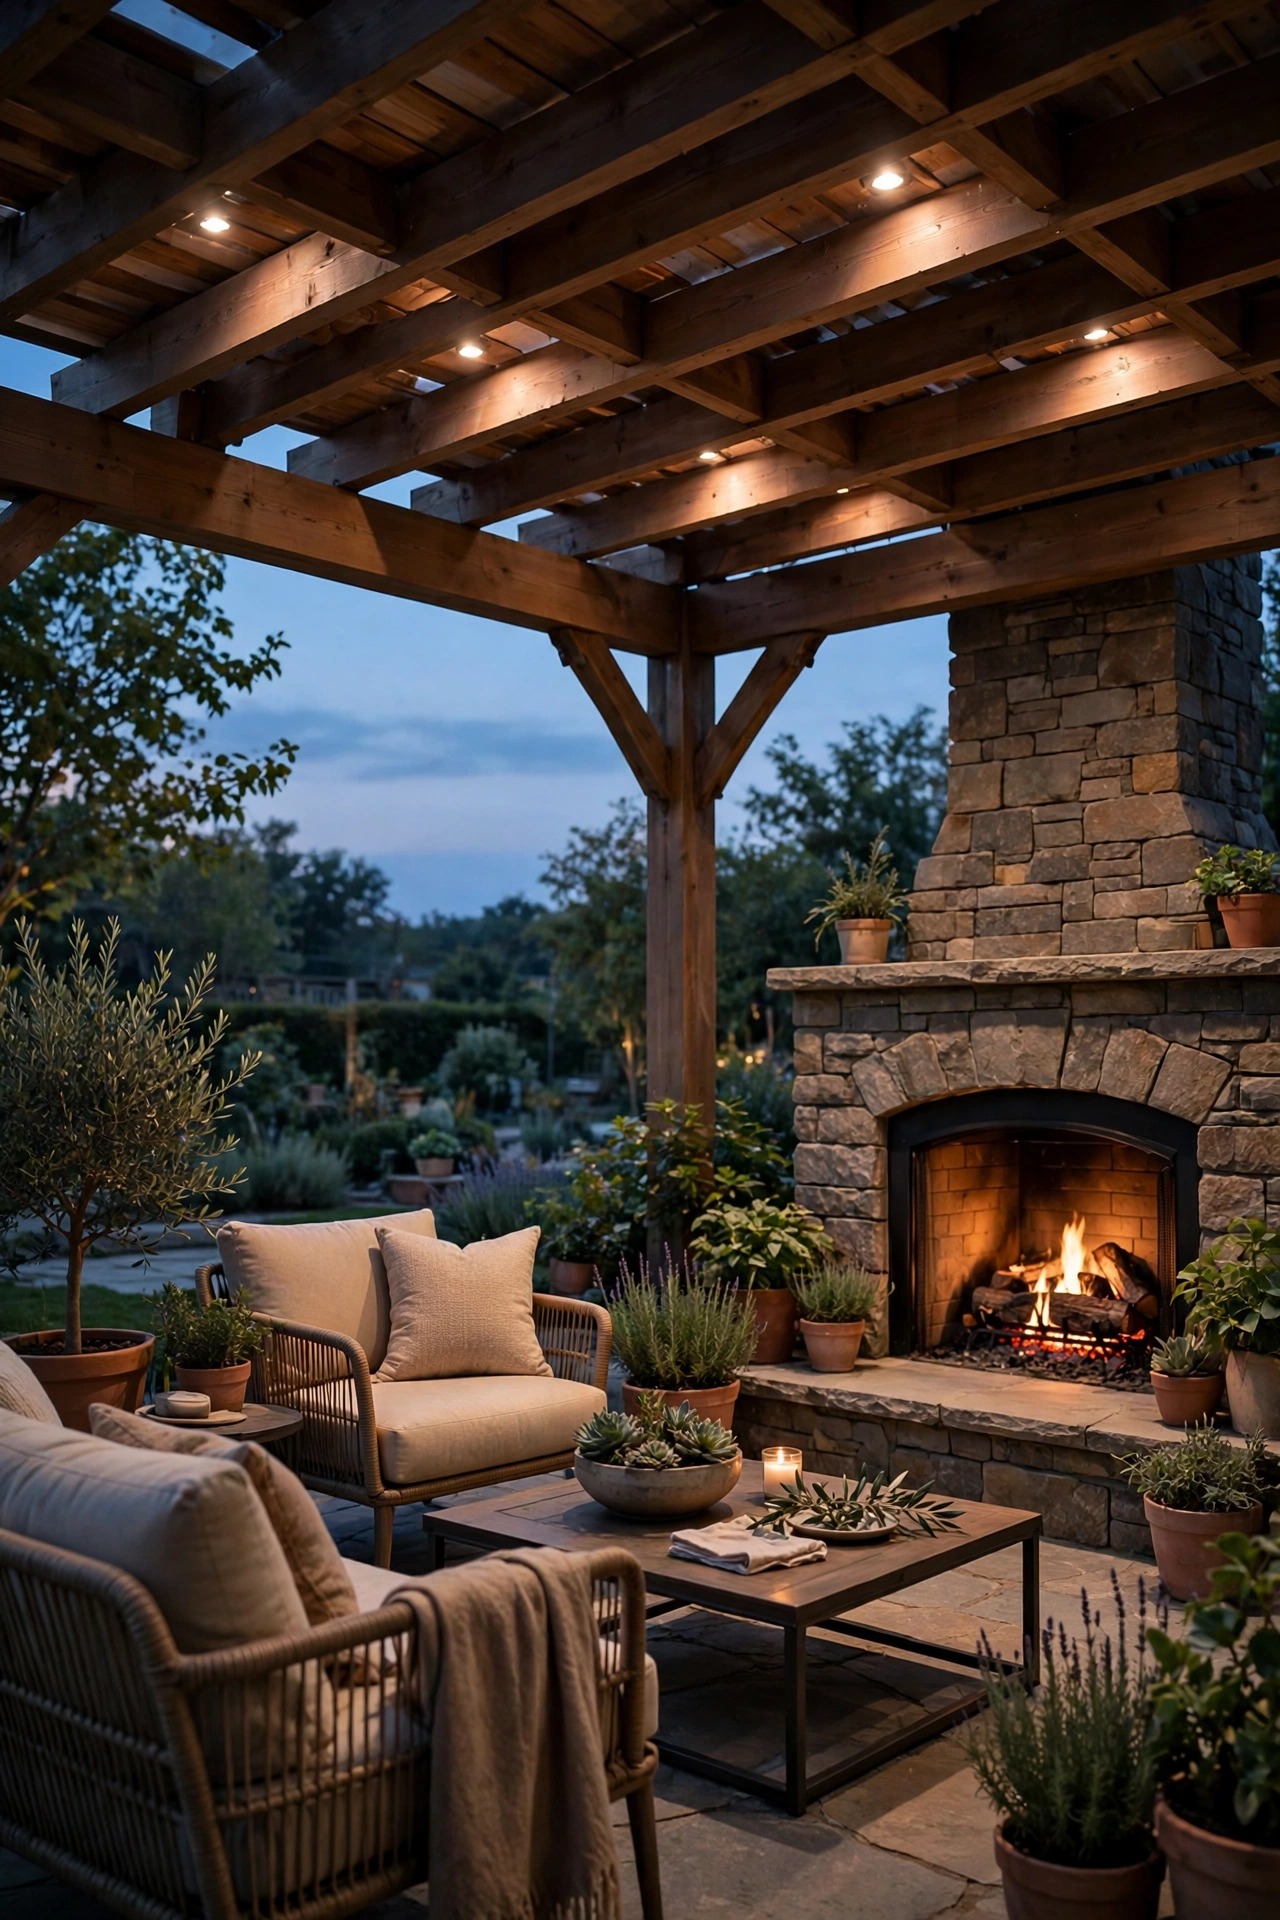
If your fireplace sits under a pergola or a roof overhang, a couple of soft downlights overhead complete the room. I mount small recessed or surface fixtures in the rafters, aimed down at the seating area rather than at the fire, on the same dimmer as the sconces. The effect is a gentle moonlight pool that lets you read a drink menu or find the marshmallow fork without touching the fire's drama. Position the fixtures off to the sides, never directly above the chimney or flue, where smoke and heat will coat and cook them. A wide 60-degree beam at low brightness beats a narrow spotlight every time out here — you want ambience, not an interrogation. On uncovered patios, a tall shepherd's-hook pendant or a pole-mounted downlight can fake the same layer. It is the least visible fixture on this list and somehow the one that makes the space feel finished.
Suggested budget range: $80 – $250.
16. A Lit Firewood Niche Beside the Firebox
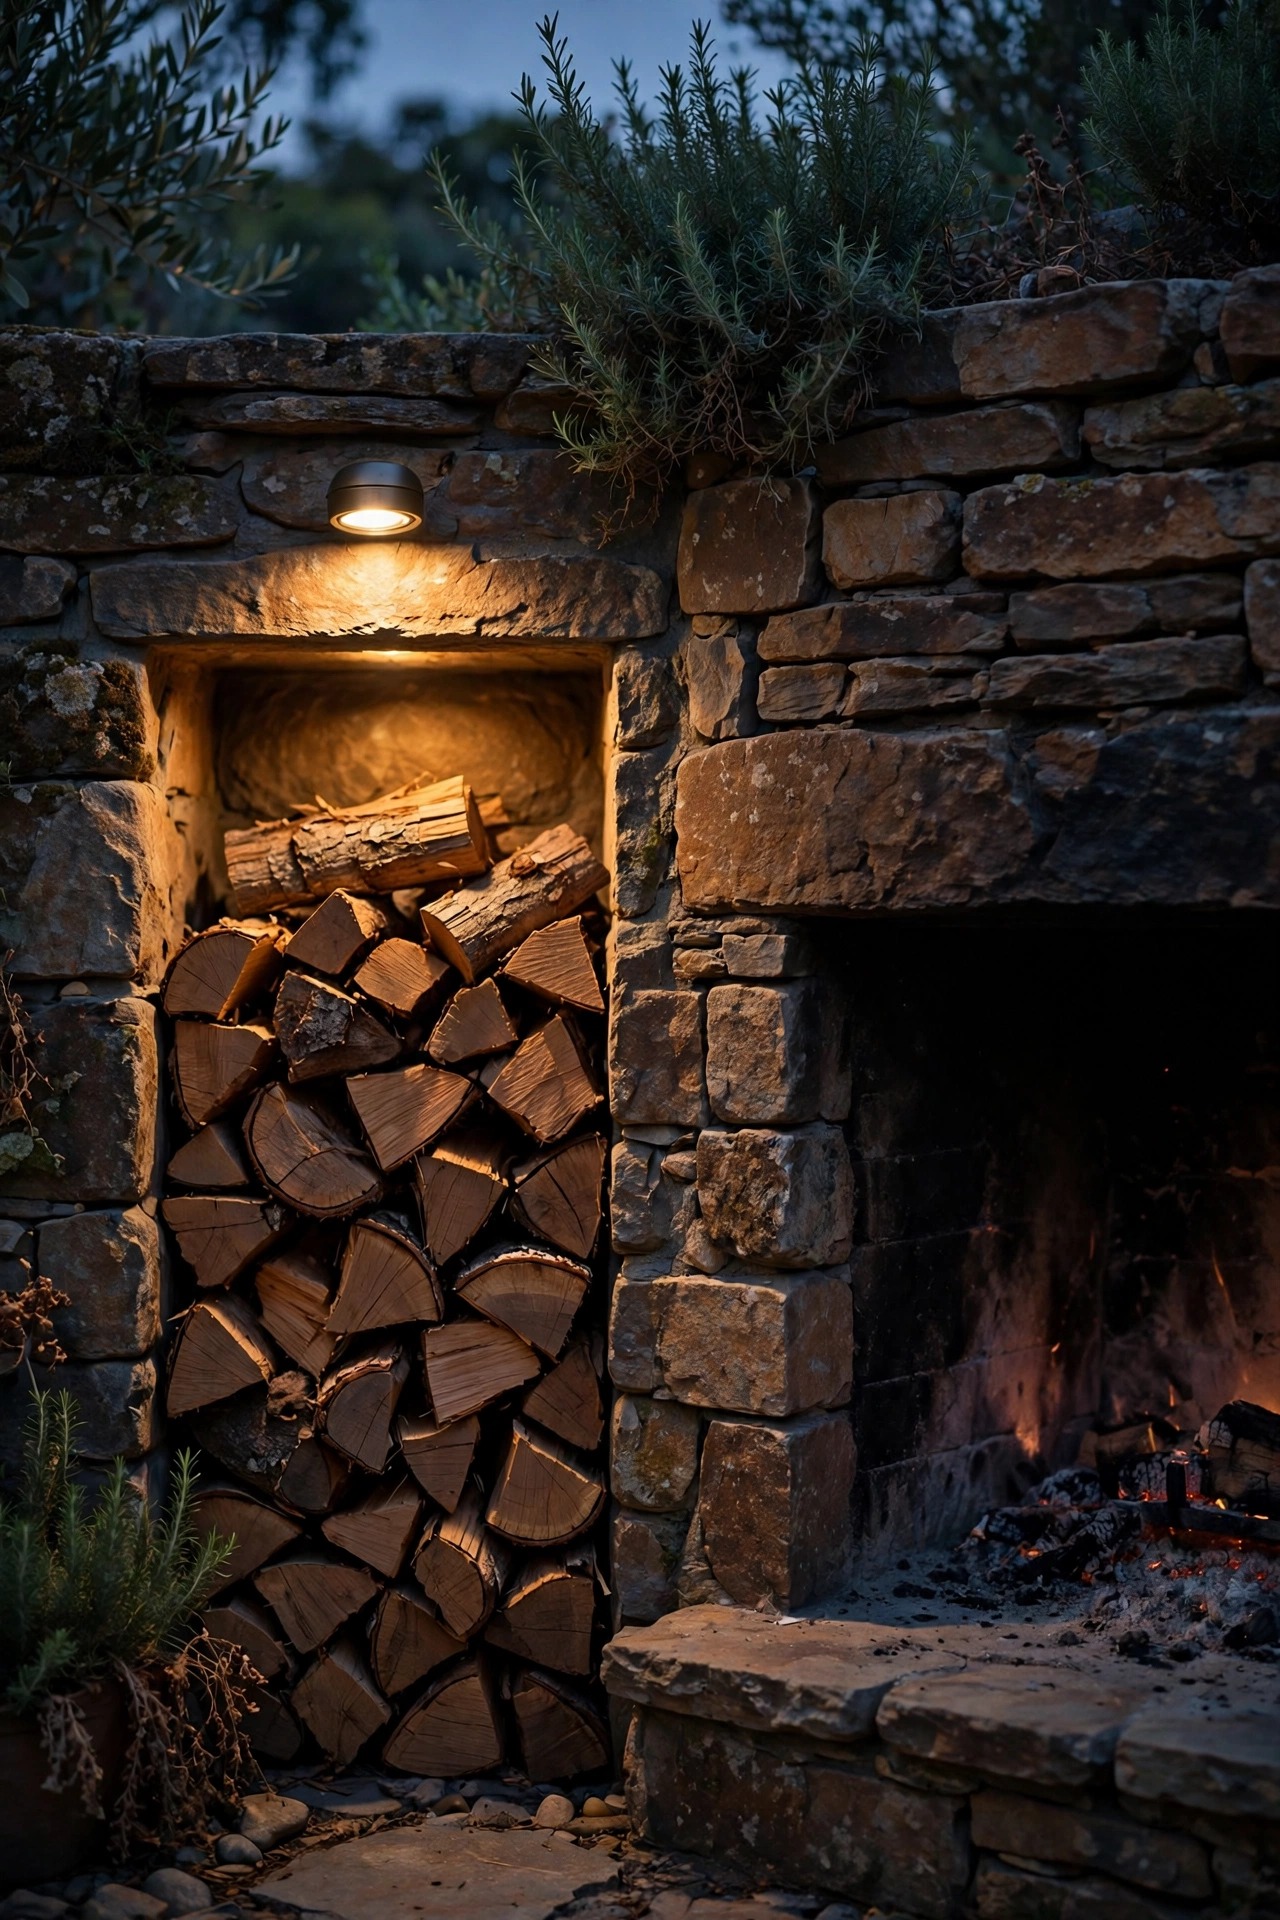
The log store is usually the darkest, scruffiest corner of the setup — light it and it becomes a feature. A single low-voltage puck light or a short strip tucked inside the top of the firewood niche turns stacked oak into a golden backdrop, and practically speaking, you can finally see whether you are grabbing a log or a spider hotel. I wire ours to the same circuit as the step lights, so one switch handles every "working" light and the mood layers stay separate. Keep the fixture at the niche's top front edge, aimed down and back, and choose a wood-tone-friendly warm temperature — the grain does the rest. This also ends the midnight shuffle of carrying an armload of logs across a dark patio by phone-flashlight. Honestly, of all seventeen ideas here, this is the one my husband voted most useful, and it cost less than the firewood it lights.
Suggested budget range: $20 – $65.
17. Putting It Together: Layered Patio Fireplace Lighting Ideas
Here is how the whole system stacks on our patio. Overhead: string lights on a dimmer. Eye level: sconces plus mantel candles. Ground level: path lights, step lights and the seating-wall strip. Accents: fairy lights in the planters, hurricane lanterns on the tables, uplights on the stone. Everything is 2700K, everything dimmable or on a timer, and nothing outshines the fire. You do not need all of it — pick one idea from each of the three levels and you will have 90 percent of the effect for a fraction of the spend. Then live with it for a few fires, sit in every chair, and adjust aim and brightness from the seated view, because that is the only view that matters. Add a layer each season if you like; that is honestly how our patio got here. The fire is the star. These patio fireplace lighting ideas are just the stagehands, and good stagehands are invisible.
Suggested budget range: $75 – $300.
Frequently Asked Questions
What color temperature looks best around an outdoor fireplace or chiminea?
Warm white, 2700K, is my answer every time. It sits in the same color family as firelight, so fixtures blend in instead of arguing with the flames. At 3000K things still look pleasant, but by 4000K the light turns bluish and clinical next to a fire. Whatever you choose, keep every fixture in the setup the same temperature — a mix of warm path lights and cool string lights is the one mistake I see most often, and it makes even expensive setups look accidental.
How close can lights be to a fireplace or chiminea safely?
Keep anything with plastic, fabric or a battery at least 2 to 3 feet from the firebox opening and well clear of the smoke path above the flue. Never hang string lights directly over a chimney or a chiminea's neck — heat and soot will destroy them. Use only LED bulbs near a fire feature; they run cool compared with halogen or incandescent. And check each fixture's rating: anything permanently installed outdoors should be damp- or wet-rated, with wet-rated required anywhere rain can reach.
Are solar lights bright enough around a patio fireplace?
For marking edges, ringing a chiminea pad and adding sparkle, yes — that is exactly their job, and they do it with zero wiring. For reading a book or lighting a cooking task, no; even the best solar fixtures are accent lights. My approach is a hybrid: hardwired or low-voltage fixtures for the backbone layers, solar for the forgiving, movable accents. Also remember smoke film dims solar panels, so a quick wipe every few weeks keeps them honest.
Do I need an electrician to add lighting around a patio fireplace?
For low-voltage systems, solar and anything battery-powered, no — those are comfortable weekend DIY projects, and low-voltage cable does not even need conduit. For new 120-volt hardwired sconces or ceiling fixtures, I always recommend a licensed electrician and a GFCI-protected circuit, since outdoor wiring near a gathering space is no place to learn by trial and error. Permits vary by city, so a quick call to your local building office before hardwiring saves surprises later.
Conclusion
A fireplace or chiminea gives you the flame for free; the comfort, safety and style around it come from layers. Start with one light at each level — overhead, eye level, ground — keep it all at a warm 2700K, and let the fire stay the brightest thing in the yard. Then add the playful accents as seasons and budgets allow. If you are planning the rest of the patio at the same time, my broader guide to patio lighting ideas will help you tie the whole space together. Good patio fireplace lighting ideas never steal the show — they just make sure the show runs late, safely, and beautifully.