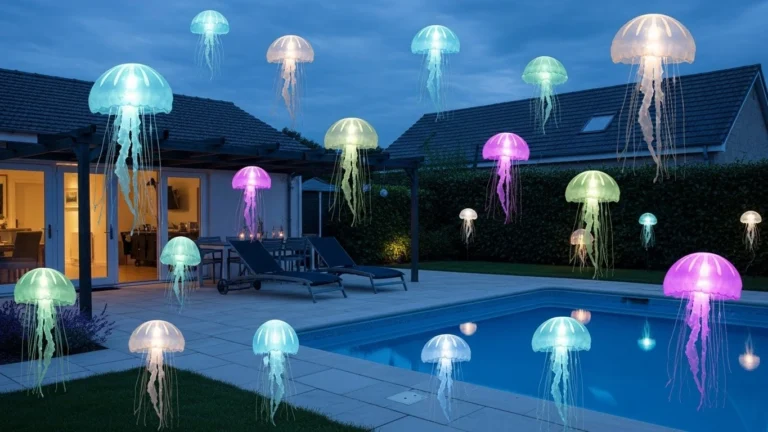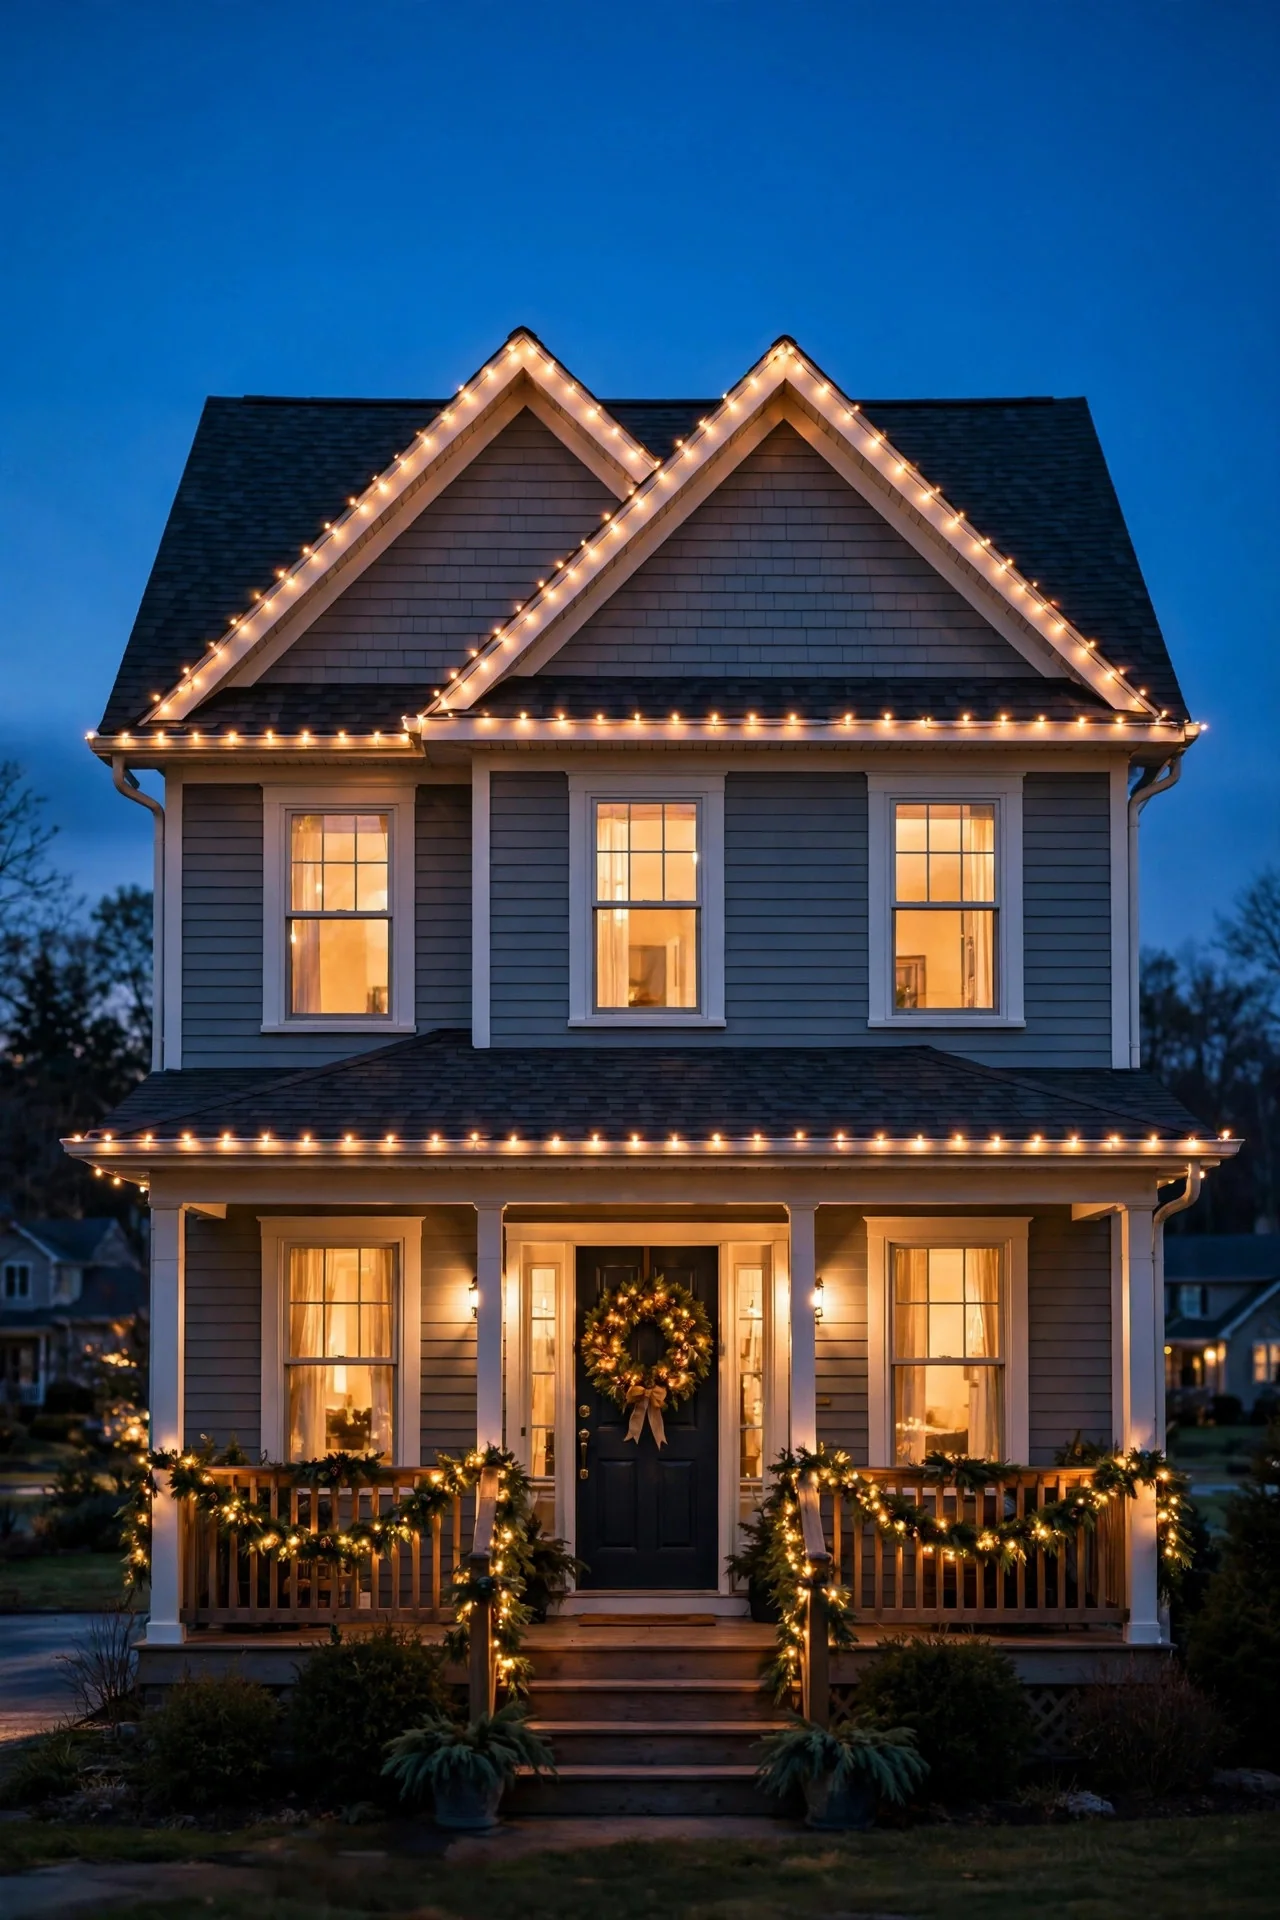
There is a particular quiet that settles over a neighborhood on the first December evening when the lights come on — windows glowing amber, rooflines tracing the dark, and suddenly every street feels like it is humming the same carol. If you are hunting for outdoor Christmas light ideas that actually suit your house (and your energy level), you have landed in the right place. I have spent years layering lights on my own home, from a single strand of warm white along the front door to the year I went full Griswold, and I have learned that the magic is never about how much you hang. It is about layering: a soft glow at eye level, a defining line up high, and one focal point that makes people slow down as they drive past. Below you will find 35 ideas arranged from minimalist and serene to full-blown magical, each with exact how-to steps, the bulb types and spacing I actually use, safety notes, and an honest budget range. Pour some cocoa, grab your ladder clips, and let's plan the brightest version of your house.
1. A Minimalist Take on Outdoor Christmas Light Ideas: One Warm Strand on the Door Frame
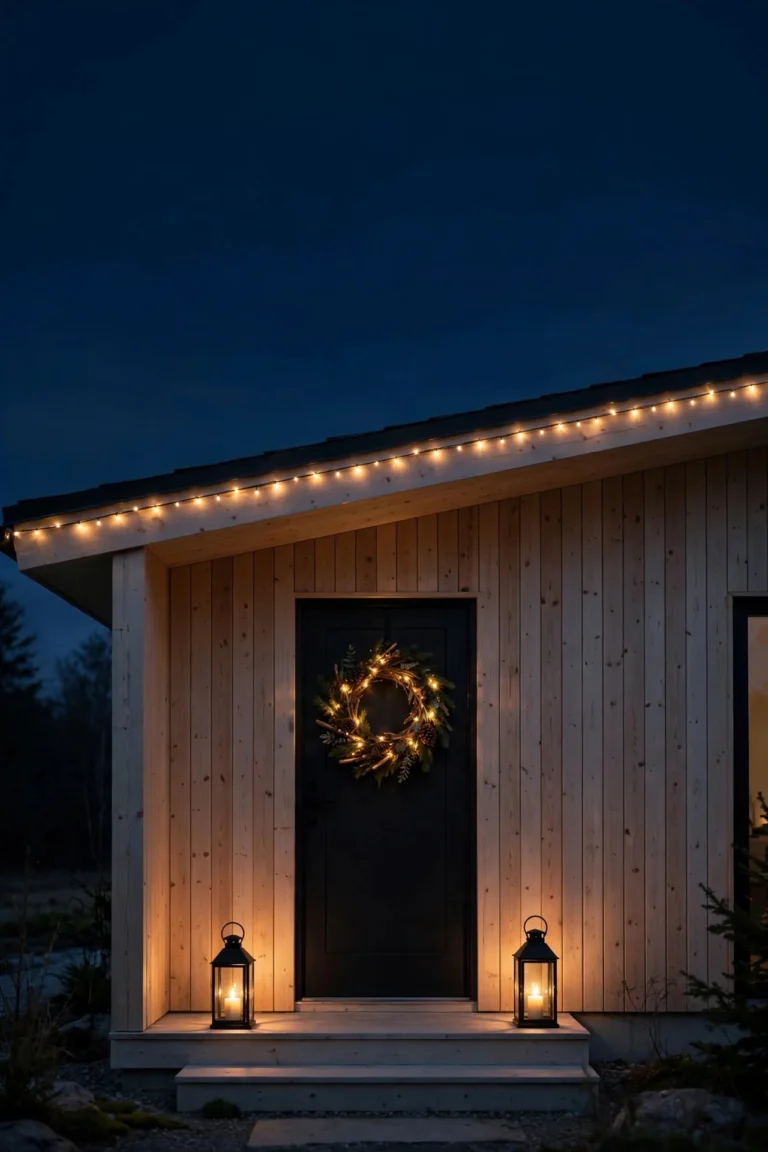
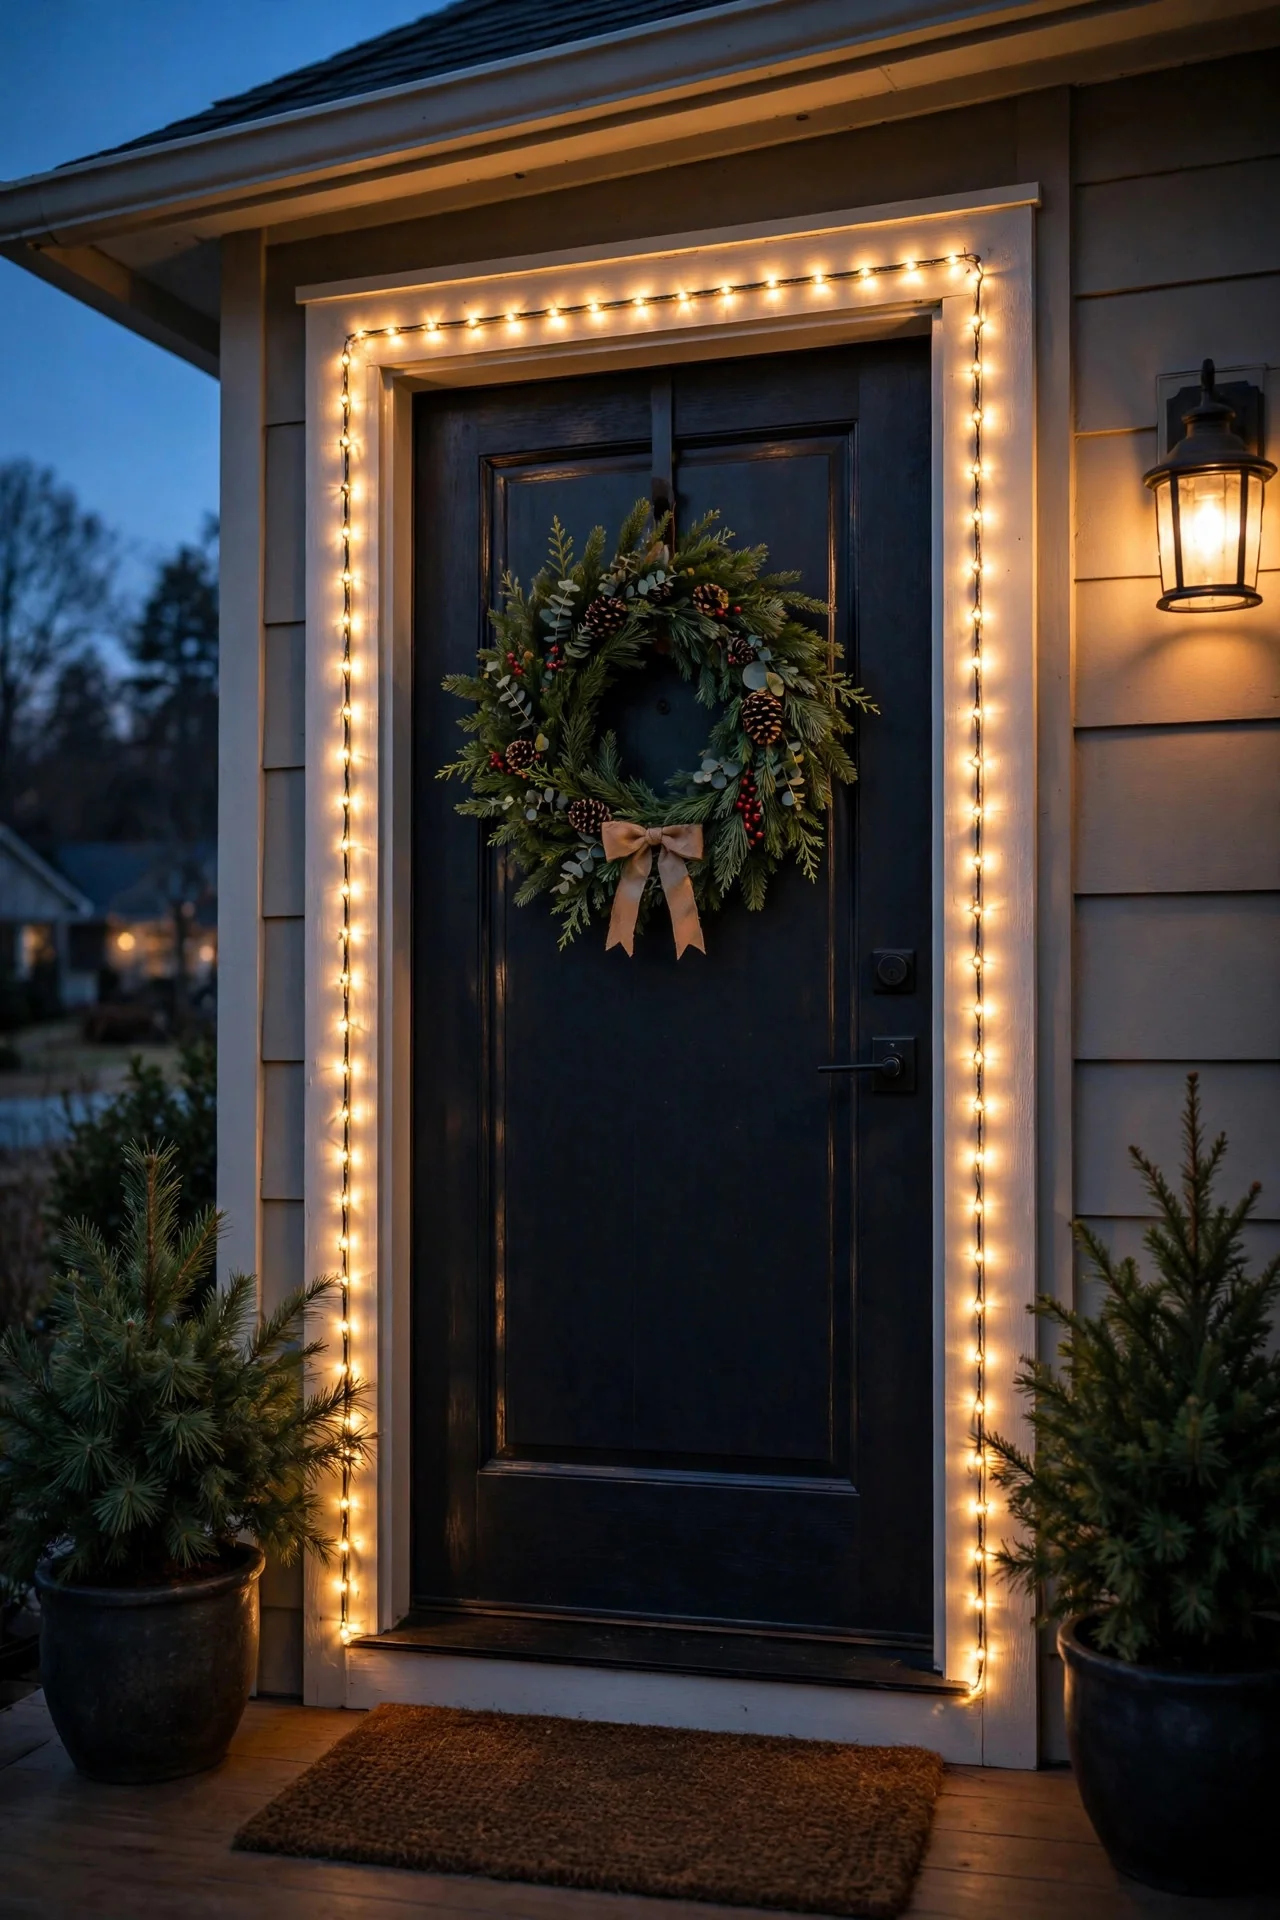
In my experience, the most elegant houses on the street are often the simplest ones. Take a single 25-foot string of warm-white mini LEDs (2700K — that candlelight color temperature that makes everything look expensive) and run it around your front door frame, tucking it just inside the trim so the wire disappears. I always recommend starting the strand at the top hinge side and working down, across the bottom threshold behind the mat, and up the other side, securing every 12 inches with clear adhesive clips rated for outdoor use. The trick that makes it look intentional rather than half-finished: keep everything symmetrical and let the strand hug the trim tightly so it reads as one clean line of light. Add a fresh wreath above it and you are done — no roofline, no bushes, just a doorway that glows like an invitation. This is the Scandinavian approach: restraint as design. Put it on an outdoor timer so it clicks on at dusk and off at 11, and you will spend about 15 minutes total on installation.
Suggested budget range: $15 – $35.
2. Eucalyptus Garland With Micro Fairy Lights
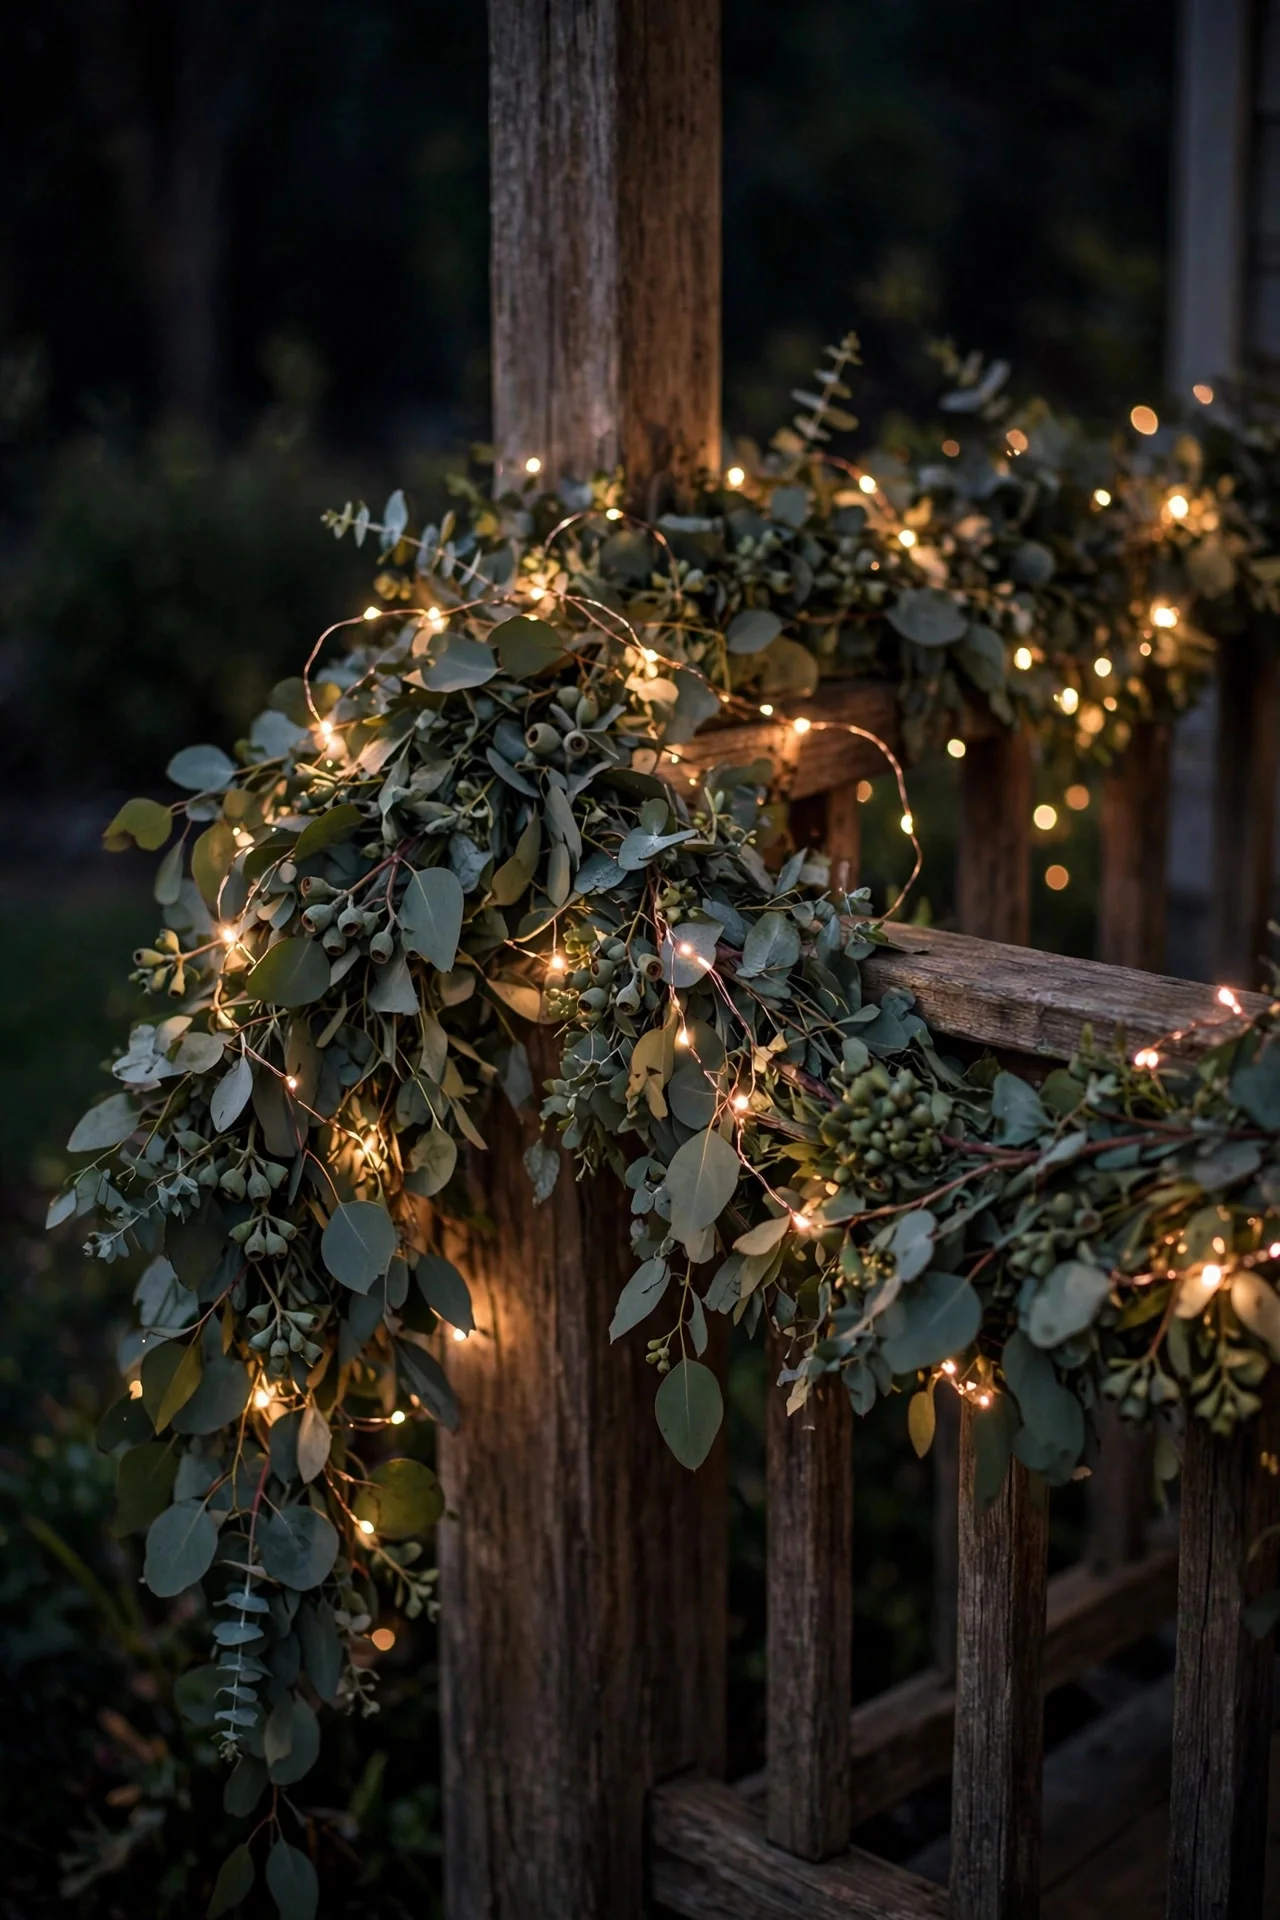
There is something about eucalyptus that reads instantly festive without a single ornament. Buy a 6-foot faux eucalyptus garland (real dries out and gets crispy against warm lights — go faux here), and weave a 20-foot copper-wire fairy light strand through it, letting the tiny bulbs nestle among the leaves. I drape mine along the top of the porch railing or across a window box, securing it with dark green zip ties every 18 inches. Copper-wire lights are my secret weapon: the wire is nearly invisible at night, the bulbs look like floating sparks, and a battery pack tucked behind a planter means no cords snaking across your porch. Go for warm white bulbs here — cool white against eucalyptus looks clinical. If your garland sits under a covered porch, you can even add a few sprigs of faux berries for depth. In my experience, this one photographs beautifully and takes under 20 minutes.
Suggested budget range: $25 – $55.
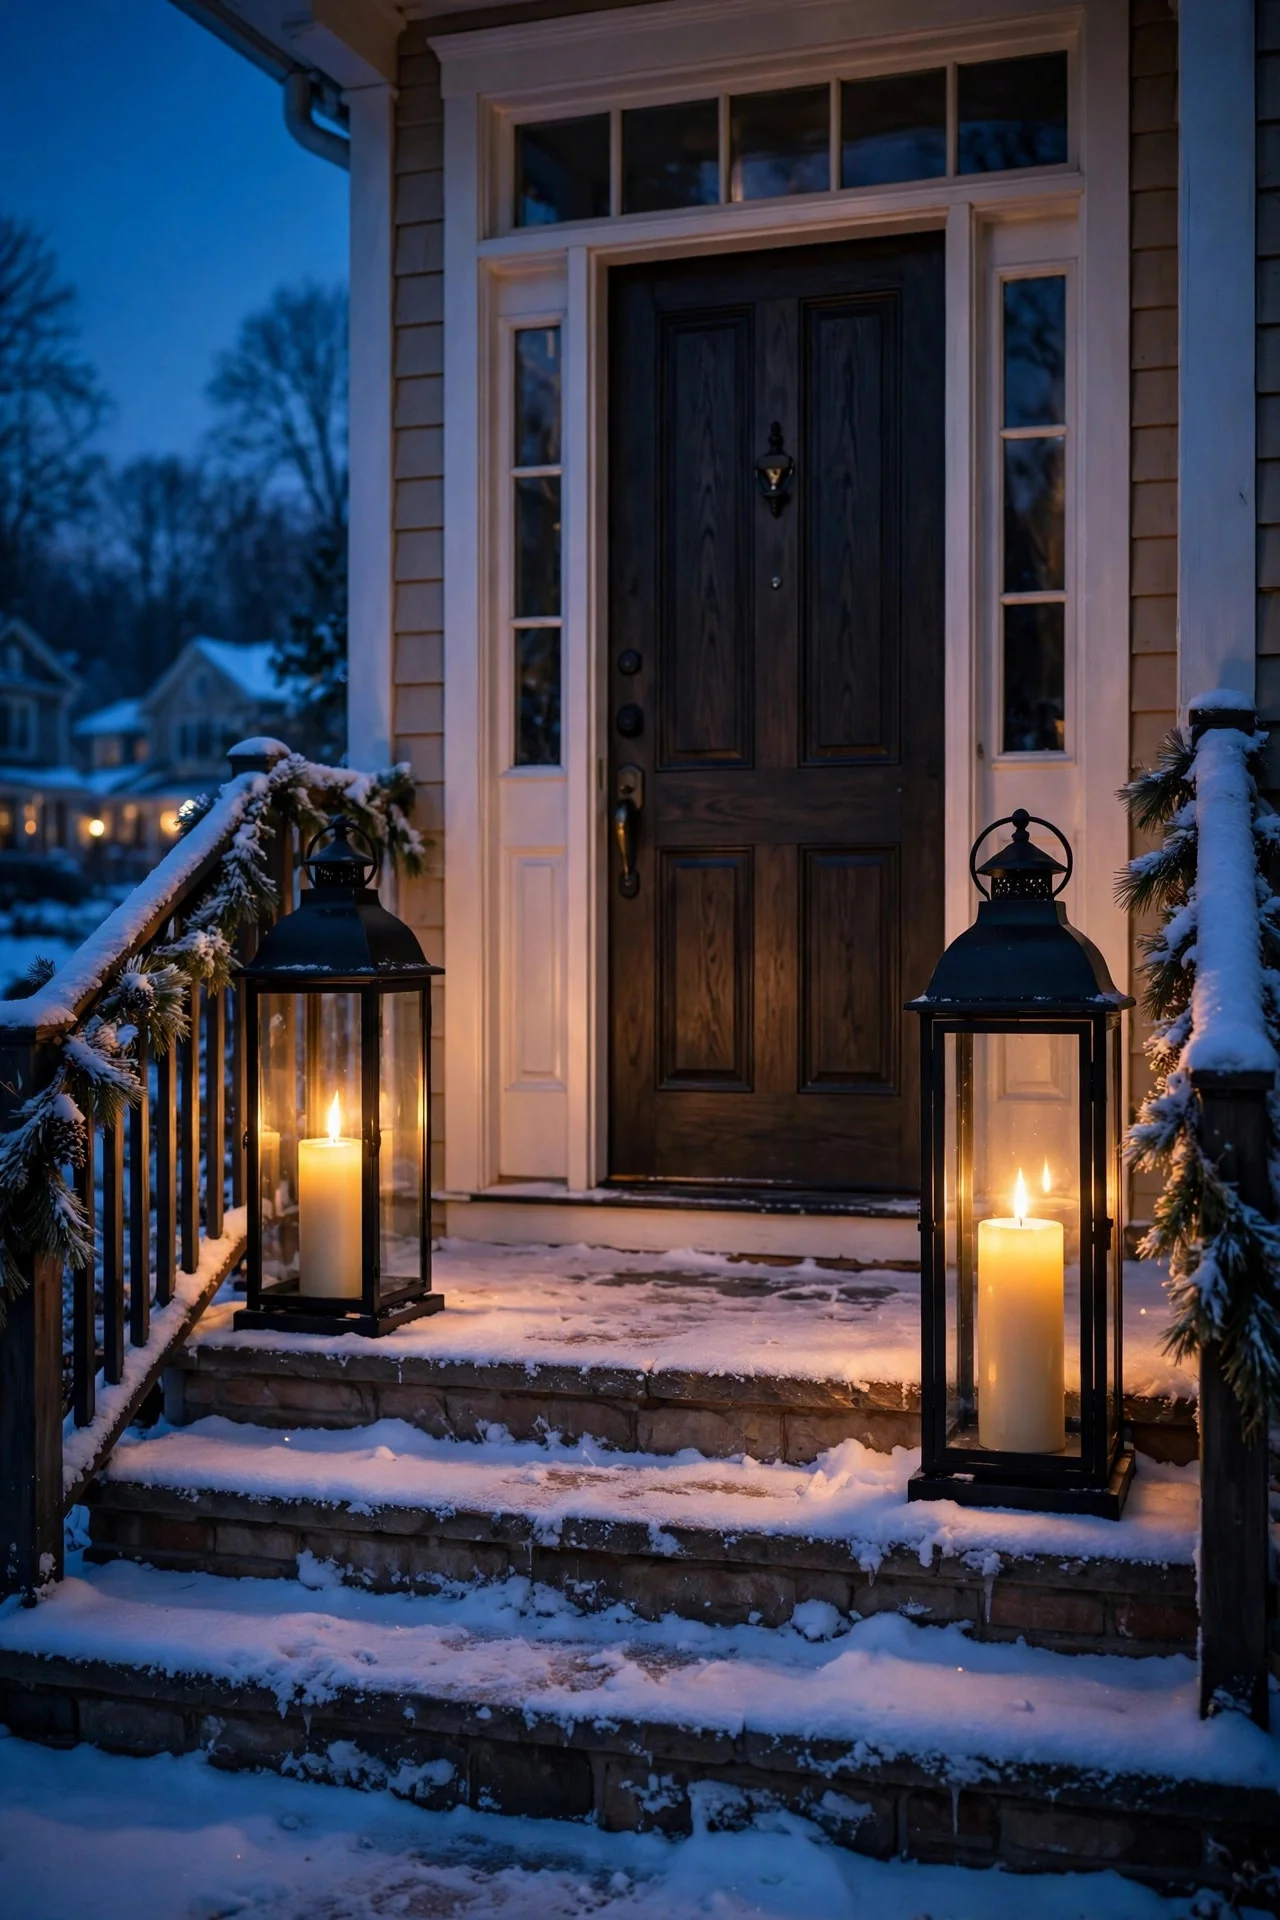
3. A Pair of Flanking Lanterns With LED Candles
Symmetry is doing the heavy lifting here. Place two oversized outdoor lanterns — 16 to 20 inches tall — on either side of your front door, each holding a flickering LED pillar candle (the kind with a realistic flame tip, warm white only). Honestly? This is my favorite low-effort move for renters or anyone who doesn't want to touch a ladder. The lanterns themselves do the styling: black metal for modern homes, weathered wood or brass for traditional ones. Set the candles on their built-in timers (most run 6 hours on, 18 off) so they light themselves every evening. For extra dimension, fill the bottom of each lantern with a handful of faux snow, pinecones, or a few red berry picks. This works beautifully on steps, flanking a garage, or on porch columns if your doorway is tight. Keep the LED candles LED — real flame near greenery and dry garland is a hard no.
Suggested budget range: $40 – $90.
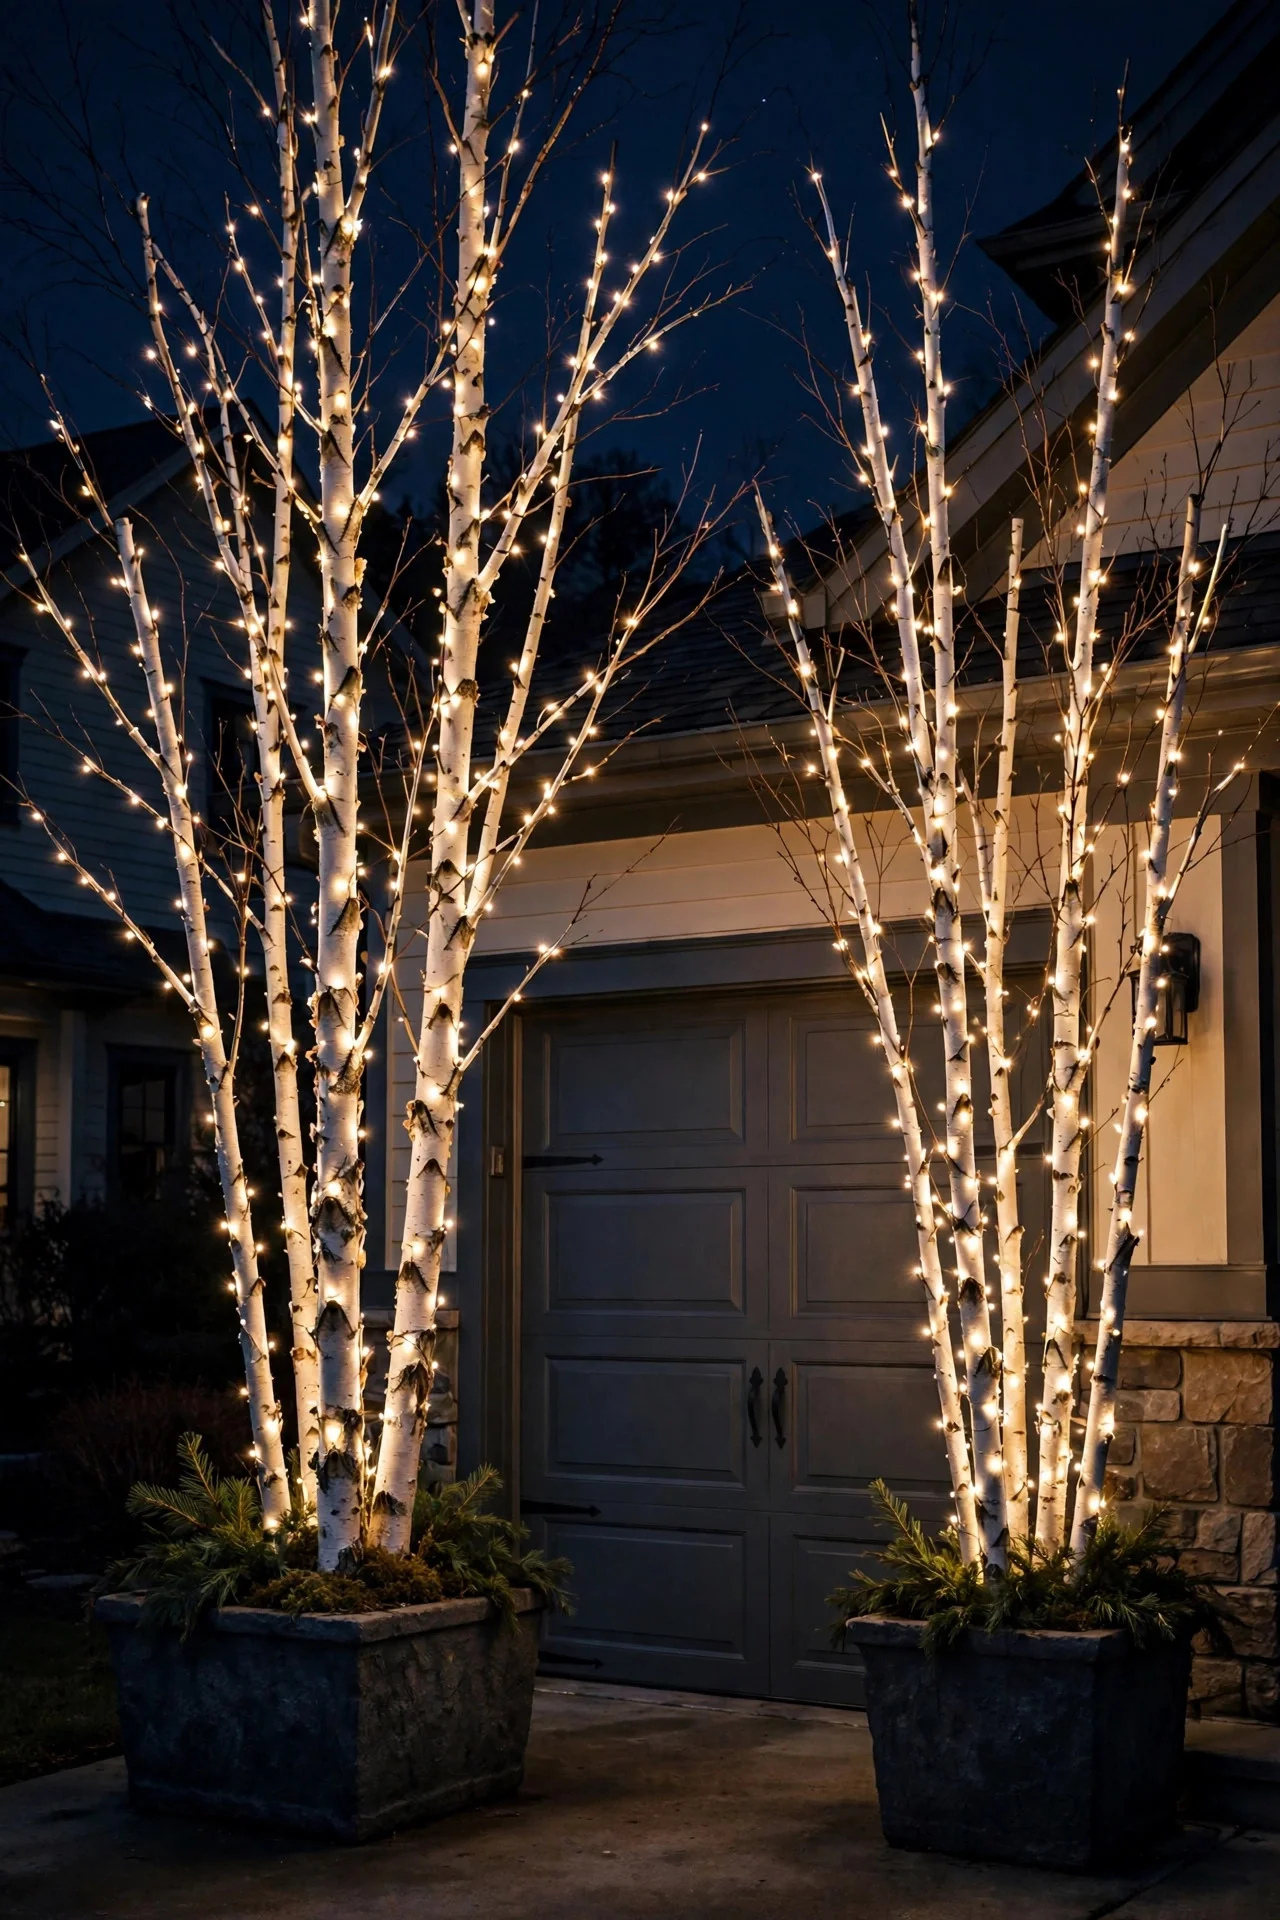
4. Pre-Lit Birch Branches in Planters
Bare branches dusted with light are pure winter poetry. Take two or three tall white birch branches (sold pre-lit or bare — I buy bare and wrap them myself) and anchor them in your existing porch planters, packing soil or sand around the base so they stand perfectly straight through December winds. Wrap each branch from the bottom up with a 15-foot warm-white micro LED strand, spacing the wraps about 4 inches apart and letting the bulbs catch on the branch joints for a natural sparkle. The white bark reflects light in the most gorgeous way — it looks like the branches are glowing from inside. This is stunning flanking a garage door or in urns beside the entry, and it pairs gorgeously with the minimalist aesthetic since there is zero color and zero clutter. Bring the strands' plugs down through the planter and into an outdoor-rated extension cord hidden behind the pot.
Suggested budget range: $35 – $80.
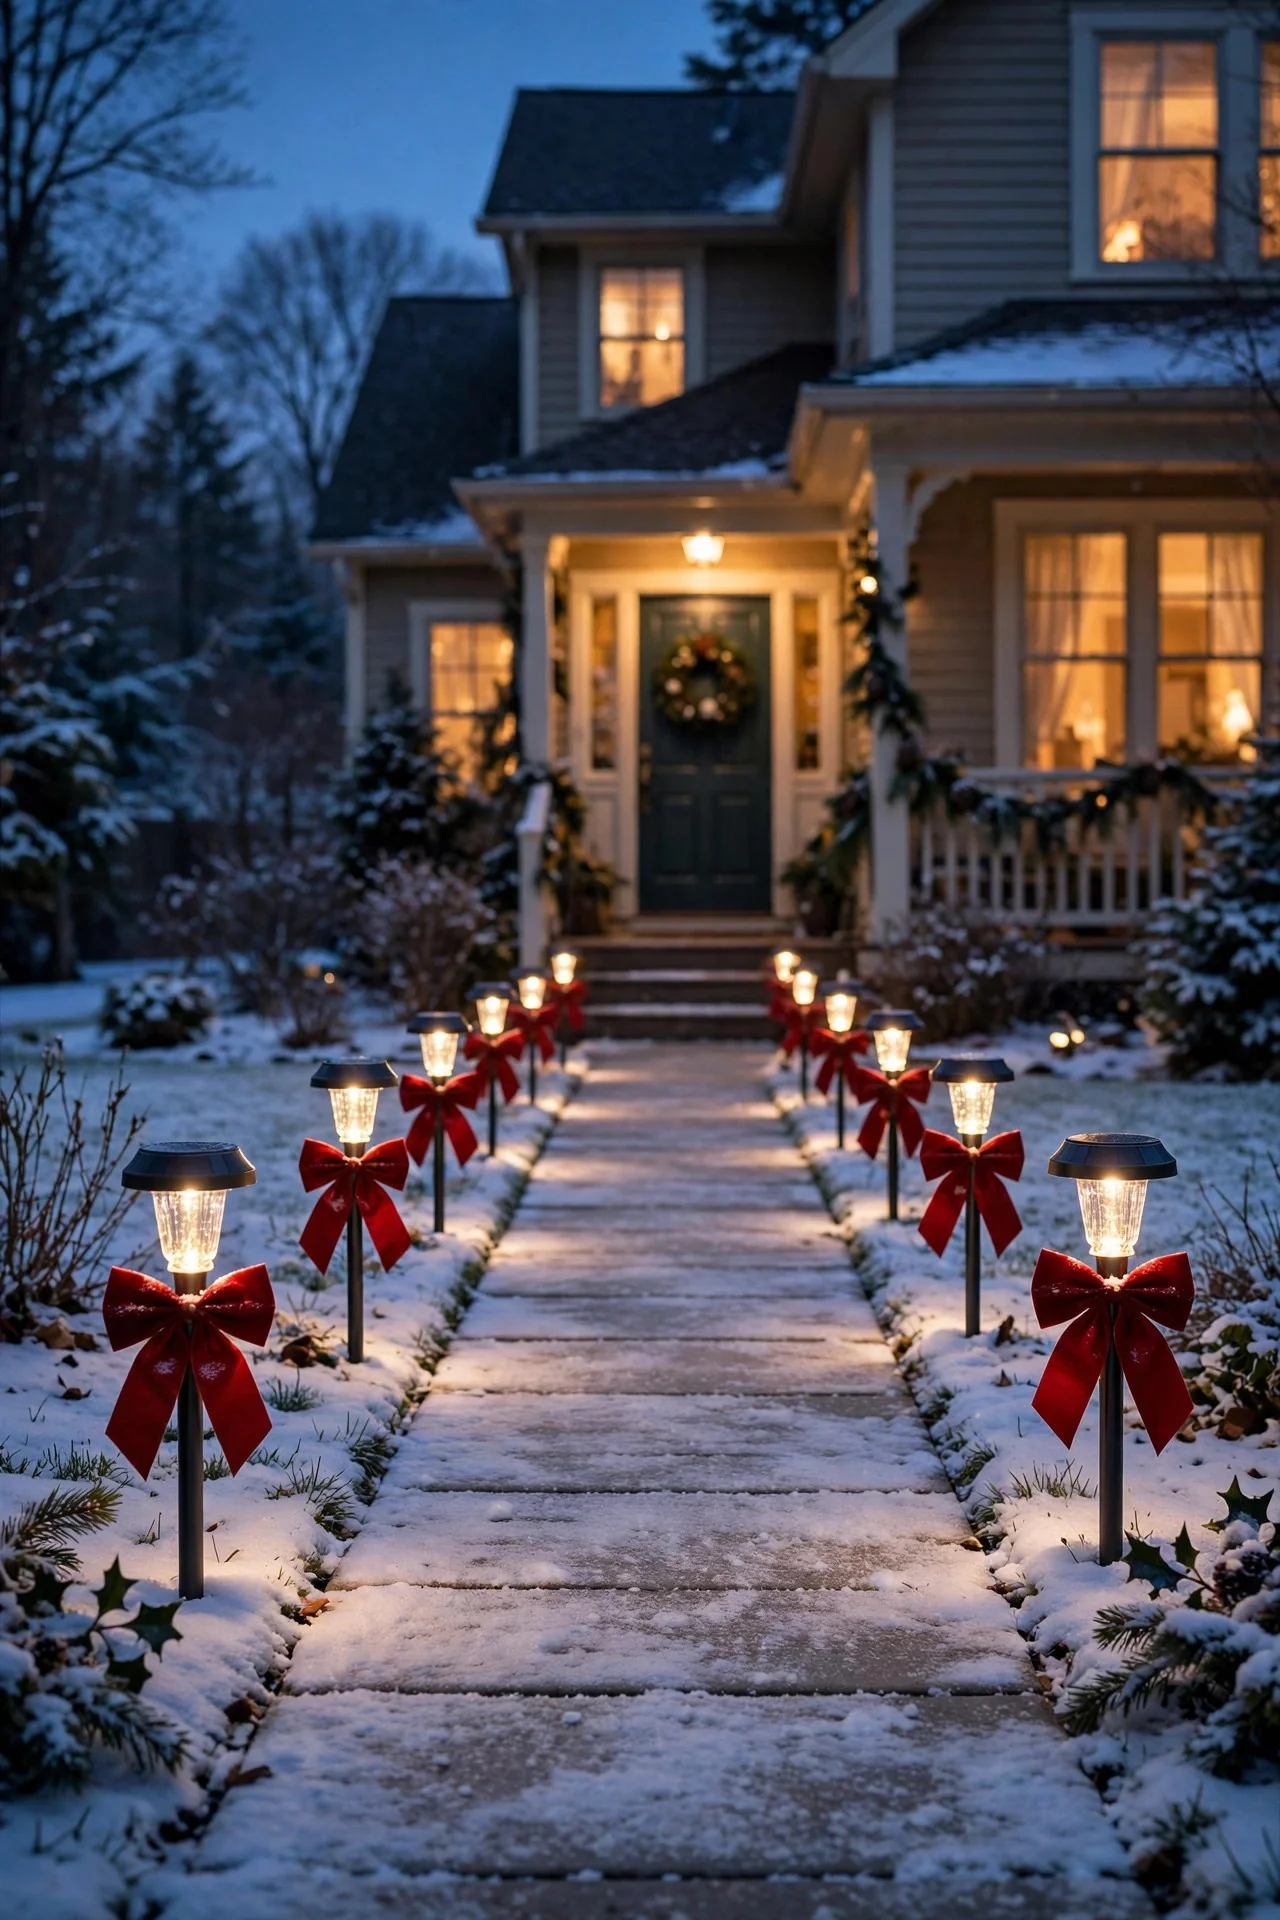
5. Solar Stake Lights With Red Bows
You probably already own solar path lights — give them a December promotion. Swap out any cool-white solar stakes for warm-white ones (most big-box solar lights come in both; check the Kelvin rating on the box), line them along your walkway about 6 to 8 feet apart, and tie a simple red velvet bow around each stake. In my experience, this tiny addition transforms generic path lighting into something that looks deliberately festive, and it costs almost nothing if the stakes are already in your yard. The bows should be wired ribbon so they hold their shape through rain. One caveat I always mention: solar lights dim faster in December's short days, so place stakes where they get maximum daytime sun and wipe the panels with a damp cloth before the season starts. If a stake sits in deep shade, swap it for a plug-in low-voltage path light for the month so your walkway stays evenly lit and safe.
Suggested budget range: $10 – $40.
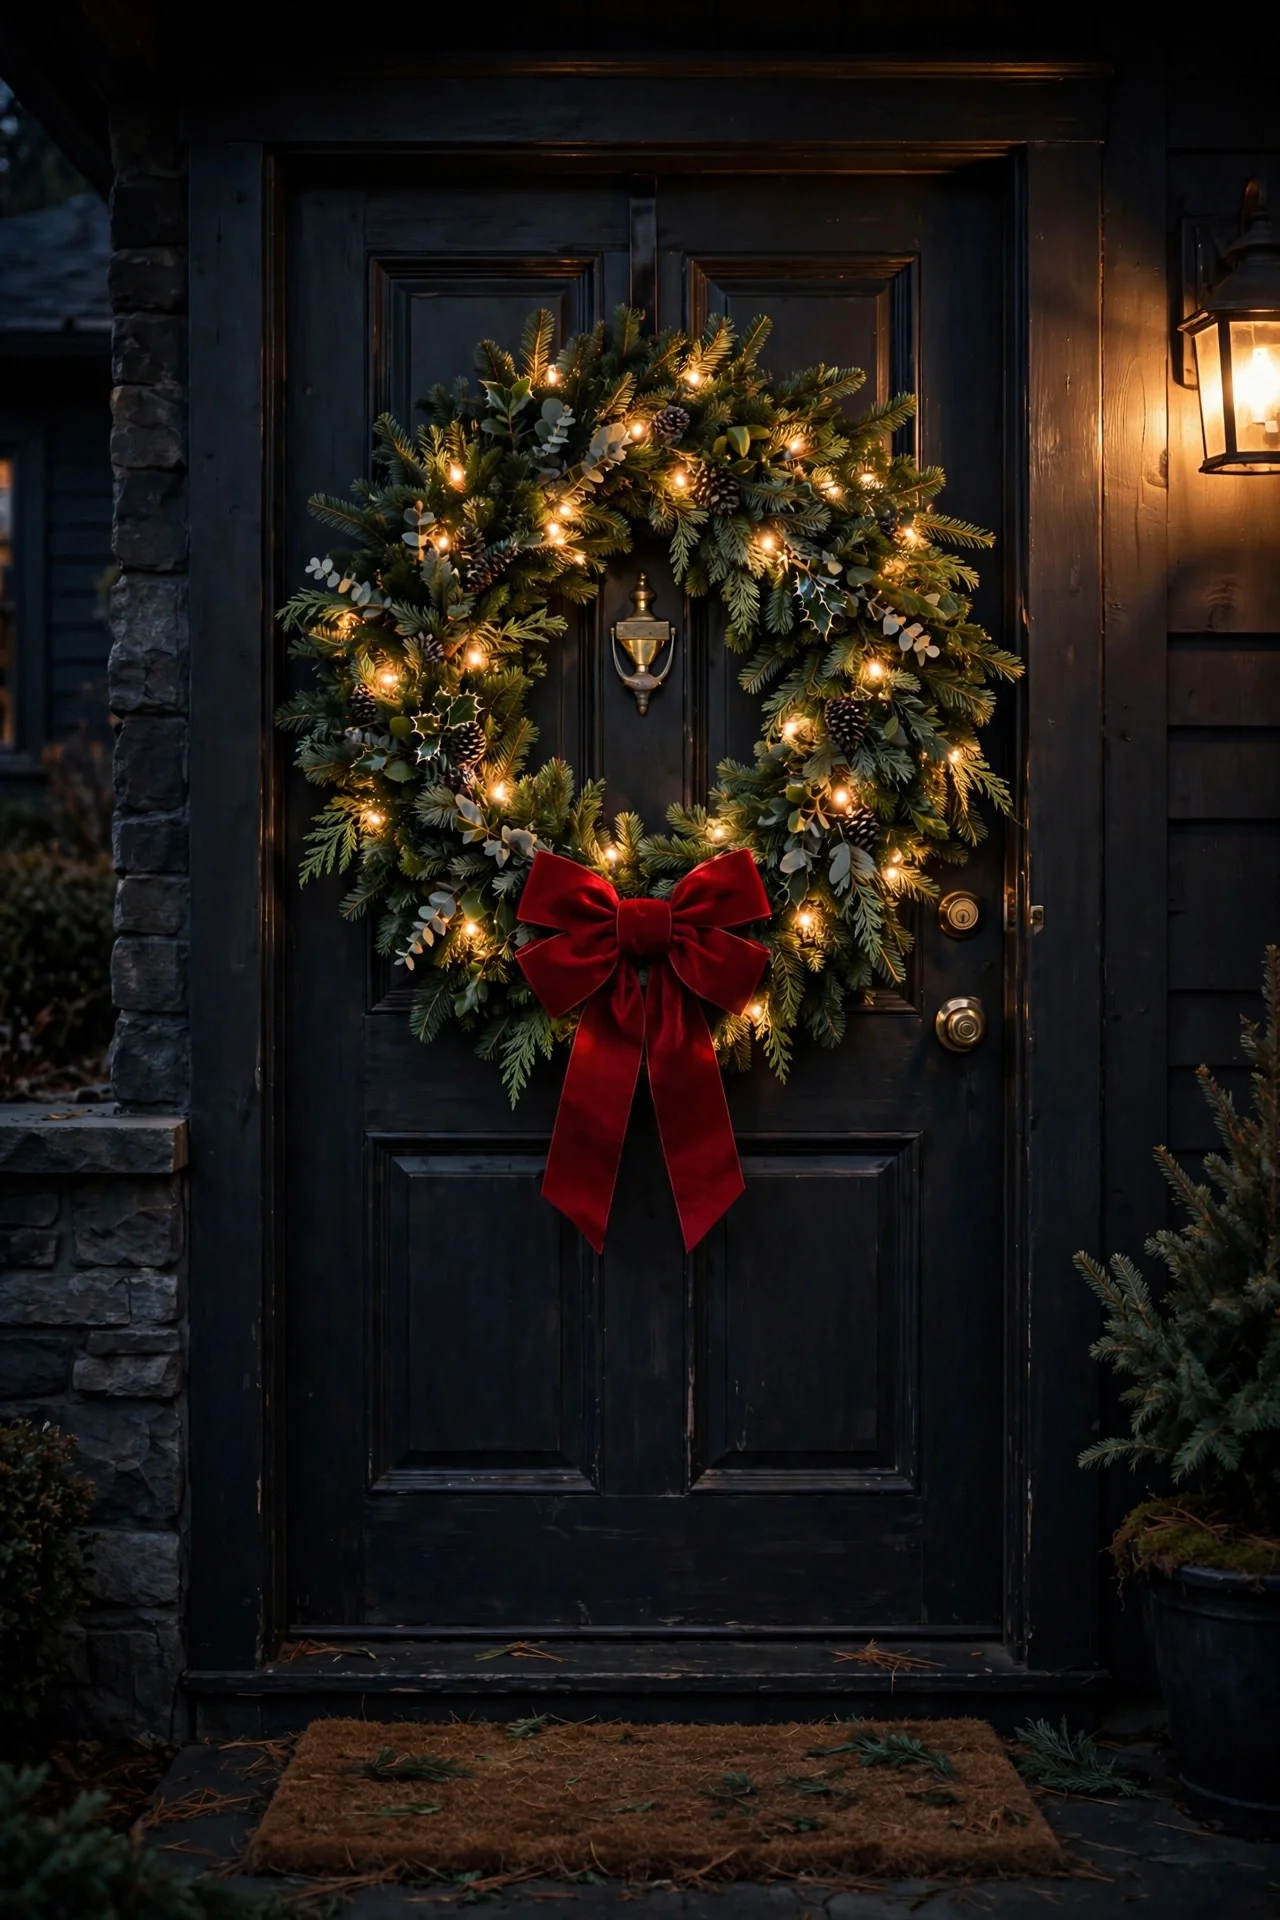
6. A Single Statement Wreath With Battery Fairy Lights
One wreath, done right, can carry your entire front entry. Choose a full 30-inch mixed evergreen wreath — the bigger the better on a standard 36-inch door — and weave 30 to 50 warm-white fairy lights through it on a thin battery timer pack hidden behind the bow. Hang it with an over-the-door wreath hanger so you never put a nail in your door, centering it at eye level (about 60 inches from the ground). The battery pack means no cords dangling down your door, and a 6-hour timer keeps you from changing batteries weekly. Style-wise, I always recommend sticking to one accent: a big red bow, or gold ornaments, or natural pinecones — not all three. This is the minimalist's Christmas in one object, and it looks especially striking on a dark-painted door where the greens and lights pop against the contrast. A battery-operated strand also means renters can do this with zero damage — the hanger lifts off in January without a trace.
Suggested budget range: $30 – $75.
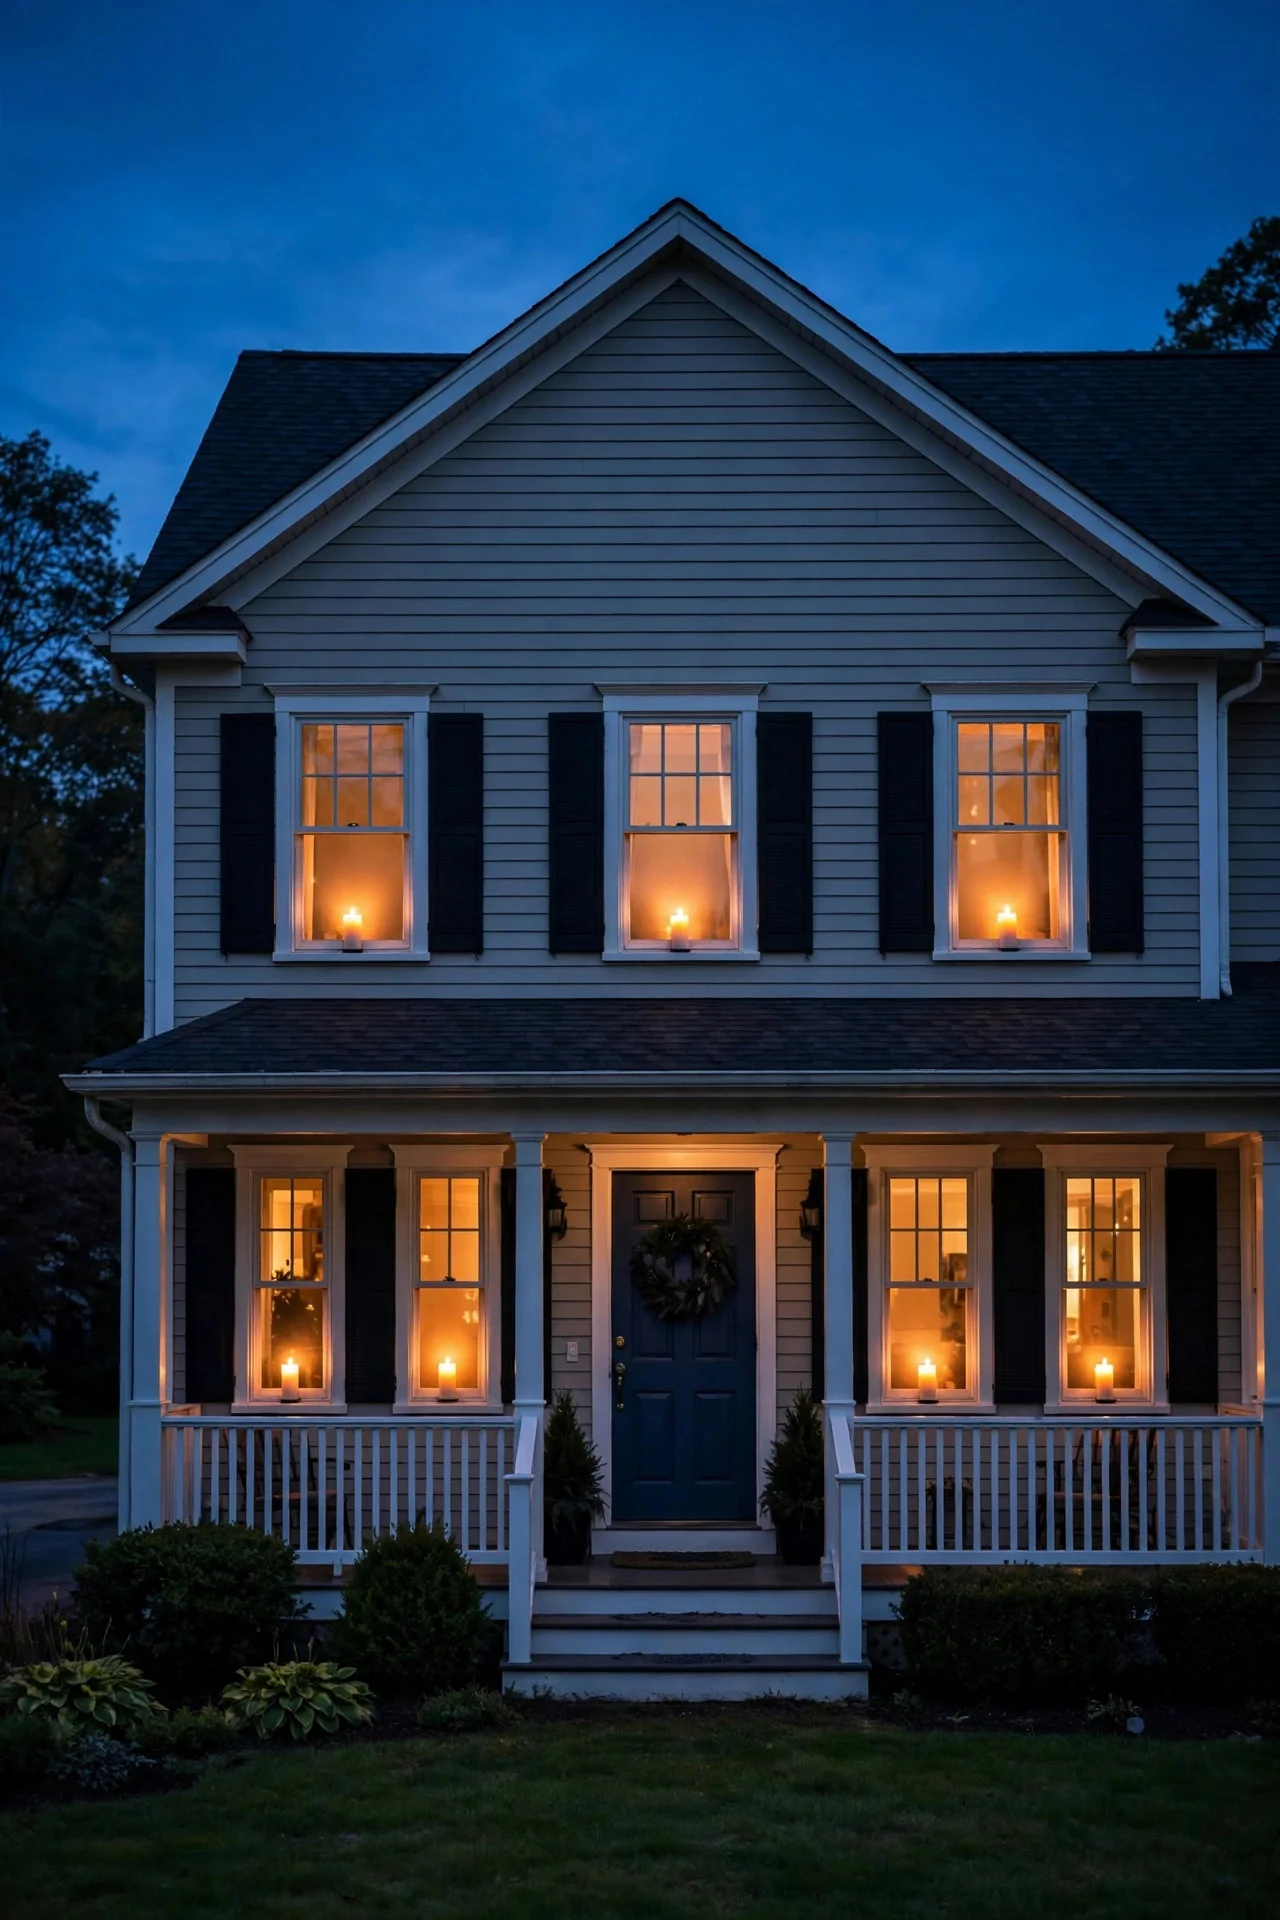
7. Electric Candles in Every Front Window
This is the oldest trick in the book, and it still works because it speaks to something deep — every window glowing says "welcome home." Place one electric window candle (LED, warm white, with a sensor that turns on at dusk) centered in each street-facing window, about 6 inches back from the glass on the sill. I always recommend matching candles in every window — same height, same shade — because mismatched candles look accidental rather than intentional. The classic look is the tall tapered style with a brass base, but slim modern LED pillars work on contemporary homes. Plug-in versions beat battery ones if you have outlets nearby; otherwise, invest in the timer battery models and set a calendar reminder for December 26th battery swaps. From the street, a whole house of glowing windows reads as one cohesive, deeply cozy gesture — and it is visible even when you skip everything else.
Suggested budget range: $25 – $70.
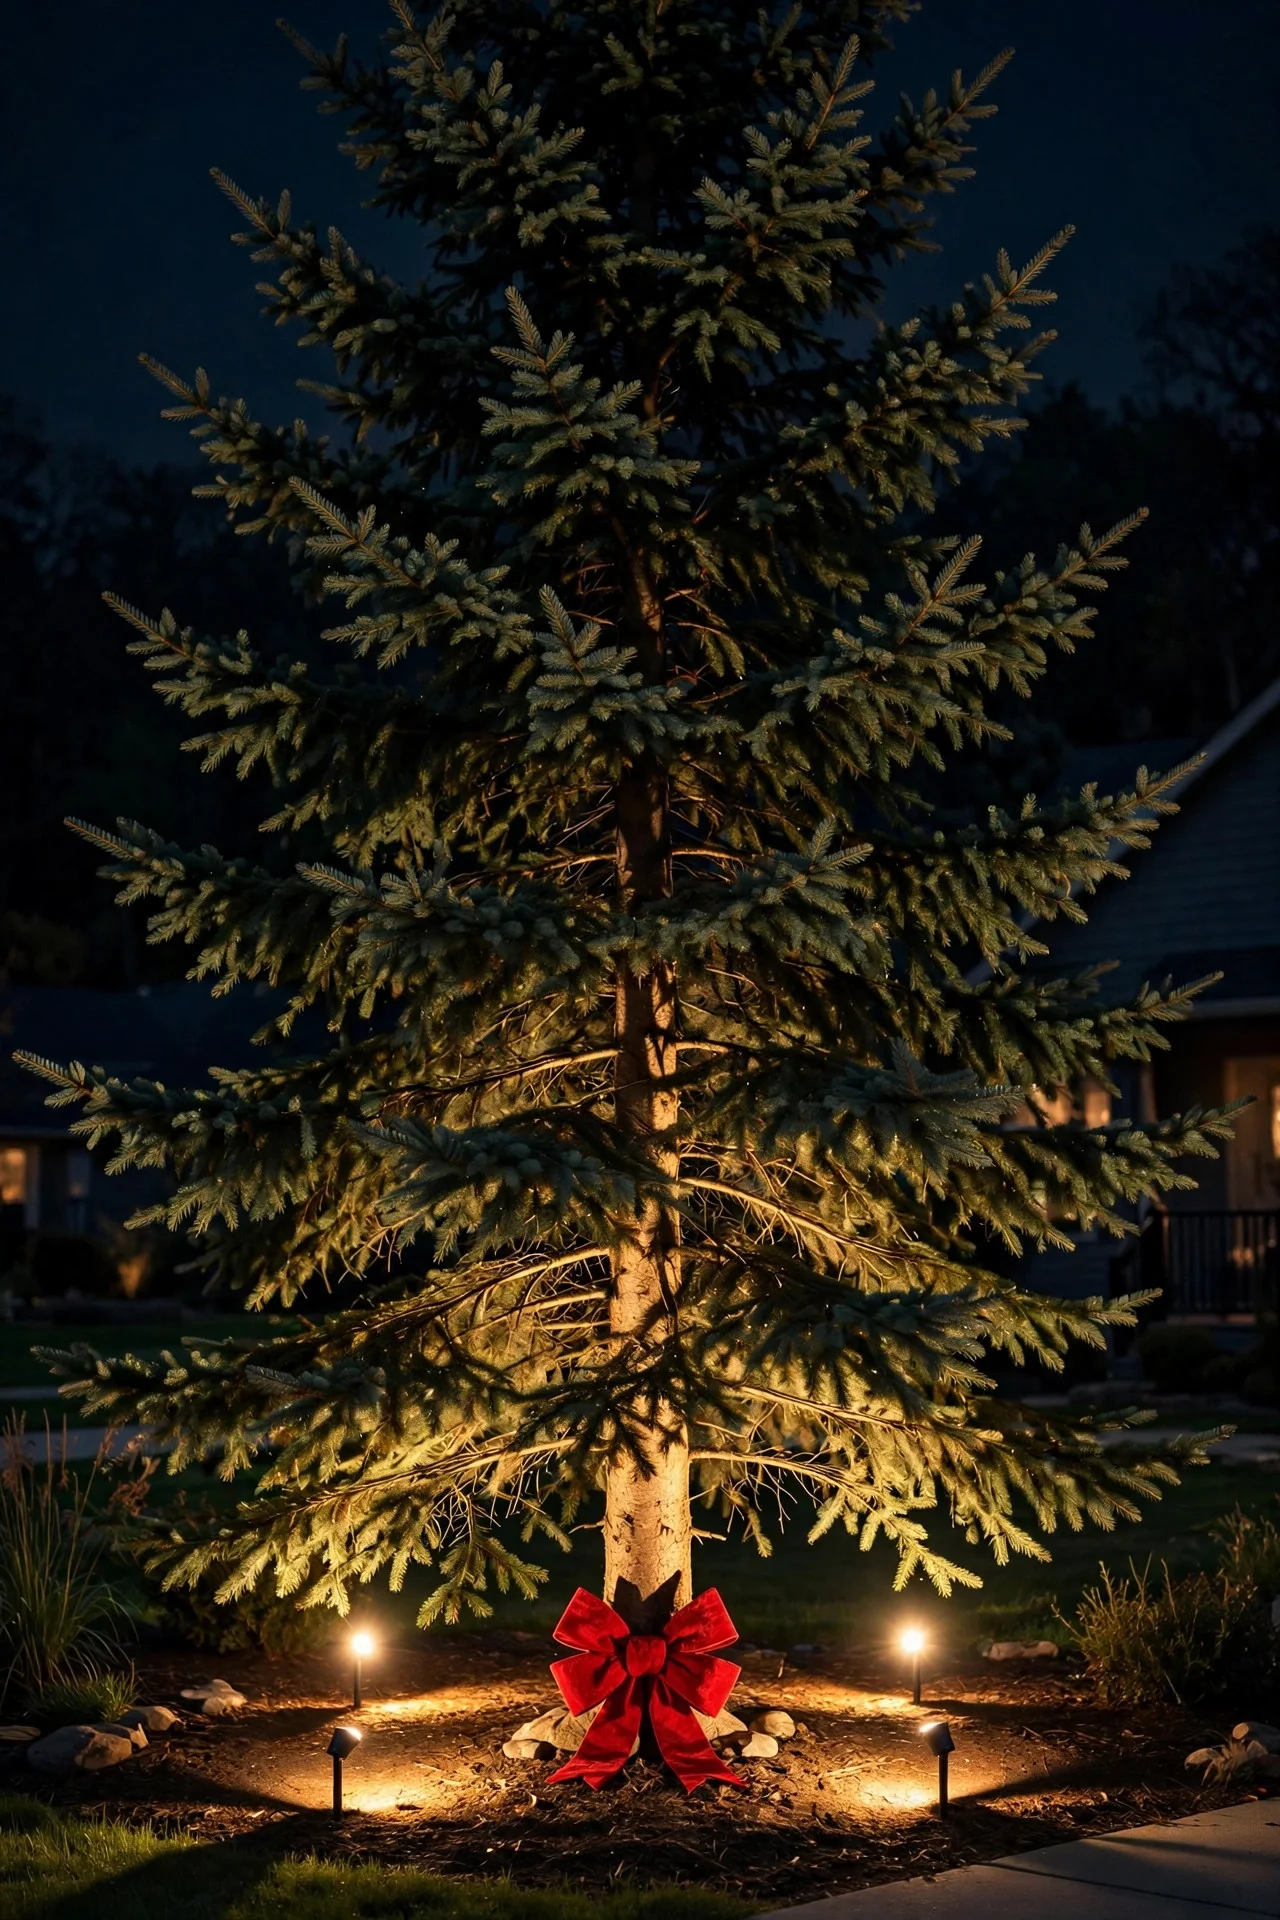
8. Uplight Your Best Evergreen
If you have a beautiful spruce or pine in your front yard, December is its red-carpet month. Place one or two outdoor LED spotlights (warm white, 2700K, with ground stakes) about 3 feet from the trunk, angled up into the branches at roughly 30 degrees. The uplight catches the layered branches and creates dramatic shadows that make the tree look twice as tall and ten times as magical. I always recommend the stake-style spots over the ones that sit on the ground — they stay put in wind and you can adjust the angle in seconds. This is also your year-round landscape lighting doing double duty, so it is one of the most practical outdoor Christmas light ideas on this list: buy it once, enjoy it every season. For the holiday touch, add a single oversized red bow at the base or a ring of warm mini lights around the trunk at eye level.
Suggested budget range: $40 – $110.
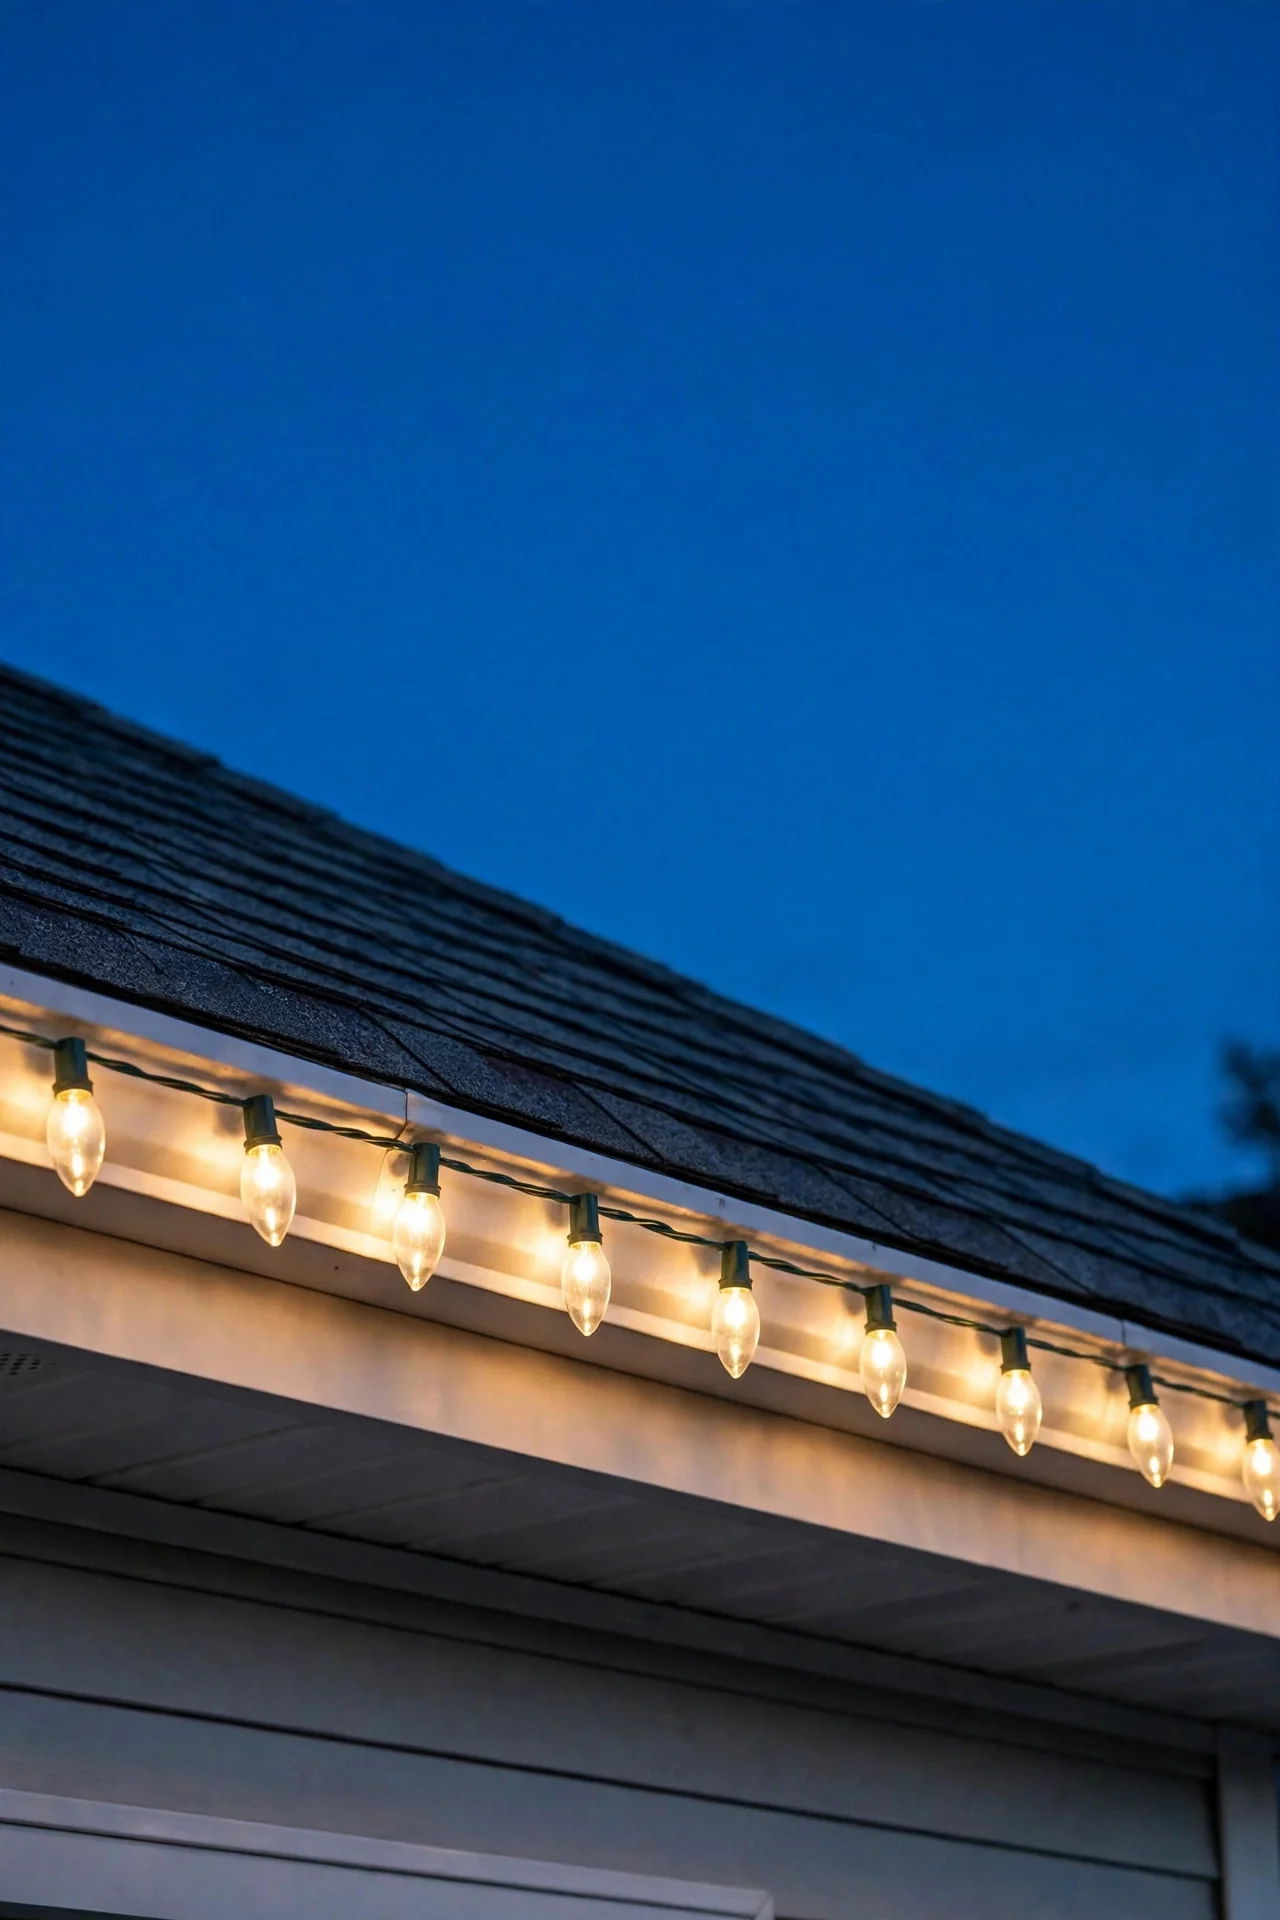
9. The Clean Roofline: Warm-White C9s on Clips
Before we go full classic, let's do the restrained version: a single crisp line of warm-white C9 LEDs along the front roofline only — no peaks, no gables, just the straight eave. C9s are the big retro bulbs (about 3 inches tall) that read as Christmas from a block away. Measure your eave, buy a string to match, and hang it with plastic gutter or shingle clips — never staples or nails, which damage shingles and can create shock hazards where the wire is pierced. Space the bulbs exactly as they come on the string (usually 12 inches apart) and keep the line laser-straight; a sagging roofline is the difference between elegant and sad. I always recommend LED C9s over incandescent: they use about 90 percent less energy, stay cool to the touch, and you can connect far more strands end to end. If you are new to roof work, skim our [electrical safety tips](https://exteriorhouselighting.com/electrical-safety-tips/) before you climb the ladder — stable footing and GFCI-protected outlets first, lights second.
Suggested budget range: $60 – $140.
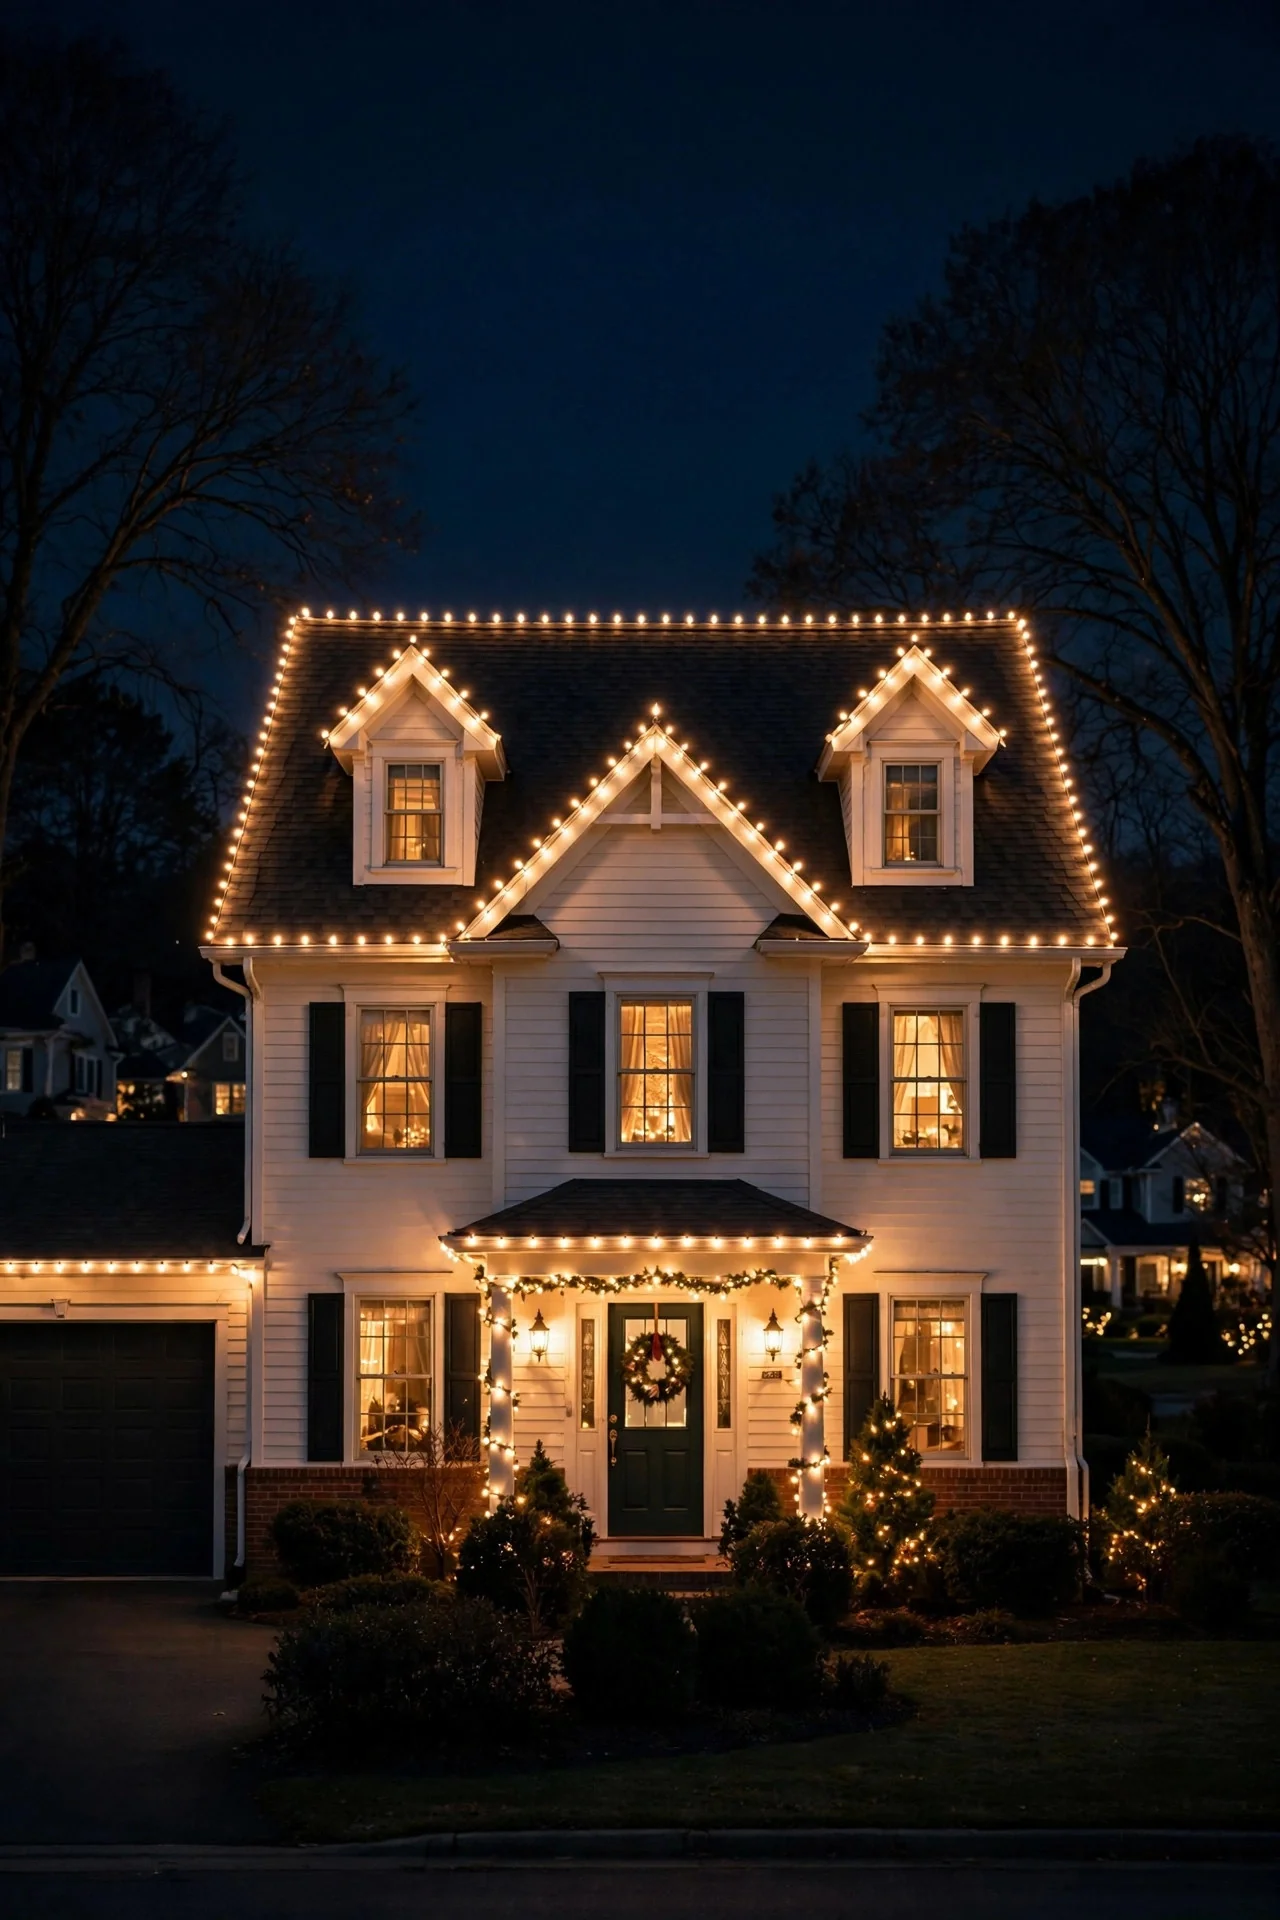
10. The Classic Full Roofline: The Outdoor Christmas Light Idea That Never Fails
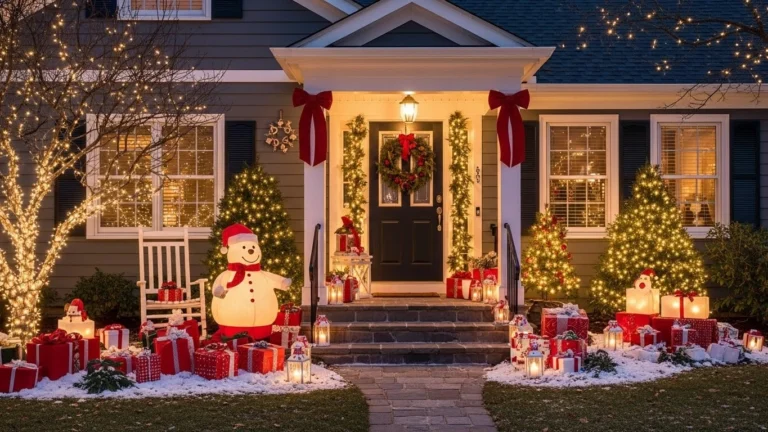
Now the full commitment: C9s tracing every peak, gable, and dormer on the front of your house. This is the look most of us picture when we think of outdoor Christmas light ideas, and it earns its reputation. Plan your layout on paper first — measure each roofline segment and buy strings accordingly, since LED C9 strings typically connect 20 or more end to end without dimming. Hang with shingle-tab clips on the roof edge and gutter clips along gutters, keeping the bulb spacing even and the wire taut. Warm white is timeless; multicolor is nostalgic — pick one and commit, because mixing them reads as chaotic. Safety notes I never skip: do this work in daylight with a spotter holding the ladder, keep all plugs and connections in weatherproof boxes off the ground, and plug into GFCI-protected outlets only. The result is the definitive Christmas house silhouette, and honestly? It never gets old.
Suggested budget range: $120 – $300.
11. Icicle Lights Along the Gutters
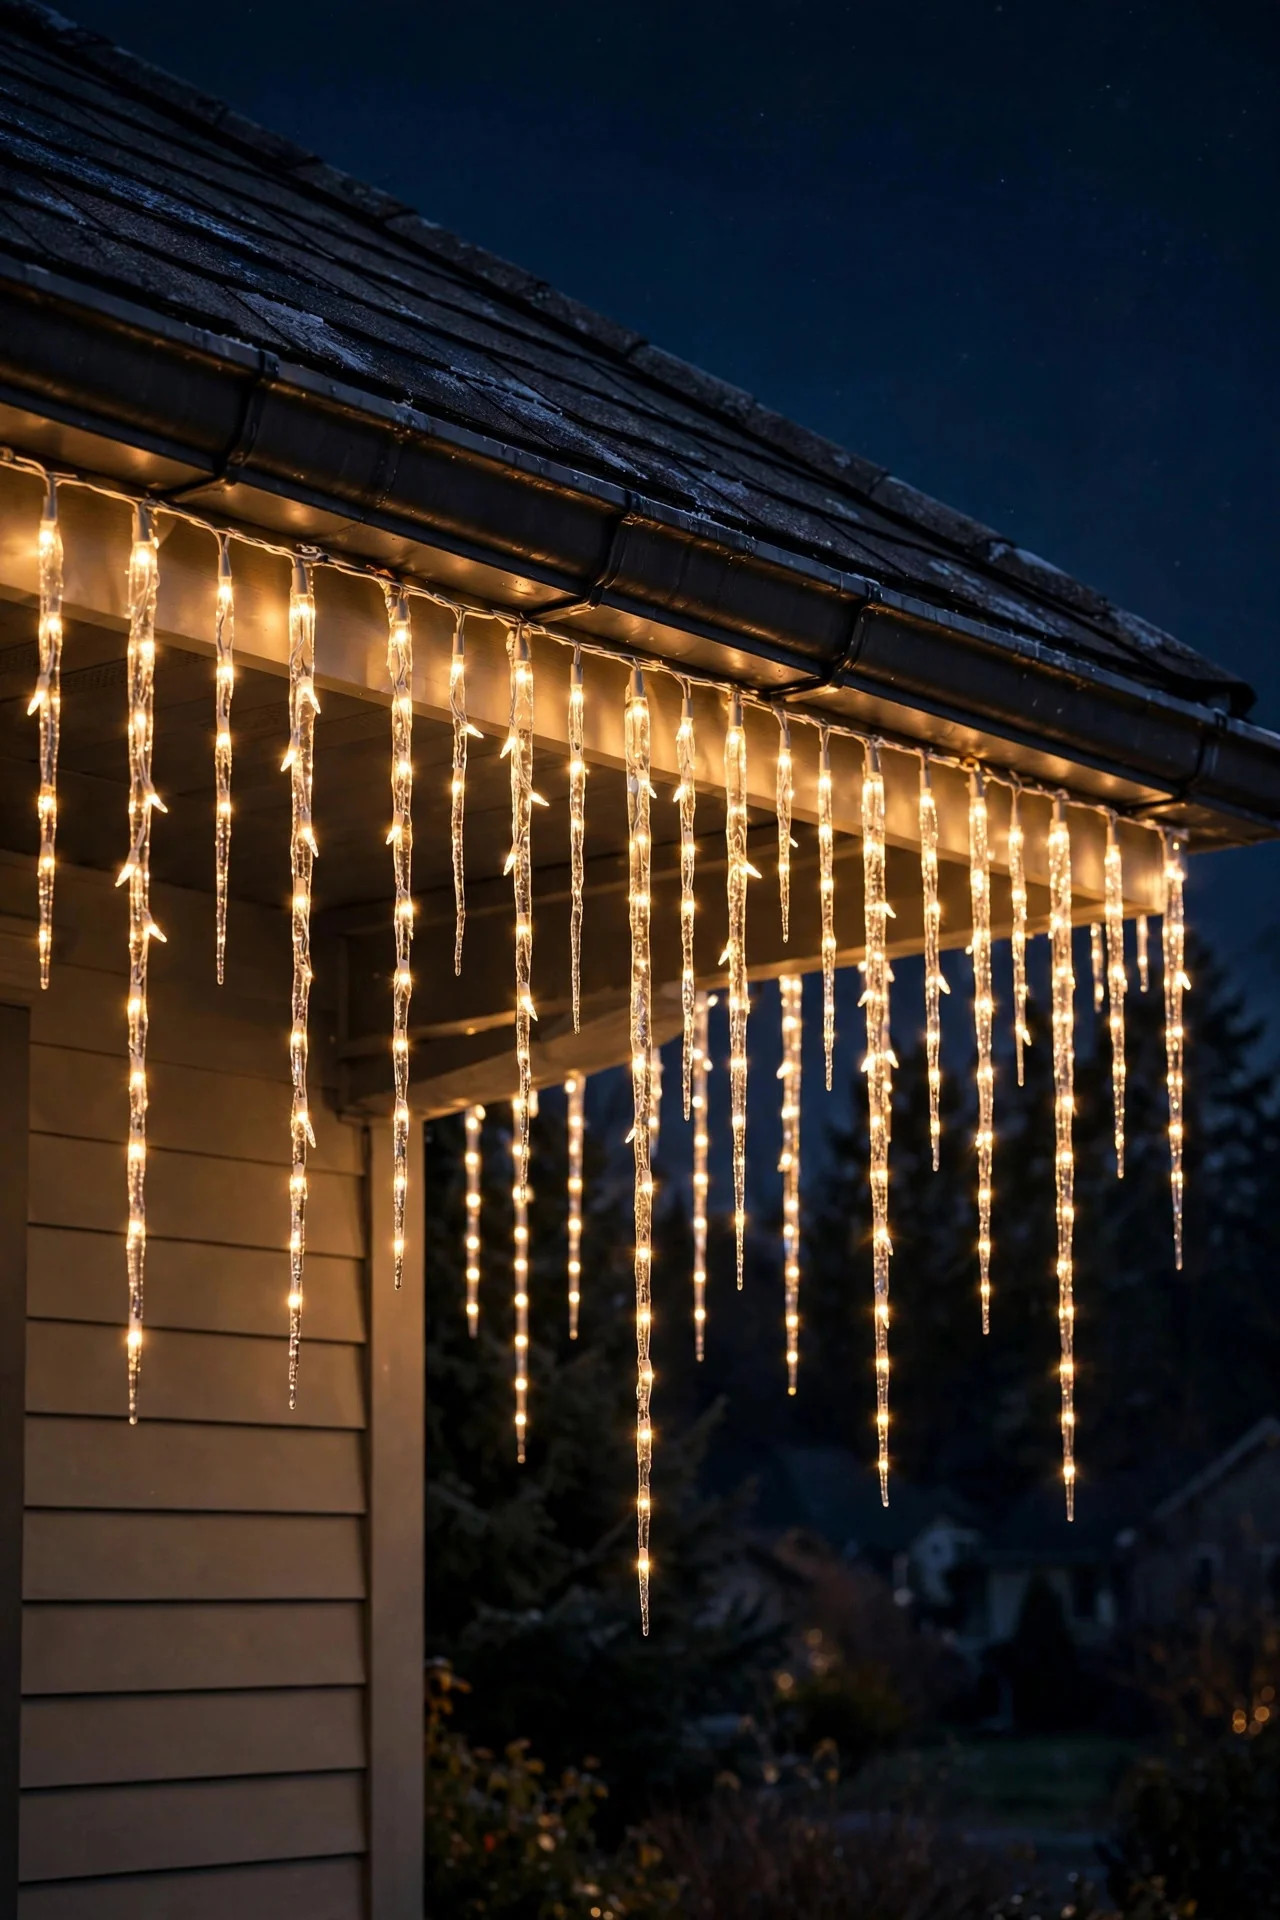
Icicle lights are the drama queens of Christmas lighting — in the best way. Hang them along your front gutters with the drops facing outward, overlapping strands by 6 inches so there are no dark gaps. I always recommend LED icicle strands in warm white; the staggered drops (usually 6, 9, and 12 inches on one strand) create that frozen-waterfall effect that looks incredible against a dark roof. The key to making them look expensive instead of messy: hang them from the gutter lip with dedicated icicle clips so every drop hangs perfectly vertical. Wind-blown, tangled icicles are the number one reason this look fails, so take the extra ten minutes with the clips. Pair with a simple lit wreath on the door and leave the bushes alone — icicles plus restraint is a genuinely sophisticated combination. Keep spare clips on hand; winter winds love to test your work. If your gutters are high, hang the strands from the ground with a no-ladder gutter pole — your shoulders will thank you.
Suggested budget range: $50 – $120.
12. Garland-Wrapped Porch Columns
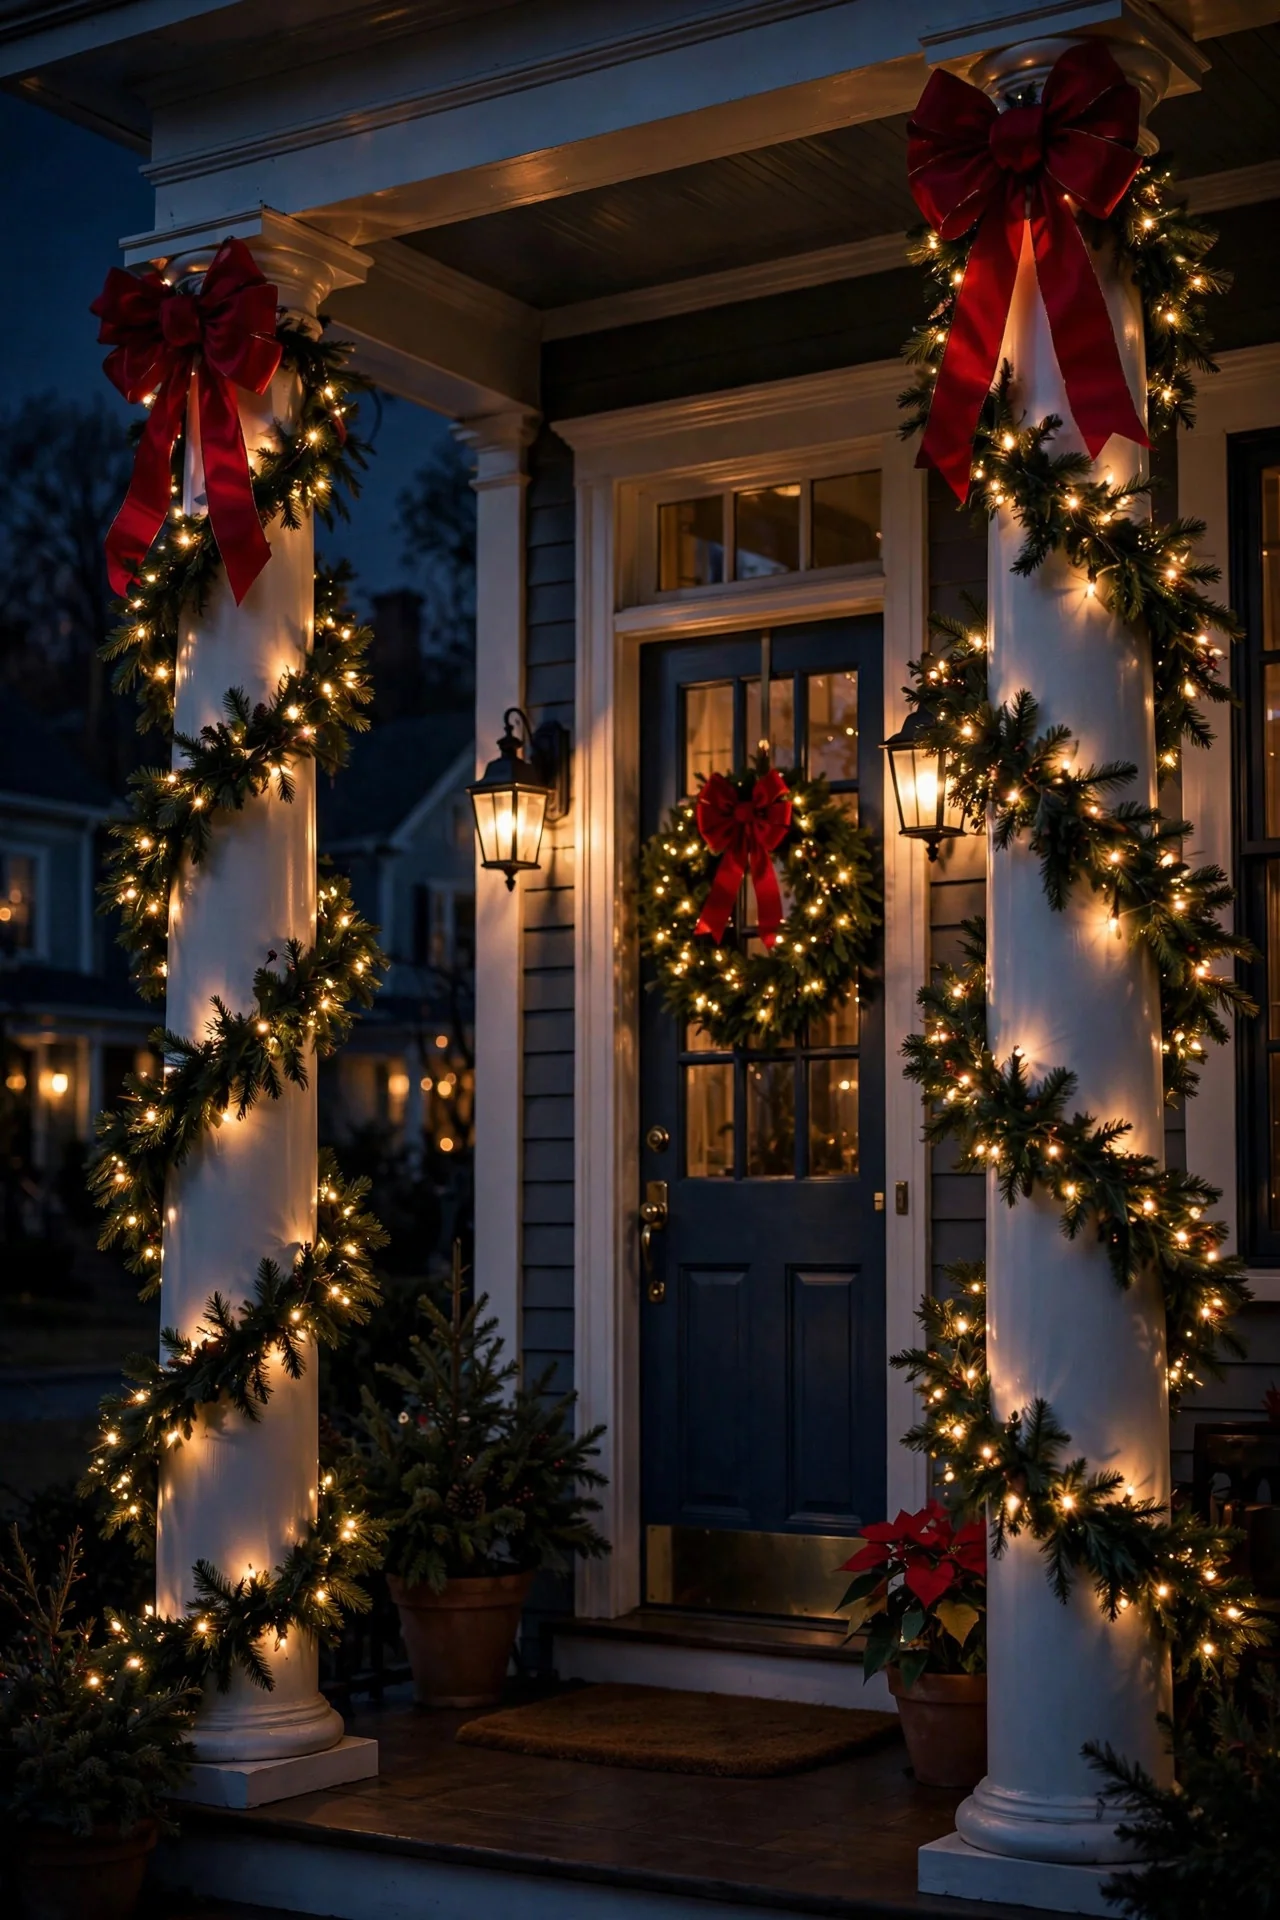
If your porch has columns, you have natural candy canes waiting to happen. Take a 9-foot pre-lit garland (or a plain one you wrap with your own warm-white minis at 50 bulbs per foot of garland for full coverage) and spiral it from the base of each column to the top, spacing the wraps about 8 inches apart. Secure with green floral wire every other wrap — not tape, which fails in the cold. I always recommend doing every column identically; the repetition is what makes it look professional. Add a big bow at the top of each column where the garland meets the porch beam, and tuck a few red berry picks into the greenery for color. For brick columns, use adhesive outdoor hooks at the back where they won't show. This is one of those ideas that looks like you hired someone. If you loved layering this same porch for autumn, my [fall porch lighting guide](https://exteriorhouselighting.com/fall-porch-lighting-ideas/) shows how the columns carry the season before.
Suggested budget range: $60 – $150.
13. Pre-Lit Garland Swagged on the Railings
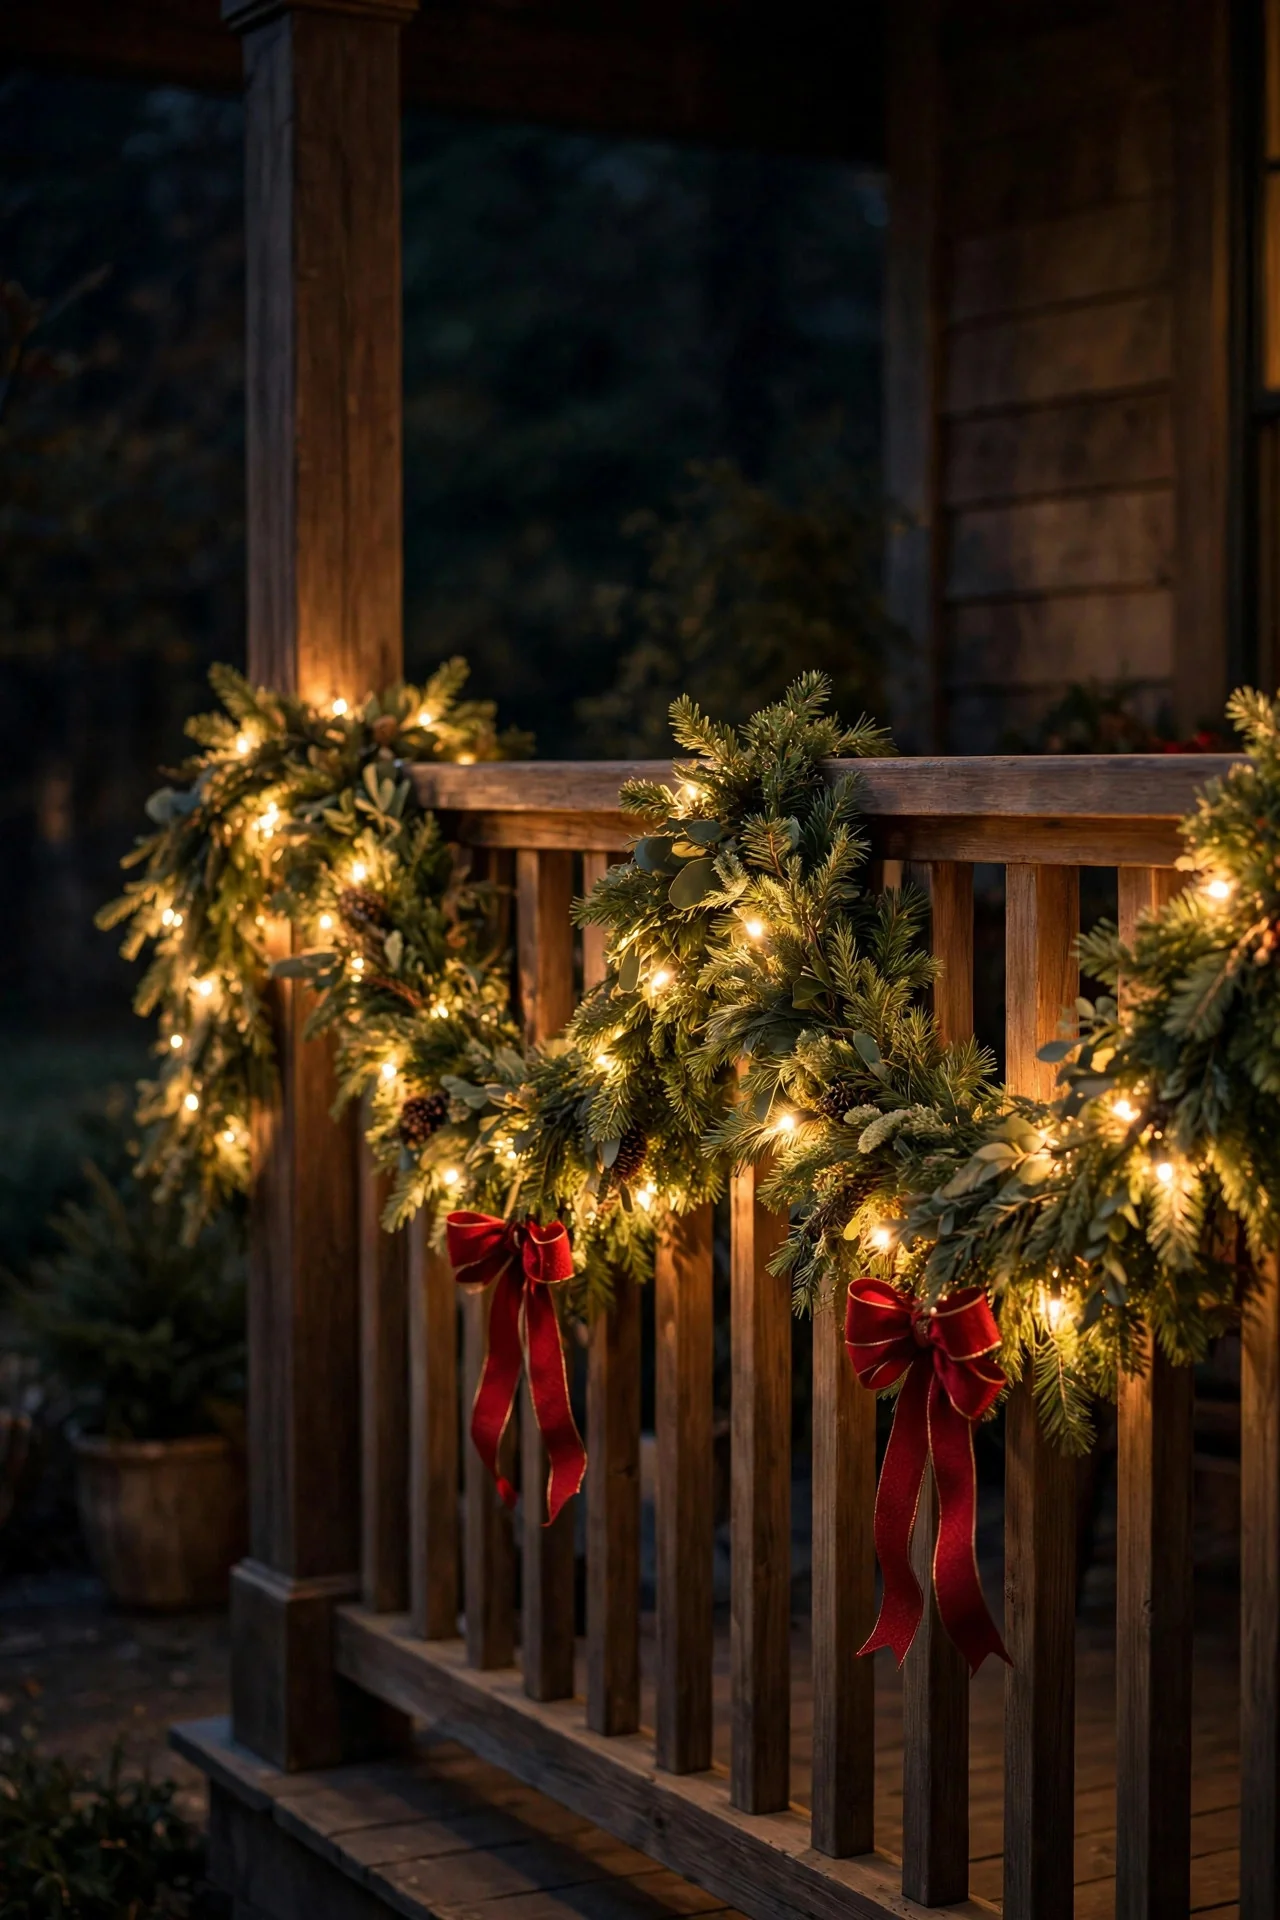
Swag pre-lit garland along your porch railings and the whole entry instantly feels like a holiday movie set. The 9-foot pre-lit sections are designed exactly for this — drape one per railing span, letting it sag gently in the middle, and secure with green floral wire or zip ties (never the light wire itself, which stretches and breaks). Fluff the garland before you hang it: straight out of the box it looks flat and sad, but ten minutes of pulling branches outward makes it look twice as full. Tuck a few real pinecones or a big wired-ribbon bow at each swag's low point for that finished, intentional look. If your railings are metal or composite and you can't use wire, heavy-duty outdoor adhesive hooks hold garland beautifully and come off clean in January. Match the garland's light temperature to your other porch lights — 2700K warm white across the whole entry keeps everything cohesive.
Suggested budget range: $50 – $130.
14. Pergola or Patio Christmas Canopy
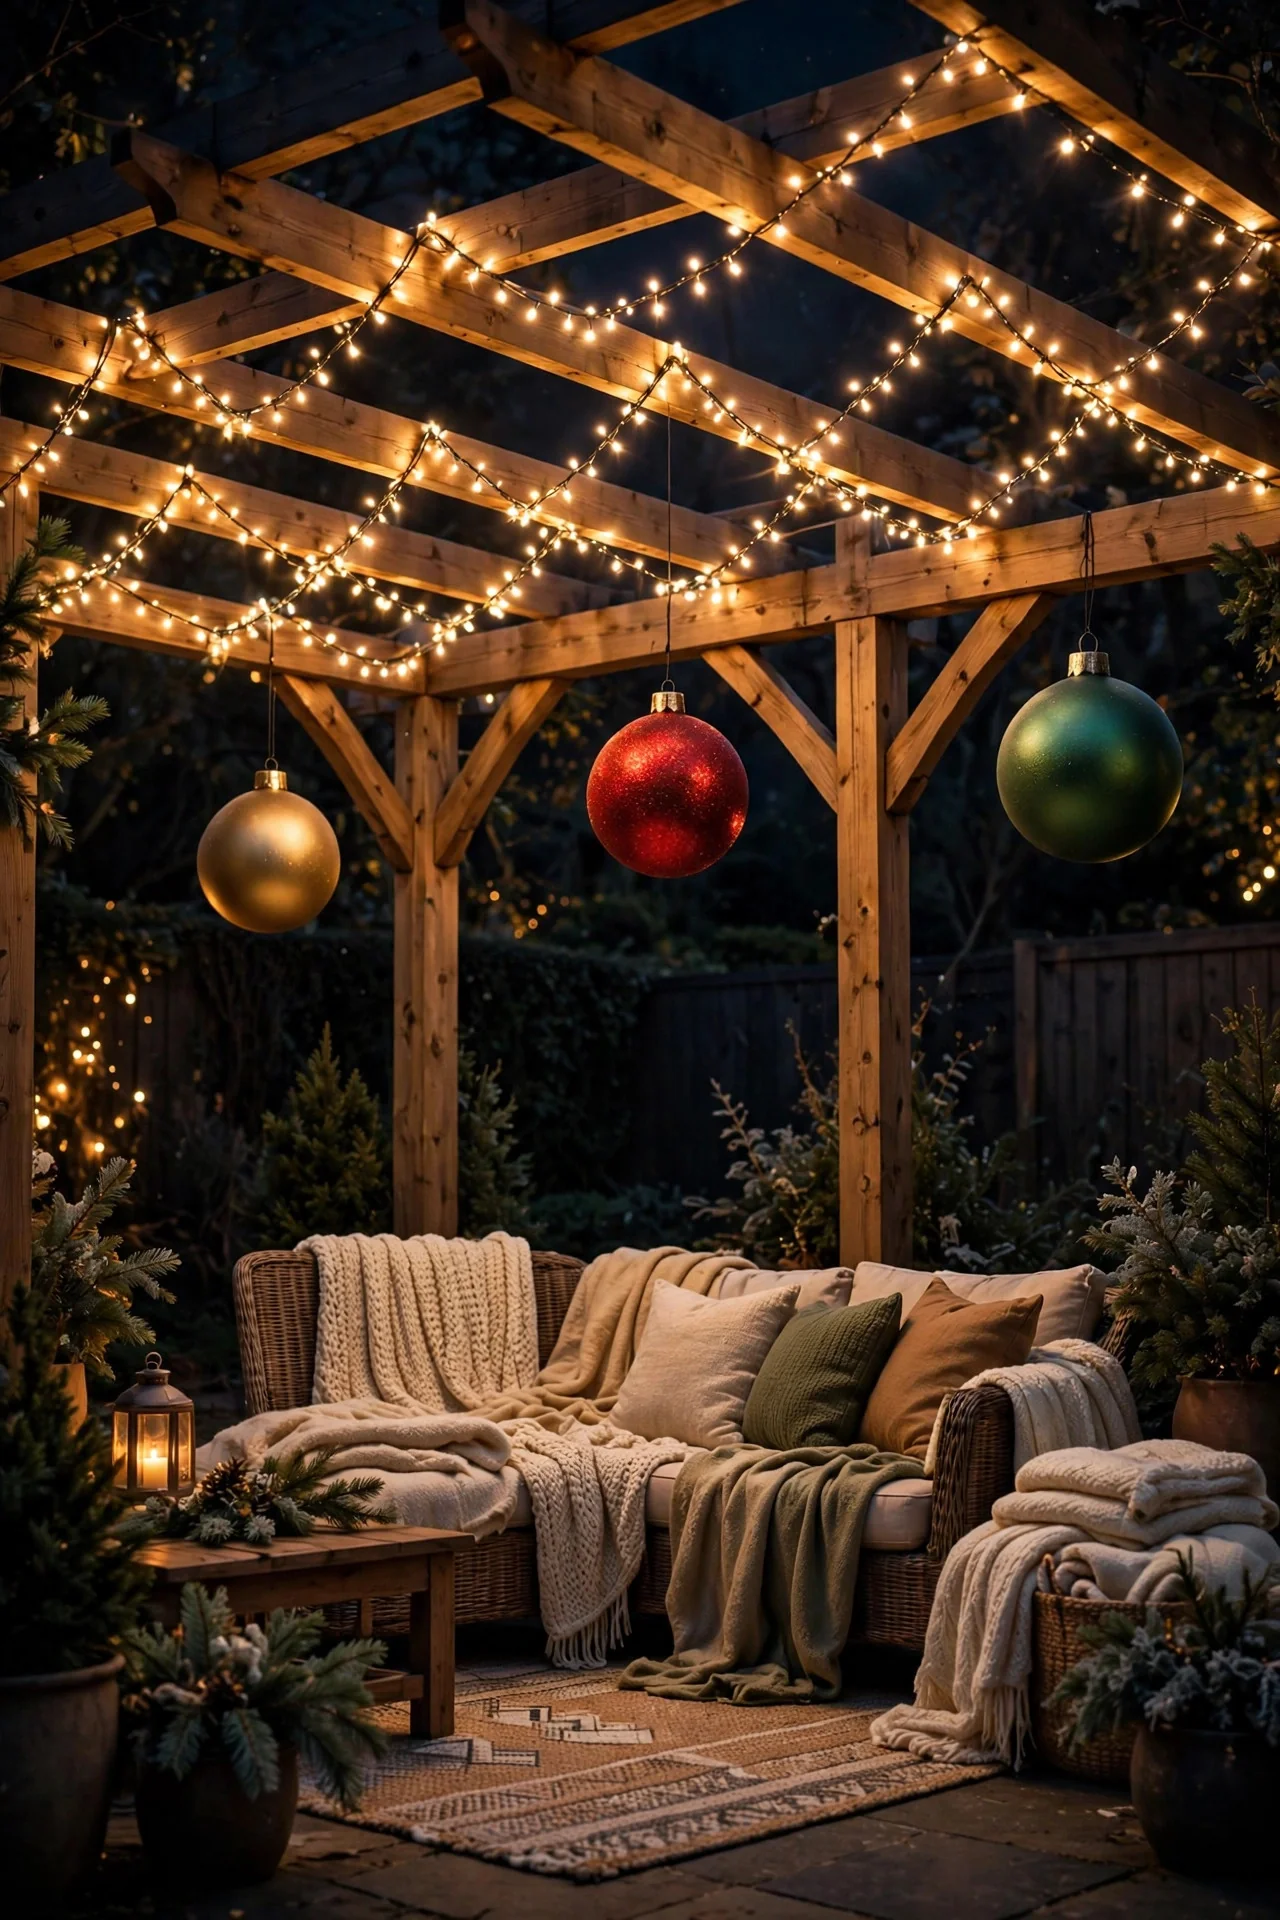
Don't forget the backyard — a pergola wrapped for Christmas turns your patio into a winter lounge you'll actually use. Drape string lights in a zigzag canopy across the pergola beams, running the strands back and forth across the short dimension about a foot apart, then let the ends drape down the posts like curtains of light. Hang a few oversized shatterproof ornaments or lit snowflakes from the crossbeams at varying heights for depth. I always recommend outdoor-rated Edison-style LED strands for overhead runs — they are sturdier than mini lights and the big warm bulbs look incredible against a night sky. Make sure every connection is sheltered from direct rain, and put the whole canopy on a smart plug so it lights itself at dusk. Add outdoor throw blankets and a fire pit, and you have built the coziest room of the house — outside, in December. Drape a few strands along the fence behind the pergola too, so the glow doesn't stop at the patio edge.
Suggested budget range: $70 – $200.
15. The Vintage Multicolor C9 Look
There is a whole generation of us who grew up with those big multicolor bulbs — red, green, blue, gold — and the nostalgia is powerful. The vintage multicolor look is back in a big way, and done right it is joyful rather than chaotic. The secret is restraint everywhere else: if the roofline is multicolor, keep the yard warm white (or vice versa). One multicolor element is festive; five is a carnival. I love multicolor C9s on the roofline with warm-white everything else — the house glows classic while the roofline throws the party. Use opaque (painted) LED bulbs rather than transparent ones for the authentic vintage look: transparent multicolor LEDs read as harsh dots, while opaque bulbs glow like the old incandescents. Space them a full 12 inches apart; vintage bulbs need room to breathe. Hang with the same shingle and gutter clips as any roofline, and keep the color order random — that unplanned rainbow is the whole point.
Suggested budget range: $60 – $150.

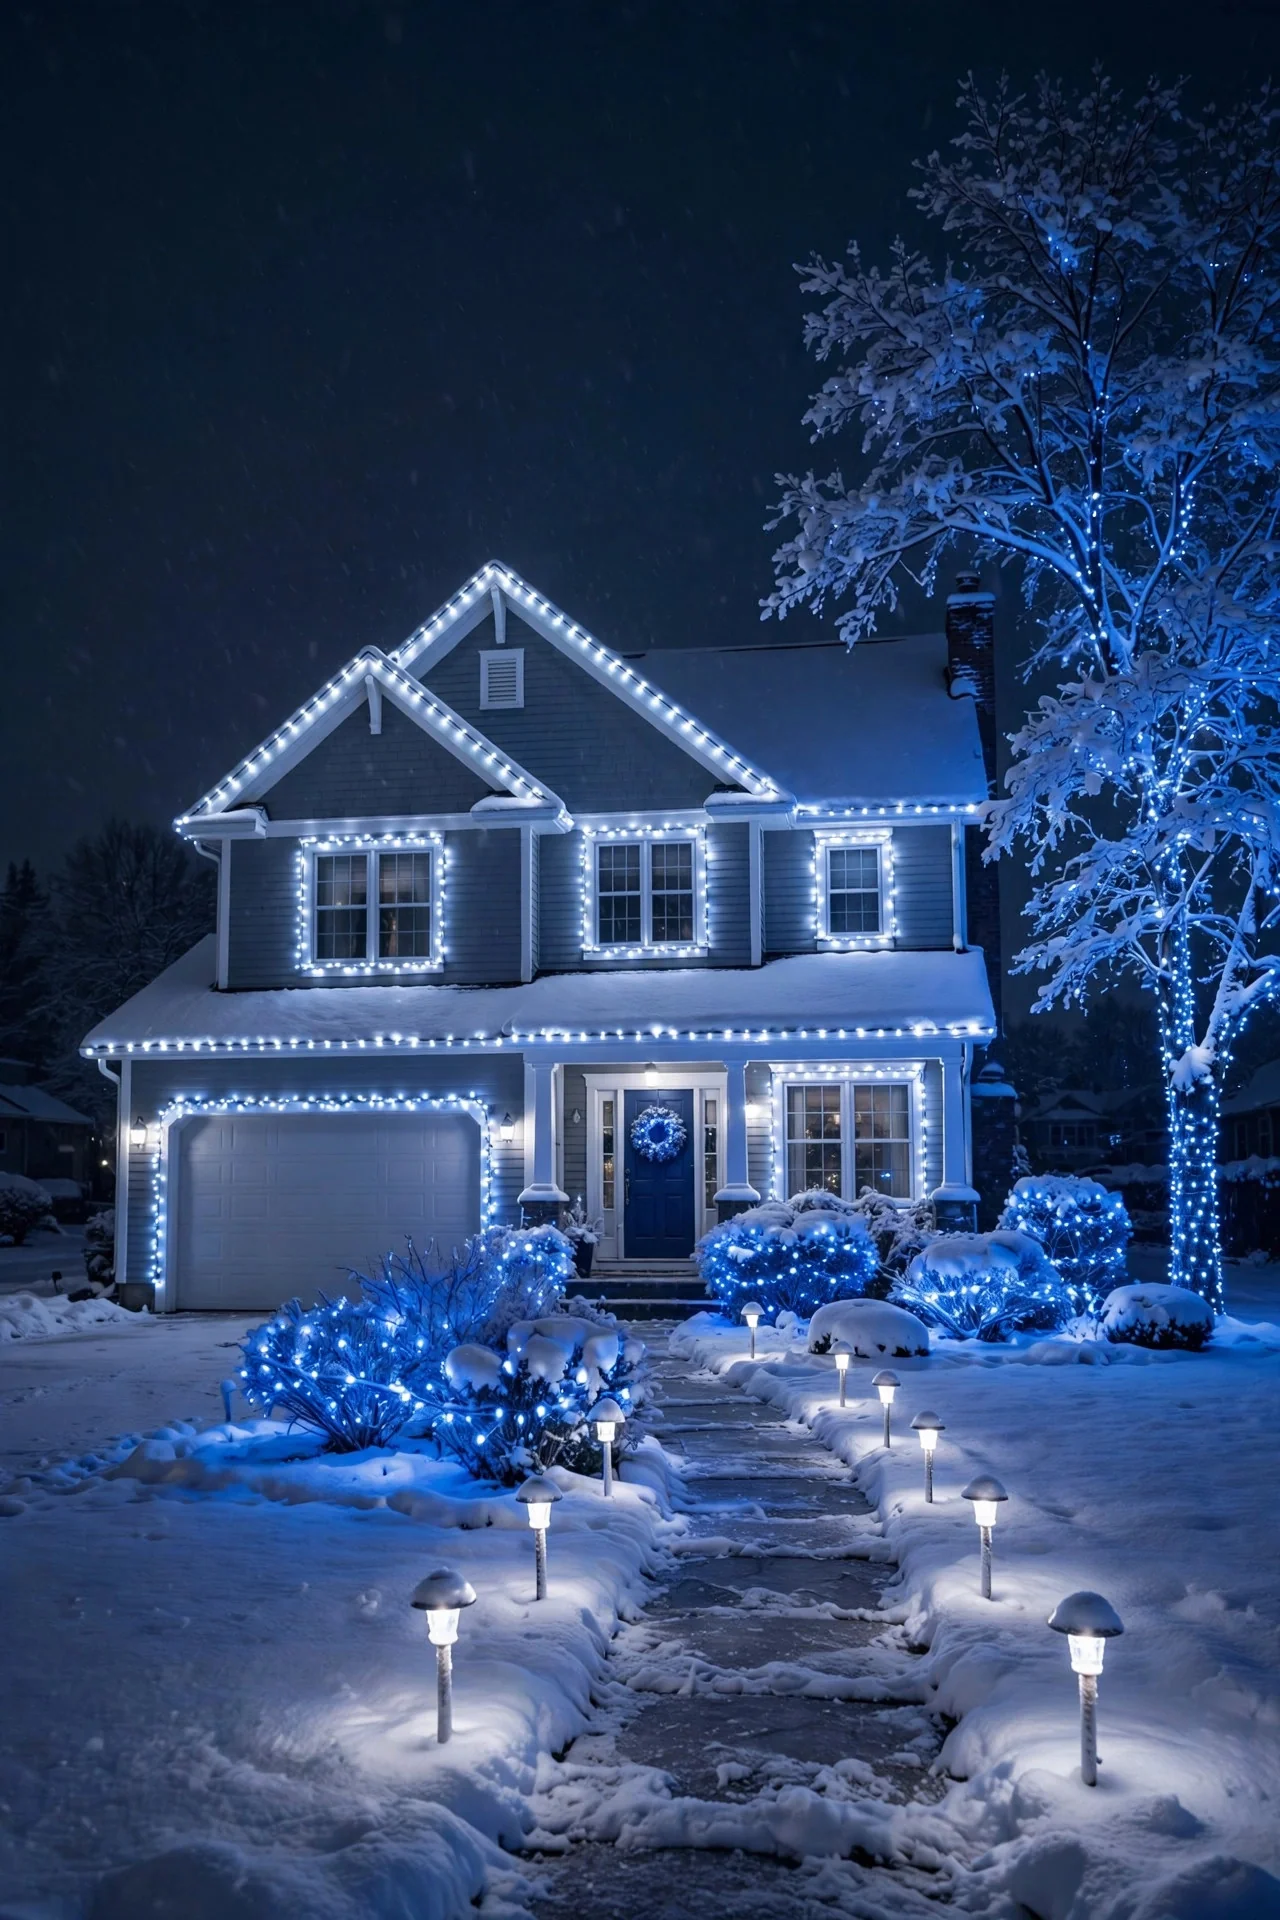
16. The Single-Color Theme: All Red, or Icy Blue-and-White
On the opposite end of the spectrum: pick ONE color and commit completely. An all-red display is dramatic and romantic. Icy blue and white is pure winter wonderland. All gold is old-Hollywood glamour. The discipline of a single color makes even a small display look designed and expensive. This works best when you repeat the color in at least three places — roofline, one yard element, and the entry — so it reads as a theme rather than a shortage. Vary the forms (bulbs, nets, figures) while keeping the color constant, and the display gains richness without gaining chaos. My personal favorite is the icy blue-and-white winter theme: cool-white roofline, blue-lit bushes, white pathway markers, and a blue-washed tree. In snow it is genuinely breathtaking, and it stands out precisely because every other house on the block went warm white. Blue-and-white LEDs photograph beautifully against fresh snow, so this theme is a favorite for holiday cards.
Suggested budget range: $80 – $200.
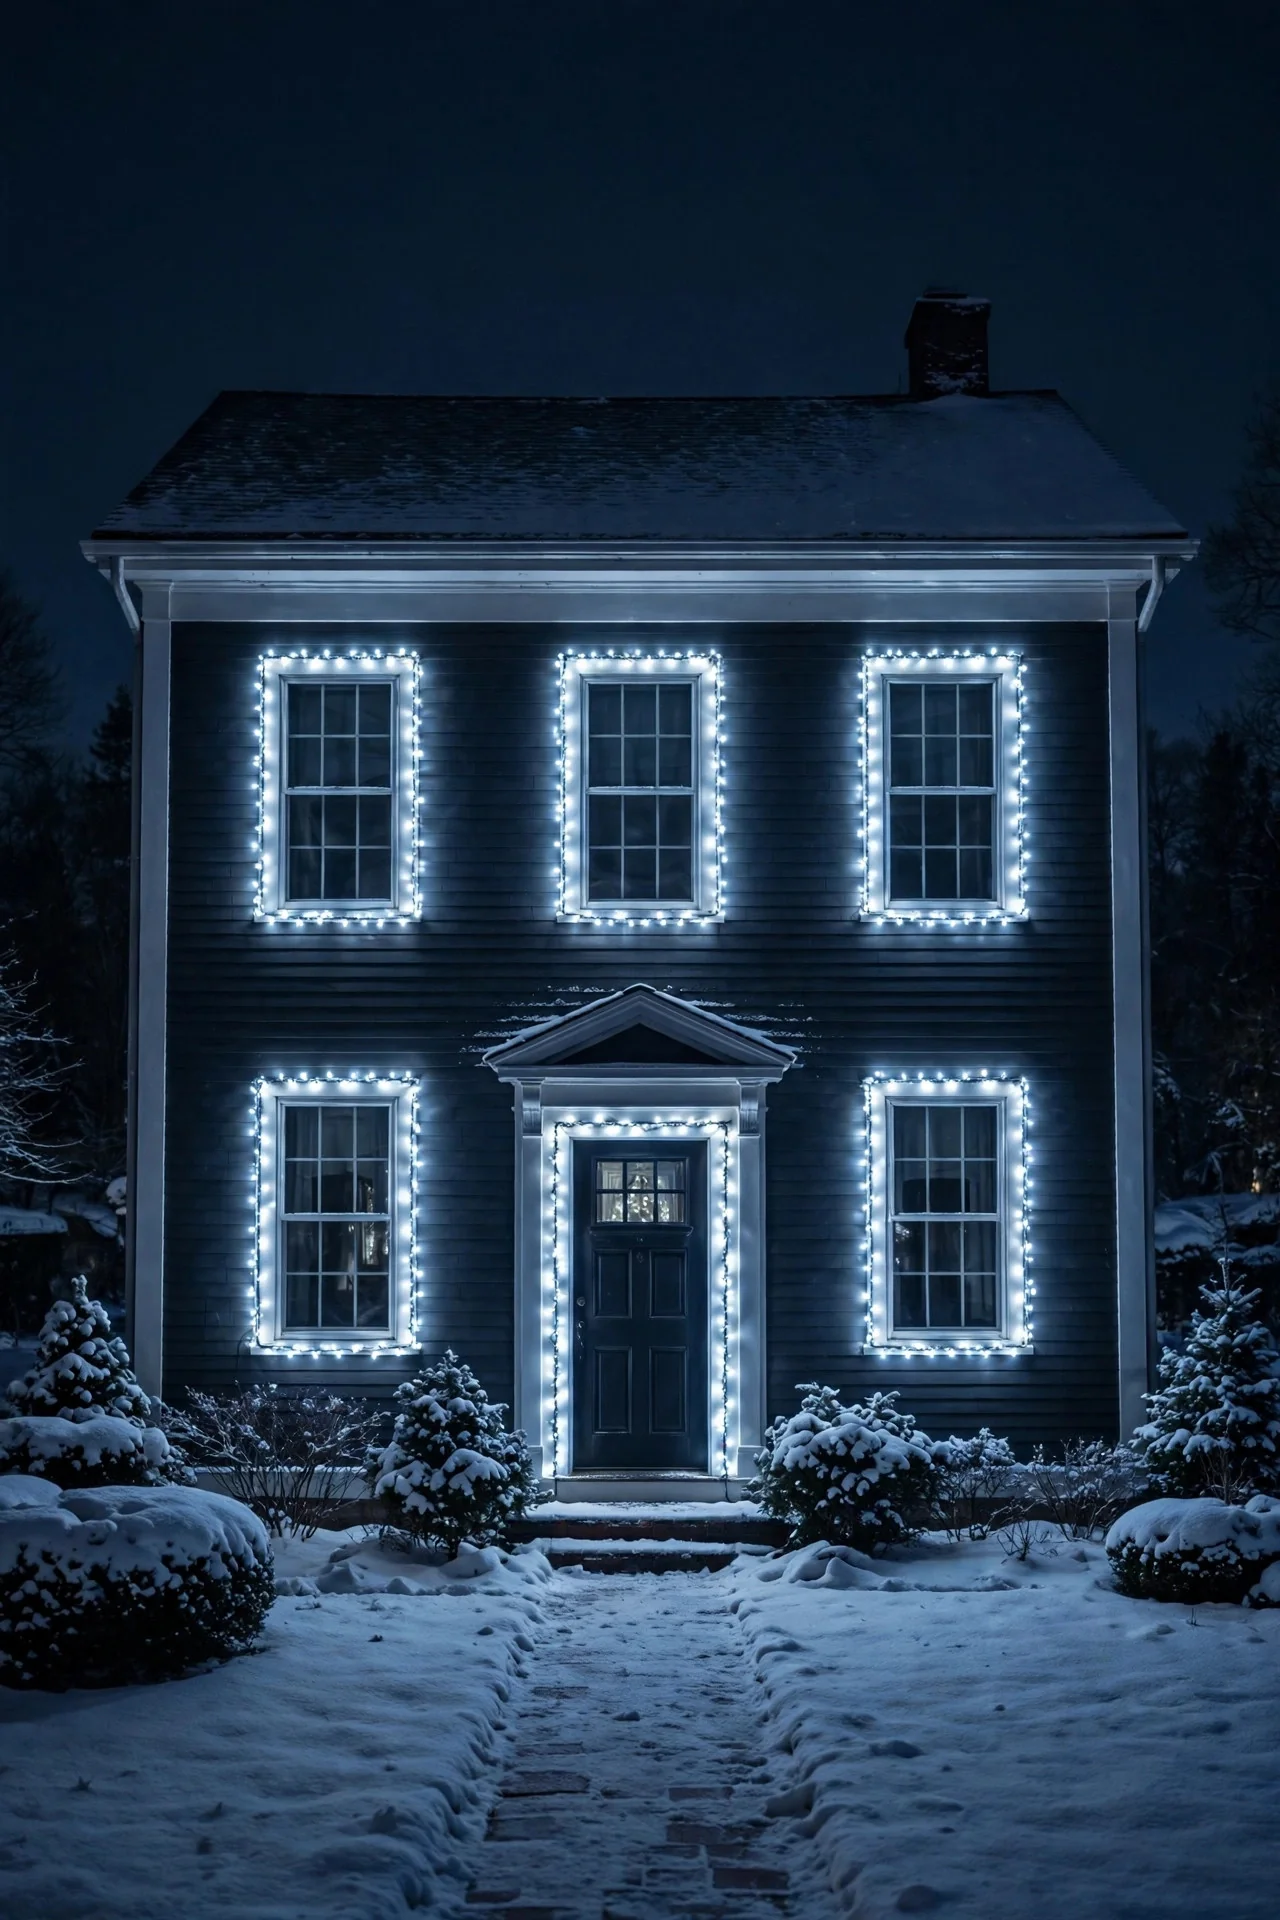
17. Outlined Window Frames
Outlining your front-facing windows with mini lights turns the whole facade into a glowing grid — architectural, tidy, and visible from far down the street. Use clip-on window frame kits or adhesive outdoor light clips (the kind that release cleanly) to run a rectangle of lights around each window. Symmetry is everything here: do all the front windows or none. One outlined window looks like a mistake; five looks like a design decision. Keep the strand spacing consistent and run the wire neatly — from the street, messy wire is all anyone sees. Warm white is classic, but this is one of the few ideas where I love cool white: crisp icy rectangles against a dark house look incredibly sharp, especially with snow on the ground. Just make sure the window temperature matches your roofline — mixed whites across the facade will fight each other. For two-story windows, work with a spotter and an extension ladder rated for your weight plus the light box.
Suggested budget range: $35 – $90.
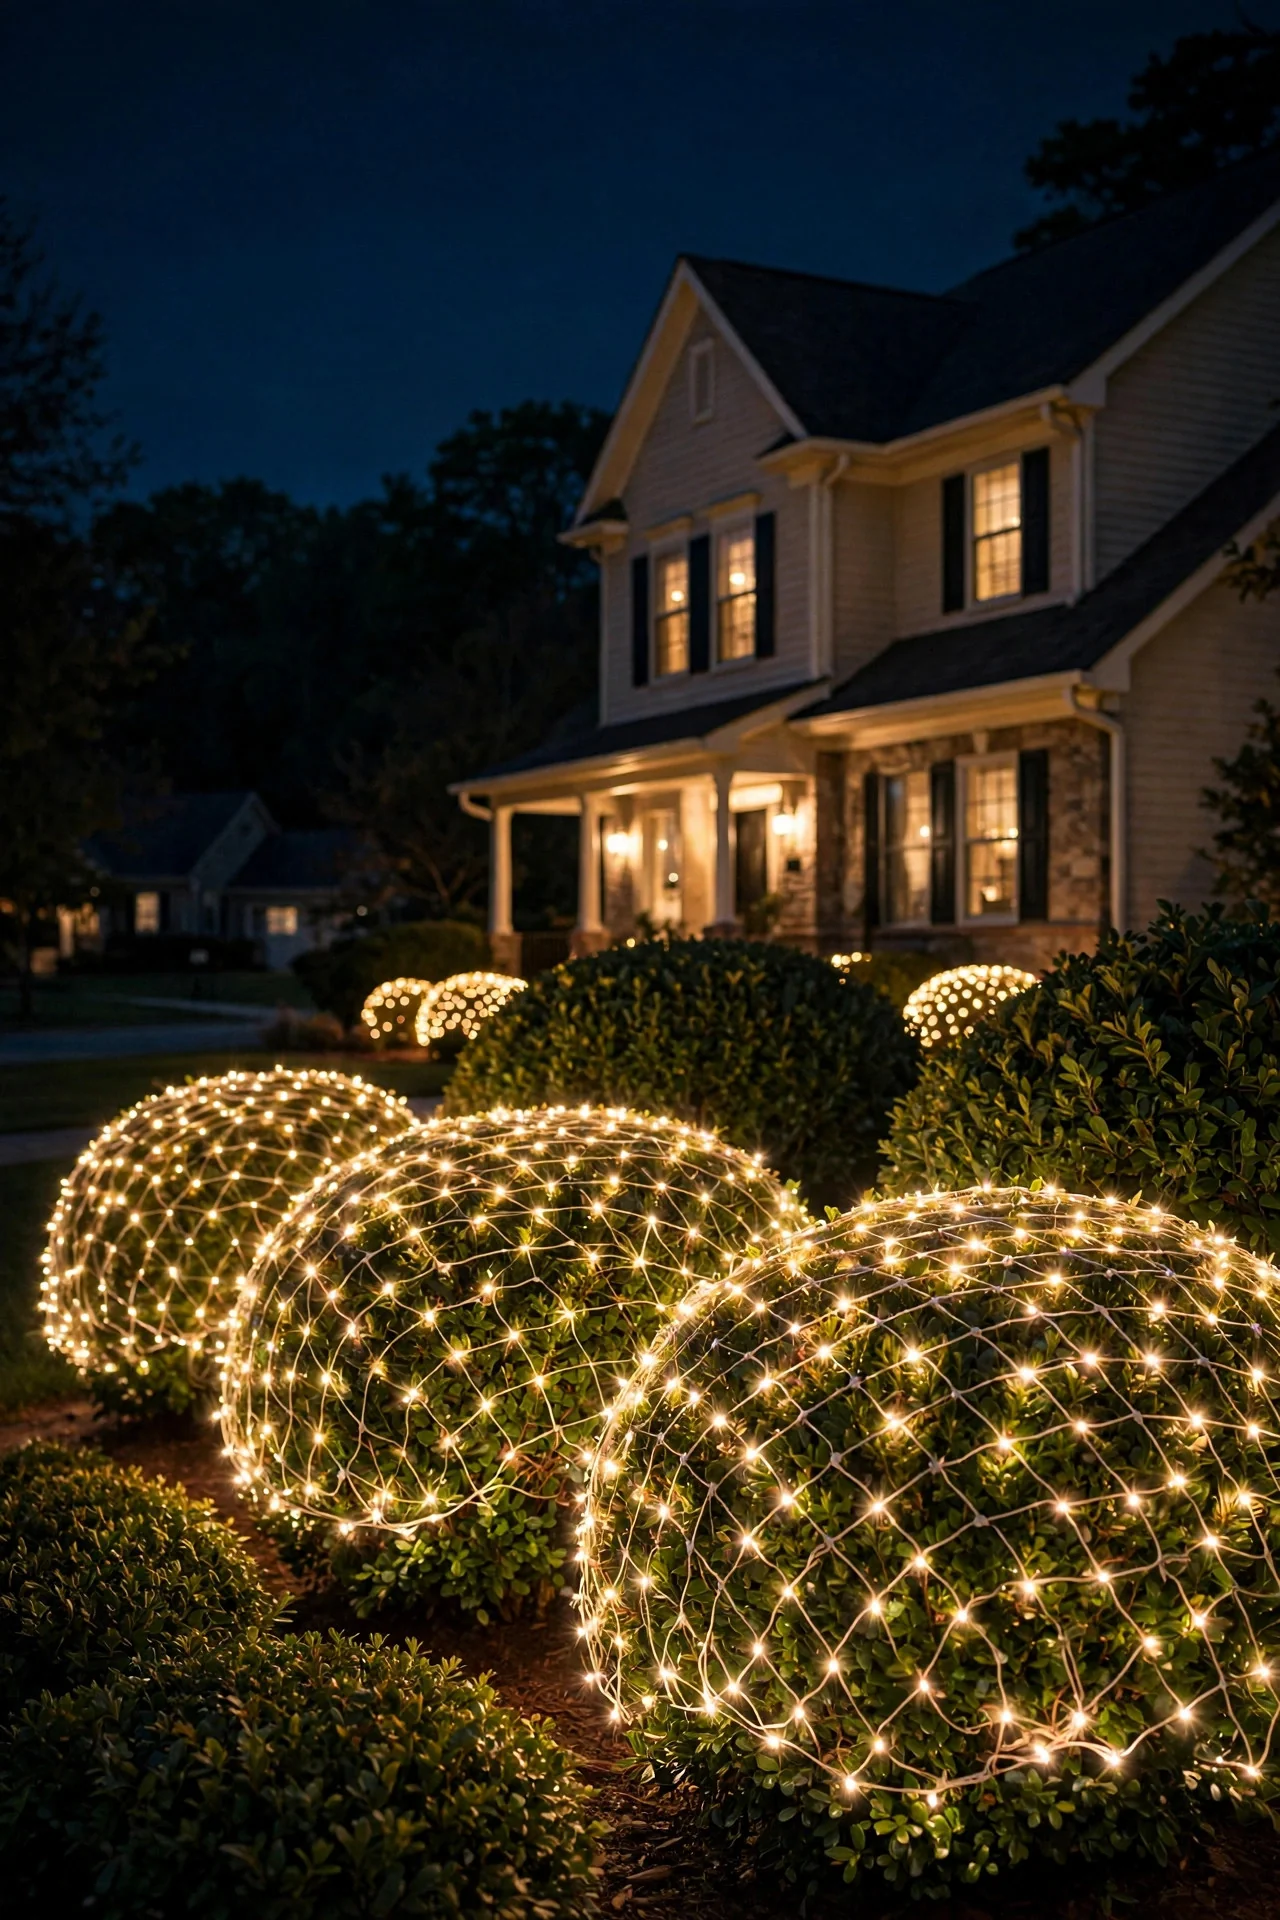
18. Net Lights Over Front Bushes
If you have foundation shrubs, hedges, or boxwoods, net lights are the highest impact-per-minute decoration that exists. Drape one net over each bush, plug in, and in under five minutes per shrub you have a glowing green-and-gold mound that anchors the whole yard. Size matters here: measure your bushes and buy nets that drape to the ground on all sides — a net that is too small leaves sad dark gaps at the bottom. For round shrubs, 4-by-6-foot nets are the workhorse size. Warm white on green foliage is my go-to; the combination glows like embers. One honest note: net lights show every brown patch and bare spot in your shrubs, so give the bushes a quick trim in October before the nets go on. And if your bushes are different sizes, buy nets in two sizes rather than stretching — stretched nets leave gaps and look thin. Tuck the plug ends under the bushes and run one outdoor cord behind the row so the lawn stays trip-free.
Suggested budget range: $25 – $75.
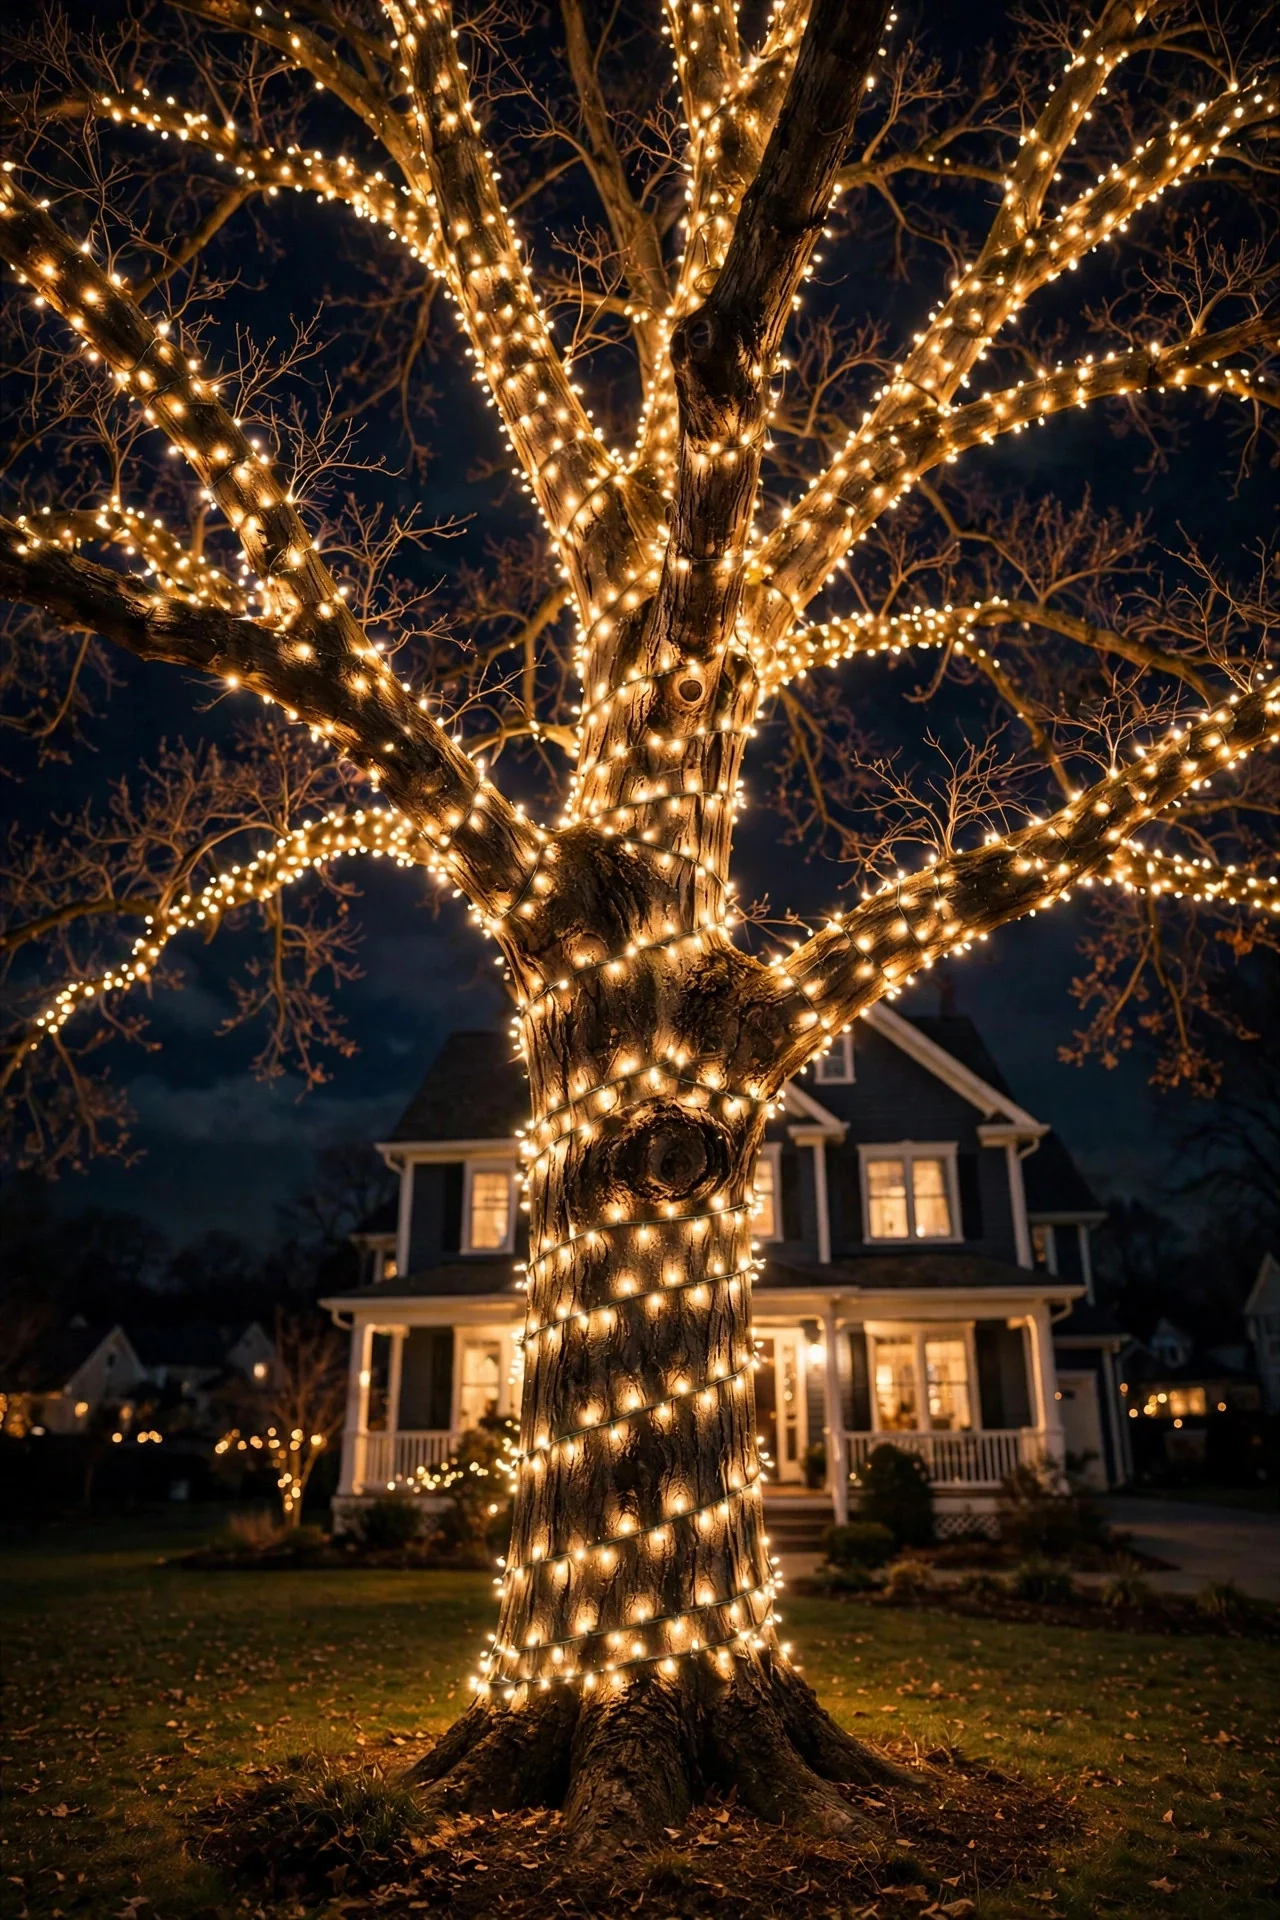
19. Spiral-Wrapped Tree Trunks and Branches
Wrapping a front-yard tree in lights is the single most dramatic yard transformation you can do — one well-wrapped tree outshines a whole yard of scattered decorations. Start at the base of the trunk and spiral upward, keeping the spacing even (about 4 to 6 inches apart), then continue a few feet out along the main branches. The pro move is wrapping branches, not just the trunk — that is what separates the "wow" trees from the "meh" ones. It takes more lights than you think: a good rule of thumb is 100 mini lights per foot of tree height for a full look, half that for a sparse elegant wrap. Use brown or green wire so the strands disappear against bark in daylight. Start from the top of the trunk and work down if you are using a single long strand — that way the plug ends at the bottom near your extension cord. And do this one in October too; wrestling lights around branches in freezing wind is nobody's idea of holiday cheer.
Suggested budget range: $40 – $120.
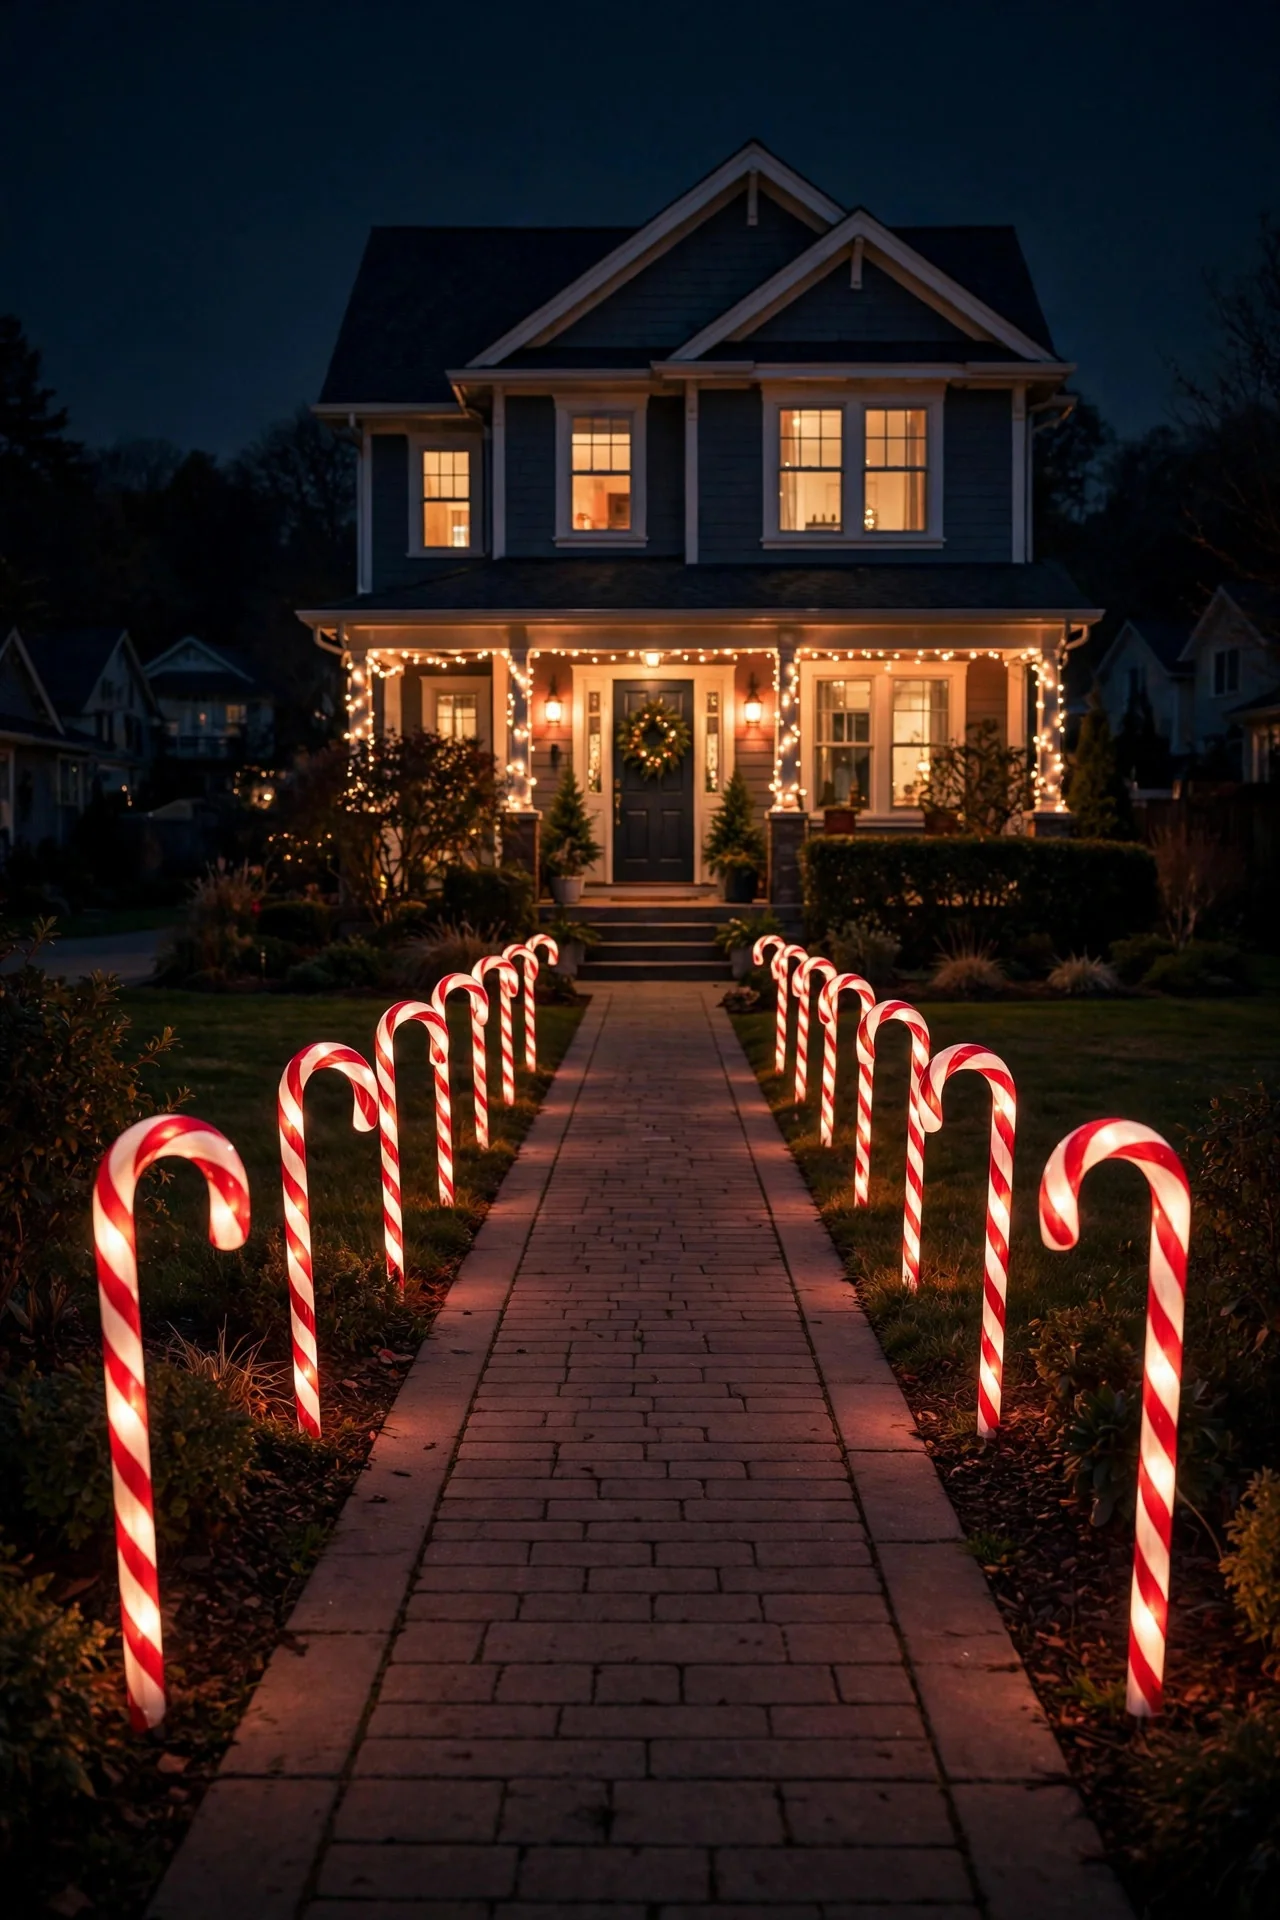
20. Candy Cane Pathway Markers
Nothing says "walk this way, something wonderful is ahead" like a row of glowing candy canes lining the path to your front door. The classic red-and-white striped stakes are cheerful, inexpensive, and kids absolutely love them. For a more grown-up take, I use plain white or warm-white pathway stakes and let the rest of the display carry the color — it reads more elegant and matches everything. Either way, space them evenly (every 3 to 4 feet), keep them all at the same height, and push the stakes firmly into the ground — nothing ruins the effect like one leaning against its neighbor after the first wind. Battery or solar versions exist, but for a pathway you walk every night, I prefer plug-in on a timer: consistent brightness, no dimming by 9 p.m. Run a single outdoor extension cord along the back of the row and you will only need one outlet.
Suggested budget range: $20 – $60.
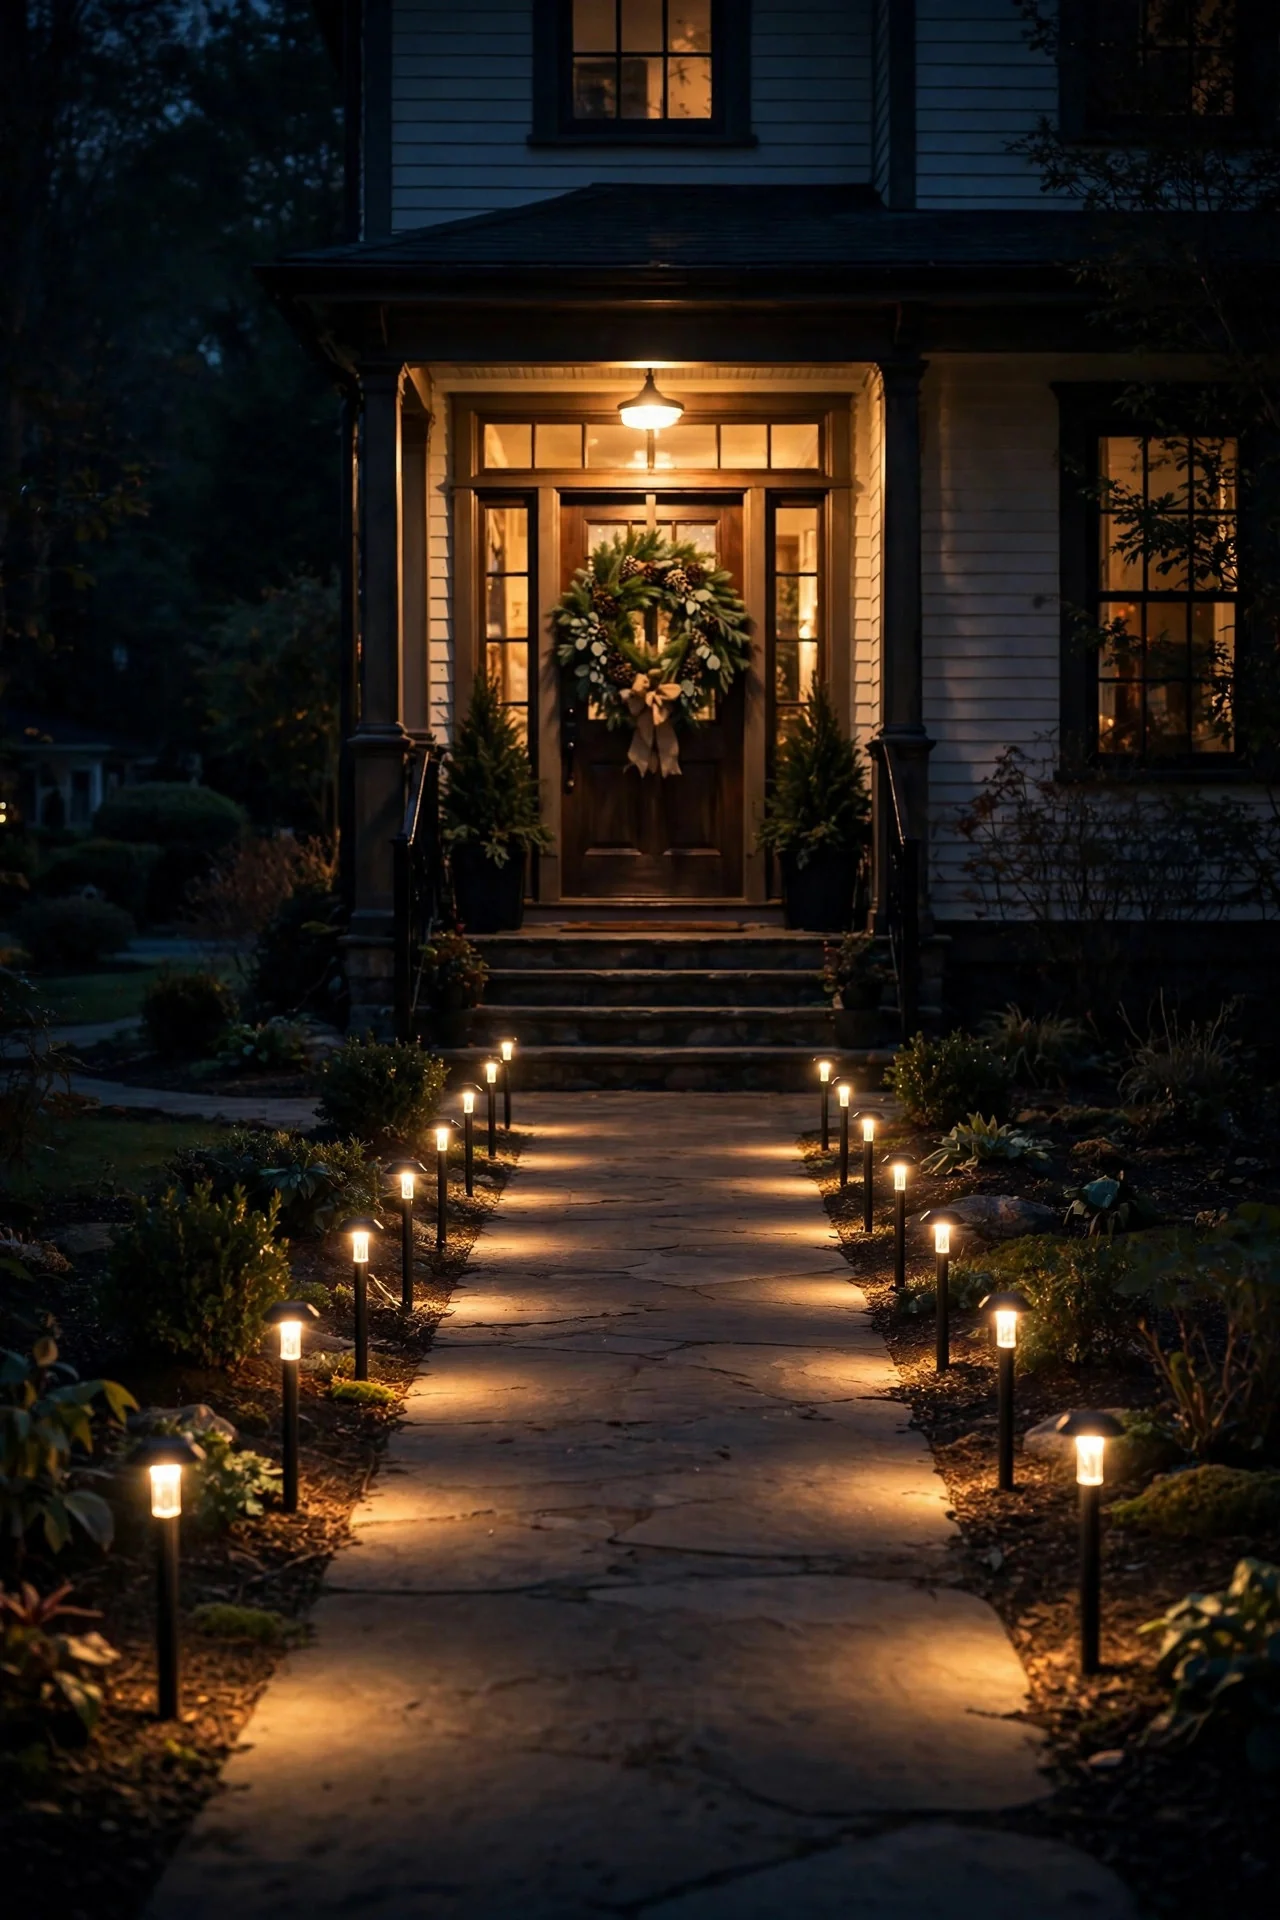
21. Runway-Style Walkway Edge Lights
Line both edges of your front walk with low, evenly spaced lights — like runway landing lights guiding guests to your door — and the path itself becomes part of the display. Small warm-white stake lights every 2 to 3 feet, all at identical height, create a rhythm that is deeply satisfying to walk through. The magic is in the uniformity: same lights, same spacing, same height, both sides. It is the opposite of scattered decoration, and it makes even a short walk feel grand. I use simple low-profile LED path stakes — nothing fancy, because the effect is in the repetition. For extra polish, pair the runway edges with one statement at the door (the big wreath from idea 6, or the gift boxes coming up in idea 28). The walkway leads the eye; the entry delivers the payoff. Put the whole run on the dusk timer so guests are guided in every evening.
Suggested budget range: $30 – $80.
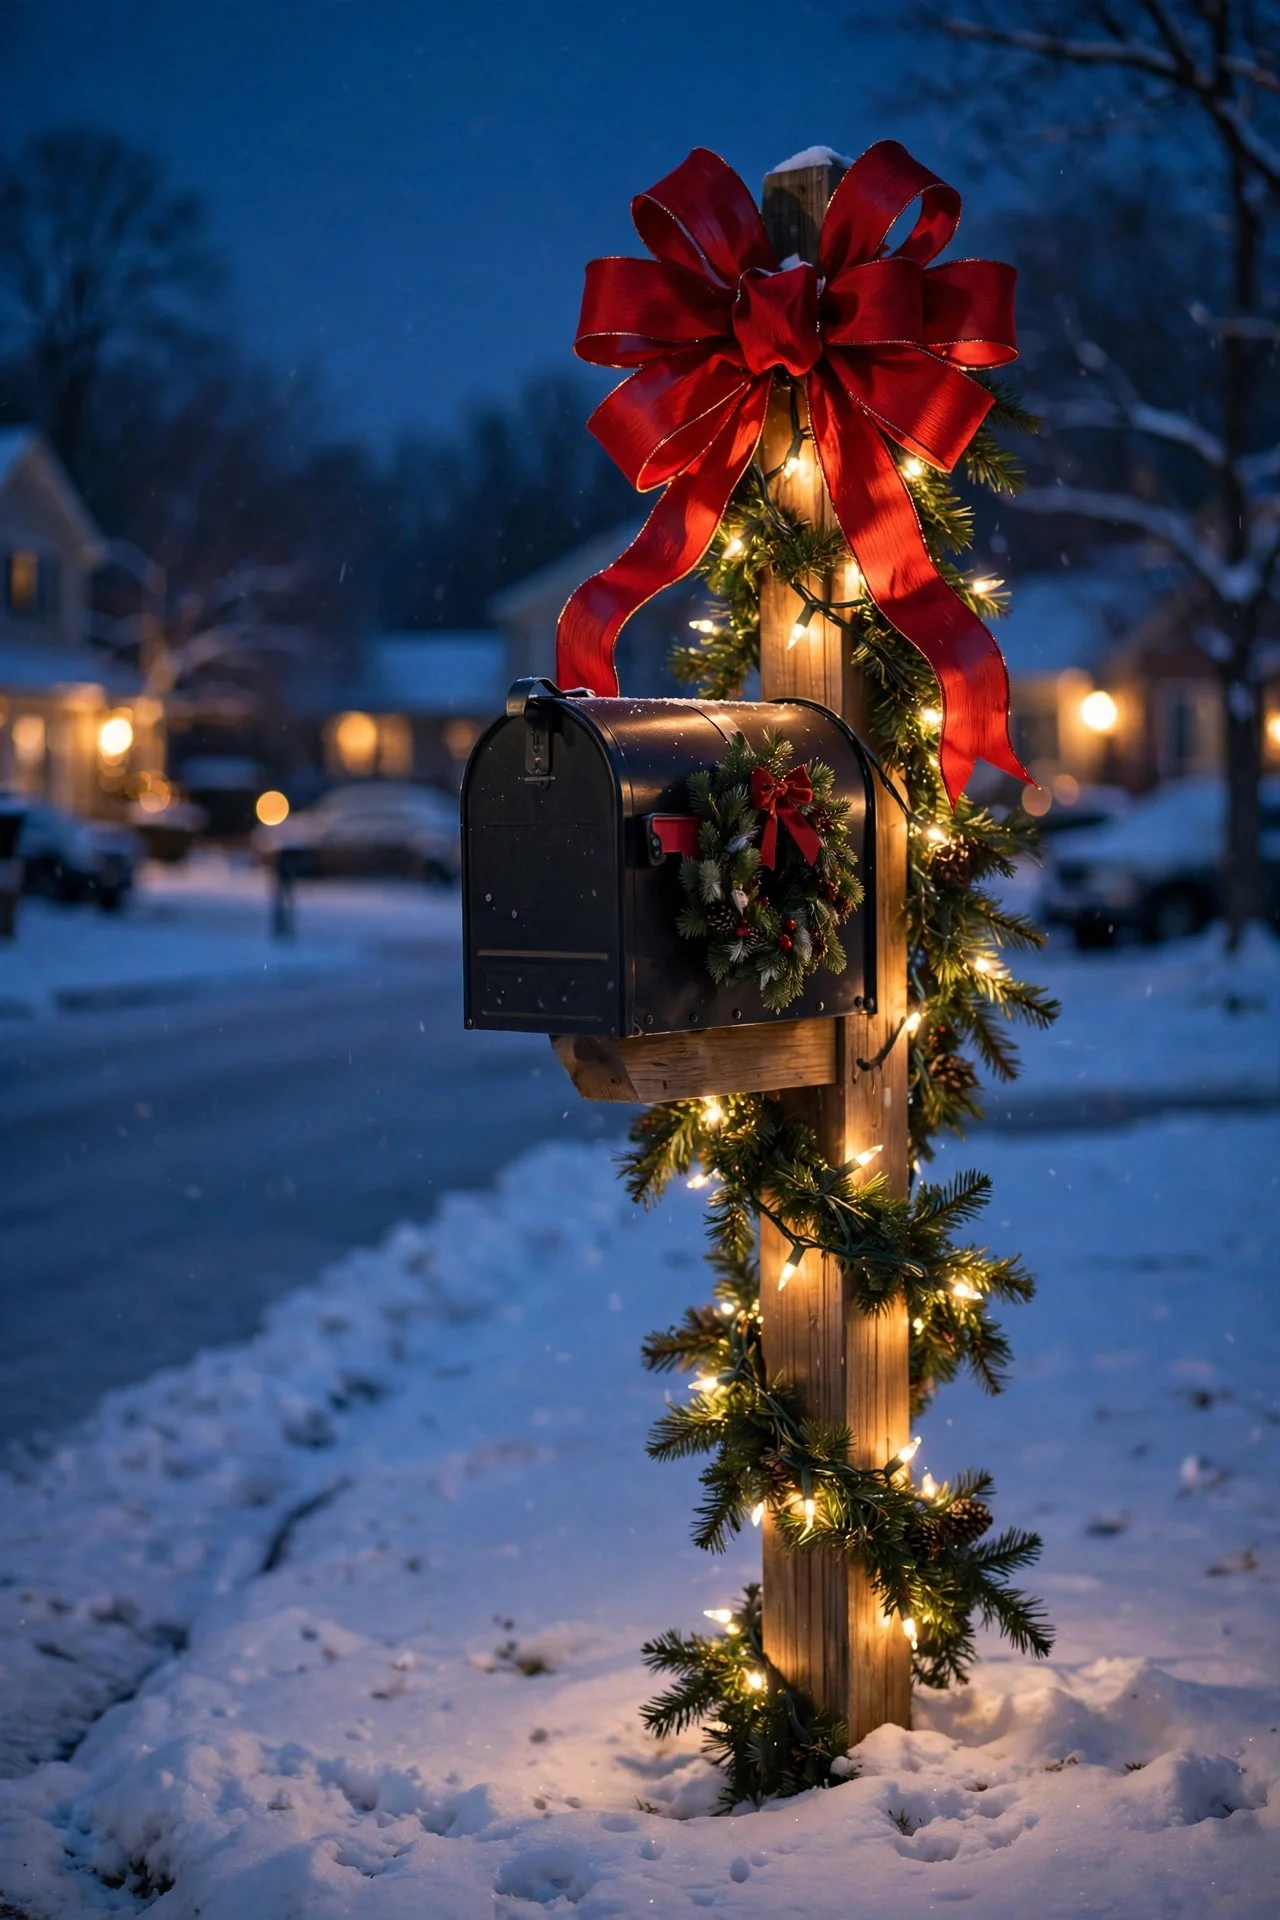
22. The Dressed-Up Mailbox
Your mailbox is the first thing visitors see up close — give it the holiday treatment. Wrap the post in garland (pre-lit if you are feeling it), top it with a big wired-ribbon bow, and hang a small swag or mini wreath on the box itself. Keep it simple and sturdy: mailboxes take a beating from weather, snowplows, and the mail carrier's elbow. Use outdoor zip ties rather than wire (easier to cut off in January), and keep decorations clear of the door and flag so mail delivery is never obstructed — your carrier will thank you. Match the mailbox bow to your porch garland bows and the whole property ties together. It is a tiny detail that makes the display feel finished rather than just decorated. If you are styling the whole property this season, our [Christmas decor ideas](https://exteriorhouselighting.com/christmas-decor-ideas/) roundup has more ways to carry the theme beyond the lights.
Suggested budget range: $15 – $45.
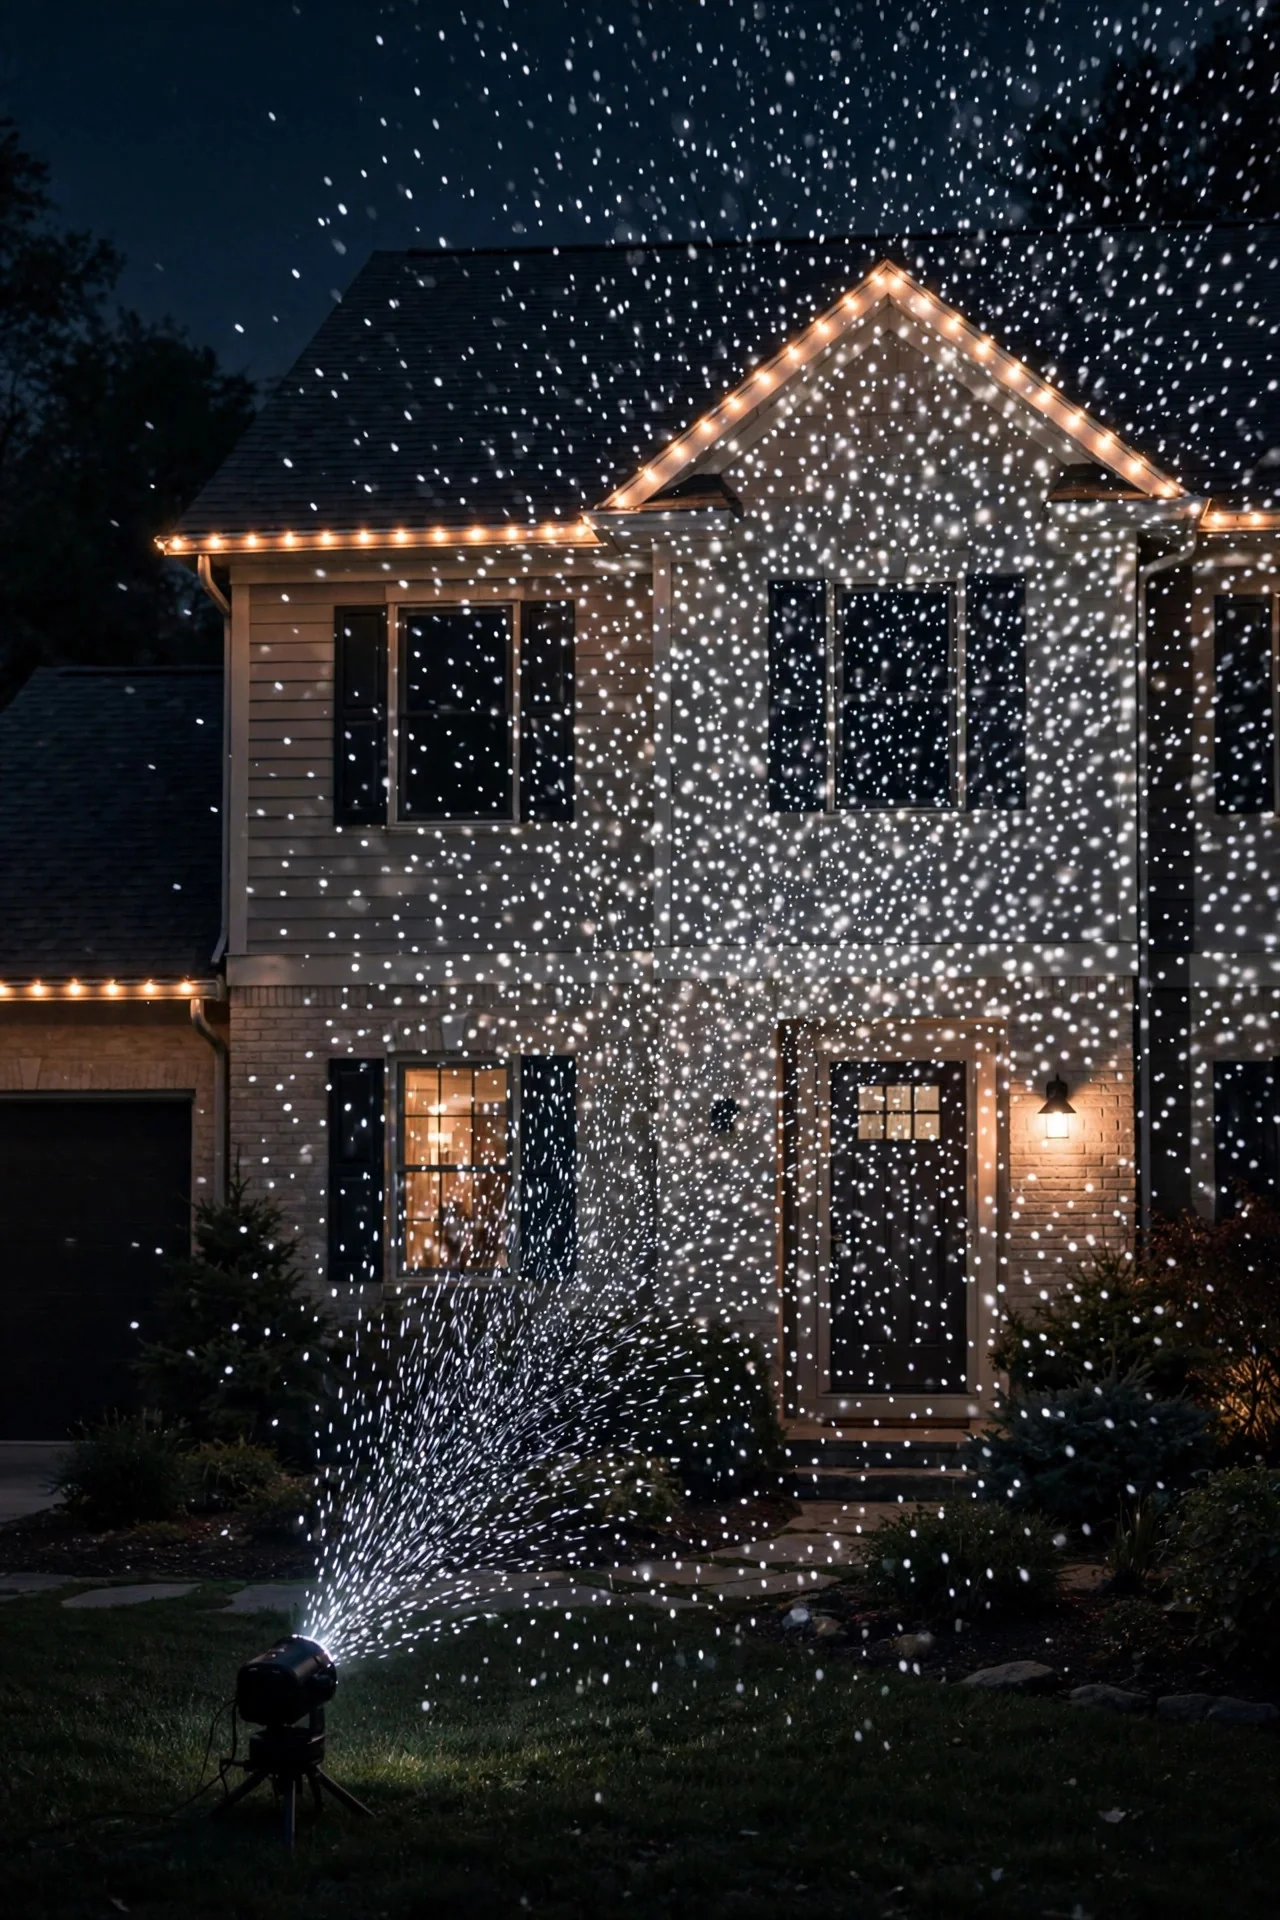
23. Snowfall Projector on the Facade
No ladder? No time? A stake-mounted snowfall projector gives you a full-house light show in about ten minutes: push the stake into the lawn, aim at the house, plug in. Thousands of drifting white dots wash across your entire facade like falling snow, and from the street the effect is genuinely enchanting. I will be honest — a projector never looks as good as real strands, so the trick is using it as an accent, not the whole display. Aim it at one large blank wall or the garage door, and let your real lights handle the roofline and yard; the combination looks layered and rich. Buy one with a remote and a built-in timer, stake it at least 10 to 15 feet from the house for good coverage, and check that it is rated for your winter temperatures — cheap units fade badly below freezing. (I am going deeper on projectors in a dedicated guide soon; this is the quick-start version.)
Suggested budget range: $30 – $80.
24. Laser Dot Projector on the Garage Door
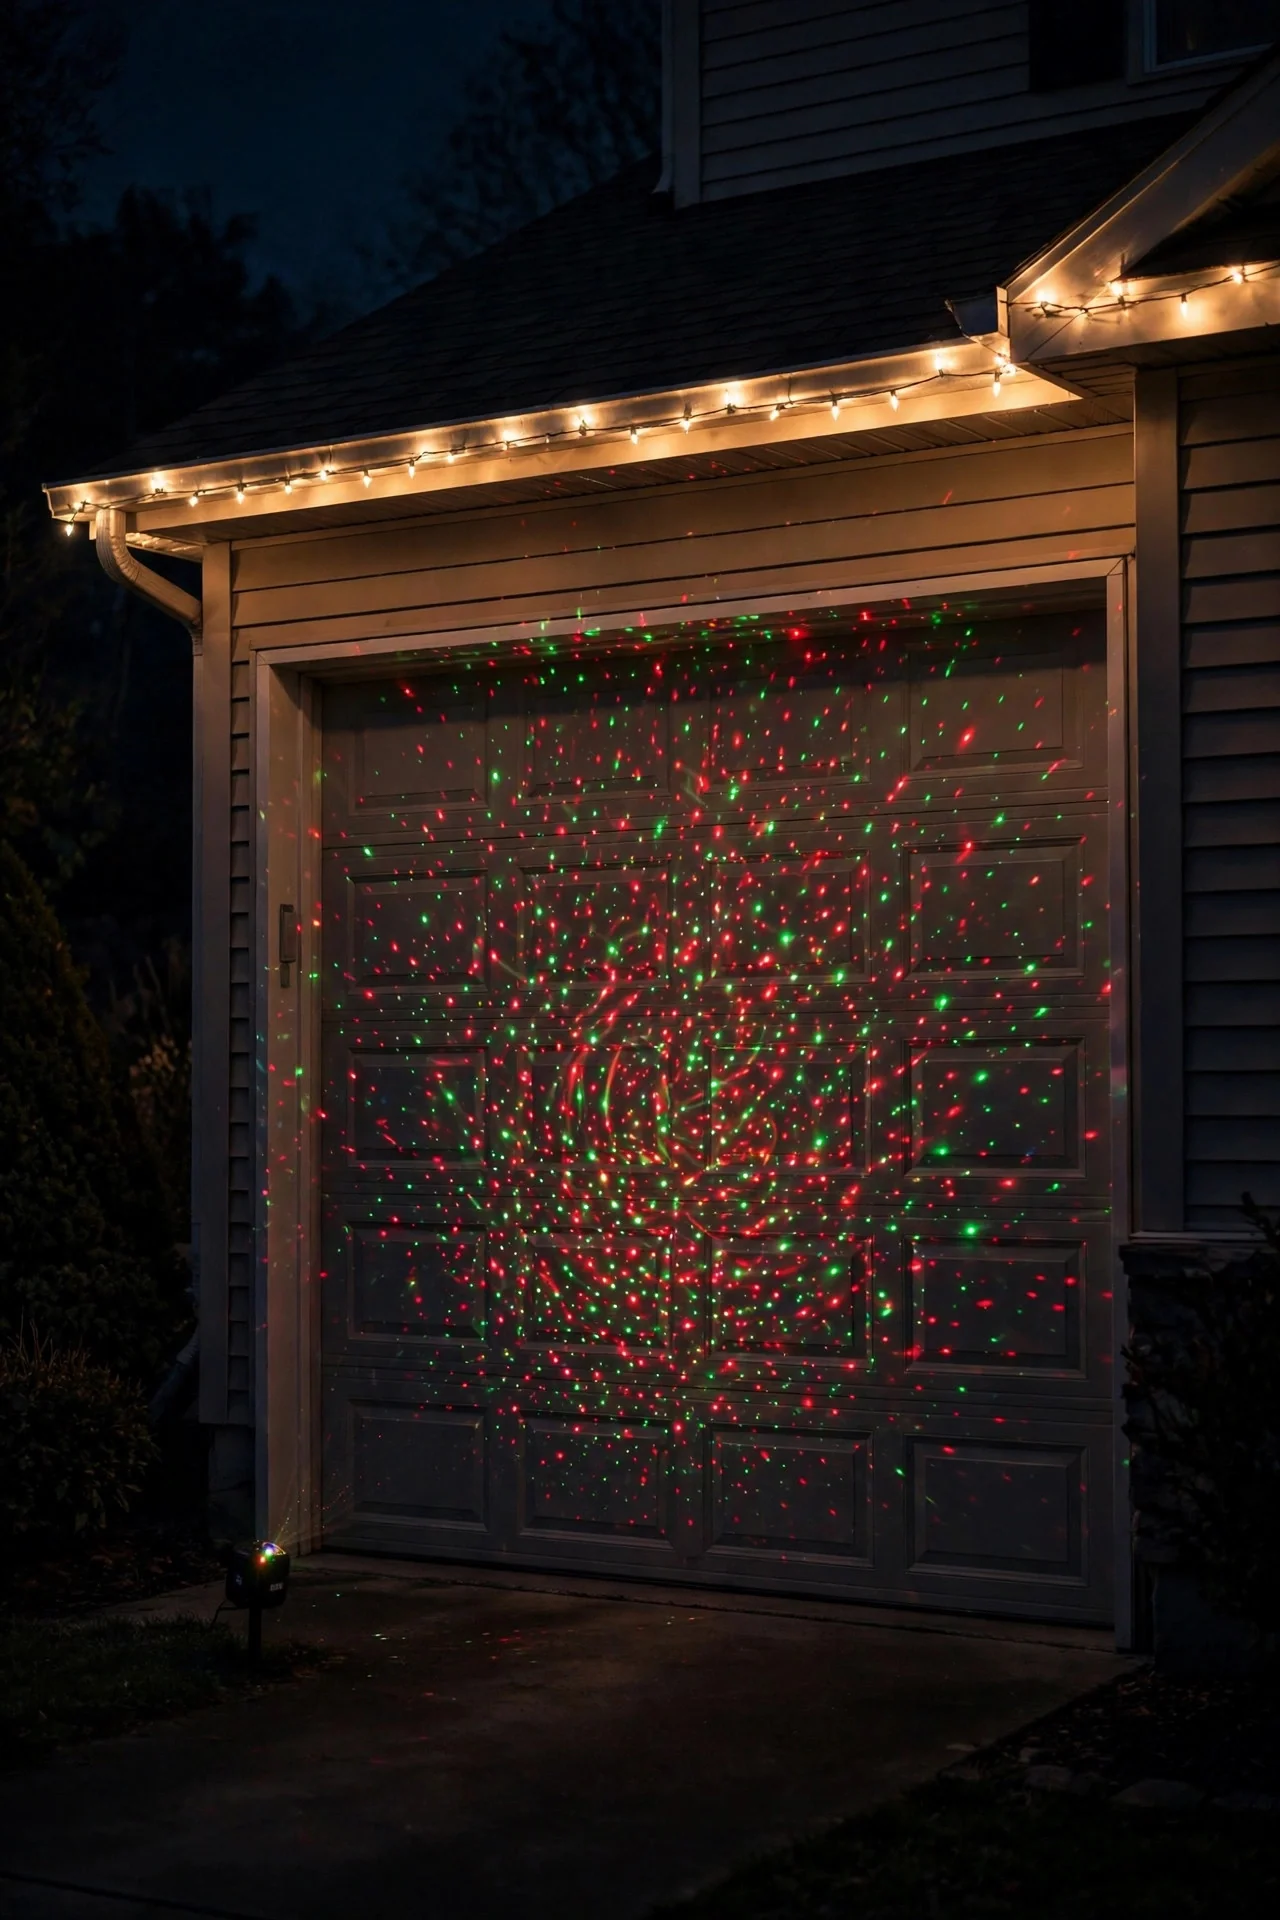
The garage door is usually the biggest blank canvas on the house, and a laser dot projector turns it into a feature in minutes. Red and green (or warm-white) dots drift and swirl across the door in slowly shifting patterns — it reads as celebration from the end of the street. Placement matters: set the projector 15 to 20 feet back so the dots spread wide and soft rather than clustering in a tight hot spot. Never aim a laser projector at windows, the street, or a neighbor's house — keep the beam on your own facade, and check the unit is a low-power consumer class rated for outdoor residential use. Pair it with a simple warm-white roofline above, and the garage stops being the boring part of the display. Like the snowfall projector above, this is a surface-level intro; my upcoming projector guide will compare models, coverage patterns, and the motion-slide types in detail.
Suggested budget range: $35 – $90.
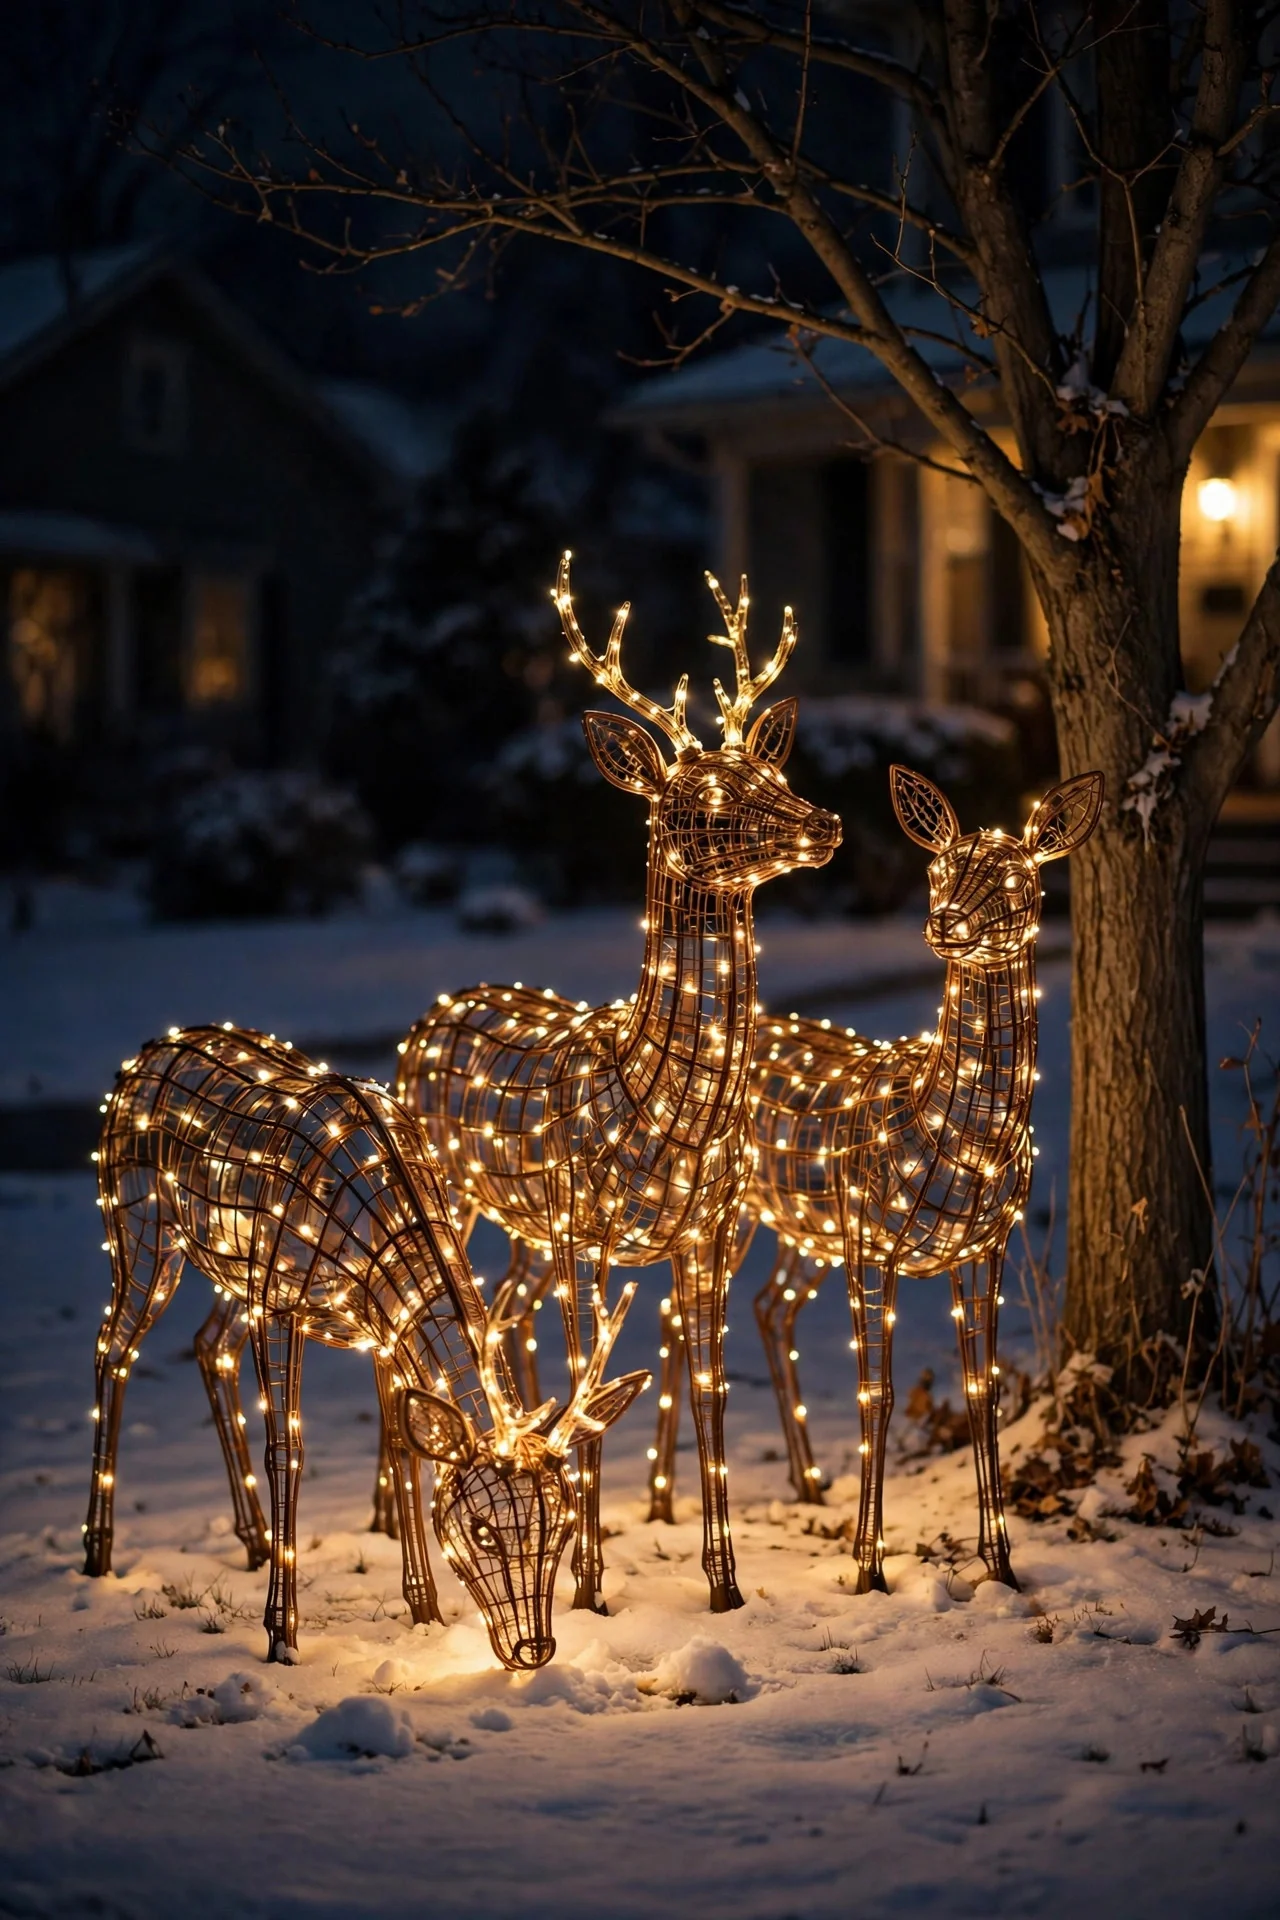
25. Lighted Deer and Woodland Figures
A small herd of lighted deer on the lawn — one grazing, one alert, maybe a fawn — is the most charming yard scene there is, and it photographs like a dream. The wire-frame LED figures have gotten genuinely good: warm-white LEDs on brown or gold frames look elegant, not tacky. Placement is the art here. Cluster them like real deer: two or three together near a tree or bush, heads at different angles, all facing roughly the same direction like they are watching something. Scatter them evenly across the lawn and they look like lawn ornaments; group them and they look like a scene. Anchor every figure with the included ground stakes — a lighted deer tumbling across the yard in a windstorm is funny exactly once. Connect them all to one timer so the whole herd wakes up and sleeps together. Owls, cardinals, and rabbits work the same way if deer aren't your thing.
Suggested budget range: $60 – $180.
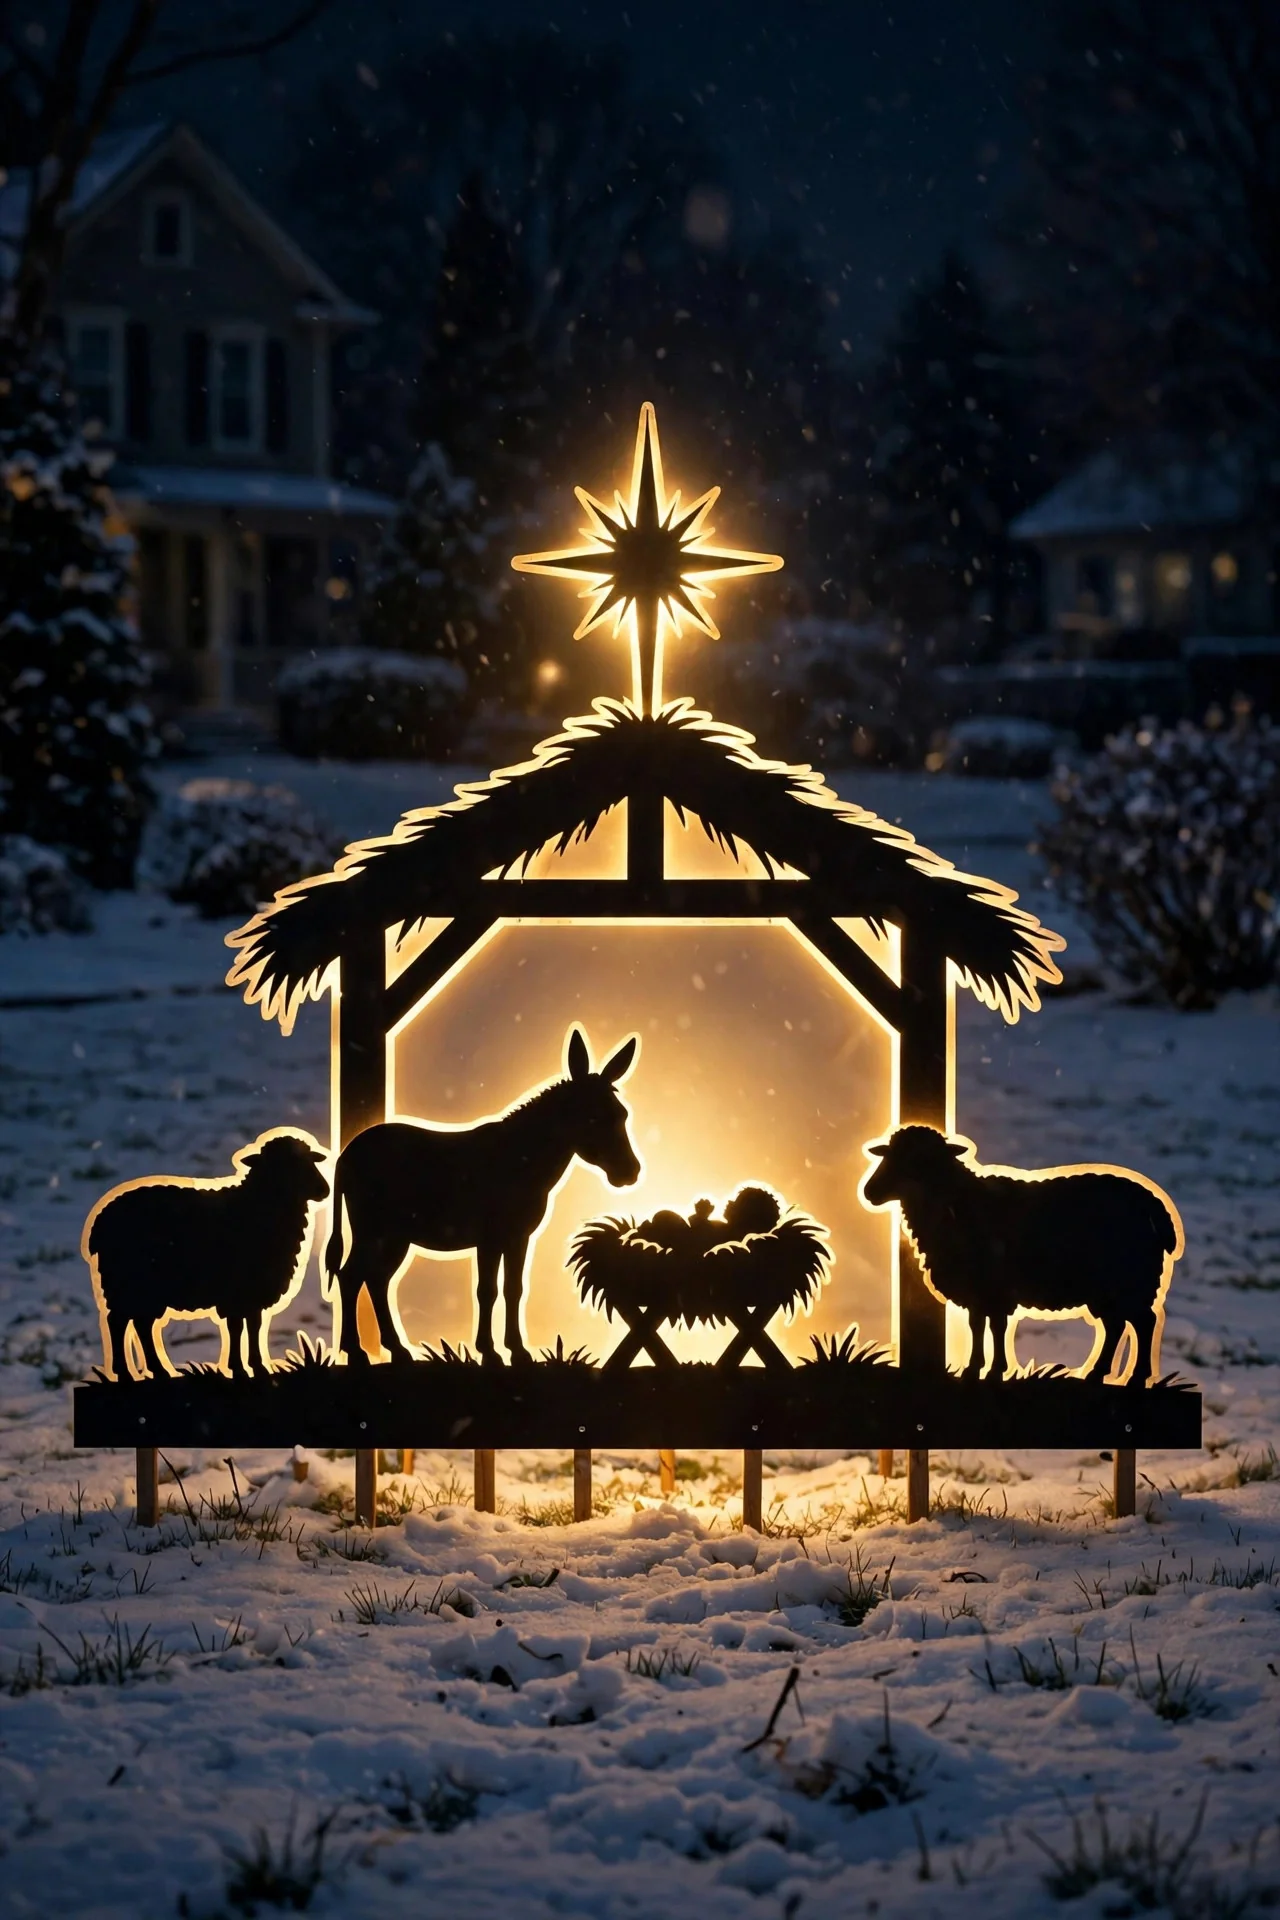
26. The Backlit Silhouette Scene
A backlit silhouette scene — the classic is a nativity, but winter villages, Santa's sleigh, or woodland animals all work — gives your yard a storytelling focal point after dark. Plywood or metal cutouts, lit from behind or below, become pure glowing shapes against the night. You can buy ready-made silhouette sets (they stake into the lawn and fold flat for storage) or cut your own from exterior plywood with a jigsaw if you are handy — the DIY versions have a wonderful folk-art quality. Light them from behind with a warm spotlight so the shapes read as dark cutouts rimmed in gold. Place the scene where it is viewed straight-on — the end of the driveway or facing the street — since silhouettes only work from one angle. And keep the rest of the nearby yard relatively quiet; the scene needs visual breathing room to be the star. A second spotlight from the side adds depth so the cutouts don't look flat from an angle.
Suggested budget range: $50 – $200.
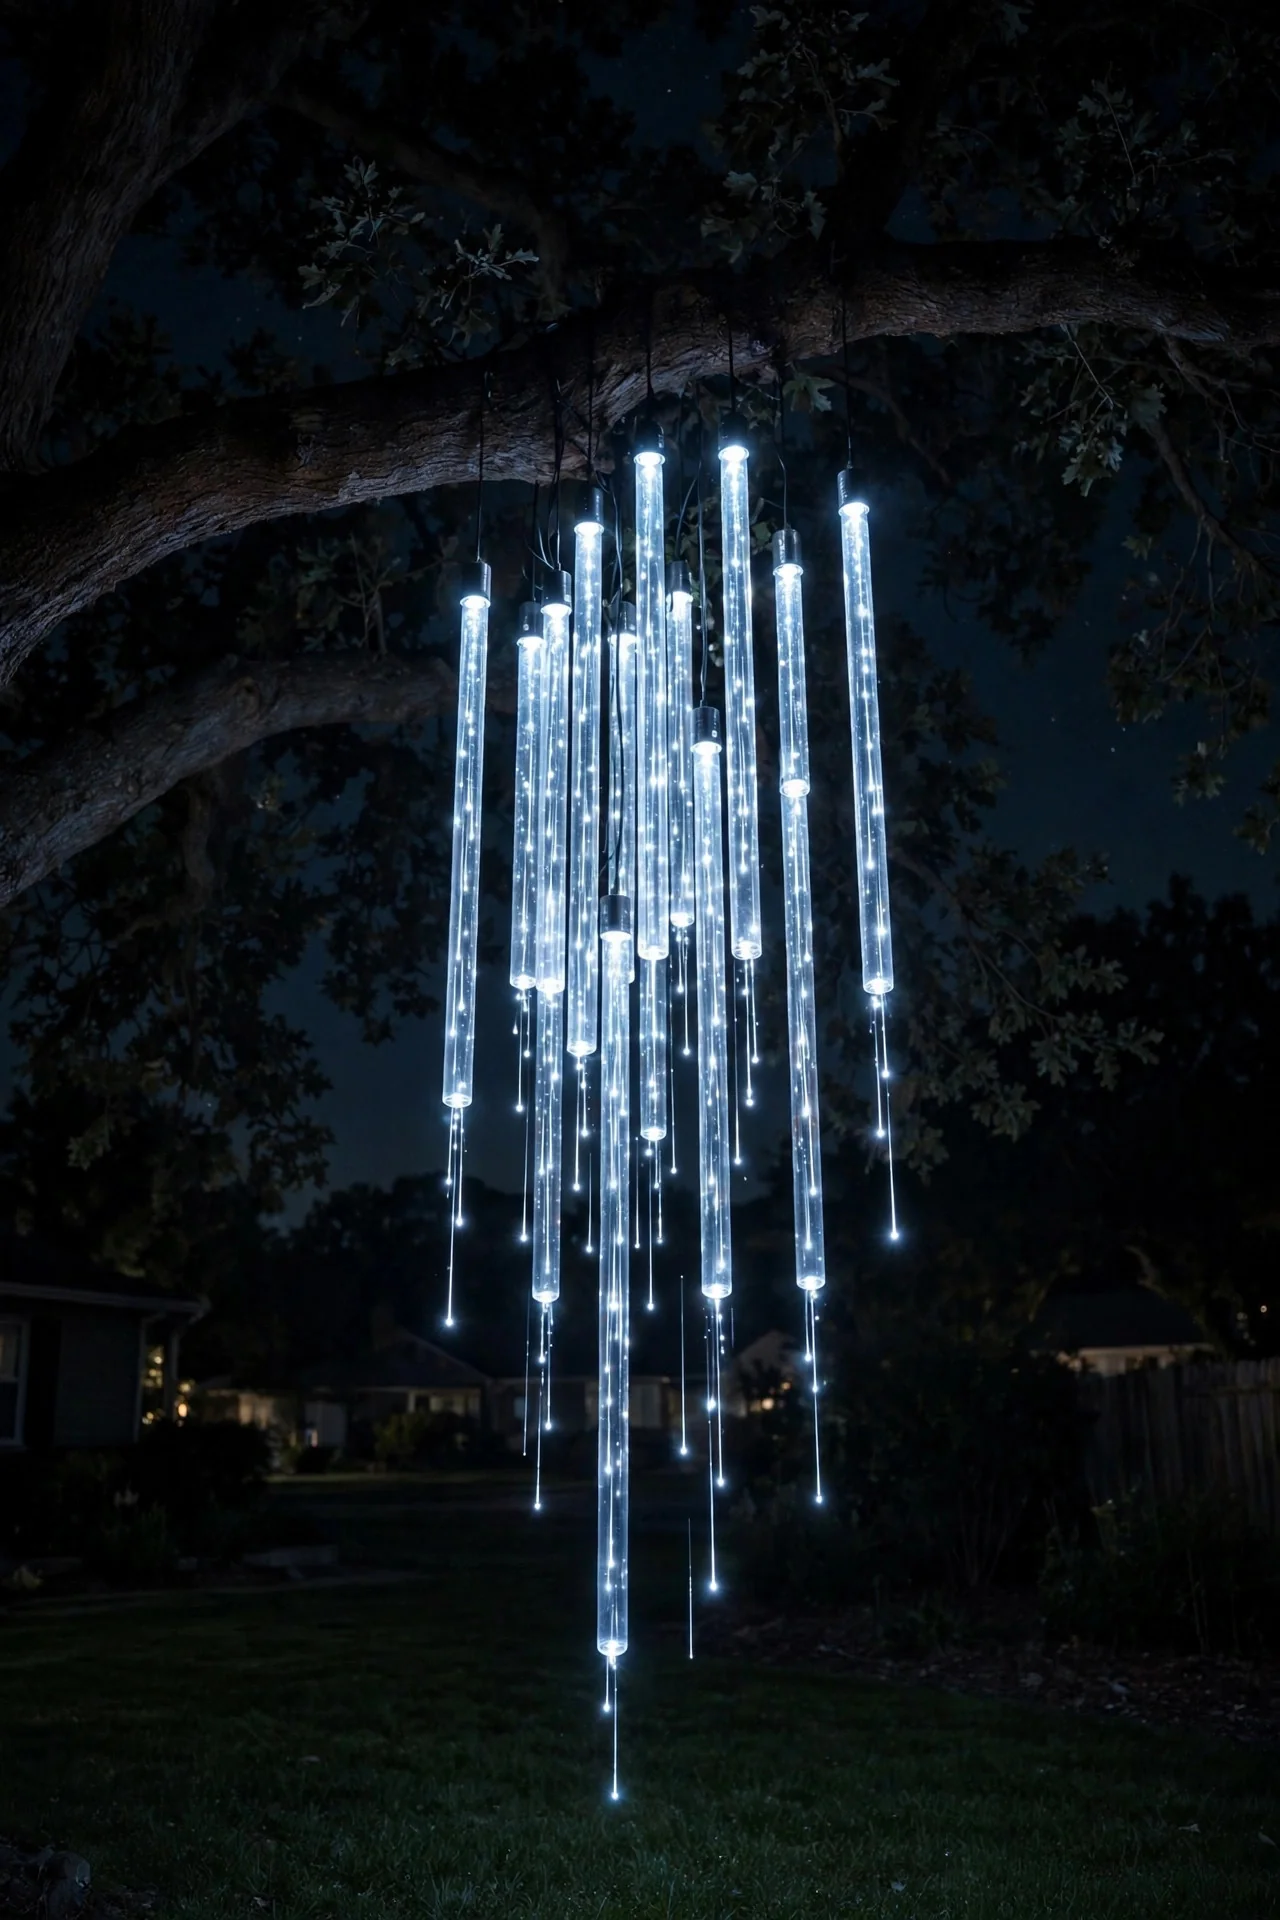
27. Meteor Shower Tube Lights
Those falling-rain tube lights — where the light appears to drip down each tube like a meteor shower — are hypnotic, and they are one of the few animated effects that looks classy rather than gimmicky. Hang a set from a tree branch, the porch eave, or a tall shepherd's hook. They look best in groups: a cluster of 8 to 10 tubes of varying lengths hanging at slightly different heights reads as a rain shower; a single tube looks like a mistake. Hang them where they will be seen against a dark background — a tree silhouette or the night sky — so the falling effect is crisp. Cool white is the classic meteor look, but warm-white tubes under a porch eave are gorgeous and softer. Most sets link end to end, so start with one set and add a second if you love the effect — and you will.
Suggested budget range: $25 – $70.
28. Oversized Lit Ornaments
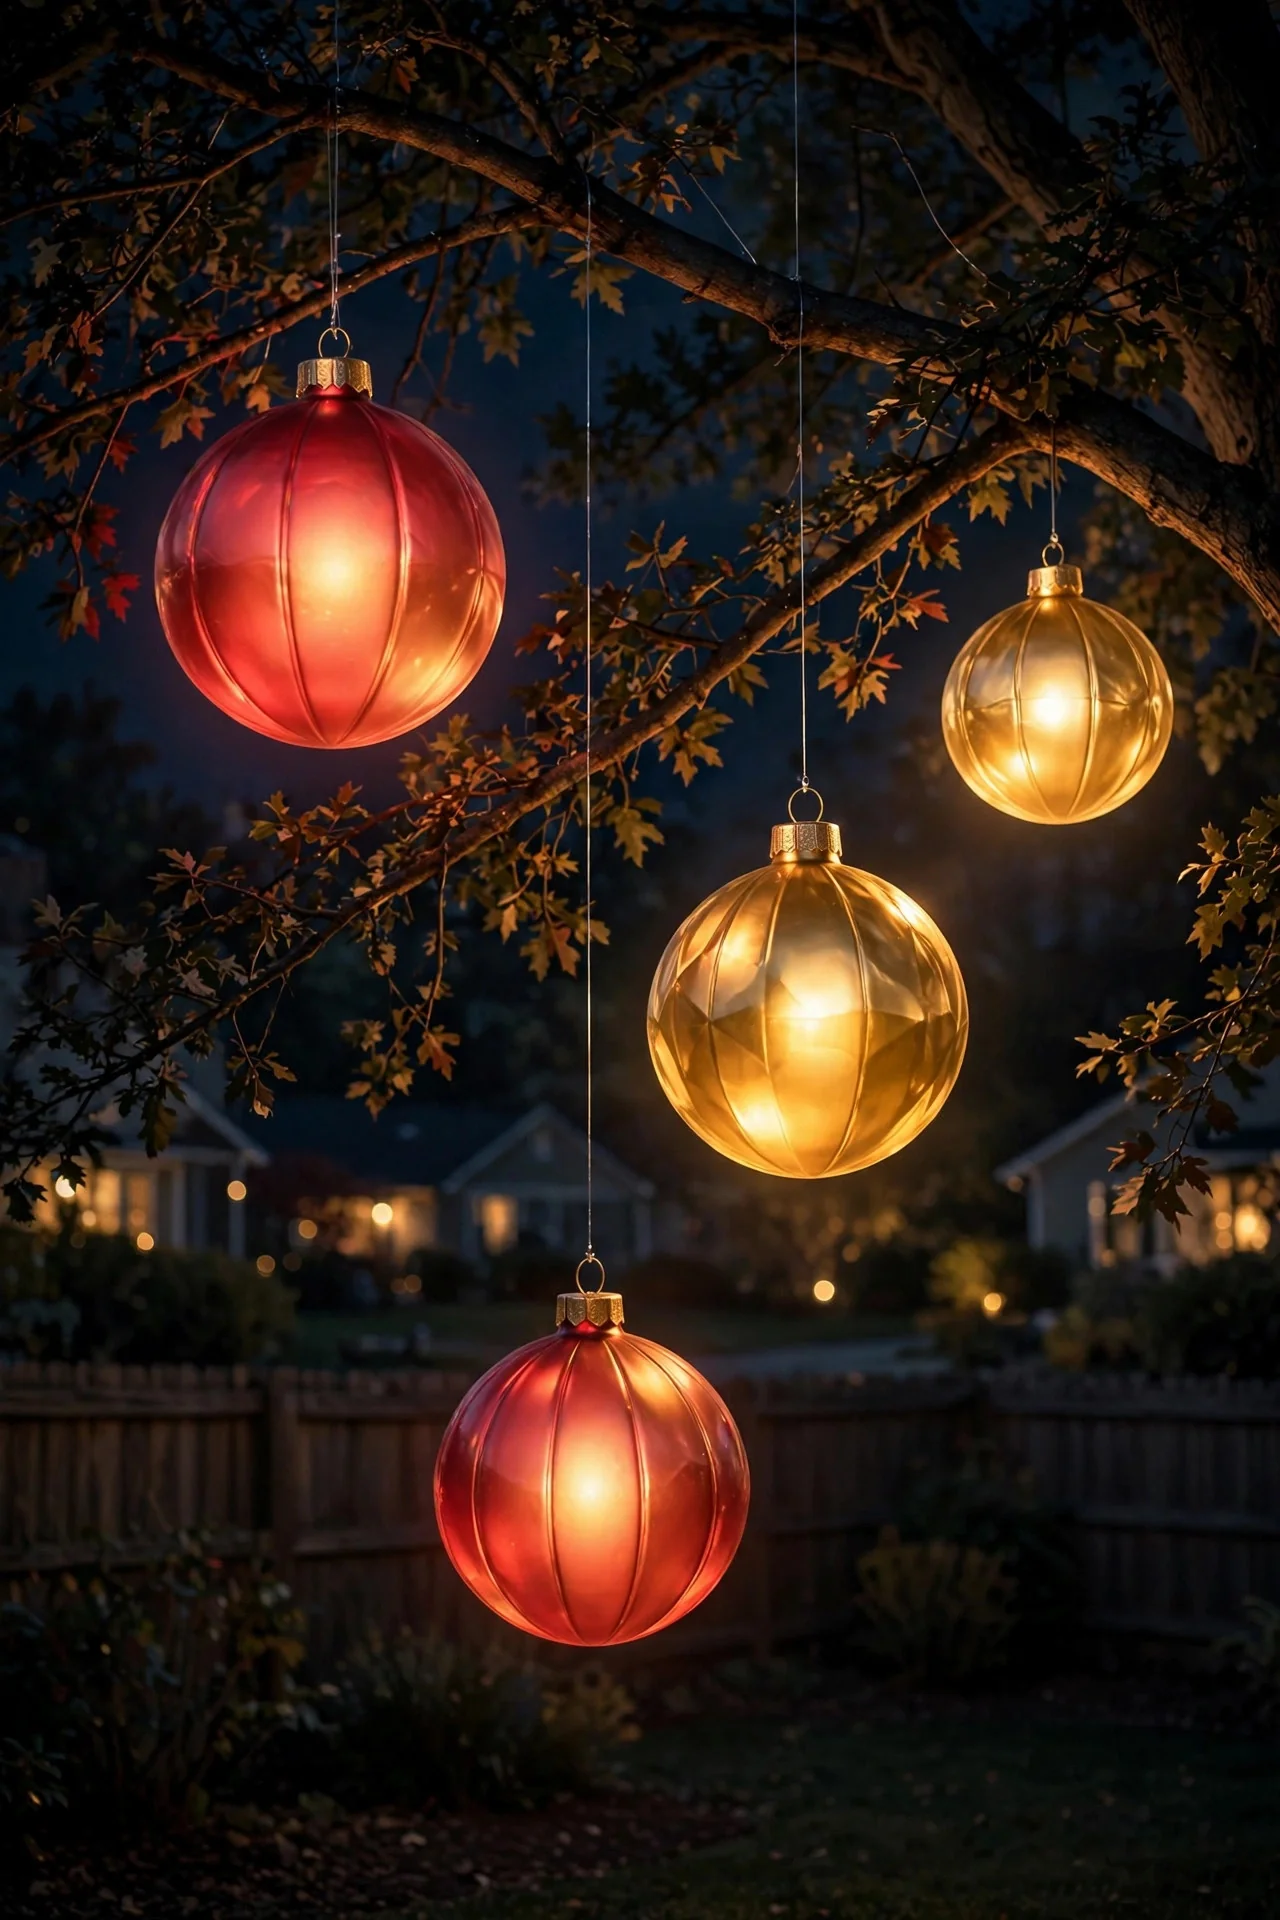
Giant shatterproof ornaments — 8 to 24 inches across — hung from tree branches, porch beams, or shepherd's hooks are pure magic after dark, especially when they are lit from within or catching the glow of nearby lights. Hang them at varying heights with clear fishing line so they appear to float, and keep them out of the wind's main path — even shatterproof ones will crack a window if they swing hard enough. The sweet spot is clusters of three in graduated sizes, mixing matte and shiny finishes in your display's color scheme. For the lit-from-within effect, tuck a small battery fairy-light strand inside translucent or clear ornaments before hanging. Set the whole cluster on one timer and you have floating orbs of light that look like they cost ten times what they did. They photograph incredibly well, which matters if you are sharing your display. Wipe each ornament with a damp cloth before hanging — dust dulls the glow more than you'd expect.
Suggested budget range: $30 – $90.
29. Hanging Snowflakes From the Eaves
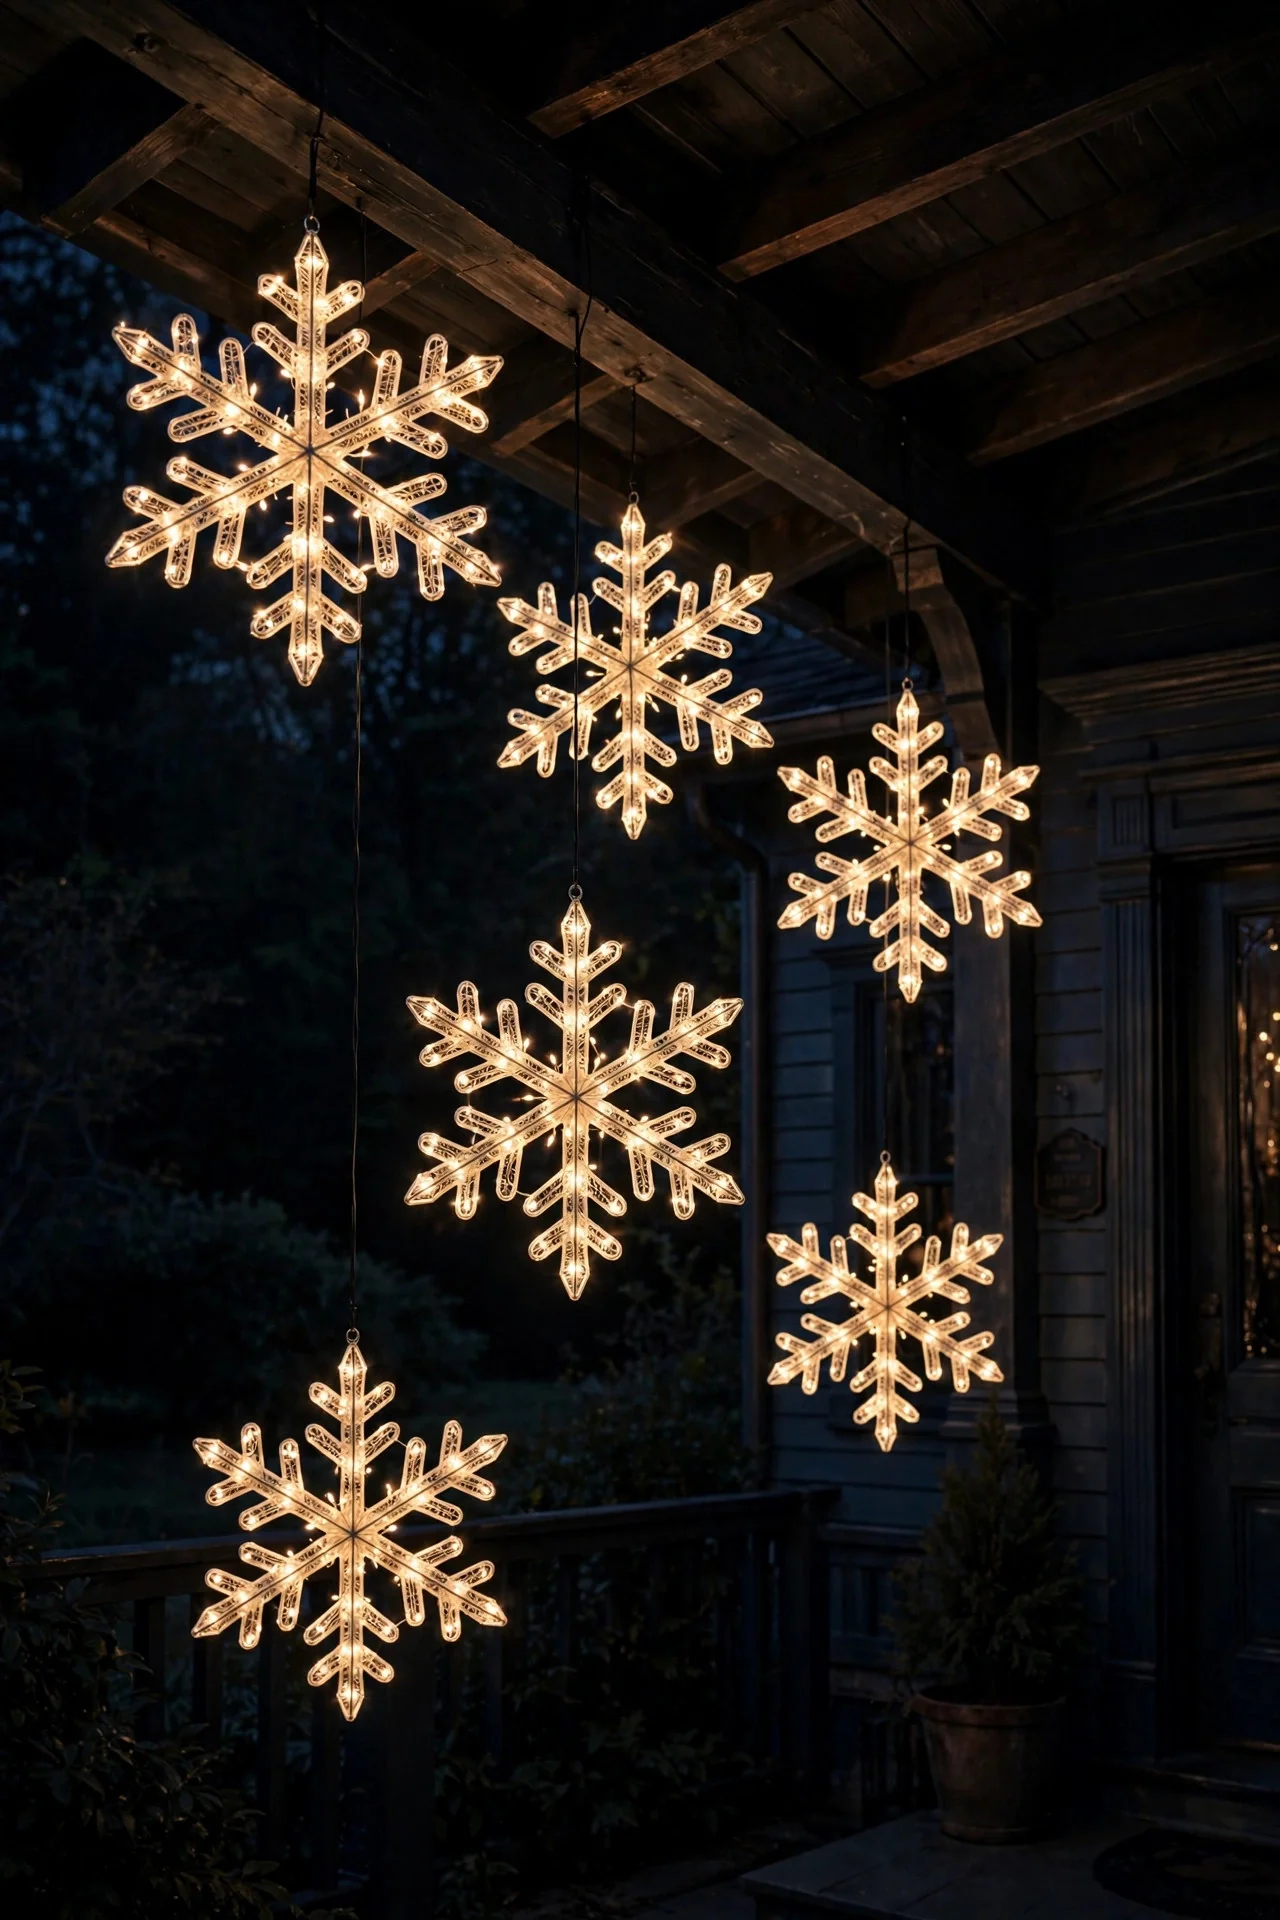
Hang lit snowflakes, stars, or oversized snowballs from your porch eave or tree branches at varying heights, and you have a floating winter sky. The 3D snowflakes with lights woven through the frame are especially beautiful — they read clearly even from the street and move gently in the breeze. Hang with clear fishing line at staggered lengths (12, 18, and 24 inches works well) so they layer rather than lining up. Under a porch roof they are sheltered and become the ceiling of your entry; from a big tree branch they are ornaments the size of serving platters. This is a wonderful use for any snowflake decorations you already own from indoor decorating — just check they are rated for outdoor or at least covered use. Group in odd numbers, keep to one color temperature, and let them be the delicate counterpoint to your bolder roofline lights. Battery timer packs tucked into the eave keep the lines clean, with no cords trailing down the wall.
Suggested budget range: $25 – $75.
30. The Mini Christmas Tree Forest
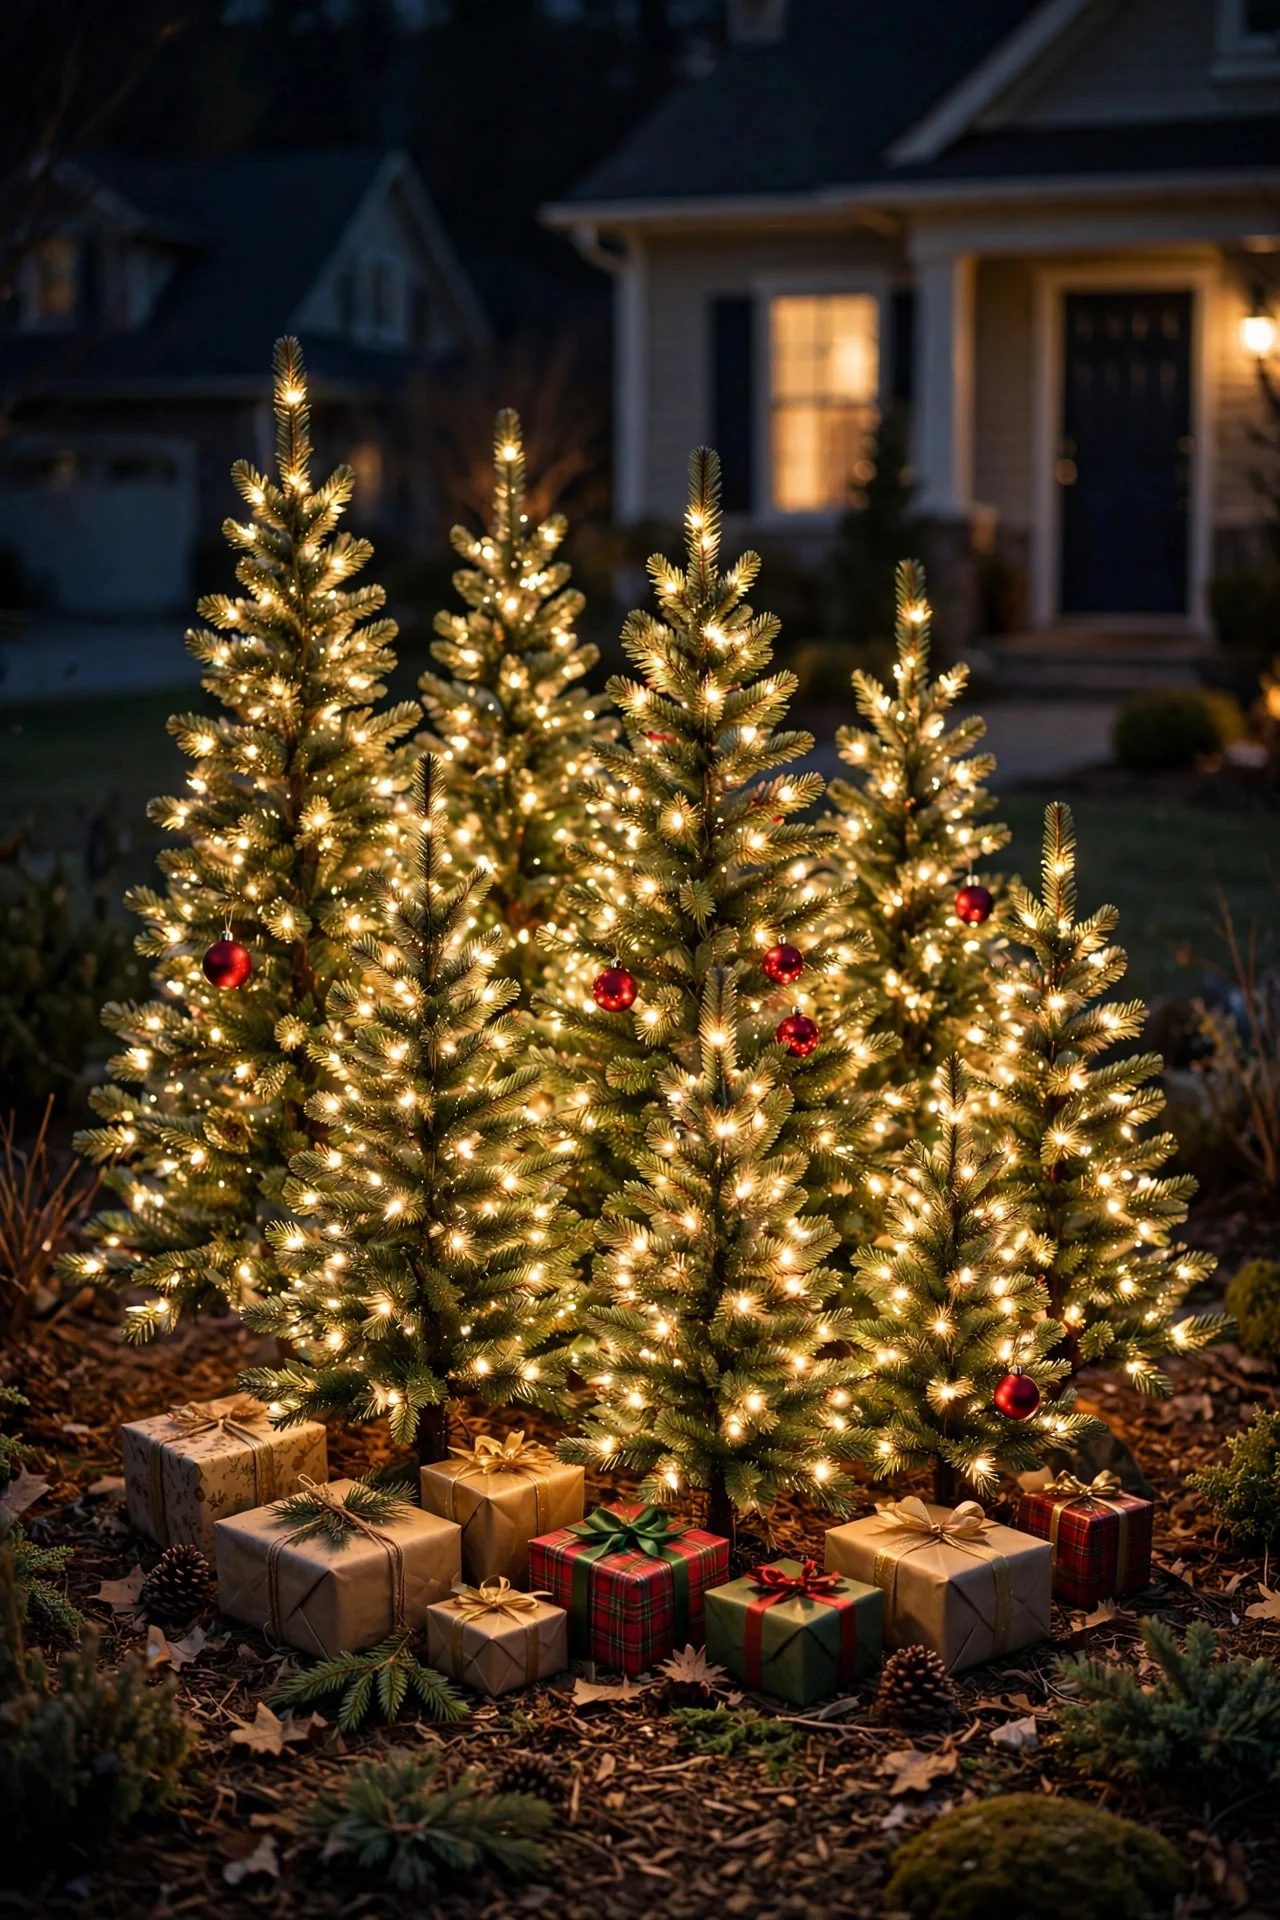
Instead of one big yard tree, plant a forest: five to nine small (3- to 4-foot) pre-lit or wrapped artificial trees clustered in a front bed or along the walk. It is whimsical, it fills space beautifully, and it looks intentional in a way scattered decorations don't. Vary the heights slightly and cluster them in odd numbers, tight enough that they read as a grove rather than individual trees. Warm-white mini lights on green trees is the classic; flocked (snow-dusted) trees with cool white is the winter-wonderland version. A few red ornament balls on each tree ties the cluster together. The practical win: small trees store in a fraction of the space of one big decoration, and if a section of lights dies you swap one small tree, not the whole display. Stake them well — a grove of small trees catches wind like little sails. Nest a few wrapped presents or faux snow mounds at the base to ground the grove visually.
Suggested budget range: $80 – $220.
31. Fence-Line String Lights
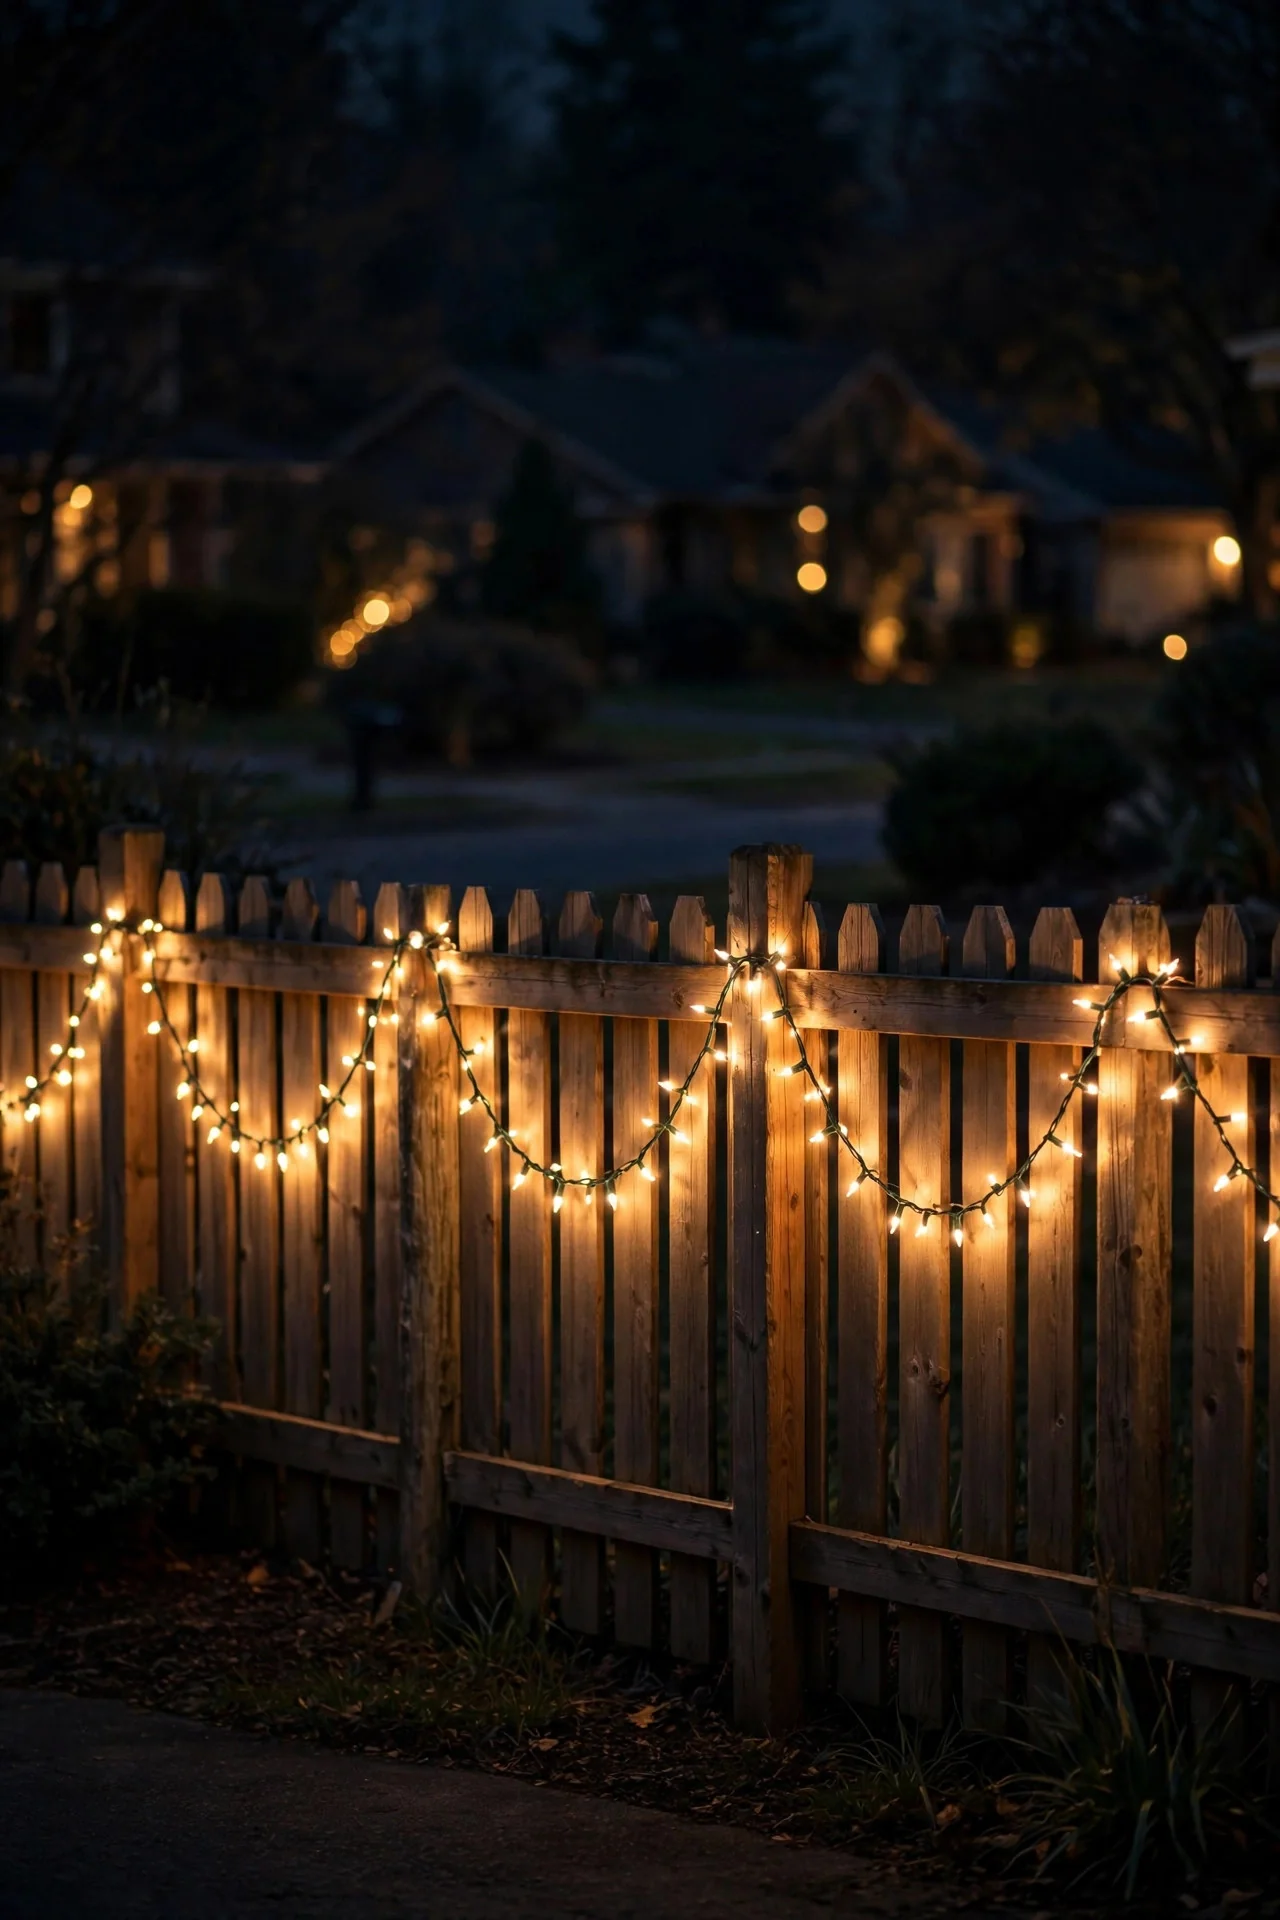
A long fence is a gift — it is a ready-made frame for hundreds of feet of lights with almost no installation creativity required. Run warm-white string lights along the top rail of your front fence and the whole property boundary glows, making even a modest house display feel grand. The neat trick is the "swag and drape" method: instead of running the strand taut, let it dip between posts. The scalloped line of light is far prettier than a straight run and hides minor spacing imperfections. Secure with small outdoor hooks or zip ties at each post. This is also the perfect job for last year's leftover strands — fence lines are forgiving, and mixing strand ages doesn't show at 20 feet. Just test every strand before hanging (every single year, I say this; every single year someone learns the hard way). Give the corner posts a wrapped bow or lantern so the fence line has a clear beginning and end.
Suggested budget range: $50 – $150.
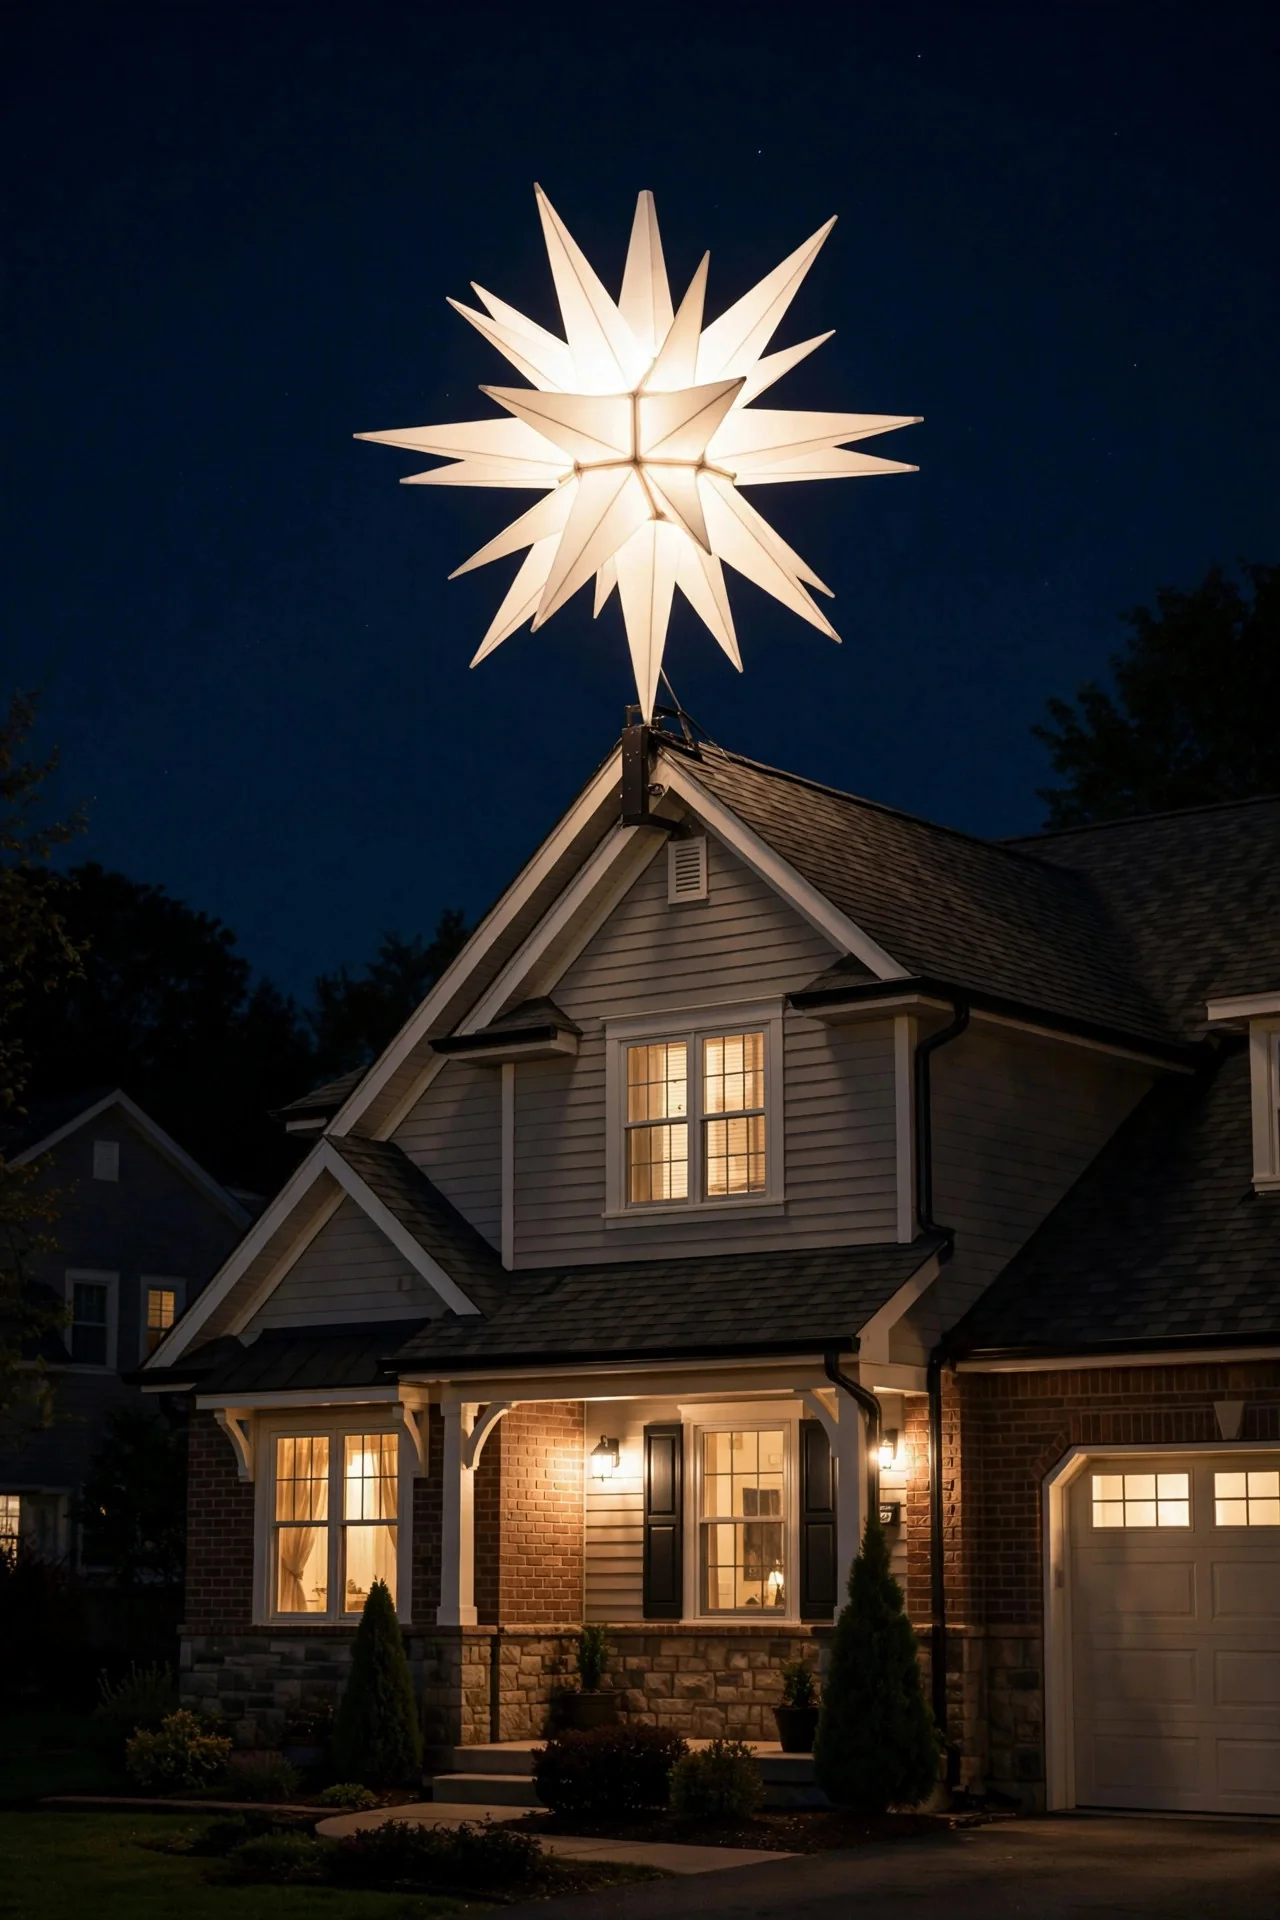
32. The Oversized Yard Star
One big, bold, lit star — on a tall stake in the yard, mounted on the roof peak, or crowning your wrapped tree — is a statement piece that anchors the entire display. I am talking 2 to 3 feet across, lit bright, visible from three blocks away. Roof-peak mounting is the classic: secure it to the highest gable with a proper mount (not just wedged under a shingle — wind will take it), and run the power down the back of the house. Yard-stake versions are easier and nearly as dramatic, especially when they are the tallest lit element in the yard. Moravian stars (the multi-pointed geometric ones) are the premium look here — they cast the most beautiful shadows and read as both modern and timeless. Light it on the same timer as everything else so it blazes to life with the rest of the display at dusk.
Suggested budget range: $35 – $120.
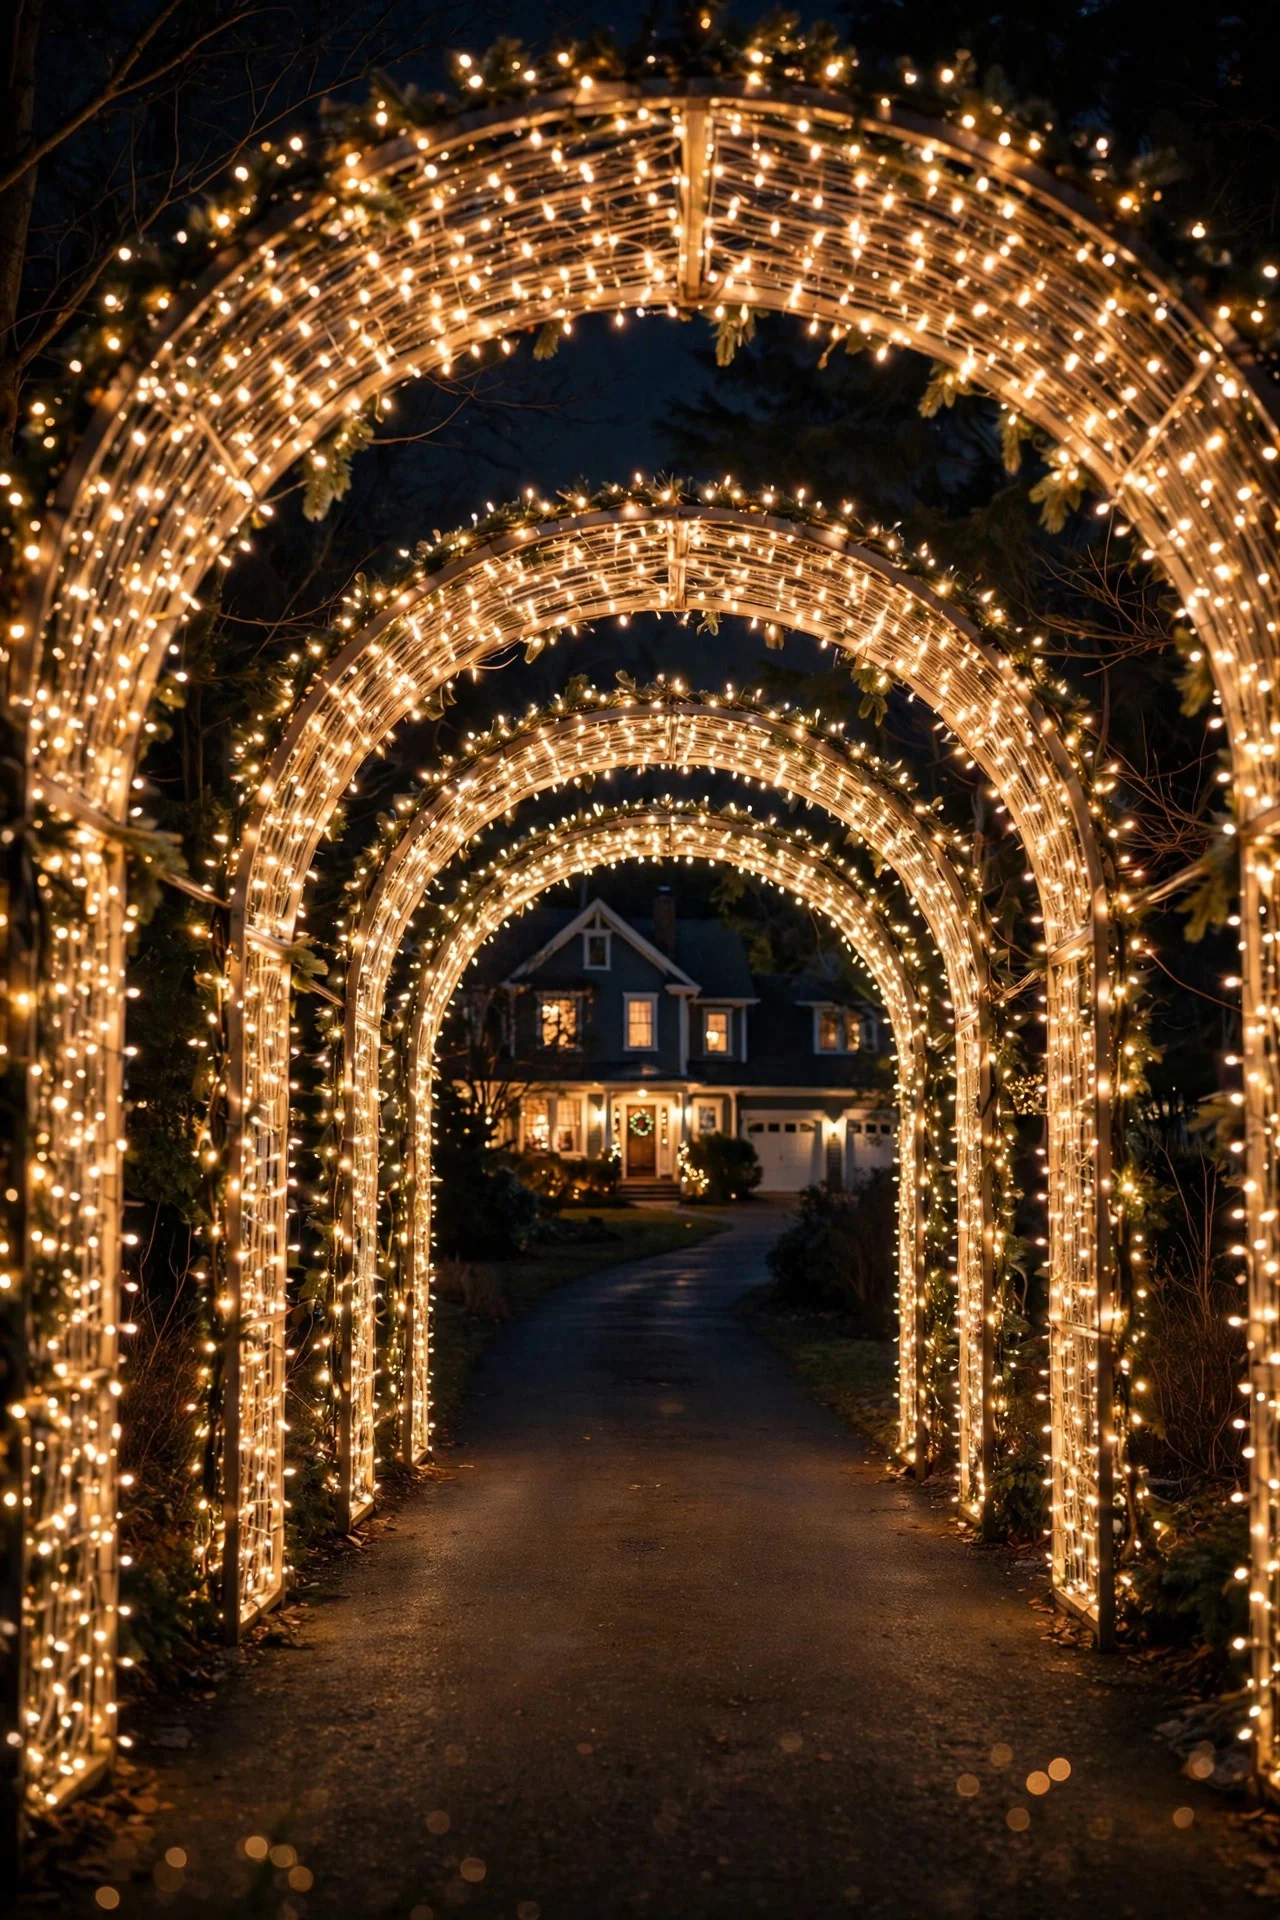
33. The Driveway Light Tunnel
If you want the display people talk about all season, build a light tunnel: arches of PVC or metal conduit over your driveway or front walk, wrapped in lights. Walking or driving through a tunnel of light is a genuine experience — kids will beg to go through it every single night. The structure is simpler than it looks: half-inch PVC bent into arches, rebar stakes driven into the ground to anchor each end, then wrapped with net lights or long mini-light strands. Space the arches 3 to 4 feet apart and the tunnel effect is complete. Keep the center clearance high enough for your tallest vehicle with room to spare. This is a two-person, one-afternoon project — do it on a calm October weekend, not in December wind. And check your local rules: some HOAs have opinions about driveway structures, even temporary holiday ones. Line the tunnel's floor edges with low path stakes so drivers can see the arch footings at night.
Suggested budget range: $100 – $300.
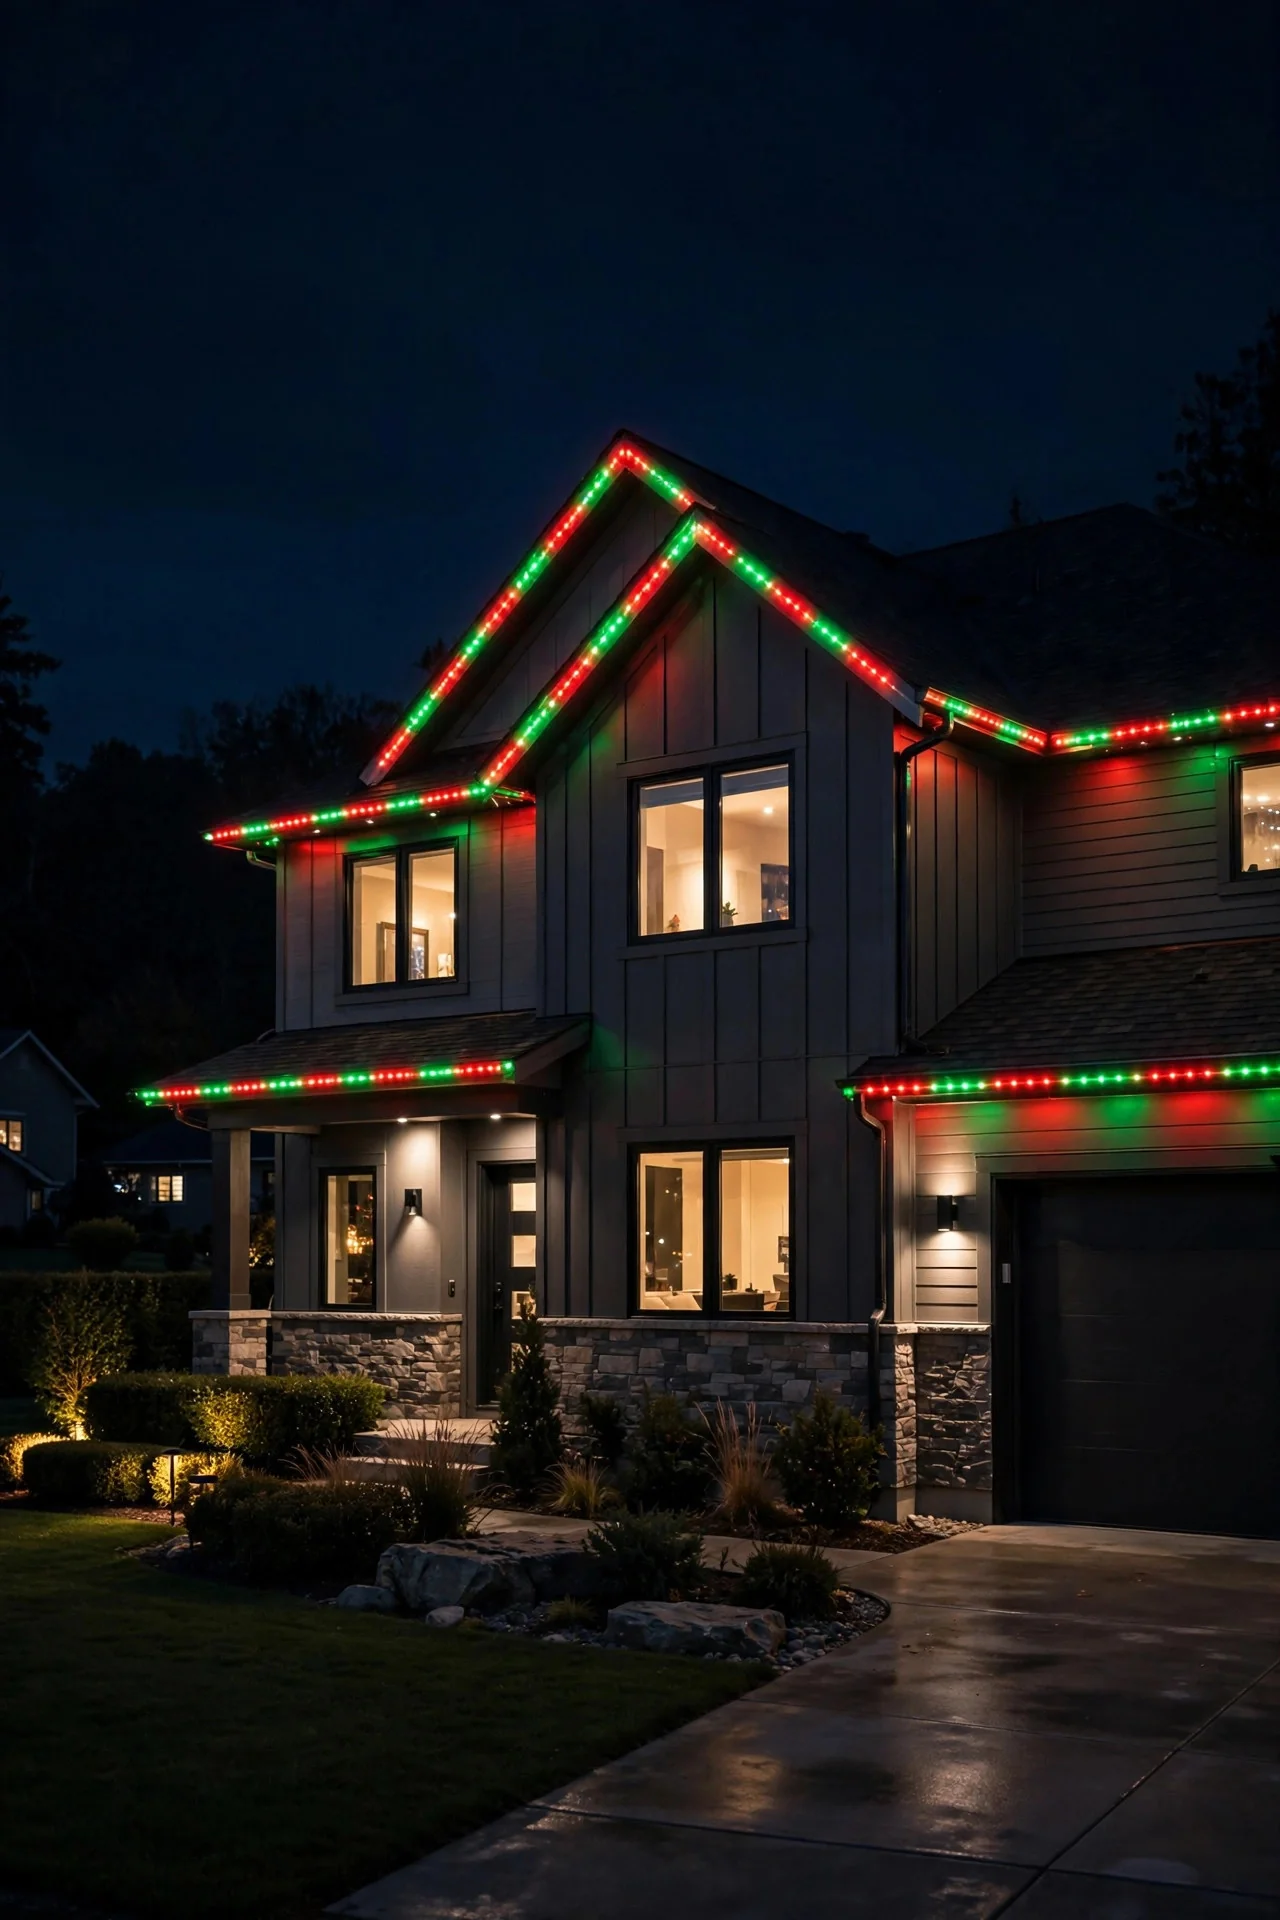
34. Permanent Year-Round Eave Lights
Here is the maximalist move for people who never want to hang lights again: permanent LED strips mounted in a slim track under your eaves, app-controlled, up 365 days a year. In December they run Christmas patterns — warm-white roofline, red-and-green chases, twinkling snowfall. The rest of the year they are your everyday accent lighting: soft warm white for summer evenings, team colors for the big game, orange and purple for Halloween. Most systems are low-voltage, professionally installed in a day, and controlled from your phone with scheduling built in. The upfront cost is real — this is the priciest idea on the list — but spread over a decade of never touching a ladder, the math starts to look friendly. This is a surface-level intro; I am working on a dedicated permanent-lights guide covering track systems, brightness, and what to ask an installer. Get quotes from two installers and ask to see a live demo of the app before you sign anything.
Suggested budget range: $1,500 – $4,000.
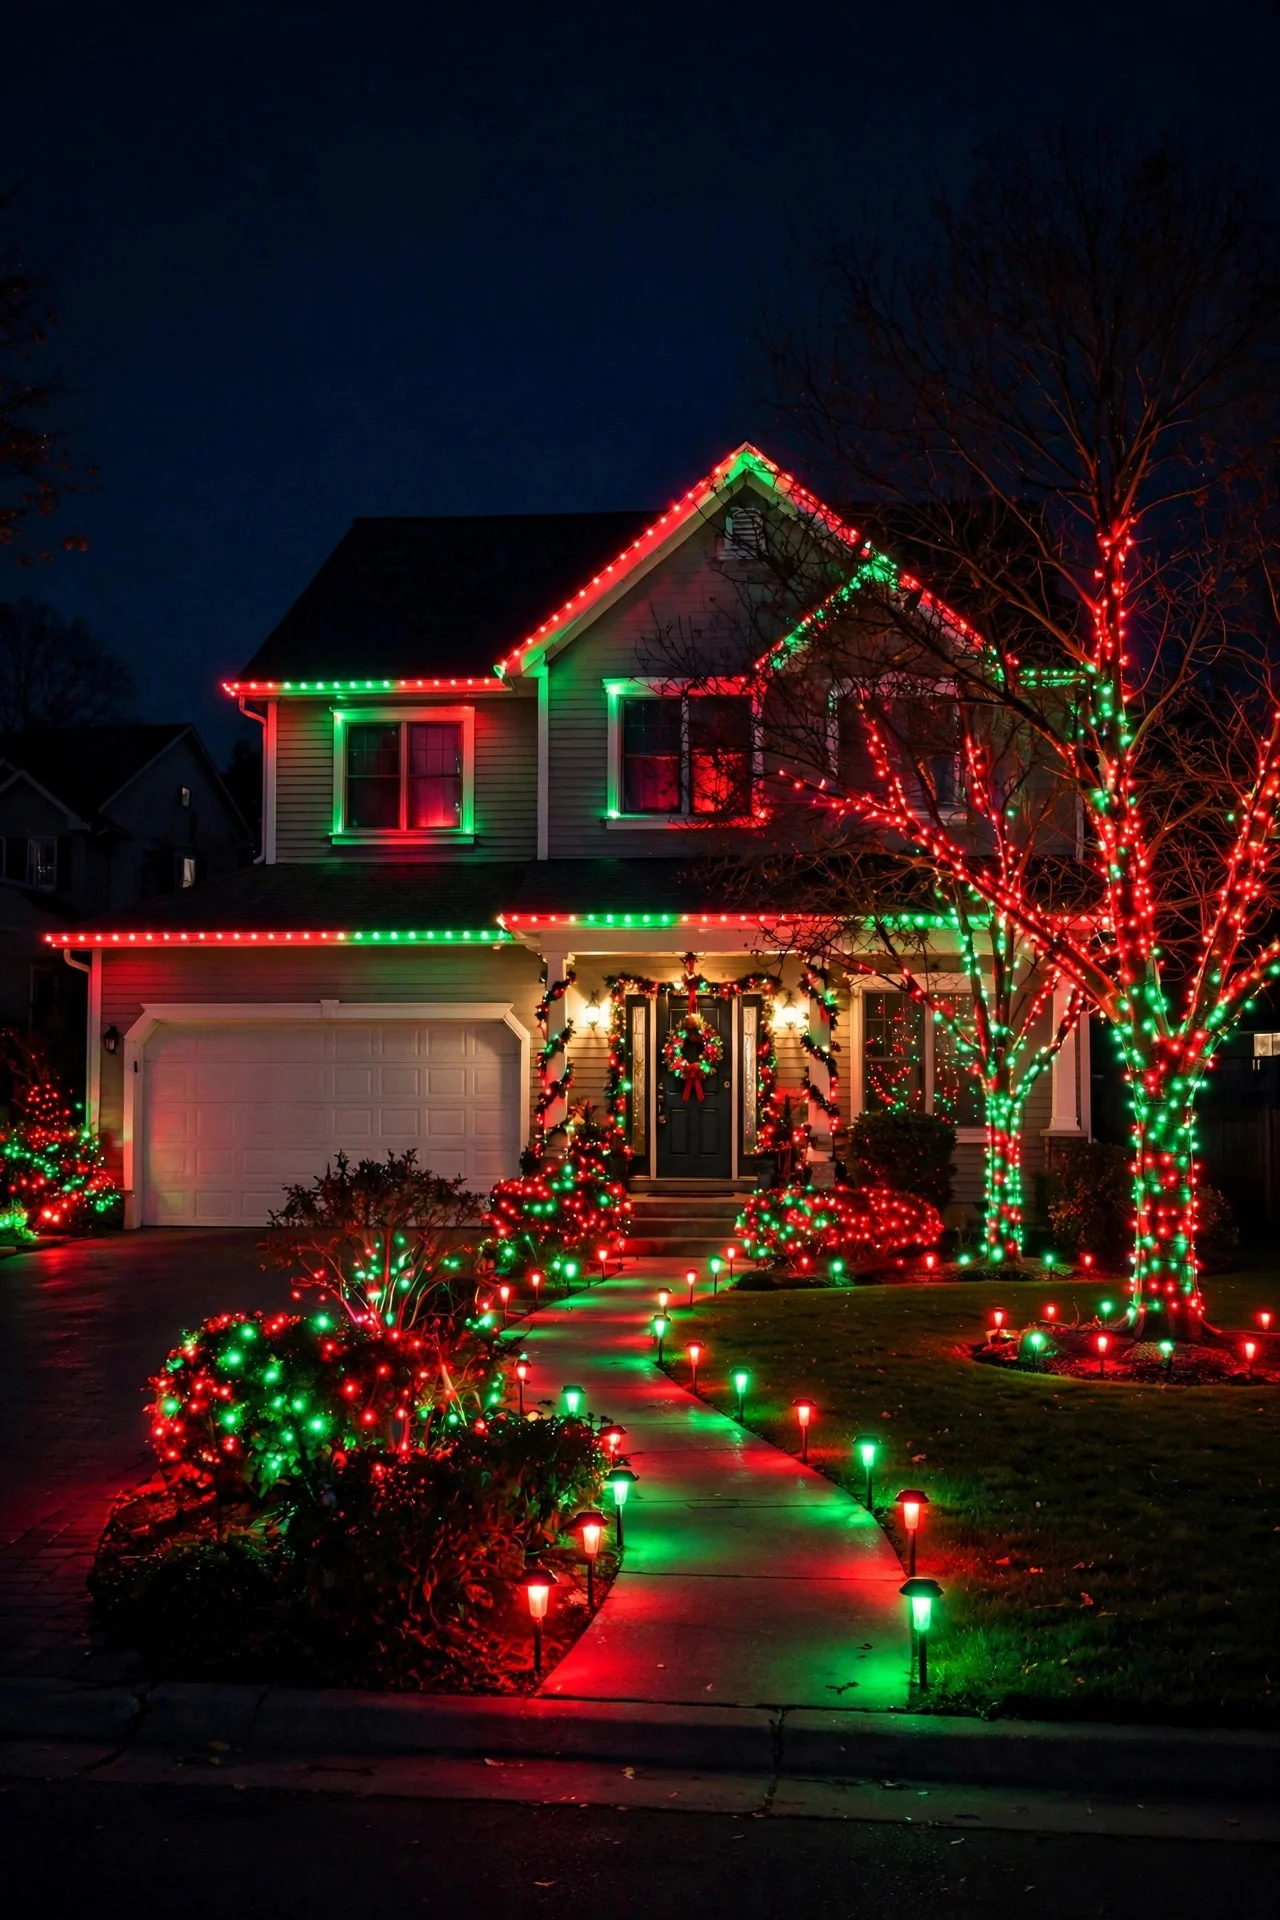
35. Outdoor Christmas Light Ideas Gone Magical: The Smart Whole-Yard Display
This is the summit — every outdoor Christmas light idea on this list, orchestrated from your phone. Addressable smart strands on the roofline, yard, and trees divide your display into zones you control individually: warm white for December evenings, red and green for Christmas Eve, icy blue for New Year's, all from one app. The seasonal smart strands hang like normal Christmas lights but each bulb is individually controllable, so you can run chasing effects, gentle twinkles, or slow color fades across the whole property. Fair warning: the app setup takes an evening of fiddling, and cheap no-name smart strands have appalling apps — stick to well-reviewed products with real customer support. Put every zone on schedules so the whole yard performs like a show, then dims to a soft warm glow at midnight. It is the most lights, the most control, and honestly the most fun you can have with a ladder and a smartphone.
Suggested budget range: $300 – $900.
Frequently Asked Questions
When should I install outdoor Christmas lights?
Late October through mid-November is the sweet spot — and I mean that practically, not just for enthusiasm. Hanging lights while it is still 50 to 60 degrees and dry is infinitely more pleasant than doing it in a December freeze, and you avoid the ladder-on-ice situation entirely. I do all my installing over the last two weekends of October, then simply don't plug in — or set the timer start date — until the weekend after Thanksgiving. The work is done in comfort; the magic waits for its cue. Starting early also means you can test every strand in daylight and replace duds before the season, instead of discovering a dead section at 9 p.m. on December 20th.
How much does it cost to light up a house for Christmas?
It depends entirely on scale. A minimalist entry — one strand, a wreath, a pair of lanterns — runs $50 to $150 total. A classic full roofline with yard accents lands in the $300 to $800 range for lights, clips, timers, and cords. A maximalist whole-yard display with projectors, figures, and smart controls can reach $1,000 to $2,500, and permanent eave lighting starts around $1,500 installed. The good news: LEDs are reusable for many seasons, so year one is the investment and year two onward is nearly free. In my experience, buying one quality strand beats buying three cheap ones that die by January.
Are outdoor Christmas lights waterproof?
Outdoor-rated lights are built for rain, snow, and cold — but "outdoor-rated" is doing important work in that sentence. Always check the packaging for an outdoor or indoor/outdoor rating; indoor-only strands belong nowhere near December weather. The weak points are never the bulbs — they are the connections. Keep every plug joint off the ground and sheltered using inexpensive cord connection boxes, use only outdoor-rated extension cords, and plug everything into GFCI-protected outlets. LED strands handle cold far better than old incandescents, but even the best lights fail early if their connections sit in a puddle all month.
What is the easiest way to take down and store Christmas lights?
Work in reverse and label as you go. Take down one zone at a time, and as each strand comes off, wrap it around a cord reel or a piece of cardboard immediately — never coil it in your hands and toss it in a bin, which is how you get the dreaded tangle that eats a Saturday next October. Tag every strand with painter's tape ("roofline left," "bush nets," "porch garland") and keep all clips, stakes, and timers in one labeled bin. Test every strand before you store it: a dead strand discovered in October is a quick replacement, while one discovered mid-hang in December is a crisis. Store everything somewhere dry — a garage shelf beats a damp basement every time.
Do light projectors really cost less than string lights?
Usually, yes — especially once you count your time. A single $20 to $40 projector can cover what would take hundreds of feet of string lights, clips, and a full ladder afternoon. Projectors also sip electricity, often under 15 watts, versus hundreds of watts for big incandescent displays. LED string lights close the gap on energy, but projectors still win on setup time — about 10 minutes versus an entire weekend.
Conclusion
There you have it — 35 outdoor Christmas light ideas to carry your home from the first crisp evening of October all the way through the new year. You don't need all 35 (though I certainly won't stop you). Start with the roofline, layer in the entry, then let the yard grow one October at a time. Warm, warm, warm — and a timer, so the magic happens whether you're home or not. If you enjoyed planning this display, browse our other lighting ideas for more ways to make your home glow in every season. Your house is about to become somebody's favorite drive-by of the season — hang those lights while the weather is still nice, set the timer, and enjoy every glowing evening. Happy holidays!