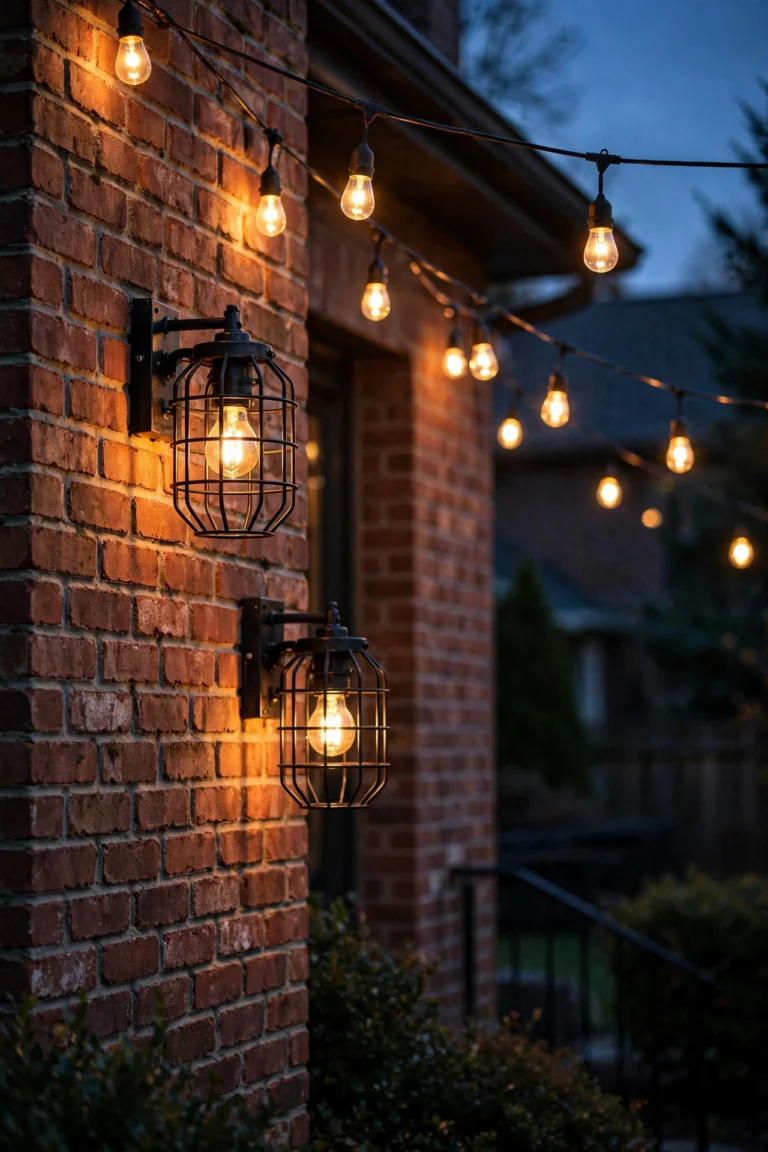
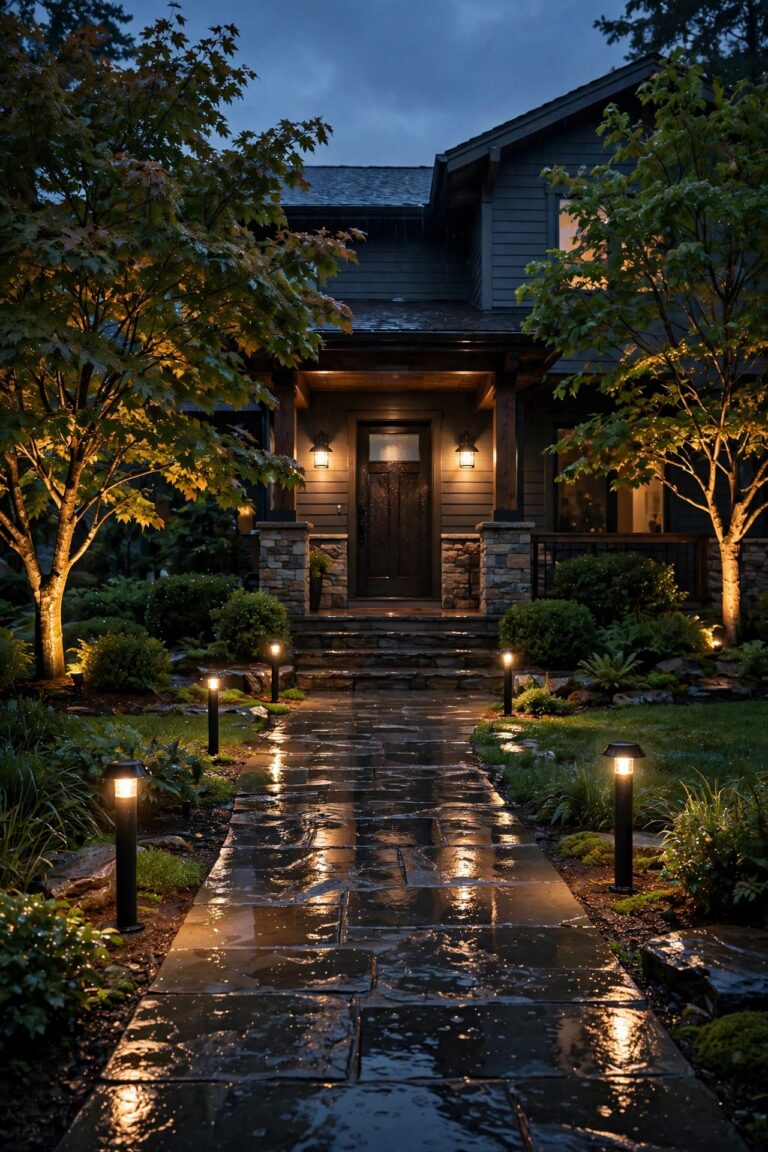
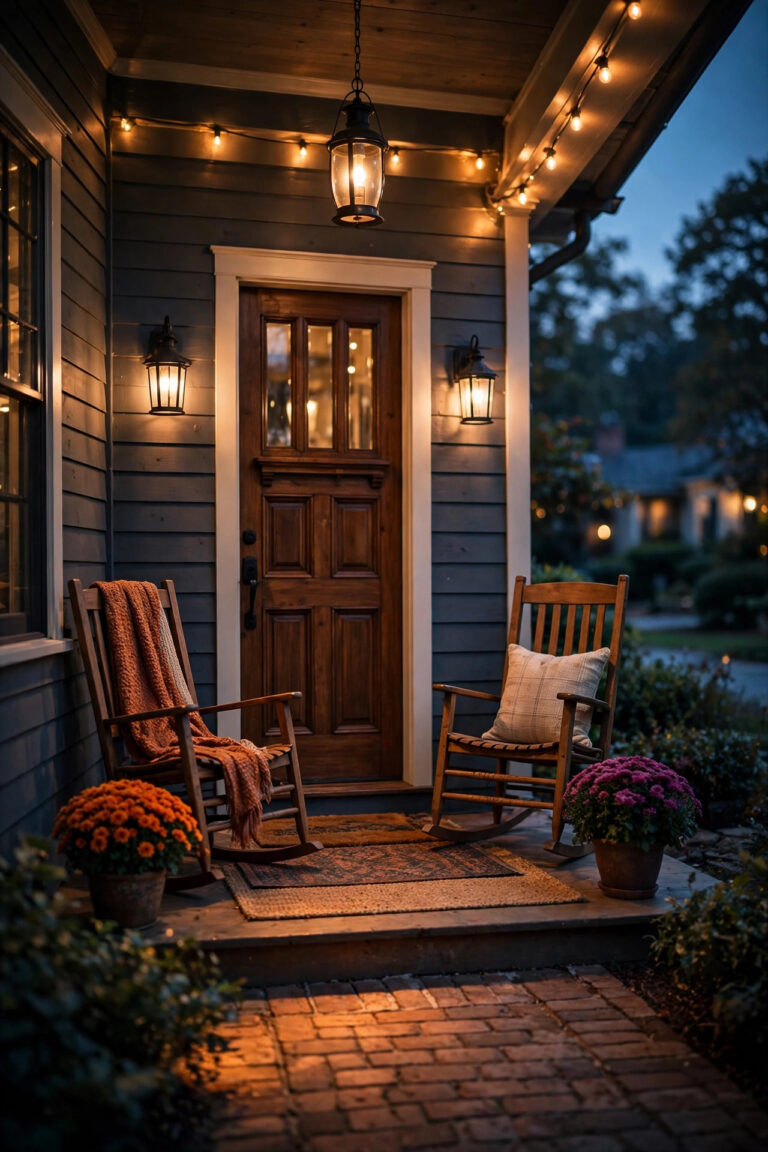
Every spring I walk my yard at dusk and find the same thing: three dark corners the original plan missed. The beds have filled in, the new patio begs for a soft glow, and that oak deserves better than disappearing at 8 p.m. The good news? You can almost always add lights to existing landscape lighting instead of starting over — the transformer humming on your garage wall probably has room to spare. The catch is that word "probably." Low-voltage systems fail quietly when you overload them: the far lights go dim and amber, the transformer runs hot, and the breaker starts tripping on damp nights. I've expanded my own system four times now, and the difference between a smooth upgrade and a flickering mess is about ten minutes of honest math before you buy a single fixture. In this guide I'll walk you through finding your transformer's real capacity, adding up your current load, tapping in new fixtures the right way, and fixing voltage drop when it shows up — plus what to do when the math says no, and what it all costs in 2026.
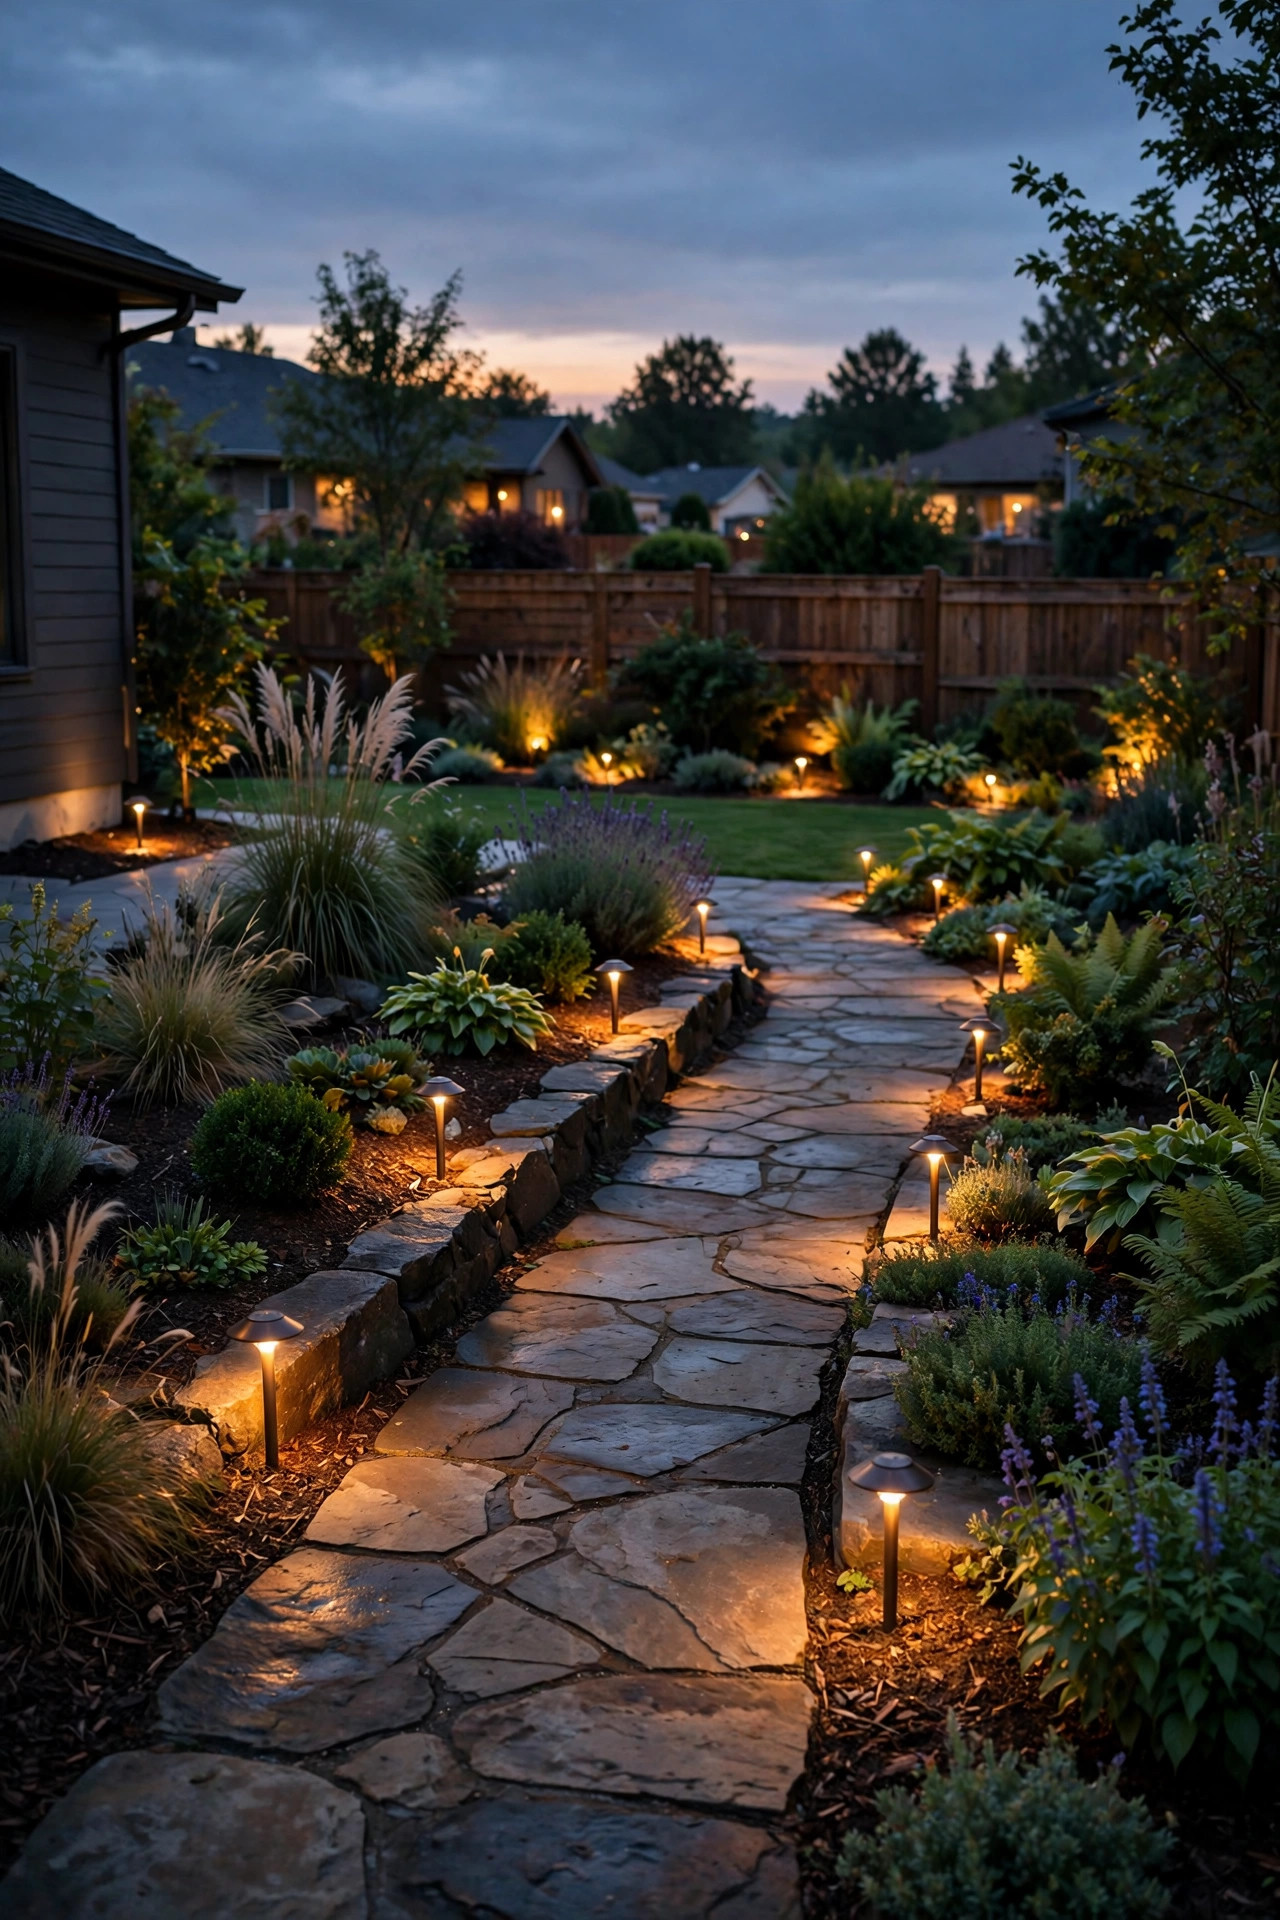
The Short Answer
Yes — in most yards you can add lights to an existing system safely, as long as two numbers behave: your total fixture wattage stays under 80% of the transformer's rating, and no single cable run gets so long that voltage drop starves the far lights. A 300-watt transformer, for example, should carry no more than about 240 watts of fixtures. Modern LED fixtures sip 3 to 7 watts each, so a system from the halogen era often has room for a dozen new lights after a simple bulb swap. Do the audit in the steps below before you spend a dime — it takes ten minutes and a flashlight.
Why Overloading Happens: Two Different Limits
Most people talk about "overloading" as one problem, but honestly? It's two, and they need different fixes. The first limit is total capacity: your transformer can only convert so many watts, and every fixture you hang on the system draws from that single budget. Blow past it and the transformer overheats, hums louder, ages fast, and eventually its internal breaker starts cutting the whole yard off mid-evening. The second limit is sneakier — voltage drop. Electricity loses pressure as it travels through cable, so the fixture 90 feet from the transformer receives meaningfully less voltage than the one 10 feet away. An overloaded *run* can starve its end lights even when the transformer itself has plenty of watts left. That's why a system can look "fine on paper" yet still glow unevenly. The good news is both limits are simple arithmetic, not guesswork. Capacity is a wattage budget you add up on paper. Voltage drop is a distance-and-load problem you solve with cable gauge, run layout, or a higher voltage tap. Work through the next three steps in order — capacity, current load, headroom — and you'll know exactly how many new lights your yard can take, and where they can go, before you dig a single trench.

Step 1: Find Your Transformer's Real Capacity
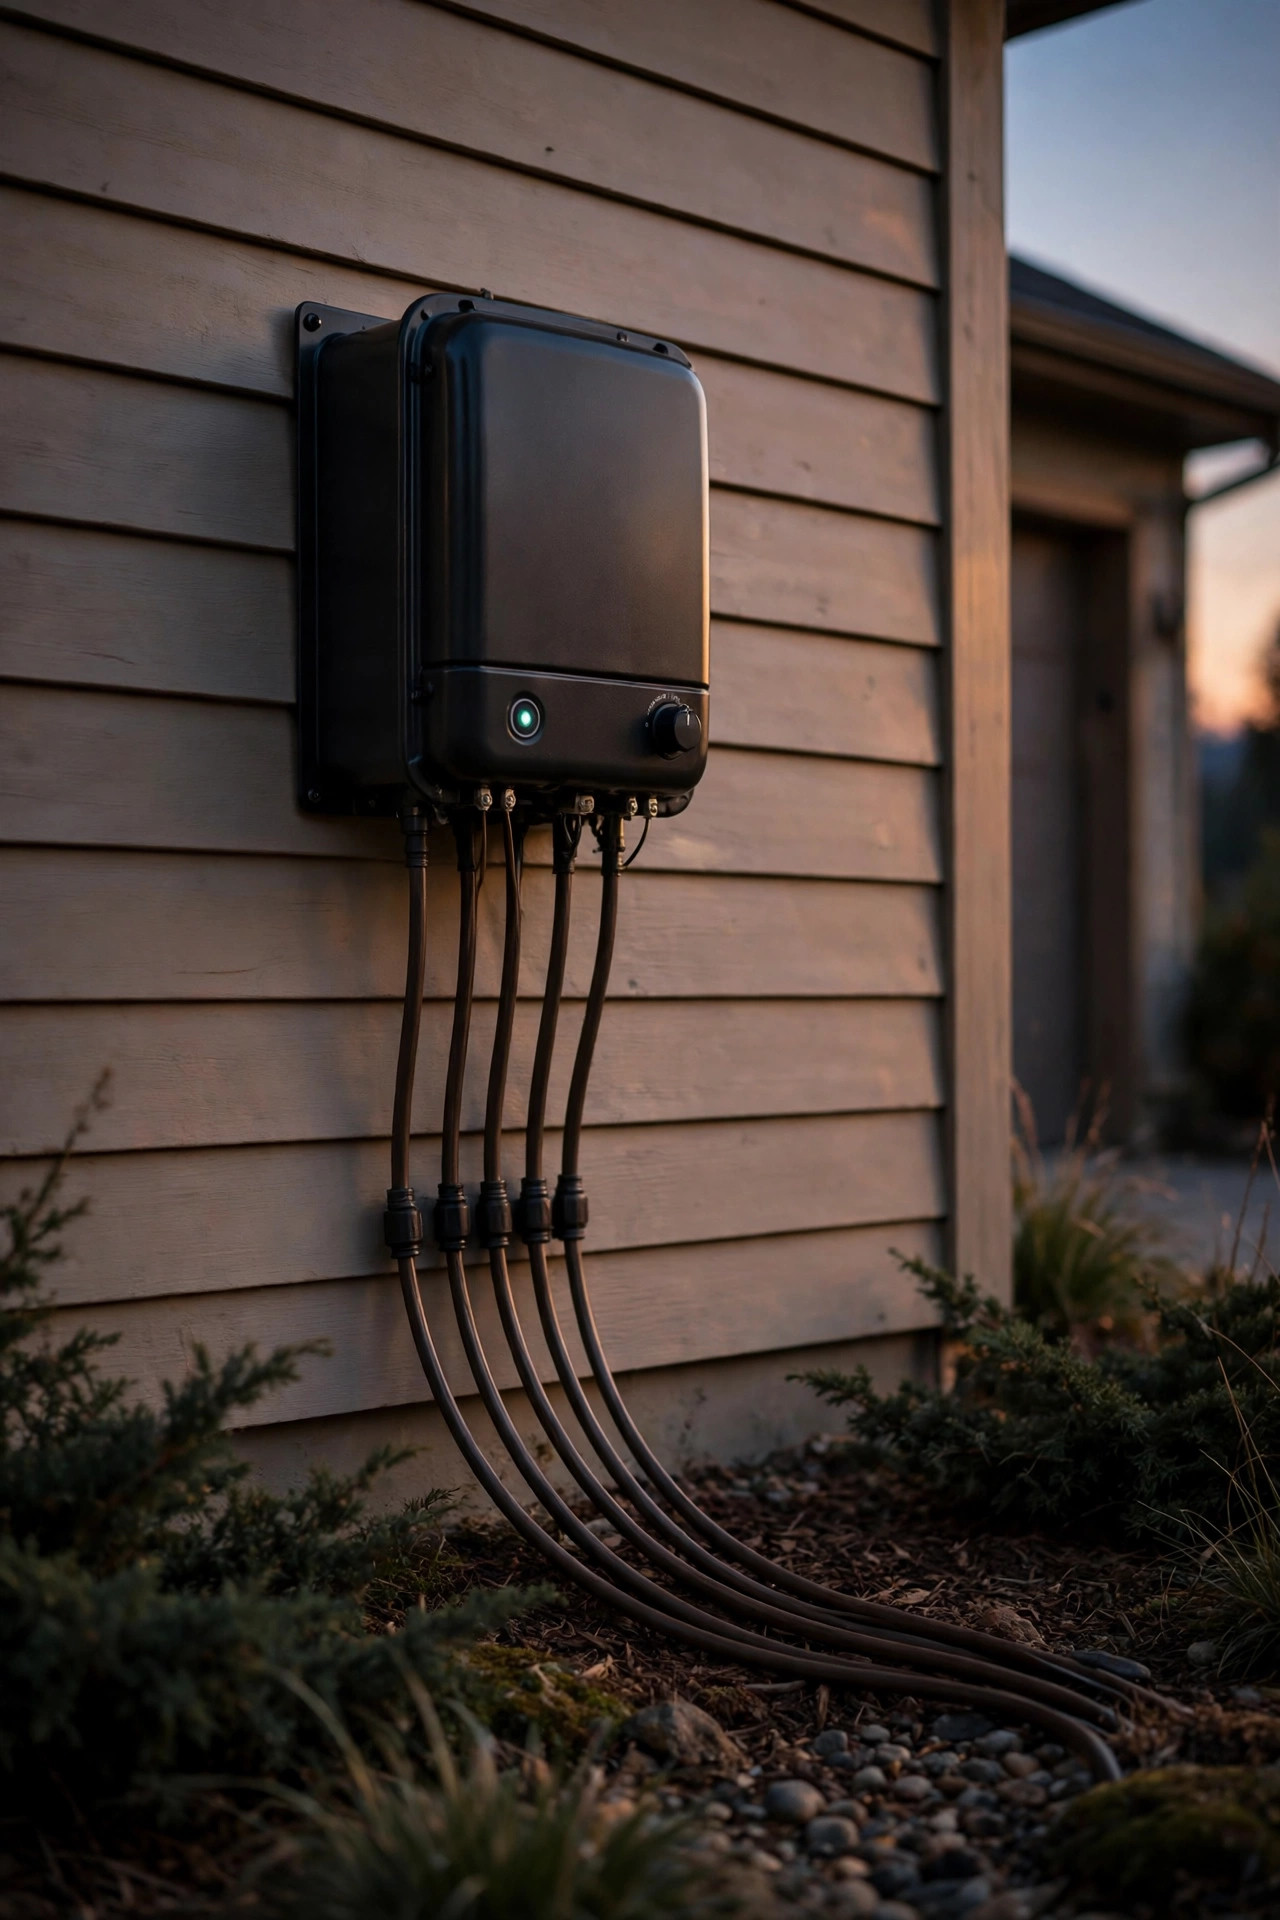
Walk to the transformer — usually mounted on an exterior wall near an outlet, or on a post near the house — and read the label. You're looking for the wattage rating: common residential sizes are 150, 200, 300, 450, and 600 watts. Note whether it's a multi-tap unit with terminals marked 12V, 13V, 14V, and 15V; that detail becomes gold later when we fight voltage drop. Now apply the rule I never break: plan to use only 80% of the rating. A transformer run flat-out all night, every night, runs hot and dies young, and the 20% cushion also absorbs the small inrush surge when the lights first click on. So your real working budget is:
– 150W transformer → 120W of fixtures
– 200W transformer → 160W of fixtures
– 300W transformer → 240W of fixtures
– 450W transformer → 360W of fixtures
– 600W transformer → 480W of fixtures
While you're there, snap a photo of the label and note the timer or photocell setup, and check how many cable runs leave the unit — most have one or two. Each run gets its own voltage-drop math later. If the label is weather-faded beyond reading, count the terminals and check the unit's physical size against product photos, or simply plan conservatively around 200 watts until you can verify. In my experience, the 300W size is the sweet spot in most suburban yards, and a surprising number of "full" systems turn out to be running at half their real budget.
Step 2: Audit the Lights You Already Have
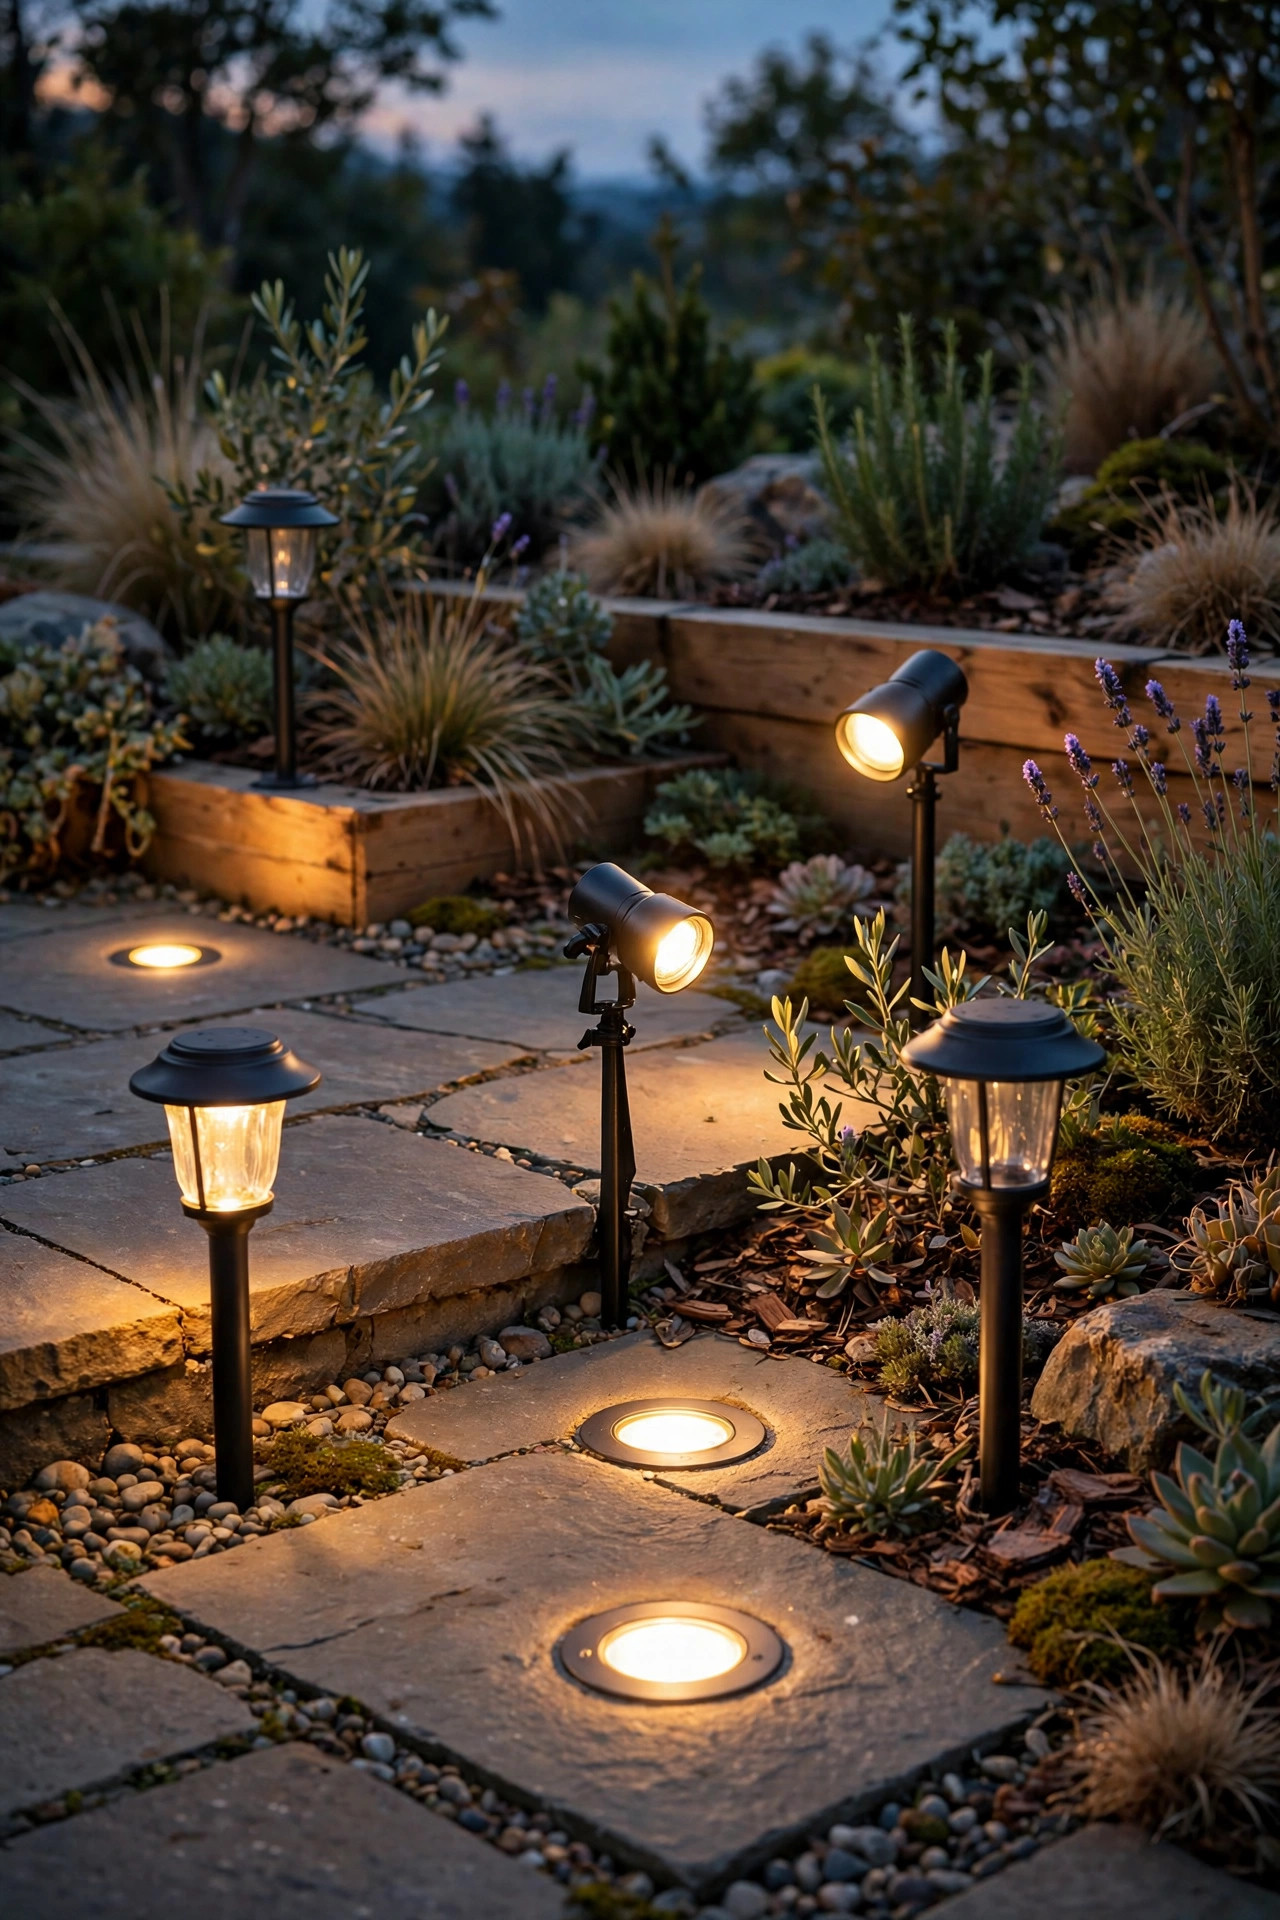
Now walk the yard at dusk with your phone's notepad and count every fixture, grouping them by type. Fixture wattage is usually printed on the lamp itself or stamped inside the housing; if a bulb is unlabeled, use these honest typical draws: LED path lights run 3–5 watts, LED spotlights 5–9 watts, LED well lights 7–12 watts. Older halogen fixtures are the budget-busters — an MR16 halogen spotlight typically pulls 20–35 watts, and halogen path lights 10–20 watts each. Here's a real-style audit from a neighbor's yard I helped with last fall: ten LED path lights at 4 watts = 40 watts, six LED spotlights at 7 watts = 42 watts, two LED well lights at 9 watts = 18 watts. Total existing load: 100 watts. On paper that yard "felt full" — twelve fixtures looks like a lot — but against a 300W transformer's 240-watt working budget, it was using barely 40%. Two tips from doing this many times: count fixtures on each cable run separately if your transformer feeds two runs, because run-level loads matter for voltage drop; and don't forget hidden draws like deck step lights spliced into the landscape system or that one spotlight behind the shed everyone forgot. If your count and the transformer's behavior disagree — lights dimming despite a modest total — that's your first clue the problem is voltage drop on a long run, not total capacity.

How to Add Lights to Existing Landscape Lighting: The Headroom Math
Here's the whole method on one napkin: working budget − existing load = headroom. Using Step 2's audit on a 300W transformer: 240W budget − 100W existing = 140 watts of headroom. If your new fixtures average 5 watts each (typical for quality LED path and accent lights), that's theoretically 28 new fixtures — in practice I plan for 10 to 15, leaving breathing room for a future fountain light or holiday addition and keeping individual runs sane. Now the second half of the math, the per-run check: each cable run should stay under roughly 100 feet and carry no more than about 80–100 watts on standard 12-gauge cable. A run can satisfy the transformer budget and still fail this test if it's long and loaded. If your expansion pushes one run past either number, split it — run a second cable from the transformer or use a hub — rather than piling fixtures onto the far end. This planning stage is also where a little design thinking pays off: my guide to low-voltage landscape lighting design covers how to layer path, accent, and wash light so the new fixtures actually improve the picture instead of just adding dots. Ten minutes, one subtraction, one tape measure. That's the entire secret.

The Warning Signs Your System Is Already Overloaded
Before adding anything, learn the symptoms — because if your system already shows two or more of these, expansion comes *after* a fix, not before. First, the classic: lights near the transformer shine noticeably brighter and whiter than lights at the end of the run, which fade to a dim amber. That's voltage drop talking. Second, the transformer feels hot to the touch or hums loudly enough to hear from a few feet away after an hour of runtime. Third, the whole system shuts off mid-evening and mysteriously works again the next night — that's the internal breaker tripping on overload or heat, then resetting as it cools. Fourth, flickering that gets worse when the soil is wet or several zones run together. Fifth, bulbs burning out youngest at the *start* of the run, a sign they're getting over-volted relative to the starved end. If you're seeing these, work the voltage-drop fixes below before spending on new fixtures; my outdoor lighting troubleshooting guide walks through isolating which run is at fault with nothing but a multimeter and patience. Adding load to a struggling system is like packing a suitcase that's already splitting at the zipper — sort the suitcase first.

Step 3: Choose New Fixtures That Sip Power
The single easiest way to "find" capacity is to stop wasting it. If any corner of your system still runs halogens, swapping those lamps for LED equivalents before you expand is like discovering a second transformer: a 35-watt halogen MR16 spotlight and a 6-watt LED MR16 produce comparable beams, so ten halogen spots converted to LED free up roughly 290 watts — more than most expansions will ever need. For genuinely new fixtures, shop by wattage first and looks second: LED path lights at 3–5 watts, LED spotlights at 5–9 watts, and integrated-LED fixtures (where the light engine is built in) tend to sip slightly less than drop-in lamp styles. Match color temperature to your existing system — most established yards glow at 2700K warm white, and one cool 4000K newcomer will glare out of the picture like a wrong note. Check that new fixtures accept your system's voltage range (most quality LEDs handle 9–15 volts, which is exactly the tolerance you want on long runs). And keep beam angles consistent: narrow 15–30 degree spots for trees and columns, wide 60-degree-plus floods for beds and walls. Spend your watts on fixtures you'll see from the porch and the street, not on lighting the side of the neighbor's fence.
Step 4: Tap In the Right Way, Step by Step
With the math done, the physical work is genuinely an afternoon job. Here's the sequence I follow every time:
1. Kill the power. Unplug the transformer or switch it off at the timer before touching any wire. Low voltage won't hurt you, but a short can hurt the transformer.
2. Pick your connection point. Best: splice into the main run near the middle, or at a hub, rather than dangling new fixtures off the far end of a loaded run. For a cluster of three or more new lights, run one cable to a central hub and branch short spokes from there.
3. Use the right connectors. Gel-filled waterproof wire connectors made for direct burial — squeeze or twist types rated for wet locations. Skip the cheap pierce-point clips for buried joints; in my experience they're the number-one cause of "my lights died in November" calls.
4. Mind the gauge. Extend with 12/2 direct-burial cable for anything beyond a short spoke; 14/2 or 16/2 is fine only for very short, lightly loaded branches.
5. Test before you bury. Lay fixtures in place, power up at dusk, and walk the yard. Adjust aim and brightness balance now, while everything is still above ground.
6. Bury shallow and tidy. Landscape cable goes about 6 inches down — just under the mulch-and-sod line. For clean routing tricks along edges and under paths, see my notes on how to hide landscape lighting wires.
Do it in this order and the expansion behaves like it was always there.

Fixing Voltage Drop When the New Lights Look Dim
So you added lights and the far ones glow like fireflies. Don't panic — voltage drop is physics, not failure, and it has four reliable fixes. First, understand the size of it: a 100-foot run of 12-gauge cable carrying 60 watts loses roughly 1.6 volts along the way, so end fixtures see about 10.4 volts instead of 12 — visibly dimmer and warmer in color. Fix one: lighten the run. Move a few fixtures to a second cable or a hub so no run carries the whole yard. Fix two: go up a wire size. 10-gauge cable has roughly 40% less resistance than 12-gauge, which often cures a long driveway run outright. Fix three: use a higher tap. If your transformer is multi-tap, moving a long run's cable from the 12V terminal to the 14V or 15V terminal compensates for the loss so the end fixtures land near 12 volts — just confirm the *nearest* fixtures won't exceed their voltage rating. Fix four: shorten the distance. Relocating the transformer toward the middle of the yard (on a post, fed by a proper outdoor outlet) turns one brutal 150-foot run into two easy 75-footers. Try them in that order — cheapest first — and test at dusk between changes.

When the Math Says No: Your Three Real Options
Sometimes the audit ends the dream — the transformer is genuinely full. You still have three good moves, and none of them is "rip it all out." Option one: convert, don't add. Swap every remaining halogen lamp for LED, as covered in Step 3. Yards from the 2000s often free up 200+ watts this way for the price of a handful of lamps, and the system runs cooler and cheaper forever after. Option two: upsize the transformer. Moving from a 300W to a 600W unit is a one-hour swap using the same mount and outlet, and it doubles your working budget to 480 watts. Just re-check that existing cable runs can handle their loads — the transformer isn't the only limit. Option three: add a second transformer and split the yard into zones — front yard on the original unit, backyard and patio on the new one. This is my favorite for growing properties because each zone gets its own timer schedule (front on at dusk till midnight, back patio on till 10), and a failure in one zone never darkens the whole house. Whichever route you choose, re-run the Step 1 through Step 3 math on the new configuration before buying fixtures. Five minutes of arithmetic, zero regrets.
What It Costs to Add Lights to Existing Landscape Lighting in 2026
Honest numbers, from recent receipts and current shelf prices. Quality LED path lights run $25–$60 each; LED spotlights $30–$90; drop-in LED lamps for existing fixtures $8–$18 each. Direct-burial 12/2 cable costs about $0.60–$1.10 per foot (a 100-foot spool, $60–$110), gel-filled waterproof connectors $2–$5 each, and a wiring hub $15–$40. If the math pushes you to a new transformer, budget $120–$250 for a solid 300W multi-tap unit or $200–$400 for 600W. A typical DIY expansion of 6–10 new fixtures, cable, and connectors lands at $200–$600 total; converting a halogen system to LED lamps first adds $80–$180 and often makes the bigger transformer unnecessary. Running costs stay gloriously small: an extra 100 watts running five hours a night uses about 15 kWh a month — roughly $2–$3 at average US electricity rates. Hiring it out instead? A landscape lighting pro typically charges $75–$150 per added fixture including labor on an existing system, which is fair for tricky trenching but steep for a simple path-light row you can absolutely do yourself on a Saturday. One budgeting note I always give friends: buy one spare fixture and a handful of extra connectors with the main order. Fixtures get discontinued, lines change, and the $30 spare in the garage beats a mismatched replacement glowing a slightly different white three years from now.
Safety and Electrical Basics
Low-voltage lighting is the friendliest electrical DIY there is — 12 volts won't shock you — but "low voltage" is not "no rules." The transformer itself plugs into 120-volt household current, so it must connect to a GFCI-protected outdoor outlet with an in-use weatherproof cover; if your outlet isn't GFCI, that's a licensed-electrician job before anything else. Always switch the transformer off before cutting or splicing cable, not because the wire can hurt you, but because a dead short can cook the transformer's electronics. Use only connectors rated for direct burial and wet locations underground — indoor wire nuts buried in mulch are a corrosion timer. Keep splices out of sprinkler spray paths where possible, and bury cable the standard 6 inches deep: shallow enough to find later, deep enough to survive aerators and edging tools. Before any digging beyond a spade's depth, call 811 to have underground utilities marked — it's free and it finds the gas and telecom lines your shovel shouldn't. Near mulch, plantings, and wooden structures, LED-only is the rule; old halogen lamps run hot enough to scorch dry mulch. And never bury a transformer, extend its 120-volt cord with an indoor extension lead, or open its housing — the low-voltage side is your playground, the line-voltage side is not.
5 Mistakes That Ruin an Expansion
After four expansions of my own and plenty of neighbor rescues, these are the five I see on repeat. One: sizing to 100%. Loading a transformer to its label rating leaves no surge cushion; respect the 80% rule and it'll outlive the fixtures. Two: piling onto the end of the longest run. It guarantees dim newcomers and starves the old lights too — tap in near the middle or add a hub. Three: mixing color temperatures. A 2700K yard with two 4000K newcomers looks broken, not bright; buy one extra matching lamp as a spare while you're at it. Four: burying cheap pierce connectors. They corrode within a season or two underground; gel-filled direct-burial connectors cost a couple of dollars more and last a decade. Five: burying cable before the dusk test. Aim, brightness balance, and one misbehaving splice are all ten-minute fixes above ground and miserable ones after the trench is closed. Test at full dark, adjust with fresh eyes, *then* bury. Avoid these five and your expansion will look professionally planned — because, honestly, planning is most of what the pros actually sell. And keep the napkin math from Step 3 in the transformer door or a phone note; the next time a dark corner tempts you, you'll know in thirty seconds whether there's room.
Frequently Asked Questions
How many lights can I add to a 300-watt transformer?
It depends on your current load and fixture wattage, not the fixture count. A 300W transformer should carry about 240 watts total; if your existing system uses 100 watts, you have roughly 140 watts free — that's about 20–28 modern LED fixtures at 5–7 watts each, provided no single cable run exceeds roughly 100 feet or 80–100 watts.
Can I mix LED and halogen lights on the same system?
Yes, electrically they coexist fine on the same transformer and run. Just remember the halogens eat your budget — a 35-watt halogen counts as much as six LED fixtures in the headroom math — and their warmer, dimmer-at-distance behavior will look more obvious next to efficient LEDs. Most people convert the halogens within a season.
How do I know if my transformer is overloaded?
Watch for the cluster: end-of-run lights noticeably dimmer and more amber than near ones, a transformer that's hot or loudly humming, the system shutting off mid-evening and recovering by morning, and breakers tripping on wet nights. Any two together mean you've exceeded capacity or a run's voltage-drop limit — audit before adding anything.
Do I need an electrician to add landscape lights?
For the low-voltage side — fixtures, cable, splices, even swapping the transformer into the same outlet — no, it's a standard DIY job in most places. Call an electrician if you need a new outdoor outlet installed, if the existing outlet lacks GFCI protection, or if anything on the 120-volt side needs opening up. When in doubt, that's the line.
Conclusion
The whole secret to expanding a landscape lighting system is refusing to guess. Find the transformer's rating, take 80% of it, subtract what you already run, and let that headroom number — not the sales display — decide how many fixtures come home. That's how you add lights to existing landscape lighting and end up with a yard that glows evenly from the first path light to the last oak spotlight, instead of a bright porch and a fading tail. Start with the ten-minute audit this weekend; I think you'll be pleasantly surprised how much room you've already got. And once the new zones are glowing, browse the rest of my outdoor lighting ideas here for what to dream up next — that dark corner by the gate has potential, I promise.