Here's the scene I see over and over: a homeowner buys beautiful fixtures, buries the cable in one long line on a Saturday, flips the switch at dusk — and the lights near the transformer glow warm and bright while the ones at the far end of the yard look sad, dim, and slightly orange. Nine times out of ten, nothing is wrong with the fixtures. The problem is the wiring layout. Of all the landscape lighting wiring methods you can choose, each one delivers power to your fixtures differently, and that difference decides whether your whole yard lights evenly or fades out like a sunset. In this guide I'll walk you through the four methods I actually use — daisy chain, hub, T, and loop — with honest pros, cons, costs, and the exact situations where each one shines. By the end, you'll know which layout your yard needs before you dig a single inch of trench.

The Short Answer
For most yards, I recommend the hub method for flower beds and fixture clusters, and the loop method for long path runs — both keep voltage nearly equal at every fixture, so brightness stays even. The daisy chain is fine for short runs of six fixtures or fewer within about 50 feet of the transformer. The T method is my go-to when one cable run needs to split and serve two directions, like a walkway with a bed on each side. Whichever you choose, use 12-gauge cable for runs over 100 feet, keep total wattage under 80% of your transformer's rating, and your lights will glow the way the box promised.
Why Landscape Lighting Wiring Methods Matter More Than Your Fixtures
I always tell readers the same thing: fixtures are the jewelry, but wiring is the plumbing. Nobody admires it, yet everything depends on it. Low-voltage systems run on just 12 volts, and that low starting voltage is exactly why layout matters so much more here than with household wiring. When electricity travels down a cable, the wire itself resists the flow and steals a little voltage with every foot — electricians call the loss voltage drop. Lose two or three volts on a 120-volt circuit and you'd never notice. Lose two or three volts on a 12-volt system and a fixture that should read 11 volts is sipping 9, which means visibly dimmer, warmer-toned light.
That's why two neighbors can install the identical fixtures and get completely different results. One wired a thoughtful layout with short, balanced runs; the other strung everything on one endless line. The good news? You don't need an engineering degree to get this right. You need to understand one simple idea — shorter, more balanced cable paths mean more even light — and then pick the layout that gives your yard those paths. The next section gives you the tiny bit of voltage math that makes every method below make sense.
The 30-Second Voltage Lesson: Why End-of-Run Lights Go Dim
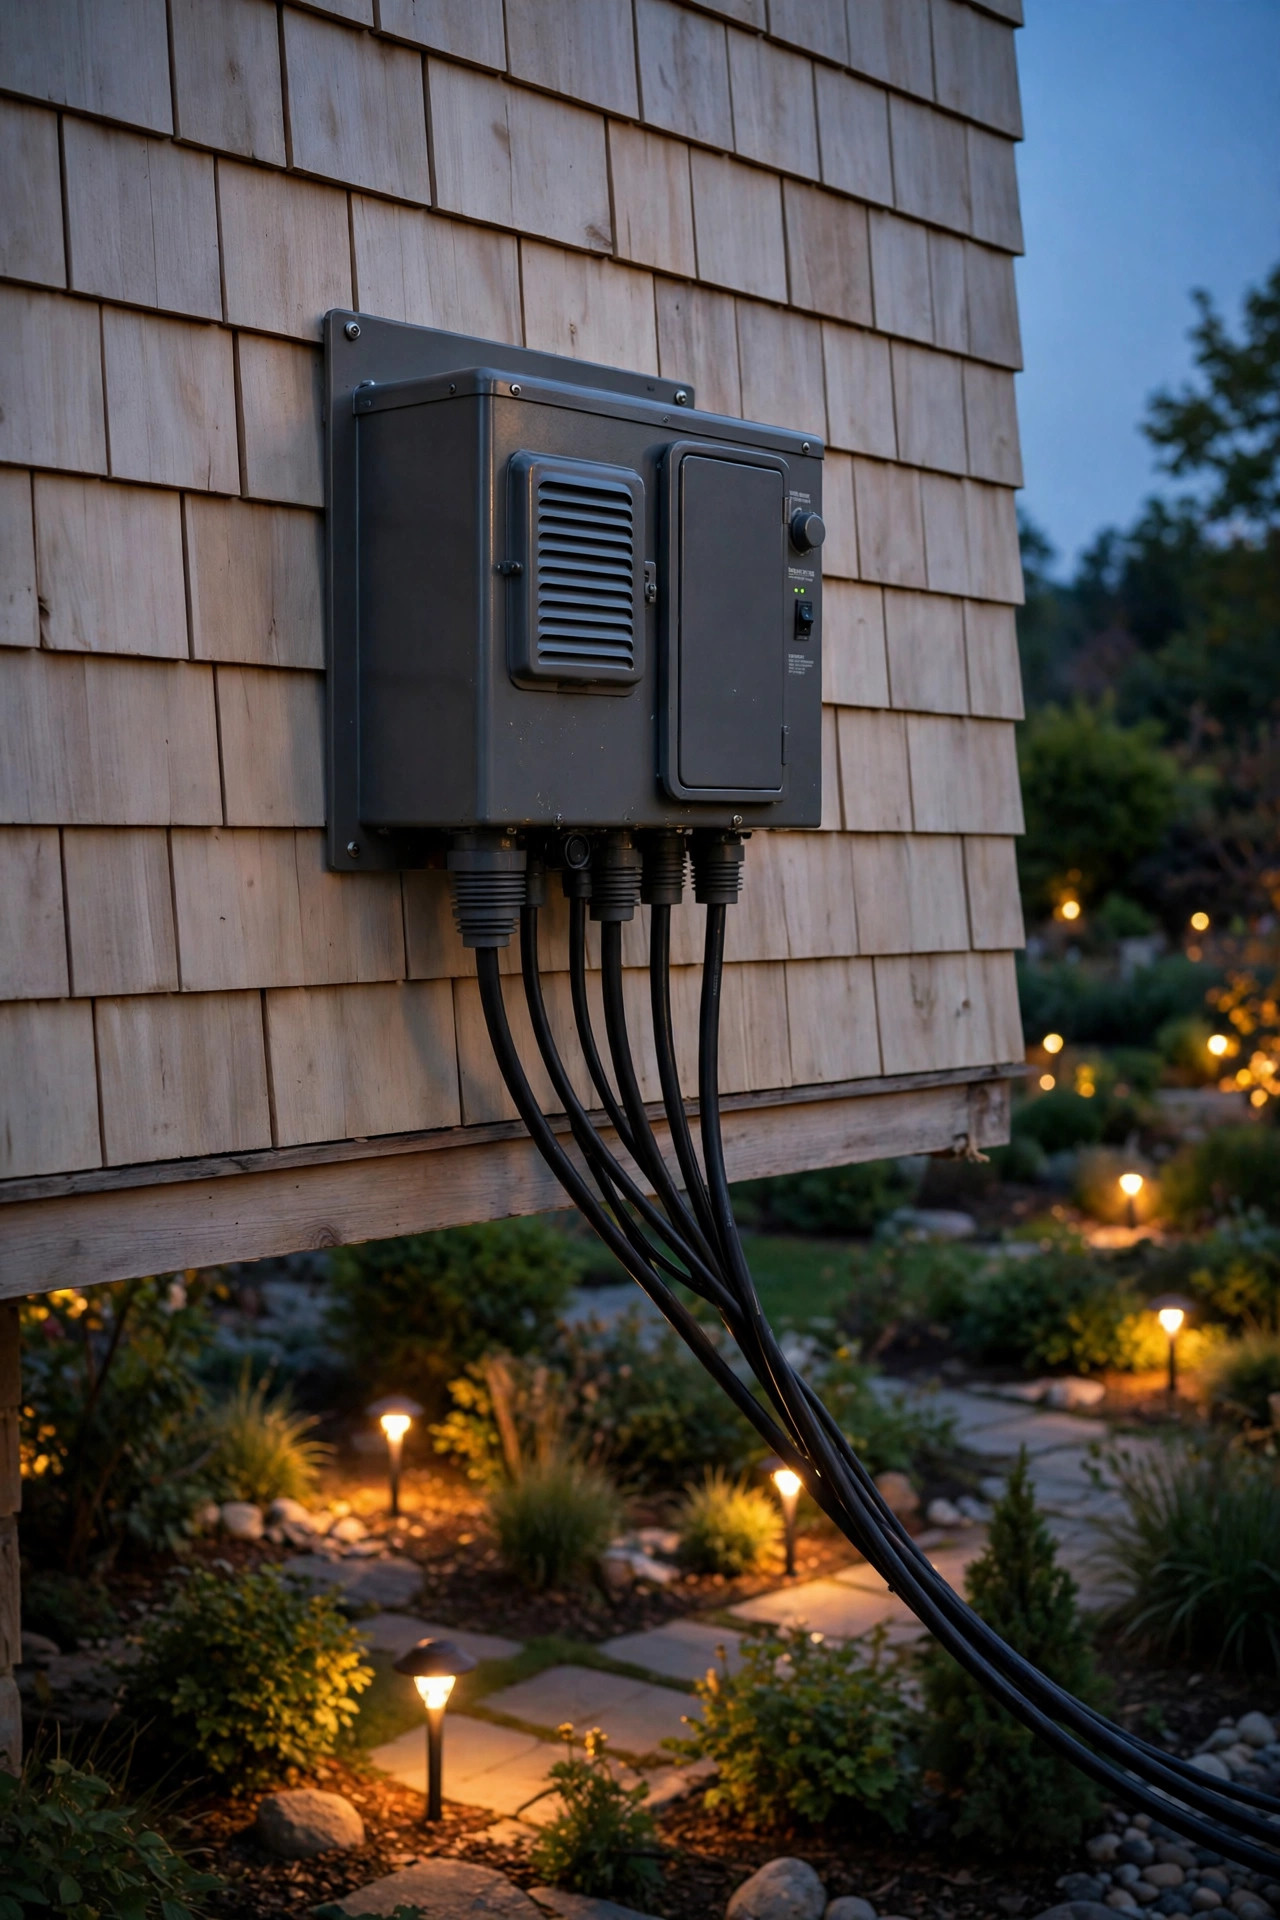
Here's the only math lesson in this whole guide, I promise. Your transformer takes 120-volt household power and steps it down to 12 volts (some models offer 13, 14, or 15-volt taps — more on those in a minute). Fixtures are happiest receiving between about 10.5 and 12 volts. Below 10.5, LEDs dim noticeably and halogen bulbs turn amber and weak.
Three things increase voltage drop: longer cable, thinner cable, and more watts riding on that cable. Every fixture on a run adds its wattage to everything downstream of it, which is why the first fixture in a long line looks great — it only "carries" its own load past itself — while the last fixture suffers the accumulated loss of the whole run. A 100-foot run of 16-gauge cable feeding ten 5-watt fixtures can easily drop 3 volts or more by the end. Swap to 12-gauge and that same run might lose just over 1 volt.
Multi-tap transformers are your secret weapon: feeding a long run from the 14 or 15-volt tap lets it land in the happy zone at the far end instead of starting there. But taps are a bandage, not a cure. Layout is the cure, and that's what the four methods are really about — arranging your cable so no fixture is ever the neglected last one in line.

Method 1: The Daisy Chain (Straight Run)
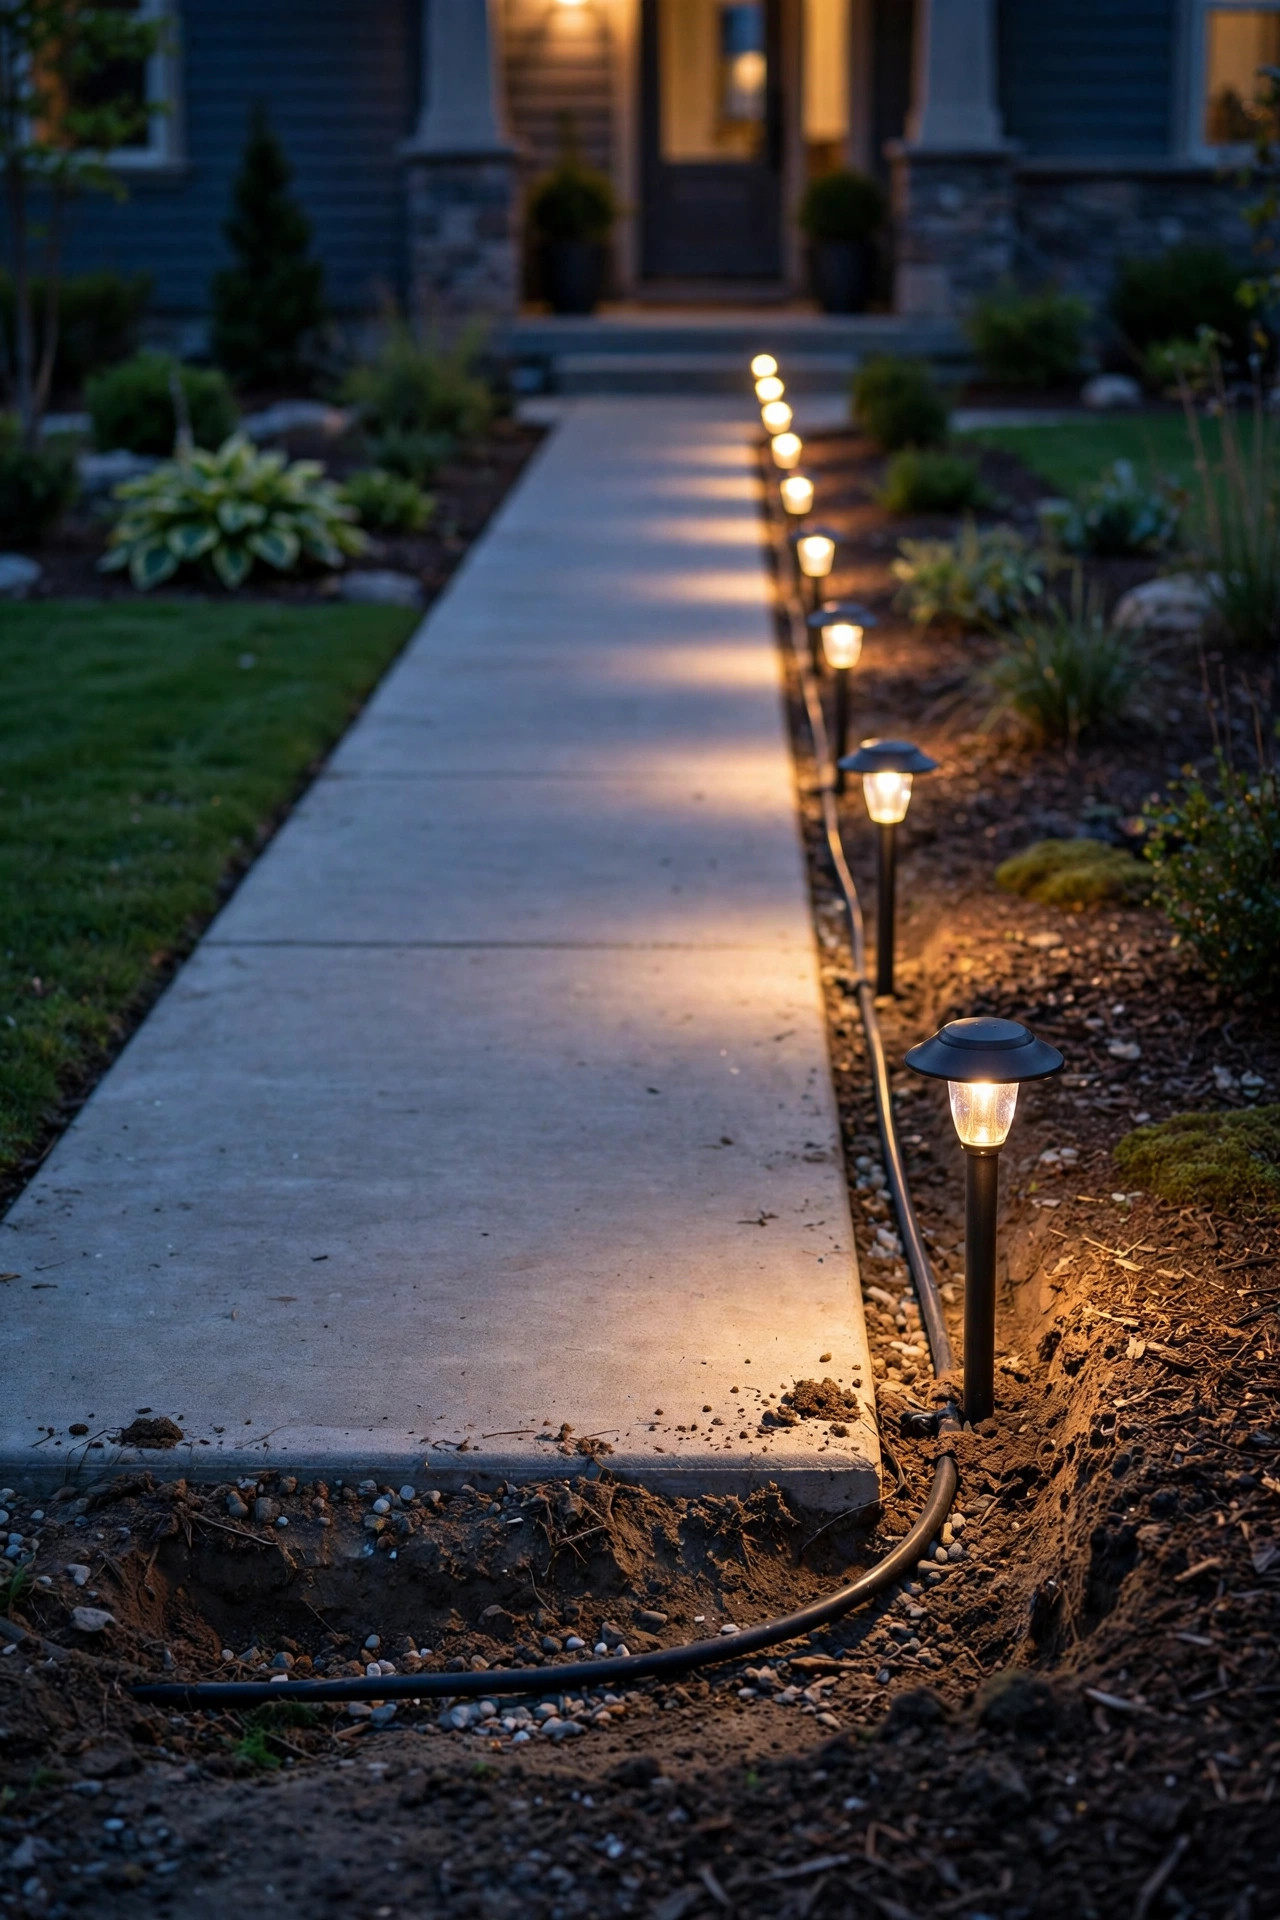
The daisy chain is what almost everyone pictures: one cable leaves the transformer, and fixtures tap in one after another along a single line, like beads on a string. It's the simplest method to understand, uses the least cable, and for small jobs it's genuinely the right answer. I use it for short, simple runs — a line of four or five path lights along a front walk, say — and it performs beautifully there.
Its weakness is baked into the design. Every fixture downstream receives less voltage than the one before it, because the cable feeding it is carrying the whole run's load. Keep a daisy chain to roughly 50–75 feet with modest wattage on 12-gauge cable and the fade is barely visible. Stretch it to 150 feet with a dozen fixtures and the gradient becomes obvious, especially with halogen. LEDs are more forgiving — many are rated to run from 9 to 15 volts — but even they dim at the tail end of an overloaded chain.
Best for: short, straight runs of 6 or fewer fixtures, close to the transformer.
Watch out for: the dim tail. If your last fixture matters visually, don't daisy-chain to it.
Typical cost feel: lowest — least cable, fewest connections, fastest to install.
Method 2: The Hub Method (Home Runs)
The hub method is the one I recommend most, and it's the layout most professional installers reach for in beds and clustered areas. Instead of one long line, you place a central junction point — a hub — in the middle of a group of fixtures. A heavier main cable runs from the transformer to the hub, and then each fixture gets its own shorter, roughly equal-length cable from the hub. Think of a bicycle wheel: one strong rim cable in, equal spokes out.
Because every spoke is about the same length and carries only one fixture's load, every fixture receives nearly identical voltage. The result is the most even brightness of any method, plus a hidden bonus: troubleshooting is a dream. If one light goes out, you check one spoke. Adding a fixture later just means adding a spoke, and you can cap how many fixtures share a hub so future-you has room to grow.
The trade-offs are real but manageable: you'll use more cable, you'll need a quality hub or junction box (roughly $15–$40), and you should keep spokes under about 25 feet each for the math to stay pretty. For a cluster of spotlights around trees or a bed of path lights, nothing beats it.
Best for: fixture clusters — beds, tree groupings, entry groupings — and anyone who values even brightness.
Watch out for: total wattage on the main feed cable; it carries everything, so size it generously (12-gauge is my default).
Typical cost feel: moderate — more cable and a hub, still very DIY-friendly.

Method 3: The T Method (Split Run)
The T method starts like a daisy chain — one main cable heading out from the transformer — but at a chosen point the run splits into two branches, forming a T. Each branch then daisy-chains its own smaller group of fixtures. It sounds like a small tweak, but it changes the math in your favor: instead of one run carrying ten fixtures' worth of load to the far end, the load splits, so each branch only drags half the total wattage down its length. Voltage drop drops with it.
I reach for the T constantly in real yards. A front walk with a bed on each side? Run the main cable down the middle and split. A driveway with lighting on both edges? Same answer. The T is also a natural fit when the transformer sits in the middle of the yard's lighting zones rather than at one end.
To make it behave, balance the branches — similar fixture counts, similar wattage, similar lengths on each side — and put the split as close to the heavier group as the yard allows. An unbalanced T (nine fixtures left, two right) is really just a daisy chain with a side twig. Balanced, it's one of the most cable-efficient ways to get near-hub performance.
Best for: runs that naturally divide in two — both sides of a walk, driveway, or path.
Watch out for: branch balance, and put your watertight splice at the split where you can find it again.
Typical cost feel: low to moderate — barely more cable than a daisy chain.

Method 4: The Loop Method
The loop is the quiet overachiever of the four. You run cable out along your fixtures exactly like a daisy chain — but instead of ending at the last fixture, you bring the cable all the way back to the transformer (or back to the start of the run) and connect both ends. Every fixture is now fed from both sides, and the voltage at the "worst" point in the middle of the loop stays remarkably high because power flows in from two directions.
In practice, a well-built loop delivers brightness nearly as even as a hub setup, which surprises people. It's my favorite for long, gentle curves: a winding garden path, a driveway border, a row of fixtures along a fence line that naturally returns toward the house. The catch is obvious — you're buying and burying roughly double the cable of a daisy chain for the same fixtures — and you must be careful to connect the returning end with correct polarity (with low-voltage AC it's simply both wires to the same two terminals; just keep the pairing consistent).
Best for: long runs and curved layouts where fixtures form a natural circuit back toward the transformer.
Watch out for: cable budget — the loop home doubles your footage.
Typical cost feel: moderate — more cable, zero extra hardware.

Landscape Lighting Wiring Methods Compared Side by Side
If your eyes glaze over with four descriptions, this table is the whole guide on one napkin:
| Method | Evenness of brightness | Cable used | Difficulty | Best for |
|---|---|---|---|---|
| Daisy chain | Fair — fades at the end | Least | Easiest | Short runs, 6 or fewer fixtures |
| Hub | Excellent — every fixture equal | Moderate | Easy–moderate | Clusters, beds, tree groups |
| T (split run) | Good — if branches are balanced | Low–moderate | Easy | Runs dividing in two directions |
| Loop | Excellent — fed from both ends | Most (about double) | Easy | Long or curved runs |
Two patterns jump out. First, evenness is bought with cable: every method that fixes the dim-tail problem does it by shortening the effective distance power travels to each fixture. Second, none of these is "advanced." All four use the same two-wire cable, the same connectors, the same transformer. The only real difference is the shape you draw on your yard before you dig — which means the smartest money in a lighting project is spent with a tape measure and a sketch, not on pricier fixtures.

How to Choose: My Honest Verdict
After years of laying cable in my own yard and helping friends with theirs, here's how I'd decide. Count your fixtures and look at your yard's shape. Six or fewer fixtures in one straight line near the house? Daisy chain it on 12-gauge cable and spend the savings on nicer fixtures. A cluster — three spotlights on trees plus path lights through a bed? Hub, no contest; the even glow is worth every extra foot of cable. A layout that splits naturally into two wings? The T was made for you. A long, curving run of eight or more fixtures? Loop it and enjoy hub-level evenness with zero extra hardware.
One more honest note: these methods mix beautifully. My own front yard is a hub feeding the entry bed, a T splitting down the walk, and a short daisy chain along the side fence — all off one transformer. Hybrid systems are normal, not cheating. And if you're still deciding between a wired system and going solar for some zones, my comparison of solar vs wired landscape lighting lays out where each one honestly wins.
Wire Gauge, Burial Depth and Connections: Rules for Every Method
Whichever layout you draw, these basics apply everywhere. Gauge: cable thickness is measured in AWG, and the smaller the number, the thicker the wire and the less voltage it loses. My rule of thumb: 16-gauge only for short, light runs under 50 feet; 14-gauge for medium runs; 12-gauge as the default for main feeds, hubs, and anything over 100 feet or 100 watts. Going one gauge thicker than the calculator says is the cheapest brightness insurance there is — it costs pennies a foot.
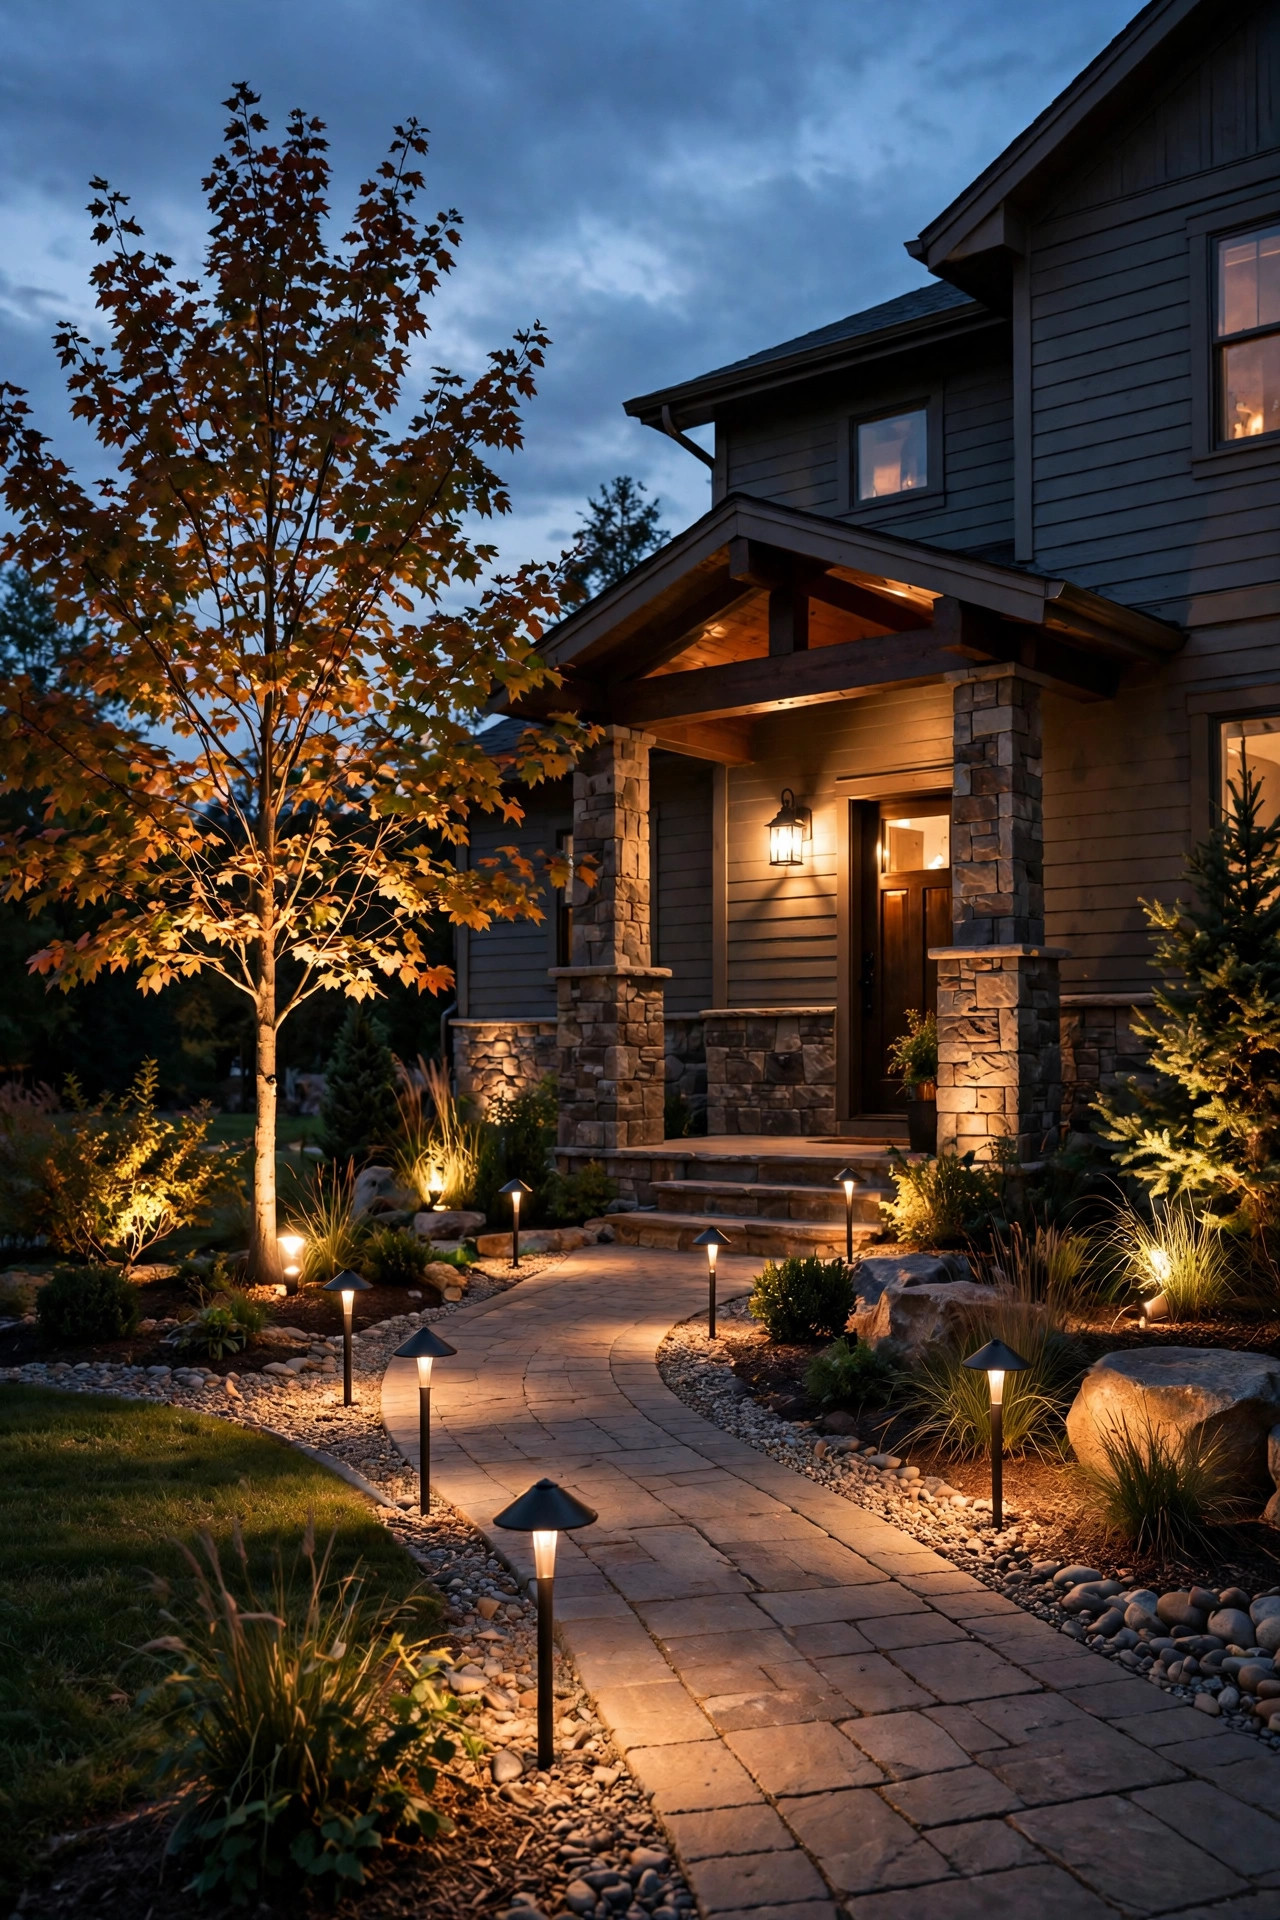
Burial: low-voltage cable doesn't need the deep trench that line-voltage wiring does. The common guidance is about 6 inches deep — enough to keep it safe from aerators and edging tools — or simply tucked under mulch in planting beds where nobody digs. Run it in a shallow slit trench across lawn, and sleeve it in conduit where it crosses under driveways or paths. My guide to hiding landscape lighting wires covers the neat-freak details if exposed cable drives you crazy like it does me.
Connections: skip the little pierce-point connectors that come free in fixture boxes for anything permanent. Use grease-filled wire nuts or brass lugs inside watertight connectors, bury splices where you can find them again, and draw every splice on your sketch. And the safety basics never change: plug the transformer into a GFCI outlet, keep it at least a foot above ground, and never work on connections with the system powered.

Step-by-Step: Laying Out Your Runs Before You Dig
The layout hour is where even brightness is won or lost, so don't skip it. Here's my exact process:
1. Sketch the yard. Mark the transformer location (near a GFCI outlet), every fixture, and the natural groupings. This drawing decides your methods.
2. Add up watts per group. Multiply fixture wattage by count for each cluster and run. Keep every transformer at or below 80% of its rated watts — a 200-watt transformer should carry no more than about 160 watts.
3. Assign a method per group. Clusters get hubs, splits get Ts, long curves get loops, short straights get daisy chains.
4. Measure real distances with a tape or measuring wheel along the actual cable path, not straight lines. Add 10% slack.
5. Choose gauge per run using your longest distance and total watts — when in doubt, go thicker.
6. Lay it on top first. Before burying anything, run the cable on the surface, connect everything, and wait for dark. Walk the yard. This is when you find the dim fixture, the glare bomb, the tree that needs one more spotlight.
7. Adjust, then bury. Swap a layout, move a fixture, re-tap the transformer — all easy above ground. Then bury, photograph the cable paths for your records, and keep the sketch with the transformer manual.

What It Costs in 2026
The wiring itself is the bargain part of landscape lighting. Low-voltage cable runs roughly $0.30–$0.60 per foot for 16 and 14-gauge, and $0.60–$1.00 per foot for 12-gauge bought on 100–250-foot spools. A quality hub or junction box adds $15–$40 per cluster, watertight connectors run $1–$3 each, and a solid multi-tap transformer lands between $120 and $300 depending on wattage and smart features.
Put in method terms for a typical 10-fixture front yard: a daisy chain might use 120 feet of cable (roughly $75–$120 in wiring supplies), a T layout about 150 feet ($90–$150), a hub setup around 180 feet plus hubs ($130–$200), and a full loop close to 240 feet ($150–$240). Notice what's happening: the most expensive wiring plan costs maybe $120 more than the cheapest — a small premium next to the price of ten fixtures, and it buys you the even glow that makes the whole project look professional. For the full project picture including fixtures and labor, my breakdown of landscape lighting costs in 2026 has the complete numbers.

5 Mistakes That Ruin Any Wiring Method
1. One endless run for the whole yard. Twenty fixtures on a single daisy chain is the classic dim-tail disaster. Break the yard into zones and runs.
2. Loading the transformer past 80%. An overloaded transformer runs hot, shortens its own life, and sags voltage everywhere. Add up your watts honestly — including the fixture you "might add later."
3. Mixing wattages wildly on one run. A 20-watt spotlight and a 2-watt path light on the same chain distort the drop math for everything downstream, because the big fixture's appetite dominates the cable it shares with its delicate neighbors. Group similar fixtures together on their own runs, and if you must mix, put the highest-wattage fixtures closest to the transformer where voltage is strongest.
4. Burying before testing at night. Cable is much easier to move before it's six inches underground. Always do the surface test after dark.
5. Cheap pierce connectors everywhere. They corrode, loosen, and create the flickering, intermittent faults that make people give up on their whole system. Spend the extra few dollars on grease-filled, watertight connections — future you says thanks. Avoid these five, and whichever method you picked will quietly do its job for years.
Frequently Asked Questions
Which wiring method is best for a long driveway?
For a long driveway, I recommend the loop if the cable can naturally return to the transformer, or two balanced T branches — one down each side. Avoid a single daisy chain past about 100 feet: by the far end, voltage drop can exceed 2–3 volts, and the last fixtures will glow noticeably dimmer and warmer than the first ones.
Can I mix wiring methods on one transformer?
Absolutely — most real yards do. Each home run from the transformer is independent, so you can put a hub layout on one run, a T on another, and a short daisy chain on a third. Just respect the total wattage (under 80% of the transformer's rating) and use the right voltage tap for each run's length.
What gauge wire should I use for landscape lighting?
Use 12-gauge for main feeds, hub feeds, and any run over 100 feet or carrying over 100 watts. Fourteen-gauge handles medium runs up to about 100 feet with modest loads, and 16-gauge is only for short, light-duty runs. When the math is borderline, going one gauge thicker costs little and protects your brightness.
Why are the lights at the end of my run dimmer?
That's voltage drop: the cable resists the current flowing through it, and every fixture on the run adds load, so voltage falls steadily toward the end. Fixes include shortening the run, switching to thicker cable, splitting the run with a T or hub, converting it to a loop, or feeding it from a higher transformer tap (14 or 15 volts) if your transformer offers one.
Conclusion
The fixtures get the compliments, but the wiring decides whether they deserve them. Pick the layout that keeps every fixture's cable path short and balanced — a hub for clusters, a loop for long curves, a T for two-direction splits, and a daisy chain only where the run is short and simple — and your landscape lighting wiring methods will reward you with that even, professional glow from the first fixture to the last. Sketch it, test it on the surface after dark, then bury it with confidence. Ready for more? Browse the rest of my lighting guides and ideas here on the site, and start planning your yard's after-dark transformation.