Every spring, the same thing happens on my street: the solar path lights that glowed so proudly last June are now putting out a sad little flicker by 9 p.m. If you're searching for how to make solar lights brighter, I promise you — the answer is rarely "buy new ones." In my experience, a dim solar light is almost always suffering from one of three fixable problems: a dirty panel that can't collect a full day of sunshine, a tired rechargeable battery that can't hold the charge it does collect, or placement that's quietly stealing hours of sun. None of those need an electrician, and most don't even need a purchase. In this guide I'll walk you through the exact order I use on my own lights — the free cleaning and reset steps first, then the battery swaps and placement fixes, and finally the honest specs that matter when a light truly has given up. By the end, you'll know how to get yours shining at full strength again, and how to keep them glowing well past midnight even in the short days of December.
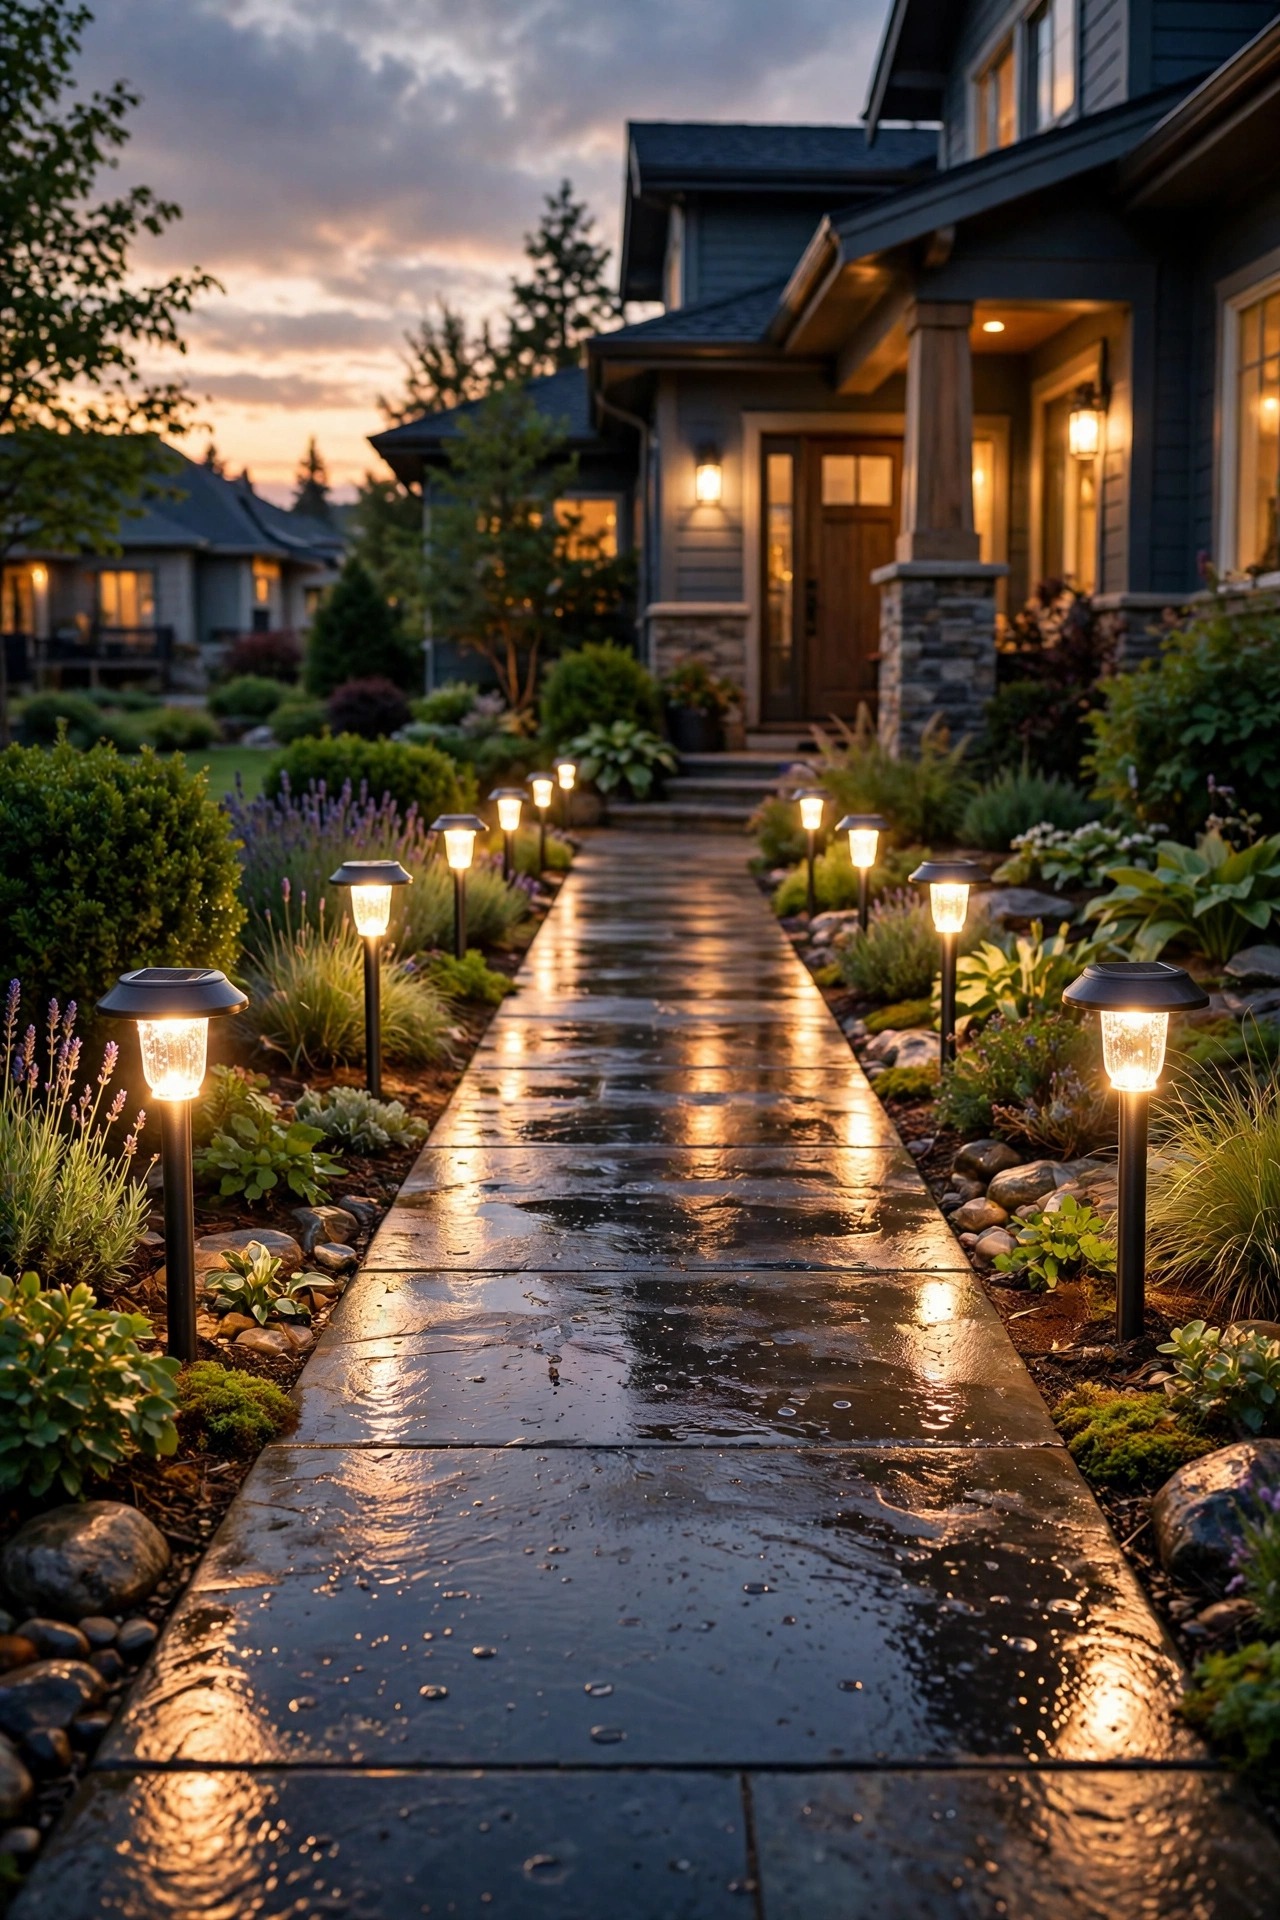
The Short Answer
Brightness is just stored sunshine, so every fix comes down to collecting more of it or wasting less of it. Start by cleaning the solar panel and lens with a damp cloth — that alone restores a surprising amount of light. Then switch each light off for two or three sunny days so the battery can take one deep, full charge. Still dim? Replace the rechargeable battery with a fresh NiMH cell of the same size and voltage; that's the cure in most cases. Finally, check placement: lights need six to eight hours of direct sun and a sensor that isn't fooled by your porch light.
Why Solar Lights Go Dim: The Panel, Battery and LED Chain
A solar light is a simple three-link chain. The little panel on top collects sunlight and turns it into electricity, the rechargeable battery stores that electricity through the afternoon, and at dusk the LED spends it as light. When a light gets dim or dies early, one of those links is weak — and it's almost never the LED. LEDs last for years and years. The panel is usually the first suspect: it lives outdoors in all weather, so dust, pollen, water spots and a hazy film of oxidation build up on its surface and quietly cut the amount of energy it can collect. The battery is the second suspect, and honestly the most common one. A rechargeable cell only survives so many charge-and-drain cycles — typically a year or two of nightly use — before it starts holding less and less. The symptom pattern tells you which link is failing. A light that's dim from the moment it turns on usually has a charging problem (panel or placement). A light that starts bright and fades by 10 p.m. has a storage problem (the battery). Keep that distinction in mind, because it tells you exactly where to start. Once you know which link is weak, the fix is usually five minutes and pocket change — and the steps below follow that exact diagnosis order.
Step 1: How to Make Solar Lights Brighter for Free — Clean the Panel and Lens
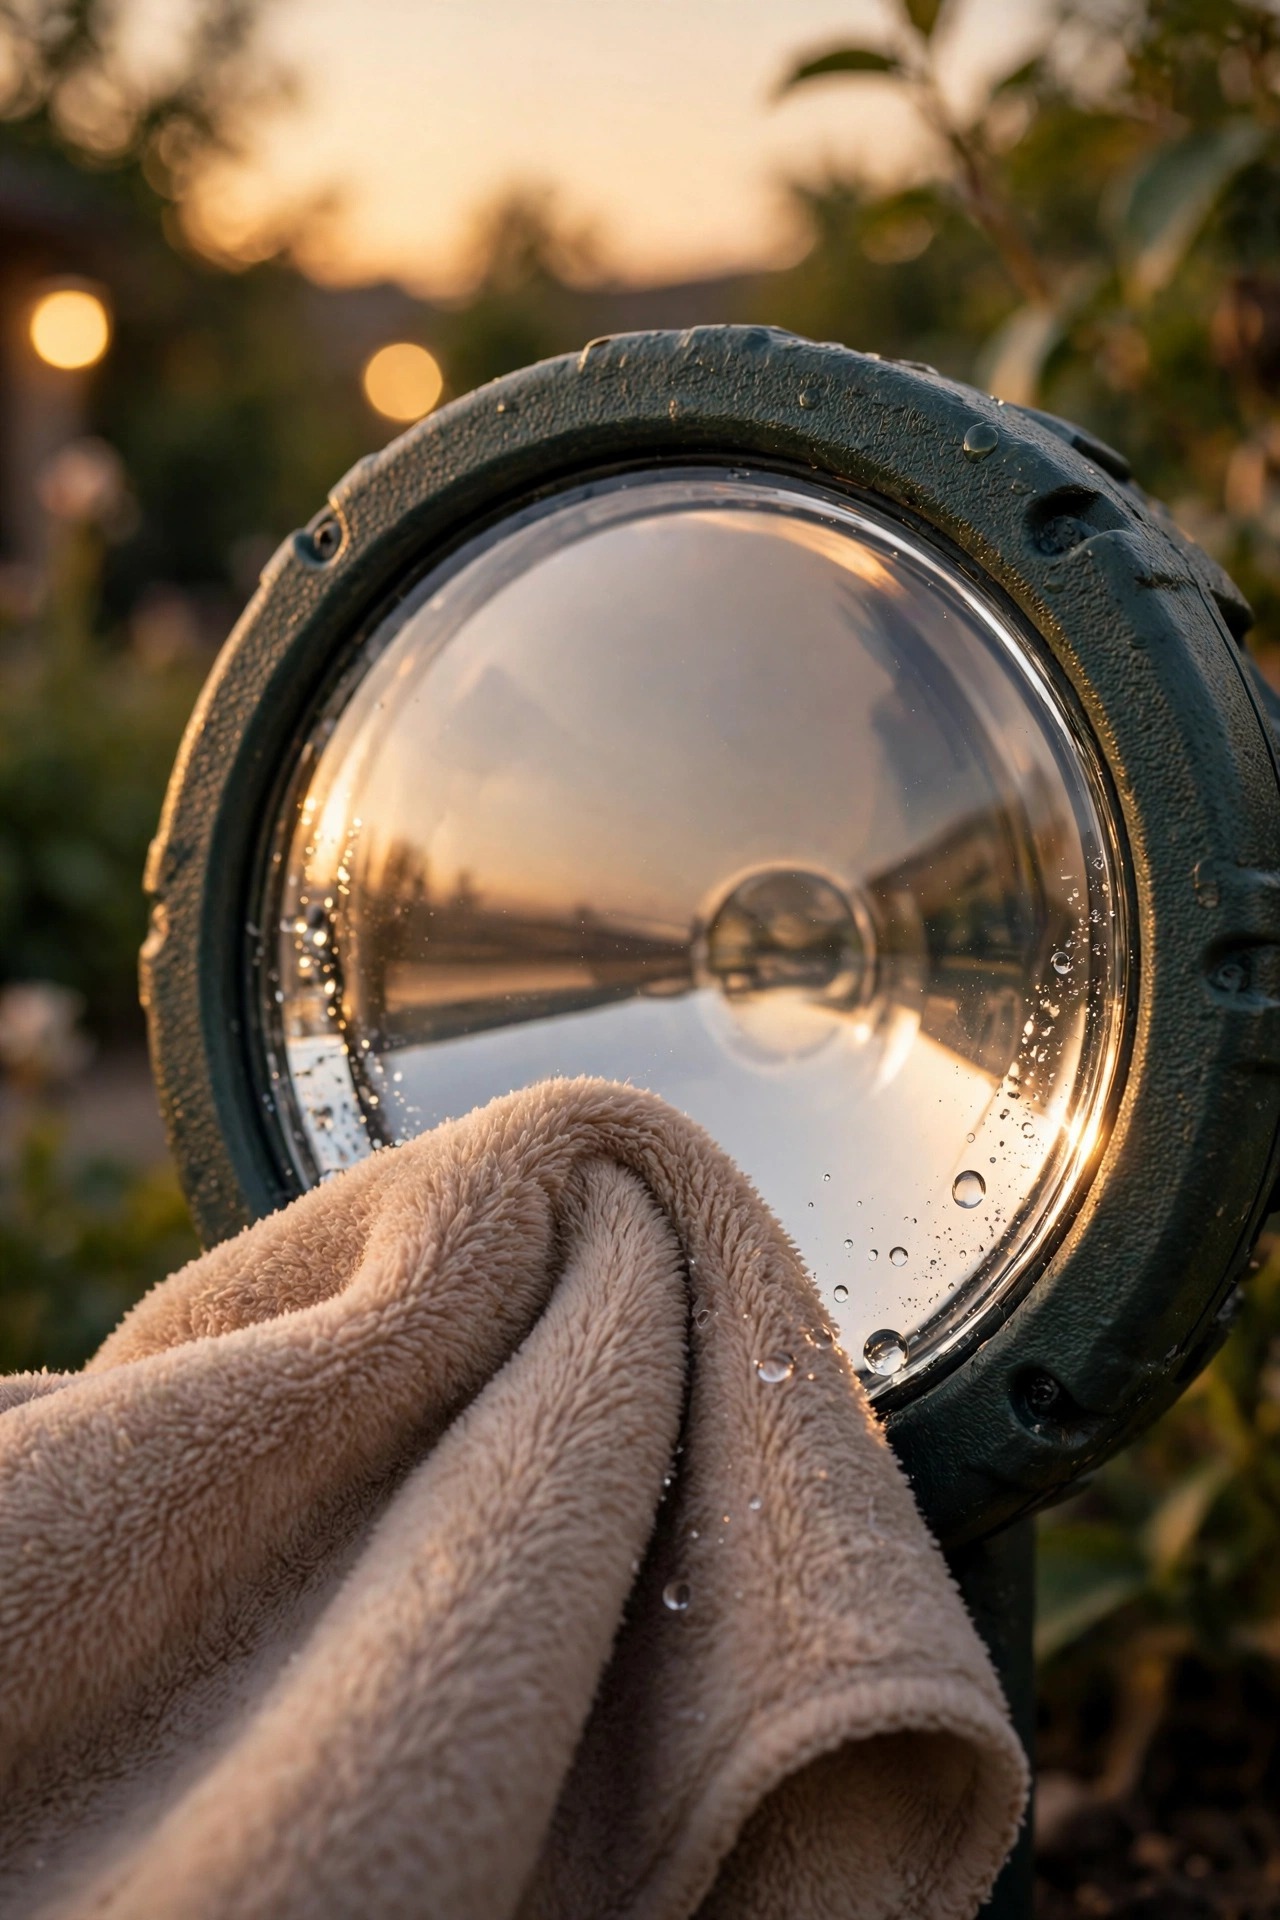
Before you spend a single dollar, clean. I know it sounds too simple, but a panel coated in pollen film and road dust is like a window with the blinds half closed — the light simply can't get in. Take a soft cloth or paper towel, dampen it with plain water, and wipe the whole top surface of each light until it squeaks. For stubborn water spots, a drop of mild dish soap helps. Then do the same for the clear lens or cover over the LED itself, because a cloudy lens traps light that's already been made. While you're there, check for the sneakiest culprit of all: the thin protective plastic film that ships on many new panels. I've seen lights struggle for an entire season because nobody peeled it off. Avoid anything abrasive — no scouring pads, no powdered cleansers — because fine scratches in the panel surface scatter light and make the problem permanent. Work light by light down the row, and I think you'll be genuinely surprised at the difference that evening. On my own front path, a ten-minute cleaning session is usually worth more than any gadget you can buy. Make it a monthly habit in pollen season and a seasonal one the rest of the year.

Step 2: Give Them a Full "Off" Charge Cycle
Here's the trick that rescues more lights than anything else I know, and it costs nothing but patience. Find the little switch on the underside or inside the cap of each light and turn it off — then leave the lights sitting in the sun, switched off, for two to three full sunny days. Here's why it works: a tired battery that gets drained to empty every single night never gets the chance to fully recharge during the day, so it limps along in a shallow-charge rut, dimmer and dimmer. Turning the light off removes the nightly drain, so the panel can push the battery all the way back to a genuine full charge, sometimes for the first time in months. Batteries genuinely do recover a good share of their capacity after one or two of these deep cycles. This is also exactly what you should do with brand-new lights before their first night — most arrive with a half-flat battery from the warehouse shelf, which is why so many people conclude their new lights are junk on night one. Make the off-charge a ritual at the start of spring and again in early fall, and you'll stretch the useful life of every battery you own.

Step 3: How to Make Solar Lights Brighter With a Fresh Battery
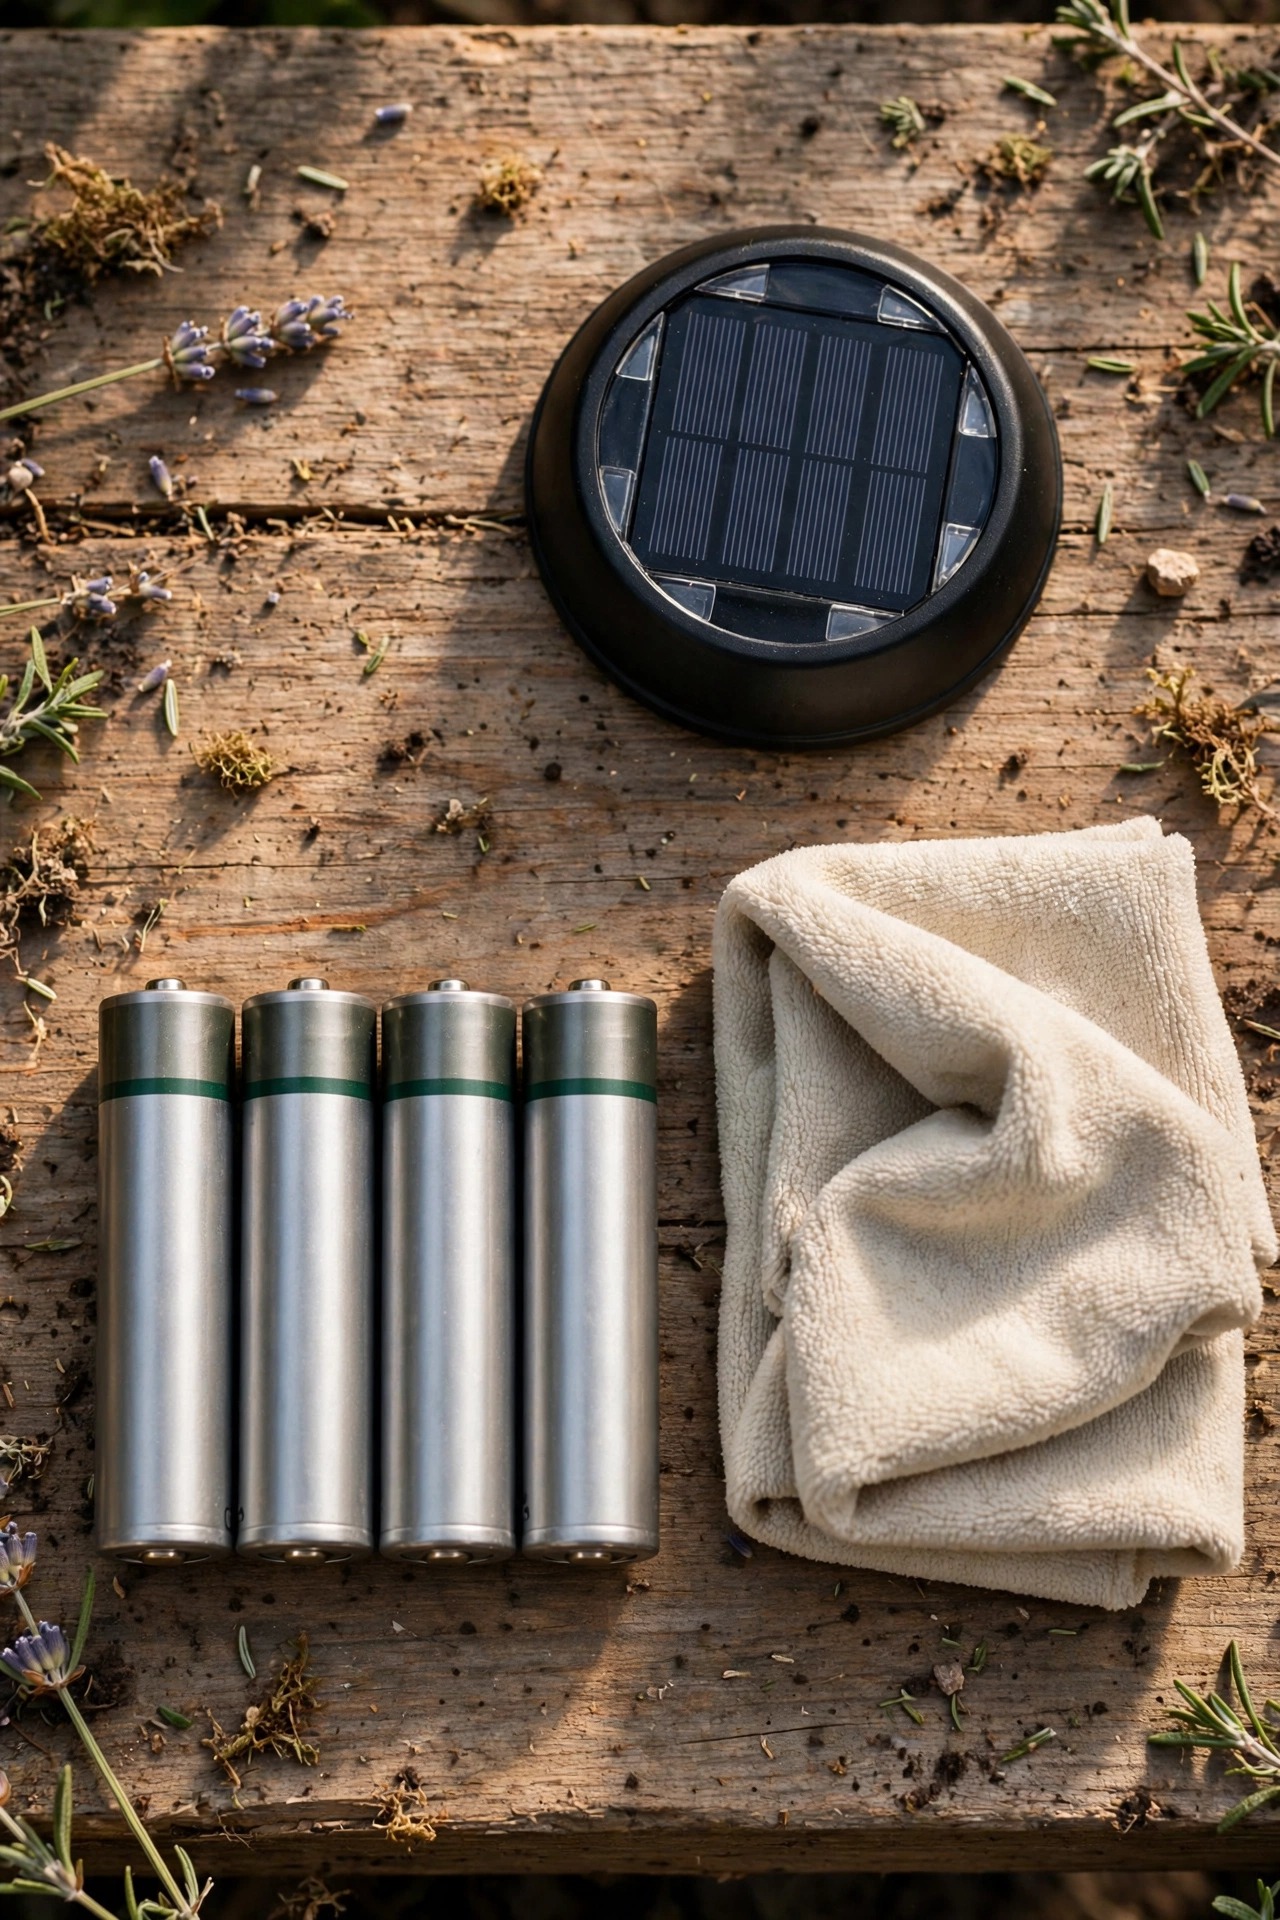
If cleaning and a deep charge didn't do it, the battery has reached the end of its life, and honestly? That's good news, because it's a five-minute, few-dollar fix. Twist or unscrew the cap and you'll usually find a single AA or AAA rechargeable cell. Here's what matters when you replace it. First, it must be a rechargeable battery — nearly all solar lights use nickel-metal hydride (NiMH) cells rated at 1.2 volts. Never drop in a regular alkaline battery: it's not designed to be recharged, and it can leak and corrode the contacts. Second, match the size and voltage exactly. Third, don't obsess over the biggest capacity number on the shelf. Capacity is measured in milliamp-hours (mAh), and while a higher number stores more energy, a small panel can only push so much charge in a day — a huge cell in a tiny light may never actually fill. A mid-range capacity close to the original is the sweet spot. I replace mine every year to eighteen months, and I write the date on the new cell with a marker so I stop guessing. If your lights use sealed, non-replaceable batteries, that settles the repair question — those fixtures are disposable by design, which is worth remembering when you shop for their replacements.

Step 4: Fix the Placement — Sun Hours and Shade Creep
Sometimes the light is fine and the yard is the problem. A solar fixture needs six to eight hours of direct, unfiltered sun to charge fully, and "direct" is the word people miss. A spot that feels bright to your eyes can be in dappled shade for most of the day, and dappled shade charges a panel at a fraction of full sun. The bigger issue is what I call shade creep: the shrub that was knee-high when you installed the lights is now a leafy umbrella over them, or the maple that's bare in April is a full canopy by July. Walk your yard at 10 a.m., noon and 3 p.m. and actually look at where the shadows fall. Then check the other placement trap — the light sensor. Every solar light has a small photocell that tells it when darkness falls. If your porch light, a streetlight or a neighbor's floodlight shines on that sensor all night, the light thinks it's still daytime and either stays off or runs at a confused half-glow. Moving a fixture two feet sideways fixes it more often than you'd believe. When a beloved spot simply doesn't get the sun hours anymore, that's the honest moment to consider solar versus wired landscape lighting for that location, and save solar for the sunny beds where it shines.
Step 5: Angle and Aim — Panels Toward the Sun, Light Toward the Ground
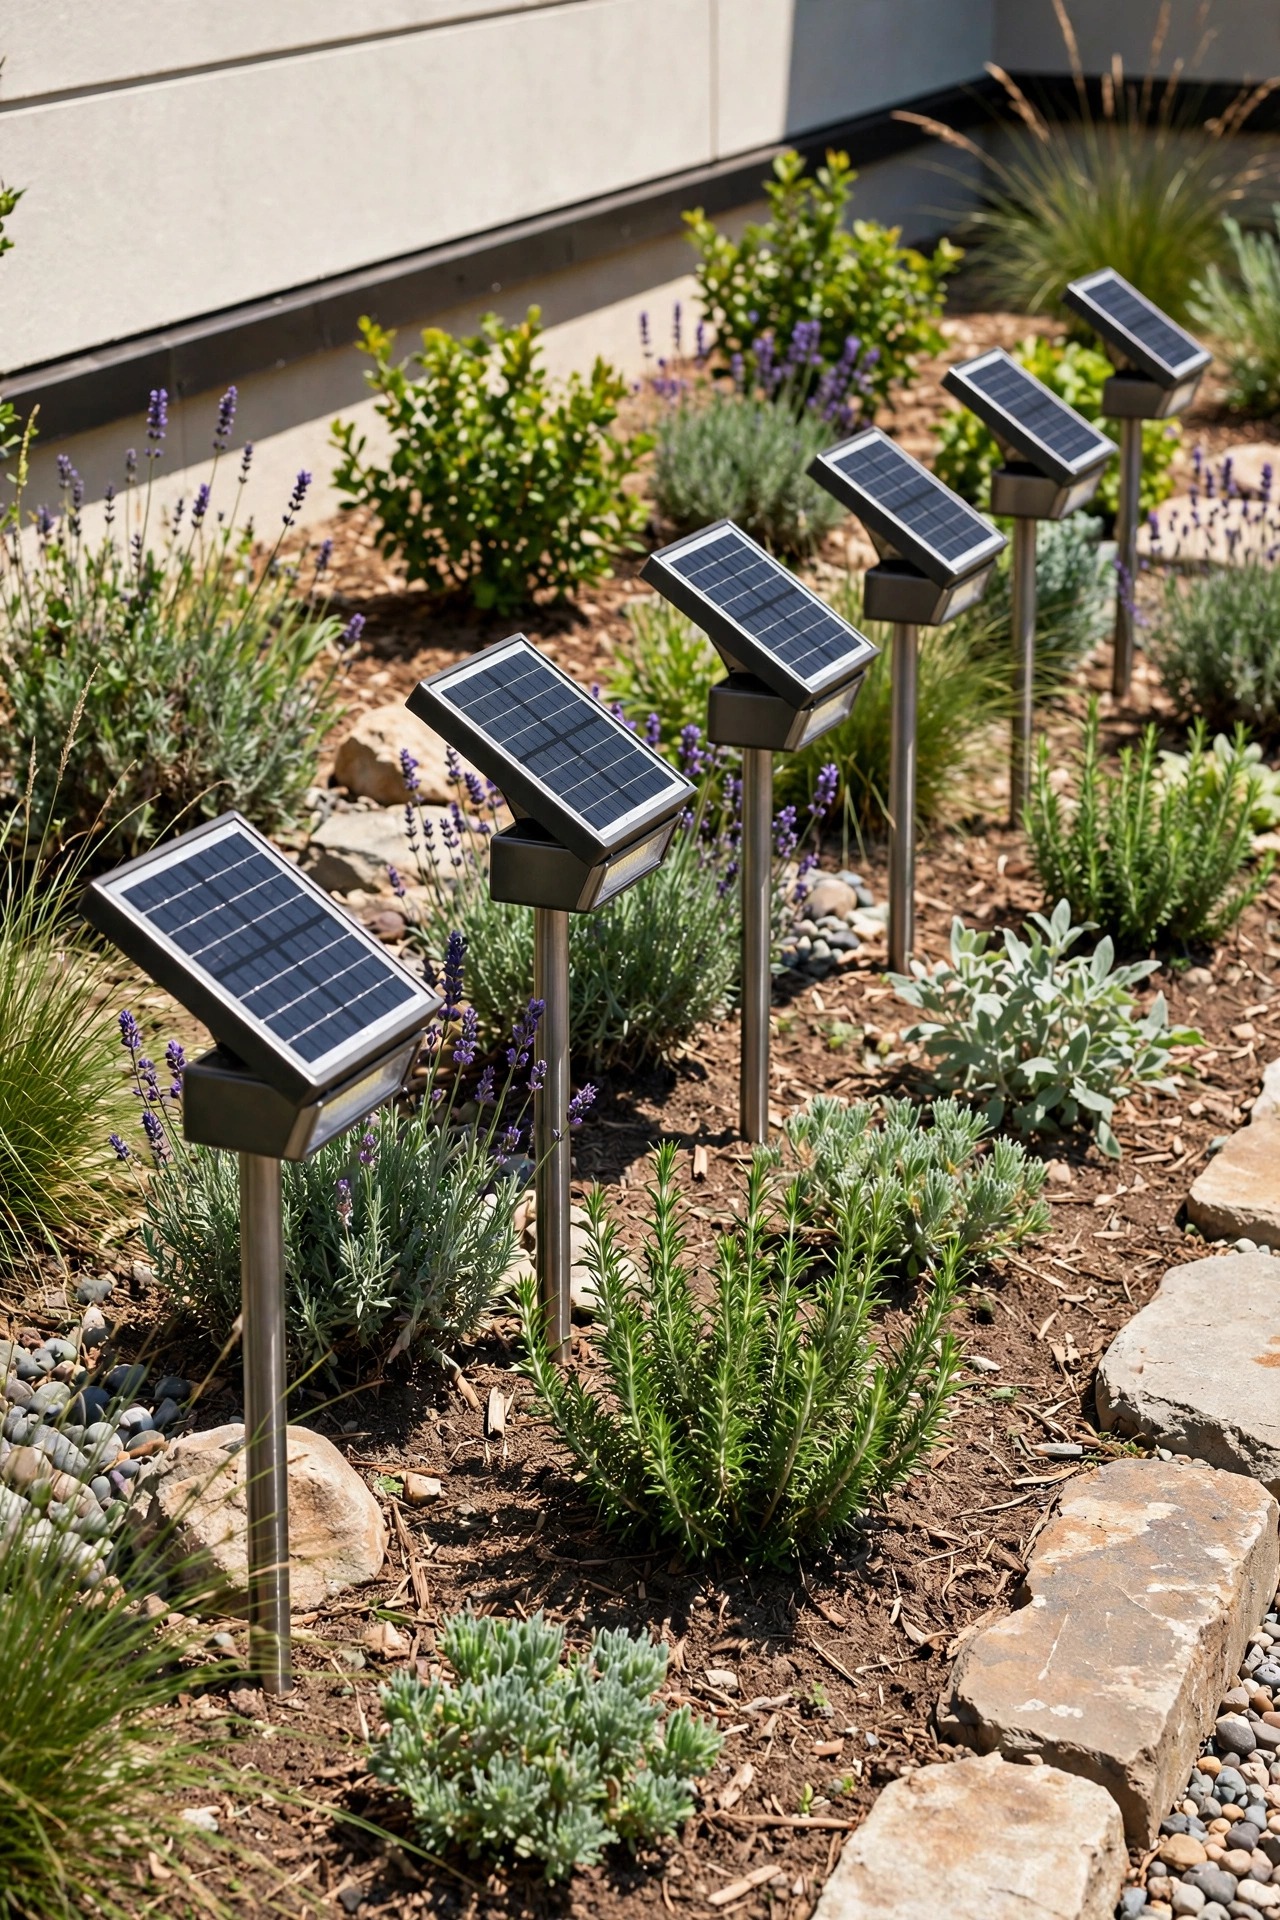
Two quick geometry fixes make a real difference. First, the panel: it collects the most energy when sunlight hits it fairly directly, so a panel lying flat under a low winter sun is working with one hand tied. Many stake lights let you tilt the head slightly, and separate-panel spotlights let you angle the panel properly — aim it toward the midday sun (south, for most of us in the US) and give it a steeper tilt in winter when the sun stays low. After a storm or a bump from the mower, check that panels haven't been knocked face-down or sideways; I've "repaired" several lights just by standing them back up. Second, aim the light itself. A spotlight aimed too high throws its brightness into the sky and onto the tree canopy instead of the trunk or wall you want to see, which makes it look weaker than it is. Bring the beam down and tighten it onto the feature, and the same lumens suddenly look twice as bright. For path lights, make sure the stakes are plumb and the heads sit level — a lens tilted into the mulch wastes half its glow on the dirt. Small angles, big difference, zero dollars.

Step 6: Wipe, Dry and Seal — Maintenance That Keeps Them Bright
Brightness leaks away through neglect, too. A few times a year, give each light a sixty-second checkup. Wipe the lens inside and out — condensation and dust film on the inside of the cover dim the light even when the panel is spotless. If you find moisture beaded inside, open the fixture, let everything dry in the sun for a day, and check the rubber gasket around the cap: a flattened or cracked seal is an open invitation to the next rainstorm. Look at the metal battery contacts while you're in there. A white or green crust on the terminals acts like insulation, choking the flow of power. Rub it off with a pencil eraser or a dry cotton swab and the connection — and the brightness — often comes right back. This little routine pairs naturally with the seasonal once-over in my outdoor lighting maintenance checklist, and it's the difference between lights that fade in year two and lights that are still going strong in year five. Think of it as changing the oil: boring, quick, and the whole reason the thing keeps running. One more small thing: after a heavy rain, give each cap a quick shake and a wipe, because a film of dried droplets on the lens scatters light exactly the way dust does.
Step 7: When It's Time to Upgrade — The Specs That Actually Matter
Eventually a fixture really is done — the panel has gone milky white with sun damage, the battery is sealed inside, or the housing has cracked. When you shop for replacements, ignore the box's promises and read four numbers instead. Lumens tell you actual brightness: a soft path accent needs only 10 to 30, a step light a bit more, and a solar spotlight worth owning should offer 100 or more. Panel size matters even more than the LED — a bigger panel on top (or a separate panel on a cable) collects more charge on short and cloudy days, which is what determines whether the light is still shining at midnight. Look for a removable battery compartment, because you now know the battery is a wear part you'll want to swap in a year or two. And check the weather rating: IP65 or better means the seals can handle real rain, not just a sheltered porch. My detailed solar path lights guide walks through the best shapes and heights for walkways if you're redoing a whole path. Buy fewer, better lights rather than a bargain sack of dim ones — one good fixture outshines three cheap ones, every time.

Step 8: Winter and Short-Day Strategies
Winter is the honest stress test. Between the low sun angle, the short days and the occasional blanket of snow, a light that purred along in July may manage only two or three hours in January — that's physics, not failure, and your strategy should change with the season. Start fall with the full routine: clean every panel, run an off-charge cycle, and swap in fresh batteries, because a battery at half capacity plus a short day equals a very dark December. Brush snow off panels promptly; even a dusting blocks charging completely. Consolidate your best lights into the sunniest spots — the south-facing front bed rather than the shaded side yard — and accept shorter runtimes from the rest. For the lights guarding steps and walkways where you truly need reliability, place them where they'll catch every available hour, even if it means moving them a few feet from their summer home. Some of my neighbors store their purely decorative solar pieces in the garage from December to March and bring them back out for spring, and honestly, that's a perfectly sensible way to spare the batteries a season of pointless deep discharges. A light that ends the night early in January is often perfectly healthy — it just ran out of day.

What It Costs in 2026
The good news: this is one of the cheapest lighting upgrades in your whole yard. The cleaning and off-charge steps cost nothing but a few minutes. A four-pack of quality NiMH AA rechargeable batteries runs about $8 to $14, and one pack refreshes four lights — call it $2 to $3.50 per fixture, once a year or so. If your lights take AAA cells, expect roughly the same. Replacement fixtures span a wide range: basic path-light sets still sell for $20 to $35 for six or eight, but the brighter, longer-running models with larger panels and replaceable batteries run $35 to $60 for a set of four to six, and a genuinely strong solar spotlight costs $20 to $35 each. A tube of clear outdoor sealant for resealing caps is about $6 and lasts for years of repairs. And the running cost of the whole system, forever, is zero dollars — no electricity, no transformer, no timer to program. Compare that with even the modest energy draw of a wired system, and a $15 battery refresh that buys you another two years of light is some of the best money in the garden. Even if you refreshed every light in a typical front yard, you'd likely spend less than one takeout dinner.
5 Mistakes That Keep Solar Lights Dim
After years of troubleshooting my own yard (and half my street's), these are the five mistakes I see again and again. One: leaving the protective shipping film on the panel — peel it off, always. Two: judging a light on its first night, before it has ever had a full charge. Three: putting alkaline batteries in a solar light, which risks leaks and corrosion and never recharges at all. Four: placing lights where a porch light or streetlight hits the sensor, so they never realize it's night. Five: buying replacements by the count in the box instead of by lumens and panel size, which is how a yard ends up full of brand-new lights that are just as dim as the old ones. Notice the pattern? Not one of them is "the lights were too cheap" or "solar just doesn't work." Every single one is a setup or maintenance slip — the kind you fix once and never think about again. Run through this list before you blame the fixtures, and you'll save yourself a return trip to the store and a row of perfectly good lights in the donation bin. Avoid these five, and most "my solar lights are hopeless" stories quietly disappear.
Frequently Asked Questions
Why do my solar lights only stay bright for an hour or two?
Almost always, the battery can't hold a full charge anymore — after a year or two of nightly cycles it stores less and less, so the light starts strong and starves early. Try the off-for-three-days charge cycle first; if the runtime doesn't improve, replace the rechargeable battery. A panel that's dirty or shaded produces the same symptom, so clean and check the sun hours before you buy anything.
Can I put a higher-capacity battery in my solar lights to make them brighter?
You can use a higher mAh rating as long as the size (AA or AAA) and voltage (1.2V NiMH) match — but there's a limit to the benefit. The panel can only deliver so much charge per day, so an oversized cell may never fill completely. It won't make the LED brighter at dusk; at best it extends runtime. A fresh mid-capacity battery usually beats a giant tired one.
Do solar lights charge on cloudy days?
Yes, just more slowly. Panels still collect diffused light through cloud cover, typically gathering a partial charge — enough for a shorter, somewhat dimmer night. Several gray days in a row will drain most lights down noticeably. That's exactly why panel size matters when you buy: bigger panels cope with cloudy weeks far better than tiny ones.
When is it better to replace a solar light than to fix it?
Replace it when the panel itself has gone cloudy or milky (that haze is permanent sun damage), when the housing is cracked and letting water in, or when the battery is sealed inside and can't be swapped. If the panel is clear and the battery is replaceable, a cleaning plus a $3 battery almost always brings it back for a fraction of the cost of a new fixture.
Conclusion
Here's the whole secret, if I can even call it that: knowing how to make solar lights brighter is really about respecting the little chain from panel to battery to LED, and fixing the weakest link first — a free cleaning, a patient deep charge, a fresh battery, a sunnier spot. Work through those steps in order and most "dead" lights turn out to be nothing of the sort. Save your money for the genuine upgrades, the fixtures with big panels and swappable batteries, and your path will be glowing long after the neighbors' have gone dark. If you're planning a bigger refresh, browse the rest of my solar and landscape lighting guides here on the site for ideas worth stealing.