Solar path lights are the easiest win in outdoor lighting. No wiring, no electrician, no digging trenches across your lawn — just stake, click, and let the sun do the rest. So why do so many solar-lit walkways end up looking like a landing strip instead of a garden path?
Honestly? It's almost never the lights themselves. In my experience, it's the solar path lights placement. Most people buy a box of lights, shove them in a neat row on both sides of the walkway, and wonder why the result feels flat and artificial. Getting this right just takes a little planning before you push that first stake into the ground.
In this guide, I'll cover how these lights work, how many you need (with the simple math), exactly where to put them down to the spacing in feet, what they cost in 2026, and the five mistakes I see ruining otherwise lovely yards. By the end, you'll be able to light a walkway like a designer did it — without spending like one.
The Short Answer
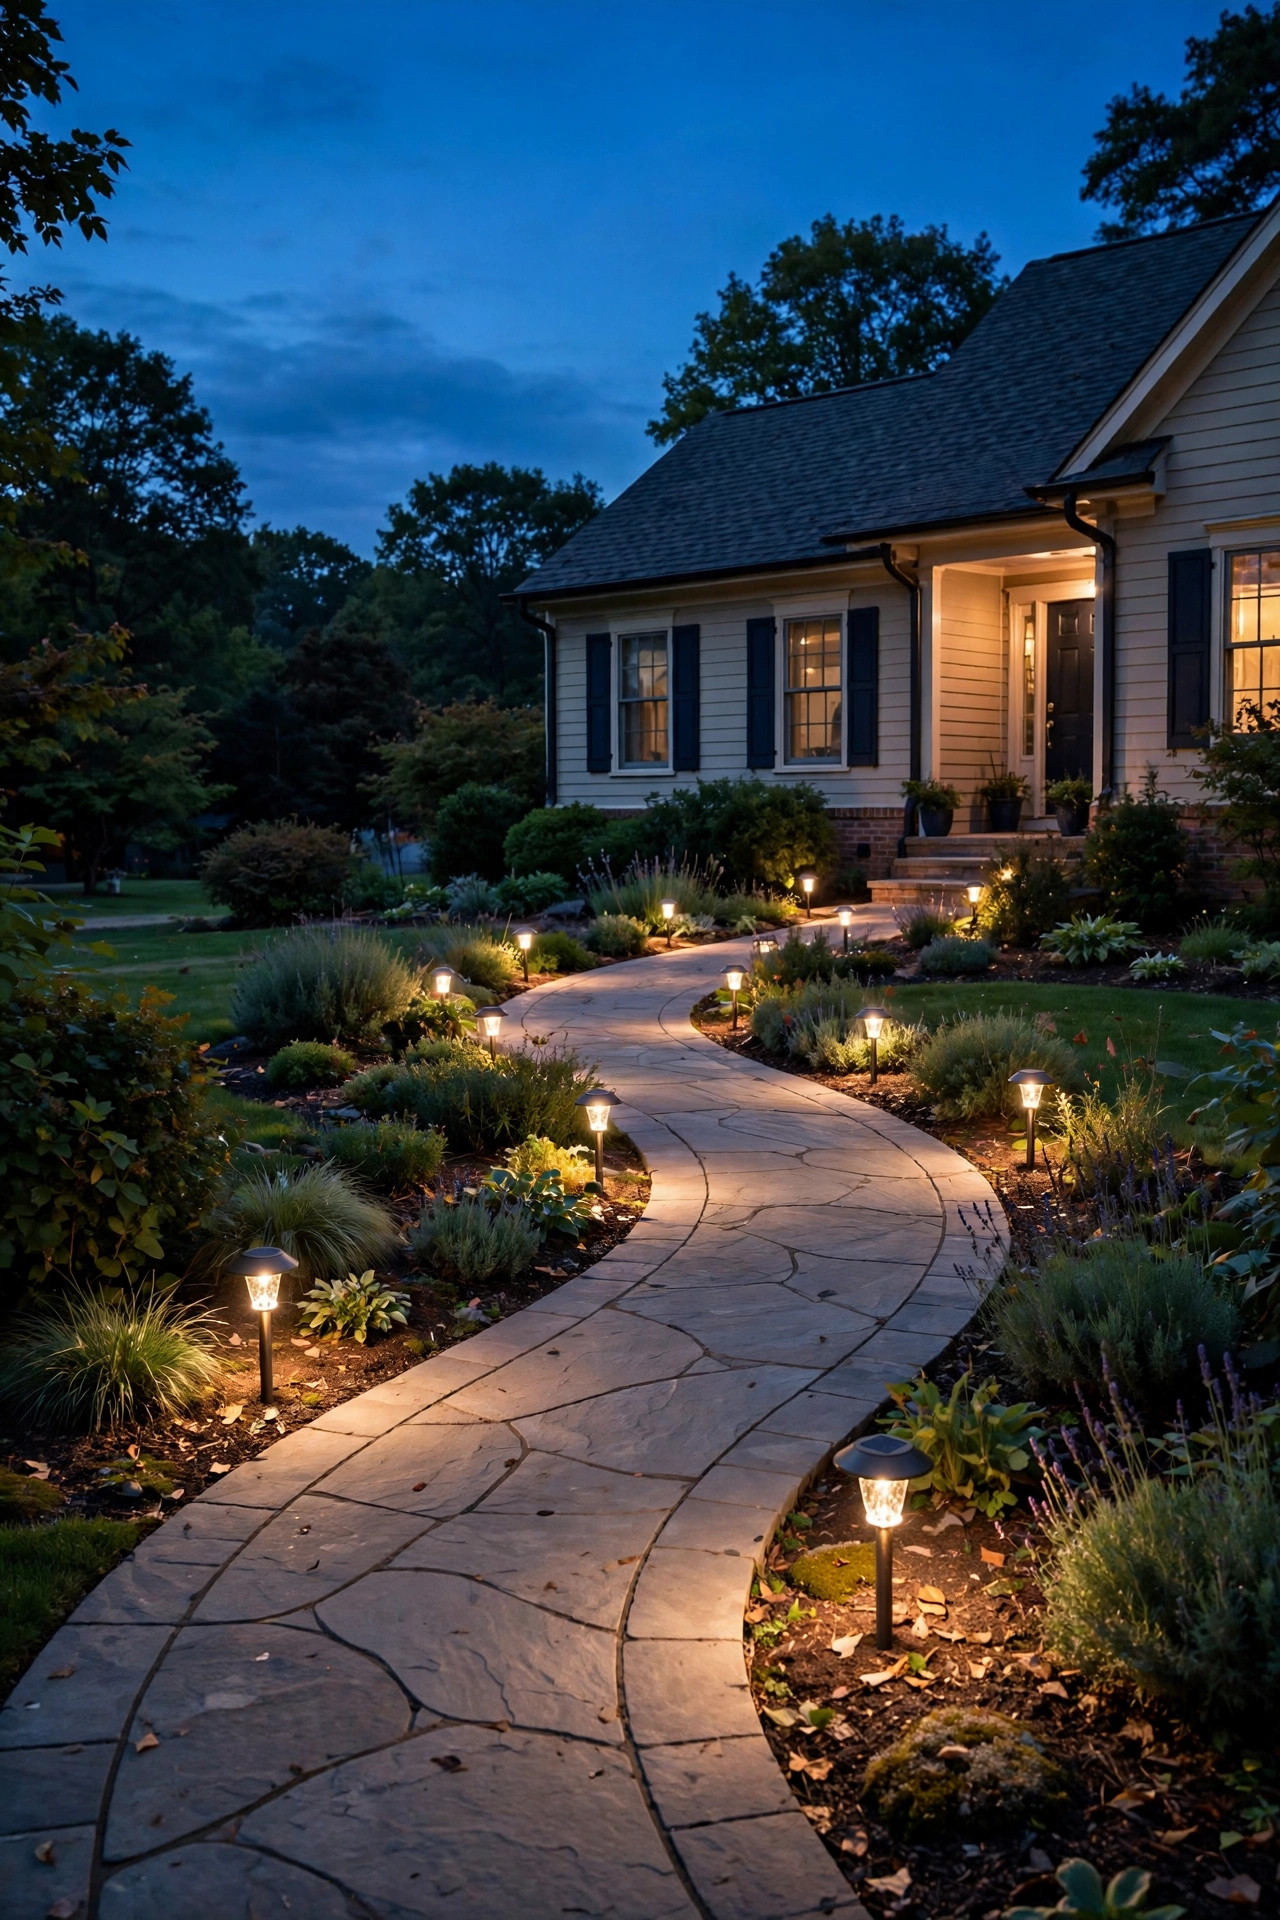
For most walkways, space solar path lights 6 to 8 feet apart in a staggered (zigzag) pattern, set back 12 to 18 inches from the path's edge. For a typical 25-foot walkway, that means 4 to 5 lights — not the 10 or 12 most people buy. Place the solar panel where it gets at least 6 hours of direct sun daily, choose lights with at least 10 to 15 lumens each, and let pools of light overlap slightly rather than lining them up like runway beacons. That's the whole formula.
How Solar Path Lights Actually Work (Plain English)
Every solar path light is the same simple machine: a small solar panel, a rechargeable battery, a light sensor, and an LED. During the day, the panel converts sunlight into electricity and stores it in the battery. At dusk, the light sensor tells the LED to switch on, and it runs off the battery until dawn (or until the charge runs out).
The part that matters for your planning is this: these are low-power lights. A typical solar path light puts out 10 to 25 lumens — compare that to a 60-watt-equivalent indoor bulb at around 800 lumens. They're designed to mark edges, outline steps, and add sparkle, not to flood your yard with light. If you're expecting security-floodlight brightness from a solar stake, you'll be disappointed no matter how many you buy.
Charging is the whole game. A light that gets six full hours of direct sunlight will glow noticeably brighter and longer than one tucked under a maple tree. Most decent models run 6 to 8 hours on a full charge in summer, dropping to 4 to 6 hours on short winter days. That swing is normal, not a defect — which is why the sun-exposure section below is the one thing I want you to read carefully if you skim everything else.
The Main Types, Compared Honestly
Not all solar path lights are built alike, and honestly? The cheapest multi-packs are where most placement disasters begin — dim, short-lived lights make people cram in twice as many to compensate. Here's what you're choosing between:
| Type | Typical cost (each) | Setup effort | Best for |
|---|---|---|---|
| Classic stake lights | $3 – $10 | Stake into ground, 2 minutes | General walkways, first-timers |
| Motion-sensor security path lights | $10 – $20 | Stake + angle adjustment | Driveways, side paths, safety spots |
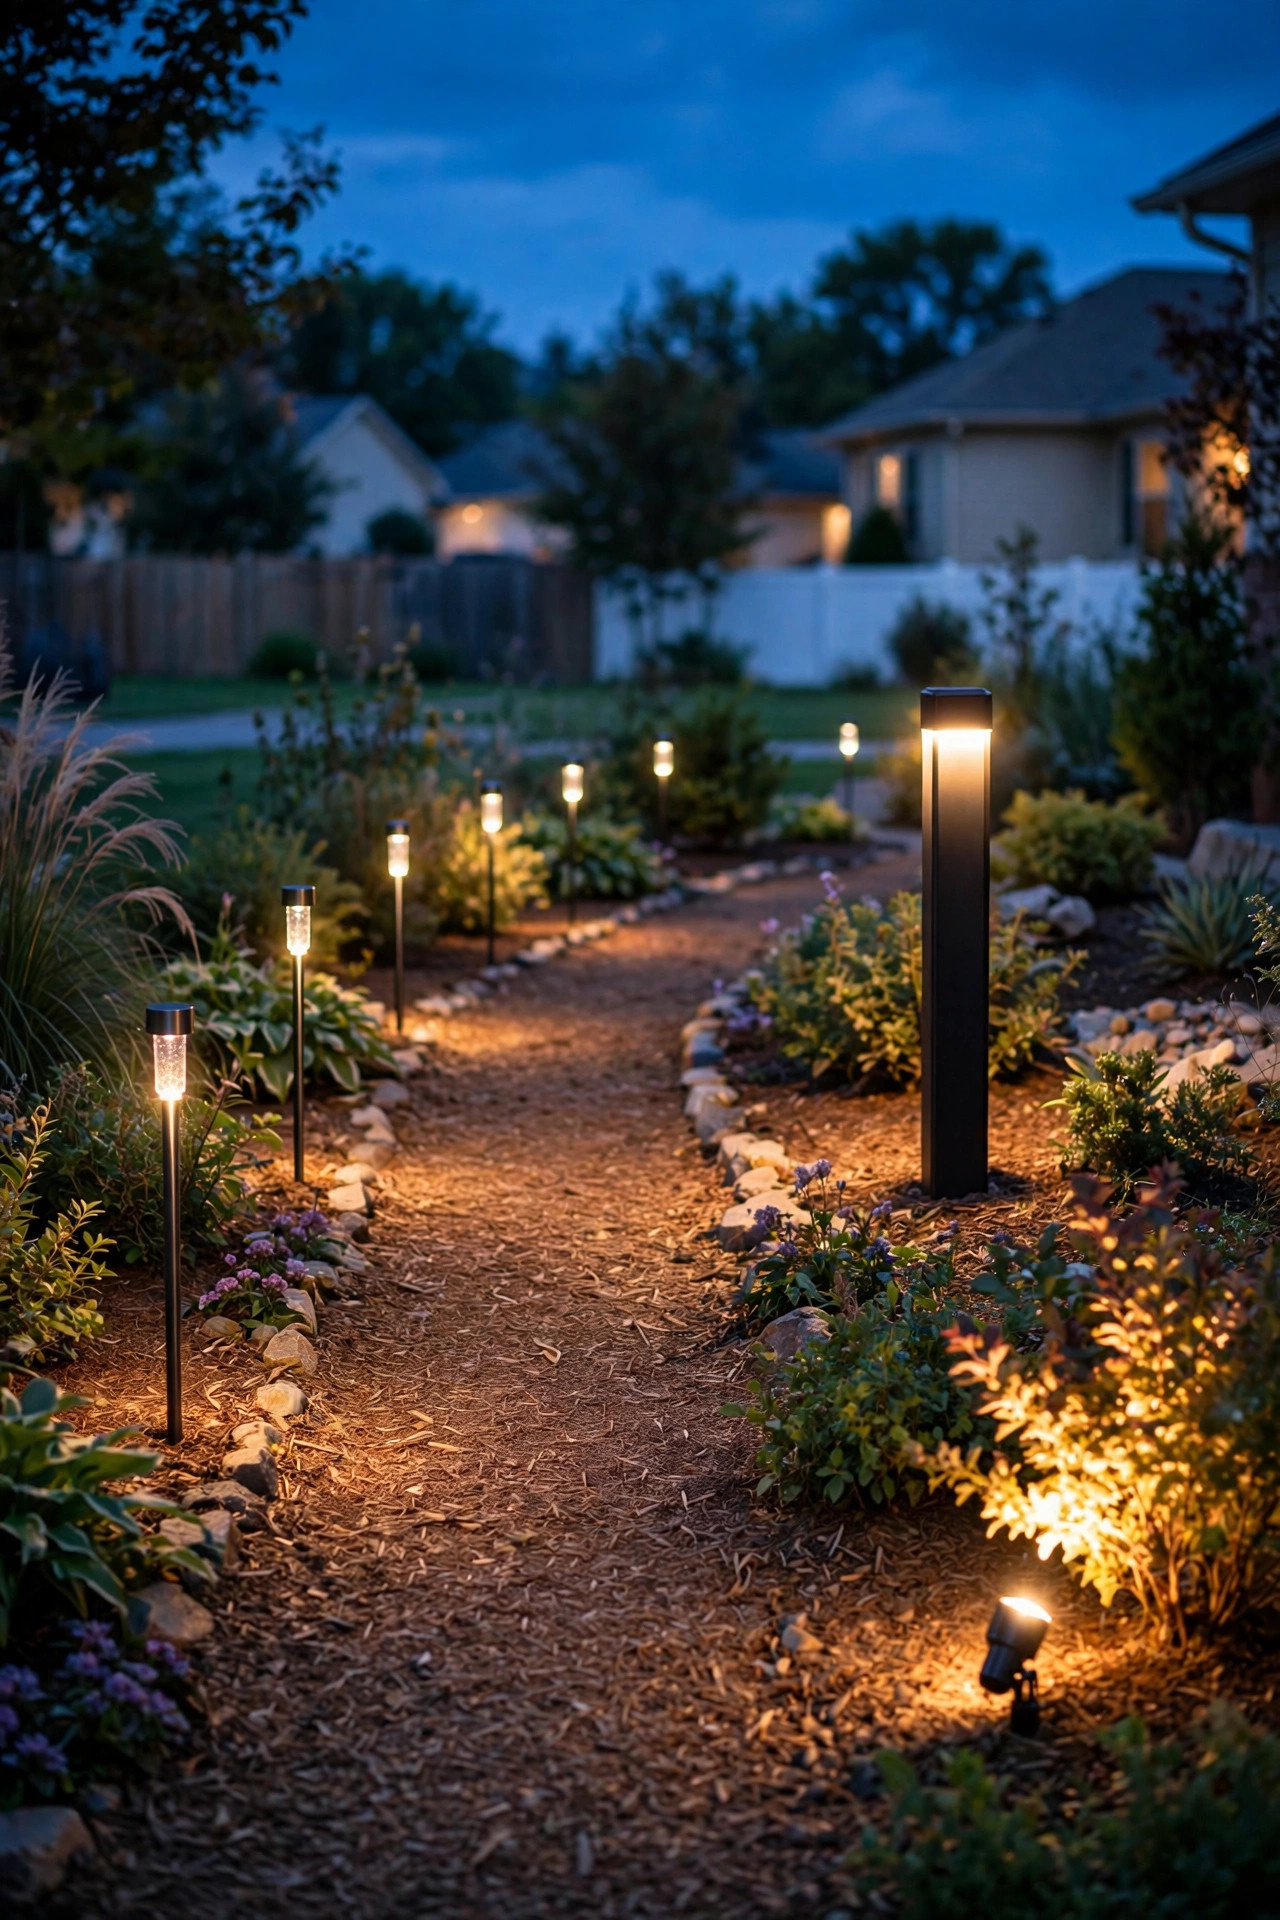
| Solar bollards (taller posts) | $20 – $50 | Stake or mount, heavier base | Modern designs, wide paths |
| Solar deck/wall cap lights | $8 – $25 | Mount on posts or walls | Edges, stairs, retaining walls |
| Solar spotlights (adjustable head) | $12 – $30 | Stake + aim at target | Accent lighting trees, flags, house numbers |
For a standard front walkway, classic stake lights are honestly all you need — they're affordable, forgiving, and easy to reposition if you get the placement wrong. Bollards look more architectural but cost three to five times more, and at that price point, a hybrid approach (fewer, brighter fixtures) starts competing with wired low-voltage lighting on value. If you're torn between going solar or wired for a bigger project, my comparison of LED vs solar exterior lights walks through the tradeoffs honestly.
One note on what to skip: those ultra-cheap 50-packs at a dollar or two per light. In my experience they last one season, fade to a dim flicker by October, and teach you nothing except how to throw away money. The sweet spot is the mid-range — roughly $5 to $12 per light — where you get a real rechargeable battery and a panel that actually charges.
How Many Solar Path Lights You Need (The Math)
Here's the formula I use for every walkway, and it's simpler than it looks:
Walkway length in feet ÷ 6.5 = number of lights (round down, then subtract one for staggering)
So a 25-foot walkway: 25 ÷ 6.5 = 3.8, which rounds to 4 lights. A 40-foot path: 40 ÷ 6.5 = 6.1, so 6 lights. For curved paths, measure along the curve, not the straight-line distance between endpoints.
A few adjustments to that baseline:
– Wide paths (over 4 feet) can handle the 6-foot end of spacing, since the light pools overlap more.
– Narrow paths (under 3 feet) work better at 7 to 8 feet apart — fewer lights, less clutter.
– Steps or uneven surfaces need a light at each change in level, even if it breaks your spacing rhythm. Safety always wins over symmetry.
– Dark-stained or textured pavers absorb light, so shift toward the tighter end of the spacing range.
The number-one mistake I see is buying the big 12-pack "because it was on sale" and using all of them on a 20-foot path. That gives you lights every 3 feet — a runway, not a garden. Start with fewer than you think you need. You can always add more; you can't un-see an over-lit walkway. Most homeowners need 4 to 8 lights for a front walk, 8 to 12 for a longer or curved path. If your box has extras, use them in the garden beds where they'll look intentional instead of crowded.
Lumen targets while you're shopping: aim for 10 to 15 lumens per light minimum for path edging, 25+ if the path sits far from other light sources like your porch light. Anything under 8 lumens is essentially decorative sparkle — fine for flower beds, not for a walkway people actually navigate at night.
Where to Put Them: Placement Rules That Actually Work
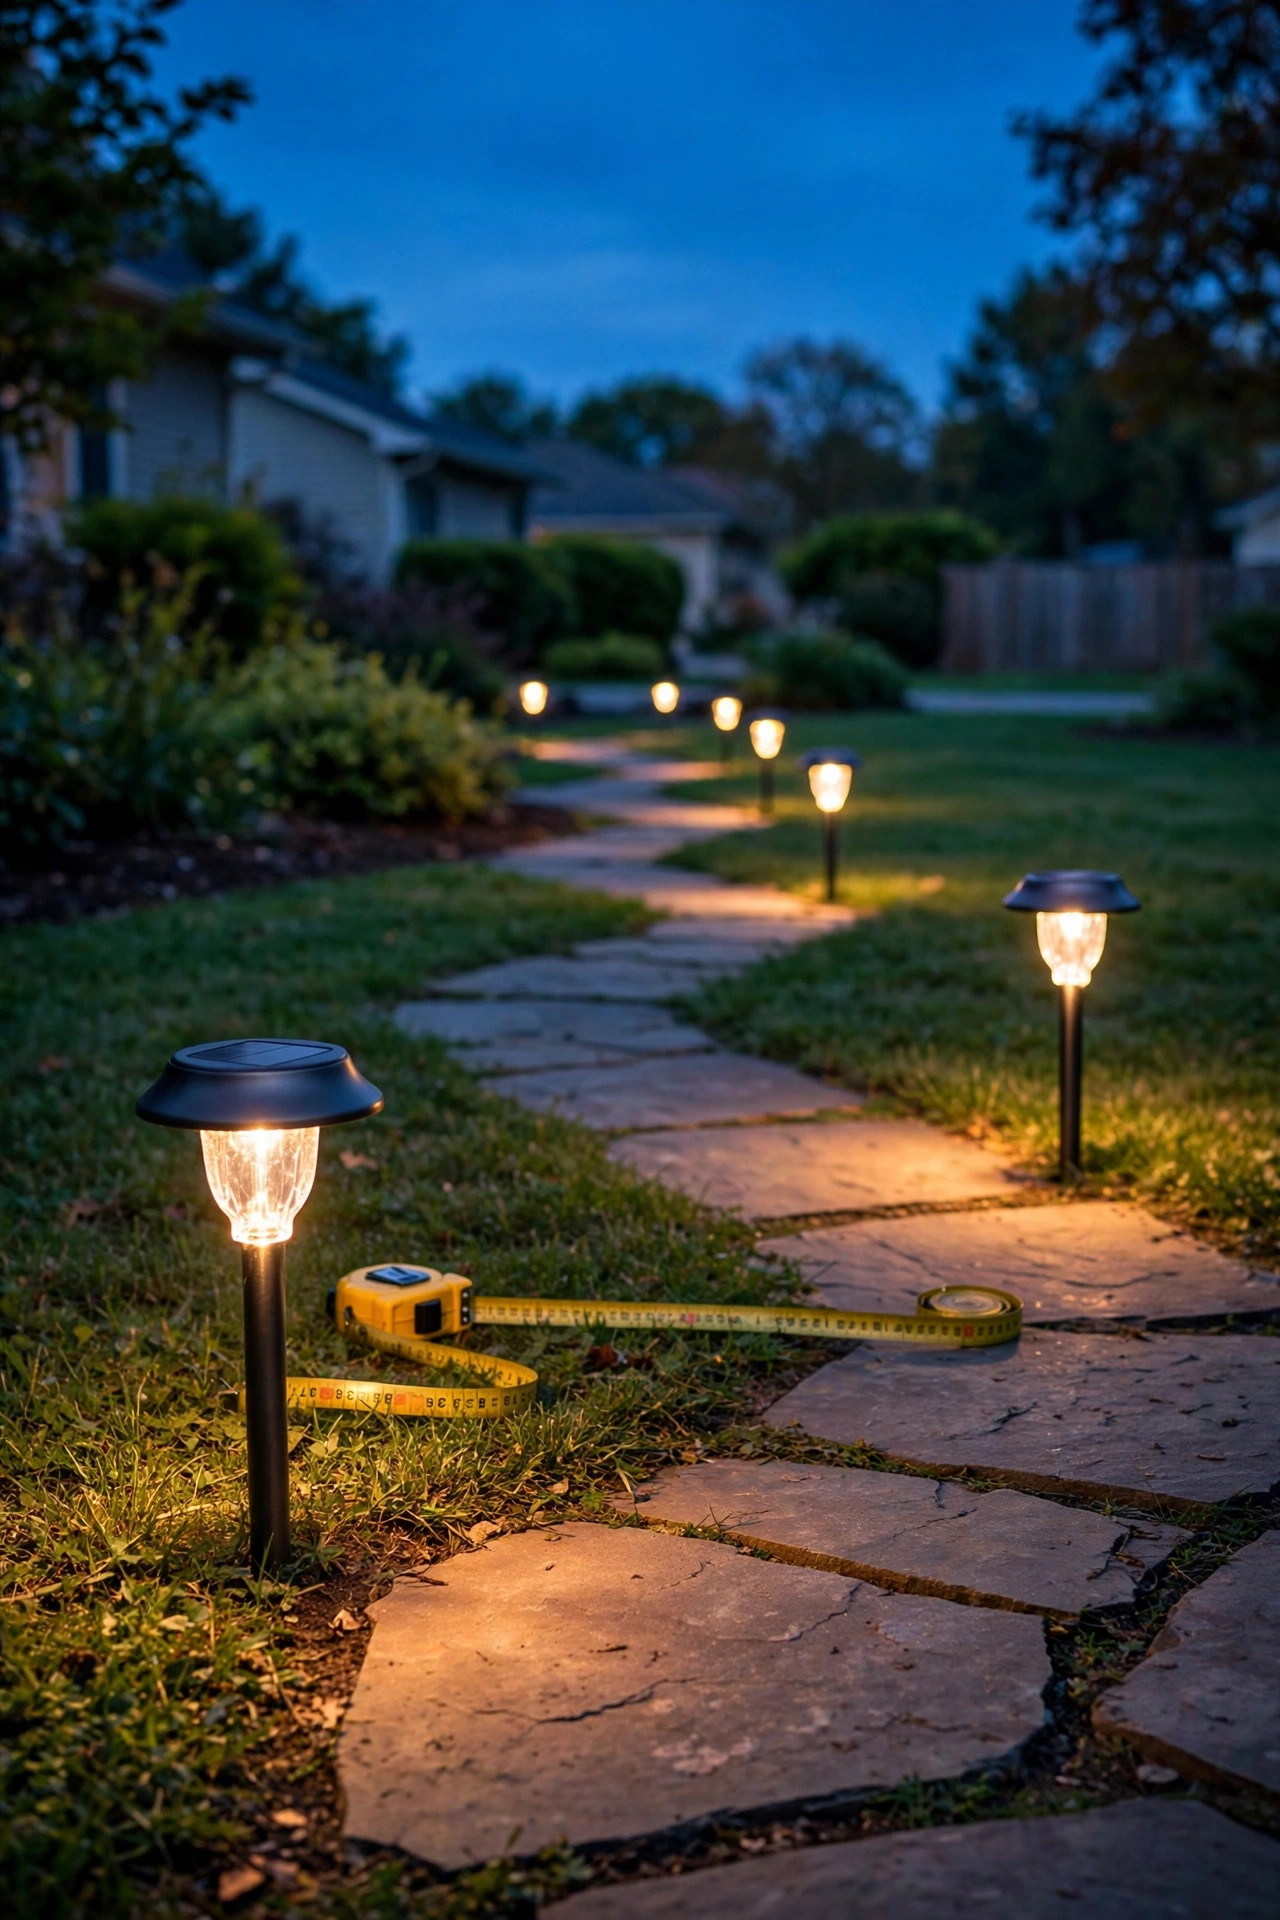
This is the heart of solar path lights placement, and it comes down to five rules:
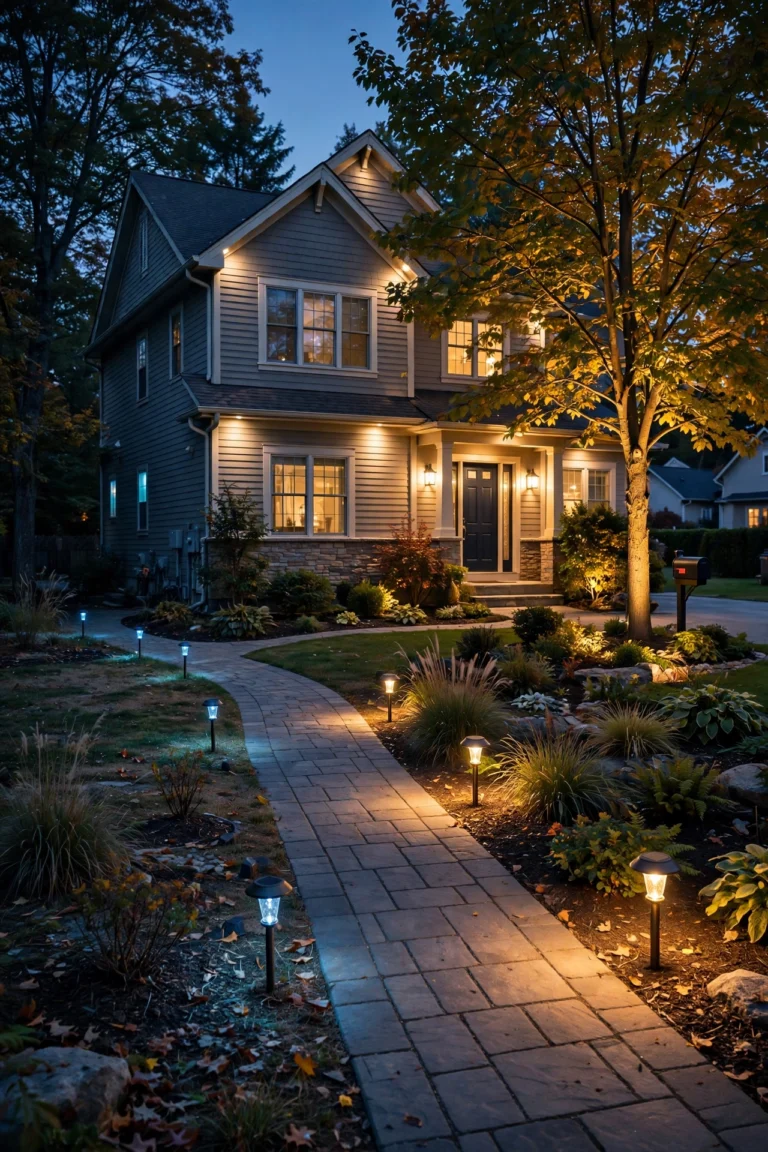
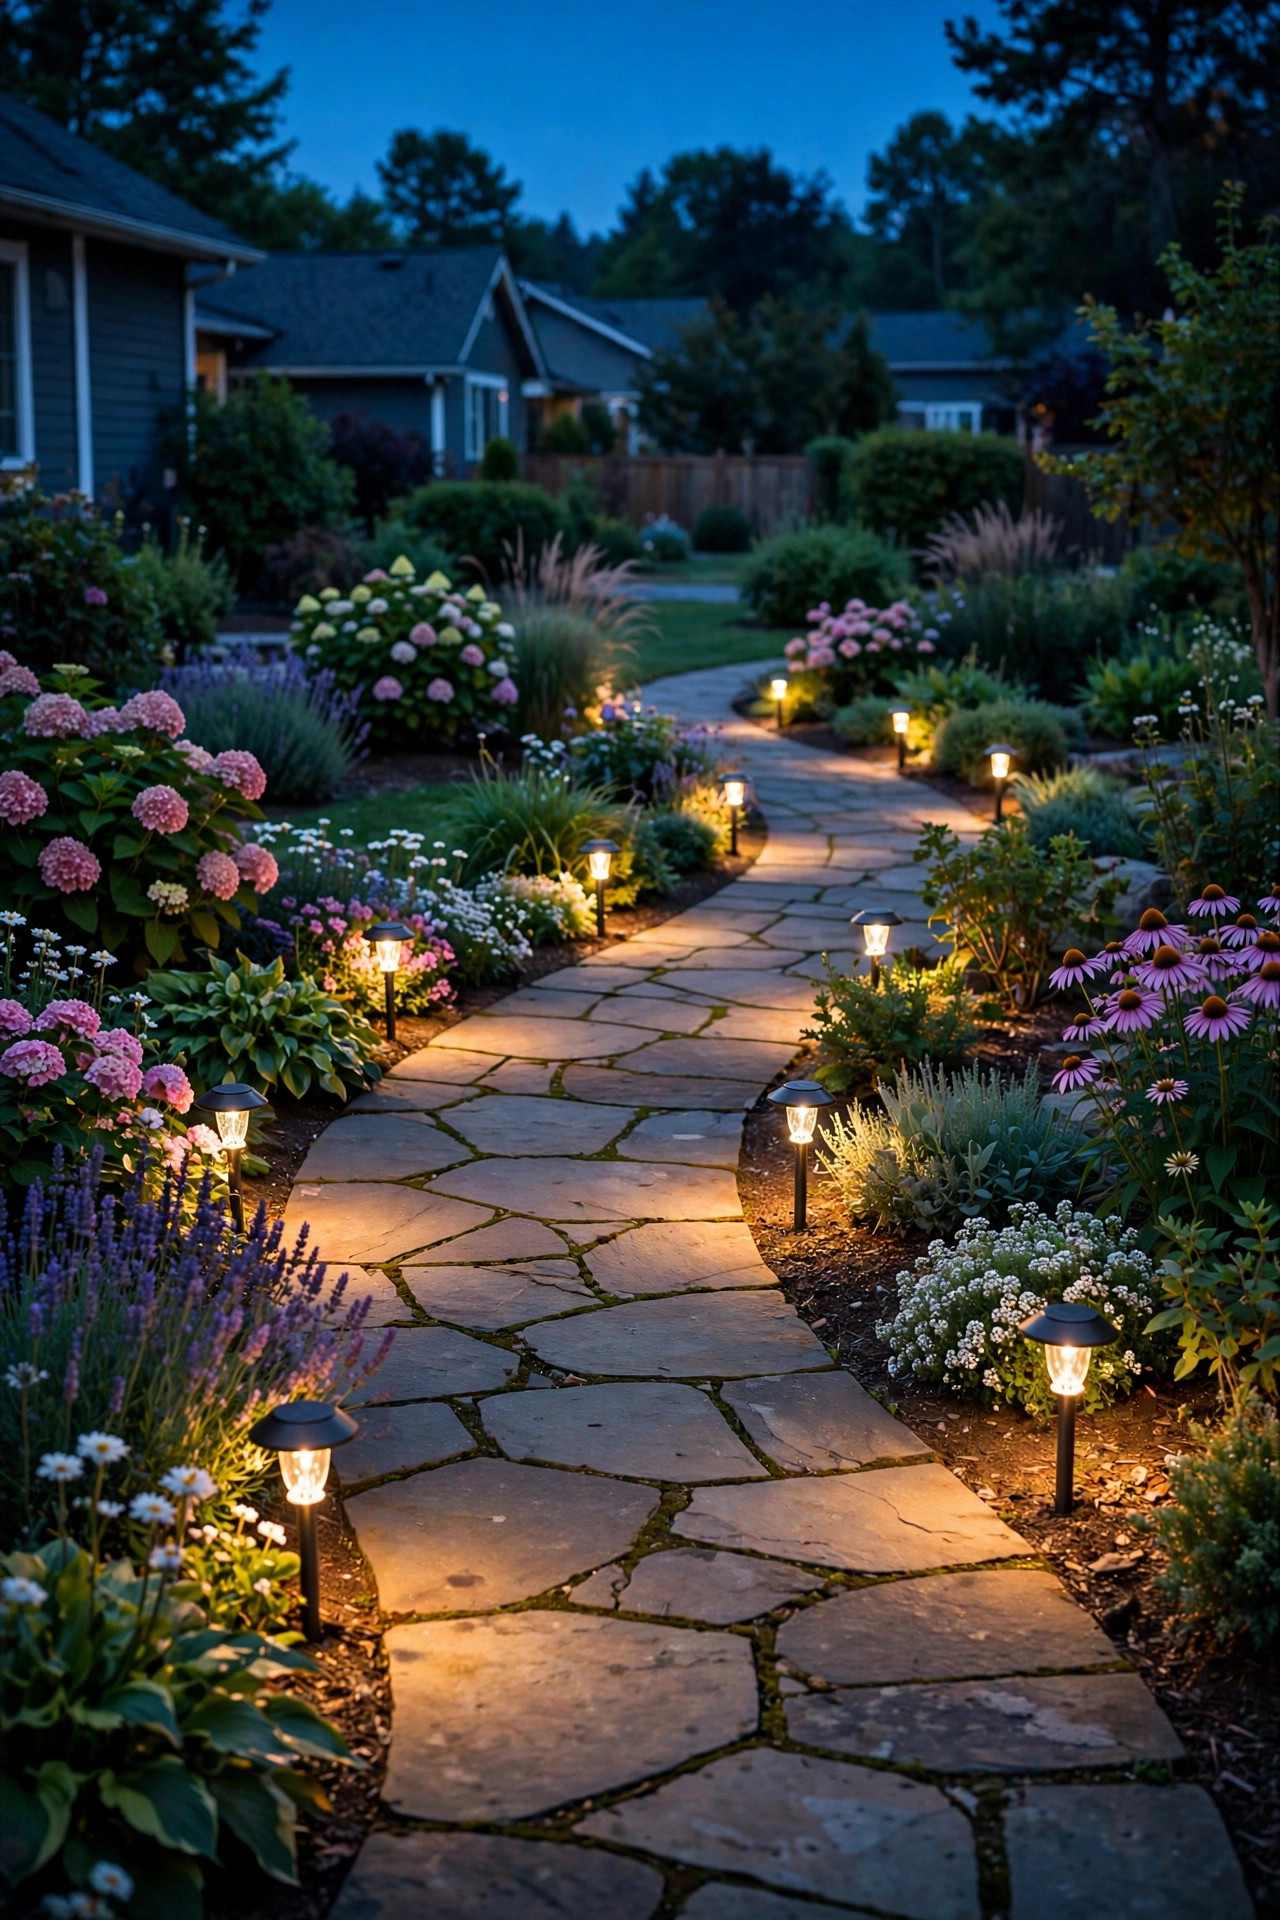
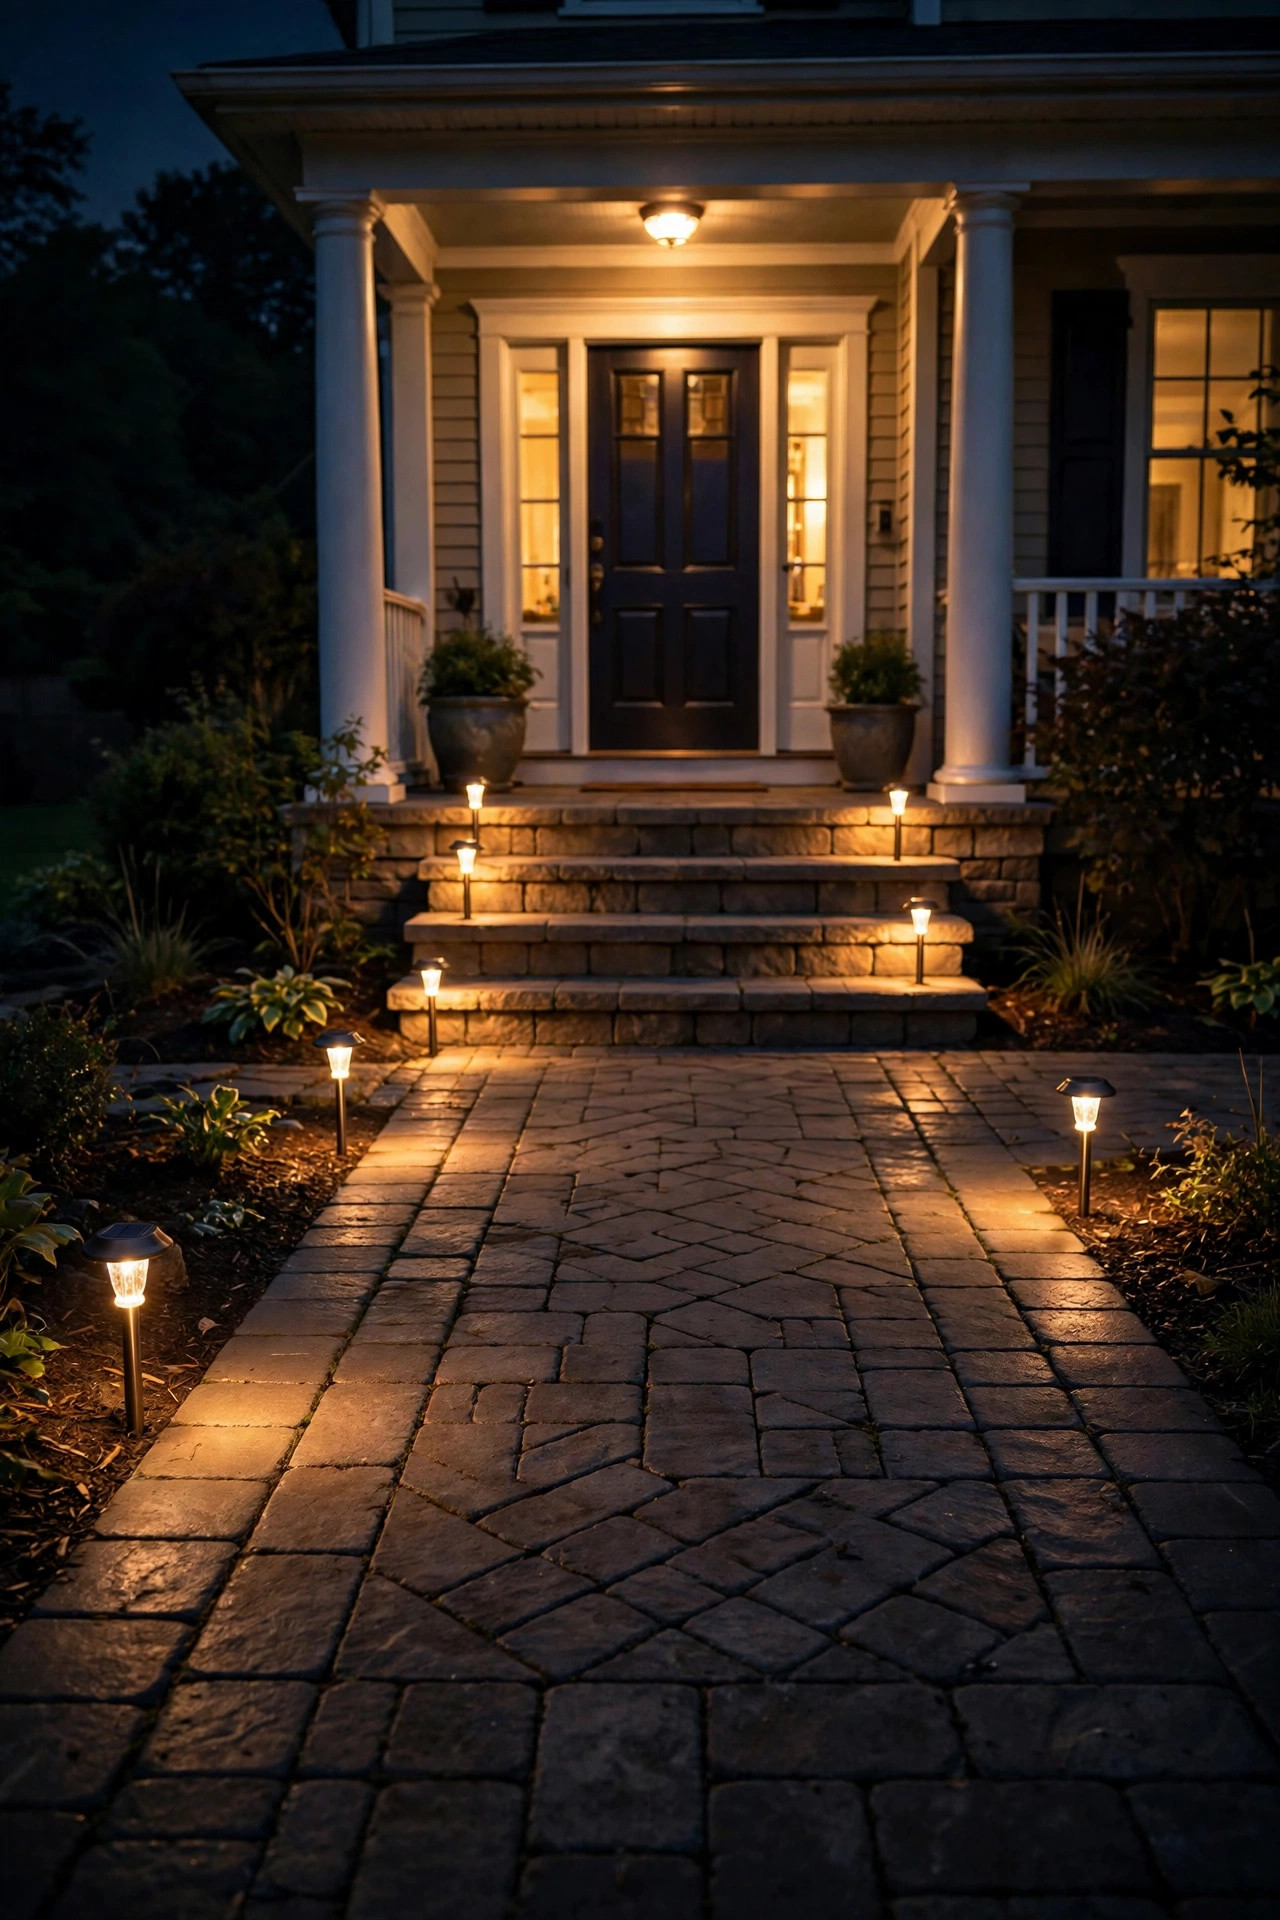
1. Stagger, don't mirror. Place lights in a zigzag — one on the left, the next on the right, alternating down the path. Mirrored pairs directly across from each other create that airport-runway look every designer winces at. Staggering also stretches your light budget: each fixture covers both sides of the path from its offset position.
2. Space them 6 to 8 feet apart. At this distance, the light pools from standard 10–15 lumen fixtures just barely overlap, creating a continuous glow without hard gaps or bright hotspots. Walk the path at night before you finalize — your eyes will tell you instantly if there's a dark gap.
3. Set back 12 to 18 inches from the path's edge. Lights jammed right against the walkway get kicked, stepped on, and hit by mowers and trimmers. The setback also softens the light: it washes across the path at an angle instead of blasting straight up beside your feet. For raised beds, 12 inches is plenty; for open lawn edges, go 18.
4. Height matters less than you think. Standard stake lights sit 10 to 14 inches tall, which is ideal for walkways — the light falls right where feet land. Taller bollards (24 to 30 inches) work for wide paths and modern designs but can glare into your eyes on a narrow walk.
5. Anchor the beginning and the end. Put a light near where the path starts (the sidewalk or driveway) and one near where it ends (the porch or door). These "anchor" fixtures orient visitors; the staggered lights in between just fill the journey. I always recommend this — it's the difference between a path that feels guided and one that just has lights on it.
Sun Exposure: The Rule Nobody Talks About
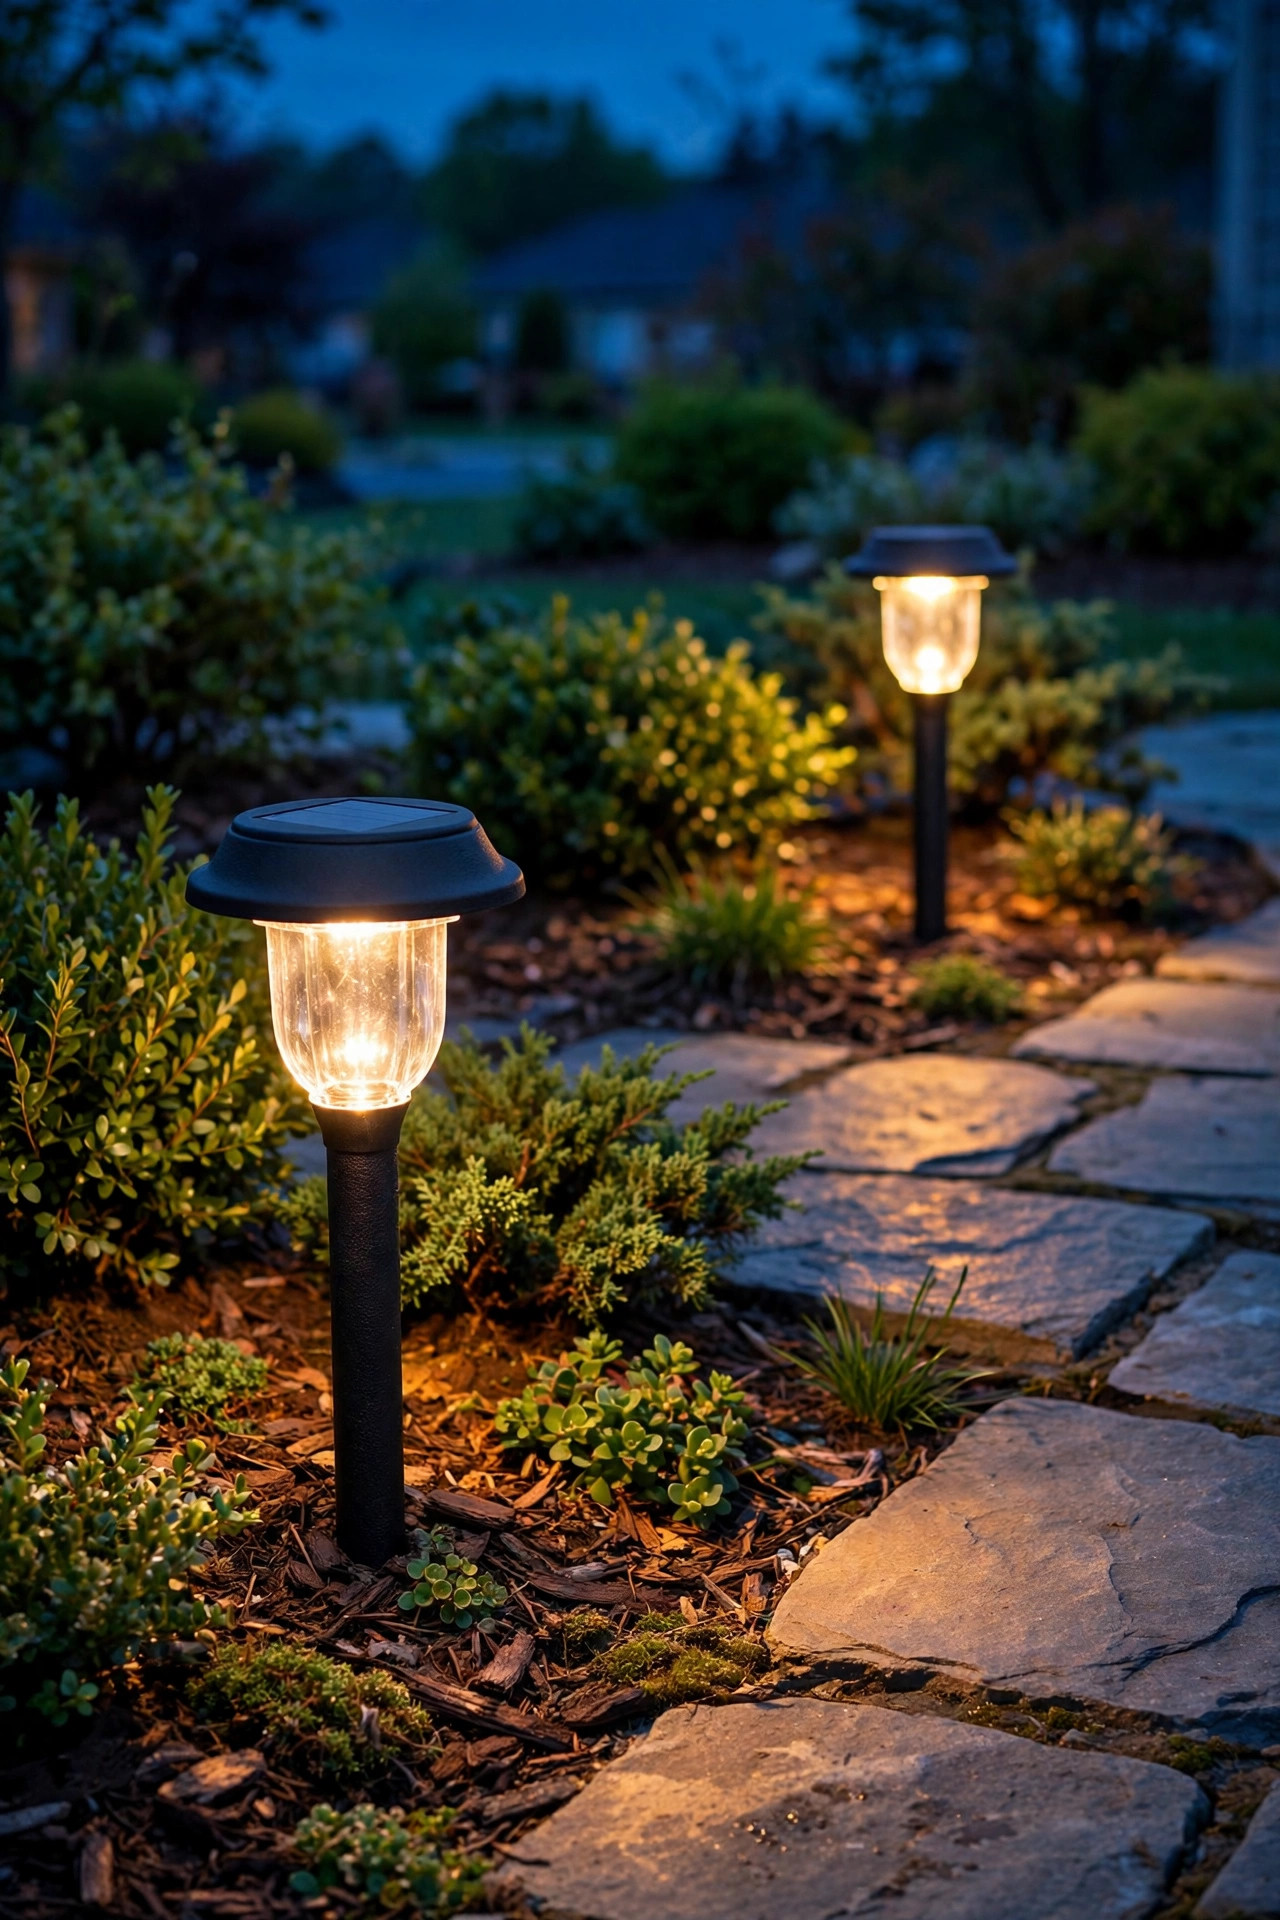
Here's the uncomfortable truth about solar path lights placement: the best-looking spot for a light is often the worst spot for its solar panel. That shady nook by the front porch? Gorgeous place for a light. Terrible place to charge it.
Before you place a single stake, spend one sunny day watching your yard. Every fixture's panel needs at least 6 hours of direct, unfiltered sunlight per day — morning sun or afternoon sun, either works. Dappled light through leaves doesn't count as direct sun. A panel in shade will still charge, but you'll get a dim, short-lived glow that dies by 9 p.m. instead of lasting until dawn.
My favorite workaround for shady paths: separate the panel from the light. Some solar fixtures come with a detachable panel on a long cord — place the light where it looks best and stake the panel in the sunniest spot within cord range. If your lights don't offer that, consider shifting fixtures toward the sunny side of the path, or trimming back the lowest branches of the tree that's throwing the shade.
Also think seasonally. A spot that basks in June sun might sit in the shadow of your house or a fence in December when the sun rides low. If you live somewhere with real winters, expect 30 to 40 percent less run time on the shortest days — that's physics, not a failing product.
Step-by-Step Installation
Installation takes about 30 minutes for a typical walkway, and I always recommend a dry run first. Here's the process:
1. Charge before you plant. Turn the lights on (most have a small switch on the underside or the back of the head) and set them in full sun for a full day before installing. This conditions the battery and lets you test each one at dusk.
2. Lay out with the lights off first. Set the un-staked lights along the path in your staggered pattern, 6 to 8 feet apart, 12 to 18 inches back from the edge. Step back to the street and look at the composition in daylight — this is your one chance to adjust without pulling stakes out of the ground.
3. Test at night before committing. Turn them on, walk the path after dark, and look for gaps, glare, and any fixture shining into windows. Move anything that bothers you. This single step prevents 90 percent of placement regrets.
4. Stake them in. Push stakes straight down — wiggle gently, don't hammer, unless the ground is hard. In rocky or clay soil, soak the spot with water first or make a pilot hole with a screwdriver. Leave the light head removable (don't glue or cement stakes unless you're sure of the spot).
5. Re-check after the first rain. Soil settles and stakes tilt. Walk the line once after the first good rain and straighten any leaners. Tilted fixtures throw light in the wrong direction and look sloppy in daylight.
One caution: keep fixtures at least a few feet from lawn sprinklers. Constant water blast into the housing will shorten the electronics' life, and nobody wants to discover that in October.

What It Costs in 2026
Let's talk real numbers. For a typical 25-foot front walkway with 5 mid-range lights:
– Lights themselves: $25 to $60 for the set (at $5 to $12 each)
– No wiring, no electrician, no permits: $0
– Running costs: $0 — the sun is free
– Replacement batteries every 2 to 3 years: about $2 to $4 per light
So a complete project lands between $25 and $60 for most walkways, and $60 to $150 for long or curved paths needing 8 to 12 lights. Stepping up to bollard-style fixtures pushes that to $100 to $300, but honestly? For most homes, the mid-range stake lights look just as good at night.
Compare that to wired low-voltage path lighting: $200 to $500 for the same walkway once you add a transformer, cable, and an afternoon of trenching — or an electrician's bill on top. Solar wins on upfront cost and DIY-friendliness every time, and the running cost is literally zero.
The only recurring cost is batteries. Most solar path lights use a single AA or AAA NiMH rechargeable battery, and they fade after 2 to 3 years of nightly cycling. Swapping them costs a few dollars per light and takes minutes — it's the difference between a fixture that lasts one season and one that lasts five. If you want specific product picks in different price tiers, my top solar lights roundup breaks down what's actually worth buying.
5 Mistakes That Ruin the Effect
I've seen these five over and over — and every one of them is a placement problem, not a product problem:
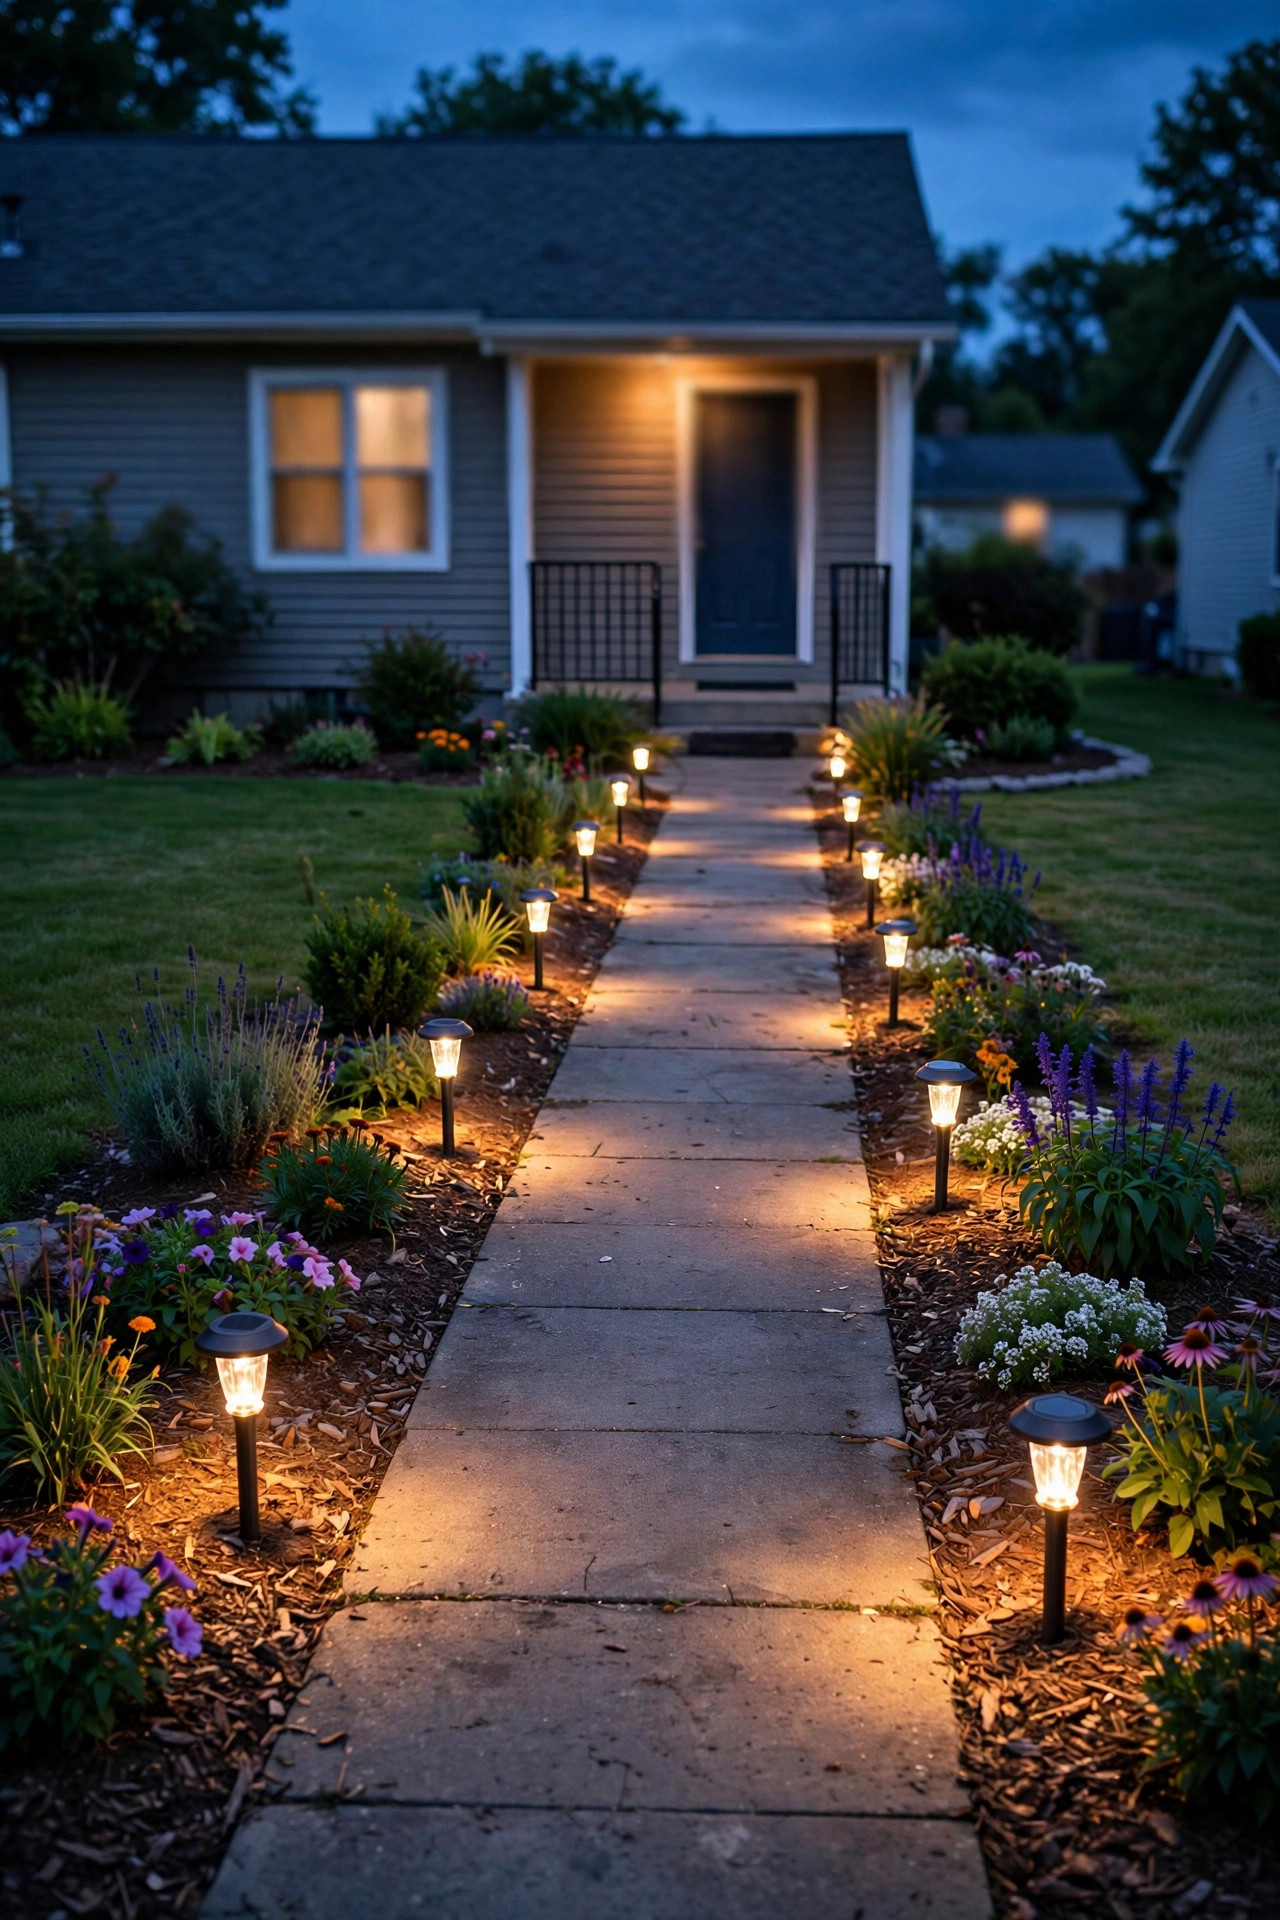
1. The runway. Lights evenly spaced in straight mirrored pairs on both sides. Fix: stagger them, space them wider, and remove every other one if needed.
2. Mixing color temperatures. Warm-white lights (2700–3000K) next to cool-white ones (6000K+) looks chaotic. Fix: buy all your fixtures from the same batch, and choose warm white — it flatters brick, stone, and landscaping. Cool white is for security lighting, not ambiance.
3. Placing lights in deep shade. Covered this above, but it bears repeating: a panel under a dense tree or a north-facing eave will never charge properly. Fix: observe your sun for a day before you plant.
4. Lighting the whole yard instead of the path. Scattering lights randomly through flower beds and around the lawn dilutes the effect — the eye doesn't know where to look. Fix: give fixtures a job. Path lights belong to the path; use garden accents (uplights, spotlights) deliberately in beds. More on broader yard strategy in my solar exterior house lights guide.
5. Setting and forgetting. Stakes tilt, panels get dusty, batteries fade — and the walkway slowly gets dimmer until you stop noticing. Fix: a five-minute monthly check (wipe panels, straighten stakes) keeps everything glowing like day one.
Maintenance: Keeping Them Bright Year After Year
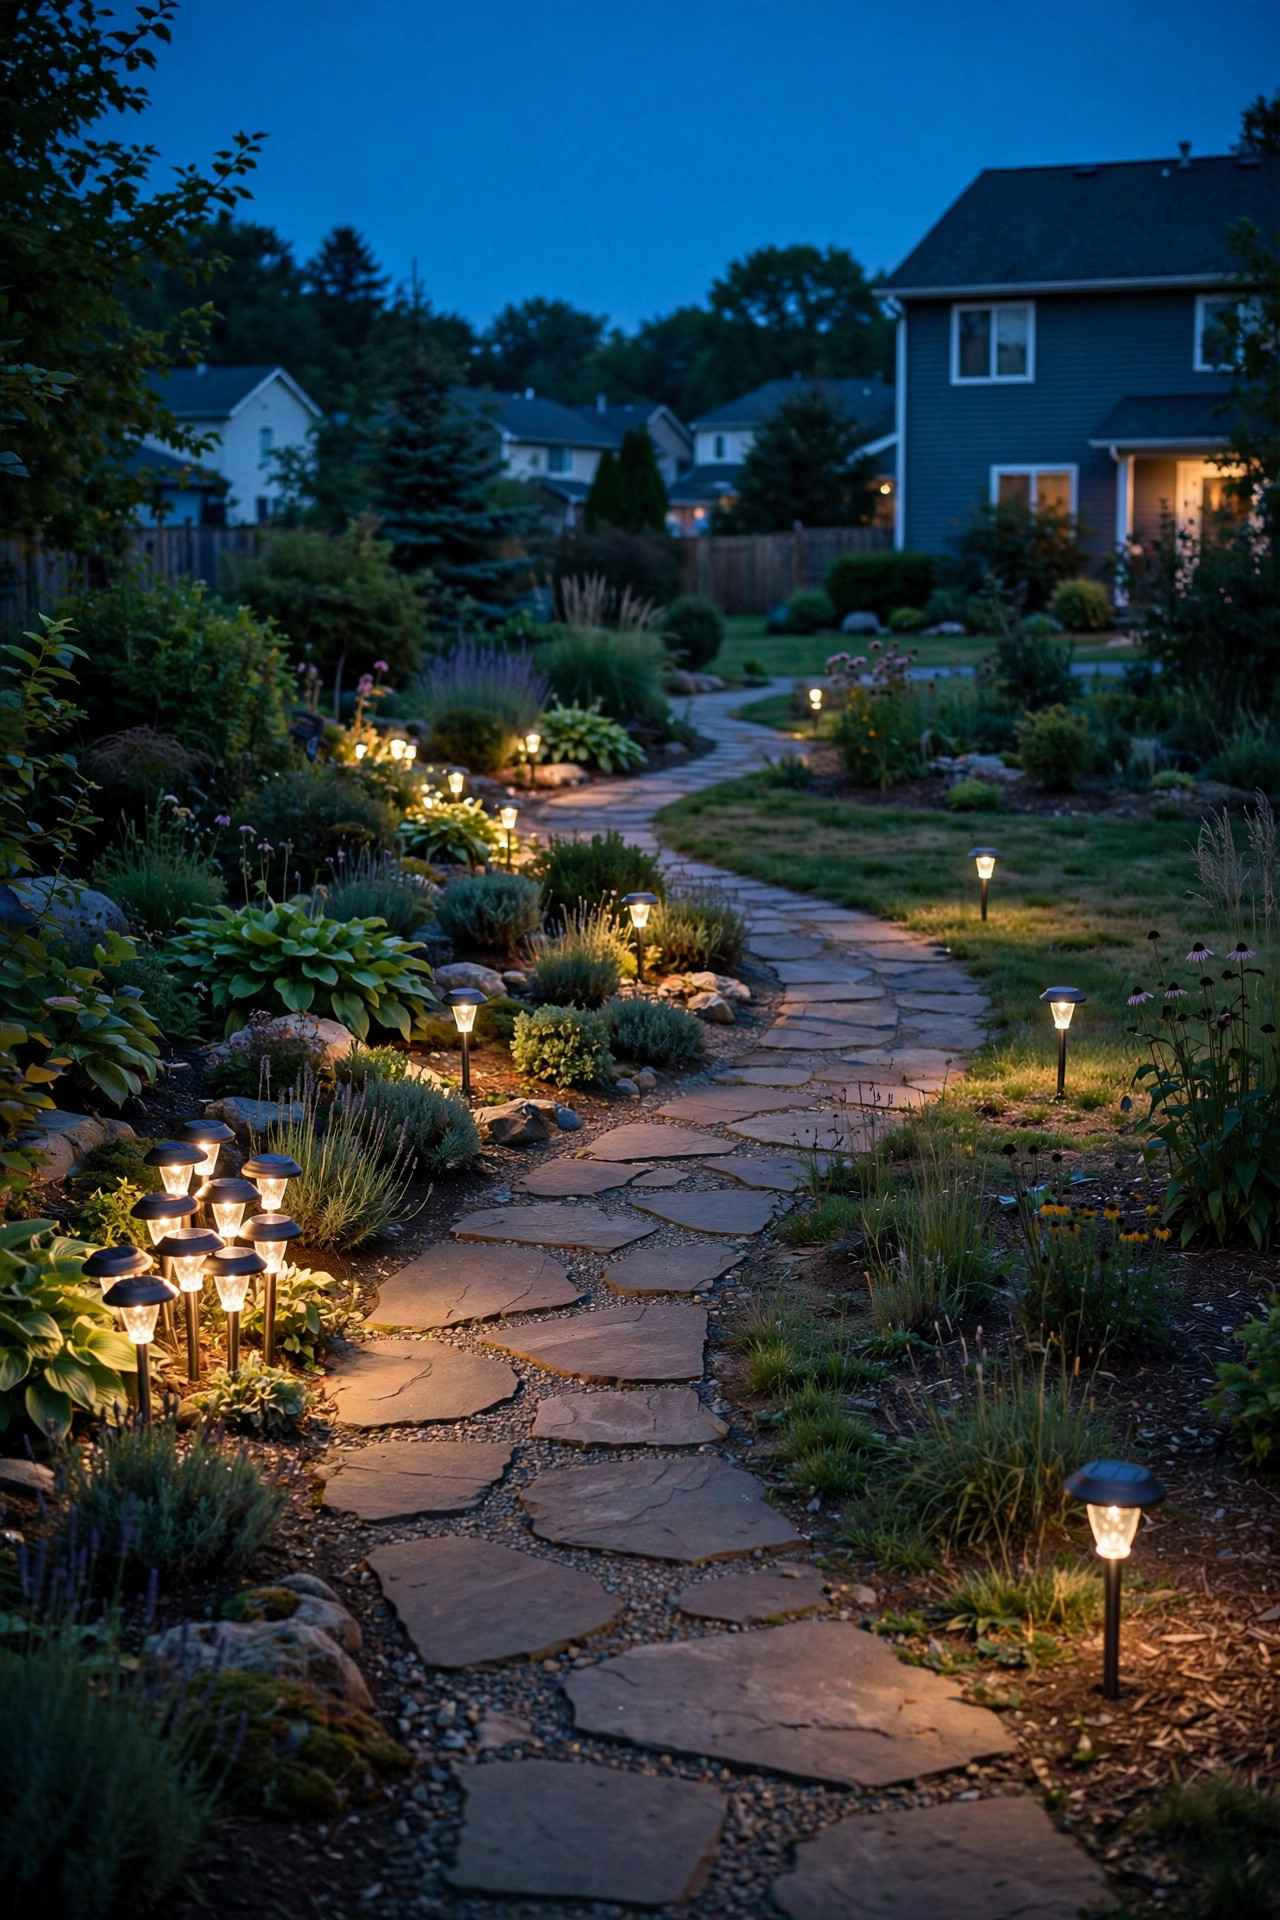
Solar path lights are nearly maintenance-free, but "nearly" is doing some work in that sentence. A little attention twice a year keeps them performing like new.
Wipe the panels. Dust, pollen, and sprinkler mineral deposits form a film that can cut charging by 20 to 30 percent. A damp cloth and a drop of dish soap once a month in summer — once in spring and once in fall is the minimum — makes a real difference.
Replace the batteries. When lights that used to last all night start dying by midnight, it's almost always the rechargeable battery, not the solar panel. Swap in fresh NiMH rechargeables (match the size printed inside the housing — usually AA or AAA). This single habit doubles or triples a fixture's useful life.
Clear the light heads. Spiderwebs, leaf litter, and lawn clippings block the LED and the light sensor. A quick brush-off when you wipe the panels is all it takes.
Check the stakes. Frost heave, rain, and curious dogs tilt fixtures over time. Straighten leaners and re-seat any stake that's worked loose — a light tipped at 30 degrees throws its glow at the sky instead of your path.
Winter Performance and Cold-Weather Storage
Cold doesn't kill solar lights, but it does make them drowsy. Batteries charge and discharge less efficiently below freezing, days are shorter, and snow can bury panels entirely. In northern states, expect your lights to run noticeably shorter hours from November through February — that's normal.
A few winter strategies I always recommend:
– Brush snow off panels after storms so they can catch what sun there is. A buried panel charges zero.
– Switch off and store the cheapest fixtures if your winters are brutal — some dollar-store-grade housings crack in freeze-thaw cycles. Remove batteries before storing indoors to prevent corrosion.
– Keep mid-range and better fixtures out all winter if they're rated for it — most are, and the hassle of reinstalling in spring outweighs the wear for anything decently made.
– Angle matters in winter: if your panels tilt, face them toward the low southern sun to catch every available hour.
Come spring, give everything the full treatment: wipe panels, replace any tired batteries, straighten stakes, and test each light at dusk. A well-maintained set will serve you five years or more.

Safety Basics
Solar path lights run on low-voltage DC power — there are no shock hazards, no buried cables to cut, and no electrical permits to pull. That's the beauty of them. But "safe" still has a few asterisks:
– They're wayfinding aids, not security lighting. A 15-lumen path light won't deter an intruder or light up a dark corner of the yard. Pair path lighting with a motion-sensor floodlight or porch light for real security coverage.
– Watch the trip hazard. The stakes themselves are the risk, not the electricity. Keep fixtures 12 to 18 inches off the path (your setback), and avoid placing them where kids cut across the lawn or where snow shoveling will catch them.
– Check the outdoor rating. Look for IP44 or better on the packaging — that means sealed against rain and splashes. Anything unrated will fog up and die in the first wet season.
– Keep them clear of dry mulch and leaves. LEDs run cool, but clear debris off light heads anyway — airflow and clear optics keep everything working as designed.
– Mind your neighbors. Aim any adjustable heads at your own path, not across the property line into a bedroom window. Bright, misplaced fixtures are the number-one source of outdoor-lighting disputes.
Frequently Asked Questions
How long do solar path lights actually last?
The LED itself can run for years — LEDs rarely "burn out." The practical lifespan is 3 to 5 years for a mid-range fixture, and the limiting factor is almost always the rechargeable battery (replaceable every 2 to 3 years) or the housing degrading in sun and weather. Cheap fixtures with sealed non-replaceable batteries often die in one to two seasons. Replace the battery on schedule and your lights will outlast your expectations.
Do solar path lights work in cloudy climates?
Yes — just with shorter run times. Panels charge on daylight, not only direct sun, so an overcast day still delivers a partial charge. In places like the Pacific Northwest or New England, expect dimmer, shorter glows in November through February, and choose fixtures with larger panels and higher-capacity batteries to compensate. For year-round reliability in very cloudy regions, a couple of wired fixtures at key points (steps, turns) is a sensible backup.
Can you replace the batteries in solar path lights?
In most cases, yes. The majority of stake-style fixtures use standard AA or AAA NiMH rechargeable batteries under a small screw-on cap. Swap them every 2 to 3 years — when lights start dying hours before dawn, that's your signal. Avoid alkaline batteries (they're not rechargeable and can leak); use NiMH rechargeables rated at least 600mAh. The cheapest fixtures sometimes seal the battery inside — another reason to spend a few dollars more upfront.
Why are my solar path lights dim or dying early?
Run through this checklist in order: (1) Is the panel getting 6+ hours of direct sun? (2) Is the panel clean? (3) Is the power switch actually on? (4) Is the battery old — over 2 to 3 years? (5) Is another light source (porch light, streetlight) hitting the sensor and confusing it into dim mode? In my experience, it's the sun exposure or the battery nine times out of ten.
Should solar path lights stay on all winter?
They can, if they're decently made and rated for outdoor use. Expect shorter run times in cold, dark months and brush snow off the panels. For very cheap fixtures, I recommend switching them off, removing the batteries, and storing them indoors — freeze-thaw cycles crack thin plastic housings. Either way, don't toss them in spring just because they look dim after winter; fresh batteries usually bring them right back.
Conclusion
Good solar path lights placement comes down to restraint and sunlight: stagger your fixtures 6 to 8 feet apart with a 12-to-18-inch setback, use fewer lights than you think you need, and put every panel where it can drink in at least six hours of direct sun. Do those three things and a $40 box of stake lights will make your walkway look like a designer planned it.
Start with a test layout at night before you stake anything in, keep the panels clean and the batteries fresh, and your path will welcome you home beautifully for years. For more ways to layer light around your home, browse the rest of our outdoor lighting guides — your yard has more potential than you think.