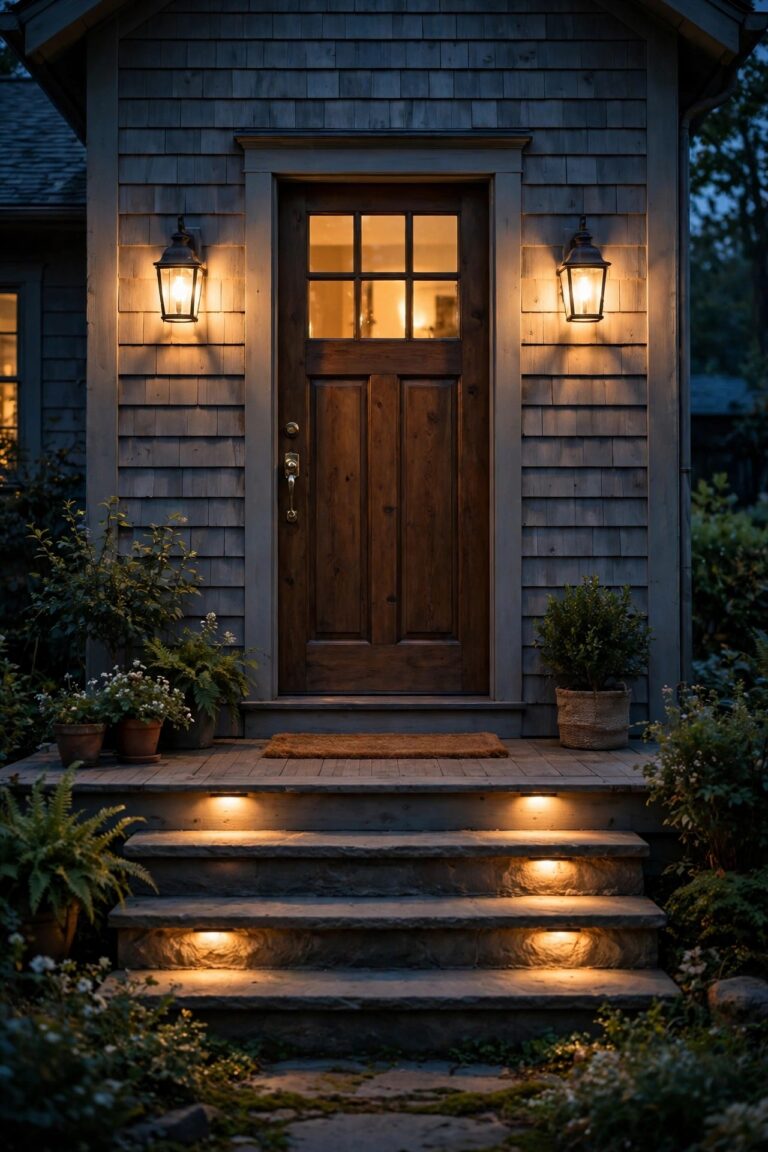
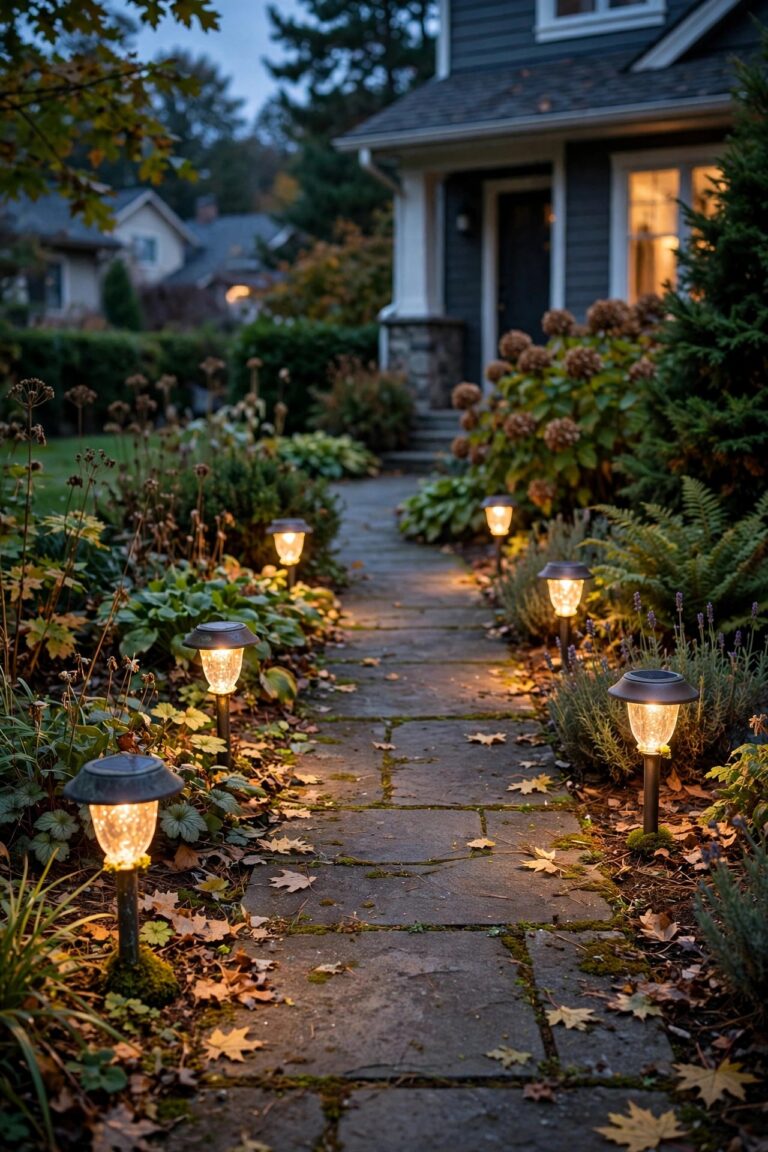
Every spring, when the electric bill lands, I ask the same question: how much of that total is my yard drinking after dark? An outdoor lighting energy audit is how I finally answered it, and honestly, the results embarrassed me. A porch light burning around the clock, a transformer humming at full size for a handful of small fixtures, halogen spots I had meant to replace three summers ago. None of it was dramatic on its own, but together it added up to real money leaking into the night. Here is the good news: outdoor lighting works best in layers, and waste hides in layers too, which means you can peel it back one step at a time. This checklist walks you through all 13 steps in the order I do them, from a simple clipboard inventory to ranking every fix by how fast it pays you back. Most of the steps cost nothing but an evening. Grab a notebook, wait for dusk, and let us go find your wasted watts together.

Step 1: Start Your Outdoor Lighting Energy Audit With a Full Inventory
You cannot fix waste you have not counted, so step one is a slow walk with a notebook. I do two passes. The daylight pass is for hardware: every fixture, where it sits, and what bulb lives inside it, including the ones hiding in the shrubs that nobody remembers installing. The dusk pass is for behavior: which lights actually come on, which flicker, which stay dark, and which ones surprise you by blazing away in a corner nobody uses. Write down the bulb type next to each fixture, and if the bulb shows no printing, note its shape and base and move on. Count everything: porch lanterns, garage floods, path lights, deck steps, the string lights over the patio, even the solar stakes. My first inventory found 34 separate lights, which was nine more than I would have guessed. That gap between memory and reality is exactly where energy leaks live. Keep the sheet; it becomes the backbone of every step that follows and the record you will compare against next year.
Suggested budget range: $0 – $10.
Step 2: Flag Every Halogen and Incandescent Bulb Still Burning
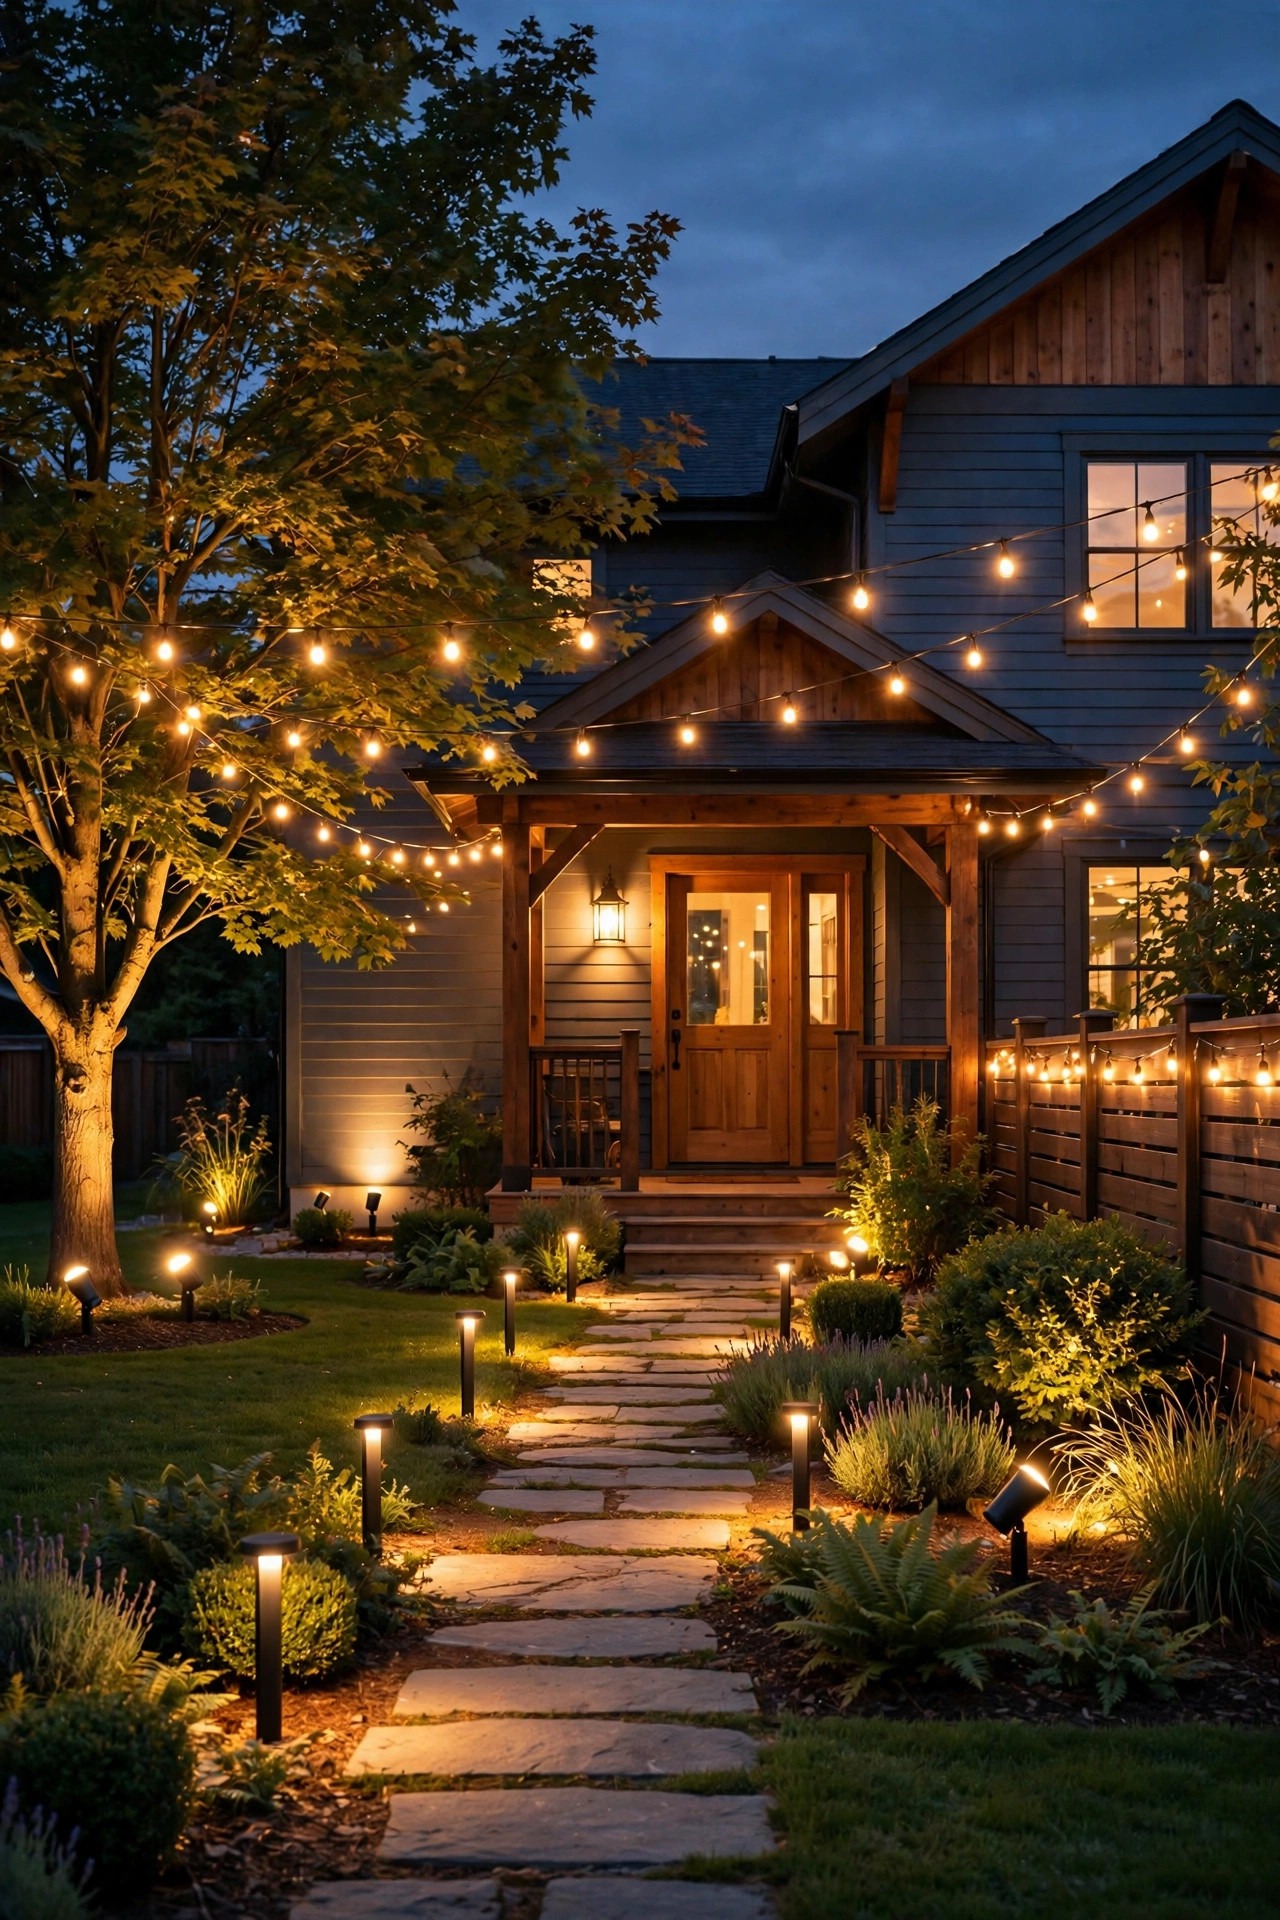
Walk your inventory sheet and circle every bulb that is not LED. These are your worst offenders, and it is not close. A classic halogen landscape spot pulls about 35 to 50 watts to do a job a 5 to 7 watt LED handles beautifully. Incandescent porch bulbs run 60 to 100 watts where an LED needs 9 to 12. Old PAR flood bulbs can hit 90 watts or more. Do the simple math on one fixture: a 50 watt halogen running five hours a night burns roughly 91 kilowatt-hours a year, while its LED replacement burns about 11. Multiply that by every circled bulb on your sheet and you will understand why this step sits at number two. I mark each offender with a star and note the socket type and wattage, because the fix in step 12 is a shopping list, not a research project. If a bulb is printed with lumens instead of watts, anything in the warm white range with a familiar screw or bipin base has a modern LED twin waiting.
Suggested budget range: $10 – $75.
Step 3: Check Whether Your Transformer Is Sized for the Load It Actually Carries
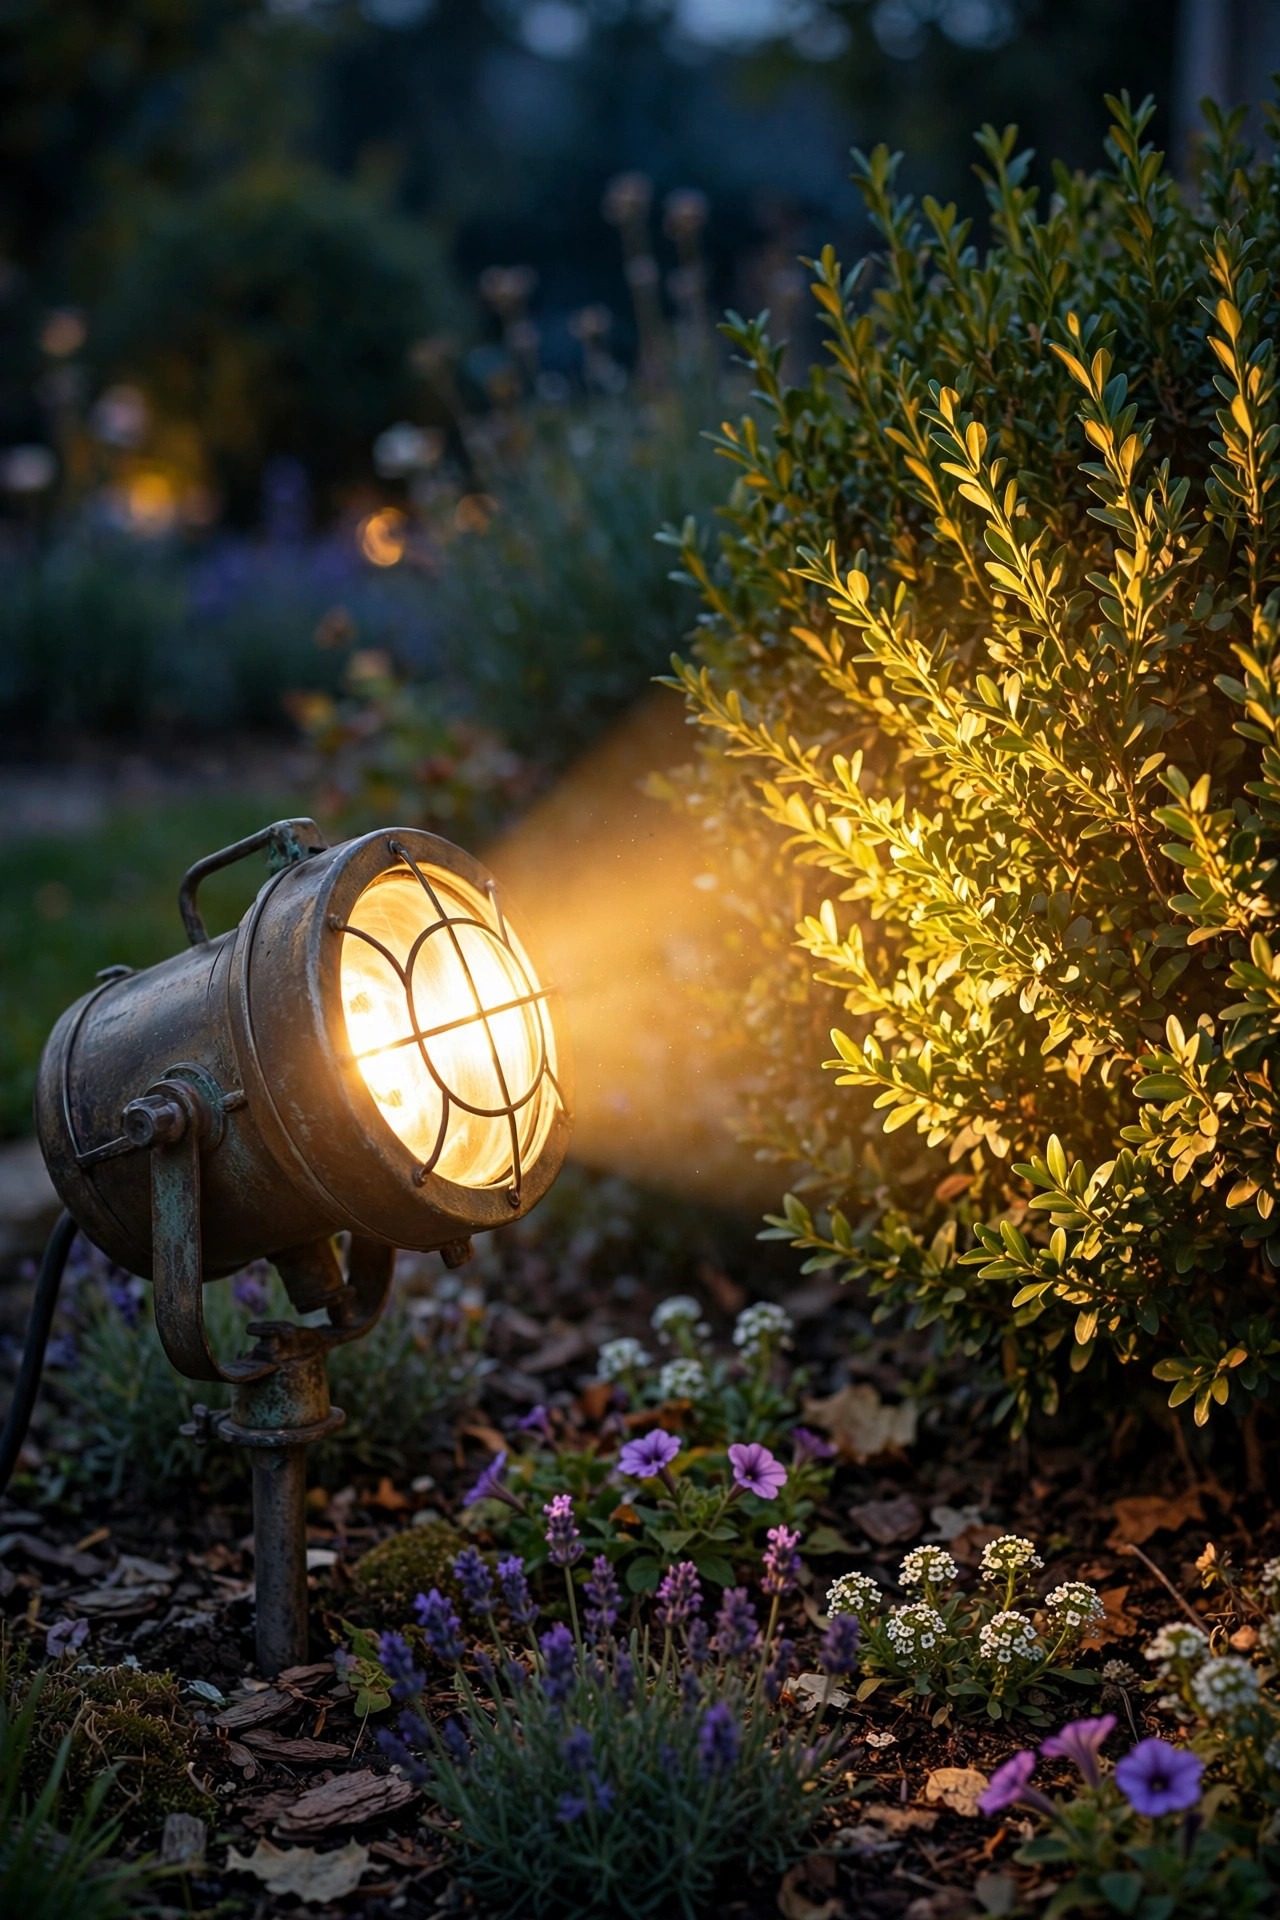
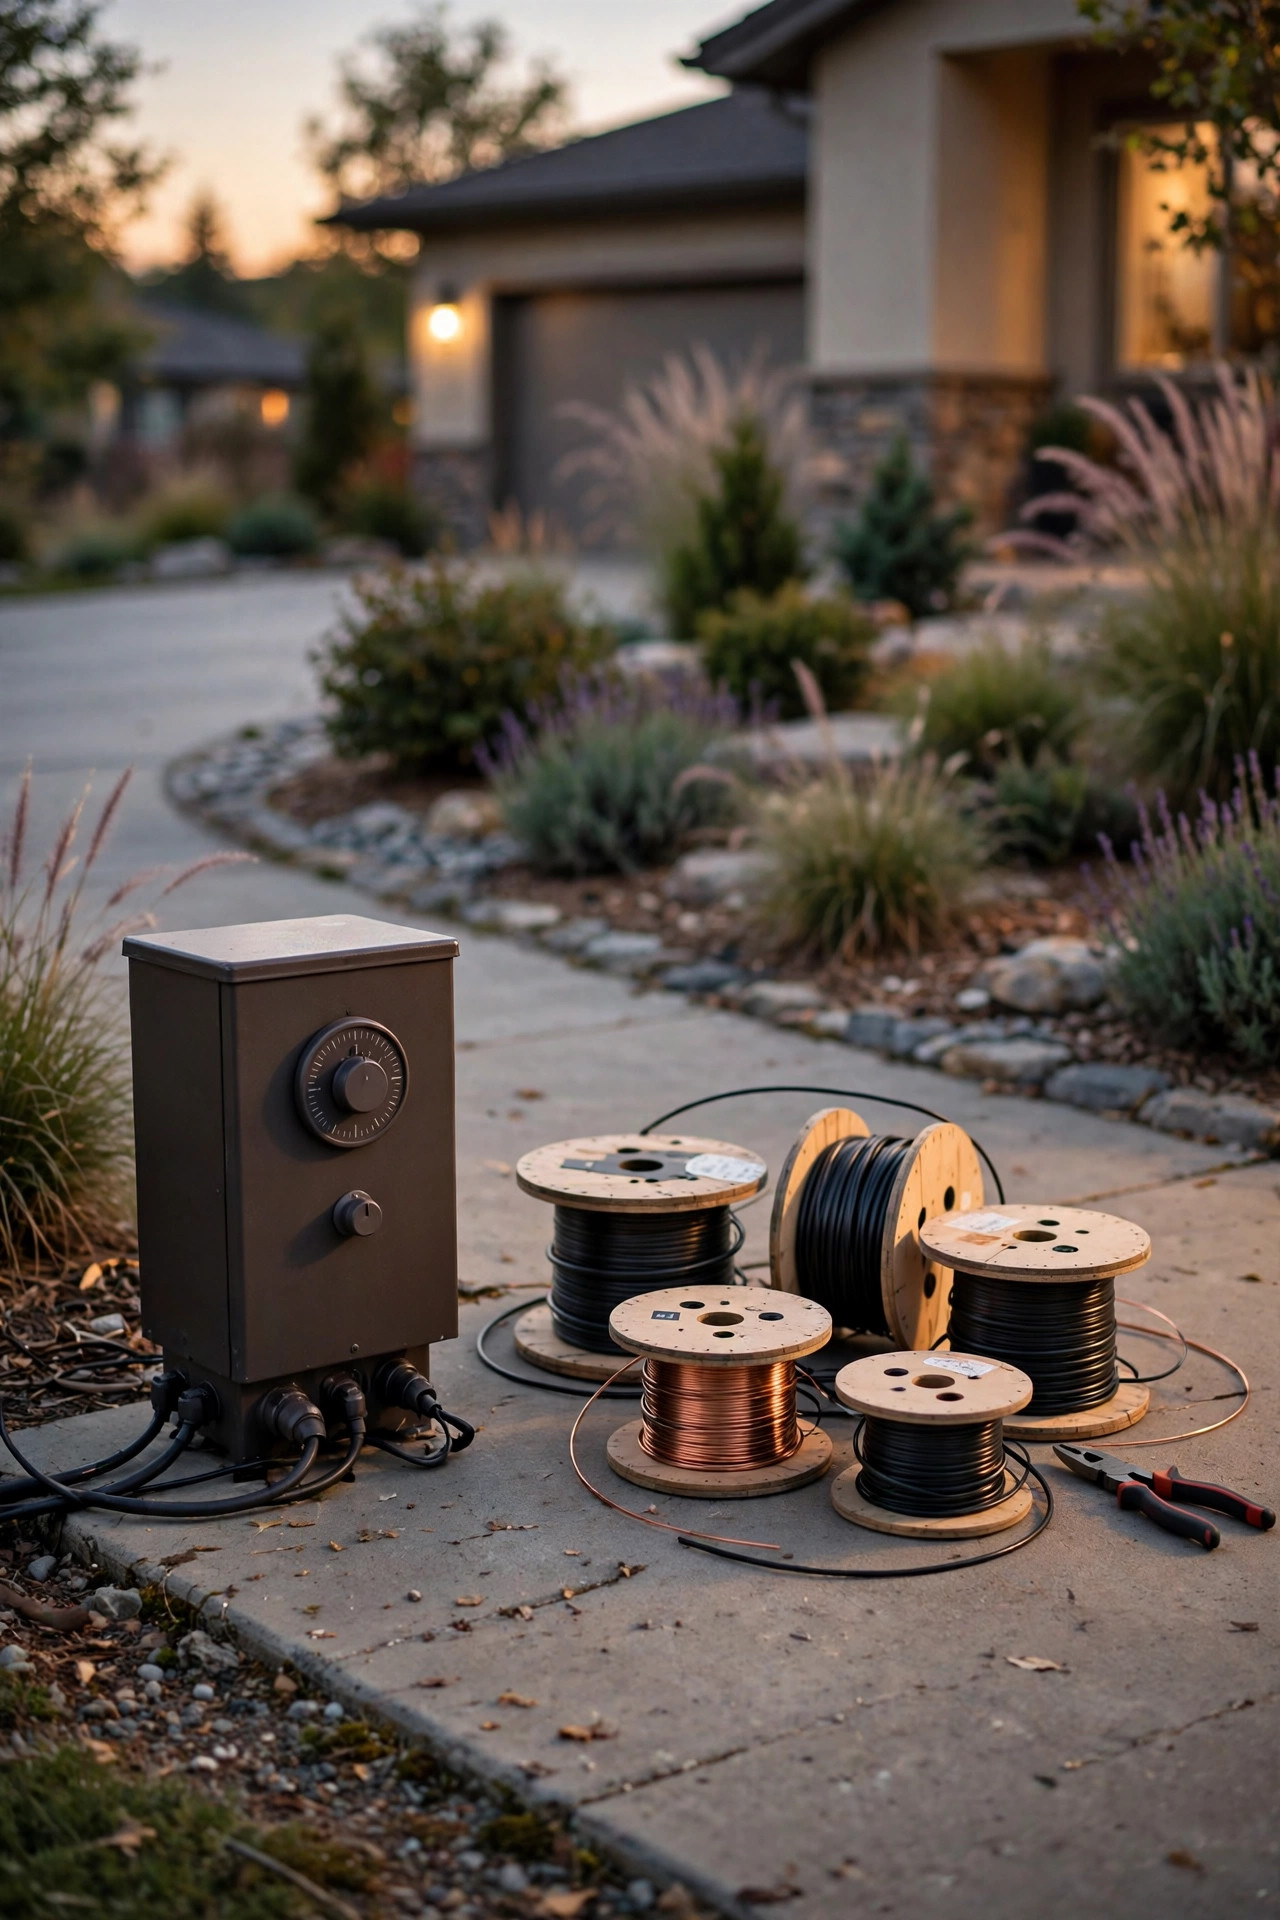
Low-voltage systems hide a quiet waste at the transformer. That box converts household current down to 12 volts, and it draws power whenever it is plugged in, even at noon, even in January. The classic mistake is a 300 watt transformer running a 40 watt load, installed by someone planning a bigger yard that never happened. Oversized units idle less efficiently, and older magnetic models can sip several watts around the clock just staying awake. Check the nameplate wattage, then add up the actual bulb watts from your inventory sheet. A healthy setup keeps the real load between about 50 and 80 percent of capacity, leaving headroom for one or two future fixtures without paying to feed a giant. If your load is a small fraction of the box, plan to downsize at replacement time, or split the yard across two smaller transformers on separate timers so the back garden can sleep while the front walk stays lit. Also confirm the transformer itself is on the timer or photocell you think it is on; a box set to plain ON is a 24-hour appliance.
Suggested budget range: $15 – $120.
Step 4: Audit the Schedule, Not Just the Lights
Watts matter, but hours matter more. A modest 40 watt system burning dusk to dawn in winter can run 14 hours a night, while the same system on a sensible schedule runs five. Walk your timers and ask hard questions. Do the path lights really need to glow at 3 a.m.? Does the back deck need light on weeknights when nobody sits out there? My favorite fix is the split schedule: entry and walkway lights stay on until bedtime, say 11 p.m., because that is when people actually arrive home, while pure accent lighting, the tree uplights and garden sparkle, shuts off earlier or runs weekends only. Motion sensing handles the rest, waking the side yard and driveway only when someone is actually there. Astronomical timers earn their keep here too, since they track sunset automatically instead of burning an extra hour of daylight in June and missing dusk entirely in December. Every hour you trim from a nightly schedule is an hour of free savings, forever, with zero change in how your yard looks during the hours that count.
Suggested budget range: $0 – $25.

Step 5: Test Every Photocell, Because a Failed One Burns All Day
A photocell is the little eye that tells a fixture it is dark. When one fails, it usually fails in the ON position, and the light quietly burns 24 hours a day. I have caught porch lights glowing at high noon in July, invisible in the bright sun, doing absolutely nothing except billing me. Testing is easy: on a sunny morning, walk the yard and look. Any light that is on in daylight has a problem, either a dead sensor or a piece of mulch, a leaf, or a spider web parked over the eye keeping it in permanent night. Clean the sensor first; half of mine revive with a soft cloth. Still burning? The sensor itself is done, and replacements are cheap and usually twist or screw in without tools. If your fixture has no sensor and relies on you remembering a switch, that is a finding too, and my photocell troubleshooting guide walks through the symptoms one by one. One stuck sensor on a 60 watt fixture wastes more energy than everything else on this list combined.
Suggested budget range: $8 – $20.
Step 6: Hunt Down the Always-On Porch Light
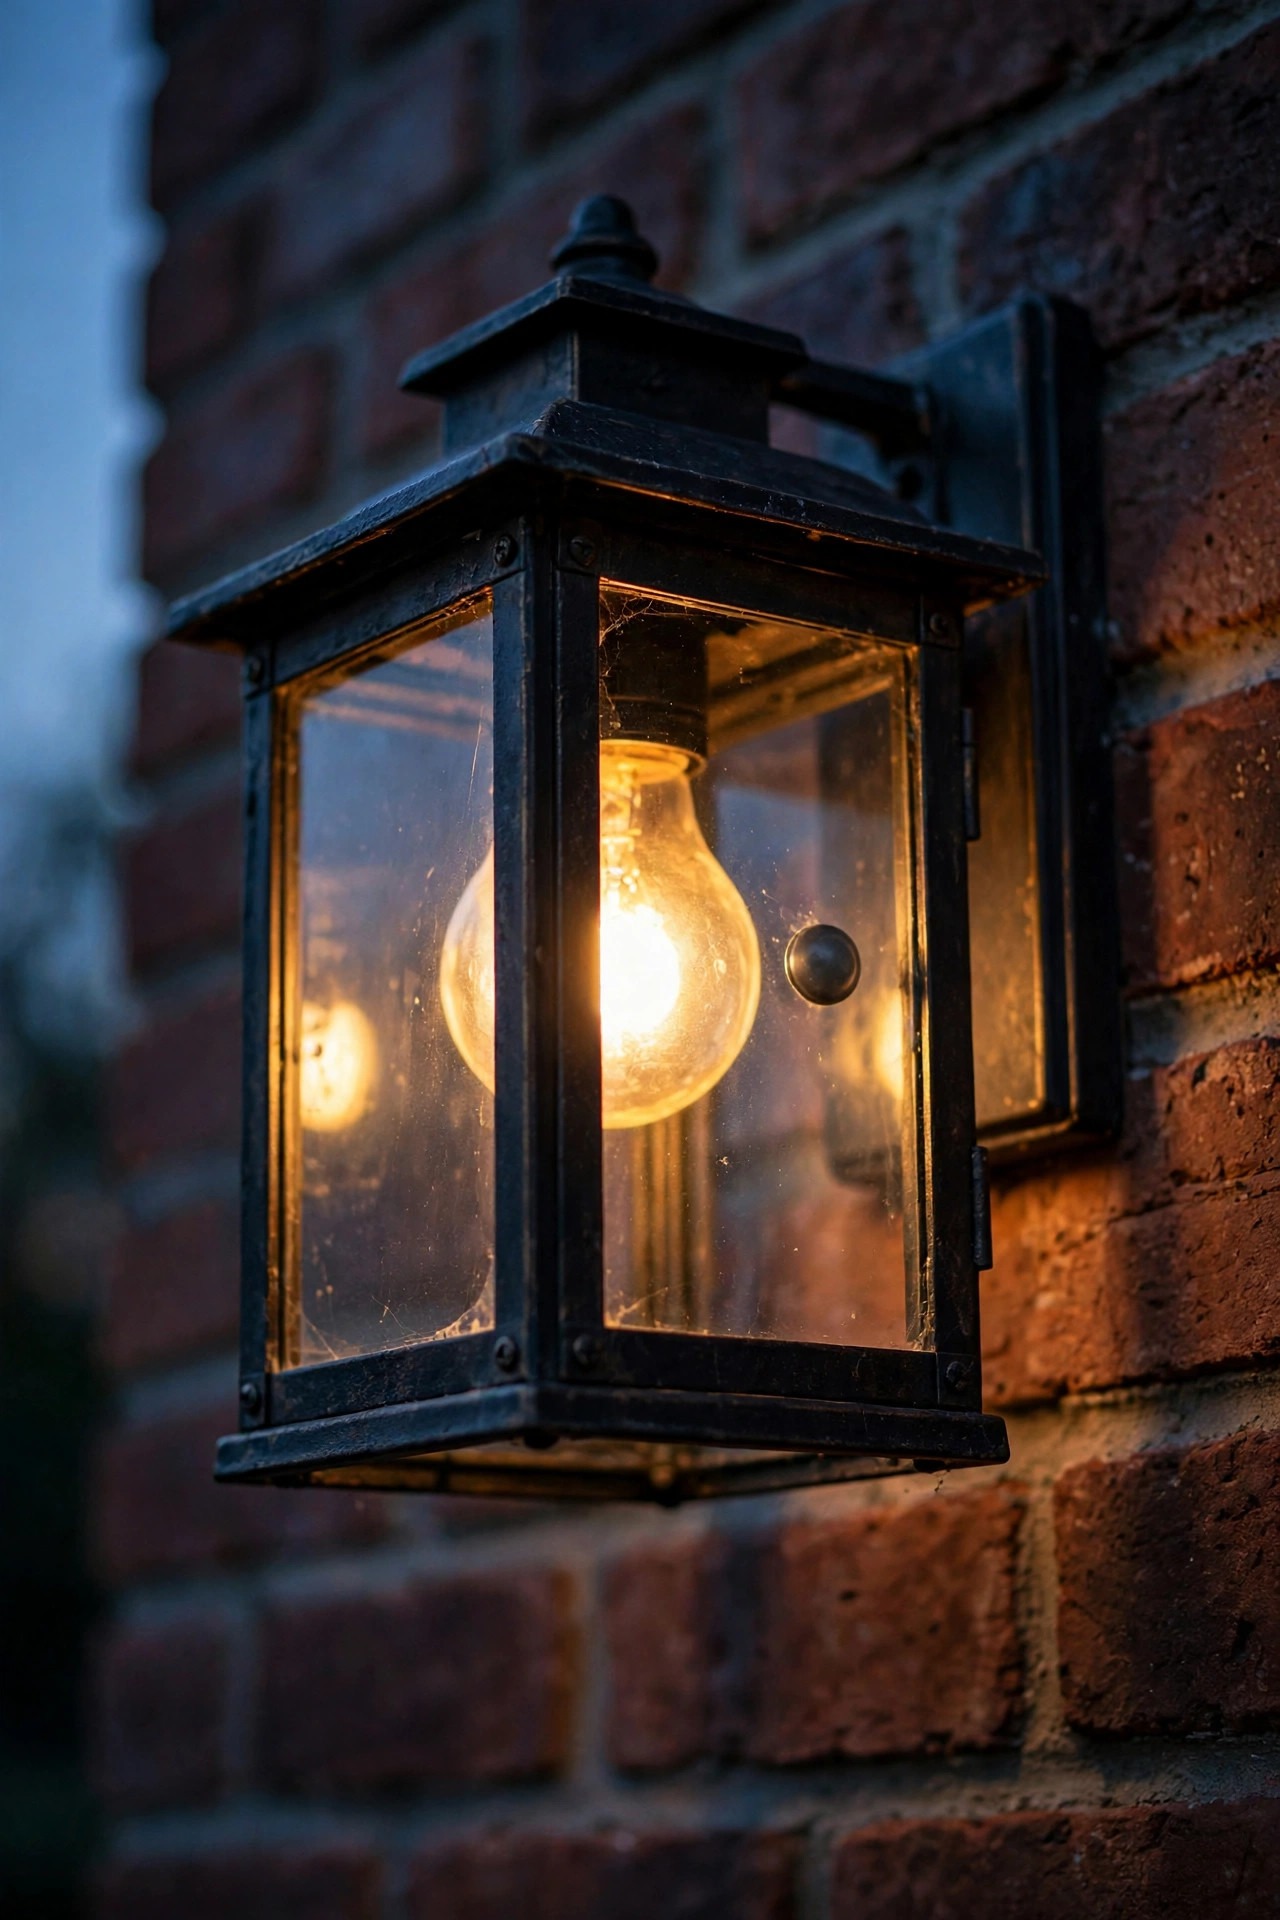
If the audit has a most-wanted list, this is public enemy number one. The porch light that never turns off is the single most common waste I find at other homes and, I admit, once found at my own. It happens innocently: someone flips the switch for a delivery, the timer battery dies, a guest switches it to manual override, and six months later it has burned through thousands of hours lighting an empty porch at noon. A 60 watt bulb running 24 hours a day uses about 526 kilowatt-hours a year; the same welcome on a dusk-to-dawn photocell uses closer to 260, and on a smart schedule with an LED, under 60. Check every fixture controlled by an indoor switch and confirm it is actually dark at midday. Then fix the habit, not just the bulb: a photocell bulb, a screw-in dusk-to-dawn adapter, or a timer switch makes the correct behavior automatic, because willpower is not an energy strategy in any house I have ever lived in.
Suggested budget range: $6 – $18.

Step 7: Add Up Each Zone and Do the Annual Hours Math
Now turn your inventory into numbers. Group the yard into zones the way your switches and timers see it: front entry, walkway and path, driveway, deck and patio, garden accents, security. For each zone, total the watts, then multiply by honest nightly hours and by 365. The formula is simple: watts times hours divided by 1,000 gives kilowatt-hours, and at roughly 16 cents each, you can price every zone. My first pass shocked me: the garden accents, pure decoration, cost more per year than the entire safety lighting combined, simply because they ran all night. That is not an argument to kill the pretty lights; it is an argument to schedule them like entertainment instead of infrastructure. A pocket plug-in energy meter helps if you want real numbers instead of estimates for a whole circuit. Write the zone totals on your inventory sheet. Seeing the year priced out, zone by zone, turns vague guilt into a plan, and it tells you exactly which two or three changes will move your bill and which are rounding errors.
Suggested budget range: $12 – $30.
Step 8: Look for Output Waste, Light Turned Up Louder Than the Job
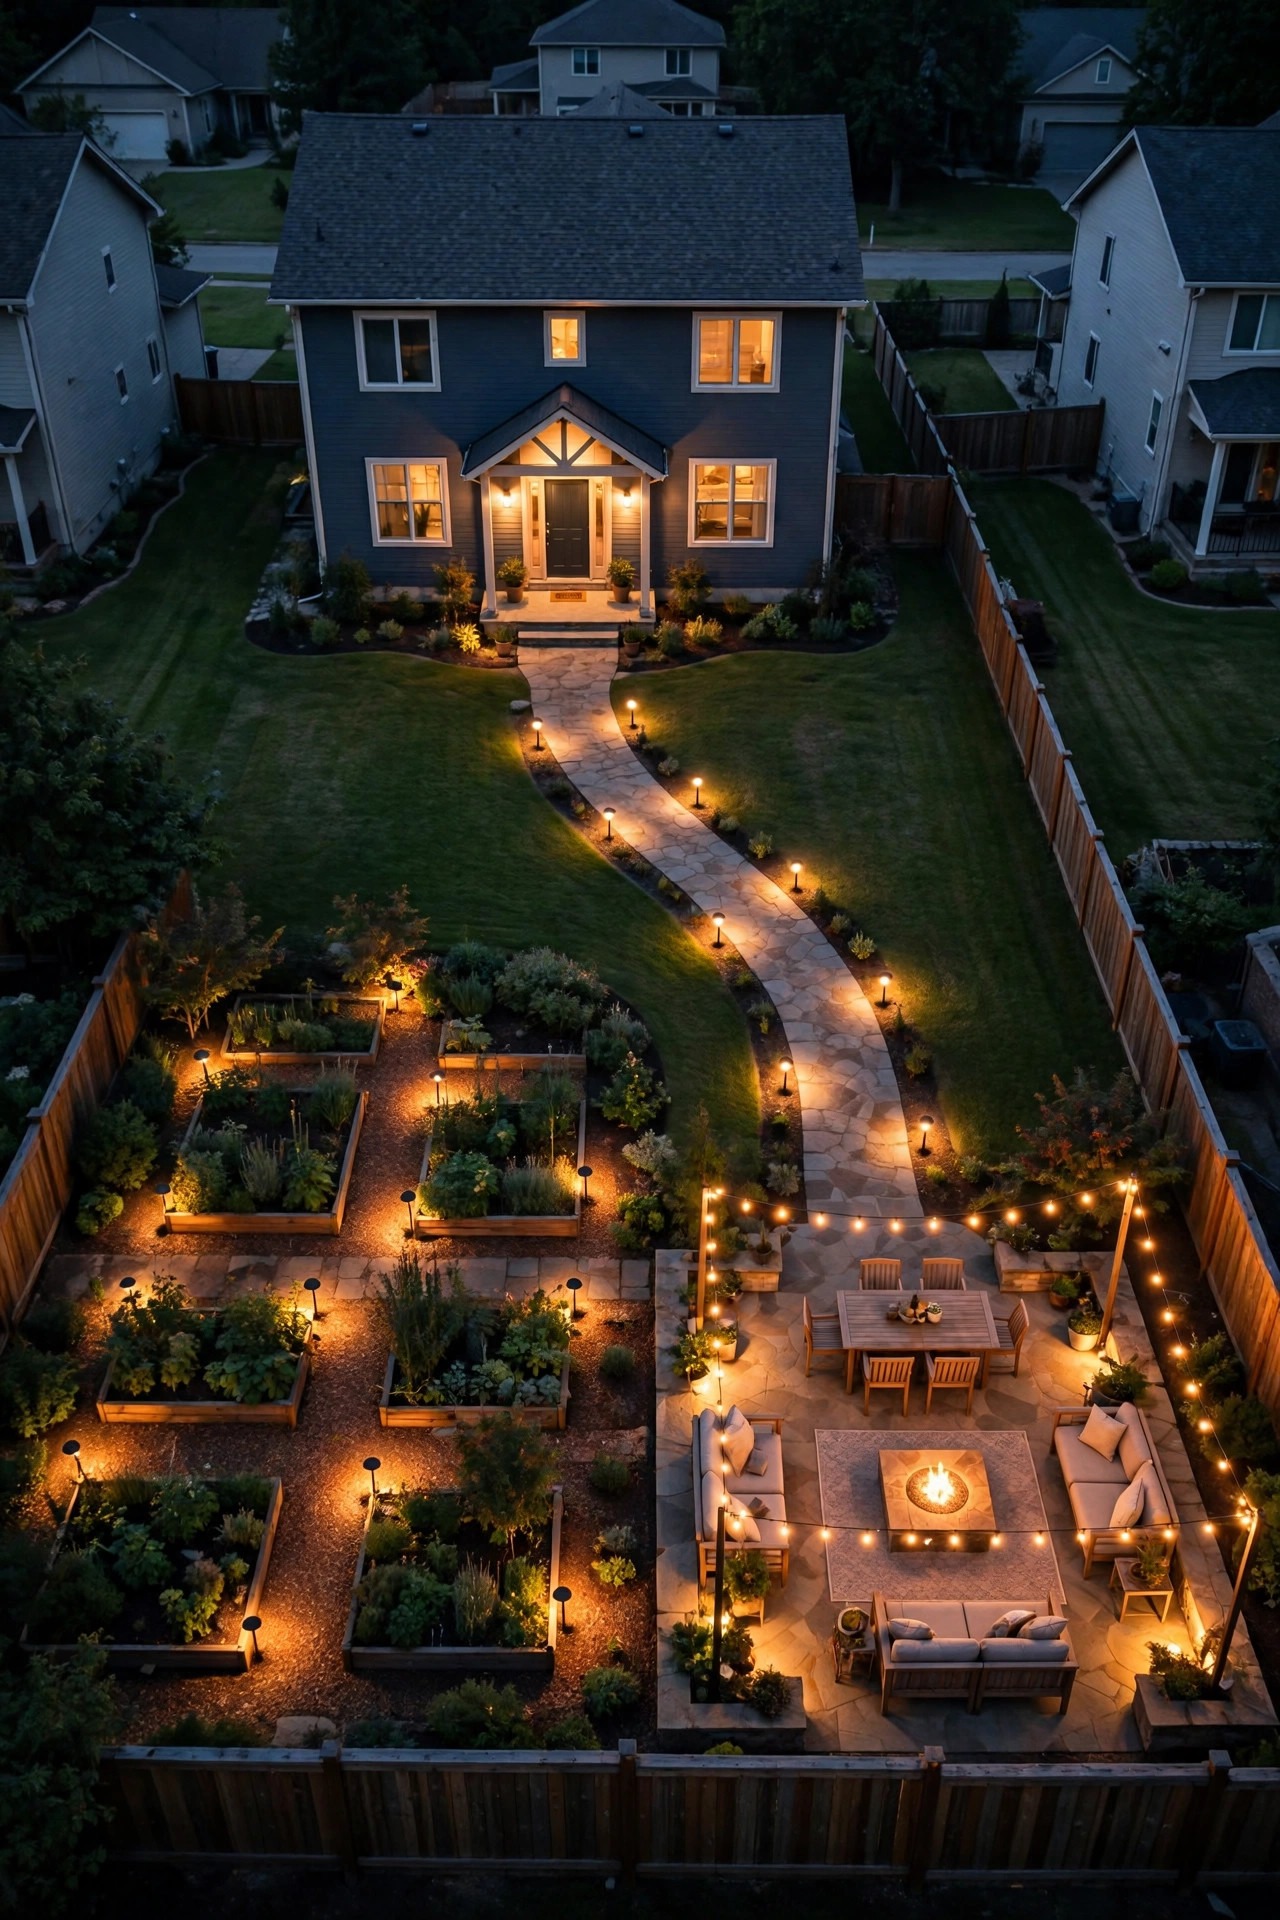
Some waste is not about hours or bulb type; it is about aiming a fire hose at a teacup. Over-lit walls, floods at full blast over a small patio, and path lights bright enough to read by all spend watts producing glare instead of usefulness. Stand where people actually stand: on the walk, in the driveway, in a deck chair. If you are squinting, the fixture is too bright, badly aimed, or both. Dimming is the elegant fix where your fixtures allow it, because a light at 40 percent output sipping a third of the power often looks better, warmer, and more expensive than the same light at full glare. Where dimming is not an option, a lower-lumen bulb swap does the same job for a few dollars. Uplights deserve a check too: a wide flood washing the whole sky above a small tree wastes half its beam on the clouds, while a narrower spot puts every watt on bark and branches. Right-size the output to the task and the scene usually improves at the exact moment the meter slows down.
Suggested budget range: $15 – $45.
Step 9: Audit the Solar Fleet, Working, Dead, and Misplaced
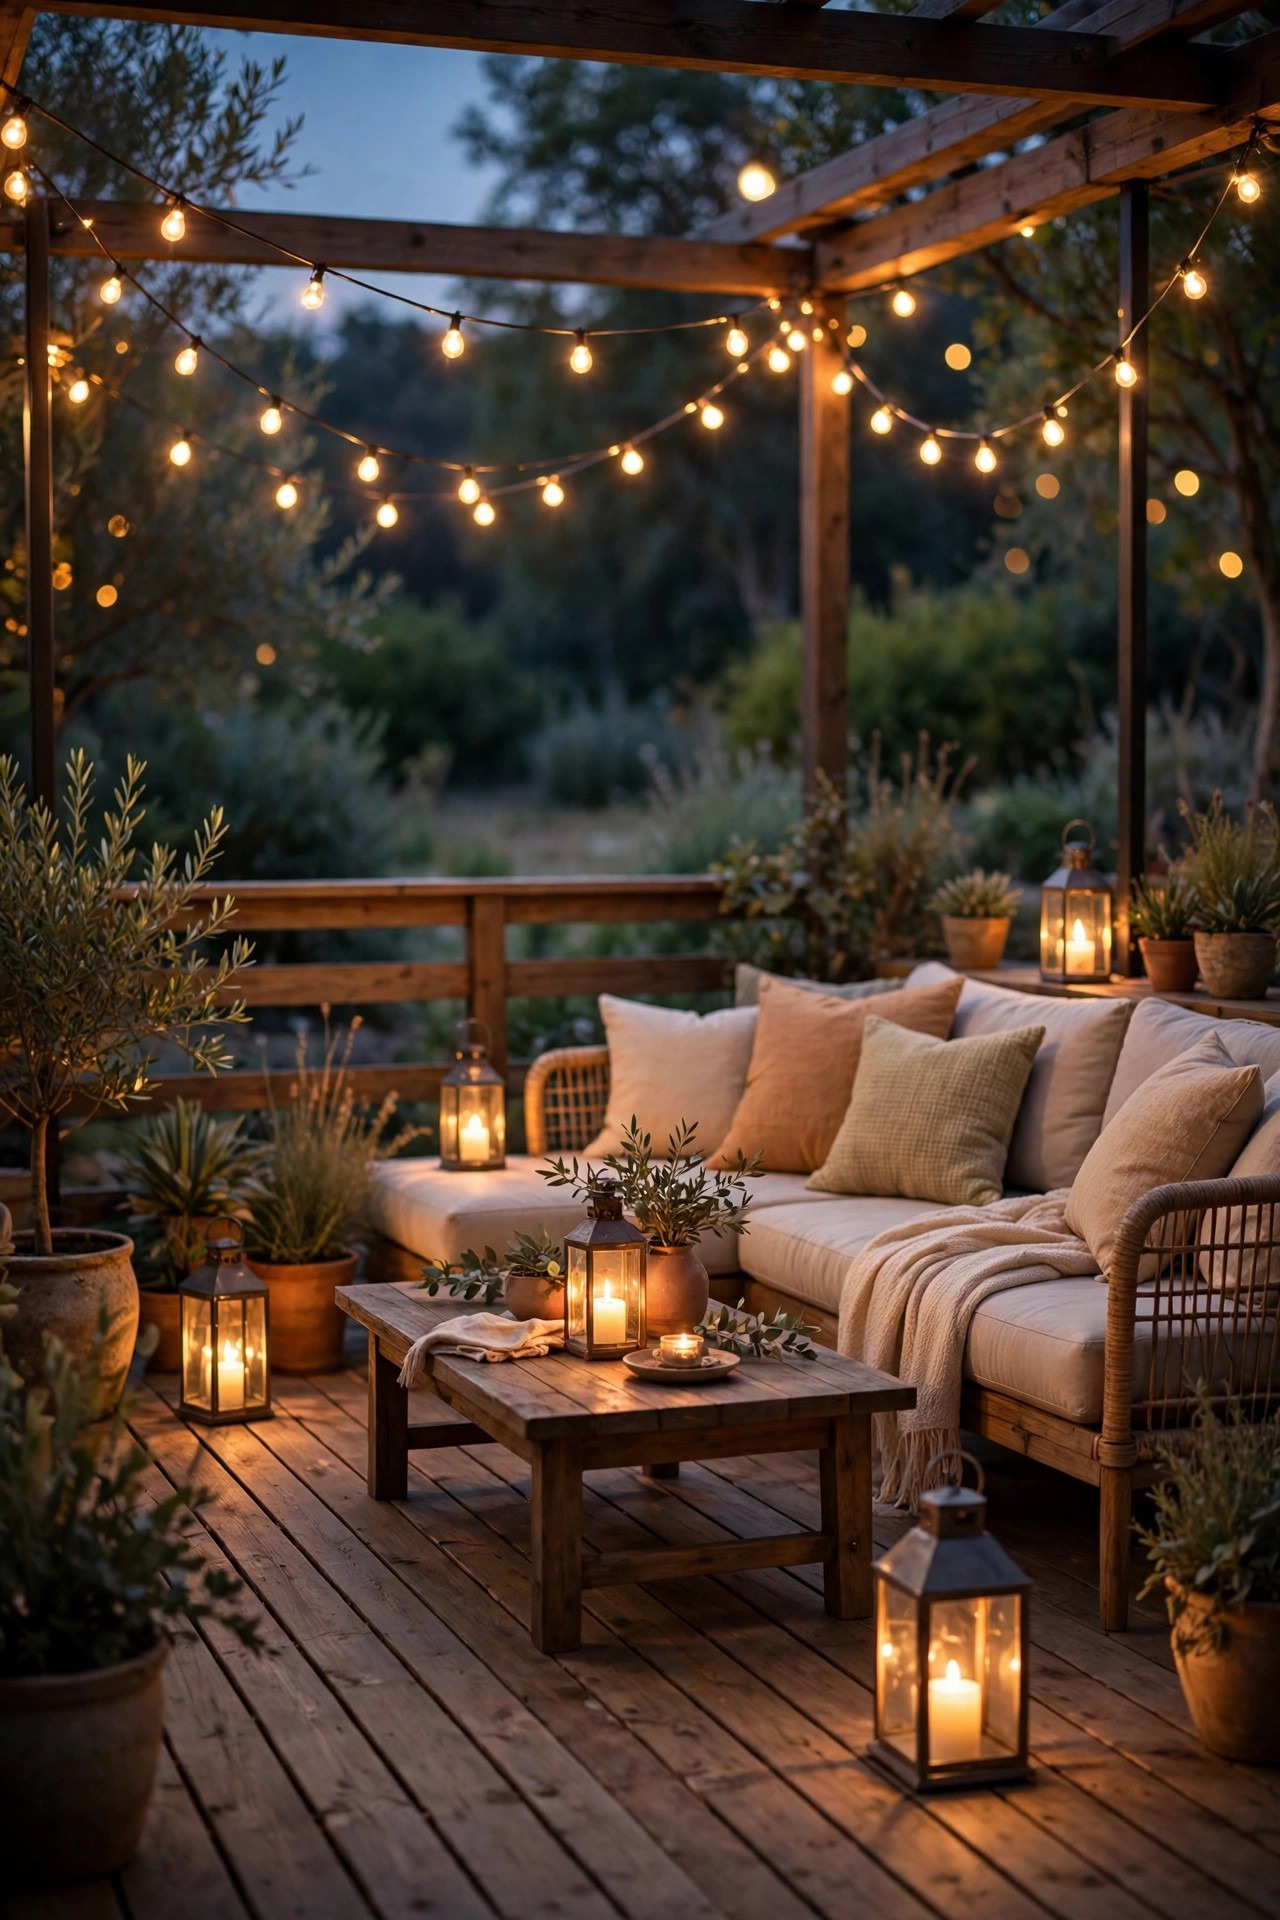
Solar lights draw nothing from the grid, so it is tempting to skip them. Do not, because their audit value runs the other direction: every job a healthy solar light handles is a job your wired system does not have to. Walk the fleet at dusk and sort them honestly. The strong performers along the sunny walk are free lighting; keep them. The dead ones, panels cloudy, batteries long past their two or three good years, cost you nothing in energy but mark spots where you may be burning wired light as a backup, so revive them with fresh rechargeable batteries or retire them and close the gap consciously. The misplaced ones, glowing bravely under the maple on two hours of sun, are candidates to move, not replace. Then look for new solar territory: the far garden bed, the mailbox, the steps at the side gate. Shifting even two accent fixtures from the transformer to solar removes their watts and their hours from your zone math entirely, and the light out there often looks softer and prettier for it.
Suggested budget range: $8 – $40.
Step 10: Check for Voltage Drop, the Waste You Pay for but Never See
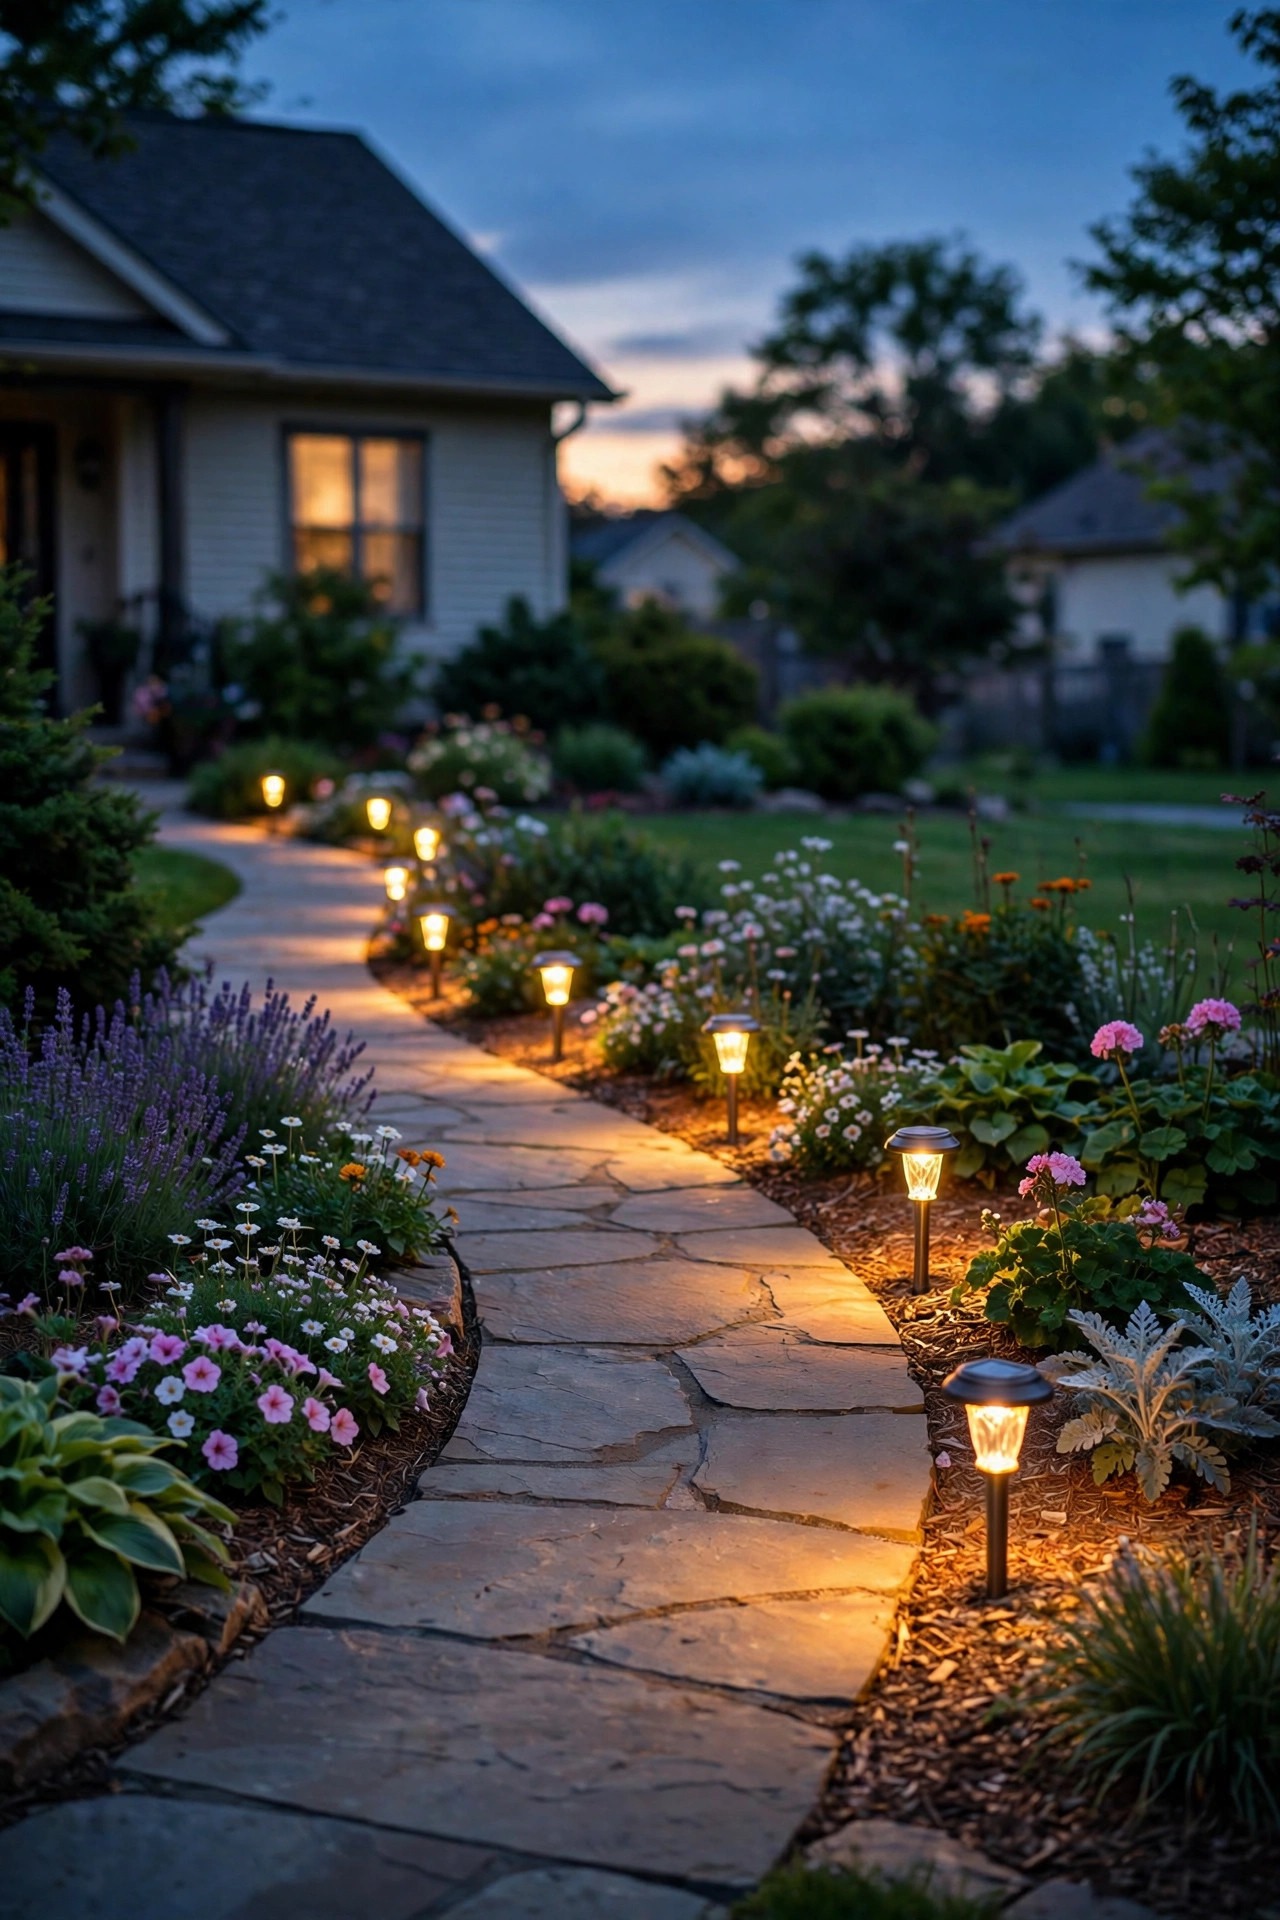
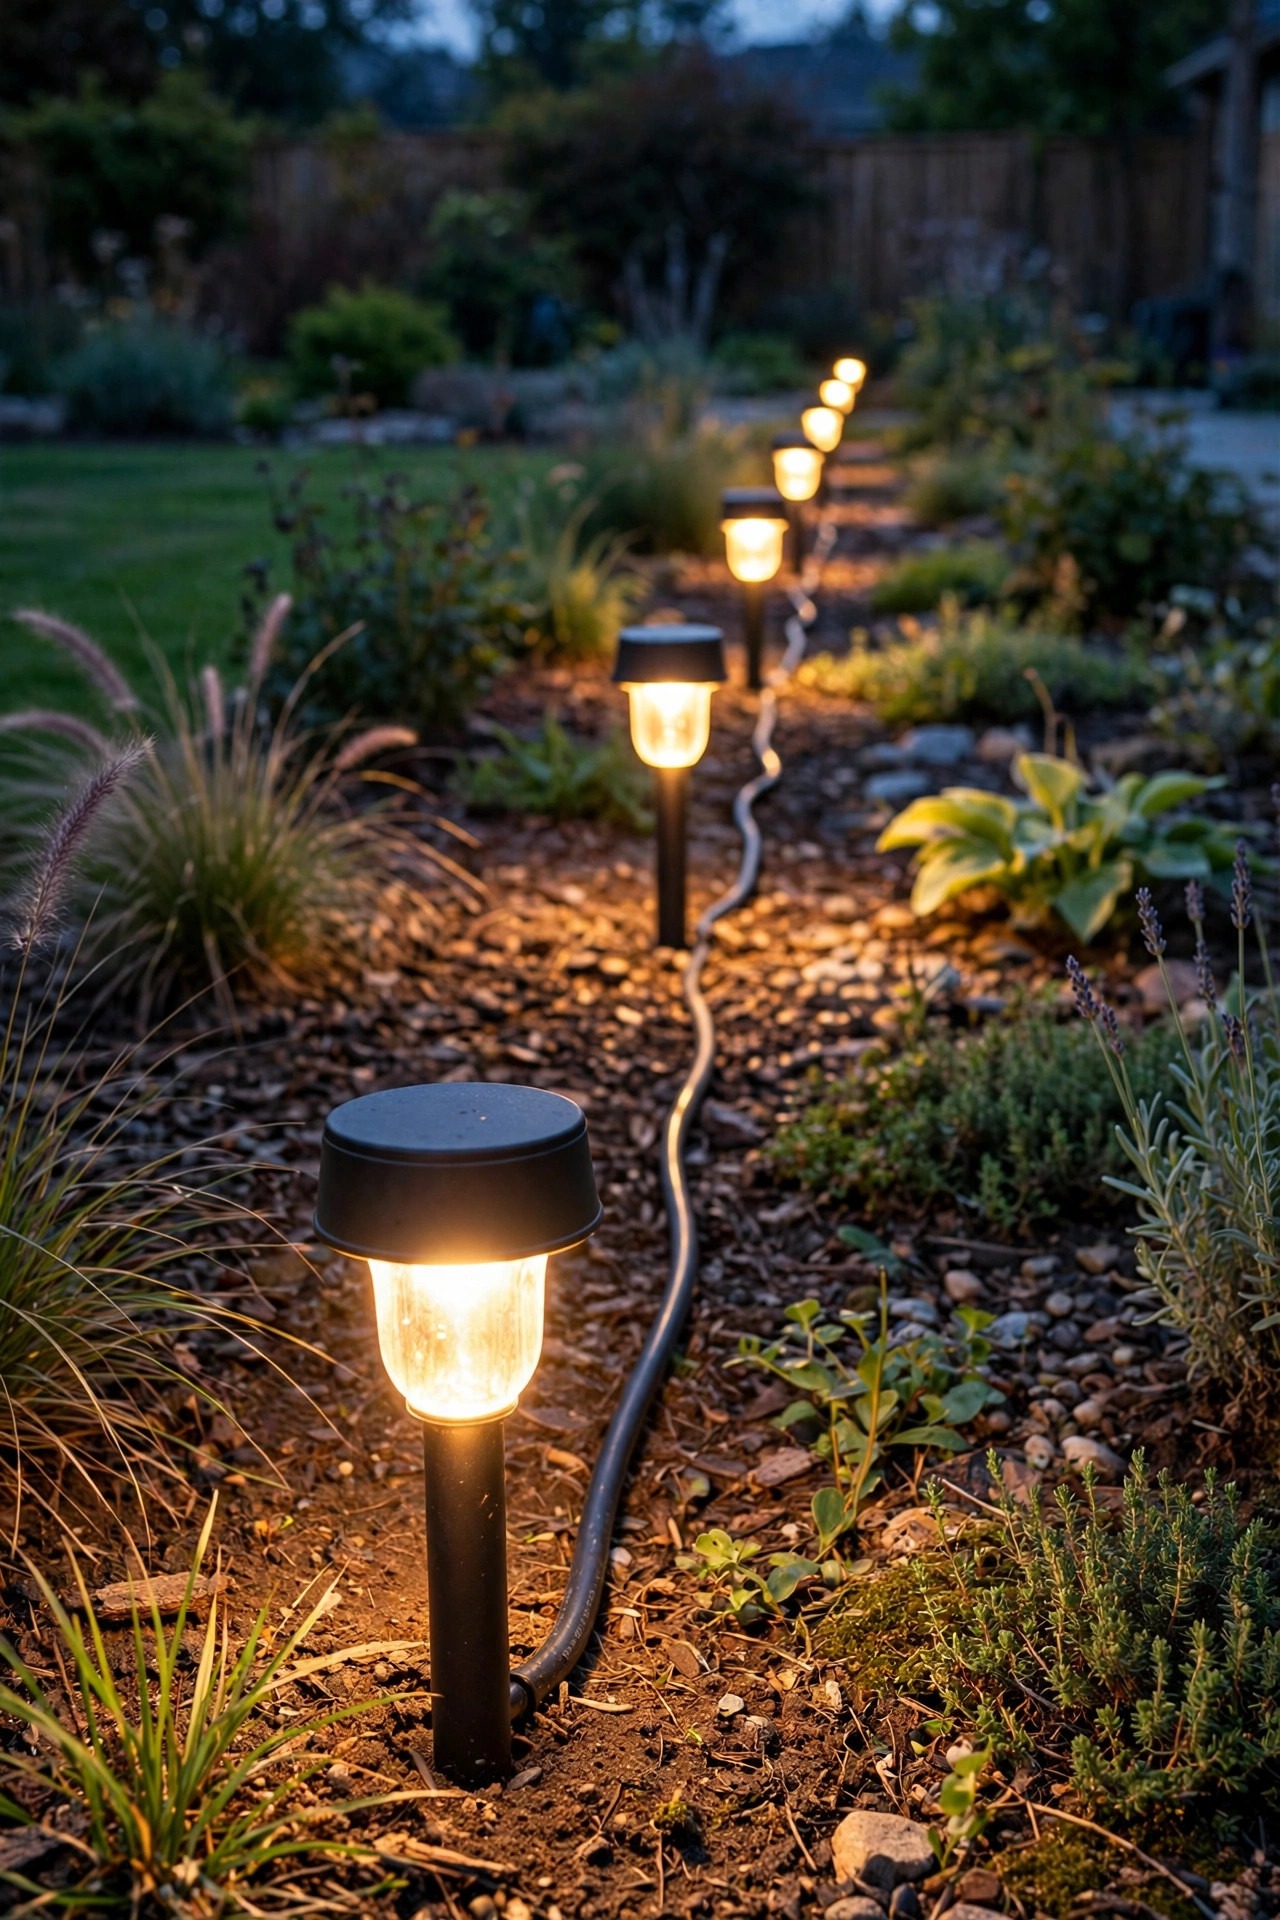
On a long low-voltage run, resistance in the cable quietly steals power, and the fixtures at the far end glow dim and amber while the ones near the transformer blaze. That dimness is waste in its purest form: you are paying full wattage for a portion of the light, and the missing portion is warming your cable. Walk the run at night and compare the first fixture to the last. If the tail of the line looks tired, suspects include a run that is too long for its cable gauge, too many fixtures tapped into one line, and corroded pierce-point connectors adding resistance at every joint. Fixes range from free, rebalancing fixtures across the transformer taps, to modest: a heavier gauge home run, proper gel-filled connectors, or splitting the yard into two shorter runs. It is the one step on this list where an hour of detective work can brighten lights you already own without buying a single bulb. For the deeper math on distances and gauges, I keep coming back to my landscape lighting voltage drop guide, because getting this right fixes dim lights for good.
Suggested budget range: $20 – $80.
Step 11: Review Holiday and Seasonal Loads Before They Sneak Back
The audit is not finished until you open the holiday bins, because seasonal lighting is where old technology goes to hide. One strand of vintage incandescent mini lights draws about 40 watts; a big old C9 string can pull 175 watts or more, and a roofline of them quietly out-burns your entire landscape system for six weeks straight. LED strings do the same job on roughly a tenth of the power and run cool, which matters anywhere near garlands and dry greenery. Count the strands, note which are still incandescent, and put their LED replacements on the fall shopping list instead of discovering them again in December. While the bins are open, check the timers you use for the season and retire any with cracked housings. Do not forget the off-season loiterers either: the inflatable that stays plugged in, the porch garland lights on a forgotten timer in March. Seasonal loads are pure overhead, nobody needs them in July, and every watt you trim here is a watt your December bill never meets.
Suggested budget range: $15 – $60.

Step 12: Rank the Fixes Your Outdoor Lighting Energy Audit Found by Payback
Thirteen steps of findings deserve one honest ranking before you spend a cent, because the whole point of an outdoor lighting energy audit is fixing the expensive watts first. Sort every fix into three buckets. Bucket one is free and instant: reprogrammed timers, split schedules, a cleaned photocell, a switch flipped off a manual override. Do these tonight. Bucket two is cheap with fast payback: LED swaps for the circled halogens, a photocell bulb for the porch, fresh batteries for the solar fleet. A bulb that saves 40 watts for ten dollars pays for itself in a few months of evenings. Bucket three is projects: transformer downsizing, cable work, fixture replacements, and these wait until something fails or a planned upgrade makes the labor free. My own first audit ended with nine free fixes, six bulbs, and one project deferred to spring, and the yard looked better that same night. If you want to keep going after the ranking, my notes on energy efficient exterior lighting lay out the next tier of upgrades in plain language.
Suggested budget range: $0 – $20.

Step 13: Put the Audit on the Calendar So Next Year Takes Twenty Minutes
An audit you repeat beats an audit you perfect, so the last step is making the next one effortless. File your inventory sheet, zone math, and fix list somewhere you will actually find them; mine lives in the same folder as the holiday timers, which guarantees it resurfaces every fall. Schedule the repeat with your autumn yard prep, before the long nights arrive, because October you is far more motivated than January you standing in the cold. The yearly rerun is mostly a victory lap: confirm the bulbs you swapped are still the bulbs in the fixtures, check that no new always-on snuck in, re-run the photocell walk, and update the sheet for anything added or moved. Twenty minutes, honestly, once the first audit exists. I also pencil in one small upgrade a year from bucket three, which is how the system quietly becomes the efficient, layered yard I pictured without ever facing one giant bill. Waste creeps back slowly; a yearly habit keeps it from ever moving in again.
Suggested budget range: $0 – $15.
Frequently Asked Questions
How much can an outdoor lighting energy audit actually save?
It depends on what the audit finds, but homes with leftover halogen bulbs, a stuck photocell, or an always-on porch light commonly cut their outdoor lighting energy in half or better. Because outdoor lights run thousands of hours a year, even small watt savings compound quickly. Most of the biggest savings come from free fixes: schedules, sensors, and switches.
How long does the full 13-step audit take?
Plan on one evening of about two hours for the first pass, including both the daylight hardware walk and the dusk behavior walk. The zone math in step 7 takes another half hour at the kitchen table. Repeats, once your inventory sheet exists, take about twenty minutes each fall.
Do LED bulbs really save that much over halogen outdoors?
Yes. A typical halogen landscape spot uses 35 to 50 watts for light an LED produces on 5 to 7 watts, and LEDs last far longer between replacements. The light quality matches too: warm white LEDs in the 2700 to 3000K range give the same golden glow people loved about halogen, without the heat or the bill.
What is the single biggest waste most audits find?
The always-on porch light, usually by accident: a manual override, a dead timer battery, or a failed photocell nobody noticed. One 60 watt bulb burning around the clock uses more energy in a year than an entire well-run path lighting system on a sensible schedule. Check yours in daylight first.
Conclusion
Here is what I want you to take from all this: your yard is probably prettier than it is wasteful, and the gap between the two is one evening of detective work. Run this outdoor lighting energy audit once, fix the free things tonight and the cheap things this month, and let the projects wait their turn. The glow stays, the glare goes, and the bill gets noticeably quieter. When you are ready for the next project, browse the rest of my lighting ideas here and pick the zone that deserves the savings most.