Stand at your curb after dark and look at your yard the way a guest would. Does your eye wander with nowhere to land — a path light here, a porch glow there, everything shining at exactly the same brightness? Nothing is broken, exactly. It's just that nothing is the star. Focal point lighting fixes that. It's the simple idea of picking one feature you genuinely love — a sculptural tree, a bubbling fountain, grandma's concrete birdbath — and giving it the brightest, most deliberate light in the yard, while everything else politely steps back into a supporting role. In my experience, this one decision does more for curb appeal than adding ten more fixtures ever could. In this guide, I'll show you how to spot the features that deserve the spotlight, the four techniques the pros use to light them, and the beam angles and brightness ratios that create real drama instead of glare. We'll finish with a one-evening flashlight test you can run before you bury a single wire, so by the end you'll know exactly what your yard's star is — and how to make it shine.
The Short Answer
A focal point is the one feature your yard's lighting is organized around — usually a specimen tree, a water feature, a statue, or a beautiful piece of architecture. Choose just one per view, light it two to three times brighter than its surroundings, and hide the fixture so visitors see the glow, not the hardware. Narrow-beam uplights (15–36 degrees) suit trees and columns; cross-lighting from two sides gives statues and textured bark their depth. Test at night with a flashlight before you commit to anything.
What a Focal Point Is — and Why Your Eye Needs One
Here's something I learned the hard way, after years of adding "just one more" path light: the human eye can't appreciate twelve things at once. At night it does something very simple — it travels straight to the brightest, highest-contrast thing in the scene and calls that the subject. Everything else becomes background. Photographers and landscape designers have used this forever. A room has a fireplace or a painting everything else defers to. A garden photograph has one glowing tree. When a yard has no hierarchy, it reads as flat and oddly restless, even if you spent a fortune on fixtures. The fix isn't more light — it's ranked light. Your focal point gets the top rank: the brightest pool, the tightest aim, the most thought. Supporting lights (paths, steps, the porch) stay lower and softer, and ambient washes sink to a whisper behind everything. Once I started thinking in ranks instead of fixtures, my whole yard calmed down. Guests started saying "that tree is gorgeous" instead of "wow, lots of lights." Honestly? That's the entire secret. You're not lighting a yard — you're telling your visitors where to look first, second, and last. Once that order is clear, every fixture you own suddenly works harder, because each one finally has a job in the story instead of competing for the lead role.
Focal Point Lighting Candidates: Features That Earn the Spotlight
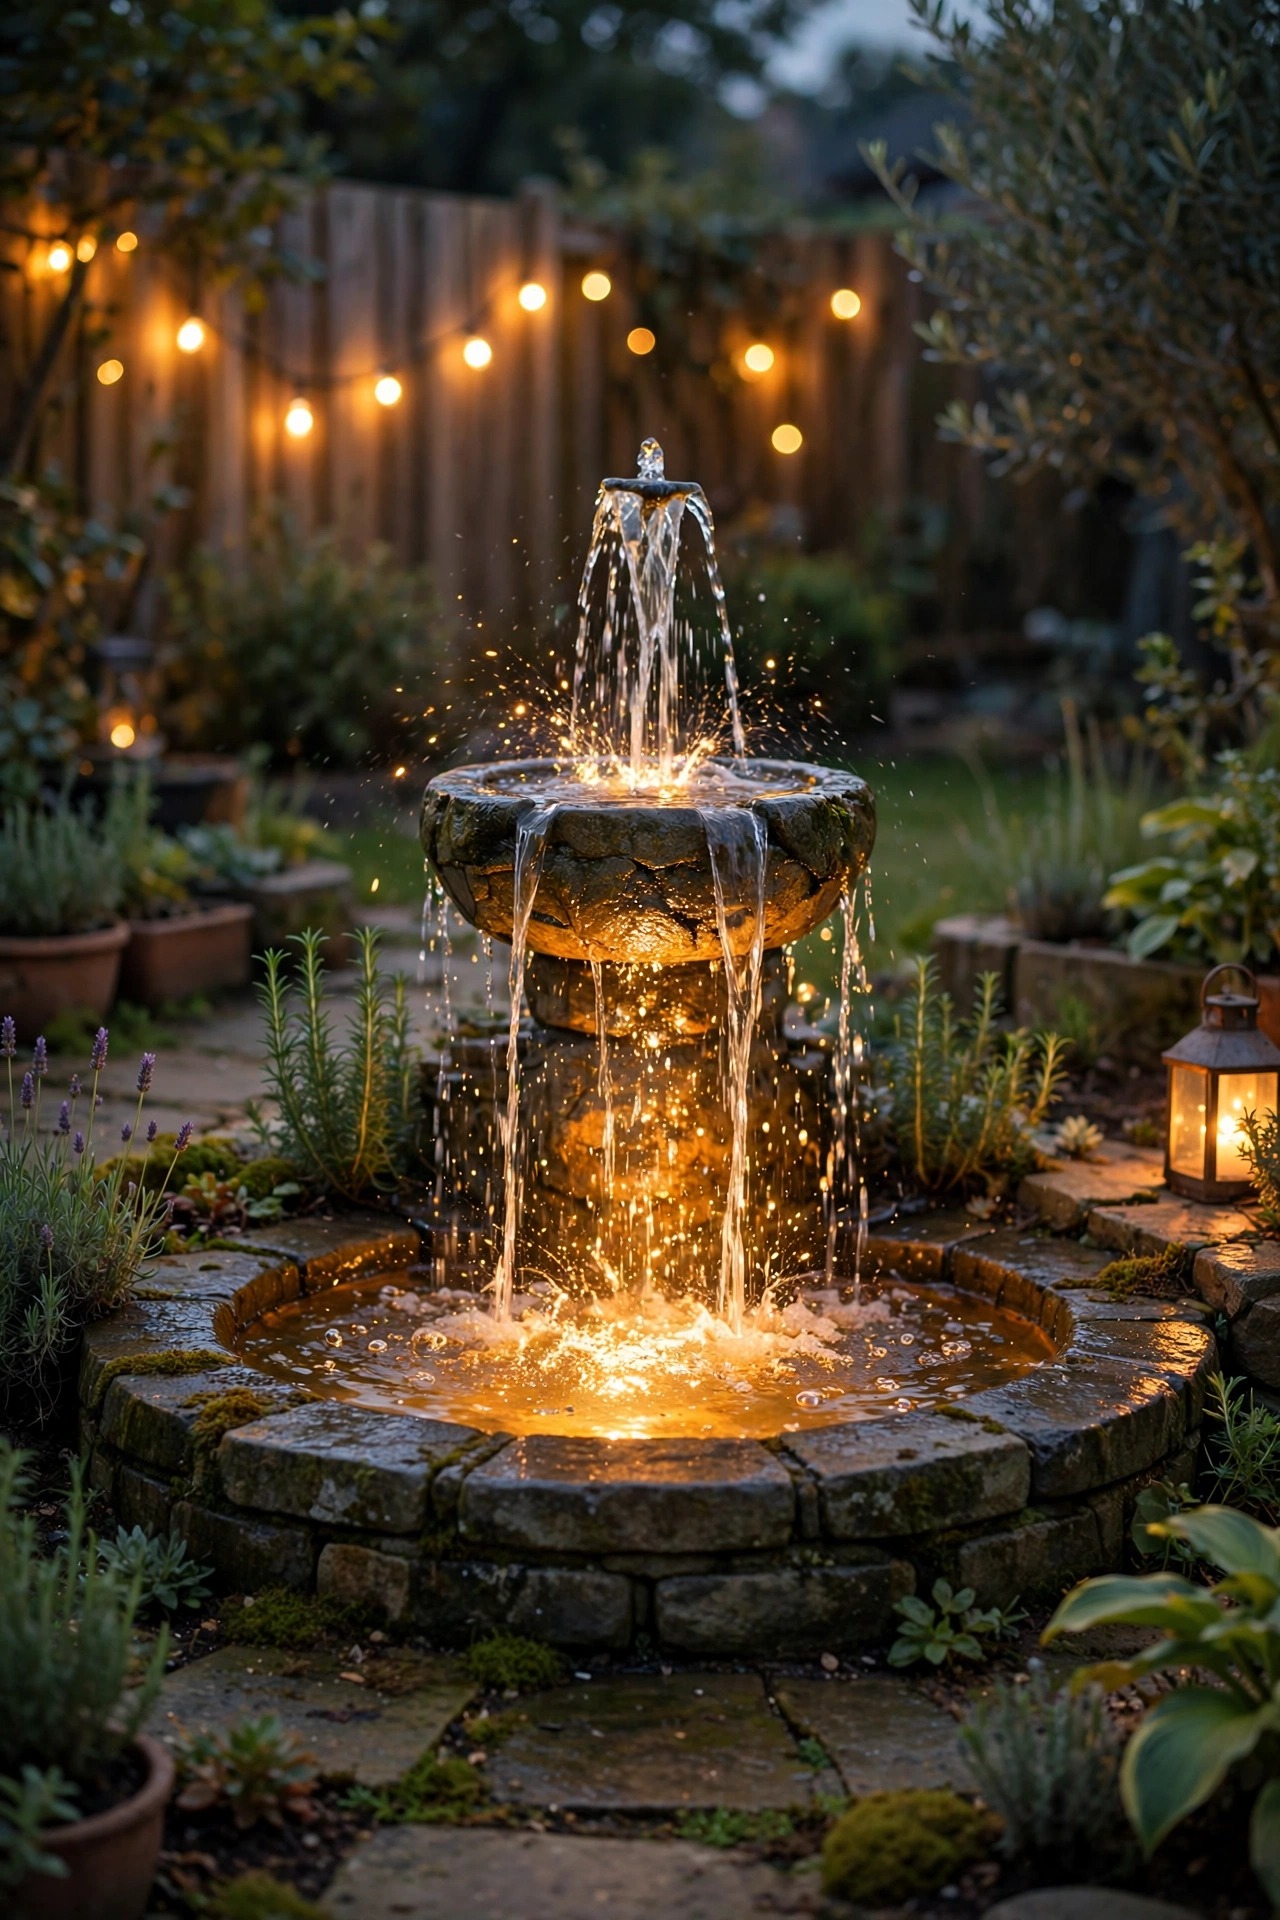
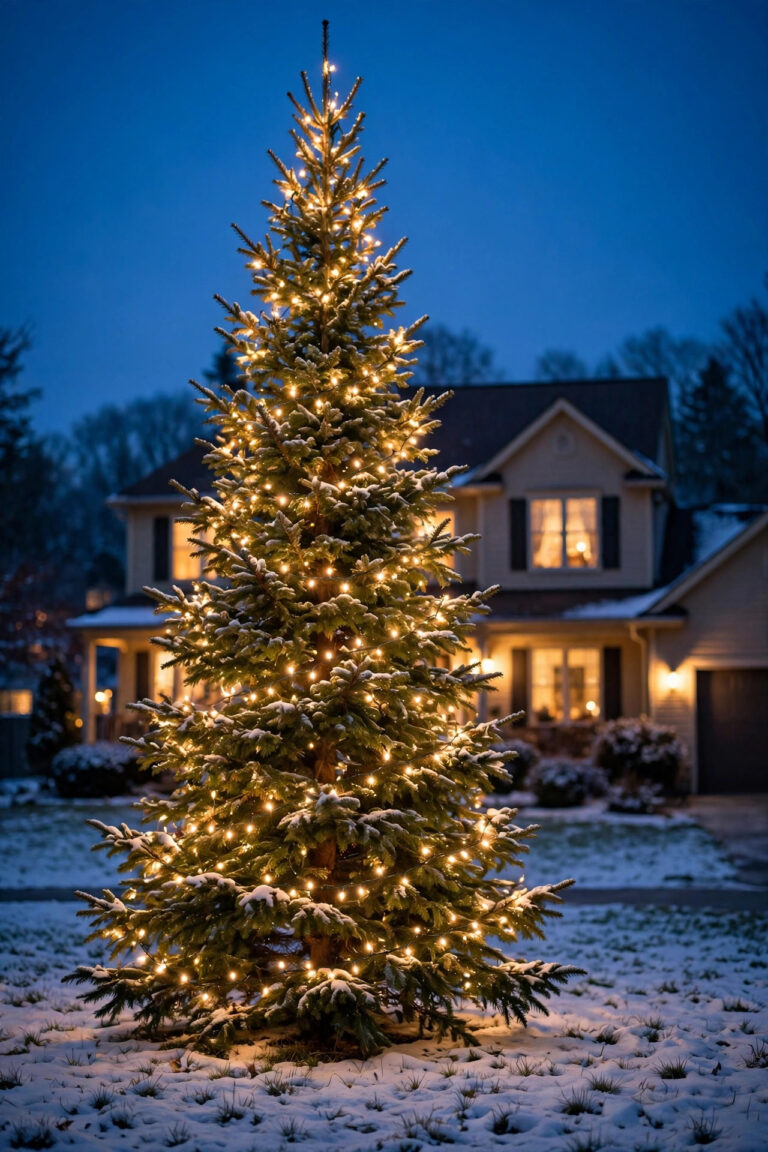
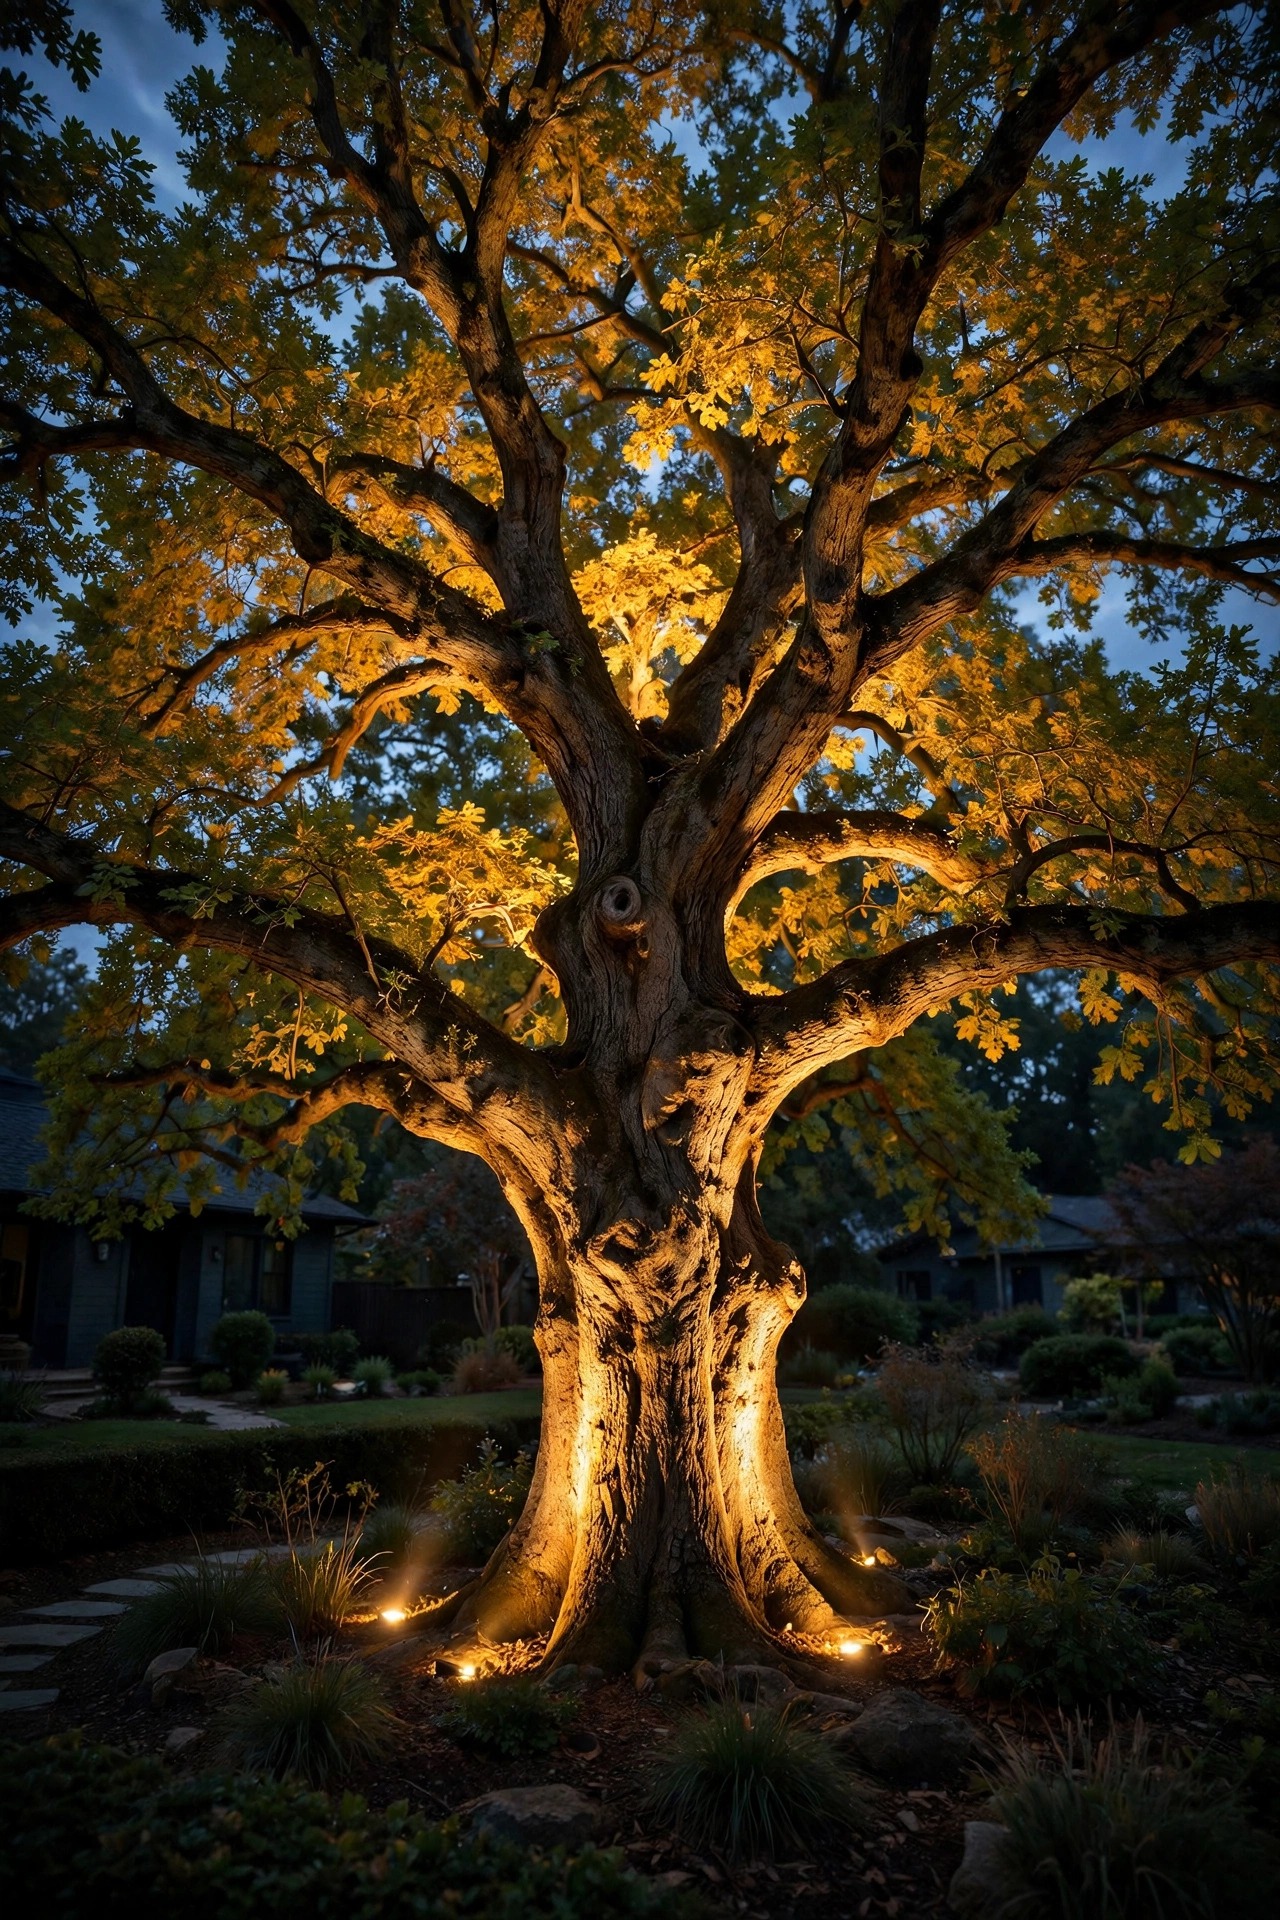
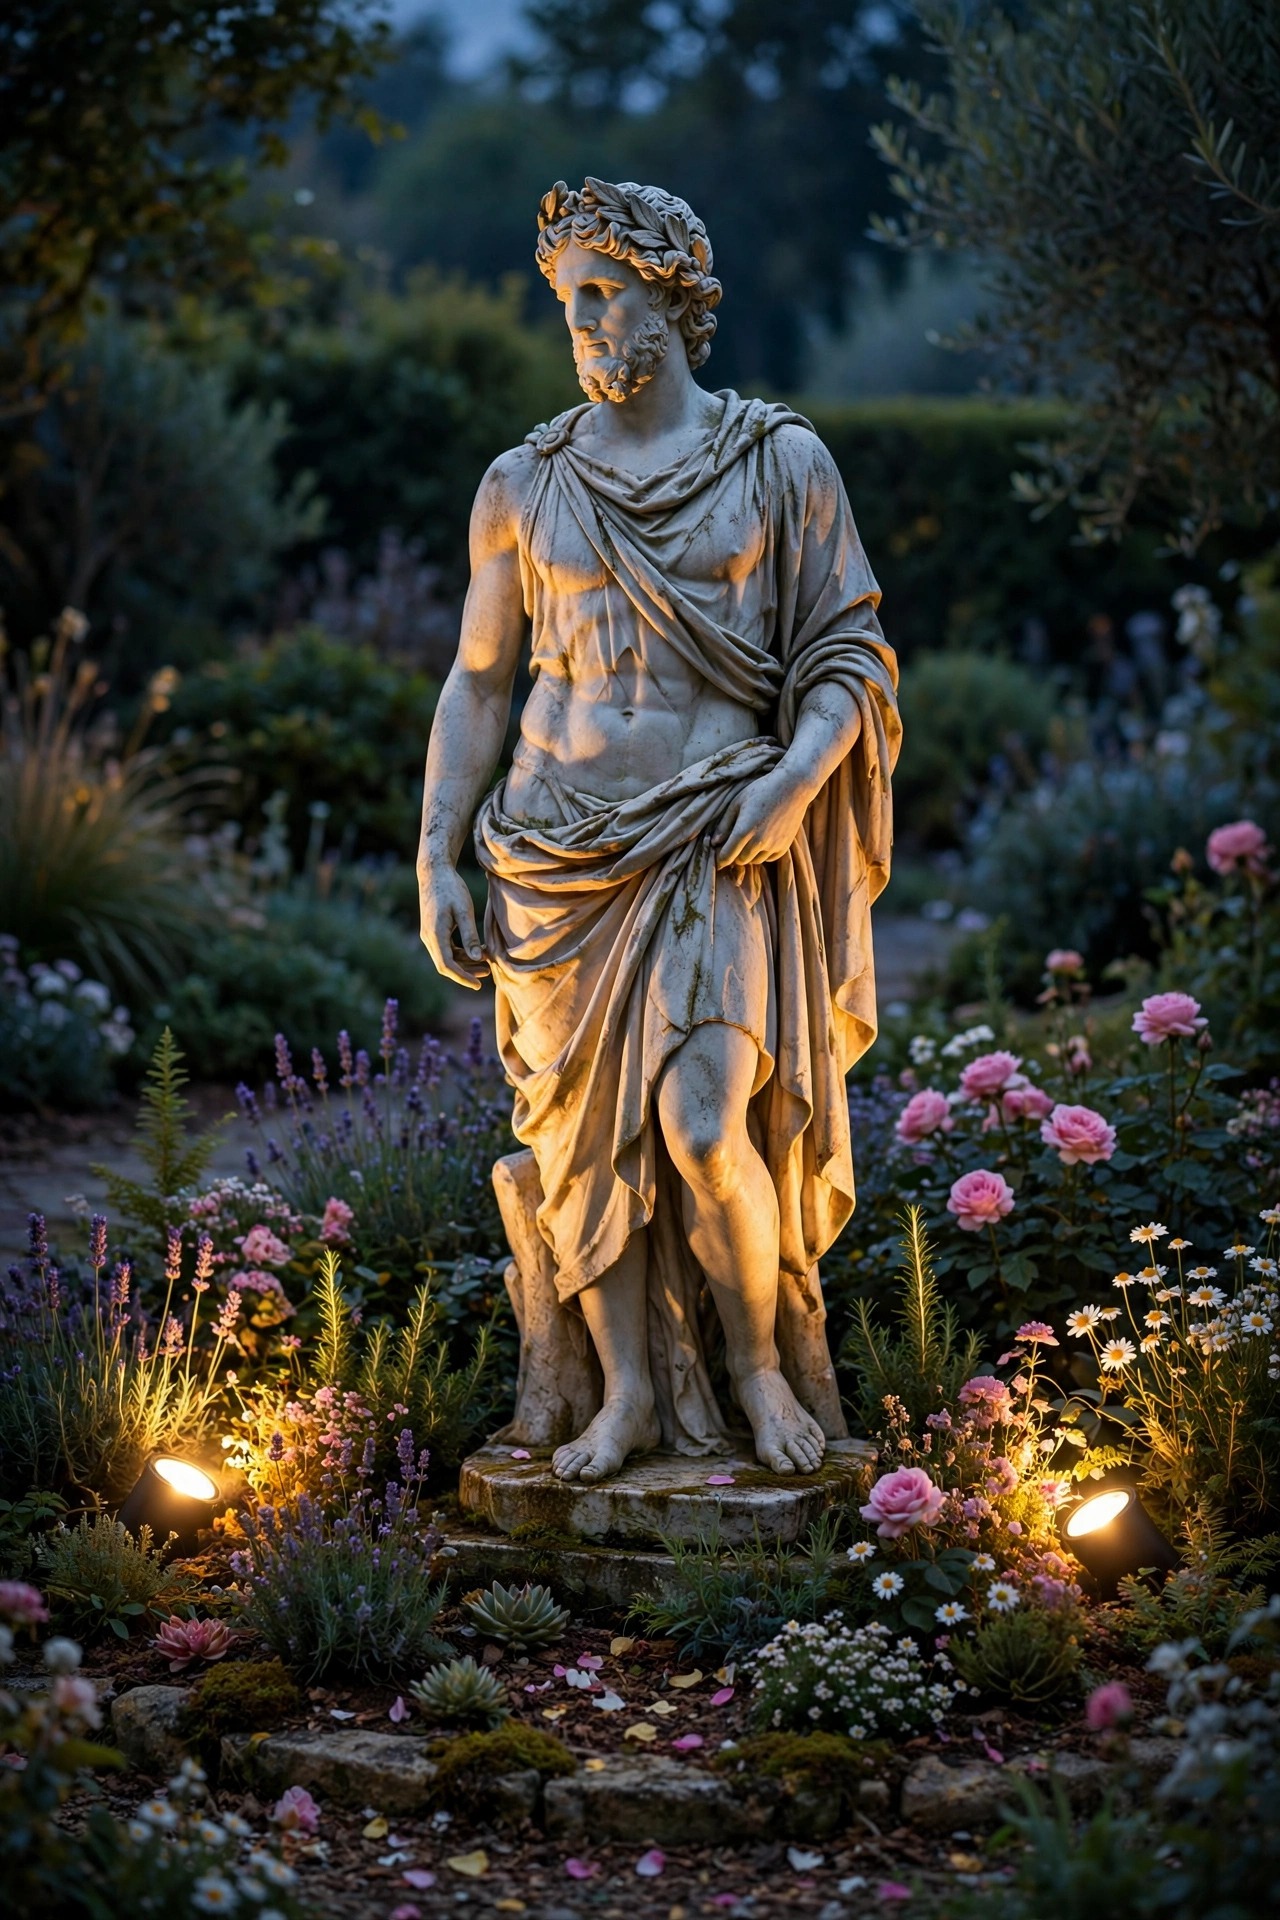
Not everything deserves top billing, so let's go through the usual winners. Specimen trees are the classic choice — anything with sculptural branching, peeling or textured bark, or a canopy with real architecture to it. Japanese maples, river birches, live oaks, and old dogwoods all photograph beautifully under light because the light has something interesting to grab onto. Water features come second: a fountain, a small pond with a spillway, even a simple bubbler rock. Moving water plus light equals sparkle, and sparkle wins every time. Statues, sundials, birdbaths, and garden ornaments make wonderful focal points in smaller yards where a big tree would overwhelm the scene. Architecture counts too — a stone wall, an arbor, a handsome gate, a pergola post wrapped in wisteria. And don't overlook specimen plants: a blue fescue mound won't do it, but a sculptural agave, a contorted filbert, or a mature ornamental grass backlit at dusk absolutely will. What doesn't work? Anything tiny, anything you'd walk past without noticing in daylight, and anything that only looks good for two weeks a year — unless you're happy re-aiming seasonally, which we'll get to. If you want more inspiration for the spotlight itself, my roundup of garden focal point spotlight ideas shows the fixtures in action on real features.

The One-Star Rule: Pick One Hero Per View
This is the rule I repeat to every friend who asks me to look at their yard: one star per view. Not one per yard — one per view. Your front yard seen from the street gets one hero. Your back patio, which is a completely separate scene, can have its own. But the moment two features in the same sight line compete at the same brightness, your eye ping-pongs between them and both lose. It feels like two people talking over each other. I think of it like casting a play. There's a lead actor standing in the spotlight. There are supporting actors, lit well enough to see clearly, standing a half-step back. And there's the set — softly washed, atmospheric, never pulling focus. Your path lights are supporting actors. Your wall wash is the set. When I help neighbors, the most common rescue is simply turning one of two "stars" down — swapping a bright bulb for a dimmer one in the runner-up feature — and suddenly the whole scene relaxes. If you truly have two features you adore in one view, rank them: make one clearly brighter and let the second read as a deliberate echo, maybe at half the intensity. Your eye accepts a clear first and second. It only rebels against a tie.
Read Your Yard From the Street, the Window, and Your Favorite Chair
Before you choose anything, go stand in the three places this lighting will actually be seen from. First, the curb or wherever guests park — that's the public view, the one that sells the house at dusk. Second, your front window or wherever you personally spend evenings looking out, because you'll enjoy this light a thousand times more than any passerby will. Third, the "arrival" spot: the end of the walkway, the bottom of the porch steps, where someone pauses and takes the scene in. Stand in each place at twilight, phone in hand, and take a photo. Photos are ruthlessly honest — they flatten a scene exactly the way a stranger's eye does, and the feature your eye lands on in the photo is your natural focal point candidate. Notice what's already winning. Sometimes it's not what you'd expect: a pale-barked birch you barely think about in July can be an absolute sculpture under light, while the expensive shrub you wanted to feature just reads as a green blob. Also check the losers — the trash bins, the utility box, the tangle of hose. A good focal point earns double credit by pulling attention away from the parts of the yard you'd rather nobody studied. Choose for the view you'll see most, and let the curb view come second.
Focal Point Lighting Techniques: Uplight, Cross-Light, Backlight, Graze
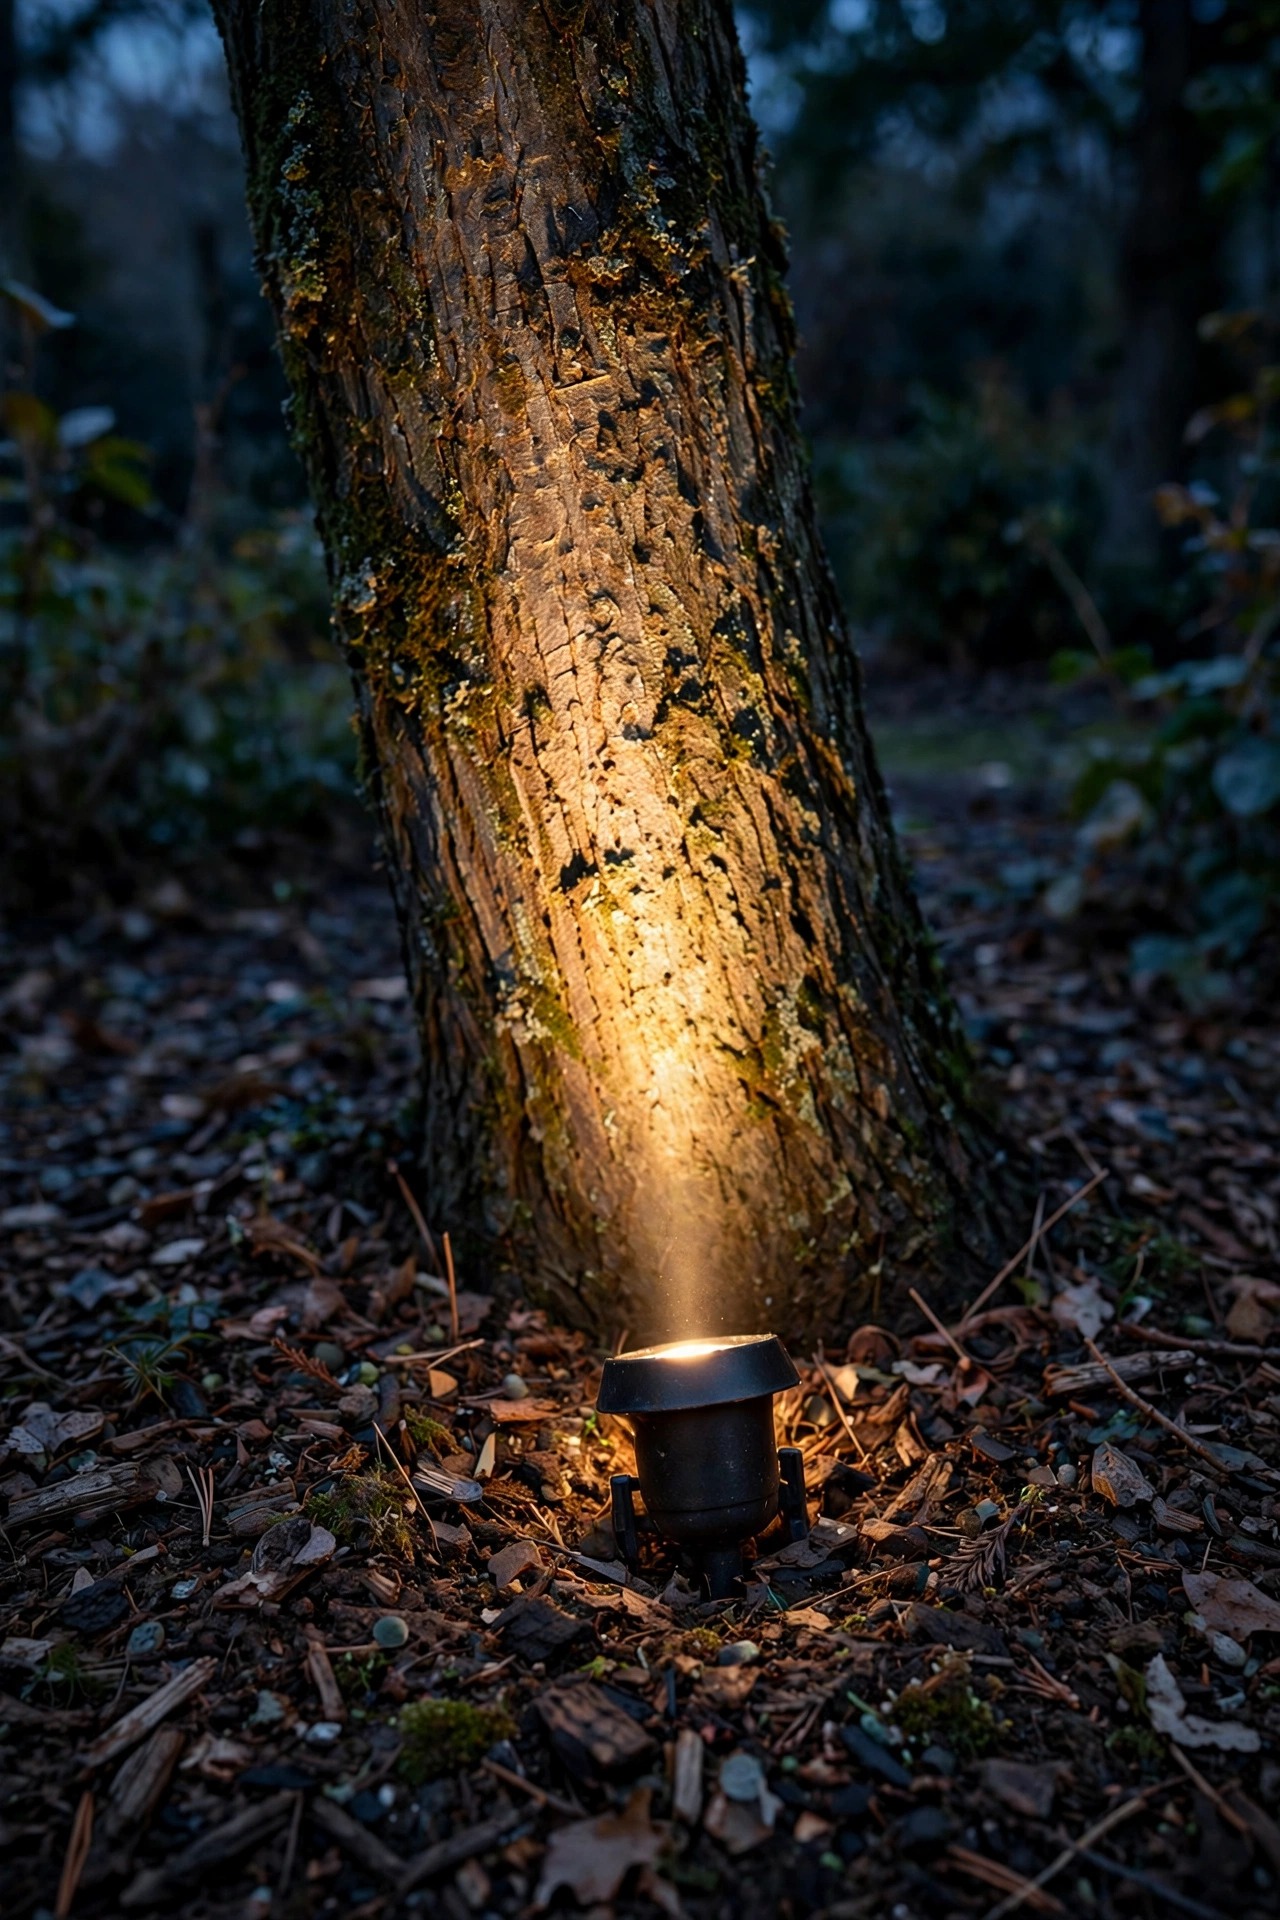
There are four core techniques, and choosing between them is most of the craft. Uplighting is the workhorse: a fixture at the base, aimed up into a canopy or along a trunk or column. It exaggerates height and drama, and it's how most specimen trees get lit. Cross-lighting uses two fixtures, placed at roughly 45-degree angles from the feature's front corners, so light models the subject from both sides. This is the one that makes statues look three-dimensional and gives bark its deep, craggy texture — a single front light flattens everything like a camera flash. Backlighting puts the fixture behind the subject so you see a glowing outline and a dramatic silhouette; it's magic on ornamental grasses, agave, and anything with a spiky or feathery profile. Grazing runs light almost parallel to a surface — a stone wall, a cedar fence, rough siding — so every bump and shadow line shows up in relief. My own yard uses all four, but the tree that gets the compliments is cross-lit, and my guide to uplighting trees walks through fixture placement for canopies step by step if trees are your star. Match the technique to the feature's best quality: height wants uplight, texture wants graze or cross-light, shape wants backlight.

Beam Angle and Brightness: Drama Without the Glare Bomb
Two numbers decide whether your focal point looks like a magazine cover or an airport runway. The first is beam angle. For a tall, narrow subject — a columnar evergreen, a palm trunk, a chimney — use a narrow beam, about 15 to 24 degrees, so the light climbs instead of spilling sideways. For a spreading canopy or a statue, go wider, 36 to 60 degrees, so the whole subject fits inside the beam with soft edges. When in doubt, I start narrower than I think I need; a too-wide beam wastes light on the lawn and the neighbors' windows. The second number is the brightness ratio. Your focal point should be roughly two to three times brighter than the light immediately around it — enough to win the eye decisively, not so much that it blows out into a white blob. In practical terms, a small feature like a birdbath or a modest shrub usually wants 200 to 400 lumens on it; a mid-size tree, 400 to 700; a big oak canopy can take 800 or more, ideally split across two fixtures. And please, shield the source. The fixture should sit behind a shrub, a stone, or its own glare guard so nobody ever sees the bare bulb — the instant a guest can see the hardware, the spell breaks and all they notice is a very bright light in their eyes.
Step-by-Step: Choose and Light Your Focal Point in One Evening
Here's the exact process I use, and you can do the whole test in one evening with nothing but a strong flashlight or one plug-in spotlight on an extension cord.
1. Pick your primary view — curb, window, or patio chair — and stand there at dusk.
2. Name your hero. One feature. Say it out loud; commitment helps.
3. Choose the technique that flatters it: uplight for height, cross-light for texture, backlight for silhouette.
4. Do the flashlight test. Have a helper hold the light at the feature's base (or prop it in the mulch) while you walk back to your viewing spot. Move it until the shadows look sculptural, not spooky.
5. Check from the other two viewpoints, plus from inside the house. Glare that's invisible from the curb can be blinding from the porch.
6. Check the runner-up features and dim anything that competes — sometimes just re-aiming a path light downward restores the hierarchy.
7. Note the winning position with a landscape flag or a photo, then install for real: fixture staked, wire run to the transformer, connections sealed.
8. Live with it two or three nights before burying the wire. Every single time I've skipped this, I've ended up re-digging.
Honestly, step 4 is where the magic happens — five minutes of flashlight experimenting teaches you more than a weekend of reading, including this guide.

Layering Around the Star: Supporting Light That Knows Its Place
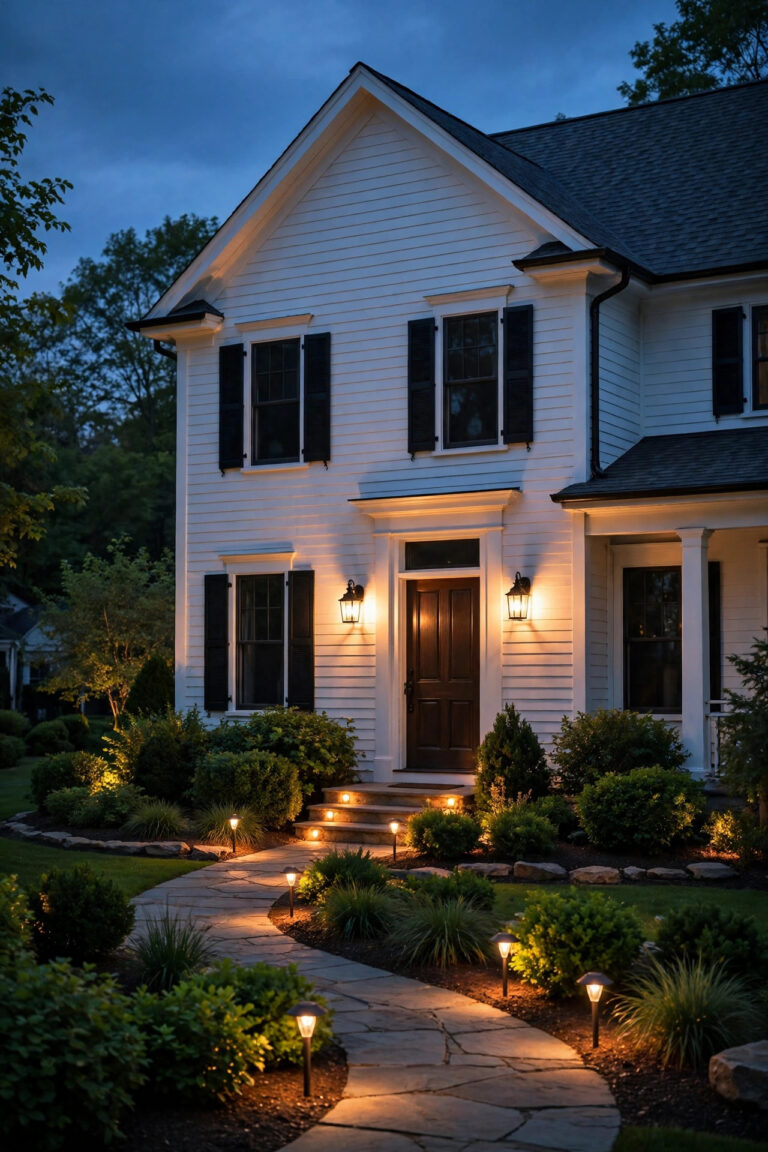
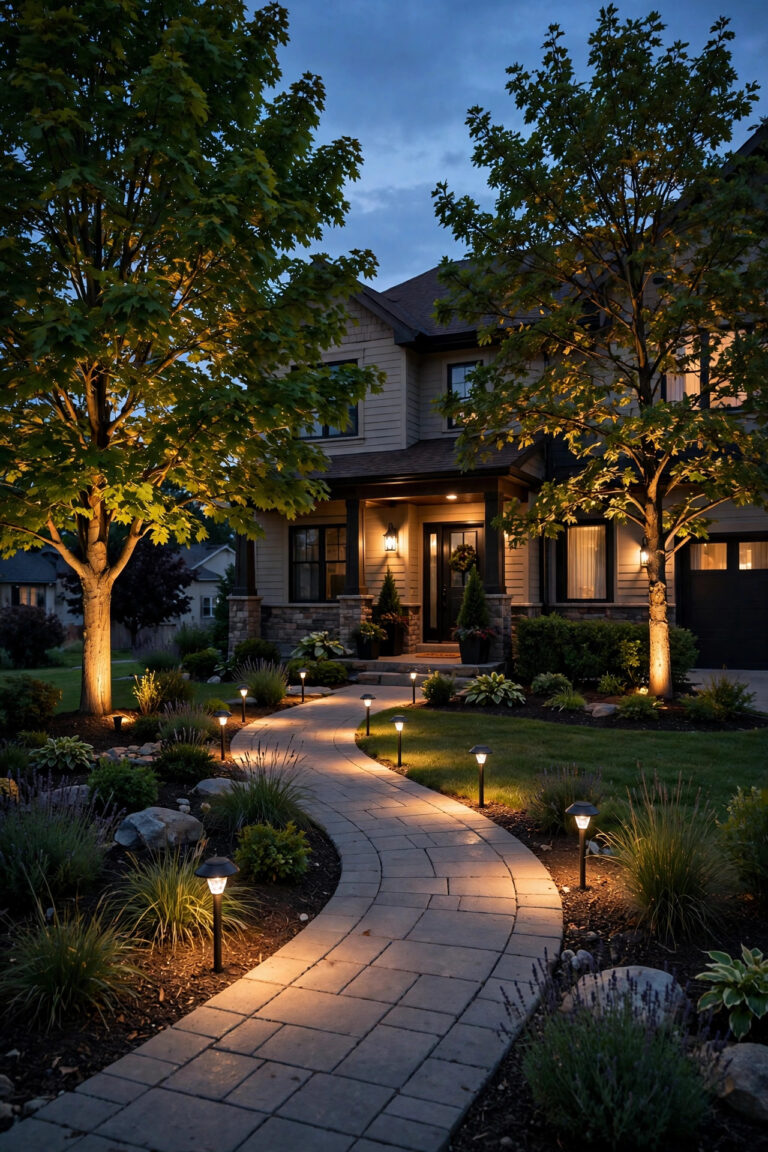
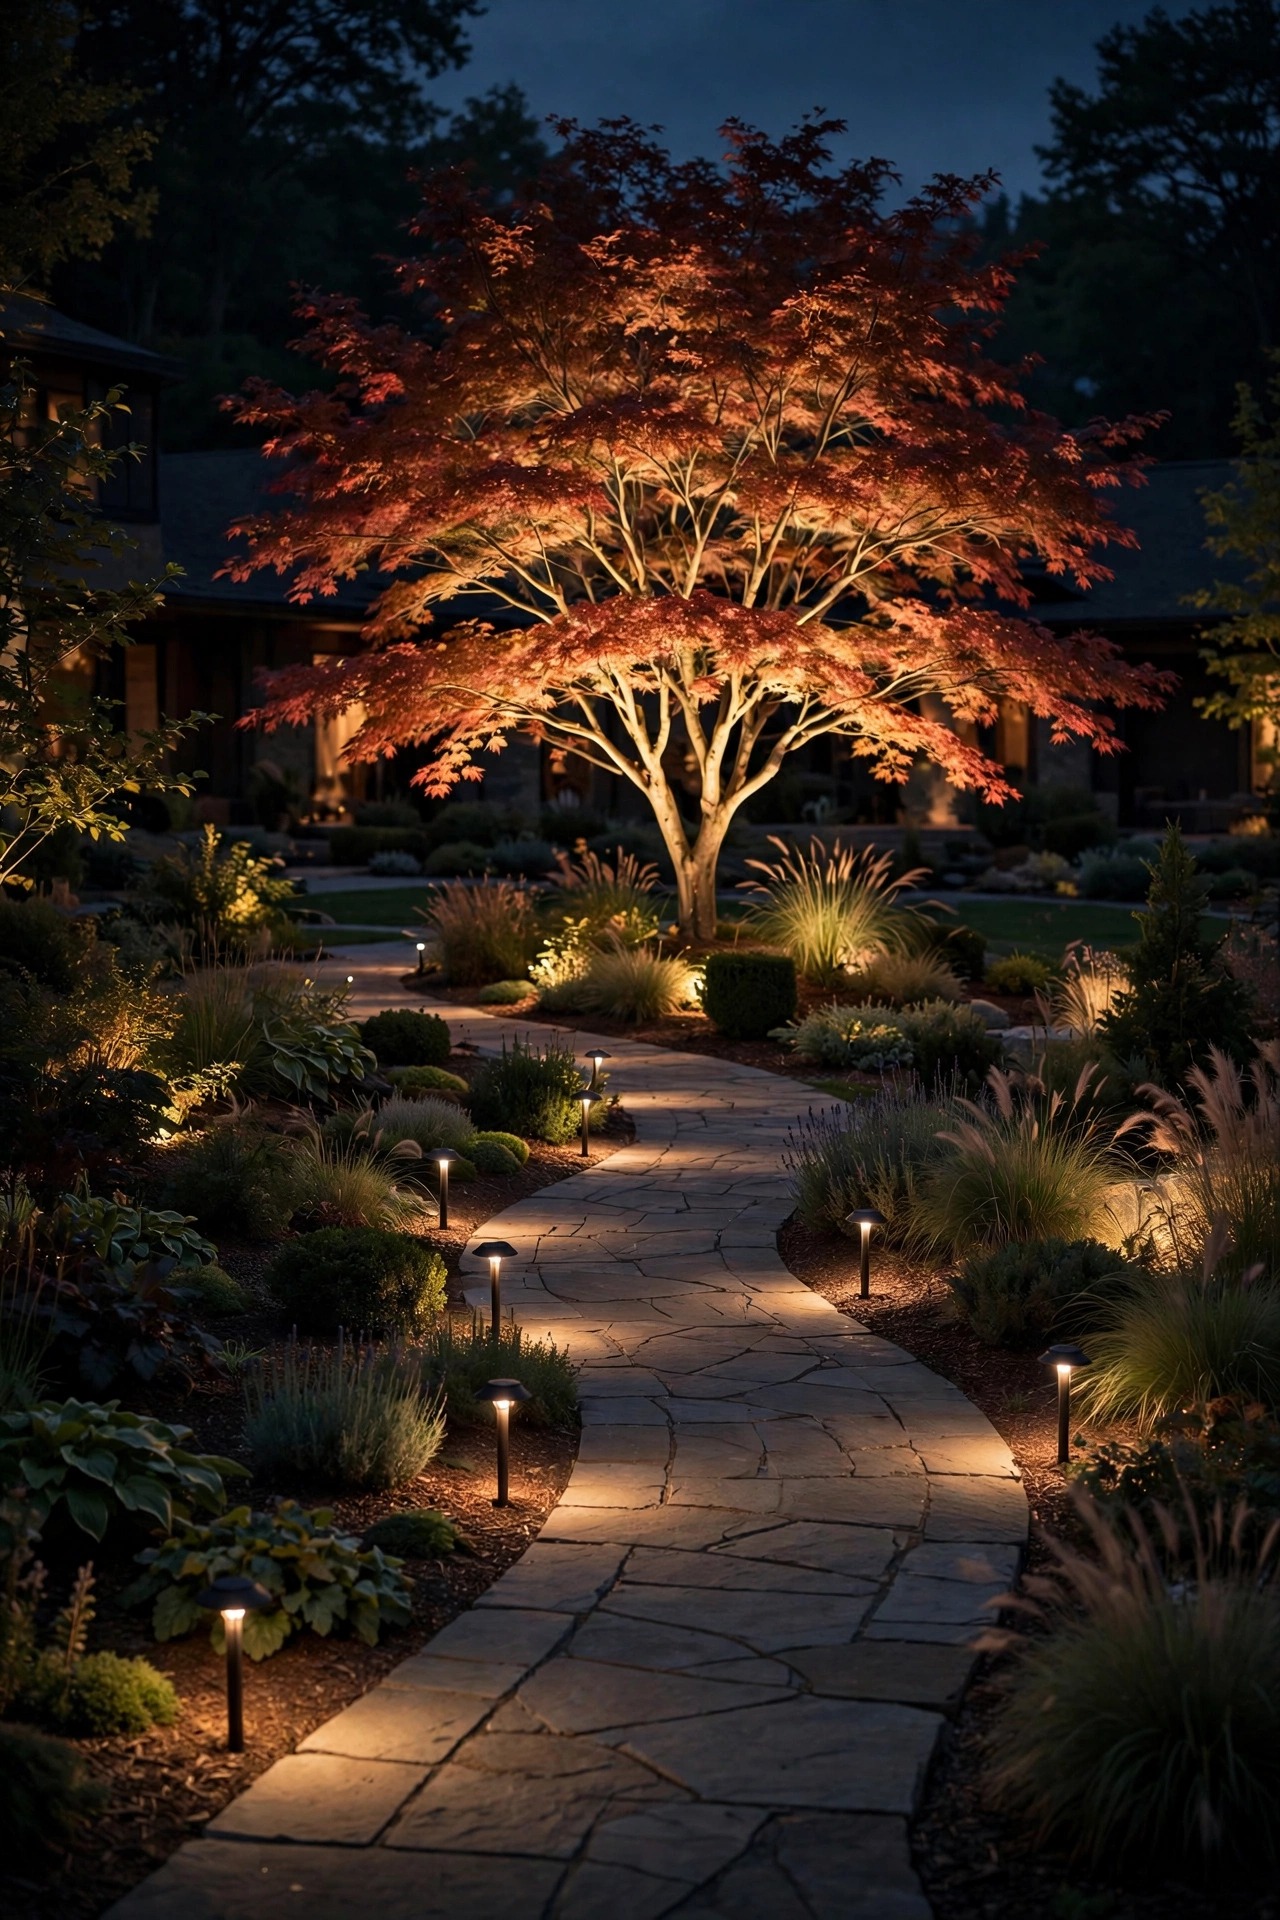
A star with no set around it looks stranded — one blazing tree floating in a black void reads more Halloween than high-end. The supporting layers exist to give the eye a gentle path: from the street, along the softly lit walkway, across a low wash of light on the planting beds, and finally up into the hero. Keep each layer noticeably dimmer than the one it leads to. In my front yard, the path lights run at the lowest level, the bed wash sits a touch above that, and the maple gets the full spotlight treatment. Nothing else in the scene is allowed within striking distance of the maple's brightness. Practically, this means choosing low-lumen path fixtures (100 lumens or less is plenty), aiming bed washes so they skim rather than blast, and putting the supporting zones on their own transformer tap or dimmer if you can, so you can tune the balance after install. If you're building a whole-yard plan around your star, my walkthrough of layered landscape lighting shows how the three layers fit together across an entire property. The test is simple: squint at the scene. If the first thing you see is still the hero, your layers are doing their job.
Seasonal Shifts: When Your Star Changes With the Year
Here's a wrinkle nobody warns you about: the best focal point in May may not be the best in January. My Japanese maple is the undisputed star from April through its fiery October finale — then it drops its leaves and becomes, well, sticks. A well-chosen focal point strategy plans for this instead of pretending it won't happen. You have three options. Choose an all-season anchor: an evergreen with strong form, a stone feature, or architecture, and let seasonal players take supporting roles when they're in bloom. Run a relay: two features in the same view, each wired so you can swap which one gets the bright treatment — flowering tree in spring, fountain in summer, the great bare branching structure (which, honestly, can be stunning uplit against snow) in winter. Or simply re-aim twice a year, which takes me about twenty minutes each April and November. What I'd avoid is a star that vanishes entirely for half the year with nothing behind it — a deciduous shrub as your only focal point leaves a hole in the scene all winter. Evergreen bones plus seasonal sparkle is the combination that never lets me down. It also spreads your enjoyment across the whole calendar — there's always one corner of the yard having its moment, and the lighting plan flexes to feature it instead of fighting the seasons.

What It Costs in 2026
The good news: a focal point is the cheapest drama in all of landscape lighting, because you're doing one feature properly instead of twelve features halfway. A quality low-voltage LED spotlight or in-ground well light runs $25 to $90 per fixture, and most focal points need one or two. Solar spotlights cost $15 to $40, and I'll be honest — the better ones can handle a statue or small shrub, but most can't throw enough light to crown a real tree, and their brightness fades as the battery ages. If your yard already has a low-voltage system, adding a focal point fixture plus cable and connectors typically lands between $60 and $250 in materials. Starting from scratch, budget $150 to $400 for a transformer with enough capacity to grow, then the same $60 to $250 for the feature itself. Running costs are almost a rounding error: a 7-watt LED spot running five hours a night uses about 13 kilowatt-hours a year, roughly $2 to $3 annually at average US rates. Two fixtures, call it a five-dollar bill a year. A professional designer will charge $150 to $400 for a consultation and lighting plan, and honestly, if you're planning a whole-yard hierarchy rather than a single feature, that plan can pay for itself in fixtures you don't buy.
6 Mistakes That Ruin the Effect
Lighting everything equally. The original sin. If every feature gets the same brightness, you have no focal point — you have a parking lot. Rank your light or lose the effect entirely.
Letting the fixture steal the scene. A visible, glaring spotlight is all anyone will remember. Hide the hardware behind plantings or stones, use glare shields, and aim so the source never points at a viewpoint.
Buying a beam that's too wide. A 60-degree flood on a narrow tree wastes most of its light on the lawn and washes the subject flat. Match the beam to the subject's shape.
Front-lighting from a single fixture. One light, straight on, is the mugshot of lighting techniques — flat, harsh, and shadowless in the worst way. Cross-light or offset the fixture so shadows model the form.
Choosing a star you don't actually love. This light will greet you every single night. If you picked the feature because it was convenient rather than because it makes you happy, you'll stop seeing it within a month. Pick the tree you'd save in a fire — metaphorically, please.
Skipping the nighttime test. Fixtures placed at noon and judged at noon get moved by June, I promise you. Shadows, glare, and brightness ratios only exist after dark, so a plan that skips the flashlight test is really just a guess with a shovel.
Quick Maintenance: Keeping the Star Bright
A focal point fails slowly, then all at once — a lens filmed with pollen here, a shrub swallowing the beam there, and one night you realize the star hasn't been shining for weeks. My routine is light. Every couple of months, I wipe the fixture lens with a soft cloth; mineral film from sprinklers can steal a third of your brightness without you noticing. Each spring, I check what the plants have done — enthusiastic perennials will happily grow straight through a beam path, and a two-minute trim restores the whole effect. After big storms and fresh mulch, I re-check the aim, because stakes shift and mulch raises the ground line around in-ground fixtures. Once a year, usually when I swap the clocks, I stand at the curb and honestly grade the scene: is the hero still winning? Trees grow, and a canopy that needed 400 lumens at six feet tall may want more light, or a second fixture, at twelve. Ten minutes of attention twice a year is all it takes to keep the hierarchy — and the drama — exactly where you put it. I also keep one spare bulb and one spare stake in the garage, because a star that's dark for three weeks waiting on a delivery is just a tree standing in a spotlight-shaped hole.

Frequently Asked Questions
Can my front door be the focal point?
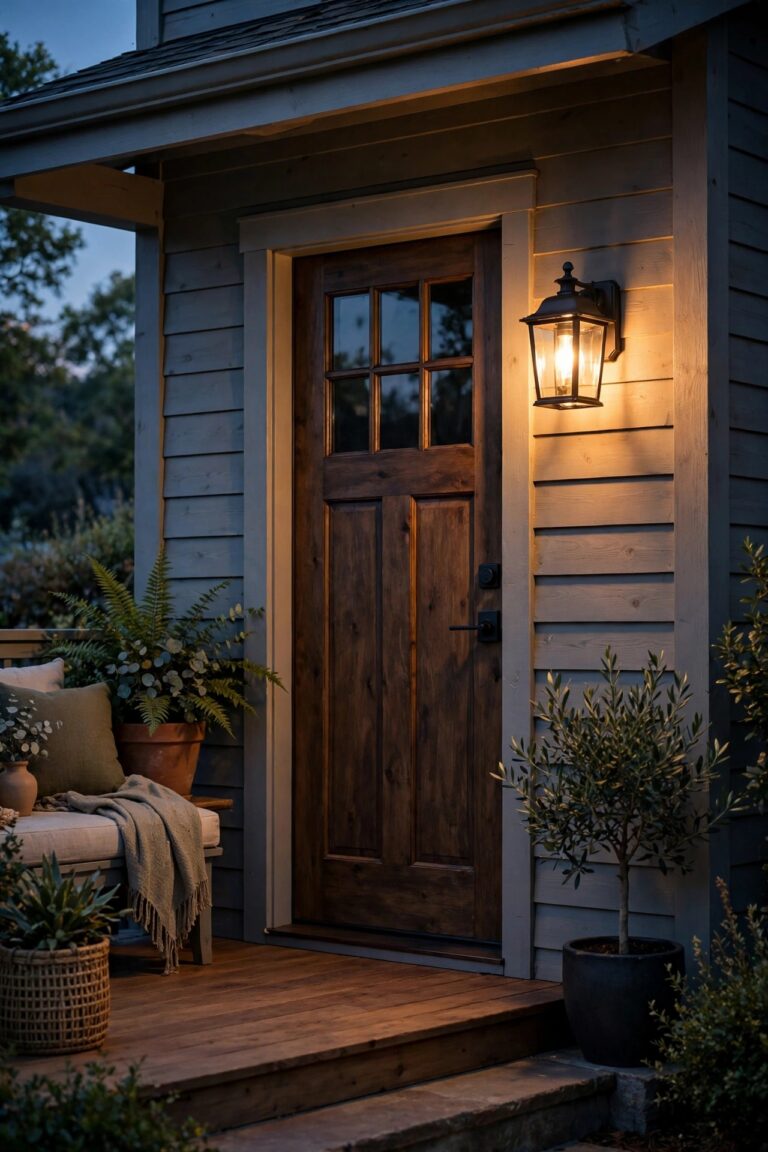
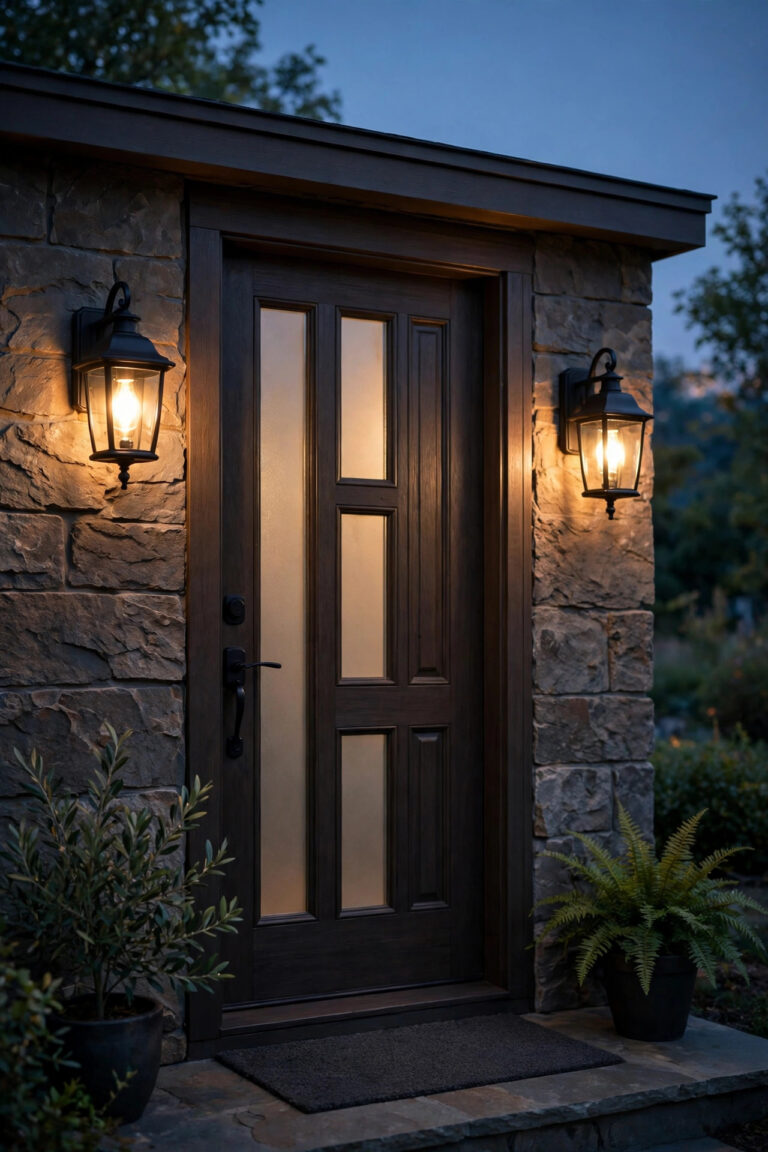
Yes — architecture absolutely counts. A beautiful door framed by a pair of sconces and a soft wash across the entry stonework makes a natural hero, especially on smaller lots. Just make sure the door lighting outshines the garage and path lights around it, or the hierarchy flattens out.
How many focal points can one yard have?
One per view. A front yard seen from the street gets one star; a backyard patio is a separate scene and can have its own. Within a single view, a clear runner-up at about half the star's brightness is fine — it's ties that ruin the effect, not seconds.
Are solar spotlights strong enough for a focal point?
For small features — a birdbath, a modest statue, a container planting — a good solar spotlight can work. For a tree or anything over about six feet, most solar fixtures simply can't deliver the lumens or the staying power through a cloudy week. Wired low-voltage is the reliable choice for a true star.
What if my yard has nothing special to light?
Every yard has something: the corner of the house with the prettiest stonework, a fence line that could carry a grazing wash, even a large planter you fill seasonally. And the fastest fix of all — plant the star. A young Japanese maple or a sculptural evergreen costs less than most fixture sets and becomes more valuable every year.
Conclusion
Great nighttime yards aren't the ones with the most fixtures — they're the ones where somebody made a decision. Focal point lighting is really just that: deciding what deserves the spotlight, giving it two to three times the light of everything around it, and letting the rest of the yard play its supporting roles in peace. Choose the feature you love, test it with a flashlight tonight, and trust the hierarchy. If you'd like more ideas for what to light next, browse the rest of our outdoor lighting guides — your yard's supporting cast is waiting in the wings.