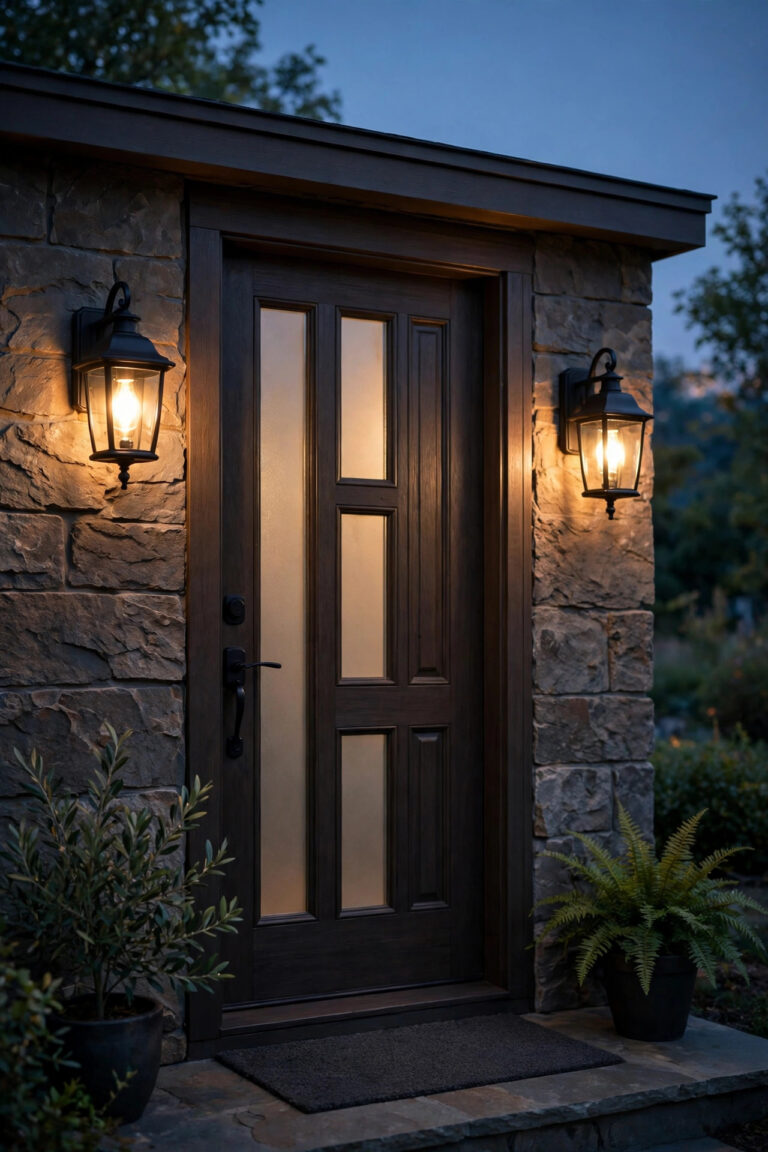
If your porch light has been flickering, rusting, or just plain dating your entryway since 2009, I have good news: this is one of the most satisfying under-an-hour projects in the whole house. Learning how to install a porch light was the first electrical project I ever tackled on my own, and I remember standing on the ladder thinking it would be complicated — it really isn't. A porch light swap is just three wires, a couple of screws, and a little patience. Because you're replacing an existing fixture on an existing junction box, there's no new wiring to run and, in most towns, no permit or electrician required. In this guide I'll walk you through the whole job the way I do it: the tools to gather, how to kill the power and prove it's dead, the exact order for connecting wires, and the sizing and bulb tricks that make the new fixture look like it was always there. By dinner tonight, your entryway could be glowing warm and welcoming instead of buzzing under a tired old lantern. Let's get that ladder out.
The Short Answer
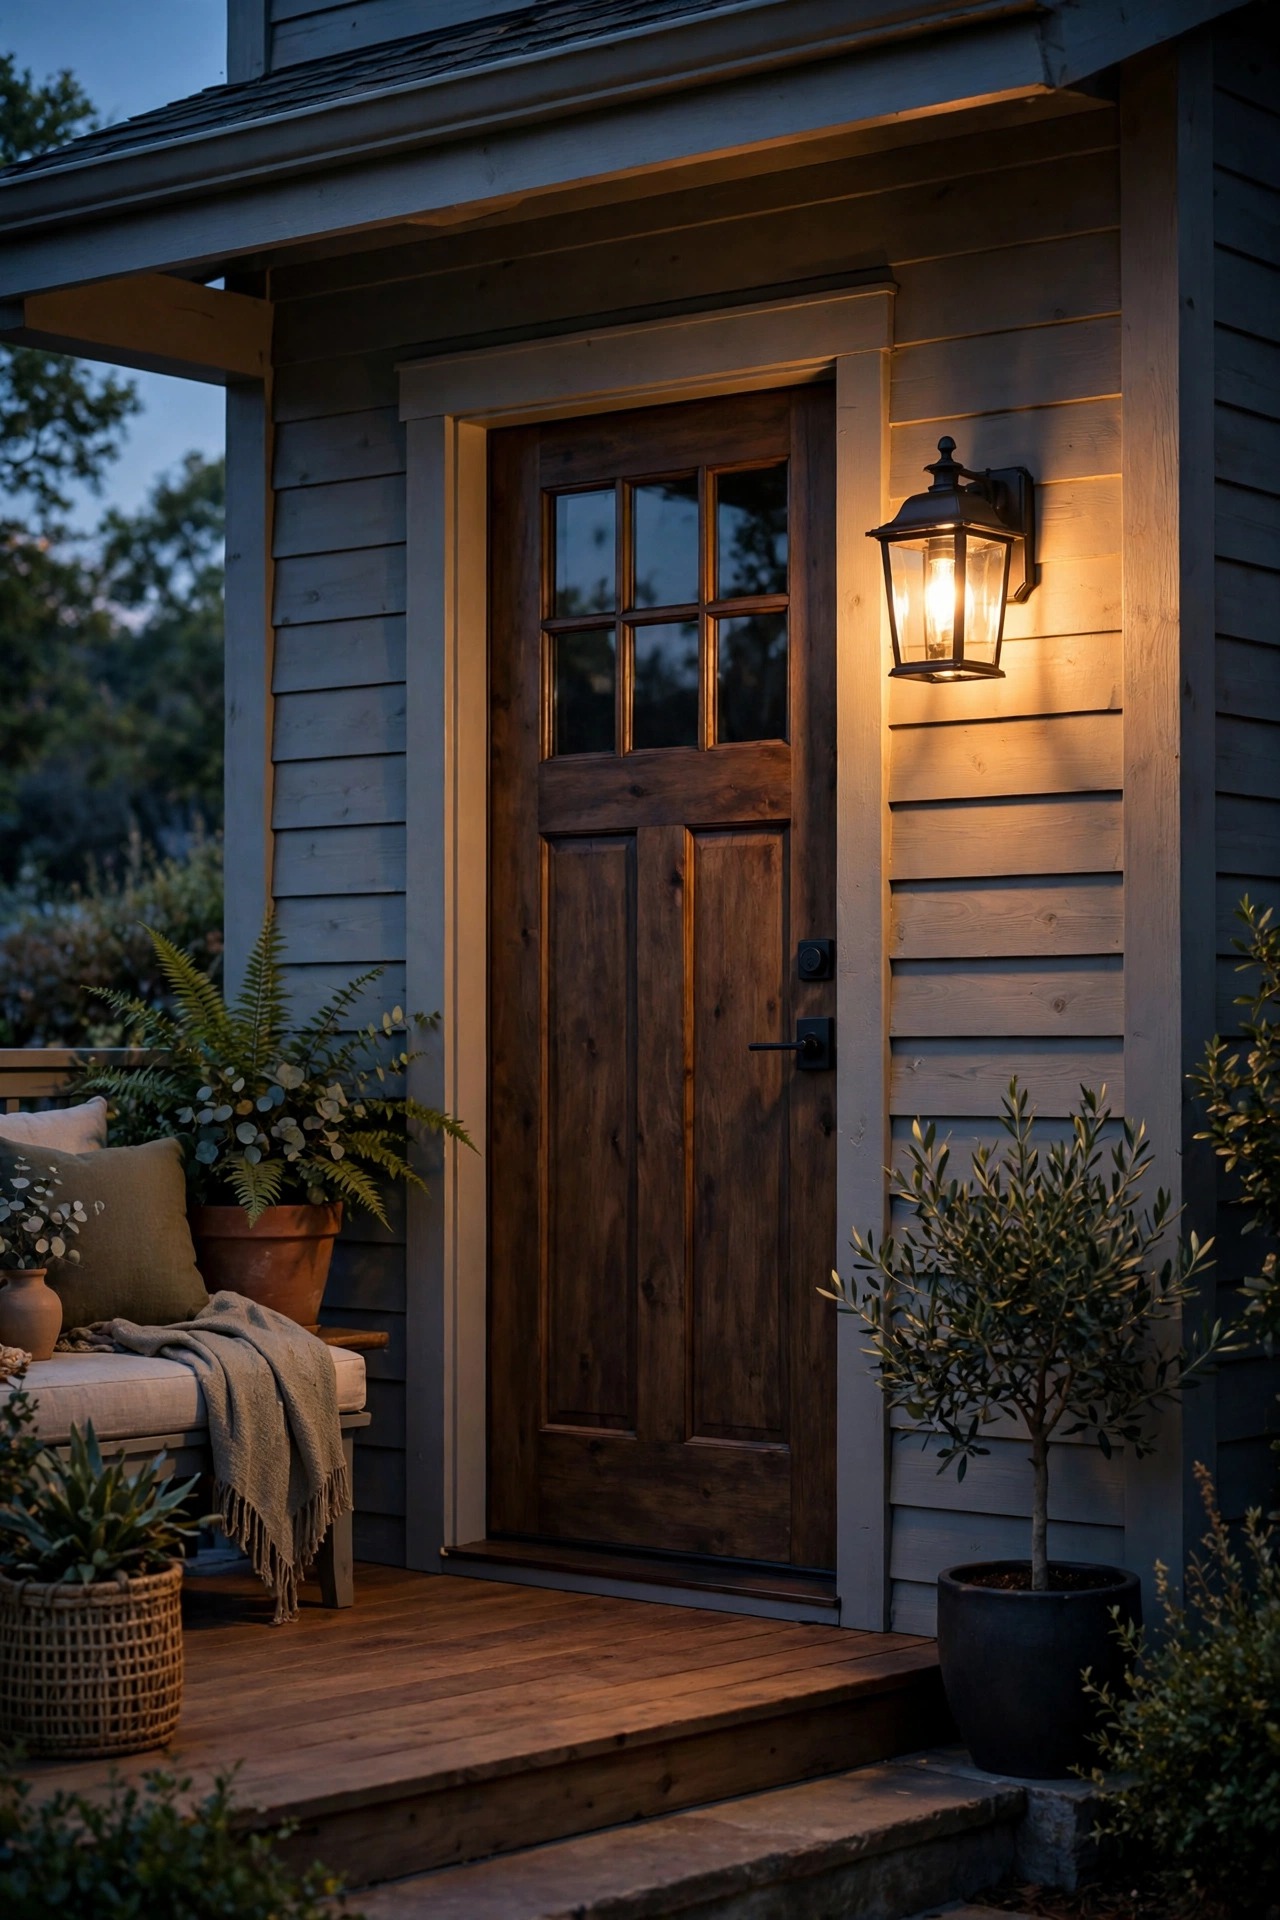
Replacing a porch light on an existing junction box takes about 30–60 minutes and three wire connections: ground, neutral, hot. Turn off the breaker, prove the power is dead with a voltage tester, unscrew the old fixture, match the wires color to color with wire nuts, mount the new fixture, and seal the top edge with caulk. No permit or electrician is needed for a like-for-like swap in most areas. The job only becomes a bigger project if there's no existing fixture or box — that's when wiring has to be run, and I'd call a pro.
What You're Working With: Porch Light Basics in Plain English
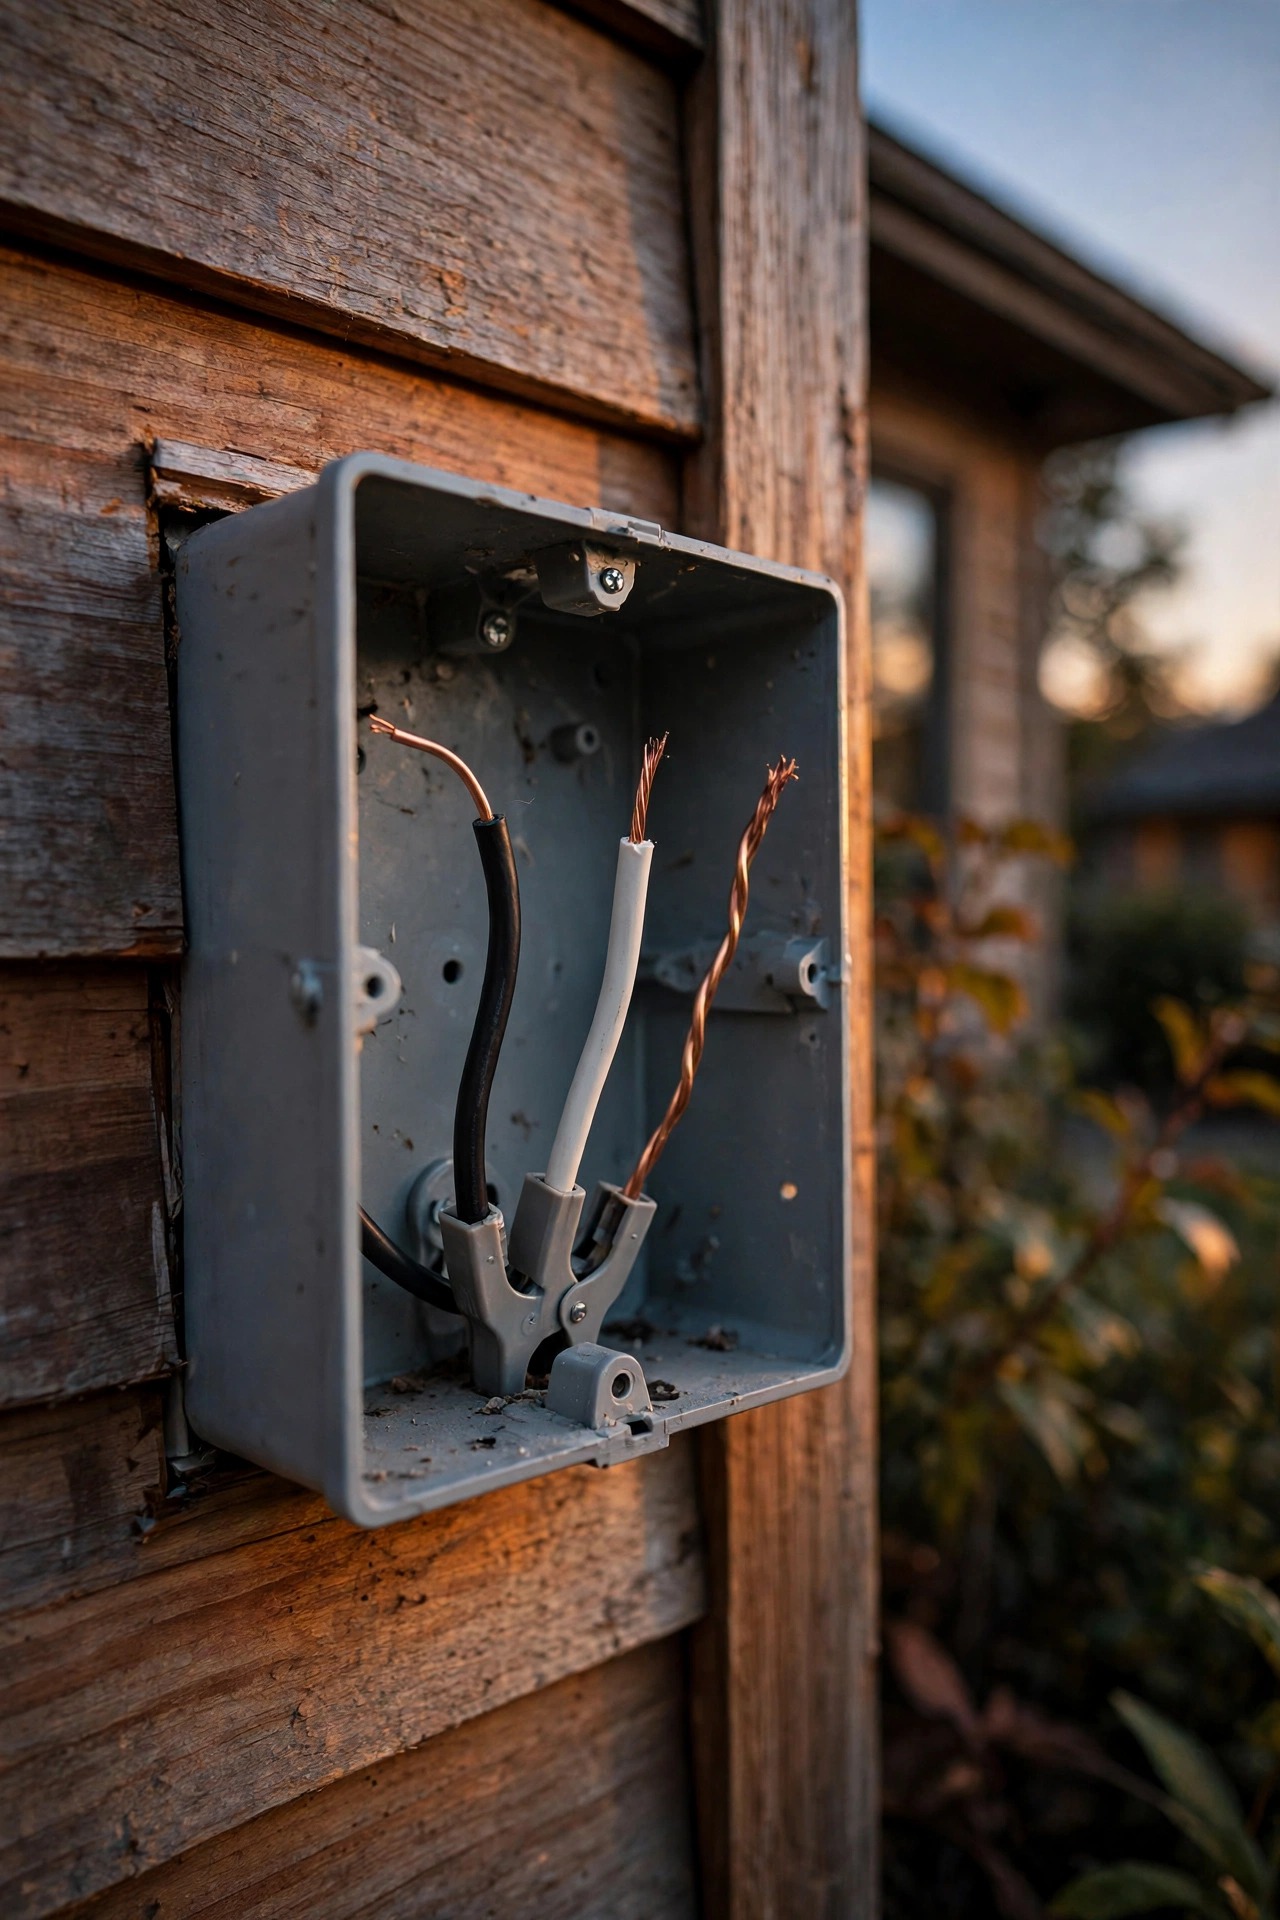
A porch light is a hardwired fixture: it gets its power from your home's 120-volt wiring through a junction box — a metal or plastic box recessed into the wall behind the fixture. When you flip the switch inside, you're completing a circuit that sends power through the hot wire, into the fixture, and back out through the neutral.
Inside that box you'll almost always find three wires. The black wire is hot — it carries power in. The white wire is neutral — it carries power back. The bare copper or green wire is the ground, a safety path that gives stray electricity somewhere harmless to go. Your new fixture has the same three, usually black, white, and green or bare copper. Installing a porch light is mostly just marrying those two sets together in the right order.
The fixture itself mounts to a metal strap or bar screwed across the junction box. Two small screws or a threaded nipple hold the fixture's backplate against the wall. That backplate matters more than people think: if it doesn't sit flush — say your siding is beveled or your stone veneer is lumpy — rain sneaks behind it. Keep that in mind; we'll fix gaps with a mounting block and caulk later.
One last vocabulary word: ratings. A fixture under a covered porch roof can be "damp-rated." One fully exposed to rain must be "wet-rated." Check the box before you fall in love with a style.
Tools and Materials to Gather Before You Start
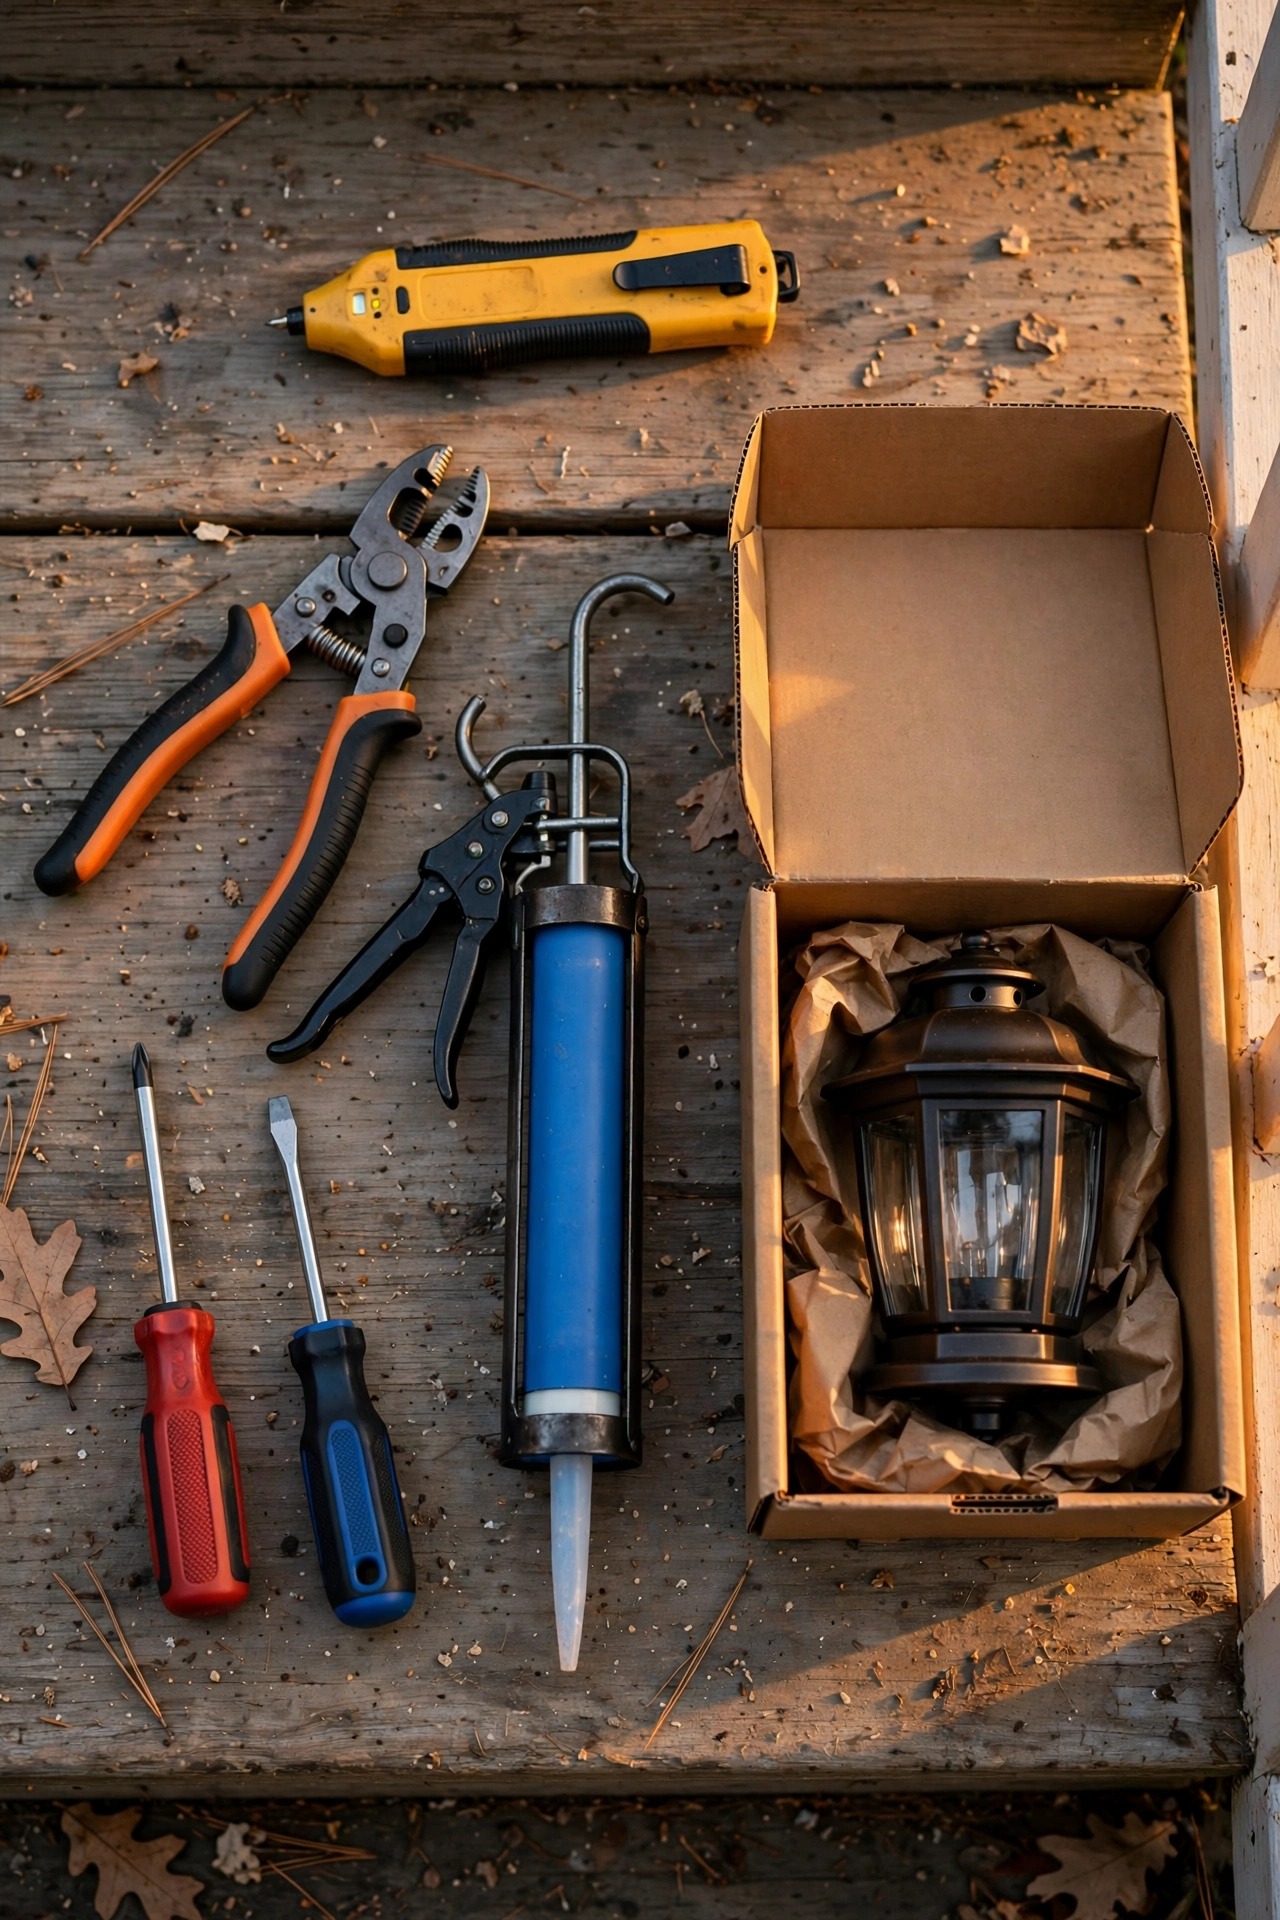
Honestly? The number-one reason this job stretches past an hour is trips back to the garage. Here's everything I lay out on the porch before I touch a screw:
1. The new fixture (obviously) — open the box and confirm the mounting hardware and wire nuts are inside.
2. A sturdy step ladder tall enough that the fixture is at chest height, not above your head.
3. Screwdrivers: flathead and cross-head, or one multi-bit driver.
4. A non-contact voltage tester — a $15 pen-style tester. Non-negotiable in my house.
5. Wire strippers, in case you need to trim damaged wire ends.
6. Needle-nose pliers for tucking wires into the box.
7. Wire nuts — the fixture usually includes them, but have a few spares in common sizes.
8. Exterior silicone caulk and a caulk gun, for sealing the backplate.
9. Electrical tape, a headlamp or flashlight (the porch power will be off, remember), and a small magnetic dish or pocket for screws.
Also check the bulb situation before you're on the ladder. Many fixtures include a bulb; many don't. If yours takes a standard screw-in bulb, grab an LED around 800 lumens in a warm 2700K. If your existing mounting surface is uneven — lap siding, brick, stone — pick up an inexpensive mounting block made for siding; it gives the fixture a flat seat and a much cleaner look.
Safety First: Kill the Power and Prove It's Dead
This is the section I'd tattoo on the ladder if I could. Everything else in this guide is forgiving — this part isn't.
Start at your breaker panel. Find the breaker for the porch or entry circuit, flip it off, and put a piece of tape over it so nobody helpfully "fixes" the "tripped" breaker while you're outside holding wires. If your panel isn't labeled (whose is?), plug a radio or lamp into an outlet on the same circuit or have a helper watch the porch light while you flip breakers one at a time.
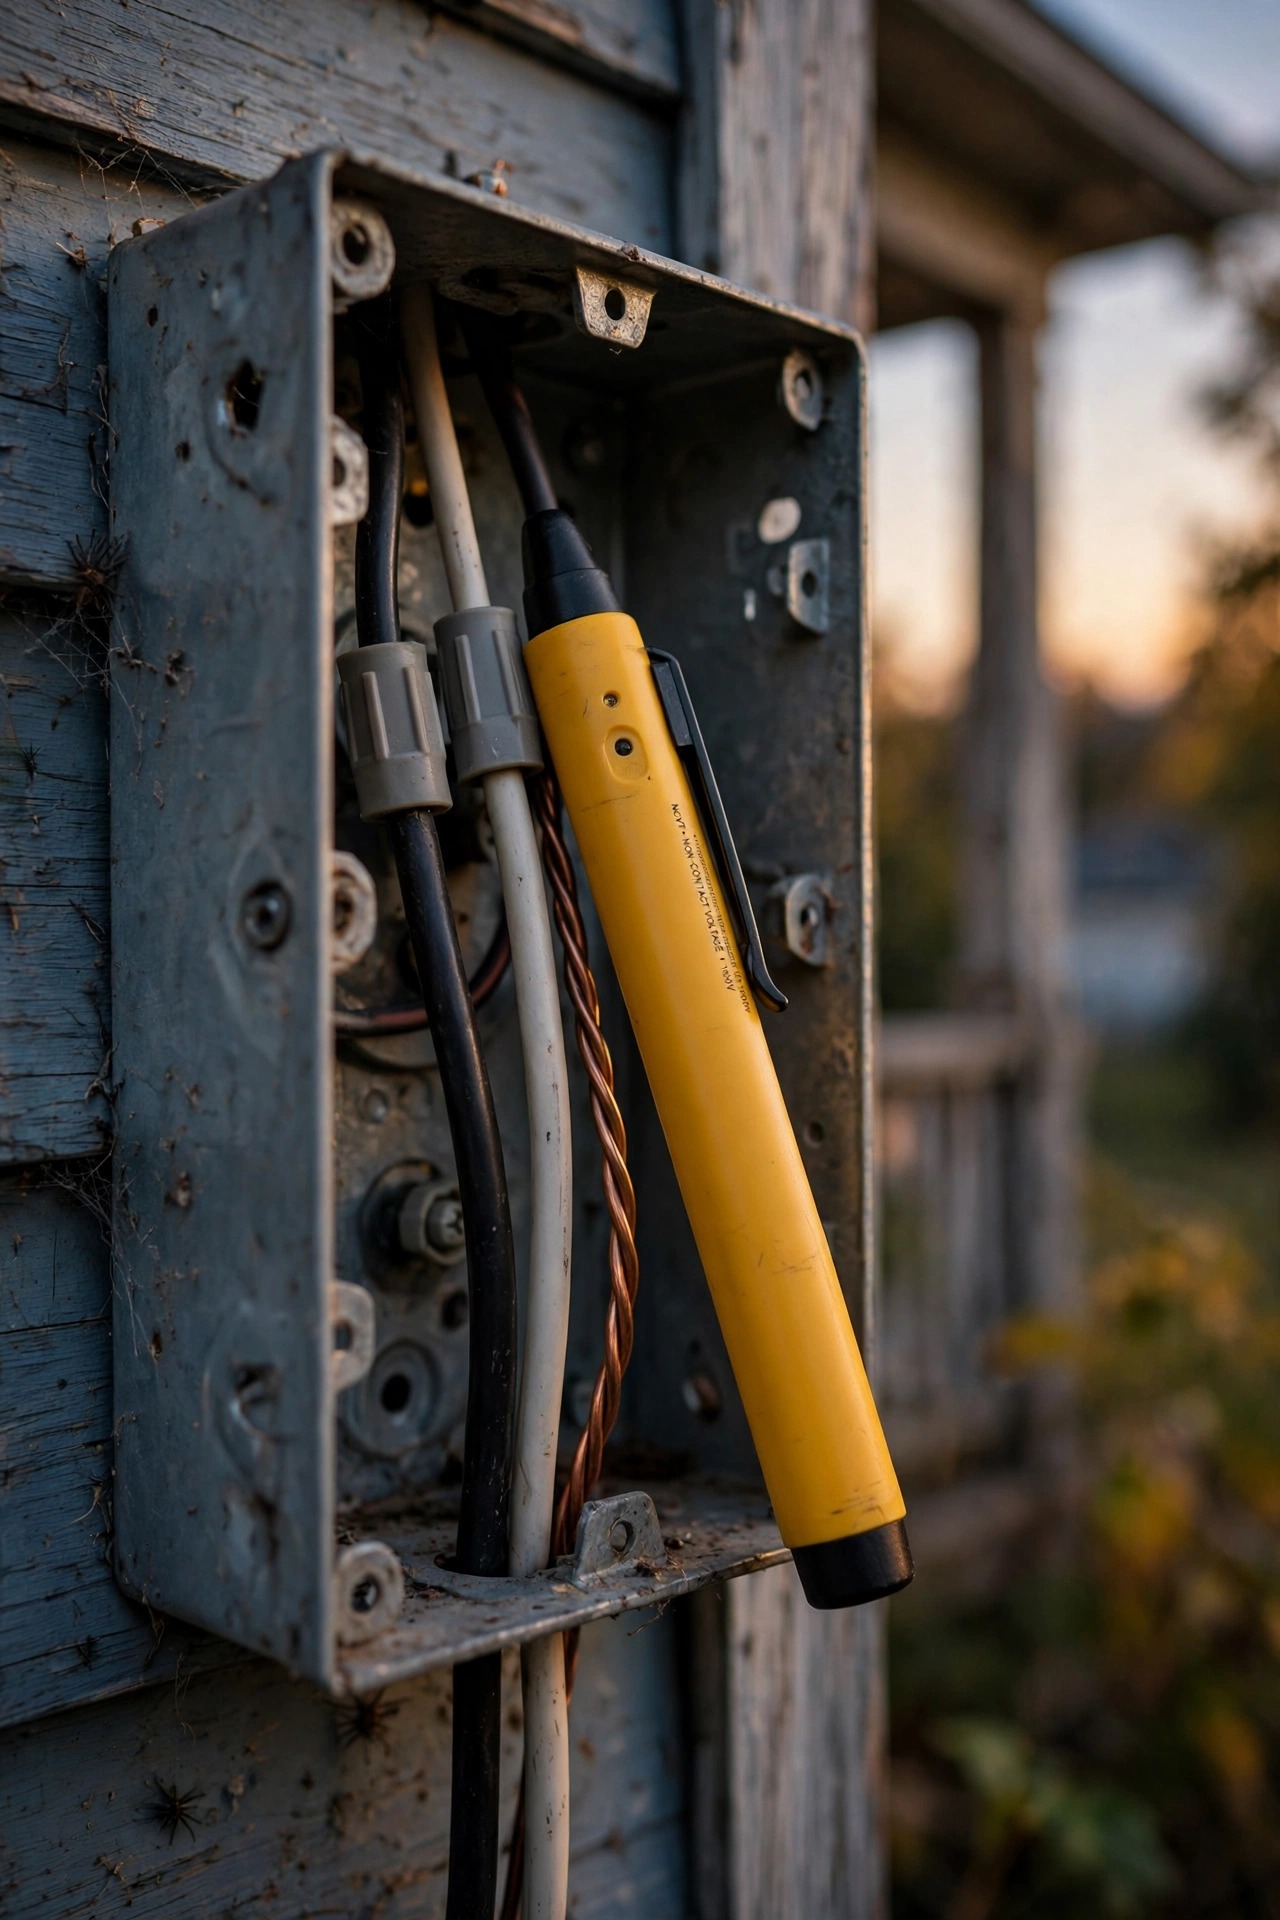
Then — and this is the step people skip — prove the power is dead at the fixture. Turn the porch switch on, and hold your non-contact tester against the fixture and its wires. Silence is what you want. Test both the switch position and directly at the wires after the old fixture comes down, before your fingers touch bare copper. Testers can fail, so here's my ritual: I check the tester on a known live outlet first, test the fixture wires, then check the tester on the live outlet again. Live-dead-live. It takes twenty seconds and it means you *know*.
While the power's off, take the chance to look at the junction box itself. A little dust is fine. Rust, water stains, melted insulation, or brittle, crumbling wire coating are not — those are signs to stop and call an electrician. Old cloth-wrapped wiring especially deserves professional eyes.
Step-by-Step: How to Install a Porch Light
Here's the full swap, in the order I do it:
1. Remove the old fixture. Unscrew the decorative nuts or screws holding it to the wall and ease it away gently — it's still wired. Rest it on the ladder's paint shelf or have a helper hold it.
2. Test the wires. One more pass with the voltage tester on each wire. Still silent? Good.
3. Disconnect the old wires. Untwist the wire nuts, separate the wires, and set the old fixture aside. Note which wires went where — a quick phone photo saves head-scratching.
4. Prep the box. If the new fixture comes with a mounting strap, screw it across the junction box. Make sure the box's wires are in decent shape: about 3/4 inch of bare copper at the ends, no nicks. Trim and re-strip any chewed ends.
5. Connect the ground first. Twist the fixture's green or bare ground wire together with the house ground and cap with a wire nut. If there's a green screw on the strap, loop the ground around it.
6. Connect the neutral. Fixture white wire to house white wire, wire nut, gentle tug to confirm it grips.
7. Connect the hot. Fixture black to house black, same way. (Some fixtures use a ribbed wire for neutral — the instructions will say.)
8. Tuck everything in. Fold the wires into the box accordion-style, neutrals to one side, hots to the other. No pinching.
9. Mount the fixture. Fit the backplate over the strap screws, snug the nuts down evenly, and don't over-tighten — that's how glass cracks and gaskets warp.
10. Seal the top. Run a bead of exterior caulk along the top and sides of the backplate. Leave the bottom open so any moisture that gets in can escape.
11. Add the bulb and glass, restore power at the breaker, and flip the switch. Warm glow, happy porch.

Choosing a Replacement Fixture That Actually Fits Your Porch
Since the wiring is the same for nearly every fixture, the fun part is choosing one that suits your house — and this is where most people go a size too small. A porch light is jewelry for your entryway, and skimpy jewelry disappears.
My sizing rule of thumb: for a fixture beside a single front door, aim for a height that's roughly one-quarter to one-third the height of the door itself. For a standard 80-inch door, that means a fixture about 18–24 inches tall including its tail or loop — yes, really, that big. Mount it so its center sits around eye level, roughly 65–67 inches above the porch floor, with the bulb source a little above eye level to cut glare.
Match the rating to the exposure. Under a real roof overhang, damp-rated is fine. On an open wall that takes driving rain, you need wet-rated — this is genuinely not the place to fudge. Style-wise, I keep a running list of my favorite front porch lighting ideas sorted by house style, from farmhouse lanterns to clean modern sconces, and it's worth browsing before you buy.
For the bulb, think lumens, not watts: 800–1,100 lumens is the sweet spot for a welcoming porch that doesn't interrogate your guests. Color matters just as much — warm 2700K reads cozy and flatters siding and faces, while 4000K+ can feel like a parking lot. I explain the whole warm-versus-daylight question in my guide to outdoor light color temperature — it'll help you pick with confidence.
How to Install a Porch Light When There's No Existing Fixture
Everything above assumes you're swapping. What if your porch has no light at all — or it's in the wrong spot? Then the job changes character, and I want to be honest about that before you buy anything.
A brand-new location needs three things: a junction box cut into the wall or ceiling, a cable run from a power source (often an interior switch box or a nearby outlet circuit), and a switch to control it. That can mean opening drywall, fishing cable through studs, and patching afterward. For a confident DIYer with attic or basement access along the way, it's a doable Saturday — but it's a Saturday, not an hour.
There's a middle path worth knowing about: if there's an existing interior switch near the door controlling an outlet, or an eave soffit with attic access above the porch, the cable run can be short and clean. Porch ceiling fixtures are often easier than wall fixtures for exactly this reason — the attic does the hard part.
My honest advice: if your project needs new cable inside finished walls, get one electrician quote before deciding. Swapping a fixture is firmly DIY territory; adding circuits is where permits, inspections, and experience start earning their keep. And if wiring just isn't in the cards, a quality solar or battery fixture buys you a season or two while you plan — no shame in that game.

If It Doesn't Light: A Quick Troubleshooting Ladder
You flipped the switch and… nothing. Don't panic, and definitely don't take it all apart in a huff. Work this ladder from the top — in my experience the fix is almost always in the first three rungs.
Rung 1: The bulb. Swap in a bulb you *know* works. LEDs occasionally arrive dead, and some enclosed fixtures need a bulb rated for enclosed use.
Rung 2: The power. Check the breaker — did it trip when you restored power? A trip means a short, usually a wire nut that loosened or a bare wire touching the box. Power off, open it up, inspect.
Rung 3: The connections. With the breaker off and wires verified dead, give each wire nut a gentle tug. Wires should not slide out. A loose neutral is the classic cause of a fixture that's dead or flickers when the wind blows.
Rung 4: The switch. Old switches fail, and some smart switches and dimmers misbehave with certain LED bulbs. If the fixture works when you test it but not from the switch, the switch is your suspect.
Rung 5: The sensor. If your fixture has a built-in photocell or motion sensor, remember it may stay off in daylight by design. Cup the sensor with electrical tape or wait for dusk before declaring it broken — I've "fixed" more than one porch light simply by checking it after dark.
What It Costs in 2026
Let's talk real numbers, because this project is one of the best bargains in home improvement.
The fixture itself: $25–$75 buys a perfectly decent damp- or wet-rated lantern at the basic end; $80–$200 gets you heavier metal, seeded or frosted glass, and finishes that still look good in five years. Above $250 you're paying for designer names and oversized statement pieces.
Tools and supplies: If you're starting from zero, the non-contact tester (~$15), a tube of exterior caulk (~$8), and a small bag of wire nuts (~$5) are the whole shopping list — under $30 if you already own screwdrivers and a ladder.
Running cost: Nearly nothing. A 10-watt LED burning five hours a night uses about 18 kilowatt-hours a year. At the 2026 national average of roughly 17 cents per kilowatt-hour, that's about $3 a year. Leave it on dusk to dawn and you're still under $8.
The electrician comparison: Hiring this swap out typically runs $150–$350 for the visit and labor, fixture not included — fair money for their time and license, but it's exactly why this is such a satisfying DIY. Your hour of ladder time effectively "earns" you a couple hundred dollars, which I immediately reinvest in more plants for the porch. Priorities.

5 Mistakes That Make a Simple Swap Go Sideways
1. Skipping the tester because "the breaker is off." Breakers get mislabeled. Switches get wired oddly. The tester is the truth — use it every time, on every wire.
2. Forgetting the ground. I've opened plenty of old fixtures where the ground wire was just snipped and ignored. It's not decorative; it's the safety path. Connect it to the house ground and the strap screw.
3. Caulking the whole backplate. Seal the top and sides, never the bottom. A fully sealed plate traps condensation inside the fixture; an open bottom lets it drain and dry. This one mistake quietly kills more porch lights than bad wiring does.
4. Mounting by guesswork. Too high and the light glares off the porch ceiling and leaves your steps in shadow; too low and it blinds guests at the door. The 65–67 inch center line exists for a reason — measure before the old fixture comes down and mark the wall with painter's tape.
5. Over-tightening everything. Snug is the goal. Cranking decorative nuts cracks glass shades, warps gaskets, and can pinch a wire against the box edge — which is a short circuit waiting for the first rainy night.
Avoid those five, and this project stays the easy win it's supposed to be.
Keeping Your New Porch Light Happy for Years
Ten minutes twice a year is all a porch light asks of you, and it repays it by working every single night.
In spring, kill the power, take the glass off, and wash it inside and out — you'd be amazed how much brightness a season of dust and moth souvenirs steals. Empty the fixture of the inevitable bug collection (every porch light has one; it's practically a law), wipe the bulb, and check that the gasket still feels rubbery rather than cracked. Look at your caulk bead while you're up there and touch up any gaps at the top edge. It takes ten minutes, and the difference at night is honestly startling.
In fall, before the early-dark season, swap in a fresh bulb if yours has dimmed noticeably, spray the screws with a drop of silicone lubricant so future-you can actually get them out, and confirm the fixture still sits tight against the wall — freeze-thaw cycles work hardware loose over time.
That's genuinely it. I fold these little jobs into my bigger seasonal routine — my outdoor lighting maintenance checklist covers the whole yard in about an hour, path lights to string lights. Do that, and the fixture you hung today should still be the welcoming glow of your entryway a decade from now.

Frequently Asked Questions
Do I need an electrician or a permit to replace a porch light?
For a like-for-like swap on an existing junction box, in most towns the answer is no on both counts — you're maintaining an existing fixture, not adding a circuit. Plenty of homeowners do this job themselves every weekend. Where I'd always hire out: adding a brand-new fixture location, moving a box, or working with wiring that looks damaged or ancient. Local rules vary, so a quick call to your building department never hurts.
What if my old porch light has no ground wire?
Plenty of older homes have only hot and neutral at the porch. If your junction box is metal and grounded through its cable, connect the fixture's ground wire to the box with a green grounding screw. If there's truly no ground path, a GFCI-protected circuit adds a layer of safety, but the honest answer is that ungrounded antique wiring deserves an electrician's eyes — ask them to quote adding a ground while they're there.
How high should I mount a porch light?
The classic rule: center of the fixture at about 65–67 inches above the porch floor — roughly eye level. That puts the light source right where it lights faces and locks without glaring into eyes. For a pair flanking a door, keep both at identical heights and about 6–8 inches from the door trim. On a two-story entry or a portico, scale up: bigger architecture wants the fixture higher and larger.
Can I use a smart bulb in my new porch light?
Usually yes, and it's a great trick for dusk-to-dawn behavior without rewiring. Two cautions: the wall switch has to stay on for the bulb to have power, so a little switch guard helps with forgetful family members. And don't combine a smart bulb with a fixture that has its own built-in photocell or motion sensor — the two brains fight, and flickering is the usual result. Pick one brain per fixture.
Conclusion
An hour, a ladder, and three little wire nuts — that's the whole secret. Once you know how to install a porch light, the entryway stops being the house's tired first impression and becomes its handshake: warm, welcoming, and unmistakably yours. Start with the tester, respect the ground wire, measure before you mount, and seal the top edge. Your porch — and every pizza delivery person who finds your house number on the first try — will thank you.