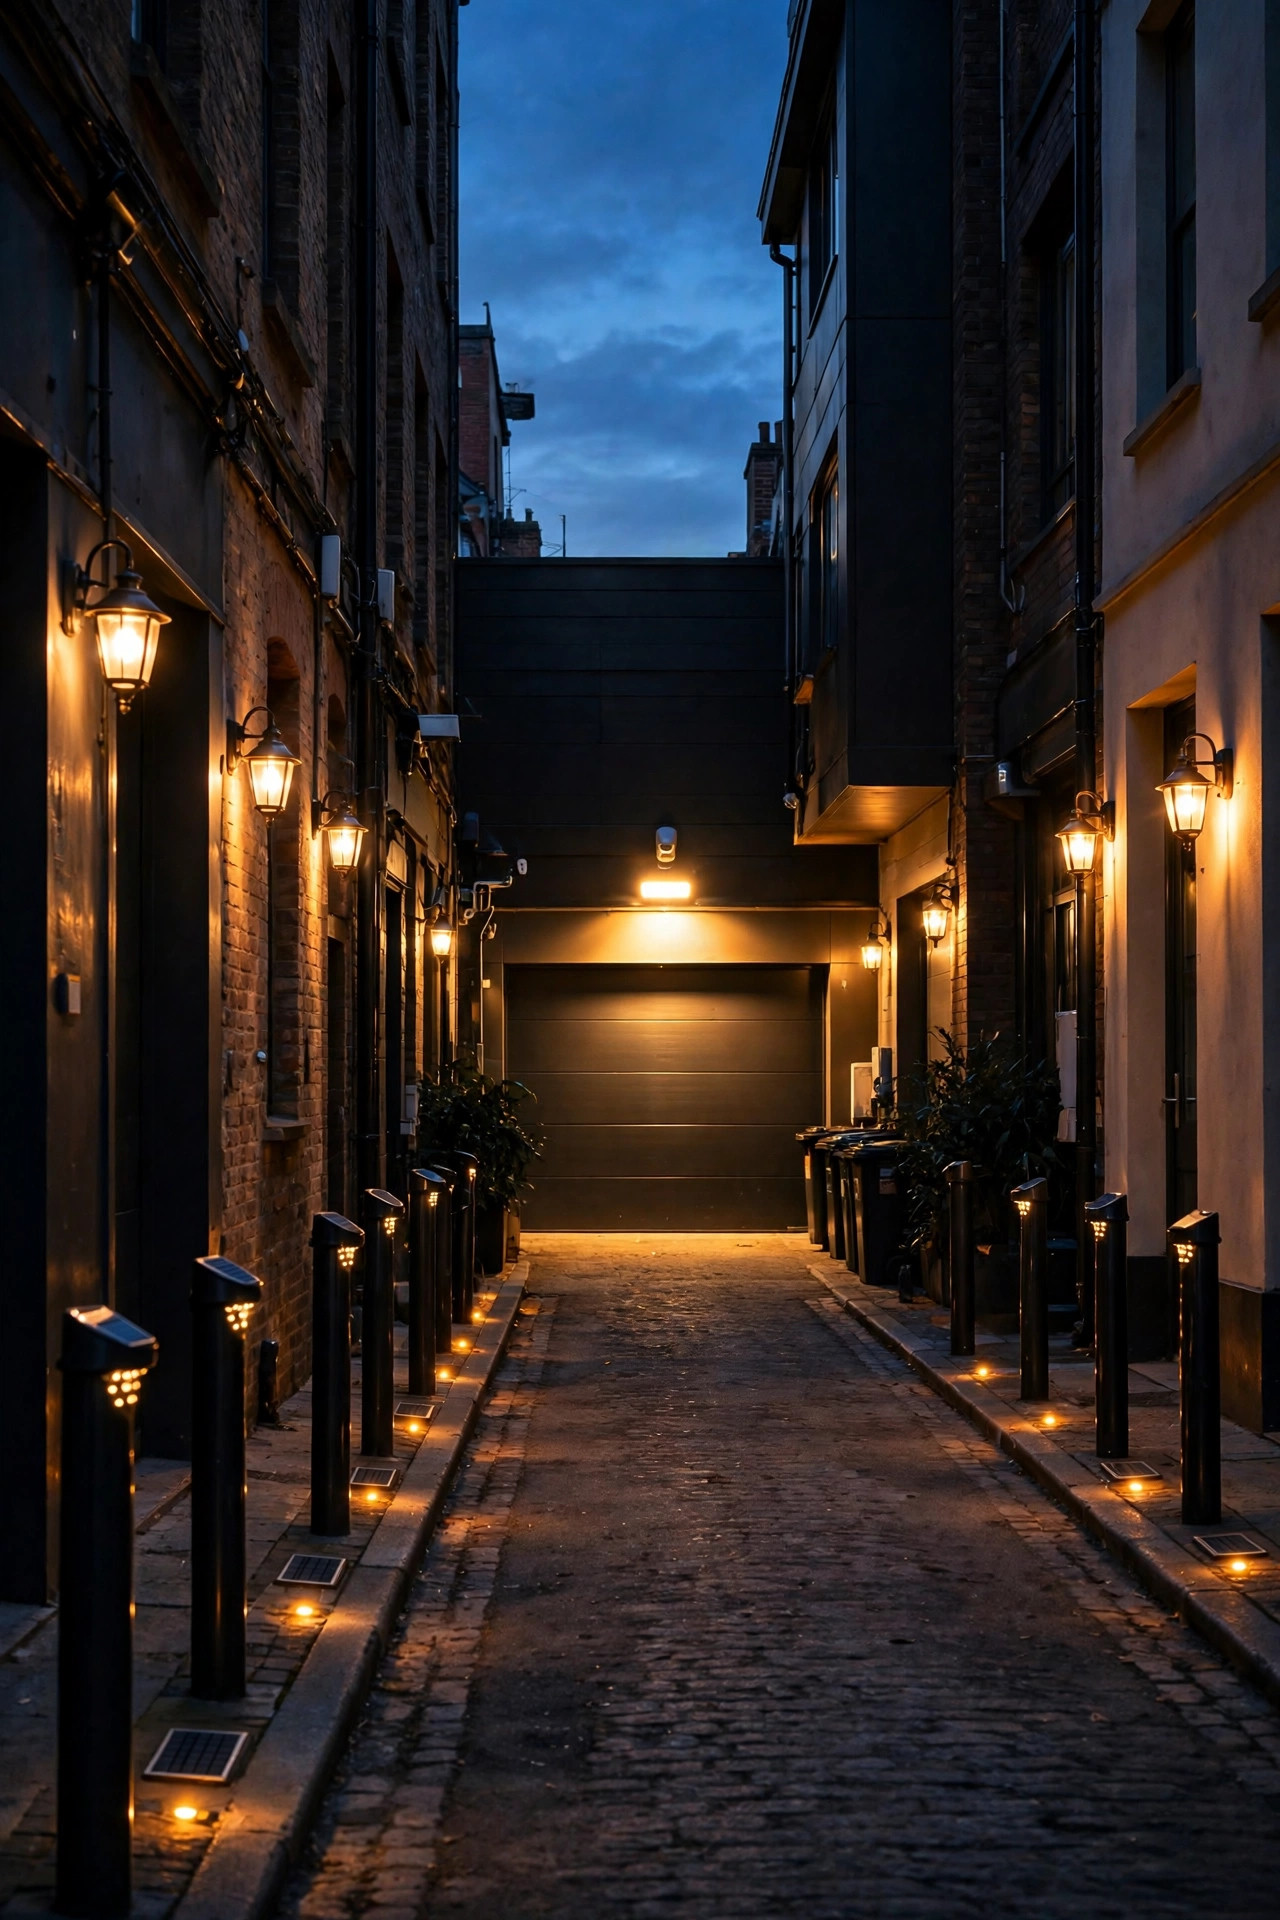
Our rear lane used to be the part of the property I avoided after dark. The garage felt a mile away, the bins lived in a black hole, and every trip out with the recycling ended with me doing the phone-flashlight shuffle. Sound familiar? The good news is that a few well-chosen alley lighting ideas can turn that dark service lane into one of the safest, most welcoming parts of your home. In my experience, the trick is the same layering I use everywhere else: a soft base layer so you can always see the ground, a task layer where you actually do things like park, unlock, and sort bins, and motion-activated brightness that only shows up when someone is really there. Nothing blasts the neighbors, nothing runs all night at full power, and everything survives real weather. Below are the 15 setups I recommend for urban homes, from five-minute solar fixes to a proper low-voltage backbone, with honest budgets attached to each one.
1. Start With a Simple Layered Plan for Your Alley Lighting Ideas
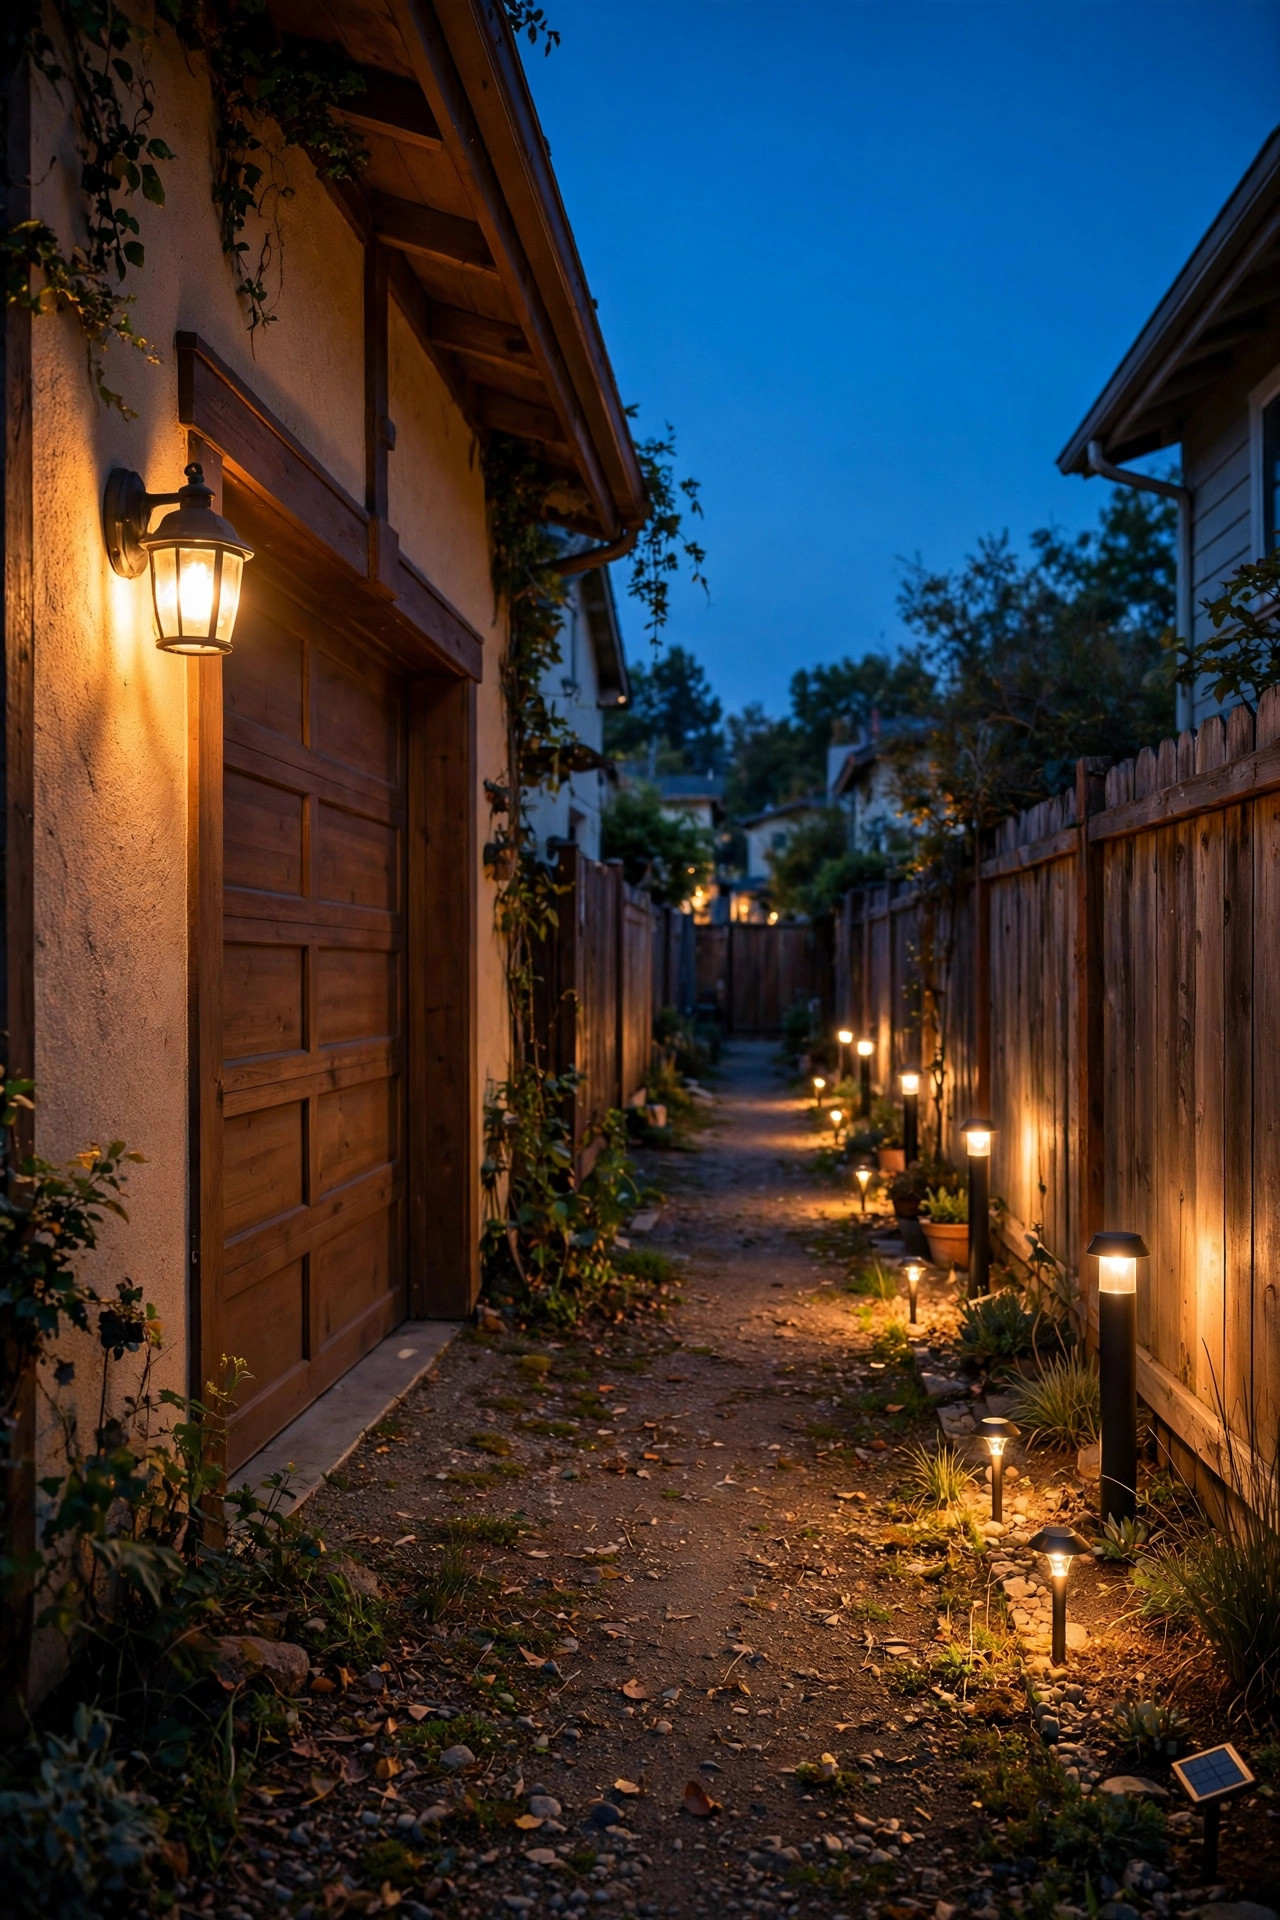
Before you buy a single fixture, walk your lane at dusk and again after full dark, and note three zones: the drive surface where tires and feet land, the work spots (garage door, gate, bins, back door), and the dark corners where nobody should be able to linger unseen. That walk gives you a simple layered plan: low, steady light for the ground plane, focused light at each work spot, and a motion layer for security. I sketch it on paper and mark mounting heights as I go. Most alley fixtures do their best work between 7 and 9 feet up, high enough to spread light, low enough to maintain without a giant ladder. Check where power already exists, too. A garage outlet or an existing porch fixture can anchor the whole system and save you from trenching. Also note your property lines and the neighbors' windows, because every fixture you place should throw its light onto your lane, not into someone's bedroom. Ten minutes of planning prevents the classic mistake of one blinding floodlight and total darkness everywhere else.
Suggested budget range: $0 – $25.
2. Mount a Motion-Sensor Floodlight Above the Garage Door
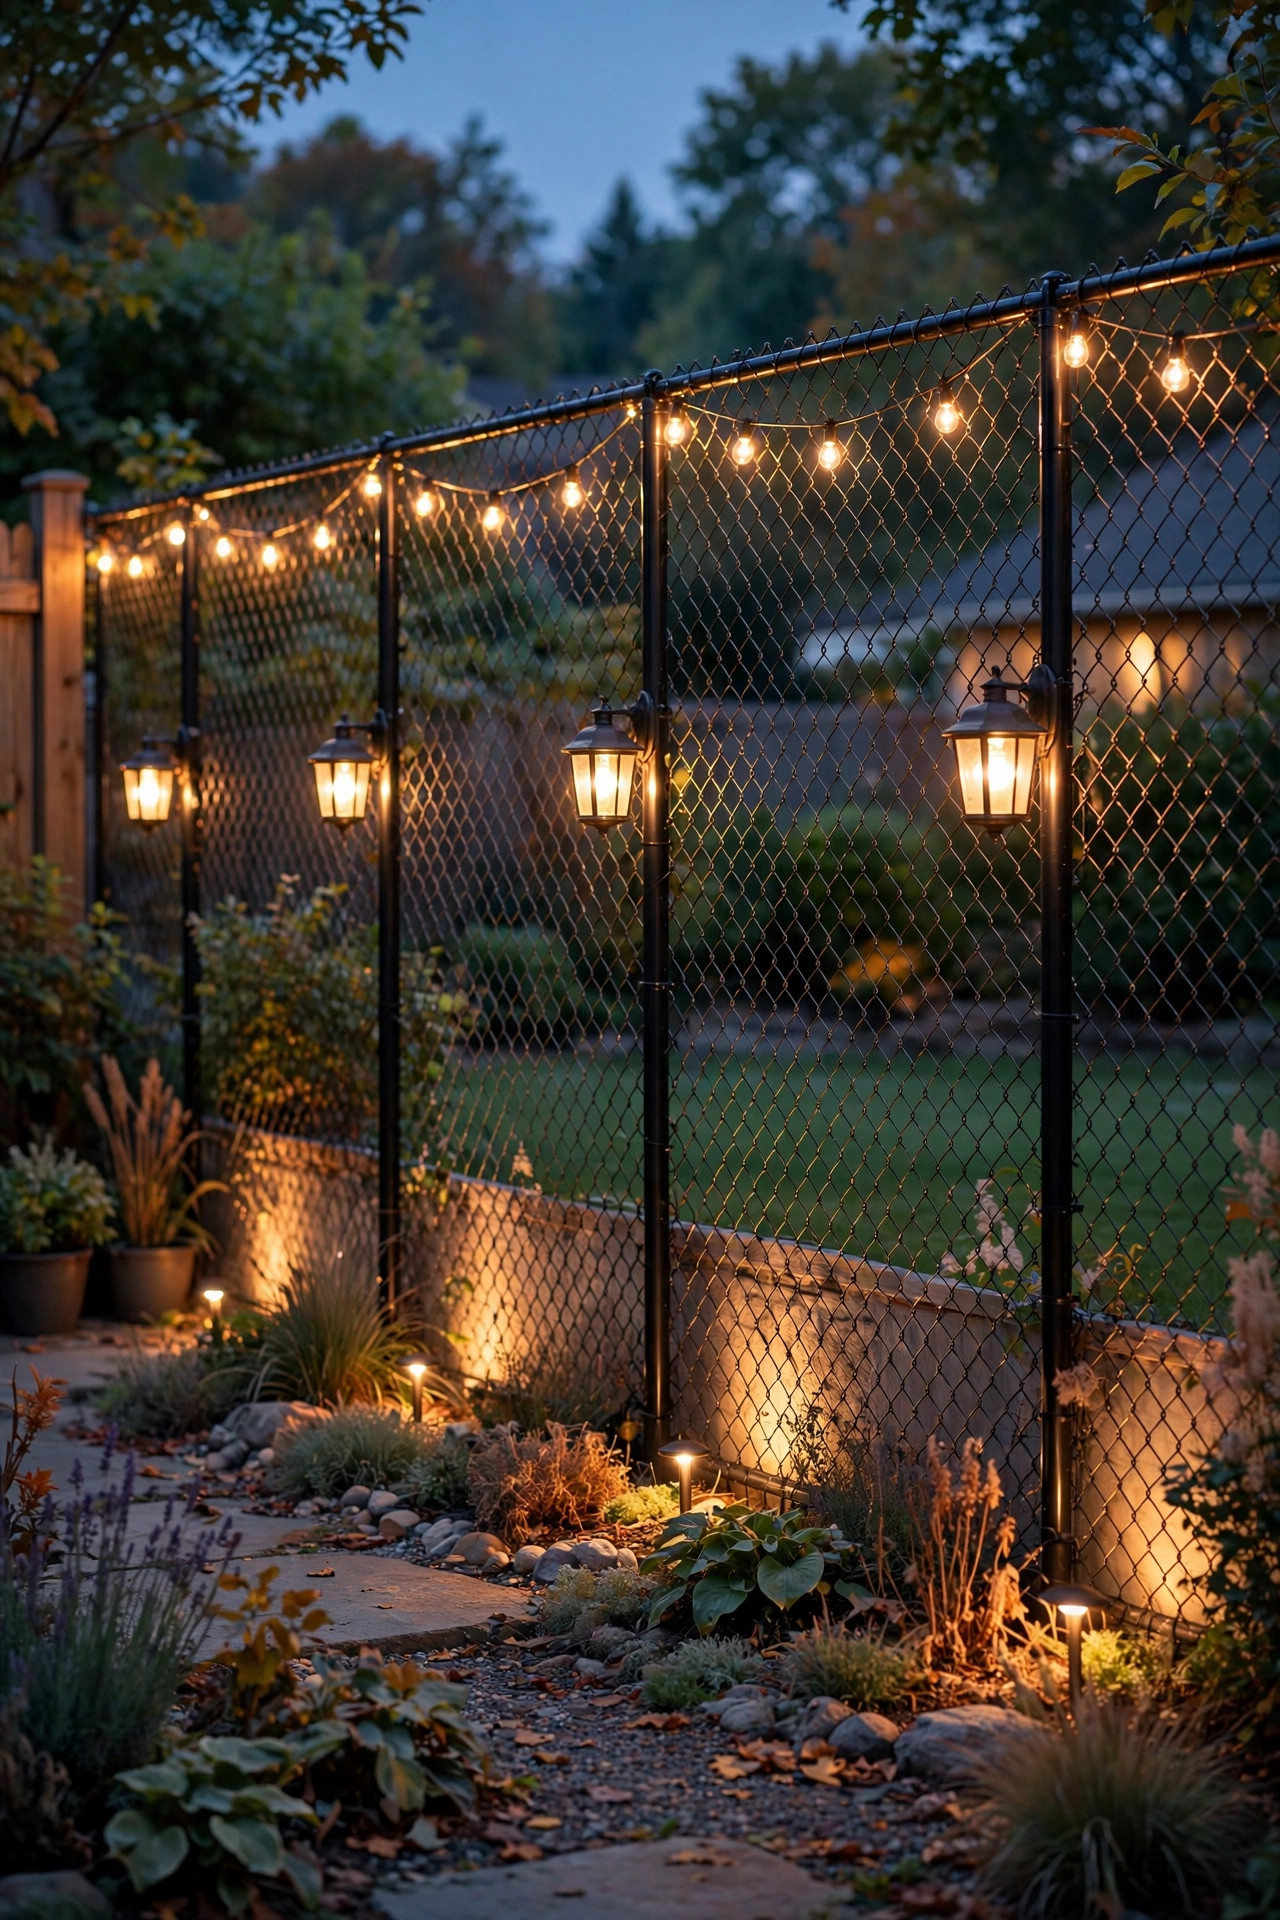
The single highest-impact upgrade in any rear lane is a motion-sensor floodlight mounted above the garage door, about 8 to 9 feet up and angled down at roughly 45 degrees. It stays dark while the lane is empty, then washes the whole parking pad in light the moment you pull in or step out, exactly when you want your hands free for groceries and keys. Look for an LED model in the 1,600 to 2,400 lumen range with an adjustable sensor. Set the range to about 25 to 30 feet so passing foot traffic on the sidewalk does not trigger it all night, and set the on-time to one to three minutes. A dual-head design lets you aim one head at the drive lane and one at the gate. If you want the full rundown on sensitivity settings and placement, my motion sensor outdoor lights guide walks through it step by step. Hardwired models are the most reliable, but if the garage has no junction box, a solar motion light is a respectable stand-in. Either way, choose a fixture rated for wet locations, and aim the sensor slightly downward so rain and snow do not fool it.
Suggested budget range: $30 – $90.

3. Line the Drive Lane With Solar Path Markers
Cars and guests both need to read the edges of the lane, and a row of solar path markers does that job for almost no money and zero wiring. Push them into the soil strip or gravel edge every 6 to 8 feet along one side of the drive. One side only reads as intentional, while both sides can feel like a runway. Choose markers with a warm 2700K to 3000K glow and a low output of 30 to 80 lumens each. You are outlining the route, not lighting a stadium. In narrow urban lanes, I prefer flat in-ground solar disks on the side where tires pass close, because tall stakes are the first casualties of a wide turn or a snow shovel. Give the panels a quick wipe every month or two, since alley dust and leaf litter dim them fast. Solar markers will not hold full brightness through a deeply shaded winter, so treat them as the guidance layer and let your wired or motion fixtures do the heavy lifting. Mixed with the other layers, though, they make the lane feel finished and guide everyone in without a word.
Suggested budget range: $20 – $60.
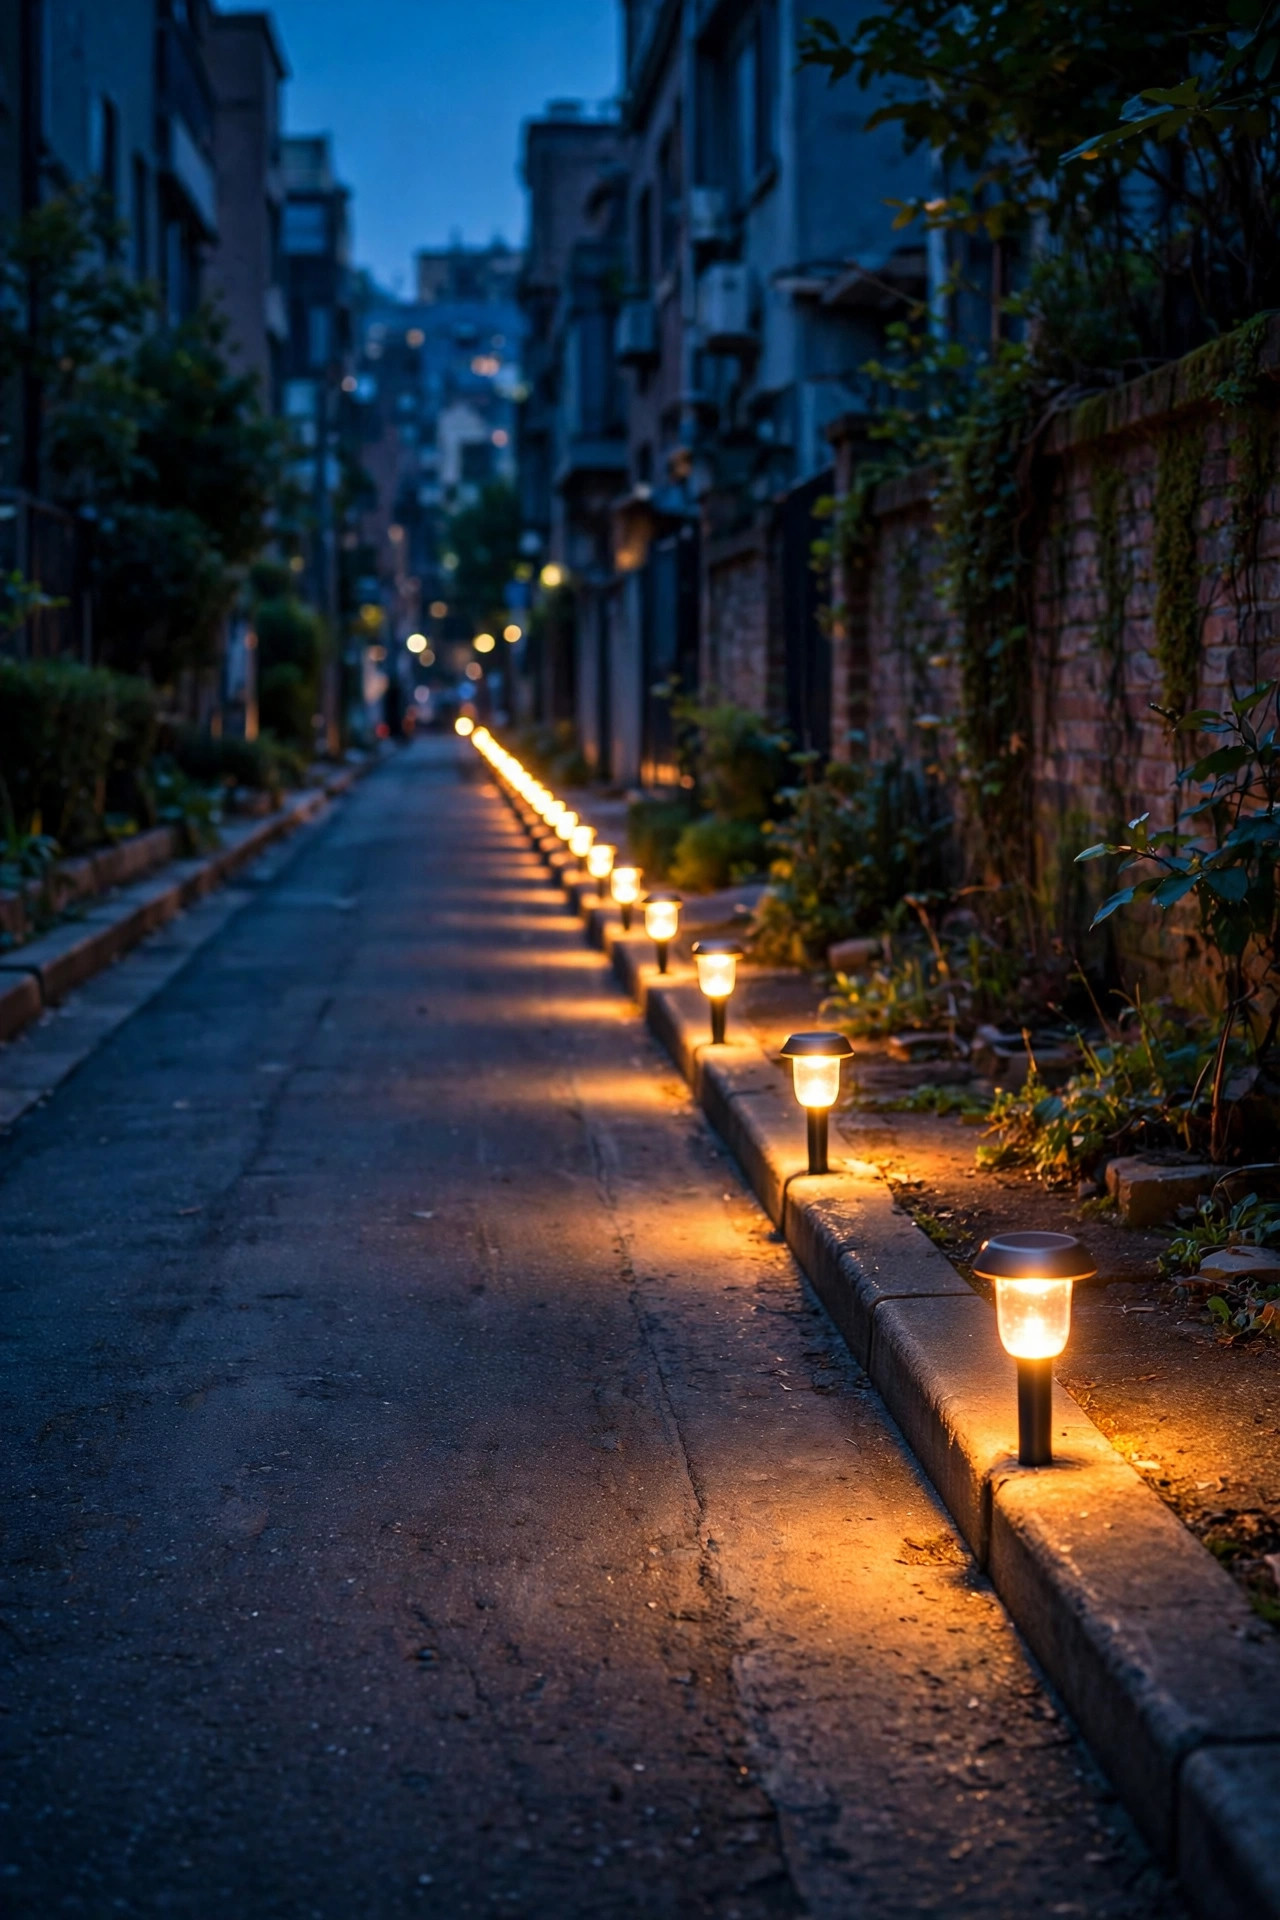
4. Choose Shielded Wall Fixtures That Aim Light Down
Nothing starts a neighbor feud faster than an unshielded bulb glaring sideways, so for the steady all-evening layer I reach for shielded wall fixtures, sometimes called full-cutoff or dark-sky friendly designs, mounted on the garage or the back wall of the house. The shade hides the bulb and throws all the light downward onto the lane surface, which is exactly where you need it for footing and parking. Mount them 7 to 8 feet high and space them 12 to 15 feet apart along the wall for even pools of light with no harsh stripes. One fixture near the back door and one on the garage usually covers a standard city lot. Because the bulb is never directly visible, you can run a slightly brighter lamp, around 800 to 1,100 lumens, without creating glare. These fixtures also keep light out of the sky and out of second-story windows, which matters in dense neighborhoods. Pick powder-coated metal housings with an IP65 or wet-location rating. Alleys funnel wind and rain, and cheap plastic housings yellow and crack within a couple of seasons out there.
Suggested budget range: $40 – $120.
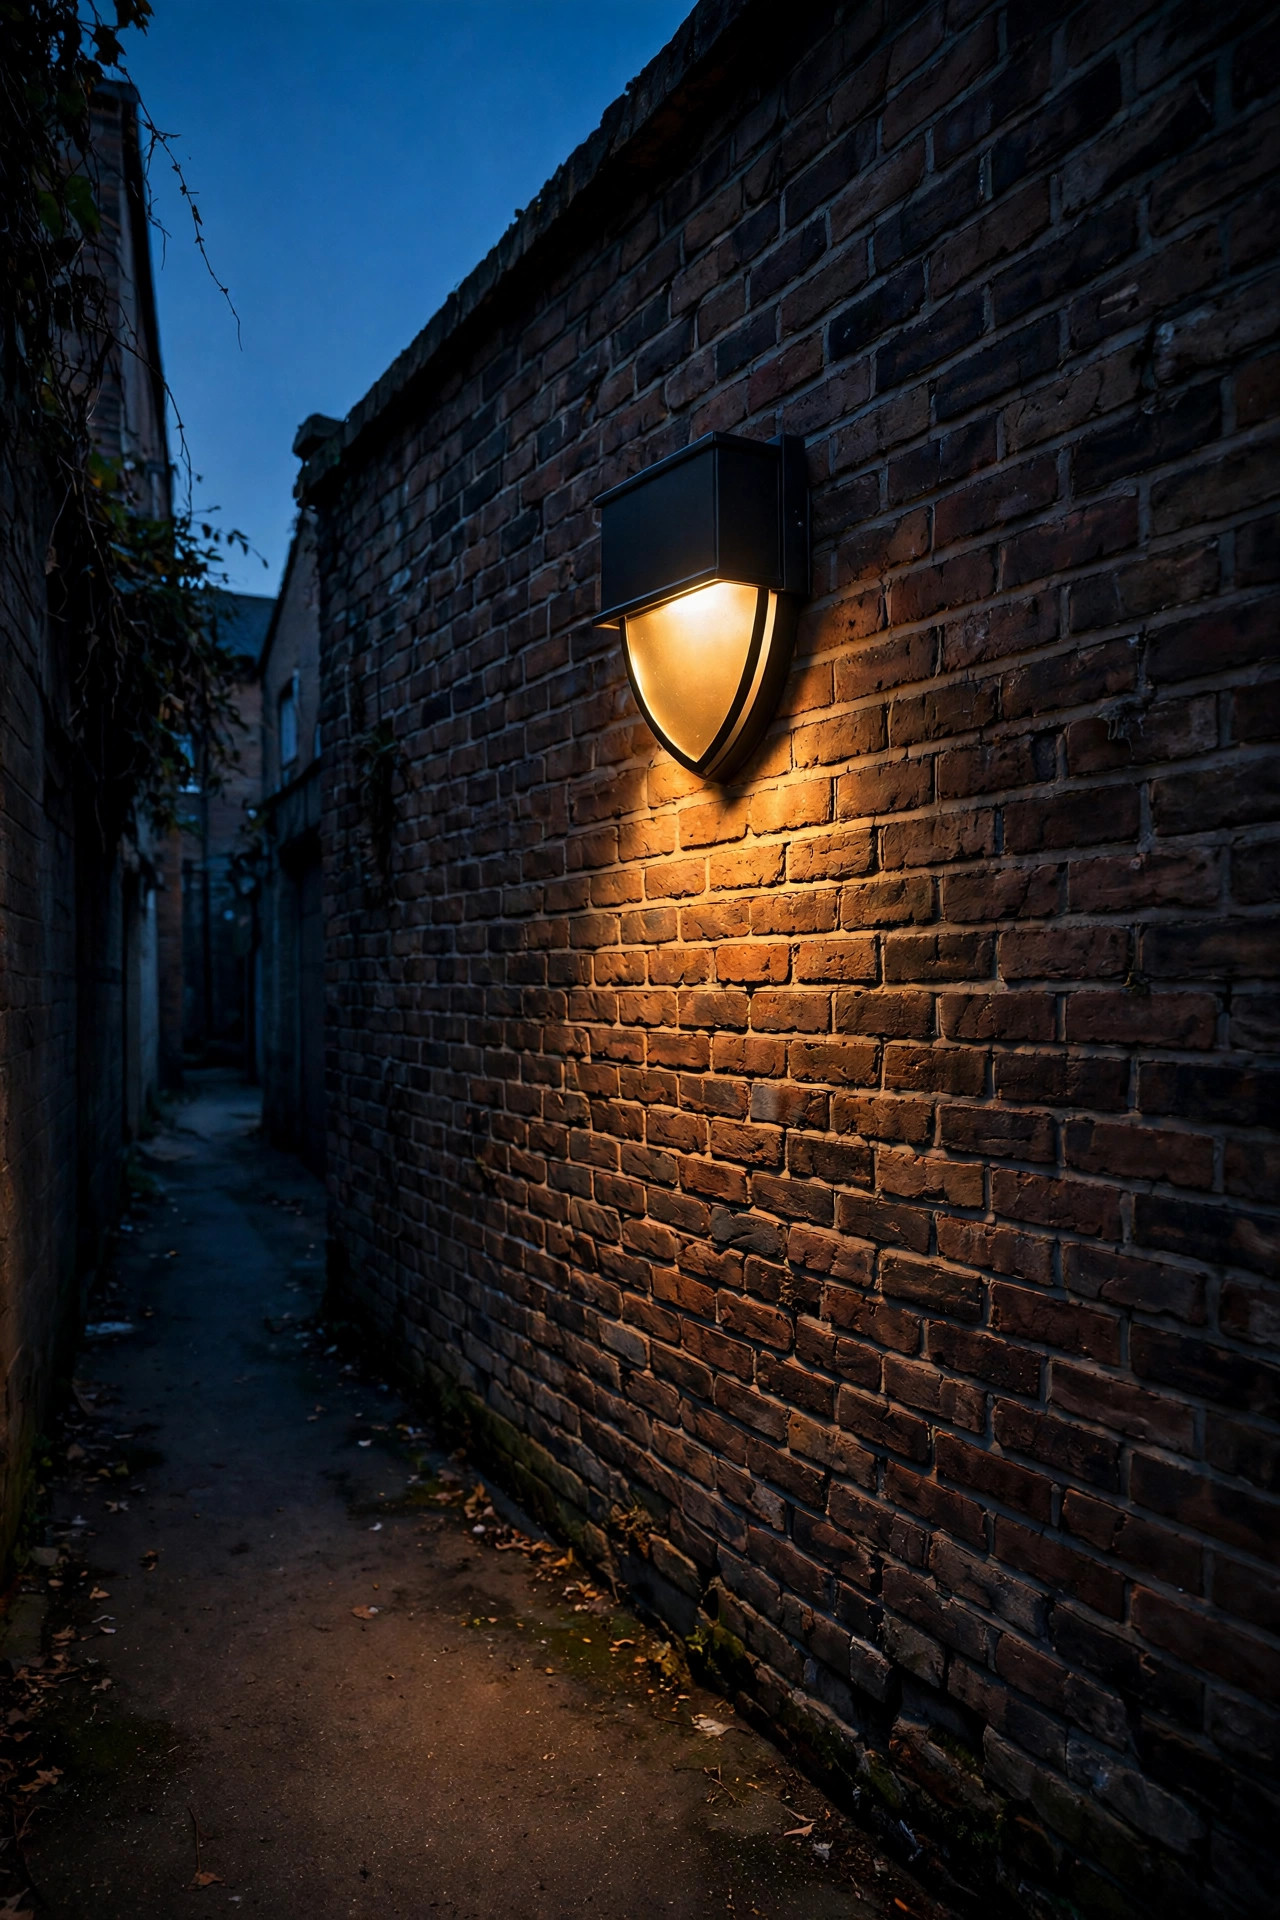
5. Run Low-Voltage Bollards Along the Fence Line
When I want a lane to feel genuinely designed rather than just secured, I run a low-voltage bollard line along the fence. Bollards are short, sturdy posts, 12 to 24 inches tall, that throw a soft circle of light downward and outward, perfect for marking the walking route from the gate to the back door. A 12-volt system is safe to bury shallow, safe around kids and pets, and one transformer can run the whole lane. Space bollards 6 to 8 feet apart, staggered slightly off the fence line so the light grazes the boards and picks up their texture. That grazing effect makes a plain fence look architectural. Bury the cable about 6 inches deep along the fence where no one digs, and use waterproof wire connectors at every fixture. Expect to spend a Saturday on the install, most of it on your knees, but the result is the layer that makes guests say the lane looks like a boutique hotel entrance. If your lane doubles as your side yard, the same trick works there too, and the spacing rules in my side yard lighting ideas apply almost word for word.
Suggested budget range: $120 – $300.
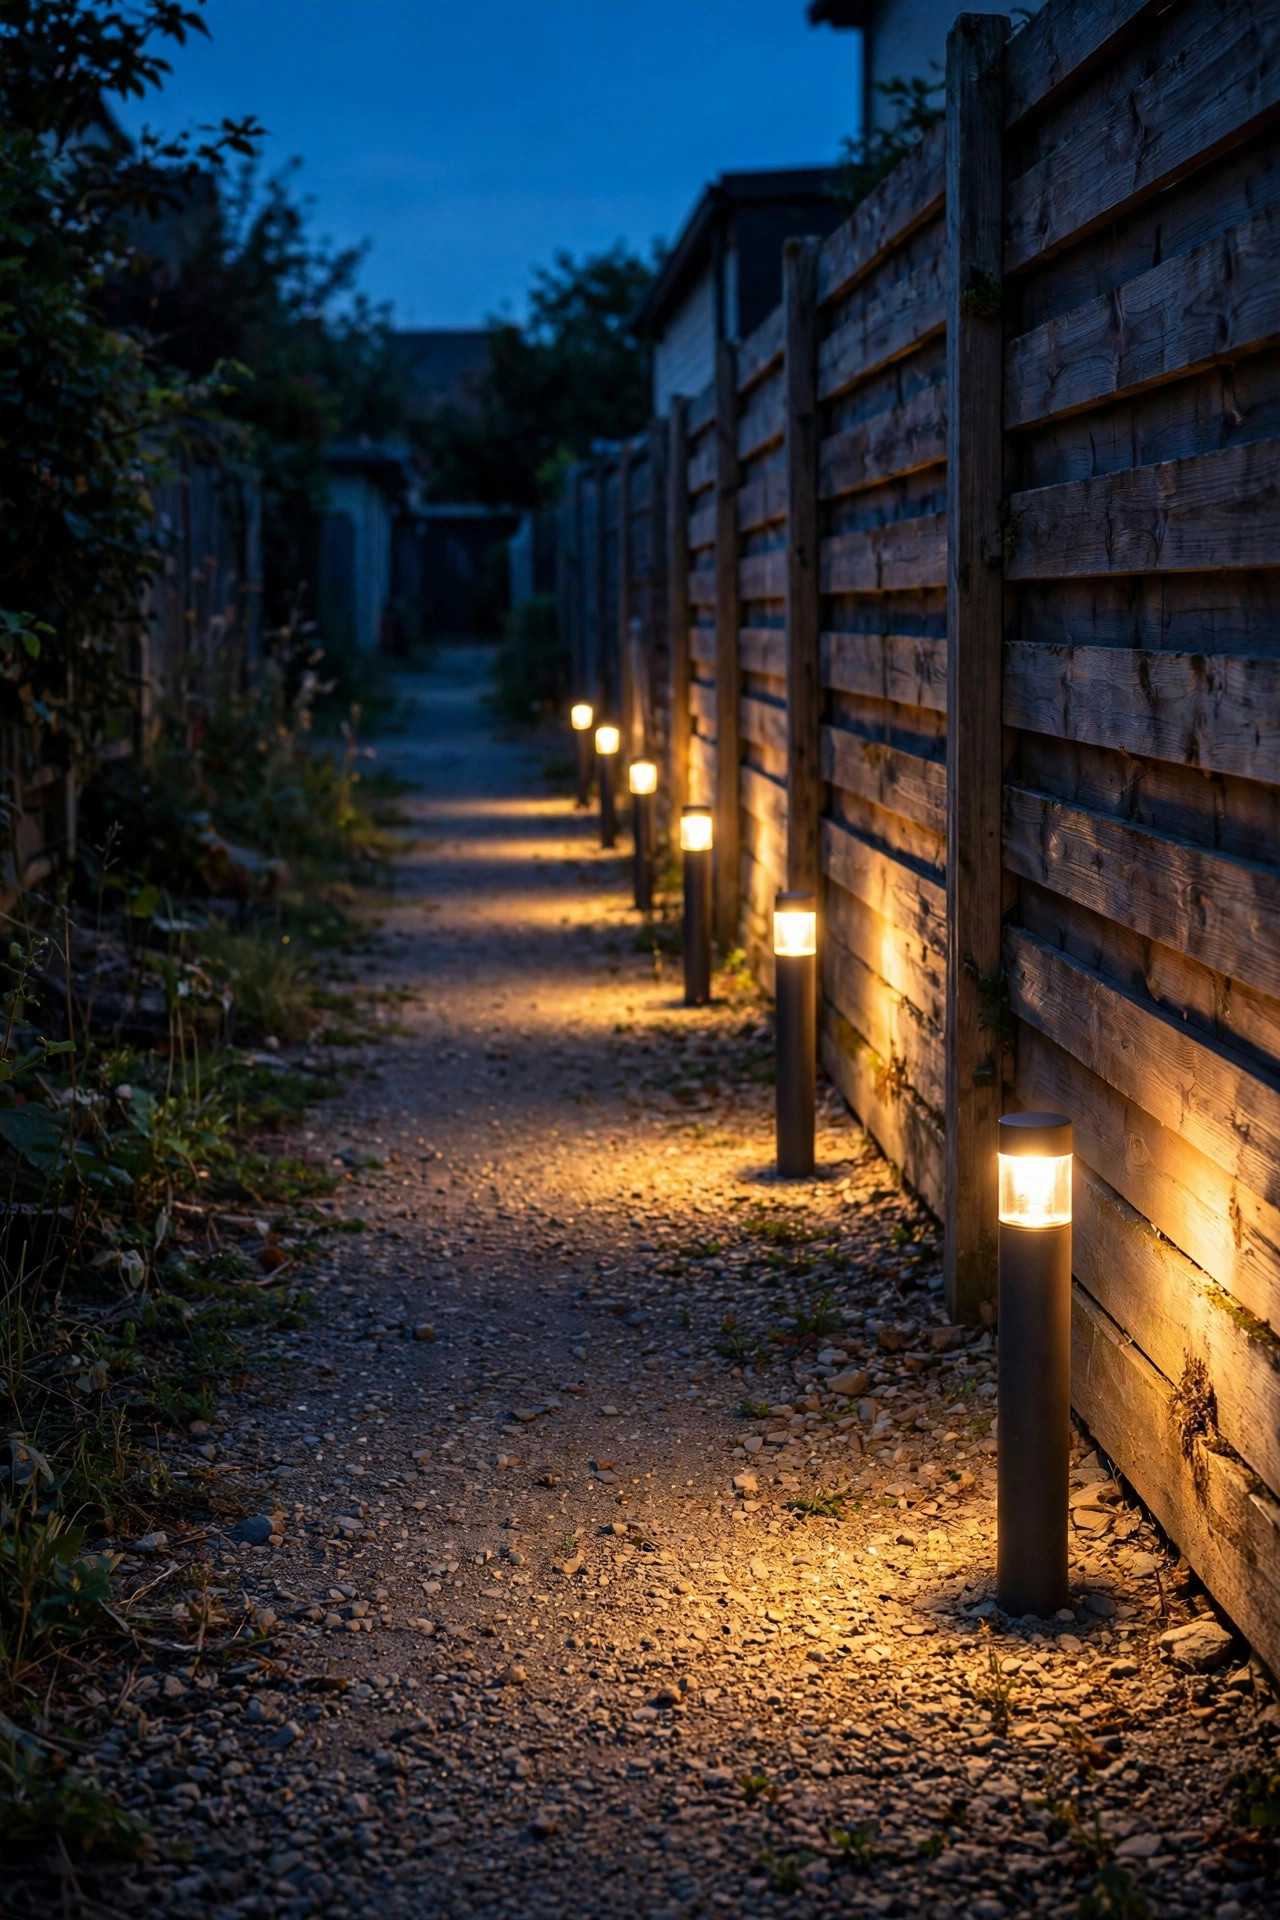
6. Swap In Dusk-to-Dawn Photocell Bulbs
The laziest upgrade on this list is also one of the smartest: swap the plain bulbs in your existing back-door and garage fixtures for dusk-to-dawn LED bulbs with a built-in photocell. They switch themselves on at sunset and off at sunrise, and they sip about 9 to 12 watts while doing it. No timers to reset after a power outage, no smart home hub, no forgetting. For an alley, choose warm white at 2700K so the light feels residential rather than institutional, and check that the bulb is rated for enclosed fixtures if your sconce has a cover, because heat is what kills LEDs early. One caution: a photocell bulb needs to actually see the dark, so if your motion floodlight shines straight onto the fixture, the bulb may flicker or stay off. A few feet of separation fixes it. These bulbs are also a lovely renter-friendly move, since you can take them with you when you move. At roughly the cost of a pizza per bulb, this is the fastest way to guarantee your lane is never completely dark when you come home late.
Suggested budget range: $10 – $25.
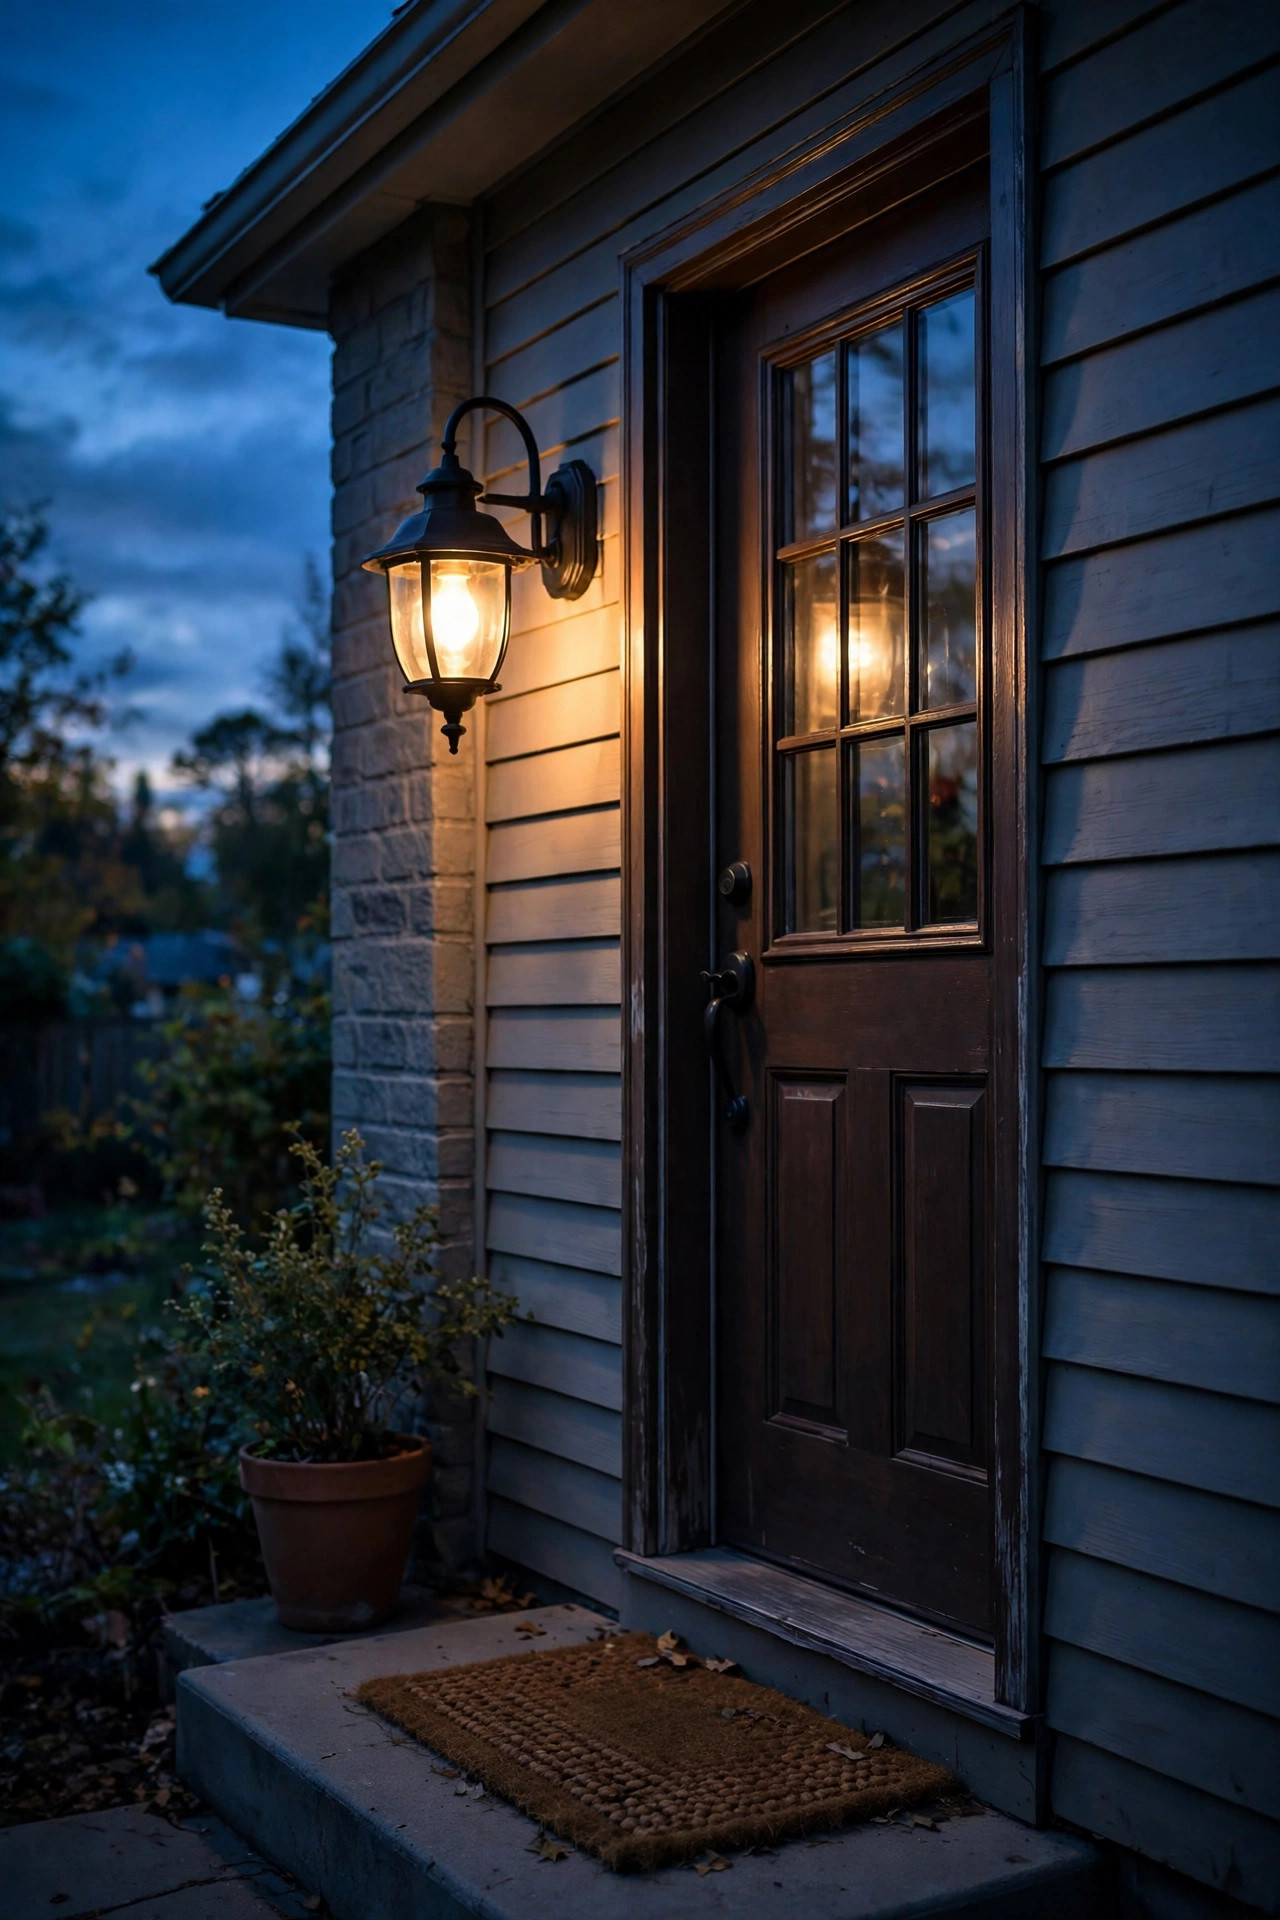
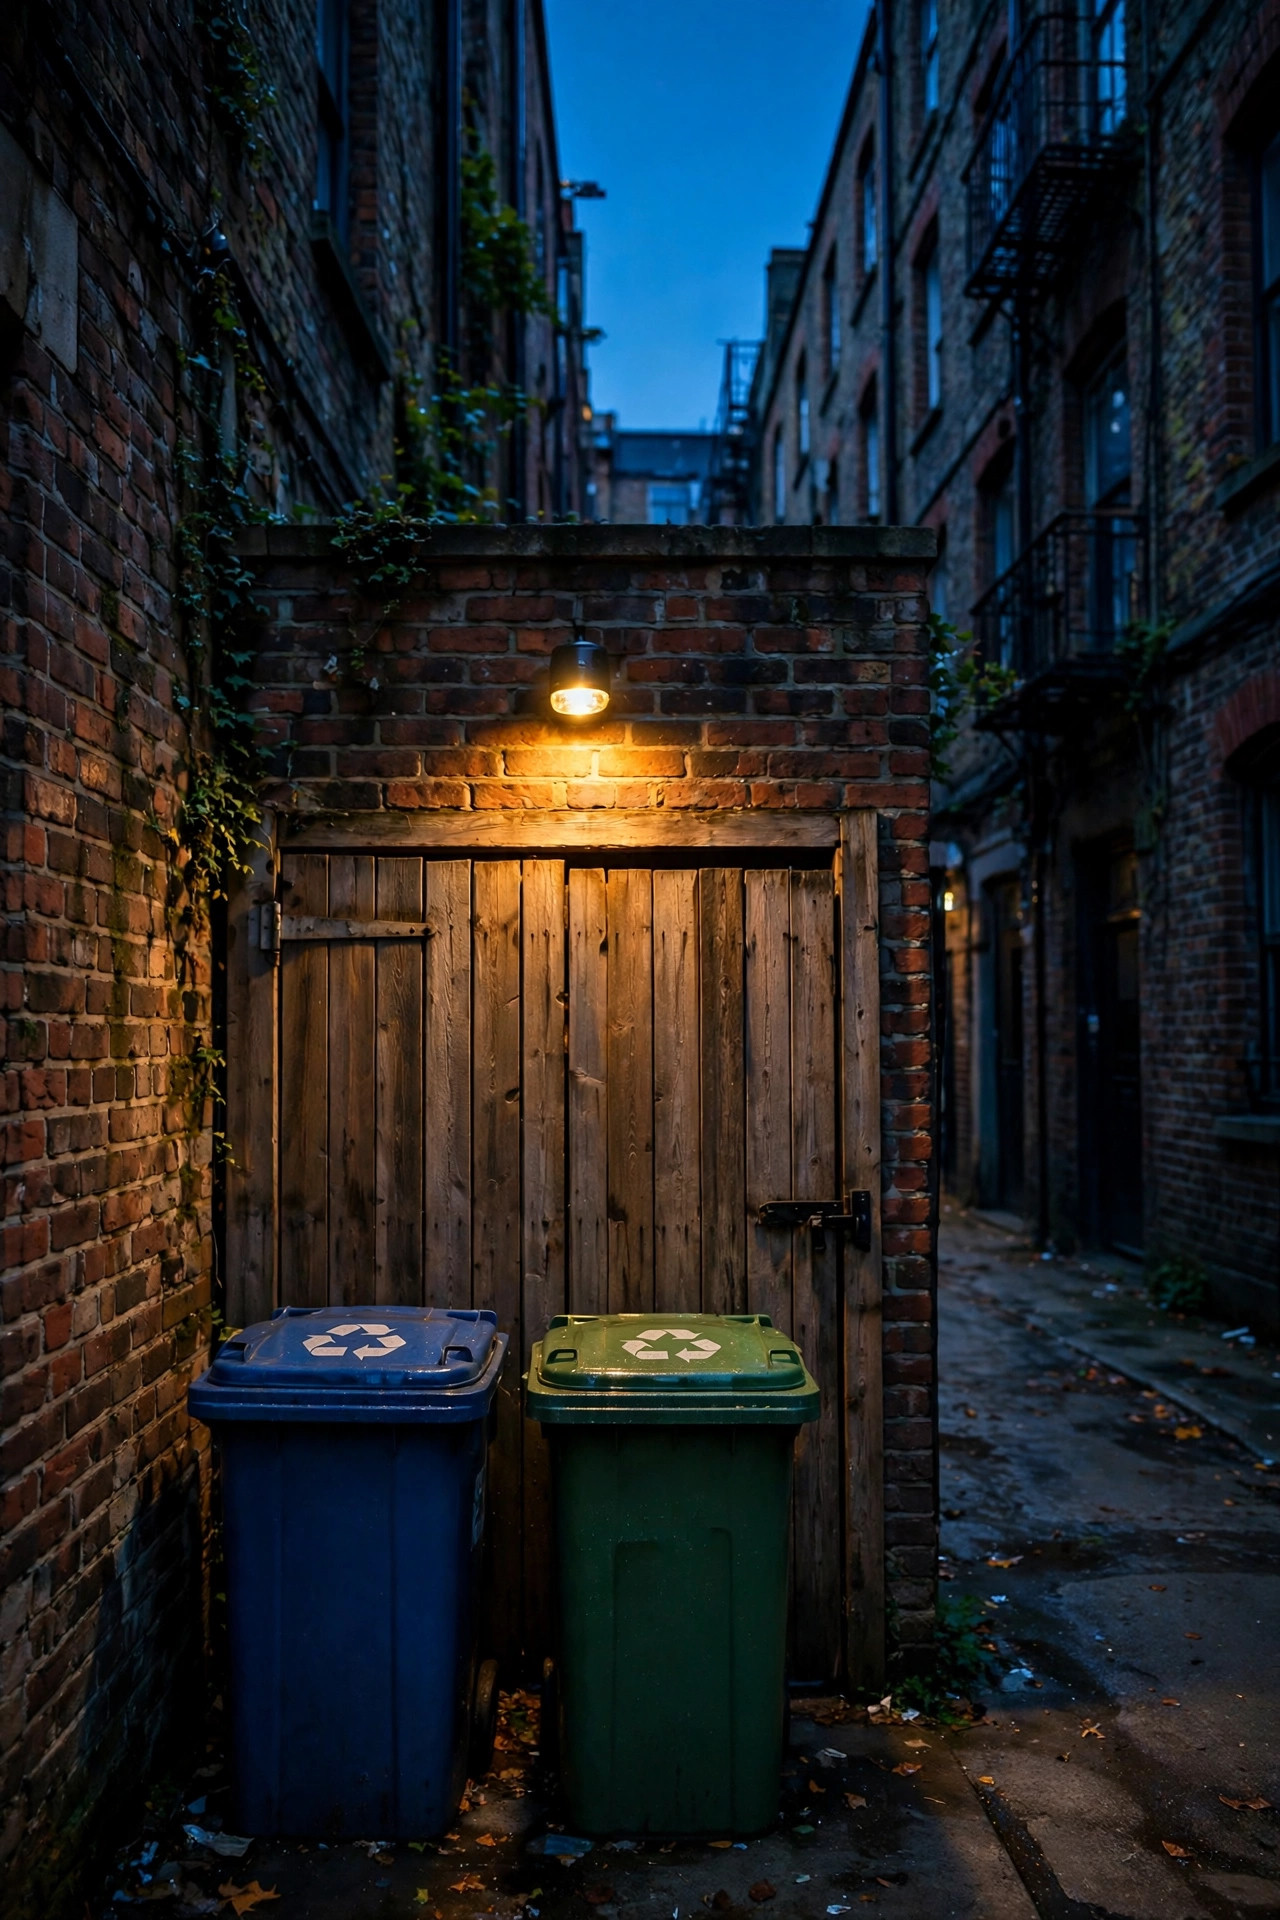
7. Light the Gate, the Bins, and the Recycling Corner
Every alley has a chore corner: the gate you fumble with, the bins you drag out on pickup night, the recycling that needs sorting. It deserves its own little pool of light. A small solar or battery motion light mounted on the fence or gate post at about 6 feet, aimed at the latch and the bin lids, changes trash night from a chore into a non-event. Motion activation is perfect here because you only need the light for the two minutes you are actually working, and your hands are usually full. If the gate is where guests enter from the lane, add a low solar marker light at the threshold so nobody trips on the sill or a raised paver. Keep the light warm and modest, around 200 to 400 lumens. You are reading bin labels, not performing surgery. Mount battery units where you can reach them without a ladder, because you will change batteries on the coldest night of the year, guaranteed. This is also the spot where a small solar light with a separate panel earns its keep, since chore corners are usually the shadiest part of the lot.
Suggested budget range: $15 – $45.
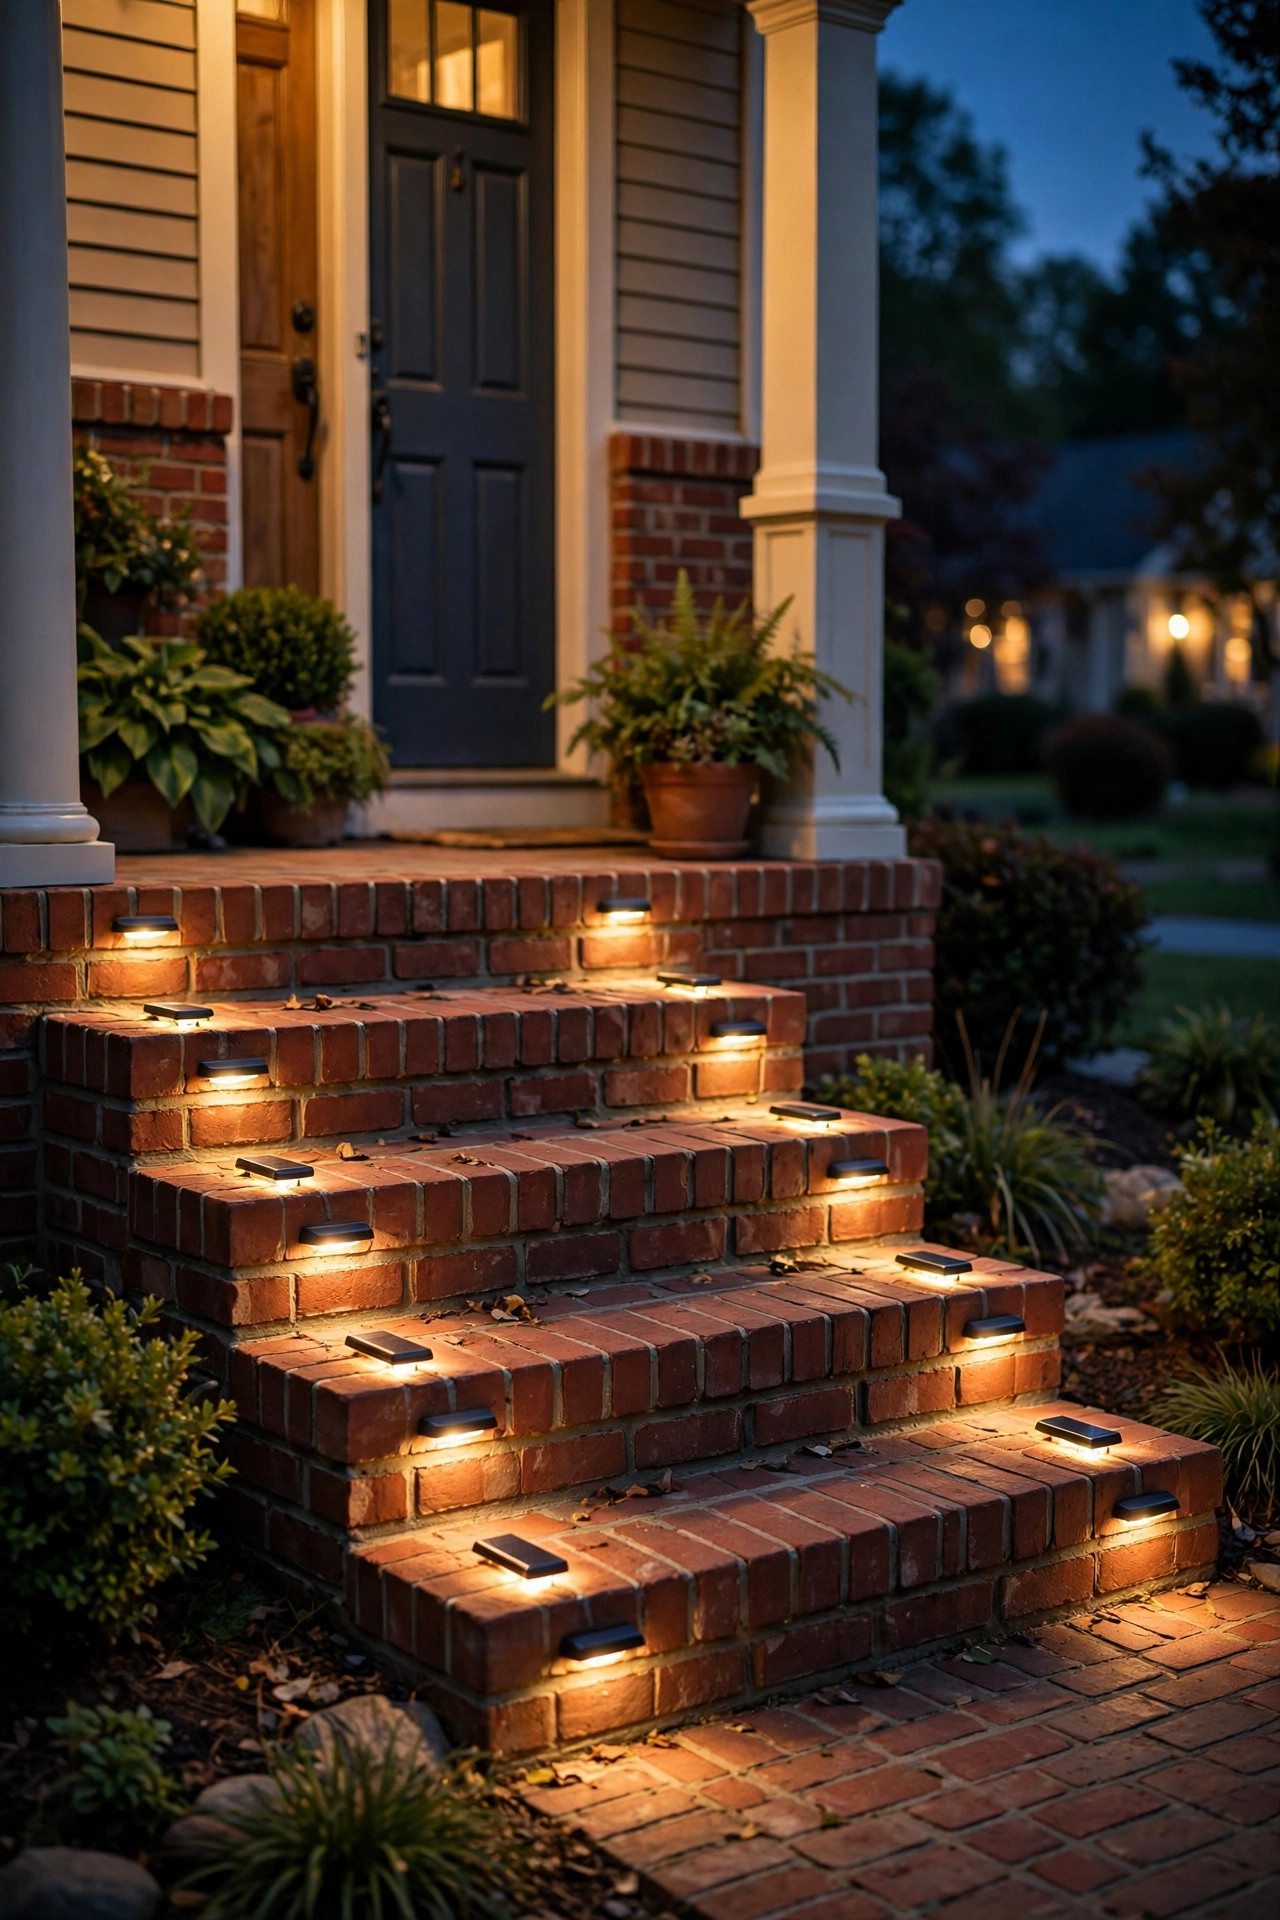
8. Mark Rear Steps and Landings With Solar Step Lights
Rear stairs down from a deck or back door are where alley lighting stops being decorative and becomes pure safety. Solar step lights screw or stick onto each riser or the side stringer and throw a small, precise pool of light onto the tread below, so every step edge reads clearly even in rain. Two per wide step, one per narrow step, is my rule. Choose models with the solar panel on top of the fixture and a warm LED. The little all-in-one units charge fine even in partial light because they only run a tiny diode. Clean the panels when you think of it; twice a year is plenty, and expect two to four years from the built-in batteries before the whole unit is replaced. Where stairs are wired already, low-voltage recessed step lights are the deluxe version and worth it on a forever home. What matters most is consistency: light every step, not just the top and bottom, because the unlit middle step is the one that gets missed at midnight with a laundry basket in your arms. Trust me on that one.
Suggested budget range: $20 – $55.
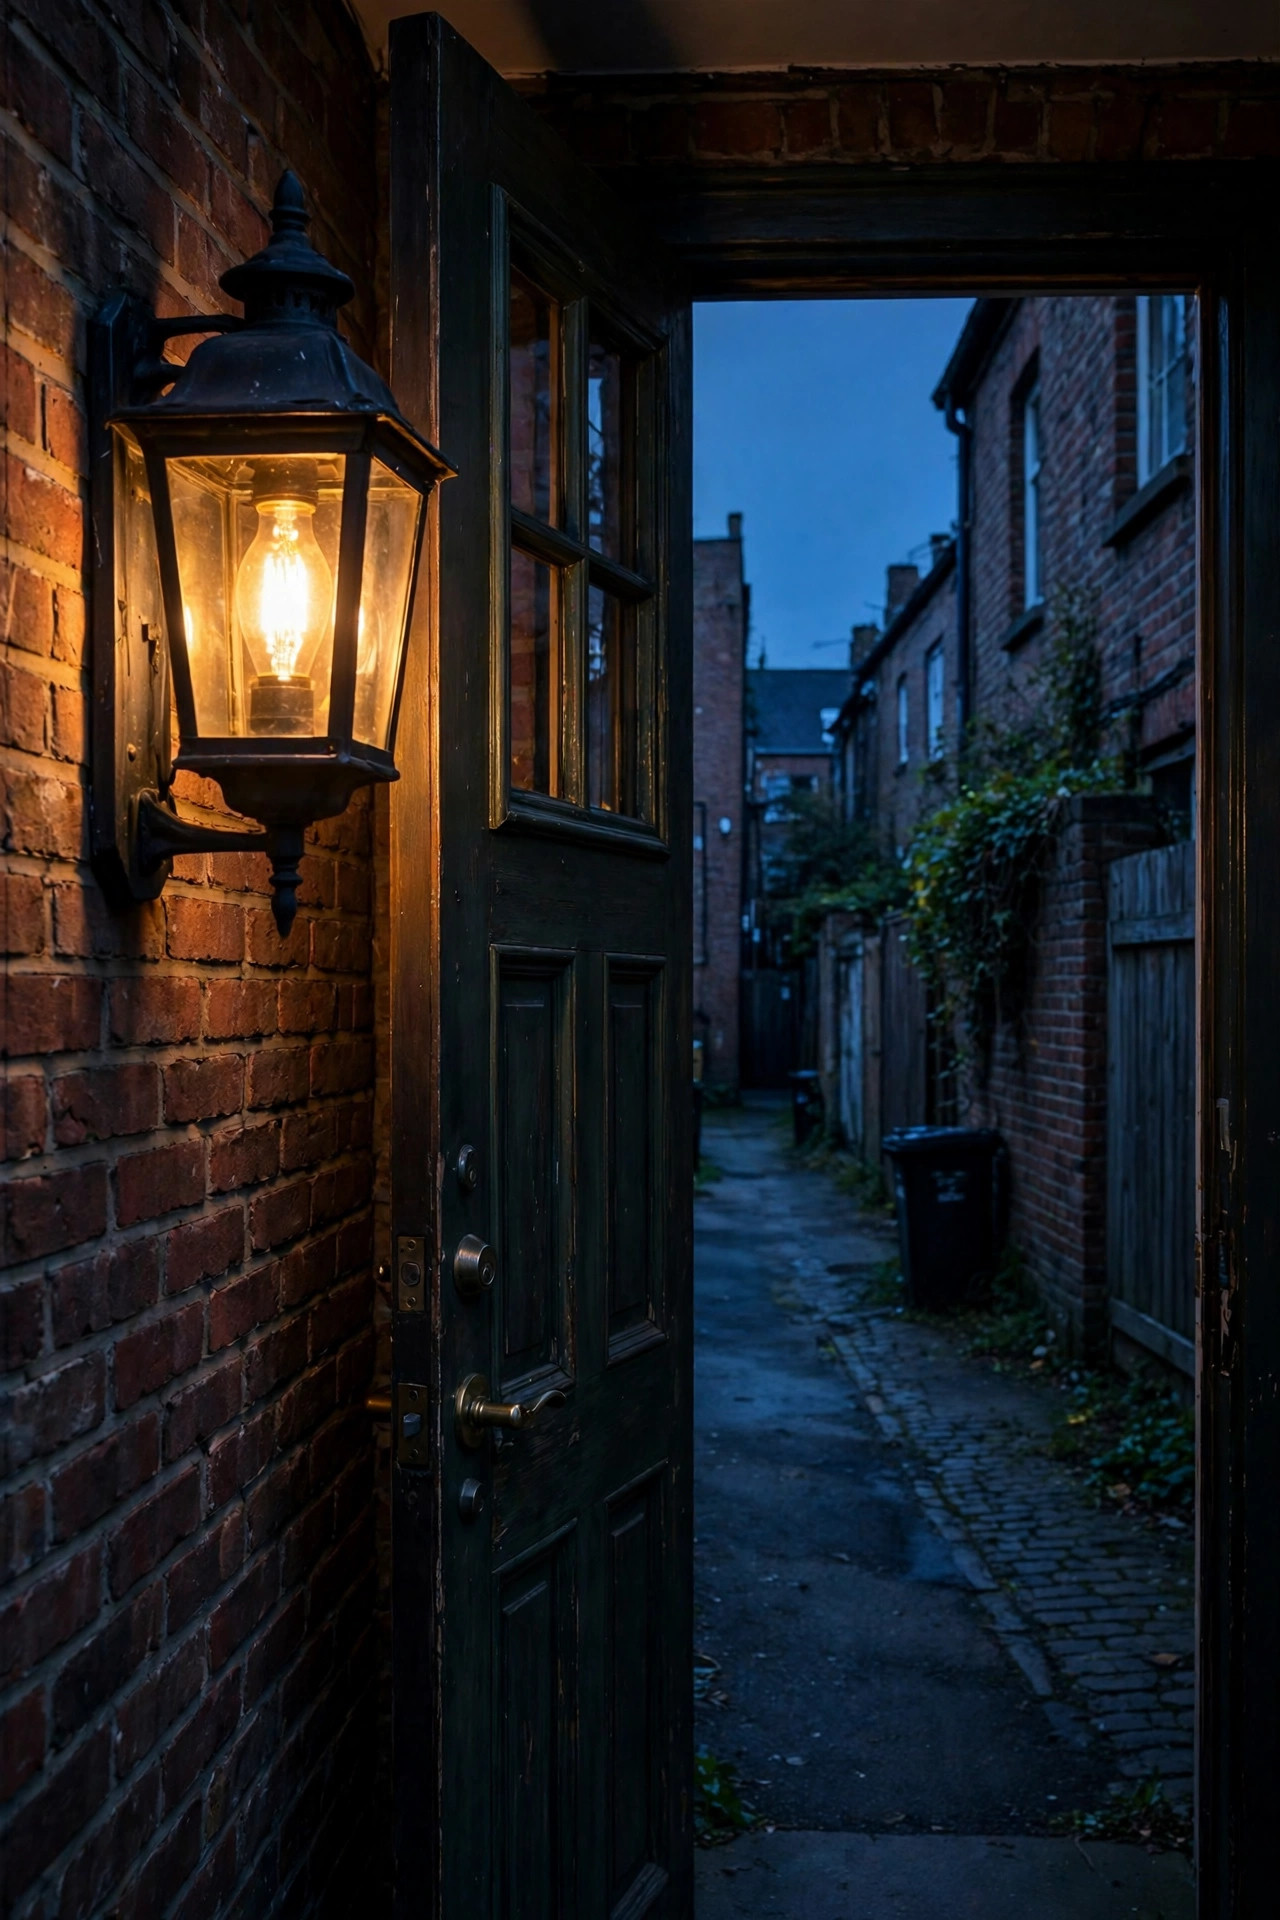
9. Add a Warm Sconce Beside the Back Door
The back door is the front door of alley life. It is where you greet the dog sitter, bring in groceries, and step out with your morning coffee, so give it a proper welcome: a lantern-style wall sconce with a warm, visible filament-style LED bulb. Mount it at about eye level, roughly 66 inches from the step to the center of the fixture, on the latch side of the door so the light falls across the lock and handle rather than behind you. That placement means no more key-fumbling, and the pool of light doubles as a pretty backdrop for the stoop. A seeded or frosted glass shade softens the bulb's sparkle and keeps it neighbor-friendly. Wire it to the same switch as your shielded wall fixtures if you can, or choose a smart bulb and run it on a schedule instead. In my experience, this single fixture does more for how a rear entry feels than anything else on the list. It turns a service door into an entrance. Choose a wet-location-rated fixture in a finish that matches your gate hardware, and it will look intentional rather than like an afterthought.
Suggested budget range: $35 – $110.
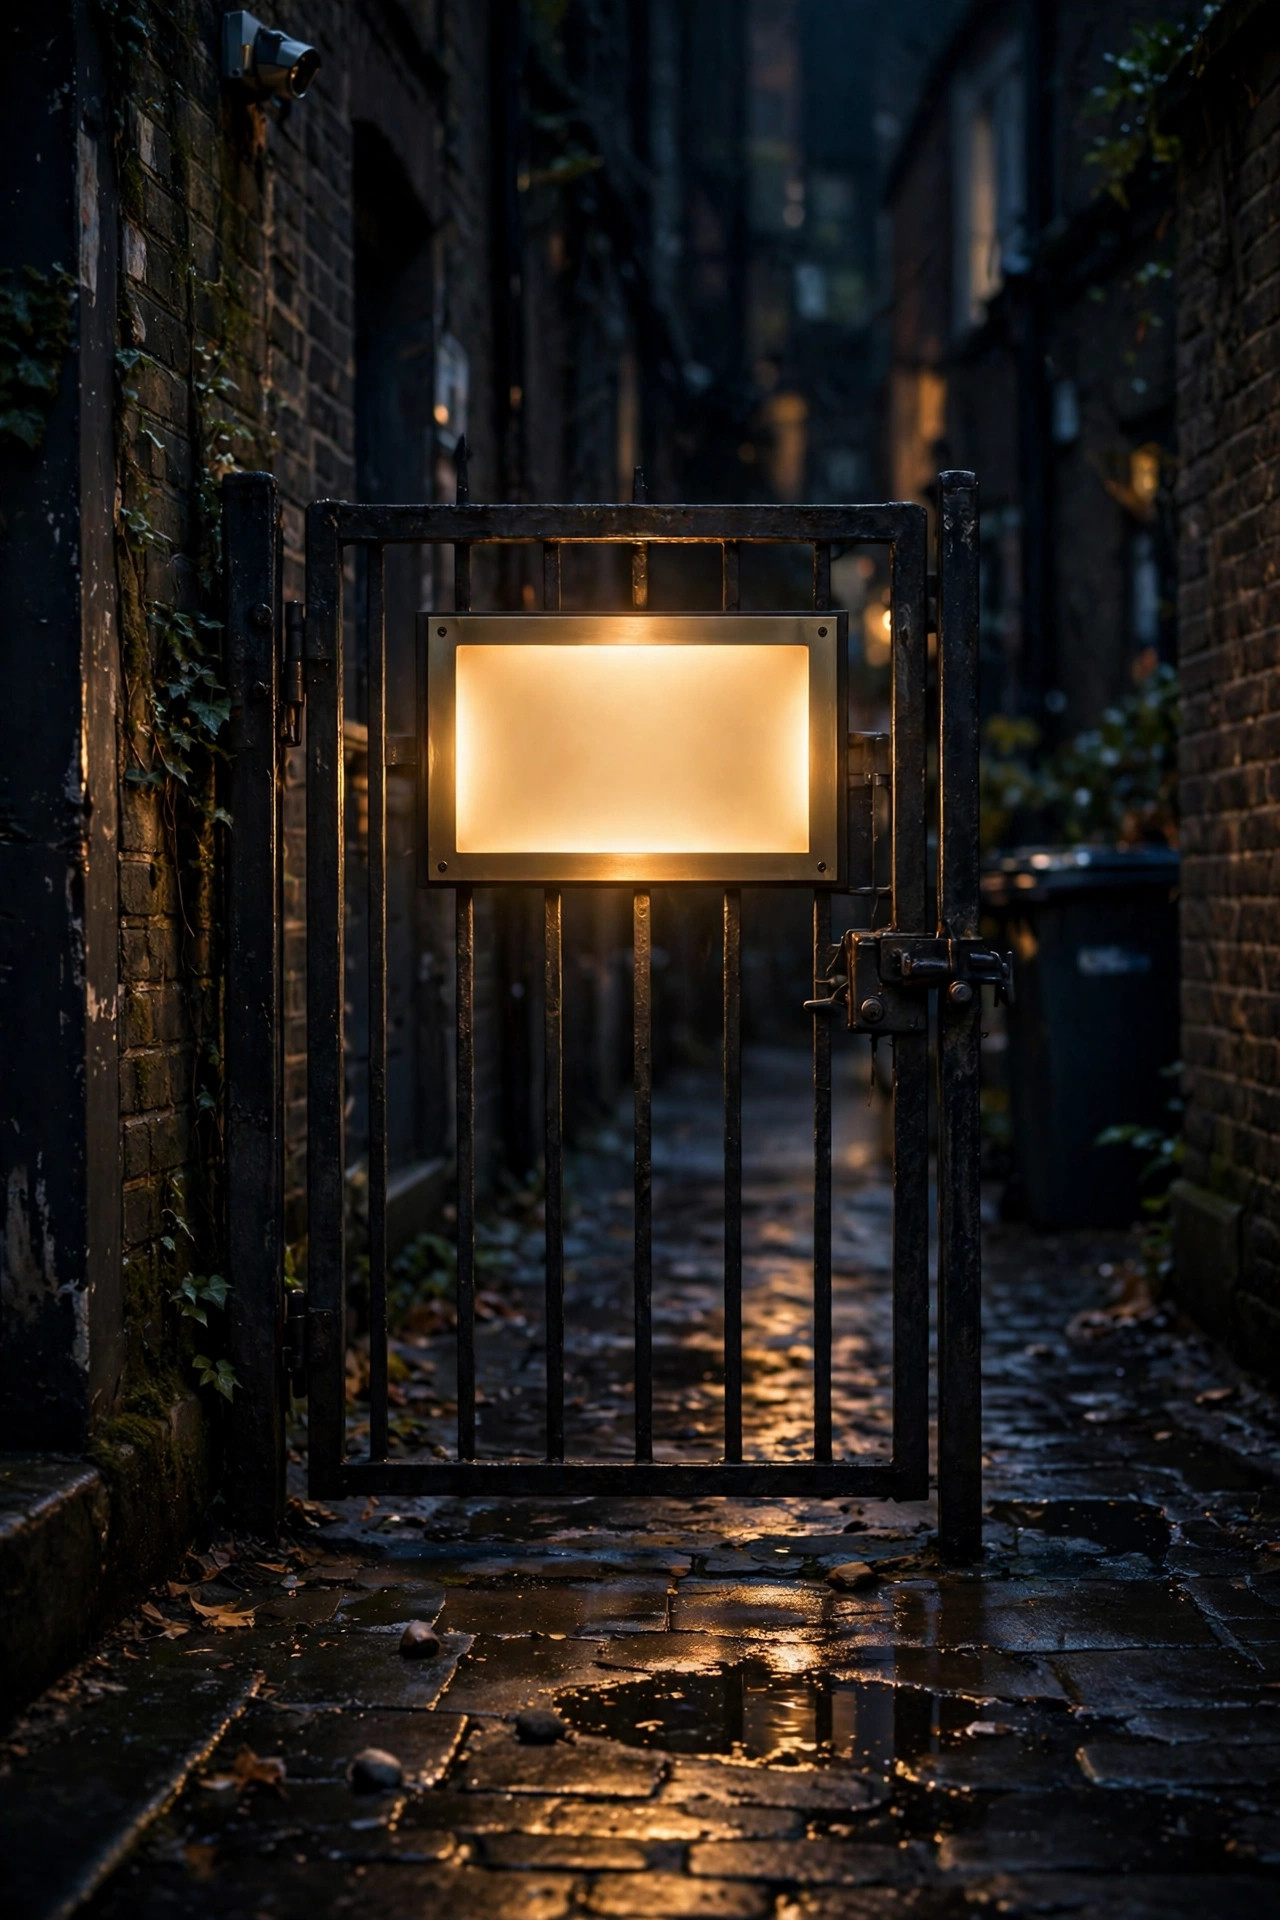
10. Make Your House Number Glow for Night Deliveries
Delivery drivers, rideshares, and first-time guests approach urban homes from the lane more often than we admit, and a lit house number near the rear gate saves everyone the slow crawl past three wrong fences. The simplest version is a small solar spotlight aimed at your existing numbers from 3 to 4 feet away. The deluxe version is a backlit or solar address plaque mounted right on the gate. Either way, aim for contrast: dark numbers on a light background or the reverse, lit evenly so there are no hot spots blowing out one digit. Solar plaques charge by day and glow all night at a gentle level that will not bother anyone. Place the light so it reads from a slow-moving car, which means testing it from the lane itself, not from your back step. While you are at it, check that your front numbers are lit too, and that both match. Mismatched numbers front and back confuse emergency services, and that is one mix-up nobody needs. It is a small project, under an hour, with an outsized payoff every single week.
Suggested budget range: $15 – $45.
11. Put Everything on Timers and Smart Plugs
Great alley lighting runs itself, and timers are how you get there. My setup is simple: the steady layer of sconces, shielded fixtures, and photocell bulbs comes on at dusk and goes off at 11 p.m. on an astronomical timer that tracks sunset through the seasons, so I never touch it. The motion layer stays armed all night, because security light that clocks out at midnight is not security light. For plug-in fixtures in the lane, a weatherproof smart plug on the same schedule does the job and lets me override from my phone when guests stay late. The energy math is friendly: an all-LED lane running five evening hours costs pennies a day, and lights that rest by 11 keep things dark-sky polite for sleeping neighbors. Whatever you choose, build in one manual override switch by the back door. The night you need full light at 2 a.m. for a plumbing emergency, you will be very glad you did. Set it once, test it at dusk, and then forget about it for a year.
Suggested budget range: $15 – $50.
12. Stick to Warm 2700K Light Your Neighbors Will Love
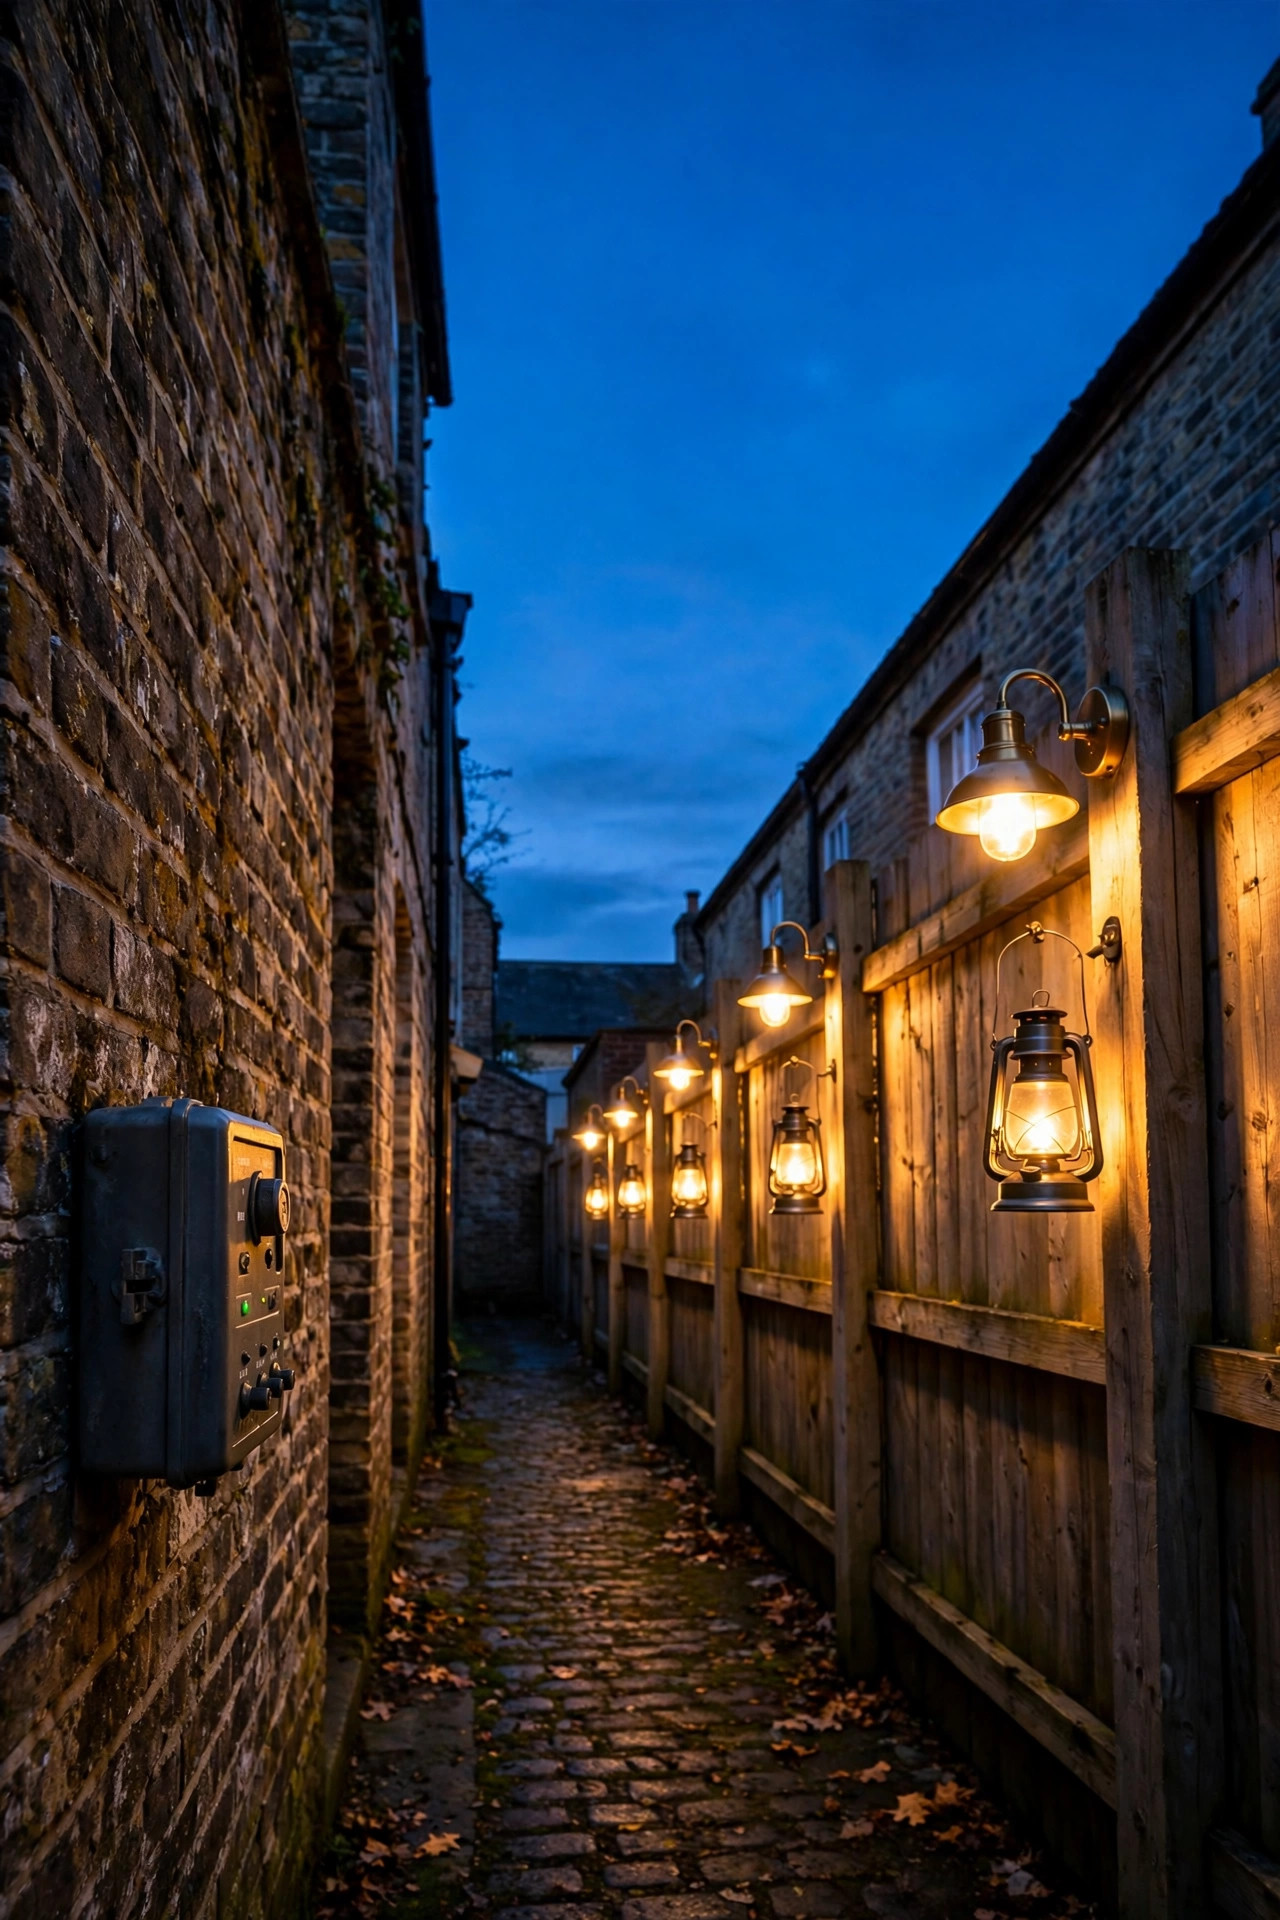
Color temperature is the difference between a lane that feels like a garden path and one that feels like a loading dock. For residential alleys I hold the line at warm white, 2700K everywhere and 3000K at the very bluest, and I match every fixture and bulb in the lane to the same number so nothing clashes. Warm light is kinder to eyes adjusting from a dark car, it renders brick, wood fences, and planting beautifully, and it reads as home to everyone passing by. Cool 5000K daylight bulbs are the single biggest reason security lighting gets a bad name. They glare, they wash out faces, and they spill a harsh blue-white into the windows across the lane. If a neighbor ever does mention your lights, warm, shielded, and timer-controlled is the answer that ends the conversation happily. I keep a small stash of spare 2700K bulbs so a midnight replacement never sneaks a mismatched daylight bulb into the system. For more ways to keep the peace, my neighbor-friendly security light ideas are a good next read. Honestly, consistency is the whole secret: one warm temperature, fixtures aimed down, and your lane will be the one neighbors copy instead of complain about.
Suggested budget range: $10 – $40.
13. Light the Turnaround and Parking Pad With Two Low Sources
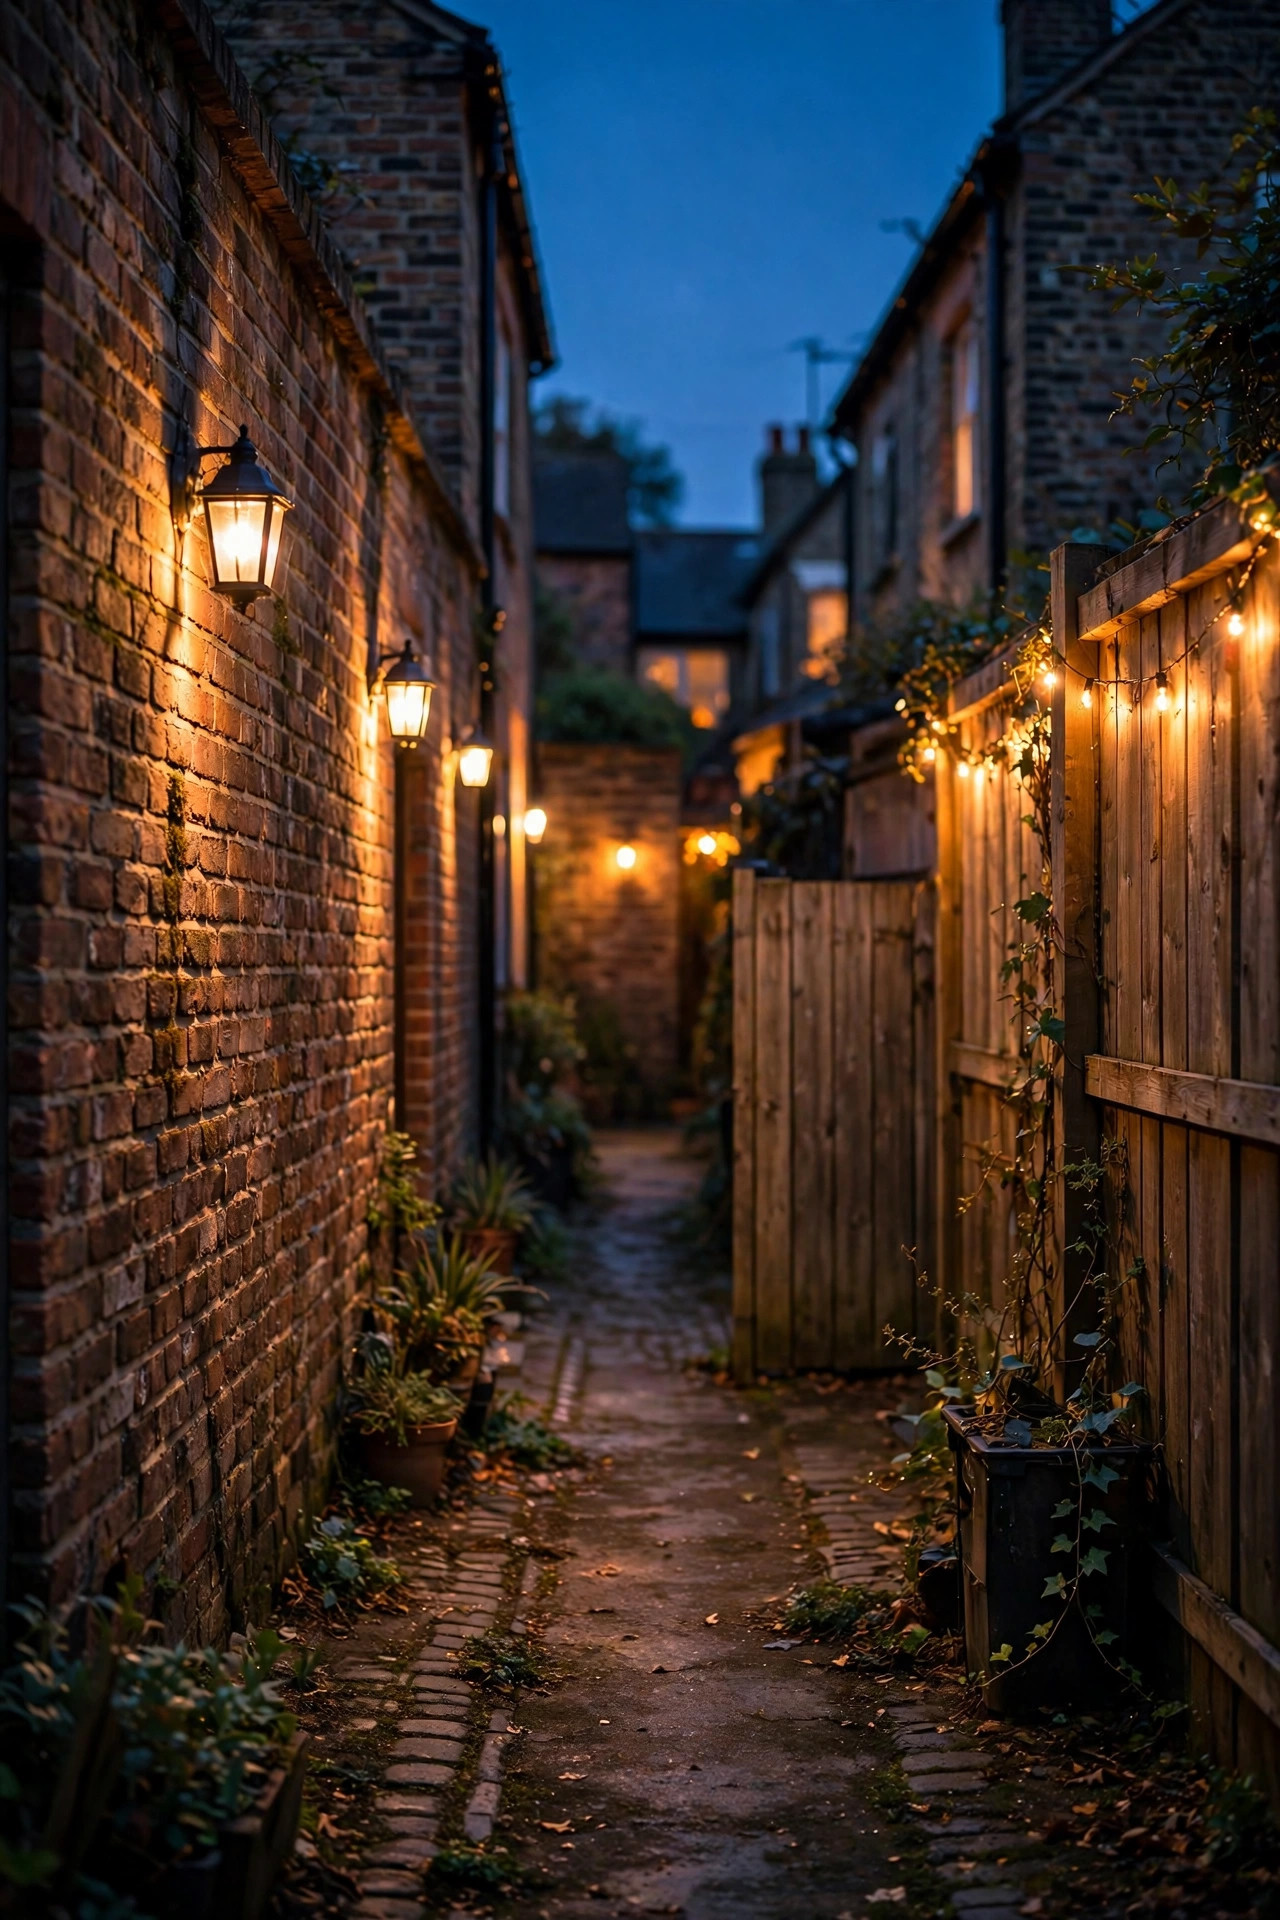
Many urban lanes end in a parking pad or a tight turnaround, and that slab is where mirrors get clipped and bumpers meet fences. Light it with two low sources rather than one bright one. A pair of bollards or short solar posts at the pad's far corners gives drivers depth cues from both sides, so judging the turn feels easy instead of guessy. Keep fixtures outside the tire path by at least a foot, and choose sturdy metal housings, because this is the one spot in the lane where fixtures genuinely get bumped. If the pad sits under a deck or a dense tree canopy, solar will underperform. Run a low-voltage spur from your fence-line system instead, and you will never think about it again. A motion light on the garage covers the center of the pad while the corner markers define the edges, and together they make even a three-point turn in a narrow lane feel calm. Lighter-toned pavers or a pale painted edge add a passive cue that works even before the lights come on. Small slab, big difference: this is the upgrade your future self thanks you for at every rainy midnight arrival.
Suggested budget range: $45 – $150.
14. Add a Solar Floodlight at the Far End of the Lane
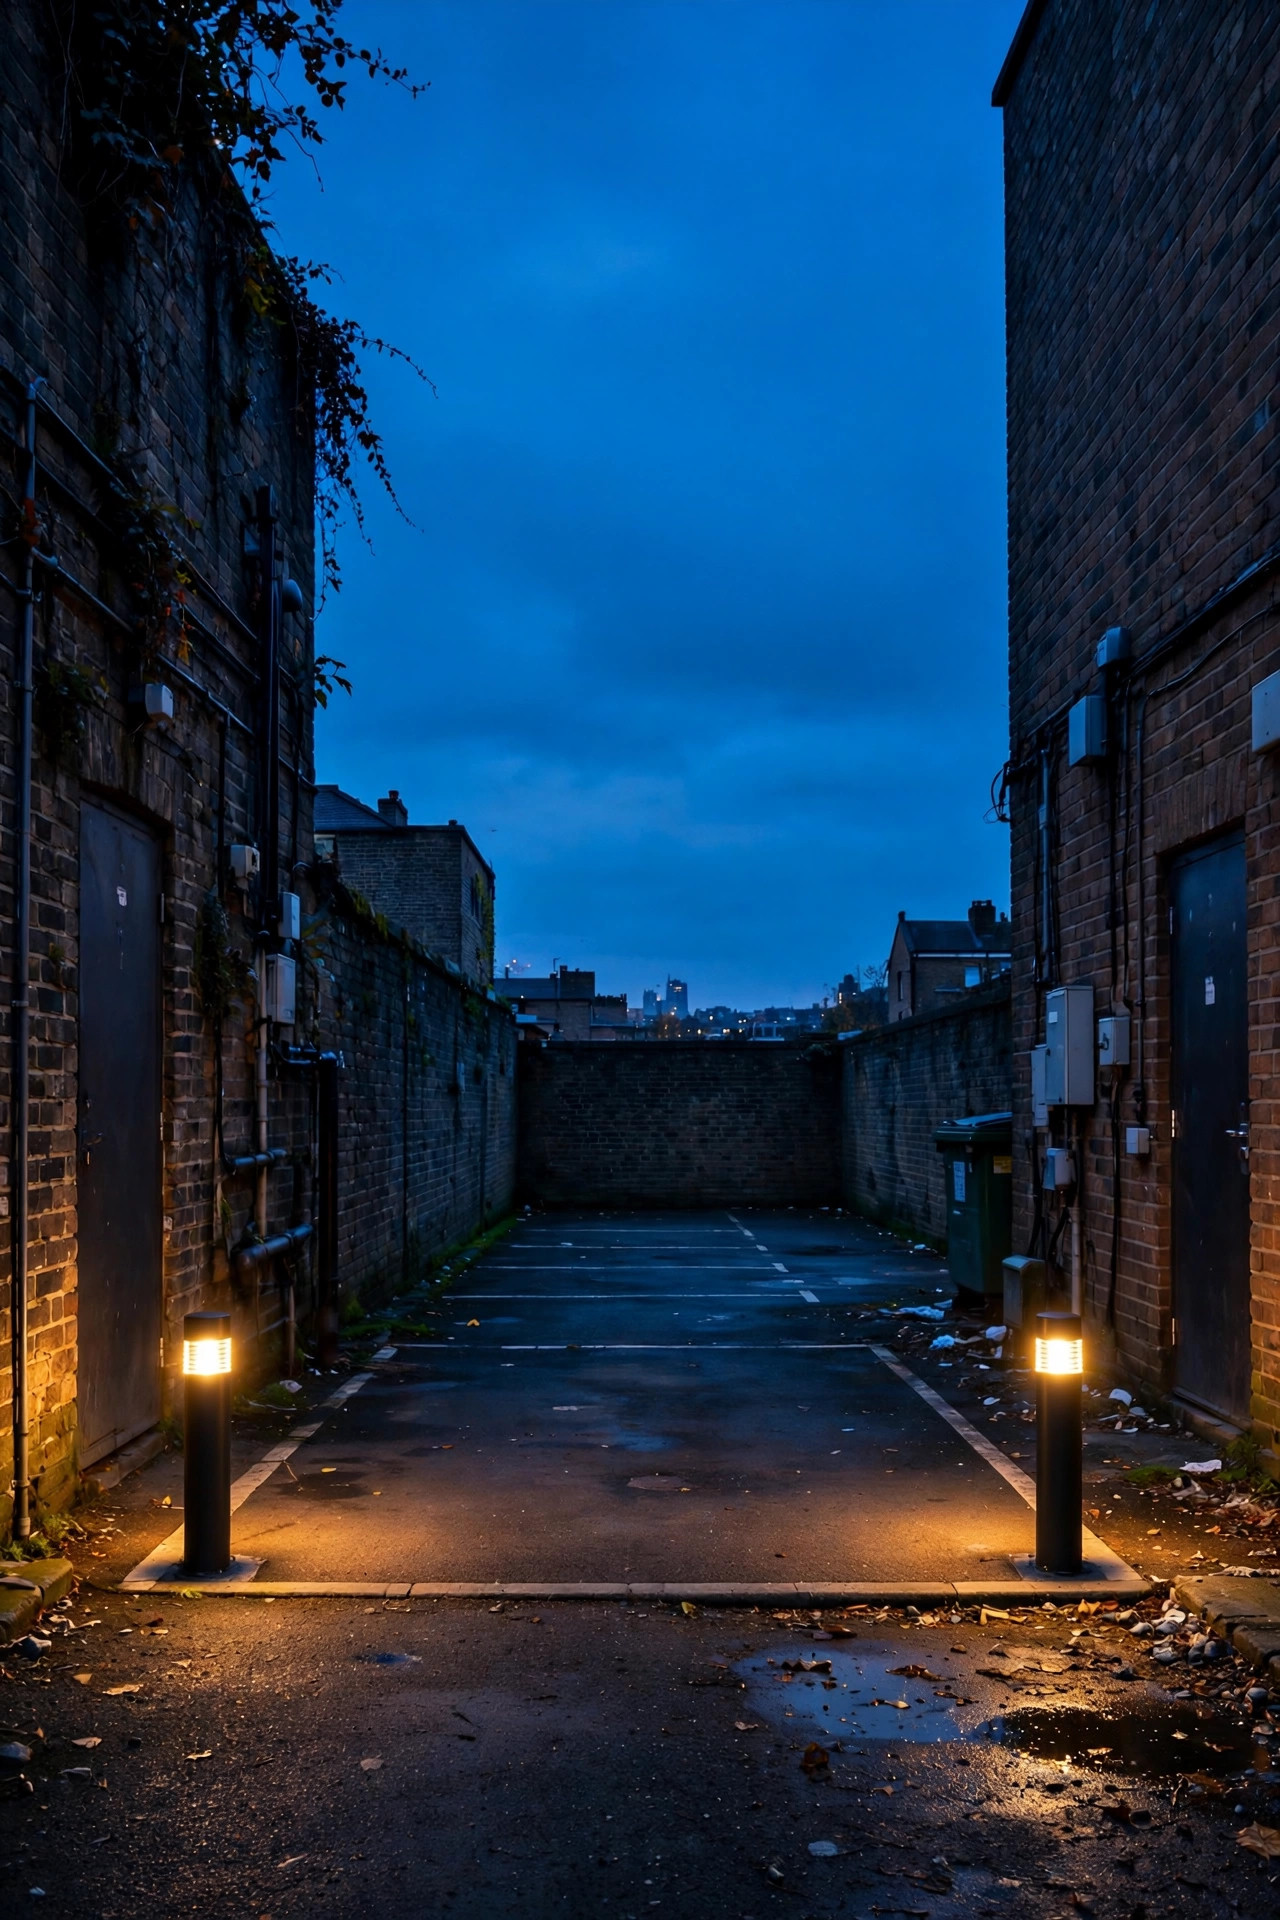
Some lanes are longer than one garage light can serve, and the far end, where the lane meets the cross street or a shared court, stays stubbornly dark. A solar floodlight with a separate cabled panel is built for exactly this. Mount the panel on the sunniest fence section or garage eave, run the cable to the shady end, and you get motion-activated brightness where no outlet exists. Look for a model with at least 1,000 lumens, an adjustable sensor head, and a panel cable of 10 feet or more so you have placement freedom. Angle the light along the lane rather than across it, so it lights the route without shining into the street or the home opposite. These units are also my favorite temporary solution while you plan a wired system, and they move with renters. Expect the battery to need replacing every two to three years. Mark the install date on the housing with a paint pen so future you knows when it is due. One good solar flood at the far end closes the last dark gap and makes the whole lane read as one cared-for space.
Suggested budget range: $30 – $80.
15. Pull It All Together: Alley Lighting Ideas That Work as a System
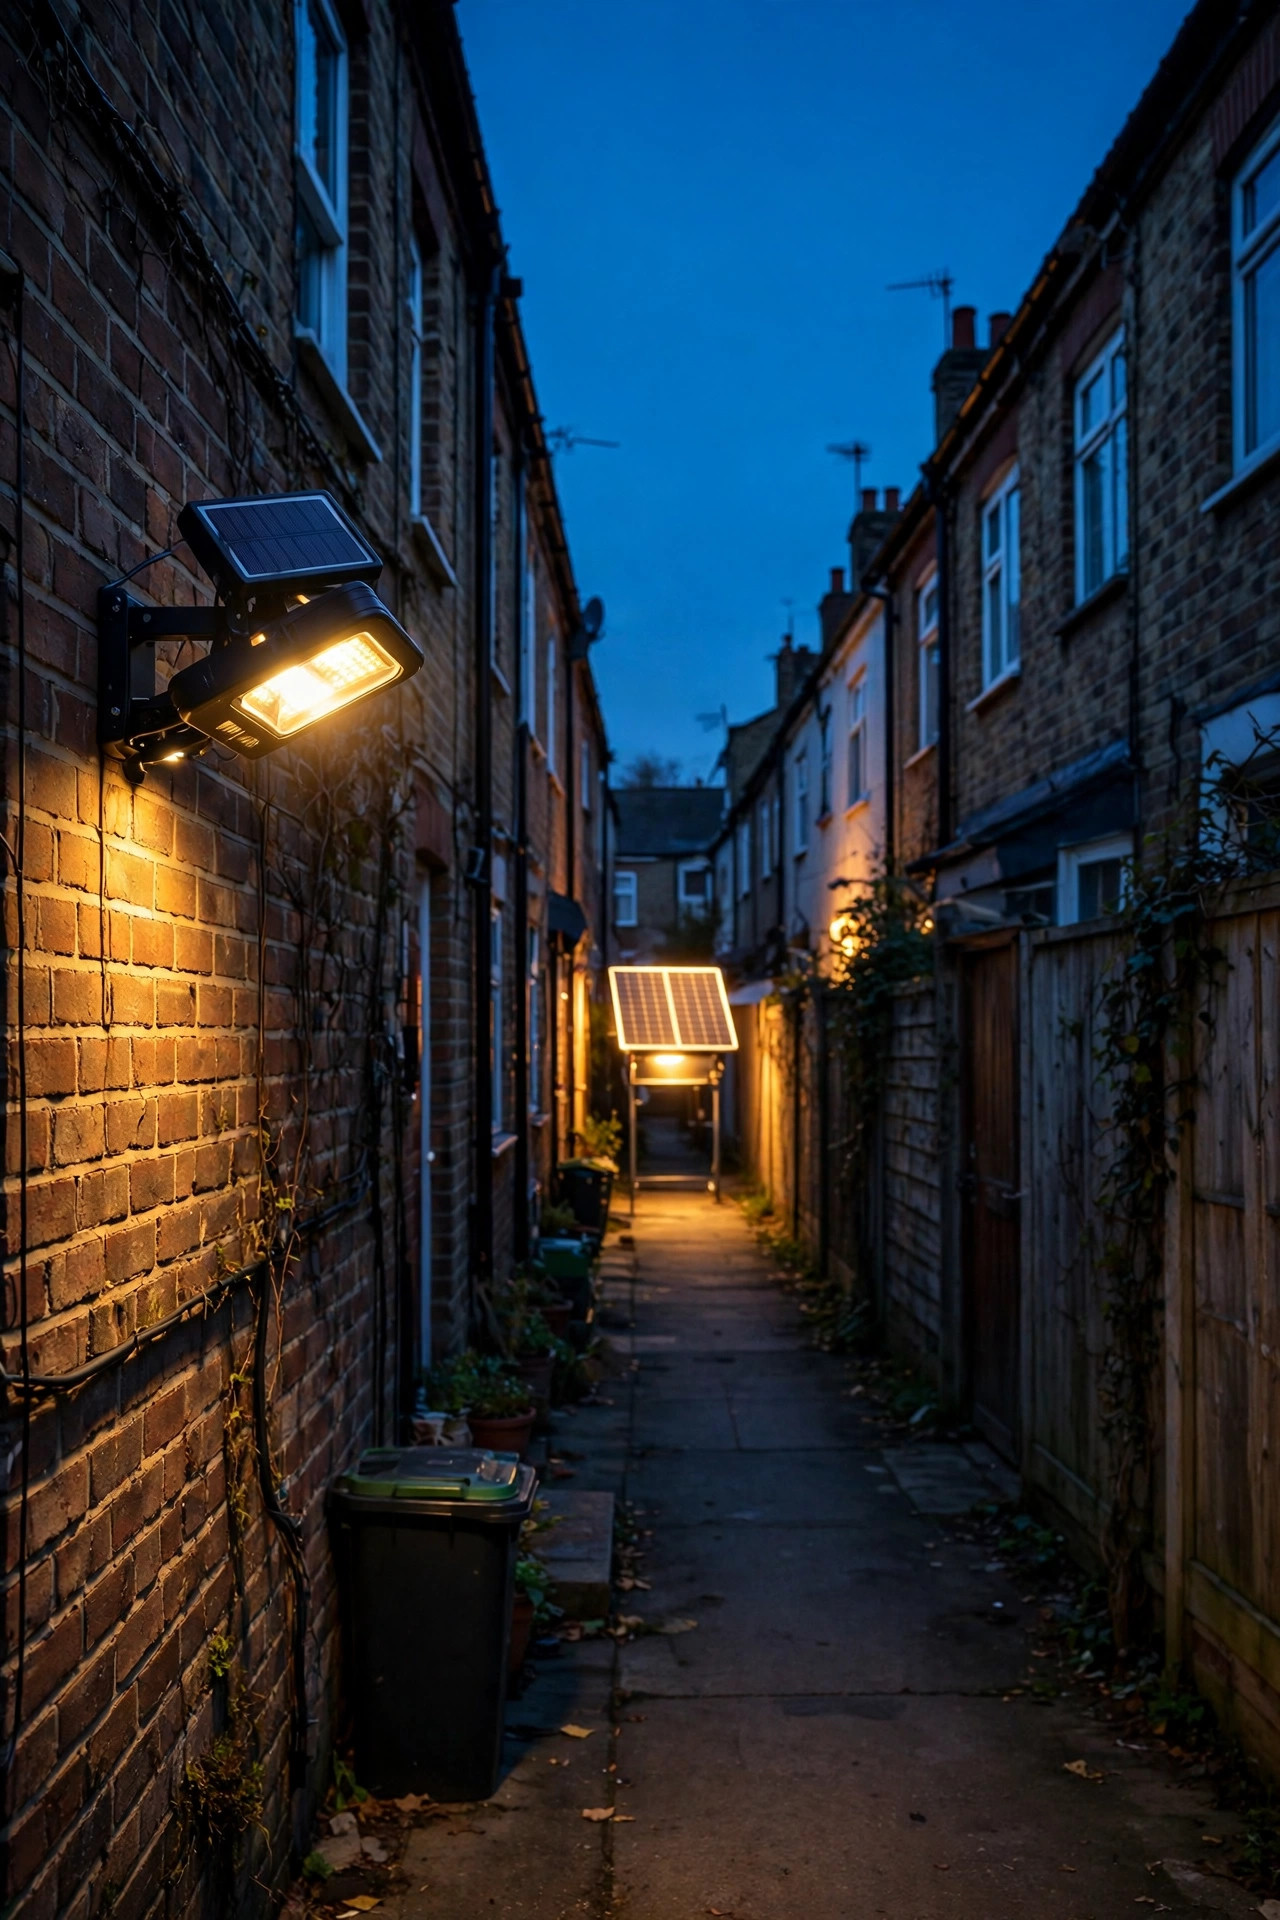
Here is how the whole system comes together on my own lot, and it is the template I hand to friends. Photocell bulbs guarantee the lane is never pitch black. Shielded wall fixtures and a fence line of bollards carry the calm evening layer. Solar markers and step lights handle guidance and safety. Motion floods at the garage and the far end wake up only when needed. All of it is warm 2700K, all of it aims down, and the steady layer rests after 11 p.m. None of these alley lighting ideas requires a full weekend or a four-figure budget on its own. Start with the chore corner and the garage motion light this week, add the guidance layer next month, and build the backbone when you are ready. Walk your lane at dusk after each round and adjust angles while the light is live. Five minutes with a screwdriver at twilight is worth an hour of guessing at noon. Layered, warm, and automatic: that is the whole philosophy, and it works just as well on a city lane as it does on a front walk.
Suggested budget range: $75 – $200.
Frequently Asked Questions
What color temperature is best for alley lighting?
Warm white, every time. I recommend 2700K for the whole lane, with 3000K as the upper limit. Warm light feels residential, flatters brick and wood, and is much easier on eyes adjusting from a dark car. Cool daylight bulbs around 5000K are the main reason alley lighting gets complaints, because they glare and spill harsh blue-white light into neighboring windows.
Are solar lights bright enough for a rear lane?
For guidance, yes; for security, not on their own. Solar markers, step lights, and solar floods handle edges, steps, and short bursts of motion-activated brightness beautifully. For the main work areas like the garage pad, a hardwired or low-voltage fixture is far more reliable, especially in winter or in a shaded lane. The strongest setups layer solar on top of at least one dependable wired light.
How do I light my alley without bothering the neighbors?
Aim everything down, shield every bulb, keep the color warm, and put the steady lights on a timer that turns them off by 10 or 11 p.m. Motion-activated fixtures can stay armed all night because they only run for a minute or two at a time. If you can see the bare bulb from the property line, the fixture needs a shade or a different angle.
Do I need an electrician to install alley lighting?
Usually not. Solar, battery, plug-in, and low-voltage 12-volt systems are all DIY-friendly and need no permit in most cities. You only need a licensed electrician when you add a new hardwired circuit, a new junction box, or work inside the panel. When in doubt, keep it low-voltage and plug-in, and always plug outdoor cords into a GFCI-protected outlet.
Conclusion
An alley will never be the prettiest part of a home, but it can absolutely be one of the safest and most welcoming. Start with the alley lighting ideas that fix your worst dark spot, usually the garage approach or the chore corner, then layer in guidance, warmth, and automation as time and budget allow. Keep every fixture warm, shielded, and aimed at the ground, and your lane will feel cared for instead of forgotten. If your front walk or side yard needs the same treatment, browse the rest of my lighting ideas here on the site. The layering rules travel well from space to space.