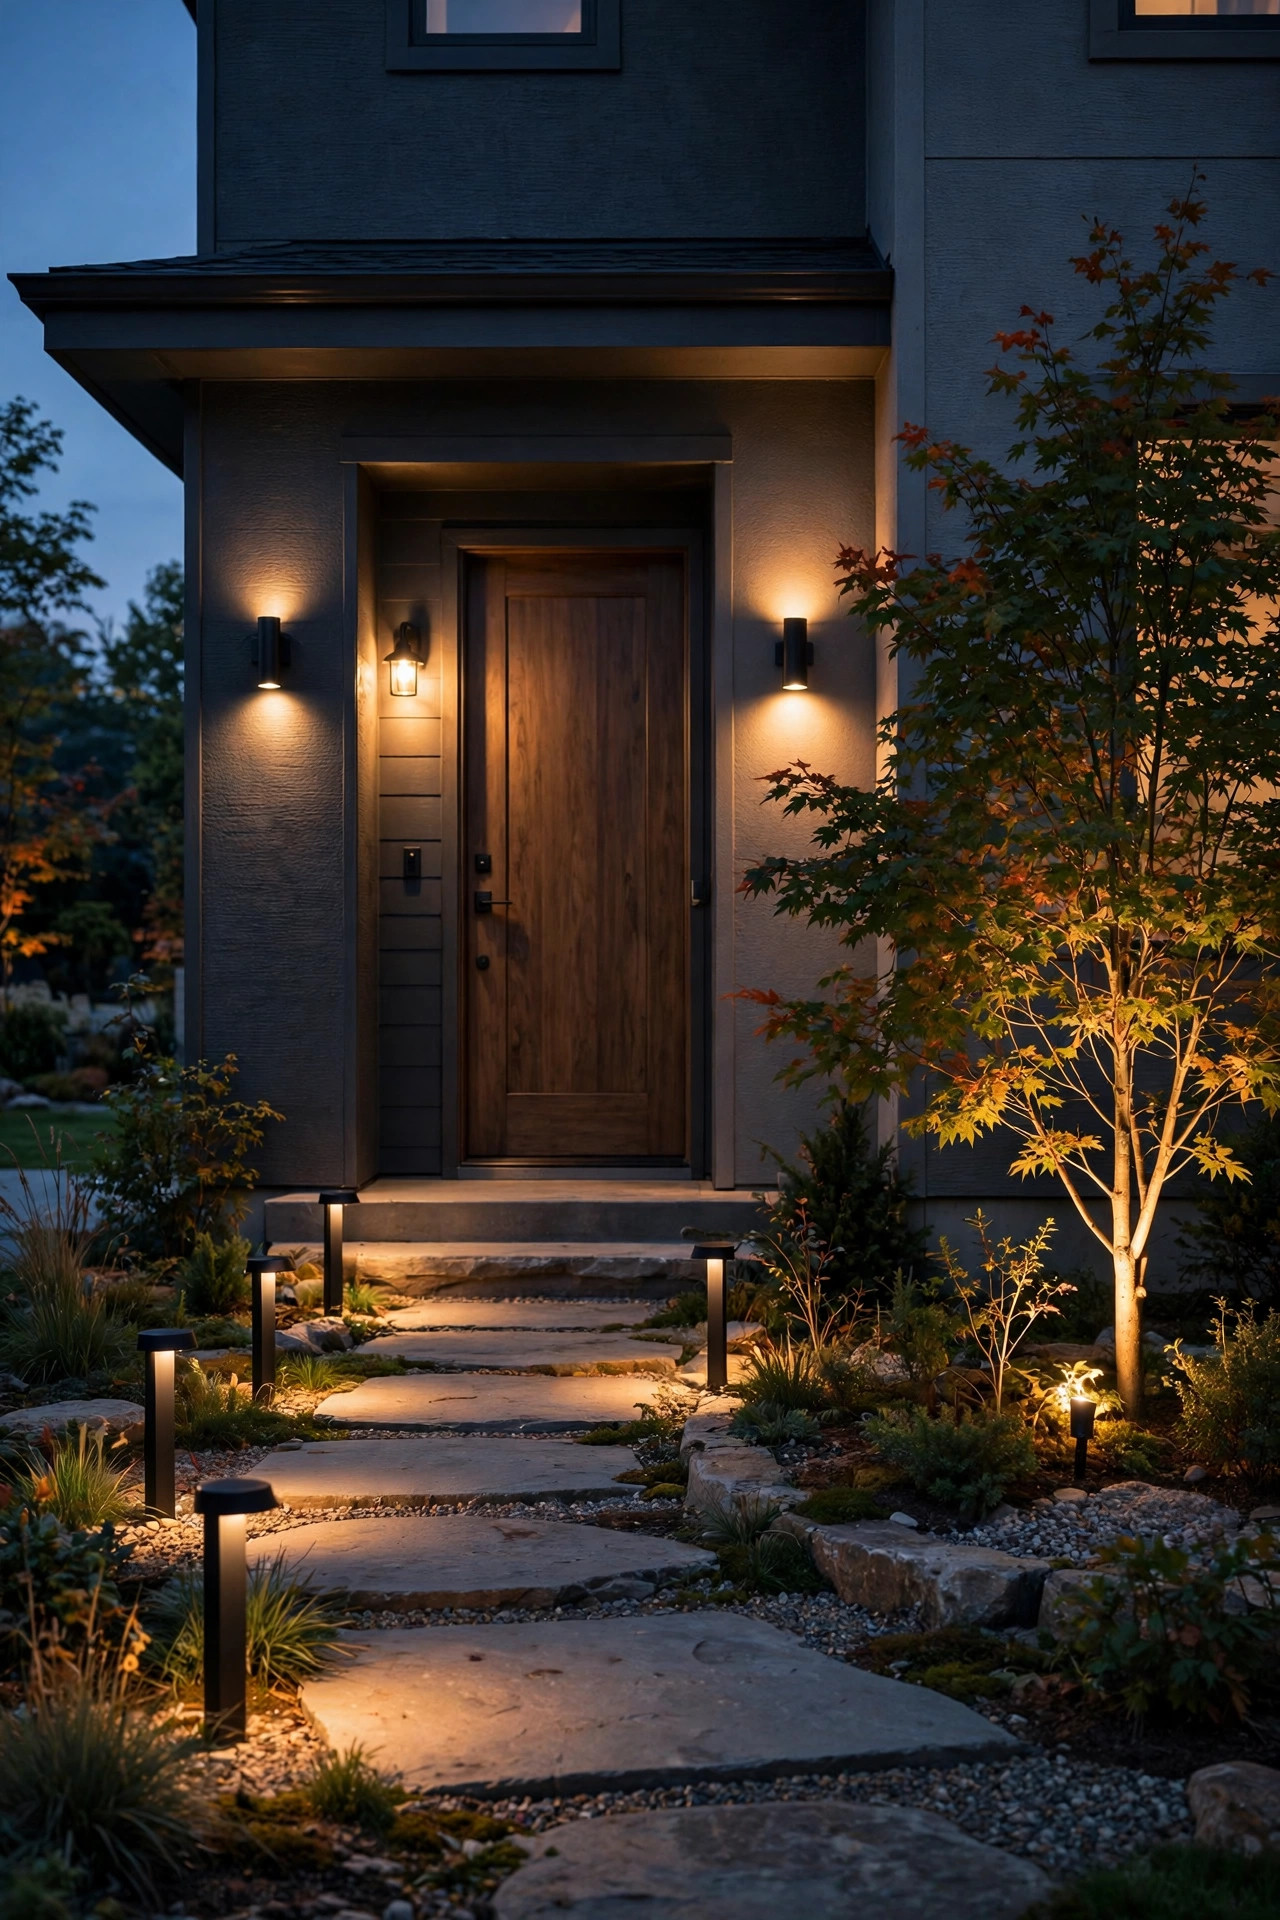
The houses that stop me mid-walk on an evening stroll never have one spectacular light — they have three or four ordinary ones working together, and that's exactly what good front path and porch lighting combos are all about. A single porch lantern over the door leaves your walkway in darkness; a row of path lights with nothing at the door looks like a landing strip to nowhere. Layering fixes both. In my experience, every great front entry uses the same recipe: low light along the path to guide the way, mid-level light at the door to welcome, and one soft ambient layer — strings, lanterns, a ceiling fixture — to make it feel like a place rather than a passage. Below I'm sharing 17 pairings I come back to again and again, each with honest budgets, spacing rules, and the little details (matching color temperatures, staggered heights, timer settings) that make a combo look professionally designed instead of accidentally assembled.
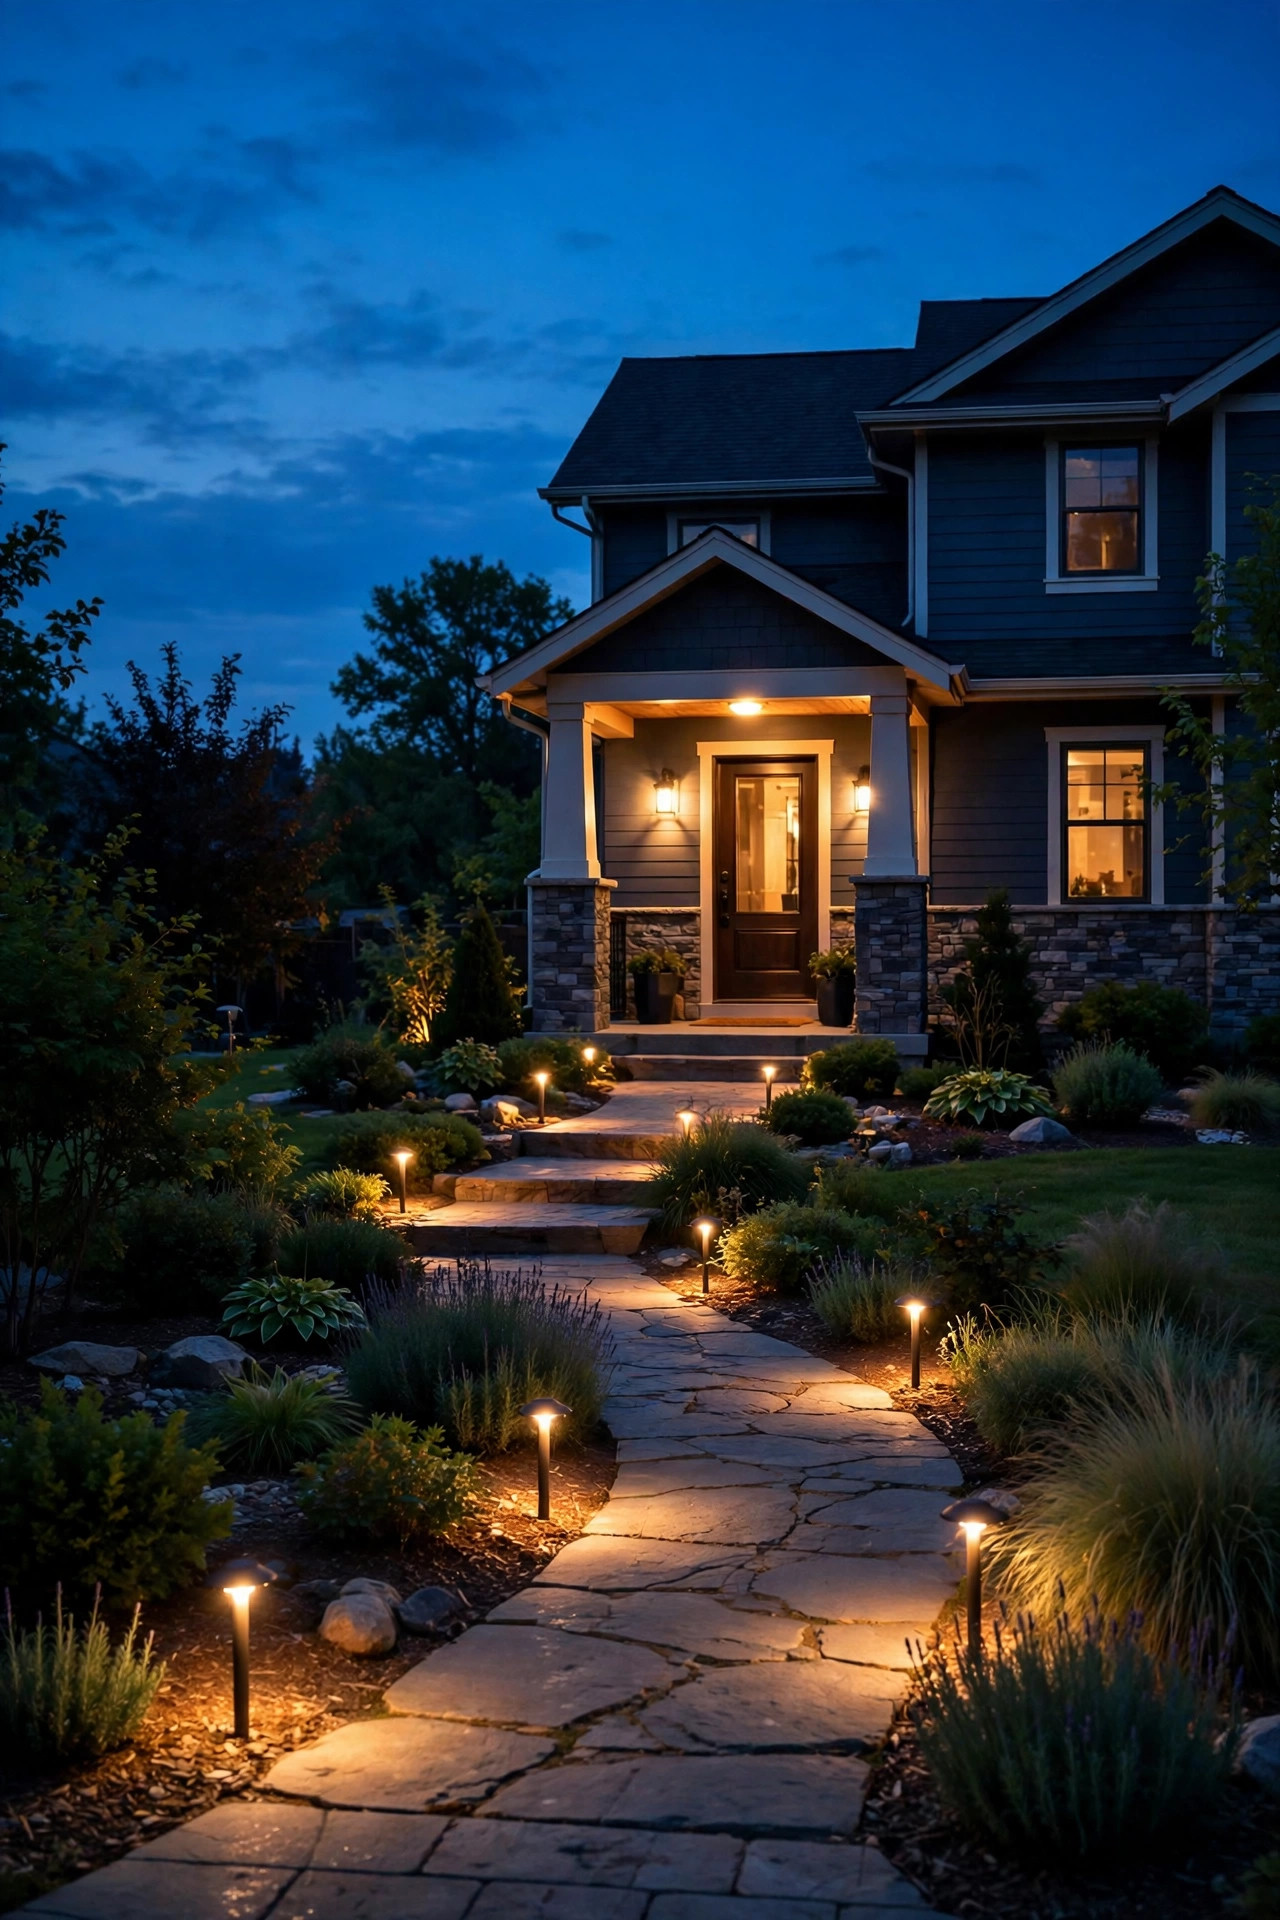
1. Classic Sconce Pair Plus Low-Voltage Path Lights
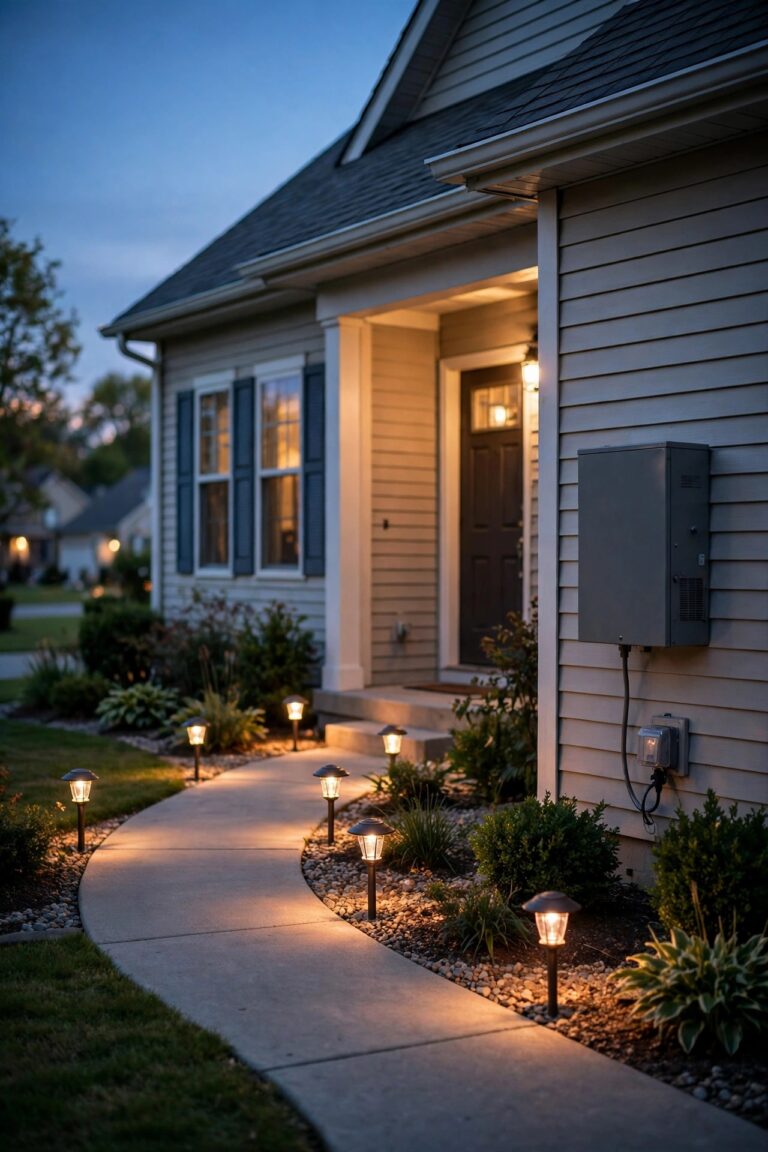
This is the combo I'd install if I could only pick one. Flank your front door with two warm sconces mounted about 66 inches from the floor, then run a low-voltage path light line down both sides of the walkway, spaced 6 to 8 feet apart. The sconces announce the destination; the path lights draw the eye — and your guests — right to it. Keep everything at 2700K so the two layers blend into one warm scene instead of competing. Low-voltage kits make this very DIY-friendly: bury the cable just 3 to 6 inches deep along the path edge, and put the transformer on a dusk-to-dawn timer so the whole entry lights itself every evening. Honestly? This pairing photographs like a magazine cover and costs less than most people expect. If you want a refresher on the door fixtures themselves, my roundup of front porch lighting ideas covers sizing and mounting heights in detail.
Suggested budget range: $180 – $450.
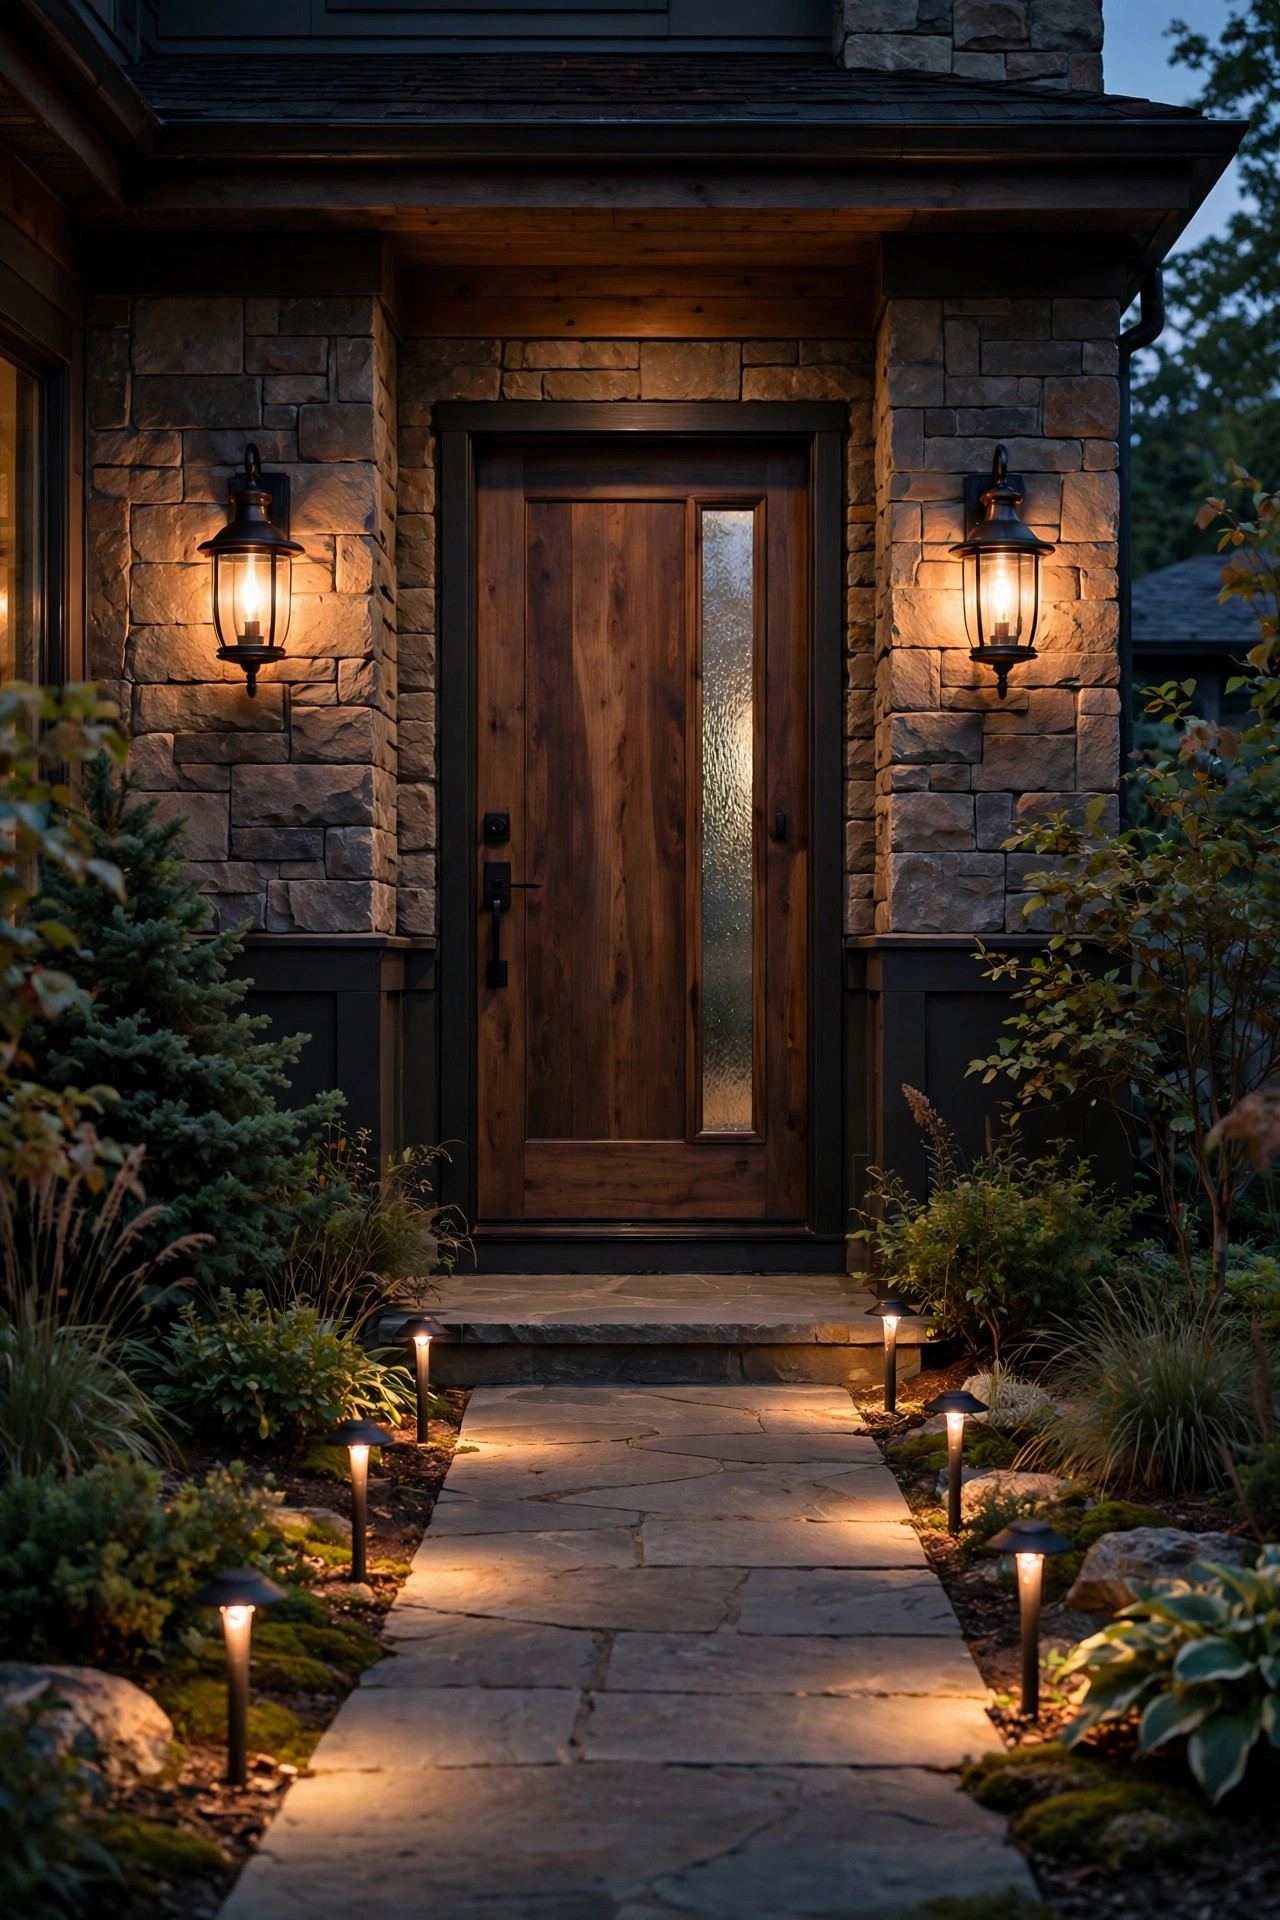
2. Solar Path Stakes Plus a Dusk-to-Dawn Porch Lantern
Renters and no-wiring households, this one is for you. Push solar path stakes along the walkway every 5 to 6 feet, alternating sides so the light pools overlap slightly, and hang a solar dusk-to-dawn lantern beside the door. No transformer, no trenching, no electrician — everything charges by day and switches itself on at dusk. The trick is spending a little more on the solar pieces: look for replaceable batteries, real glass or sturdy lenses, and at least 30 to 50 lumens per stake so you're lighting the path, not just decorating it. In shady yards, choose a porch lantern with a separate solar panel you can mount where the sun actually hits. This combo is also wonderfully forgiving — if a stake lands in the wrong spot, you just pull it up and move it. It's the fastest weekend upgrade on this whole list. Give the panels a quick wipe every month or so — a dusty panel is the number one reason good solar lights start underperforming.
Suggested budget range: $60 – $150.

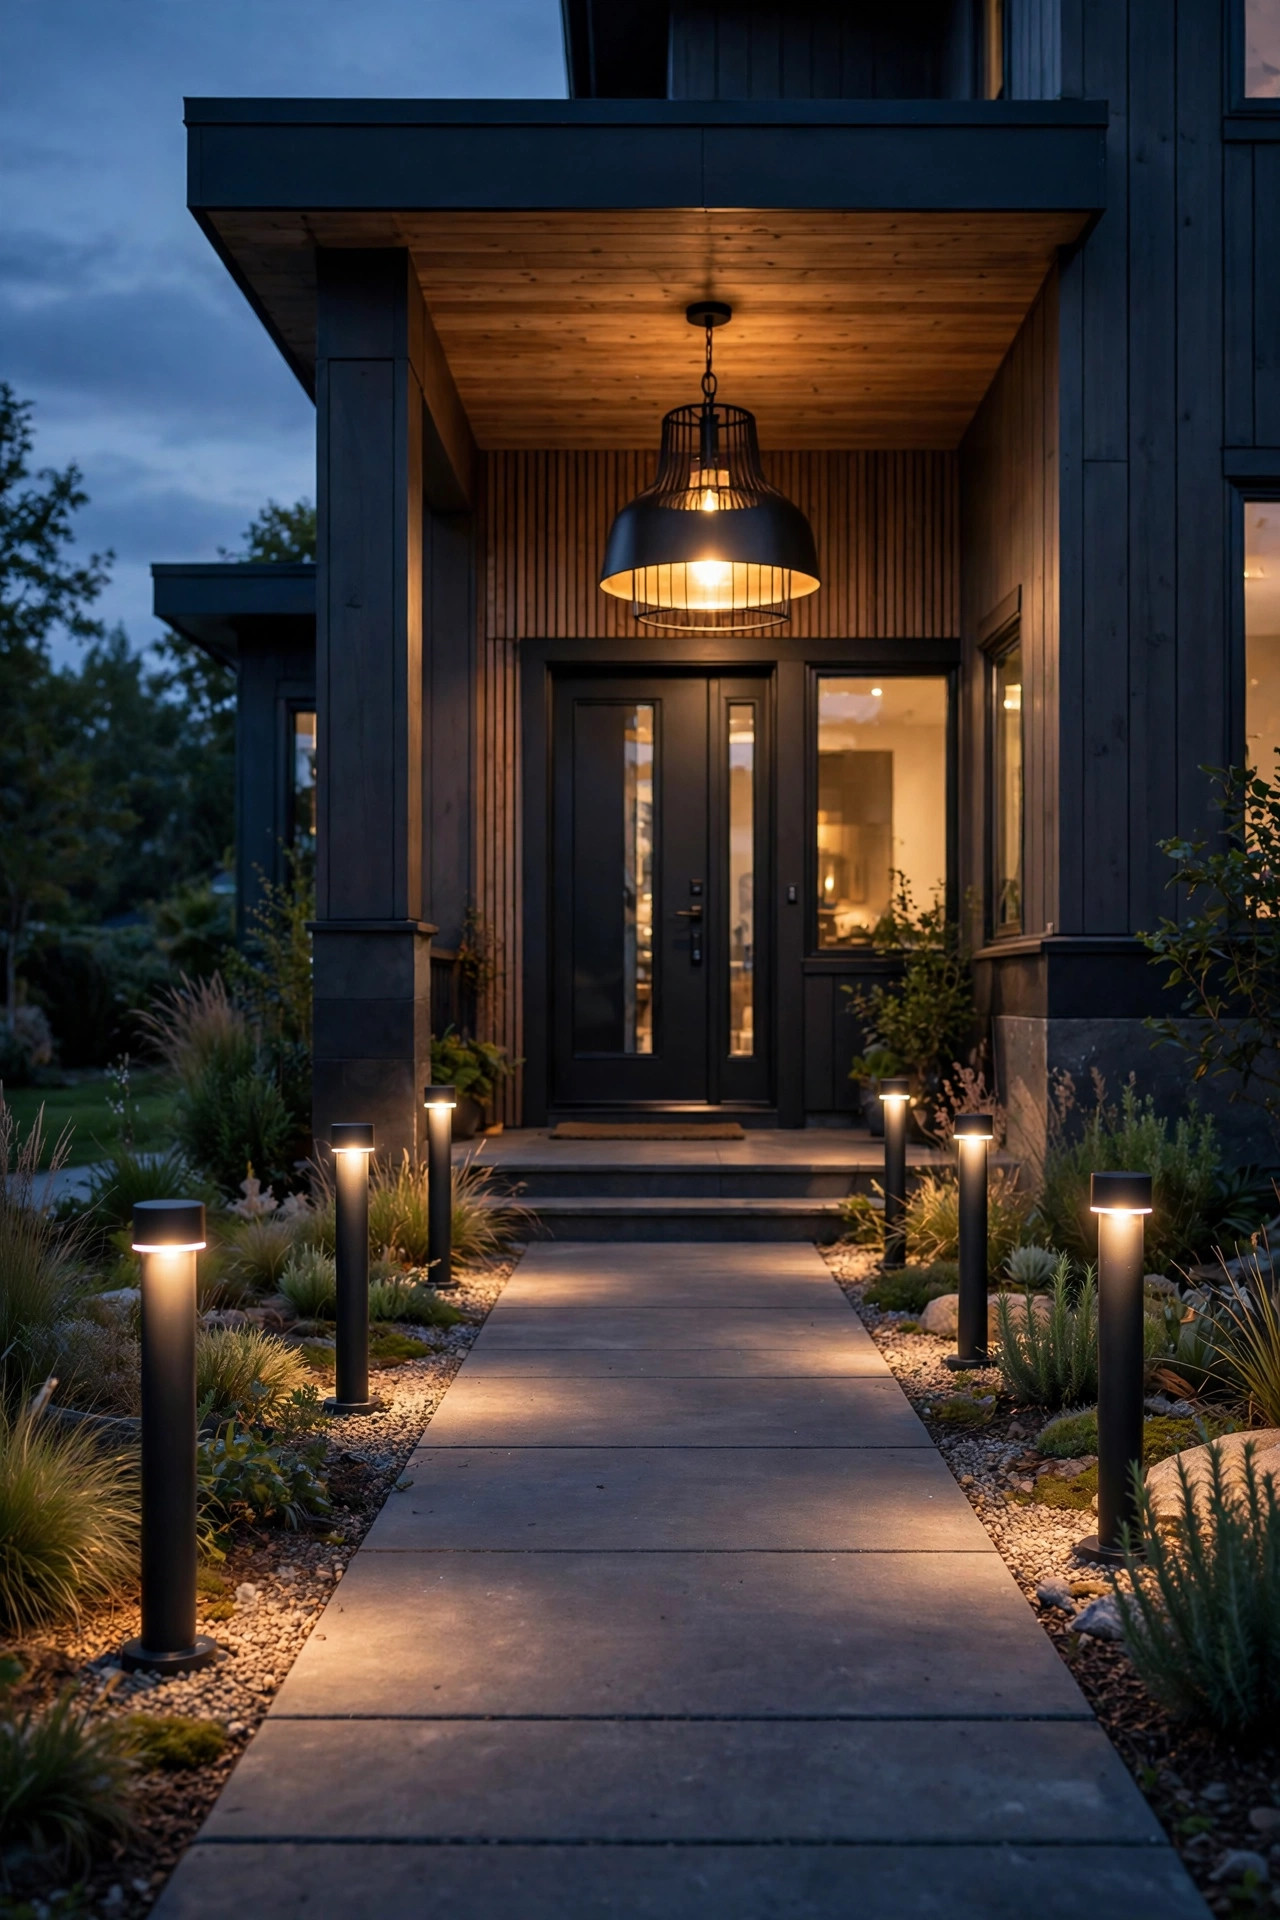
3. Bollard Lights Plus a Statement Pendant
For a more architectural look, swap the little path stakes for short bollard lights — 12 to 24 inches tall — and pair them with one oversized pendant hanging over the porch. The bollards throw wide, low pools of light that feel modern and substantial, while the pendant gives the porch a true focal point, like a chandelier for your entry. Keep the finishes matched, matte black with matte black or bronze with bronze, and hang the pendant so its bottom sits about 7 feet above the porch floor — high enough for tall guests and package deliveries, low enough to feel intimate. This combo loves straight, formal walkways and symmetrical facades, but I've seen it work beautifully on a simple ranch too. If your porch ceiling is low, swap the pendant for a semi-flush lantern in the same finish and you'll get the same focal-point effect without crowding headroom. Put both layers on the same timer so the entry composes itself as one scene at dusk.
Suggested budget range: $250 – $600.
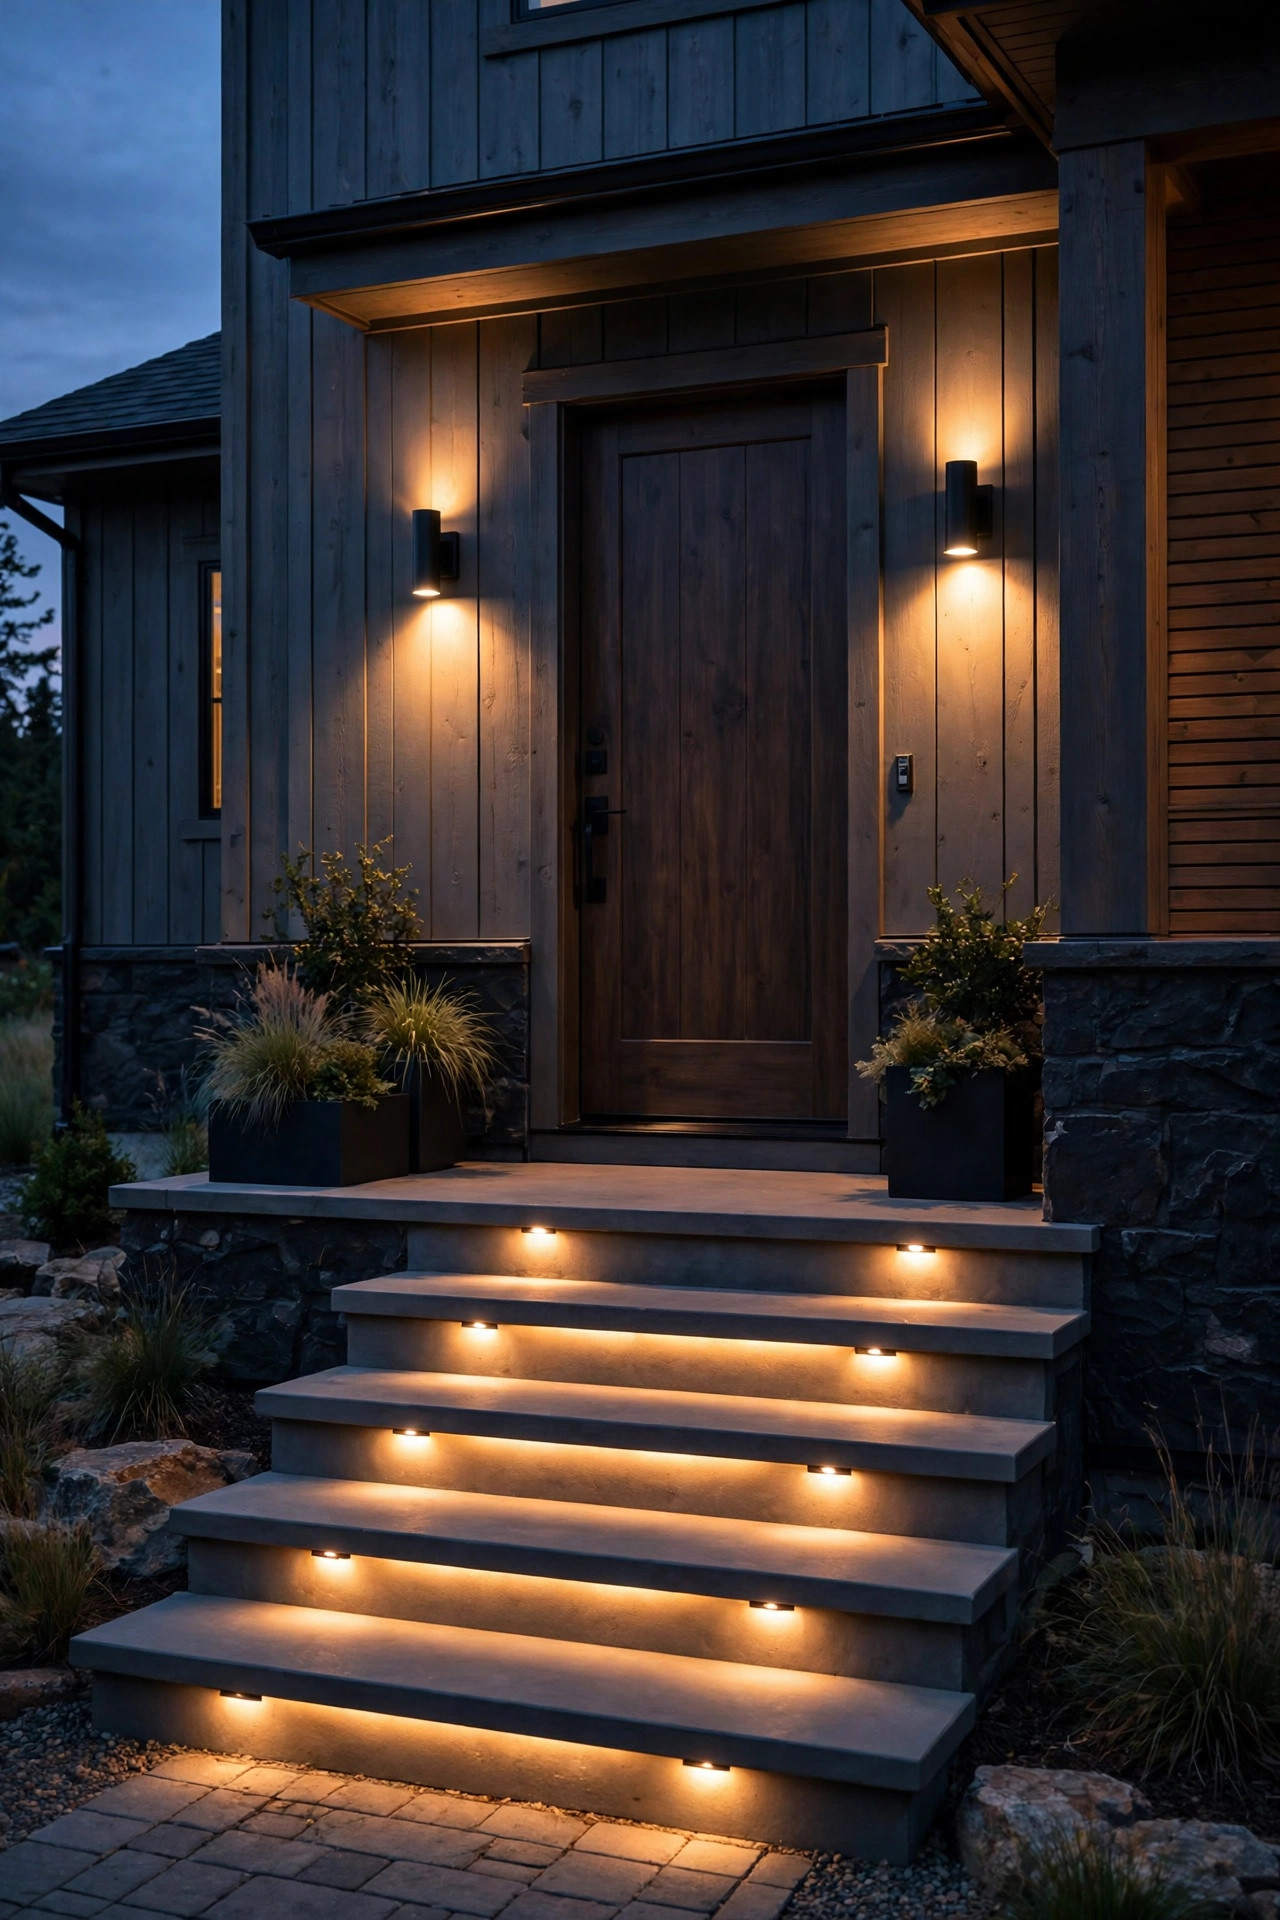
4. Recessed Step Lights Plus Wall Washers at the Door
If your porch has steps, this is the combo that keeps everyone safe and looks quietly expensive doing it. Recessed step lights tucked into the risers (or small surface-mount lights on the side walls) wash each tread in a soft fan of light, while two wall-washer sconces beside the door graze the facade with gentle up-down beams. Nobody trips, the architecture glows, and because both fixtures are shielded, there's no harsh glare in anyone's eyes. Step lights are a wired project — they tie into your low-voltage system or a hardwired circuit — so plan this one when you're already doing porch work, or hire it out. I always recommend putting the step lights on their own zone if your transformer allows it, so they can stay on a little later than the decorative layers. Safety lighting that looks like design lighting is always the goal. If your steps are wood rather than masonry, small surface-mount tread lights on the side stringer give the same wash with a much easier install.
Suggested budget range: $200 – $500.
5. String Lights Overhead Plus Path Markers Below
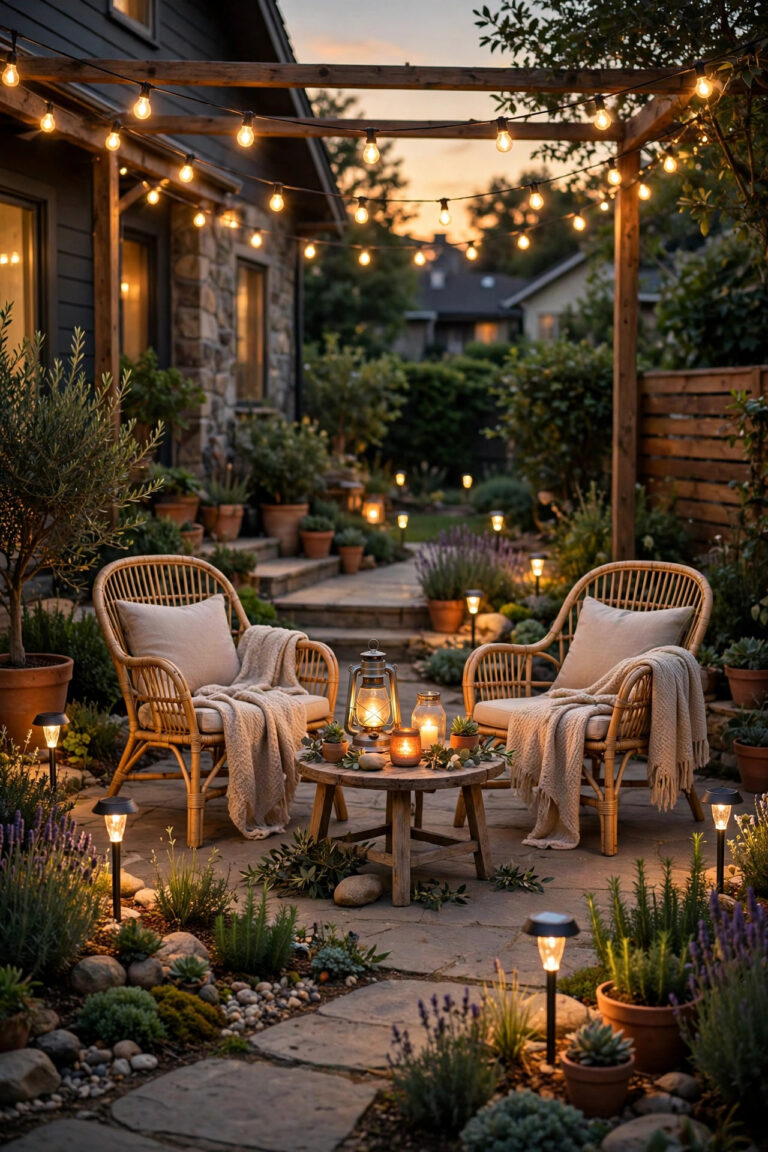
This is my favorite combo for a long, deep front porch or a walkway that runs alongside the house. Swag outdoor string lights overhead — from the porch roof edge to a post or tree — and mark the path below with simple low markers or small path lights. The overhead strings create that café-glow canopy, and the low light keeps feet safe where the string light doesn't quite reach. Use commercial-grade string lights with heavy-duty cords and shatterproof LED bulbs in warm white, and hang them with proper eye hooks so they don't sag into hair. A plug-in timer or smart plug set for dusk to 11 p.m. keeps the neighbors happy and the electric bill tiny. Honestly, once this combo is up, your front porch becomes the room everyone drifts toward on summer evenings — ours certainly did. On a walkway without a porch overhead, run the strings between two sturdy posts or from the house to a tree instead.
Suggested budget range: $70 – $180.
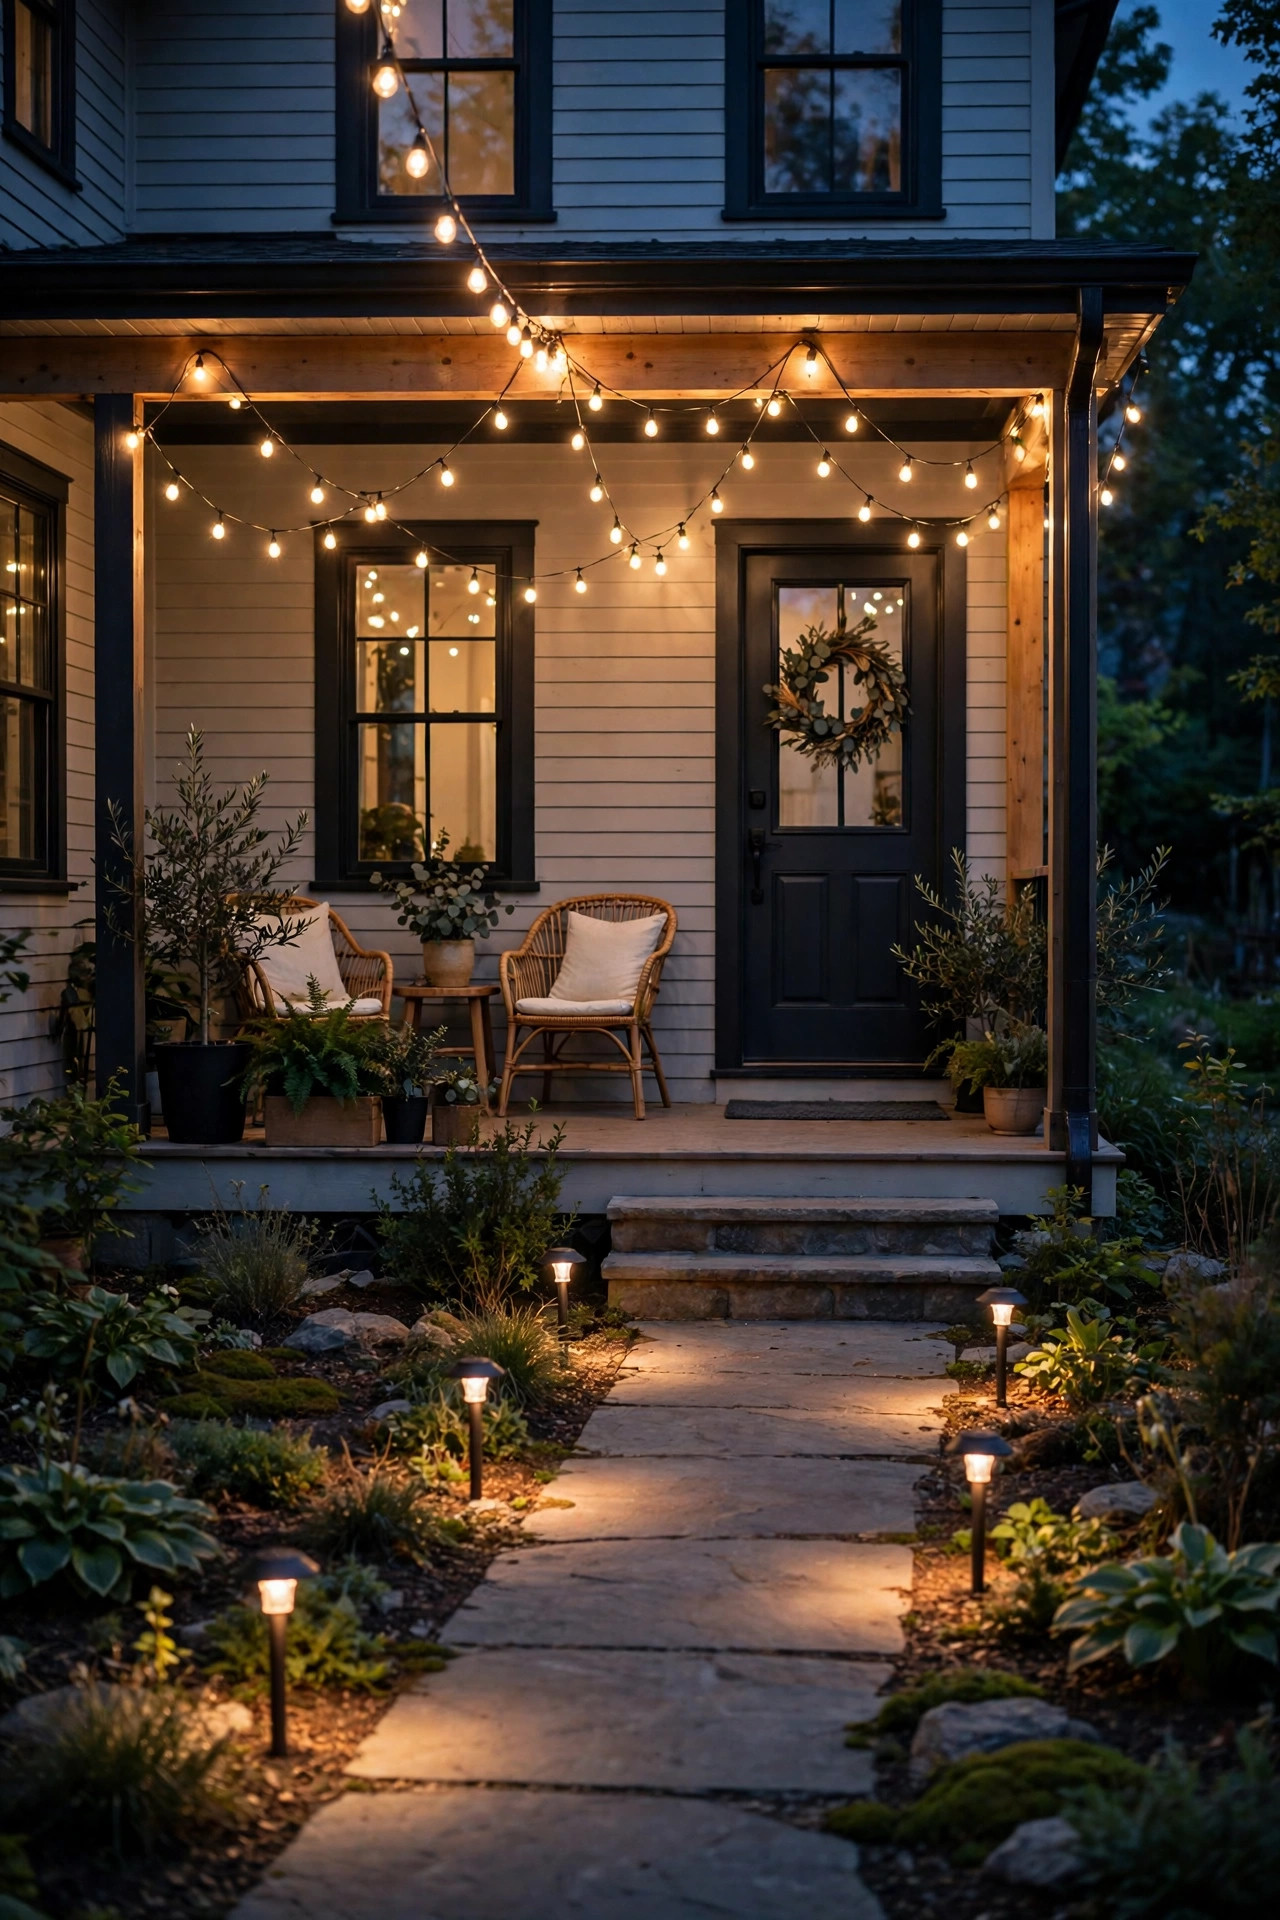
6. Lantern Clusters at the Door Plus a Lit Path Edge
Some combos light the whole journey; this one builds two glowing moments — a cluster of lanterns at the door and a softly defined path edge — and lets the darkness between them create the drama. Group three weatherproof lanterns in varied heights on the porch beside the door, with flameless LED candles on timers inside, then edge one side of the walkway with a low-voltage rope light or a row of small in-ground markers. The effect is boutique-hotel pretty and incredibly forgiving: the lanterns are portable, so they move with the seasons and your mood. Keep the path edge light continuous rather than dotted if your walkway curves — a gentle ribbon reads more elegant than a runway. This is the combo I recommend when someone says their entry feels "fine but forgettable." Set the lantern candles on slightly staggered timer start times and the cluster feels hand-lit rather than switched on all at once.
Suggested budget range: $90 – $220.
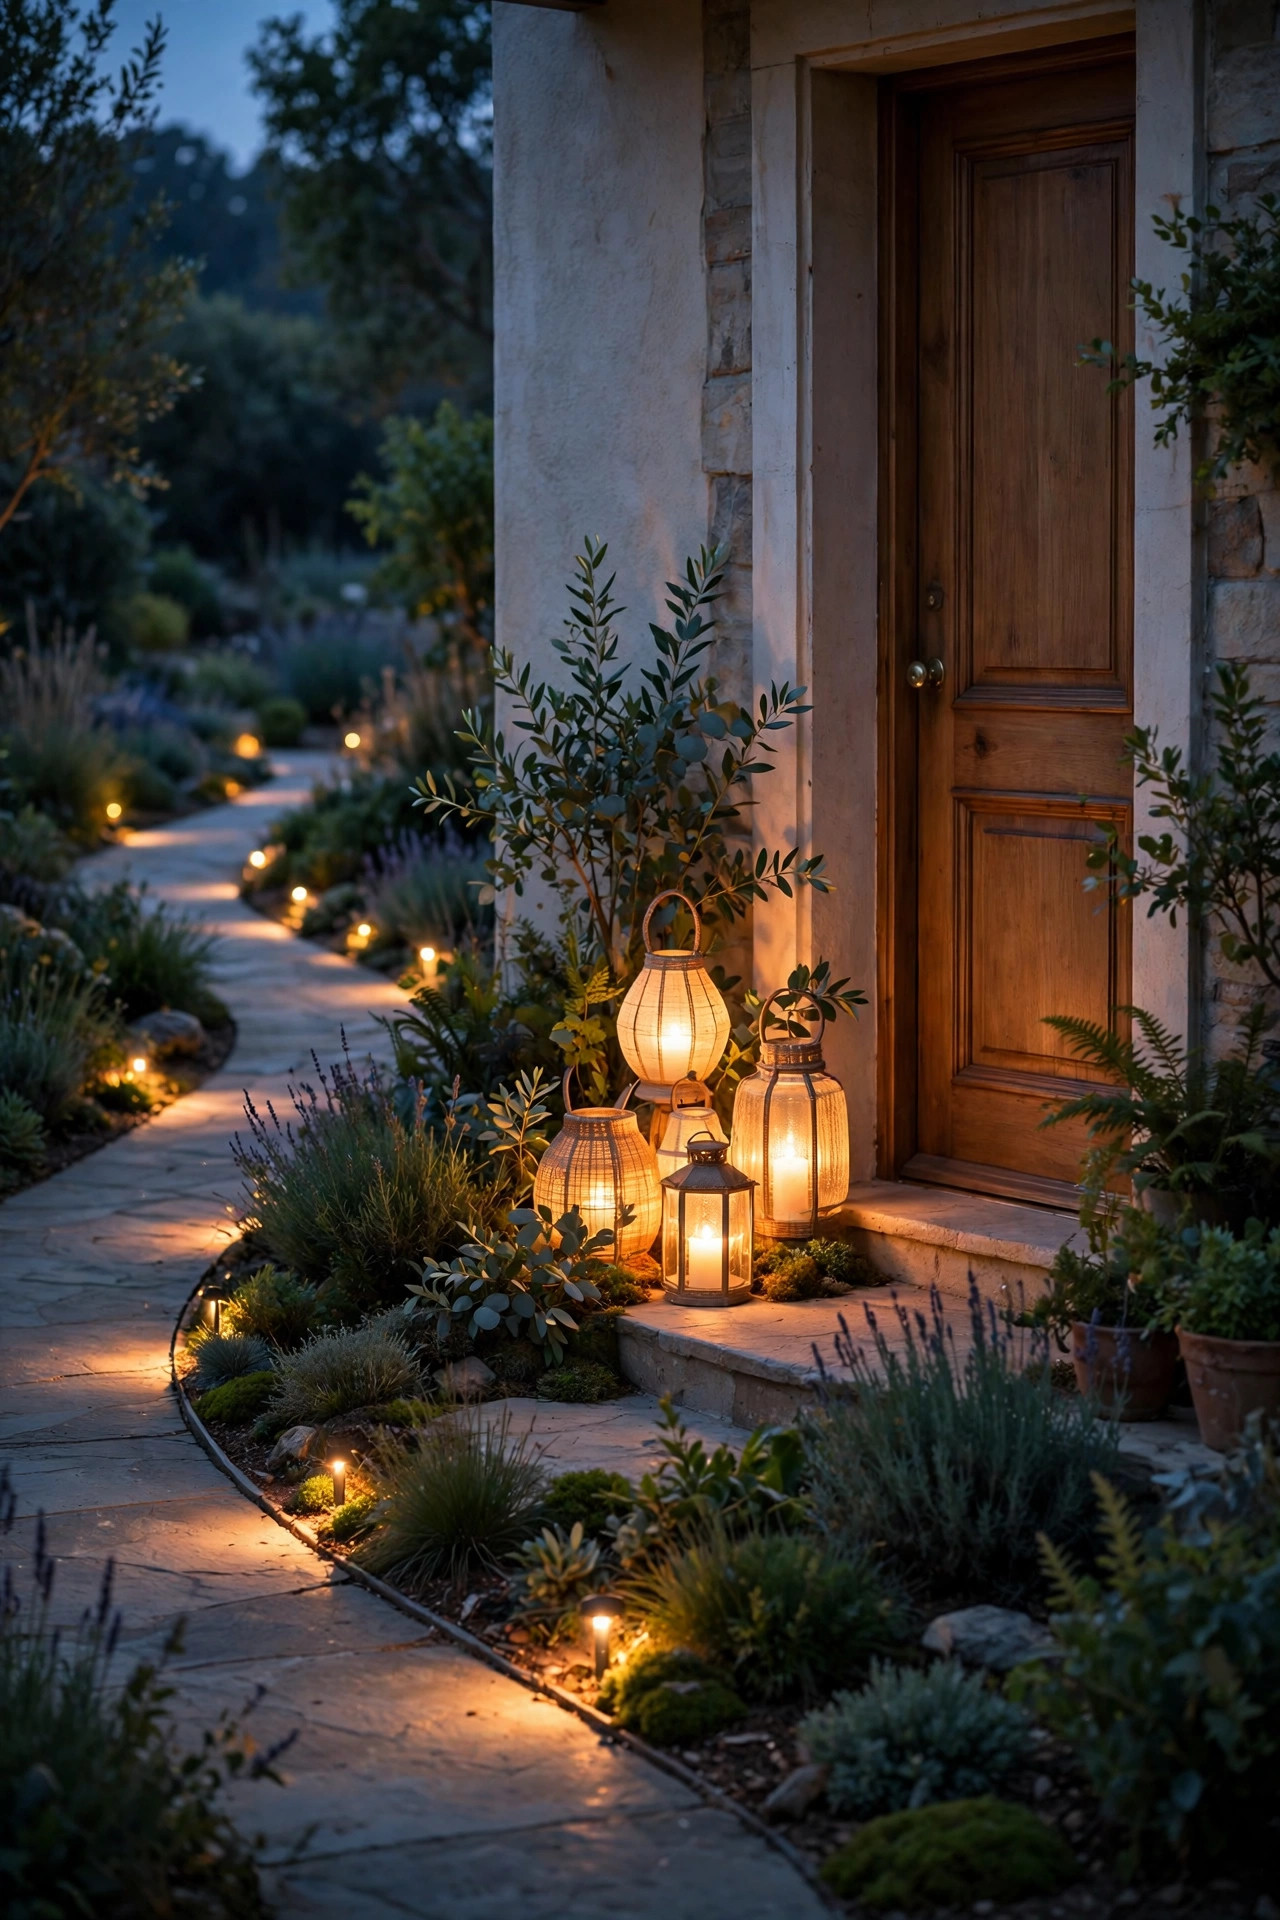
7. Motion-Sensor Spotlight Plus Always-On Accents
Security and welcome don't have to fight each other — you just give them separate jobs. Let a motion-sensor spotlight over the garage-side corner or porch edge handle the alerting: bright, instant, aimed at the driveway approach rather than the street so passing cars don't trigger it all night. Then let a low, always-on layer — path lights plus a dim porch sconce on a timer — handle the beauty. Guests arriving after dark get a friendly glow and a reassuring brightening as they approach; nobody gets blasted by a floodlight while carrying in groceries. I like the accent layer at 2700K and the motion light no cooler than 3000K, aimed down at about 45 degrees. Set the motion timer for 1 to 3 minutes — long enough to unlock the door, short enough to feel intentional. Walk the approach yourself at night before you finalize the aim; a spotlight that catches faces instead of the ground will feel hostile no matter how pretty the accent layer is.
Suggested budget range: $120 – $300.
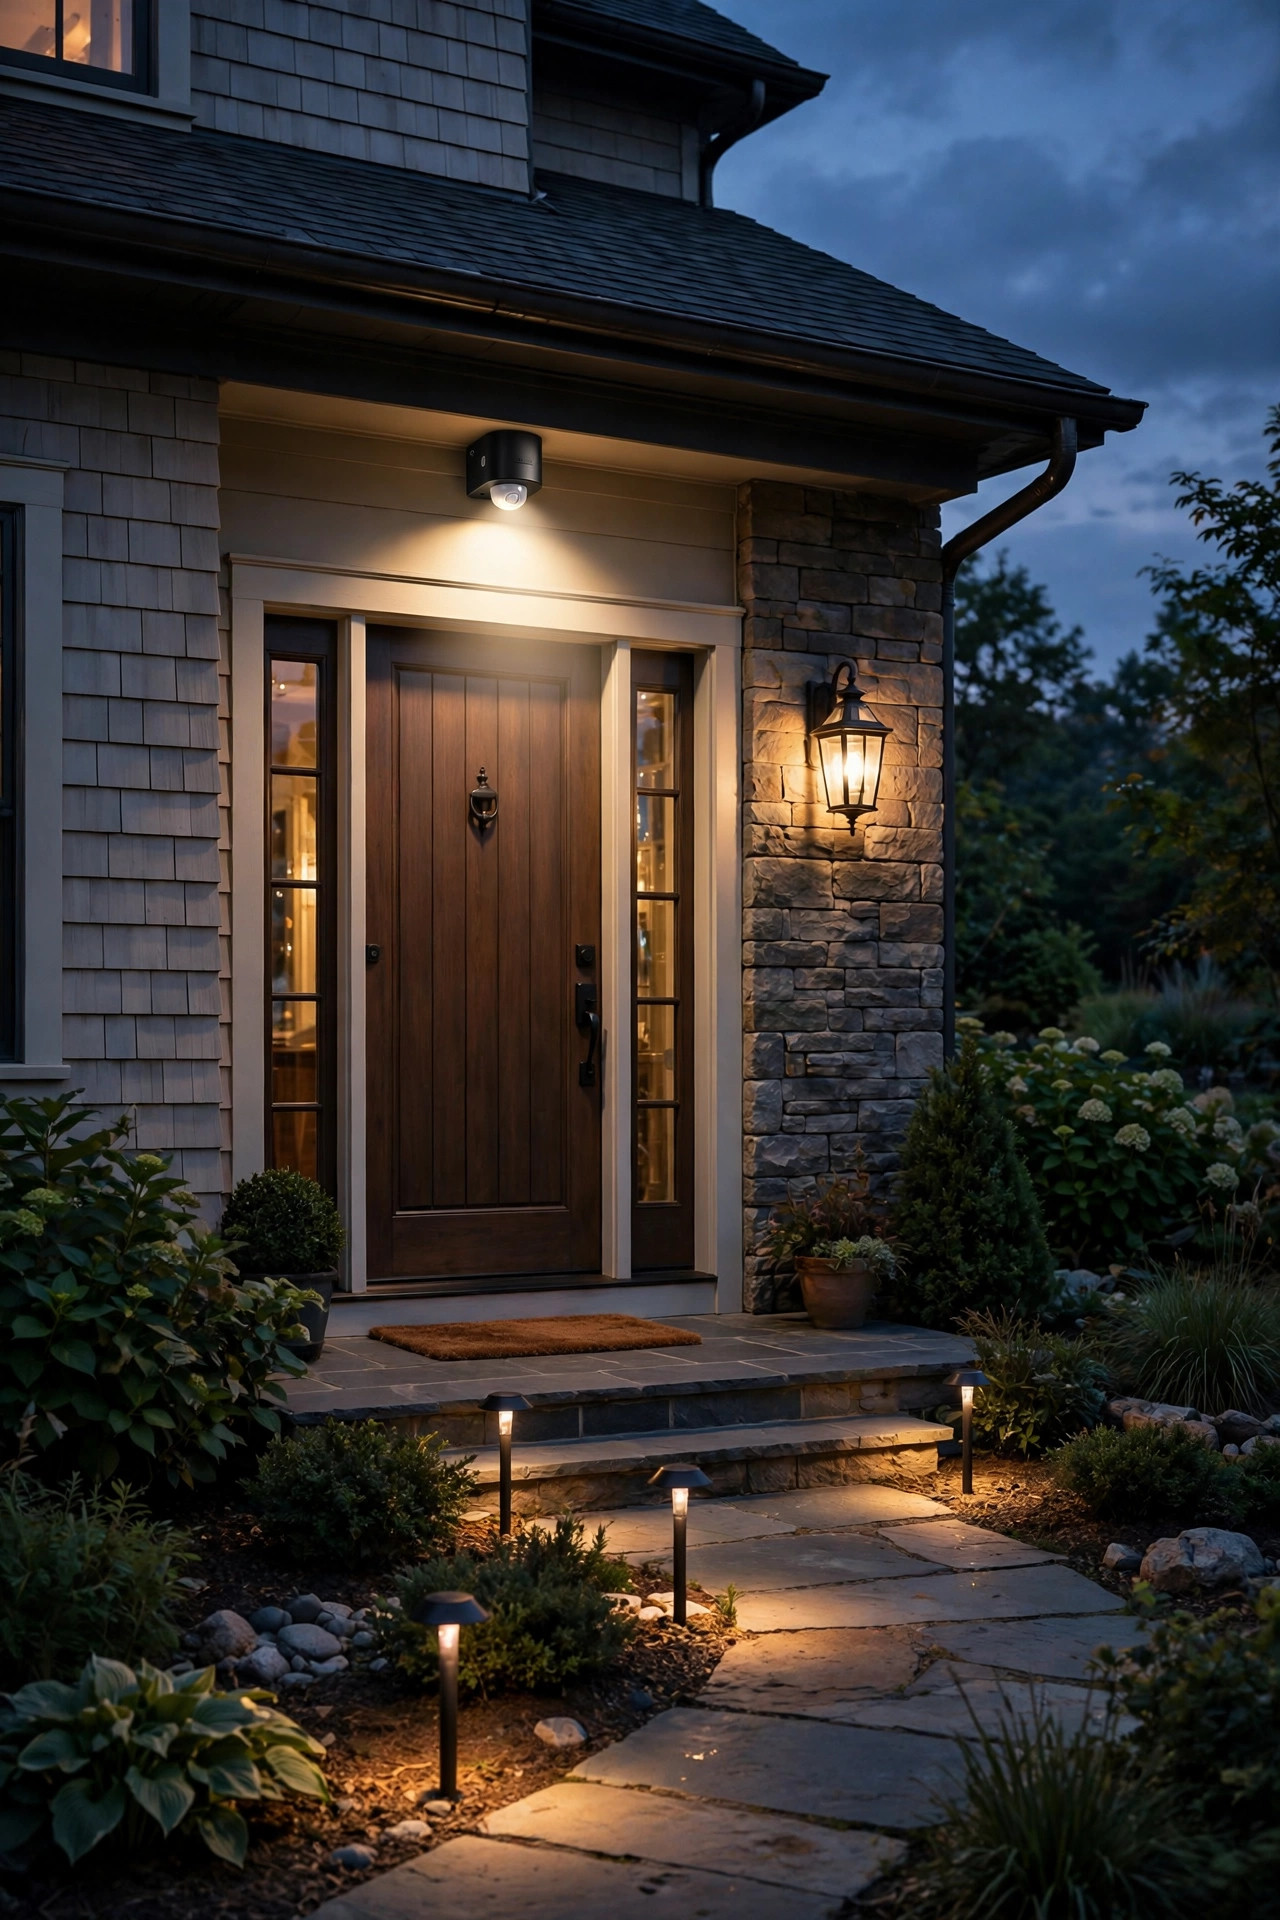
8. In-Ground Well Lights Plus a Ceiling Flush Mount
Here's the combo for porches with beautiful bones — a ceiling worth showing off, columns, a handsome door. In-ground well lights set into the walkway or the garden edge graze upward across the porch front, pulling out every bit of texture in the siding, brick or stone, while a warm flush-mount fixture on the porch ceiling provides the practical, shadow-free light you need at the door itself. The well lights are the drama; the ceiling light is the workhorse, and together they look like a designer specified both. Keep well-light beams narrow, around 15 to 30 degrees, and output modest — you're grazing a facade, not launching a searchlight. This pairing is the heart of what I call layered landscape lighting thinking: one layer for texture, one for tasks, each doing what it does best. Use fixtures rated for ground contact and burial, and leave a little slack in the cable at each well light so you can lift it out for cleaning.
Suggested budget range: $220 – $550.

9. Copper Path Lights Plus a Matching Coach Light
Materials are a layer too. A set of copper path lights — the real metal that patinas to a soft verdigris — paired with a copper or bronze coach light beside the door gives your entry a crafted, cottage-garden warmth that black fixtures can't quite match. Copper reads especially well with brick, stone, and wood doors, and it ages gracefully instead of peeling. Space the path lights closer than usual here, about 5 to 6 feet apart, because their charm is in the little pools of light overlapping like stepping stones. Use warm 2700K LED bulbs or integrated fixtures throughout so the metal's glow stays golden. This combo asks for a slightly bigger budget, but these are buy-once pieces — I've had copper path lights in my own beds for years and they look better now than the day they went in. If you prefer the bright penny shine to the patina, a clear lacquered finish slows the aging — I personally let mine go green and love it.
Suggested budget range: $280 – $650.
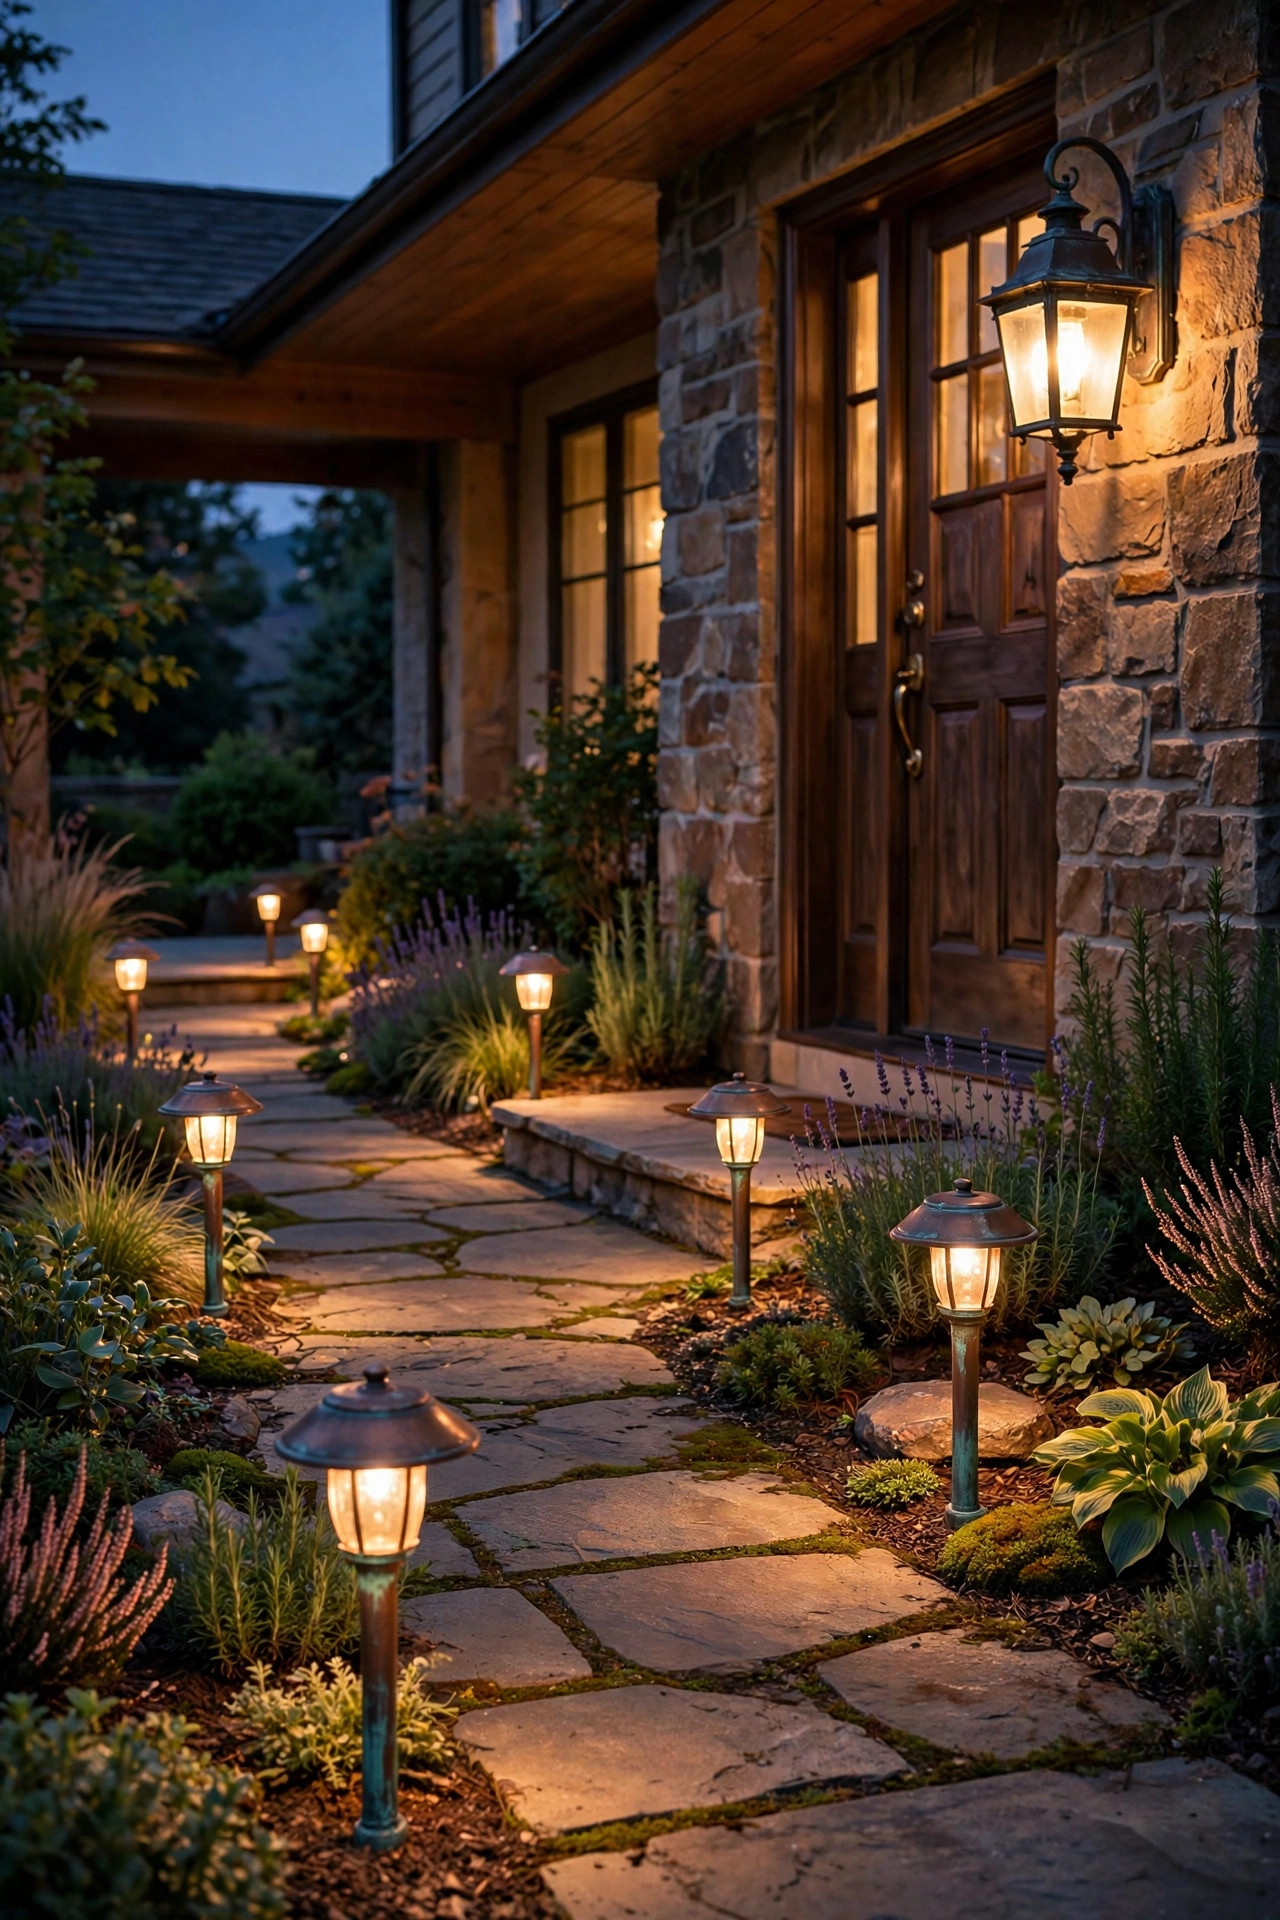
10. Smart Bulbs in Sconces Plus a Smart Path System
If you love control, build the whole combo on smart gear: smart bulbs in your door sconces and a smart low-voltage path system on one app, one schedule, one scene. Arrive-home routines, vacation modes that randomize the on-times, dimming the sconces to 40 percent for late-night ambiance and back to full for the pizza delivery — it's all a tap away. Two honest cautions from my own setup: check your Wi-Fi signal at the front door before you buy, because exterior walls eat signal, and keep a normal wall switch routine so guests aren't stranded in the dark by an app. I run my smart layers on an astronomical schedule that tracks sunset through the year, and it's the closest thing to lighting that simply takes care of itself. Start with the sconces; add the path when you're ready. One more perk worth naming: smart layers make seasonal decorating effortless, since a warm amber scene for October or a slightly brighter welcome for December is just a saved preset.
Suggested budget range: $200 – $500.
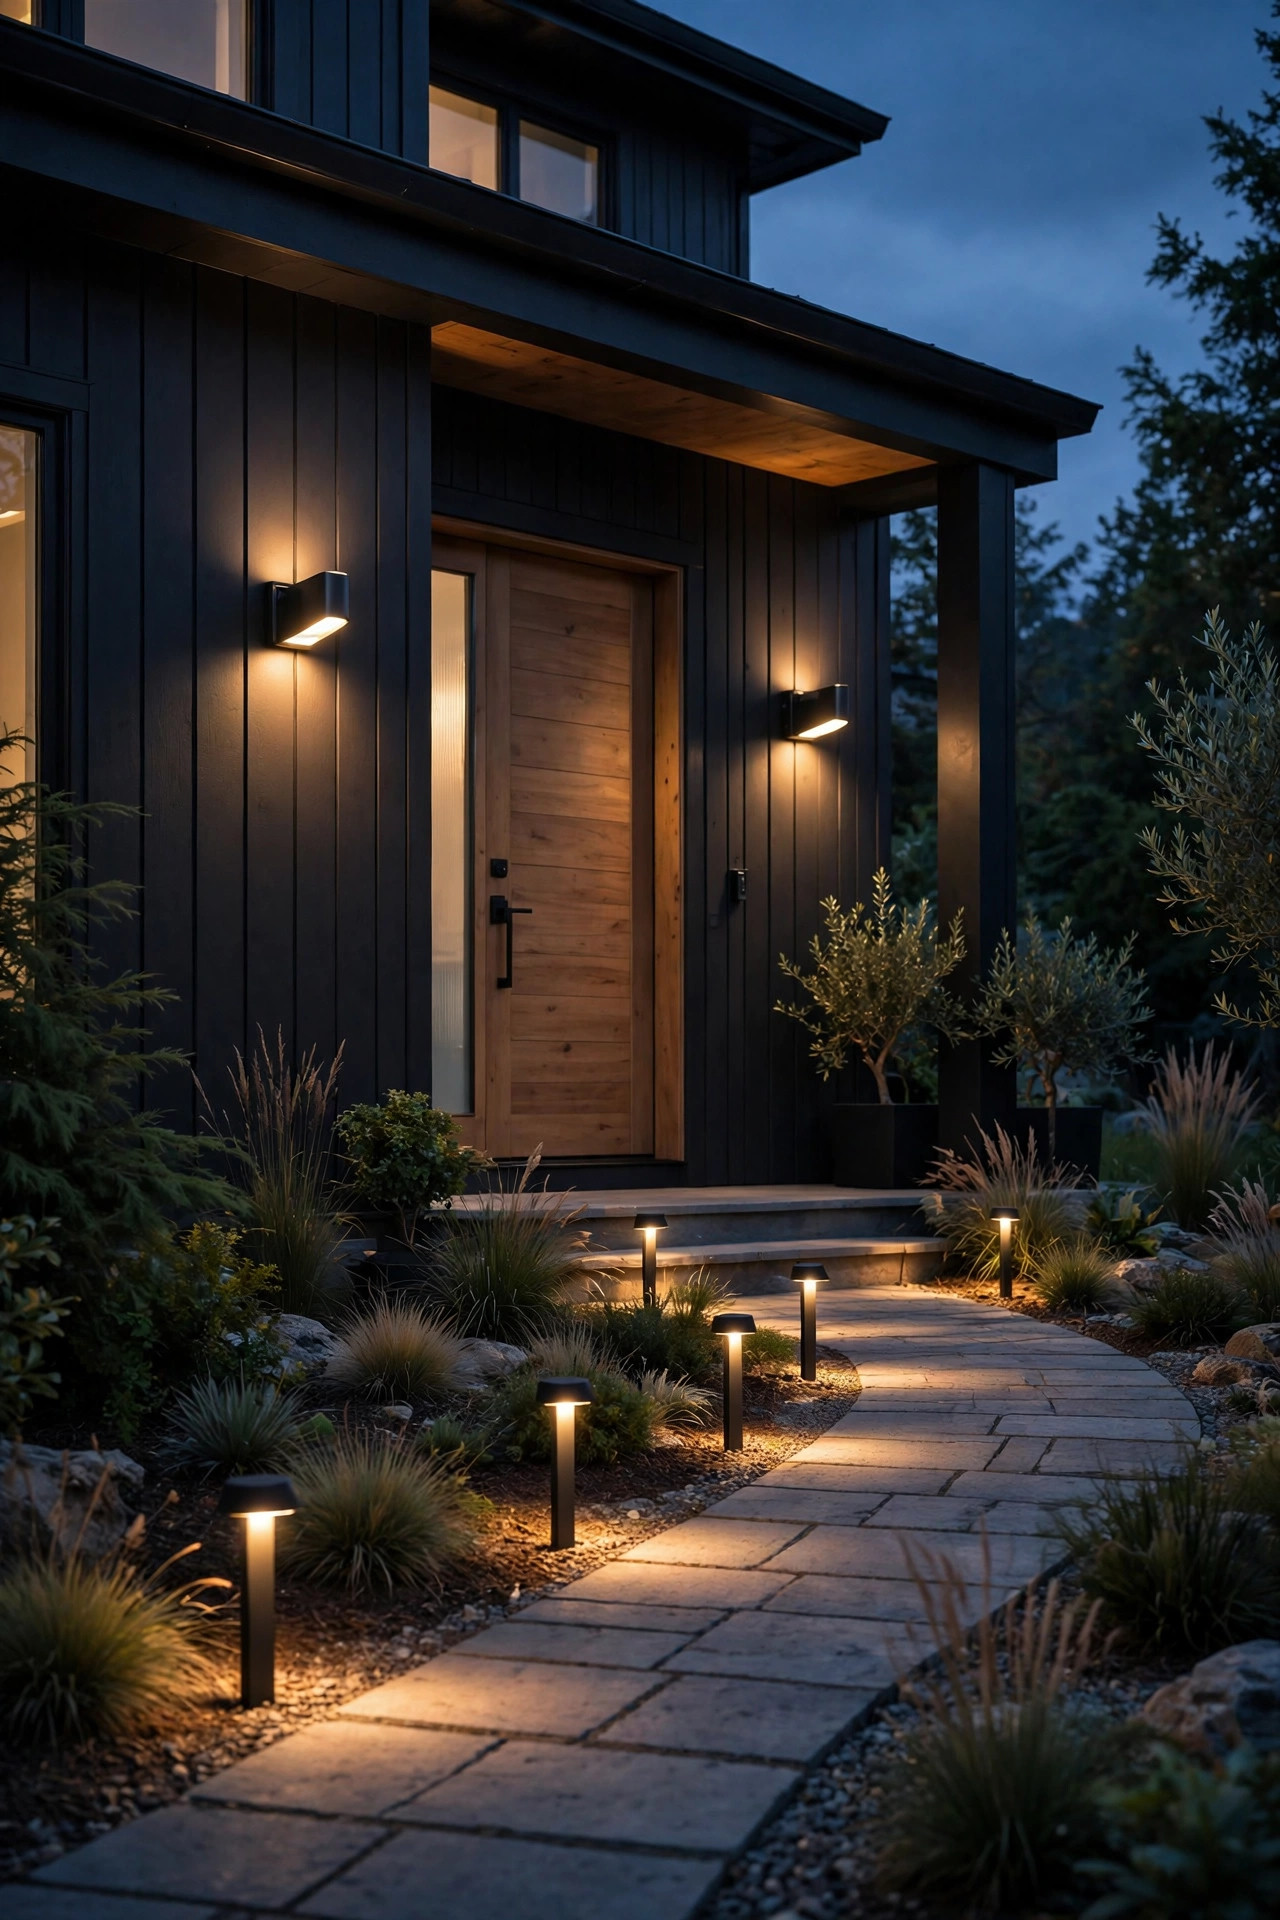
11. Mushroom Path Lights Plus a Soft Porch Ceiling Glow
Mushroom-style path lights — little dome fixtures that throw their light downward and outward in a gentle circle — are the friendliest path lights I know, with zero glare even for kids walking at fixture eye level. Pair them with a soft ceiling fixture on the porch: a semi-flush mount with a frosted or opal diffuser that spreads light like moonlight instead of pointing it at anyone's face. This combo is made for families and for anyone whose walkway passes close to bedroom windows, because everything points down and nothing spills. Space the mushrooms 6 to 7 feet apart, and choose a porch ceiling fixture rated for damp or wet locations depending on how covered your porch really is. The overall feeling is calm and cocoon-like — the entry equivalent of a deep breath. Because both layers are so gentle, this is also the combo I suggest for homes whose front walk passes a neighbor's windows up close.
Suggested budget range: $150 – $380.

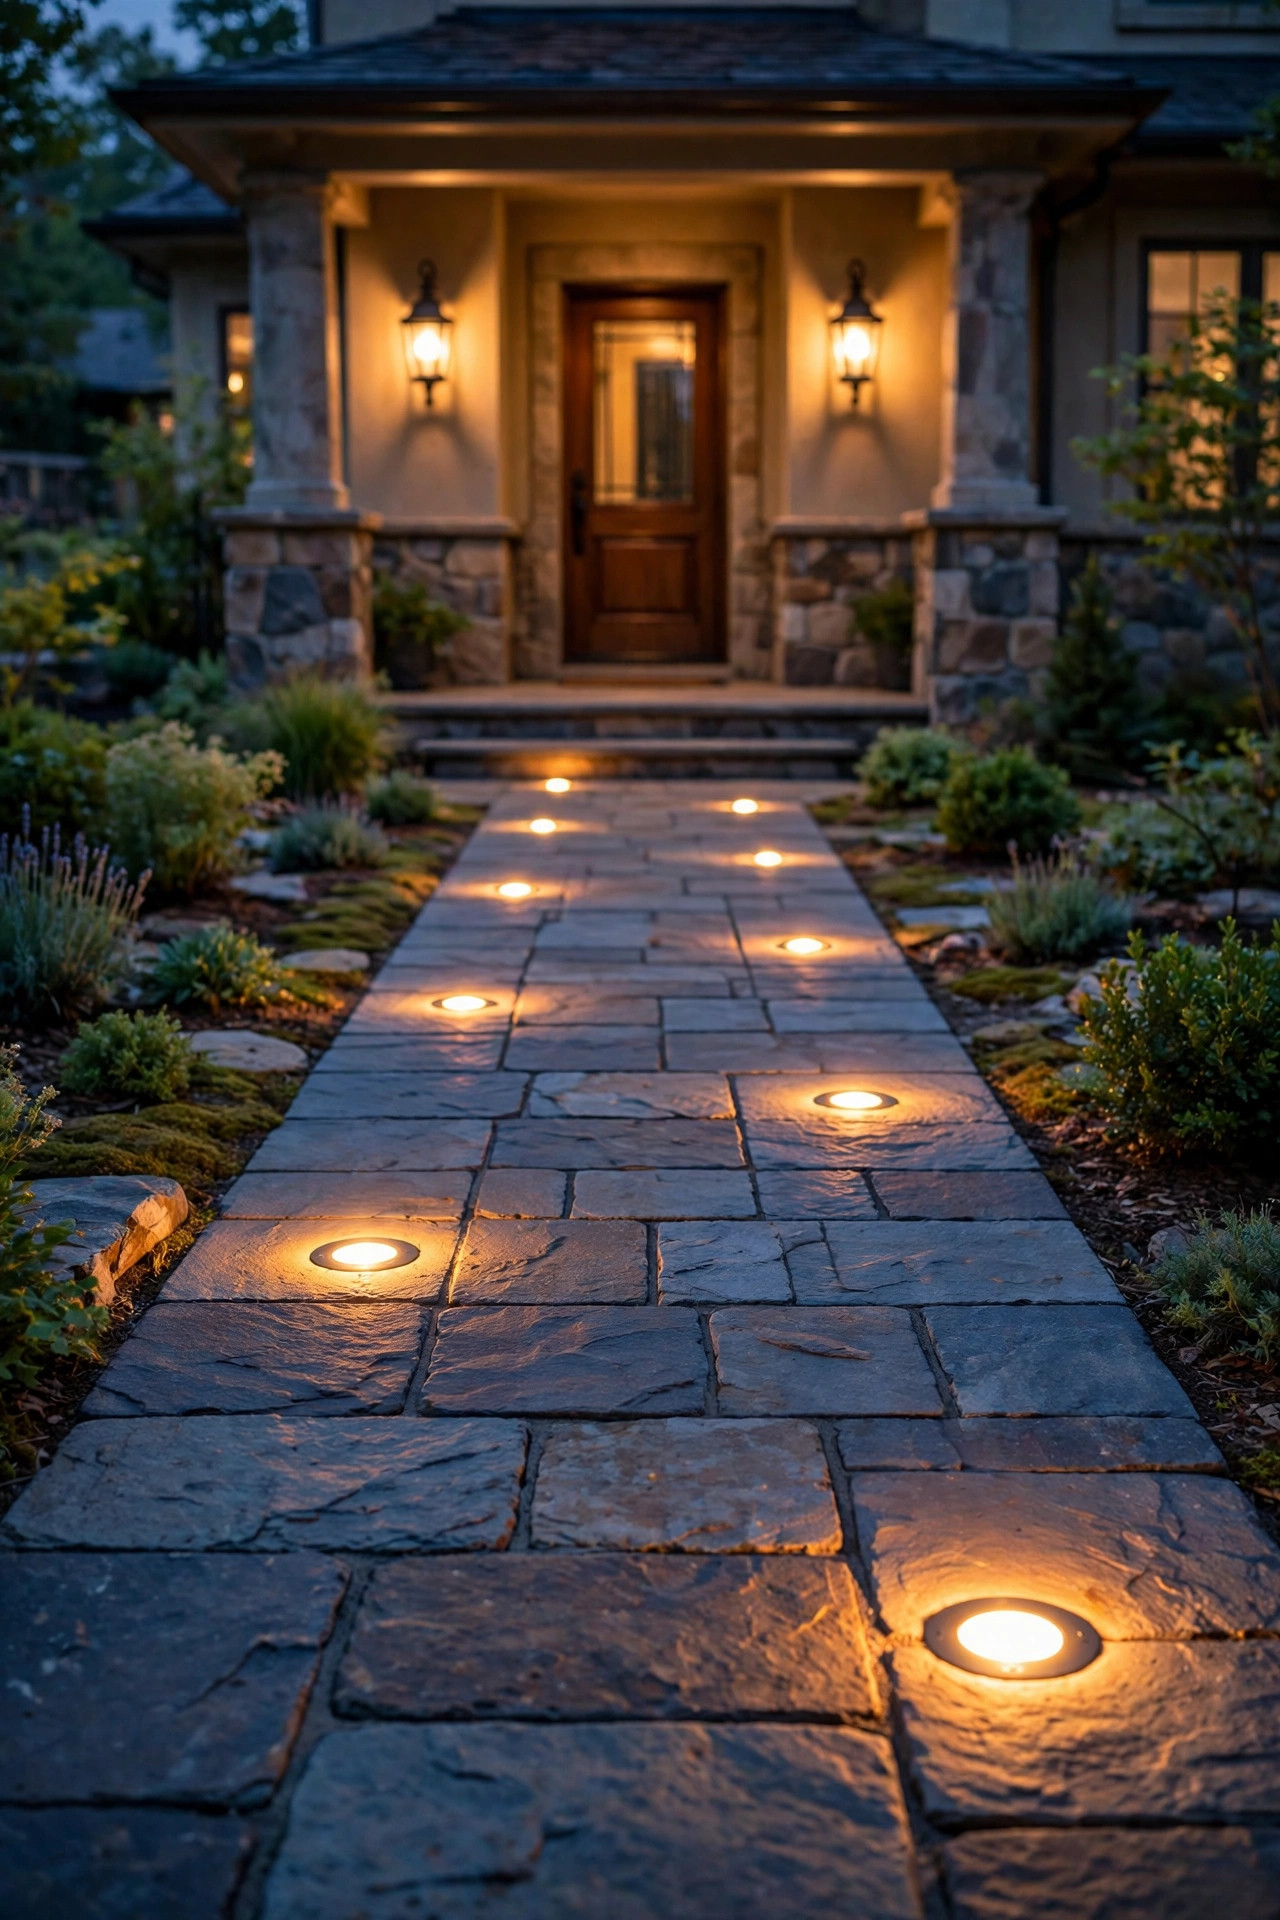
12. Brick-and-Stone Paver Lights Plus Lantern Sconces
If your walkway is pavers or stone, embedding puck-style paver lights right into the path is the sleekest path lighting there is — flush, drive-over-tough in the driveway apron versions, and invisible by day. Pair them with classic lantern-style sconces at the door and you get modern path, timeless porch, a mix that works on almost any house style. Paver lights usually install during path construction or a re-lay, so this combo suits a walkway refresh; retrofits are possible by swapping in same-size pavers with the fixtures pre-set. Wire them on the same low-voltage run as any bed lighting so the whole front composes together. I love how this pairing looks on slightly curved paths, where the flush lights trace the curve like a dotted line on a treasure map. Choose 2700K to keep the stone's warm tones honest. Keep two or three spare paver fixtures from the same batch on hand, since matching an exact finish years later is harder than you'd think.
Suggested budget range: $260 – $600.
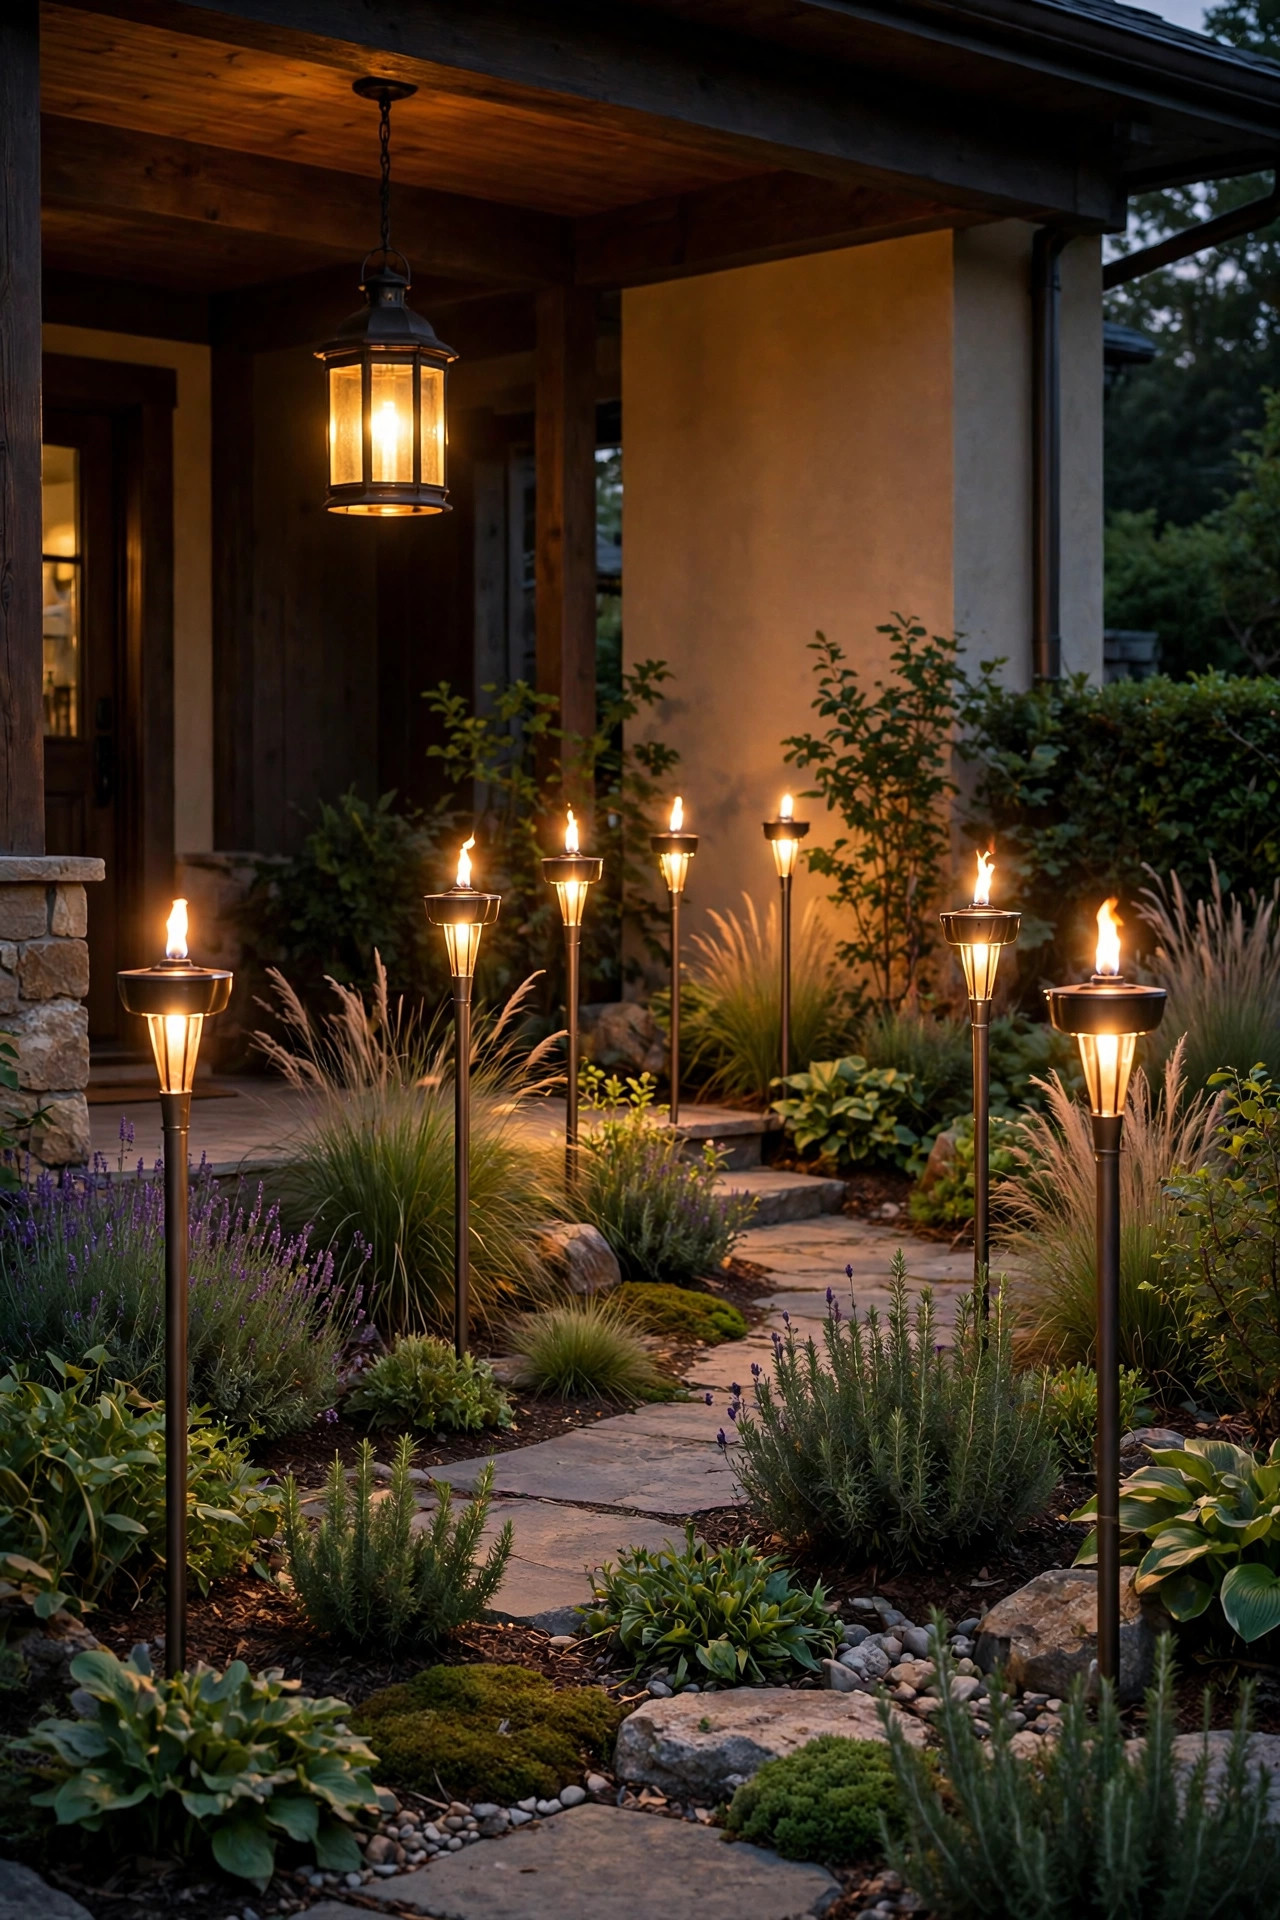
13. Tall Torch-Style Path Lights Plus a Hanging Porch Lantern
For drama on a longer front walk, go tall: torch- or lantern-style path lights at 24 to 30 inches raise the light to garden-bed height, where it washes over plantings instead of just stamping circles on the concrete. Pair them with a hanging lantern pendant centered over the door or porch steps. The tall path lights and the pendant speak the same design language — both are little lanterns, one carried low along the path, one suspended at the door — and that repetition is what makes a combo read as designed. Keep spacing wider than short stakes, about 8 to 10 feet, since each fixture throws a bigger pool. This one flatters Craftsman, cottage, and farmhouse fronts especially, and the taller fixtures show off beautifully against ornamental grasses and hydrangeas after dark. Stake them plumb and check from the street — a leaning torch light is the one detail that gives the whole scheme away.
Suggested budget range: $240 – $580.
14. Two-Tier Combo: Path Lights on Timers, Porch on Photocell
Not every layer needs the same switch. One of my most practical setups runs the path lights on an astronomical timer — on at sunset, off at 11 p.m. when the household winds down — while the porch light runs on a photocell, dusk to dawn, all night, every night. The path performs during the sociable hours; the porch keeps a quiet sentinel glow until morning for early risers, newspaper deliveries, and anyone coming home late. It's energy-smart, security-smart, and completely hands-off once it's set. Mixing control types like this also means one failure never darkens the whole entry. If you're weighing control options, the dedicated timer guides on low voltage path lights walk through transformer features worth paying for. Honestly, this is the combo I recommend to anyone who says "I just want it to work." It also travels well: if you move, the timer settings and photocell bulbs go with you, and only the fixtures stay behind.
Suggested budget range: $160 – $420.

15. Fairy-Light Canopy Plus Ground-Level Path Glow
For romantic souls and porch-sitters: drape copper-wire fairy lights or fine string lights through a porch-side trellis, pergola beam, or the lowest branches of a front-yard tree, and keep the path lighting strictly at ground level with low path lights or disc lights. The sparkle stays up high and magical; the path stays calm and functional. Use LED-only fairy lights anywhere they touch fabric, cushions, or plantings, and expect to restring them every season or two — they're the consumable layer of the combo, and that's fine because they're cheap. The contrast between the twinkling canopy and the steady path pools is what makes guests gasp a little. I reach for this pairing in late spring and it carries straight through to the holidays, when it needs nothing more than a wreath at the door to turn festive. Keep the canopy on a timer that shuts off by 11 p.m. so the sparkle stays a treat instead of an all-night habit.
Suggested budget range: $60 – $160.

16. Monochrome Matte Black Combo, Head to Toe
When in doubt, match everything. Matte black path lights, matte black sconces, a matte black pendant or flush mount — a single finish across every layer is the easiest way to make a combo look intentional and current. Black works on nearly every siding color, disappears into garden beds by day, and lets the warm light itself be the star at night. The discipline matters more than the color, honestly: the same trick works in all-bronze or all-copper. Just resist mixing a shiny chrome door fixture into a matte black scheme — one odd finish breaks the spell. Keep bulbs a consistent 2700K across every fixture too, because a finish match with mismatched color temperatures still looks accidental. This is the combo I suggest to friends paralyzed by choices: pick one finish you love and repeat it three times. It also simplifies shopping and spare bulbs forever, because every fixture in the scheme shares the same finish family and bulb base.
Suggested budget range: $190 – $480.
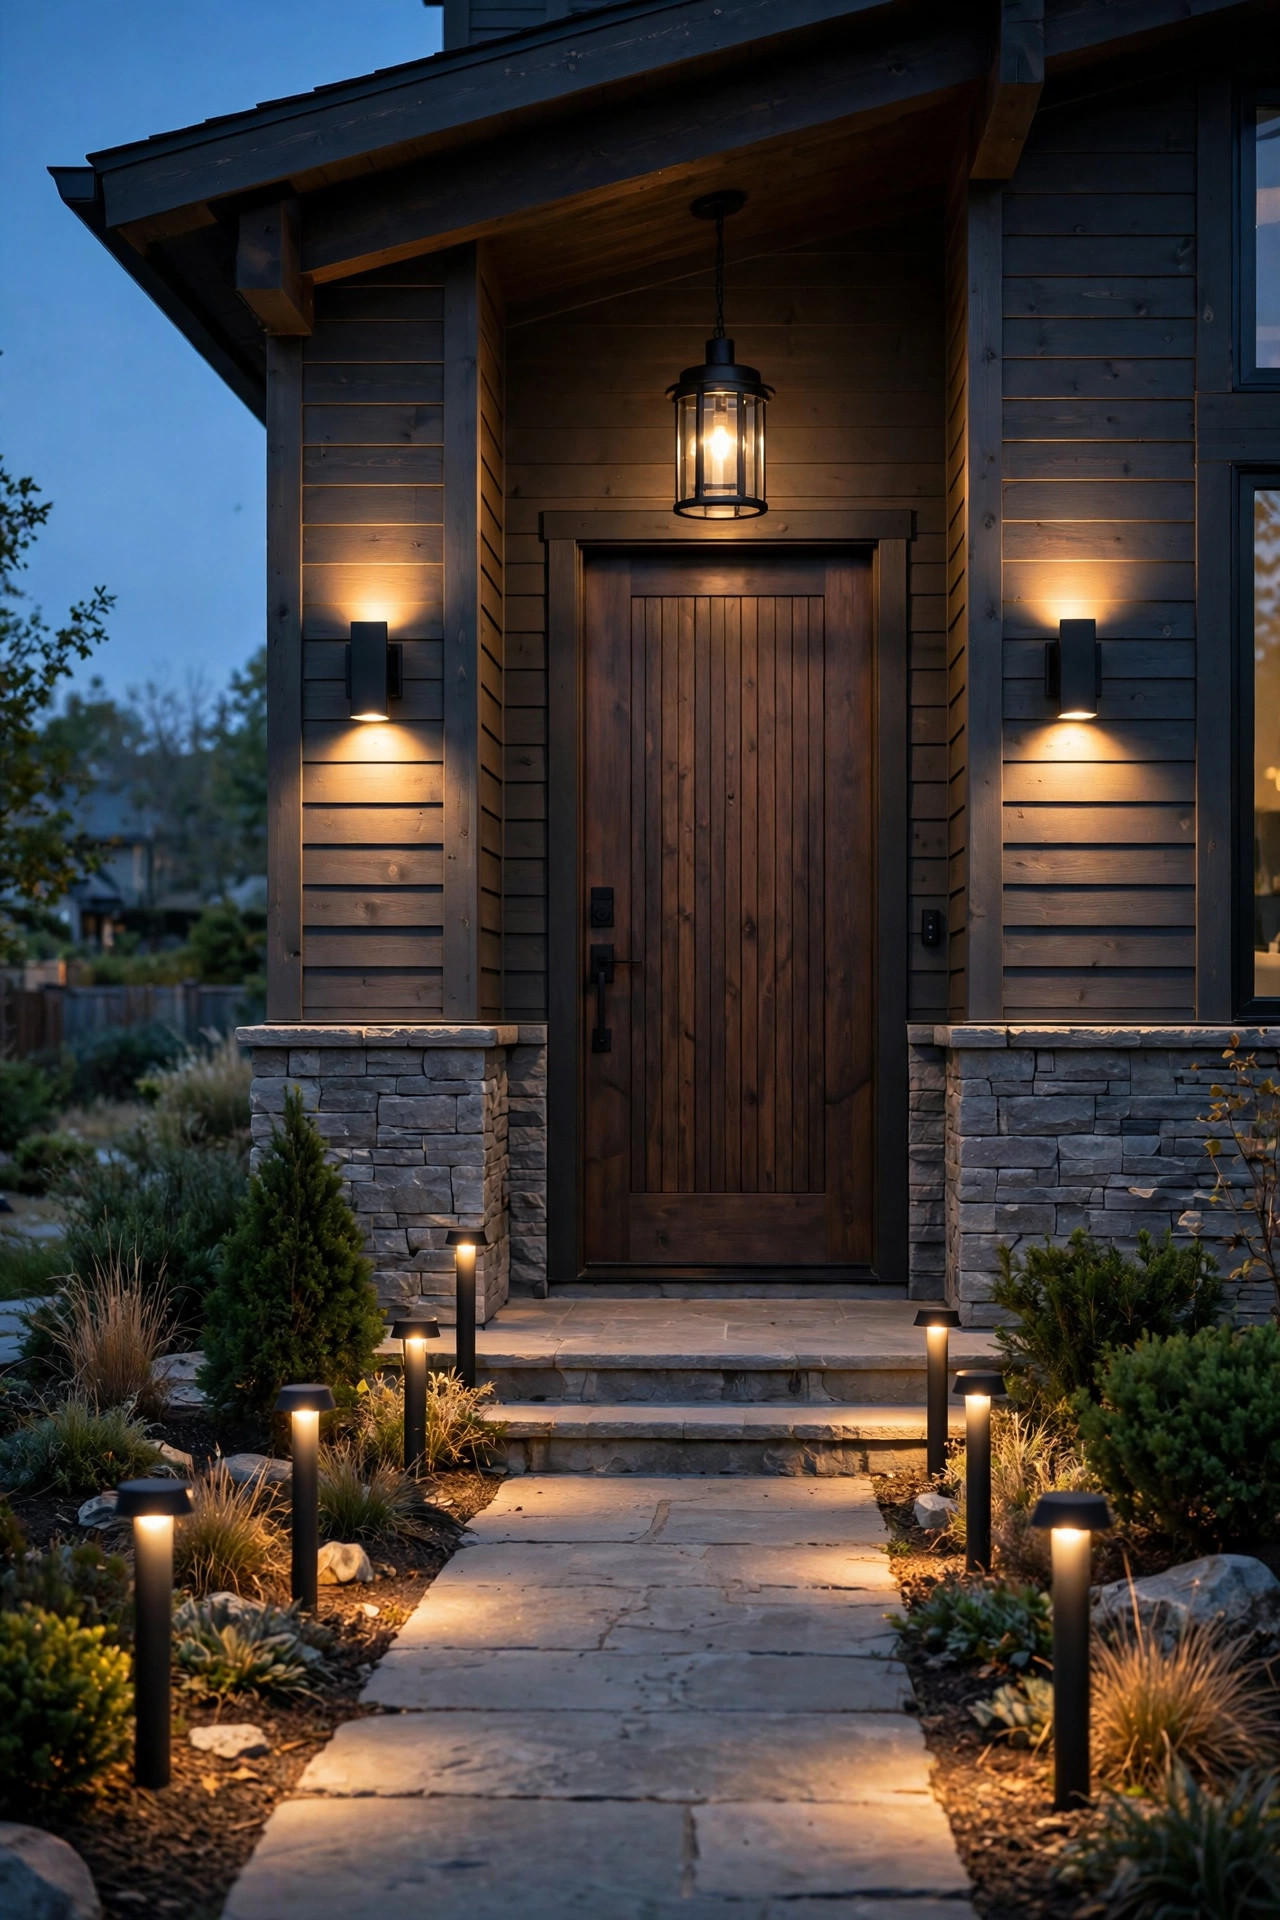
17. The Full Three-Layer Pro Combo: Path, Door, and One Uplight
Finally, the full recipe the pros actually use. Layer one: low path lights guiding the walk, spaced to overlap. Layer two: door lighting — sconces or a pendant — marking the destination and lighting faces kindly. Layer three, the one everyone forgets: a single uplight in the front bed, washing a small ornamental tree, a textured wall, or your house numbers, giving the whole scene depth. That third layer is what separates "lit" from "designed," because it gives the eye somewhere beautiful to land beyond the door. Keep the uplight's beam narrow and its brightness modest next to the door lights, and angle it so it grazes rather than blasts. Spend your money in that order too — path first, door second, accent last — and even a partial version of this combo outperforms any single expensive fixture. Walk out to the street on the first night and adjust from there; the view your guests get is the only review that matters.
Suggested budget range: $300 – $750.
Frequently Asked Questions
What color temperature should I use when combining path and porch lights?
Keep everything between 2700K and 3000K, and ideally match the exact number across all fixtures — a 2700K path light next to a 4000K porch light looks like two different houses stitched together. Warm white in that 2700–3000K range flatters siding, skin tones, and plantings, and it's what nearly every combo in this list assumes. If you already own one fixture you love, build the rest of the combo to match its temperature.
How far apart should path lights be in a combo setup?
For most residential path lights, 6 to 8 feet apart with the pools of light just overlapping is the sweet spot. Go closer — 5 to 6 feet — for short stakes with small spreads, and wider — 8 to 10 feet — for taller bollard or torch-style fixtures that throw bigger pools. Stagger lights on alternating sides of the path rather than mirroring them in pairs, unless your walkway is very formal; staggering reads more natural and uses fewer fixtures.
Can I mix solar and wired lights in the same combo?
Yes, and it's often the smartest way to build in stages — wired or low-voltage where you need reliability (the door, the steps), solar where convenience matters (a long path run). The key is matching color temperature and brightness so the solar pieces don't look dim and bluish next to the wired ones. Choose solar fixtures rated at least 2700–3000K with decent lumens, and keep them where they get six or more hours of sun.
How do I put path and porch lights on the same schedule?
The easiest route is a low-voltage transformer with a built-in timer or photocell running the path lights, plus porch fixtures on a matching dusk-to-dawn photocell or smart bulbs set to the same astronomical schedule. Plug-in timers and smart plugs work for string lights and plug-in fixtures. Whatever you choose, set decorative layers to switch off around 11 p.m. and keep one modest porch light on overnight for security — layered schedules save energy without leaving the entry dark.
Conclusion
If there's one thing I hope you take from these front path and porch lighting combos, it's that no single fixture has to do all the work. A guiding layer along the path, a welcoming layer at the door, and one soft accent to give the scene depth — that recipe, repeated in a dozen different styles above, is the whole secret. Start with the pairing that fits your house and your wiring situation, match your color temperatures, put it on a timer, and step back at dusk to admire an entry that finally looks the way it felt in your head. Browse more of my lighting ideas here on the site for walkways, porches, and gardens, and you'll find the whole front of your house glowing in no time.