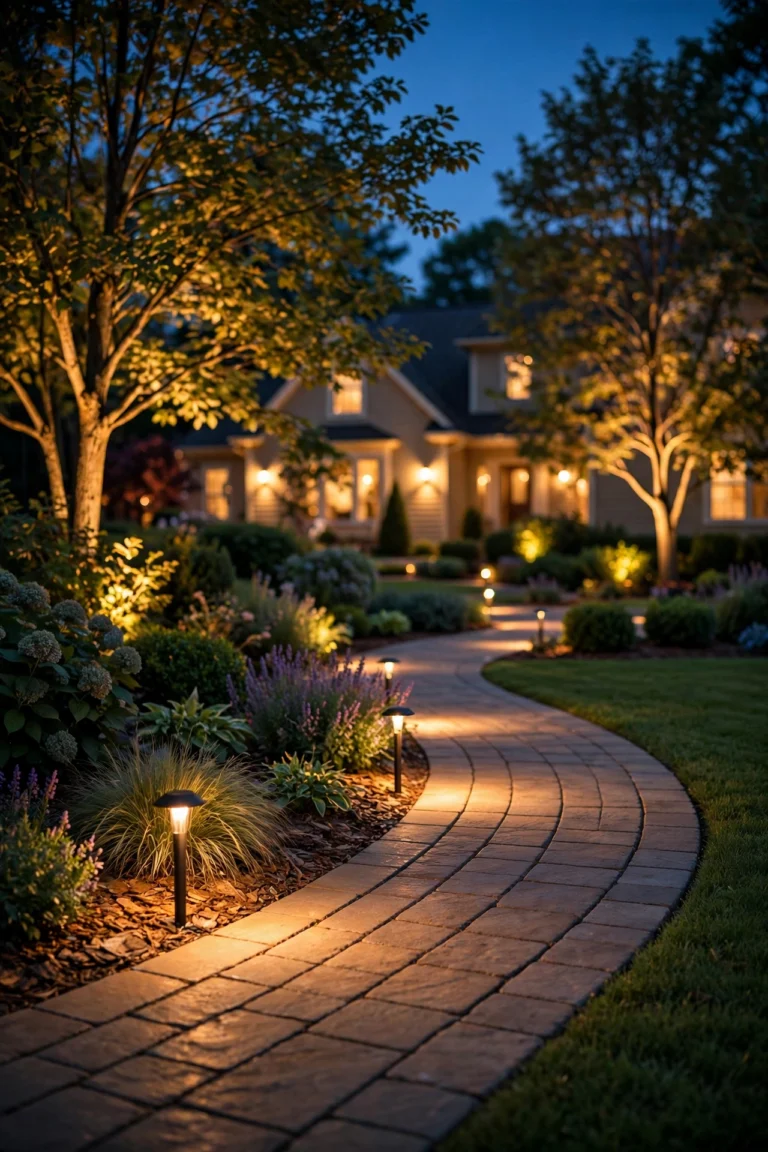
Of all the porch lantern decorating ideas I've collected over the years, lanterns are still my favorite because they ask so little and give so much — no wiring, no electrician, just a beautiful object and a warm glow exactly where you want it. A lantern by the front door is also the perfect expression of my layering philosophy: your porch fixture handles the real illumination, while lanterns add the low, flickering warmth that makes an entry feel like a welcome instead of a doorway. In this post I'm sharing 21 ways to style them — flanking pairs, hanging clusters, seasonal fillers, and the timer trick that makes the whole thing effortless. You'll find sizes, spacing, and honest budgets for every idea, plus safety notes where real flames are involved. If you're still choosing your main fixtures, my guide to front porch lighting ideas covers the hardwired side of the picture. Grab a tape measure and a cup of coffee — by the end, you'll know exactly which look your porch has been waiting for.
1. A Matching Pair Flanking the Front Door
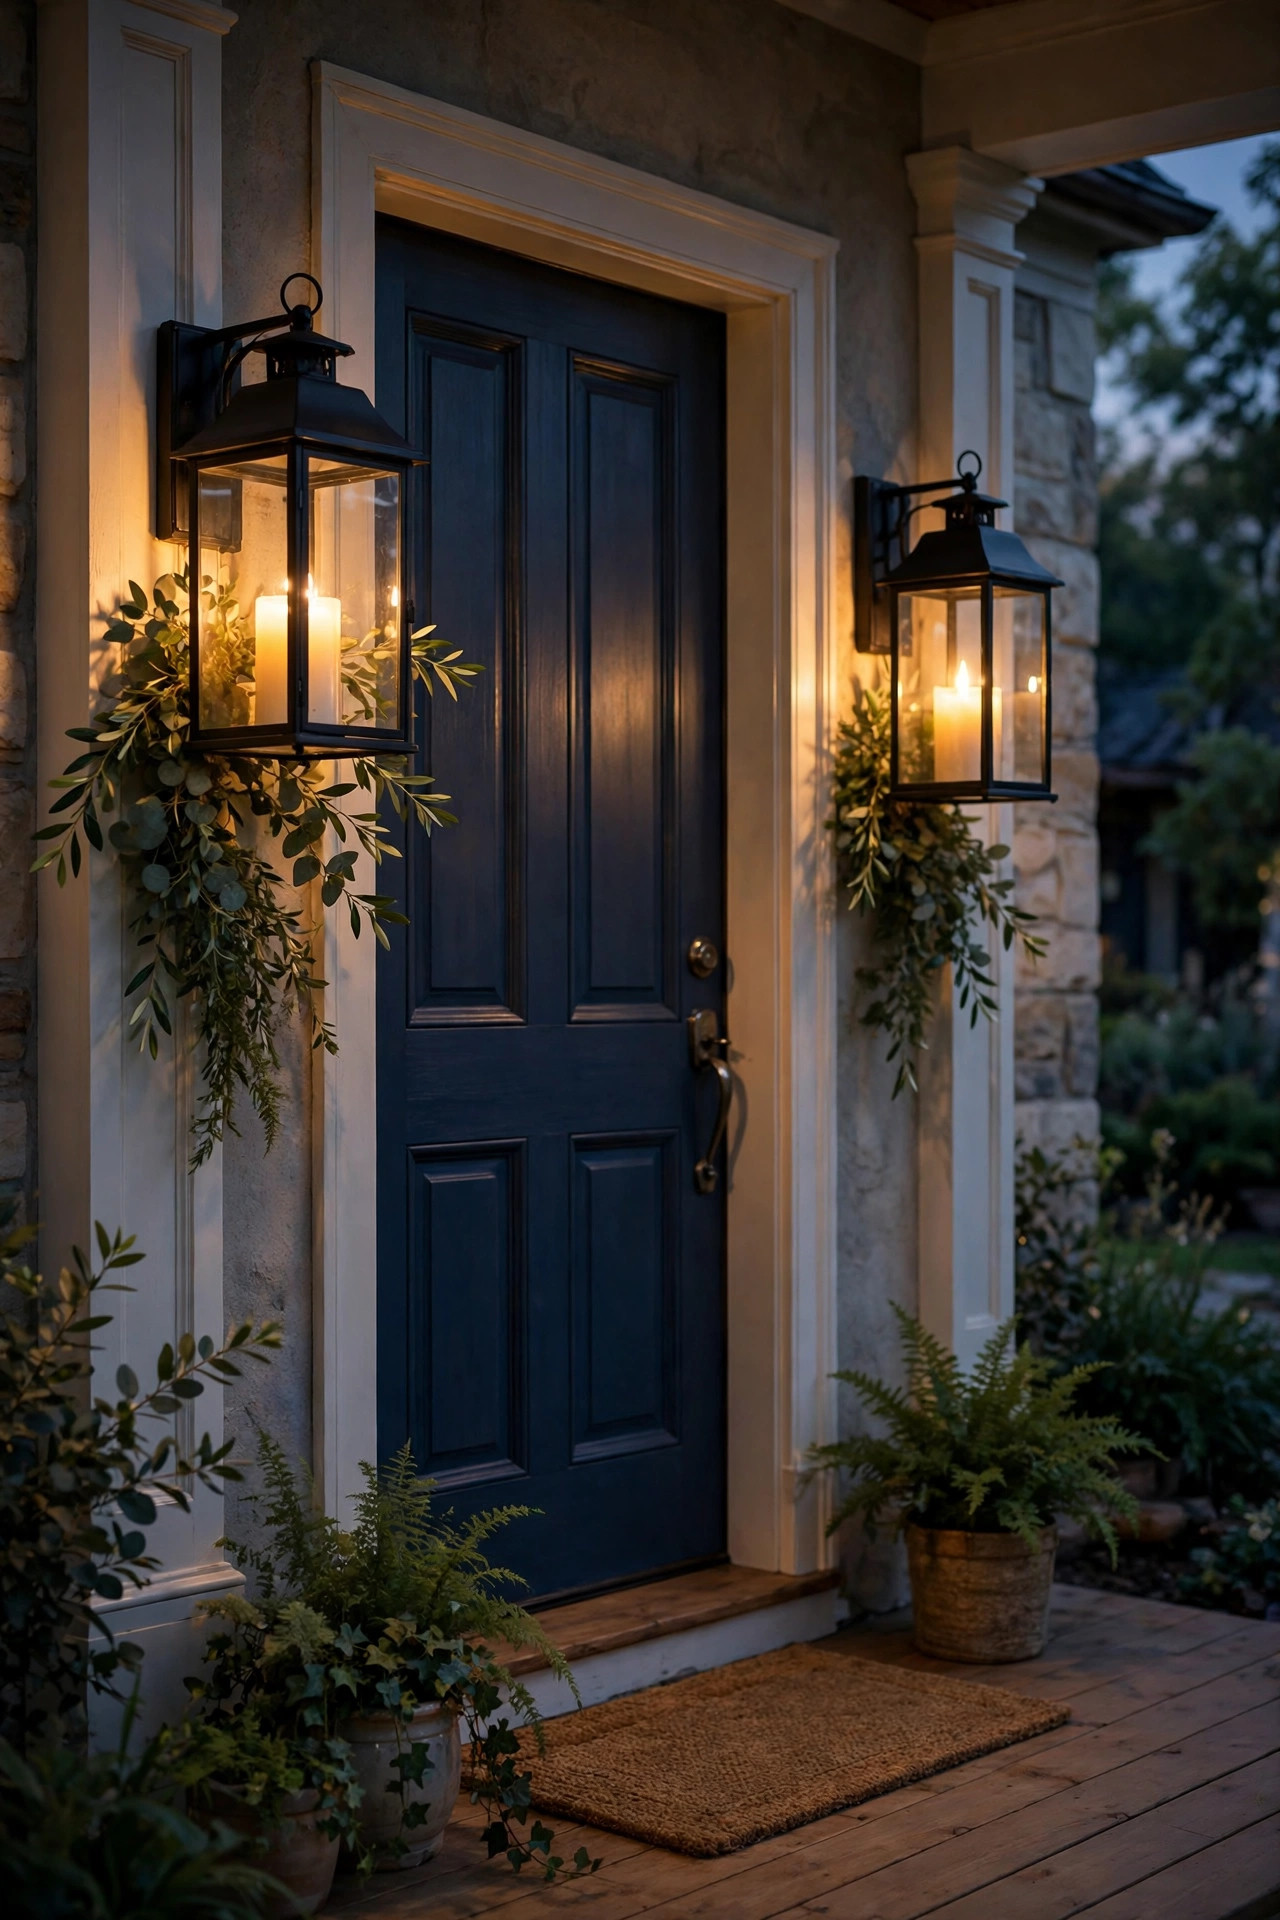
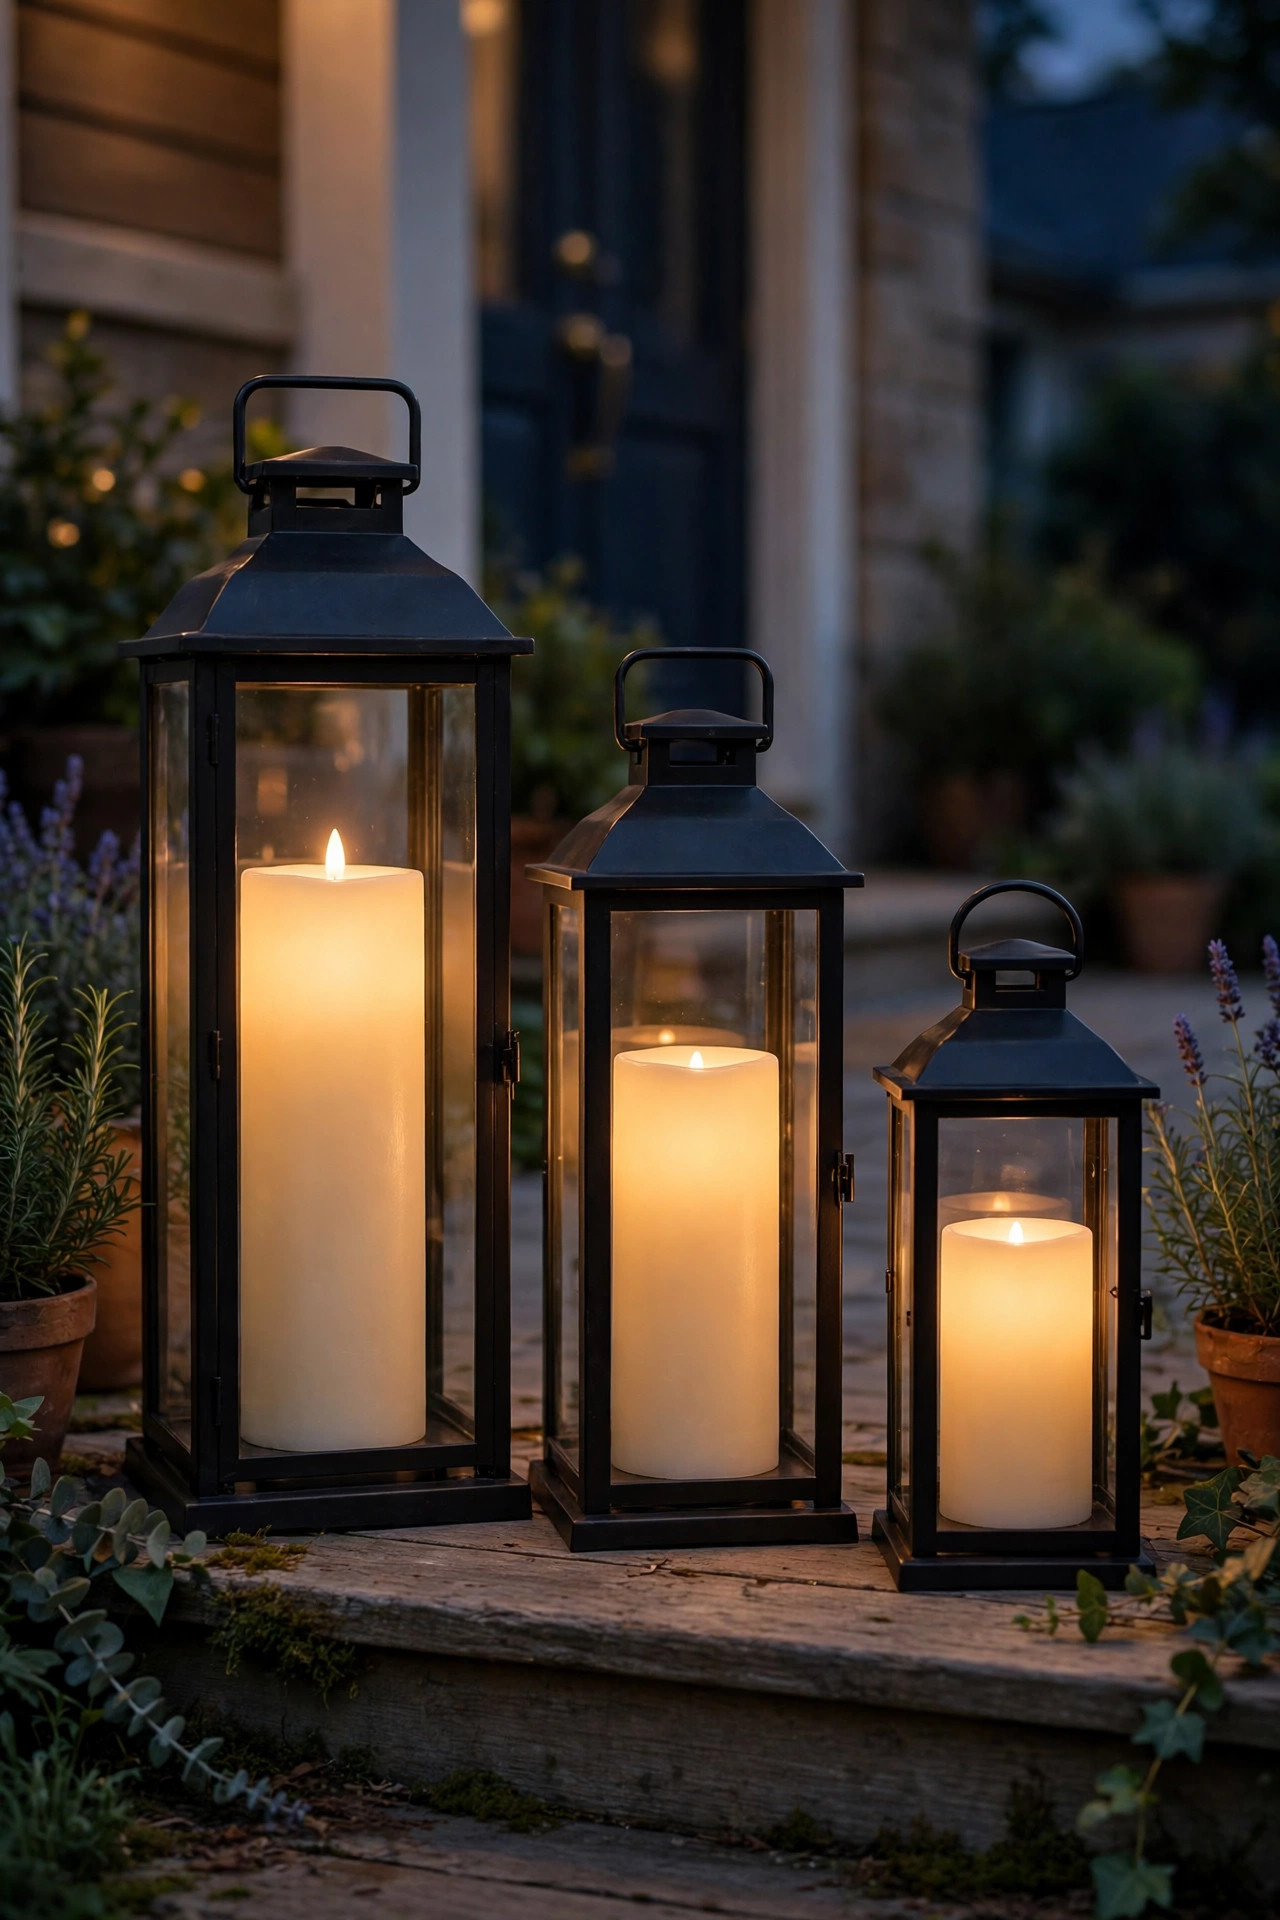
Symmetry is the oldest trick in the decorating book, and it works every single time by a front door. Set one lantern on each side of the door, about 6 to 10 inches out from the frame, and your whole entry instantly looks intentional. The sizing rule I use: for a standard 80-inch door, freestanding lanterns between 18 and 26 inches tall look balanced — roughly a quarter to a third of the door height. Anything shorter reads as clutter, and anything taller starts competing with the door itself. Keep the pair truly matching: same lantern, same candle height, same filler. If your candles are real flame, choose glass-enclosed lanterns and set them where the swinging door can't catch them; honestly, I run flameless pillars on timers in mine so they click on at dusk without me thinking about it. A matched pair suits almost every porch style, from brick colonials to little cottages, and it's the easiest look to refresh seasonally — swap the filler inside and the whole entry changes with it. If your porch is at least 5 feet wide, start here.
Suggested budget range: $40 – $120.

2. A Clustered Trio in Odd Numbers
When a pair feels too formal — or your door sits off-center — a cluster of three lanterns on one side gives you that relaxed, collected look. Odd numbers are a stylist's secret: three lanterns arranged in a loose triangle look artful, while two just look like a pair that lost its partner. Pick three heights, something like 12, 18, and 24 inches, in the same finish so the group reads as a set. Set the tallest at the back, close to the wall, and step the shorter two forward. I like to vary what's inside — a pillar candle in the tallest, fairy lights in the middle, greenery in the smallest — while keeping the candle color consistent so it doesn't turn busy. A cluster also fills an awkward empty corner beautifully, that dead space between the door and the porch edge. Anchor the group on a small tray or a flat stone if your porch floor is uneven, and pull it a few inches away from siding so heat and wax never touch the house. It's my go-to for ranch entries and any door with a sidelight crowding one side.
Suggested budget range: $35 – $90.
3. One Oversized Statement Lantern
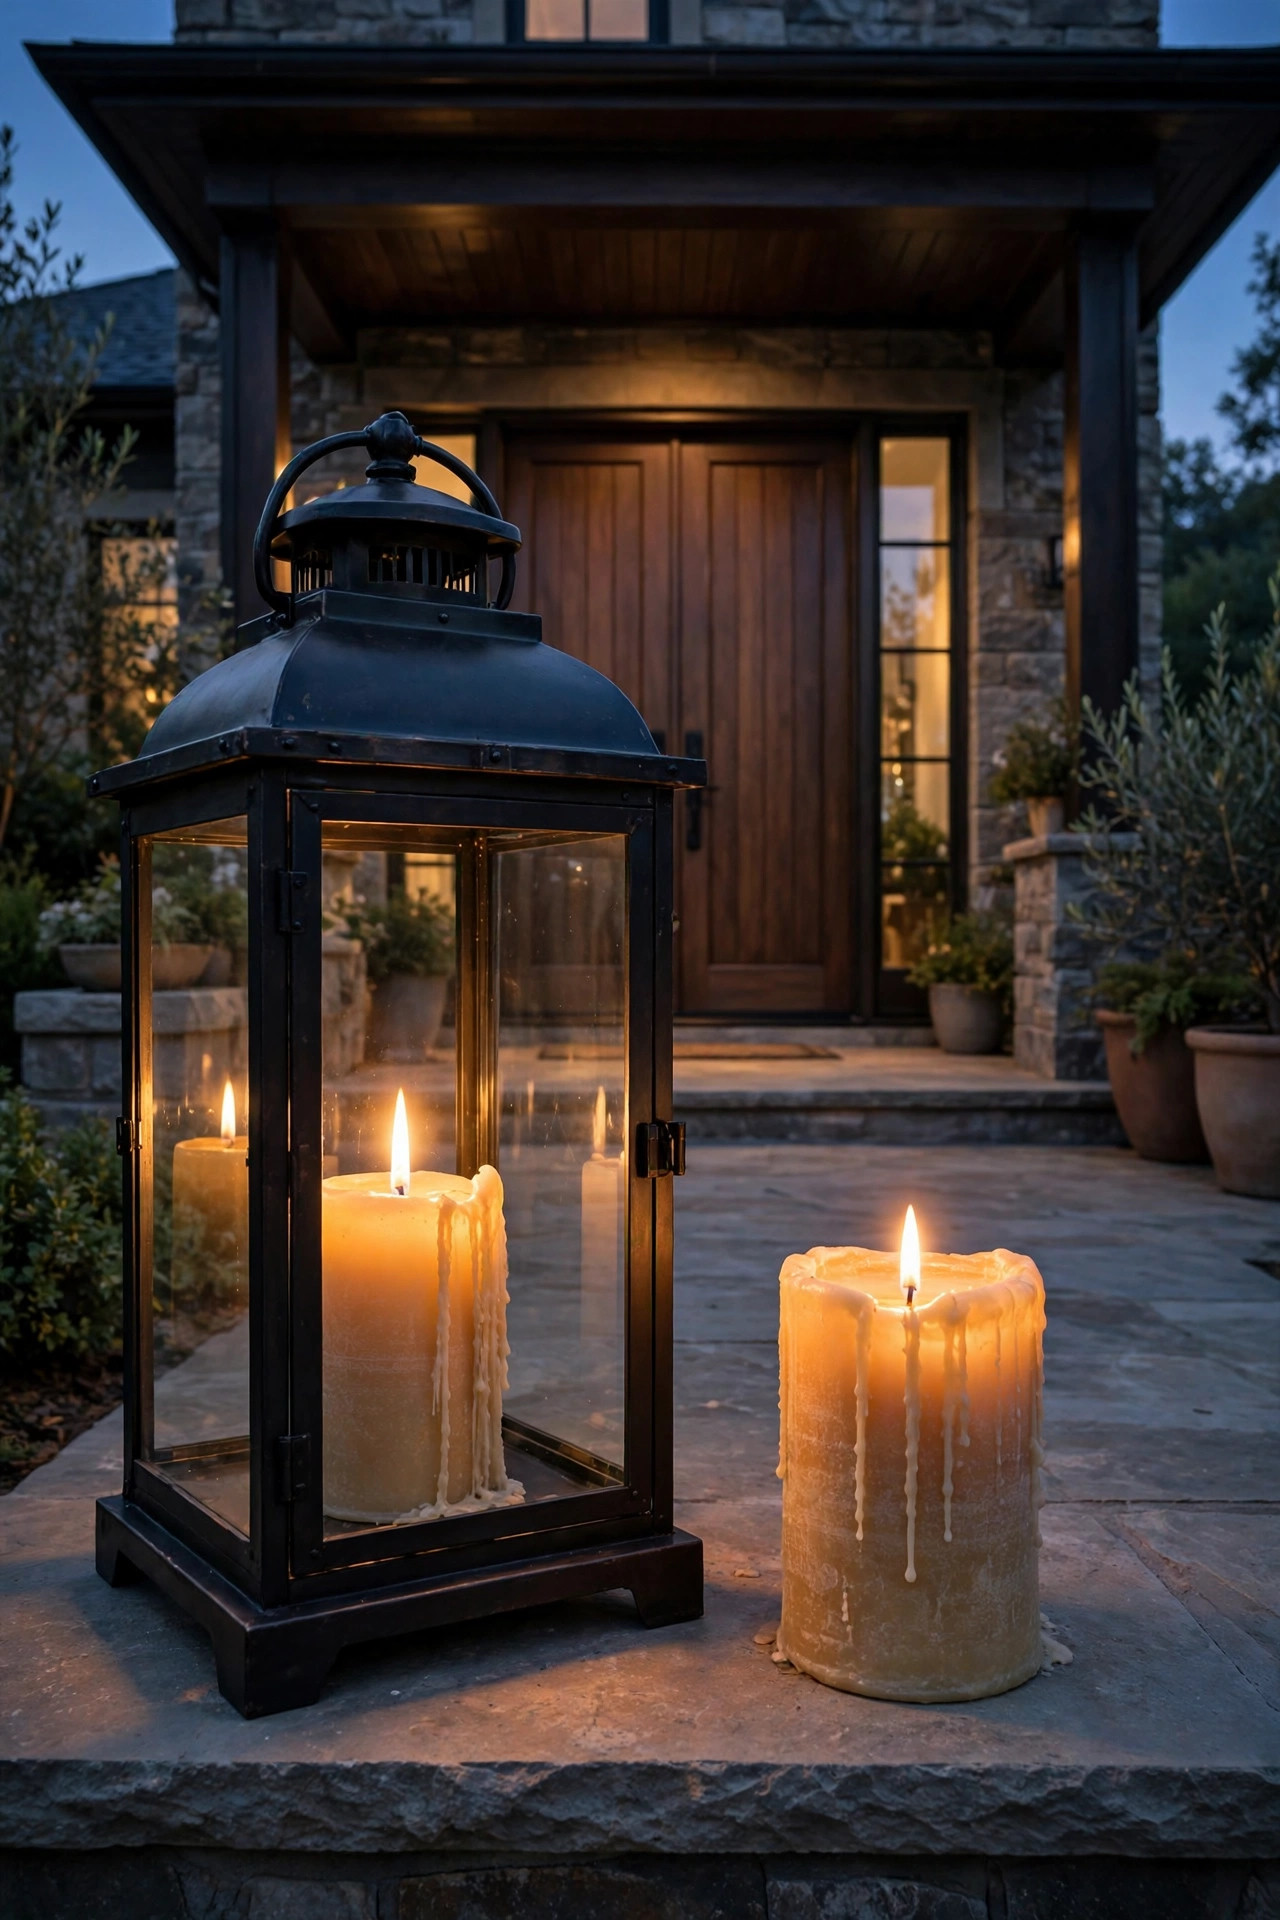
One really big lantern can carry an entire entry. I'm talking 28 to 36 inches tall — the kind you notice from the street. A single statement piece works especially well with double doors, wide stone porches, and modern entries where pairs of anything feel fussy. Place it on the wider side of the door, close to the wall, and give it breathing room — a statement lantern crowded by planters loses its drama. Inside, go chunky: an oversized pillar candle, a nest of fairy lights, or a seasonal filler with real presence, like mini pumpkins or pinecones. Keep your walkway clearance in mind; you want at least 36 inches of clear path so guests aren't sidestepping your decor in the dark. Because it's a single piece, choose quality: thick metal, real glass rather than plastic panels, and a finish rated for outdoor use so it doesn't rust by spring. In my experience one great lantern beats three mediocre ones every time, and it gives you a natural focal point to build planters and a doormat around.
Suggested budget range: $50 – $150.
4. Hanging Lanterns From Porch Ceiling Hooks
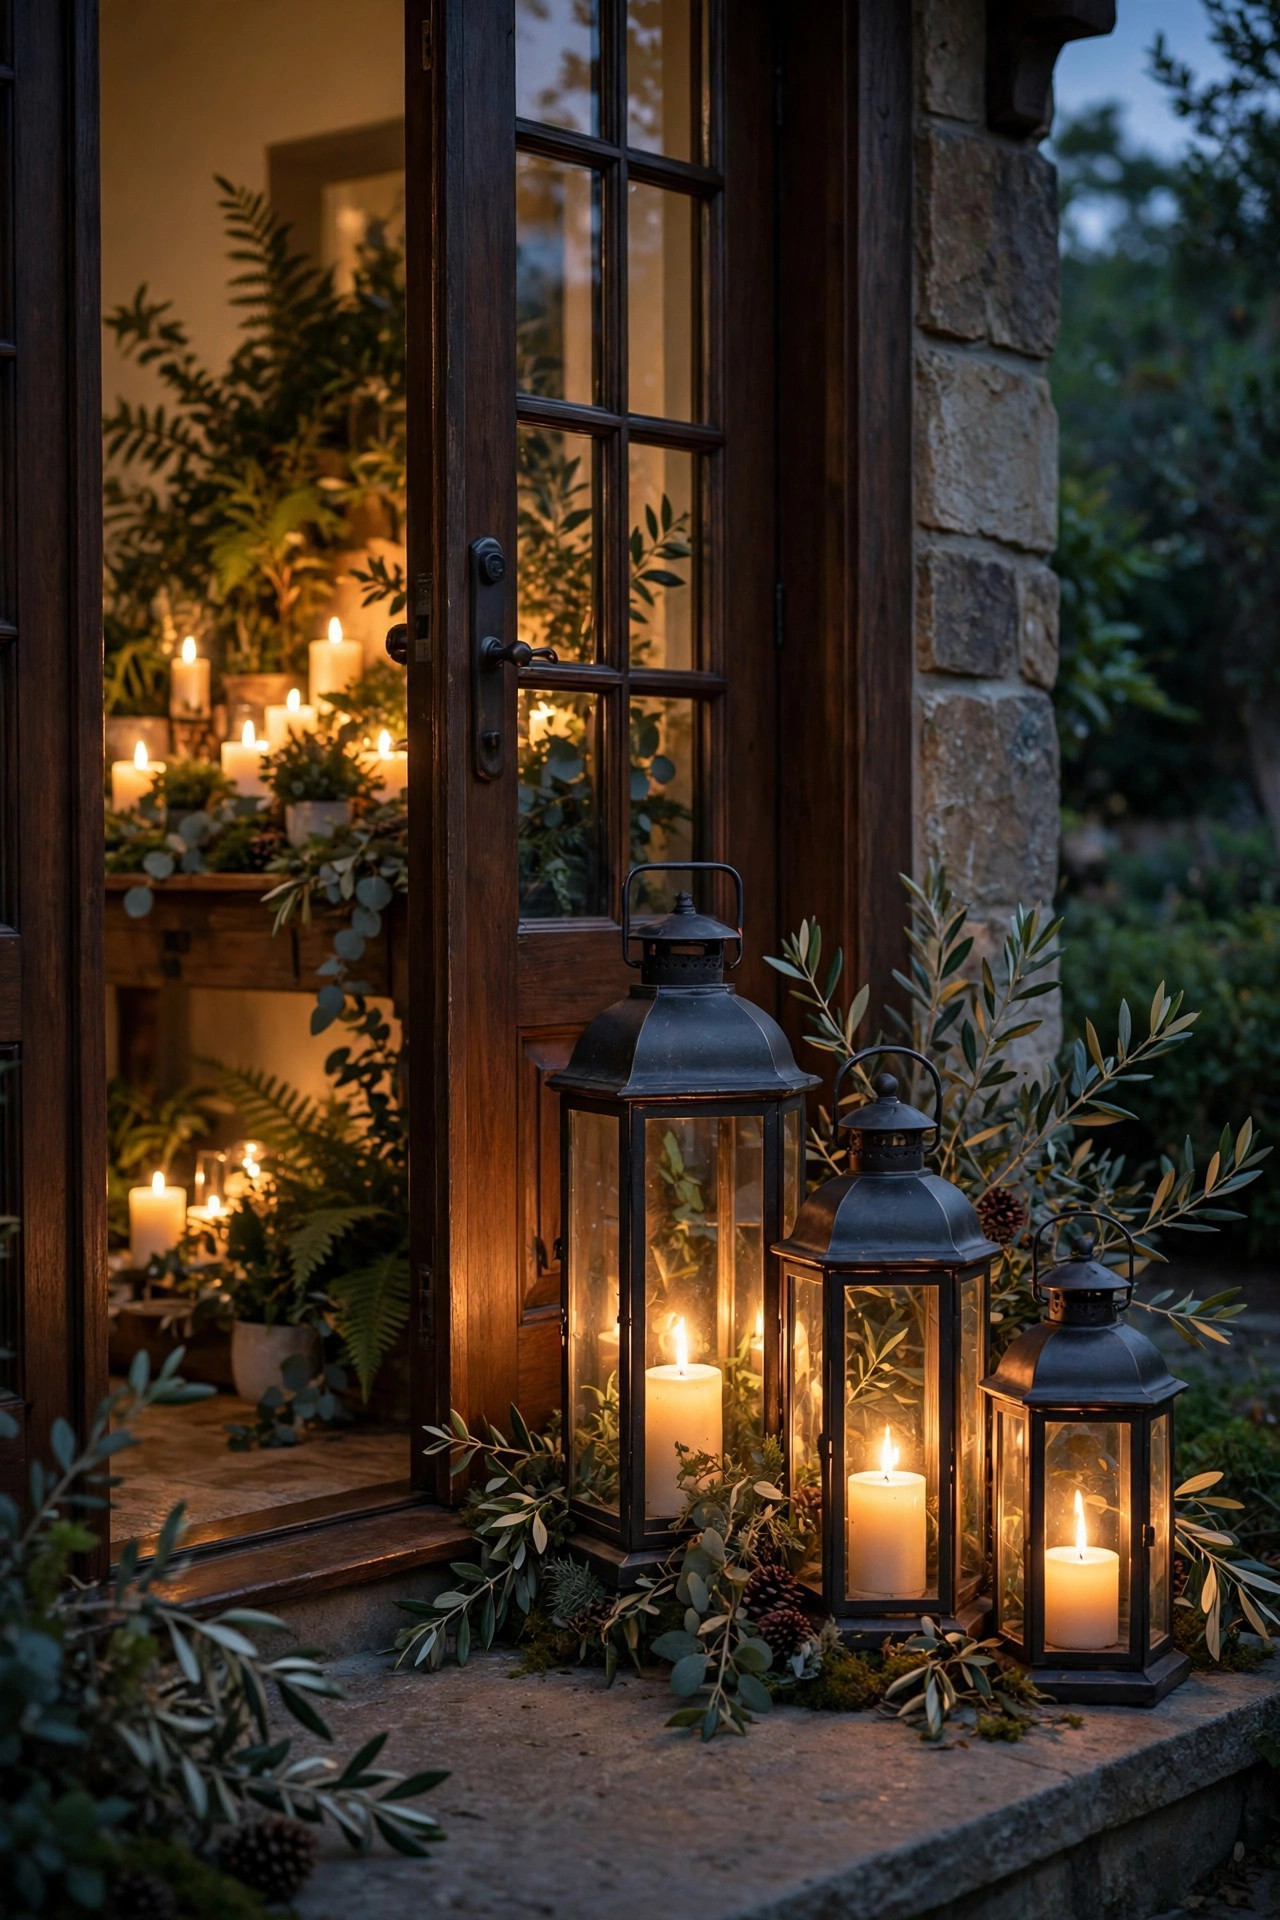
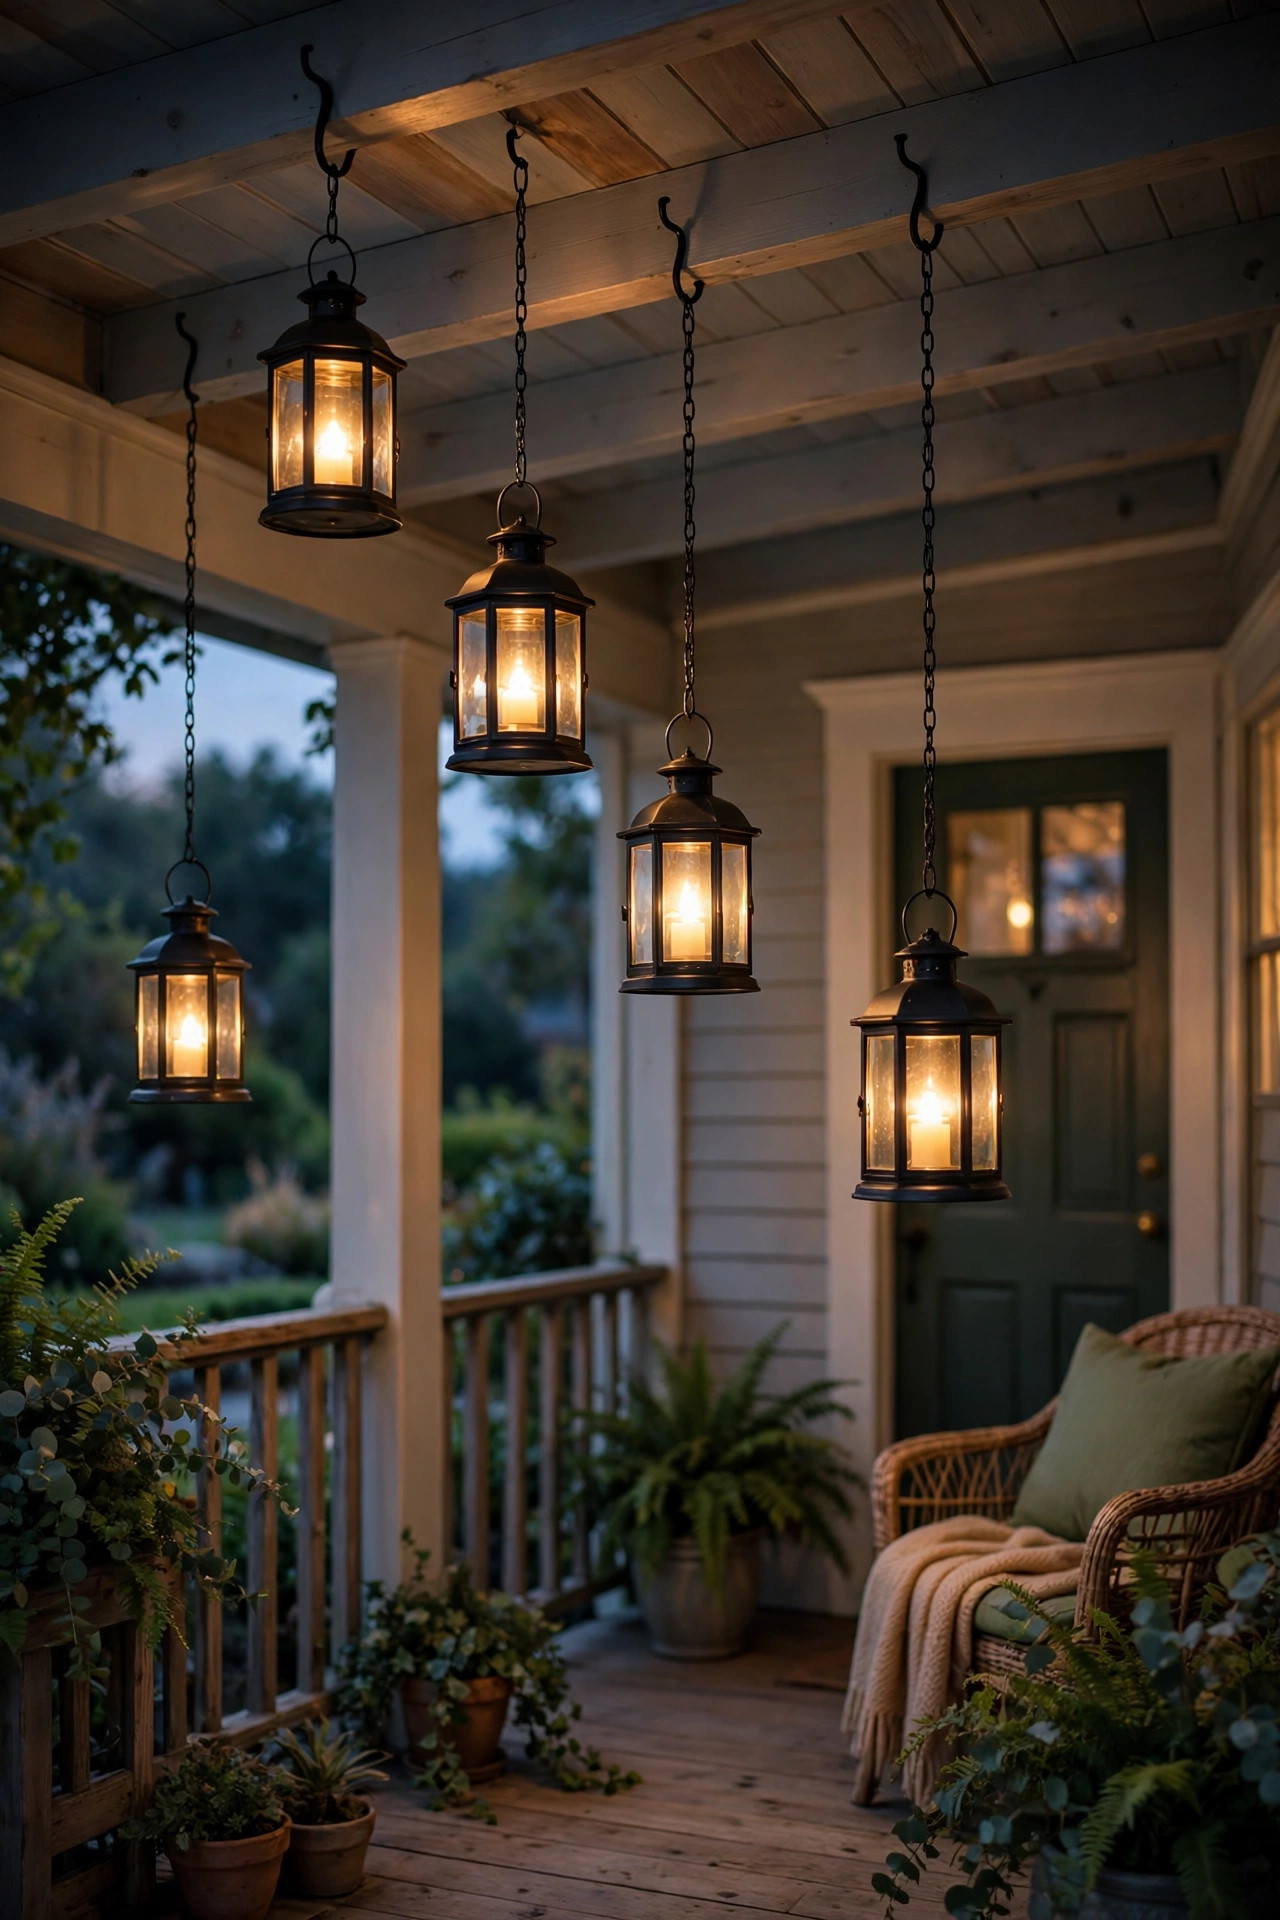
Look up — the porch ceiling is free decorating space. Hanging lanterns from ceiling hooks or wall brackets adds a layer of light at eye level that floor lanterns can't give you, and it frees up every inch of floor space. Screw your hooks into a ceiling joist, not just the beadboard, so they can carry the weight safely. Hang two or three lanterns at staggered heights, dropping the lowest no lower than about 6 feet 8 inches above the porch floor so tall guests never duck. Chains with S-hooks make the heights easy to adjust season by season. For hanging lanterns I only use flameless candles — real flame swinging overhead near hair and hats is a risk I won't take, and battery candles on timers weigh less anyway. Battery tea lights and short pillars work best inside smaller hanging styles. This look is magical over a porch swing or flanking a hanging bench, and on a covered porch the lanterns stay cleaner than floor styles because they're out of the splash zone. If your porch has no ceiling, shepherd's hooks along the steps give you the same lifted effect.
Suggested budget range: $30 – $100.
5. Lanterns Marching Down the Porch Steps
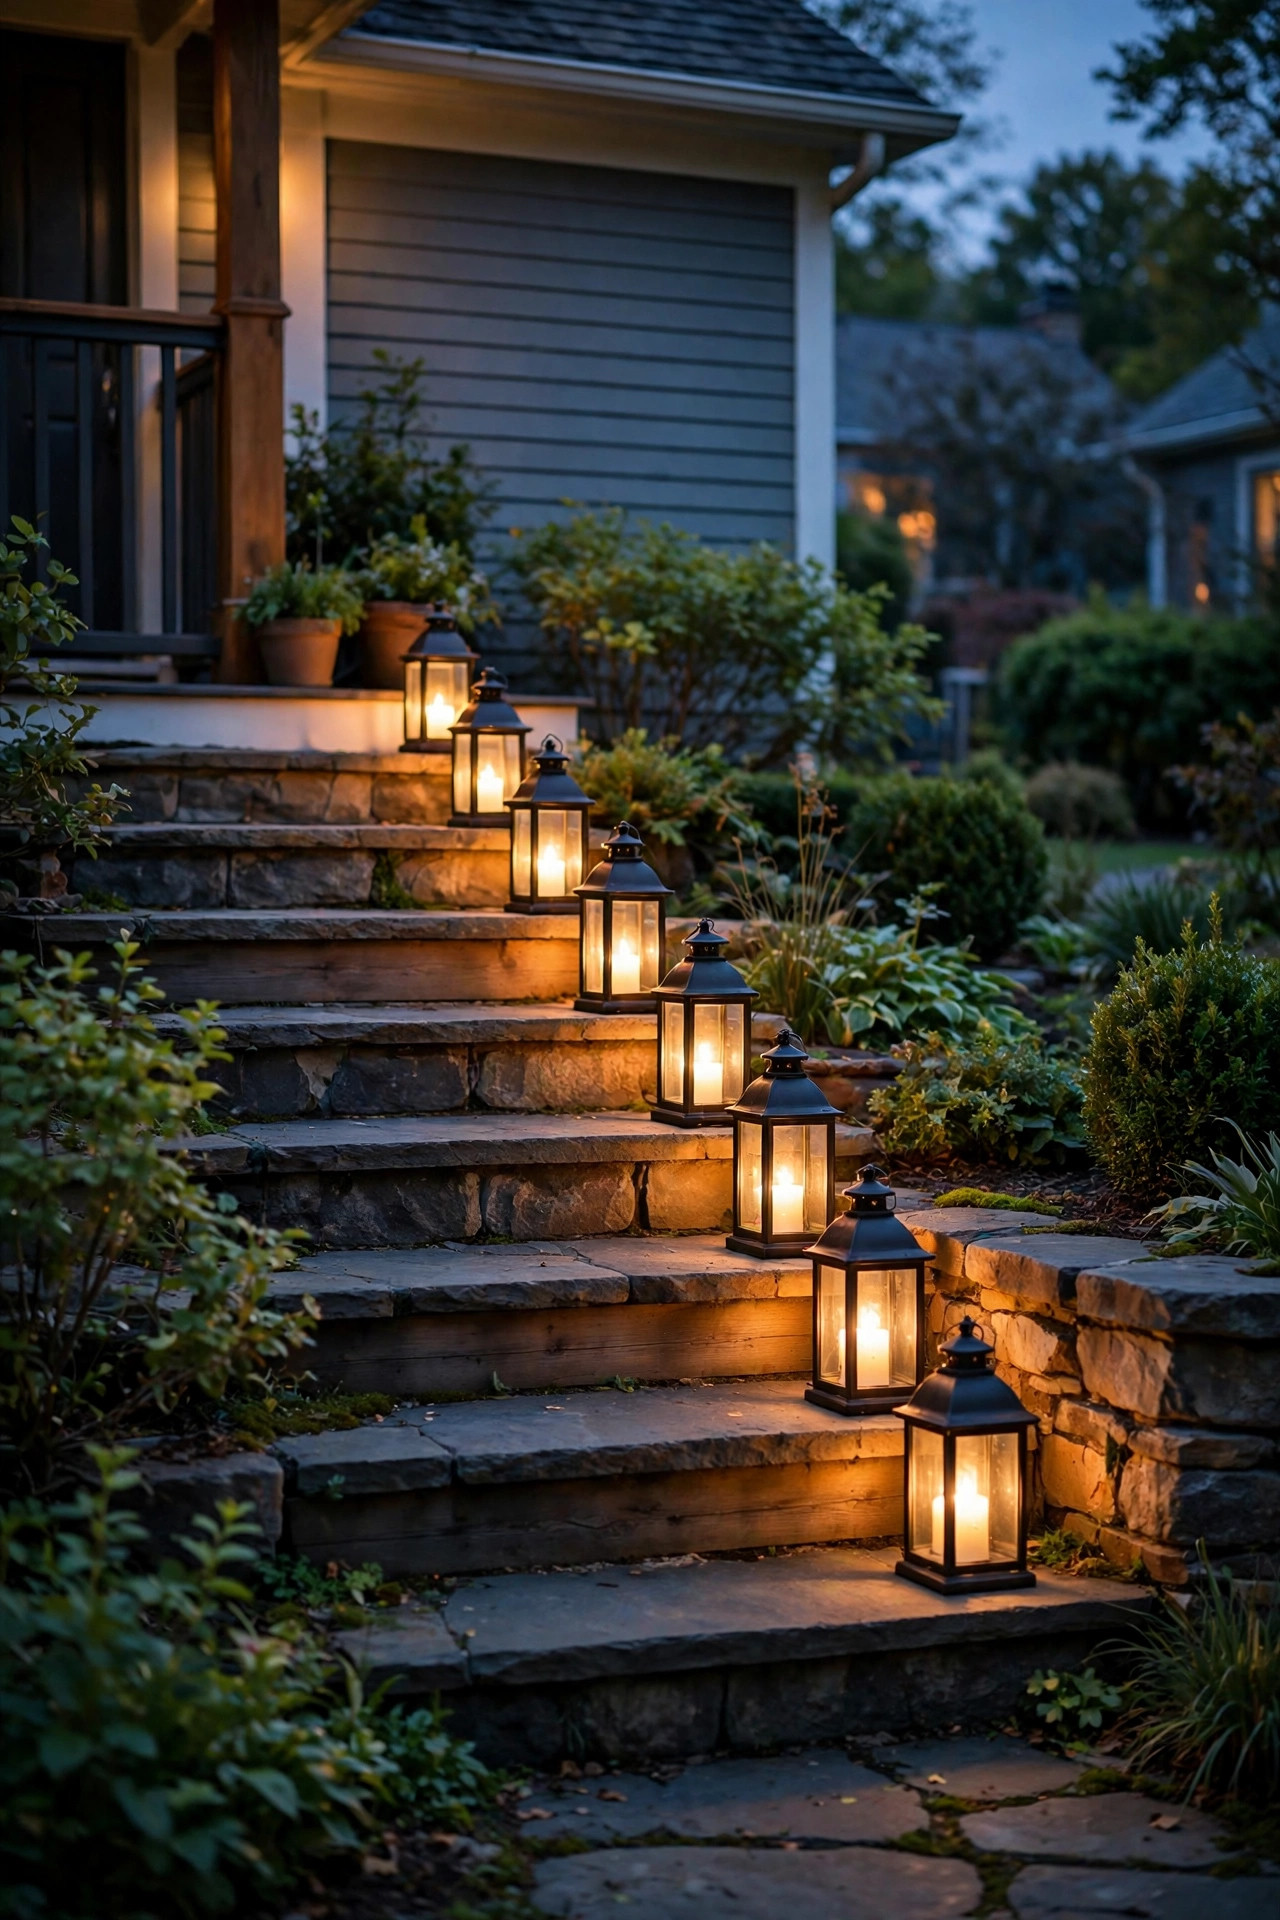
A line of lanterns down the porch steps is the look that makes guests slow down and smile before they even reach the door. Place one lantern on each step, or every other step on wide stairs, tucked against the riser on the same side so the rhythm reads clearly from the street. The non-negotiable rule: keep the center of the treads clear. Leave at least 24 to 30 inches of walking width, and set each lantern back far enough that a foot in the dark can't catch it. Heavy lanterns with wide bases behave best on steps; skip top-heavy styles that a bumped railing could topple. Flameless candles or solar lanterns are the only sensible choice here — no real flames where hems and pant legs brush past. I set mine on the timer so the steps light themselves at dusk, which is as much a safety feature as a pretty one on dark winter evenings. On wooden steps, add a small cork or felt pad under each base to stop scratching and rattling in the wind. Come morning, the unlit lanterns still look like a styled staircase.
Suggested budget range: $30 – $110.
6. Porch Lantern Decorating Ideas for Fall With Pumpkins and Mums
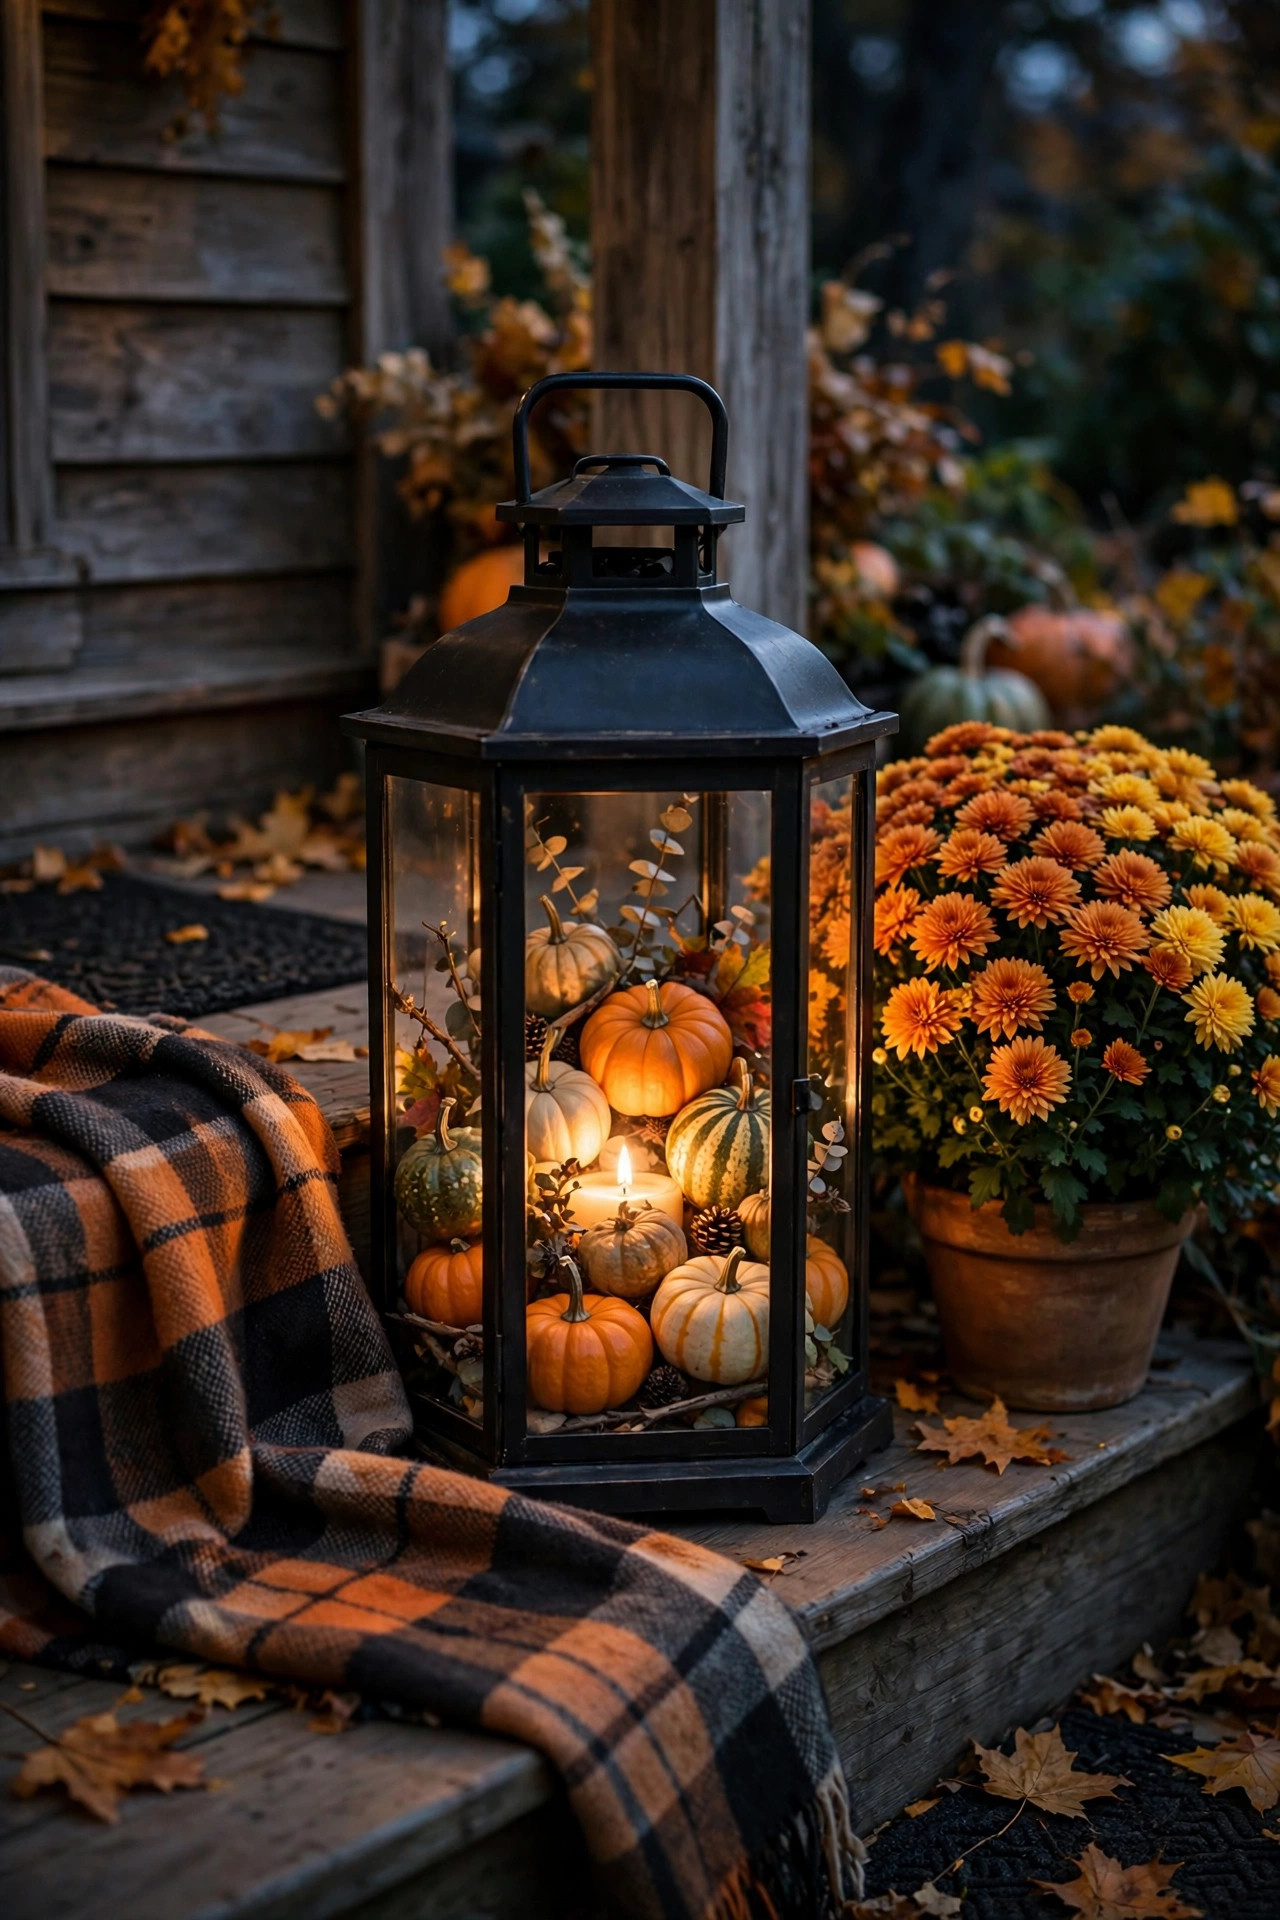
Fall is lantern season, full stop. My favorite move is filling a large glass lantern with mini pumpkins and gourds in creams, sage, and classic orange, layered around a flameless candle so the whole thing glows through the pile at dusk. Dried fillers need flameless candles, always — corn husks, wheat stalks, and faux leaves are flammable, and no look is worth that risk. Outside the lanterns, echo the palette: a pot of rust-colored mums on one side, a plaid throw over the porch chair, a stack of heirloom pumpkins on the steps. I wrap a strip of plaid ribbon or burlap around the top handle of each lantern to tie them into the scene, secured with a twist of floral wire so October wind doesn't steal it. If you want the full layered picture, my fall porch lighting ideas walk through the bigger fixture side of the season. Lanterns styled this way carry you from the first cool weekend in September straight through Thanksgiving — swap the pumpkins for pinecones at the end of November and you're halfway to winter.
Suggested budget range: $25 – $80.
7. Winter Lanterns With Pinecones, Greens and Berries
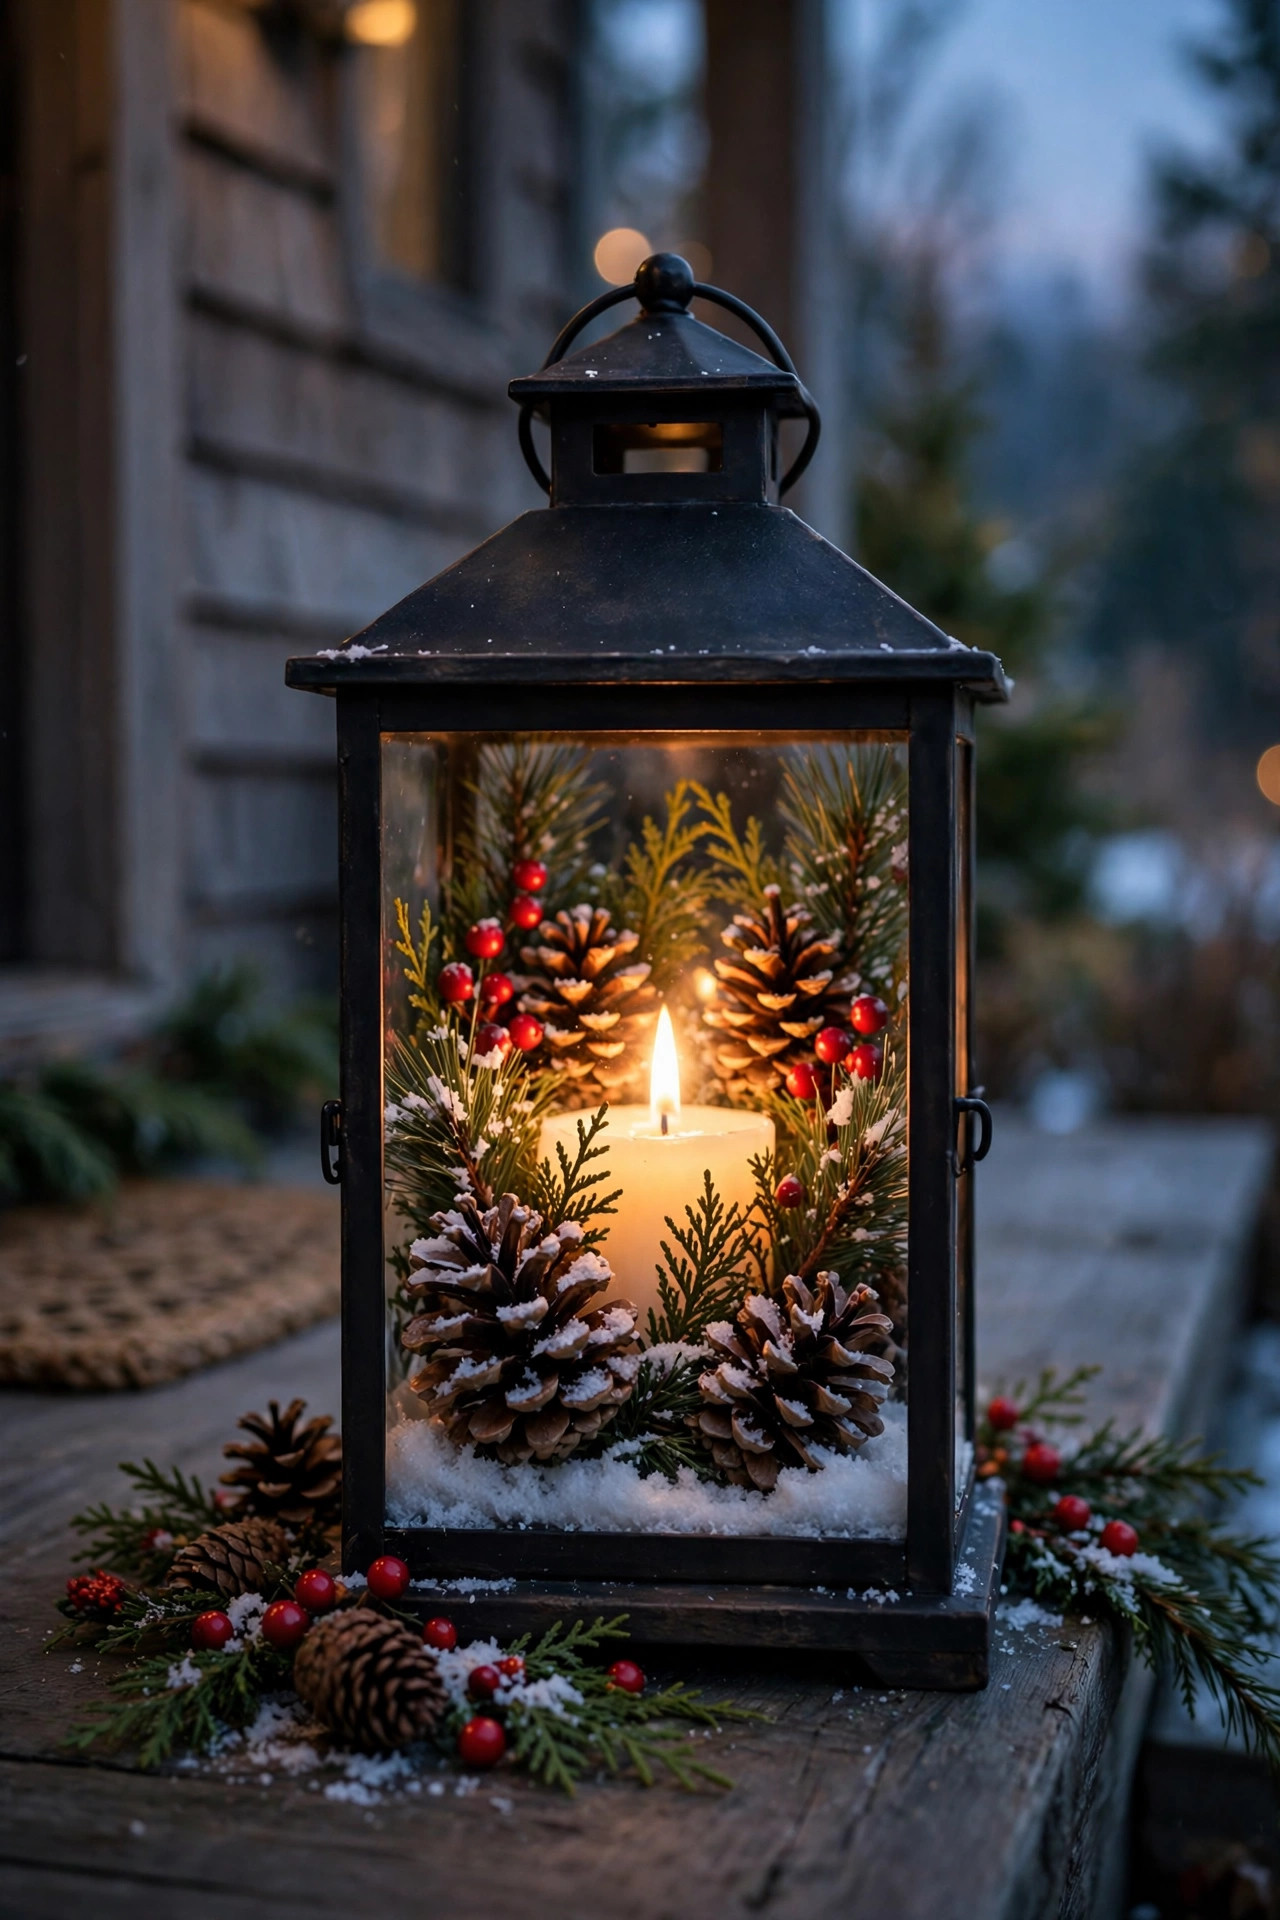
Winter lanterns are pure coziness, and the filler recipe I come back to every year is simple: a base of faux snow (a handful of Epsom salt works and sparkles beautifully), chunky pinecones, sprigs of cedar or faux evergreen, and a scatter of red berries or cinnamon sticks on top. Nestle a battery tea light or short pillar in the center and the whole arrangement glows like a snow globe after dark. Evergreen clippings from your own yard are free and look the most natural; snip fresh ones in mid-December and they'll hold through the holidays before crisping. Group two or three filled lanterns by the door with a plain wreath overhead and your entry looks dressed without a single inflatable in sight. Practical notes from experience: bring lanterns under cover during ice storms so glass doesn't crack from freeze-thaw, and check battery compartments for condensation when you swap batteries. Red ribbon bows wired to the handles finish the look. When January drags on, I pull the berries and bows and leave the snowy pinecones — it reads "winter" instead of "leftover Christmas" for a few more weeks.
Suggested budget range: $25 – $75.
8. Spring Lanterns Filled With Blooms and Moss
After months of heavy winter decor, spring lanterns feel like a deep breath. I start with a bed of green reindeer moss inside the lantern, then tuck in faux stems — tulips, peonies, or ranunculus trimmed to fit — standing up around a slim pillar candle. Faux flowers have gotten so good that from the sidewalk, nobody can tell, and they won't wilt through a warm April weekend. Around Easter, a few speckled eggs nestled in the moss are sweet without being theme-park. Resist the urge to put a real potted plant inside a metal lantern: watering leads to rust rings on your porch floor. If you want live blooms, set small terra-cotta pots of pansies or violas around the base of the lanterns instead and let the lanterns handle the glow. Pastel or gingham ribbon on the handles softens black lanterns for the season. By the door, this combination — moss, blooms, warm candlelight — is the prettiest welcome I know, and it photographs beautifully for those spring listing photos if you're selling. Refresh the moss if it fades in strong sun; a bag costs a few dollars and lasts seasons.
Suggested budget range: $20 – $70.

9. Summer Citronella Lanterns for Bug-Free Evenings
Summer porches are for lingering, and nothing ends an evening faster than mosquitoes. Lanterns fitted with citronella candles earn their keep twice — pretty by day, practical by night. Look for lanterns with wide, stable bases and glass chimneys that shield the flame from breezes; a protected flame burns steadier and keeps the citronella scent coming. Refillable oil lanterns are the other classic option, and their taller flames throw a lovely old-fashioned light. Placement matters more than quantity: set citronella lanterns around the edges of your seating area, roughly every 6 to 8 feet, low where the scent can pool rather than up high where it blows away. Pair them with a small fan on the porch if you have one — moving air plus citronella is the combination that actually works in my experience. Strict safety rules for real flame: keep lanterns at least 12 inches from cushions, curtains, and plant throws, never leave them burning unattended, and snuff them before you head in. On nights when the grandkids visit, I swap in flameless candles and lean on the fan instead. The lanterns still look the part.
Suggested budget range: $20 – $65.

10. Flameless Timer Candles for an Effortless Glow
If you take one tip from this whole list, let it be this: put your porch lanterns on flameless candles with timers, and you'll actually enjoy them every single night. Modern LED pillars flicker convincingly, glow in the same warm range as candlelight, and a five-hour timer setting means they switch on at dusk and off at bedtime with zero thought from you. A decent set of batteries lasts a whole season on timer mode — I've gotten 600-plus hours out of mine. Stagger the pillar heights inside grouped lanterns: a 4-inch, a 6-inch, and an 8-inch reads designed rather than matched-set. Choose candles rated for outdoor use or keep them inside fully enclosed lanterns, because standard indoor pillars can soften in summer heat and their battery doors dislike rain. Remote-control versions are worth the small splurge on tall porches where your lanterns sit up on steps or hang from hooks. And the safety math is unbeatable: no flame near dried fall fillers, no wax dripping on painted floors, no worrying when you fall asleep on the couch. It's the upgrade that turns lanterns from occasionally-lit decor into a nightly glow.
Suggested budget range: $20 – $60.
11. Fairy Lights Twined Inside Glass Lanterns
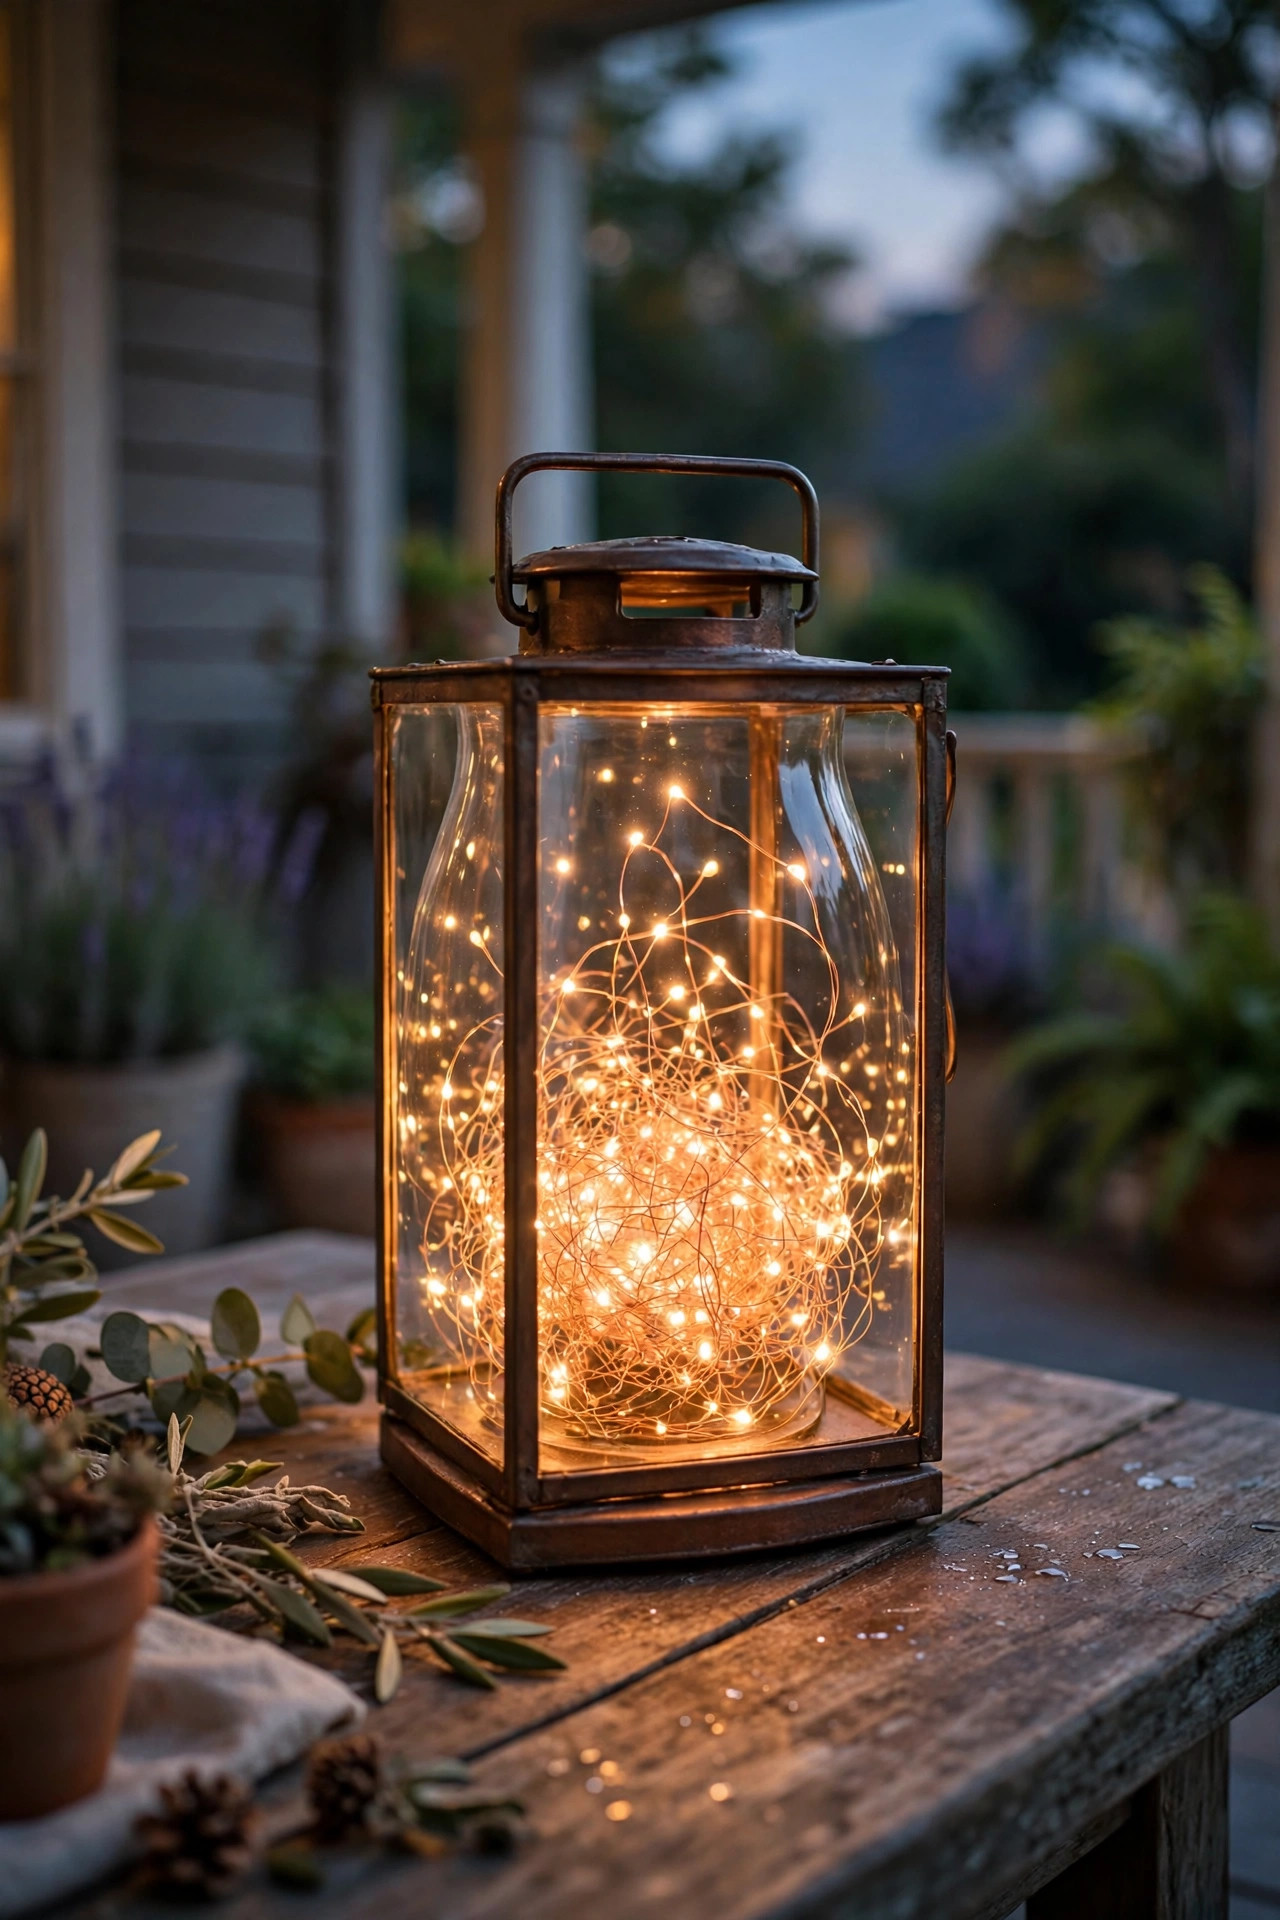
A glass lantern stuffed gently with copper-wire fairy lights might be the prettiest $15 in porch decorating. The warm micro-LEDs coil and catch the glass, and at dusk the lantern looks like it caught a jar of fireflies. Use a warm-white strand of 20 to 50 lights per lantern — enough to fill the space without packing it tight, which looks harsh and flattens the sparkle. Wind the strand loosely so the coils layer at different depths, and hide the battery pack under a little moss, a few pebbles, or the filler at the base. Battery packs with built-in timers are the ones to buy; six hours on, eighteen off, and your lanterns light themselves. Fairy lights sip power, so a set of batteries can last weeks of evenings. This trick works in lanterns that are too small or too ornate for a pillar candle, and it's my favorite fix for a lantern whose glass is slightly cloudy with age — the sparkle hides everything. Cluster two or three fairy-light lanterns on a porch table and you have a centerpiece that needs no outlet, no flame, and no fuss, just a battery swap now and then.
Suggested budget range: $15 – $50.
12. Farmhouse Wood-and-Galvanized Lanterns
Farmhouse porches practically demand lanterns, and the classic pairing is weathered wood frames with galvanized metal tops and handles. The charm is in the imperfection: slightly distressed finishes shrug off weather that would ruin a polished lantern, and a little rust at the seams honestly looks like it belongs. Style them loose and lived-in — one big lantern by the door with a chunky cream pillar, a smaller one on the porch bench, burlap ribbon tied in a floppy bow at the handles. Cotton stems, a sprig of faux eucalyptus, or a few pinecones tucked inside keep it soft through any season. Galvanized planters and a striped cotton doormat pull the whole scene together without trying too hard. These lanterns are usually among the most affordable styles, and because the farmhouse look embraces wear, they're a smart buy secondhand — I've rescued several from yard sales for a few dollars each. Just check the glass for cracks and give the metal a wipe with a damp cloth before styling. In my experience, farmhouse lanterns are the most forgiving first purchase if you're new to decorating the porch.
Suggested budget range: $35 – $110.

13. Modern Black Lanterns With Clean Lines
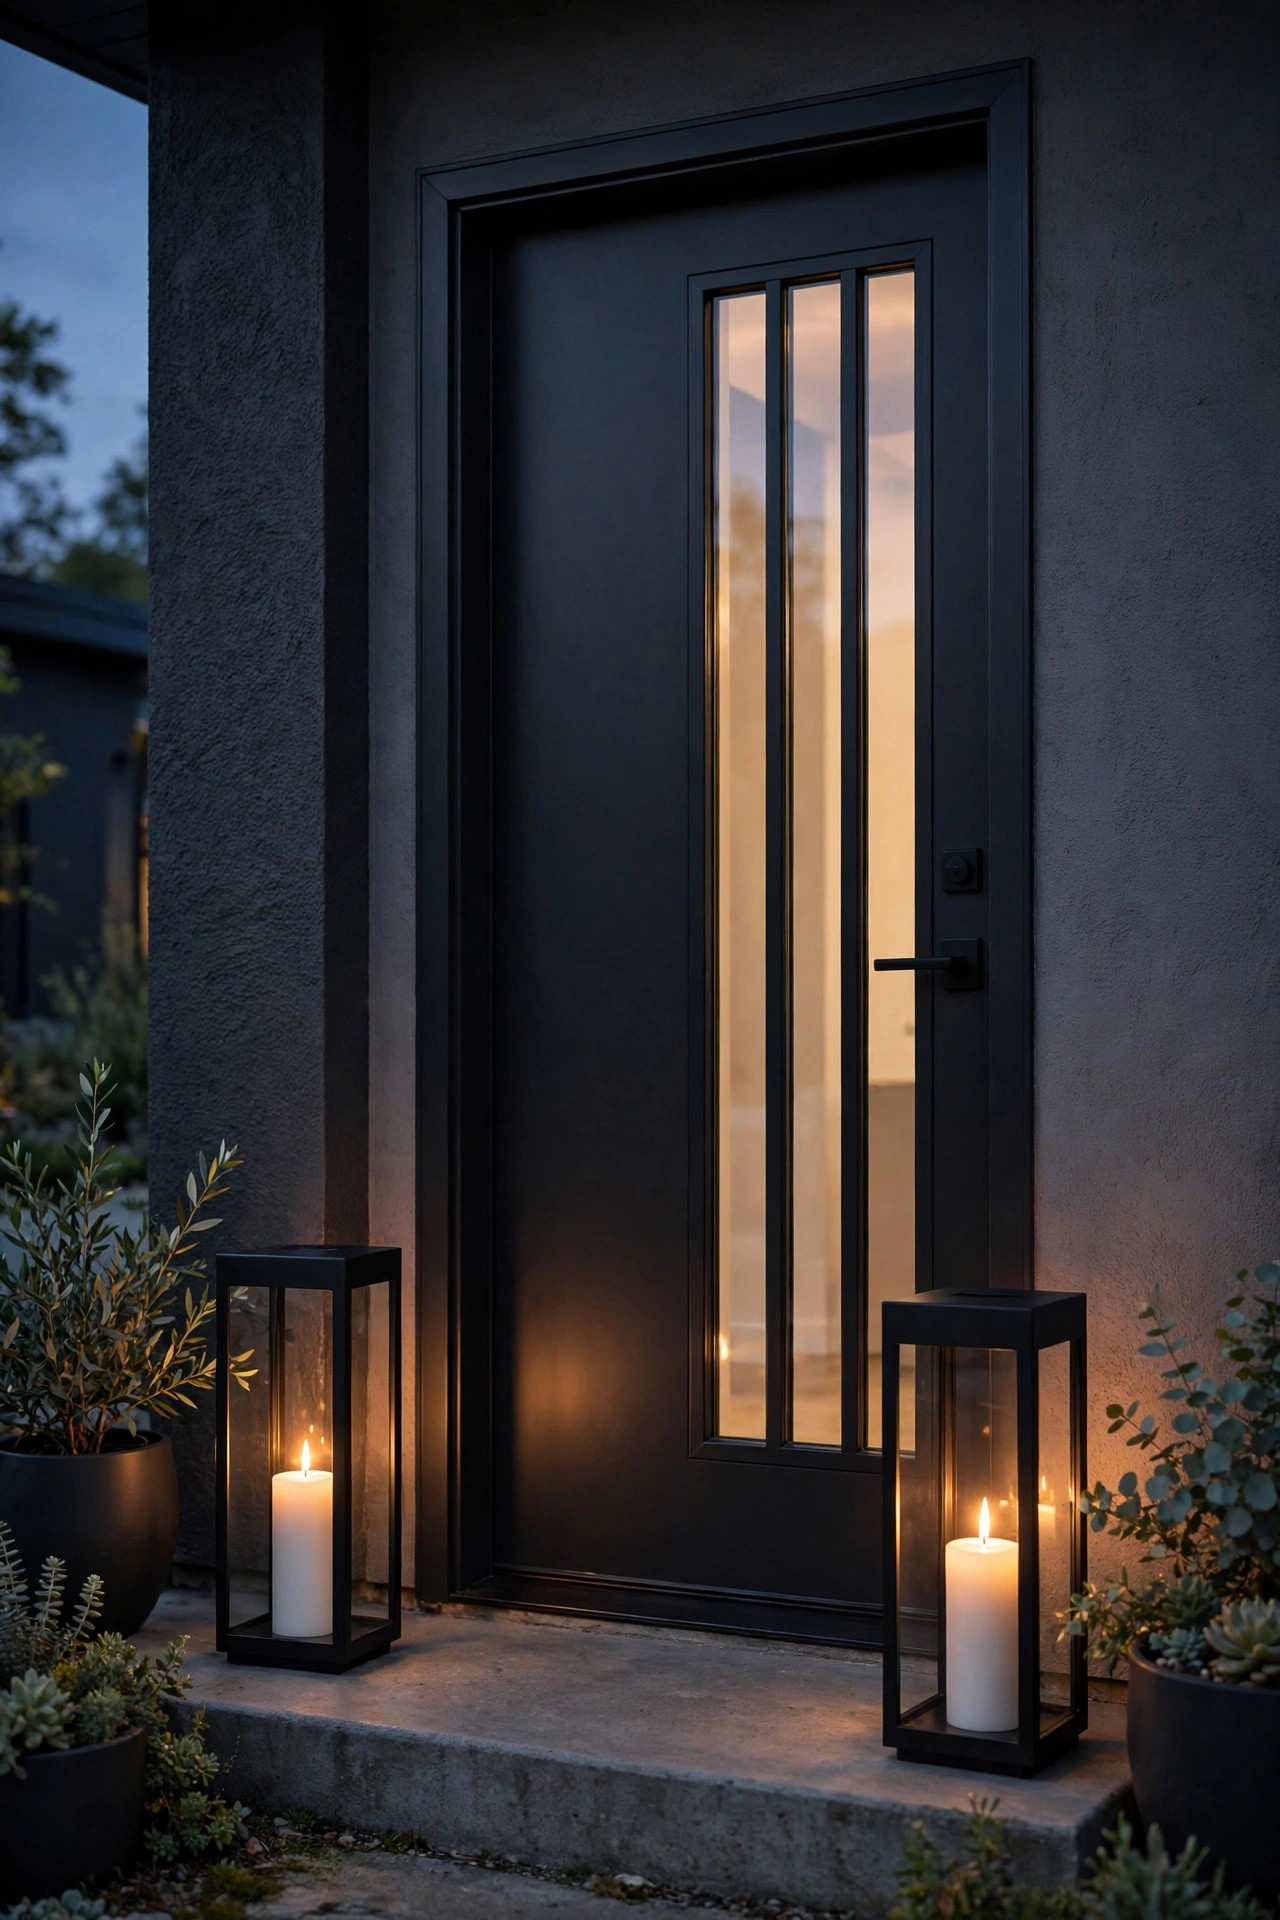
Matte black lanterns with clean, geometric lines are the modern entry's best friend. The silhouette does the talking: slim frames, clear glass, no fussy scrollwork. Keep the inside just as simple — a single white or cream pillar candle per lantern, nothing else. That black-and-white contrast against a painted door is crisp from the curb, day and night. Black lanterns coordinate effortlessly with the black door hardware, house numbers, and mailbox most homes already have, so the entry reads as one designed set. If you love the look, matching mounted fixtures exist too; my roundup of outdoor wall lantern ideas covers the sconce side of the family. Scale runs slightly larger with modern styles — a bold 24-inch lantern by the door looks deliberate, while a small one can read as an afterthought against a big flat facade. Keep the glass clean; modern lanterns show every water spot, so a monthly wipe with a microfiber cloth keeps them sharp. On a porch with black railings or a black front door, matching lanterns pull everything into a calm, gallery-like composition that photographs like a magazine cover.
Suggested budget range: $40 – $130.
14. Copper Lanterns That Weather to a Soft Patina
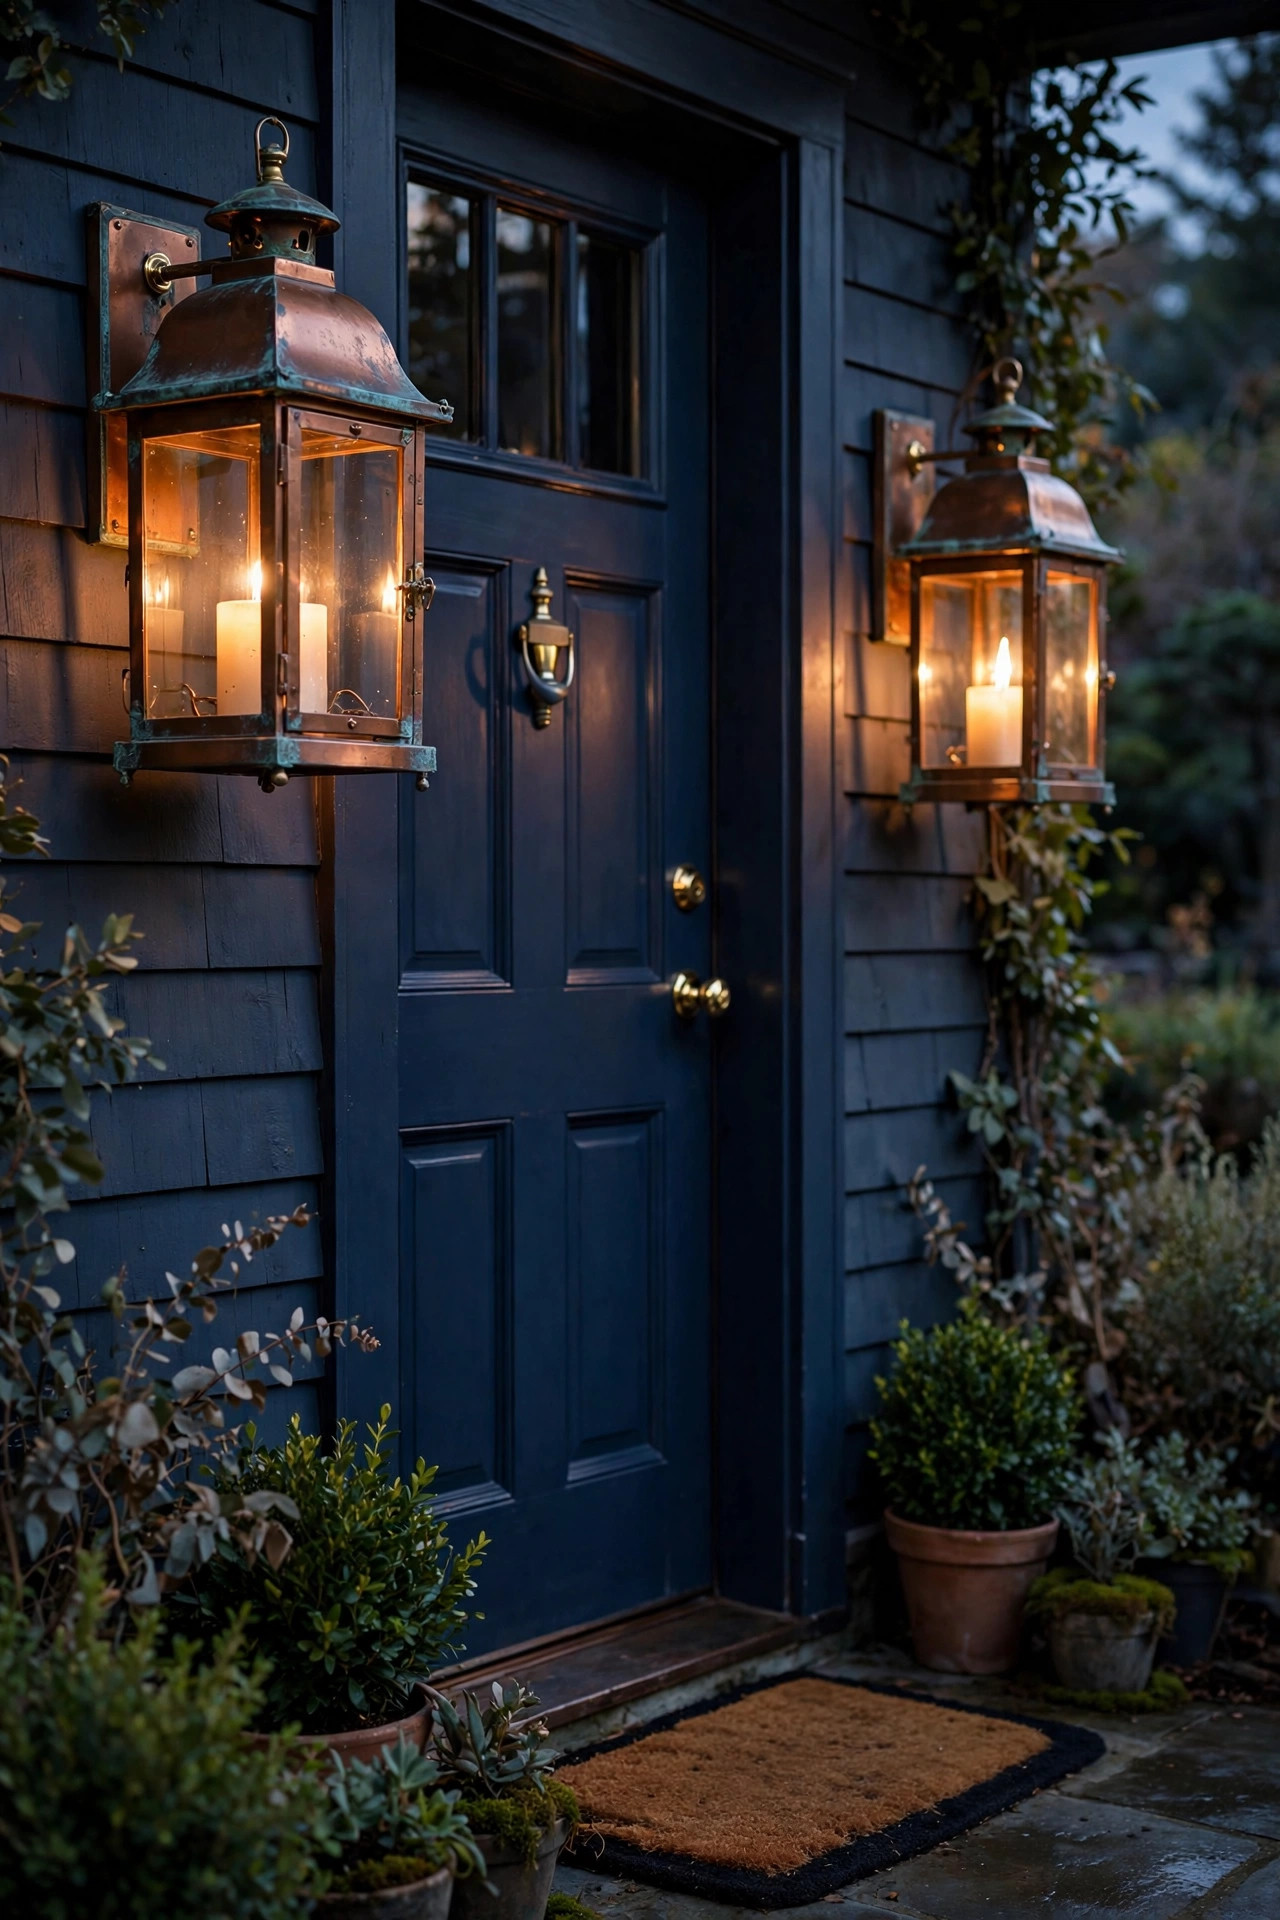
Copper lanterns are the ones that get better every year you own them. Fresh copper starts bright and salmon-pink, deepens to a rich penny brown within a season, and slowly — especially in humid or coastal air — edges toward the soft blue-green patina you see on old garden ornaments. Decide which look you love: polish and lacquer them to hold the shine, or let them weather and enjoy the story. Real copper costs more than copper-tone finishes, but it never peels, and the weight feels wonderful in your hand. Styling-wise, copper glows beautifully against navy, forest green, and charcoal doors, and it's the finish that makes a brick entry look expensive. The warm candlelight bouncing off copper walls is noticeably richer than off black or white metal — I notice it every time I swap mine out in autumn. Keep copper lanterns off pale stone steps if you let them patina heavily, since heavy rain can wash a faint green tint onto porous surfaces; a small mat underneath solves it. For seaside porches, copper is the practical romantic's choice: salt air that corrodes other finishes just speeds up the beauty here.
Suggested budget range: $45 – $160.
15. Lanterns Around a Porch Swing or Bench
A porch swing without lanterns nearby is a missed opportunity. The trick is to light the seating zone as its own little room: a lantern on the side table, one on the floor beside the bench leg, and a hook-hung lantern above if your ceiling allows. Keep every flame — real or faux — a safe arm's length from cushions and throw pillows; flameless pillars are the worry-free pick where fabric lives. This is accent lighting, so think glow, not brightness: you want to see faces and find your lemonade glass, not read fine print. A lantern at table height beside the swing gives the coziest pool of light for evening conversation, and one low on the floor washes the porch boards in a way that makes the whole space feel bigger. Match the lantern finish to your swing hardware so the vignette reads intentional. On my own porch, the swing corner lanterns are the last ones I turn off at night — they're on a separate timer that runs an hour later than the door pair, because that's where we actually live in the evenings.
Suggested budget range: $30 – $95.

16. Mini Lanterns as Table Centerpieces
Little lanterns, 5 to 7 inches tall with tea lights inside, are the hardest-working centerpiece I own. Line three down the middle of a porch dining table on a simple runner, tuck a few sprigs of greenery or eucalyptus between them, and dinner outside suddenly feels like an occasion. A tray underneath the grouping keeps it portable — I carry the whole arrangement inside in one trip when a storm rolls in. Glass chimneys on minis matter more than on big lanterns because the flame sits closer to hands reaching across the table; or skip the question entirely with flameless tea lights, which now flicker convincingly and survive being knocked over by a passing casserole dish. Minis also shine on porch railings with flat tops, on side tables between chairs, and marching along a bench as extra sparkle. Because they're inexpensive, I keep a set of six and mix them into bigger lantern groupings as the twinkle layer. Store them indoors between uses — small lanterns live longer, and their glass stays clear when they're not weathering full-time on the porch.
Suggested budget range: $15 – $45.

17. Painted Lanterns in a Pop of Color
Before you donate that dated brass lantern, paint it. A coat of outdoor spray enamel turns thrift-store lanterns into the exact pop of color your entry needs — red to match a red door, teal for a coastal cottage, sunny yellow on a gray house that needs cheering up. Prep is everything: wash off grime, let it dry fully, tape the glass with painter's tape, and use a primer made for metal if the original finish is shiny. Two light coats beat one heavy coat every time; heavy coats drip and pool in the corners. Let painted lanterns cure a full day before styling them outside. One bold lantern works best as the solo accent — pair it with neutral siblings or let it stand alone beside a pot of flowers in a coordinating shade. Painted lanterns are also the budget stylist's seasonal secret: a single can of spray paint refreshes the same lantern in spring pastels, patriotic summer brights, and a coppery fall tone. When the color chips in a year or two, that's not failure, that's your invitation to pick the next color.
Suggested budget range: $15 – $55.

18. Lanterns Wrapped With Garland and Ribbon
Dressing a lantern's shoulders with a swoop of garland and a wired ribbon bow takes it from nice to styled in about two minutes. Drape a short length of faux greenery — cedar at Christmas, eucalyptus in spring, leafy garland in fall — over the top and down one side, securing it with green floral wire twisted at the back where nobody sees it. The bow sits where the garland meets the handle. Wired ribbon is non-negotiable; it's the kind you can fluff and shape, and it holds that shape against porch breezes. Weave a short strand of battery micro-lights through the garland if you want sparkle after dark — the tiny wire strand disappears by day. One firm safety rule: garlands and ribbons never go near a real flame. This treatment is for flameless-candle lanterns only, and keep fabric clear of the lantern's top vent even then. This is the look I use on the door pair through the holidays because it ties the lanterns to the wreath and the garland on the railing into one continuous story — and when the season turns, two snips of wire and you're back to clean lanterns.
Suggested budget range: $20 – $60.

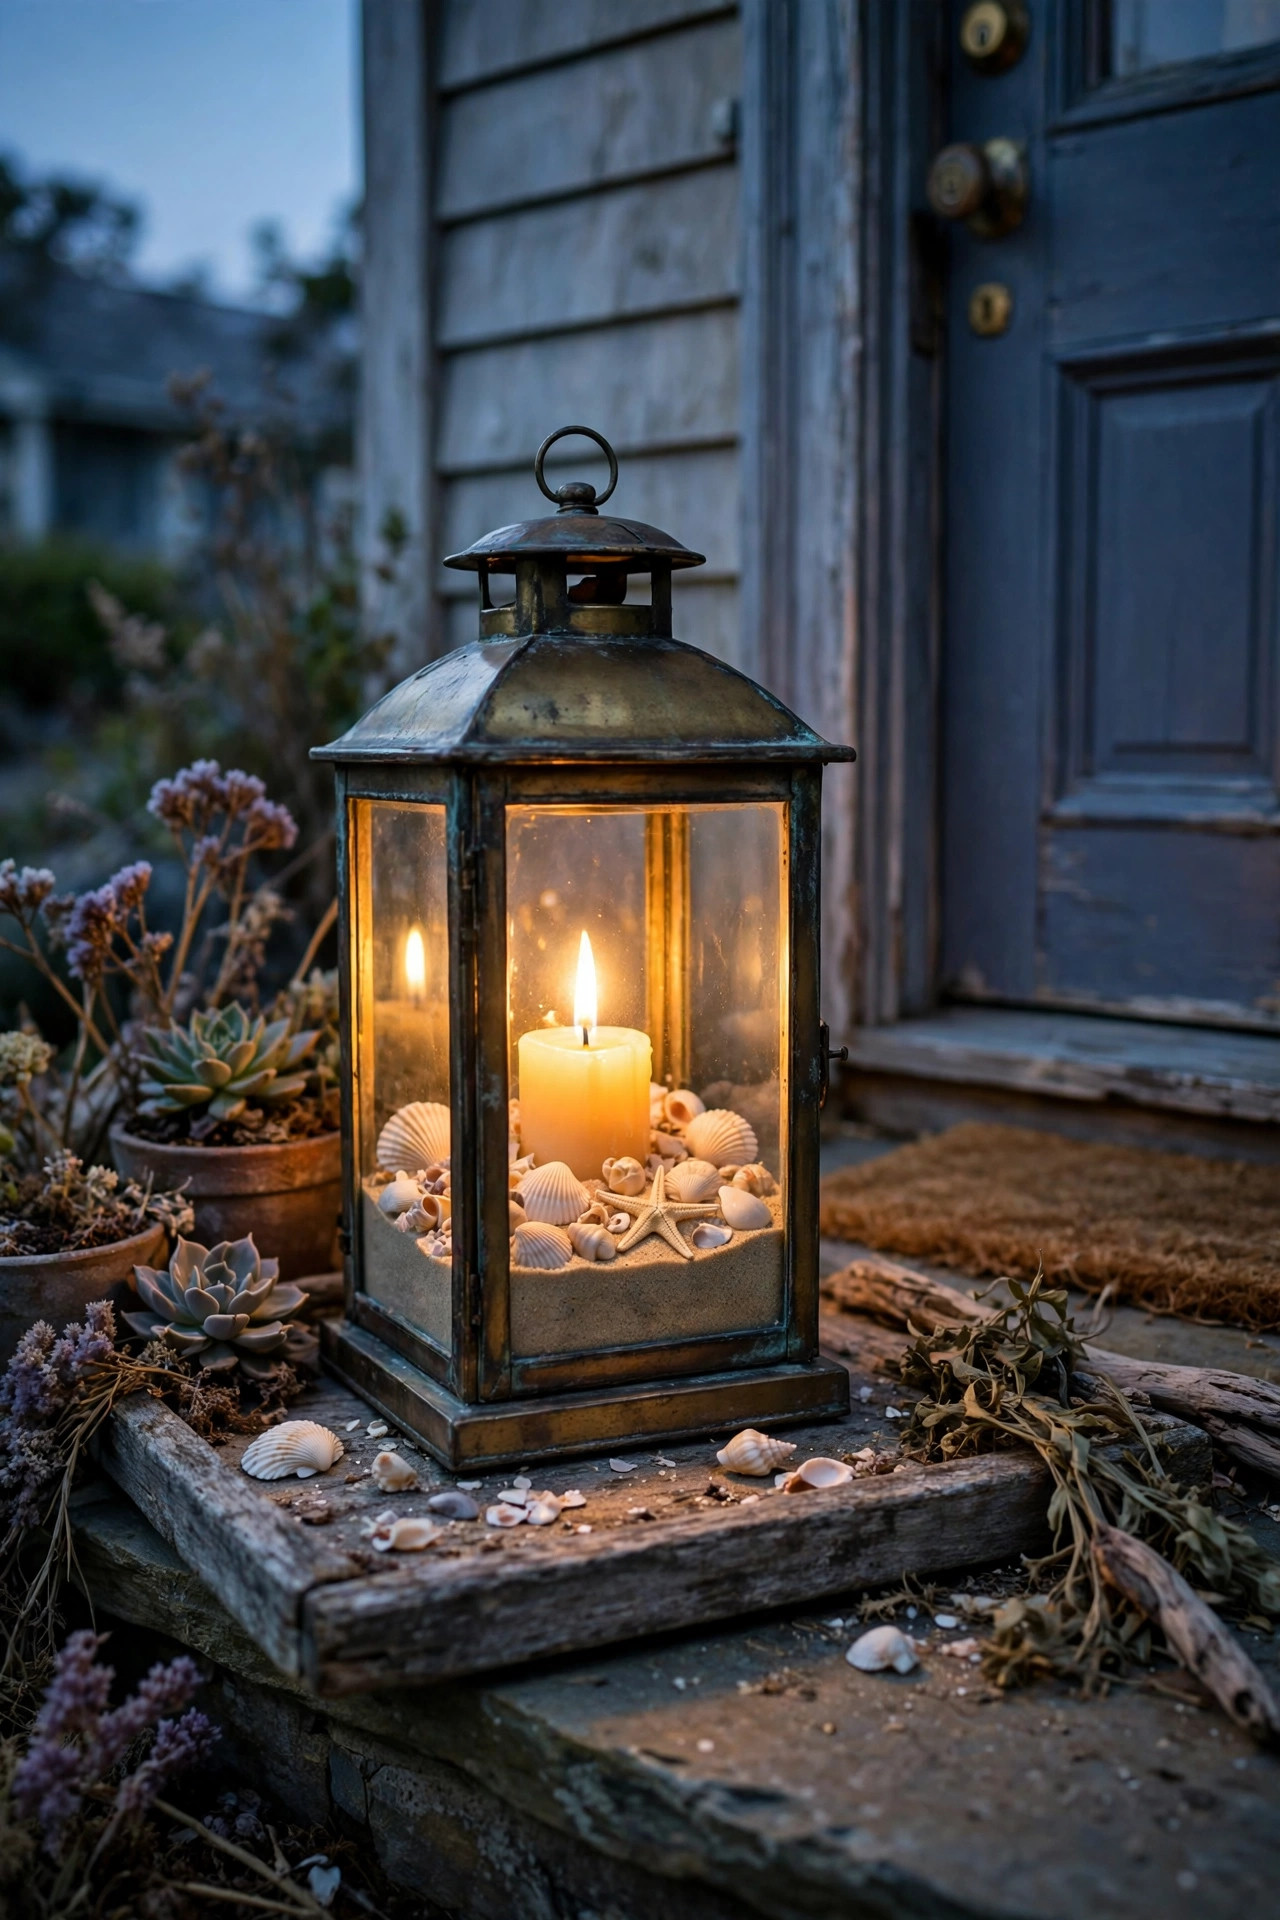
19. Coastal Lanterns With Rope, Shells and Sand
Coastal lanterns practically style themselves: pour in two inches of sand, nestle a candle in the center, and scatter a few shells and a starfish around it. The sand isn't just pretty — it anchors the candle and catches any wax drips. Rope-wrapped handles, whitewashed wood frames, and driftwood-toned metal finishes all speak the same language, and a grouping set on a weathered tray by the door looks collected from the beach rather than bought from a shelf. Use faux starfish if you can; the real ones are fragile and, honestly, a bit smelly by August. Salt air is hard on lantern hardware near the coast, so rinse lanterns with fresh water every few weeks and choose stainless or resin finishes if your porch takes direct spray. This style travels inland beautifully, too — a coastal vignette on a landlocked porch reads as pure summer vacation. In my experience it's the look guests comment on most in July. Swap the shells for pinecones in October and the same lanterns glide into fall without missing a beat.
Suggested budget range: $25 – $80.
20. Solar Lanterns for a No-Outlet Porch
No outlet on the porch? Solar lanterns have quietly gotten good. The panels charge by day and the lanterns glow for 6 to 8 hours after dusk — plenty for an evening's welcome. Success is all about placement: the panel needs direct sun, so hang solar lanterns from hooks on the sunny edge of the porch or set them where morning light reaches, even if you move them to their pretty spot for a party. Models with removable panels you can park in a sunny window are worth seeking out for deep, shaded porches. Set expectations honestly: solar lanterns are accent glow, not task light. Pair them with a hardwired porch fixture for real illumination and let the lanterns do the charm. Battery backup is rare in solar styles, so expect shorter runtimes through December and January when days are brief — I rotate mine to the sunniest spots in winter and forgive them their earlier bedtimes. A quick wipe of the panel every month keeps charging efficient; dust and pollen films steal more light than most people realize.
Suggested budget range: $25 – $90.

21. Porch Lantern Decorating Ideas for Tiny Porches and Stoops
A tiny stoop is not a reason to skip lanterns — it's a reason to choose one perfect one. A single slim lantern, 10 to 14 inches tall, set tight beside the door gives you the whole warm welcome without eating the landing. When floor space is truly zero, go vertical: a wall hook or hanging bracket beside the door lifts your lantern into the unused airspace, and the glow lands right where faces and keys need it. Keep the filler simple at this scale — one pillar candle, or a small fairy-light nest — because a crammed lantern on a small porch reads as clutter instead of charm. Layer the rest of the welcome at ground level where it costs no space: a coir doormat with a striped rug beneath it, and the lantern's light will make the whole 3-foot stage feel designed. Match the lantern's finish to your door hardware and it looks built-in. Honestly, some of my favorite entries in our neighborhood are these little stoops — one lantern, one mat, one pot of flowers, done. Restraint is a style, and small porches wear it beautifully.
Suggested budget range: $20 – $60.

Frequently Asked Questions
What size lantern looks best next to a front door?
Use the quarter-to-third rule: for a standard 80-inch door, freestanding lanterns 18 to 26 inches tall look proportional. Go bigger — up to 36 inches — for double doors or a single statement piece, and smaller, 10 to 14 inches, for stoops and side tables. Pairs should match exactly; clusters should vary by at least 4 inches between heights so the steps in size read clearly from the street.
Can decorative lanterns stay outside all year?
Lanterns rated for outdoor use with metal frames and real glass can live on a covered porch year-round. Bring fillers, ribbons, and wooden or painted lanterns in during harsh storms, empty any water that collects after heavy rain, and expect battery candles to need fresh batteries each season. In snowy climates, I tuck floor lanterns under the porch roof's drip line for winter so meltwater doesn't sit in them.
Are flameless candles safer than real candles in porch lanterns?
Yes — meaningfully. Wind pushes real flames against glass and filler, and dried fall and winter fillers are genuinely flammable. Flameless pillars with timers give you the same warm flicker with no supervision, and they light themselves nightly. If you do burn real candles, use fully enclosed lanterns, keep fillers non-flammable, place them away from fabric and foot traffic, and never leave them unattended.
How many lanterns does a porch need?
One statement lantern, a matched pair, or a cluster of three covers nearly every porch, and odd numbers style the easiest. Let your porch width decide: stoops get one, average porches get a pair or a trio, and wide porches can add step or table lanterns as extra layers rather than piling more lanterns around the door, where they'd compete for attention instead of building a scene.
Conclusion
Here's what I've learned after years of swapping lanterns around my own front door: the best porch lantern decorating ideas aren't about owning more lanterns — they're about placing a few well, layering heights and glows, and letting the seasons change what's inside the glass. Start with one arrangement from this list, live with it for a week, and adjust it the way you'd adjust a room. Put the candles on timers so the welcome happens whether you're home or not. Then keep exploring — browse the rest of my porch and outdoor lighting ideas here on the site, and you'll find the fixtures and path lights that complete the picture. Your front door is the first hello your home gives. A lantern or two, glowing warm at dusk, makes it a good one.