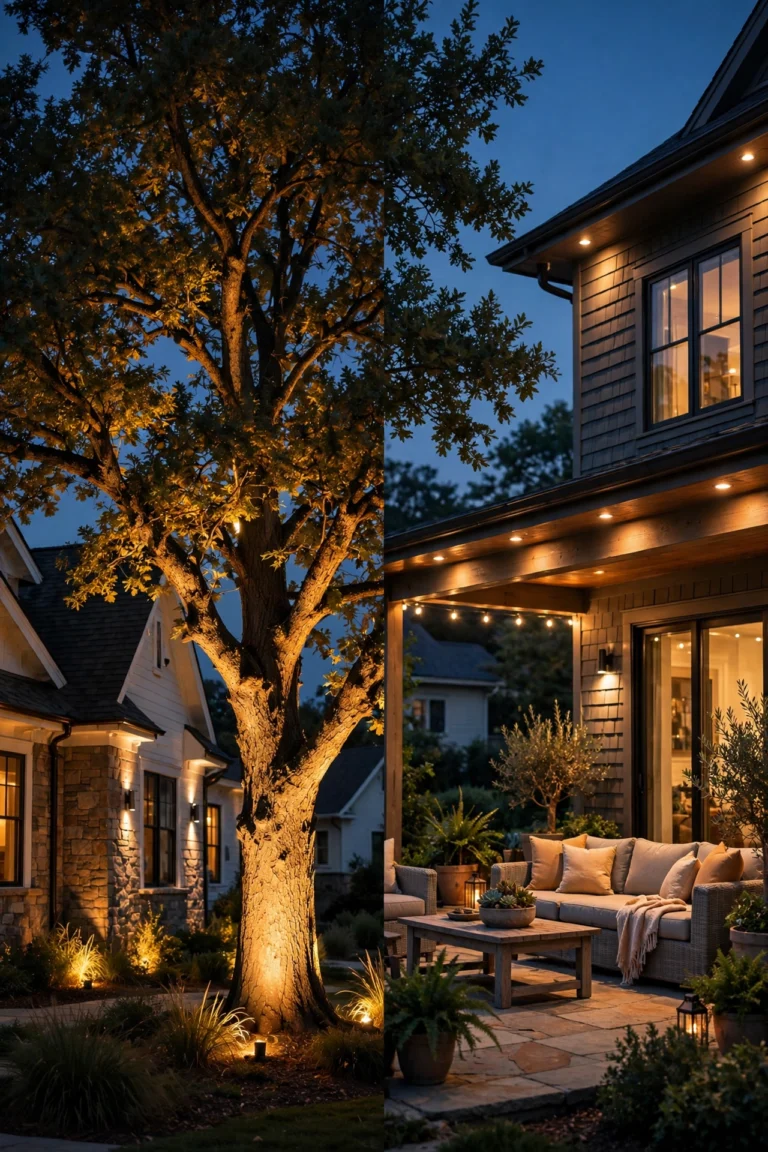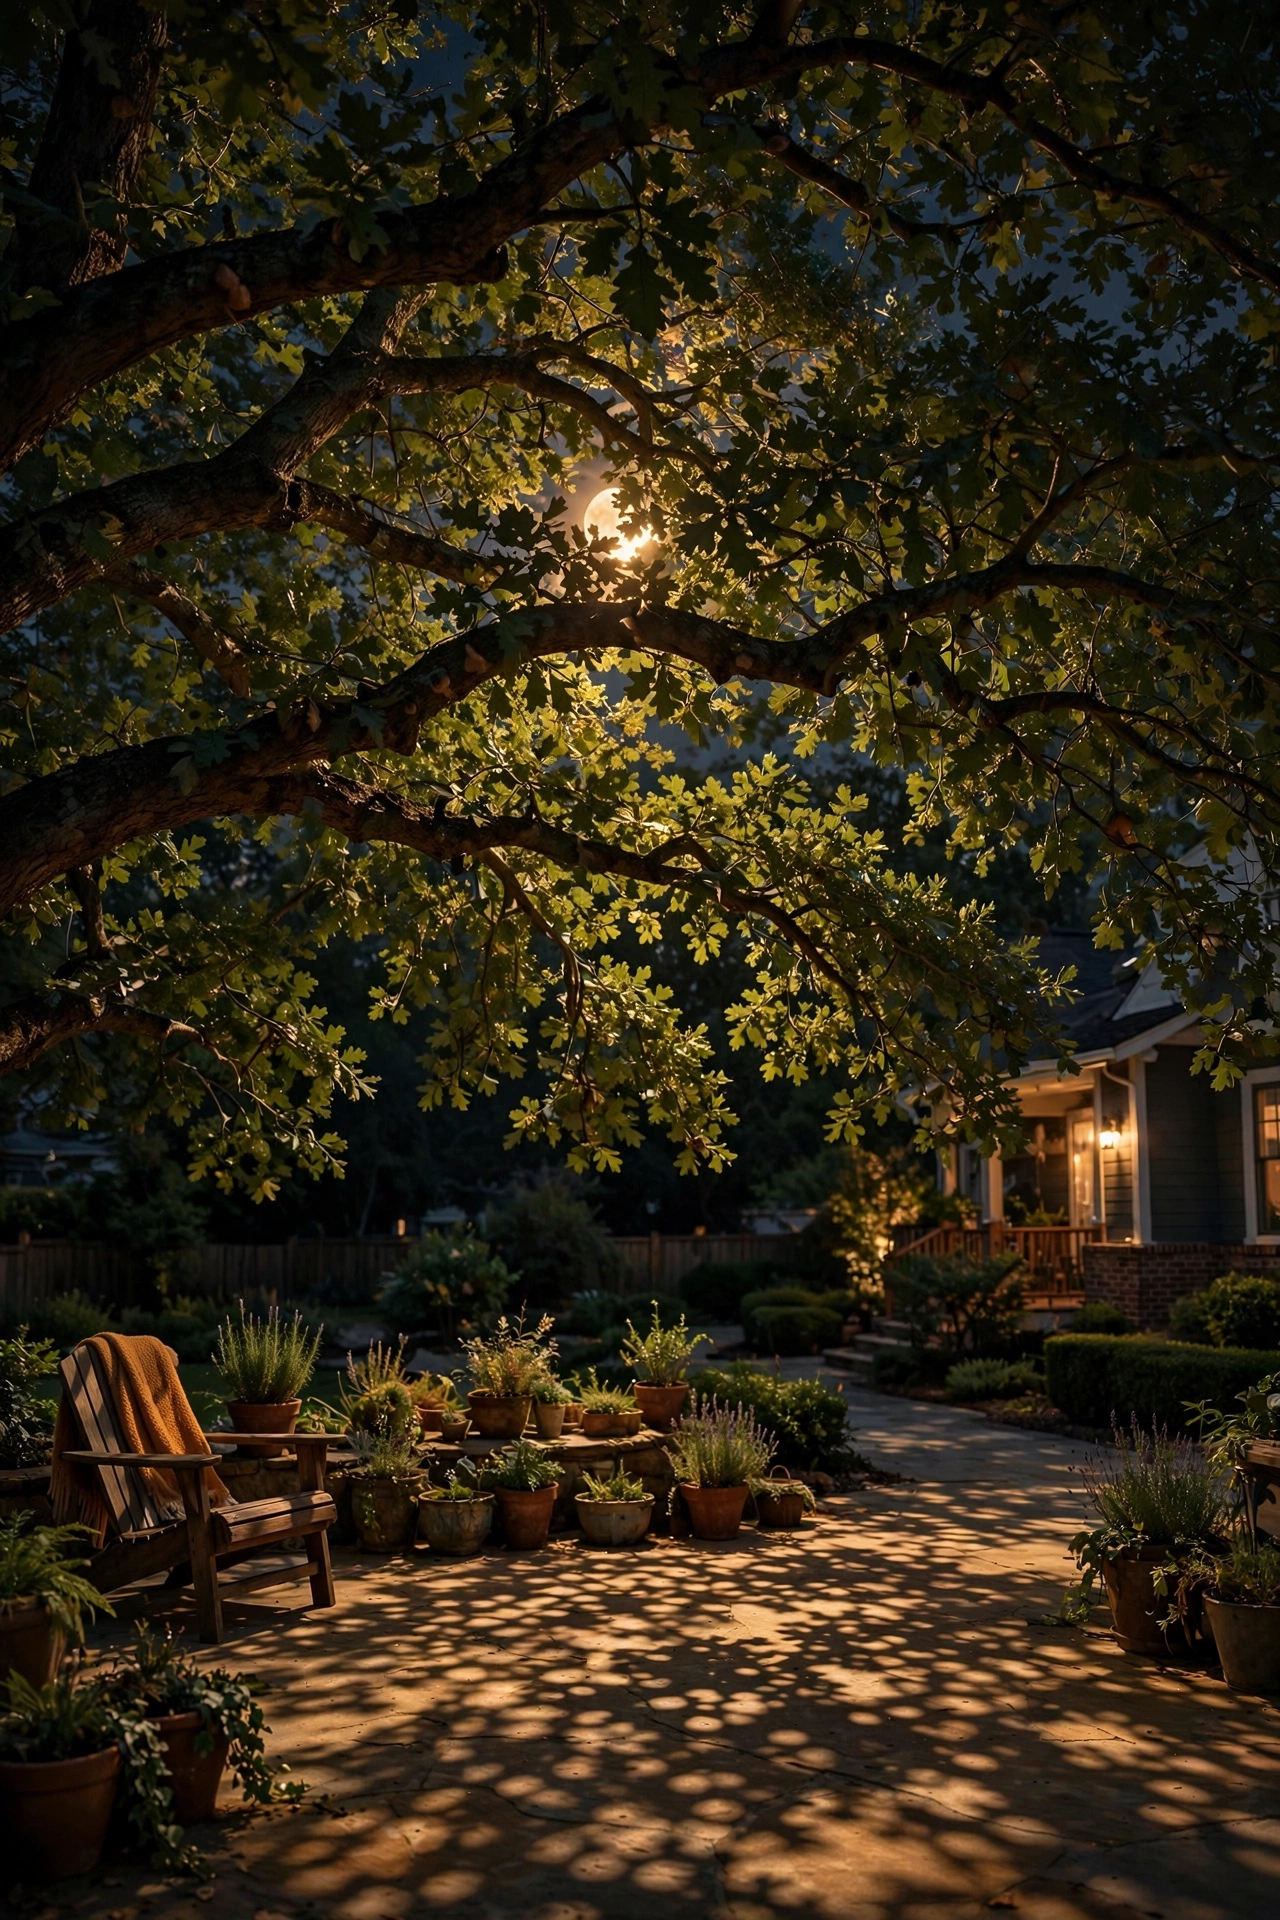
There's a moment on a warm summer night when you walk under a big tree and catch light filtering through the leaves in soft, moving patches — and you think, for half a second, that the moon is out, even when it isn't. That's moonlighting. And once you've seen a yard done right with moonlighting trees, every other kind of landscape lighting starts to feel a little obvious.
Honestly? Of all the lighting techniques I've played with over the years — uplights, path lights, string lights, all of it — moonlighting is the one that gets the gasps. It's the difference between a yard that looks *lit* and a yard that looks *alive*. The light seems to come from nowhere. Fixtures are hidden up in the canopy, shadows of leaves and branches drift across the lawn when the breeze picks up, and your patio ends up bathed in the prettiest dappled glow you've ever seen without a moon.
But here's the thing: moonlighting trees is one of those techniques that looks effortless and is anything but. Mount a fixture too low and you get harsh hot spots. Pick the wrong color temperature and the whole thing reads like a parking lot. Aim carelessly and you light the trunk while the lawn stays dark. I've made most of these mistakes myself, which is exactly why I wrote this guide.
By the end, you'll know what moonlighting actually is and why it fools the eye so completely, which trees are worth moonlighting (and which aren't), exactly how high to mount fixtures and how to aim them, how many fixtures each tree needs, the wiring and transformer basics, a full installation walkthrough, honest 2026 costs for DIY versus hiring a pro, the mistakes that ruin the effect, and how to keep it looking magical season after season.
The Short Answer
Moonlighting means mounting low-voltage downlight fixtures high in a tree's canopy — typically 18 to 25 feet up — and aiming them downward through the branches so the leaves filter the light and cast soft, dappled shadows on the ground below. The core recipe: one to three warm-white LED fixtures (2700K, 200–400 lumens each) per tree, mounted on sturdy limbs with tree-safe lag-bolt brackets, wired to a low-voltage transformer, aimed at a slight angle so light passes *through* foliage rather than straight at the trunk. Done right, the fixtures disappear and all you see is what looks like moonlight. Done wrong, you get bright blobs and visible hardware.
What Moonlighting Trees Really Are (and Why It Looks So Natural)
Moonlighting is the opposite of almost every other kind of landscape lighting. Uplighting blasts from the ground up. Path lights glow at ankle height. Spotlights announce themselves. Moonlighting hides. The fixture goes up in the canopy, out of sight, and the only evidence it exists is the light itself — drifting, dappled, and impossibly gentle.
Why does it look so natural? Because your brain already knows this light. You've walked through moonlit woods. You've seen sunlight filter through leaves on a lazy afternoon. The dappled pattern — bright patches broken by branch shadows, gently shifting in the breeze — is one of the most familiar light effects in nature. A moonlighting installation is just a very careful imitation of it, and your eye accepts the illusion instantly.
In my experience, this is also why moonlighting works best as *ambient* light rather than *task* light. It won't let you read a menu on the patio table — that's what your outdoor string lights or an outdoor chandelier over the dining table are for. What it does is set the whole mood of the space: the lawn glows softly, the patio feels sheltered and private, and everything within thirty feet of the tree gets this dreamy, filtered illumination. Layer it with warmer task lighting near seating and the effect is absolutely magical.
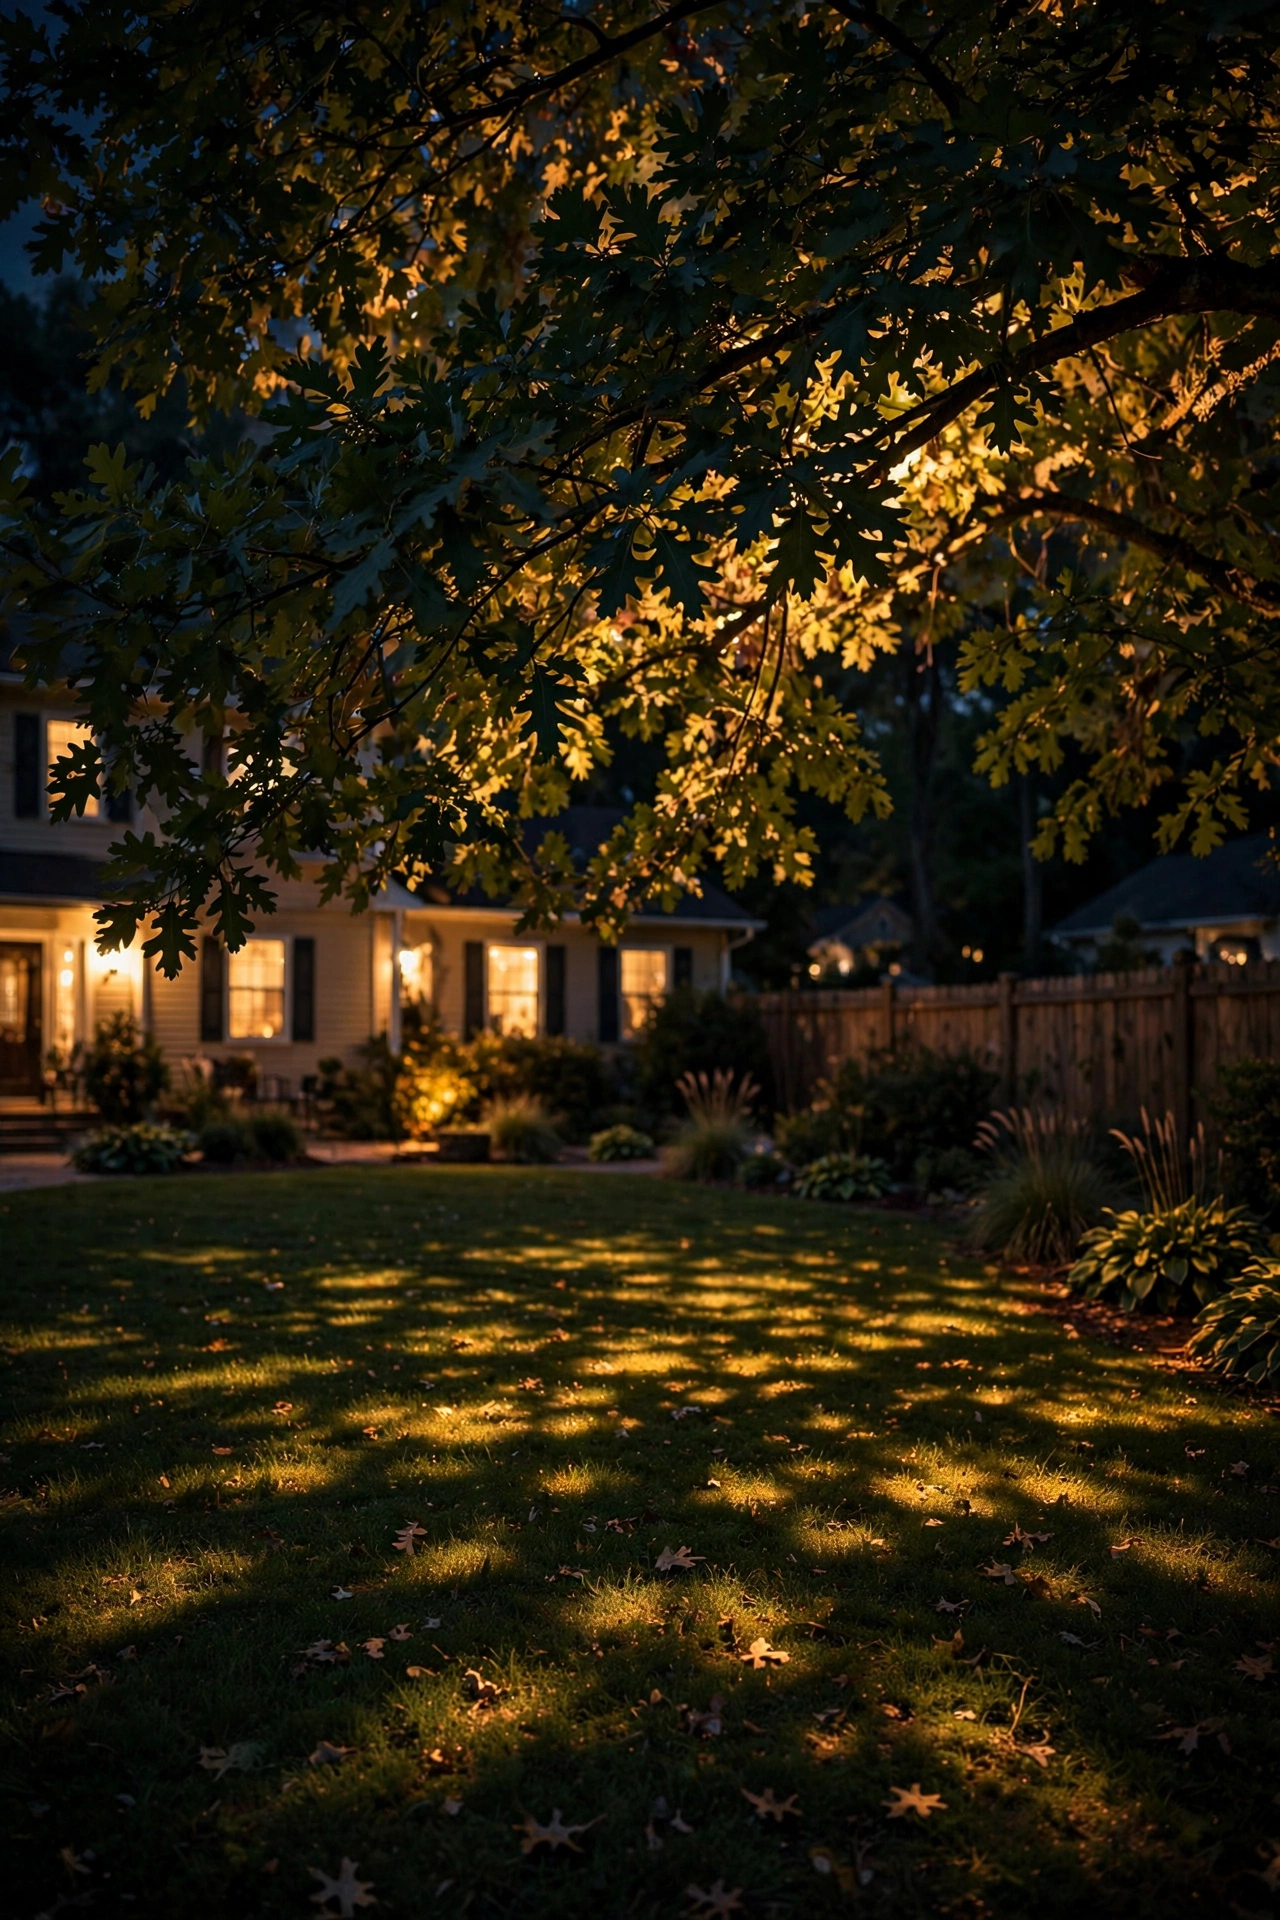
The Science of Dappled Light: How Canopy Filtering Creates Branch Shadows
The "dappled" part of the magic isn't luck — it's physics, and understanding it helps you aim fixtures like a pro.
When a fixture sits inside or above a canopy and points down, every leaf and twig between the lens and the ground becomes a tiny light blocker. Each gap between leaves becomes a little projector, throwing a bright patch downward. Because no two gaps are alike, the ground receives thousands of overlapping bright spots and soft shadows — the classic dappled pattern. Move the breeze and the pattern breathes.
Two things control the quality of the dappling. First, the fixture's height above the foliage layer: higher mounting means the light spreads wider and the dapple gets softer and more natural, like real moonlight from hundreds of feet up. A fixture mounted just two feet above the canopy edge throws harsh, high-contrast blotches. A fixture mounted fifteen feet above the same leaves throws a soft, even, believable wash. Height is the single biggest lever you have.
Second, the beam angle. A wide flood beam (around 60 degrees) spreads through lots of foliage and produces broad, overlapping dapple. A narrow spot (15–25 degrees) punches a defined circle through the leaves — dramatic, but it reads as "a light" rather than "moonlight." Honestly, for the classic moonlighting effect, wide flood beams win almost every time. Save the narrow beams for accent work, like picking out a garden statue or the texture of bark.
One more thing worth knowing: the dapple only exists where the light passes *through* foliage. Aim your fixtures at bare trunk and all you get is a bright column of bark with a dark lawn around it — the single most common beginner mistake, and the easiest to fix.
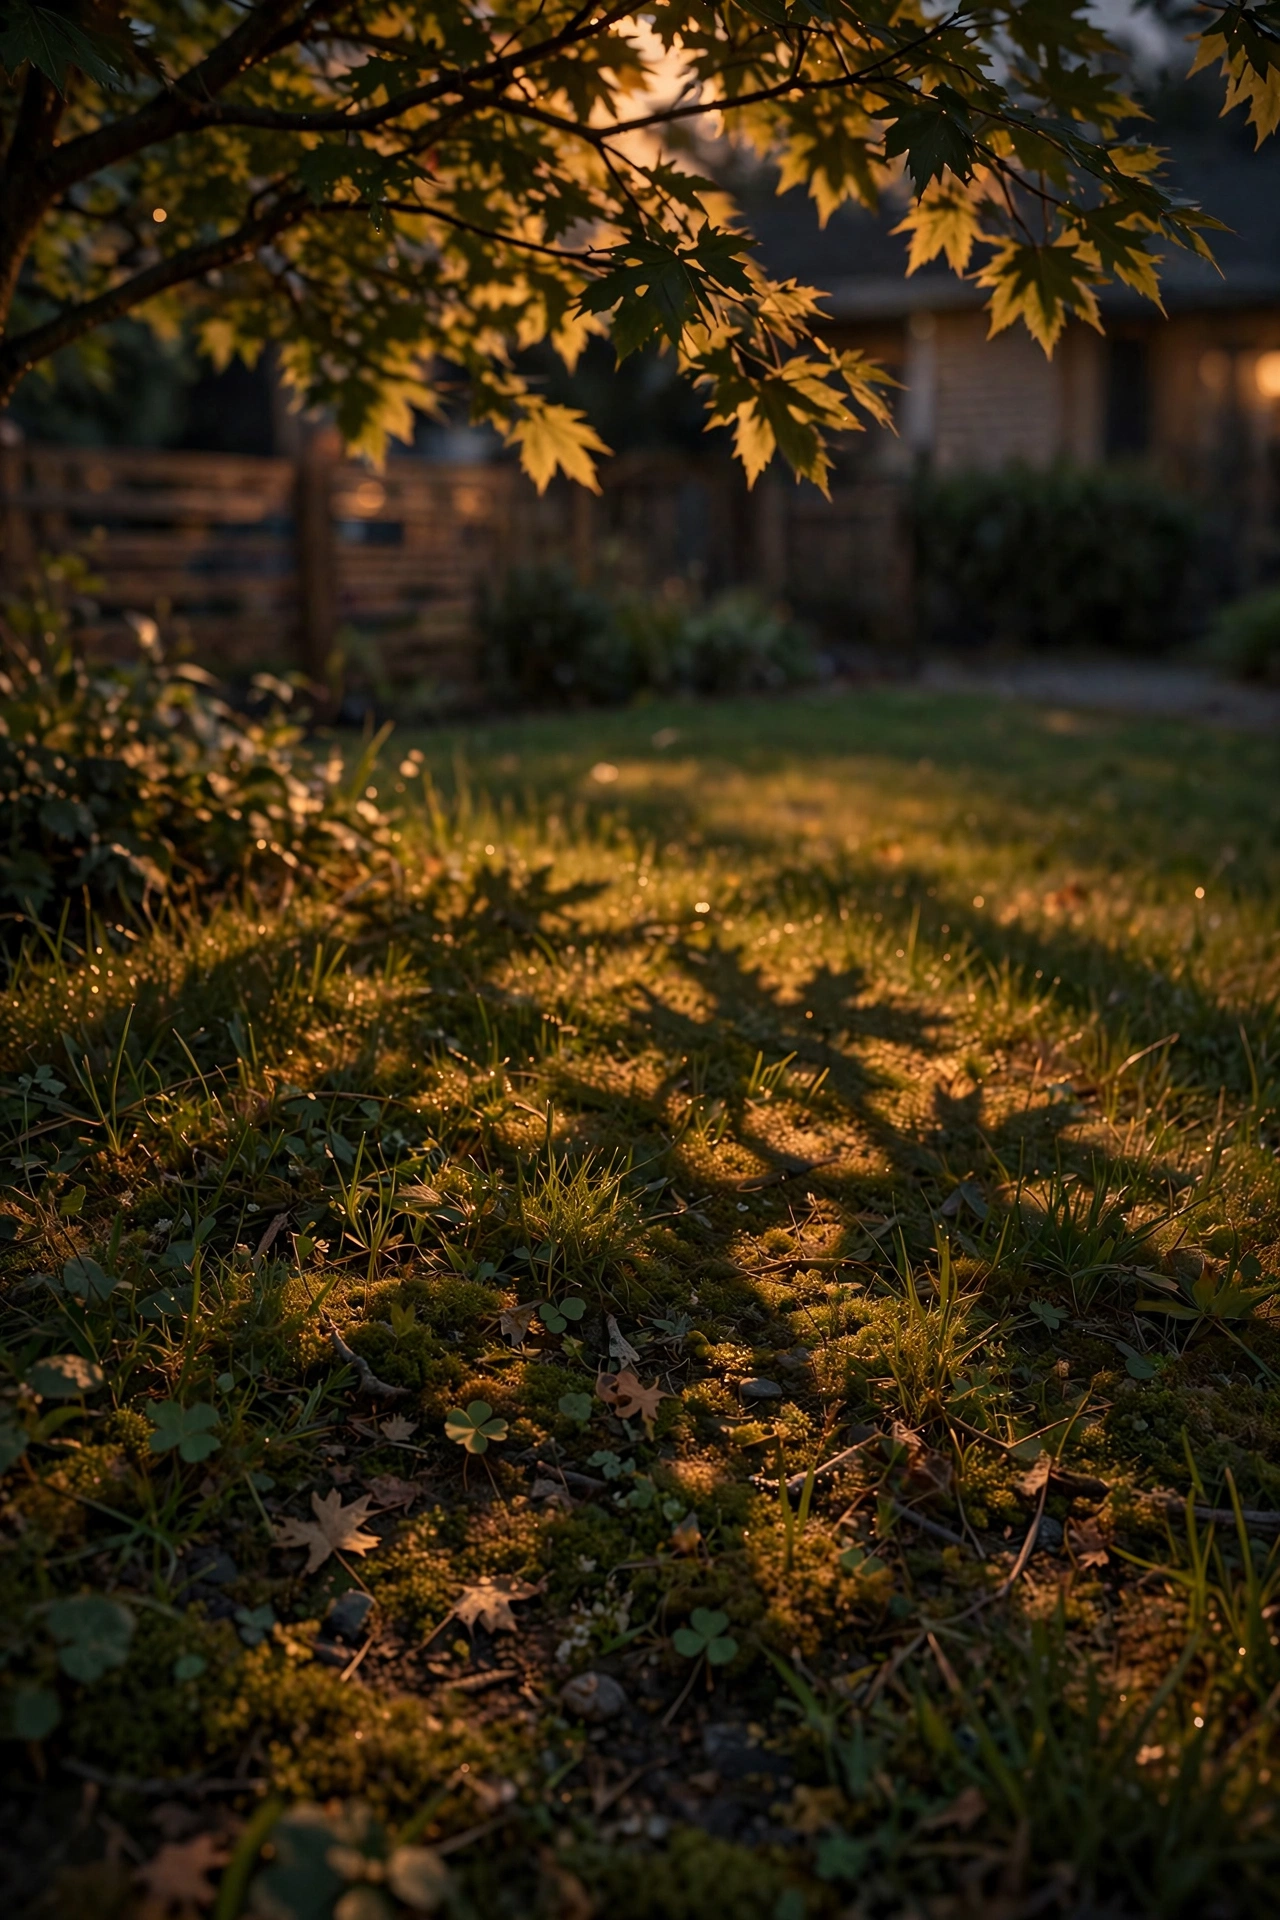
The Best Trees for Moonlighting: Species, Size, and Canopy Density
Not every tree moonlights well. The ideal candidate is big, tall, and leafy — a tree with enough height to hide fixtures 18 to 25 feet up and enough canopy to do the filtering work. Here's my honest rundown by species.
Oaks are the gold standard. They're tall, their branches spread wide, and their dense-but-layered canopies produce gorgeous, complex dapple. A mature oak is practically a moonlighting machine — if you have one, start there.
Maples are nearly as good. Big sugar and red maples give you broad canopies and lovely filtered patterns. Their leaves are broad, so the dapple runs larger and softer than an oak's — a different flavor of the effect, equally beautiful.
Pines work surprisingly well, especially tall southern yellow pines and white pines. The needle clusters create a fine, delicate dapple — less dramatic than broadleaf trees, but very pretty. The bonus: evergreens keep moonlighting through winter when deciduous trees go bare.
Crape myrtles are the borderline case. Their canopies are dense and gorgeous when lit, but they're usually too short (15–20 feet) for true in-tree moonlighting. The trick is mounting the fixture on a nearby structure — a second-story eave, a tall pergola, a sturdy pole — and aiming *through* the crape myrtle's canopy from above. Same effect, different mounting point.
And small ornamental trees — dogwoods, Japanese maples, redbuds — are simply too short for fixtures to disappear in. Moonlight them from a taller neighbor tree or a structure instead; never try to cram a fixture into a twelve-foot canopy and expect magic.
My rule of thumb: the tree should be at least 20 feet tall with a canopy you can't see the top of from the ground. If you can look straight at the mounting spot, the fixture won't hide, and the illusion breaks.
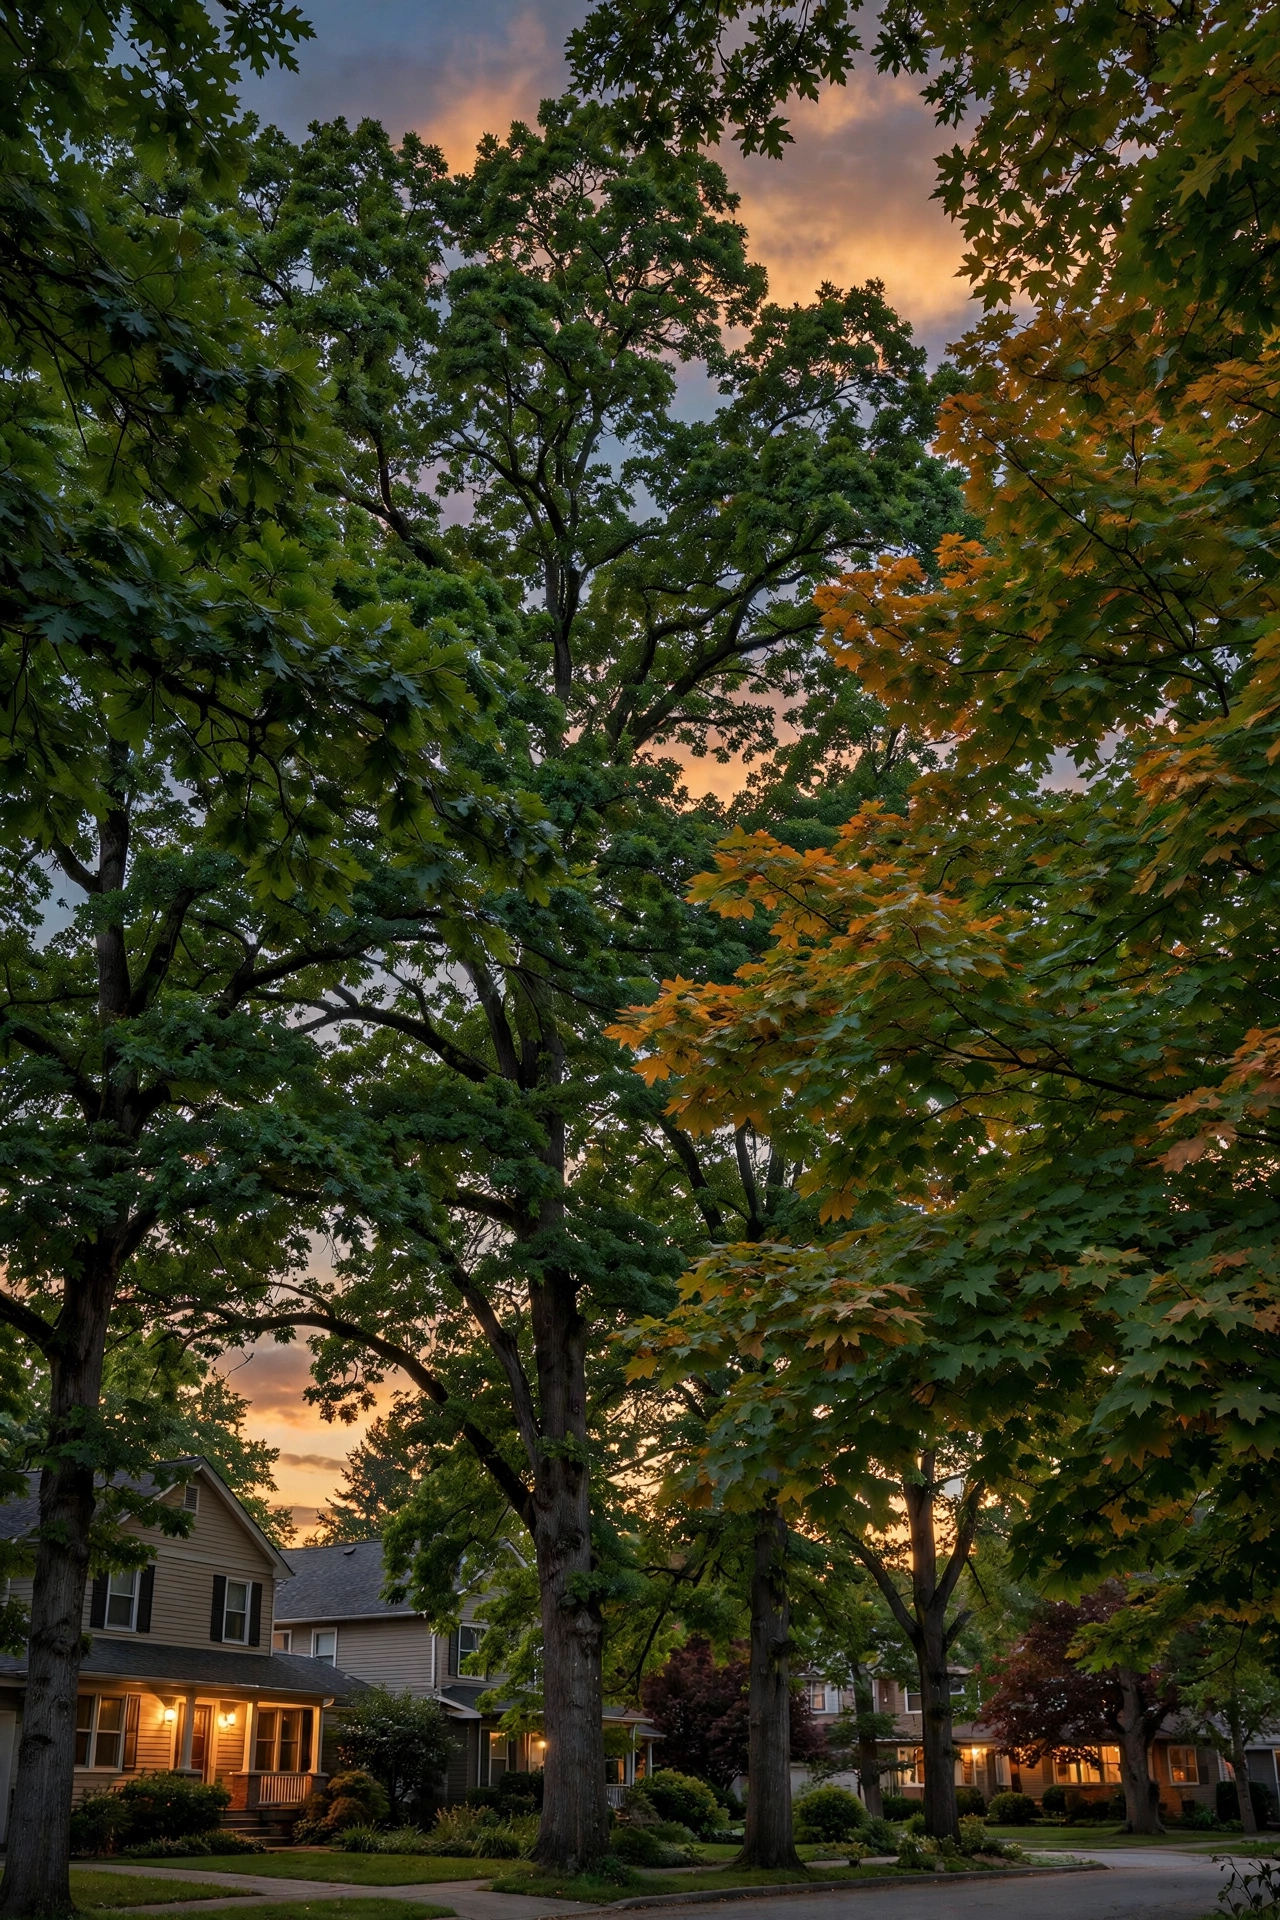
Fixture Types Compared: Downlights, Bullet Lights, and Where to Mount Them
There are really three approaches to moonlighting hardware, and the right choice depends on your trees and your structures.
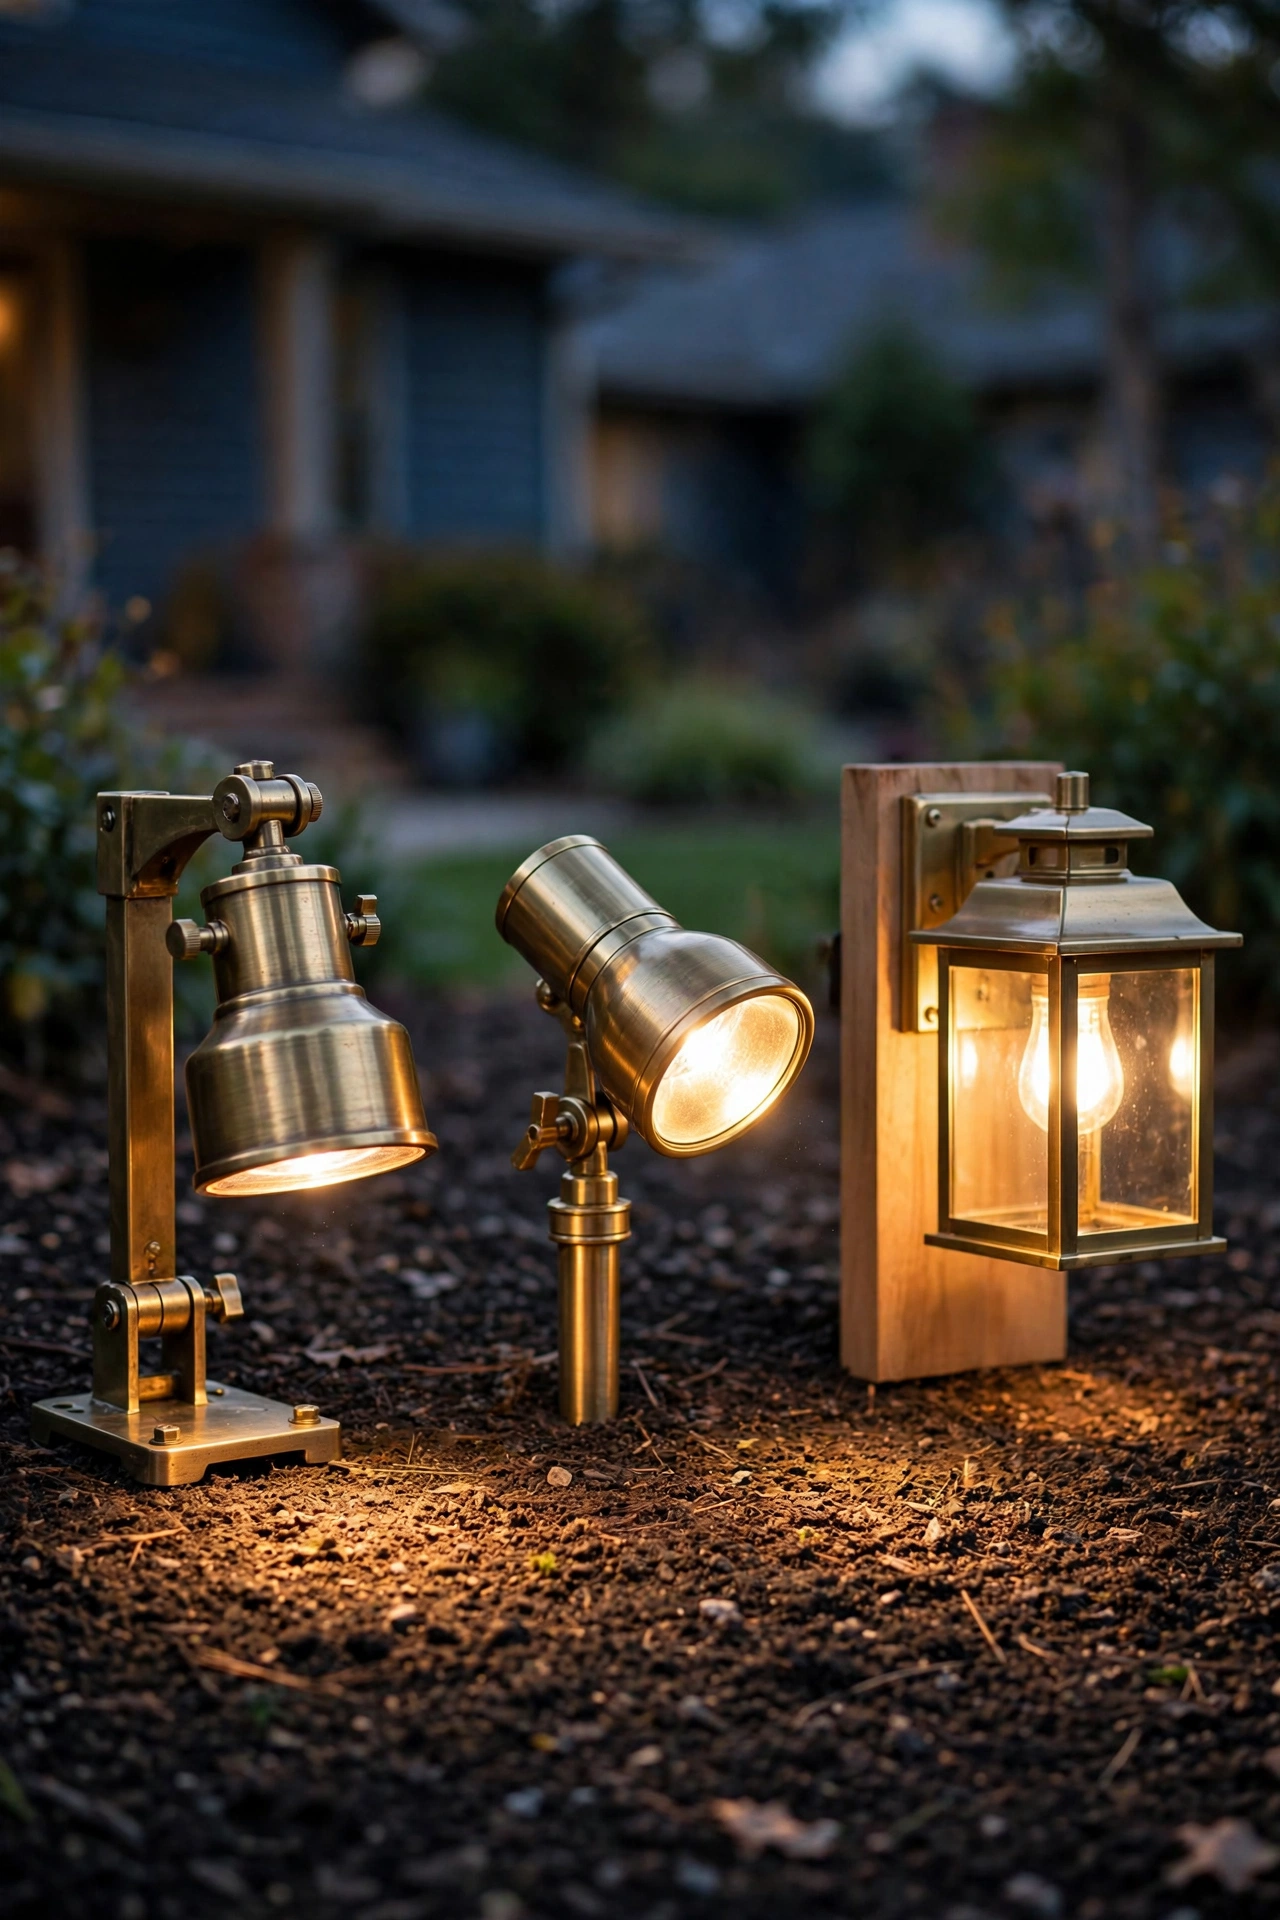
Tree-mount downlights are the classic. These are compact LED downlight fixtures (usually brass or copper housings that weather beautifully) attached to a tree-mount bracket — a short arm that bolts to a sturdy limb or the trunk with a lag bolt. The fixture hangs just below the bracket, pointing straight down or slightly angled. This is what the pros use 90% of the time: invisible from the ground, rock-solid, and the light comes from exactly where "the moon" should be.
Bullet lights mounted in the tree are the versatile alternative. A bullet light is a small cylindrical fixture you can aim in any direction. Mounted on a limb with the same kind of bracket, you can angle the beam to rake sideways through the canopy — great for creating dramatic branch-shadow patterns on a wall, fence, or the lawn off to one side. Slightly more visible than a purpose-built downlight, but far more aimable.
Bullet lights on structures are the workaround for short trees. Mount the fixture under a second-story eave, on a tall fence post, or on a dedicated 15-to-20-foot pole set near the tree, then aim through the canopy. You lose the "light from inside the tree" purity, but you gain the effect on trees that could never hold a fixture themselves.
| Fixture approach | Fixture cost | Install effort | Best for |
|---|---|---|---|
| Tree-mount downlight | $60–$150 each | Moderate (ladder/lift, lag-bolt bracket) | Mature oaks, maples, pines — the classic look |
| Bullet light in tree | $40–$100 each | Moderate (ladder/lift, aimable bracket) | Branch-shadow drama, side-raking effects |
| Bullet light on structure/pole | $40–$100 each | Easy to moderate | Short trees (crape myrtles, ornamentals), no tall limbs |
In my experience, start with tree-mount downlights if your trees can take them — they hide the best. Add a bullet light or two for drama once the base effect is working. And skip the cheap plastic fixtures for this application; anything mounted 20 feet up in a tree should be metal, sealed, and rated for the weather. You do not want to be climbing back up there to replace a dead fixture in February.
Moonlighting Trees Sizing Guide: How Many Fixtures Per Tree
More fixtures is not more magic. Moonlighting is subtle by design — one well-placed fixture beats three fighting each other every time. Here's the sizing logic I use:
– Small tree (15–20 ft): Skip in-tree mounting. One fixture on a nearby structure or pole, aimed through the canopy, is all you need.
– Medium tree (20–30 ft): One to two fixtures. A single downlight centered over the area you want lit (patio, lawn, walkway) is often perfect. Add a second on the opposite side only if the tree is wide enough that one fixture leaves a dark half.
– Large tree (30–45 ft): Two to three fixtures, spaced 8 to 12 feet apart around the canopy, each covering its own zone. Think of each fixture as a moonbeam with a 15-to-25-foot circle of influence on the ground.
– Very large tree (45+ ft): Three to four fixtures, treating big limbs as separate lighting zones. At this scale you're essentially lighting a small park.
Spacing matters more than count. Fixtures clustered together merge into one bright blob and kill the dapple; fixtures spread around the canopy create overlapping soft zones with the gentle brightness variation that sells the illusion. When in doubt, start with fewer fixtures and live with the effect for a week. You can always add one — it's much harder to un-see an over-lit tree, and every fixture you add costs money and ladder time.
Brightness follows the same less-is-more rule: 200 to 400 lumens per fixture is the sweet spot for moonlighting. Anything over 600 lumens per fixture starts reading as "security light" instead of "moonlight," no matter how good your placement is.
Mounting Height and Aiming Rules
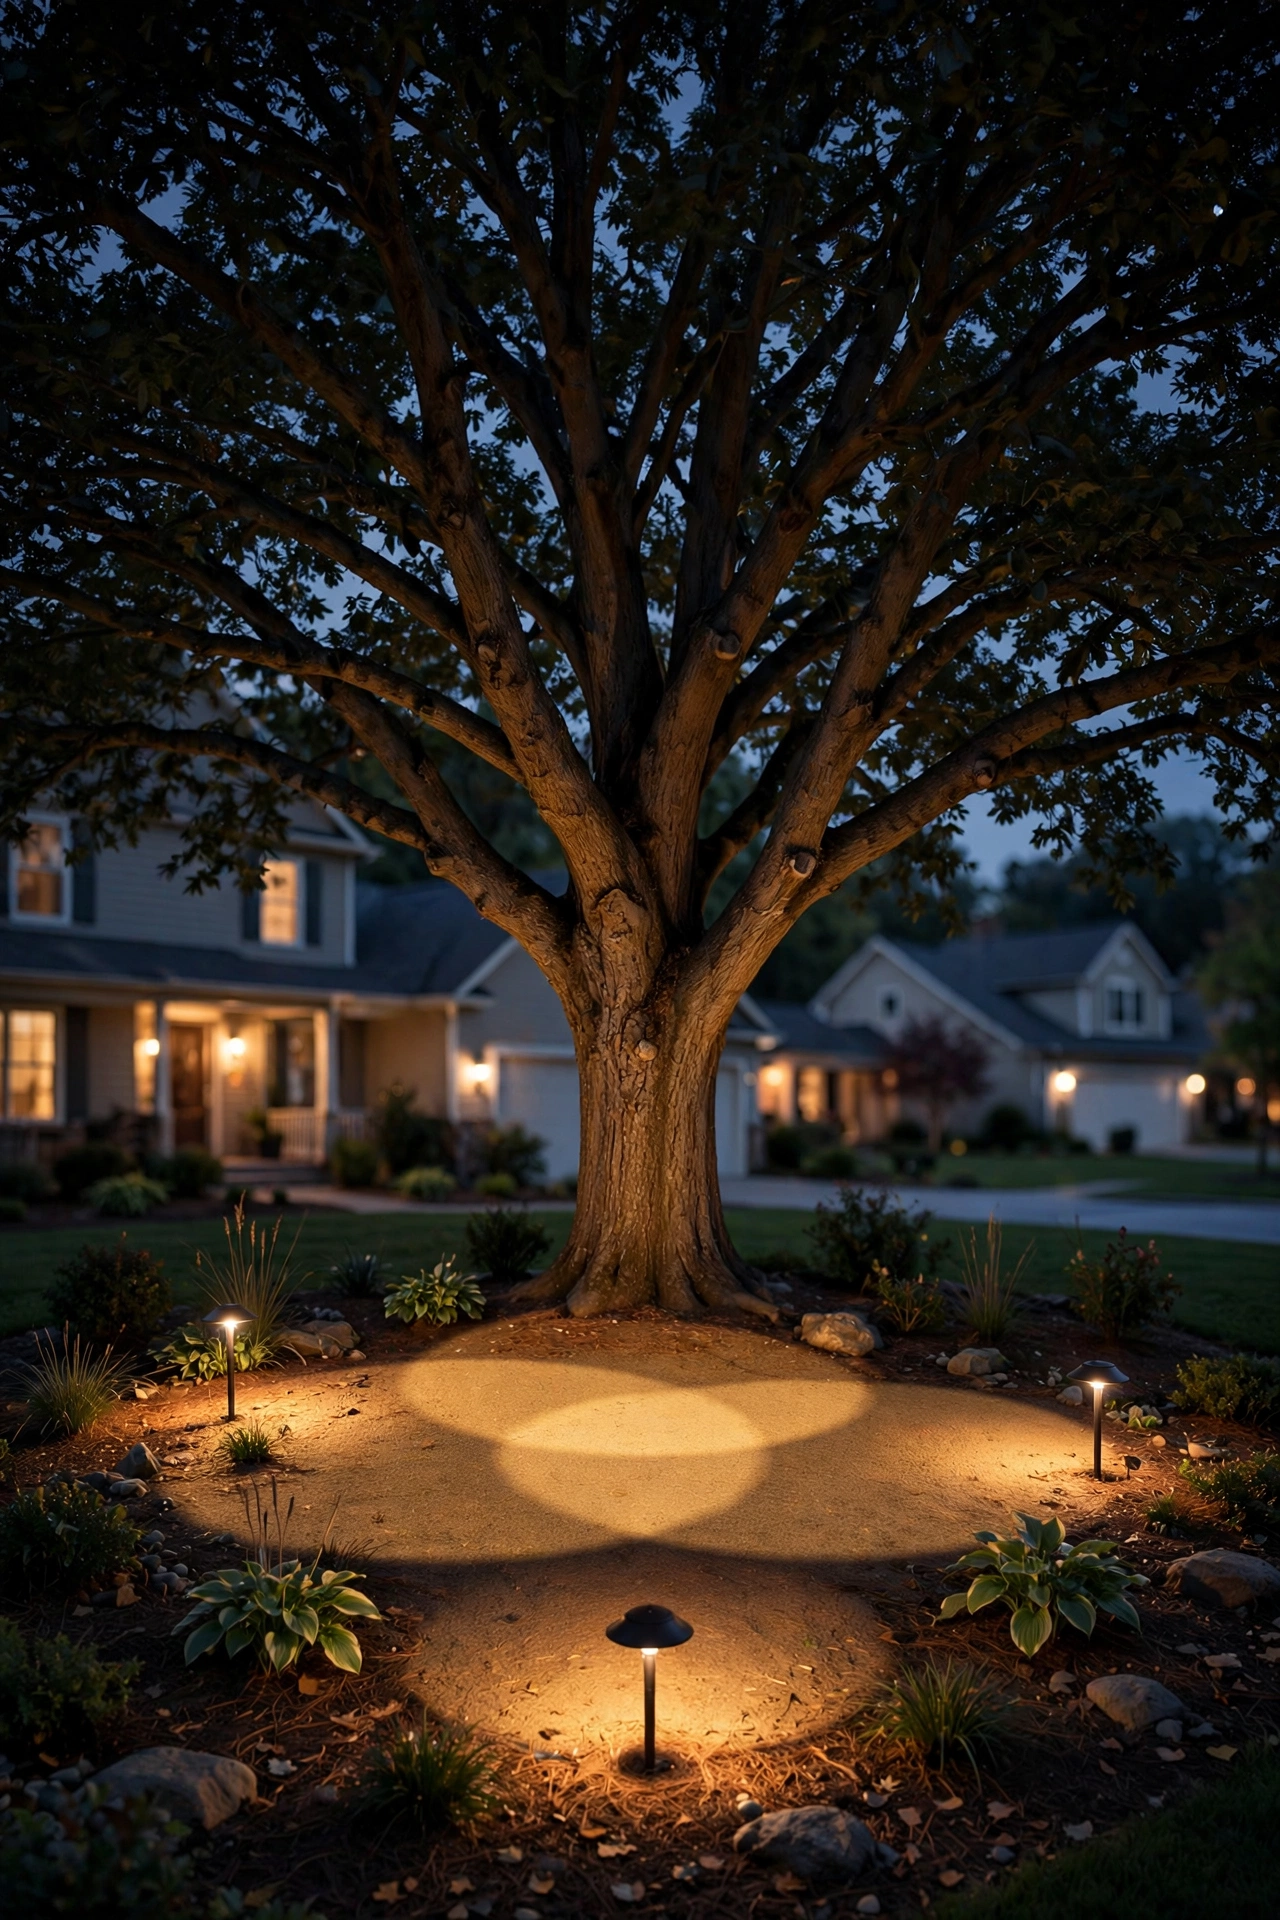
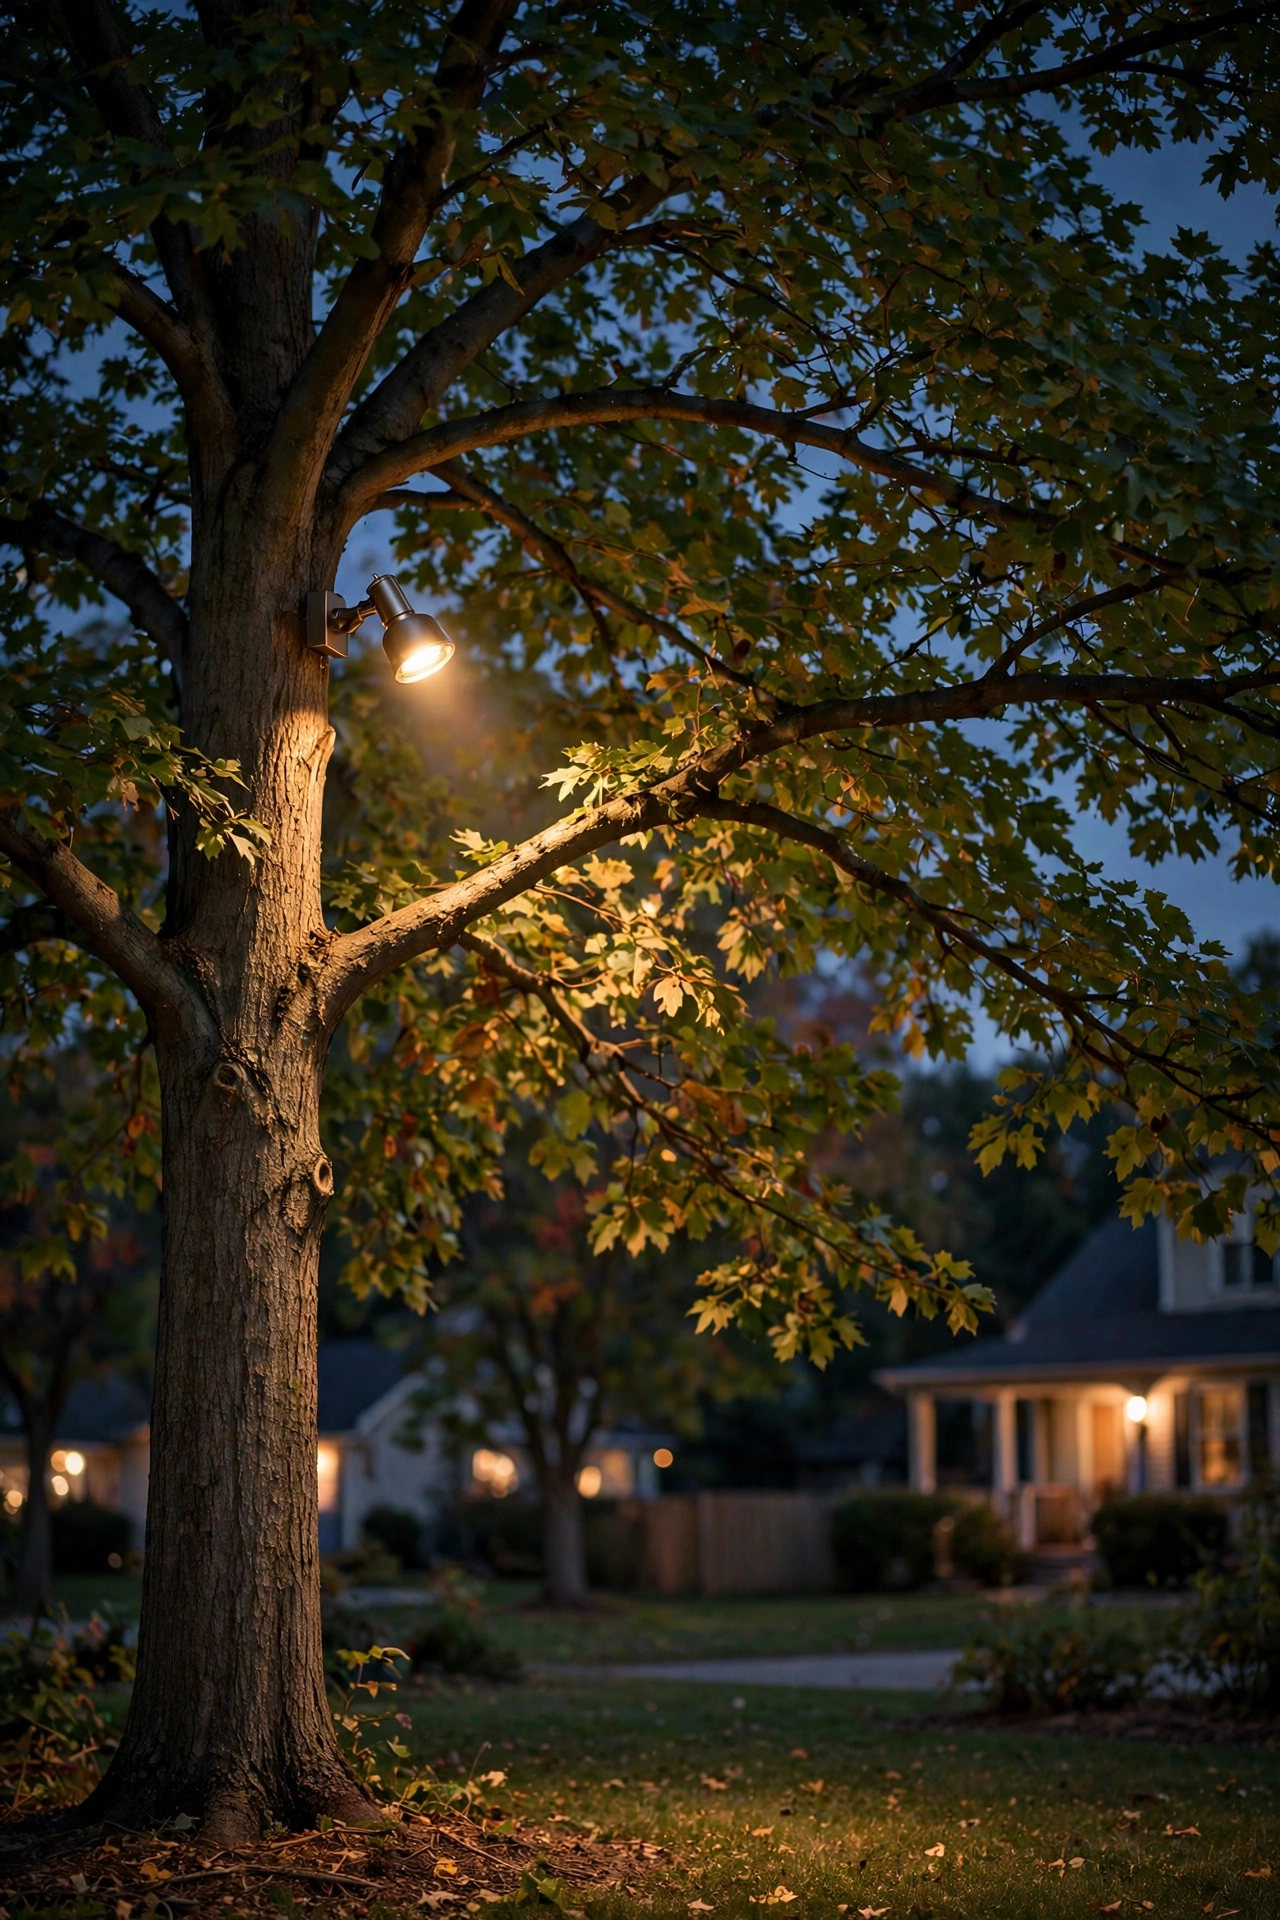
Height is where moonlighting is won or lost. The target: fixtures mounted 18 to 25 feet off the ground for most residential trees, with the light passing through at least 8 to 10 feet of foliage before it reaches the ground. That distance is what softens the dapple into something believable.
Here's the practical rule I give everyone: mount the fixture at roughly two-thirds of the tree's total height. On a 30-foot oak, that's about 20 feet up — high enough that the fixture disappears from every sightline on the ground, low enough that you're not hiring a bucket truck to install it. For a 45-foot tree, you're looking at 28 to 30 feet, which is absolutely bucket-truck or tall-ladder-with-a-helper territory. Be honest with yourself about your comfort at height; pros exist for a reason.
Aiming is just as important as height. The fixture should point mostly downward but slightly *outward* from the trunk — never straight at the trunk itself. You want the beam to travel diagonally through leaf layers, not drill a hole of light down the bark. Angle the beam so its center lands 6 to 10 feet out from the trunk on the ground. That outward tilt is what puts the dapple where people actually walk and sit, instead of creating a bright bark column nobody looks at.
A couple of finer points from experience: aim fixtures so their beams don't cross through each other's mounting limbs (you'll get harsh bright streaks on the bark), and keep the lens at least 2 feet clear of the nearest leaves. Leaves pressed against the lens create a single hard shadow blob instead of dapple — the filter needs distance to do its filtering.
Wiring, Transformers, and Tree-Safe Mounting
The part nobody romanticizes — but the part that keeps your installation working for a decade instead of a season.
The electrical basics: Moonlighting runs on standard low-voltage landscape lighting — 12-volt AC from a plug-in transformer connected to a GFCI-protected outdoor outlet. Each LED fixture draws only 6 to 10 watts, so even a four-fixture tree pulls less power than an old incandescent porch bulb. Size your transformer by adding up total fixture wattage and adding 20 to 25 percent headroom: four 8-watt fixtures = 32 watts, so a 45-watt (or the standard 60-watt) transformer is plenty.
Wire runs: Use direct-burial low-voltage cable (12-gauge for runs up to about 100 feet; 10-gauge for longer runs to avoid voltage drop, which shows up as dimmer fixtures at the far end). Bury it 6 inches deep or tuck it under mulch — and run it to the *base* of the tree, then up the trunk. The vertical run up the trunk is where people get sloppy, and it's what you'll see every day.
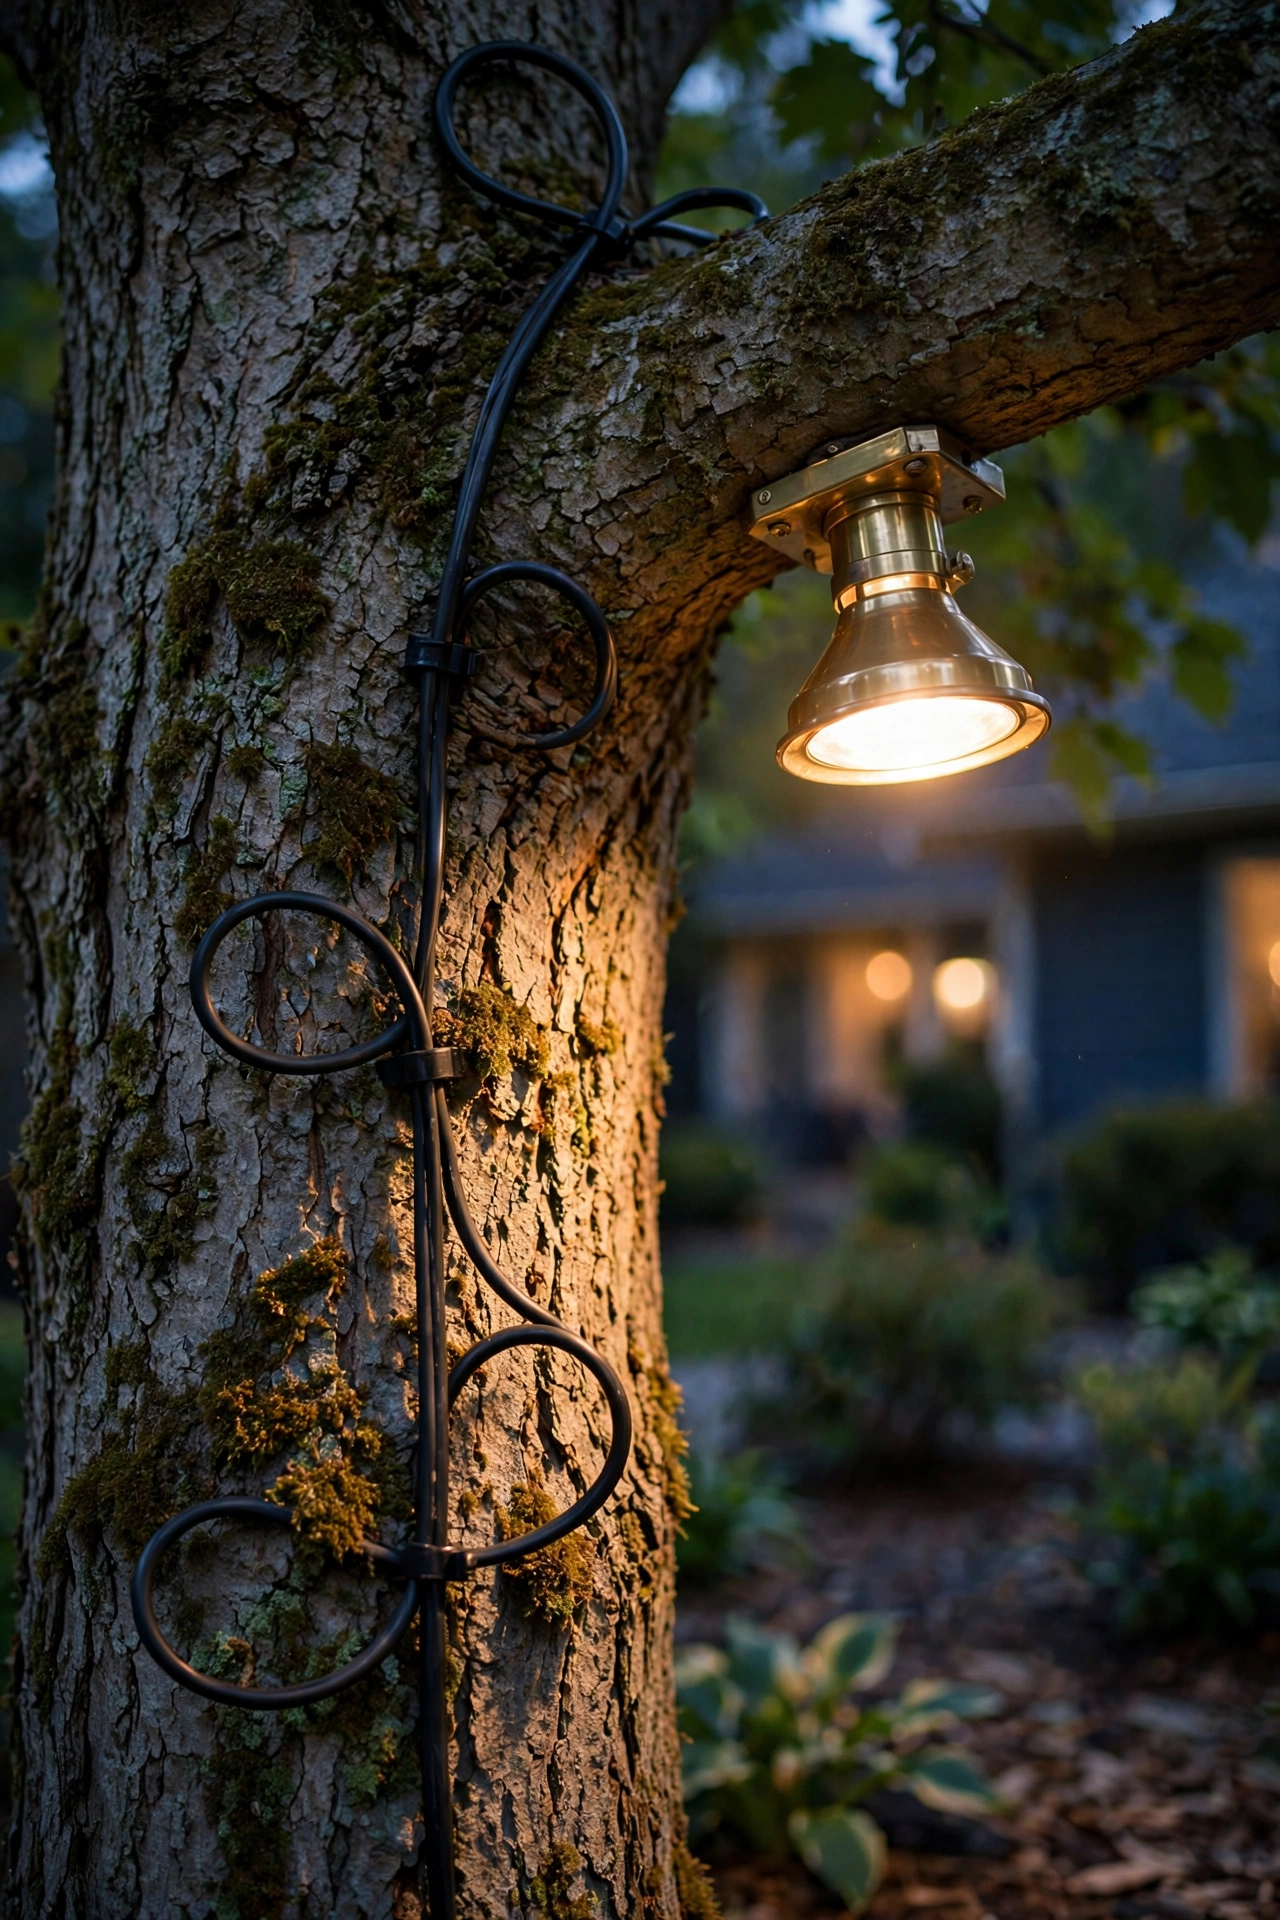
Tree-safe mounting — this is the big question everyone asks: A single properly placed lag bolt does not harm a healthy tree. Trees compartmentalize small wounds in their wood; arborists drill into trees routinely for cabling and research. What *does* harm trees is anything that girdles growth — so never wrap wire, straps, or zip ties tightly around a trunk or limb. The right approach: one stainless lag bolt into a limb at least 4 inches thick (or the trunk), a short mounting arm, and the cable run up the trunk with loose, generous loops — leave 2 to 3 feet of slack at the base and re-check every year or two so growing bark doesn't swallow the wire. Avoid the root flare and avoid any limb smaller than your wrist.
Honestly, if the idea of drilling into your oak makes you nervous, mount on a nearby structure instead. The effect is 90% as good and the tree never knows you were there.
Step-by-Step Moonlighting Installation Walkthrough
Here's the full process, in order, the way I'd do it on a Saturday with a helper and a good ladder.
1. Walk the yard at night first. Before buying anything, stand where you'd sit or entertain and look at the tree. Which parts of the lawn and patio fall under the canopy? Where do you *want* the dapple? Moonlighting serves the ground beneath the tree, not the tree itself — decide your target zones first, then place fixtures to serve them.
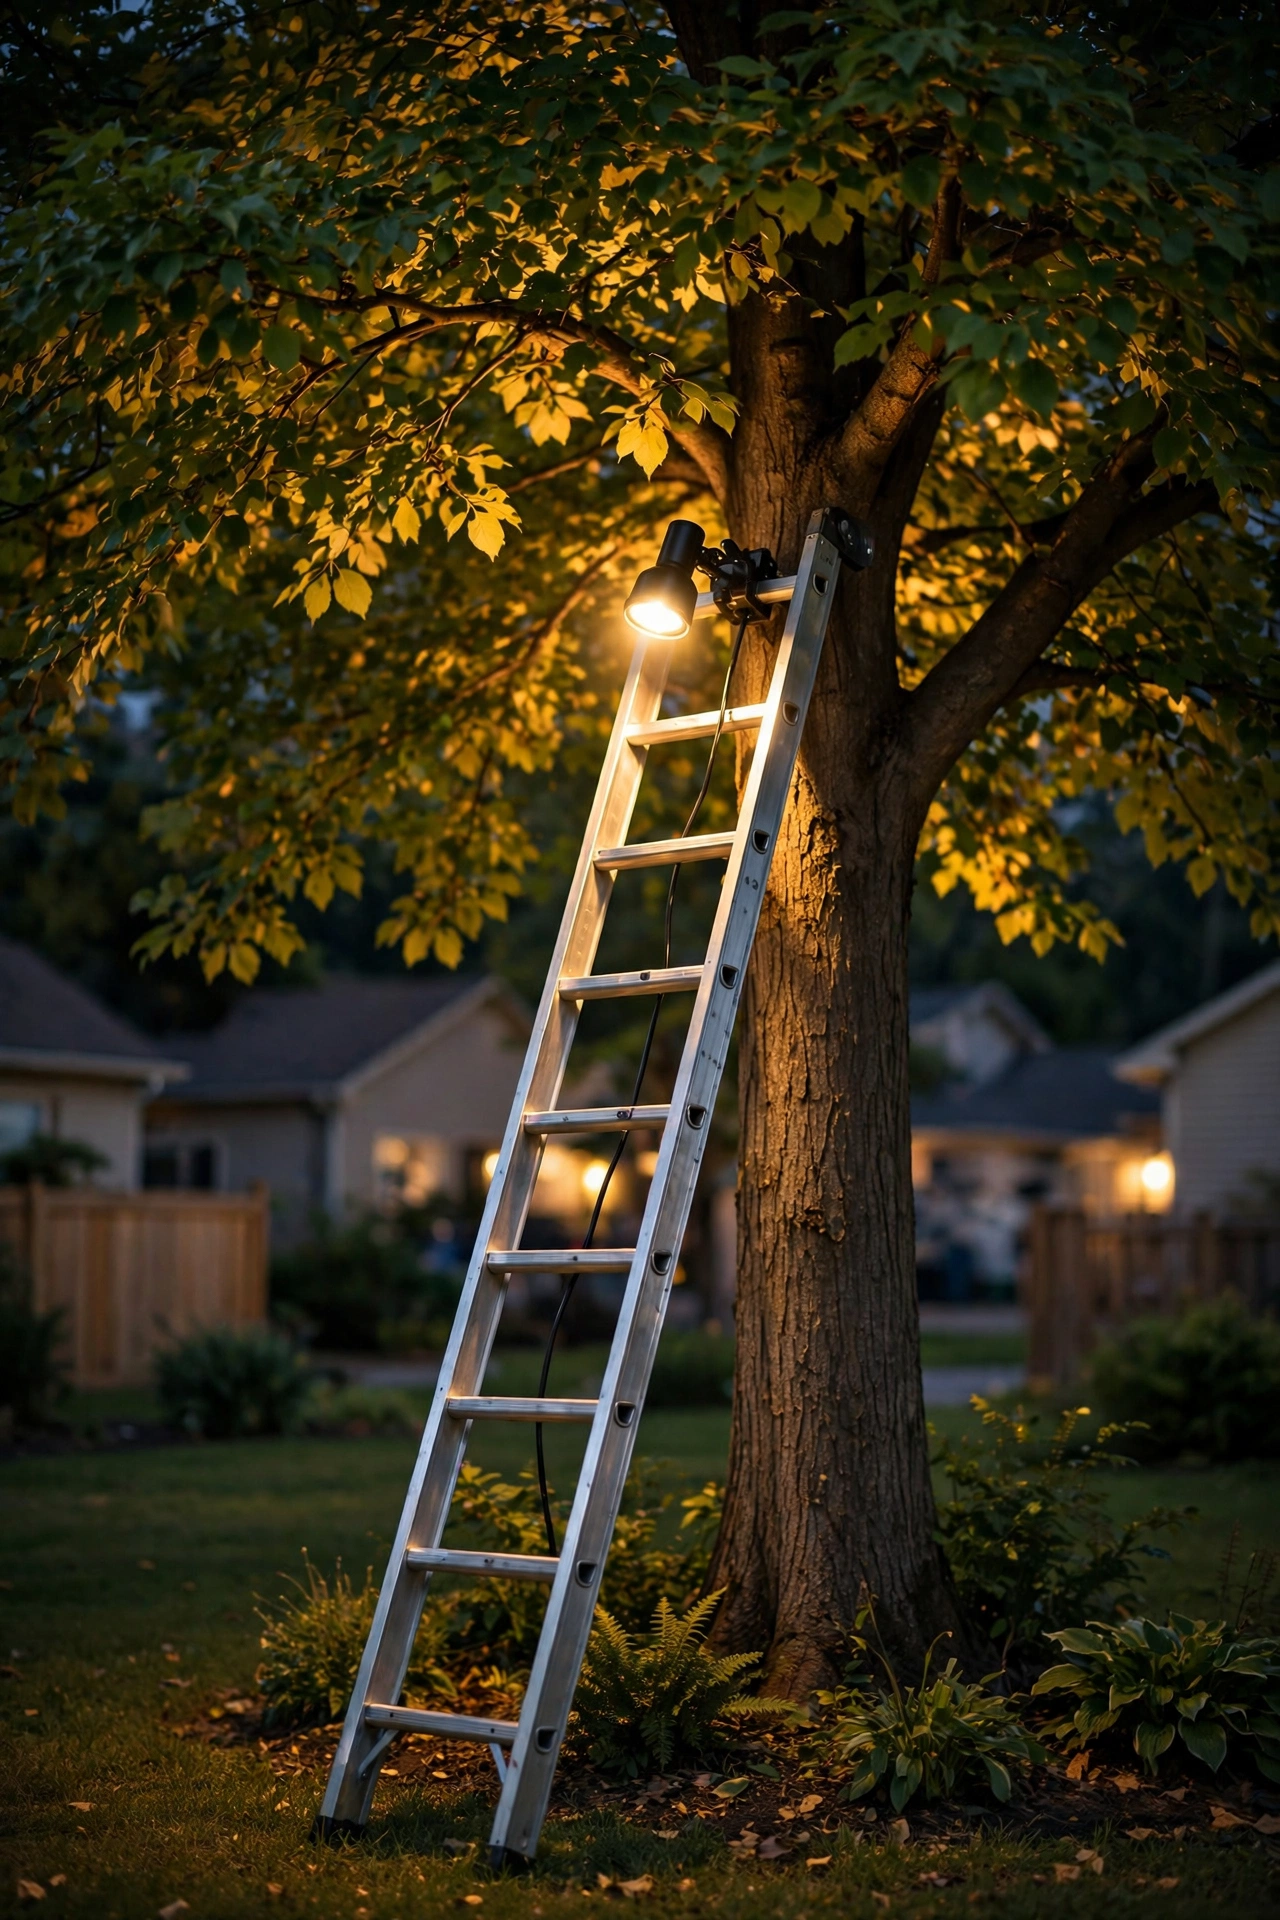
2. Pick your mounting limbs. In daylight, identify sturdy limbs (4+ inches thick) at 18 to 25 feet, positioned above your target zones. Mark them with flagging tape. Check that a ladder can reach safely — if the limb you want needs a 32-foot extension ladder on uneven ground, pick a different limb or call a pro.
3. Size and buy the system. Count fixtures (one per zone, per the sizing guide), add up wattage, and buy a transformer with 25% headroom. Get direct-burial cable, waterproof wire connectors, a mounting bracket per fixture, and one stainless lag bolt per bracket. Buy 20% more cable than you measure — the slack loops and the route around roots always eat more than you expect.
4. Run the cable first. Lay the cable from the transformer location to each tree base, burying it 6 inches or tucking under mulch. At each tree, coil 2 to 3 feet of slack at the base for future growth, then run the cable up the trunk to each mounting limb, securing it loosely — never tight. I use tree-friendly cable staples or just let it rest in bark crevices on rough-barked trees.
5. Mount the fixtures. With a helper steadying the ladder, drill a pilot hole and drive the lag bolt into the limb, attach the bracket arm, and hang the fixture. Aim it downward and slightly outward from the trunk. Make all wire connections with waterproof connectors and tuck them out of sight.
6. Aim and test at night. This step is non-negotiable. Turn everything on after dark, walk the ground, and adjust each fixture's angle. You're looking for soft dapple on your target zones, no bright bark columns, no fixture glare visible from seating areas. Small angle changes make huge differences — nudge, check, repeat.
7. Set the timer and walk away. Put the transformer on a dusk-to-dawn timer or smart plug. Then live with it for a week before deciding whether to add fixtures. Your eyes need a few nights to calibrate to what "right" looks like.
What Moonlighting Trees Cost in 2026
Let's talk real numbers, because moonlighting has a reputation for being a "pro-only" luxury and it honestly doesn't have to be.
DIY cost: A quality brass tree-mount downlight runs $60 to $150 per fixture. A 60-watt transformer is $80 to $180. Direct-burial cable is roughly $0.50 to $1 per foot, and brackets plus hardware add about $15 to $25 per fixture. So a typical single-tree project with two fixtures, a transformer, and 100 feet of cable lands around $300 to $550 in materials. Add a third fixture or a second tree and you're in the $500 to $800 range. The big variable is whether you already own a tall enough ladder.
Pro cost: A landscape lighting contractor typically charges $250 to $500 per installed fixture, all-in — fixture, wiring, transformer share, mounting, and aiming. A two-fixture single-tree job usually runs $800 to $1,500; a multi-tree design with three or four fixtures lands around $1,800 to $3,000. What you're really paying for is the aiming expertise and the tall-ladder work — and honestly, the aiming is worth real money. A pro who's done fifty trees will nail the dapple on the first night; a first-timer might need three tries.
Running costs: This is the happy surprise. LED moonlighting fixtures draw 6 to 10 watts each. Two 8-watt fixtures running 8 hours a night use about 3.8 kilowatt-hours per month — at average US residential rates, that's roughly 50 cents a month. You will spend more on the mulch you bury the cable under.
Long-term value: Quality brass fixtures last 15 to 20 years; the LED modules inside them are typically rated 40,000 to 50,000 hours (over a decade of nightly use). Budget for a new transformer every 10 years or so ($100ish). Compared to most landscape upgrades, moonlighting is one of the cheapest per-year-of-enjoyment projects you can do.

6 Mistakes That Ruin the Moonlighting Effect
I've seen every one of these in real yards — including, I'm slightly embarrassed to say, my own first attempt.
1. Fixtures that are too bright. The number-one killer. A 900-lumen "security" downlight in a tree doesn't look like moonlight; it looks like a helicopter is landing. Stay at 200 to 400 lumens per fixture. Moonlight is dim — that's the whole point.
2. Wrong color temperature. Anything above 3000K reads blue-white and clinical against foliage. Cool white moonlighting looks like a parking lot had a baby with a forest. Warm 2700K is the standard for a reason (more on that below).
3. Mounting too low. A fixture at 10 feet throws hard-edged blotches and sits right in everyone's sightline — you see the hardware, the illusion dies. If you can't get to 18 feet, don't force in-tree mounting; use a structure instead.
4. Aiming at the trunk. Light straight down the bark gives you a glowing trunk and a dark lawn — the exact inverse of what you want. Always angle outward through the leaves.
5. Mixing moonlighting with uplighting on the same tree. Uplighting the trunk while downlighting the canopy creates a weird crossfire that looks like a stage set, not nature. Pick one technique per tree. (Uplighting is gorgeous on its own — just give it its own tree.)
6. Forgetting the tree grows. The fixture you mounted perfectly this spring is swallowed by new growth by next fall, or the cable you ran snug is now cutting into bark. Check mounting points and wire slack every spring. Ten minutes a year saves the installation.
The through-line: every mistake is a version of "too much" — too much light, too much hardware visibility, too much competing light. Moonlighting rewards restraint more than any other technique I know.
Color Temperature: Why 2700K Matters for Moonlighting Trees
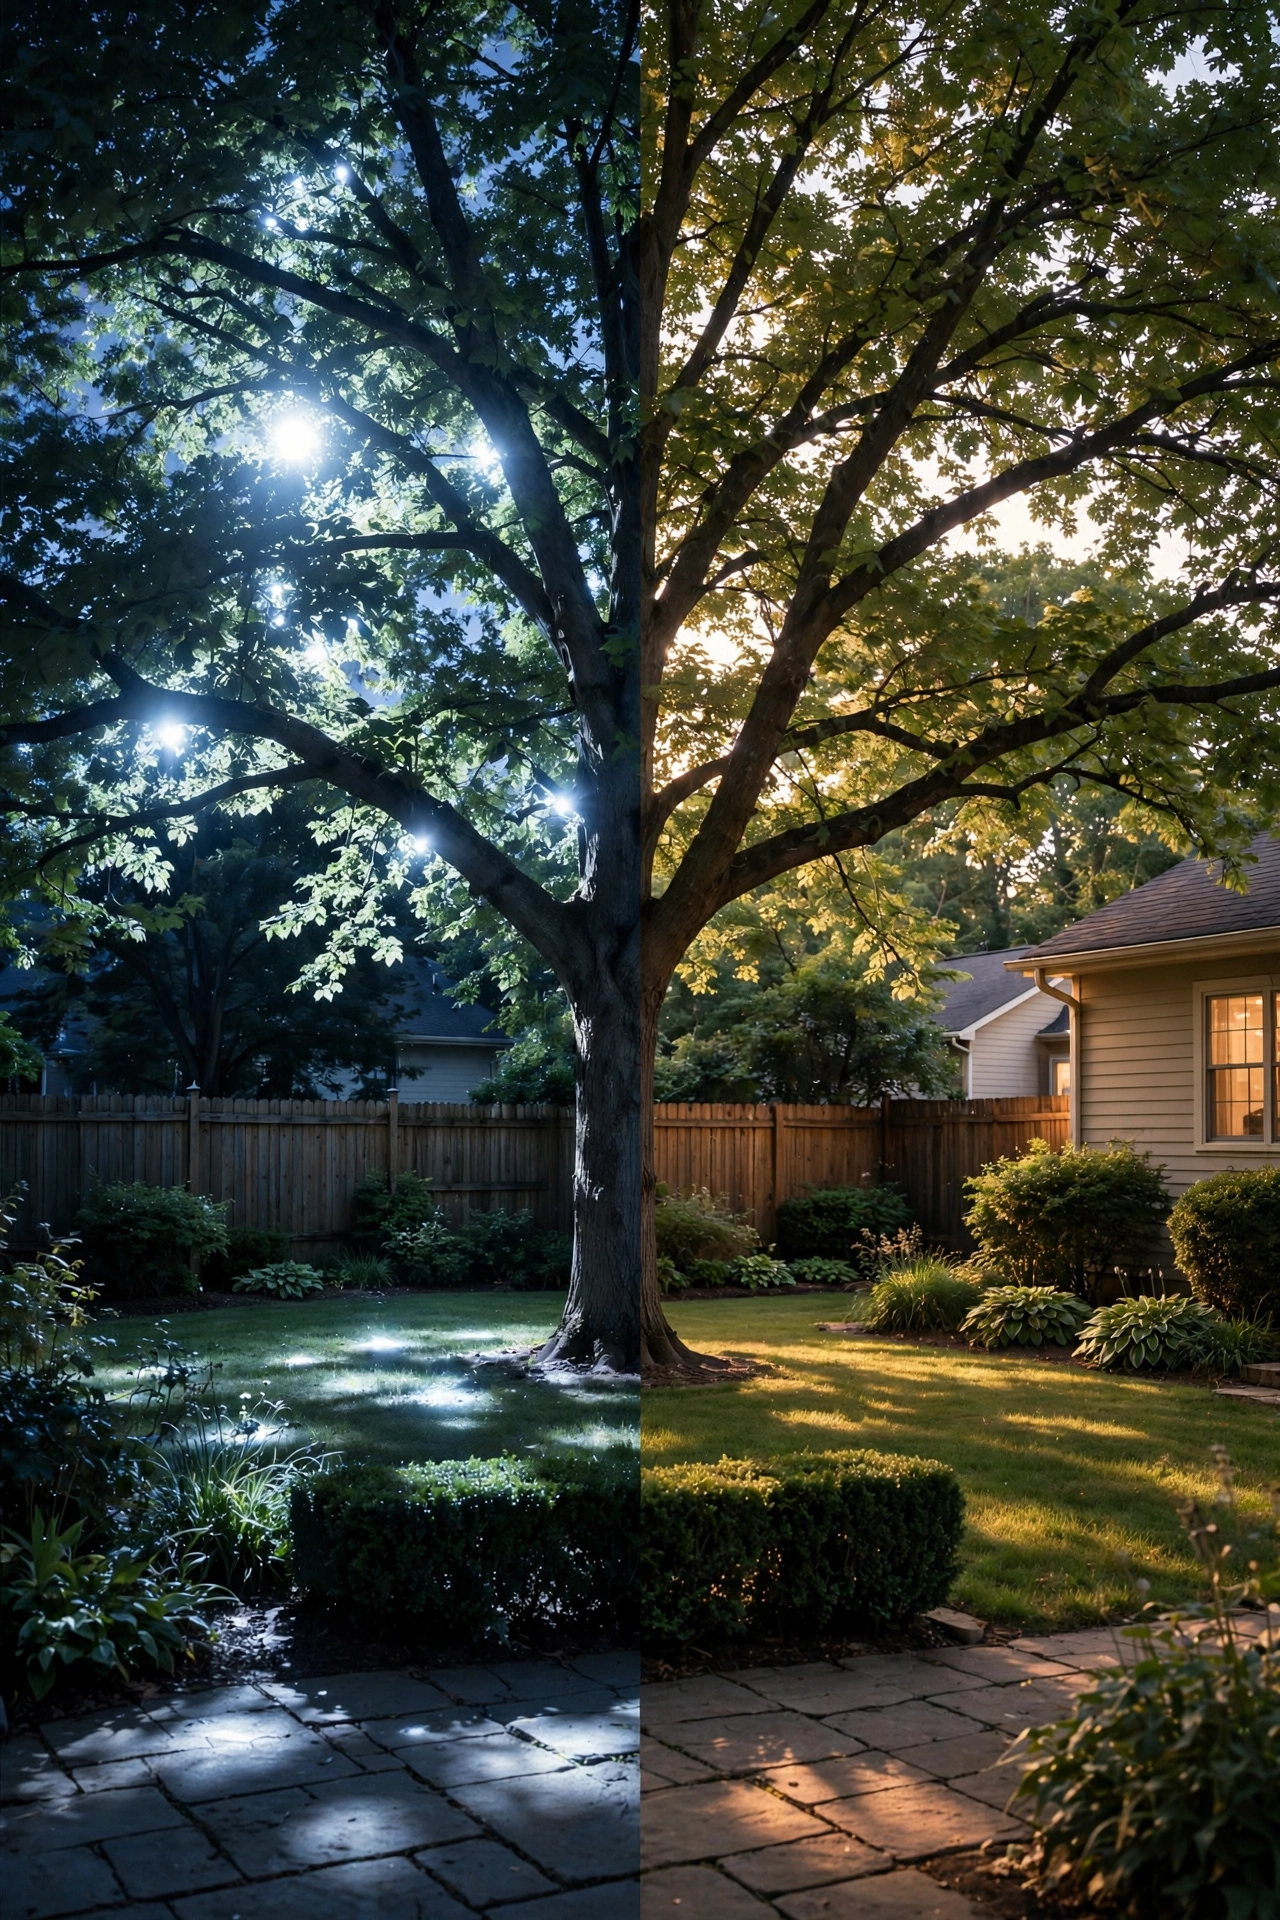
Here's a fun piece of trivia that trips people up: real moonlight is actually cool — around 4100K. So shouldn't moonlighting fixtures be cool white to match?
No — and this is one of those cases where the technically accurate choice looks wrong and the "wrong" choice looks right. Here's why: your eye doesn't judge the light in isolation; it judges it against everything around it. At night, your warm-lit house (2700K porch lights, warm interior glow through windows) sets the baseline. A 4100K downlight in the tree clashes with that warmth and reads as harsh and artificial — your brain files it under "fluorescent," not "moonlight."
2700K warm white, on the other hand, blends seamlessly with the rest of a residential landscape. It makes foliage glow with that golden-green richness, flatters skin tones at the patio table, and — crucially — it *feels* like evening. Every lighting designer I've ever talked to lands in the same place: 2700K for moonlighting, 3000K at the absolute maximum if your whole property already runs slightly cooler.
One more practical note: buy all your moonlighting fixtures at the same color temperature, from the same product line if possible. A 2700K fixture next to a 3000K fixture on the same tree creates a subtle mismatch your eye will catch even if you can't name it — one side of the dapple looks golden, the other looks pale. Consistency is invisible; inconsistency is a splinter.
Maintenance and Seasonal Care
Moonlighting is one of the lowest-maintenance lighting techniques out there, but "low" isn't "zero." Here's the seasonal rhythm I follow.
Spring: Do your annual check. Walk each tree and look at the mounting hardware — has new growth started to swallow the bracket or cable? Loosen and reposition anything getting engulfed, and re-dress the slack loops at the trunk base. This is also the moment to re-aim: a winter's worth of broken twigs and new spring growth changes the canopy, and the dapple pattern shifts with it. Wipe the lenses while you're up there — a season of pollen and dust can dim output by a surprising amount.
Summer: Peak season, minimal work. Enjoy it. If a heat wave drops a lot of leaves early, you may notice brighter patches where foliage thinned — that's normal and usually self-corrects. Just trim back any branch that's grown directly across a lens.
Fall: Leaf drop changes everything for deciduous trees. As the canopy thins, the dapple gets sharper and brighter — some people love the late-fall look, all branch shadows and drama. If it gets too stark for your taste, dim the fixtures (if your transformer supports it) or just enjoy the seasonal show. Rake leaves away from ground-level cable runs and check that buried cable hasn't surfaced.
Winter: Here's the honest truth about moonlighting deciduous trees in winter: bare branches create striking shadow patterns but no soft dapple, and snow on the ground bounces the light beautifully. It's a different effect — still lovely, just different. Evergreens, meanwhile, moonlight all winter long, which is one reason I always suggest including at least one pine or spruce in a moonlighting plan if your climate allows. For more ideas on keeping the yard glowing through the cold months, my winter landscape lighting ideas guide covers the full seasonal playbook.
One last habit: after any big storm, do a quick visual check from the ground. Limbs shift, fixtures get knocked, and a fixture that's rotated 20 degrees by wind will throw its beam somewhere you never intended.
Frequently Asked Questions
Does mounting a light in a tree hurt the tree?
No — not when it's done right. A single stainless lag bolt into a limb at least 4 inches thick is a small, clean wound that a healthy tree compartmentalizes naturally; arborists drill into trees far more aggressively for cabling and research. What harms trees is girdling — wire, straps, or zip ties wrapped tightly around a trunk or limb that the tree then grows around and strangles itself on. Use one bolt, keep all cable runs loose with slack loops, re-check every year or two, and the tree won't notice. If you're still nervous, mount on a nearby structure instead — the effect is nearly identical.
How high should moonlighting fixtures be mounted?
Aim for 18 to 25 feet off the ground on most residential trees — roughly two-thirds of the tree's total height. The key requirement is that the light passes through at least 8 to 10 feet of foliage before reaching the ground; that distance is what softens the light into believable dapple. Below about 15 feet, fixtures become visible from the ground and throw harsh blotches instead of soft patterns. If your tree is too short to hide a fixture at that height, mount the fixture on a nearby house eave, pergola, or tall pole and aim through the canopy.
What's the difference between moonlighting and uplighting?
They're opposites. Moonlighting puts fixtures high in the canopy pointing down, creating soft, natural dappled light on the ground — subtle, ambient, invisible hardware. Uplighting puts fixtures on the ground pointing up, dramatically lighting the trunk and underside of the canopy — bold, theatrical, visible effect. Moonlighting is for mood and usable ambient light under the tree; uplighting is for drama and showcasing the tree's architecture. Never do both on the same tree — the competing directions look like a stage set. Pick the technique that matches the job.
Can you moonlight a small tree?
Not from inside the tree itself — a 12-foot ornamental canopy can't hide a fixture or provide enough filtering distance, so you'll just get a visible light and harsh shadows. But you can absolutely get the moonlighting *effect* on a small tree by mounting the fixture somewhere tall nearby: a second-story eave, a tall pergola beam, a sturdy 15-to-20-foot pole set a few feet away, or even a much taller neighboring tree. Aim the beam down through the small tree's canopy from above and the dapple appears exactly as it should. Crape myrtles, dogwoods, and Japanese maples all moonlight beautifully this way.
How much does it cost to moonlight a tree?
DIY runs about $300 to $550 for a typical single-tree, two-fixture setup (fixtures, transformer, cable, hardware), assuming you own a suitable ladder. A professional installation runs $800 to $1,500 for one tree with two fixtures, or $1,800 to $3,000 for a multi-tree design — you're paying for the tall-ladder work and the aiming expertise. Running costs are negligible: LED fixtures draw 6 to 10 watts each, so a two-fixture setup costs roughly 50 cents a month in electricity. Quality brass fixtures last 15 to 20 years, making this one of the cheapest landscape upgrades per year of enjoyment.
Conclusion
Moonlighting trees is the closest thing landscape lighting has to pure magic — and now you know it's not magic at all, just thoughtful physics: warm 2700K light, mounted high, filtered through leaves, aimed with intention. Start with one good tree, one or two modest fixtures, and the patience to aim them properly on a dark night, and you'll have the kind of yard people slow down to look at.
If this has you reimagining your whole evening landscape, keep browsing — there are plenty more lighting ideas on the site to layer with your new moonlit canopy, from string lights to seasonal displays. Your trees have been waiting their whole lives for this moment. Honestly? So has your backyard.