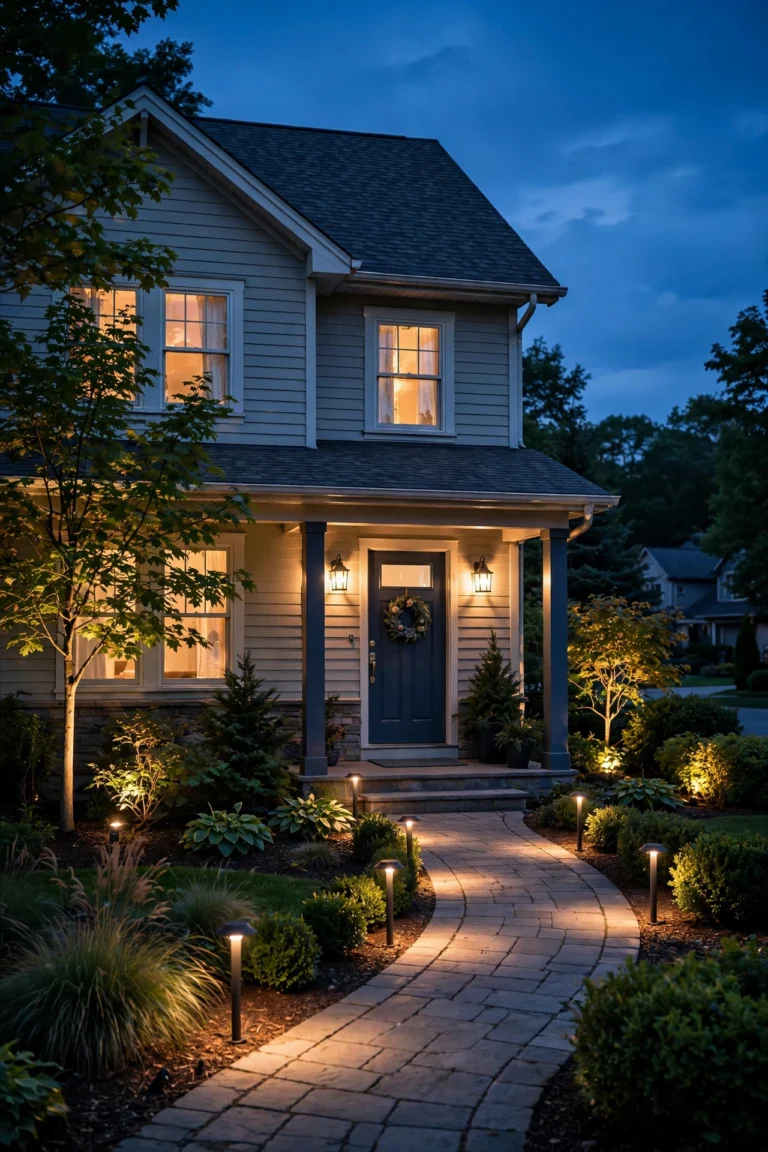
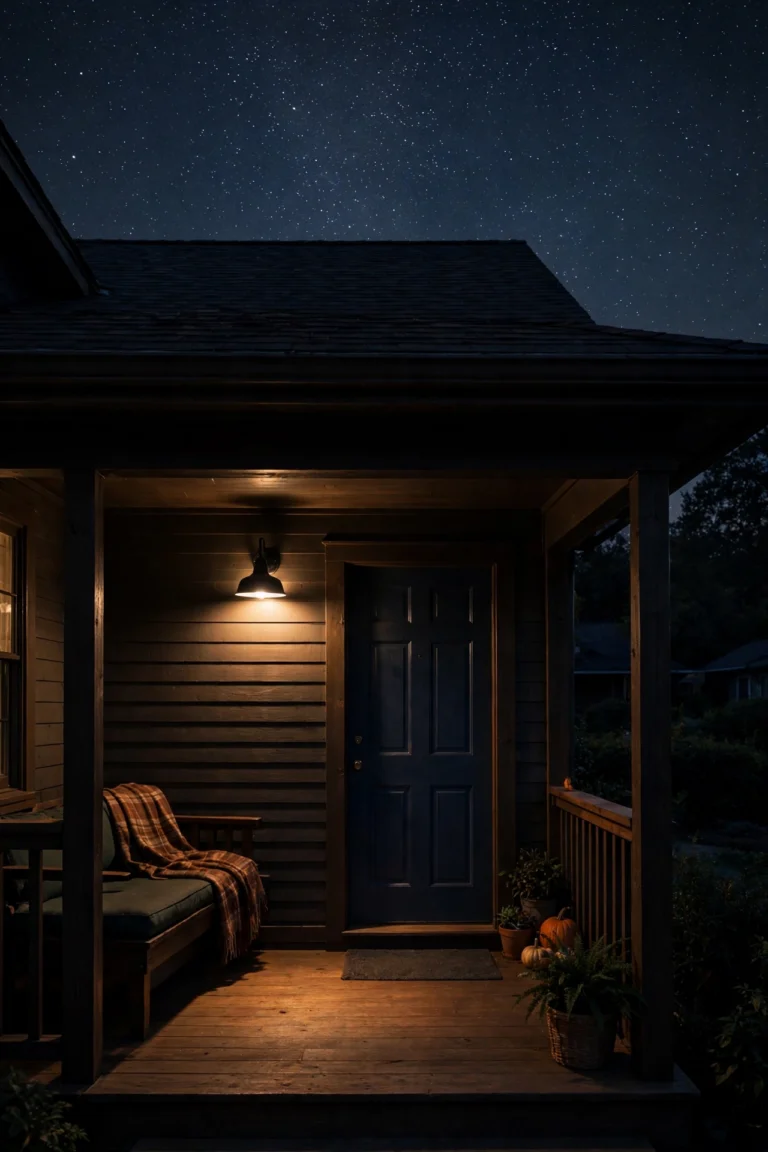
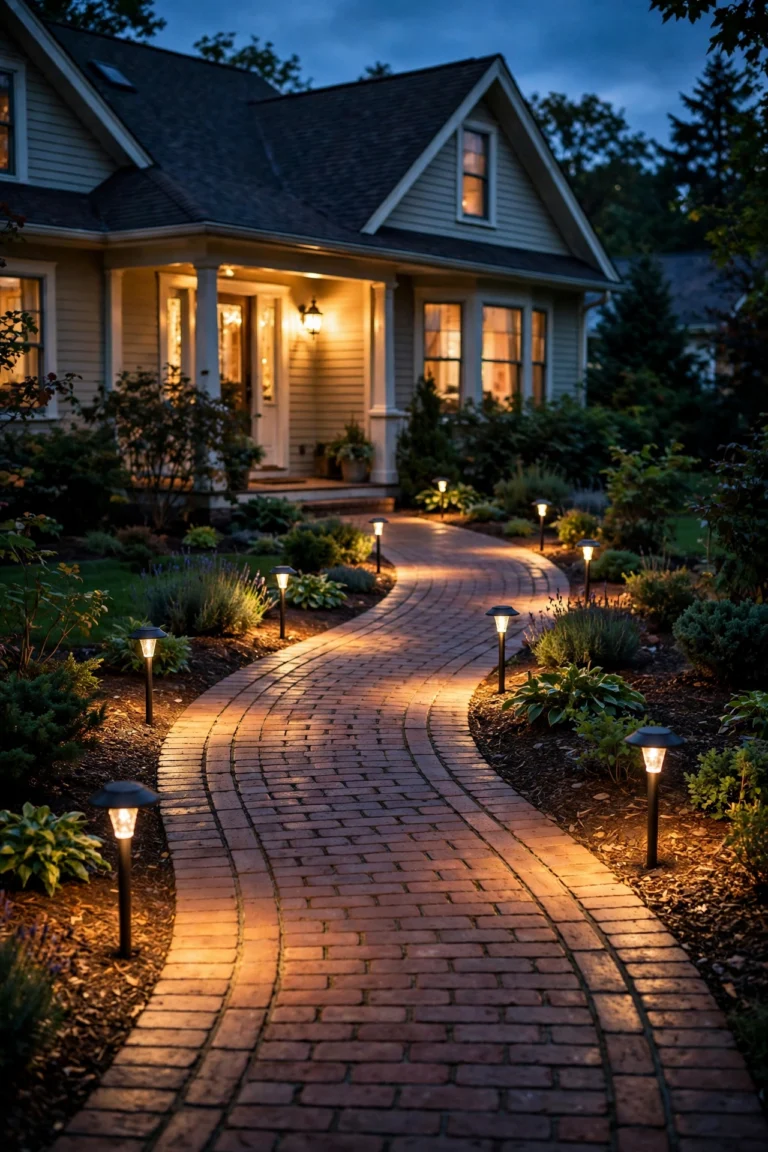
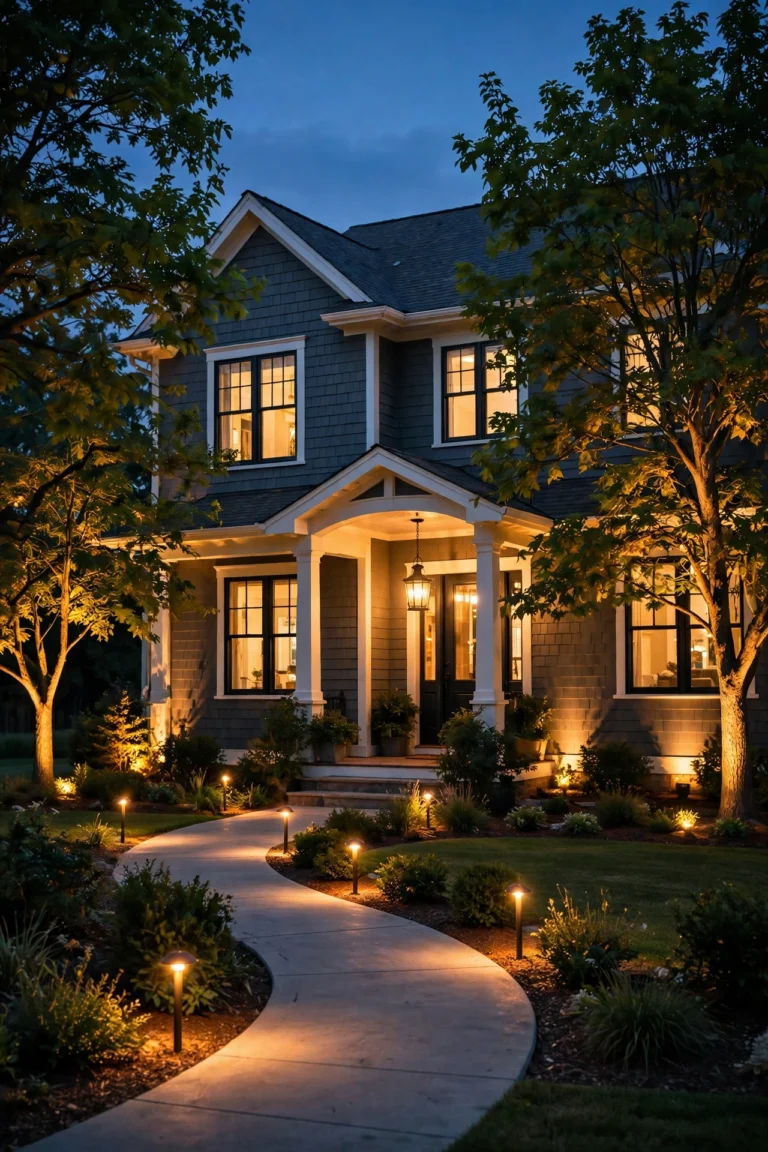
There's a reason the classic barn light has survived over a century of design trends: it just *works*. That curved "gooseneck" arm, the broad metal shade, the pool of warm light washing down a weathered wall — it reads as farmhouse before your brain even registers the house. When I first started planning gooseneck barn lights outdoor setups for my own porch, I learned the secret fast: layering. One lonely fixture above the front door looks like an afterthought; two or three placed with intention looks like a home that's been loved for decades. In this guide, I'm sharing 19 gooseneck barn light ideas that cover every exterior — from front door pairs and garage doors to grill stations, gate posts, and real old barns — with the mounting heights, arm lengths, bulb choices, and finishes that make each one sing.
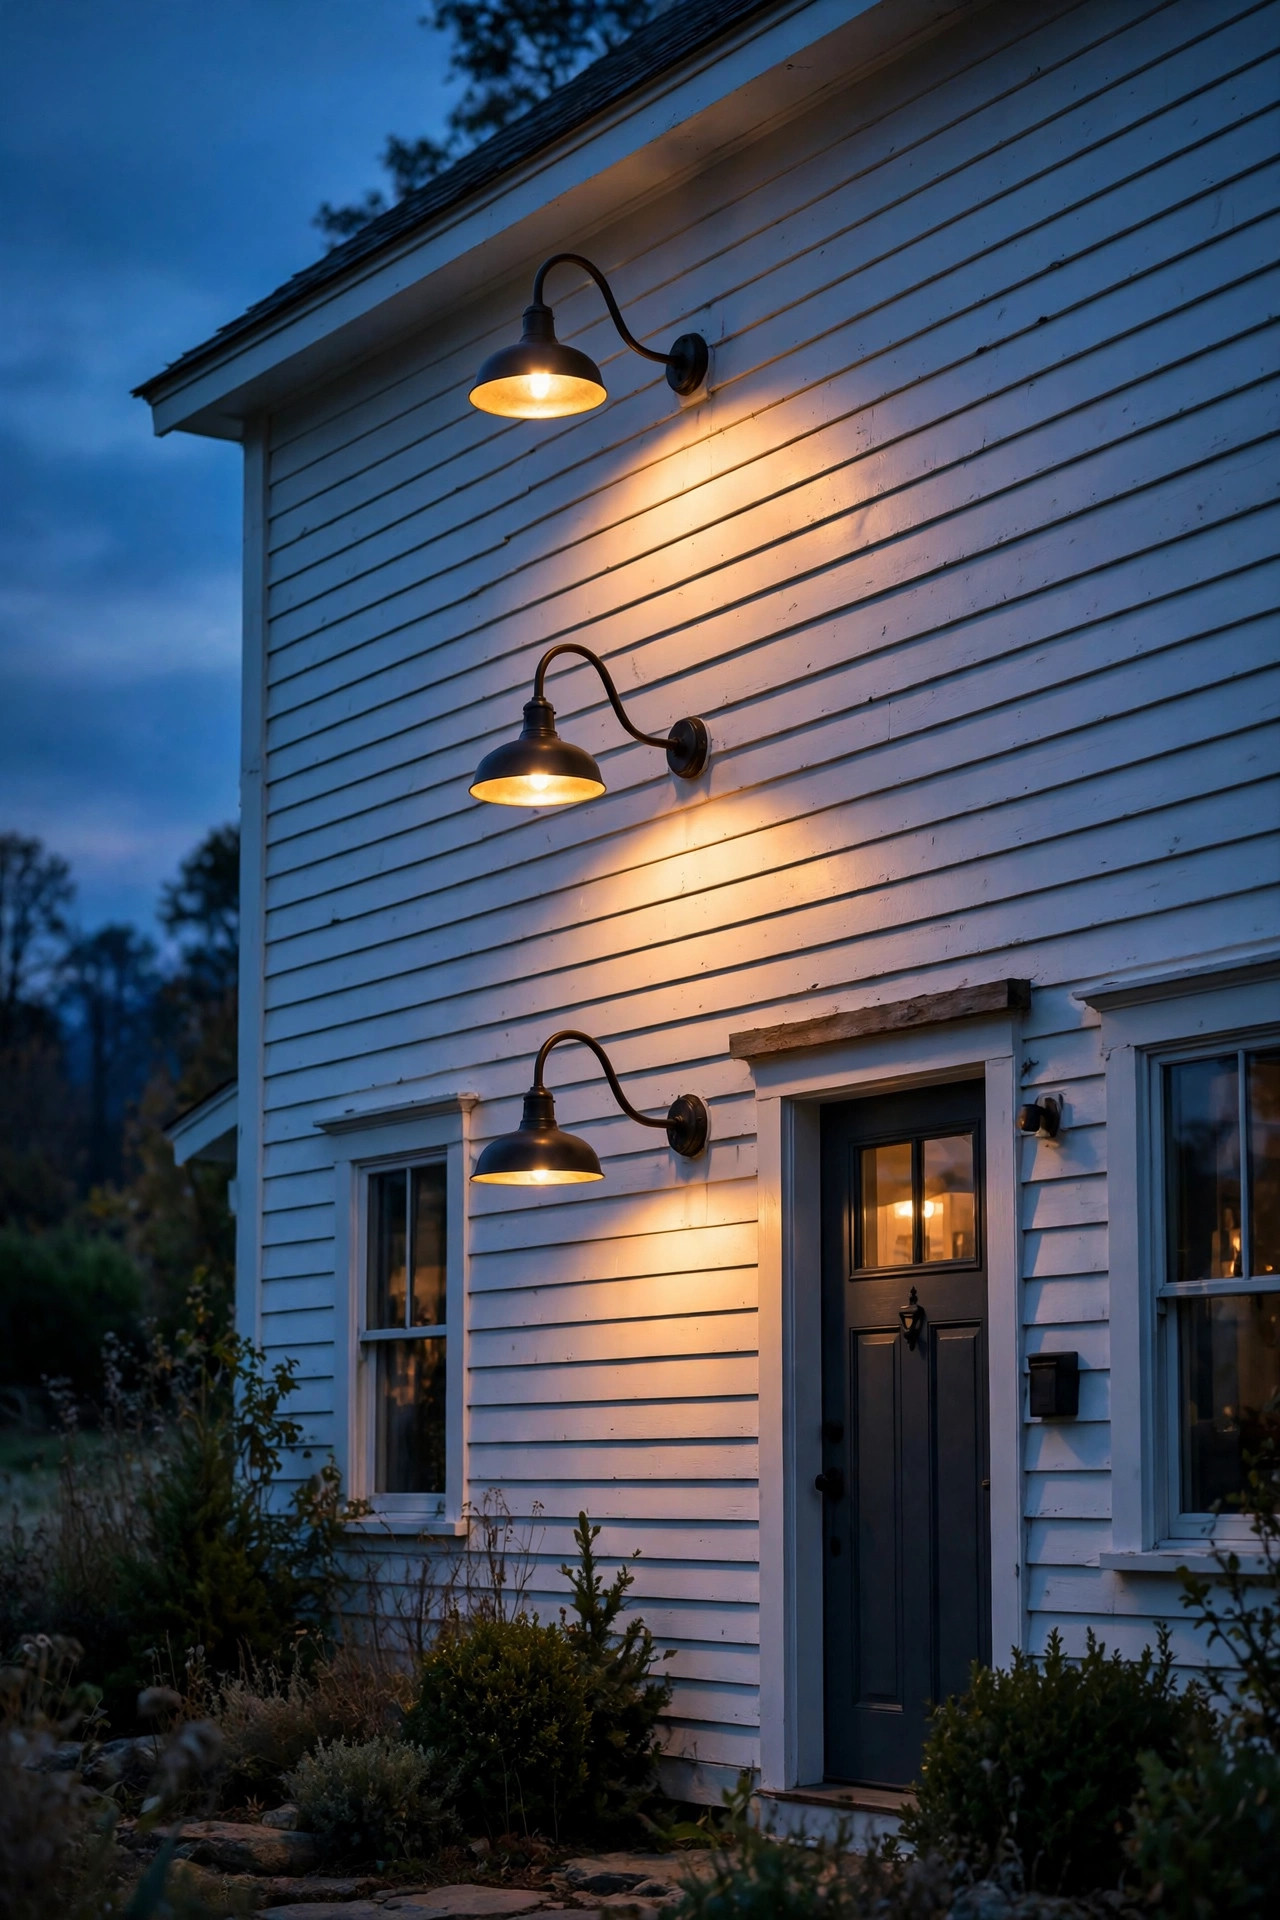
1. Classic Pair Flanking the Front Door
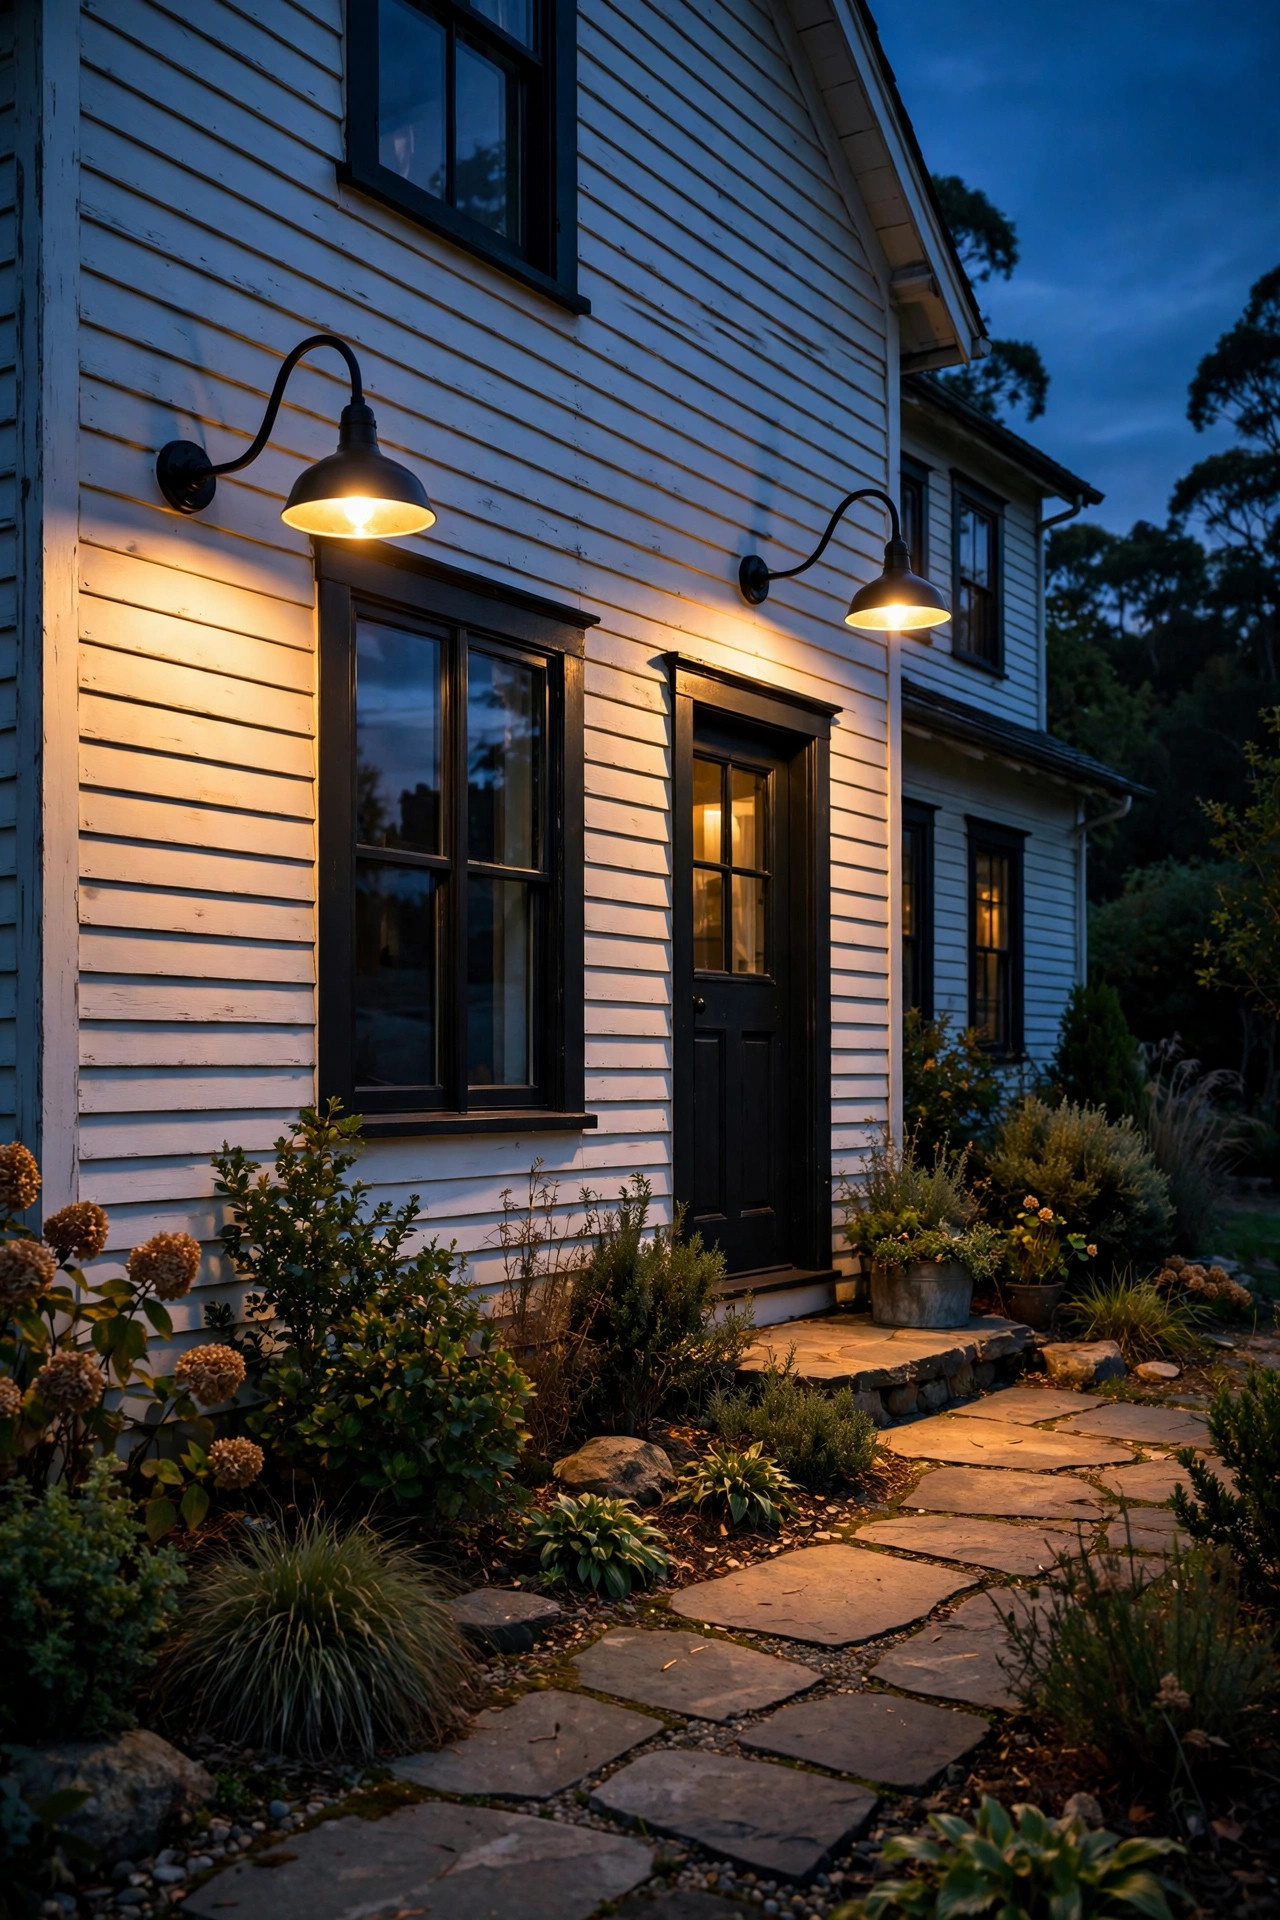
If you only do one thing on this list, let it be this. Two gooseneck barn lights flanking the front door is the farmhouse look people fall in love with — symmetrical, welcoming, and instantly high-end. In my experience, the magic is in the mounting height: center each fixture about 66–72 inches above the porch floor (roughly eye level), and set them 6–10 inches out from the door frame on each side so the light washes the trim and the steps below. Go with 10–12 inch shades for a standard 36-inch door; anything smaller gets swallowed by a wide porch. I always recommend warm-white LED bulbs (2700K) here — bright enough to see keys and faces, soft enough to feel like a hug. Use a gooseneck arm of 8–12 inches so the shade clears the door trim and casts a wide downward pool. Wiring tip: if you don't have existing boxes at this height, an electrician can usually add them in under an hour per fixture, and outdoor-rated boxes with silicone gaskets keep rain out of the wiring. End with a matching welcome mat and you're done.
Suggested budget range: $80 – $200.
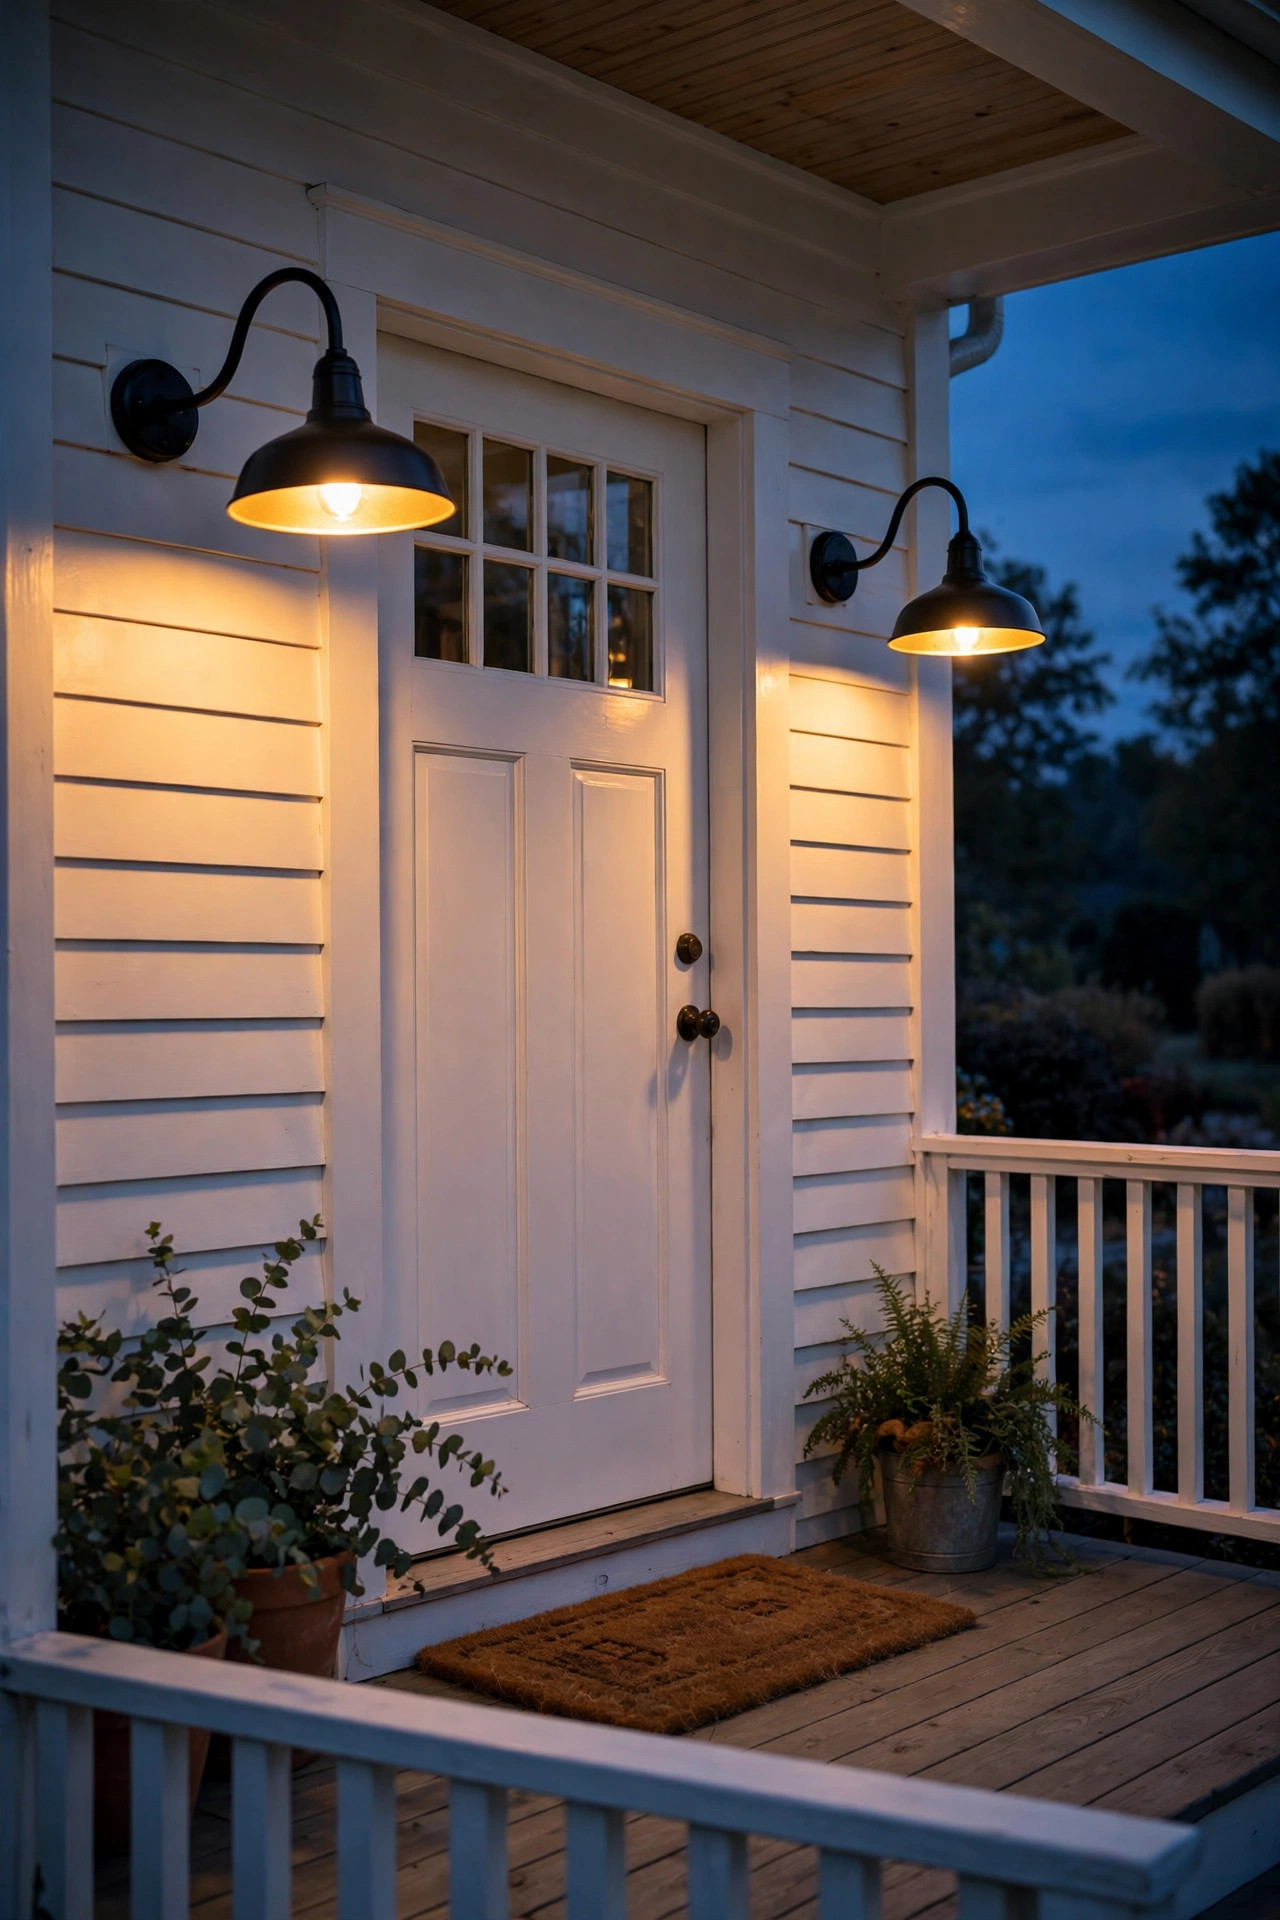
2. Over the Garage Doors
Garage doors eat light — they're big, dark, and usually the first thing you see from the street. One well-placed gooseneck barn light above each door (or a single centered fixture over a one-car garage) fixes that fast. Mount the fixture 12–18 inches above the top of the garage door trim, centered on each bay. For a standard 9-foot-wide door, a 12–14 inch shade with a 12-inch arm gives you a generous pool of light without spilling into your neighbor's windows. Honestly? This is the upgrade guests notice most, because it makes the whole facade feel finished at night. Go for a dark finish — matte black or oil-rubbed bronze — against light siding for contrast, or a galvanized finish on darker barns. Use 60-watt-equivalent LED bulbs (about 800 lumens) so the driveway stays safe and readable. If your garage has no wiring up there, battery-powered motion-sensor barn lights are a decent temporary fix, but hardwired fixtures on a timer always look better.
Suggested budget range: $120 – $300.
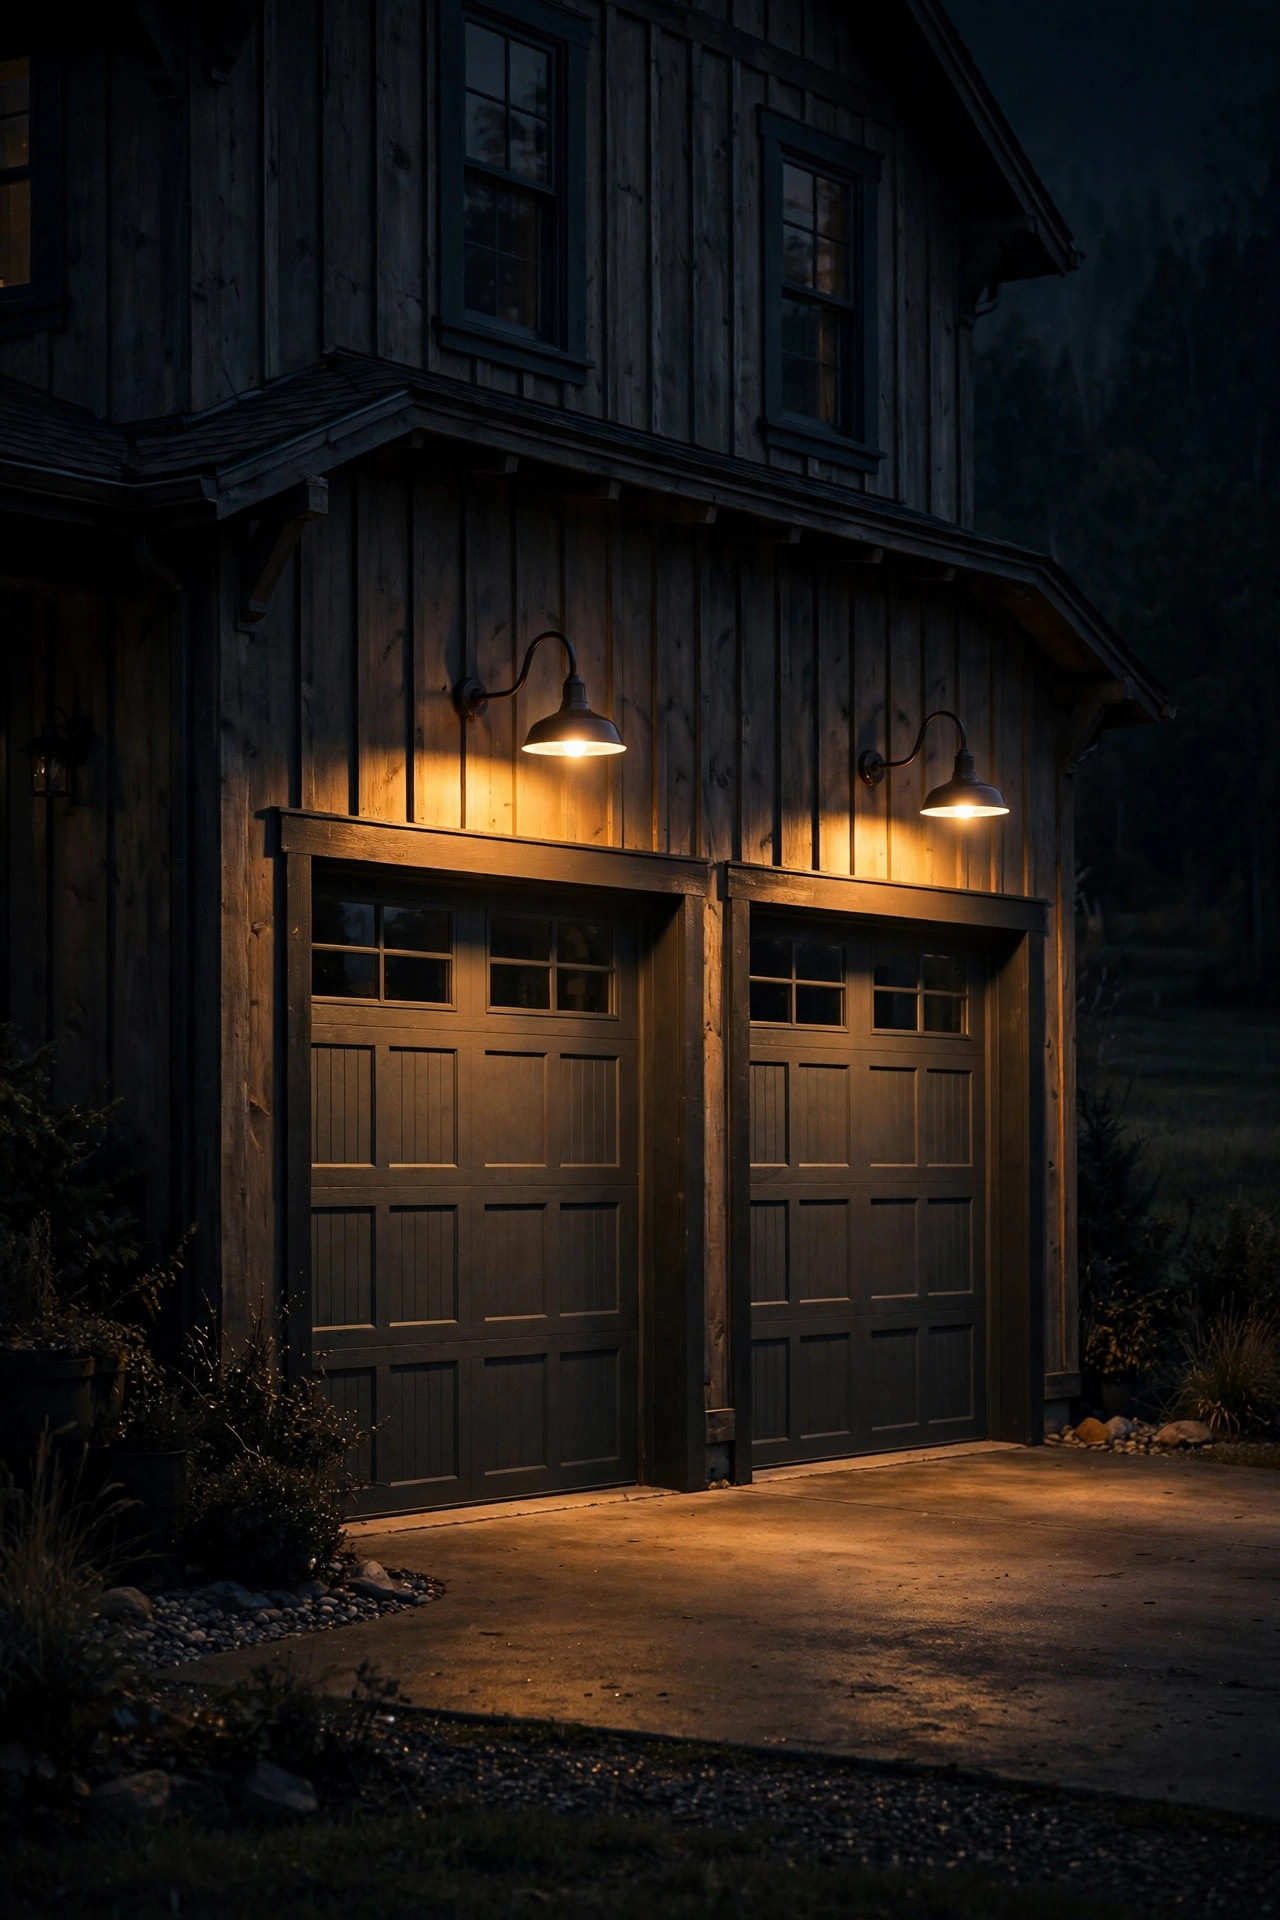
3. Match the Shade Size to Your Outdoor Wall: Gooseneck Barn Lights Outdoor Done Right
Here's where most people go wrong with gooseneck barn lights outdoor projects: they buy a cute 8-inch shade for a two-story wall and it looks like a toy. Size is everything. The rule I always recommend: the shade diameter should be roughly 1/4 to 1/5 the width of the surface it's mounted over — a 36-inch door gets a 10-inch shade, a 16-foot-wide garage wall gets a 14–16 inch shade. Arm length matters too: 8-inch arms hug the wall for tight porches, while 12–18 inch arms throw light farther out and create that dramatic downward wash on wide walls. On a large barn wall, don't be shy — 16–20 inch shades with long arms look *right* and read from the road. Measure your mounting surface before you shop, and tape a paper circle of the shade size on the wall to visualize it. It feels silly; it works every time. Also check the canopy size — the part that meets the wall — so it covers your junction box fully (most are 4–5 inches).
Suggested budget range: $70 – $180.
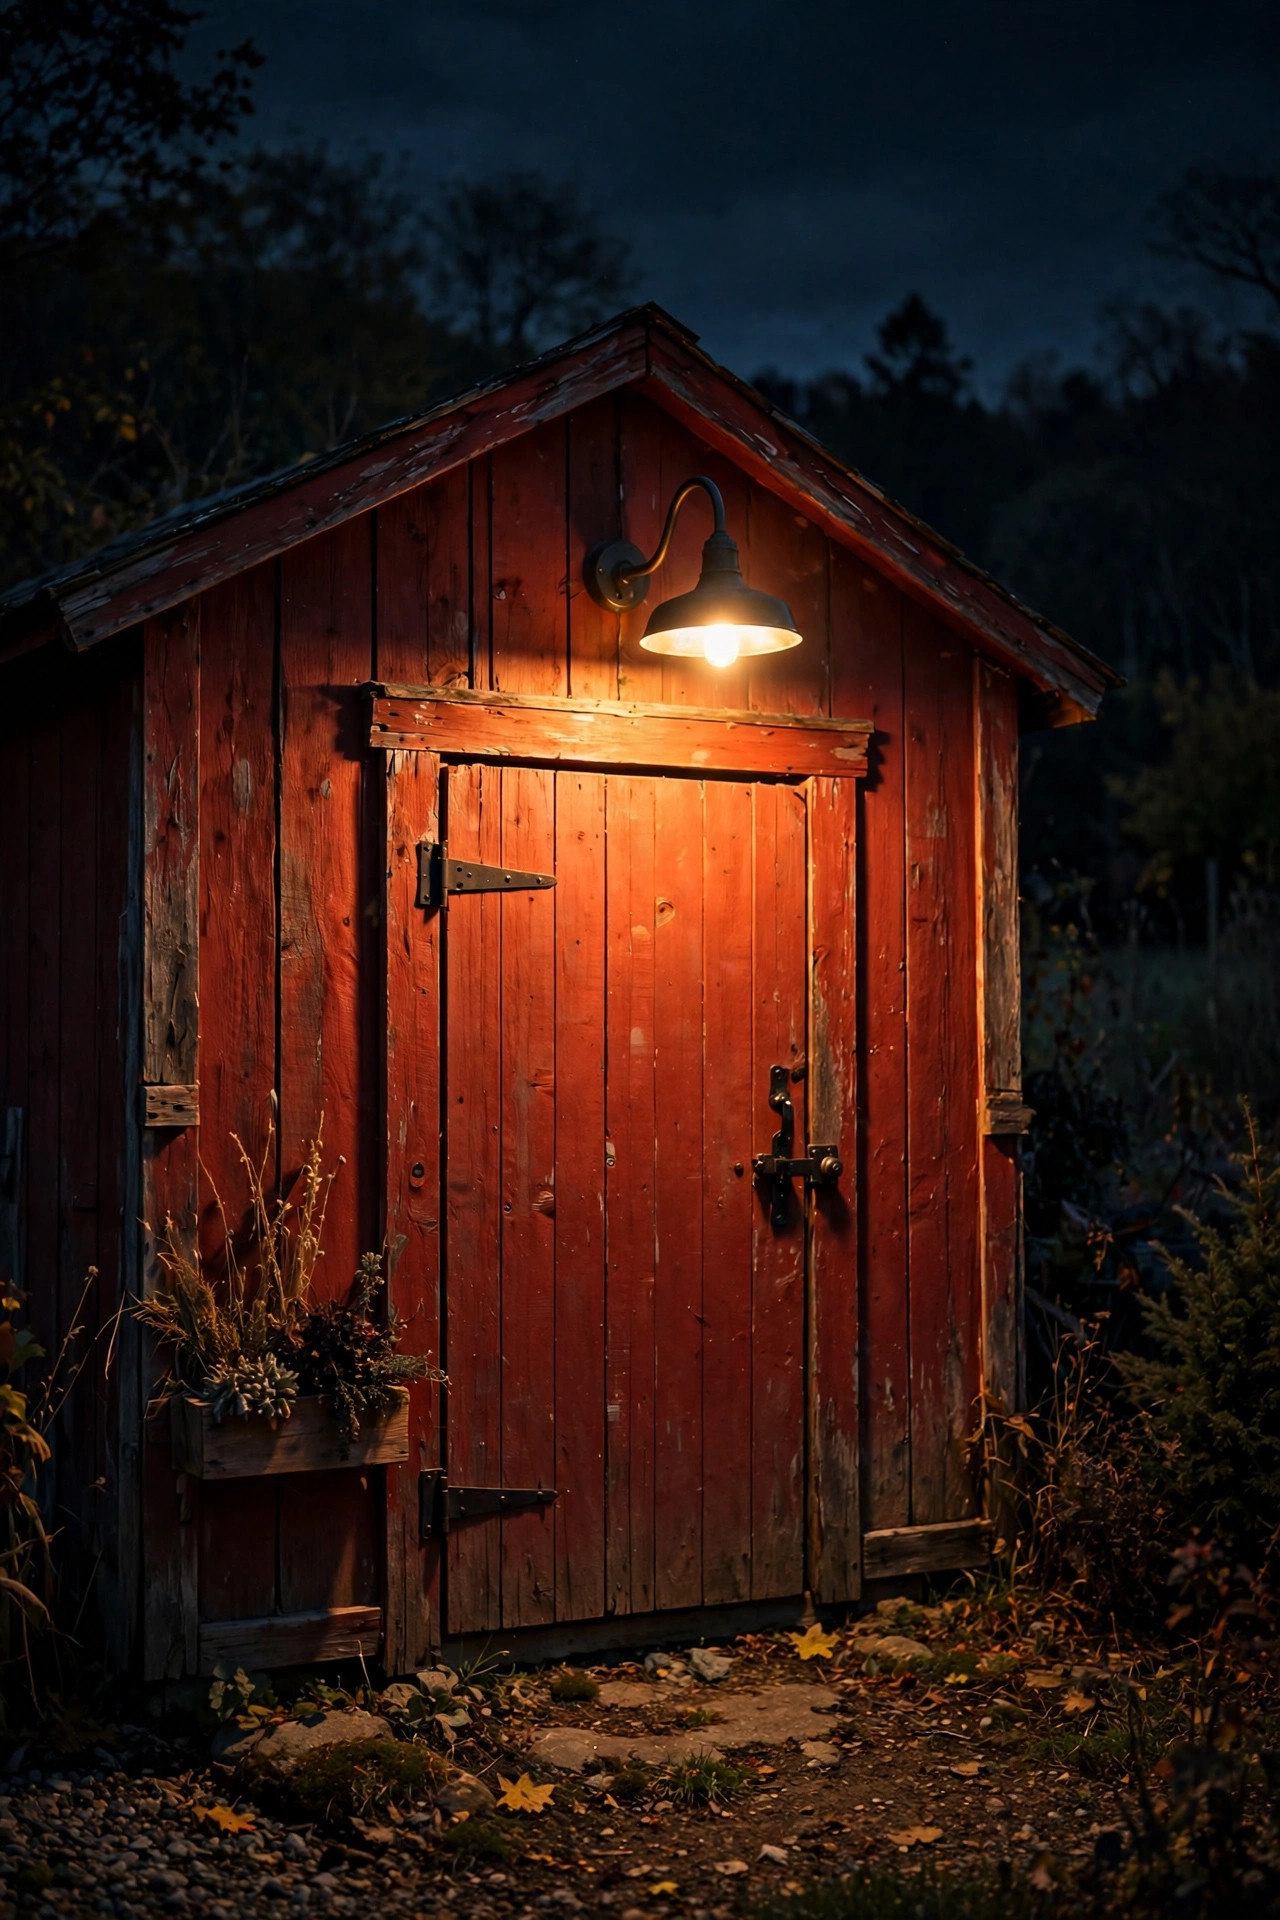
4. Above a Barn-Style Shed or Detached Garage
That little shed in the backyard? It deserves lighting too. One gooseneck barn light centered above the shed door turns a plain outbuilding into a picture — and keeps the walkway safe after dark. Because sheds are usually small, scale down: an 8–10 inch shade on an 8-inch arm is plenty. Mount it 12 inches above the door frame. This is also the perfect spot for a solar-powered barn light if running wire to the shed isn't practical — modern solar barn lights with a separate panel hold a charge for 8–10 hours and look nearly identical to wired ones from ten feet away. I always recommend LED-only fixtures near wooden sheds (no heat near dry wood), and check that the fixture is rated for wet locations — "damp rated" isn't enough for uncovered exteriors. Pair it with a gravel path and you've got a backyard vignette that photographs beautifully.
Suggested budget range: $50 – $140.
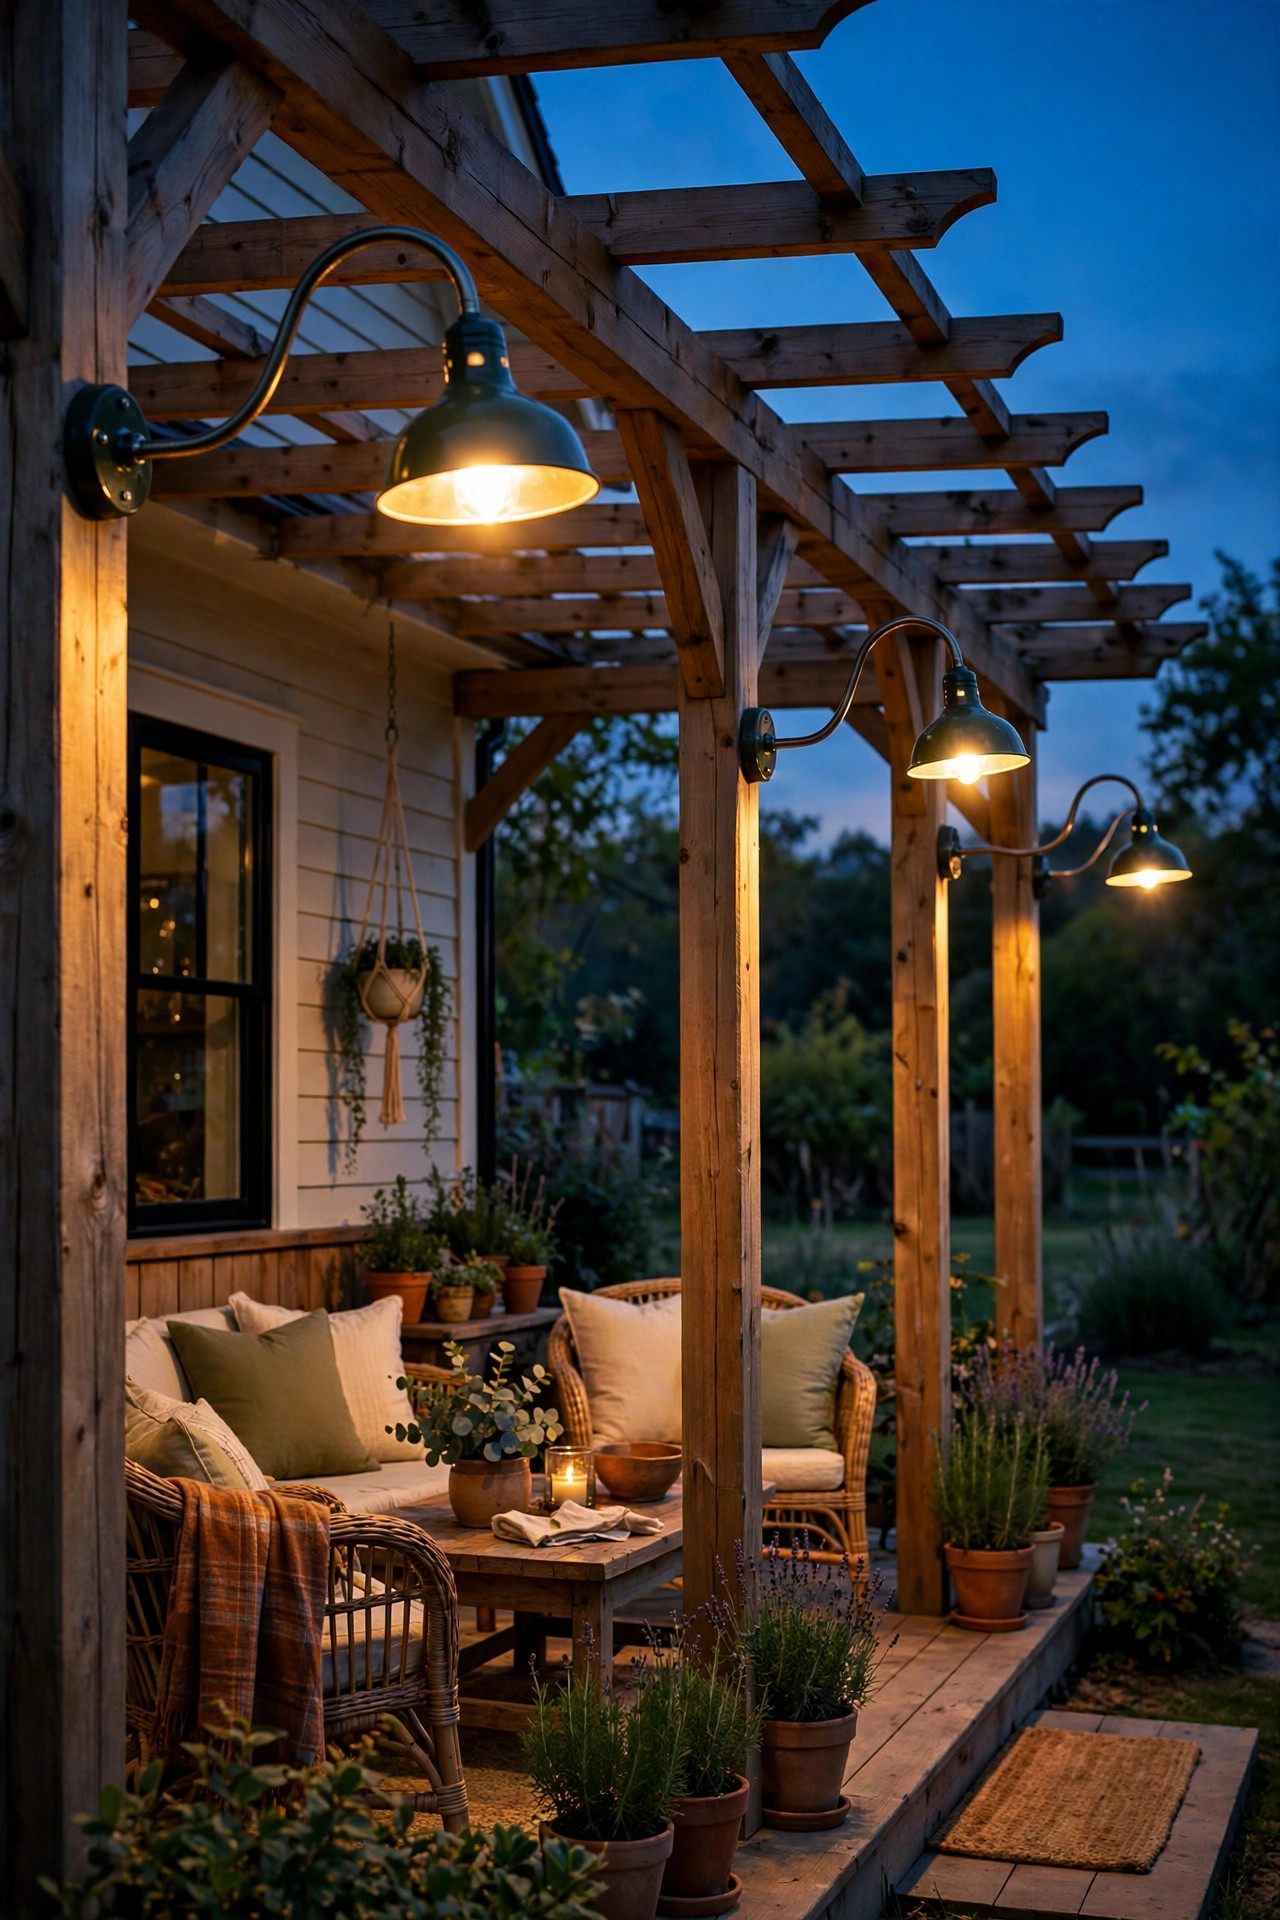
5. Along the Back Porch or Pergola Posts
Your back porch is where summer actually happens, so don't leave it dark. Mounting small gooseneck barn lights on pergola posts or back porch columns creates even, flattering light for grilling, dining, and late-night talks. Spacing rule: one fixture per post, mounted 6–7 feet high, aiming inward so the light pools on the porch floor rather than blinding anyone seated. On an 8-foot pergola post, an 8–10 inch shade with a short arm keeps the profile tidy. In my experience, back-porch barn lights are where dimmable LED bulbs earn their keep — full brightness for cooking, dimmed to a candle-like glow for dessert. Put them on a separate switch or smart plug from your front porch lights so the backyard can have its own mood. Weatherproofing is non-negotiable here: porch ceilings trap moisture, so use sealed wet-rated fixtures and silicone every mounting screw. For more porch inspiration, browse my [fall porch lighting ideas](/fall-porch-lighting-ideas/) for seasonal layering.
Suggested budget range: $150 – $350.
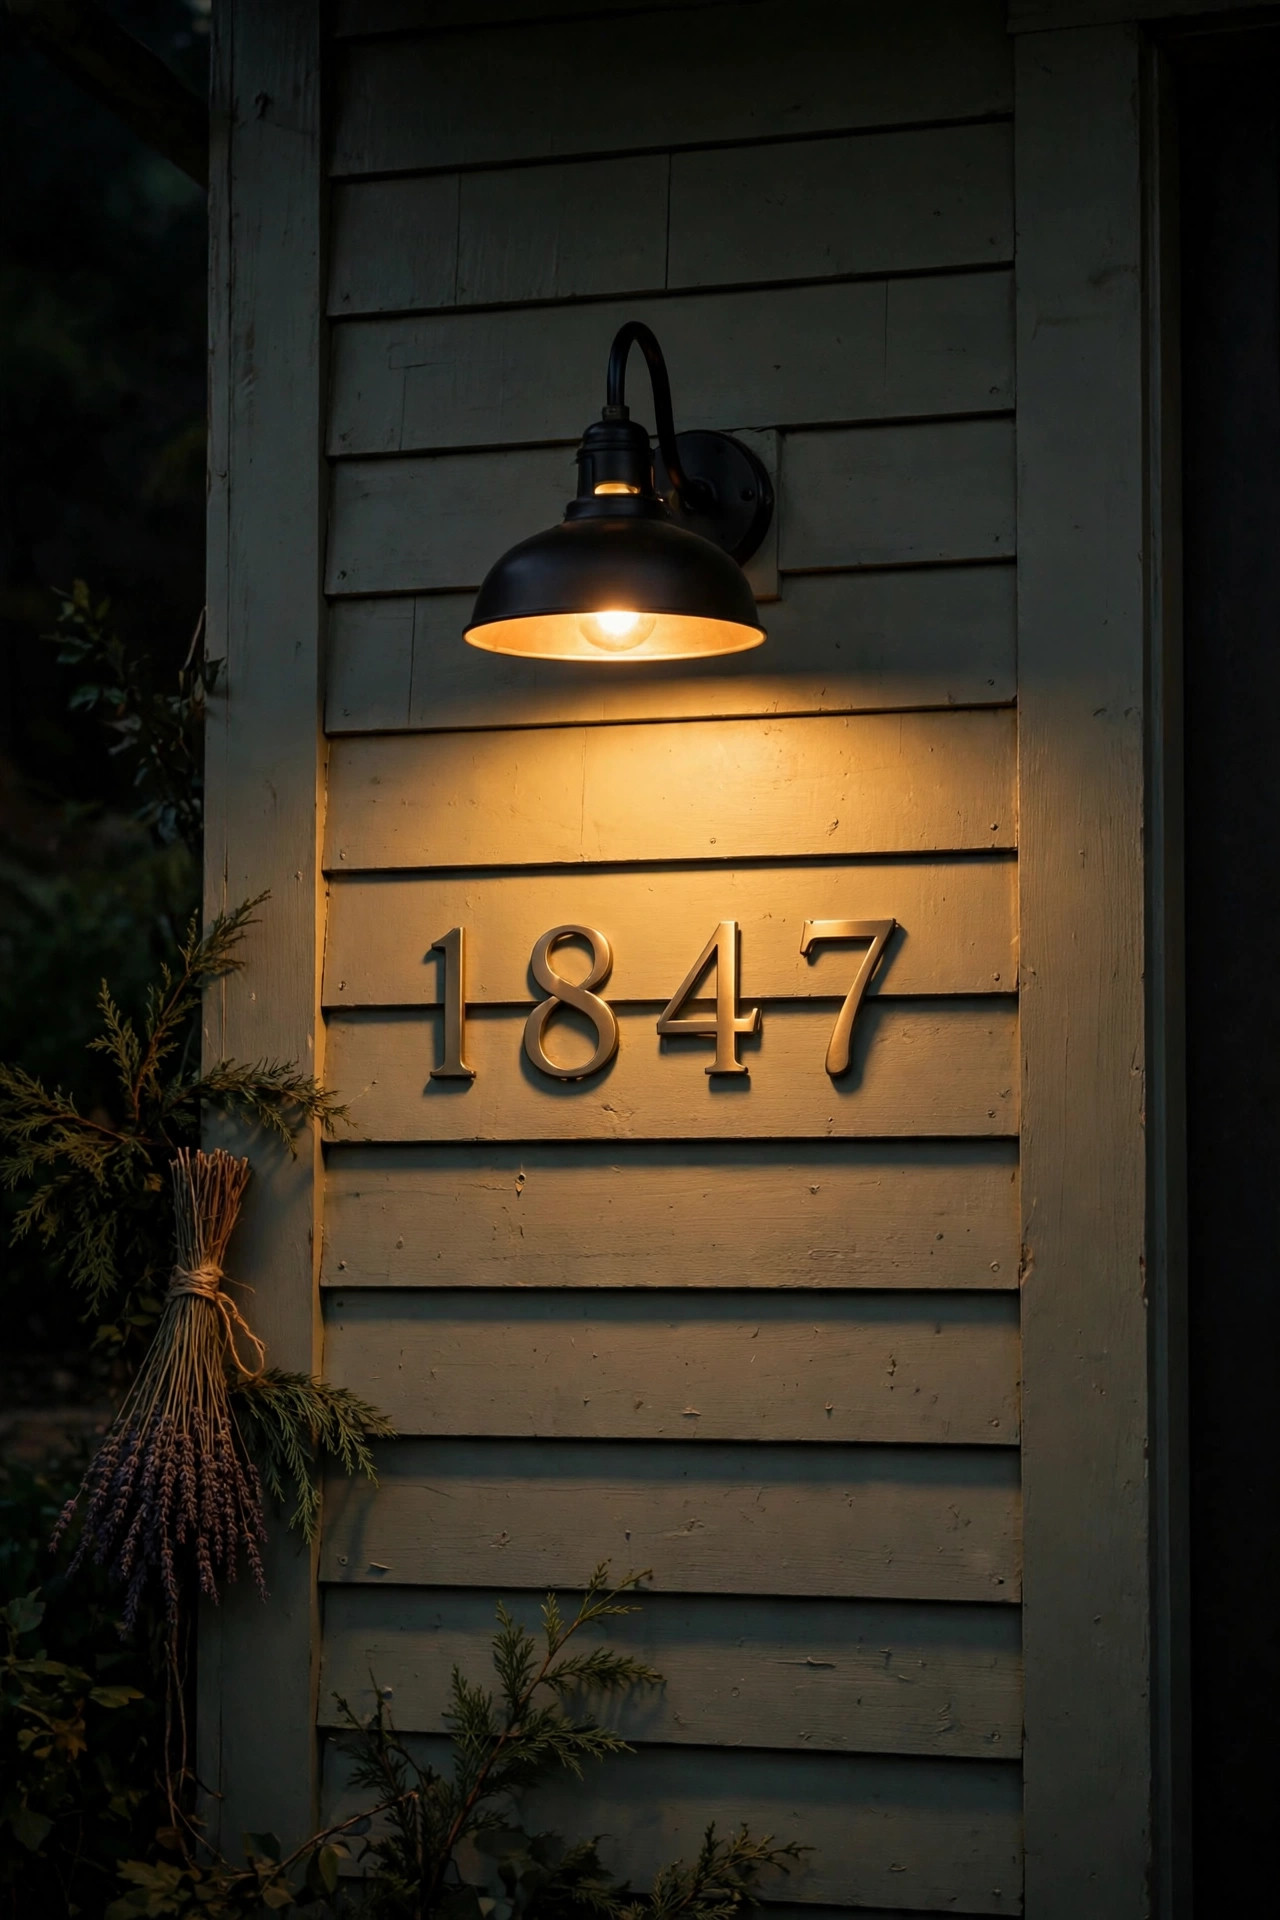
6. Above the House Numbers for Nighttime Curb Appeal
House numbers are useless if nobody can read them after dark — and emergency responders really do notice. Mounting a small gooseneck barn light above or beside your house numbers solves the problem with style. Use a compact 6–8 inch shade on a short arm, mounted about 12 inches above the number plaque, so the light grazes down the surface without glare. Pair matte black fixtures with white raised numbers, or brushed brass-look numbers on a dark bronze fixture, for maximum contrast. In my experience, a narrow-arm gooseneck aimed straight down reads better from the street than a wide-arm fixture that spills light everywhere. Wire it to the same timer as your porch light so the numbers glow whenever the entry does. One more trick: mount it slightly off-center and angle the arm so the light rakes across the numbers — the shadows make each digit pop. It's a tiny project with outsized impact.
Suggested budget range: $40 – $100.
7. Over a Porch Bench or Swing
Reading light belongs on the porch. Mounting a gooseneck barn light above a porch bench or swing — centered about 4 feet above the seat back, on a short 8-inch arm — gives you a cozy task-light zone that feels like an outdoor reading nook. This is where bulb choice really matters: I always recommend a 2700K filament-style LED here, which looks like an old Edison bulb but stays cool to the touch. Since porch swing hardware vibrates slightly, use a fixture with a sturdy stamped-steel shade rather than thin spun metal, and tighten the shade screws with thread-locking compound so they never rattle loose. Put this one on its own switch or a plug-in smart dimmer so you can kill the reading light without darkening the whole porch. Add a couple of throw pillows and a soft outdoor throw and honestly? This becomes the most-used seat in the house.
Suggested budget range: $60 – $150.
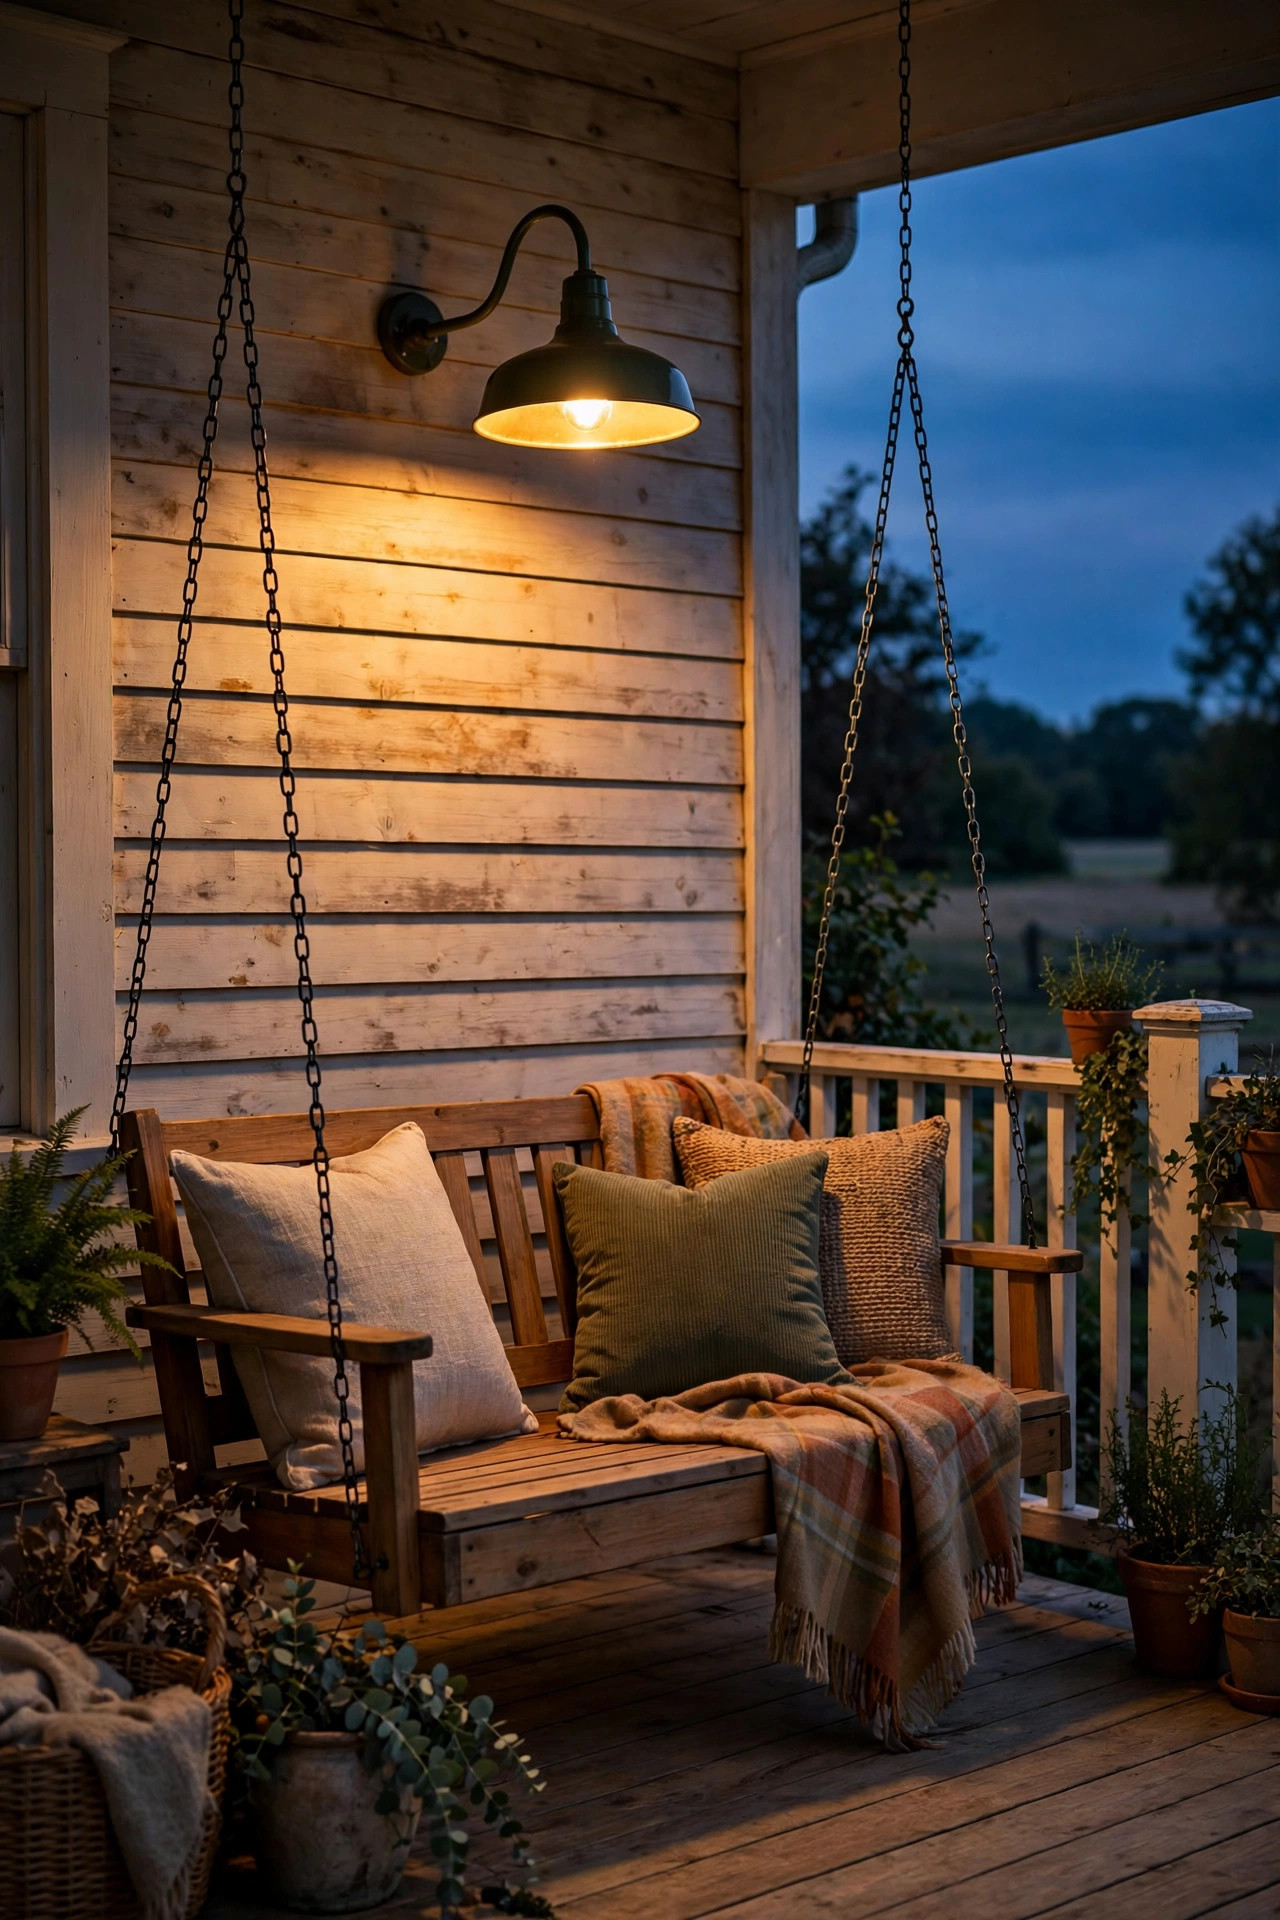
8. At the Side or Mudroom Entry
The side door everyone actually uses deserves better than a bare bulb. A single gooseneck barn light over the mudroom or side entry — where the boots live — makes daily life easier and the house look finished from every angle. Mount it 66–72 inches above the landing, centered on the door. Because side entries are often narrow, a 10-inch shade with a 10-inch arm is the sweet spot — enough light to see locks and packages without overwhelming a small facade. I always recommend a fixture with a full cutoff shade here (light points straight down), which keeps the glow on the steps instead of in a neighbor's bedroom window. Consider a motion-sensor version: it clicks on when you arrive with groceries and clicks off when you leave. Wiring is often easier at side entries too, since there's usually an interior wall nearby to pull power from. One more idea: match the finish to your front-door barn lights for cohesion, or go one shade darker for a collected-over-time look.
Suggested budget range: $70 – $160.
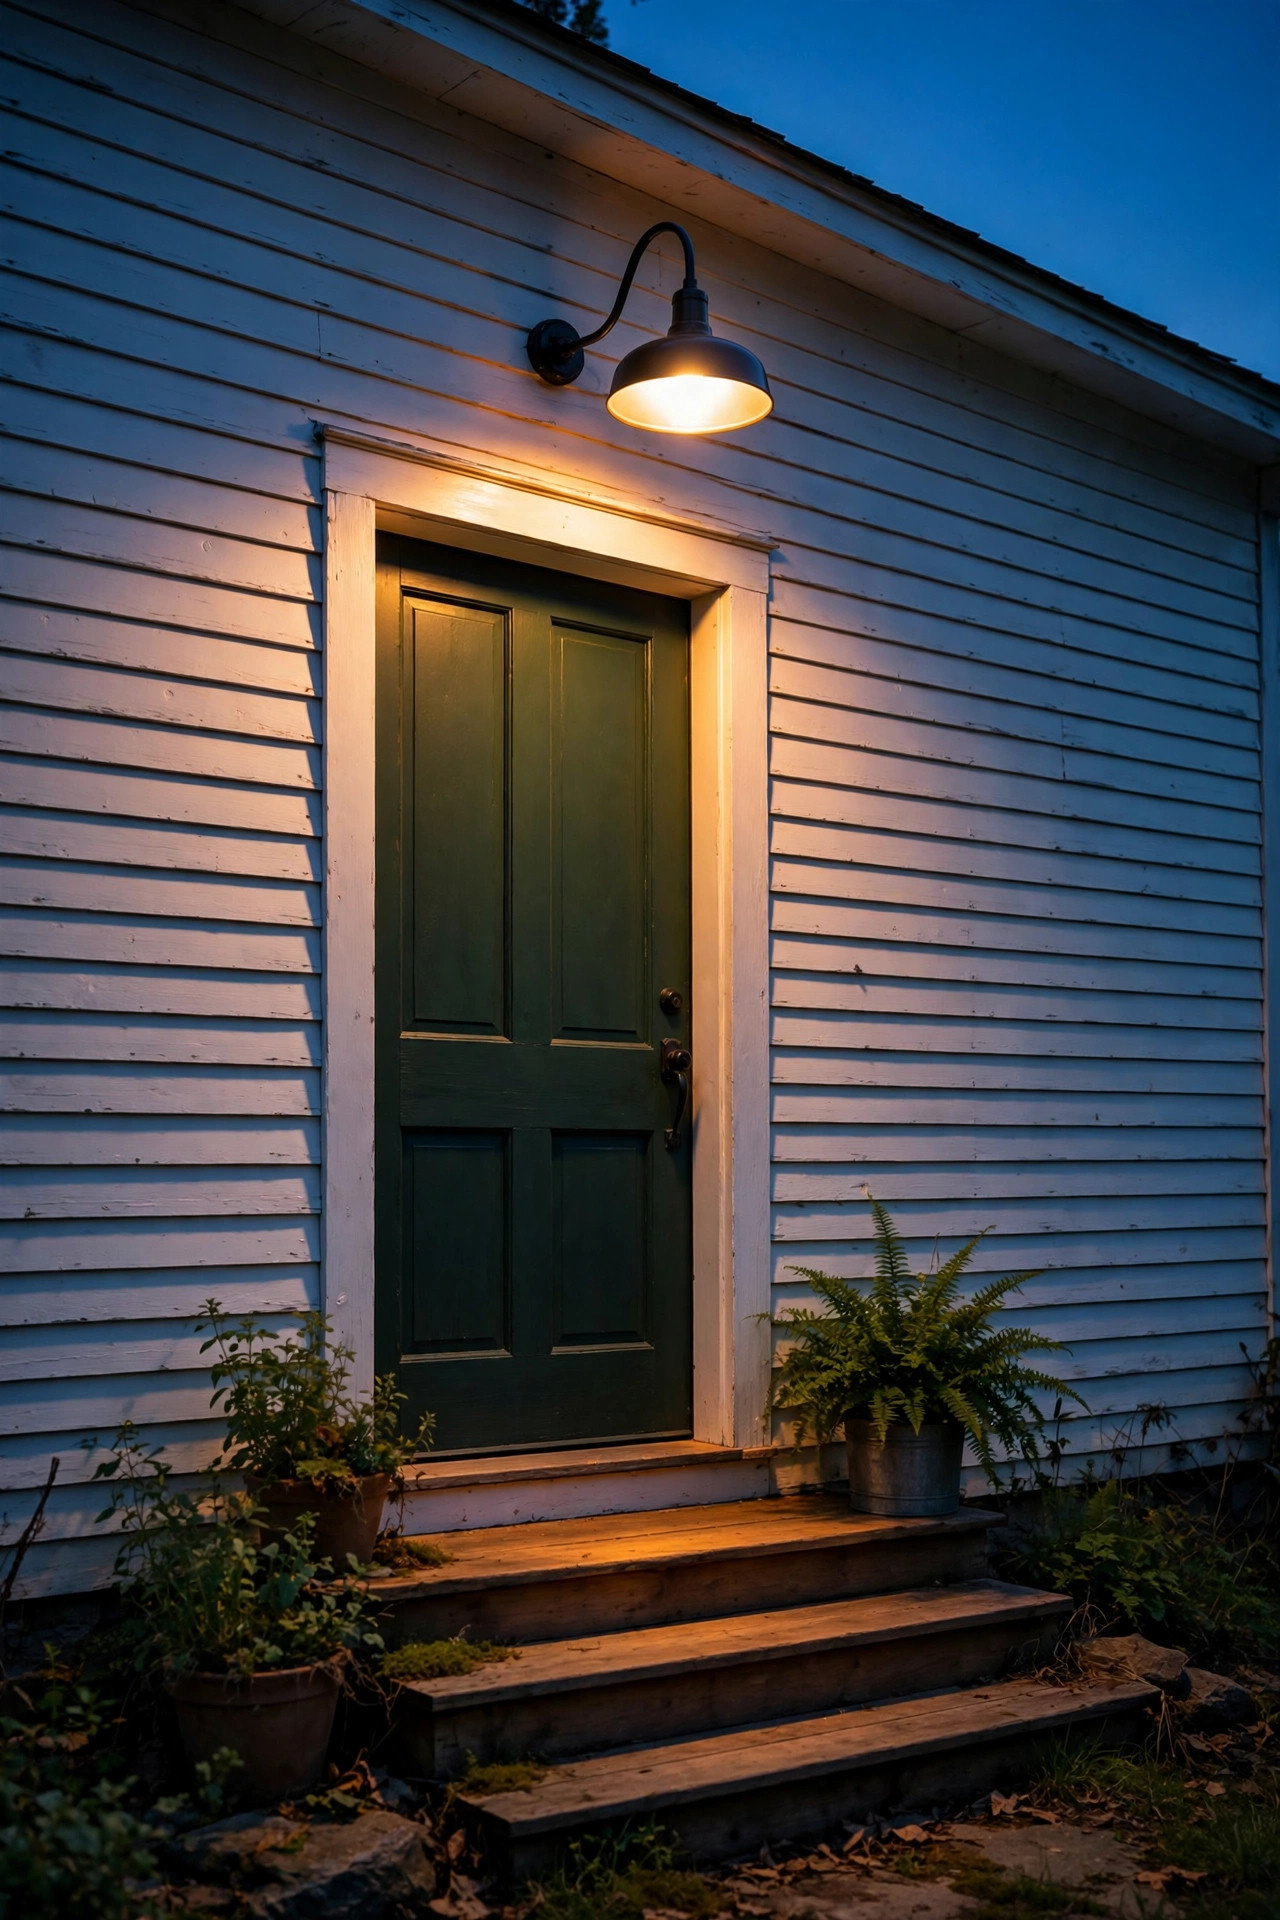
9. On the Barn or Outbuilding Wall — the Authentic Look
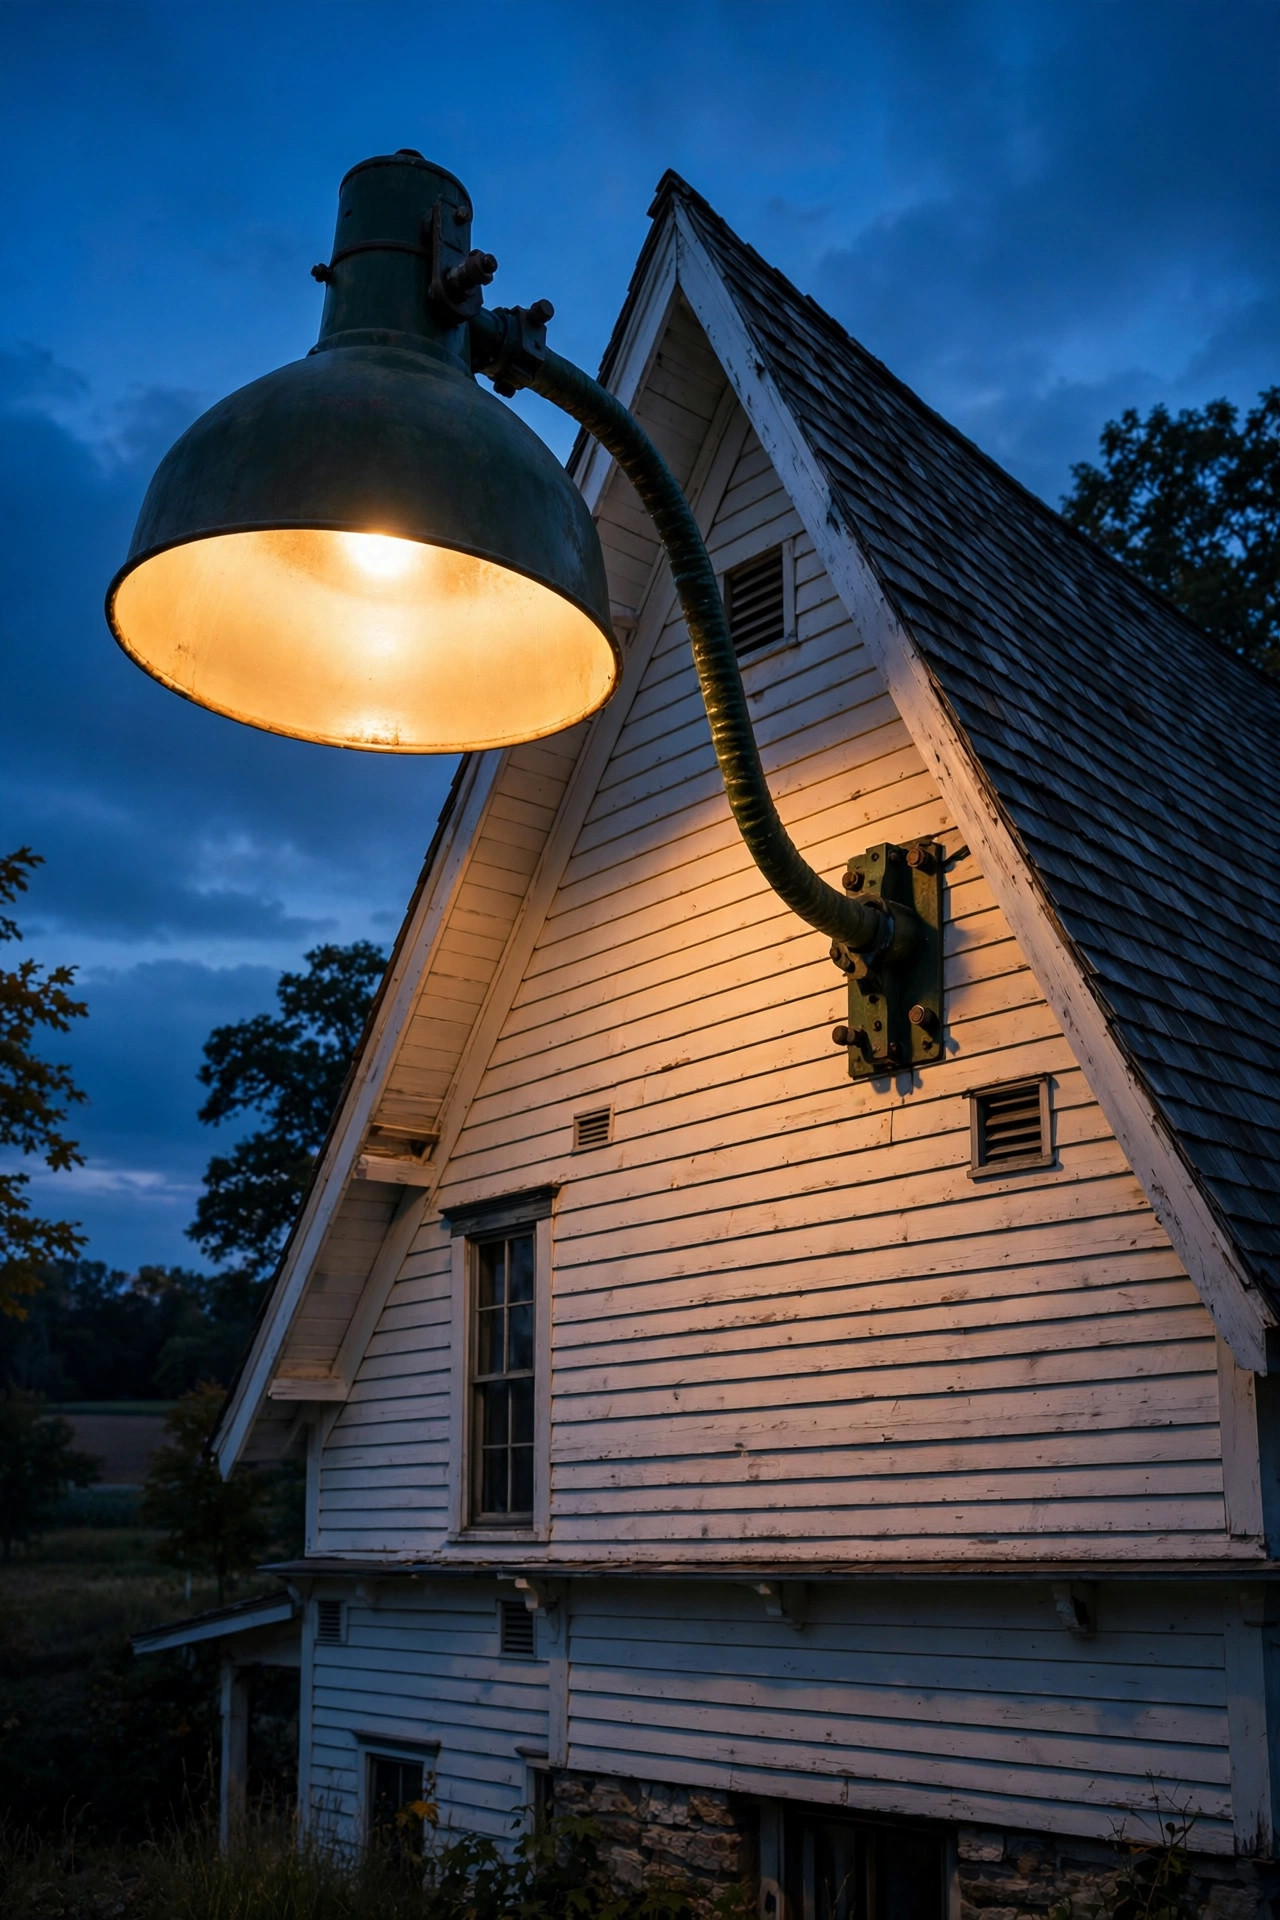
This is the origin story of the whole trend: actual barns, actual barn lights. If you have a real barn, carriage house, or shop building, one or two large gooseneck barn lights on the long wall is pure authenticity. Go big — 16–20 inch shades on 14–18 inch arms, mounted 10–14 feet up, centered between the bays or above the main door. The classic look is a galvanized or matte black shade with a white inner coating, which reflects more light downward onto the barnyard. In my experience, two fixtures spaced 15–20 feet apart on a long barn wall look intentional and balanced; three works on really long walls. Use high-lumen LED bulbs (1200+ lumens) — barns are big dark surfaces that swallow light. Since barns collect dust and bugs, choose fixtures with smooth, easy-to-wipe shades and plan a yearly cleaning with a damp cloth. If you don't have a barn, mounting a big barn light on your garage gable gives you the same silhouette for a fraction of the effort.
Suggested budget range: $180 – $450.

10. Flanking Sliding Barn Doors
If your home has sliding barn doors — on a garage, a shed, or even an interior-style door leading to a pool house — flanking them with gooseneck barn lights is the definition of on-theme. Mount each fixture on the wall beside the doors, about 12 inches out from the door opening and at the same height as the top of the door frame, so the light frames the doors symmetrically. Because sliding doors have that chunky hardware track above them, make sure the gooseneck arms are long enough (12–16 inches) to clear the track and throw light past it. Matte black fixtures on a white board-and-batten wall is the classic contrast; on a wood-stained wall, try a weathered bronze or galvanized finish instead. Honestly? This pairing is so popular that it's become shorthand for "modern farmhouse" — and it photographs like a dream at dusk. Wire both fixtures to one switch and put them on a dusk-to-dawn sensor so they glow every single evening without you thinking about it.
Suggested budget range: $120 – $300.
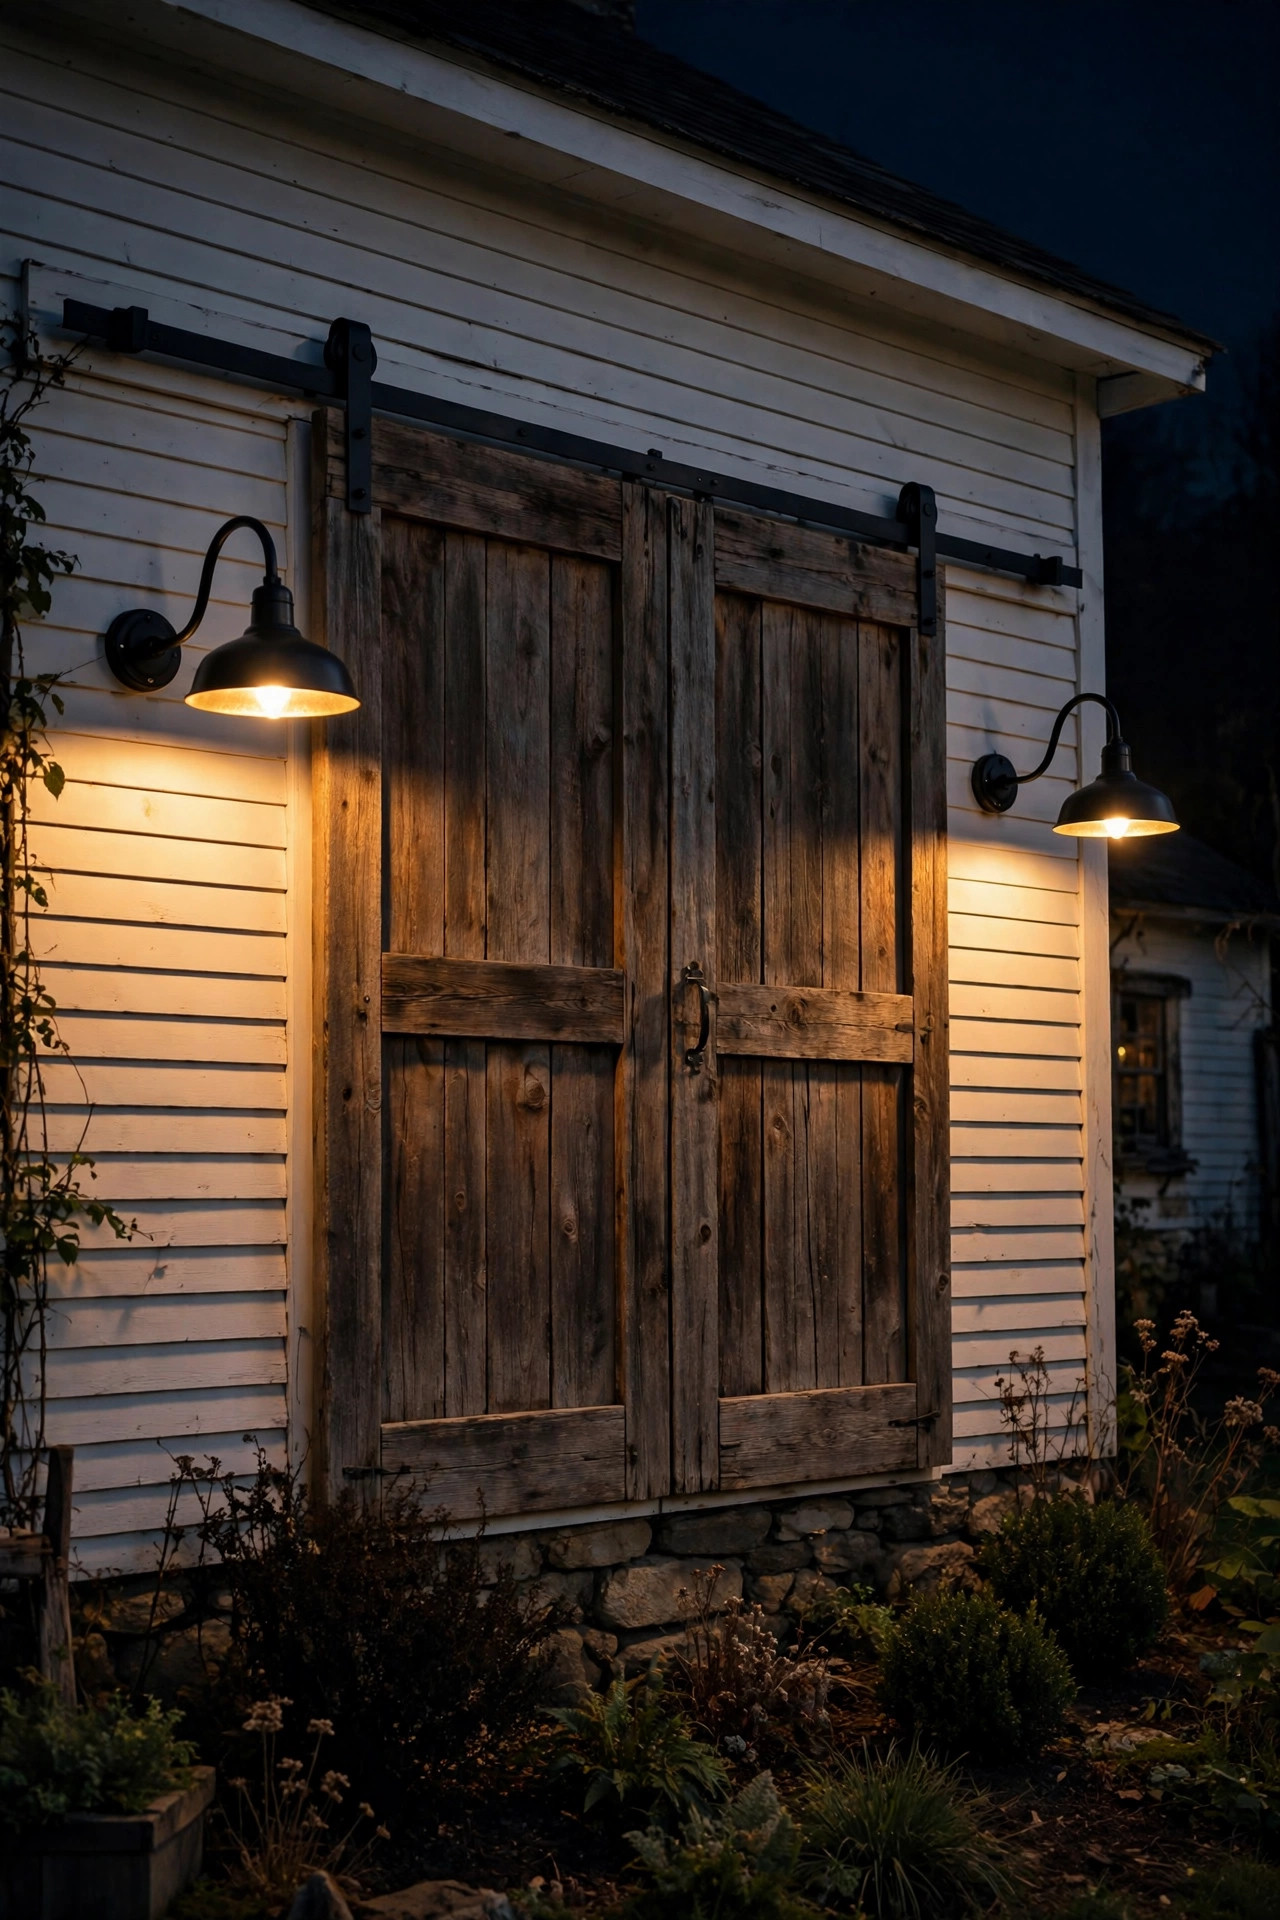
11. Over the Outdoor Kitchen or Grill Station
Nobody wants to flip burgers in the dark. A gooseneck barn light mounted above your grill or outdoor kitchen — centered over the cooking zone, 6–7 feet above the work surface — gives you task lighting that actually helps you see what you're cooking. The trick here: you need brighter, whiter light than the rest of the porch. I always recommend a 3000K–3500K LED bulb here (slightly cooler than the 2700K elsewhere) so meat colors read true and you can see when food is done. A 12–14 inch shade with a long arm throws a wide pool over the grill top. Mount it on the house wall behind the grill, on a pergola beam, or on a freestanding post if the grill sits away from the house. Safety notes that matter: keep the fixture at least 3 feet from the grill's heat zone, use a heat-resistant fixture rated for wet locations, and never hang flammable string lights over a hot grill. Grease splatter is real — wipe the shade down monthly with a degreasing cloth.
Suggested budget range: $80 – $180.
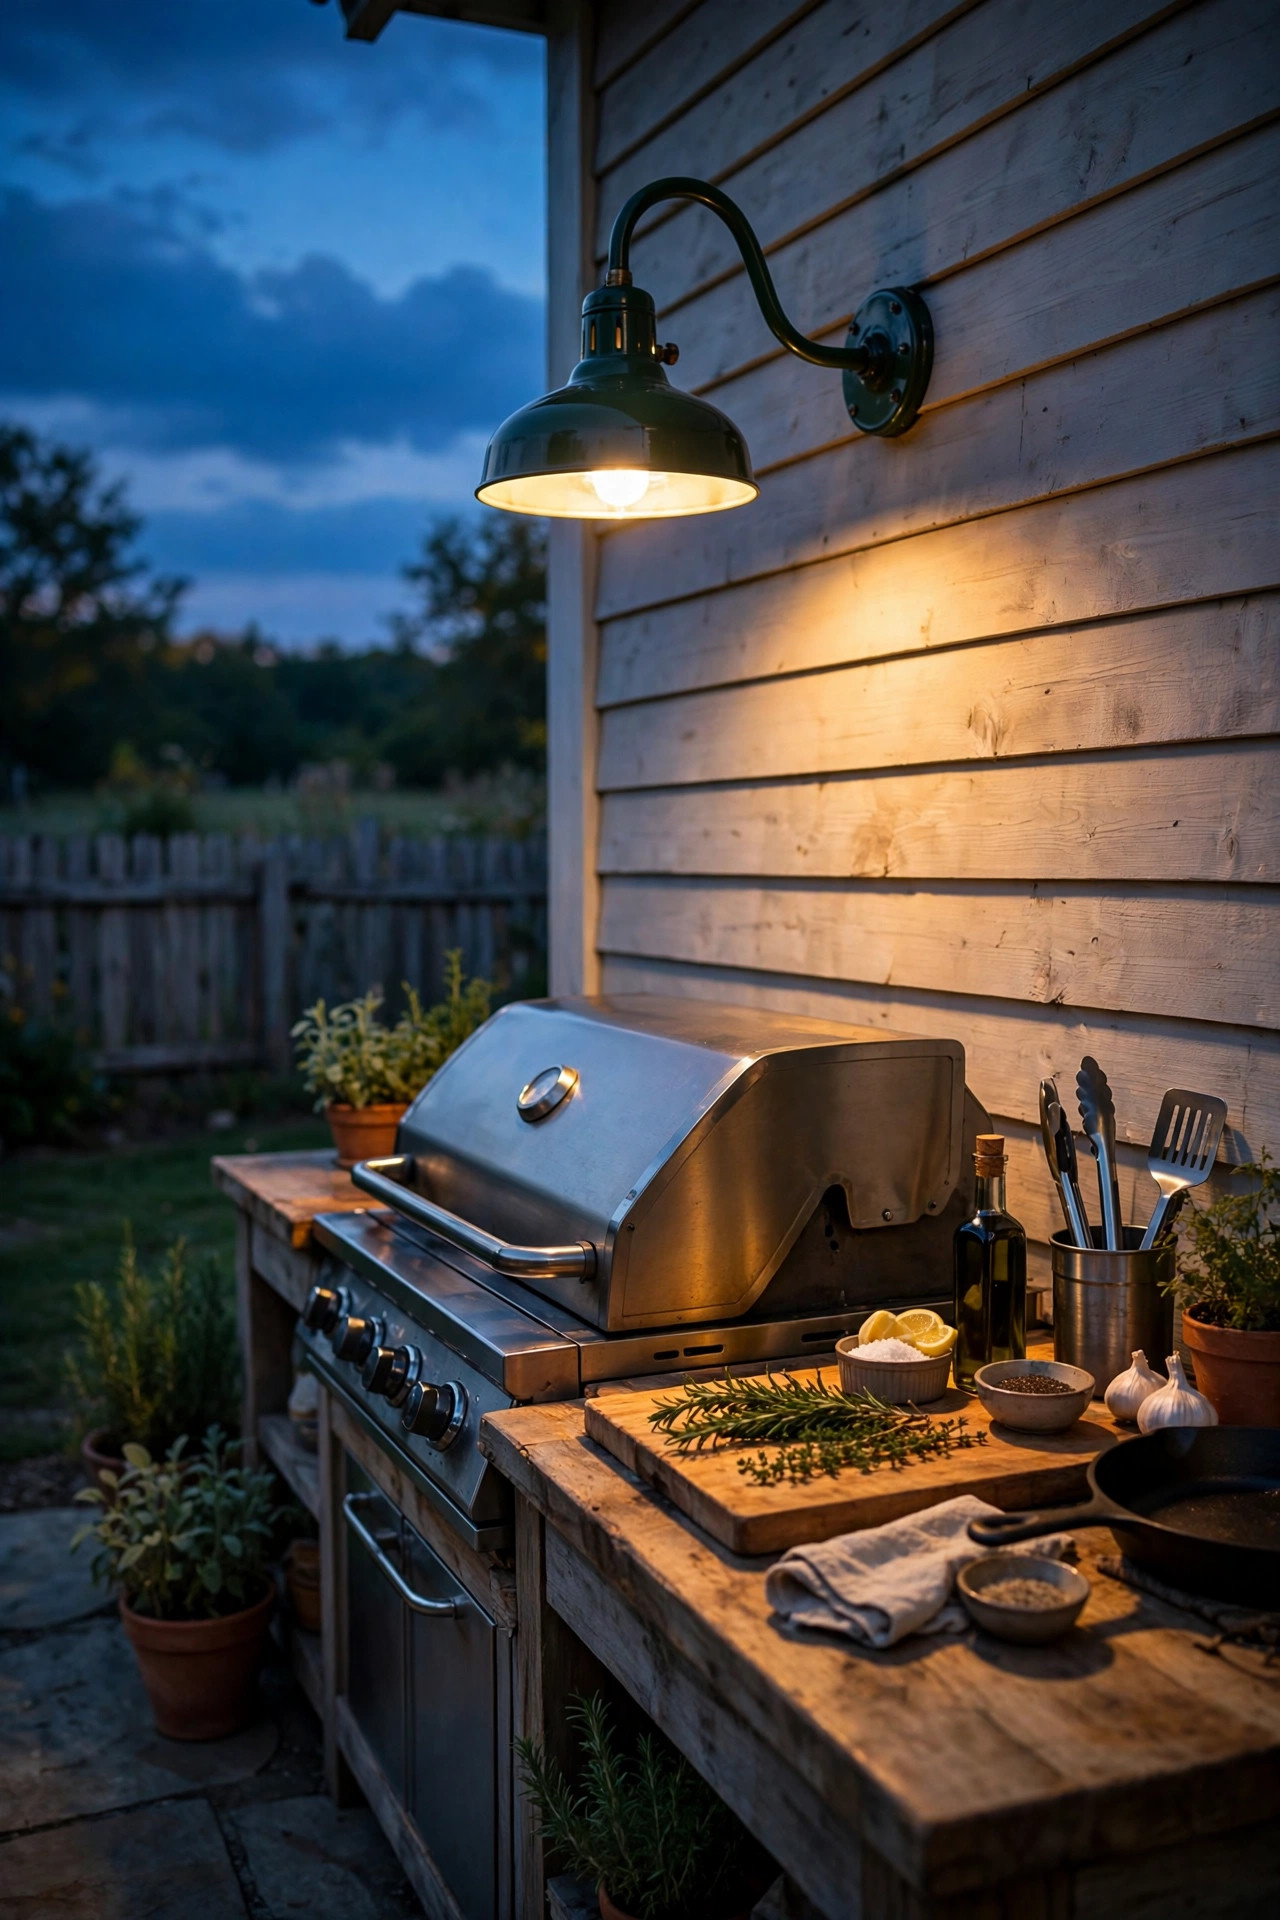
12. Above Farmhouse Windows
Windows are often an afterthought in exterior lighting, but one small gooseneck barn light centered above a prominent front window adds architecture-grade polish. It works especially well above a picture window or a pair of shutters — the light grazes down the siding and frames the glass like a gallery piece. Use a compact 8–10 inch shade mounted 6–8 inches above the window trim; a short 6–8 inch arm keeps the profile tight against the wall. In my experience, this looks best on the primary facade windows only — lighting every window on the house looks busy and wastes energy. One or two feature windows is the sweet spot. Dimmer bulbs work well here (40-watt-equivalent LED), since you're creating atmosphere, not task light. And if your windows have shutters, center the fixture exactly between the shutters — asymmetry is the one thing that will bug you forever once you see it. Check that your junction box is rated for exterior use and seal it with exterior caulk.
Suggested budget range: $60 – $140.
13. Weatherproofing Gooseneck Barn Lights for Outdoor Life
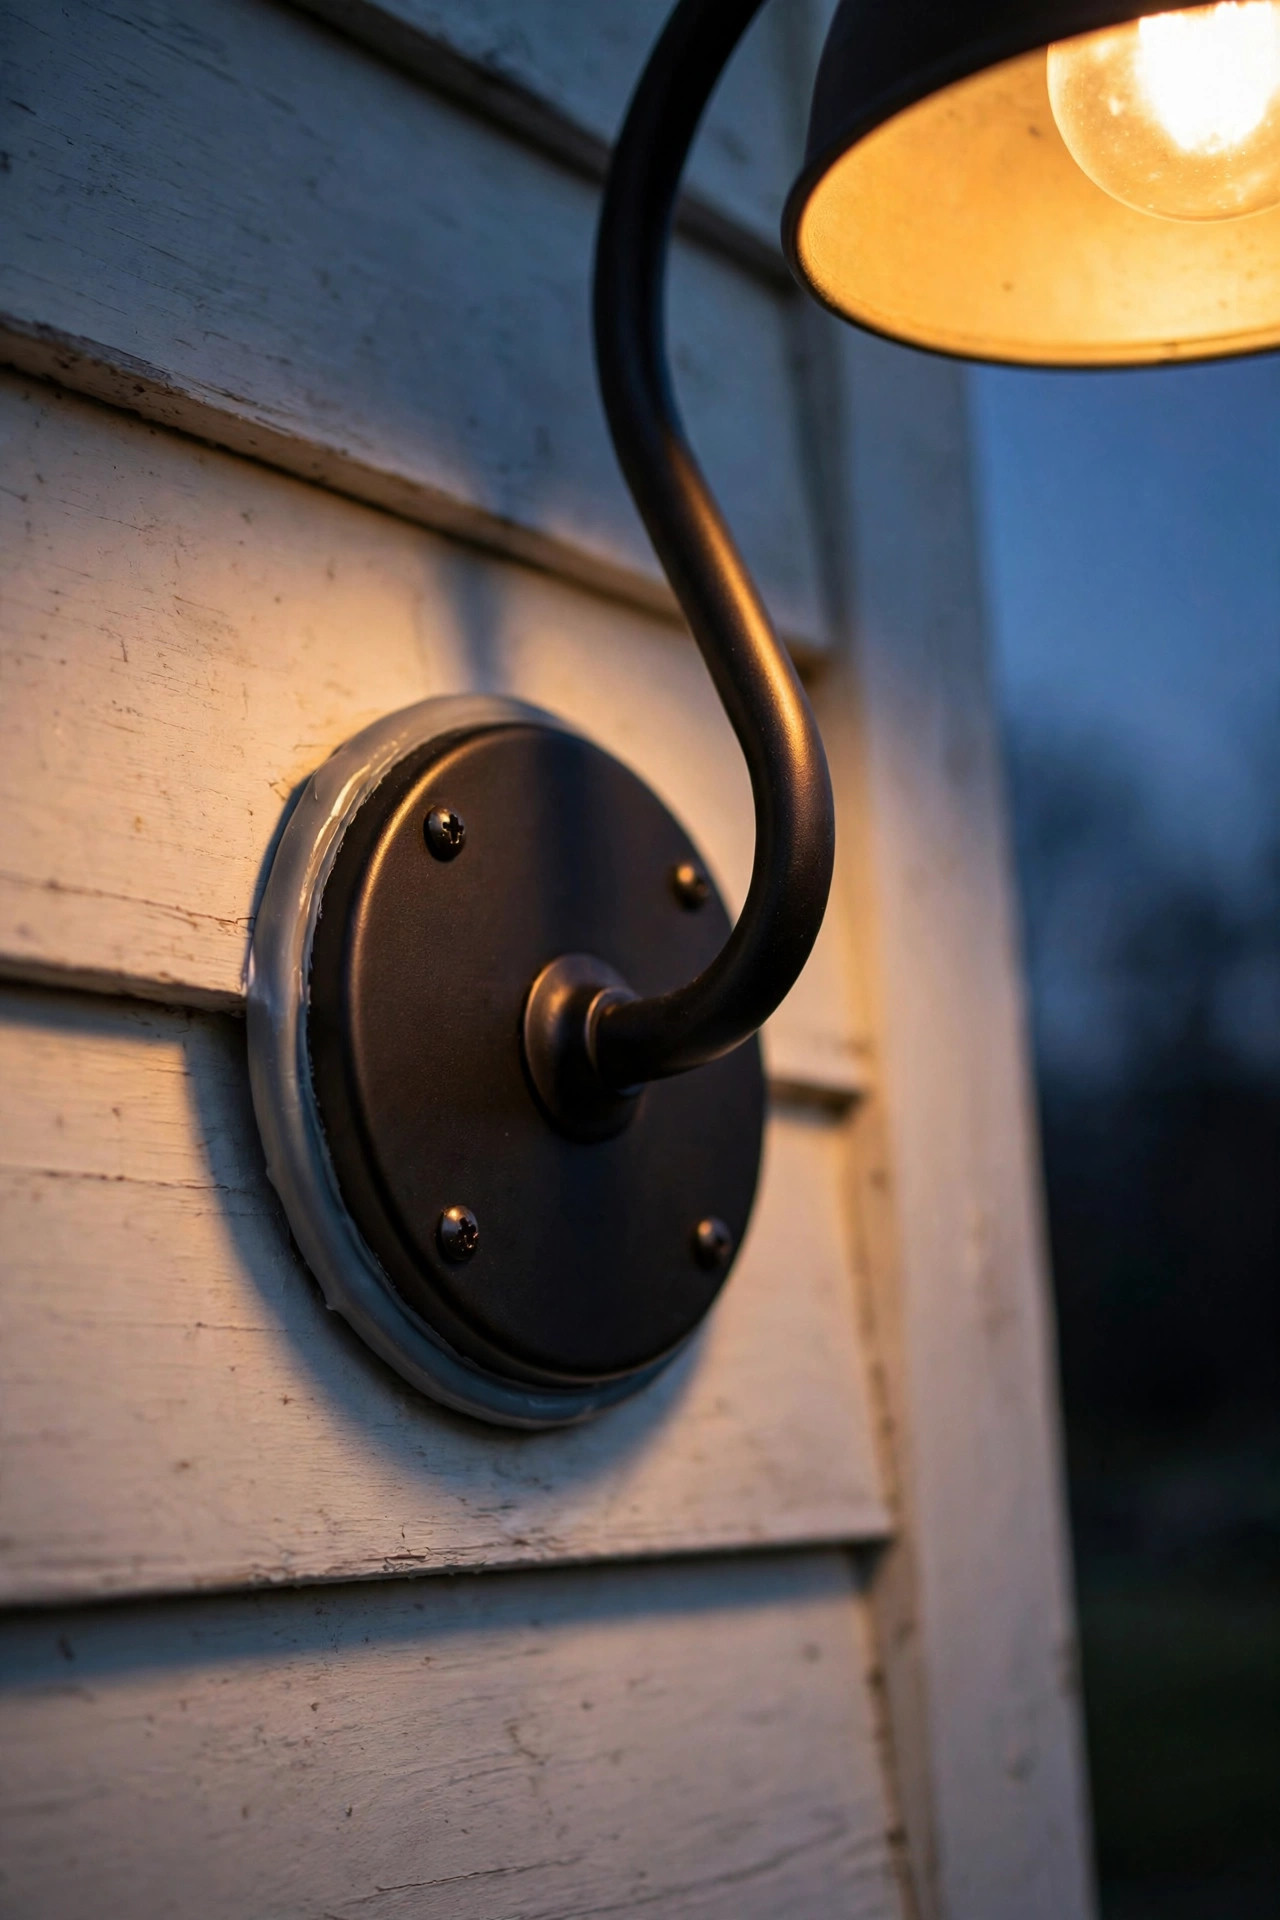
This one isn't a placement idea — it's the make-or-break detail behind every gooseneck barn lights outdoor project on this list. Outdoor fixtures live hard lives: rain, humidity, UV, freeze-thaw cycles. The fixtures that last 15+ years share three traits: a wet-location rating (not just damp), a corrosion-resistant finish like powder-coated steel or solid copper, and sealed wiring with gaskets at every joint. I always recommend adding a bead of clear exterior silicone where the mounting plate meets the wall, even on brand-new fixtures — it's a five-minute job that prevents the most common failure (water wicking into the junction box). If you live near salt air, copper or stainless-steel fixtures are worth the premium; painted steel will pit within a few years otherwise. And one safety rule that never bends: every outdoor circuit should be on a GFCI breaker, and if you don't have one, an electrician can install it in under an hour. For a refresher on safe installation, my [electrical safety tips](/electrical-safety-tips/) walk through the basics.
Suggested budget range: $10 – $40 (sealant and hardware).
14. The Galvanized Finish for Authentic Rustic Charm
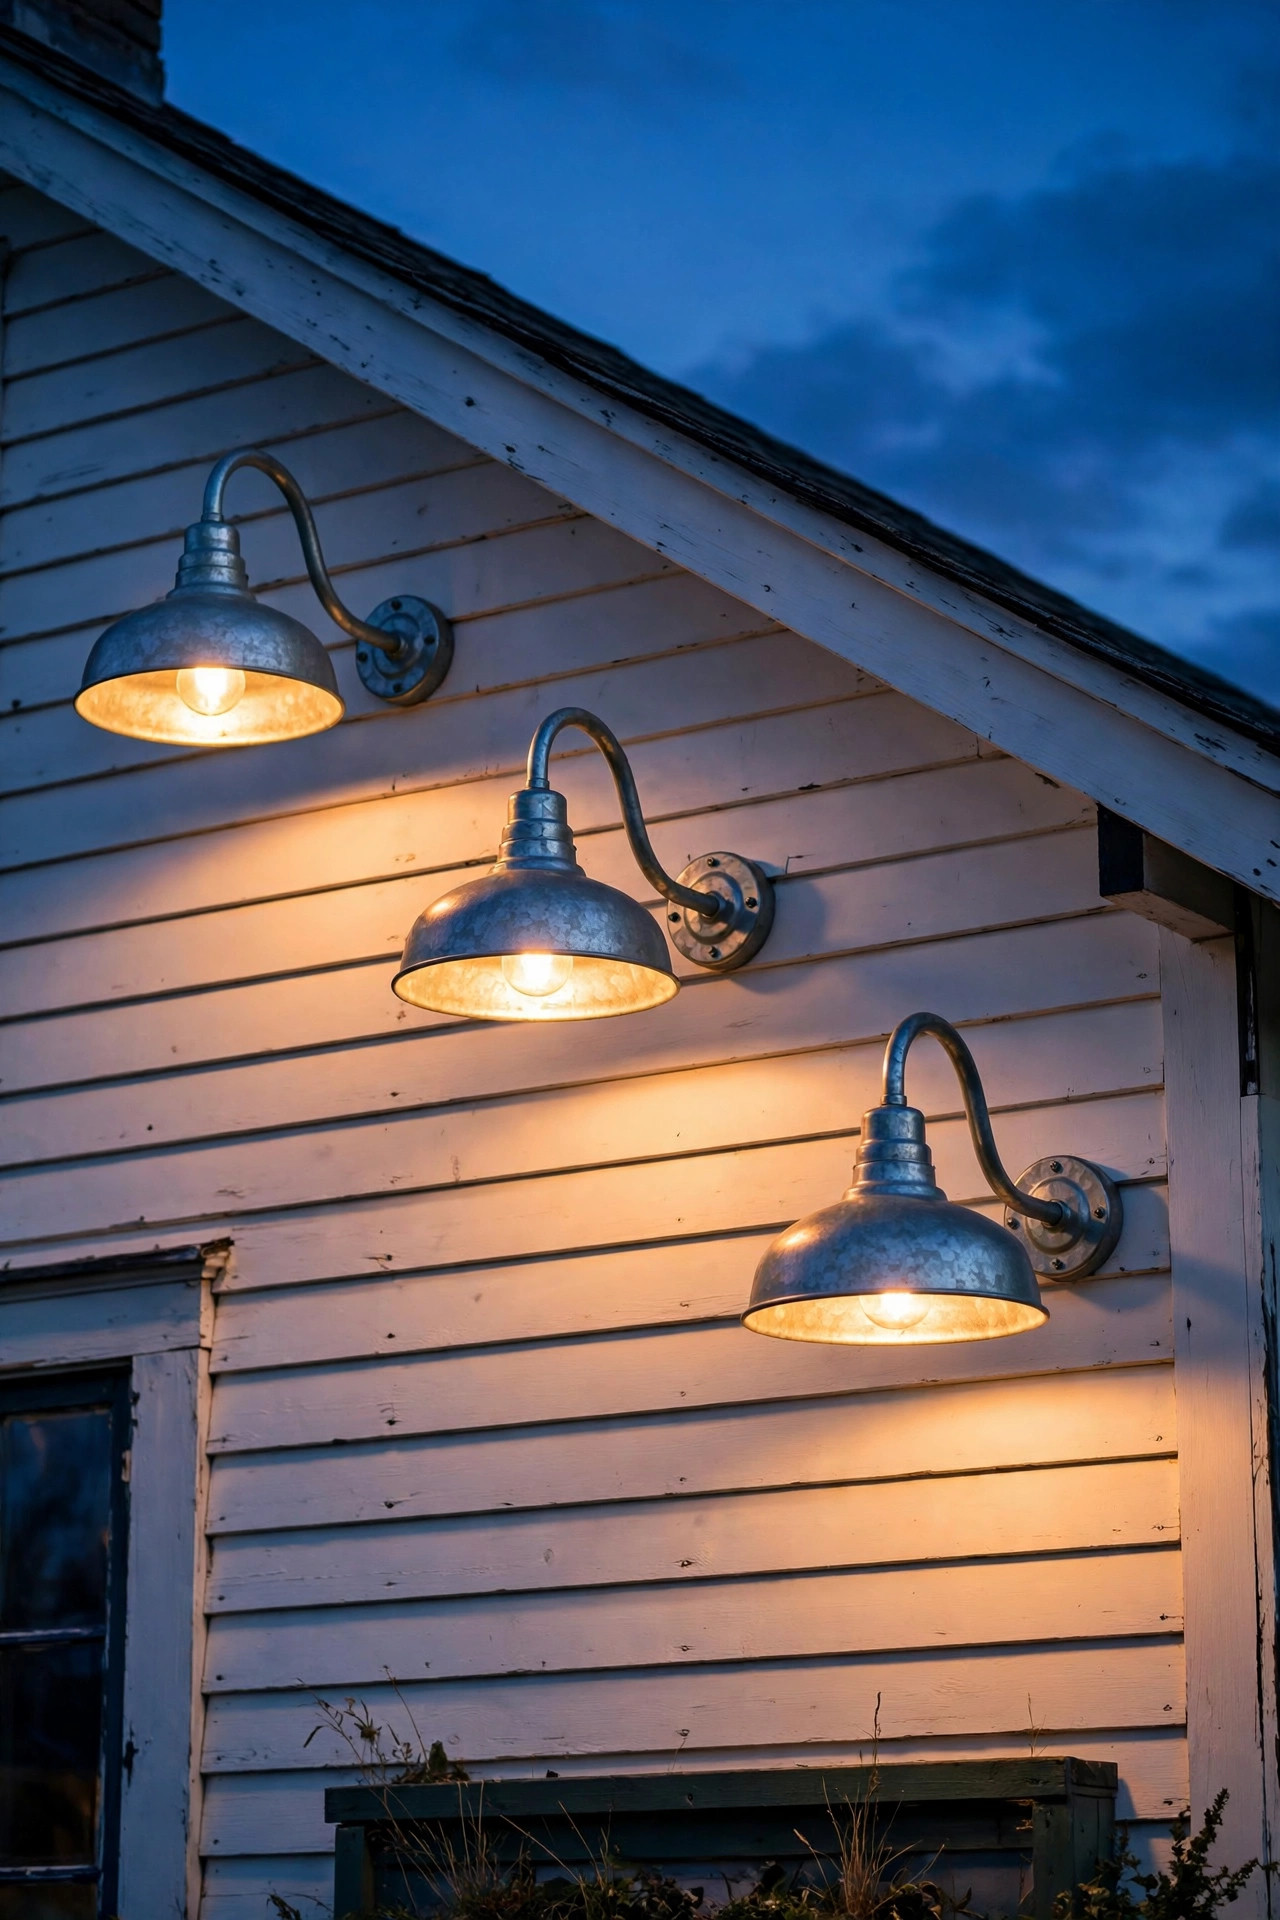
Finish changes everything. Galvanized metal — that mottled silver-gray finish with subtle texture — is the most authentically "barn" option there is, and it looks incredible on red barns, white farmhouses, and natural wood alike. In my experience, galvanized fixtures age gracefully: they develop a soft patina rather than chipping like painted finishes, so they look better at year five than year one. One caution — on a white house, galvanized can read a little cool and industrial, so balance it with warm wood tones (a cedar door, wooden shutters) nearby. Pair galvanized shades with warm 2700K bulbs to keep the overall feel cozy rather than commercial. Maintenance is nearly zero: hose them off once a season. If you love the look but want a touch more polish, "weathered zinc" finishes give you the same vibe with a smoother, more uniform surface. Whatever finish you pick, buy all your exterior fixtures in the same family — mixed metals are fine, mixed *finish styles* (rustic galvanized next to polished chrome) look accidental.
Suggested budget range: $70 – $170.
15. Copper Finish That Ages Into Beauty
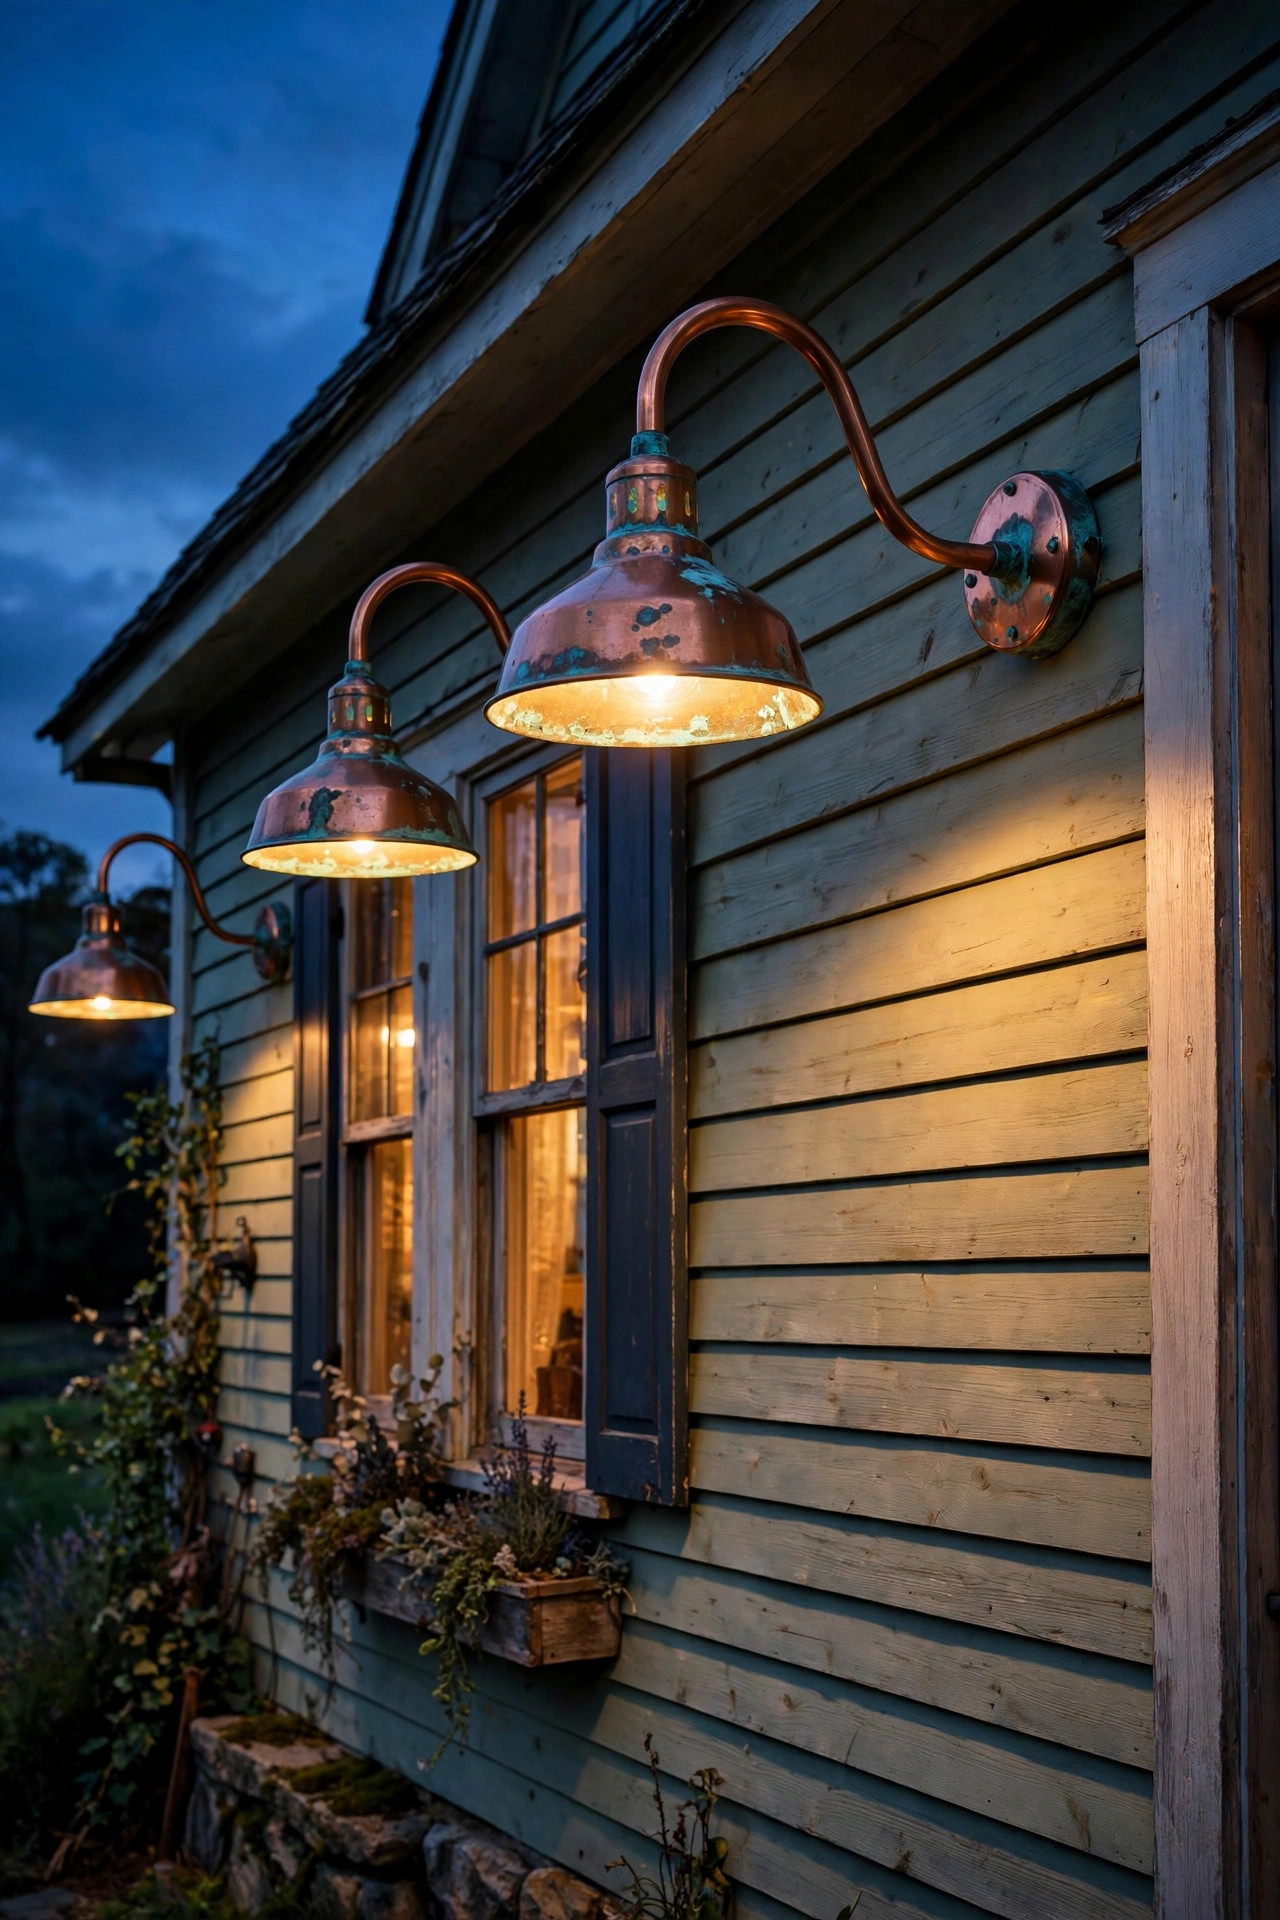
Copper gooseneck barn lights are the long game — they start out shiny penny-bright and slowly develop a rich brown patina, eventually turning that gorgeous blue-green verdigris if left alone. Honestly? I love the in-between stage best: that deep amber-brown after a year or two. Copper is naturally corrosion-resistant, so these fixtures outlast painted steel by a mile, especially in humid climates. They pair beautifully with warm siding tones — cream, sage, warm gray — and they look stunning next to copper gutters or downspouts if you're lucky enough to have those. Two things to know: real copper fixtures cost more upfront ($120+ each), and the patina is uneven by nature — if you want a uniform look forever, choose a sealed "aged copper" finish instead. Also, copper and aluminum in direct contact can corrode each other, so use copper or stainless mounting hardware. The result is lighting that literally gets more beautiful every year.
Suggested budget range: $120 – $280.
16. Matte Black with Edison Filament Bulbs
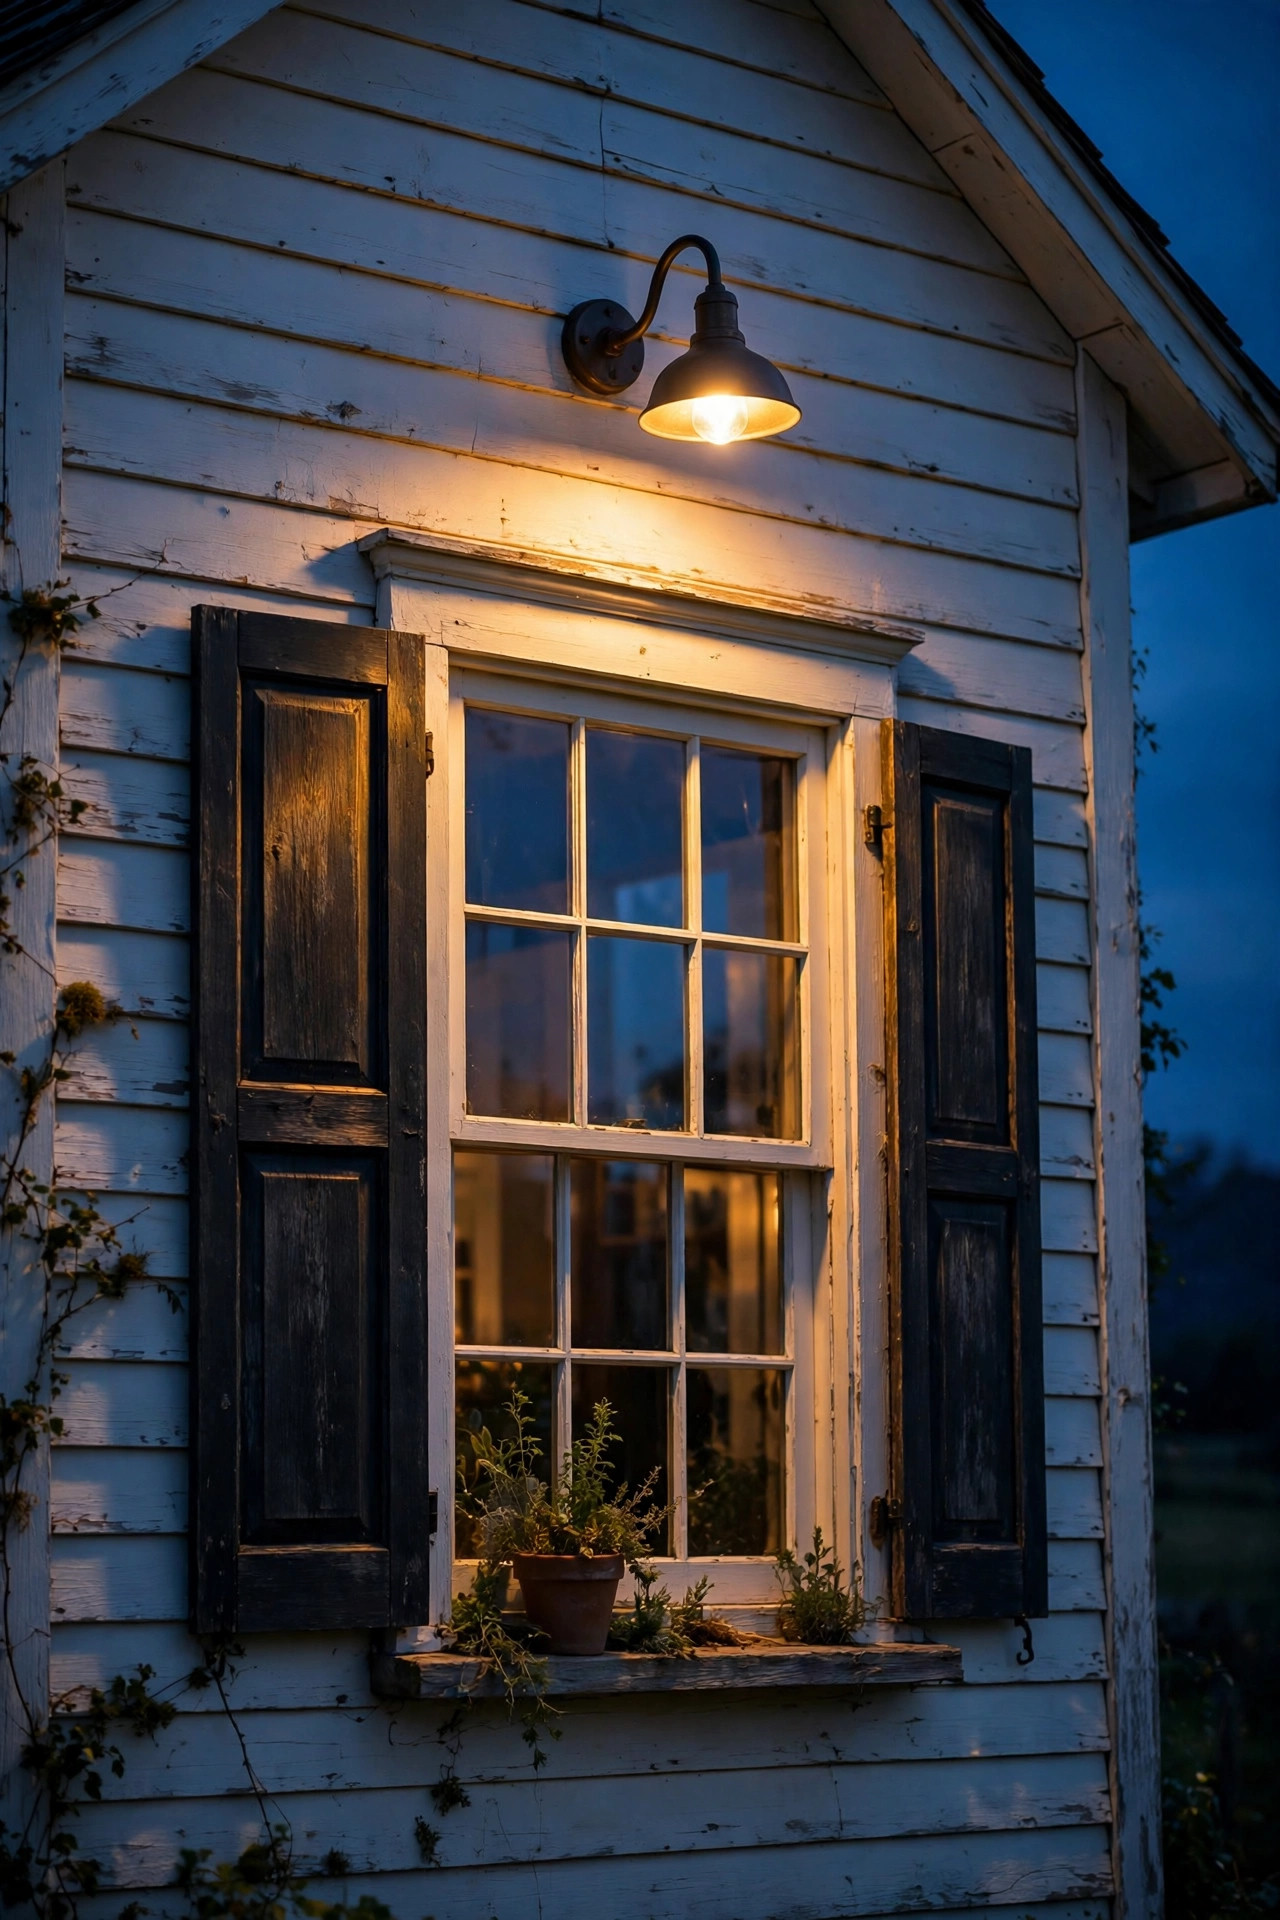
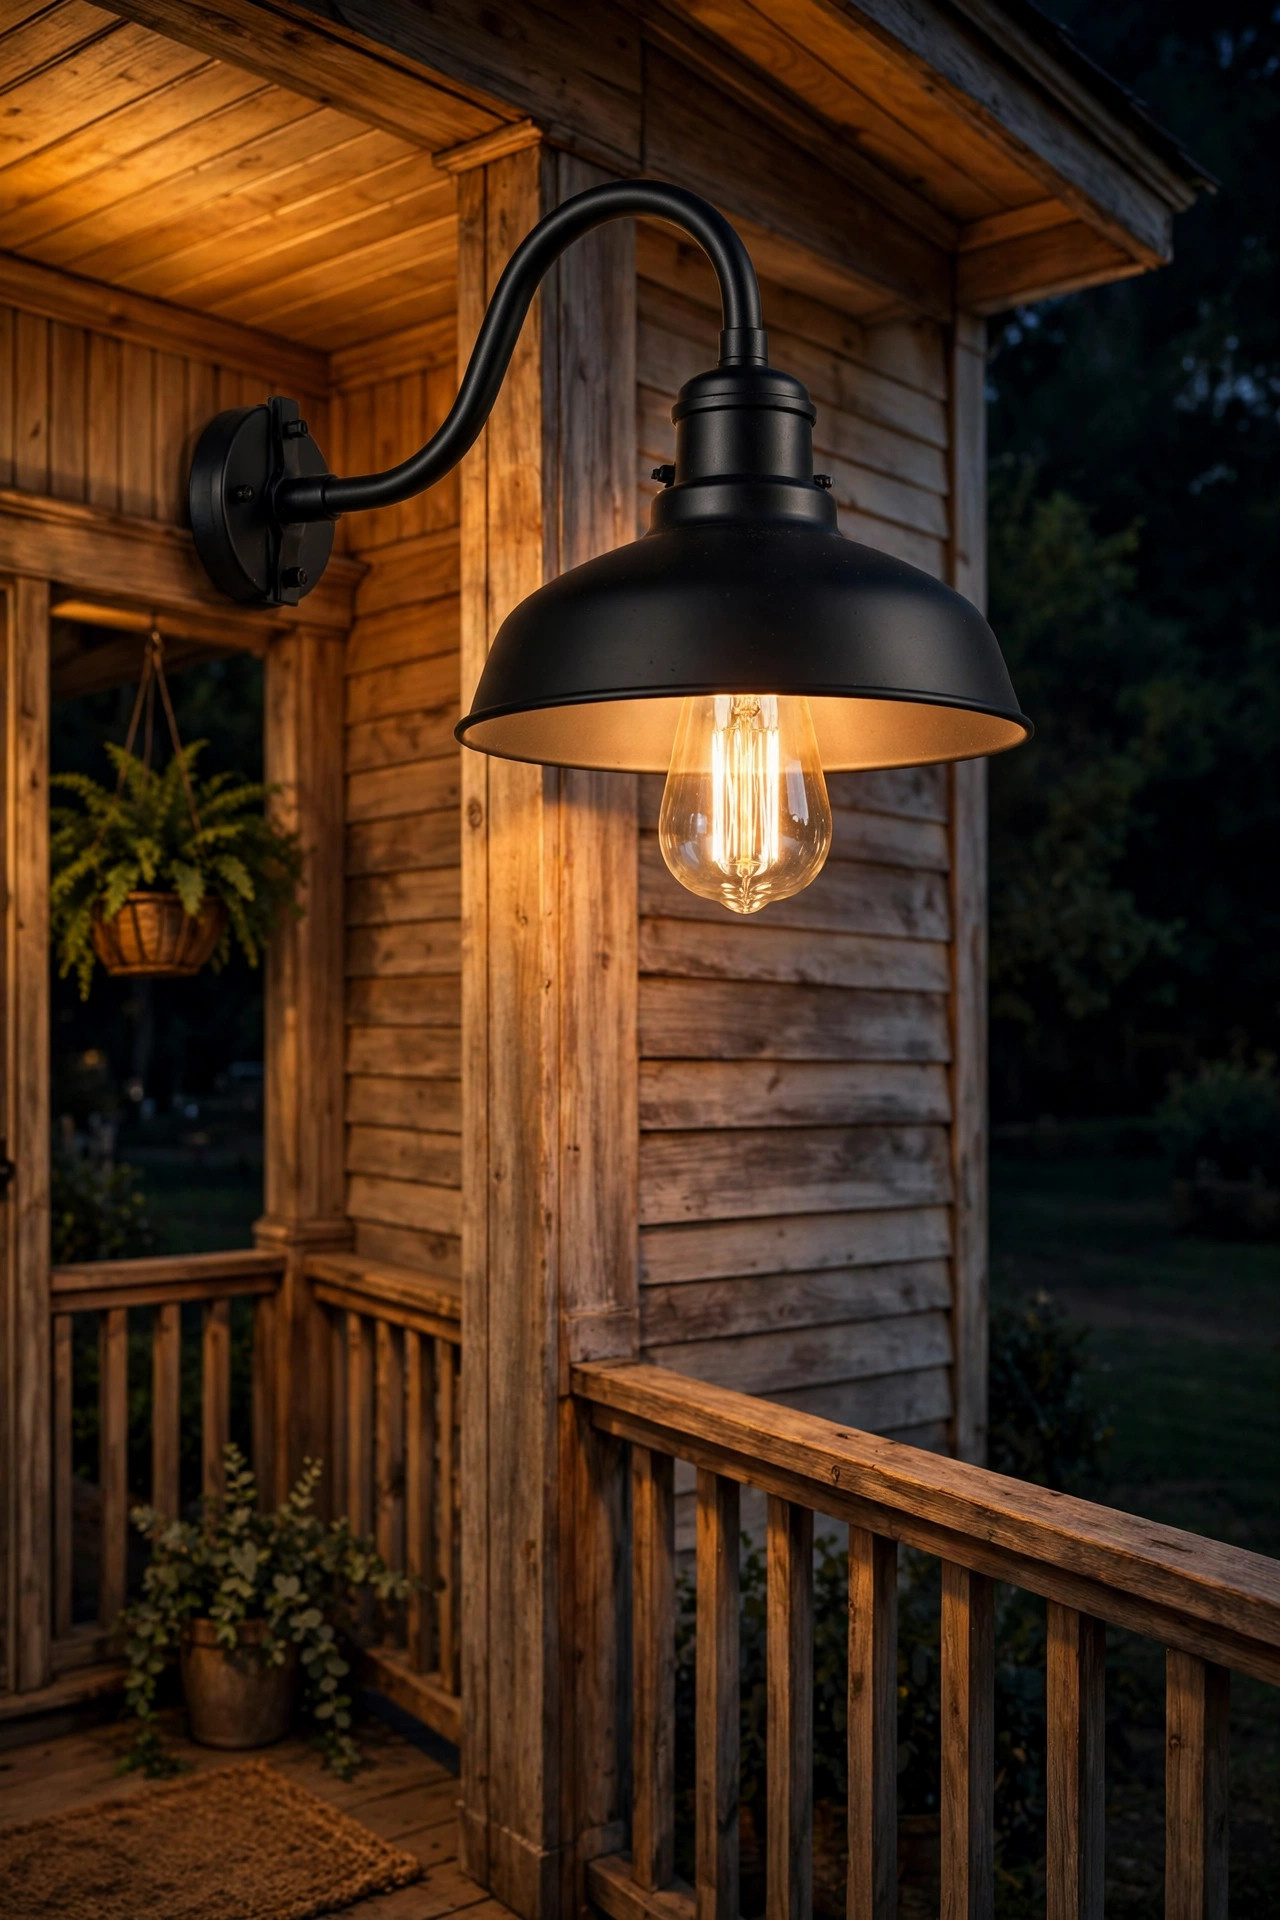
Matte black is the modern farmhouse default, and for good reason — it works on literally every siding color and disappears against the night sky, so the glow is the star. But a matte black shade with a plain white bulb can look flat; the upgrade that changes everything is a filament-style LED "Edison" bulb with a visible vintage filament and warm amber glow. The shade frames the bulb like a lantern, and from the street you get that romantic flickering-warmth effect without actual flicker. Use 2700K dimmable filament bulbs so you can tune the mood. In my experience, matte black fixtures need one more consideration than other finishes: fingerprints and dust show on the matte surface, so wipe them down when you clean the bulbs (twice a year is plenty). And match the finish to your other hardware — door handles, house numbers, mailbox — so the whole facade feels coordinated. If you want help picking entry fixtures, my [entryway lighting ideas](/entryway-lighting-ideas/) round up complementary styles.
Suggested budget range: $60 – $150.
17. Oversized Statement Shades
Sometimes the right move is to go huge. Oversized gooseneck barn lights — 16 to 24-inch shades — make a confident statement on tall gables, wide barn walls, and double-height entry porches. The scale is the whole point: a single 20-inch shade on a two-story gable reads better than two small fixtures that get lost in the vertical space. Mounting rule: on a gable, center the fixture on the peak about 2–3 feet below the ridge; on a tall entry wall, place it 8–10 feet up. Because oversized shades catch wind, use the longest mounting bracket that fits and anchor into studs or masonry — never just siding. In my experience, one oversized fixture works best when everything else is restrained; pair it with simple house numbers and minimal decor so the shade stays the hero. Long gooseneck arms (14–18 inches) are standard on these, which also gives you that dramatic downward light wash. They cost more, but one oversized fixture can carry an entire facade.
Suggested budget range: $150 – $400.
18. Over Patio Dining, Paired with String Lights
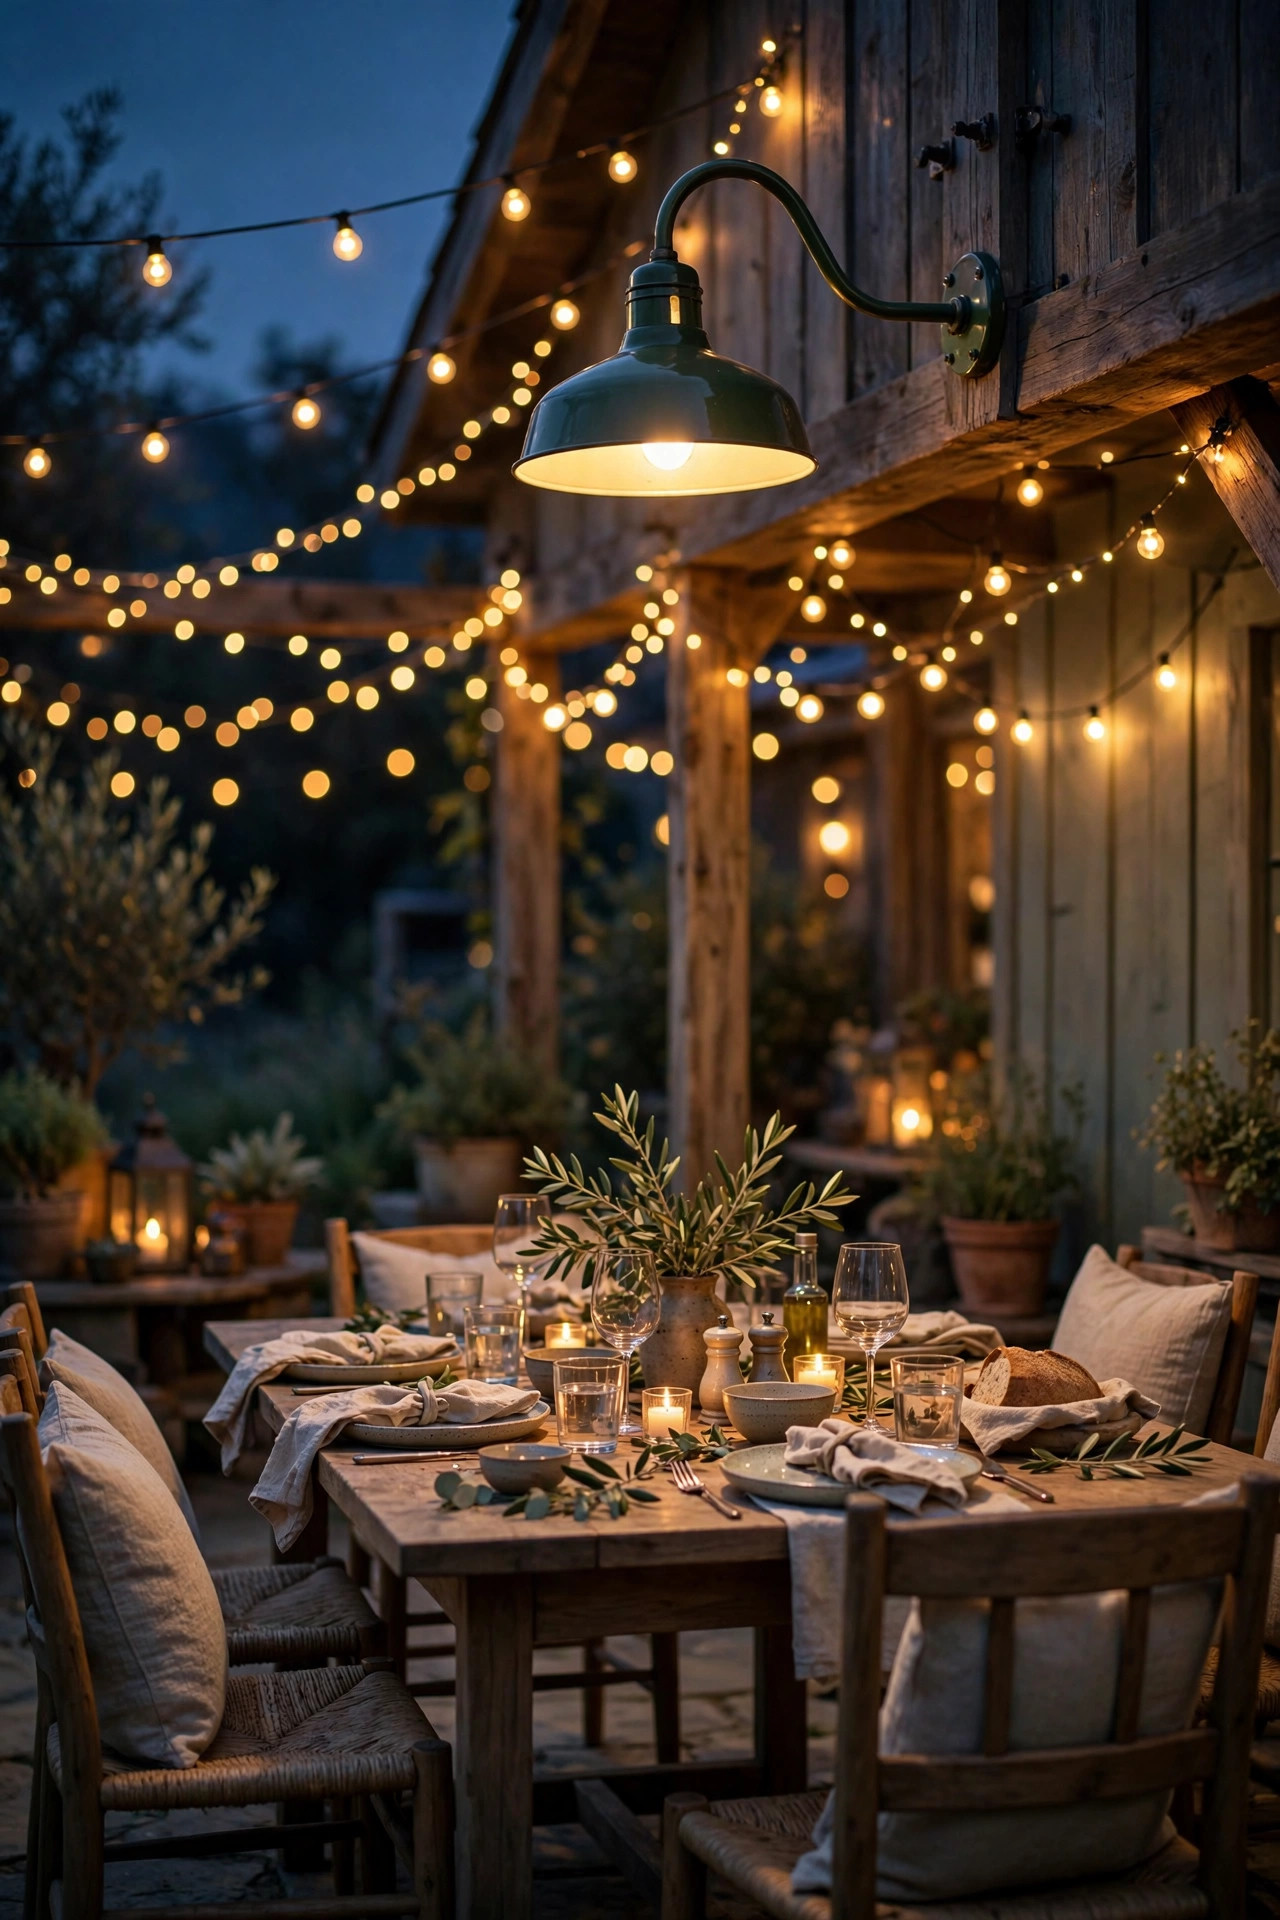
The layering philosophy shines brightest here — literally. A gooseneck barn light mounted on the house wall above your patio dining area gives you reliable task light for the table, while overhead string lights add the sparkle and atmosphere. The two work because they do different jobs: the barn light (2700K, dimmable) lights faces and food; the string lights create the canopy glow. Mount the barn fixture 7–8 feet above the patio floor, centered on the dining zone, with a 12-inch shade and 12-inch arm. Then run string lights on a separate circuit so you can have dinner under just the barn light, just the strings, or both. In my experience, this combination is the number one reason patios get used after dark — one light source alone always feels either too harsh or too dim. Keep the barn light on a wall switch near the door and the string lights on a timer, and your evening routine becomes one flip. Add a centerpiece candle and you're hosting.
Suggested budget range: $100 – $220.
19. Dusk-to-Dawn Sensors and Timers for Effortless Glow
The best exterior lighting is the kind you never think about. Putting your gooseneck barn lights on dusk-to-dawn sensors or smart timers means they glow every evening at sunset and switch off at sunrise — no switches, no forgetting, no wasted daytime energy. The simplest option: fixtures with built-in photocells (usually $10–20 more), which handle it automatically. The smarter option: a Wi-Fi smart switch or plug that lets you schedule on/off times from your phone and dim from the couch. In my experience, grouping is the secret — put all front-of-house barn lights on one schedule and back-porch ones on another, so the backyard can go dark early for stargazing while the front stays welcoming. One caution with photocells: mount them where porch overhangs or trees won't shade the sensor during the day, or the light will run at noon. And LED bulbs sip power (a 9-watt LED running all night costs pennies), so don't let energy worry stop you from enjoying the glow. Set it once, enjoy it for years.
Suggested budget range: $25 – $90.
Frequently Asked Questions
What color temperature is best for gooseneck barn lights outdoors?
Warm white, 2700K, is the sweet spot for farmhouse exteriors — it flatters wood, stone, and siding while feeling welcoming. I always recommend 2700K for entries, porches, and decorative areas, and stepping up to 3000K–3500K only for task zones like grill stations where you need to see colors accurately. Avoid 4000K+ daylight bulbs on a farmhouse; they read harsh and institutional against rustic materials. Dimmable bulbs give you the best of both worlds.
Are gooseneck barn lights weatherproof?
Quality fixtures are rated for wet locations, which means direct rain and snow — look for the "wet rated" or "suitable for wet locations" mark on the box, not just "damp rated." Powder-coated steel, galvanized metal, and copper all hold up well outdoors. The weak point is almost always the wiring entry, so seal the mounting plate with exterior silicone and use a weatherproof junction box. Every outdoor circuit should also be GFCI-protected. Browse my full roundup of [exterior lights](/exterior-lights/) to compare rated options.
How high should I mount a gooseneck barn light?
For entry doors, center the fixture 66–72 inches above the floor or landing. Above garage doors, mount 12–18 inches above the top of the door trim. On large barn walls, 10–14 feet up is typical. The gooseneck arm length (usually 8–18 inches) determines how far the shade sits from the wall — longer arms create a wider, more dramatic pool of light. When in doubt, hold the fixture up with a helper at dusk and see where the light lands before you drill.
Solar vs. hardwired barn lights — which is better?
Hardwired is always better for primary entries and anywhere you want reliable, bright light every night. Solar barn lights have come a long way and work well for sheds, gates, and remote outbuildings where running wire is impractical — look for models with separate solar panels you can place in full sun. Expect 8–10 hours of runtime from a good solar fixture on a full charge, with dimmer output than wired equivalents. For a cohesive look, keep hardwired fixtures at the front of the house and use solar only in the back or on outbuildings.
Conclusion
Nineteen ideas, one golden thread: gooseneck barn lights outdoor done right are about layering — a pair at the door, one over the garage, a glow at the grill — so every corner of your farmhouse feels intentional after dark. Start with the entry (it's where the money is, visually), then add one zone at a time as budget allows. The fixtures are affordable, the math is simple, and the payoff is a home that looks loved from the street at dusk. Ready to keep going? Browse my other outdoor lighting ideas for the perfect companions — string lights, lanterns, and pathway lighting that layer beautifully with your new barn lights.