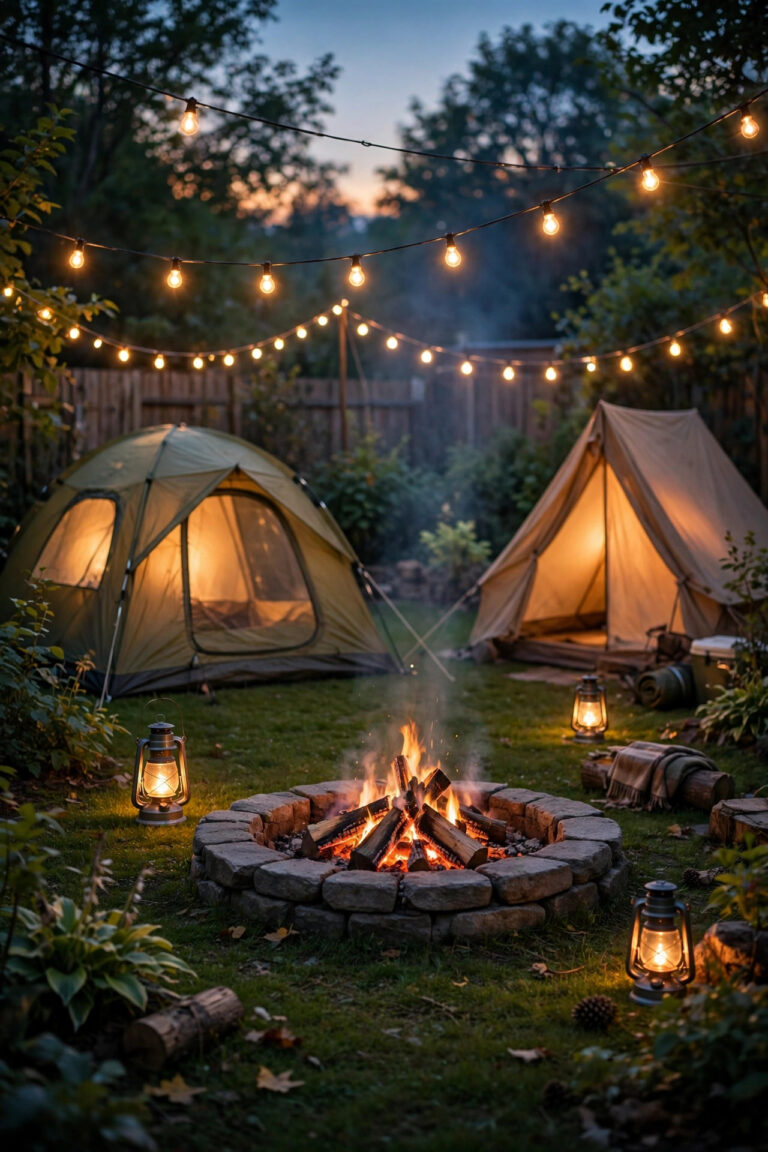
Every spring, someone on my street asks me the same question: how much should we actually spend on yard lights? The honest answer is that it depends less on the fixtures you fall in love with and more on the house standing behind them. Setting an outdoor lighting budget by home value sounds like a formula for spending more, but in my experience it does the opposite. It keeps a modest home from wearing a chandelier it cannot carry, and it keeps a beautiful home from being let down by one dim solar stake and a burned-out porch bulb. A small share of what your home is worth, spent in the right order, buys the lit steps, the readable address, and the warm layers that make any house look cared for after dark. In this guide I will walk you through the percentage rule I use, what each tier looks like in real yards, what never changes at any price point, and how to phase the spending so this year's project grows gracefully into next year's.
The Short Answer
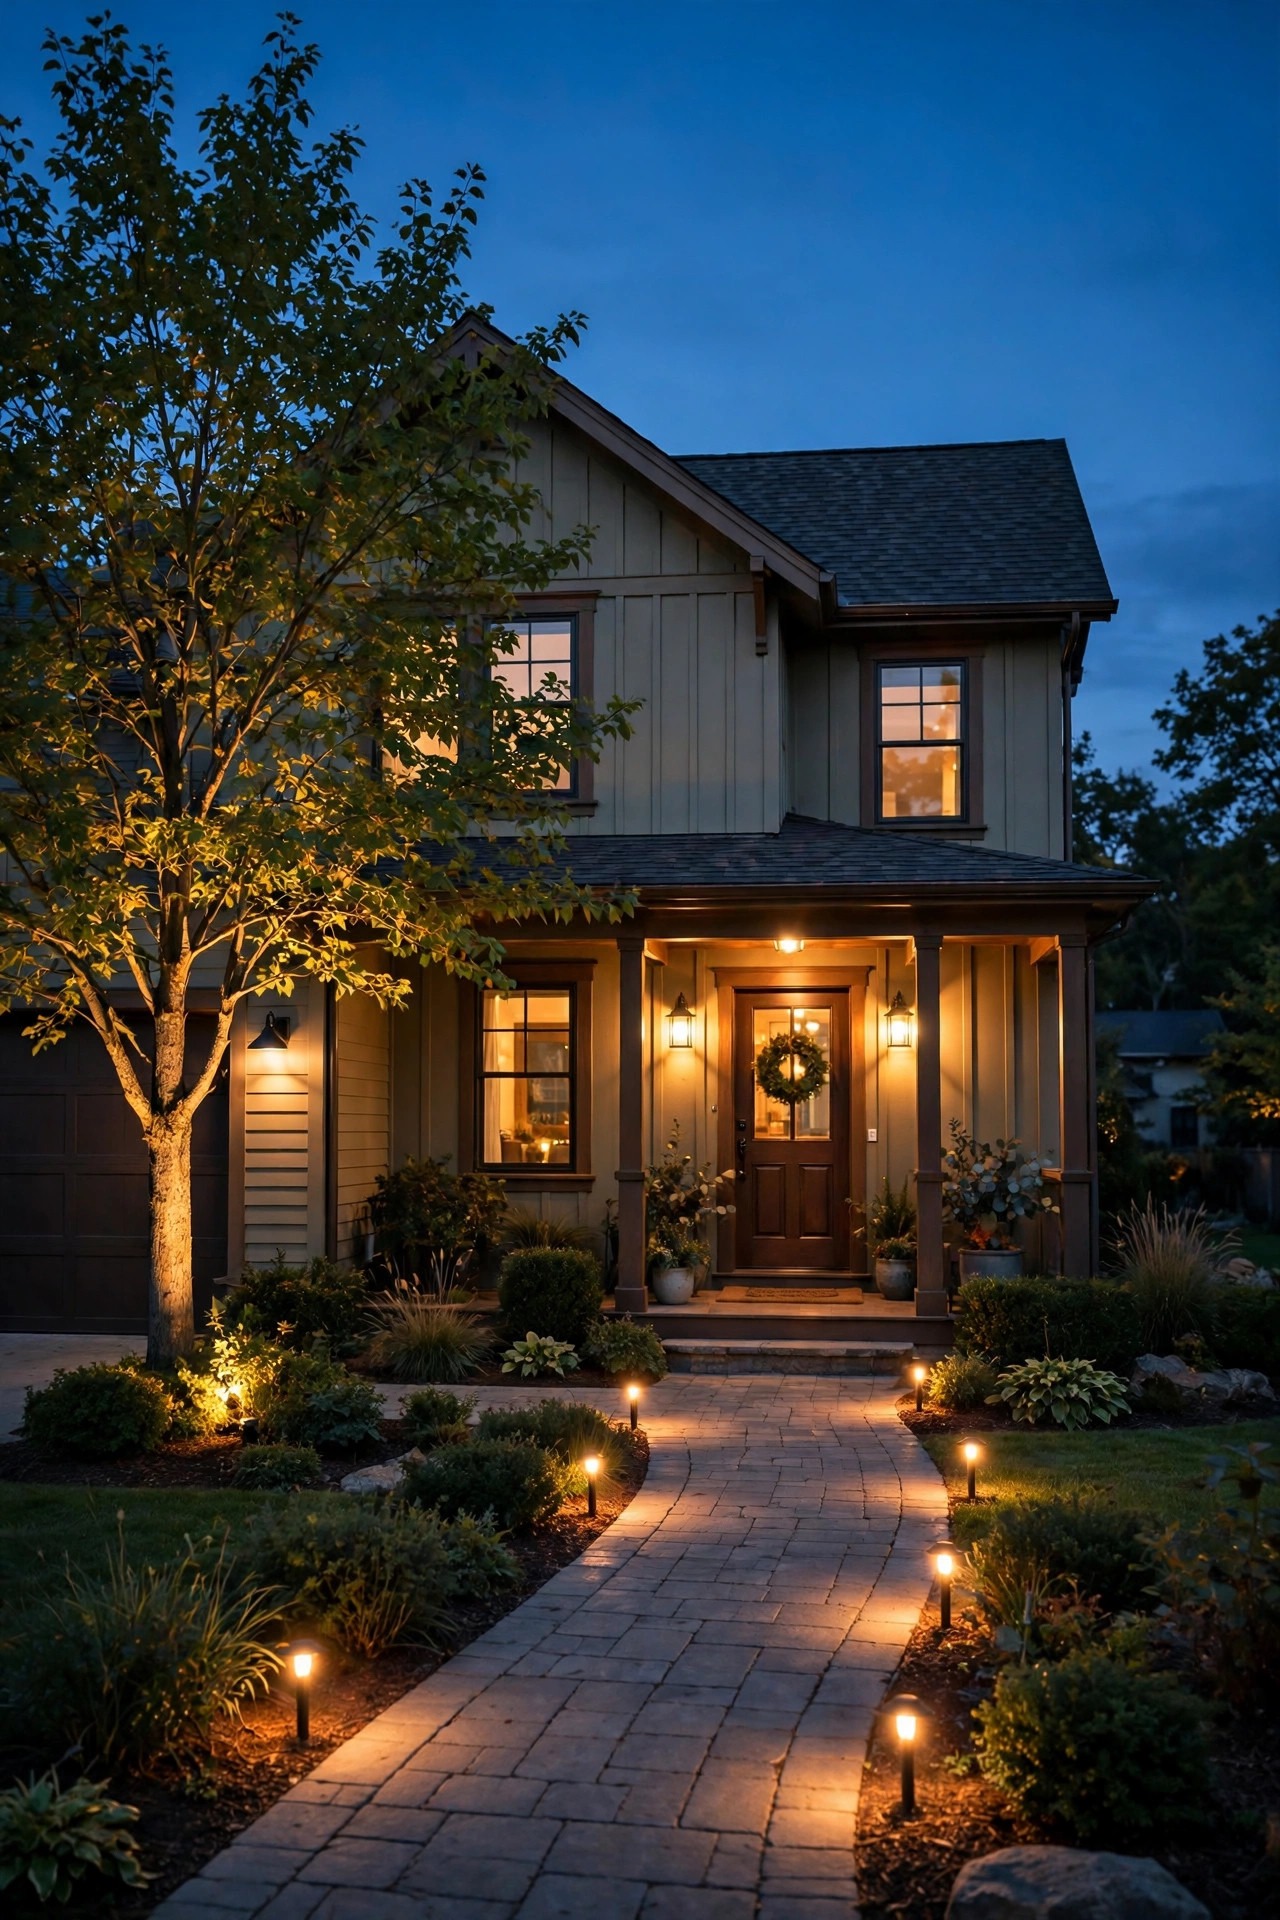
Match the lighting to the house. For most homes, a total lighting investment of roughly half a percent to one percent of the home's value, spent over one season or phased across a few, lands in the right zone: enough for safe steps, a welcoming entry, and one or two lit focal points, without over-improving past the street. Starter homes get there with solar and entry essentials. Larger homes earn wired systems, better materials, and layered design. And the constants never change at any price: warm matched color, working timers, and lit steps and numbers.
Setting Your Outdoor Lighting Budget by Home Value: The Percentage Rule
Here is the rule of thumb I give friends: plan to invest, in total, somewhere between half a percent and one percent of what your home is worth on its outdoor lighting. Not every year — once, phased however your cash flow likes, with small upkeep after that. Why tie it to the house at all? Because lighting is presentation, and presentation scales. A wide facade with mature trees simply has more architecture asking for light than a compact cottage, and the cottage looks finished with a fraction of the fixtures. The rule also protects you in both directions. Spend far beyond what the neighborhood supports and the money stops coming back to you at resale; appraisers and buyers benchmark against the street, not against your receipts. Spend far below what your home's scale asks for and the house reads as neglected after dark, which quietly costs more than the savings. Think of the percentage as guardrails, not a goal: most homes I have helped land happily near the low end, and the ones that climb higher do it because the yard is big, the entertaining is constant, or the architecture genuinely rewards it.

Starter Homes: Solar Plus the Entry Essentials
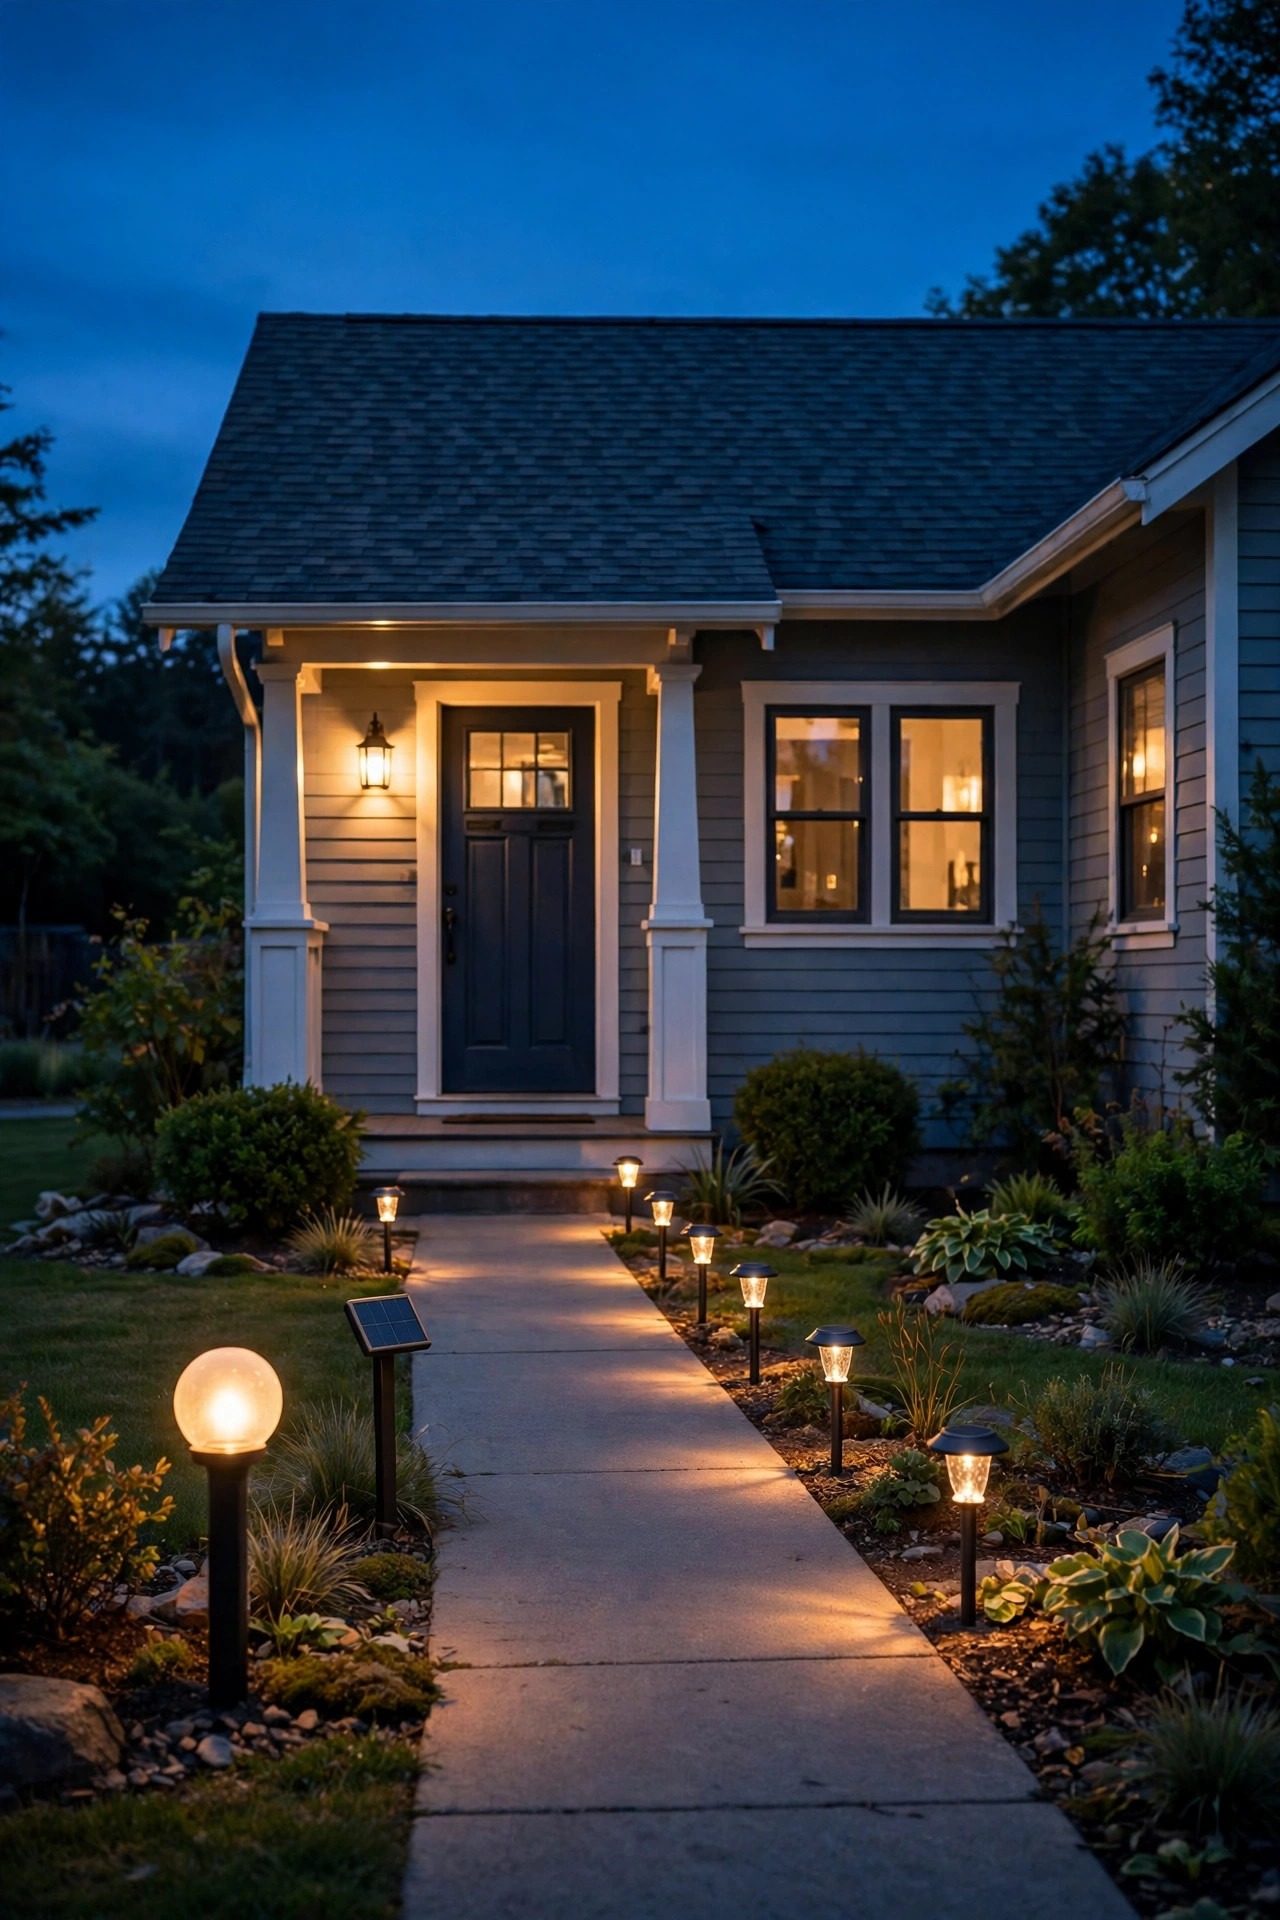
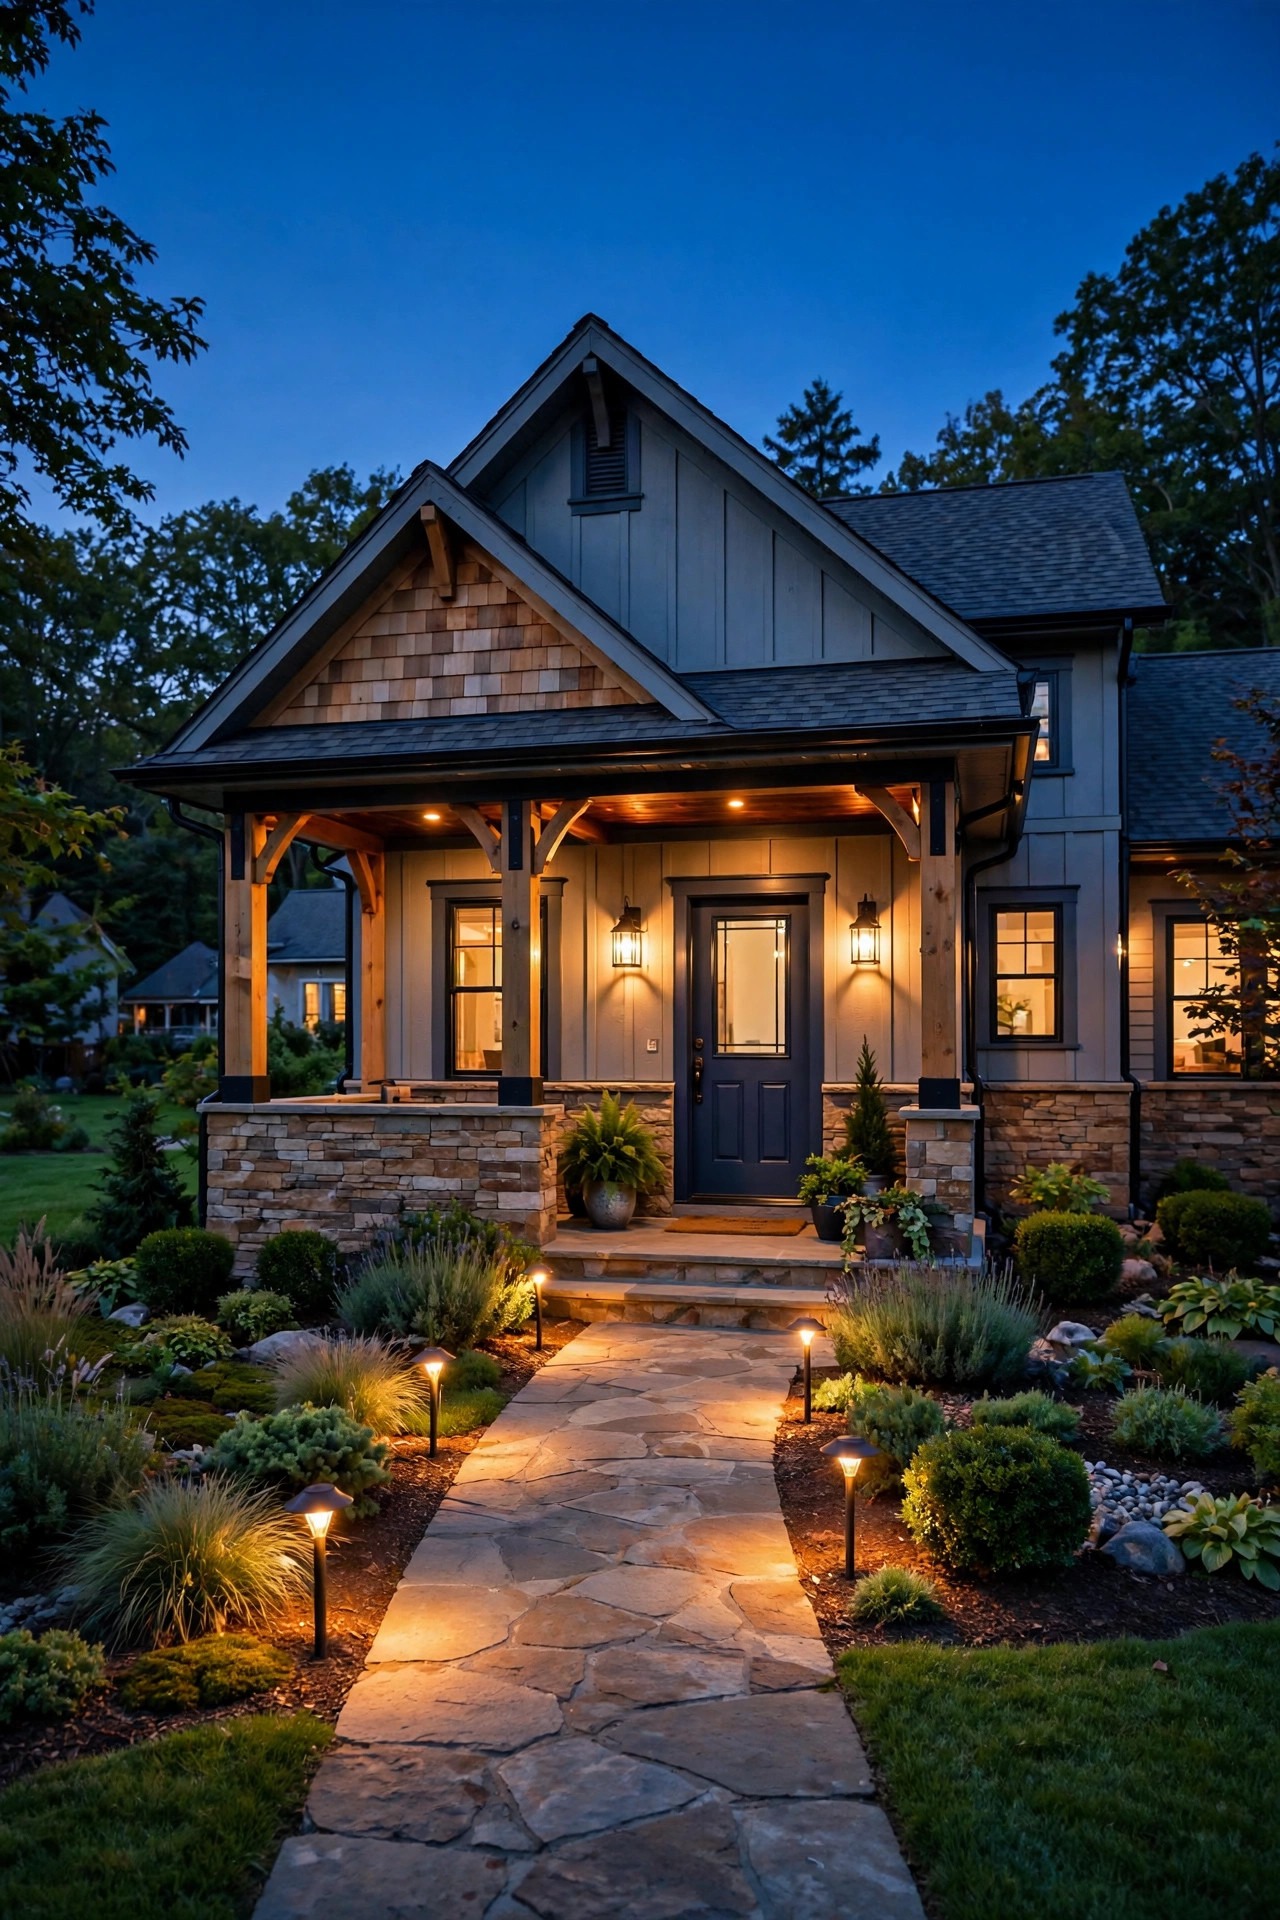
For a starter home, the smart tier is almost entirely solar and entry-focused, and honestly, it can look wonderful. Start at the door: a warm bulb in the existing porch fixture, switched by a photocell so it simply works every night. Add a solar address marker so guests and delivery drivers can find you, then a matched set of solar path lights down the front walk — buy them as one set so the color and brightness match, because a patchwork walk is what gives solar a cheap reputation. Finish with one accent: a solar spotlight on the little ornamental tree, or a battery motion light over the side gate where nobody wires anything. Why does solar win at this tier? Because the expensive part of wired lighting is never the fixtures — it is the transformer, the cable, and the hours. Skipping the infrastructure keeps nearly all of the budget visible in the yard. Two honest cautions: choose solar with replaceable batteries so the set survives past its second winter, and hold every fixture to the same warm color temperature as the porch. Done in that order, a starter home stops looking dark and starts looking deliberate.
Mid-Range Homes: One Wired System, Done Properly
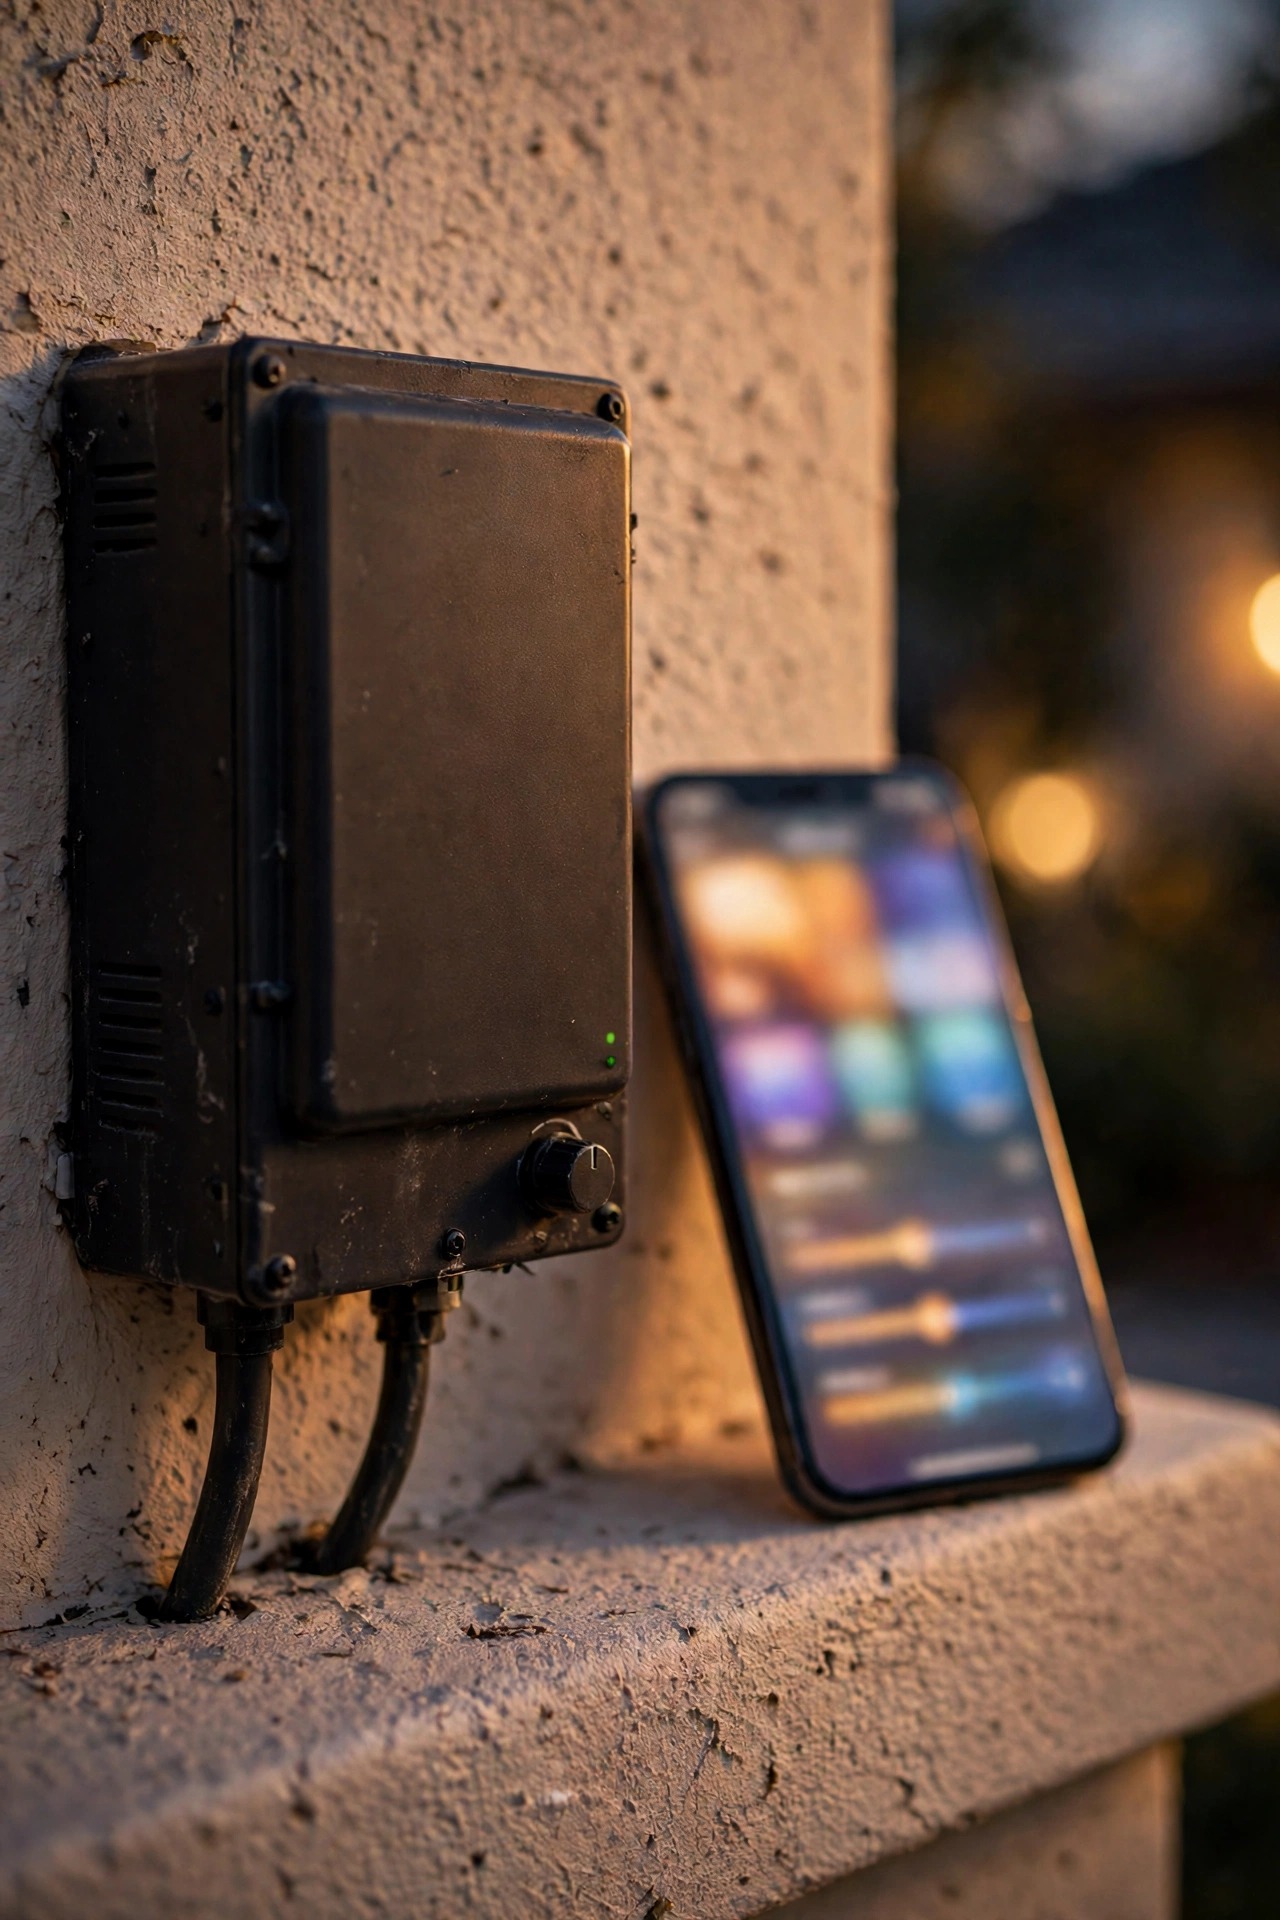
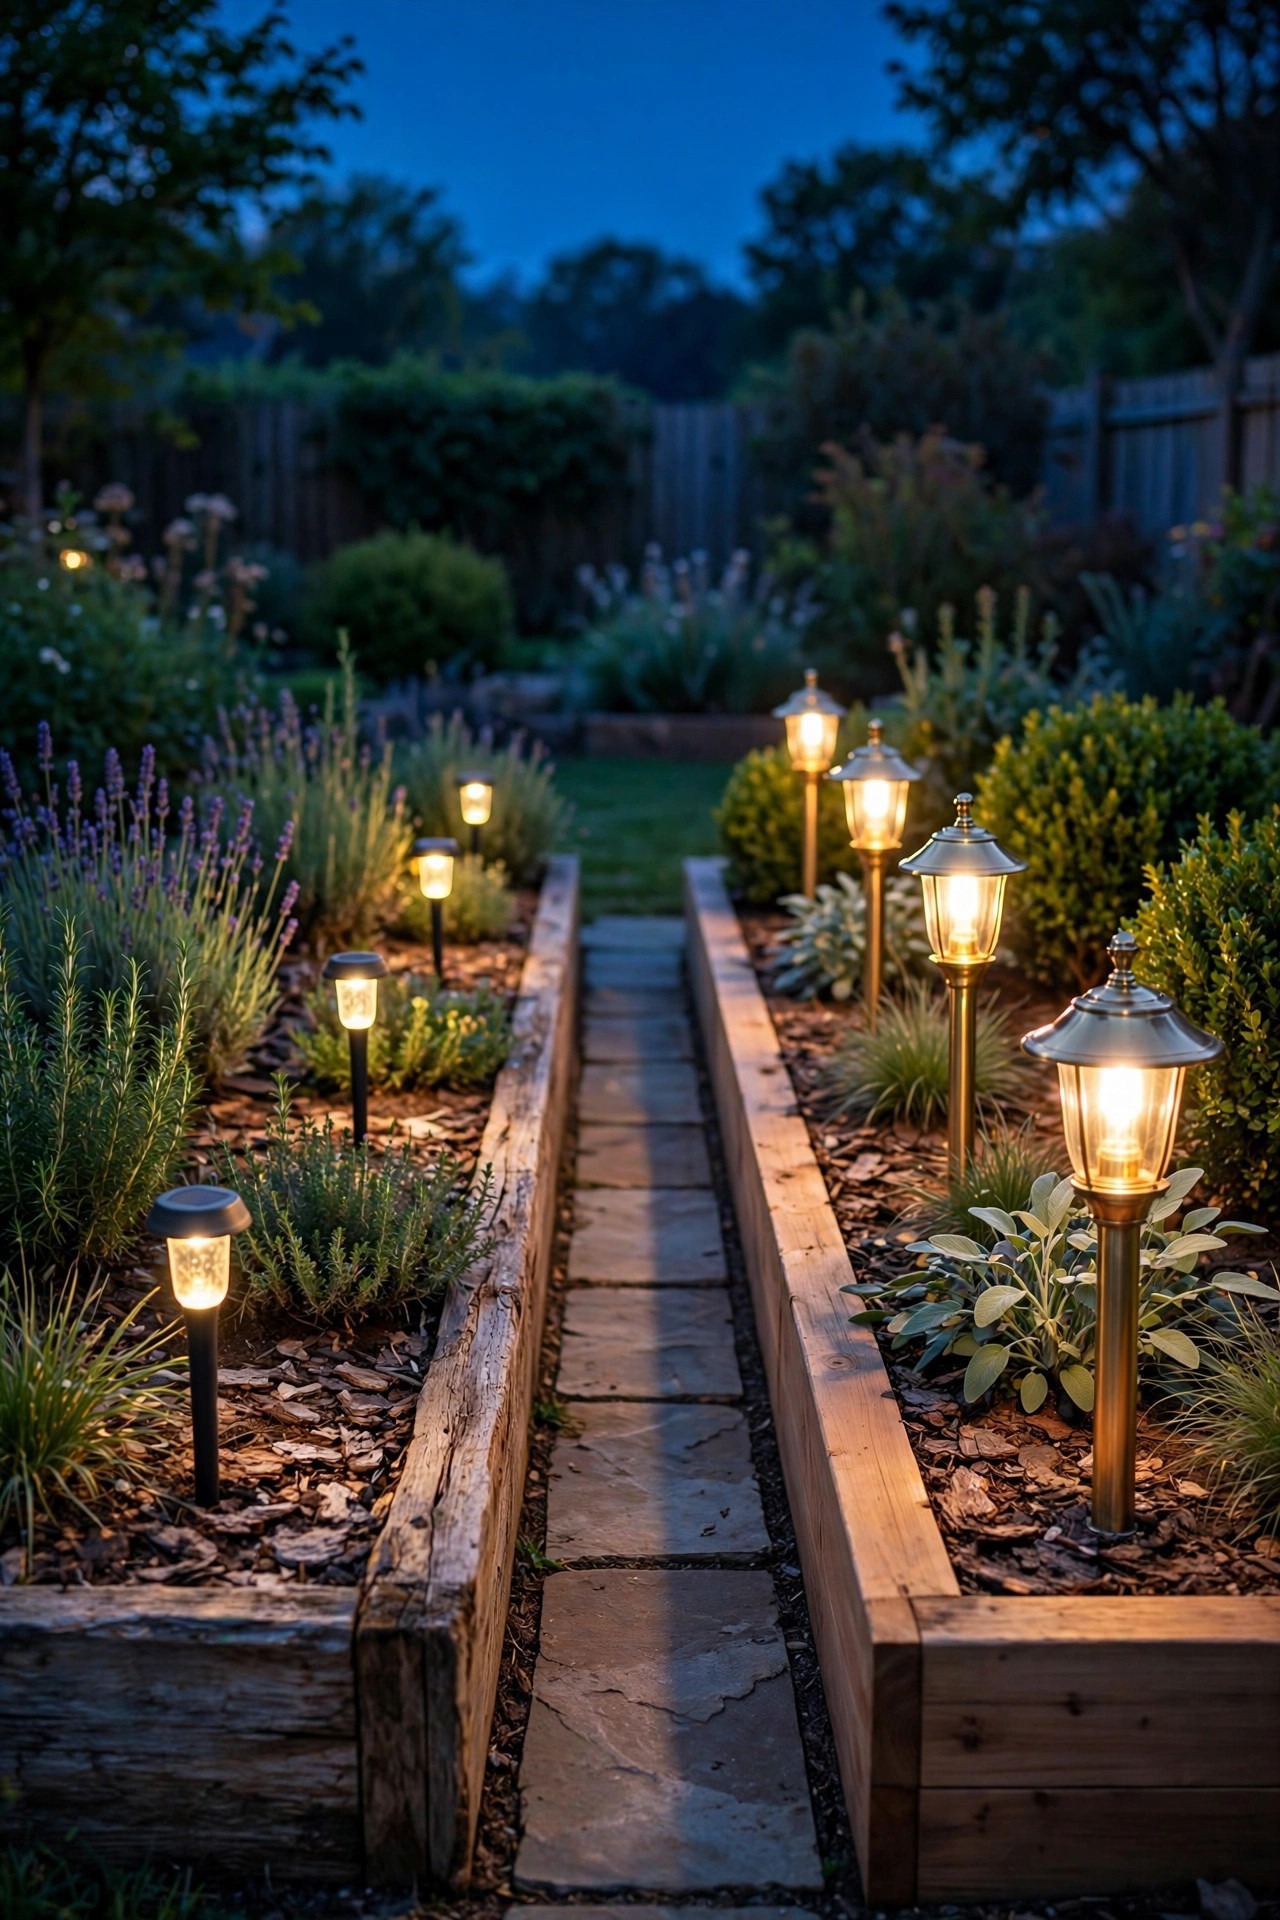
The mid-range tier is where a single low-voltage wired system changes everything. One transformer, sized with comfortable headroom, runs the front properly: path lights that pool warm light on the walk instead of polka-dotting the lawn, real entry lanterns flanking the door, and one tree uplit like it matters. Then give the backyard one finished zone — usually the patio — with string lights on proper hardware and a couple of accent spots in the beds behind it. Materials step up here in a way you can feel: die-cast fixtures with replaceable lamps instead of sealed throwaways, glass lenses instead of yellowing plastic. Controls stay simple and dependable — a photocell with a timer, on at dusk, off when the house goes to sleep. The mistake I see at this tier is spreading the system thin across the whole property in year one. Resist it. A wired front that looks professionally done, plus one backyard zone you actually use, beats a tentative sprinkle everywhere. The transformer headroom you bought is your phase-two invitation: the backyard layers can join the same system later without starting over. That patience is what separates a mid-range system that grows gracefully from one that gets ripped out and replaced within three years.

Upper-Mid Homes: Layers in the Front and the Back
At the upper-mid tier, both halves of the property get the layered treatment, and the difference is less about brightness than about depth. The front gains a second layer: wall-wash uplights grazing the facade, accents in the beds, the walk and entry still doing their quiet work. The back becomes a real evening room — patio or deck lighting on its own zone, steps lit, a focal tree or water feature carrying an accent, and dimming so movie night and dinner party are two different scenes. Materials climb where hands and eyes actually reach: solid, heavier fixtures at the entry and patio, honest mid-tier workhorses buried in the beds where nobody looks closely. This is also the tier where a few hours of professional design advice pays for itself; a designer will move three fixtures on paper that you would have moved three times in the dirt. Zones multiply, so controls grow up too — separate timers or a simple multi-zone setup rather than one master switch for the whole property. The yard stops looking lit and starts looking composed, which is the whole point of spending at this level. Guests feel the difference the moment they step out back, even if they could never name a single fixture.

Luxury Homes: A Designed System, Not a Shopping Trip
Luxury-tier lighting is not more fixtures. It is a plan. On the larger homes I have watched done well, a designer walked the property at night first, and the drawing came before a single purchase: architecture grazed at the right distance, mature trees lit in layers from more than one angle, water and sculpture given their own quiet pools of light, and long sightlines from the favorite indoor chairs considered as carefully as the curb view. Fixtures are brass or copper throughout, because at this scale the install labor dwarfs the fixture cost and nobody wants to re-dig a bed in five years for a corroded housing. Individual fixtures run dim; there are simply more of them, each doing one small job, which is why expensive yards glow instead of glare. Controls become scenes — arrive, entertain, garden, goodnight — run from a proper system with astronomical timing. Professional installation, with connections made to last and a service visit each year, is part of the tier, not an extravagance on top of it. The restraint is what reads as luxury: no visible source, no harsh edge, nothing competing with the house itself. From the street, the home simply looks like the best version of itself after dark.
What Stays the Same at Every Price Point
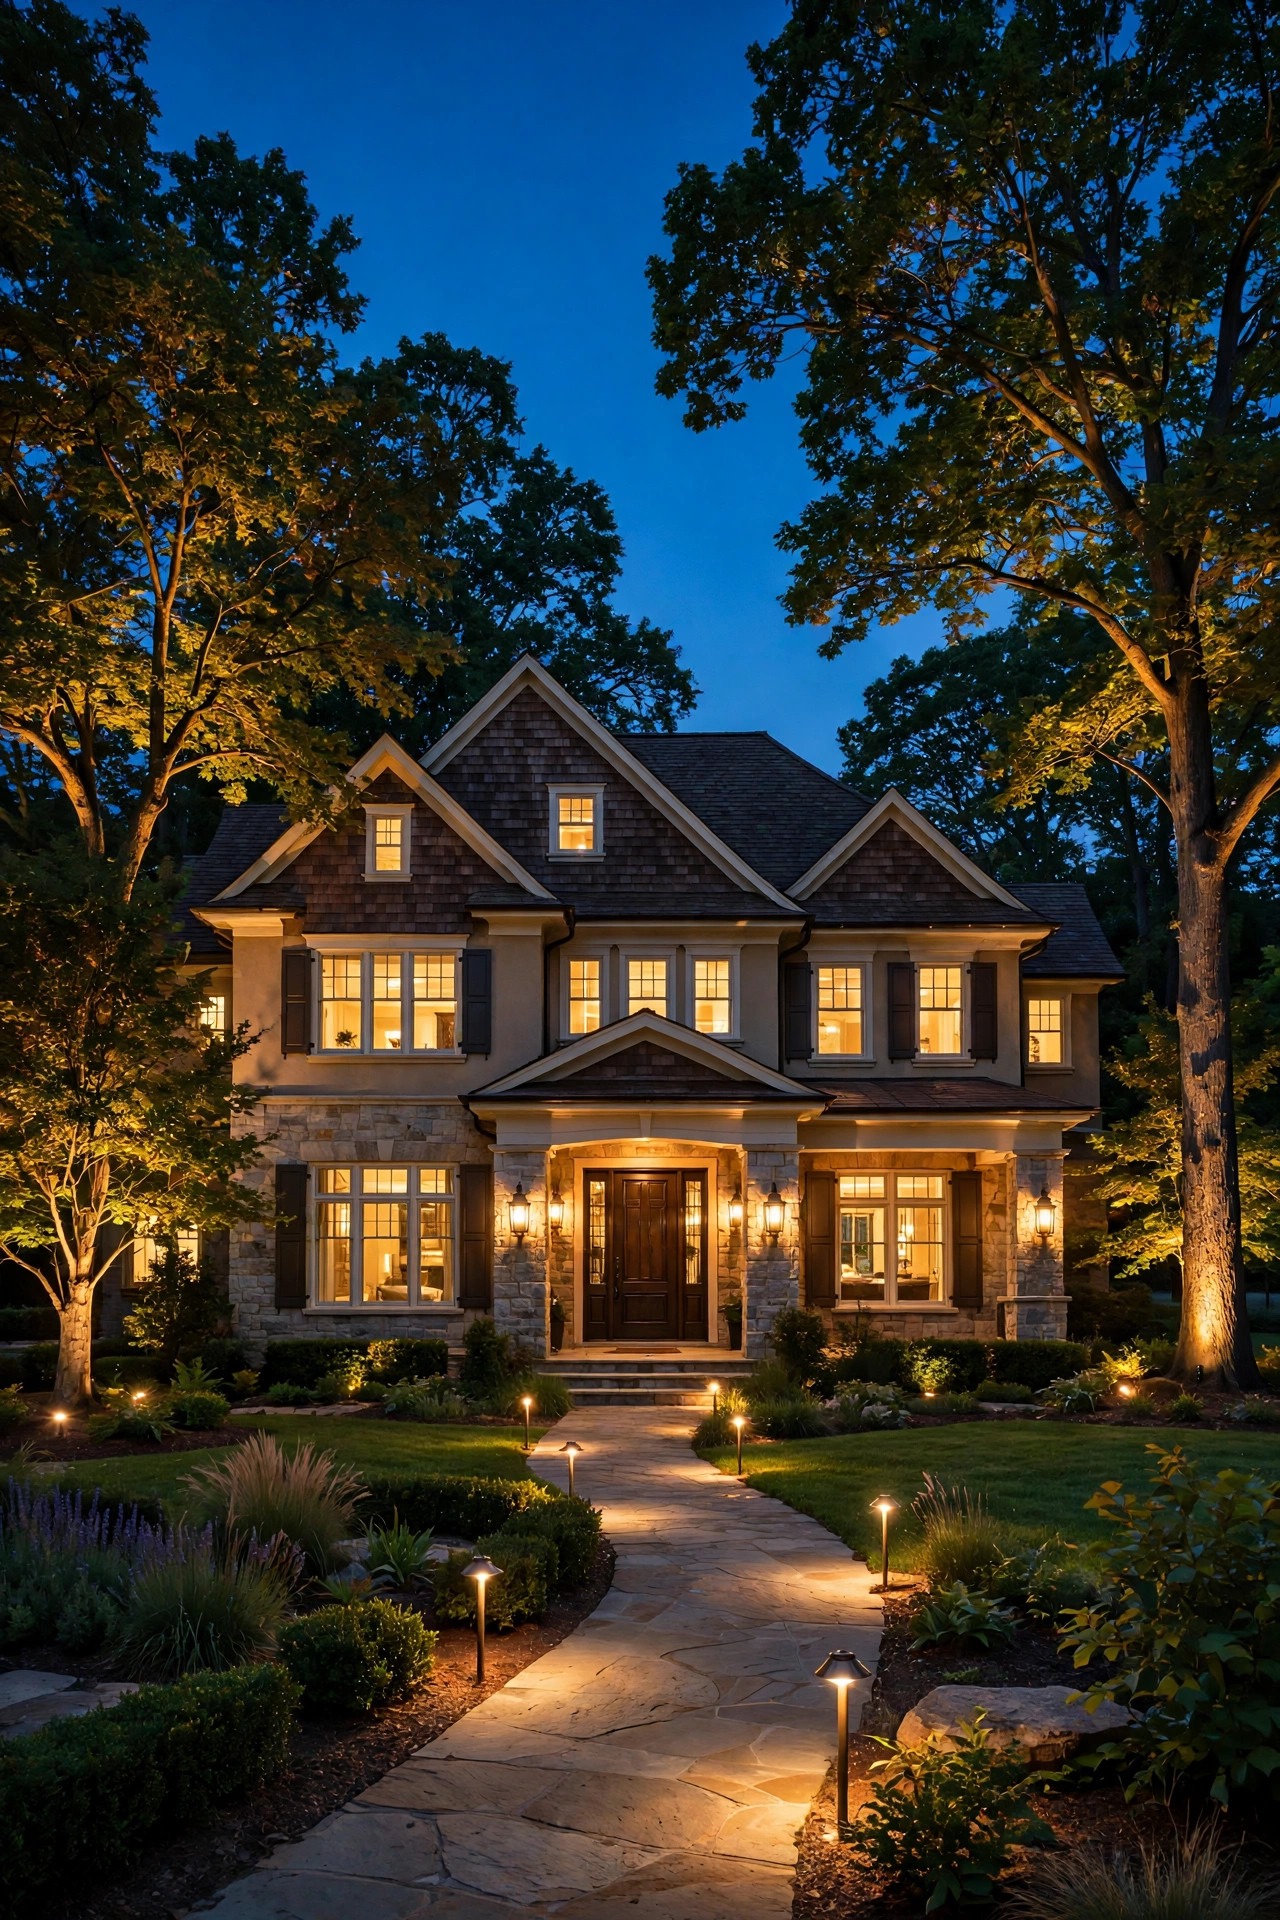
Here is my favorite part of this whole conversation: the things buyers, guests, and neighbors actually notice cost the least, and they are identical on a cottage and a mansion. One warm color temperature — 2700 to 3000 Kelvin — matched across every bulb and fixture, because a mixed-temperature yard looks accidental at any budget. Lights that come on by themselves: a photocell or timer that works, so the house is lit on the rainy Tuesday and not just when someone remembers the switch. Steps with light on them, every single one, and a front door you can find a keyhole on. An address a stranger can read from the street. Fixtures aimed so nobody stares into a bare source, and lenses wiped clean twice a year. None of that requires a big house or a big budget — most of my favorite budget outdoor lighting ideas are exactly these basics done cheerfully well. If a home in any tier gets only five things, get these five. They are the difference between a house that looks maintained and one that merely looks expensive, and maintained wins every time. I would rather visit a tiny cottage with all five right than a grand house with none of them.

What Actually Changes as the Budget Grows
If the constants stay fixed, what does a bigger budget actually buy? Four things, in this order. First, materials: the ladder runs from plastic that yellows, through painted aluminum that eventually chips, to die-cast fixtures and finally solid brass and copper that shrug off decades and develop a patina instead of a rash — my notes on where to splurge and where to save go deeper, but the short version is to climb the ladder first where fixtures get touched, kicked, and seen up close. Second, count: more fixtures, each dimmer, so light comes from everywhere and nowhere. Third, design help: from your own sketch, to a one-time consultation, to a full drawn plan as the yard and the stakes grow. Fourth, controls: from a wall switch, to a photocell, to timers per zone, to scene-based systems at the top. Notice what is not on the list: raw brightness. Every tier should be equally gentle on the eyes. Money buys subtlety, lifespan, and coverage — never a brighter glare. When a quote at any tier leads with lumens instead of layout, that is your sign to keep shopping. Ask instead how many fixtures, placed where, doing which jobs — the answers reveal the tier instantly.
The Staying-Put Test: Resale, Rentals, and How Long You Will Stay
Before you pick a tier, answer one question honestly: how long will this be your house? Selling within a couple of years? Then buy the constants and the curb view only — matched warm color, working automatic controls, lit steps and address, a tidy row of light down the walk. Evening showings are real, and a home that glows at dusk photographs and visits like a home that has been loved; you are buying speed and first impressions, not a line item on the appraisal. Staying five to ten years or more? Buy infrastructure once: the bigger transformer, the heavier cable, the fixtures with replaceable parts, because you will be the one enjoying the payoff. Landlords, one tier simpler and tougher is the rule: wired low-voltage or genuinely sturdy solar, everything on photocells so no tenant ever has to think about it, nothing delicate, nothing with a remote to lose. And whatever your horizon, let the street set the ceiling for the front yard. Your budget belongs to your house, but your front yard performs for the whole neighborhood — match its register and you will never feel you overspent or underdressed.
What It Costs in 2026
Now the numbers, all in one place. The percentage rule first: on a $250,000 home, a total plan of $1,250 to $2,500 is the guardrail zone. On a $400,000 home, $2,000 to $4,000. On a $650,000 home, $3,250 to $6,500. At $1,000,000 and above, $5,000 to $10,000 covers most self-planned projects, while fully professional designed-and-installed systems on large properties commonly run $8,000 to $20,000 or more. By tier, doing most of the work yourself: starter plans land at $150 to $450 (a matched solar path set $60 to $150, a photocell bulb and lantern refresh $25 to $80, one accent $20 to $60). Mid-range wired systems run $600 to $1,500, with the transformer at $120 to $250, path fixtures $25 to $60 each, and cable and connectors roughly 15 percent of the fixture spend. Upper-mid projects run $1,500 to $4,000, adding brass at touch points ($60 to $120 per fixture) and sometimes a design consultation at $150 to $400. A luxury DIY-materials spend starts around $4,000 to $9,000 before labor. Phased, it softens: $650 in year one for constants plus the wired front, $700 in year two for the back, $600 in year three for upgrades reaches an upper-mid result without a single painful season. Running costs stay tiny throughout — a full LED low-voltage system on a timer typically adds $3 to $6 a month.
Growing Into the Tier Above: The Phased Plan
Almost nobody I know bought their whole lighting plan in one season, and the phased route is honestly the smarter one — you learn your own yard between phases. Phase one is always the constants: matched warm color everywhere, automatic controls, steps and address lit. Phase two is infrastructure: buy the transformer one size up from today's plan and run your main cable with the future in mind, because wire in the ground is the one thing you never want to buy twice. Phase three finishes the front completely. Phase four layers the back. Phase five is pure pleasure: upgrading high-touch fixtures to brass on the same wires, adding a scene control, lighting the tree you have been admiring for two summers. If you want to see how the tiers themselves break down while you plan, my landscape lighting budget tiers walk-through is the companion piece to this one. The secret of phasing is that every phase must look finished on its own — a complete front with a dark back is a plan in progress; half of everything is just a mess at every stage. Neighbors should never be able to tell where this year's phase ended and next year's begins.

Mistakes That Break an Outdoor Lighting Budget by Home Value
I keep a short list of ways good budgets go wrong. The classic: spending like a luxury tier on fixtures and then hanging them on a bargain transformer, so the far lights starve, dim, and yellow while the near ones blaze — the backbone is the last place to economize. Second, copying a richer neighborhood's plan photograph-for-photograph; their facade is wider, their trees are older, and their fixture count on your smaller home becomes clutter. Third, pouring the entire tier budget into the front yard because that is what the street sees, then living with a black backyard you never use after dinner. Fourth, treating the percentage as a quota to fill instead of a ceiling to respect, and buying fixtures just to spend the number. And fifth, funding accents while the constants stay broken — a spotlighted tree over dark, dangerous steps fools nobody. The pattern underneath all five is the same: money spent without an order. Fix the sequence — constants, backbone, front, back, upgrades — and the very same budget suddenly performs like a bigger one, because every fixture in it is fed properly and doing a job that matters. Every one of these is a planning error, not a money shortage, which is good news: they are all free to avoid.
Frequently Asked Questions
What percentage of my home value should I spend on outdoor lighting?
Half a percent to one percent of the home's value, as a total project guardrail, covers the large majority of homes gracefully. Most people land near the low end; climb higher only when the property is large, the entertaining is frequent, or the architecture genuinely asks for more layers. Phase it across seasons if that suits your cash flow better.
Does outdoor lighting actually increase resale value?
It supports value rather than adding a neat line item. Evening curb appeal speeds up sales and lifts offers because buyers read a well-lit home as a well-kept home, and twilight showings are where that impression forms. Keep colors warm and neutral so the next owner inherits something classic, not a taste statement they budget to remove.
My house is modest but my street is expensive. Which do I follow?
Follow the street in the front and your own budget in the back. The front yard performs for the neighborhood, so borrow its register: tidy, warm, complete. The backyard is yours alone, and a smaller lighting plan done with care will never embarrass you there. This split is the most useful trick in this whole guide.
Should landlords follow the same tiers for rental properties?
Use them one notch simpler. Tenants value light that simply works: photocell-driven fixtures, lit steps and locks, nothing fragile and nothing that needs an app or a remote. Durability and automation beat beauty at rental scale, and a wired low-voltage setup or genuinely sturdy solar both hold up far better than delicate bargain fixtures.
Conclusion
However you size it, your outdoor lighting budget by home value is a guardrail, not a homework assignment — it keeps the plan proportional to the house, honest about the neighborhood, and focused on the warm, safe, welcoming basics that every tier shares. Start with the constants, buy infrastructure once, and let the layers arrive season by season. If you are planning your own tier tonight, browse more of my outdoor lighting ideas here on the site and steal the layouts that fit your street.