Every April I walk my front yard at dusk with a notebook, noting which lights still earn their keep and which ones I quietly regret buying. After a decade of installing, replacing, and occasionally backing over my own path lights, I've learned the lesson this whole post is built on: getting the landscape lighting splurge vs save balance right matters far more than the size of your budget. A modest system with money in the right places will out-glow and outlive a pricey one that spent big in the wrong spots. The parts nobody sees — the transformer by the outlet, the cable under the mulch, the connectors buried in the beds — decide whether your yard shines for fifteen years or starts flickering by July. The parts everybody sees are often the cheapest things in the whole system to replace. In this guide I'll show you exactly where I'd spend, where I'd pinch, how to phase a project when cash is tight, what the whole thing honestly costs in 2026, and the money mistakes I see in both directions.
The Short Answer
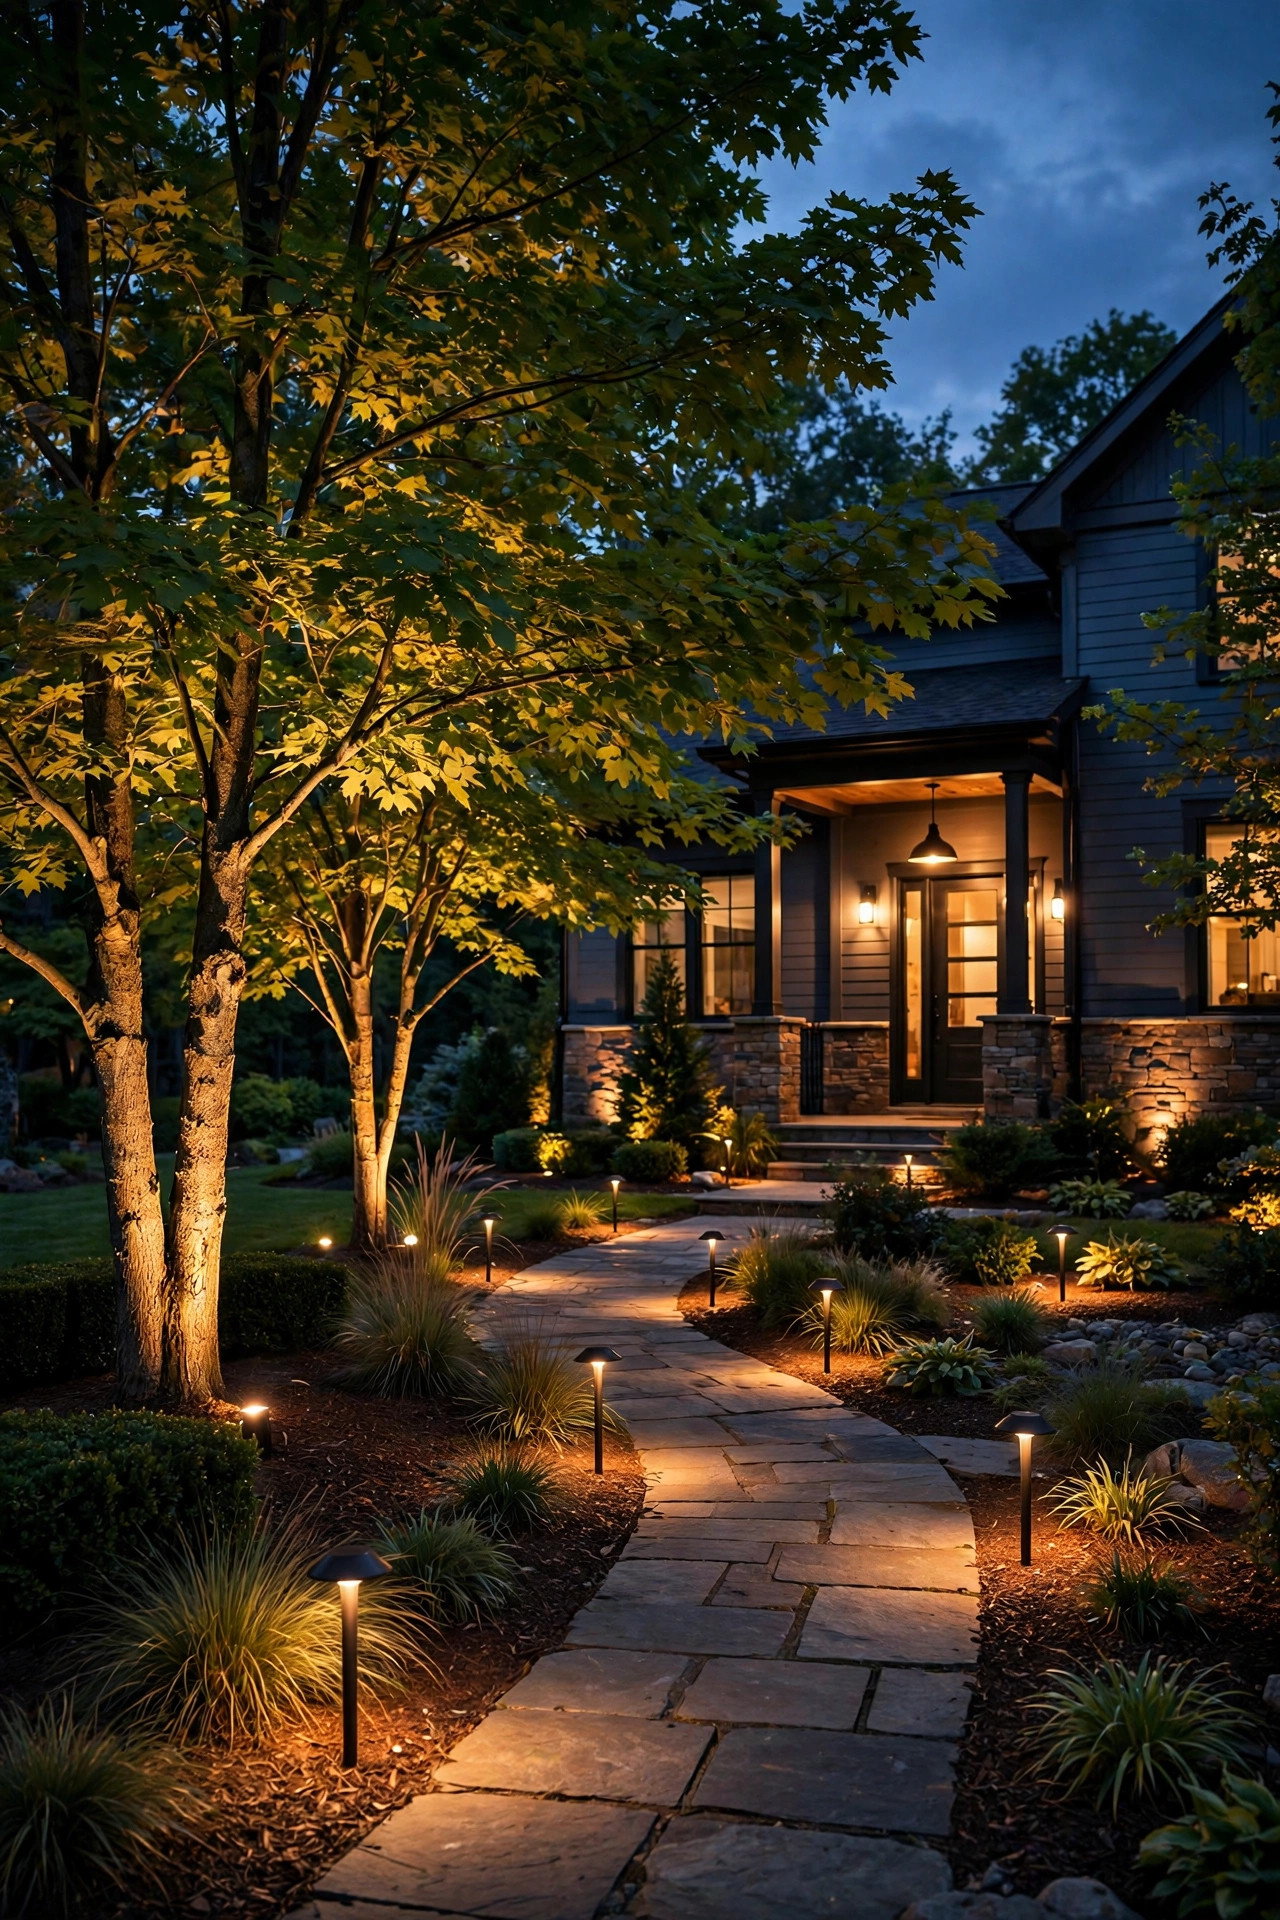
Splurge on the parts that are buried, wired, or miserable to redo: an oversized transformer, heavy-gauge cable, waterproof connectors, and solid metal fixtures in the spots that take sprinkler hits and weather. Save on everything visible, decorative, and easy to swap later: path light styles, solar accents, string lights, bulbs, and seasonal extras. Save on labor too — low-voltage installation is genuinely DIY-friendly — and splurge on an electrician only for new 120-volt work. My rule after ten years of this: spend once on the bones, go cheap on the jewelry.
The One Rule Behind Every Landscape Lighting Splurge vs Save Decision
Before I buy any component now, I ask one question: if this fails in three years, what does replacing it actually involve? If the honest answer includes a shovel, a ladder, a trench, or an electrician's phone number, I buy the best version I can afford. If the part pops out with two fingers and swaps in about a minute, I buy the cheap one without a shred of guilt. That single test — I call it my dig-it-up rule — settles nearly every landscape lighting splurge vs save argument in my head. The second lens is cost per year, not cost per box. A fixture that costs twice as much but lasts four times as long is not the splurge; it's the bargain, and the cheaper one was the waste. The third lens is blast radius. Some parts fail alone and quietly: one dead path light is a minor errand. Others take the whole system down with them — a dead transformer means a dark yard, and a corroded main-run connector can silence everything downstream of it. Parts with a big blast radius deserve premium money. Parts that fail privately and swap easily do not. Hold those three ideas together and the rest of this guide is really just applying them, component by component, to a real yard.
Splurge: The Transformer, the Heart You Never See
Your transformer is the one component every single light depends on, so this is where my money goes first. Start with capacity: buy for the yard you'll have in five years, not the one you have today. I like to keep my planned load under about eighty percent of the transformer's rating, which leaves headroom for the extra uplight and two path lights I know I'll talk myself into later. An oversized unit also runs cooler and loafing, and cool-running electronics live longer — a transformer working at its limit every night ages fast. Next, look for multiple voltage taps. On long runs, being able to send a slightly higher voltage down the cable is the cleanest fix for dim end-of-line lights, and cheap single-tap units simply can't do it. The housing matters too: stainless steel or a heavy powder-coated case shrugs off sprinkler overspray and summer sun, while thin painted boxes rust at the seams within a few seasons. Built-in controls are worth paying for here as well — a transformer with a proper timer and photocell onboard saves buying separate gadgets and gives you one less connection to fail. Finally, read the warranty the way you'd read a weather forecast. A long warranty on a transformer is the maker telling you, in writing, how long they expect it to live. Believe them, in both directions.

Splurge: Cable and Connectors, the Boring Parts That Decide Everything
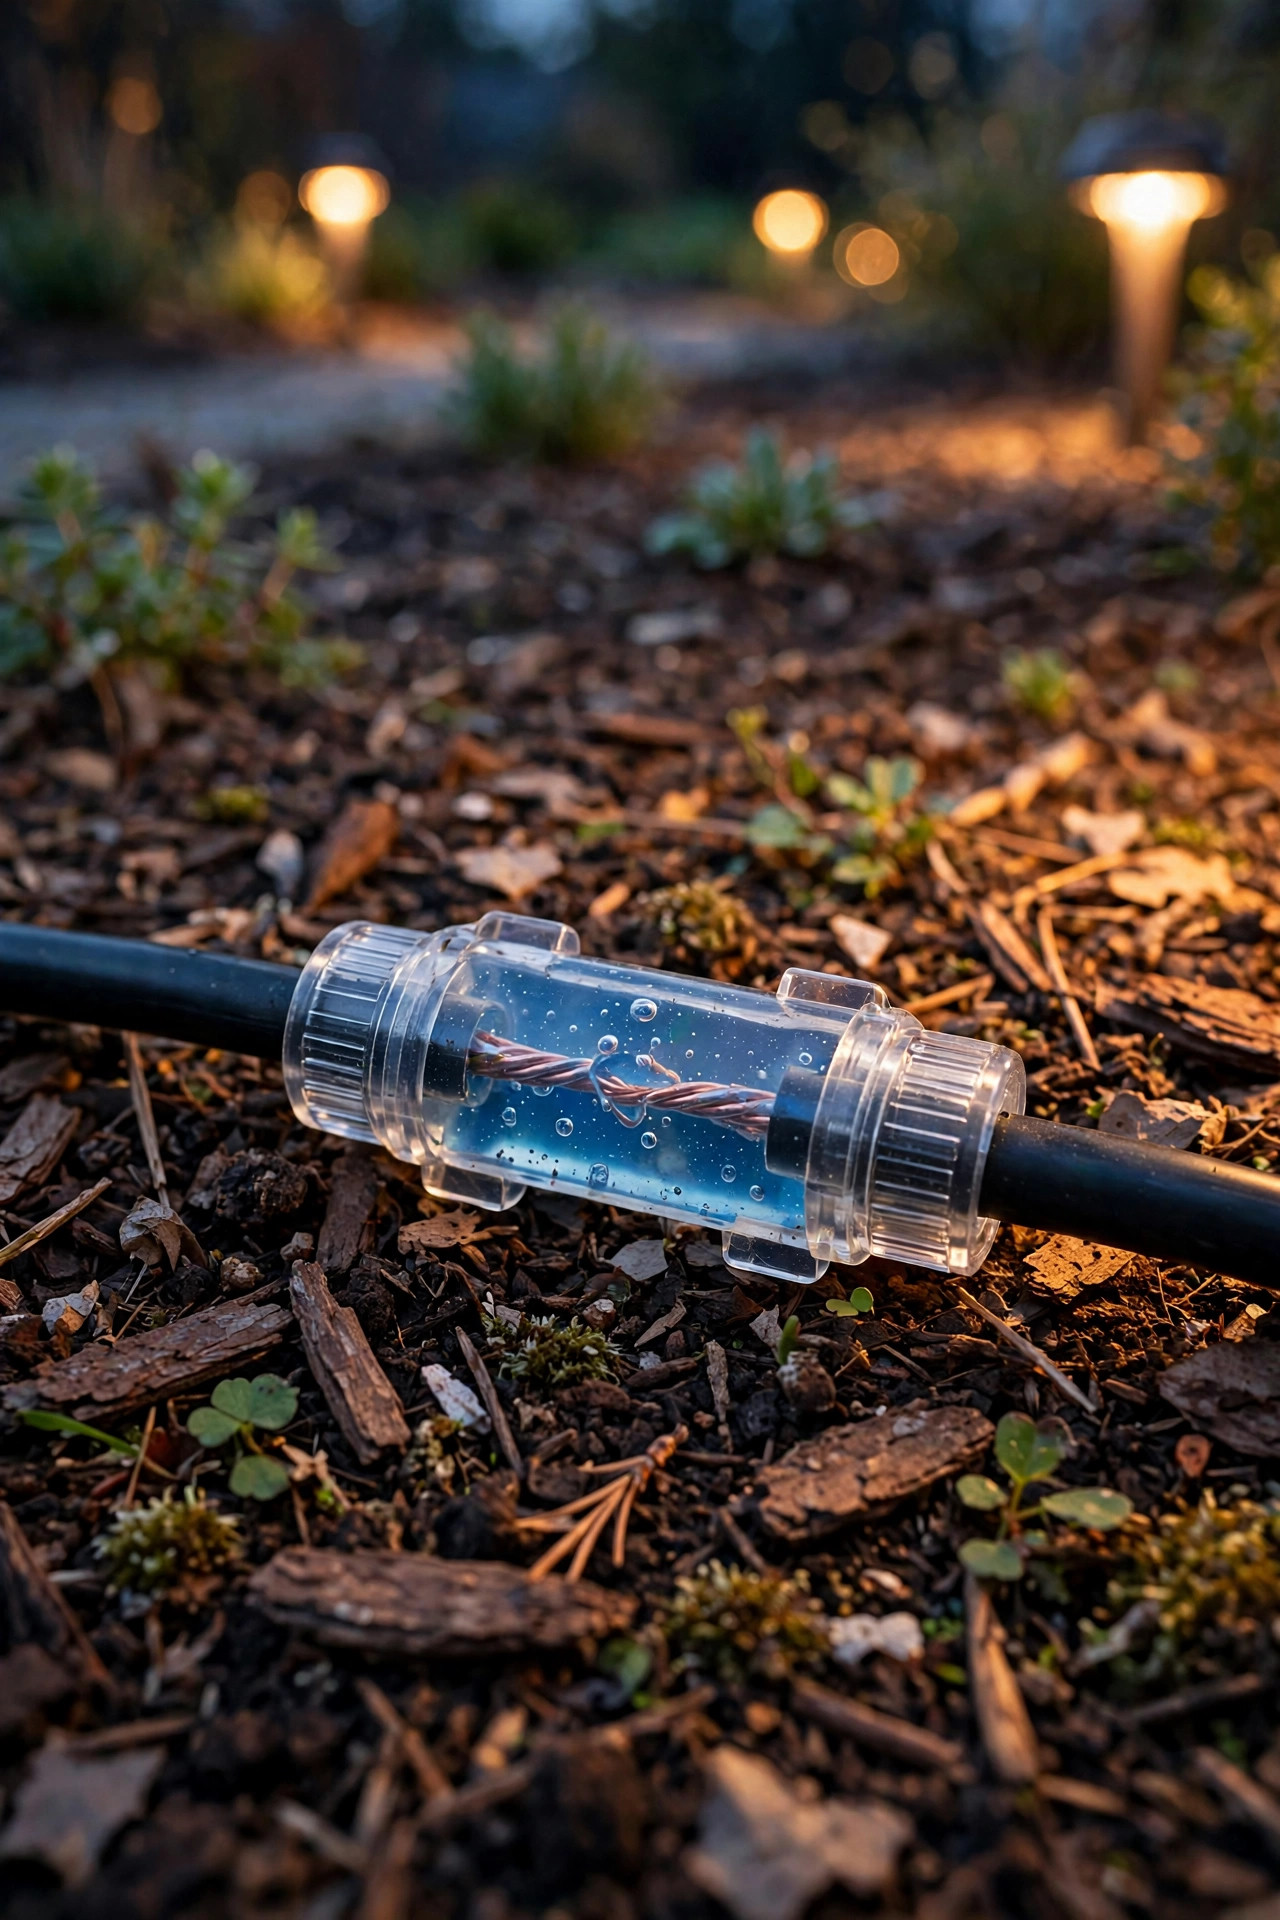
If the transformer is the heart, the cable is the bloodstream, and cheap cable quietly starves it. Electricity fades as it travels — that's voltage drop — and thinner wire fades it faster. On any run longer than about fifty feet, I use heavier 12-gauge cable even though the lighter gauges look tempting on the shelf; the far lights stay as bright as the near ones, and my transformer taps don't have to work overtime. But honestly? The connectors matter even more. The little pierce-point clips bundled free with many fixtures are, in my experience, the number-one cause of the classic "half my lights stopped working" mystery. They nick the wire, invite moisture in, and corrode from the inside. Gel-filled waterproof connectors cost a little more apiece and take an extra minute each, and they are the single best upgrade in this entire guide. Bury them with a small slack loop and they'll outlast the fixtures they feed. Here's why I'm so firm about this category: cable and connectors are the only parts of the system that are genuinely expensive to replace, because replacement means digging. The fixtures above them swap in minutes. Buried infrastructure gets bought once and bought right, or it gets bought twice — with a weekend of trenching as the shipping fee.
Splurge: Fixture Bodies Where the Weather Is Brutal
Not every fixture deserves top-tier metal, but the ones living at ground level in the weather absolutely do. Solid brass and copper are my splurge here, and it's simple chemistry: they don't rust through. They develop a handsome patina, shrug off fertilizer and mulch contact, and the bodies are still sound decades later. Painted aluminum is fine until the finish chips — and it always chips, usually where the mower kissed it — and then it pits and flakes from that wound outward. Plastic housings go brittle and chalky in the sun, and their lenses yellow until a warm-white light looks like a tired taxi sign. So be strategic about where the good metal goes. Ground-level uplights and well lights sit in mulch, get rained into, and live inside sprinkler arcs; those get brass. Fixtures in coastal air or snow-belt yards, coping with salt from the road and the driveway, get brass. In the wettest spots I also lean toward sealed integrated-LED fixtures, because there's no socket for water to creep into at all. A good gasket and a real glass lens round out the spec. Spend on the fixtures that fight the weather hand-to-hand every night; the sheltered ones, as you'll see next, can dress far more cheaply.

The Landscape Lighting Splurge vs Save Cheat Sheet
If you'd rather have the whole philosophy on one index card, this is the card I wish someone had handed me before my first system. It distills every landscape lighting splurge vs save call in this guide into a single glance:
| Component | Verdict | Why |
|---|---|---|
| Transformer | Splurge | Runs everything; a failure darkens the whole yard |
| Cable (12-gauge) | Splurge | Buried for good; fights voltage drop on long runs |
| Connectors (gel-filled) | Splurge | The number-one failure point, and buried |
| Uplights and well lights | Splurge | Live in mulch, water, and mower range |
| Porch and eave fixtures | Middle | Seen daily, but swap in minutes |
| Path lights | Save (mostly) | Style-driven and the easiest swap in the yard |
| LED bulbs | Save | Consumables, and the tech improves yearly |
| Solar accent stakes | Save | Decorative only, with short natural lifespans |
| String and fairy lights | Save | Seasonal, fragile, and fun precisely because they're cheap |
| Timer and controls | Middle | A simple photocell beats a fragile gadget |
Notice the pattern in that table: everything marked "splurge" is either buried, load-bearing for the whole system, or physically punished by weather. Everything marked "save" is visible, fashionable, or disposable by design. When you're standing in the store aisle torn between two options, run down which of those families the part belongs to and the answer usually announces itself.

Save: Path Lights — Buy the Style, Not the Heirloom
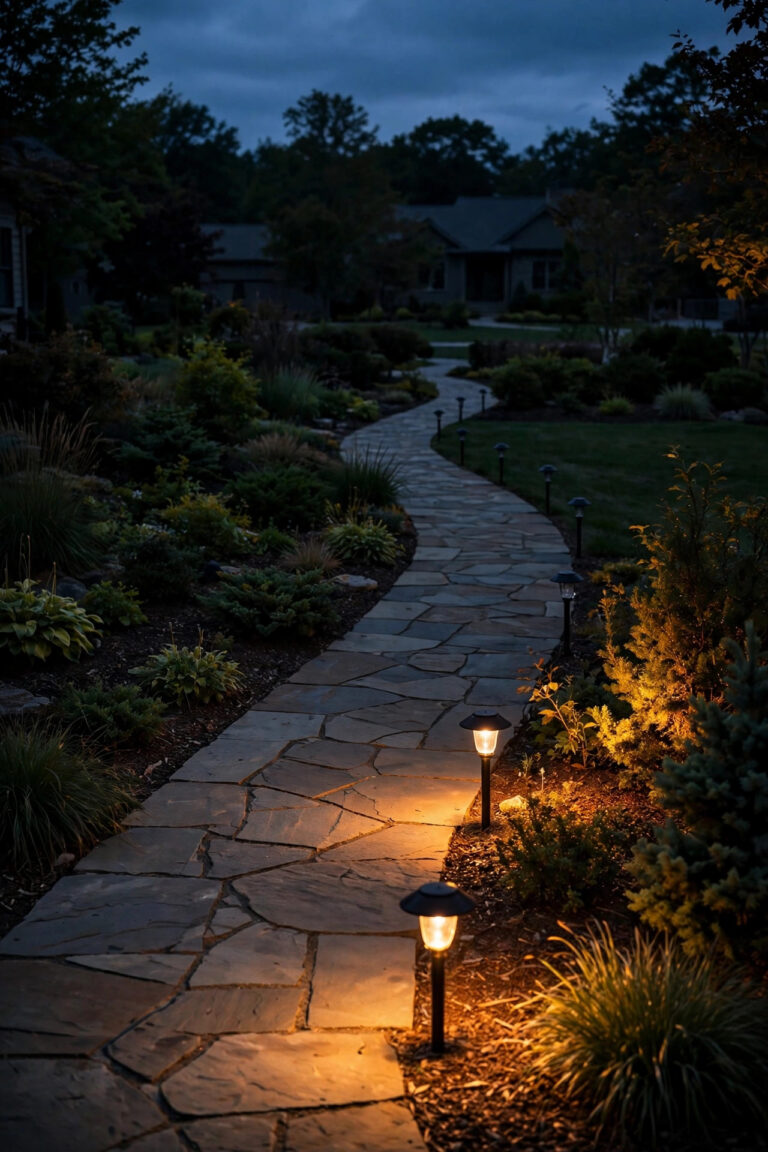
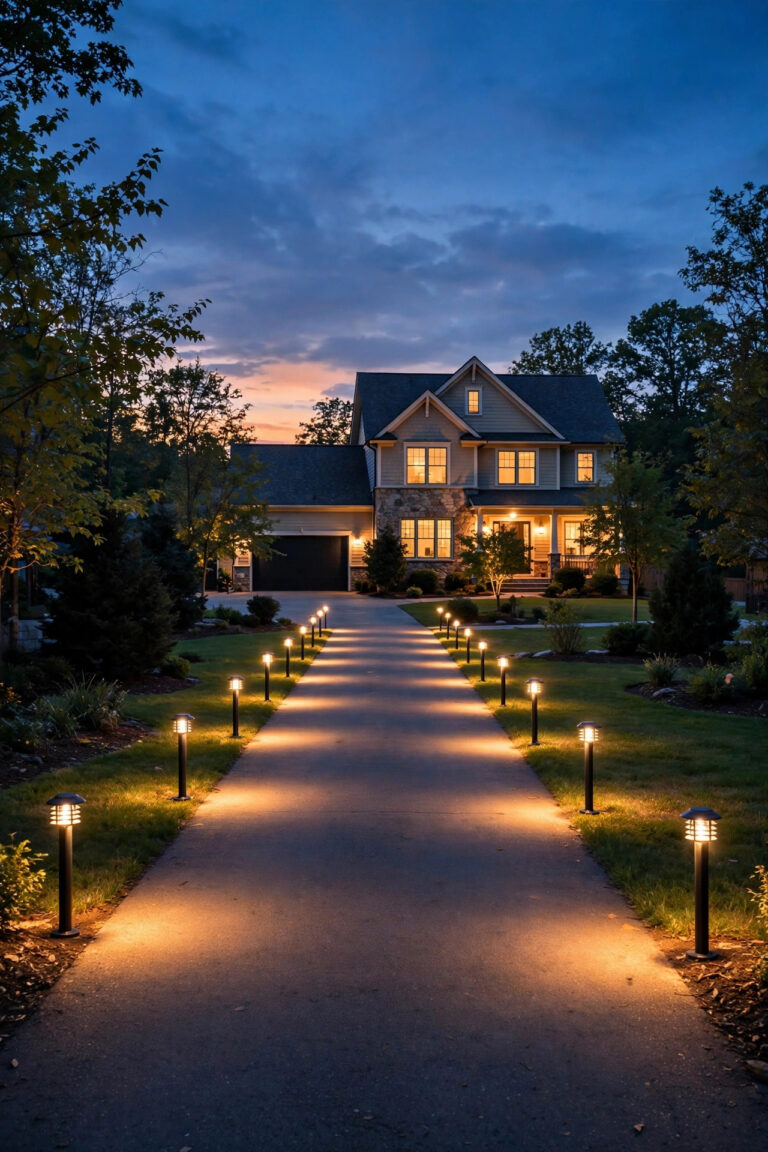
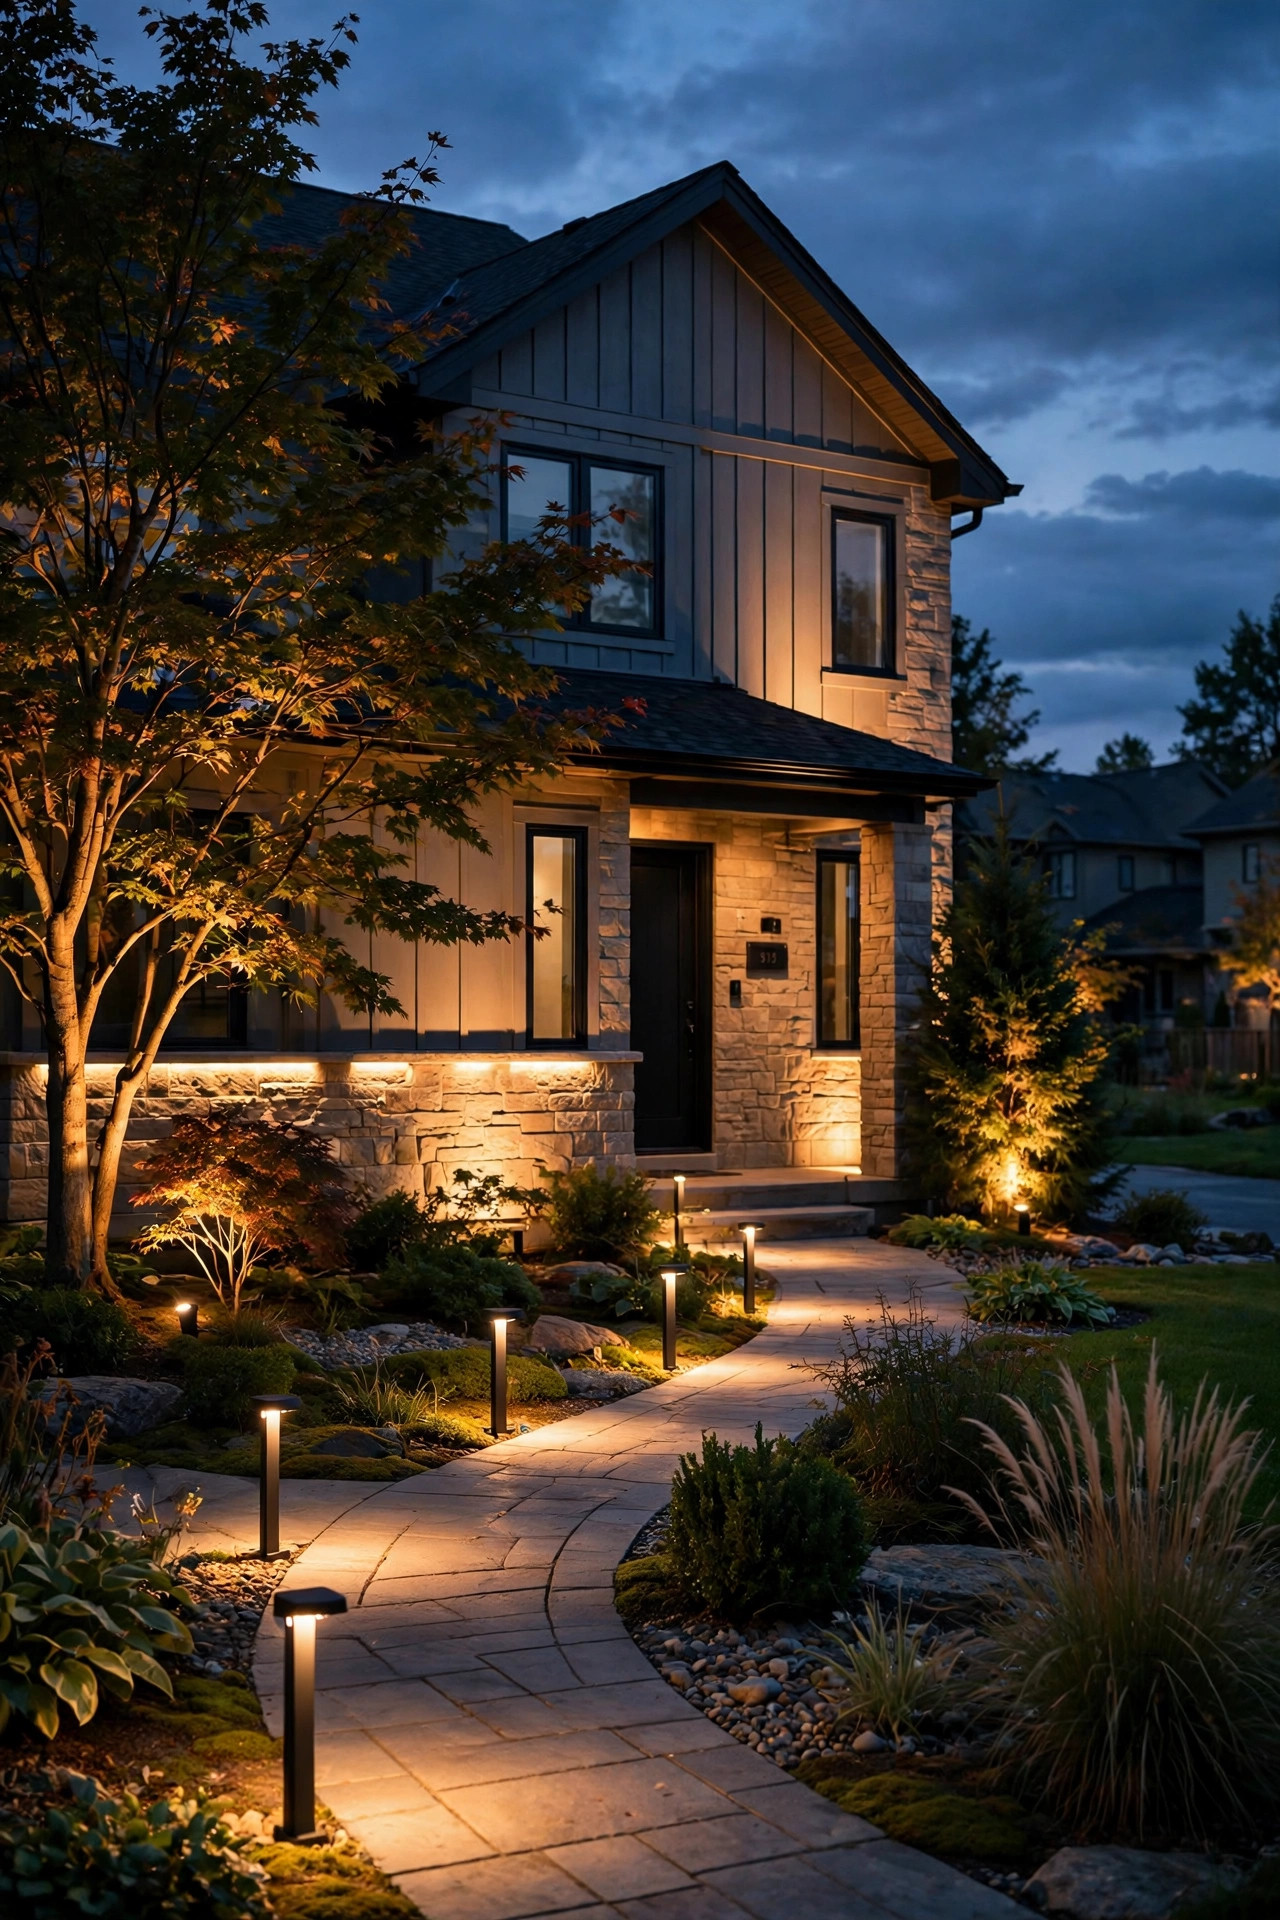
Path lights are where most people overspend, because they're the fixtures you actually see and touch, and the pretty ones whisper that they deserve heirloom money. Resist. Path lights are fashion: styles date faster than any other fixture in the yard, and the stakes live a violent life — kicked by guests, clipped by the mower, leaned on by snow shovels, climbed by toddlers. A mid-priced path light in decent metal or heavy composite looks, from the sidewalk at dusk, absolutely identical to one costing three times more. What guests actually notice is the light itself: even pools along the walk, no glare in their eyes, a consistent warm color from fixture to fixture. So put your effort into spacing and aiming rather than price tags here, and buy a style you like knowing full well you'll refresh a few of them in five years without a moment's pain. The one exception to my cheapness: bollard-style lights edging a driveway, where car bumpers genuinely threaten them — those earn sturdier construction. For gentle garden paths, though, my own yard runs cheerful mid-range fixtures, and it's the part of the system where I've saved the most money with zero regrets. If you want more inspiration for stretching a small budget beautifully, my roundup of budget outdoor lighting ideas is full of them.

Save: Bulbs, Solar Accents, and String Lights — the Consumables
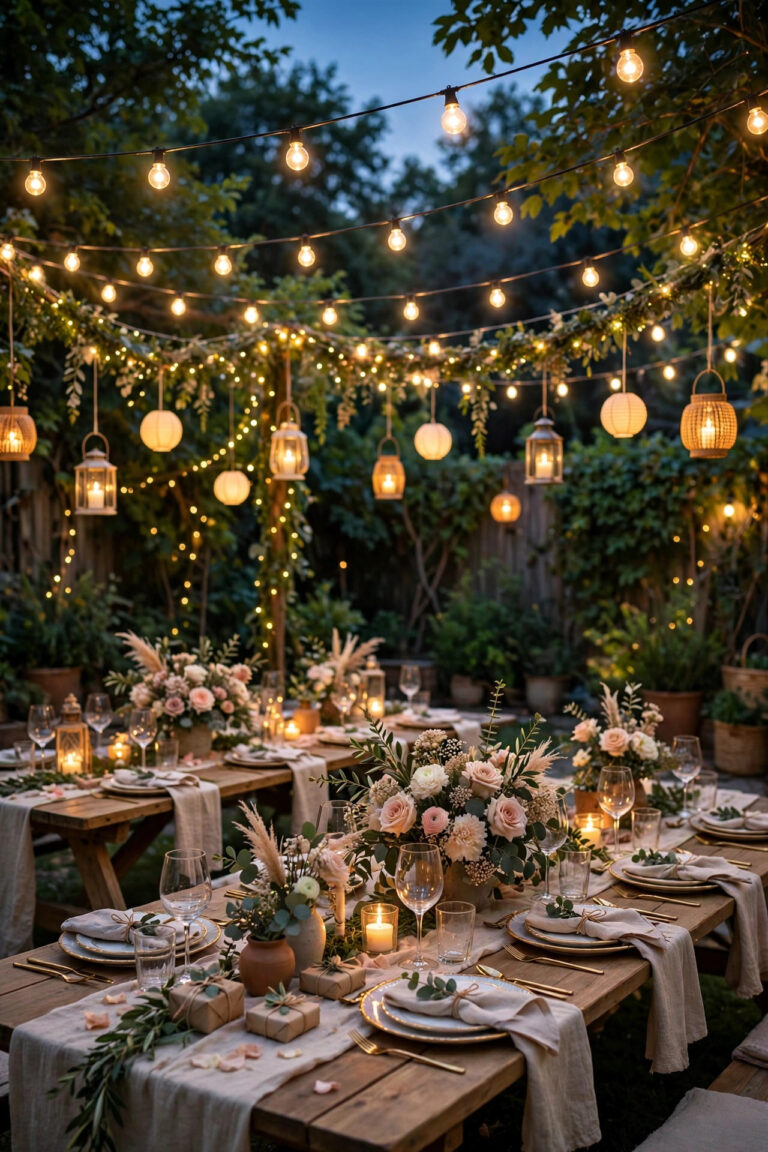
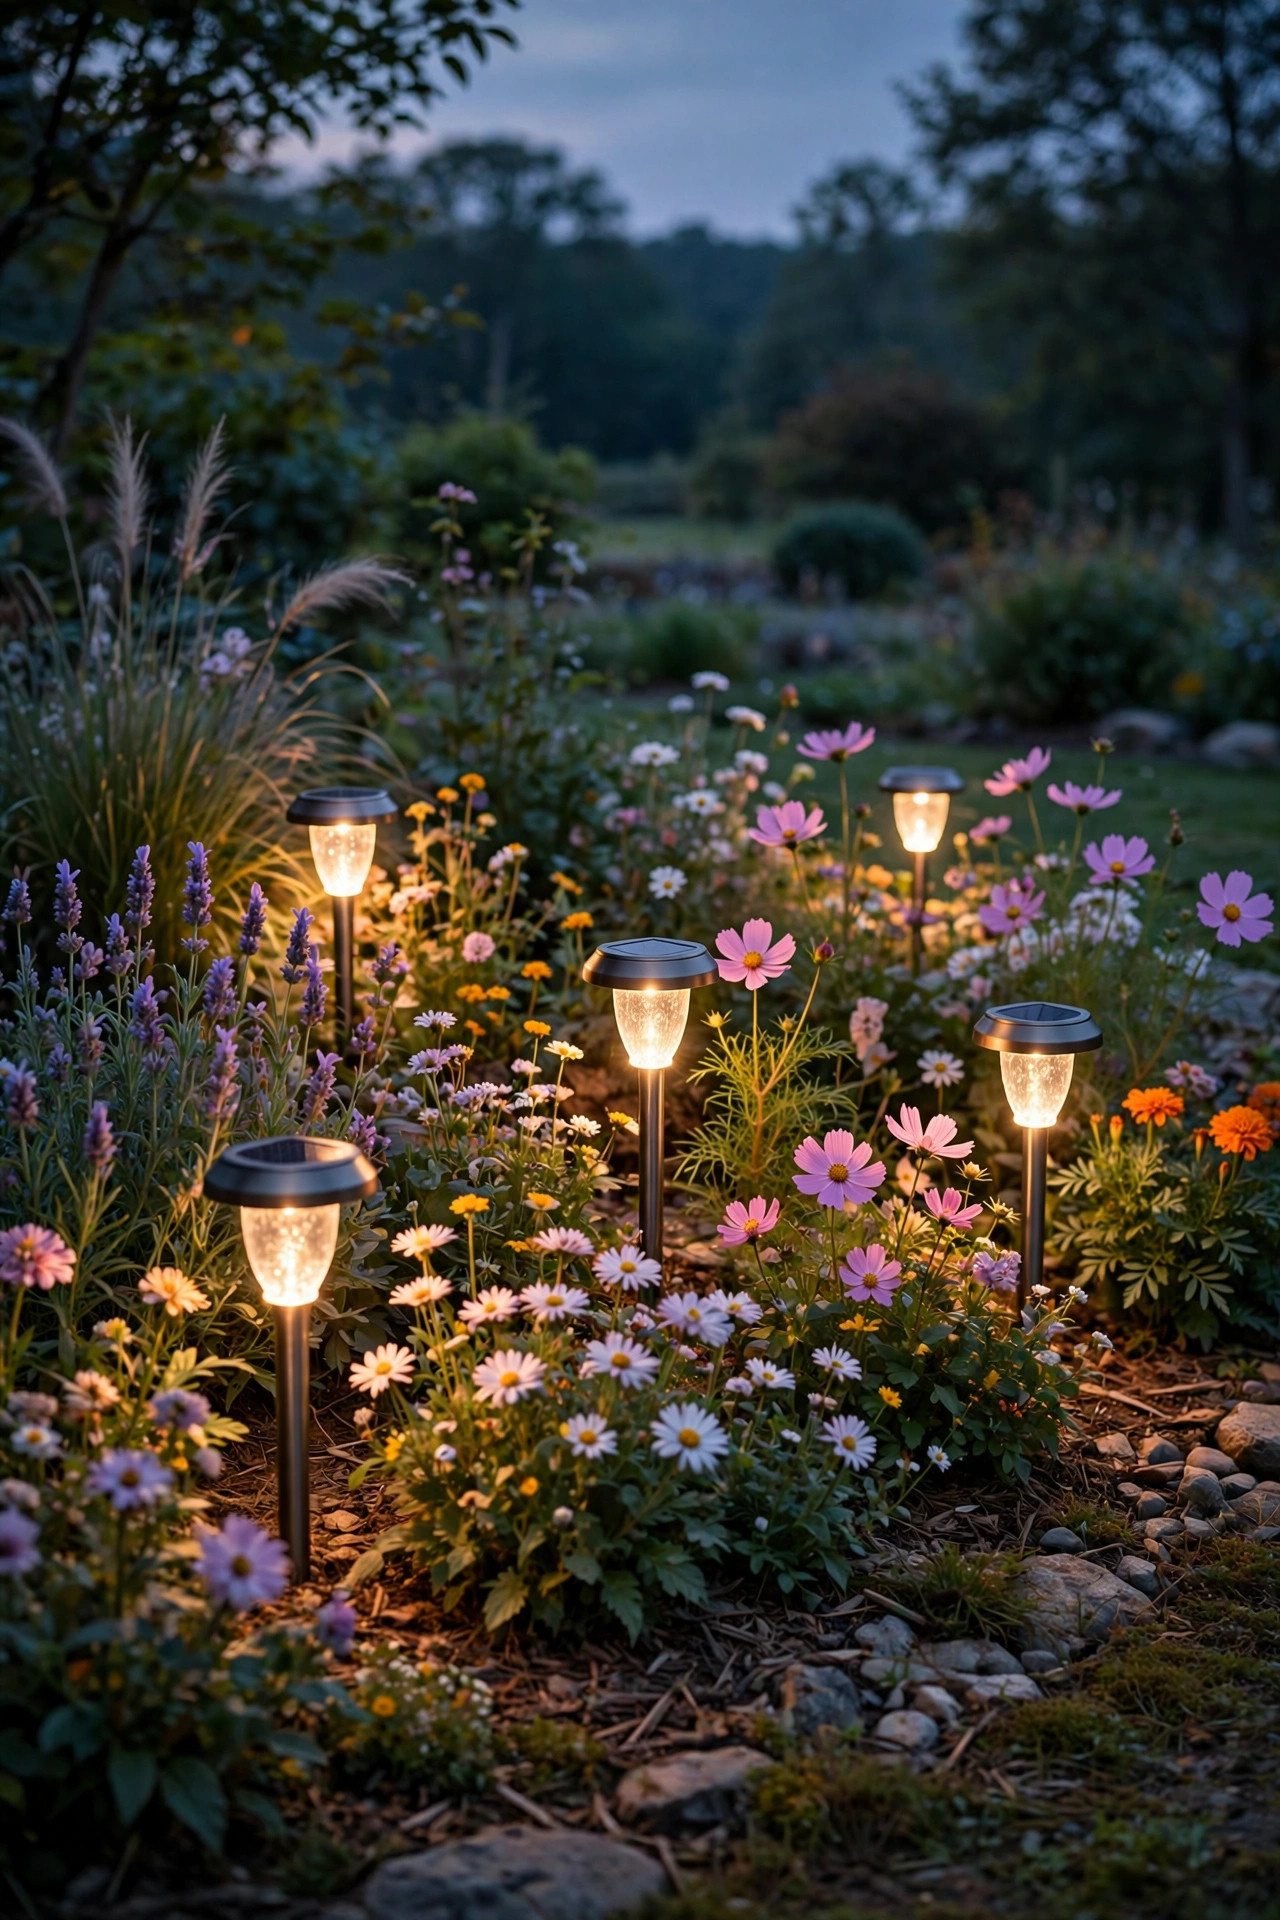
Some parts of a lighting system are consumables, and the smart move is to treat them that way. LED retrofit bulbs are the clearest case: the technology improves and cheapens every year, so the bulb you buy today will be outclassed by the one on the shelf in three years. Buy perfectly decent bulbs now, keep a couple of spares in a drawer, and let progress subsidize your replacements. Solar accent stakes belong in the same bucket. I love them in the right places — a distant bed with no cable run, a corner that only needs a hint of glow — but their little panels cloud and their batteries tire within a few seasons no matter what you spend, because that's the physics of a battery in a weather-sealed thimble. Paying triple for a solar stake buys a nicer hat, not a longer life. String lights and fairy lights complete the category: they're seasonal joy, strung for summer evenings and holidays, and their charm is exactly that they're inexpensive enough to replace without a spreadsheet when a strand gives up. Even color-changing novelties earn their keep this way — the fun is the point, and the fun is cheap. Every dollar not sunk into consumables is a dollar available for the transformer upgrade you'll thank yourself for nightly.
Splurge or Save: Paying for Installation
Here's a happy secret: low-voltage landscape lighting is the friendliest electrical work in the whole yard. Twelve volts won't hurt you, the transformer plugs into an ordinary outlet, nothing needs burying deeper than a slit trench, and most places require no permit for it at all. Doing it yourself saves the single largest line item in a professional quote — labor — and honestly, laying out lights with flags at dusk and adjusting them over a glass of something cold is half the fun of owning the system. So on labor, my verdict is save, confidently, for the low-voltage work. Where I do splurge on a professional is everything upstream of that plug: any new 120-volt circuit, a hardwired porch fixture where none exists, work inside the breaker panel, or an outdoor outlet that needs adding or replacing. That's licensed-electrician territory, full stop, both for safety and because an inspector or insurer will care later. There's also a worthwhile middle path for big or tricky properties: pay for a one-time design consultation, then install the plan yourself over a couple of weekends. I compared the numbers and the experience in my guide to DIY vs pro landscape lighting if you're on the fence. Renting a trencher for one day on long runs is another small splurge that pays for itself in saved weekends.

What It Costs in 2026
Now the honest numbers, all in one place. Transformers: a basic 150-watt unit runs about $60–$110, while a quality 300-watt stainless multi-tap model lands around $180–$350 — and given the headroom argument above, that upgrade is the best money in the system. Cable: expect roughly $50–$75 for a 100-foot spool of 12-gauge, versus $30–$45 for thinner 14-gauge you'll regret on long runs. Connectors: gel-filled waterproof ones cost about $2–$4 each, against under a dollar for the pierce clips that fail — on a twenty-fixture system, the upgrade is roughly $50 total, once, forever. Fixtures: budget path lights run $15–$35 each and solid brass ones $60–$140; uplights follow the same pattern at $20–$45 budget versus $70–$160 in brass. Whole projects, done my splurge-and-save way with DIY labor: a small front yard of eight to ten lights typically totals $450–$900, a fuller fifteen-to-twenty-light system $1,200–$2,500, while the same systems installed professionally commonly run $3,500–$7,500. Running costs are the pleasant surprise: a 120-watt LED system burning five hours a night uses about 18 kilowatt-hours a month, roughly $3 at average US electricity prices. And the redo penalty for cheaping out on buried parts? A single professional service call to diagnose and dig up a failed connection usually starts at $150–$350. For a deeper breakdown by project type, see my full landscape lighting cost guide.

5 Money Mistakes I See in Both Directions
Mistake 1: Sizing the transformer exactly to today's load. It runs hot, lives short, and the first fixture you add next spring has nowhere to plug in. Headroom is the cheapest insurance in the system. Mistake 2: Saving on the connectors. This is the classic false economy of landscape lighting — a trivial sum saved at install, repaid later as flickering runs, a diagnostic headache, and a weekend with a shovel. Mistake 3: Spending backwards. Heirloom path lights fed by bargain cable and clip connectors is the most common pattern I see in struggling yards: premium jewelry, bargain bones. Flip it. Mistake 4: Ignoring where a fixture actually lives. A delicate finish in a sprinkler arc or a plastic lens at ground level in a sunny bed will look tired within two seasons; the money wasn't saved, it was scheduled for replacement. Mistake 5: Buying the whole yard in one panicked weekend. Rushed bulk buying locks in every mistake at once. Phasing the project — bones first, accents later — almost always produces a better system for less, because you learn your own yard's light as you go. Notice that none of these are really about budget size. They're about sequence and placement of the money, which is good news: they're free to fix at the planning stage.
Phase the Project: Bones First, Jewelry Later
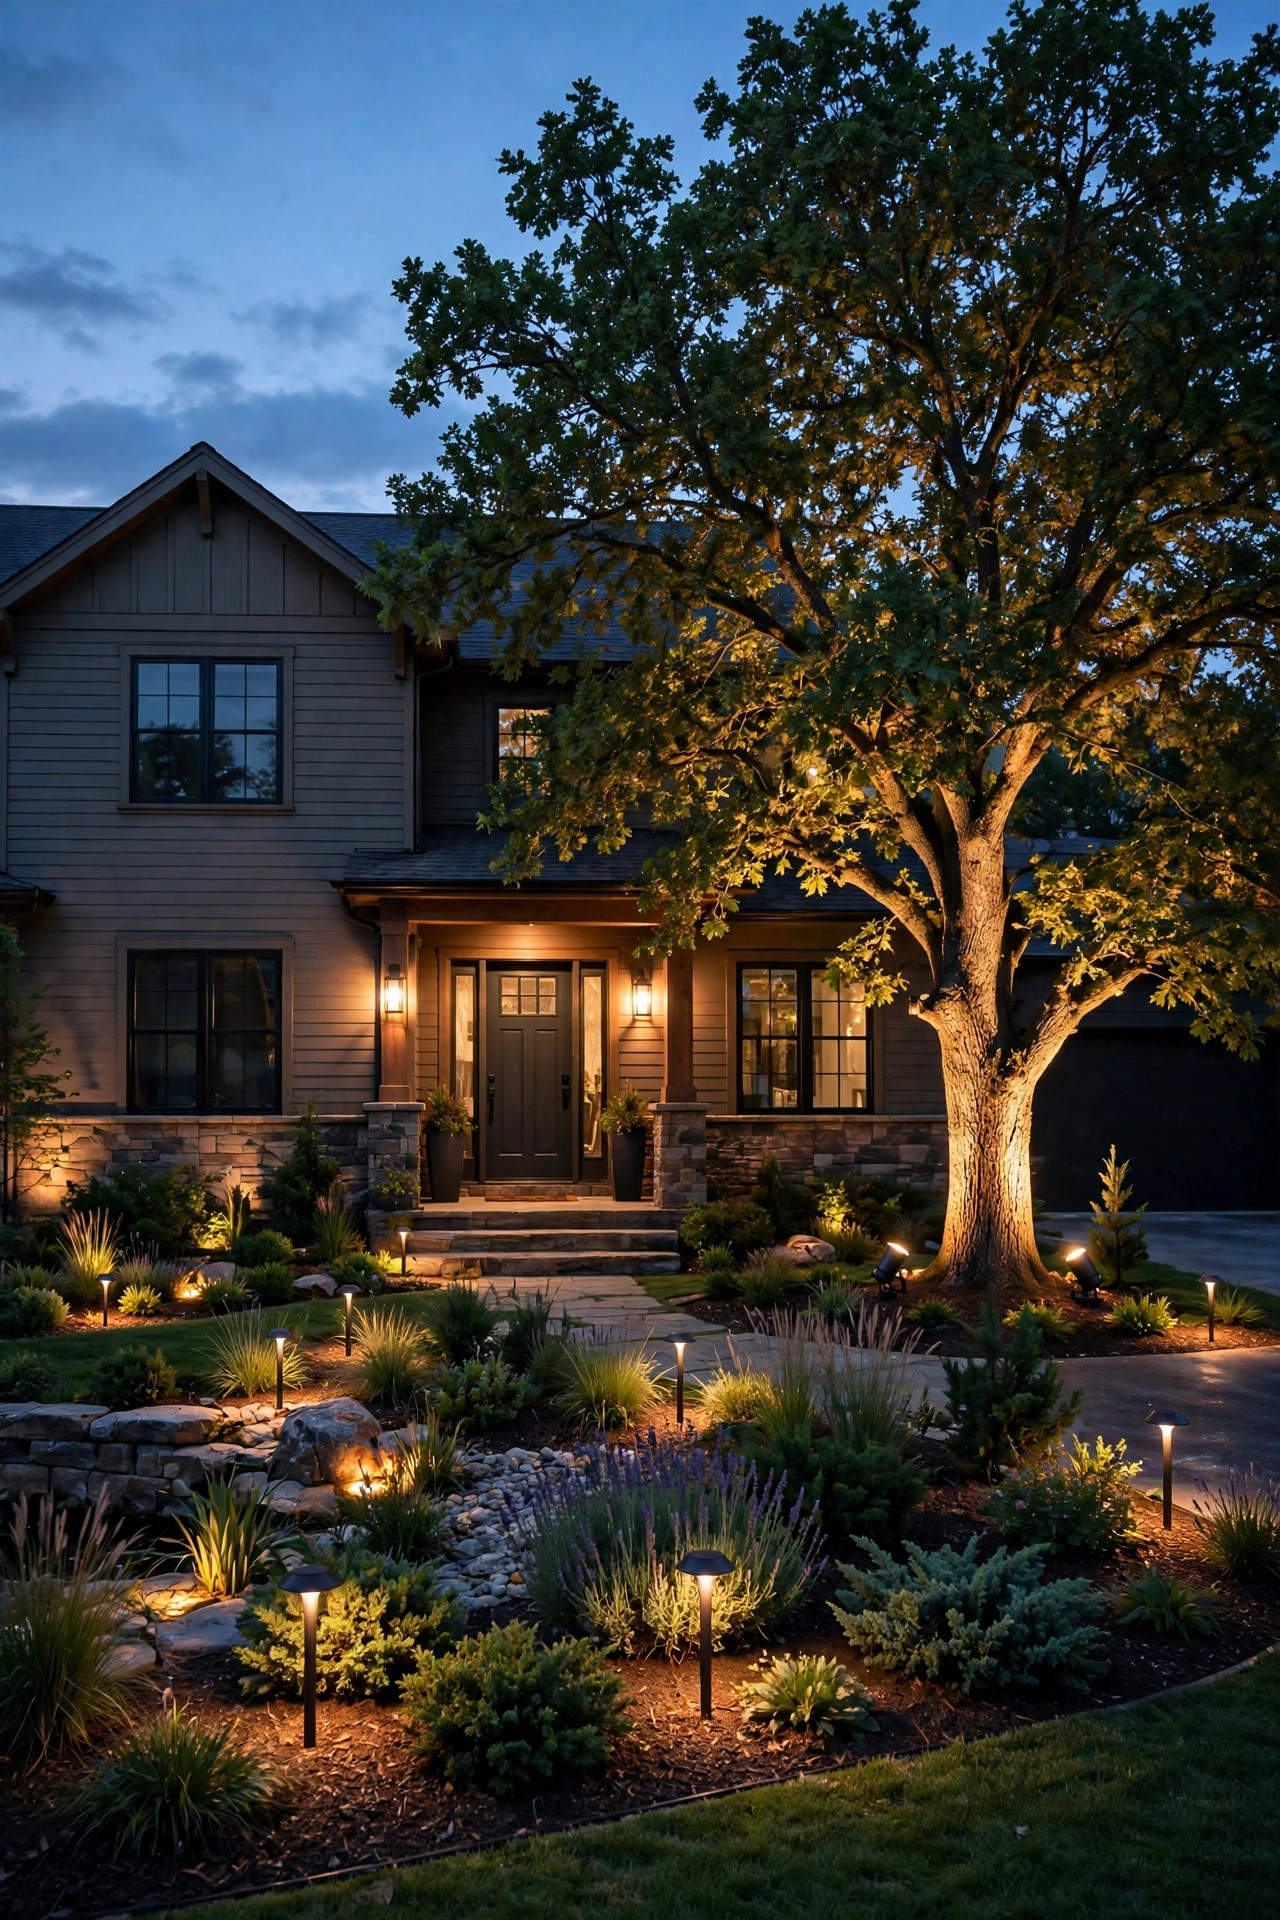
If the full-yard vision outruns this year's budget, don't shrink the quality — shrink the scope, in the right order. Phase one is the skeleton: the oversized transformer, the main cable runs trenched once and properly, and light for the two highest-value scenes, usually the front entry and your best tree. Phase two, next season, adds the path lights and bed lighting, plugging into capacity and cable that are already waiting. Phase three is the backyard, the accents, the solar fill-ins in the far corners — the jewelry. This order matters because the buried work is disruptive exactly once; digging a second trench beside a finished bed is how patios get cracked and tempers get lost. Two habits make phasing painless. First, the headroom you bought in phase one means each new zone is an afternoon's plug-and-play, not a redesign. Second, sketch a simple map of where your cable runs lie — a phone photo with a few measurements scribbled on it works — and keep it with your house papers. Future-you, adding a fixture in three years, will be enormously grateful. Phasing also has a sneaky aesthetic benefit: living with each layer for a season teaches you where the yard actually wants light, and my phase-three choices are always better than my phase-one guesses.
Protect the Splurge: A 20-Minute Seasonal Routine
Premium parts last for decades partly because they're built well and partly because somebody spends twenty minutes on them twice a year. My routine, spring and fall: walk the system at dusk and note anything dim, tilted, or out. Wipe lenses with a soft cloth — a film of pollen and sprinkler minerals can steal a surprising share of a fixture's brightness, and cleaning a lens is the cheapest brightness upgrade there is. Scoop mulch and soil away from well-light bases so they can drain and breathe. Re-aim any uplights the frost has heaved or the shrubs have grown in front of. At the first flicker anywhere, check that fixture's connector before assuming the bulb died; a dab of dielectric grease on socket contacts during bulb changes keeps corrosion from getting a foothold. Trim back whatever is shading solar panels, and clear leaves off path light heads before they bake on. Start to finish, with a coffee in hand, it is honestly the most pleasant chore on my whole spring list. Cheap parts, by contrast, get no maintenance budget at all — a dead solar stake is replaced, not nursed. That's the deal the whole system runs on: maintain the splurges, swap the saves, and the yard stays lit for the price of two pleasant walks a year.
Frequently Asked Questions
Is it worth paying extra for solid brass fixtures?
In ground-level and weather-beaten spots, yes — brass doesn't rust through, so it usually outlasts two or three cheaper fixtures, which makes it the economical choice over time. Under a porch roof or eave, where rain and sprinklers can't reach, a good mid-priced fixture lasts nearly as long, and that's where I save instead.
What's the one thing I should never buy cheap?
The connectors, with the transformer a close second. Connectors are buried, so a failure costs you digging as well as parts, and corrosion there is the most common reason whole runs of lights go dark. A transformer failure darkens everything at once. Both are miserable to redo and inexpensive to get right the first time.
Can I mix premium and budget fixtures on the same system?
Happily, yes — your transformer doesn't care what the fixtures cost, and neither will your guests. The one rule is color: keep every bulb the same warm color temperature, around 2700K, so the mix looks intentional rather than patchy. Mixed metals at different heights and distances read as a designed, layered scheme.
Should I buy everything at once or build in phases?
Phases, almost always. Buy the transformer and cable once, at full quality and with spare capacity, then add fixture zones season by season as the budget allows. You'll spend the same or less overall, avoid re-digging finished beds, and each phase teaches you where your yard genuinely wants more light.
Conclusion
If you remember one sentence from this guide, make it this: every landscape lighting splurge vs save decision comes down to spending on what is buried, load-bearing, or weather-punished, and saving on what is visible, fashionable, or easy to swap. Get the transformer, cable, and connectors right once, dress the yard in cheerful mid-priced fixtures, phase the rest as seasons and budgets allow, and your system will glow for years without ever making you feel foolish in the store aisle. Ready to plan your own layout? Browse the lighting ideas and guides here on the site, sketch your yard tonight at dusk, and start with the bones. Your future self — standing in a beautifully lit yard, drink in hand — says thanks.