Here's the secret nobody tells you in the lighting aisle: the most expensive-looking yards aren't the ones with the priciest fixtures. They're the ones with the best layering. These budget outdoor lighting ideas prove that a $30 string of café lights, hung with intention, can out-glam a $300 designer fixture hung at random. In my experience, high-end outdoor lighting is 20% equipment and 80% placement — warm color temperature (2700K), light at multiple heights, and everything on timers so the yard glows like magic instead of screaming "security floodlight."
The philosophy is simple: layer ambient light for overall glow, task light where you walk and eat, and accent light to make your favorite tree, wall, or doorway look like a magazine cover. Every one of the 25 ideas below costs roughly $10 to $50, most take under an hour, and every single one leans on that layering trick. Some are solar, some are plug-in, some are clever DIY that costs less than your morning coffee run. Grab a cup of something warm and let's make your yard look like you hired a lighting designer — without the designer invoice.
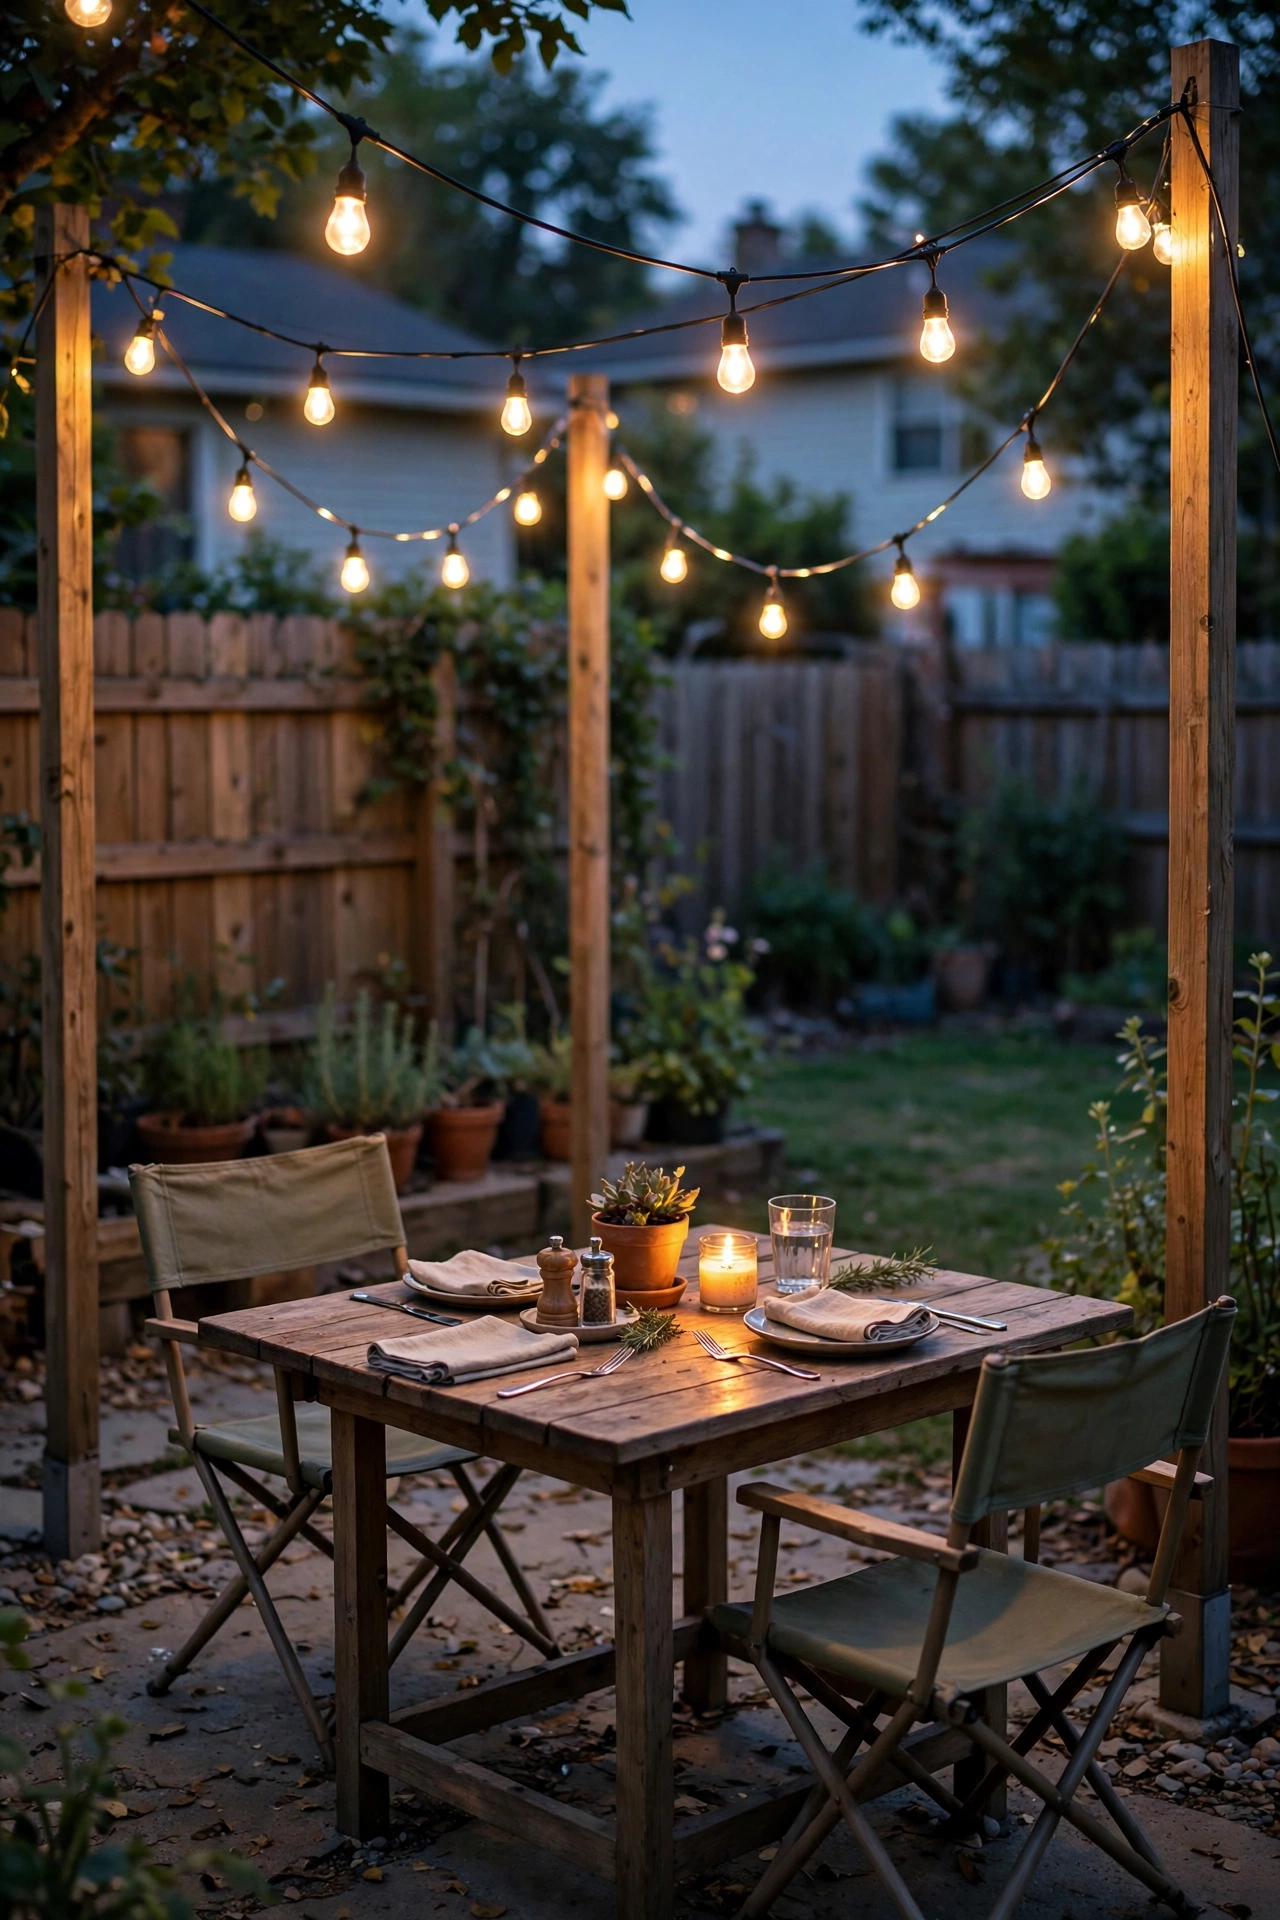
1. Café String Lights Hung in a Catenary Sag
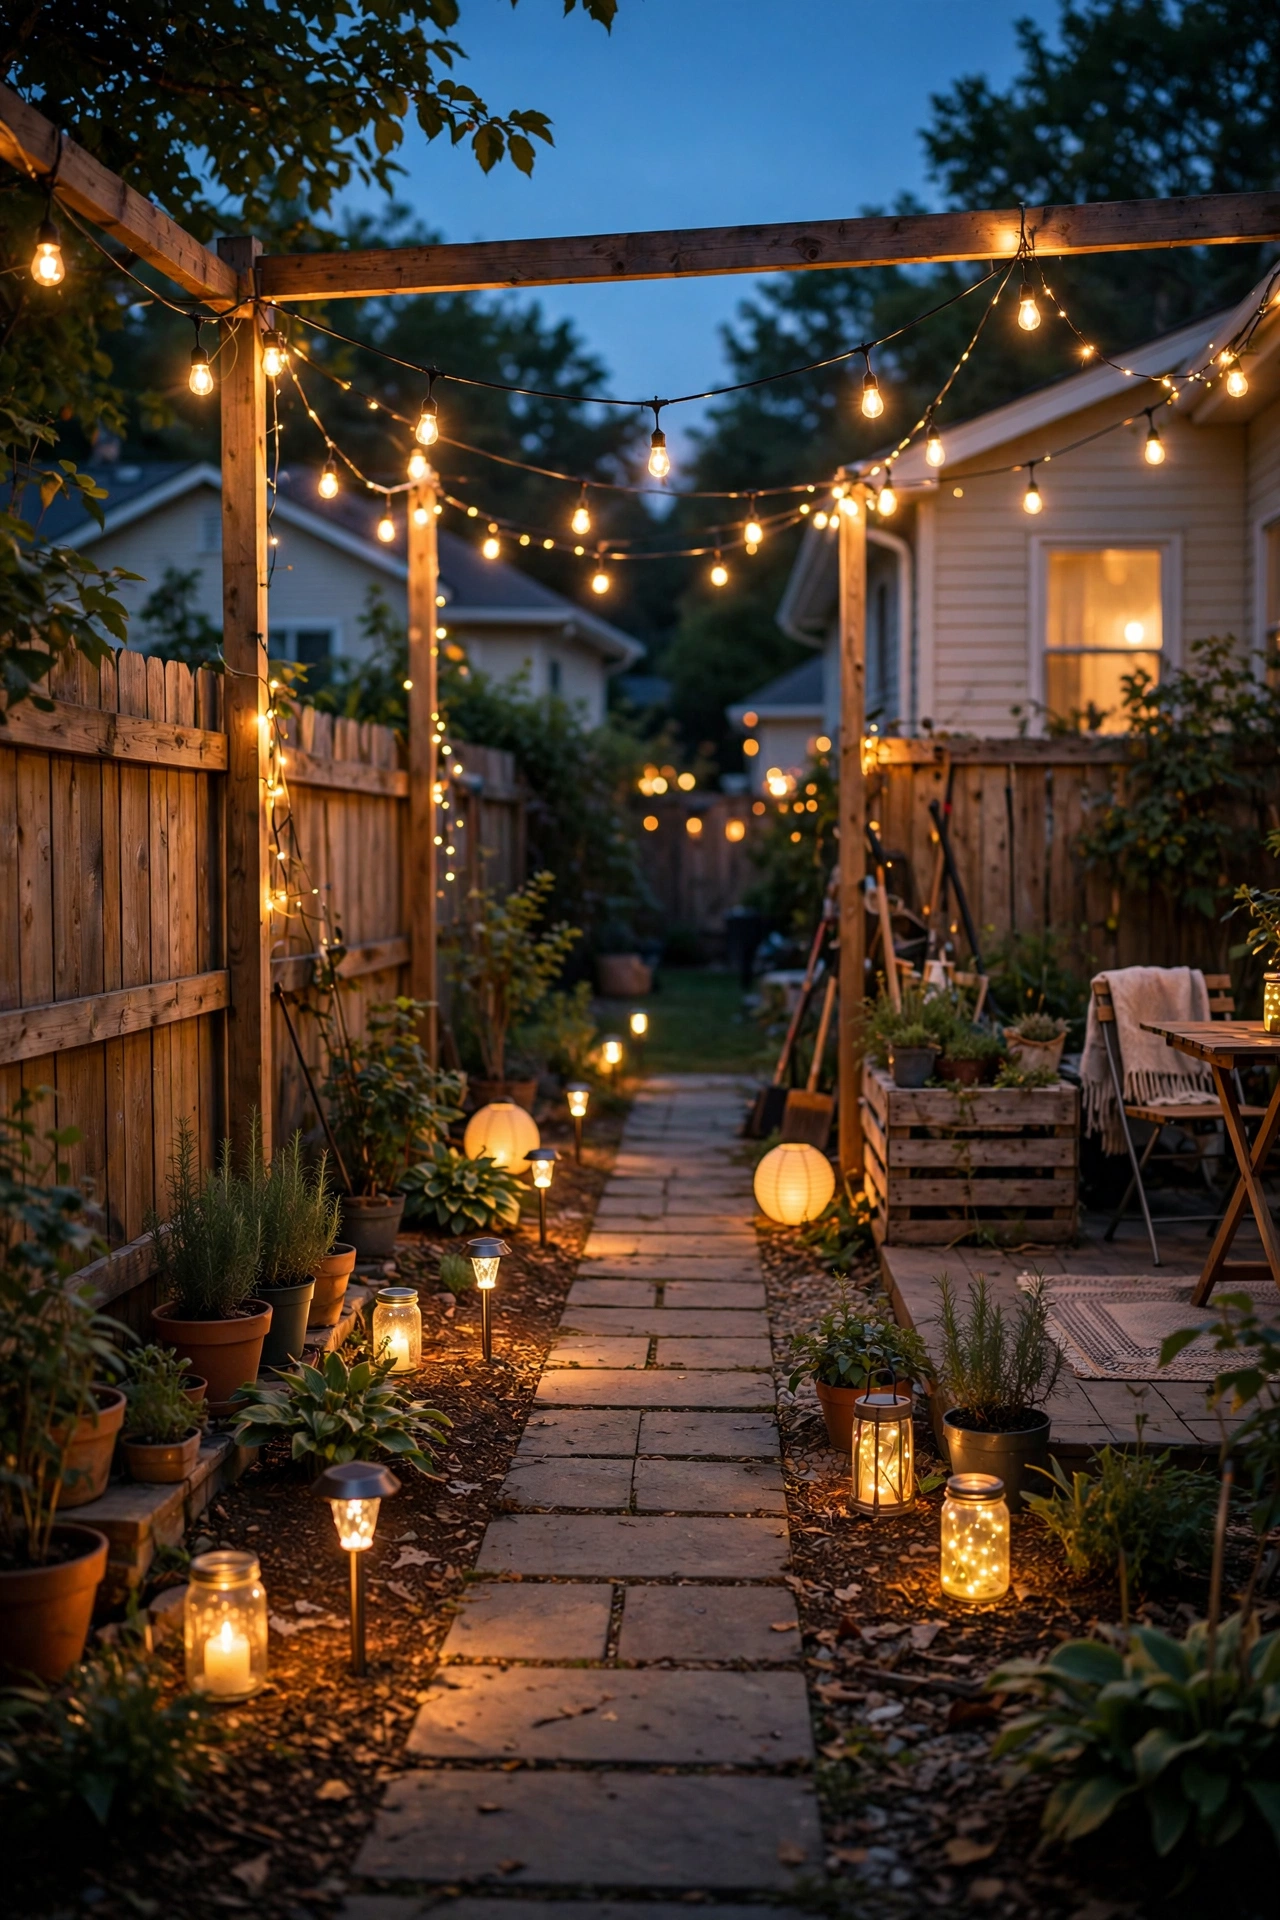
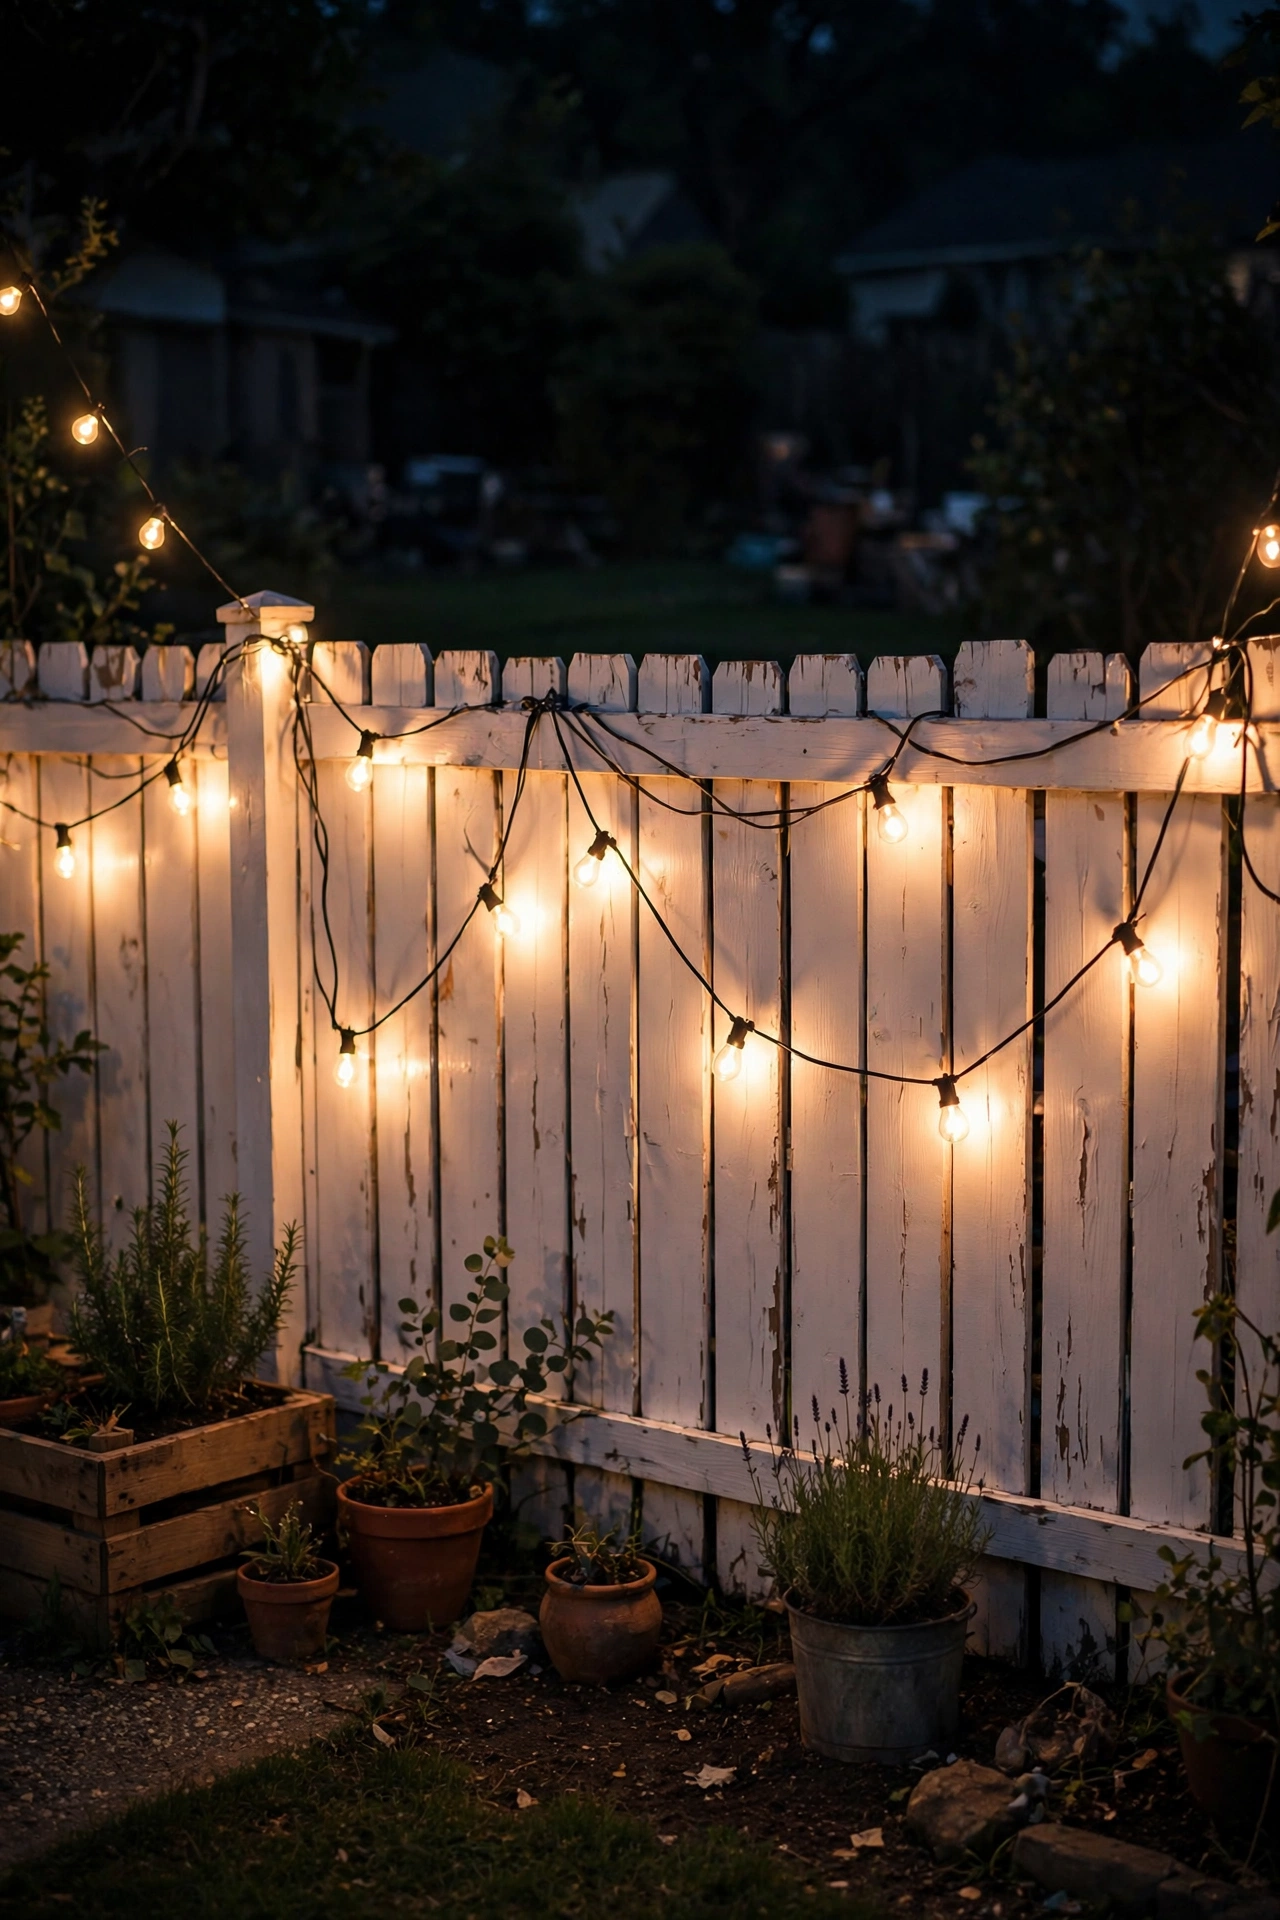
If there's one move that instantly says "expensive patio," it's a properly hung string of warm-white café lights. The key word is *properly*: a straight line looks cheap, but a gentle sagging curve — a catenary — between two points looks intentional and designer. Screw heavy-duty eye hooks into your house fascia and a tall wooden post (an 8-foot 4×4 set 2 feet into the ground works beautifully), then hang the string so it dips about 6 to 8 inches in the middle of each span. Keep spans under 20 feet so the wire stays taut enough to handle wind. Choose shatterproof LED bulbs in warm white (2700K); the cool-blue "daylight" versions are the number one reason string lights look cheap. Space runs about 10 to 12 feet apart over a dining area so the light pools overhead evenly. For a high-end finish, plug them into an outdoor dusk-to-dawn timer instead of a manual switch — your patio will glow every single evening without you touching a thing. And if you're weighing what to buy, here's my honest take on whether LED or solar makes more sense for your yard — for strings, plug-in LED almost always wins on brightness and reliability.
Suggested budget range: $25 – $45.
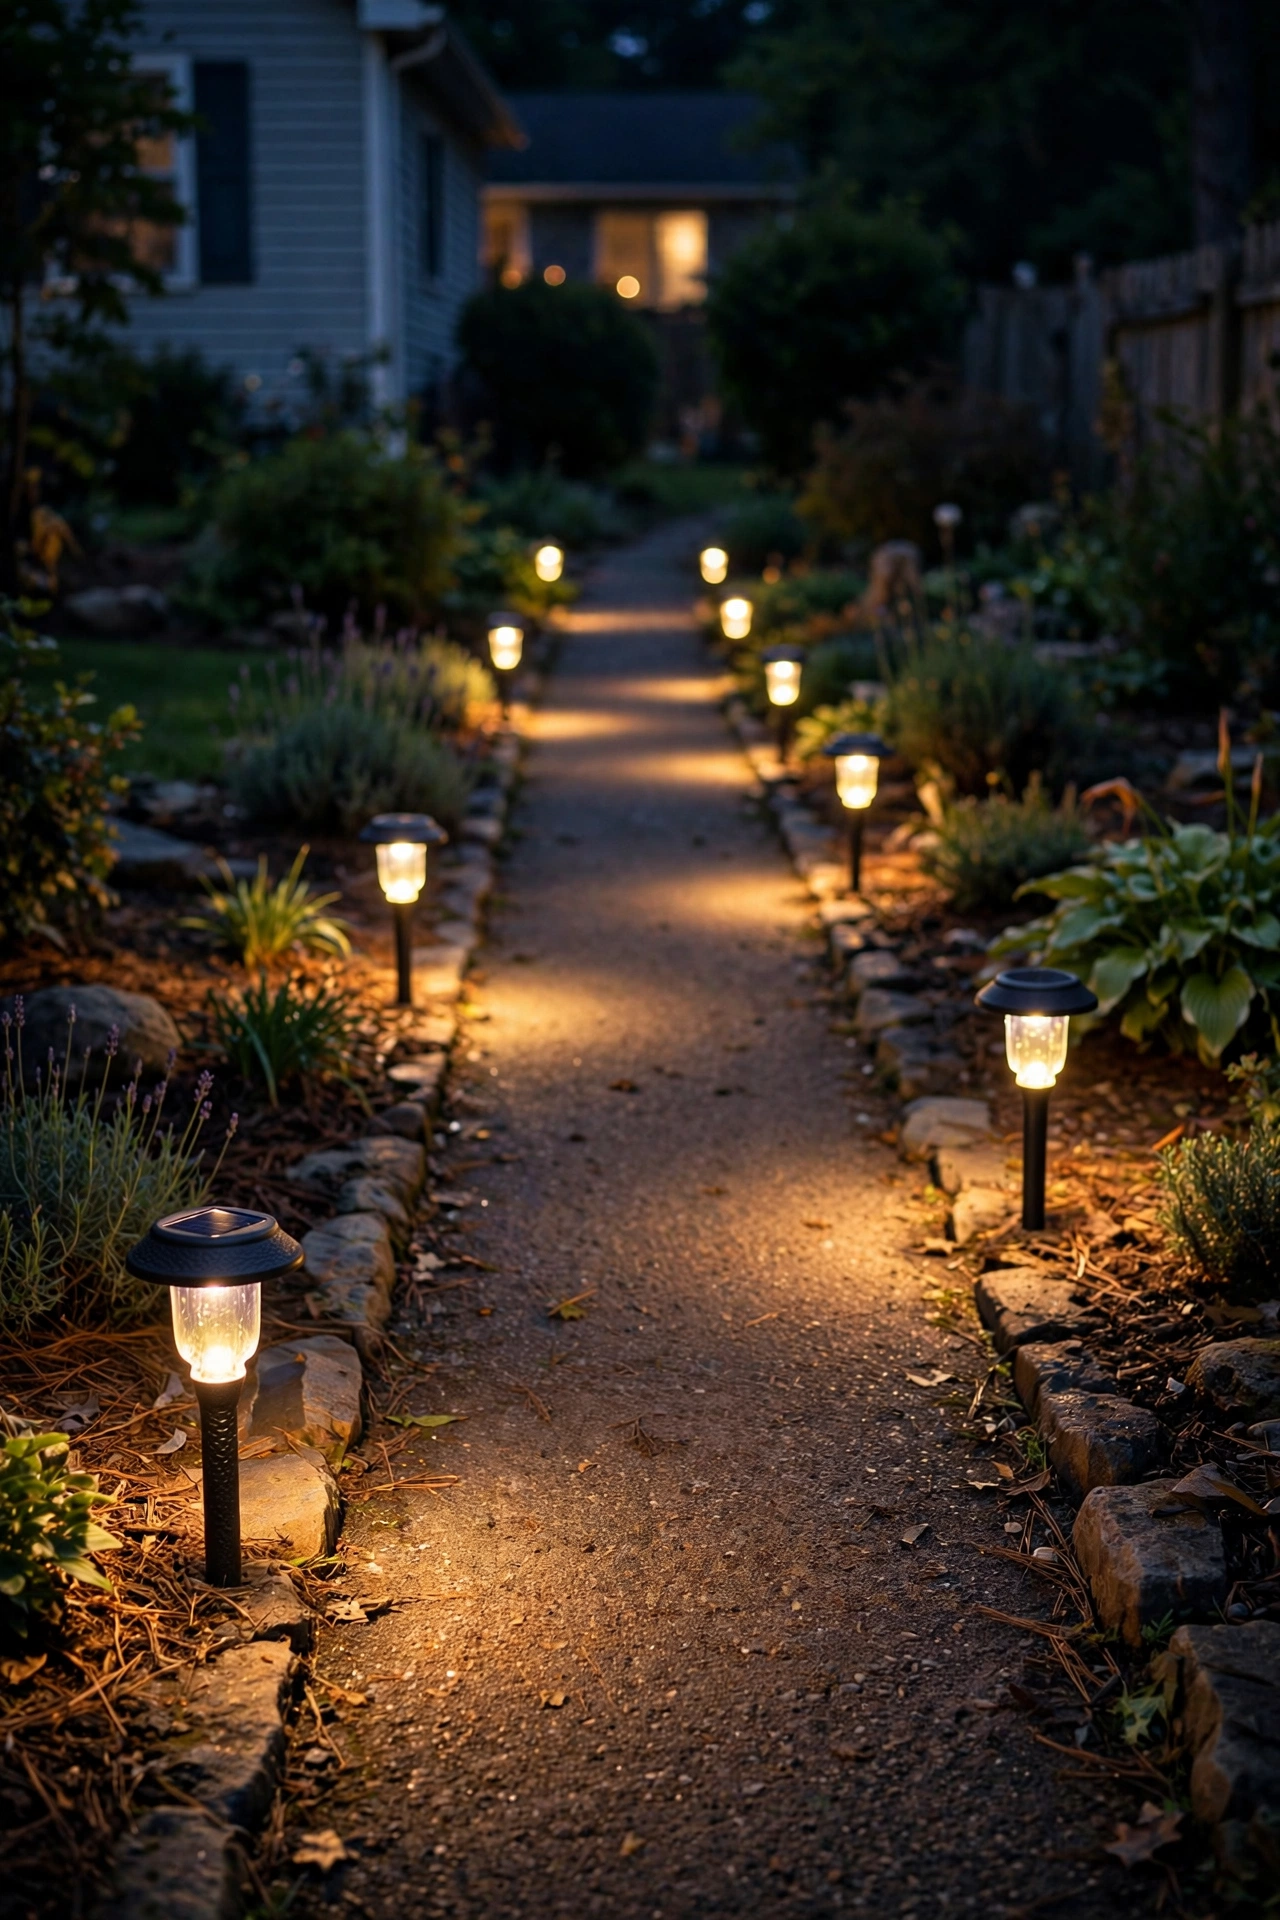
2. Solar Path Lights: The Budget Outdoor Lighting Idea I Recommend First
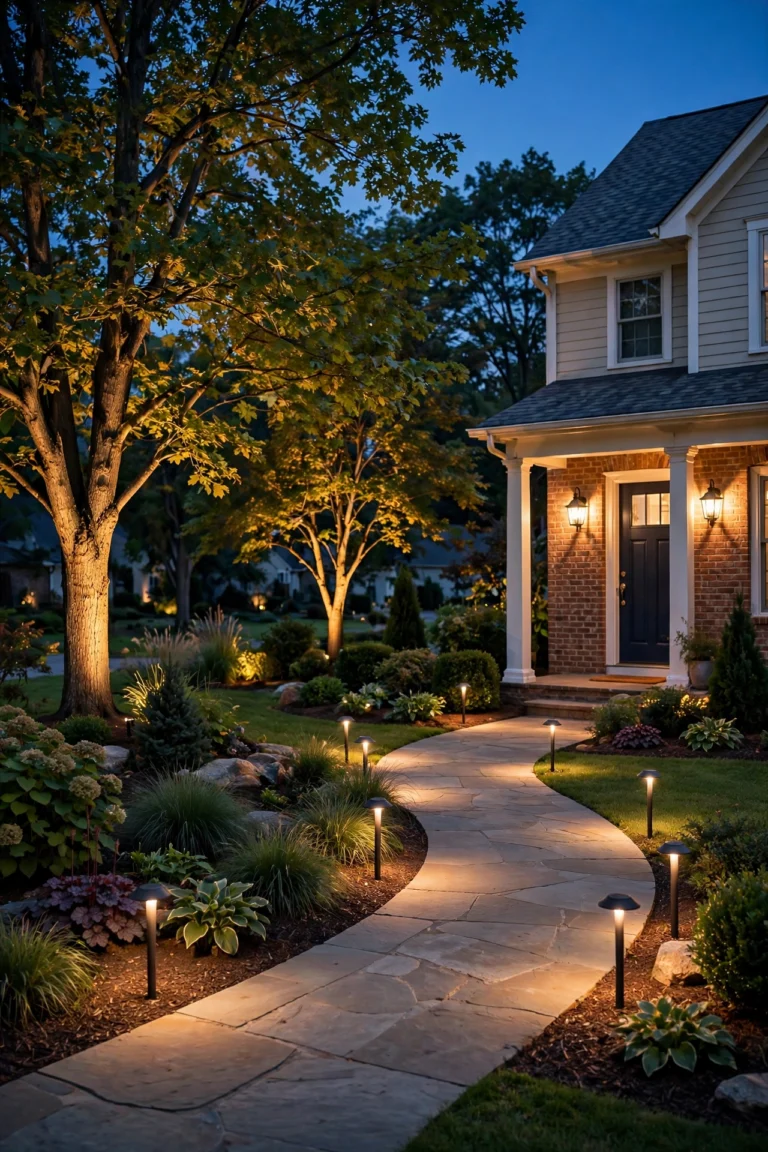
Path lights are the fastest way to make a yard look professionally landscaped, and solar versions have gotten genuinely good. In my experience, the difference between "dollar-store sad" and "designer walkway" comes down to spacing and brightness discipline. Place lights 6 to 8 feet apart along the path edge, set back about 12 inches from the walkway so they wash the path rather than blind people walking on it. Stagger them on alternating sides instead of lining them up in a rigid row — real designers call this "leading the eye," and it makes a straight path feel curated. Look for solar path lights with a warm-white LED (avoid the icy blue ones) and a metal or heavy plastic stake, not the flimsy thin ones that lean after the first rainstorm. Push the solar panel end into full sun for at least 6 hours a day; shade is the number one killer of cheap solar performance. Wipe the panels with a damp cloth once a month — dust can cut charging by half. If your path gets heavy shade, skip solar here and use these same spacing rules with low-voltage path light options instead. Safety note: keep any wired low-voltage cable buried 2 inches deep or tucked under mulch so no one trips.
Suggested budget range: $20 – $40.
3. Dollar-Store Mason Jar Lanterns
This is my favorite under-$10 trick and it looks like a boutique hotel terrace every single time. Buy plain glass mason jars (or any clear glass jar with a wide mouth), drop a battery-operated tea light or a short strand of copper-wire fairy lights inside each one, and hang them from shepherd's hooks, low tree branches, or a pergola beam with simple jute twine. Group them in odd numbers — threes and fives read as "designed," evens read as "leftover." For the luxe version, smear the inside of each jar with a thin coat of frosted glass spray paint (two light coats, 10 minutes apart) so the light diffuses into a soft golden glow instead of a harsh point. Hang them at staggered heights, roughly 3 to 5 feet off the ground, so the light layers with your path lights below and string lights above. The fairy-light strands with a built-in 6-hour timer are worth the extra dollar or two — they'll shut themselves off and you never have to remember. Use LED-only sources inside glass; real flames in an enclosed jar overheat and soot up the glass fast. Scatter them along a retaining wall or around a fire pit seating area and watch guests assume you spent a fortune.
Suggested budget range: $8 – $15.

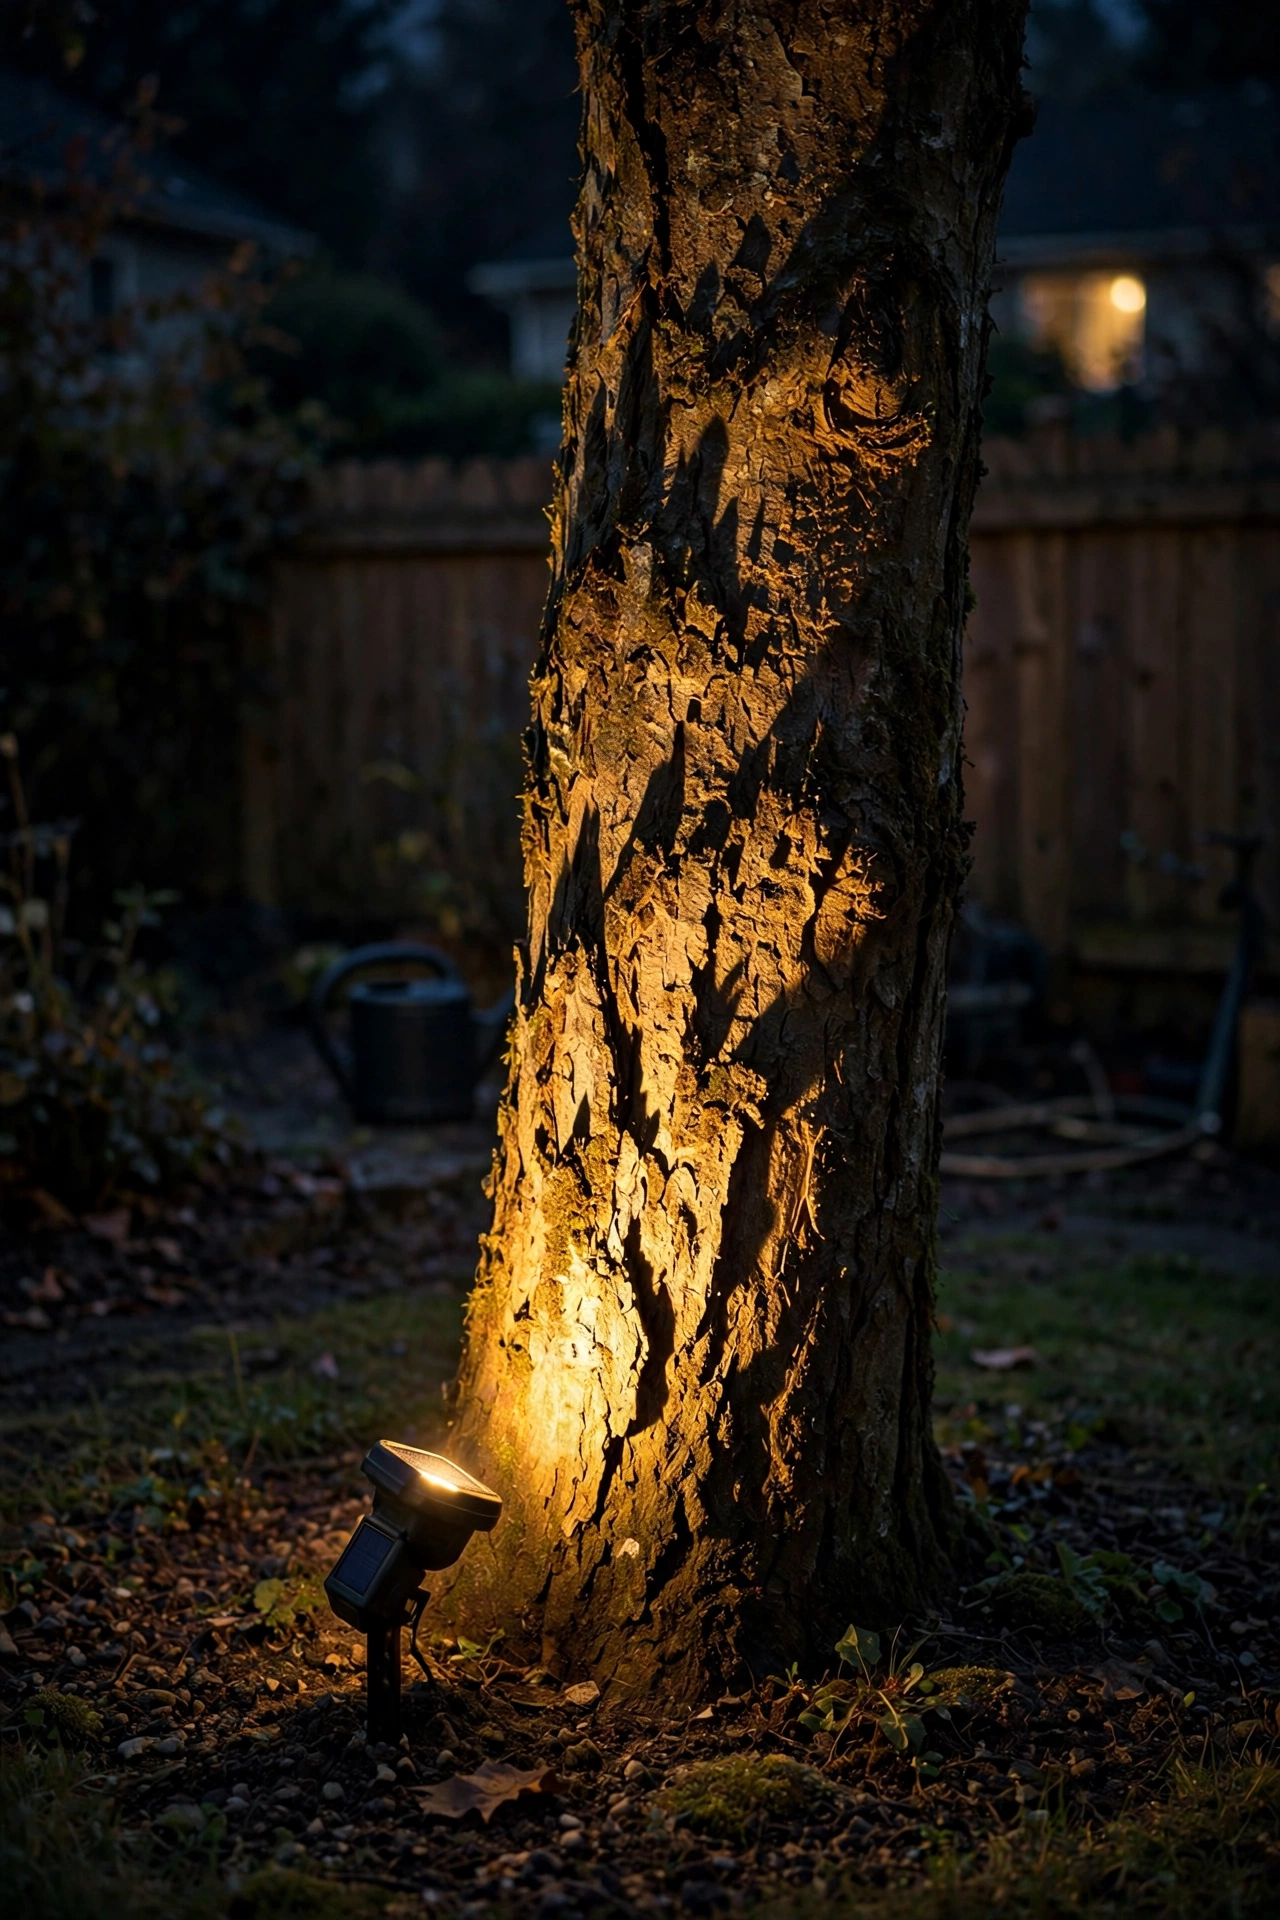
4. The Uplight Trick: One Solar Spotlight Per Tree
Professional landscape lighting starts around $200 per tree for uplighting — or you can get 80% of the effect with a single $15 solar spotlight. Place the spotlight about 12 to 18 inches from the base of the tree trunk, angled up at roughly 30 degrees, and slightly off-center so the light grazes up one side of the trunk and into the canopy. That grazing angle is the whole secret: dead-center lighting flattens everything, while an offset angle creates the dramatic shadows that make bark texture pop. For multi-trunk trees or large shrubs, use two spots from opposite sides at low intensity rather than one harsh beam. Choose warm white (3000K max) — cool white on a tree looks like a parking lot, not a garden. Make sure the solar panel tilts toward the south and isn't buried under mulch or leaves. In my experience, one well-placed uplight on a Japanese maple or crape myrtle does more for curb appeal than a dozen scattered path lights. For the front yard, aim the beam to catch the tree canopy above the house line so the glow reads from the street.
Suggested budget range: $12 – $20.
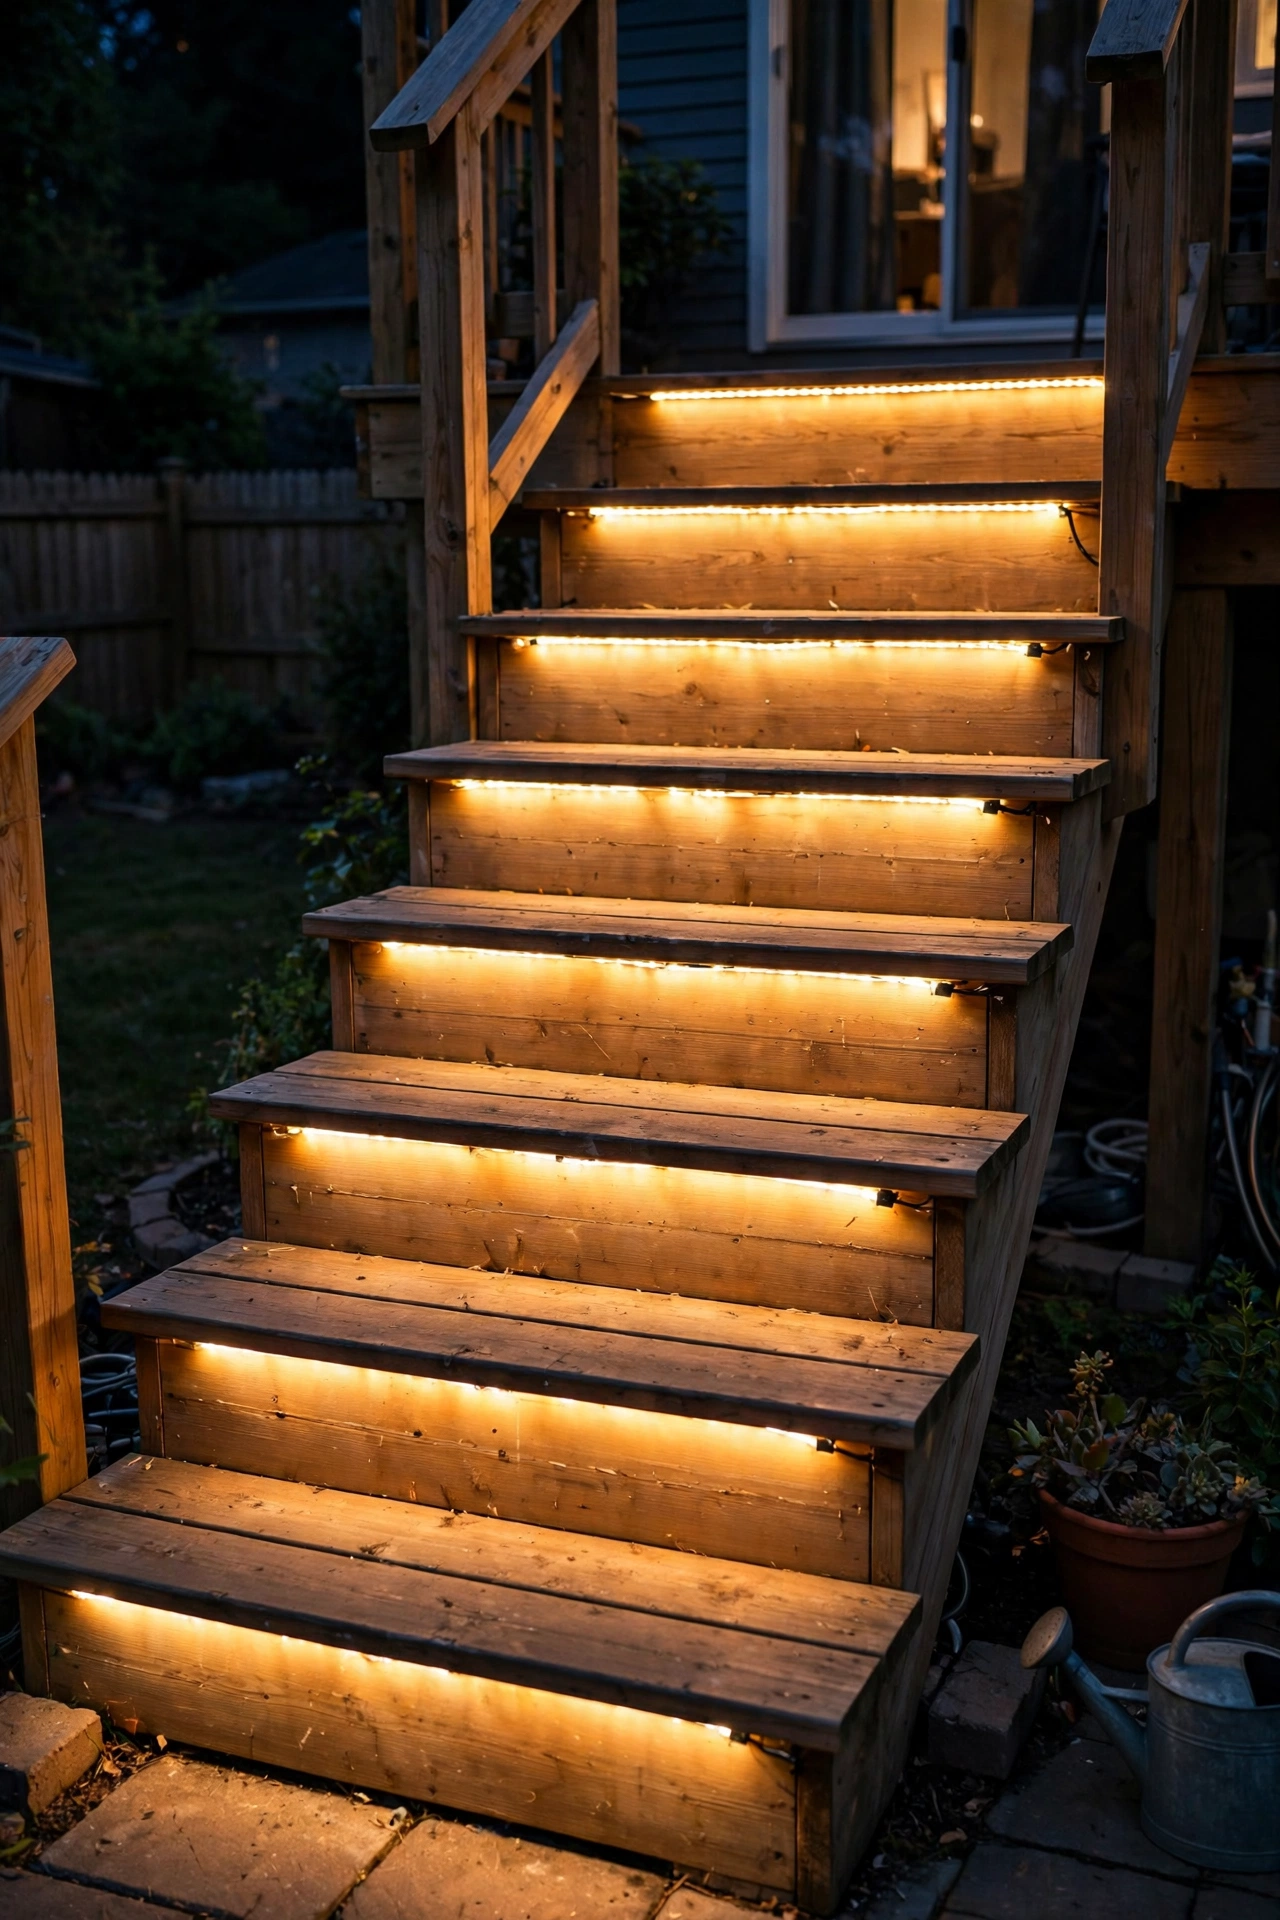
5. DIY Rope-Light Stair and Step Edges
Nothing says "custom built" like lit stair edges, and rope light makes it a genuinely easy weekend project. Measure your steps and buy a cuttable outdoor-rated LED rope light in warm white; most come with cut marks every 18 to 24 inches so you can size each run to the step width. Mount it under the lip of each stair tread using the included clips or a bead of clear outdoor silicone — tucking it under the nosing hides the source so you see only the wash of light on the riser below, which is exactly what high-end installs look like. Leave a 1-inch gap at each end so the rope doesn't peek around the corners. Plug the transformer end into a GFCI-protected outdoor outlet (all outdoor plugs should be GFCI — non-negotiable safety rule) and add a photocell timer so the steps glow at dusk automatically. This is also a genuine safety upgrade: lit step edges cut trip risk dramatically. Keep total runs under the manufacturer's max length, usually around 30 feet, and never coil excess rope while it's powered — the heat buildup can melt the casing. For deck stairs, run a single continuous piece down one side instead of per-step cuts for a cleaner line.
Suggested budget range: $20 – $40.
6. Flameless Candle Clusters on Every Flat Surface
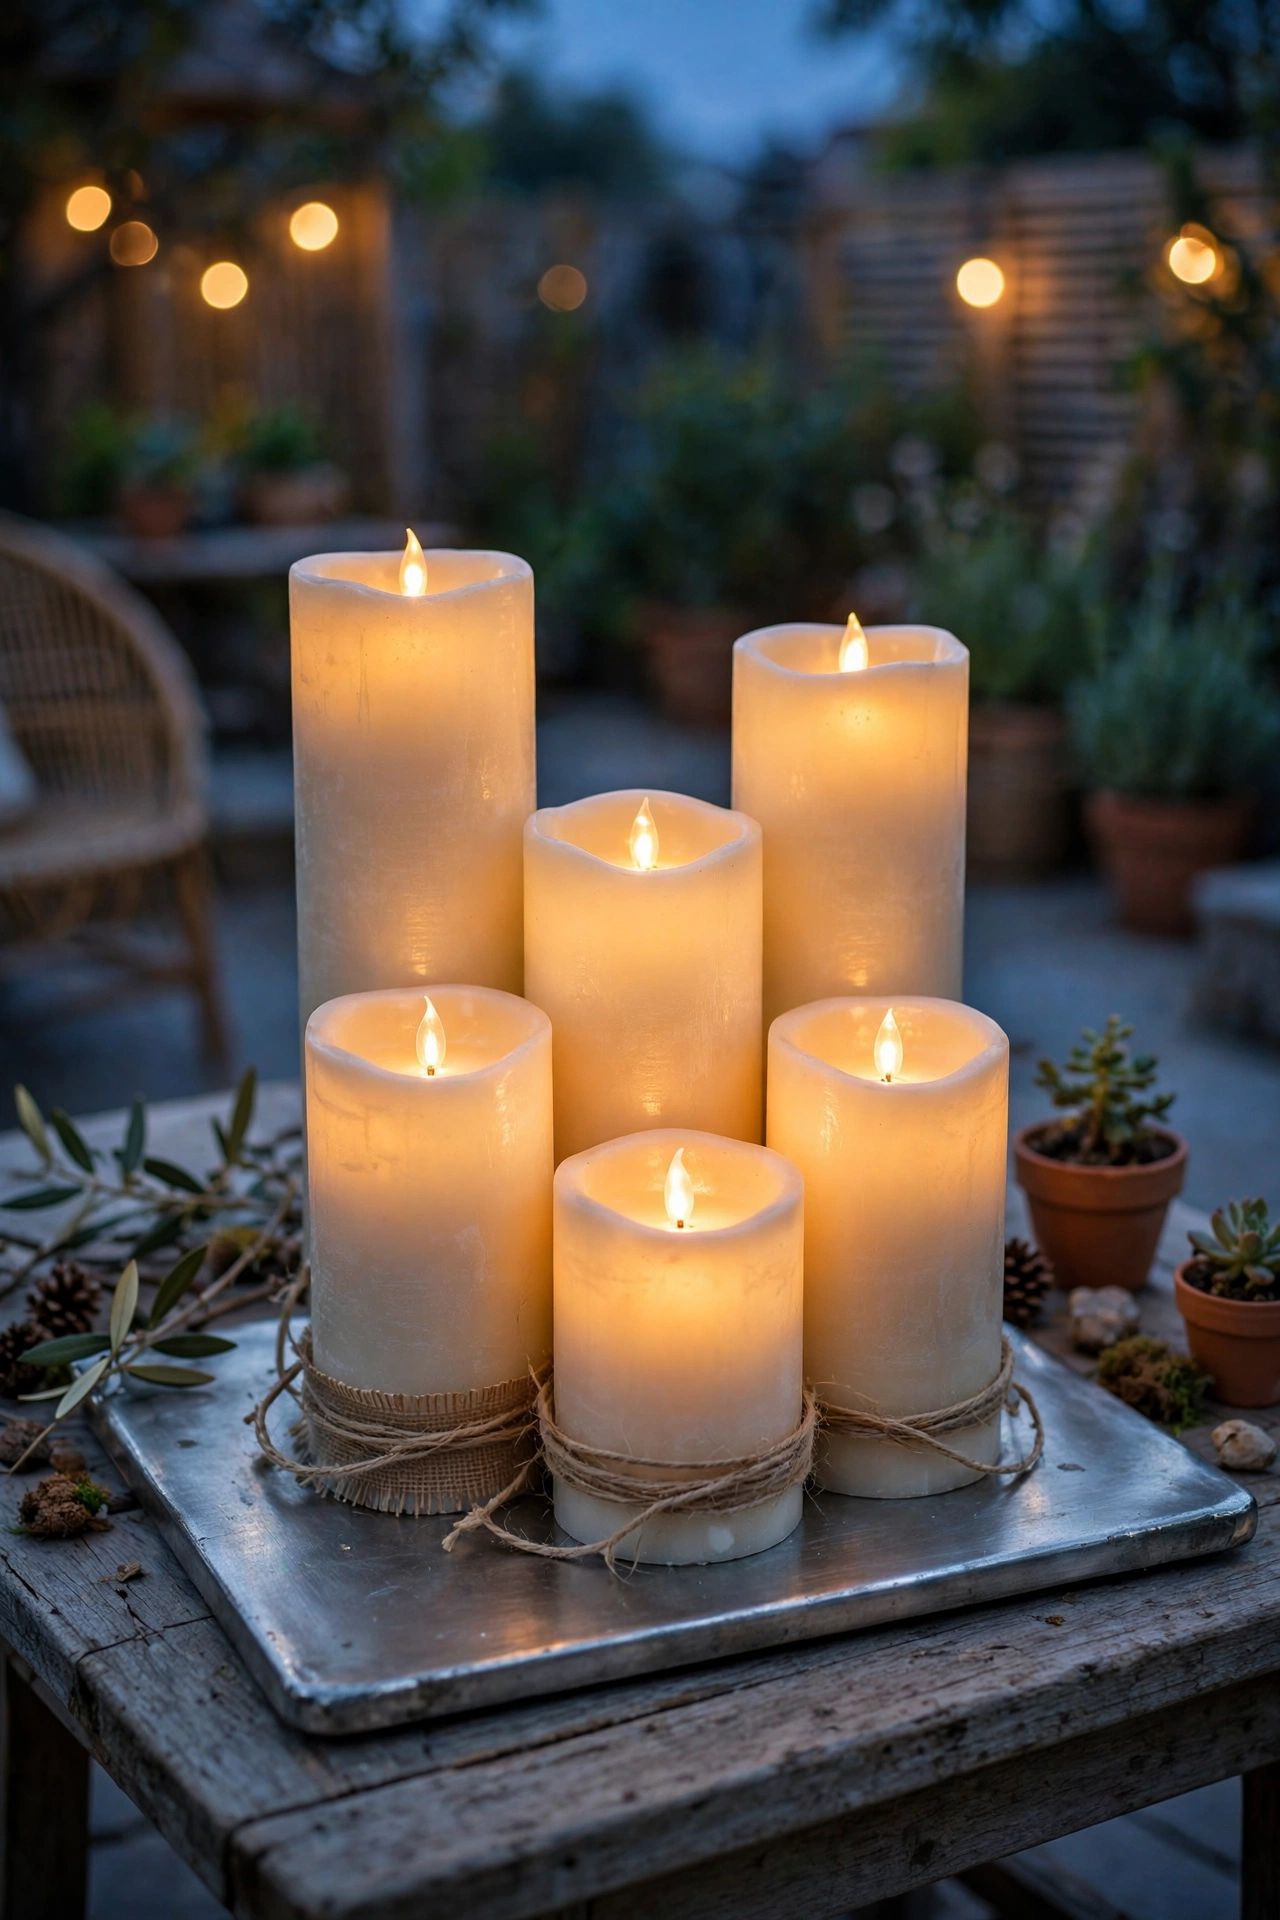
Real candles outdoors are a losing battle — wind, bugs, wax everywhere. Battery-operated flameless candles with a flicker effect give you the same romance for pennies a season. I always recommend buying them in one warm-white color temperature and mixing heights: a 3-inch, a 5-inch, and a 7-inch pillar grouped on a side table, an outdoor shelf, or along the top of a low garden wall. Odd-numbered groupings again — three pillars beat two every time. Look for the ones with a built-in dusk sensor or a 5-hour timer so they light themselves; changing batteries is the reason most people abandon these, so consider rechargeable AA batteries from the start. For a high-end look, set each cluster on a small round mirror or a brushed-metal tray — the reflective surface doubles the perceived glow and catches the flicker beautifully. Keep them under a covered porch roof or bring them in during storms; most are water-resistant, not waterproof. At roughly $3 to $5 per candle in multi-packs, you can dot six or seven clusters around a patio for the price of one restaurant appetizer. LED-only near anything flammable, always.
Suggested budget range: $10 – $25.
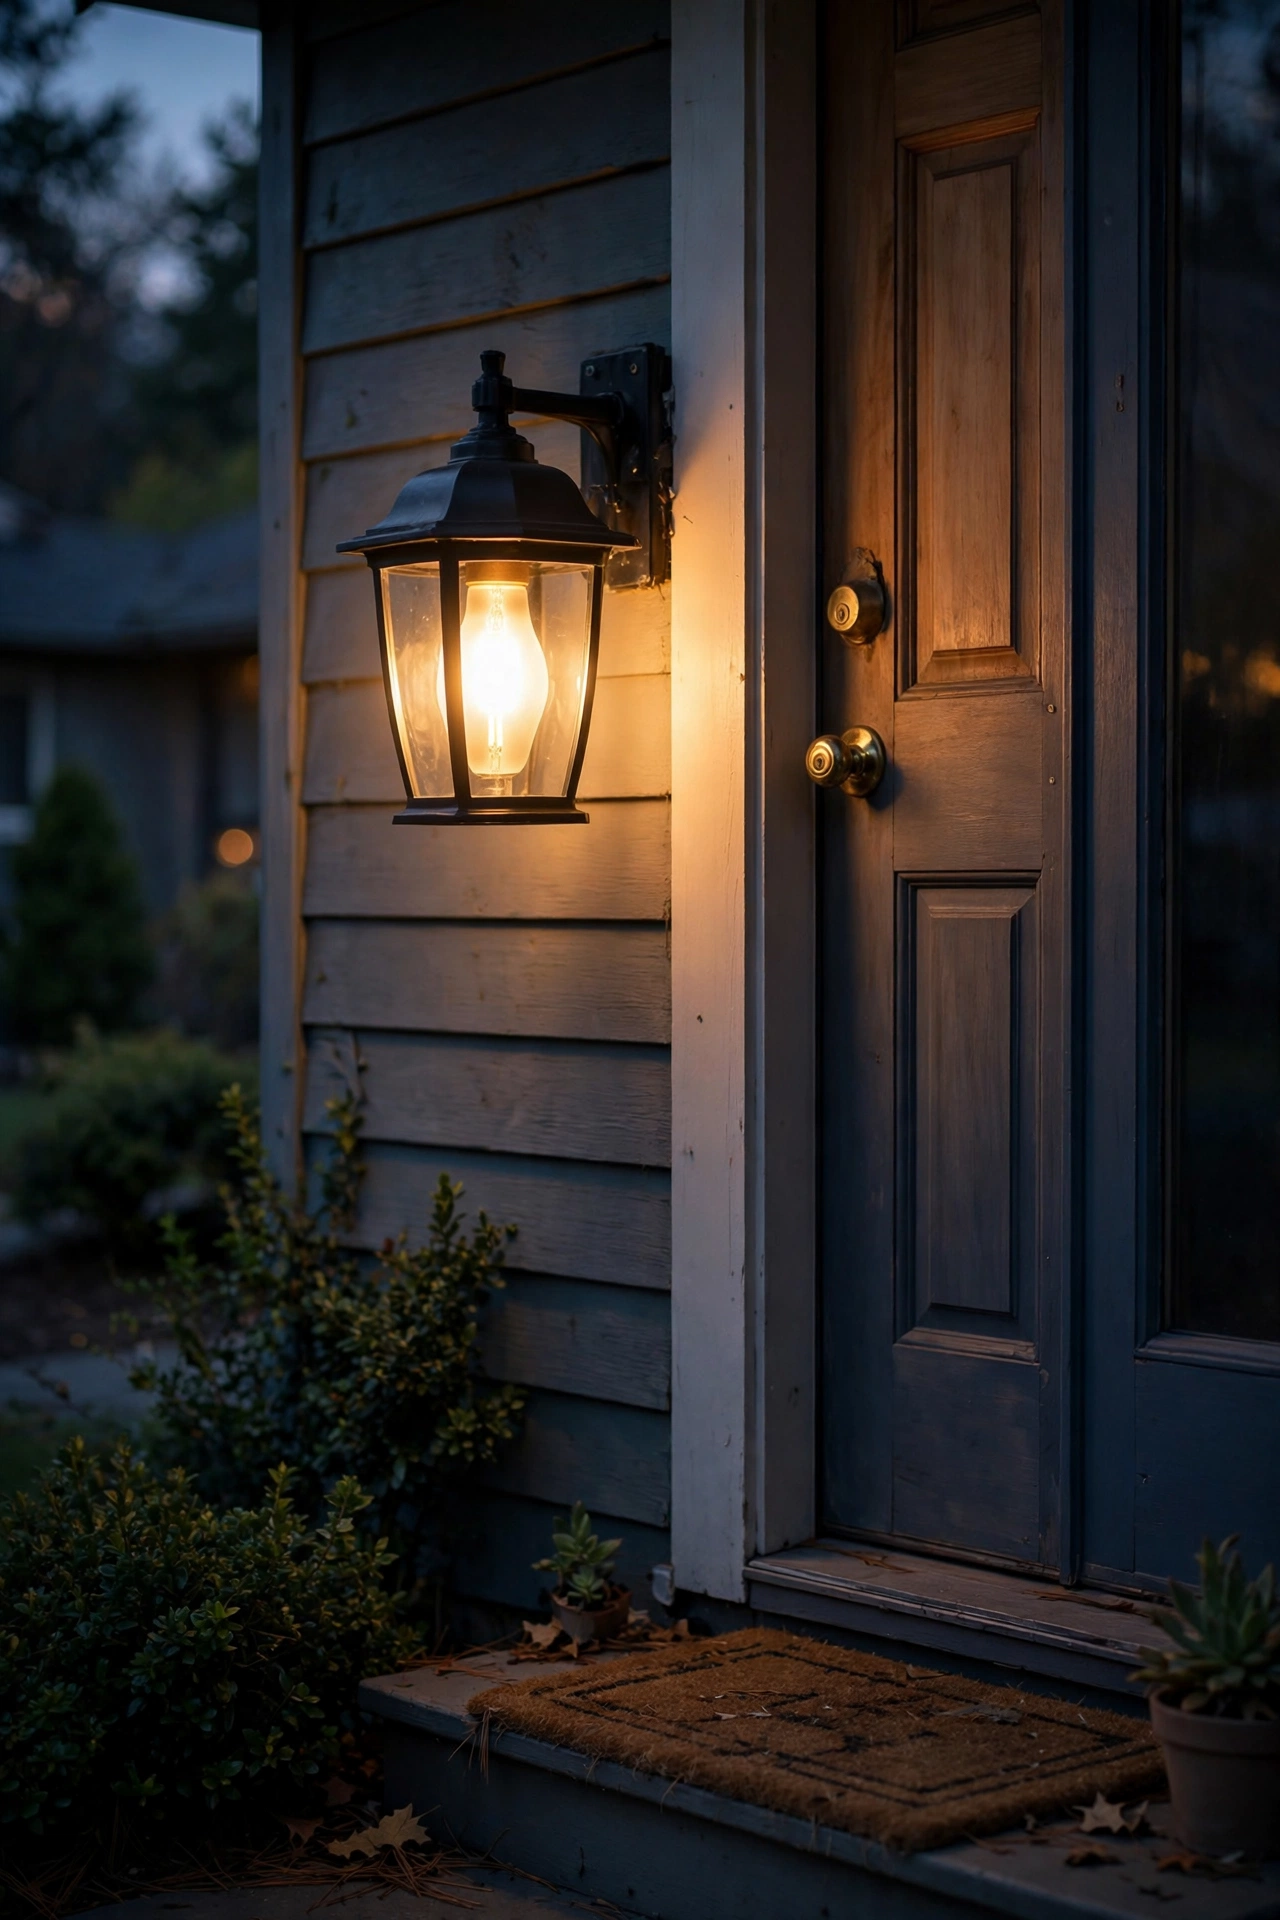
7. The Porch Bulb Swap: Frosted Globe, Warm Filament
Your porch light is the first thing guests see, and most of us are still running the harsh bare bulb the builder installed. The cheapest transformation on this entire list: swap it for a frosted-globe LED bulb in warm white at 2700K, ideally a filament-style bulb where you can see the glowing coil through the glass. The frosted coating diffuses the light so your porch gets a soft halo instead of a glare spot, and the visible filament reads "boutique café" from the sidewalk. Check the fixture's max wattage and stay well under it — a 6 to 8 watt LED gives you the light of an old 60-watt bulb with a fraction of the heat. If your fixture has a clear glass shade, this swap matters even more. Cost: one bulb, about five minutes, and a stepladder. Pair it with a matching bulb in any second fixture (garage sconces, back door) so the color temperature matches across the whole house — mismatched color temps are a dead giveaway of a thoughtless setup. While you're up there, wipe the fixture glass and any dead bugs out of the housing; a clean fixture throws noticeably more light.
Suggested budget range: $5 – $12.
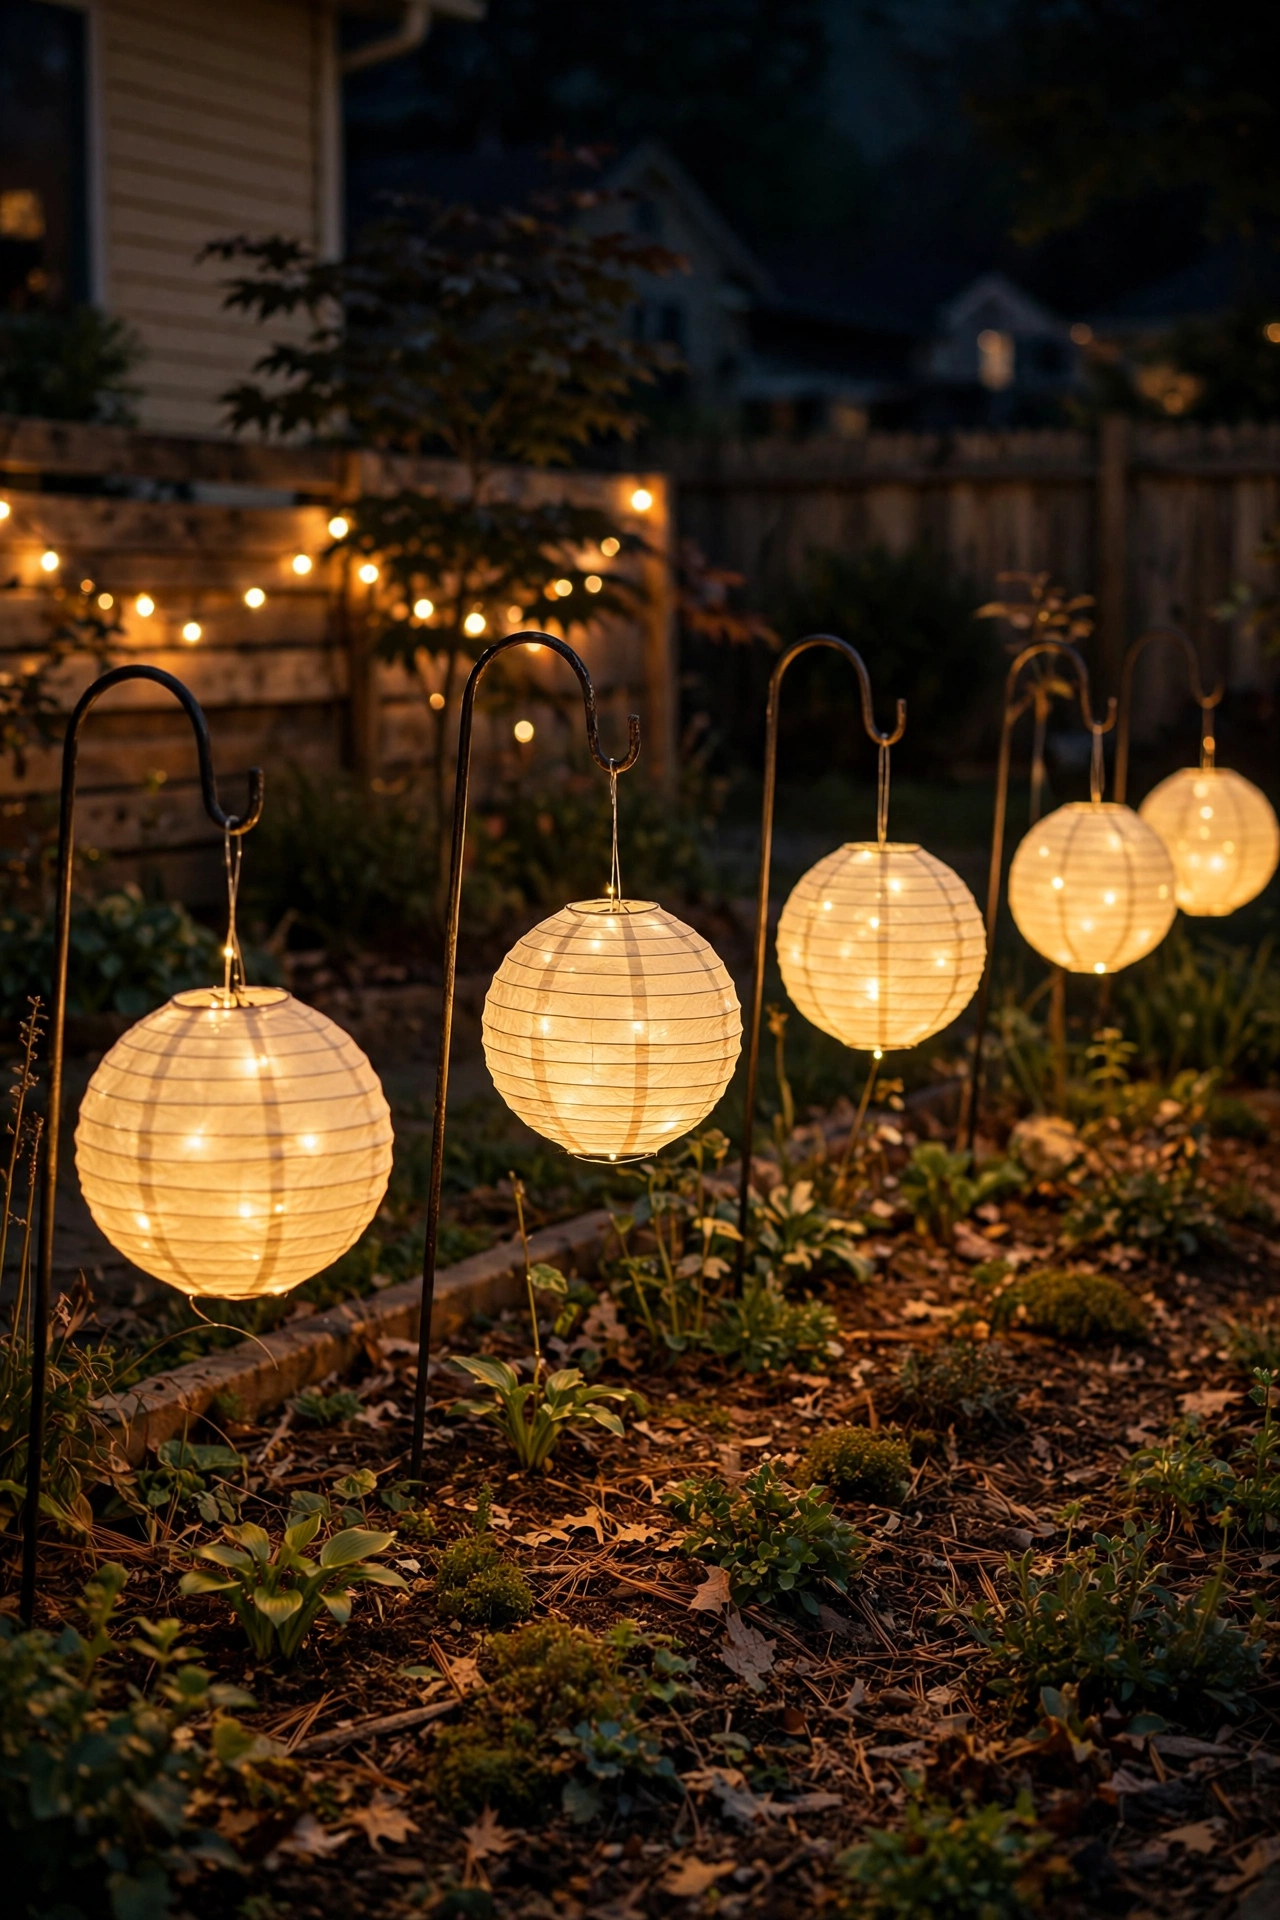
8. Festival Lanterns on Shepherd's Hooks
Paper-style festival lanterns (the round or teardrop ones, outdoor-rated) hung from shepherd's hooks create a "garden party that never ends" feeling for shockingly little money. Push 5-foot shepherd's hooks into the ground along a garden bed or around a seating area, spacing them 8 to 10 feet apart, and hang one lantern from each at about 4 feet high — low enough to feel intimate, high enough not to bonk heads. Inside each lantern, use a short strand of warm-white fairy lights on a timer rather than a single bulb; the strand fills the paper evenly and hides the light source. Honestly, this is where I tell people to buy the slightly better lanterns with a wire frame and weather-treated paper — the ultra-cheap ones shred in the first windstorm. Bring them under cover during heavy rain or high winds; they take 30 seconds each to unhook. For winter, swap the fairy lights for a slightly cooler white to get a frosty, elegant look without buying new lanterns. Group three hooks of different heights in a corner of the yard for a vignette that photographs beautifully.
Suggested budget range: $20 – $35.
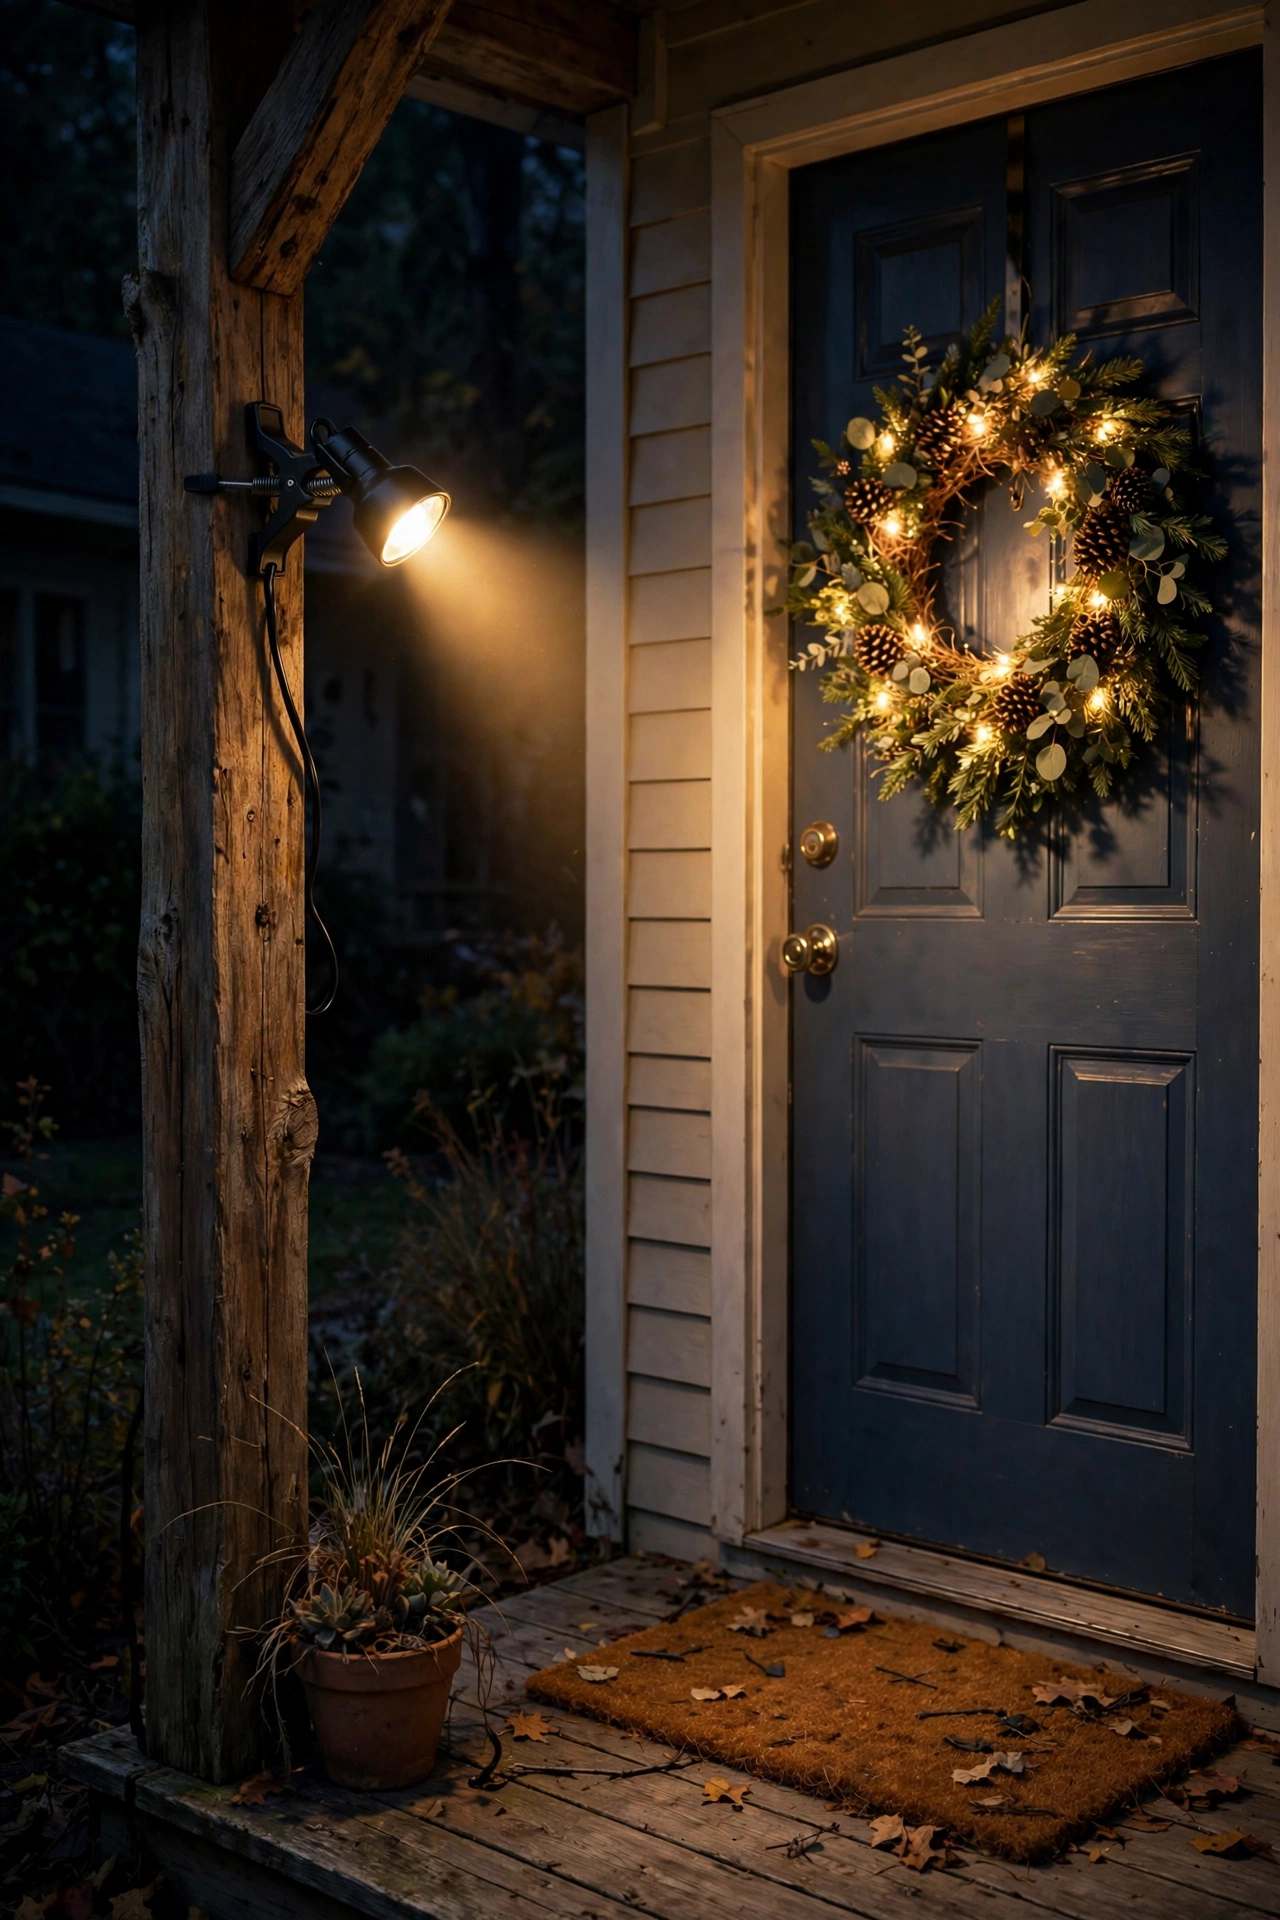
9. Clip-On Spotlights for Instant Accent Light
Clip-on outdoor spotlights are the Swiss Army knife of budget lighting: a small LED head on a spring clamp you can attach to a gutter, fence rail, deck post, or tree branch in seconds. Point one at a front-door wreath, a house number plaque, a favorite shrub, or a piece of garden art, and suddenly that object looks curated instead of incidental. Because they clamp on, you can experiment endlessly — try three different angles before committing, which is something hardwired fixtures never let you do. Look for warm-white, outdoor-rated (IP65 or better) heads with a plug-in cord long enough to reach your outlet; solar versions exist but plug-in gives steadier brightness for accent work. Aim the beam so it hits the object and stops — light spilling past onto a neighbor's window is how you start a feud. A plug-in photocell timer at the outlet automates the whole set. I keep two of these in my garden shed year-round and redeploy them seasonally: wreath at Christmas, flowering shrubs in spring, a pumpkin stack in October. Versatility is the ultimate budget move.
Suggested budget range: $15 – $30.
10. Moonlighting from a Tree Branch
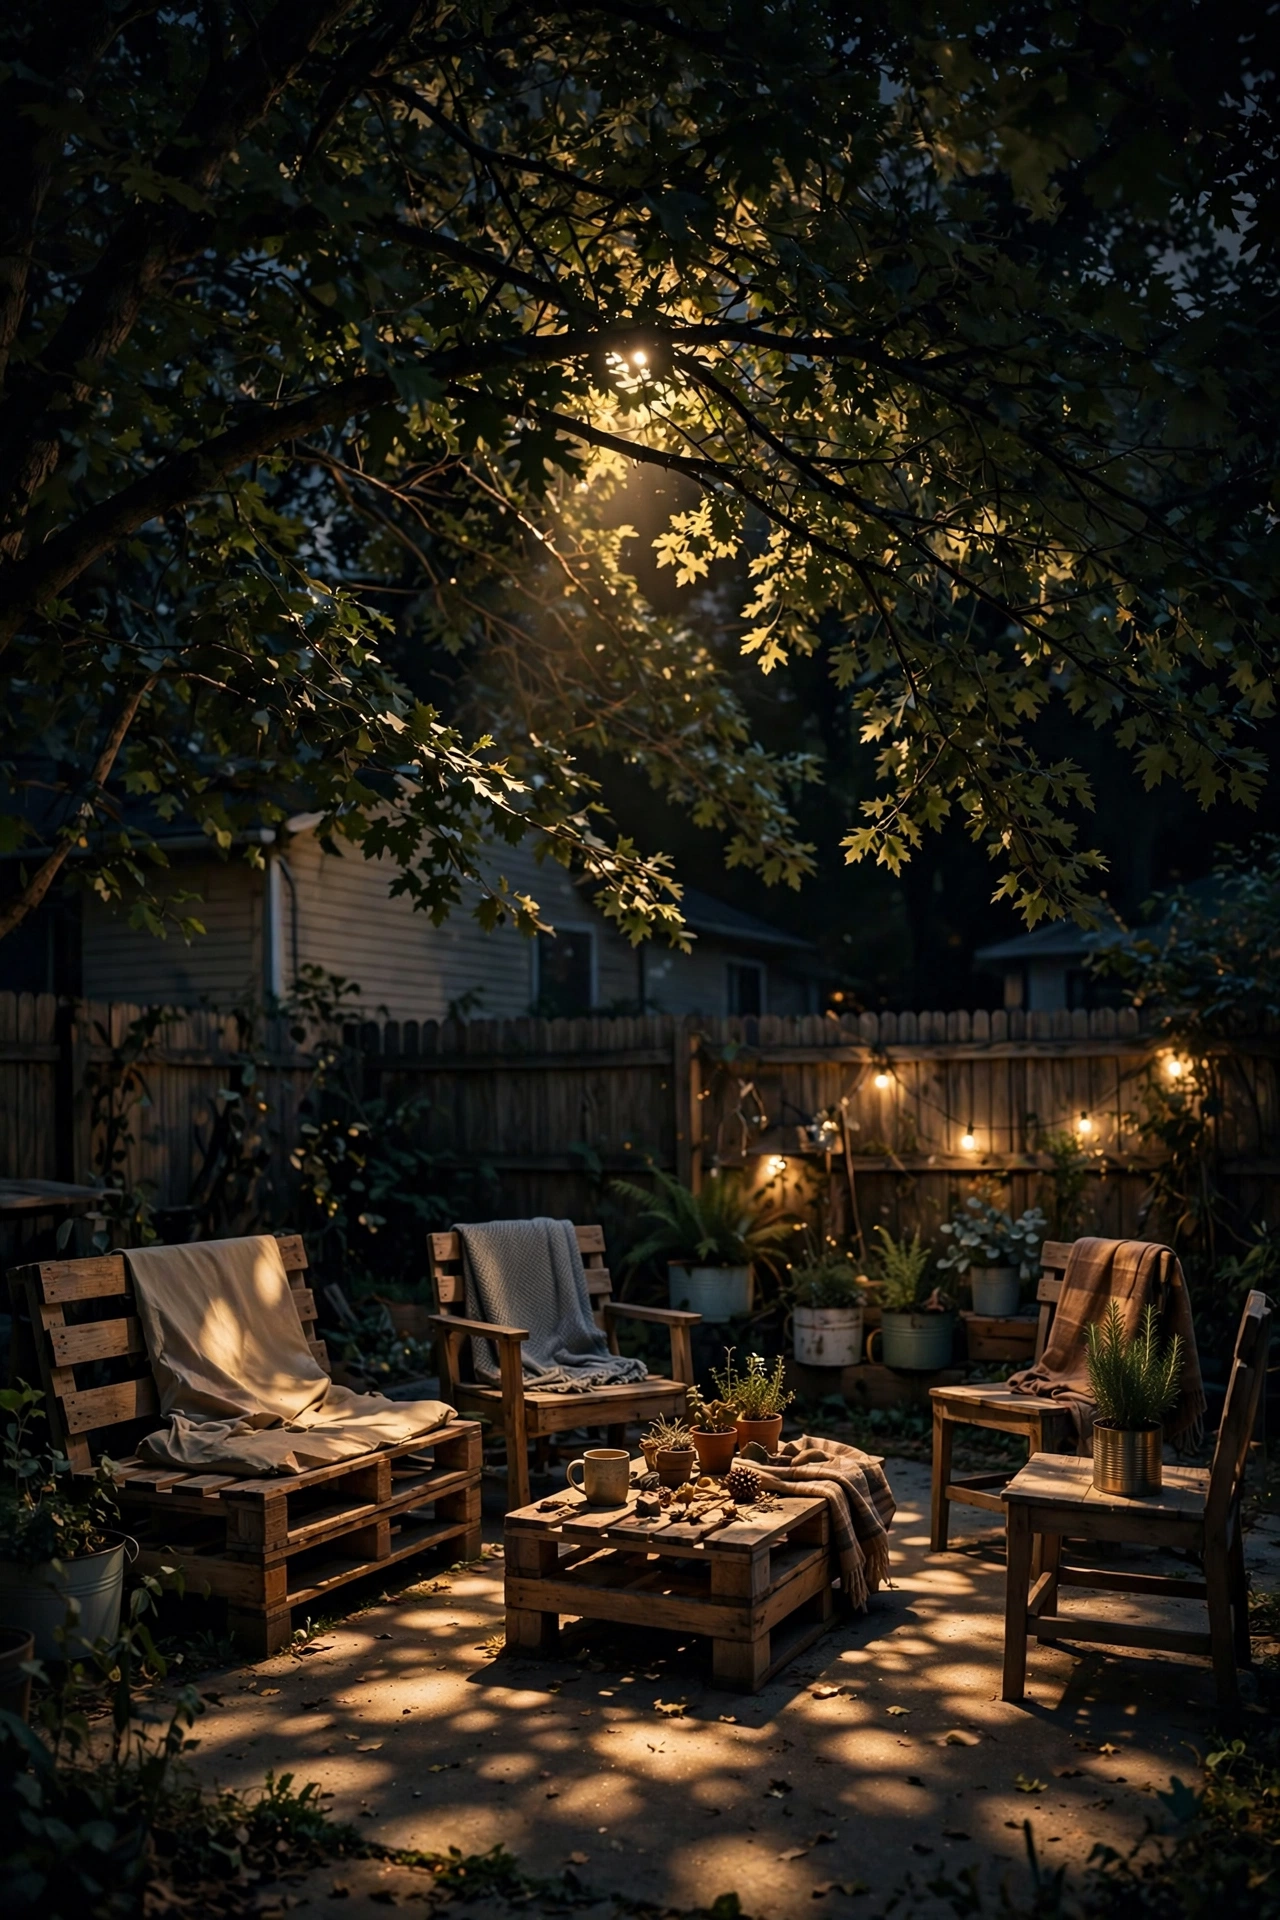
Moonlighting — mounting a light high in a tree and aiming it down — is the most magical effect in landscape lighting, and a single solar spotlight makes it nearly free. Strap or clamp a compact solar spotlight to a sturdy branch 10 to 15 feet up, aimed down through the leaves at a seating area or path below. The leaves break the beam into dappled patches that look exactly like moonlight, and because the source is hidden in the canopy, guests can't figure out where the glow comes from — that's the designer mystery. Use a warm-white light and a modest lumen output (100 to 200 lumens is plenty); overpowering it kills the subtlety. Secure the fixture with a UV-resistant zip tie or a purpose-made tree strap rather than screwing into the bark — screws wound the tree and the fixture outgrows its mount in a season. Make sure the solar panel gets direct sun; a panel buried in canopy won't charge, so mount the panel on a separate small stake at the tree's drip line and run its short wire up the trunk if needed. Check the mount twice a year as the tree grows. This one effect can carry an entire backyard's ambiance on its own.
Suggested budget range: $15 – $30.
11. Spray-Paint Your Mismatched Fixtures One Color
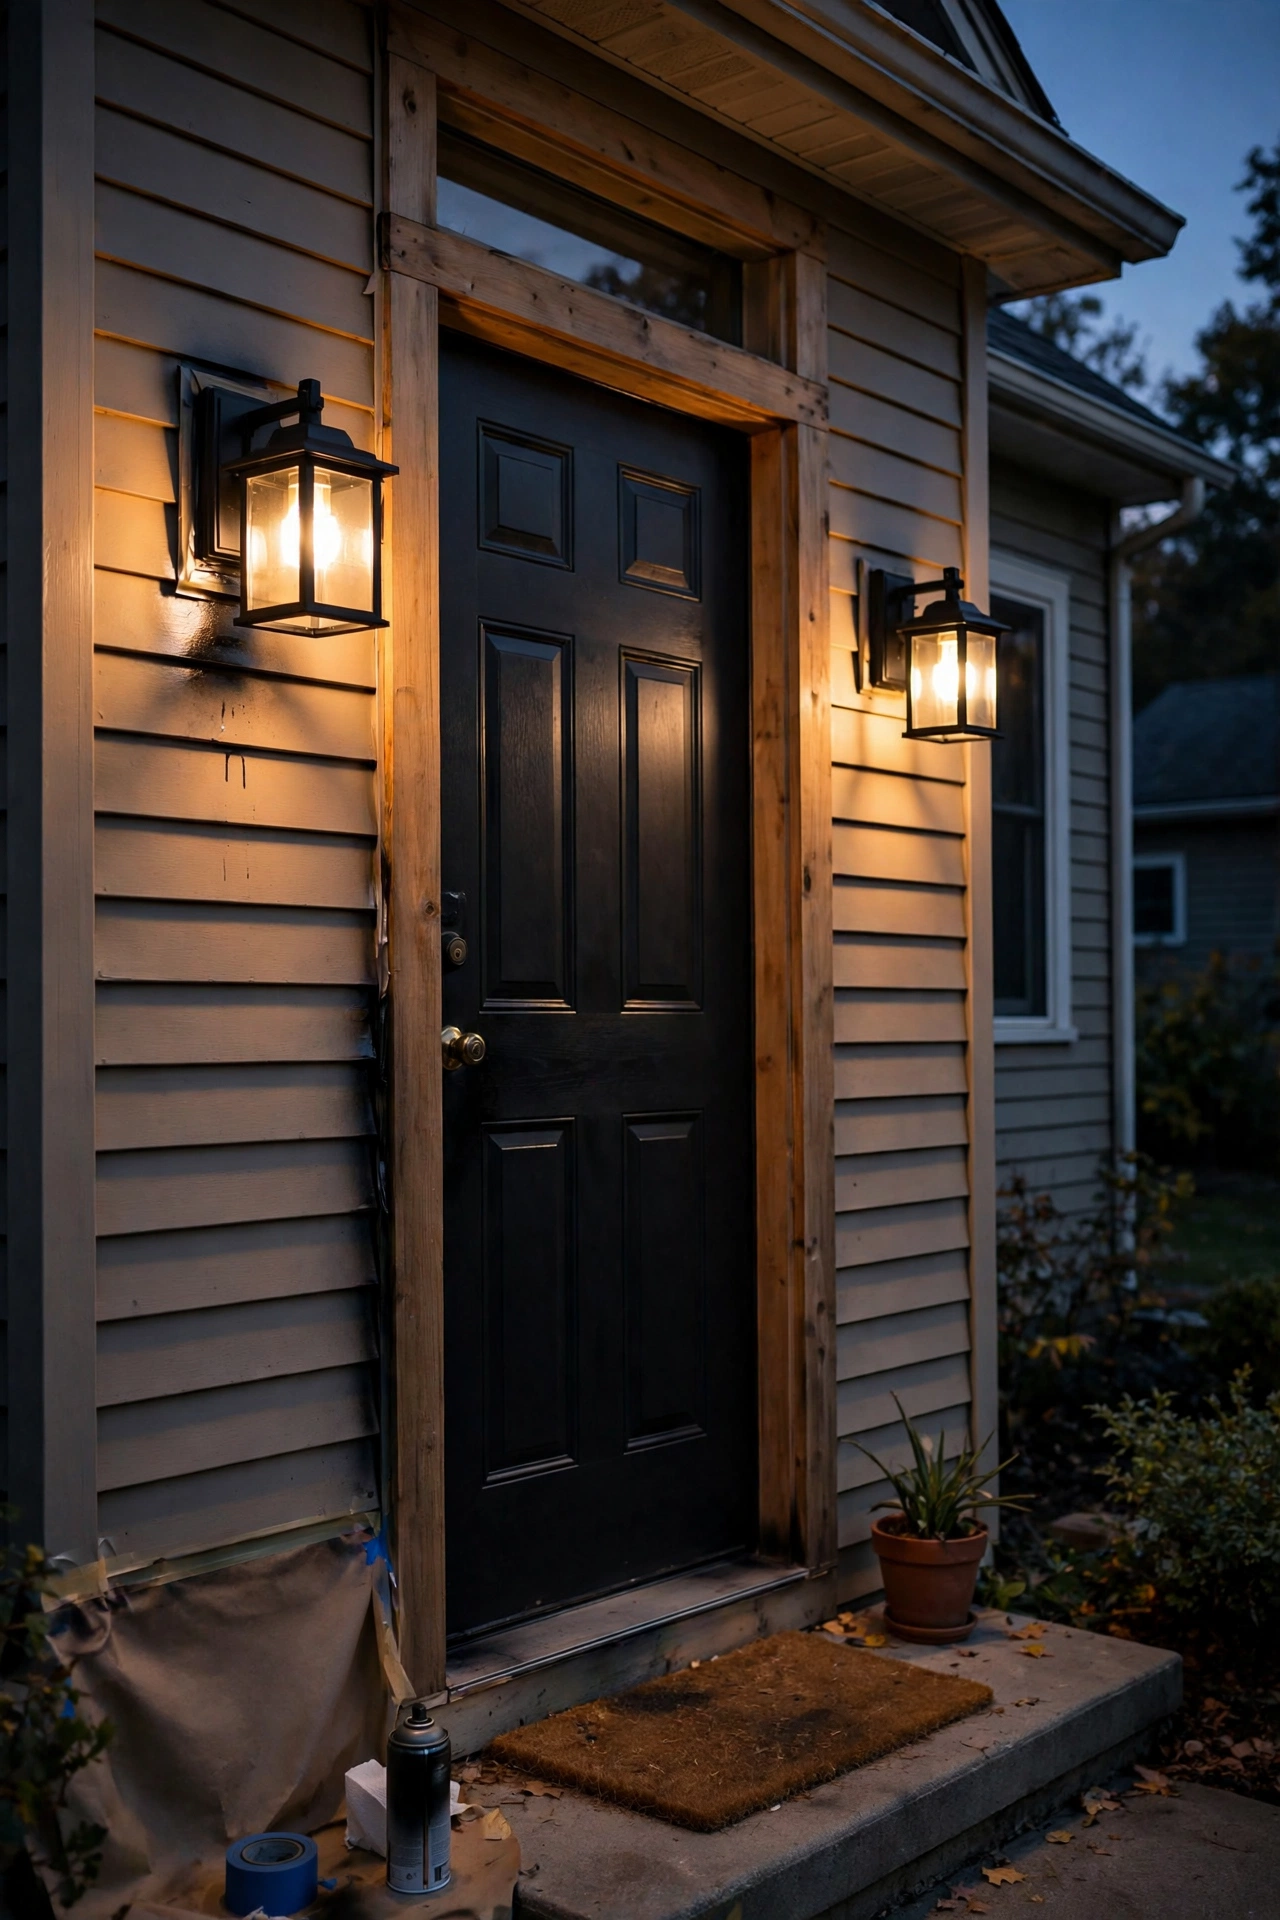
Here's a designer secret: a set of mismatched, faded fixtures painted one unified color reads as an intentional "collection," while five different finishes read as clutter. Remove your outdoor fixtures (porch light, garage sconces, post lamp — turn off the breaker first), clean them thoroughly, and spray them all in the same finish: matte black is the can't-miss classic, oil-rubbed bronze looks rich, and a soft white brightens a dark entry. Use a spray paint rated for metal and outdoor use, apply two to three light coats rather than one thick one, and let each coat cure fully. While the fixtures are down, swap in warm-white LED bulbs (see idea 7) so the inside matches the new outside. This works especially well on hand-me-down fixtures and thrift-store finds — I once turned a $4 flea-market lantern into the "expensive" focal point of a front porch with $6 of matte black paint. Reinstall on the breaker-off circuit and check the gaskets; painting is the perfect moment to replace cracked rubber seals that let water in. Total cost for three fixtures: one can of paint and an afternoon.
Suggested budget range: $8 – $20.
12. Terra-Cotta Pot Tea Lights
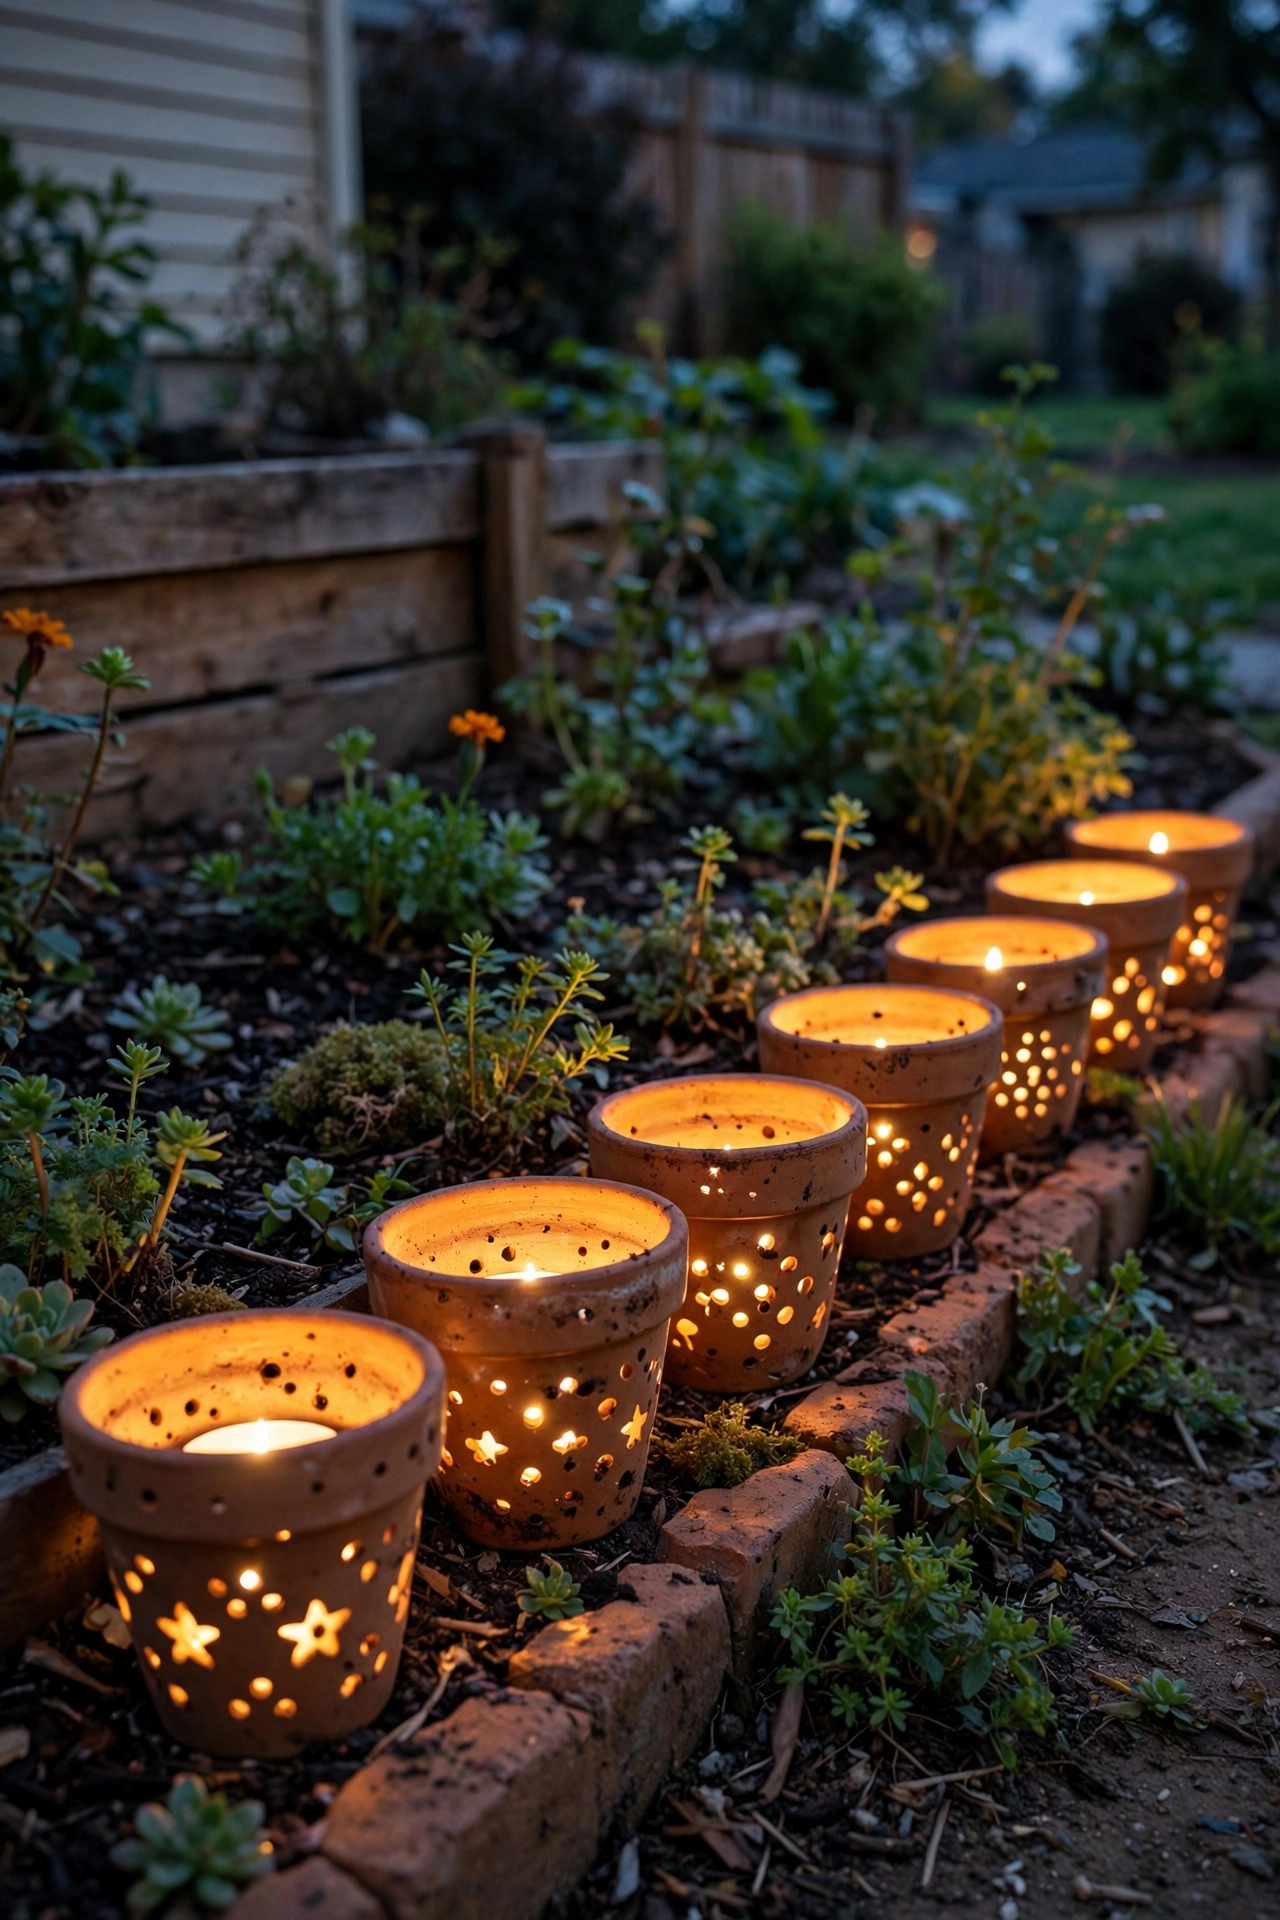
A plain 4-inch terra-cotta pot, flipped upside down with a battery tea light inside, becomes a glowing garden lantern — and the clay throws the warmest, most golden light of any material on this list. Drill or poke a few small holes around the pot's sides (a masonry bit on low speed works; go slow, terra cotta cracks if you rush) so pinpricks of light escape, then set the pot over a flameless tea light on a garden bed, wall, or table edge. Line three to five of them along a walkway edge or cluster them around a patio planter for a look that costs almost nothing and glows like artisanal pottery. The drainage hole on top doubles as a chimney for the tea light's sensor — most dusk-sensor tea lights need a little ambient light to trigger, so don't seal them in completely. In my experience, the unglazed interior of the pot bounces the LED around and softens it beautifully; no two pots glow exactly alike, which is part of the charm. Bring them under cover in freezing weather — terra cotta can crack in a hard freeze. At about a dollar per pot plus tea lights, this is the cheapest idea here per unit of coziness.
Suggested budget range: $6 – $15.
13. Fairy Lights Woven Through Planter Greenery
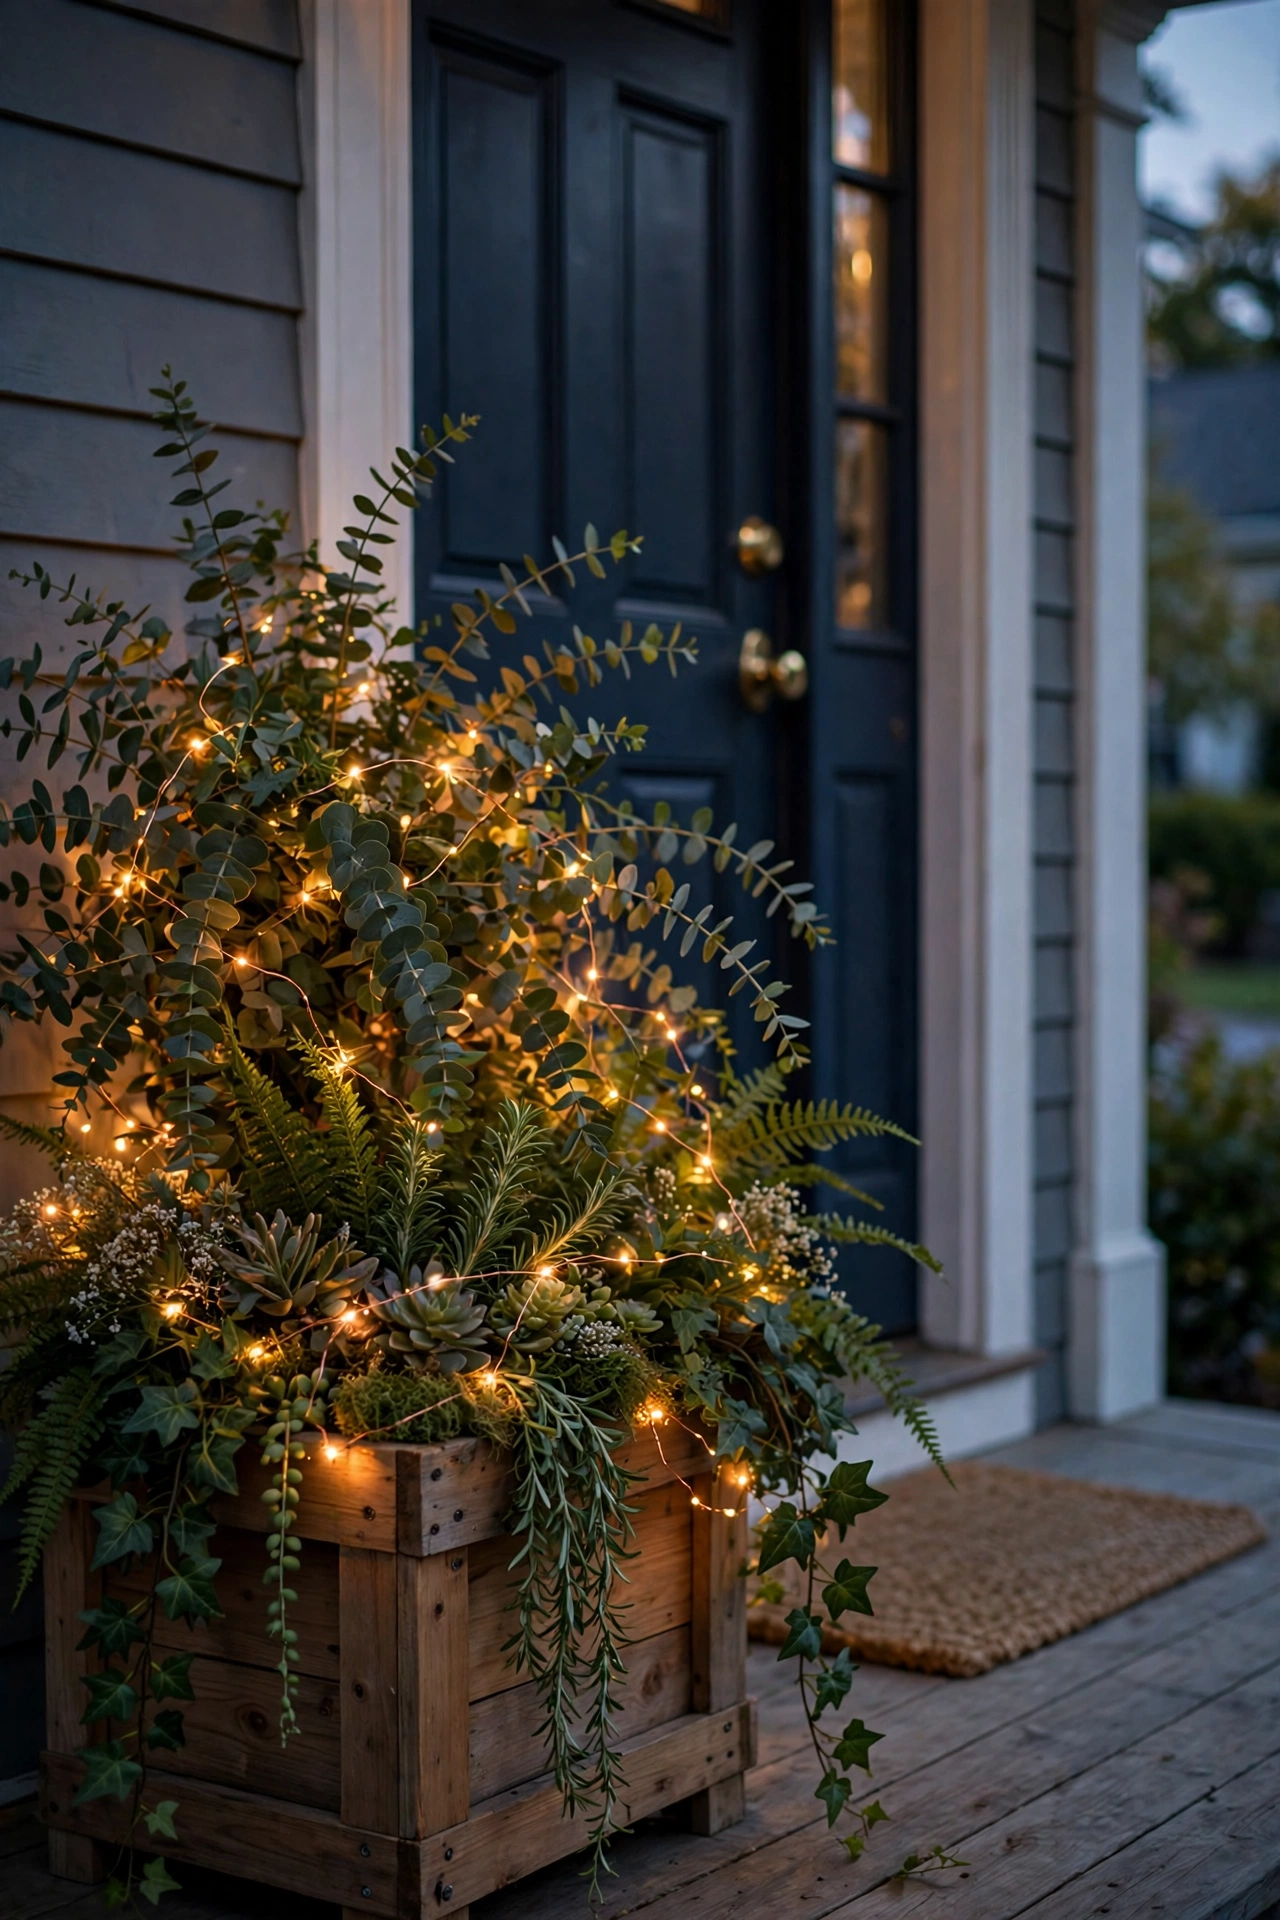
One strand of copper-wire fairy lights woven through the plants in a large porch planter looks like something from a high-end garden center — and it's a $10 upgrade. Start with a full, healthy planter (ferns, trailing ivy, or even faux greenery if your thumb is more decorative than green), and spiral the fairy-light strand from the soil line up through the foliage, tucking the battery box or solar panel behind the planter's rim. Use the finest wire you can find; thin copper wire disappears against stems while thick plastic wire screams "Christmas in July." A 33-foot strand with 100 micro-LEDs fills a 14-inch planter perfectly. Set the strand to steady-on rather than twinkle — twinkle reads festive, steady reads expensive. If the planter sits in sun, use a solar fairy-light strand and stake the panel in the soil; if it's a shaded porch planter, the battery version with a 6-hour timer is your friend. Refresh the look seasonally by swapping the planter's flowers — the lights stay, the plants change. Two matching planters flanking a front door, both glowing, is one of the strongest curb-appeal moves under $30.
Suggested budget range: $10 – $20.
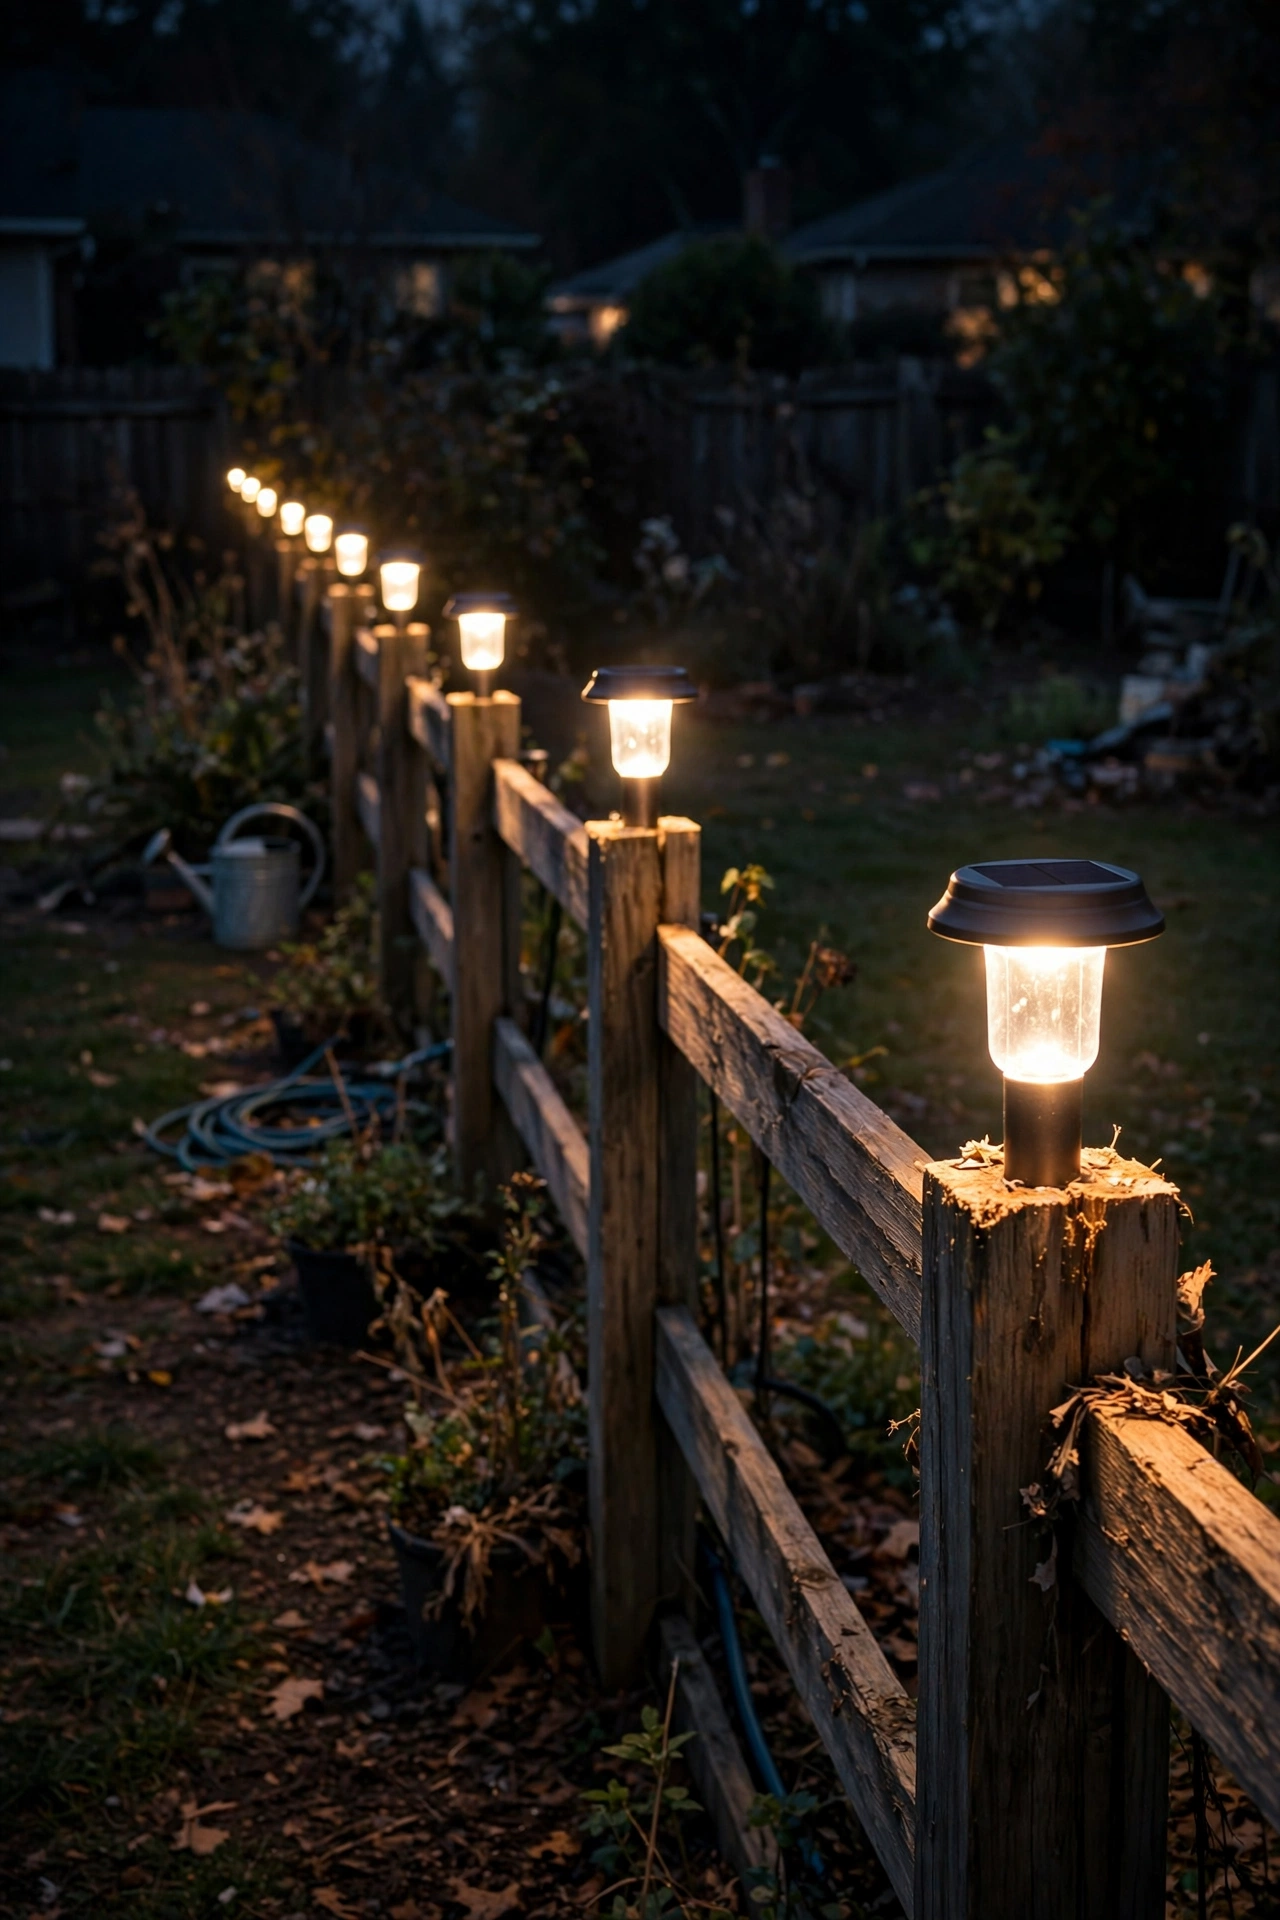
14. Solar Post-Cap Lights on Every Fence Post
If you have a fence, you have a free lighting grid — you just need the caps. Solar post-cap lights sit on top of standard 4×4 fence posts and turn the entire fence line into a runway of soft light, defining your yard's boundary the way expensive landscape plans do. Measure your post tops first (true 4×4 posts are actually 3.5 inches square; caps come sized for nominal or actual dimensions), and choose warm-white caps with a downward-facing LED so the light washes the fence boards instead of glaring into eyes. Press or screw them on — most fit snugly without hardware. The trick to the high-end look is consistency: cap every post in the run, not just a few, and let the repetition do the design work. Clean the solar panels each spring; a winter of grime can cut output dramatically. In my experience, a 40-foot fence line with eight capped posts looks like a $500 professional install for under $50 in caps. Pair them with path lights inside the yard and you've built two full lighting layers for the price of a dinner out.
Suggested budget range: $25 – $50.
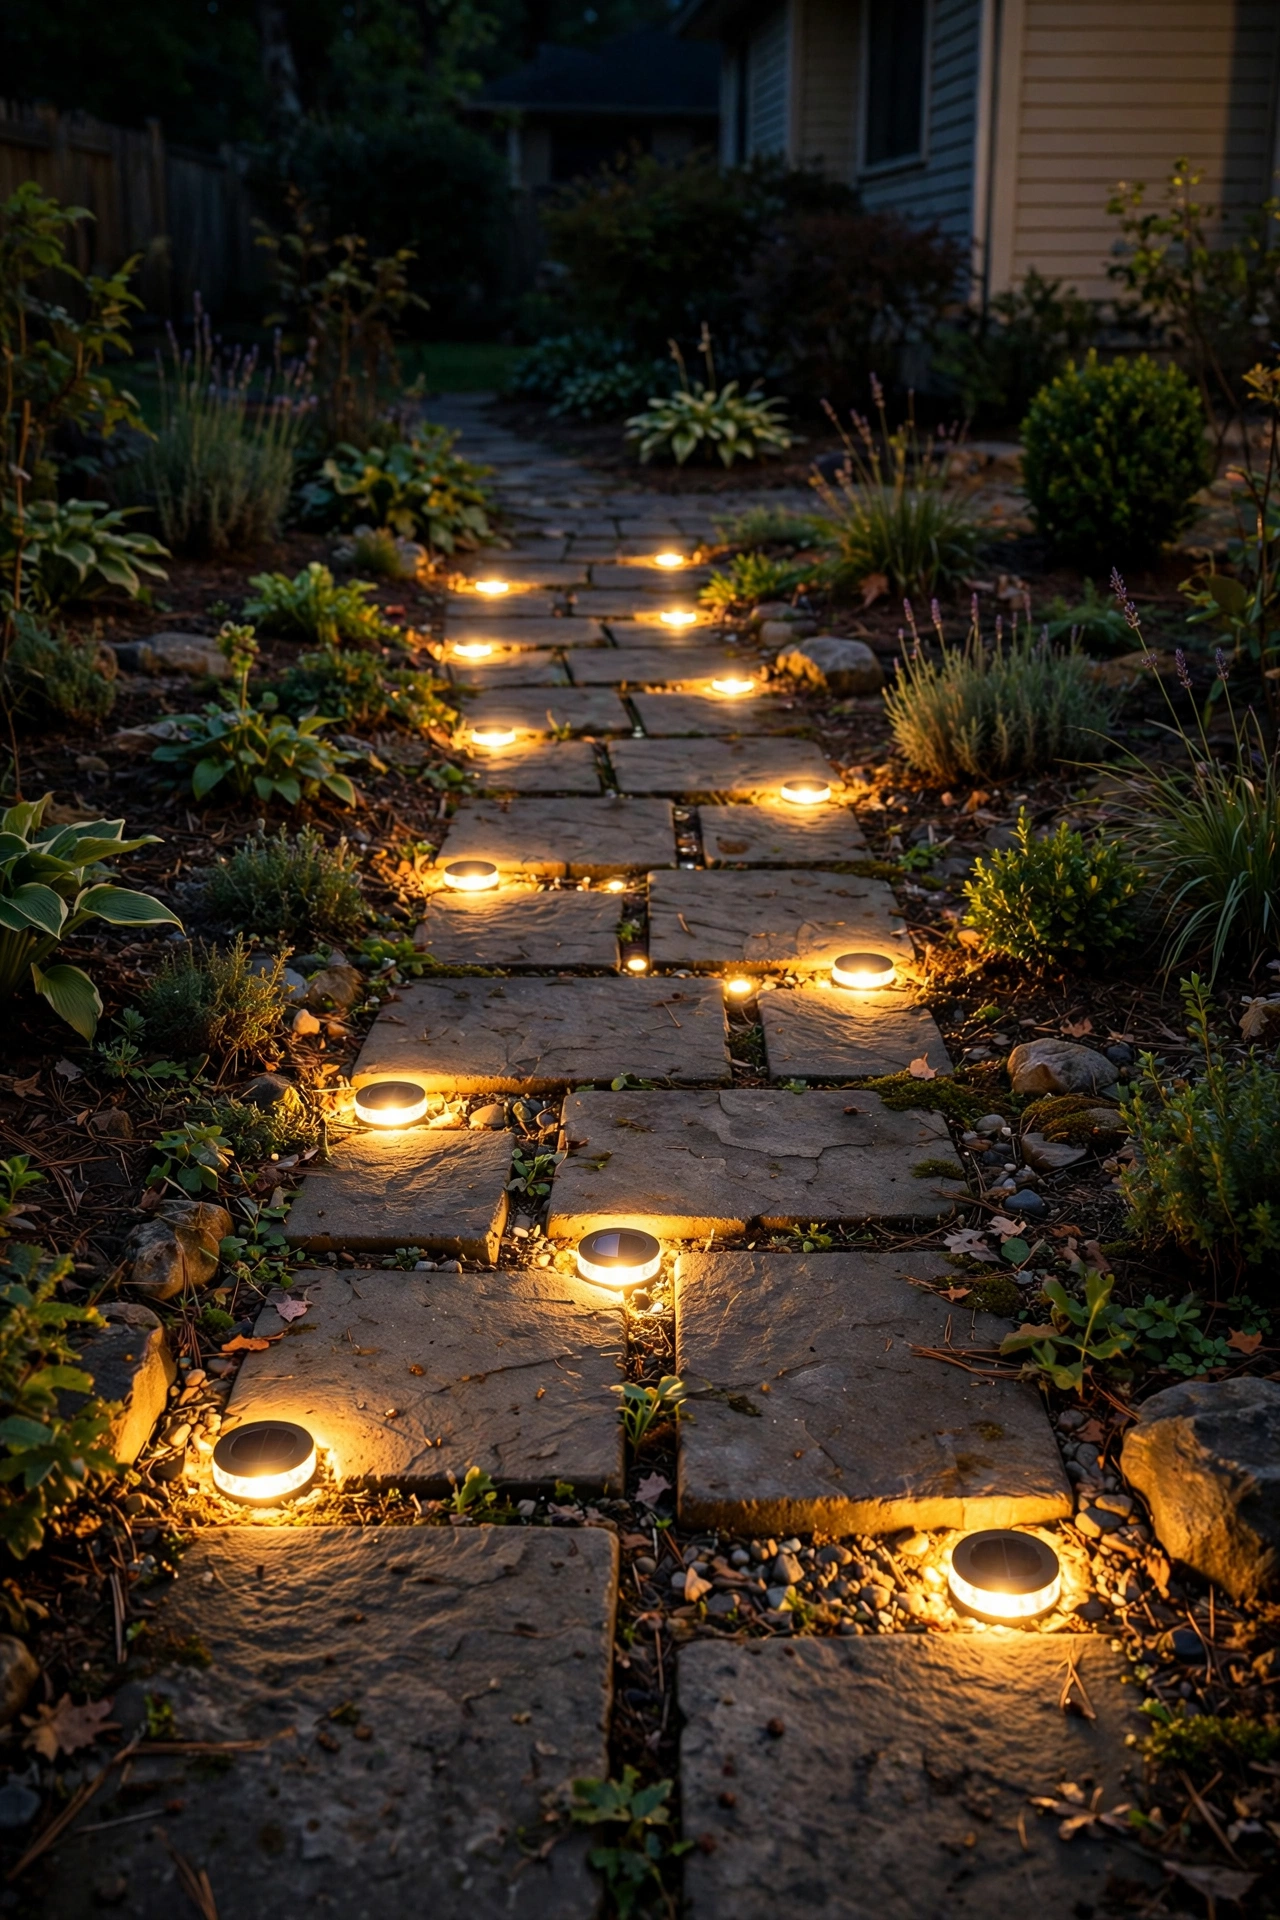
15. Recessed Solar Pucks in Walkway Pavers
Built-in paver lights look like a five-figure hardscape upgrade, but solar puck lights set flush between pavers deliver the same "runway" effect for a few dollars each. Pop out every third or fourth paver along a walkway edge (a flat pry bar and ten minutes), set a round solar puck light into the gap so its lens sits level with the paver surface, and tamp sand around it to lock it in. Space them 3 to 4 feet apart in a straight run — closer spacing looks busy, wider spacing loses the guiding line. Because they're flush, you can walk and even roll a wheelbarrow right over them, which stake lights can't claim. Choose warm-white pucks with a sturdy, weight-rated housing; the ultra-thin ones crack under foot traffic. The solar panel is the lens itself, so sweep leaves off the walkway regularly — one leaf can shut a puck down for the night. This is also the rare solar idea that works in partial shade, since each puck charges independently right where it sits. For a front walk, run them up both edges; for a garden path, one edge is enough and looks more natural. Guests will assume you paid a mason.
Suggested budget range: $20 – $40.
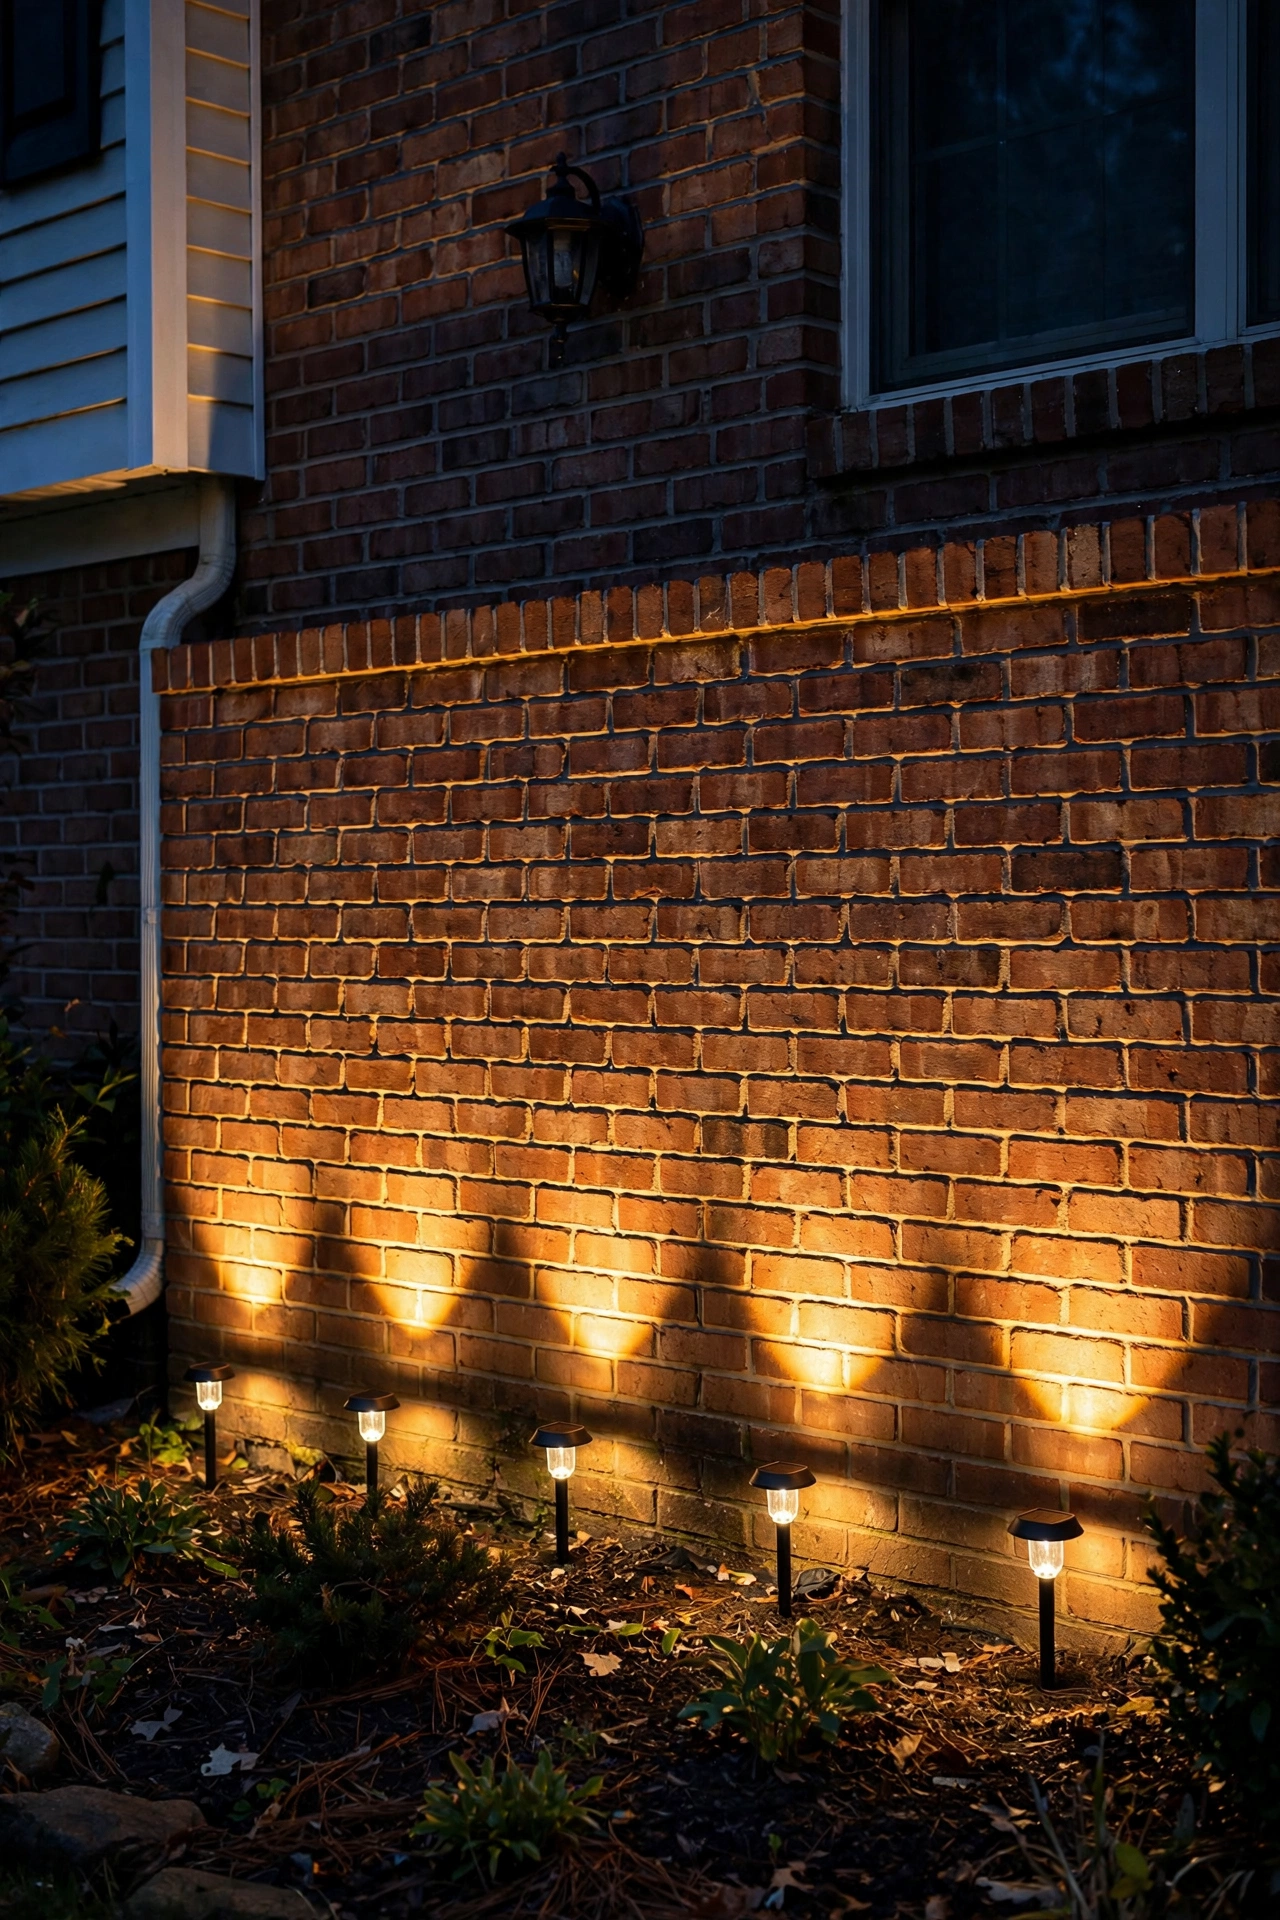
16. A Budget Outdoor Lighting Idea for the House Itself: Solar Wall Washers
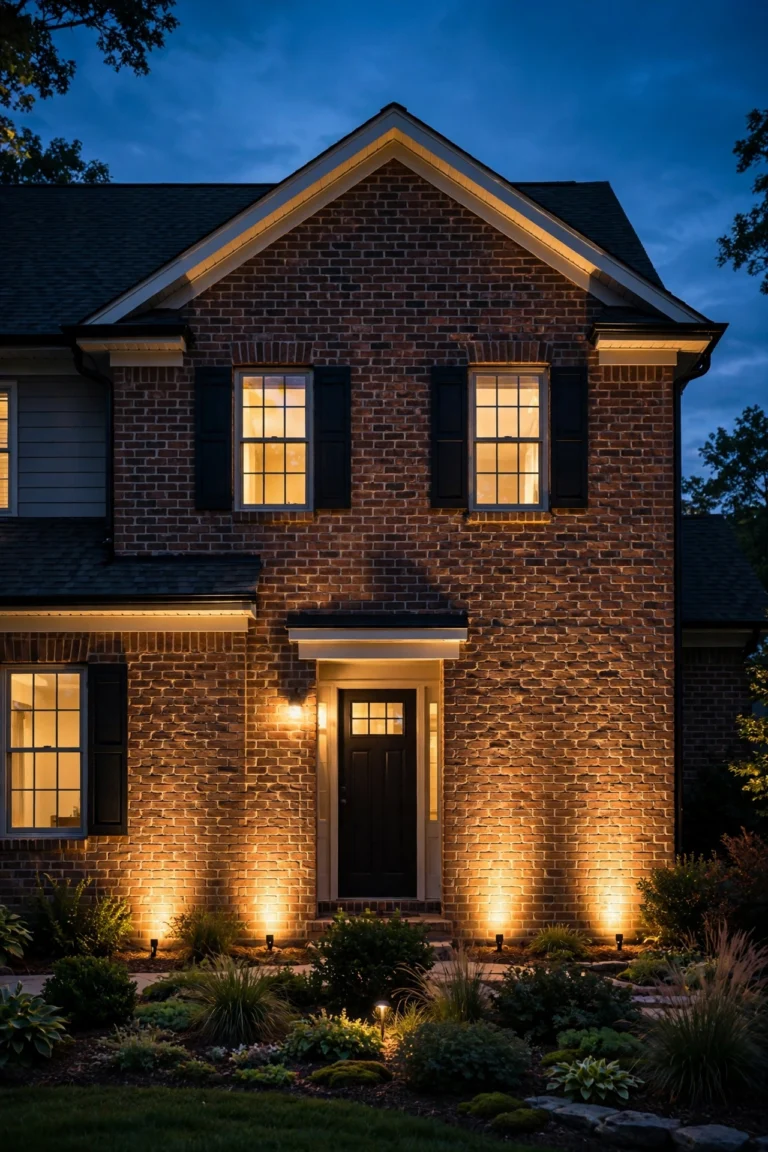
Most budget advice stops at the yard, but washing your home's exterior wall with light is what makes the whole property glow — and solar fixtures for the house itself have quietly become excellent. Mount two or three solar wall-washer lights at the base of a plain stretch of siding or brick, about 2 feet out from the wall and spaced 6 to 8 feet apart, angled up at 30 to 45 degrees. The overlapping beams erase the flat, dark look of an unlit facade and give your home the "architectural lighting" treatment you see in design magazines. Brick and stone take this beautifully because the grazing light rakes across the texture; smooth siding looks best with the fixtures set a little farther out for a softer wash. Mount on a ground stake rather than drilling into siding — stakes let you reposition with the seasons, and renters can take them along. Make sure the panels face south and aren't shadowed by the eave overhang. Two washers flanking a front door, layered with the porch bulb swap from idea 7, create an entry that looks professionally designed for under $40 total.
Suggested budget range: $25 – $45.
17. Downlight Pendants Over the Outdoor Dining Table
Restaurants hang pendants low over tables because it makes food — and people — look fantastic, and you can steal the effect for about $20. Hang two or three outdoor-rated pendant cords from a pergola beam, tree limb, or a simple shepherd's-hook arm over your dining table, with the bulb bottoms sitting 30 to 36 inches above the tabletop — low enough to pool light on the table, high enough to see across it. Use warm-white LED Edison-style bulbs at low wattage (4 to 6 watts each); the visible filament plus a metal or woven shade throws a focused, flattering cone of light. Space pendants about 24 inches apart over a 6-foot table. If you don't have an overhead structure, a tall shepherd's hook with a curved arm works surprisingly well, or string a catenary wire (idea 1) and hang the pendants from it at intervals. Plug everything into one outdoor timer so the "restaurant" opens itself at dusk. Keep cords tucked and secured — nothing ruins the mood like a drooping extension cord, and it's a genuine trip hazard. This single move upgrades every backyard dinner party you host this year.
Suggested budget range: $20 – $40.

18. Bounce Light Off Pale Surfaces
Here's the physics trick lighting designers use and almost nobody talks about: light-colored surfaces bounce light, effectively multiplying every bulb you own. A white or pale-painted fence, light gravel, pale pavers, or even a light-colored outdoor rug can double the perceived brightness of your existing lights without adding a single fixture. If your fence is dark and absorbs light, a weekend with a $25 gallon of exterior white or cream paint (one coat over dark stain usually covers) turns the whole fence into a giant reflector for your string lights and path lights. Light gravel around a seating area does the same at ground level — swap dark mulch for pale pea gravel in the zone your lights hit and watch the glow spread. Even painting the inside of a dark planter white before adding fairy lights (idea 13) noticeably brightens the effect. This is pure leverage: every dollar you've spent on the other 24 ideas works harder once your surfaces cooperate. Aim for matte finishes — glossy white creates hot spots, while matte diffuses the bounce evenly.
Suggested budget range: $15 – $35.
19. Grapevine Ball Lights (The DIY Everyone Asks About)
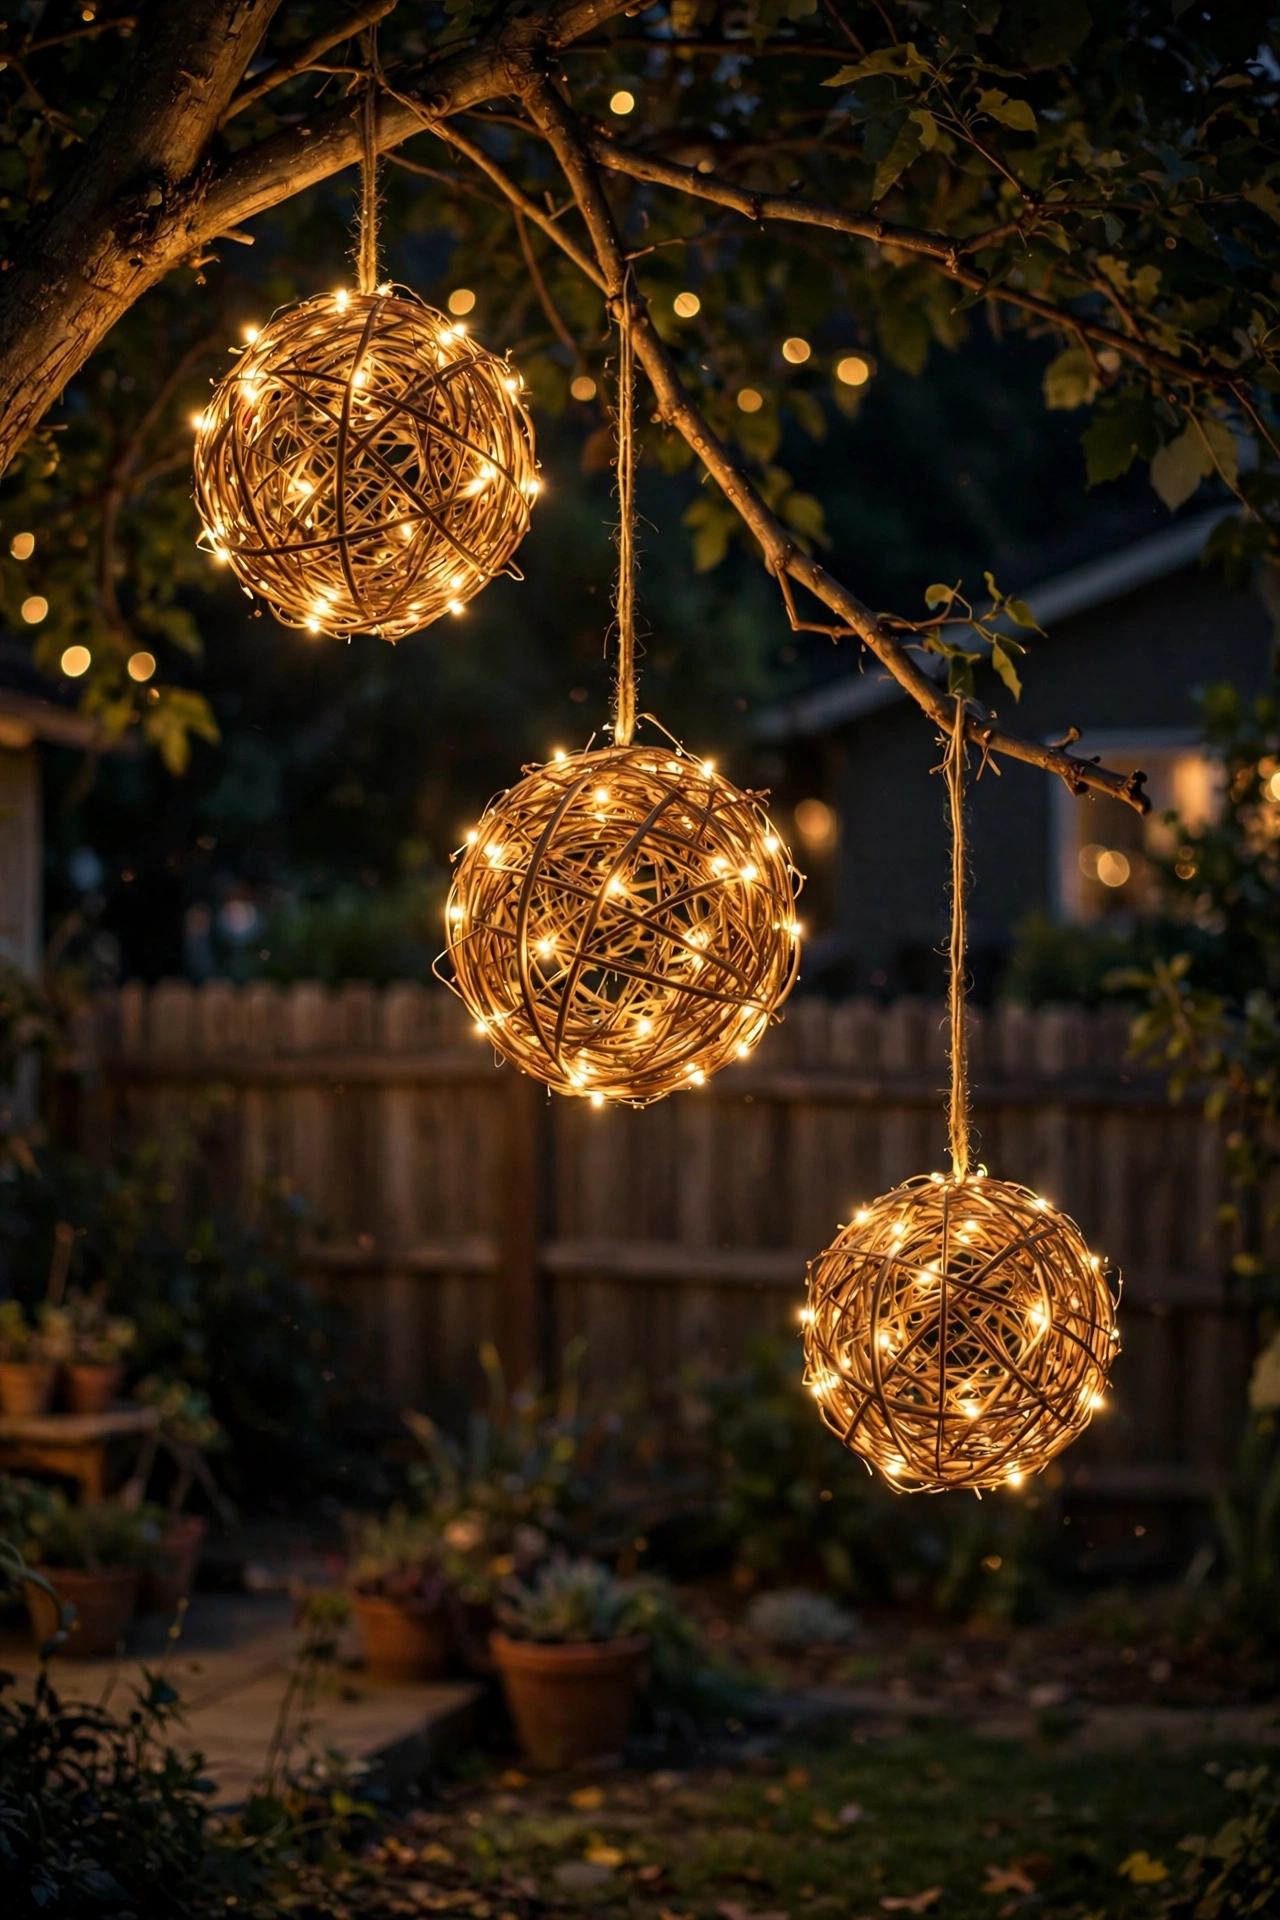
Those glowing woven balls you see in garden centers for $30 apiece? They're grapevine wreath forms wrapped in fairy lights, and the DIY version costs about $8. Buy a 10- or 12-inch grapevine ball (craft stores carry them; sometimes two nested together give a fuller look), and wrap a 33-foot strand of warm-white fairy lights evenly around and through the weave, tucking the battery box into the center. Hang them from tree branches, pergola beams, or shepherd's hooks at varying heights — a cluster of three at 5, 6, and 7 feet looks deliberately artful. The grapevine diffuses the LEDs into a dappled, organic glow that's impossible to buy at this price. Use the timer function so they run 6 hours nightly; a single strand of 100 LEDs sips battery, so one set of AAs lasts weeks. Bring them under cover in heavy rain — the vine handles weather fine, but battery boxes don't love downpours. In my experience, these photograph so well that guests will ask where you bought them, and telling them "I made them for eight bucks" never gets old. Make a few extra as gifts and you're officially the crafty friend.
Suggested budget range: $8 – $20.
20. Submersible Lights for Fountains and Ponds
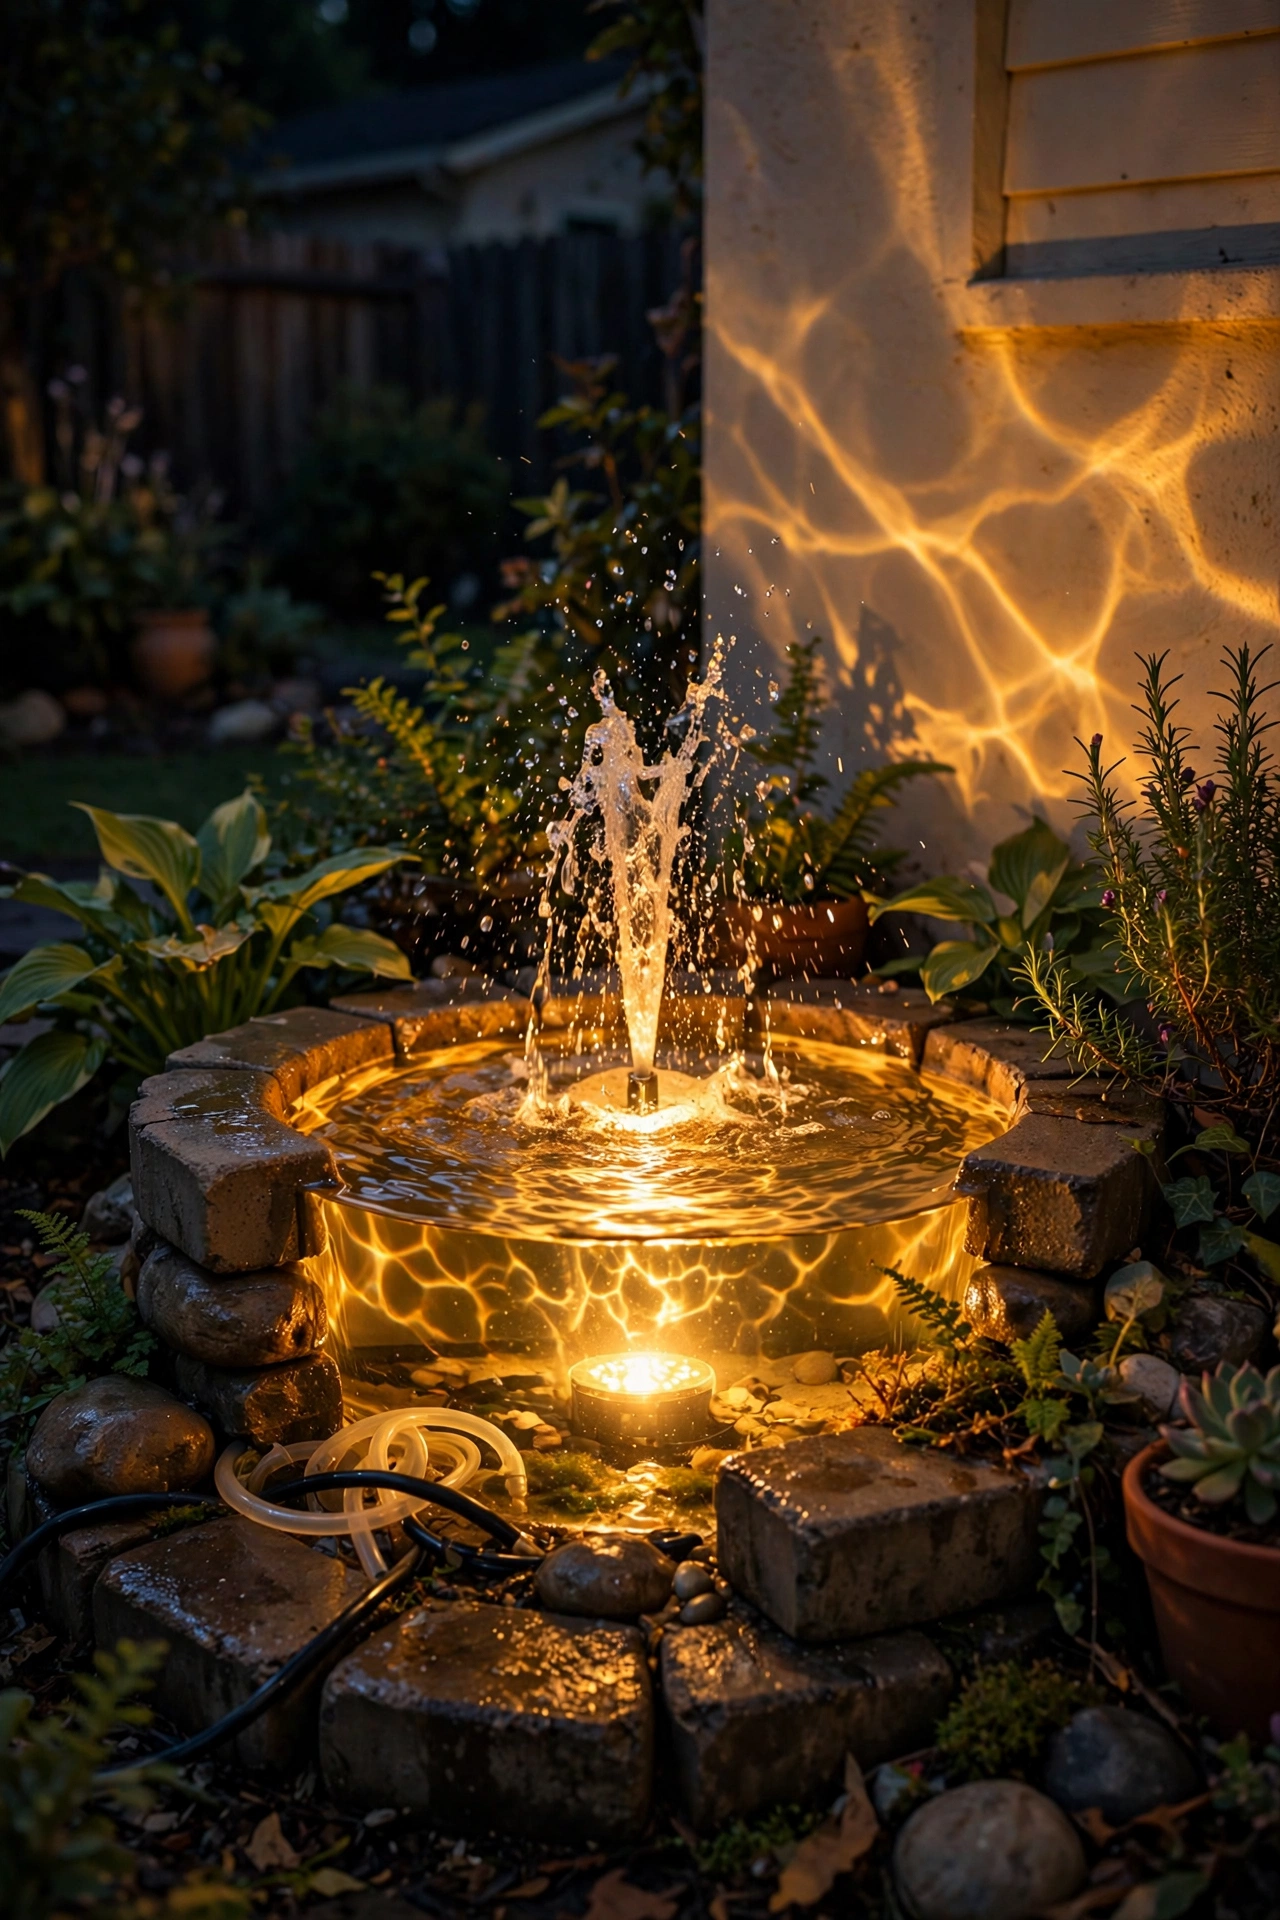
A $12 submersible LED light turns an ordinary birdbath, fountain, or small pond into the glowing centerpiece of the yard after dark. Drop one or two waterproof (IP68-rated — this matters; IP65 is splash-proof, IP68 is submersible) puck lights into the basin, angled up so the water itself becomes the diffuser. Moving water multiplies the effect: a fountain jet lit from below throws dancing light patterns onto nearby walls and plants, which is a $500 water-feature lighting effect for the price of lunch. Use warm white for a candlelit-pond feel, or a color-changing puck on its warm setting for parties. Keep the cord routed neatly over the basin edge and secured so it doesn't drift into the pump intake. For birdbaths, a single small solar submersible works — the panel floats or sits on the rim. Safety note: any plug-in light near water must be on a GFCI outlet, and check the cord monthly for nicks. In winter, pull submersibles before the first hard freeze; ice crushes housings. This is the highest drama-per-dollar idea on the list if you have any water at all.
Suggested budget range: $12 – $30.
21. Motion-Sensor Light with a Warm Diffuser
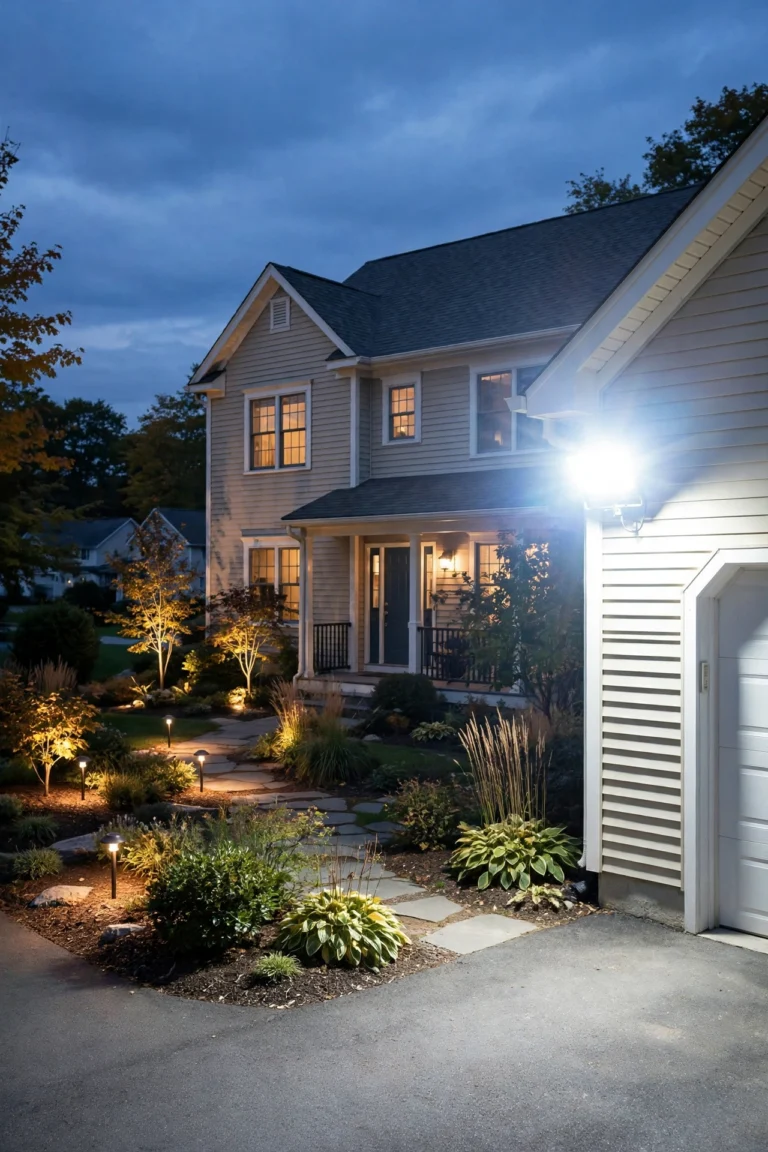
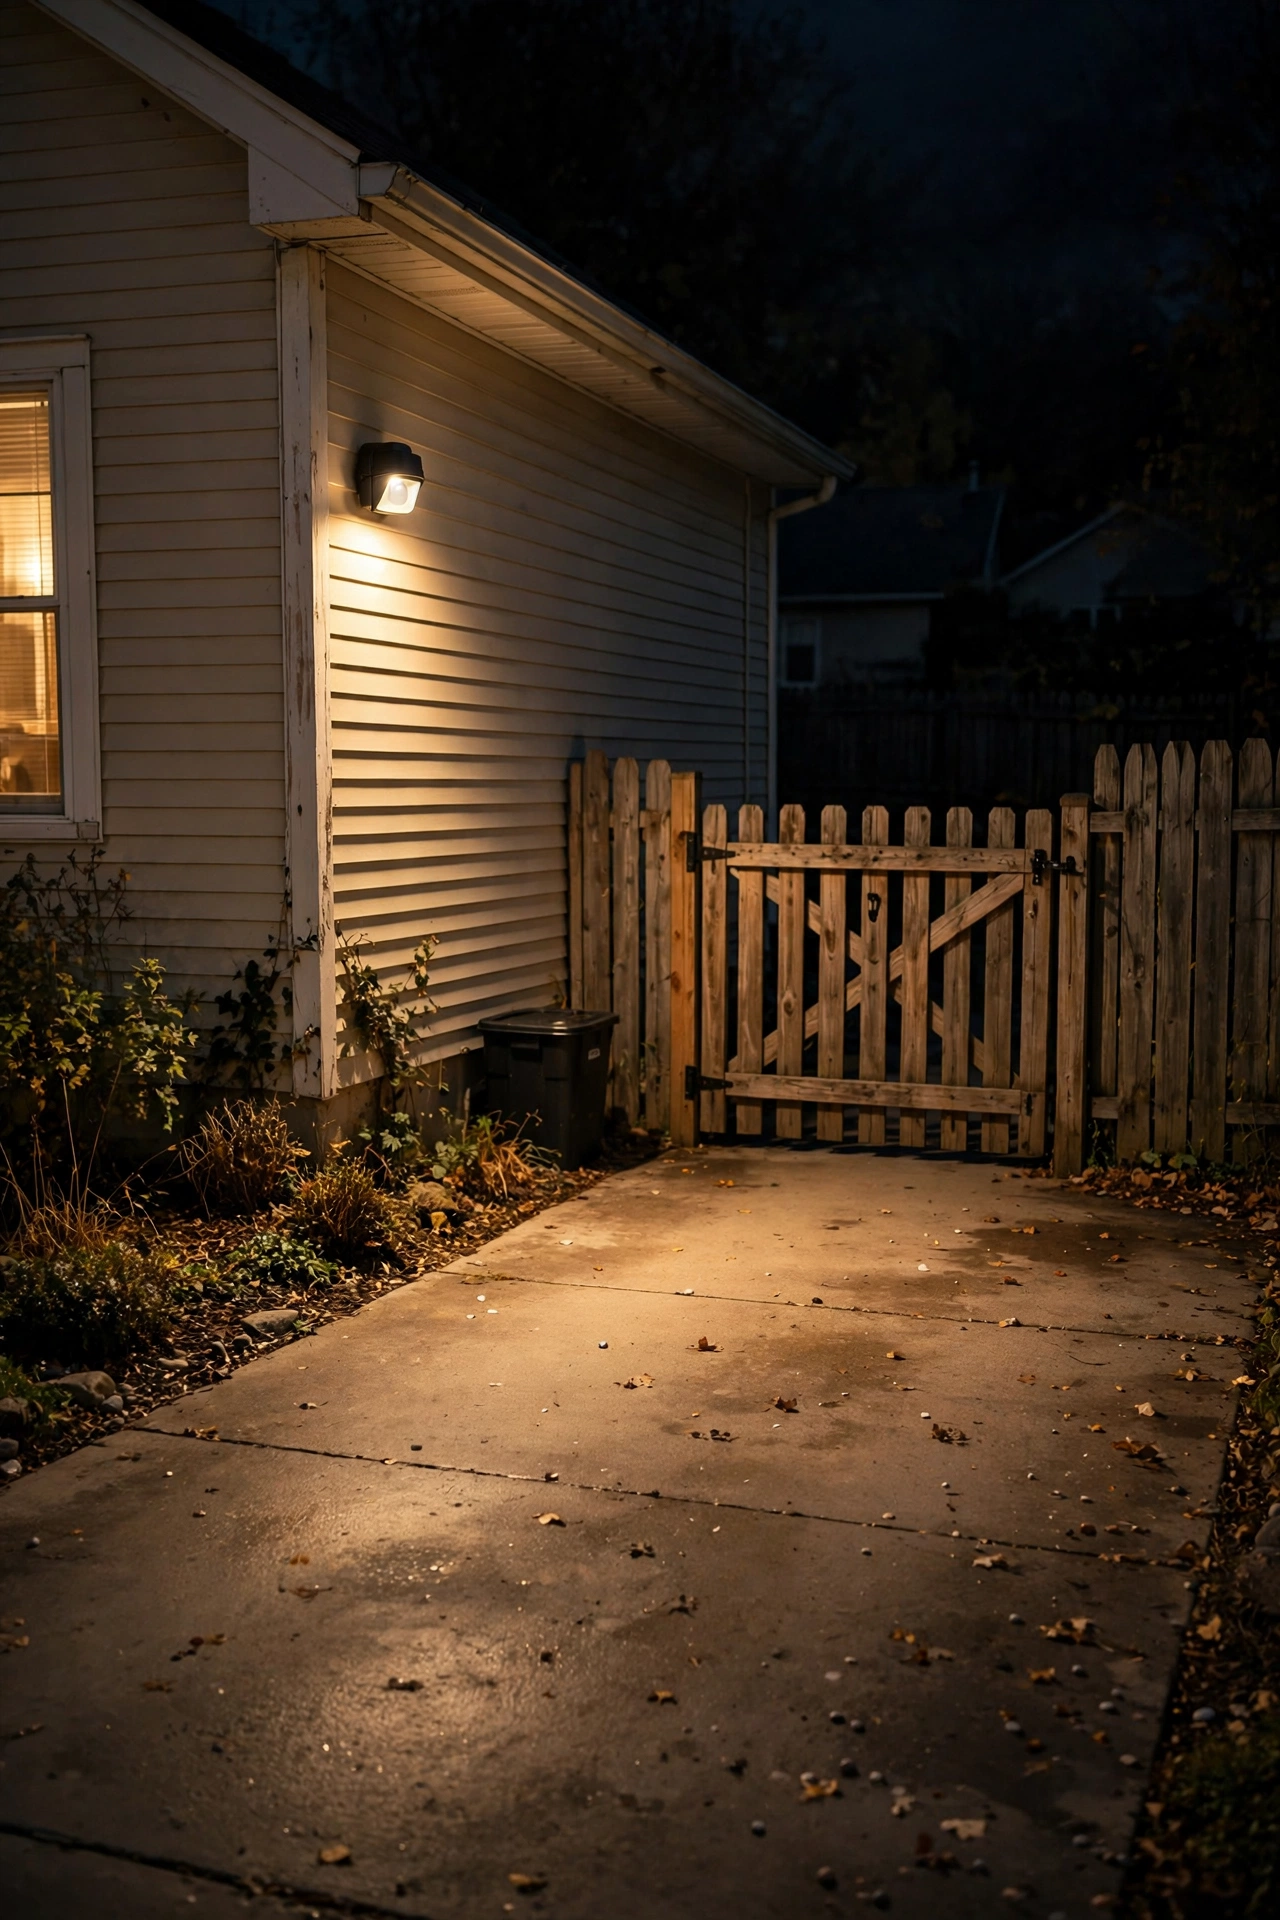
Motion-sensor security lights are the fastest way to make a yard look cheap — that harsh blue-white blast is the opposite of ambiance. But you don't have to choose between safety and style. Keep the motion sensor (genuinely useful by the garage, side gate, and back door) and fix the light quality: swap the bulb for a warm-white LED, and if the fixture allows, add a frosted diffuser cover or aim the heads to bounce off a wall rather than blast outward. Set the sensitivity so it triggers at 15 to 20 feet, not across the whole yard, and set the timer to the shortest "on" duration — 1 to 2 minutes. The goal is a brief, warm wash of light when someone approaches, not a stadium. Mount it 8 to 10 feet high, angled down at about 45 degrees; higher mounting widens the coverage but softens the intensity at ground level, which is exactly what you want. In my experience, one well-aimed warm motion light by the driveway plus all the pretty layered lighting everywhere else gives you the best of both worlds: a yard that feels safe and looks expensive. Never point a motion light at a neighbor's bedroom window — check the aim after dark.
Suggested budget range: $20 – $40.
22. Mirror and Metal Trays Under Every Lantern
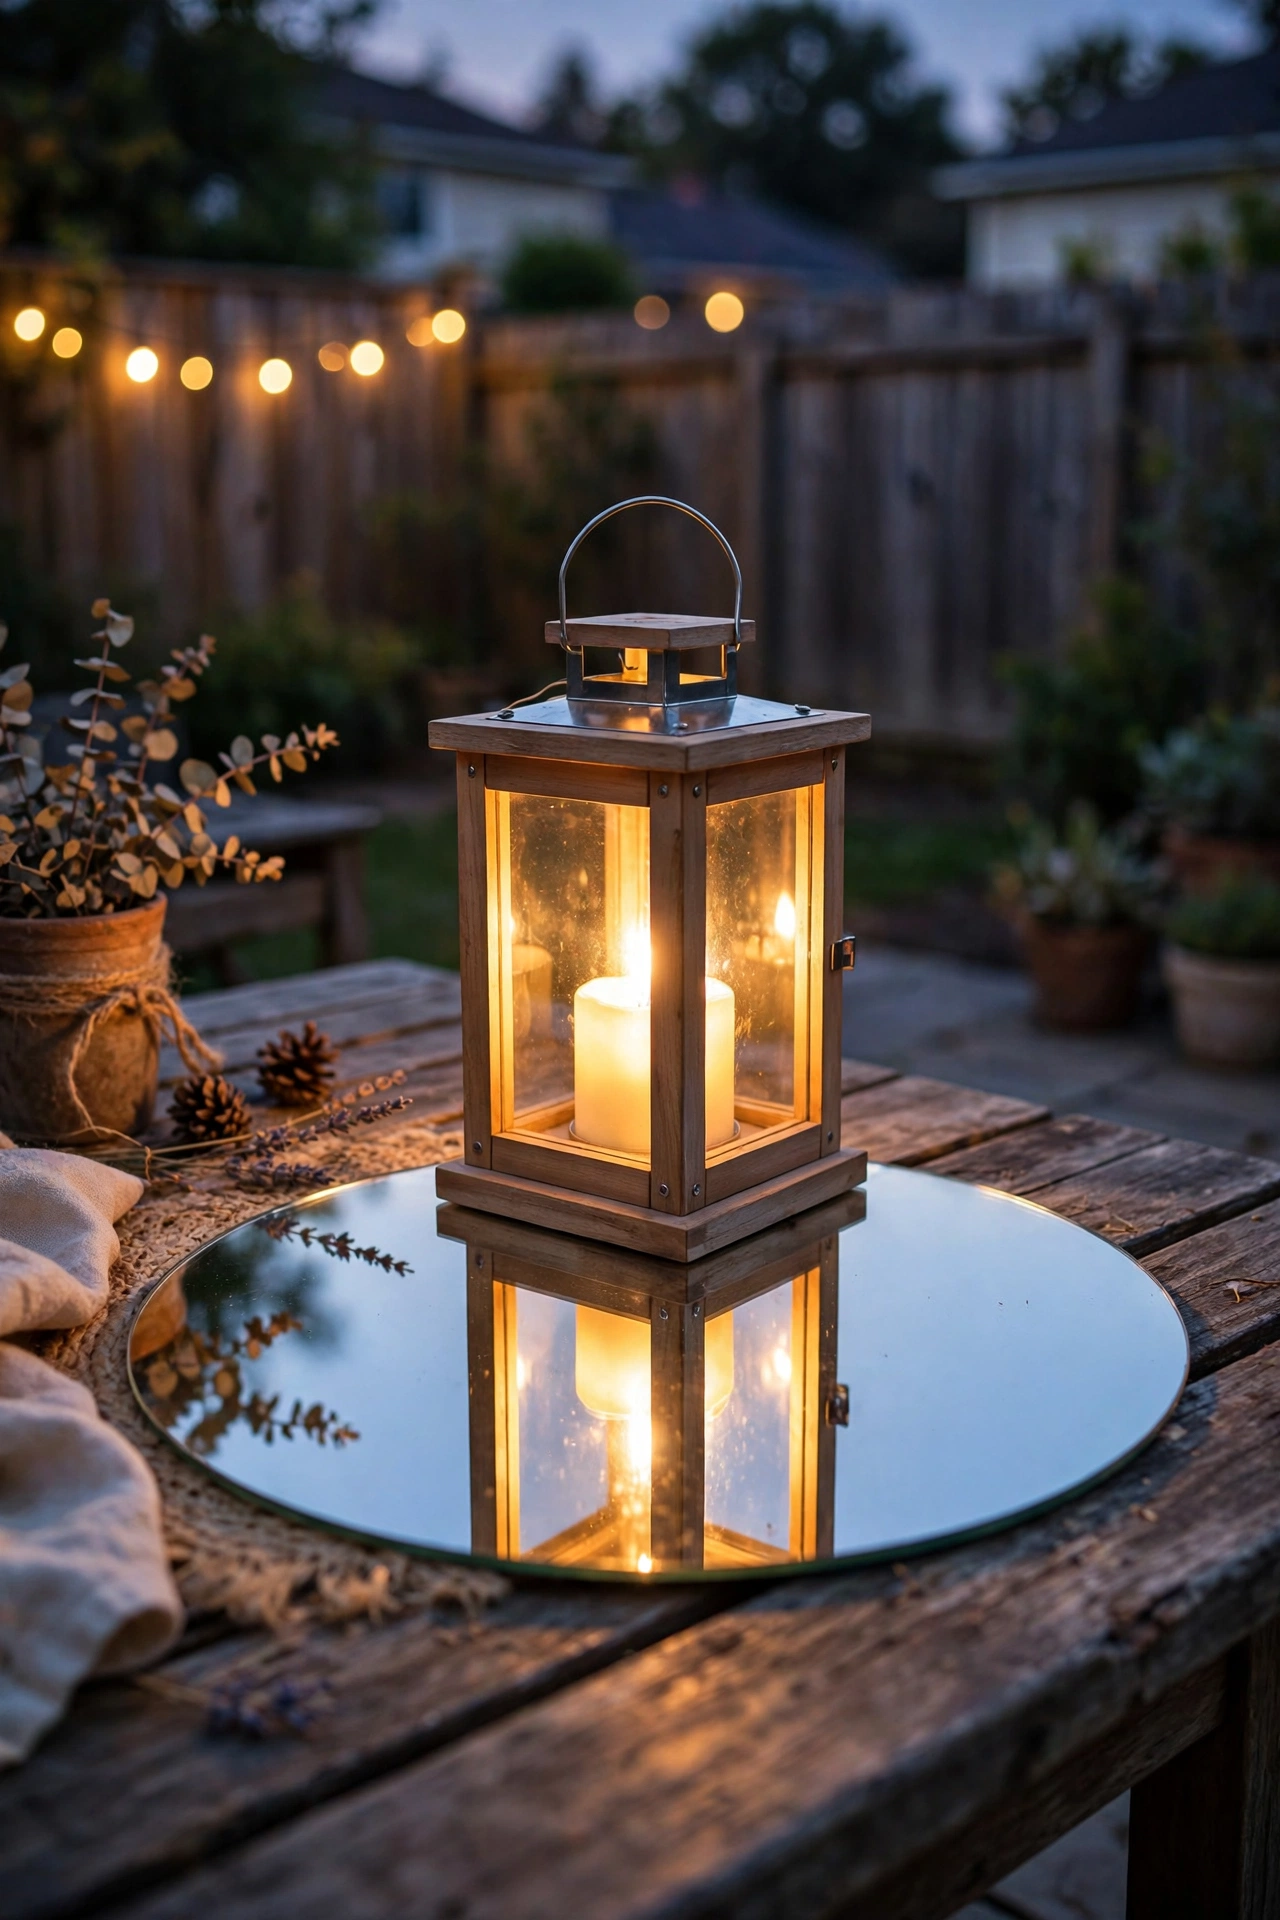
This is a stylist's trick, not an electrician's: set lanterns, candle clusters, and even solar path-light heads on or near reflective surfaces and the light appears to double. A $3 round mirror tile under a lantern on a patio table, a brushed-metal tray under flameless candles (idea 6), or a strip of aluminum flashing tucked behind a garden lantern all bounce light back into the scene. Place mirrors where they'll catch and throw the glow toward seating areas, not into people's eyes. Outdoors, use acrylic mirror tiles instead of glass — they survive drops and weather far better, and from three feet away nobody can tell the difference. I line the back of my potting bench with a row of small acrylic mirrors behind a set of jar lanterns, and the whole corner glows like it has twice the lights it actually does. Keep reflective surfaces angled slightly downward so they wash tables and paths rather than creating glare spots. Combined with the pale-surface bounce trick (idea 18), reflection layering is how you make $50 of lights perform like $150. Honestly, this is the closest thing to free lumens that exists.
Suggested budget range: $5 – $15.
23. Battery Tea-Light Path Edging
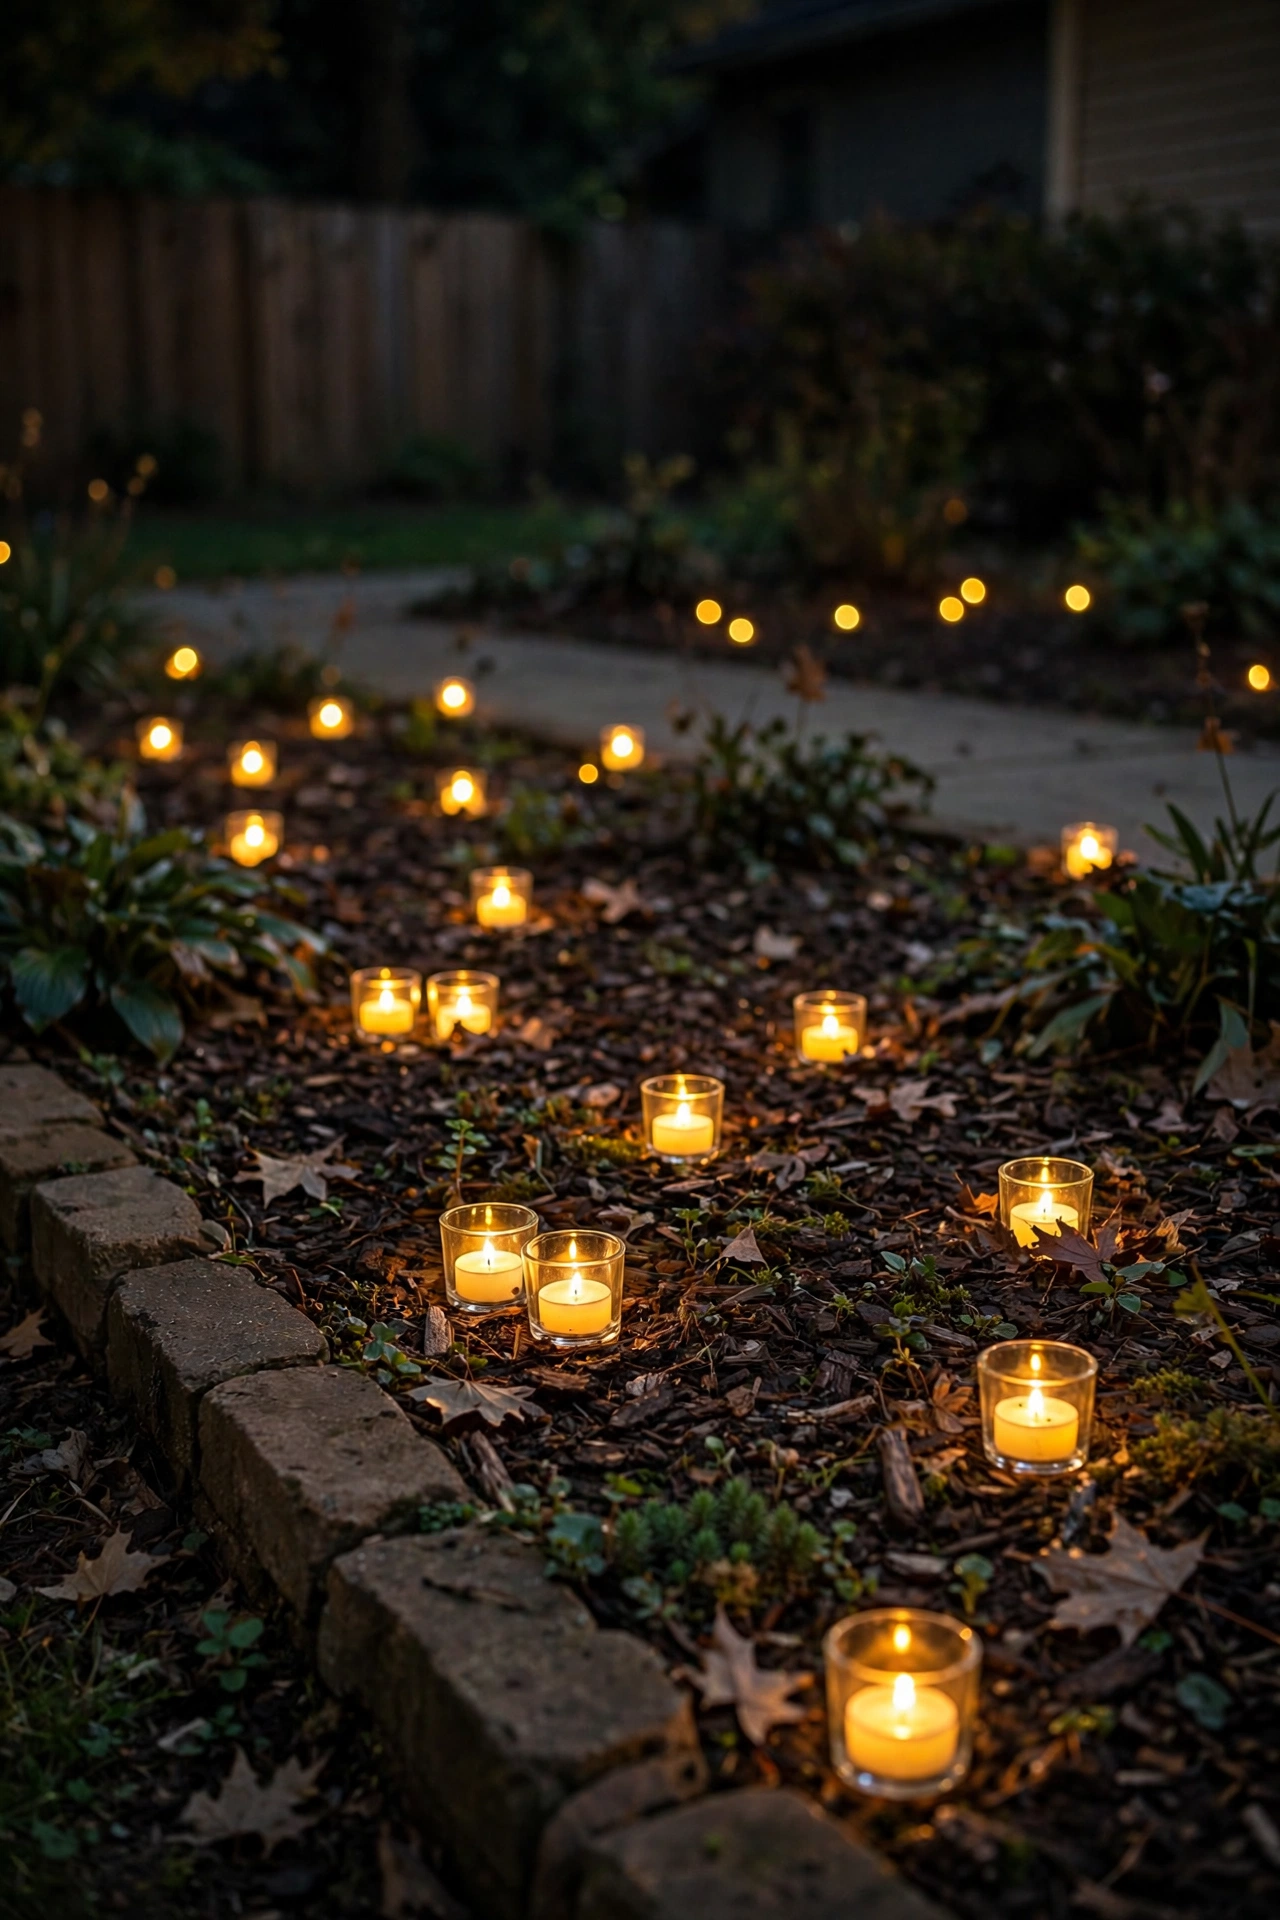
For garden beds and path edges where even solar lights feel like overkill, a scattering of battery tea lights in small glass holders creates a firefly effect for almost nothing. Tuck them into the mulch along a bed edge, spacing them 2 to 3 feet apart in loose, natural-feeling drifts rather than a rigid line — nature doesn't plant in rows, and neither should you. The tiny glass holders (often sold as wedding favors in bulk) protect the tea light from dew and give each one a little halo. Use tea lights with a built-in 6-hour timer and dusk sensor so the whole drift lights itself; with timers, a set of batteries lasts a full season of nightly use. This is perfect for special occasions too — line a path with them for a party and the walk to your door feels like a red carpet. Keep them clear of dry mulch and leaves (LED-only, always) and collect them before the mower comes through. At under a dollar per light in bulk packs, you can edge an entire garden bed for less than the cost of one "real" fixture, and the scattered, low glow is pure magic.
Suggested budget range: $8 – $20.
24. The One-Timer System That Ties It All Together
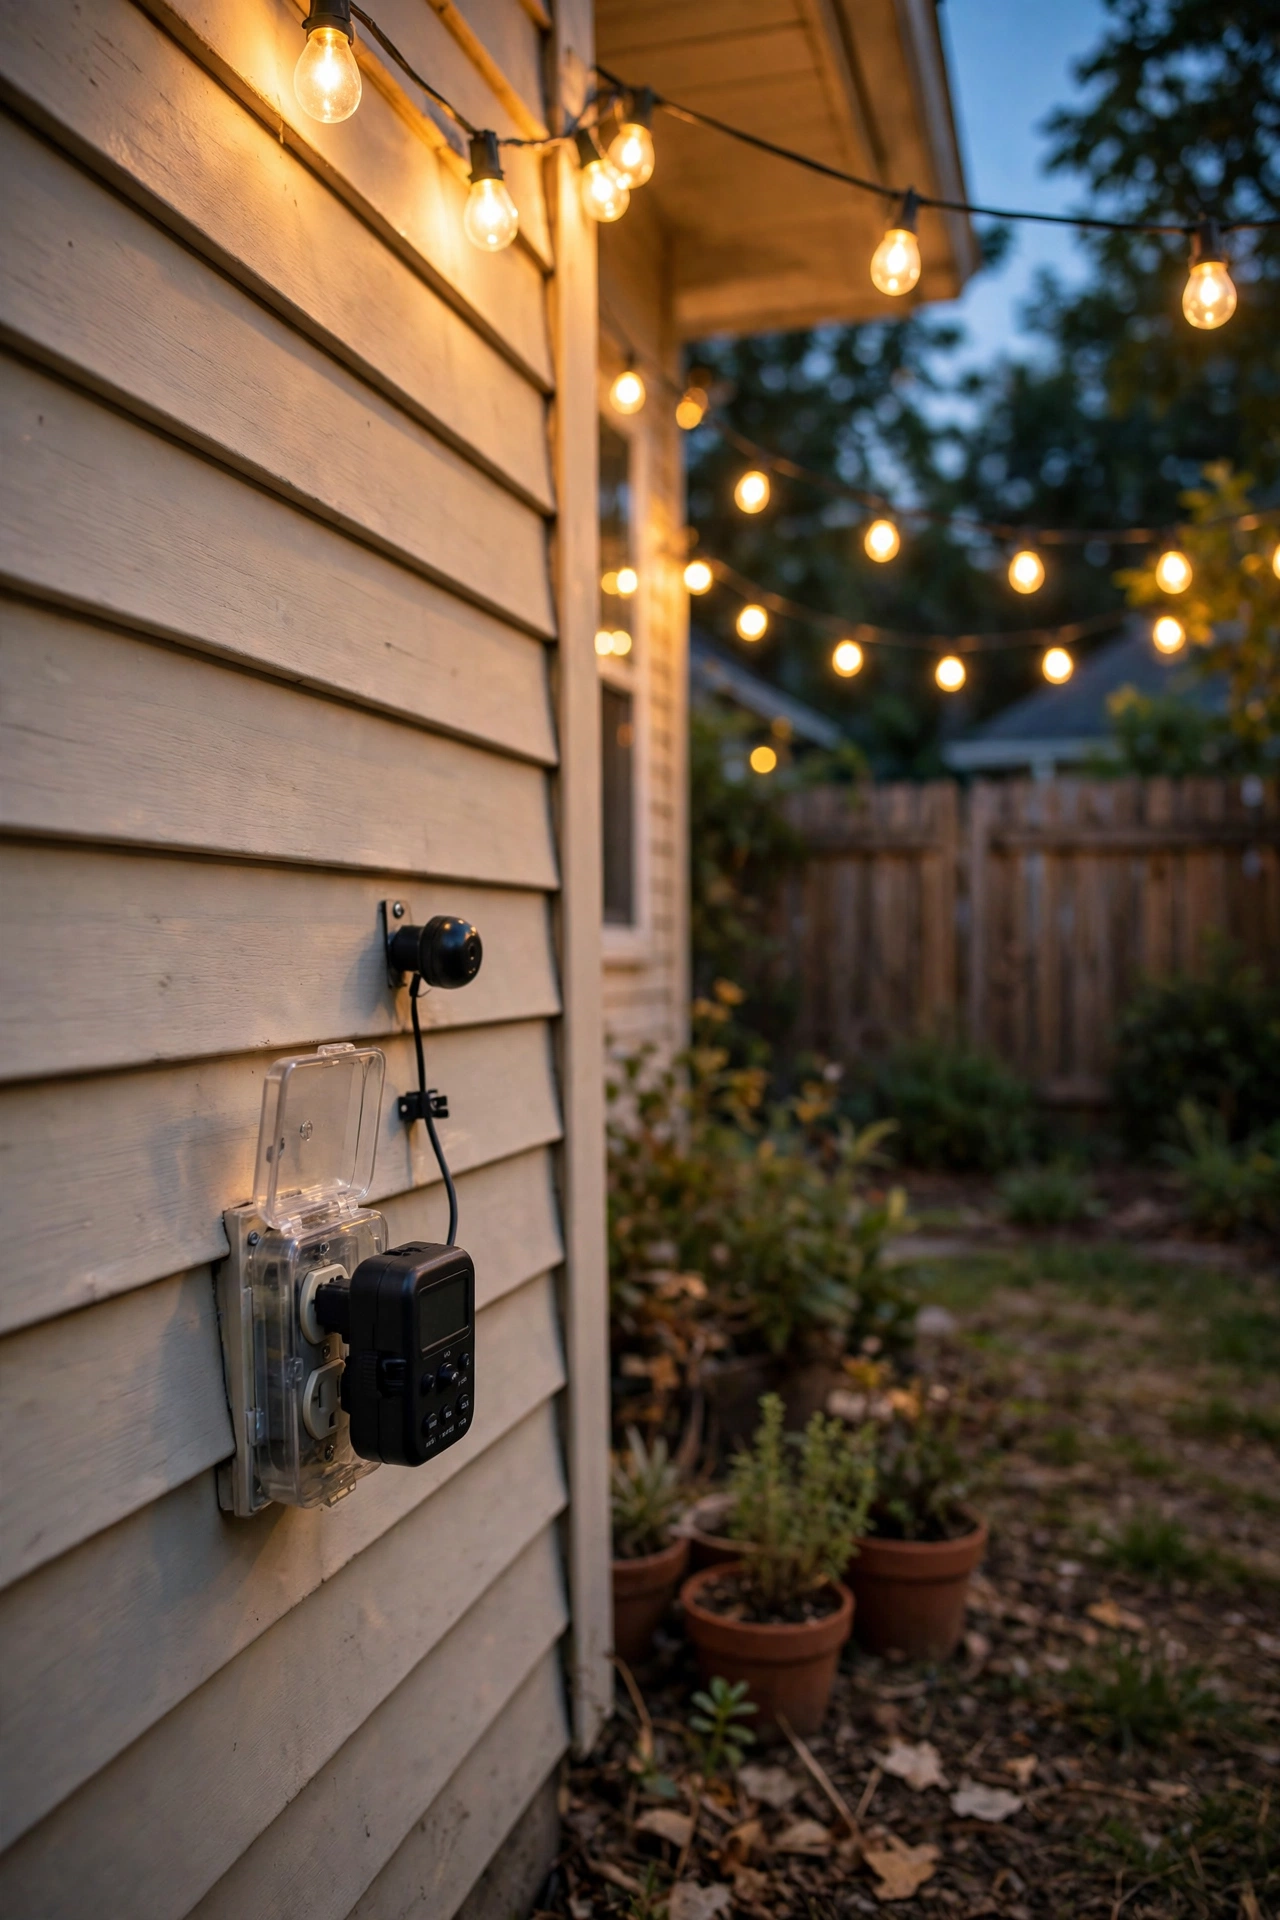
Here's the unglamorous idea that makes every other idea look expensive: put everything on timers so your yard lights itself. A $15 outdoor digital timer with a photocell (dusk-to-dawn) plus a couple of smart plugs turns a collection of lights into a "system" — and systems read as designed, while manual lights read as accidental. Plug string lights, pendants, and rope lights into the photocell timer; put flameless candles and fairy lights on their built-in 6-hour timers; let solar handle itself. The magic is consistency: every light comes on within minutes of sunset, every night, with zero effort. Stagger nothing — simultaneous "on" is actually the pro move, because a yard that ignites all at once feels intentional and dramatic. Set the plug-in timer to switch off around midnight (or 2 a.m. on weekends) to save energy and respect the night sky — and your neighbors. Label each plug with masking tape so you remember what's what in October when you're winterizing. In my experience, this single $15 purchase does more for the "expensive" impression than any fixture upgrade, because nothing says amateur like half the yard glowing and the other half dark because someone forgot a switch.
Suggested budget range: $12 – $25.
25. The $50 Front-Entry Makeover (Putting It All Together)
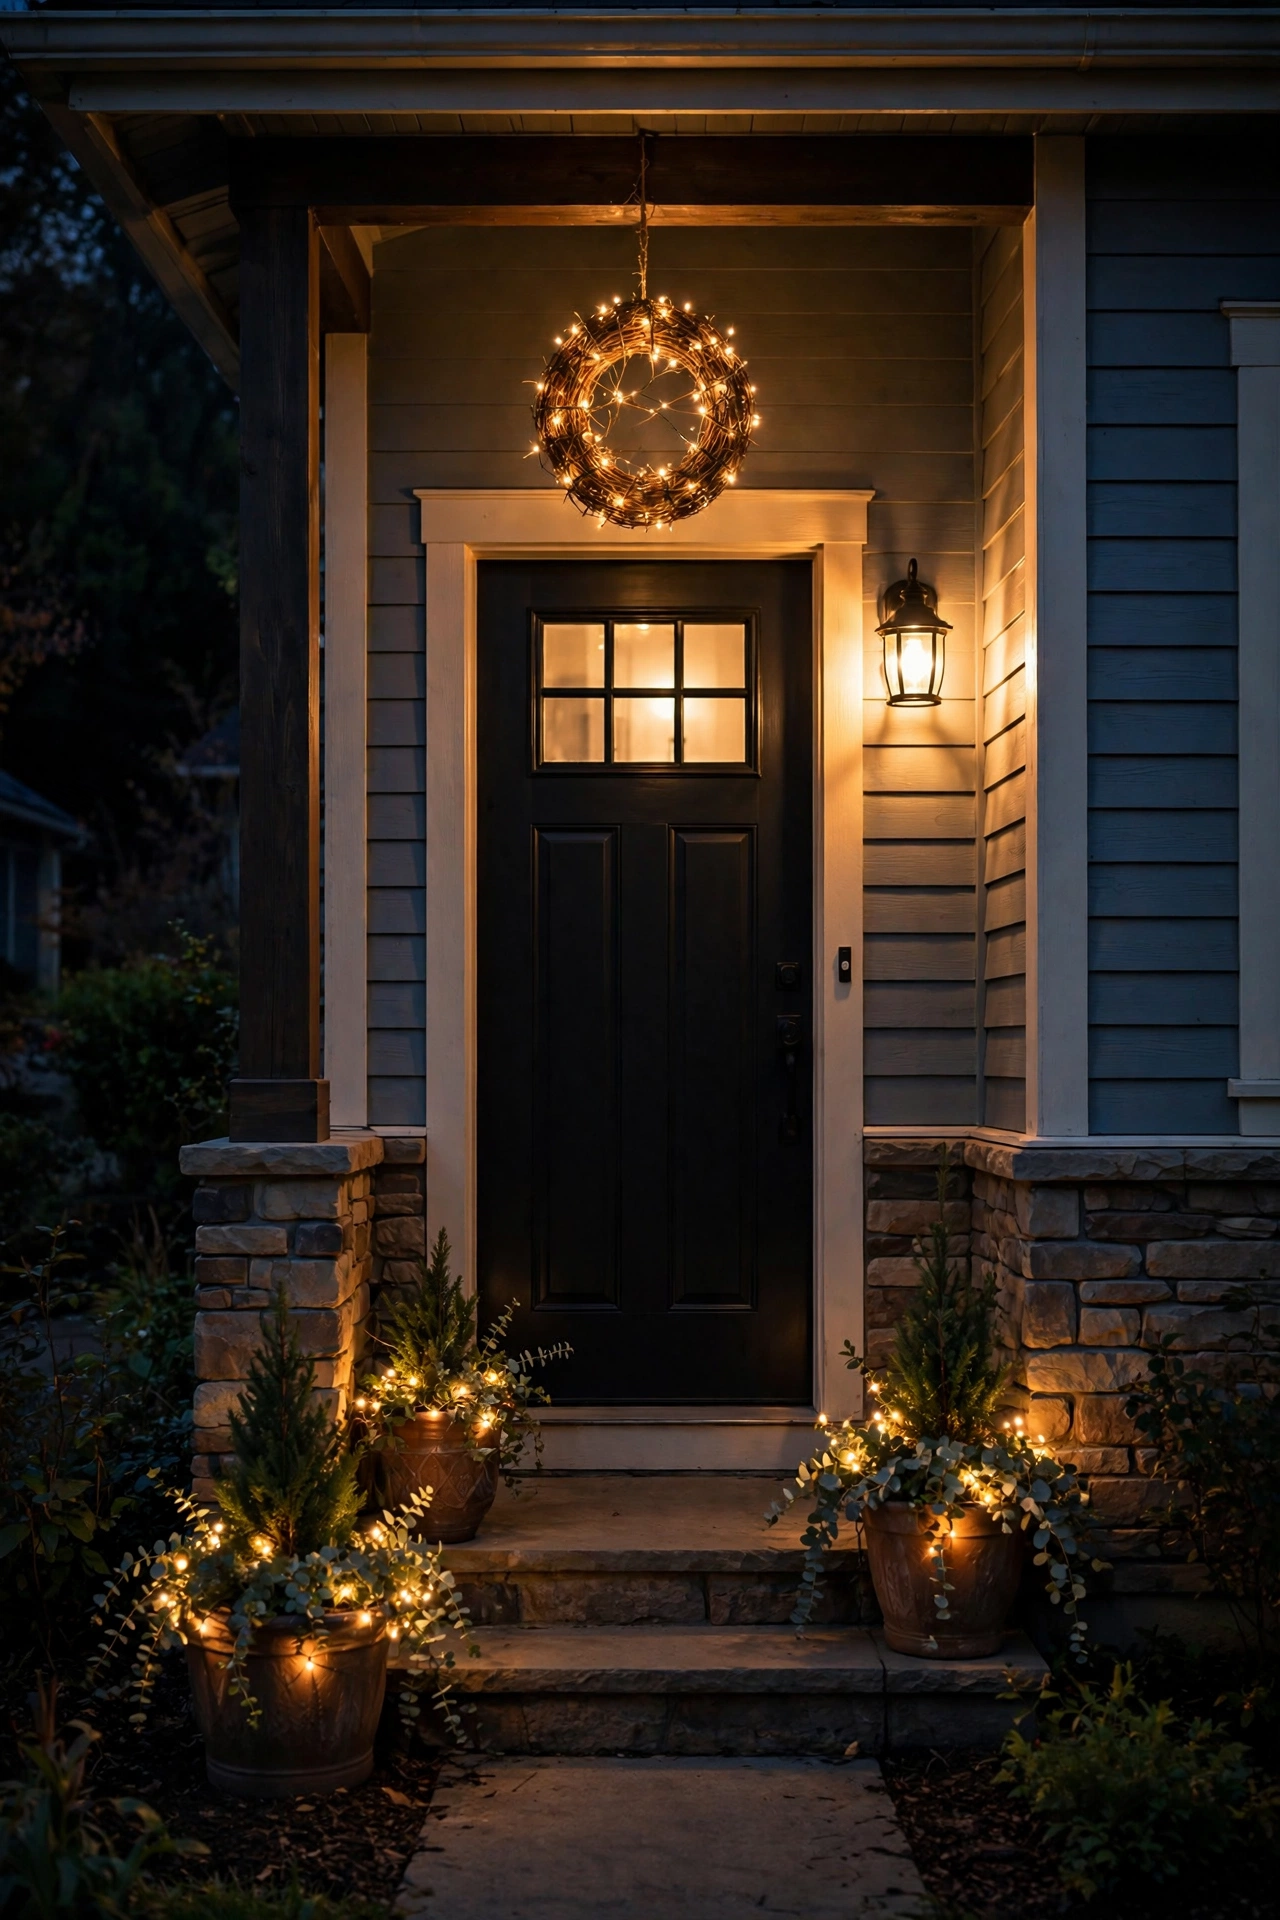
If you do nothing else from this list, do this: spend one Saturday and $50 on your front entry, because it's the highest-visibility lighting on your property. The formula: swap the porch bulb for a warm frosted filament LED (idea 7, $8), flank the door with two fairy-light planters (idea 13, $20 for both), add a grapevine ball hanging from the porch beam or a shepherd's hook by the steps (idea 19, $8), and put the whole thing on a dusk-to-dawn timer (idea 24, $14). That's four layers — ambient, accent, sparkle, and automation — at the exact spot every guest and every passerby sees. Keep every bulb at the same warm 2700K so the entry reads as one cohesive design, and aim nothing at the street; the glow should invite people in, not advertise to traffic. Step back to the curb after dark and check the composition like a photograph — adjust one thing, step back again. In my experience, a $50 entry makeover like this outperforms $500 of scattered backyard fixtures for pure curb appeal, because the front door is where first impressions happen. Do the entry first, then let the backyard ideas follow as budget allows.
Suggested budget range: $40 – $50.
Frequently Asked Questions
What is the cheapest way to light a yard?
The cheapest effective approach is a three-part combo: one string of warm-white LED café lights over your main seating area ($25–$35), a set of solar path lights spaced 6–8 feet apart along your walkway ($20–$40), and battery tea lights or mason-jar lanterns scattered as accents ($10–$15). That covers your three lighting layers — ambient, task, and accent — for roughly $60–$90 total. The real budget secret isn't buying the cheapest fixtures; it's buying fewer, better-placed lights. One well-aimed uplight on a tree (idea 4) outperforms five randomly scattered solar stakes every time. Start with the seating area you actually use, light that beautifully, and expand outward as budget allows.
Do cheap solar lights actually last?
Honestly? It depends on what you pay and how you treat them. The $1-a-piece bargain-bin stakes with paper-thin plastic usually fade within one season — the batteries are tiny and the panels are too small to fully charge. But solar lights in the $3–$6 per unit range, with a decent-sized panel and a replaceable rechargeable battery, routinely last 2–3 years in my experience. The two things that kill cheap solar lights fastest are shade (they need 6+ hours of direct sun) and dirty panels (wipe them monthly). If a light dims after a year, try replacing the rechargeable AA battery inside before tossing the fixture — that's the failure point 90% of the time, and a fresh battery costs about a dollar. For shaded spots, skip solar entirely and go plug-in or battery.
How do I make string lights look expensive instead of cheap?
Four rules, and they cost nothing. First, color temperature: warm white at 2700K only — cool blue-white is the single biggest "cheap" signal. Second, hang them in sagging catenary curves, not straight taut lines; the drape reads as intentional design. Third, hide the hardware: mount into fascia, posts, or tree limbs rather than draping over a visible extension cord, and plug into a dusk-to-dawn timer so they glow automatically every night. Fourth, layer them with light at other heights — path lights below, lanterns at table level — so the strings are part of a composition, not the whole show. Shatterproof LED bulbs with a frosted or filament look also read far more premium than clear mini-bulbs. Do those four things and a $30 string passes for a $300 install.
Where should I splurge and where should I save on outdoor lighting?
Save on anything decorative and easily replaced: fairy lights, tea lights, mason-jar lanterns, grapevine balls, and spray-paint refreshes. These are high-impact and low-risk, so buy the affordable versions freely. Spend a little more (not a lot — just the mid-range tier) on anything structural or safety-related: the timer system that automates everything, weatherproof extension cords and GFCI protection, sturdy shepherd's hooks that won't topple, and any fixture near water, which needs a true IP68 submersible rating. I also recommend spending slightly more on your most visible fixture — usually the porch light or front-entry sconces — because it's the one light every guest sees up close. Everything else? The budget versions, placed with intention, will fool everyone.
Conclusion
The thread running through all 25 of these budget outdoor lighting ideas is the same: expensive-looking light is never about the price tag on the fixture — it's about layering. Warm color temperature, light at three different heights, and everything switching on together at dusk will make a $60 setup glow like a $600 one. Pick three or four ideas that fit your space, keep every bulb at the same cozy 2700K, and let the timer do the remembering for you. Your yard is about to become everyone's favorite evening destination — and only you'll know what it actually cost. When you're ready for the next project, browse our other outdoor lighting ideas for more ways to layer light around porches, patios, and garden beds through every season.