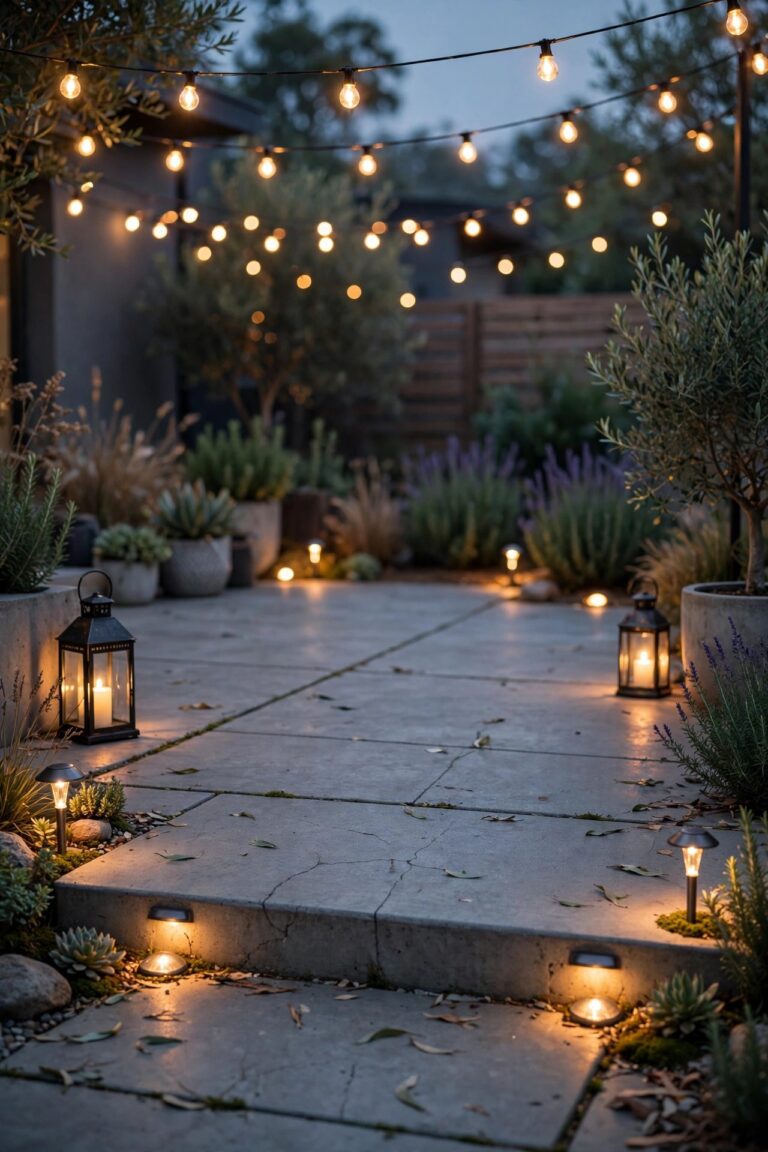
There's a particular kind of dark that only exists on a big property. When the sun drops behind the barn, our whole back lot used to go pitch black — I'd be out there with a flashlight in my teeth, trying to latch a gate or find the feed buckets. The fix that changed everything for me was dusk to dawn area lights: fixtures with a built-in photocell that switch themselves on at sunset and off at sunrise, so the barnyard, the driveway, and the equipment pad are simply lit, every single night, without me touching a switch. In this list I've gathered 21 ways to use them — pole lights, wall packs, floods, and solar options — layered the way I layer all my outdoor lighting: a broad wash of area light for safety, tighter beams where the work happens, and a little warmth so it still feels like home. Whether you've got a two-stall barn or five acres of gravel lot, there's a setup here with your name on it, plus the honest budget for each.

1. Start With the Classic Pole-Mounted Dusk to Dawn Area Light
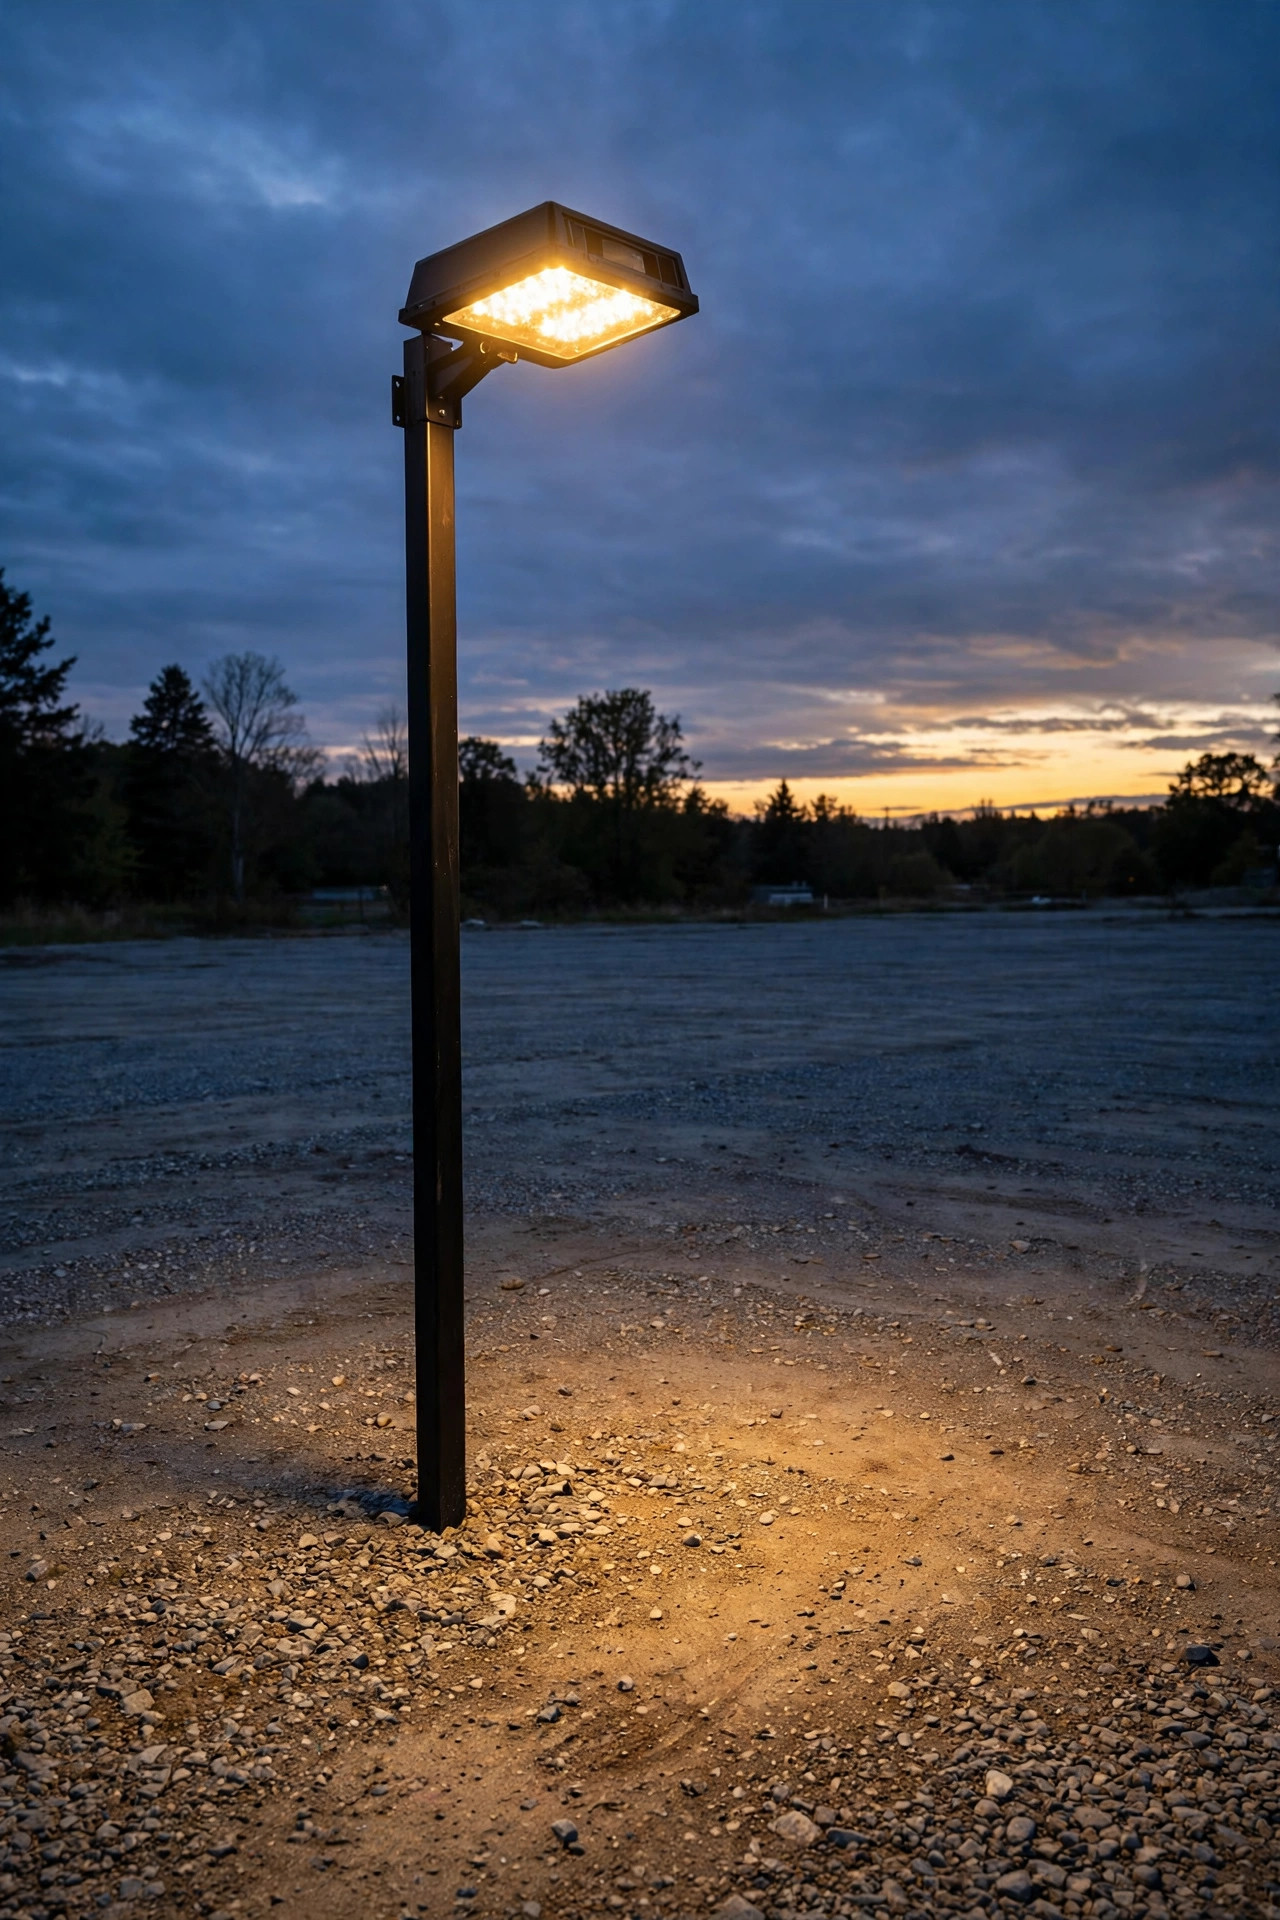
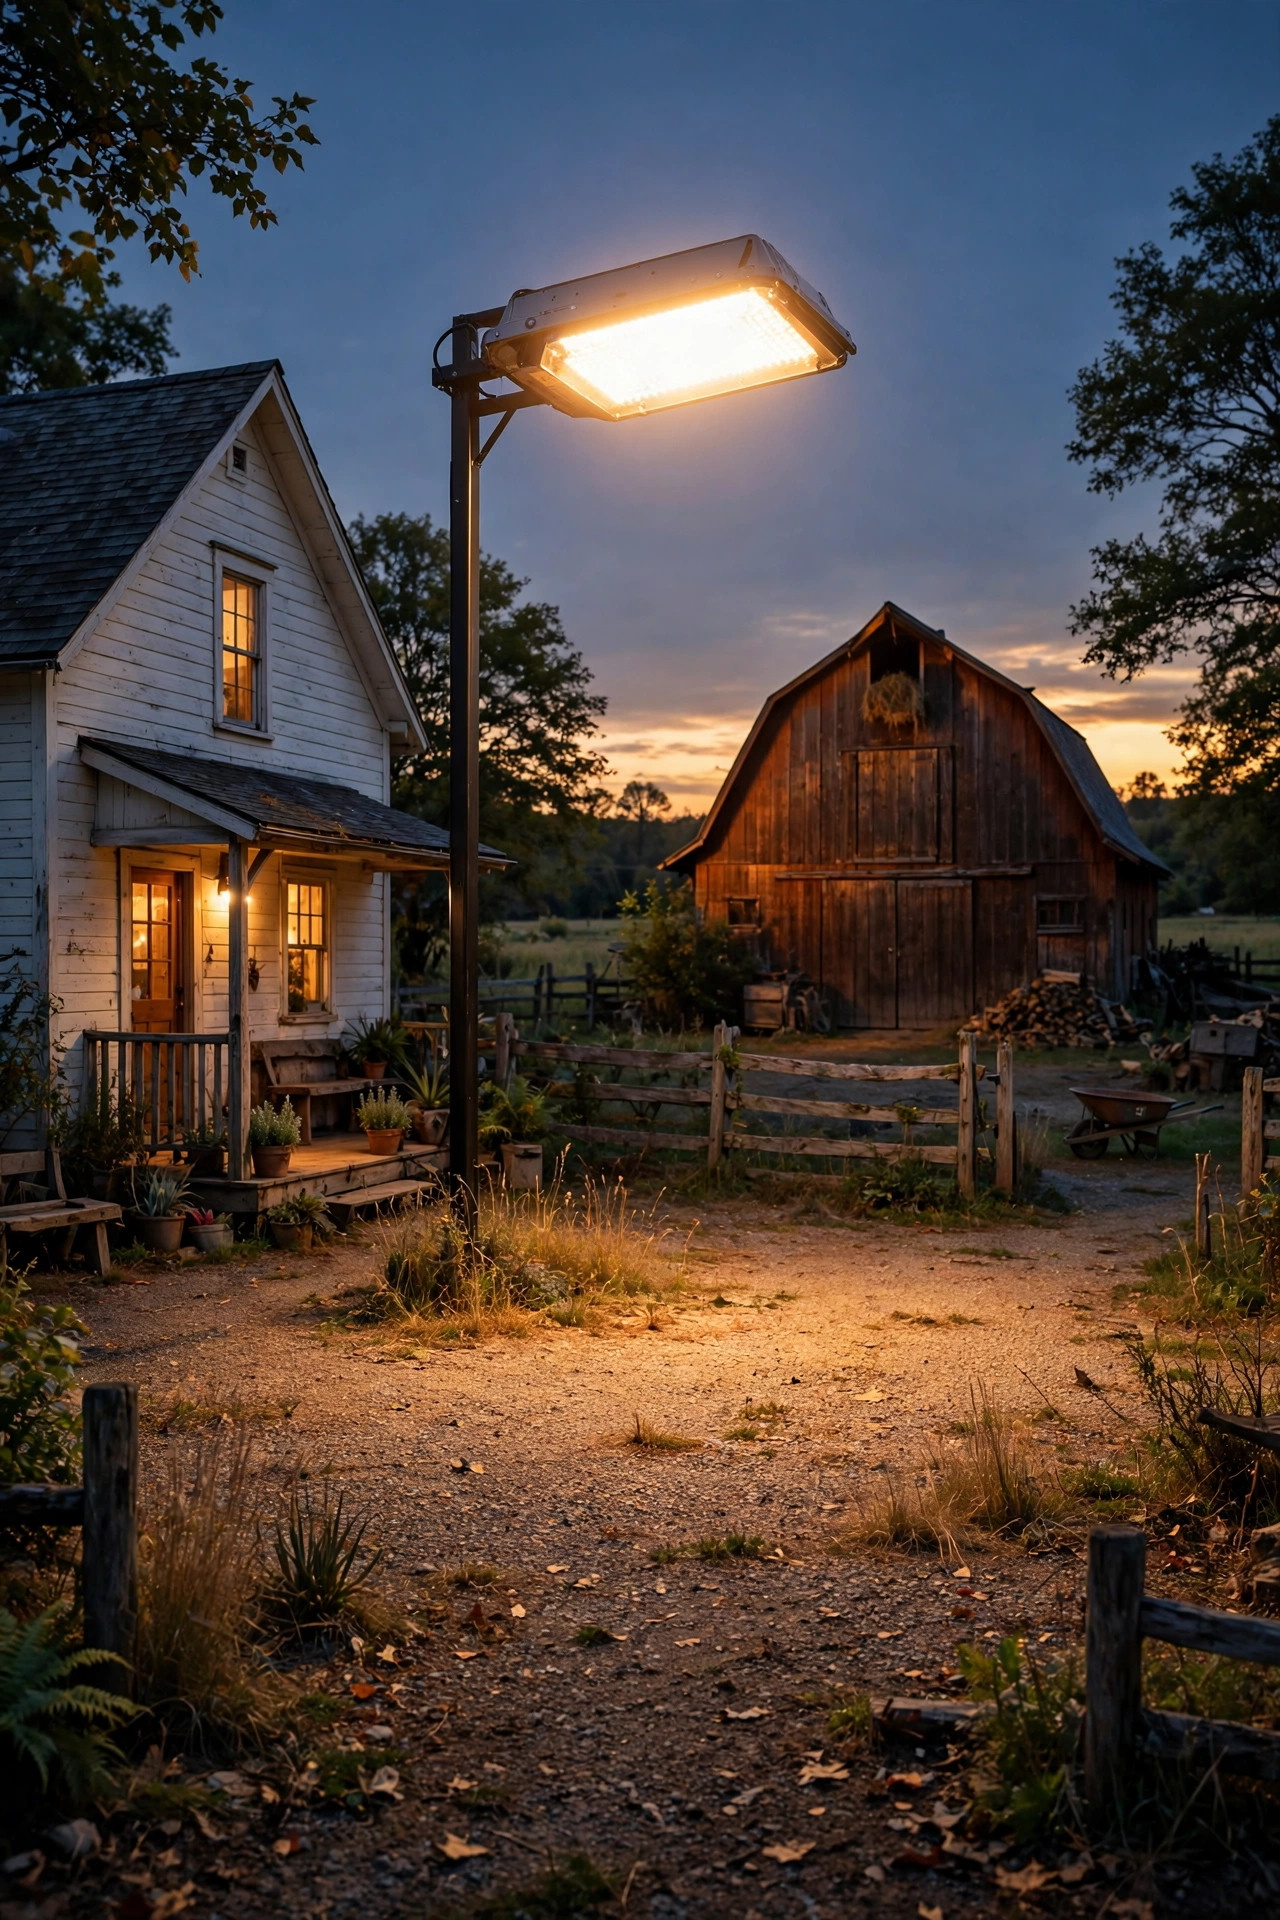
If you only install one fixture on the whole property, make it this one. A barn-style area light on a 14- to 18-foot pole in the middle of the yard is the workhorse of every farm I know — mine covers the barnyard, the gate, and half the gravel pad in one broad, even wash. Look for an LED fixture in the 5,000 to 8,000 lumen range; that lights a comfortable circle roughly 60 feet across, plenty for chores and unloading. The photocell sits right on top of the fixture, so there's nothing to program and nothing to forget. Mounting options are flexible: a pressure-treated 6×6 post works fine, and plenty of folks clamp these to an existing utility pole (check with your power company first). For wiring, I had UF-B cable buried about 24 inches down on a GFCI-protected breaker — and please, call 811 before you dig a single hole. If trenching feels like too much, an electrician can usually set the pole and run the line in half a day. My guide to dusk-to-dawn outdoor lights covers photocell basics if you want the deeper dive.
Suggested budget range: $180 – $650.

2. Mount an LED Wall Pack High on the Barn Gable
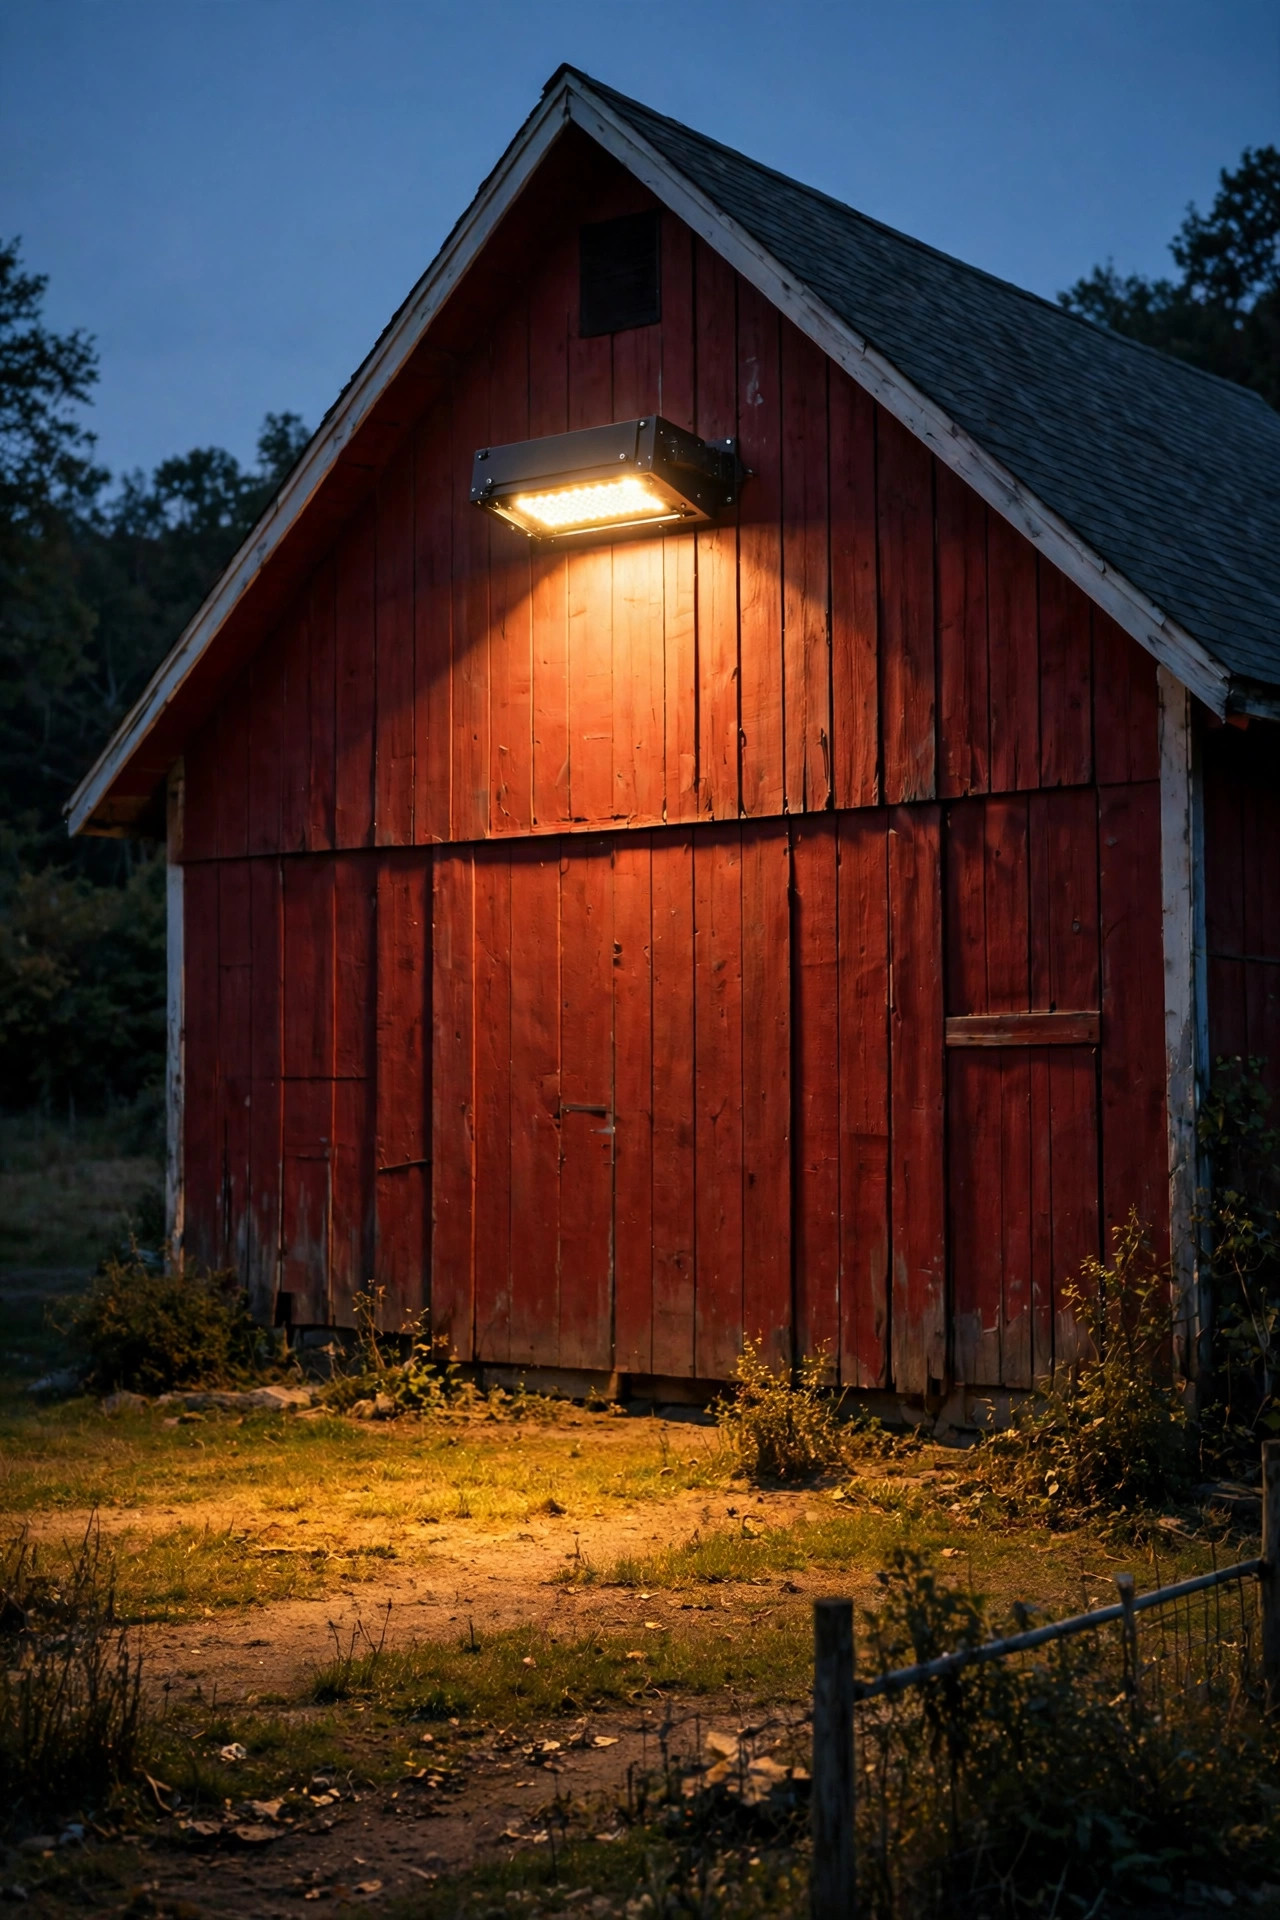
The gable end of the barn is free real estate for light, and a wall pack up there throws a long, useful wash across whatever's below it — in our case, the wash rack and the hitching rail. Mount it 12 to 15 feet up, right under the peak, and choose a full-cutoff style that pushes light down and out instead of spraying it into the sky. Somewhere between 4,000 and 7,000 lumens is the sweet spot for a working area below a barn wall; more than that and you're just glaring yourself while you work. I always recommend an IP65 rating or better, because a fixture on a barn wall takes wind-driven rain from every direction. One rural-specific tip from my electrician: add a surge protector at the panel. Country power surges after storms are what kill these fixtures early, not the LEDs themselves. Because the barn wall already has power for the interior lights and outlets, tying in is usually straightforward — my installer tapped the existing circuit through the wall in under an hour.
Suggested budget range: $90 – $280.
3. Add a Gooseneck Barn Light Over the Main Doors
Honestly? This is the light that makes the whole place look like a postcard. A gooseneck fixture arcing over the big sliding doors gives you that classic farm look and, more importantly, a focused pool of light exactly where you're backing in the trailer or carrying tack at night. For standard 10- to 12-foot doors, one centered fixture works; for wide double doors, I prefer a pair, one over each door, so there are no shadow stripes across the opening. Choose warm white bulbs — 2700K to 3000K — because this is the fixture people actually see and photograph, and harsh blue-white ruins the whole mood. Wire it to a photocell (many goosenecks have a little photocell cap option, or put the whole circuit on a photocell switch at the panel) and it becomes part of your dusk-to-dawn system automatically. I rounded up my favorite styles and mounting tips in my post on gooseneck barn lights if you want to compare silhouettes before you buy.
Suggested budget range: $140 – $420.

4. Go Solar Where There's No Power
Not every corner of a big lot has electricity, and trenching 300 feet of cable to light the back gate makes no sense at all. That's where solar dusk-to-dawn area lights earn their keep. These are all-in-one fixtures: solar panel on top, battery inside, photocell doing the thinking. Mount them on a fence post, a short pole, or the side of a shed, 8 to 12 feet up. Now, let me be straight with you about brightness: a good solar area light gives you an honest 1,500 to 3,000 lumens — great for gates, walkways, the chicken run, and small paddocks, but it's a marker light, not true work light. Look for a replaceable battery and a panel you can angle toward the southern sky; in northern winters, expect shorter nights of runtime after cloudy stretches, and sweep snow off the panel when you do chores. For the far corners of our property, solar is the only reason those spots are lit at all, and a lit gate you don't have to fumble with in January is worth every penny.
Suggested budget range: $70 – $260.

5. Use a Shoebox Light for Big Gravel Lots
If your "yard" is really a small parking lot — for a farm stand, a boarding stable, a workshop with customer traffic, or just a big turnaround where three trucks park — step up to a shoebox-style area light. These are the rectangular fixtures you see over commercial lots, mounted on 18- to 25-foot poles, and residential versions have gotten genuinely affordable. Aim for a Type III light distribution, which throws an oval pattern forward instead of wasting half the light behind the pole, and 12,000 to 20,000 lumens per pole for real lot coverage. Space poles 60 to 100 feet apart for even light with no dark pockets between. The photocell versions run themselves, and because the fixture is fully shielded on top, you get light on the gravel, not in the sky — your neighbors and the stars will both thank you. This is a hire-it-out install in my book: the pole height, the concrete base, and the lift work are worth paying for once and doing right.
Suggested budget range: $450 – $1,400.
6. Pair Two Floods on One Tall Pole for the Equipment Yard
Tractors and implements cast long, complicated shadows, and a single light source always leaves a black hole right where you need to see the hitch. Two adjustable flood heads on one 16- to 20-foot pole, cross-aimed from slightly different angles, solve that beautifully — the shadows from one light get filled in by the other. I mounted ours at the corner of the equipment pad and aimed one head down the row of implements and the other across the fuel tank area. Each head in the 4,000 to 6,000 lumen range is plenty; you're buying overlap, not raw power. Put the pair on a photocell so the whole pad glows to life at dusk, and angle both heads down at roughly 30 to 45 degrees so you're lighting ground, not sky or the neighbor's windows. My notes on outdoor flood light placement get into aiming angles in detail — worth five minutes before you climb the ladder with a wrench.
Suggested budget range: $220 – $700.

7. Choose Dusk to Dawn Area Lights That Brighten With Motion
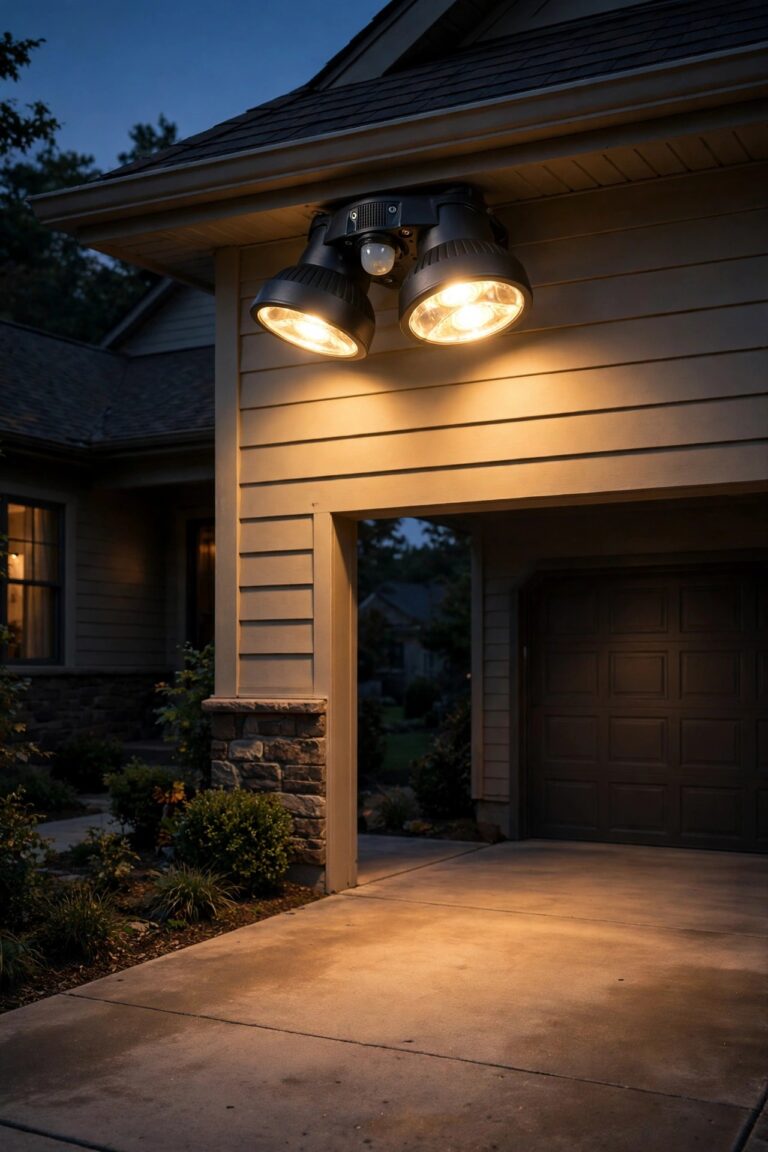
Here's my favorite newer trick: photocell lights with a motion boost. They idle at a soft 20 to 30 percent brightness all night — enough to see the gate and keep the yard from feeling abandoned — and jump to full brightness the moment something moves. You get the security of a motion light without the yard sitting black and spooky the rest of the night, and the low idle glow uses a fraction of the electricity of a full-blast fixture running till dawn. I have one on the driveway approach to the barn and one watching the feed room door, and honestly, the dim-to-bright behavior feels almost intelligent. Ranges of 25 to 40 feet on the sensor are typical; mount them 10 to 14 feet up and angle the sensor across the path people walk, not straight at it, for the earliest trigger. If light trespass toward a neighbor is a worry, this style is the politest way I know to stay lit and stay friendly.
Suggested budget range: $110 – $320.
8. Put a Compact Area Light Over the Workshop Door
The big pole light washes the yard, but the workshop door deserves its own little fixture — this is the door you're unlocking with your arms full of tools, in the rain, in January. A compact wall-pack or mini barn light over the personnel door, just 2,000 to 3,000 lumens, gives you a clean circle of light on the step and the lock, nothing more. I like mounting it 8 to 9 feet up, just above the door frame, and choosing a fixture with the light source tucked up under a shade so you're never staring into the bulb with an armload of firewood. On a photocell it joins the rest of the system, and because it's small and warm — 2700K is my pick near any door — it reads as welcoming instead of industrial. This is also the easiest install on the whole list: if there's an existing porch-style fixture or a junction box by the door, it's a 30-minute swap with the breaker off.
Suggested budget range: $60 – $190.

9. Layer an Area Light With Path Lights for the Walk to the Barn
Area light alone makes a bright island surrounded by dark, and the walk from the house to the barn still crosses that dark. Layering fixes it — this is the same philosophy I use in the garden, just scaled up for acreage. Keep your pole or wall light as the anchor layer, then add a low layer along the actual route: solar path stakes every 8 to 10 feet, or low bollards if you want to wire them, marking the walkway edges like a quiet runway. Finish with one small step light or a lantern by the barn door itself. Each layer is dimmer than the last as you get closer to the ground, and the effect is that you always know exactly where the path is without the whole route being lit like a runway at an airport. The path lights can be simple solar stakes that charge all day and handle themselves — on a farm, the less there is to maintain, the more likely it stays working.
Suggested budget range: $160 – $480.

10. Light a Riding Arena or Big Paddock With a High-Mast Fixture
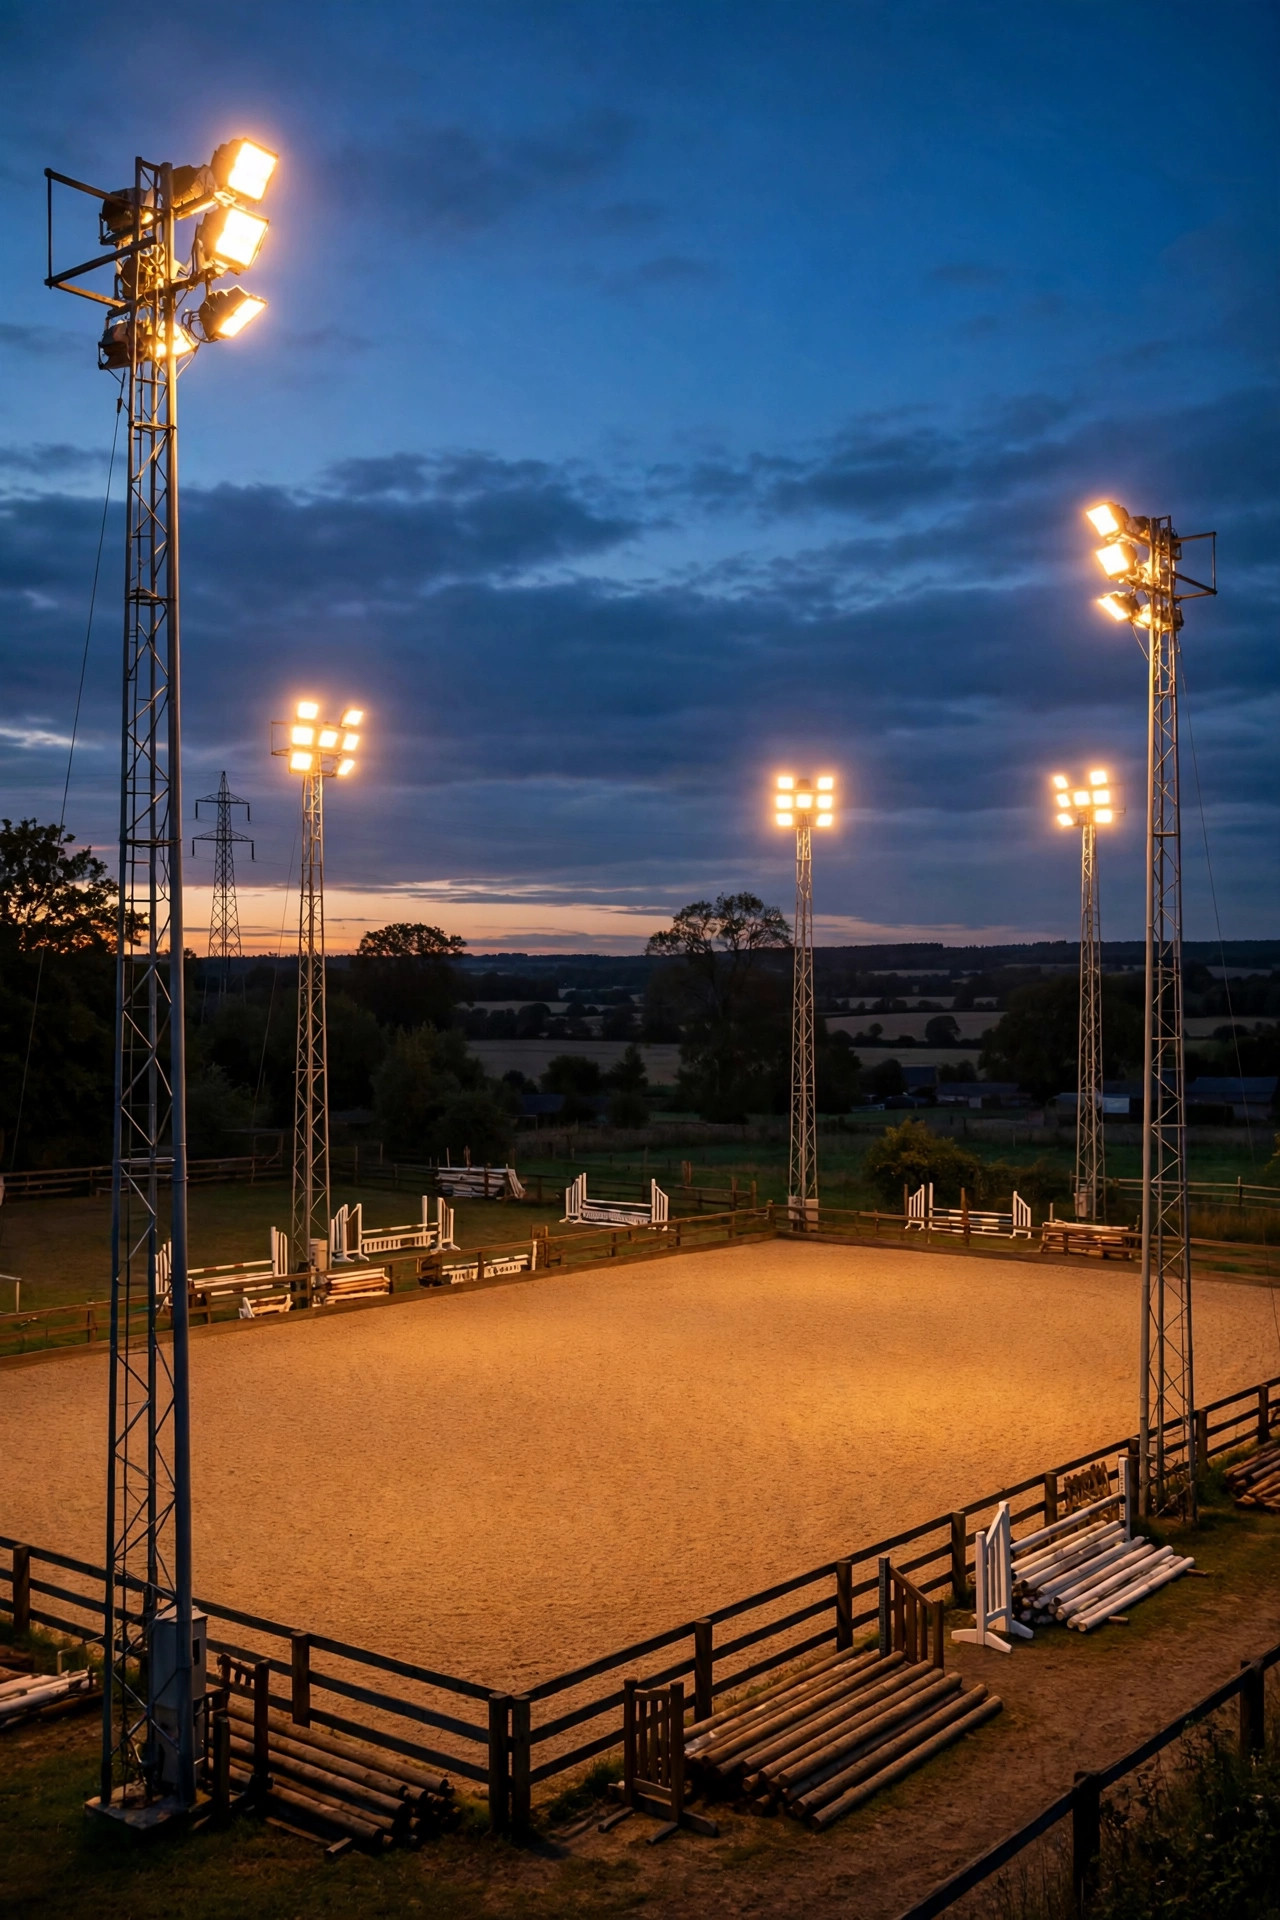
Evening rides after work are the whole reason half of us have horses, and a proper high-mast setup makes them safe. For a standard arena, two poles at 25 to 30 feet — one at each end or at diagonal corners — carrying two flood heads each will give you remarkably even coverage with soft shadows. Shadows matter here: harsh single-source light spooks horses at the fence line, so cross-aim the heads to overlap like the equipment-yard pair, just bigger — think 8,000 to 12,000 lumens per head. Add glare shields if the arena sits near the road, so drivers aren't catching a face-full of light. Everything goes on photocells for the automatic dusk start, and I put mine on a switch override too, so I can kill the lights for stargazing nights and foal-watching with a flashlight. This is the priciest idea on the list, but if you ride after dark three nights a week, it pays for itself in usable hours before the first winter is out.
Suggested budget range: $900 – $2,800.
11. Wash the Silo and Grain Bins in Light
Grain bins and silos are workplaces at harvest time — you're out there with the auger at 9 p.m. whether you planned it or not — and they deserve deliberate light instead of whatever spills over from the yard. Two approaches work. The prettier one is a ground-mounted uplight or two at the base, grazing up the corrugated steel; it looks genuinely dramatic against a dark sky and lights the ladder and fill hatch area well. The more practical one is a single area light on a pole 30 to 40 feet away, washing the whole bin cluster so you can see the ground, the auger, and the truck in one view. I run the practical option at the bins and saved the uplighting for the little silo by the barn that everyone photographs. Either way, keep fixtures aimed away from the road — a bin-uplight pointed wrong will blind every driver who passes. Photocell control is a given; if anything on the farm should simply always be lit at night, it's the bins.
Suggested budget range: $200 – $620.

12. Keep Livestock Pens Calm With Low-Glare Lighting
Animals rest on a light cycle too, and blasting a pen with blue-white floodlight all night is a good way to own some very tired, grumpy livestock. For pens and corrals, I light for the humans' chores, not for daylight simulation: warm 2700K to 3000K fixtures, mounted 10 to 12 feet up outside the pen, aimed in and steeply down so the light pool lands on the ground inside and the fixture itself never shines in an animal's eyes at head height. A single 2,000 to 4,000 lumen fixture per pen is honestly plenty — you're checking water troughs and looking for a cast ewe, not playing ball. Fully shielded fixtures matter here more than anywhere; a bare bulb visible from inside the pen creates a glare point everything avoids. If you calve or lamb at night, add one brighter task flood on a switch for those moments, but keep the dusk-to-dawn baseline low and warm. Happy, rested animals and a pen you can check at a glance from the porch — that's the balance.
Suggested budget range: $130 – $450.

13. Add a Soft Area Light at the Pond or Dock
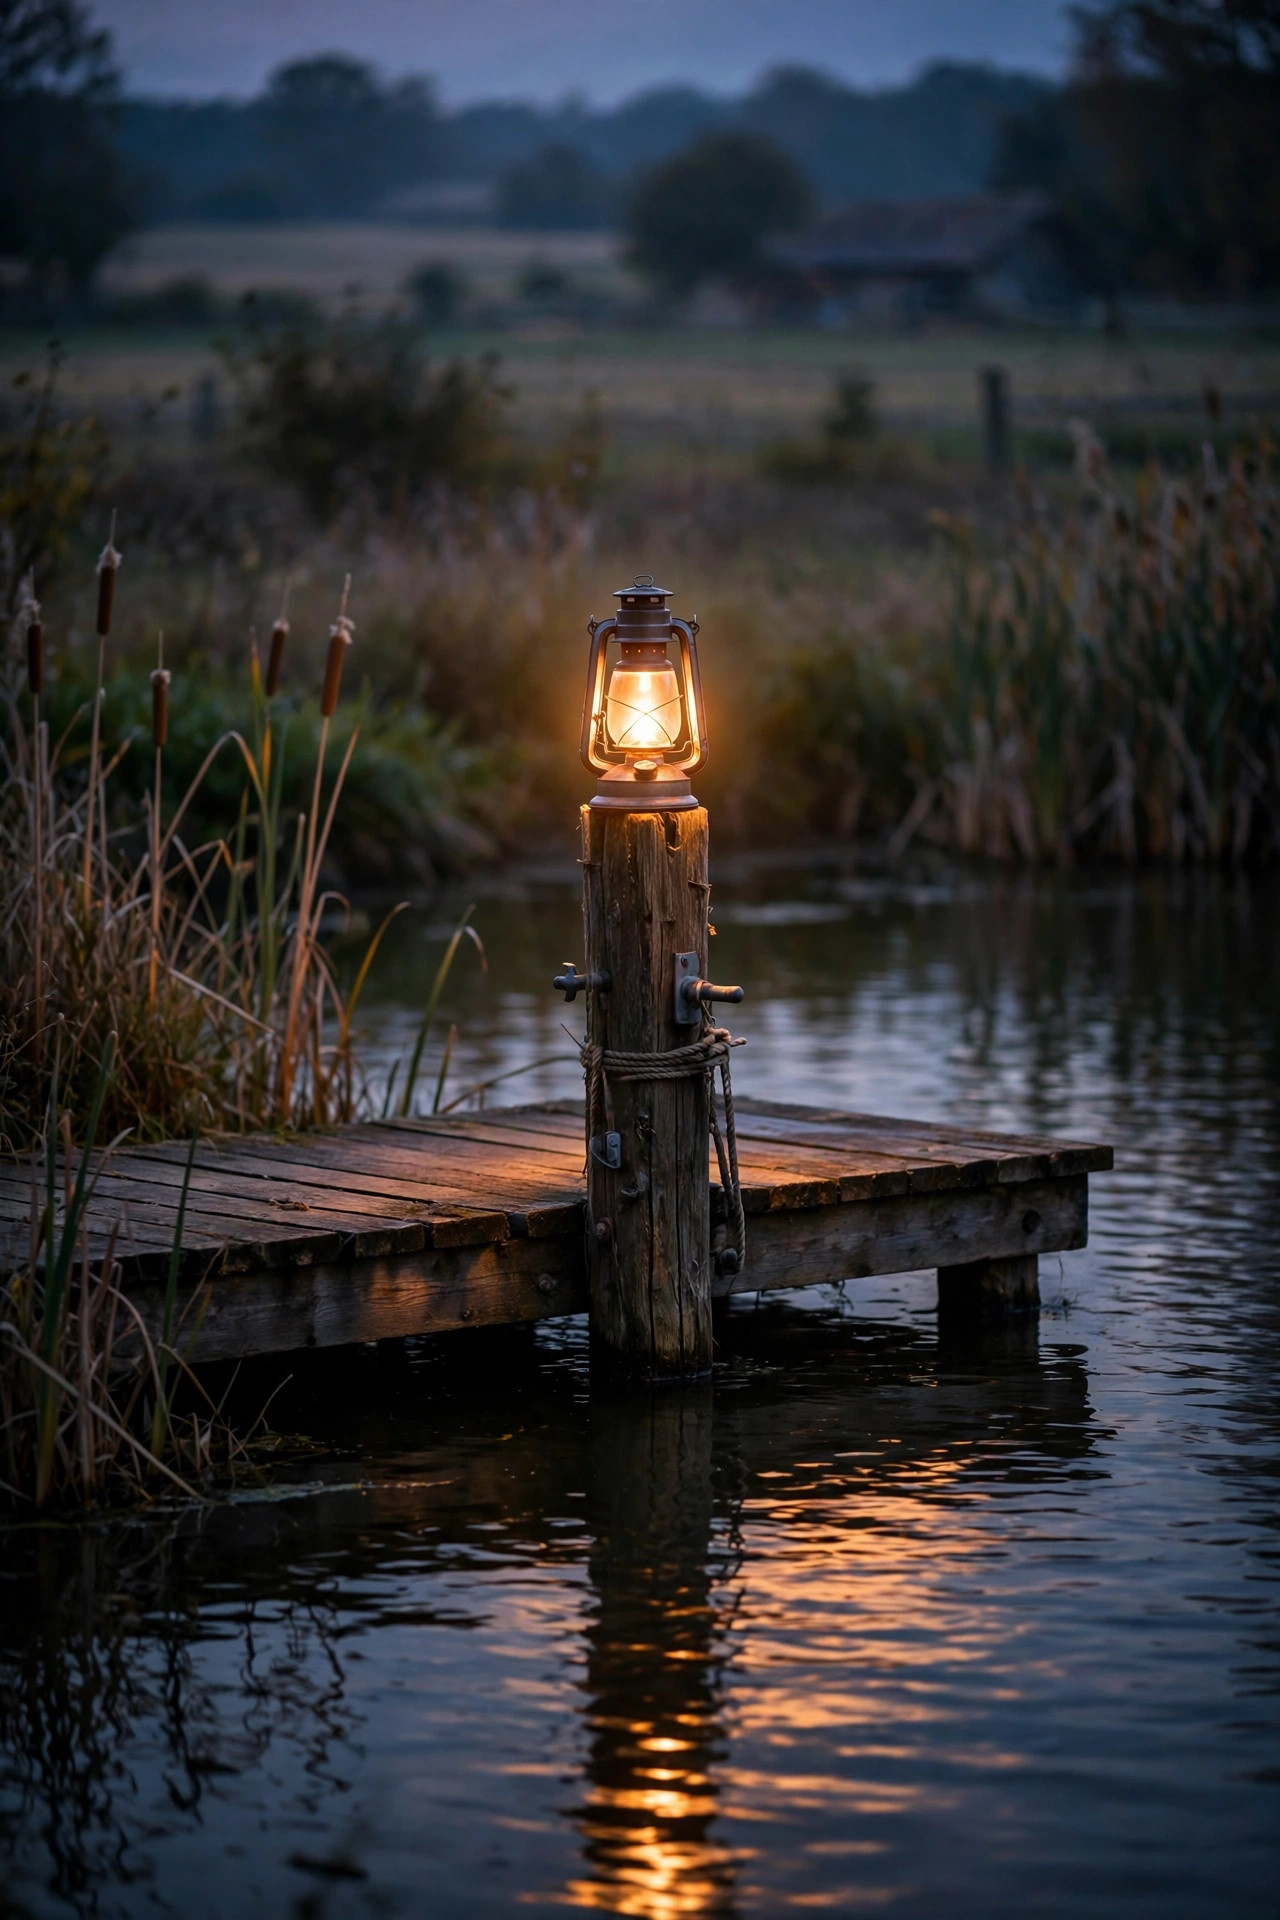
A farm pond at night is equal parts beautiful and hazardous, and one soft area light at the dock changes it from a black hole into the prettiest spot on the property. Keep it low and warm: a small fixture on a 6- to 8-foot post at the dock entrance, 1,000 to 2,000 lumens, shaded so the light falls on the boards and the ground, not across the water where it draws every bug in the county and kills the reflection. Warm light attracts noticeably fewer insects than cool white, which matters when you're sitting out there with sweet tea. Solar versions work especially well here since ponds tend to sit far from power, and the panel placement is easy with that open sky over the water. If kids or grandkids swim, add a low solar step light on the dock steps themselves. From the house, that one gentle glow at the pond's edge tells you the whole property is buttoned up for the night.
Suggested budget range: $80 – $300.
14. Mark the End of a Long Driveway at the Road
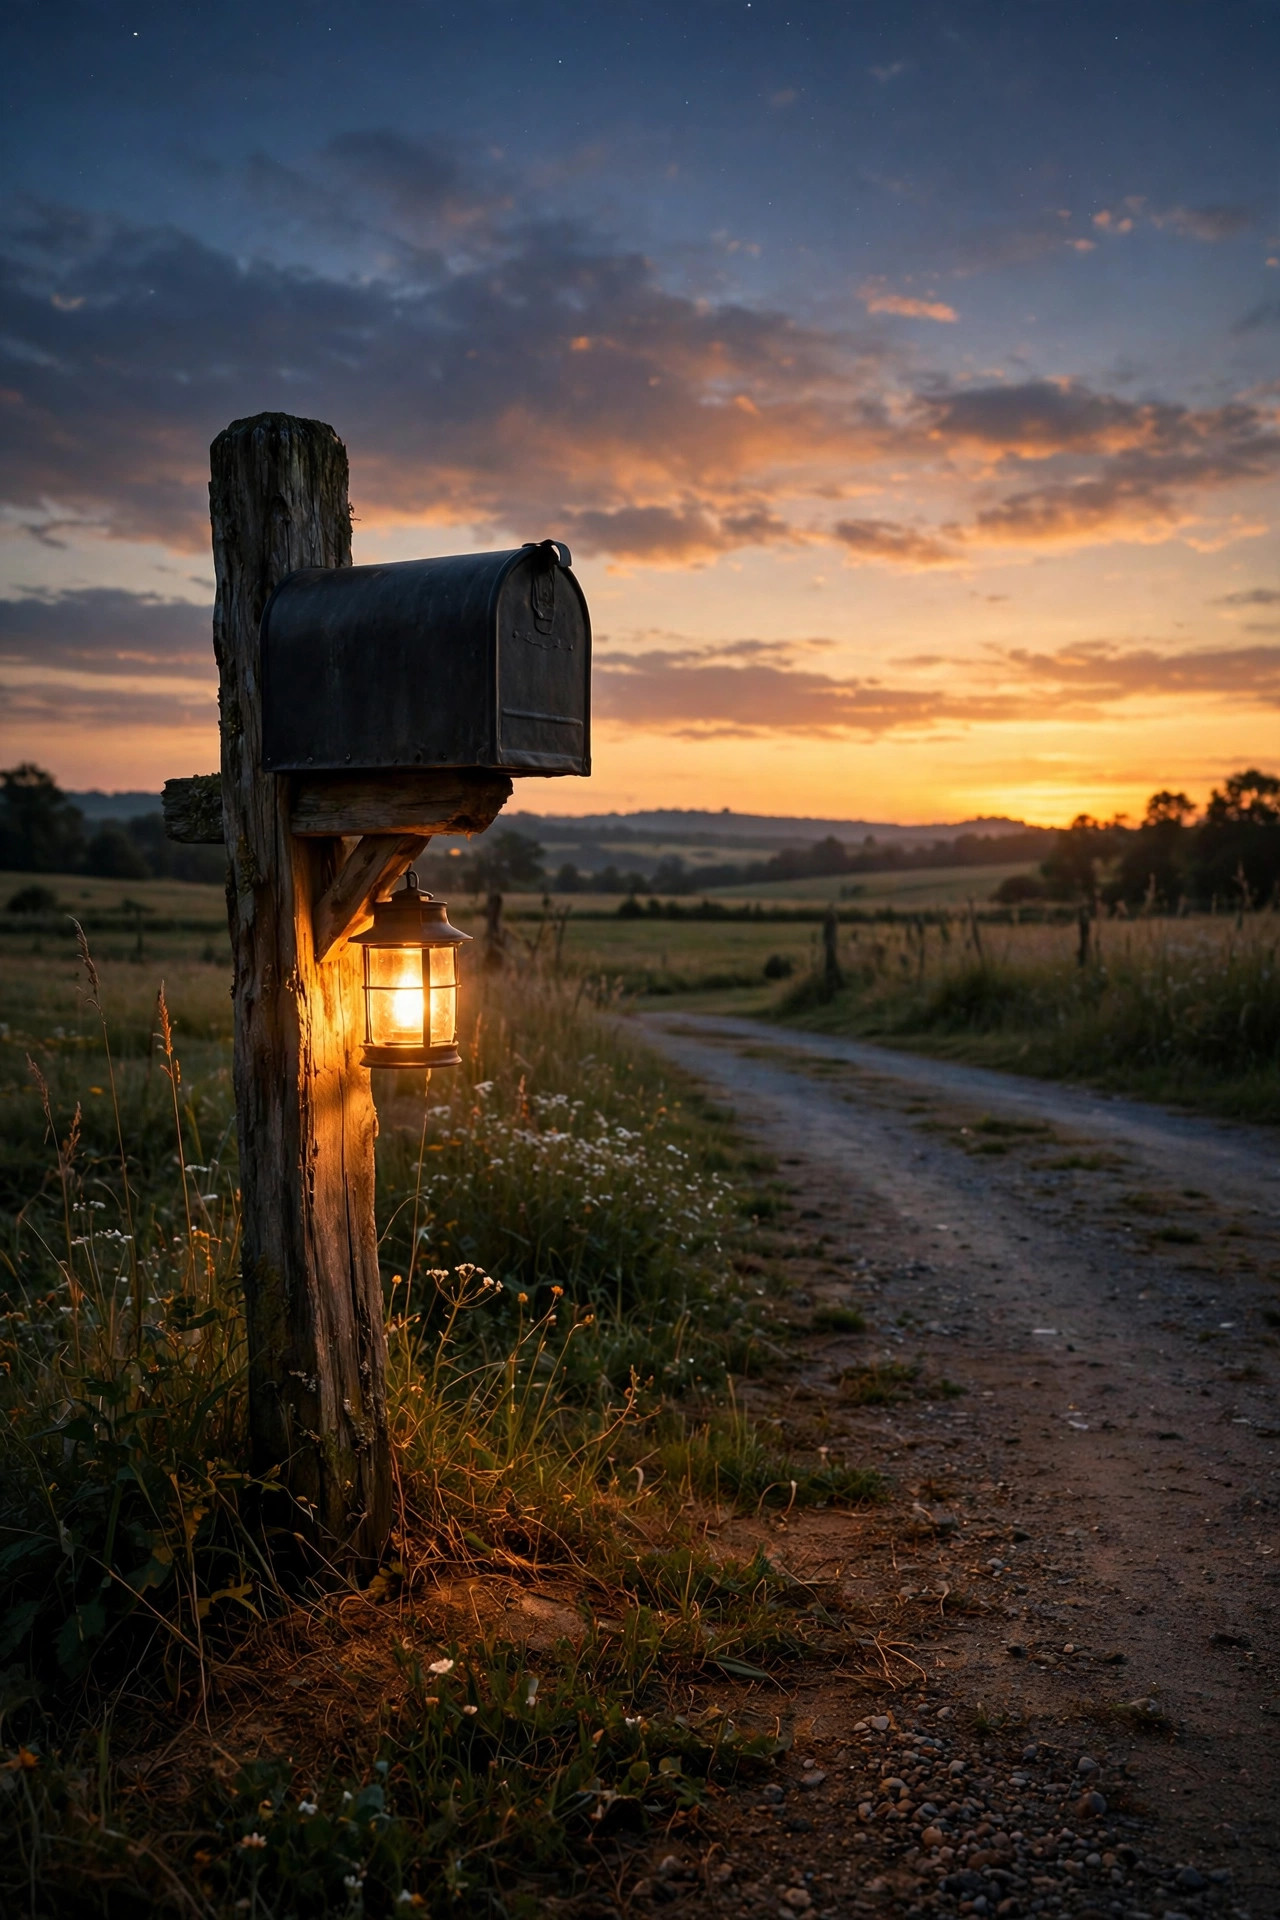
The most useful light on our place might be the one at the very end of the driveway, where it meets the road. It's how delivery drivers find us after dark, how guests know they've arrived, and how I spot the turn myself on a foggy night coming home. A modest area light on a post by the gate or mailbox — 1,500 to 3,000 lumens is plenty — aimed into the driveway entrance, not out at traffic. If the road end has no power (ours didn't), a solar fixture on the gate post is the answer, or run it as part of the gate opener's power if you have one. Mount it 8 to 10 feet up so it clears a truck mirror and throws a clear pool on the apron. One caution from experience: check your county rules and your mailbox placement — you want the light near the address, not mounted on the mailbox post itself where the plow will introduce itself in February.
Suggested budget range: $90 – $380.
15. Flood the Lean-To and Tractor Shed
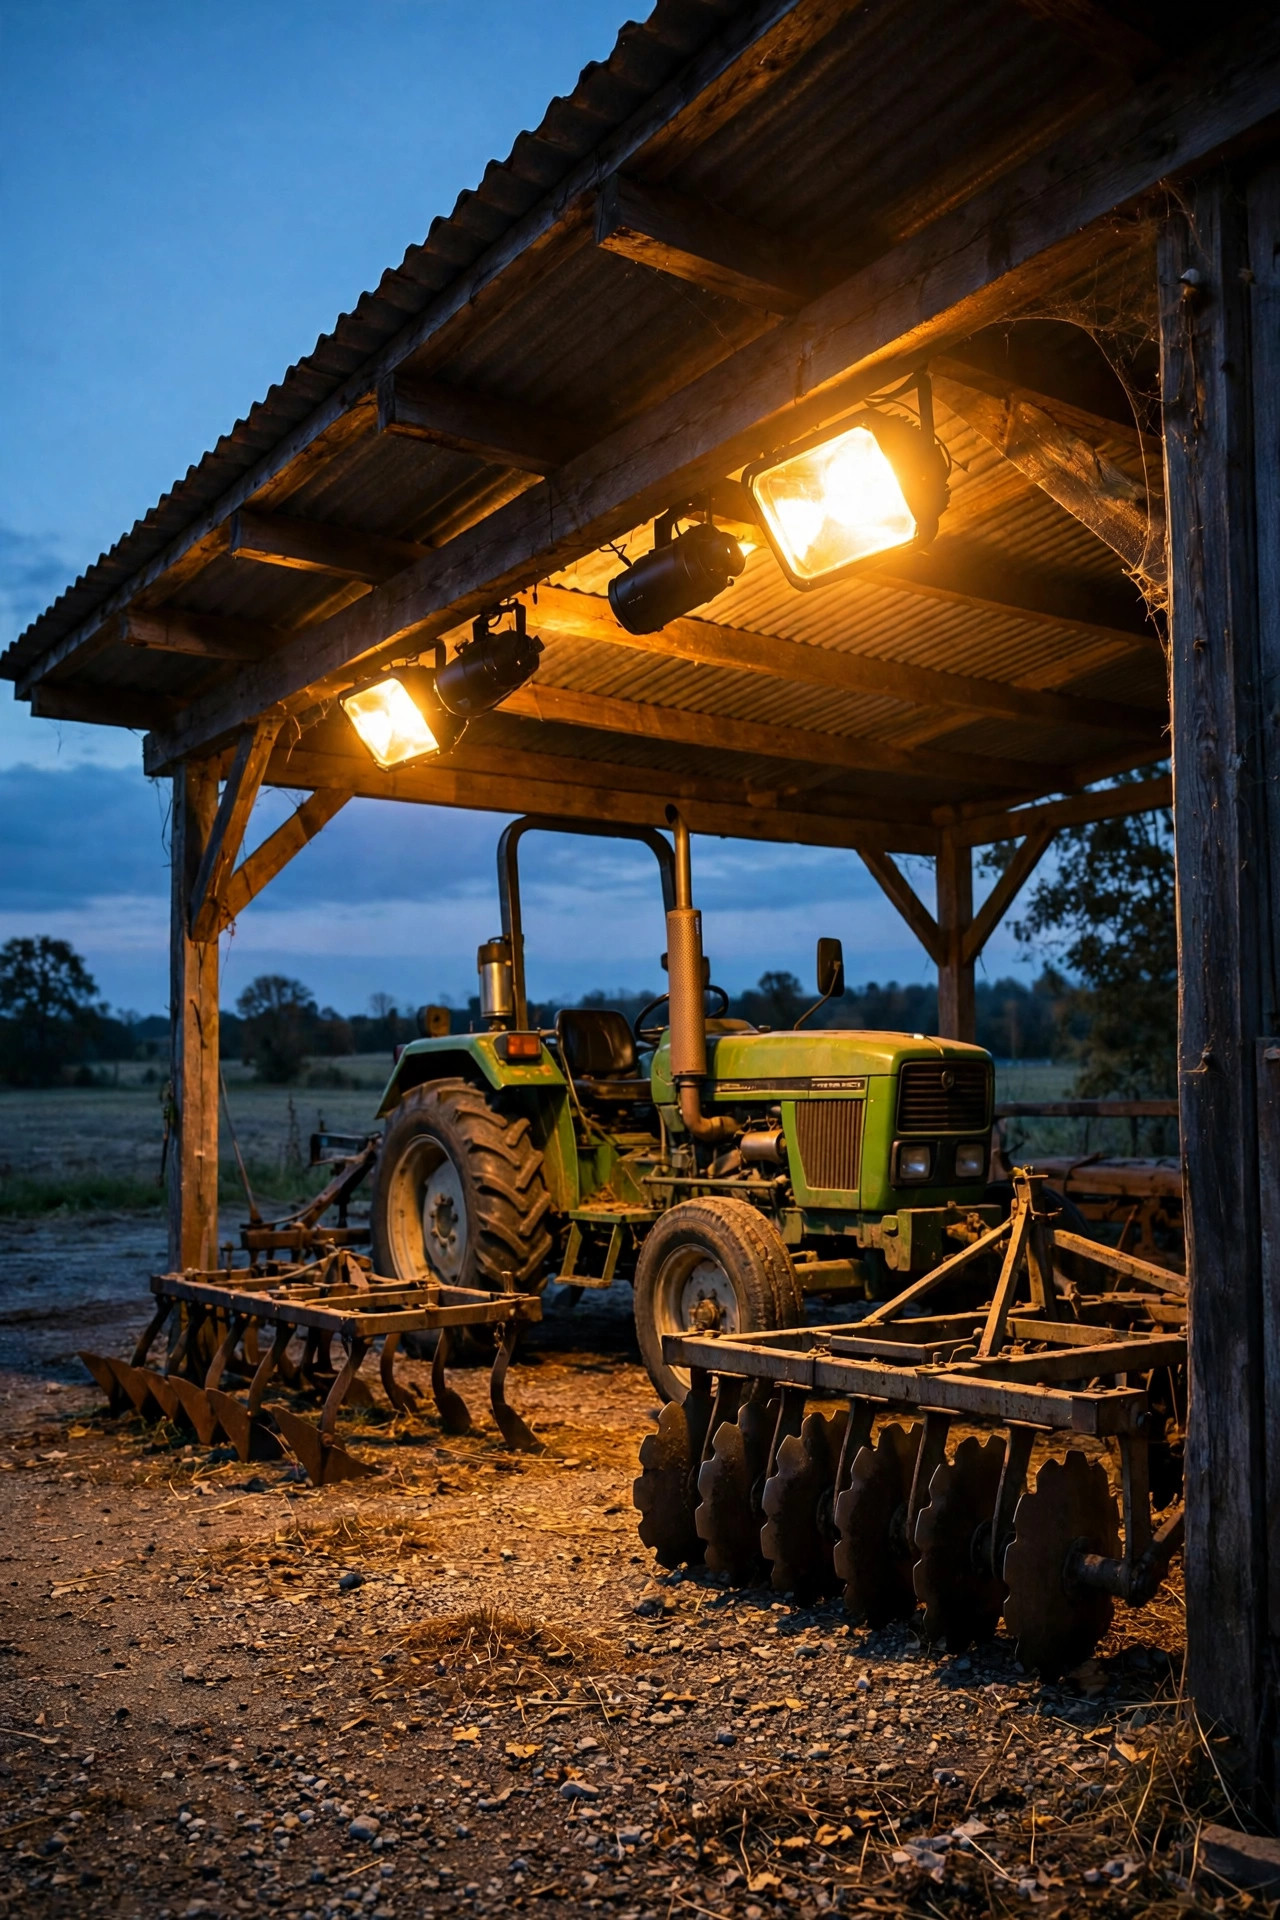
The lean-to is where implements go to be forgotten and where mice hold conventions, and it's always the darkest structure on the place. Fix it with floods mounted up under the roof edge, aimed down and slightly outward, so the whole bay is lit without a single bare bulb to bump your head on. Two modest LED floods, 3,000 to 5,000 lumens each, cover a typical two-bay lean-to; aim them to overlap in the middle where you hitch and unhitch. Because they're under cover, these fixtures live an easy life weather-wise, but buy outdoor-rated anyway — the dust in a tractor shed is its own weather system. On a photocell, the lean-to glows softly all night, which has the side benefit of making the whole structure look occupied and cared for from the road. If you store anything valuable under there, that quiet, consistent light is cheap insurance compared to finding an empty bay one morning.
Suggested budget range: $120 – $400.
16. Pick Your Color Temperature Like You Mean It
This isn't a fixture, it's the decision that makes every other fixture on this list succeed or fail. Color temperature is measured in Kelvins, and for barns and big lots I work in two zones. Near the house, the barn doors, and anywhere people gather, stay warm: 2700K to 3000K, the color of a porch light, flattering and calm. Out in the work yards where you're reading hydraulic fittings and looking for dropped pins, 4000K neutral white is acceptable and genuinely easier to work under. What I steer everyone away from is 5000K and above — that blue, institutional glare that makes a farm look like a highway rest stop, bothers neighbors a mile away, and keeps every human and animal a little on edge. The classic farm look people love in photos is almost always warm light on wood and gravel. If your existing fixtures clash — one warm, one blue — replacing lamps or a single fixture to unify them is the cheapest transformation on this entire list.
Suggested budget range: $40 – $150.
17. Pair the Photocell With a Timer for Seasonal Control
Pure dusk-to-dawn is wonderful, but there are nights — midsummer, when the yard sits empty from 11 p.m. on, or during a meteor shower you actually want to watch — when all-night light is more than you need. The fix is to pair the photocell with a timer or a smart control so the photocell decides when it's dark enough and the timer decides when enough is enough. My setup: lights come on at dusk, the work-yard fixtures drop off at midnight, and the one by the house door stays on till dawn. In winter the schedule stretches automatically because the photocell, not the clock, handles the start. Smart photocell switches and plug-in astronomic timers both do this for very little money, and app-controlled versions let you override everything from the porch when a late project runs long. It keeps the security benefit, cuts the electric bill, and gives the fireflies back their late shift. This is the upgrade I suggest to anyone who already has photocell lights and thinks they're stuck with all-or-nothing.
Suggested budget range: $35 – $160.

18. Hedge Against Outages With a Solar Hybrid Setup
Out in the country, the power goes out exactly when you can least afford to be in the dark — during the storm, with trees down and animals restless. My hedge is one key light that doesn't care: a solar-charged dusk-to-dawn fixture with a big battery, mounted at the gate or the barn door, completely independent of the grid. On a full charge the better models run several nights at reduced brightness, and even in a cloudy week they hold enough for the gate and the door. Some folks go further with a small battery-backup unit for a wired fixture, which works too — the principle is the same: the two or three lights you'd reach for in an emergency should never depend on the pole at the road. I'll be honest, this is insurance, not everyday lighting, and like all insurance it feels unnecessary right up until the night it isn't. Position your backup light where you'd stand with a flashlight in an outage — for me, that's the barn door and the generator pad.
Suggested budget range: $150 – $520.

19. Wash the Back Lot From the House Eaves
Sometimes the smartest pole is the house itself. If your back lot, dog run, or kitchen garden sits within 60 or 80 feet of the house, a pair of flood lights tucked under the eaves can wash the whole area with no trenching, no pole, and power you already have. Mount them 12 to 16 feet up under the soffit, angled down and slightly apart so their beams overlap in the middle of the lot, and put them on a photocell module so they run the dusk-to-dawn shift with the rest of the system. Aim carefully here — the whole point is lighting the ground, not your bedroom window or the neighbor's porch — and choose shielded, adjustable heads you can fine-tune from the ladder. In my experience this is the fastest Saturday-morning install on the list, and it doubles as security lighting for the back of the house. Just keep the color warm; this is light you'll see from inside, through your own windows, all evening.
Suggested budget range: $140 – $460.

20. Give the Small Outbuildings Their Own Little Lights
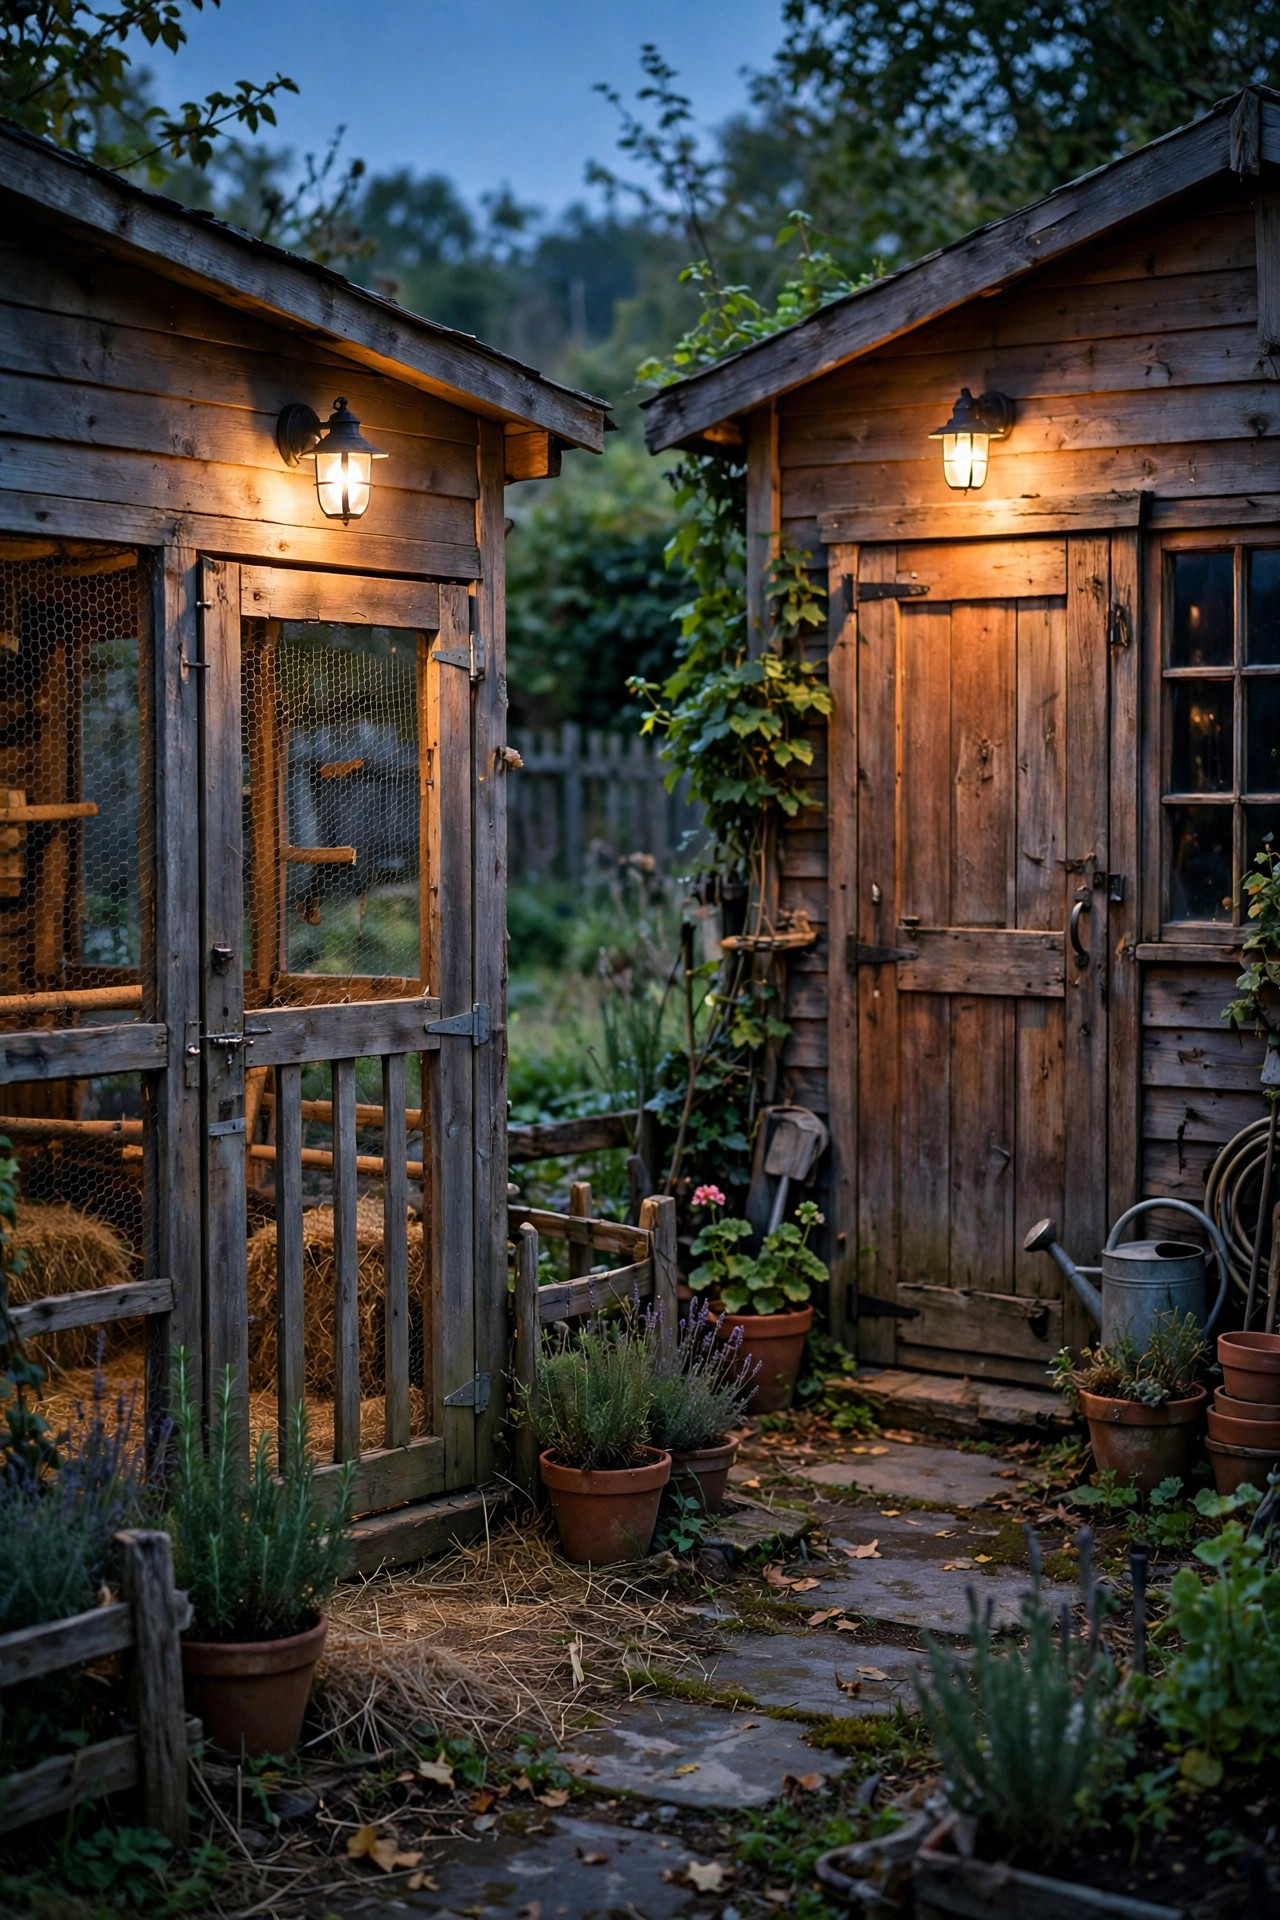
The chicken coop, the well house, the pump shed, the smokehouse — every farm has a constellation of small buildings that are invisible after dark until the exact moment you need something from one of them. Small photocell fixtures, one per building, solve this for almost nothing: a compact 800 to 1,500 lumen light over each little door, all coming on together at dusk like the property is waking up in reverse. Patterns matter less than presence here; even a modest glow at the coop makes evening egg-collecting and lock-up a pleasure instead of a flashlight expedition, and a lit well house means a frozen-pipe check at midnight is a two-minute job. Solar mini-lights work for the buildings far from power, and wired ones tie into whatever circuit already feeds the building. Keep them all the same warm color temperature as the main yard light and the whole place reads as one intentional, cared-for property rather than a collection of accidents.
Suggested budget range: $45 – $180.
21. Pull It All Together in One Layered Plan
If you've read this far, here's how I'd actually build it, in order, on a real budget. Phase one is the anchor: the pole-mounted area light in the main yard, because it transforms the property on night one. Phase two adds the task layer where your hands actually work — the workshop door, the lean-to floods, the equipment pad pair. Phase three is the warm, pretty layer: goosenecks over the barn doors, the pond light, eave floods at the house. Phase four is the fringe: solar at the road gate, the back paddock, the coop — anywhere power doesn't reach. Keep every fixture warm except deliberate work zones, keep everything on photocells so the whole system runs itself, and walk the property at night after each phase to see the dark spots honestly before you buy the next fixture. Done this way, most places don't need all 21 ideas — they need six or eight of them, layered well. A big lot doesn't need more light. It needs the right light, in the right places, that simply never forgets to turn on.
Suggested budget range: $600 – $2,200.

Frequently Asked Questions
How many lumens do I need for a barn yard or big lot?
For a general barnyard wash, 5,000 to 8,000 lumens from a fixture mounted 14 to 18 feet up covers a circle about 60 feet across — enough for gates, parking, and chores. Focused work areas like an equipment pad or wash rack want 10,000 lumens or more, ideally from two cross-aimed fixtures. On really big lots, think in zones and spacing rather than one giant light: poles spaced 60 to 100 feet apart with moderate fixtures beat a single blinding one every time, with fewer dark gaps and less glare.
How much does it cost to run dusk-to-dawn lights all night?
Less than most people fear, especially with LED. A typical 40-watt LED area light running about 11 hours a night uses roughly 0.44 kilowatt-hours per night — at 15 cents per kilowatt-hour, that's around $2 a month per fixture. Even a whole layered system of six to eight fixtures usually lands between $10 and $20 a month. Motion-boost and timer-pairing options from this list can trim that further, but honestly, the running cost is rarely the reason to hesitate; the fixture and install are the real budget items.
Can I install a pole-mounted area light myself, or do I need an electrician?
Swapping an existing fixture or mounting a solar light is comfortable DIY for most handy folks. Setting a new pole with buried cable is where I draw the line: it involves digging (call 811 first, always), a proper 24-inch trench or conduit, GFCI protection, and tying into your panel. Many homeowners set the pole and dig the trench themselves, then hire an electrician for the final connections — a good compromise that keeps the permit and inspection side clean and the bill reasonable.
Are solar dusk-to-dawn lights bright enough for a big lot?
For gates, paths, small paddocks, and far corners, yes — a quality solar area light at 1,500 to 3,000 real lumens is genuinely useful. For a main work yard, no; solar can't yet match a wired fixture's all-night output, especially through a cloudy winter week. My honest advice is to use solar where trenching doesn't make sense and wired fixtures where the work happens, and to be suspicious of any solar light advertising five-digit lumens — check for honest ratings and a replaceable battery instead.
Conclusion
The thread running through all 21 of these ideas is simple: dusk to dawn area lights work because they remove you from the equation. The photocell watches the sky, the layers do their jobs — broad washes for safety, focused floods for work, a little warm glow for the soul — and your barns and big lots are simply lit, every night, whether you remembered a switch or not. Start with the anchor pole light, add the layers your evenings actually need, and let the system run itself. If you're planning your property's lighting from scratch, browse my other outdoor lighting ideas here on the site — the same layering philosophy scales from a front porch to five acres.