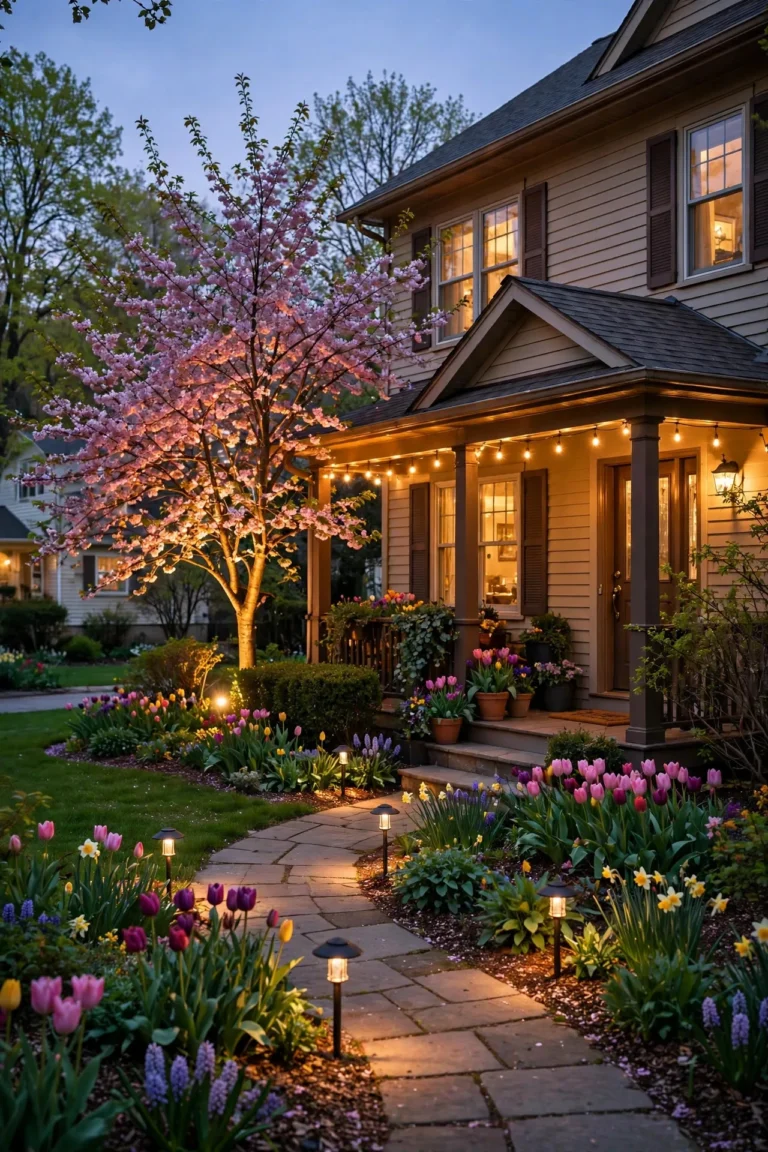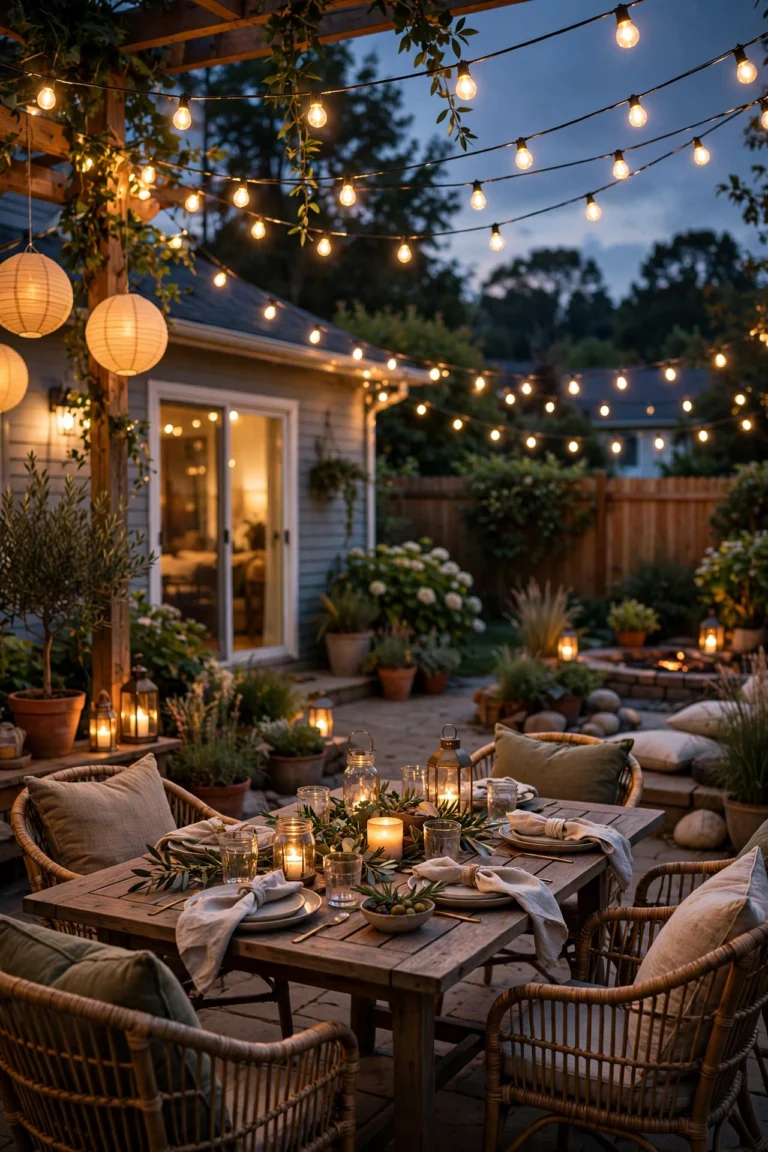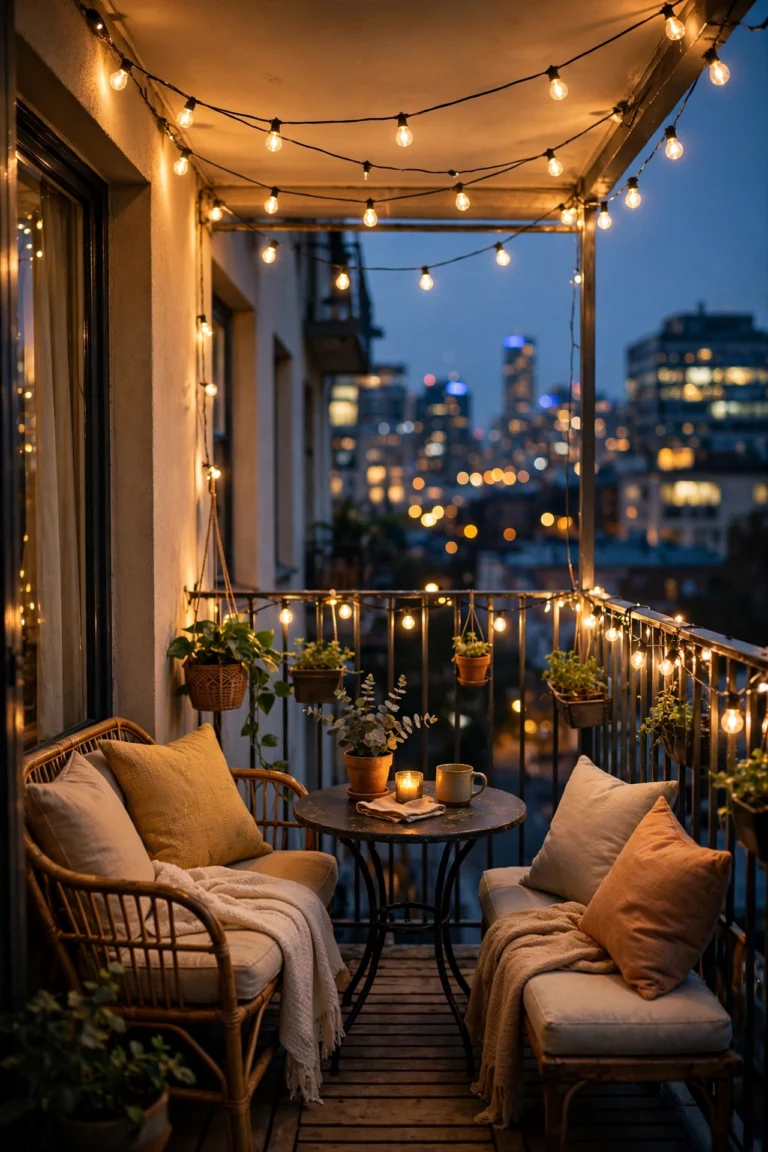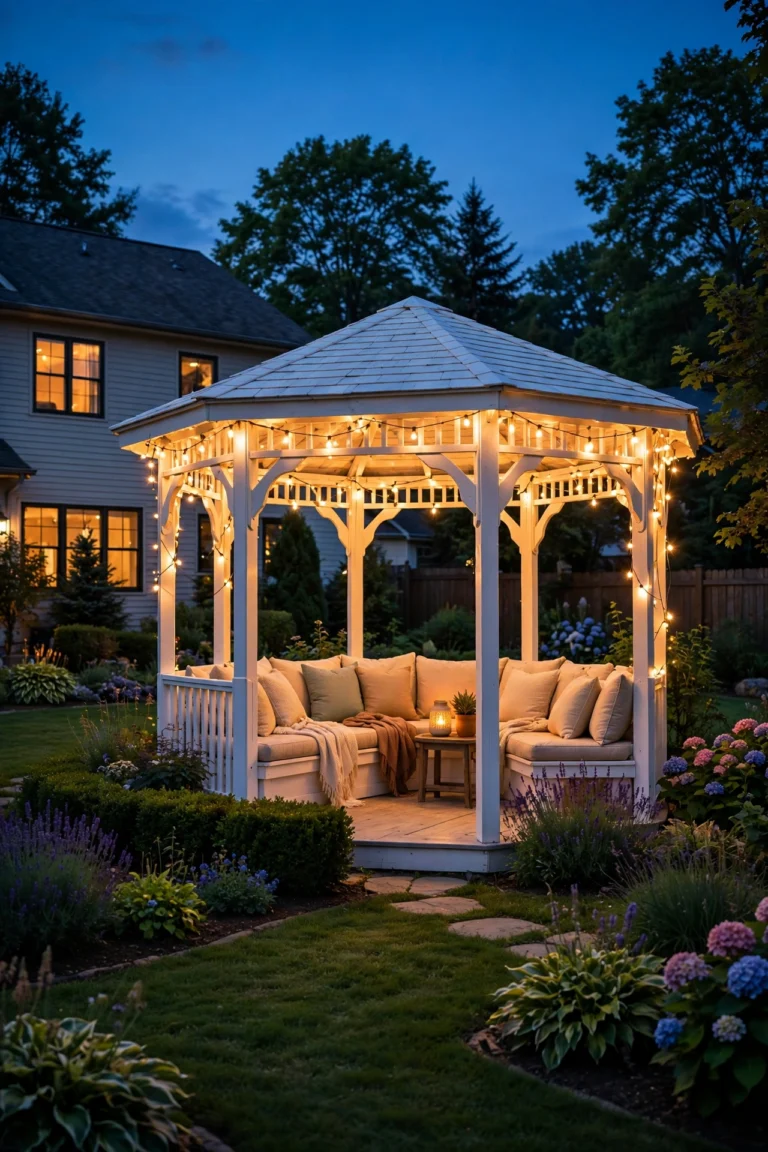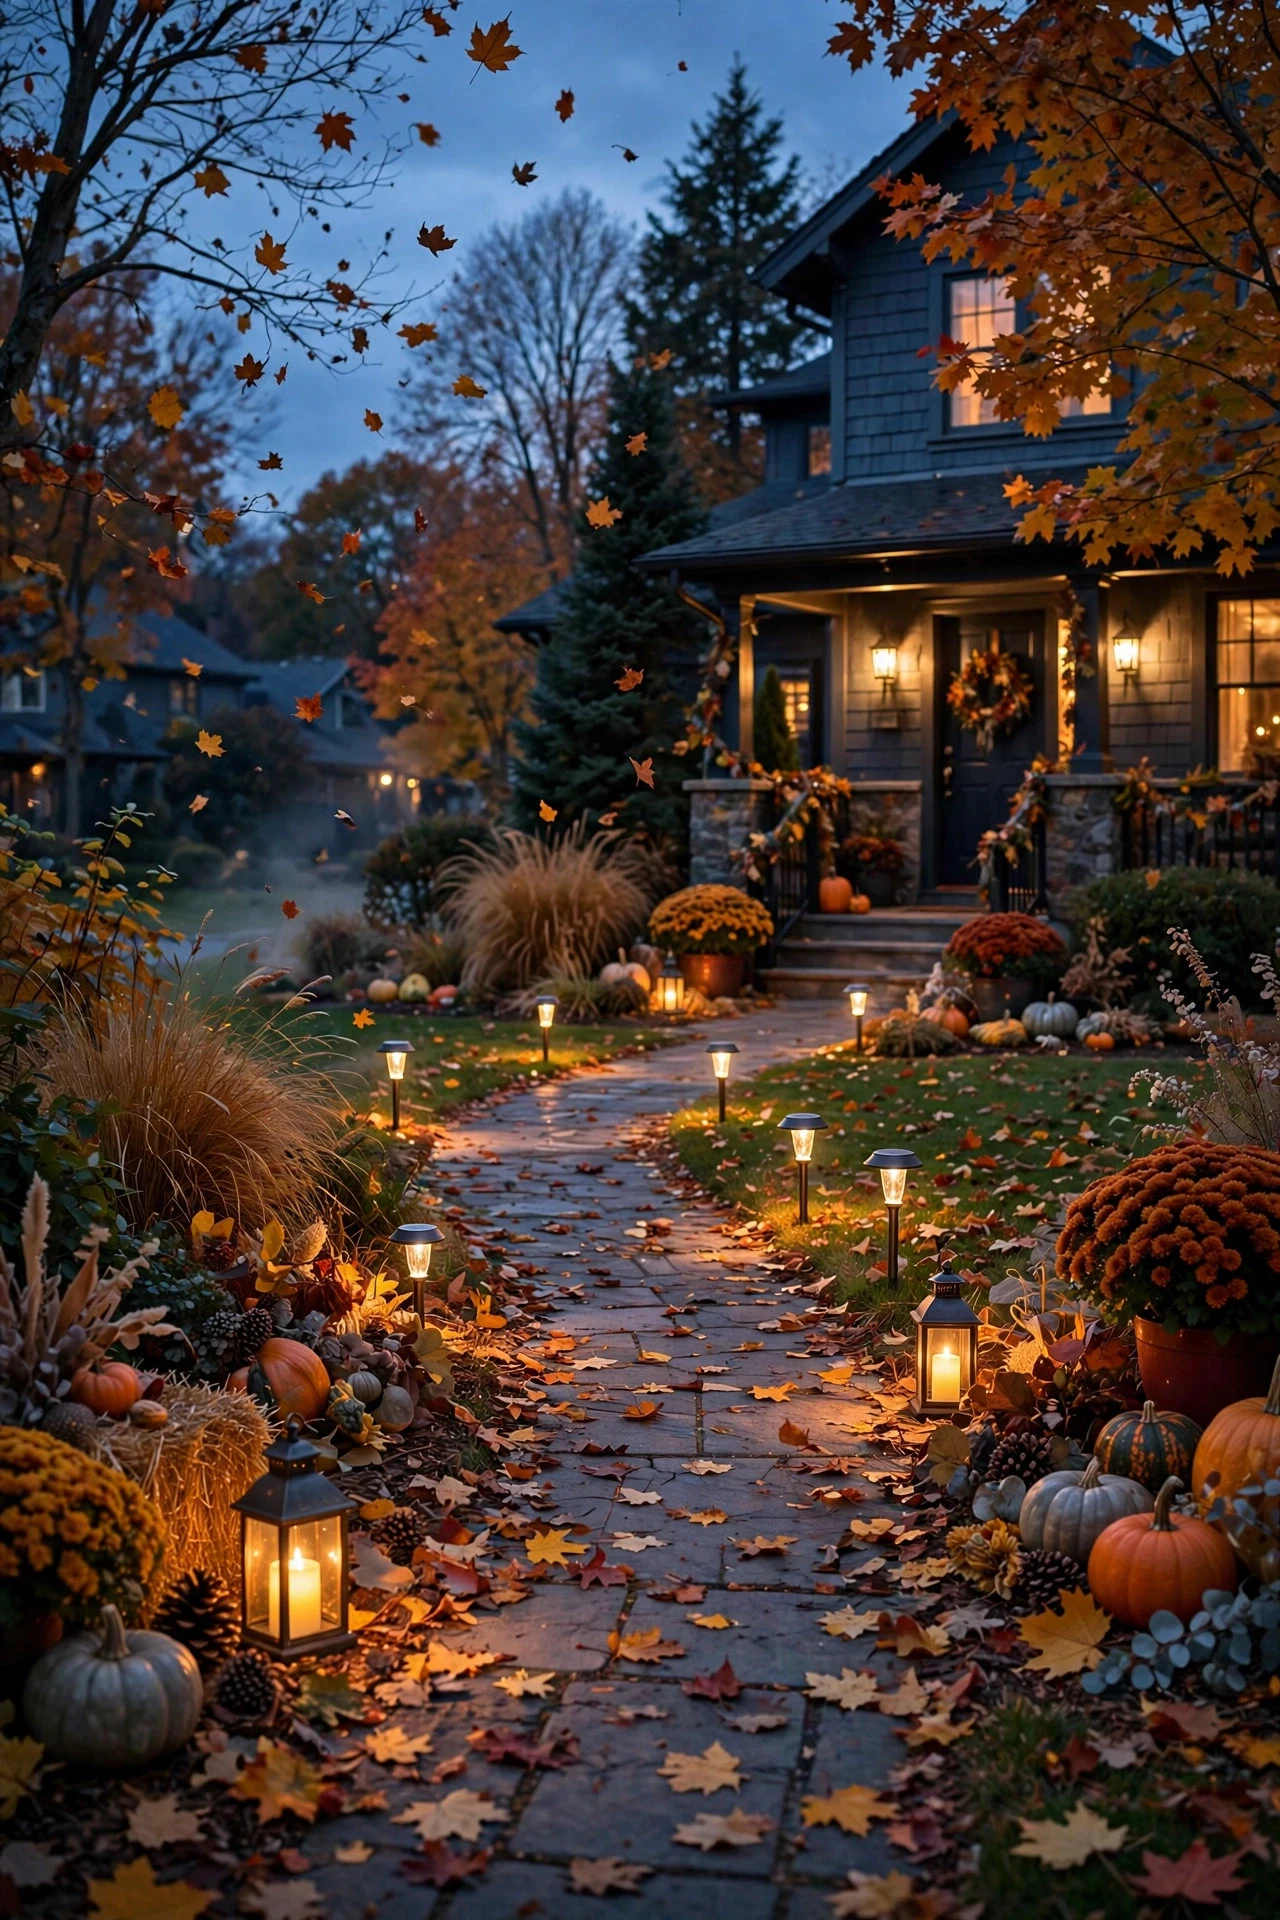
There's something about the first cold October evening that makes me fall in love with my walkway all over again. The air smells like woodsmoke and wet leaves, the sun is gone by six, and that dark stretch from the driveway to my front door feels a little spooky. That's exactly when good fall pathway lighting ideas matter most — not the harsh overhead floodlight that makes your home look like a parking lot, but warm, layered pools of amber light that guide you home and keep everyone sure-footed when wet leaves turn walkways slippery.
My philosophy, honestly, is layering. One type of light never looks as good as three working together: something low along the path edges for safety, something with a little height (lanterns, shepherd's hooks) for drama, and something warm near the destination — your porch, your gate, your front door — so the whole walk has a "come home" feeling. In this post you'll find 17 of my favorites, from dead-simple solar stakes to a proper low-voltage wired run, plus leaf-proofing tricks I've learned the hard way, timer setups that run themselves, and pumpkin-lined walks that'll make your neighbors slow down. Let's light the way.
1. The Classic Solar Path Stake Row — the Easiest of These Fall Pathway Lighting Ideas
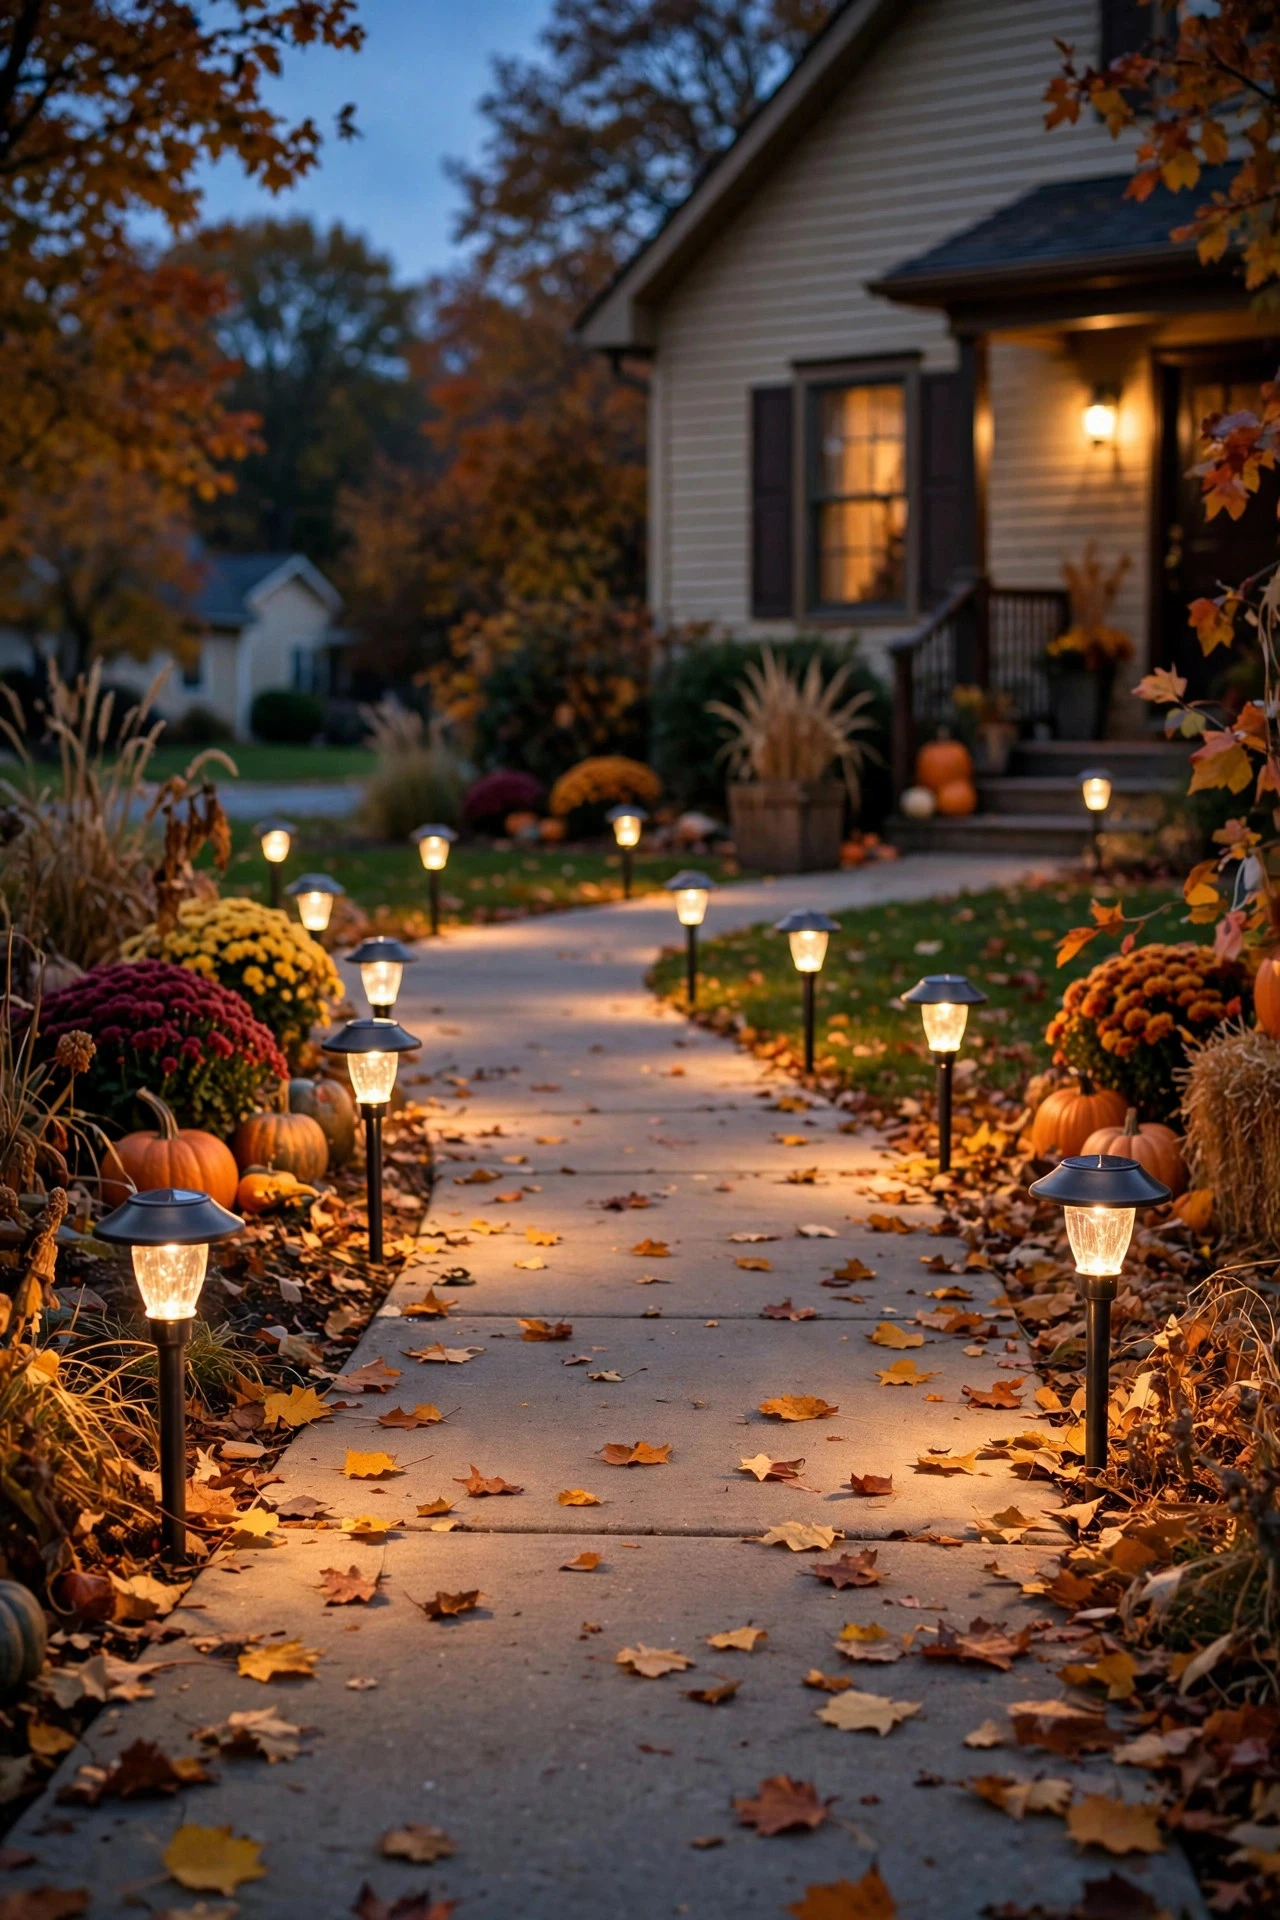
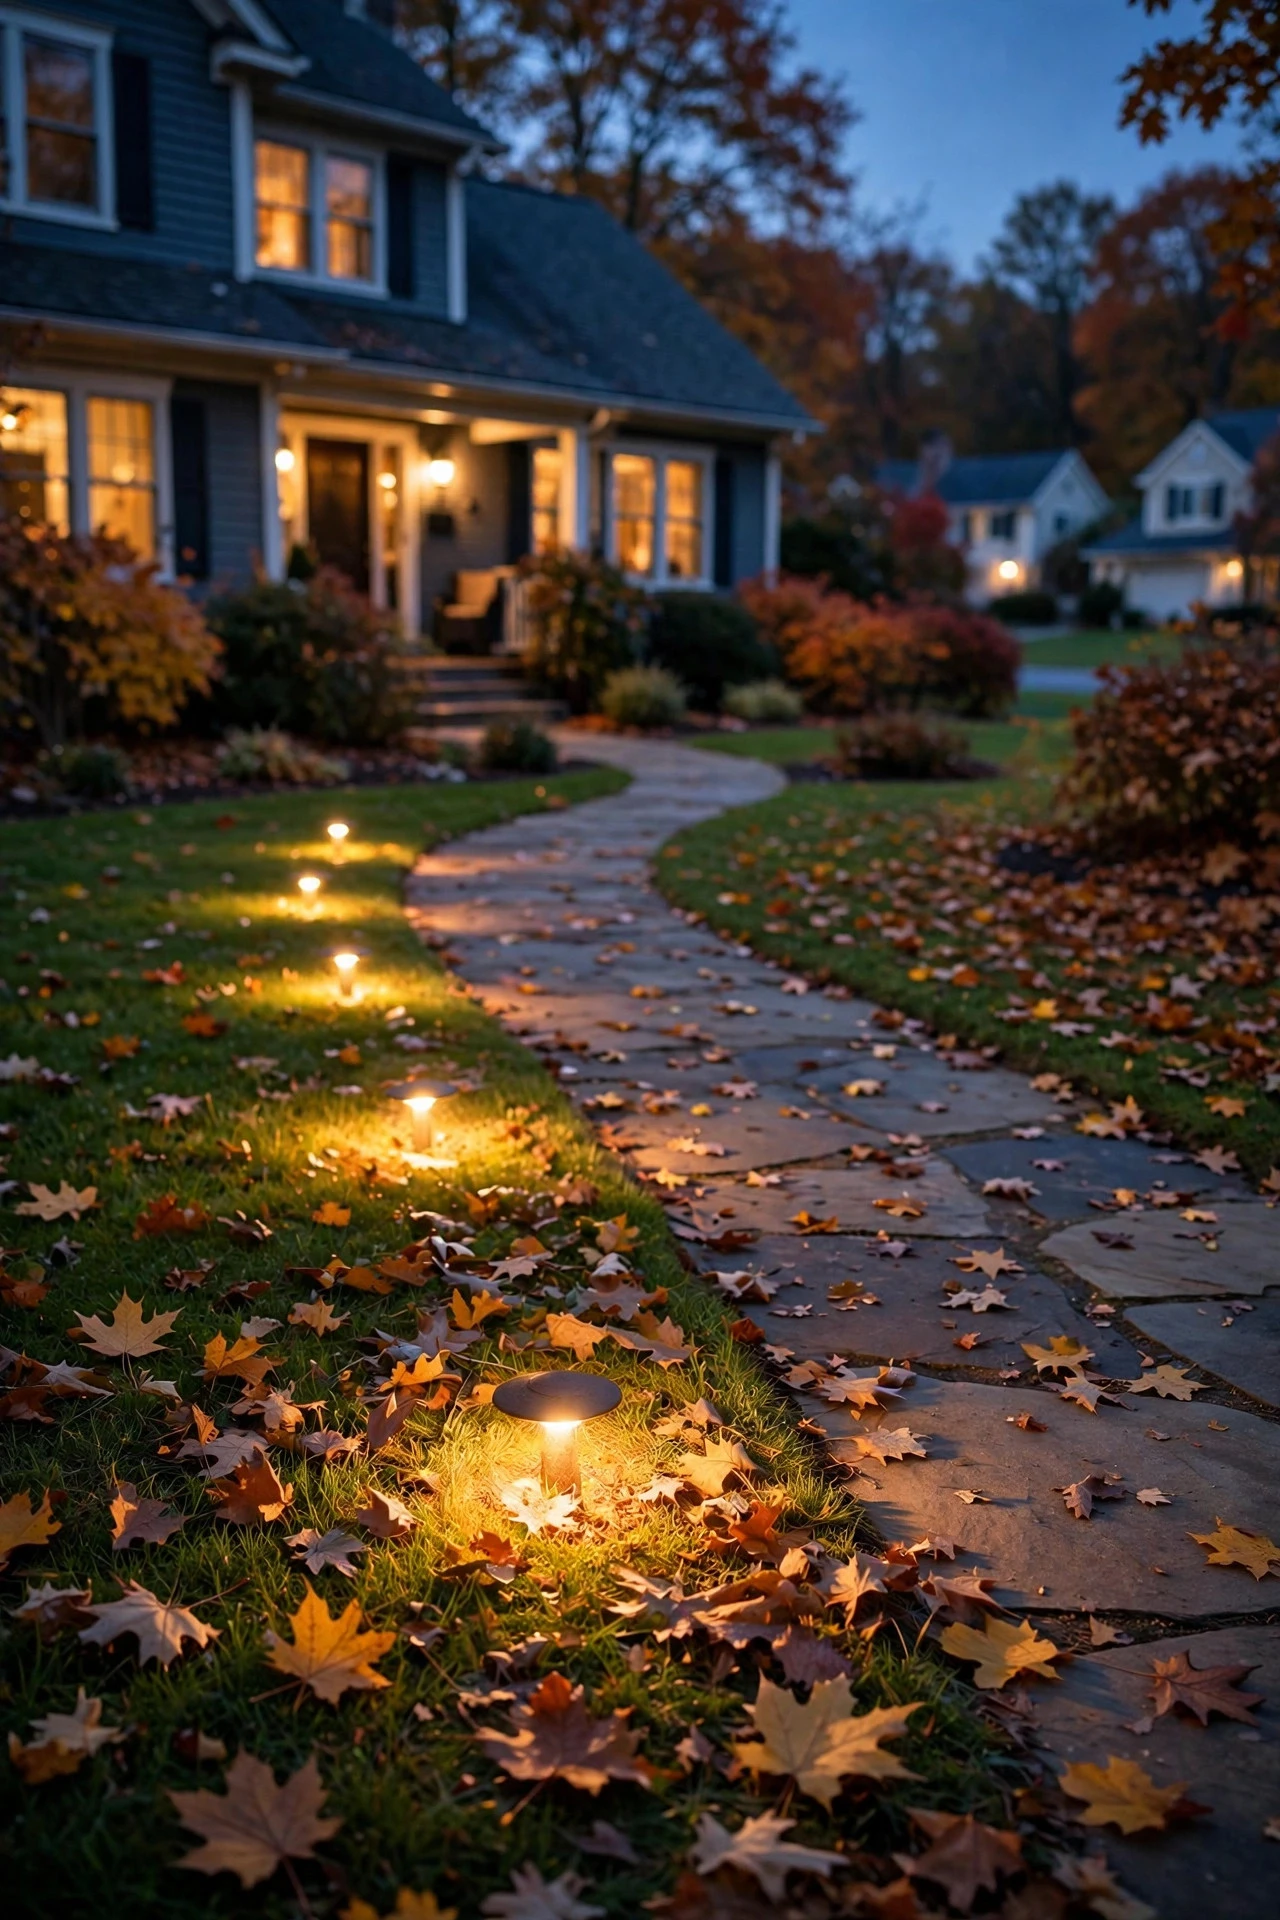
If your walkway lighting situation is currently "pitch black," start here — this is the single easiest upgrade in the whole post, and honestly it fixes 80% of the problem. Push-in solar path stakes take about ten minutes to install for an entire walkway, and modern ones with warm-white LEDs look nothing like those sad blue-tinged stake lights from a decade ago.
Here's my placement rule: space them 6 to 8 feet apart on alternating sides of the path (left, right, left, right), set back 12 to 18 inches from the walkway edge so they're not getting clipped by the snowblower or stepped on. For a standard 30-foot front walk, that's about 5 to 6 lights per side — so a set of 10 to 12 stakes total. I always recommend domed or capped fixture heads in fall, because open flat-topped stakes collect leaves like little hats and go dark; a domed cap sheds them. Look for IP65-rated housings and a panel that gets at least 4 to 6 hours of direct sun — remember, October daylight is short, so position panels away from the north side of your house or under bare tree limbs. And here's the styling tip I give everyone: keep all your stakes the same color temperature (2200K–2700K warm white) so the walk reads as one intentional design instead of a mismatched yard sale.
Suggested budget range: $35 – $90.
2. A Proper Low-Voltage Wired Run
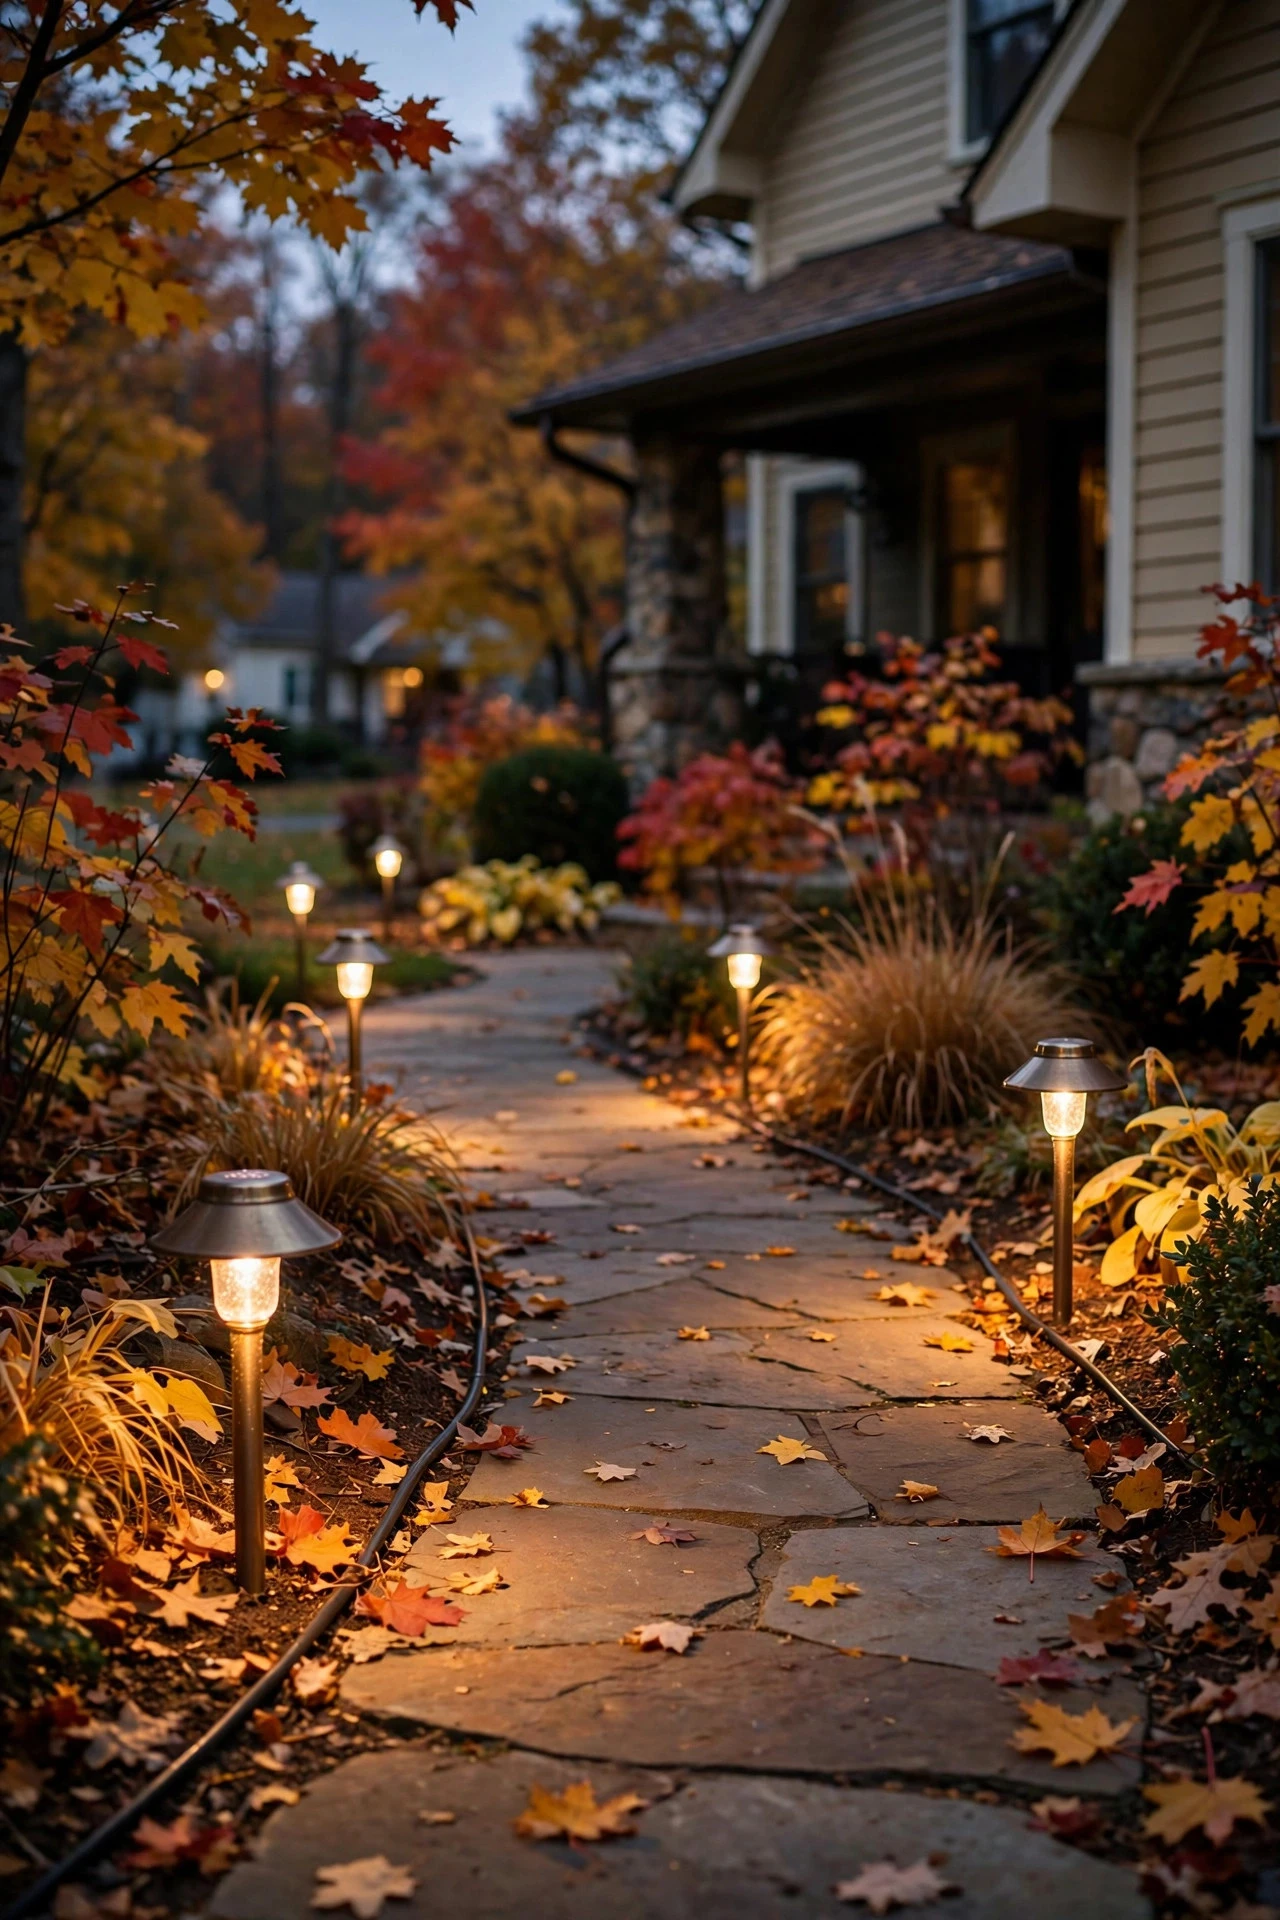
I love solar, but in my experience, if you want pathway lighting that actually stays bright through a full November night, a low-voltage wired run is the grown-up move. Solar panels charge less in short fall days, and that 6-hour runtime fades fast when leaves pile onto the panels. A wired system gives you steady, reliable light from dusk to whenever you set the timer — and you never touch a battery.
The how-to is very DIY-friendly: a 12-volt transformer plugs into any outdoor GFCI outlet (yes, it must be a GFCI — that's the outdoor-rated safety requirement), and you run low-voltage cable just 2 to 3 inches underground or tucked under mulch along the path. For fixtures, I like small brass or bronze path lights with a hat-style shade that throws light downward in a soft pool — mount them 8 to 10 feet apart, alternating sides, about 18 inches back from the edge. One 100-watt transformer comfortably handles 8 to 12 fixtures at 3 to 5 watts each, which covers most front walks. Use direct-burial rated cable and waterproof wire connectors (the gel-filled kind), and never run cable across the path itself — route it along the bed on one side. Wire the whole run to a plug-in photocell timer so it clicks on at dusk and off after 6 hours. This is the system I put on my own walkway after two frustrating seasons of dim solar stakes.
Suggested budget range: $120 – $300.
3. Lantern Rows with LED Pillar Candles
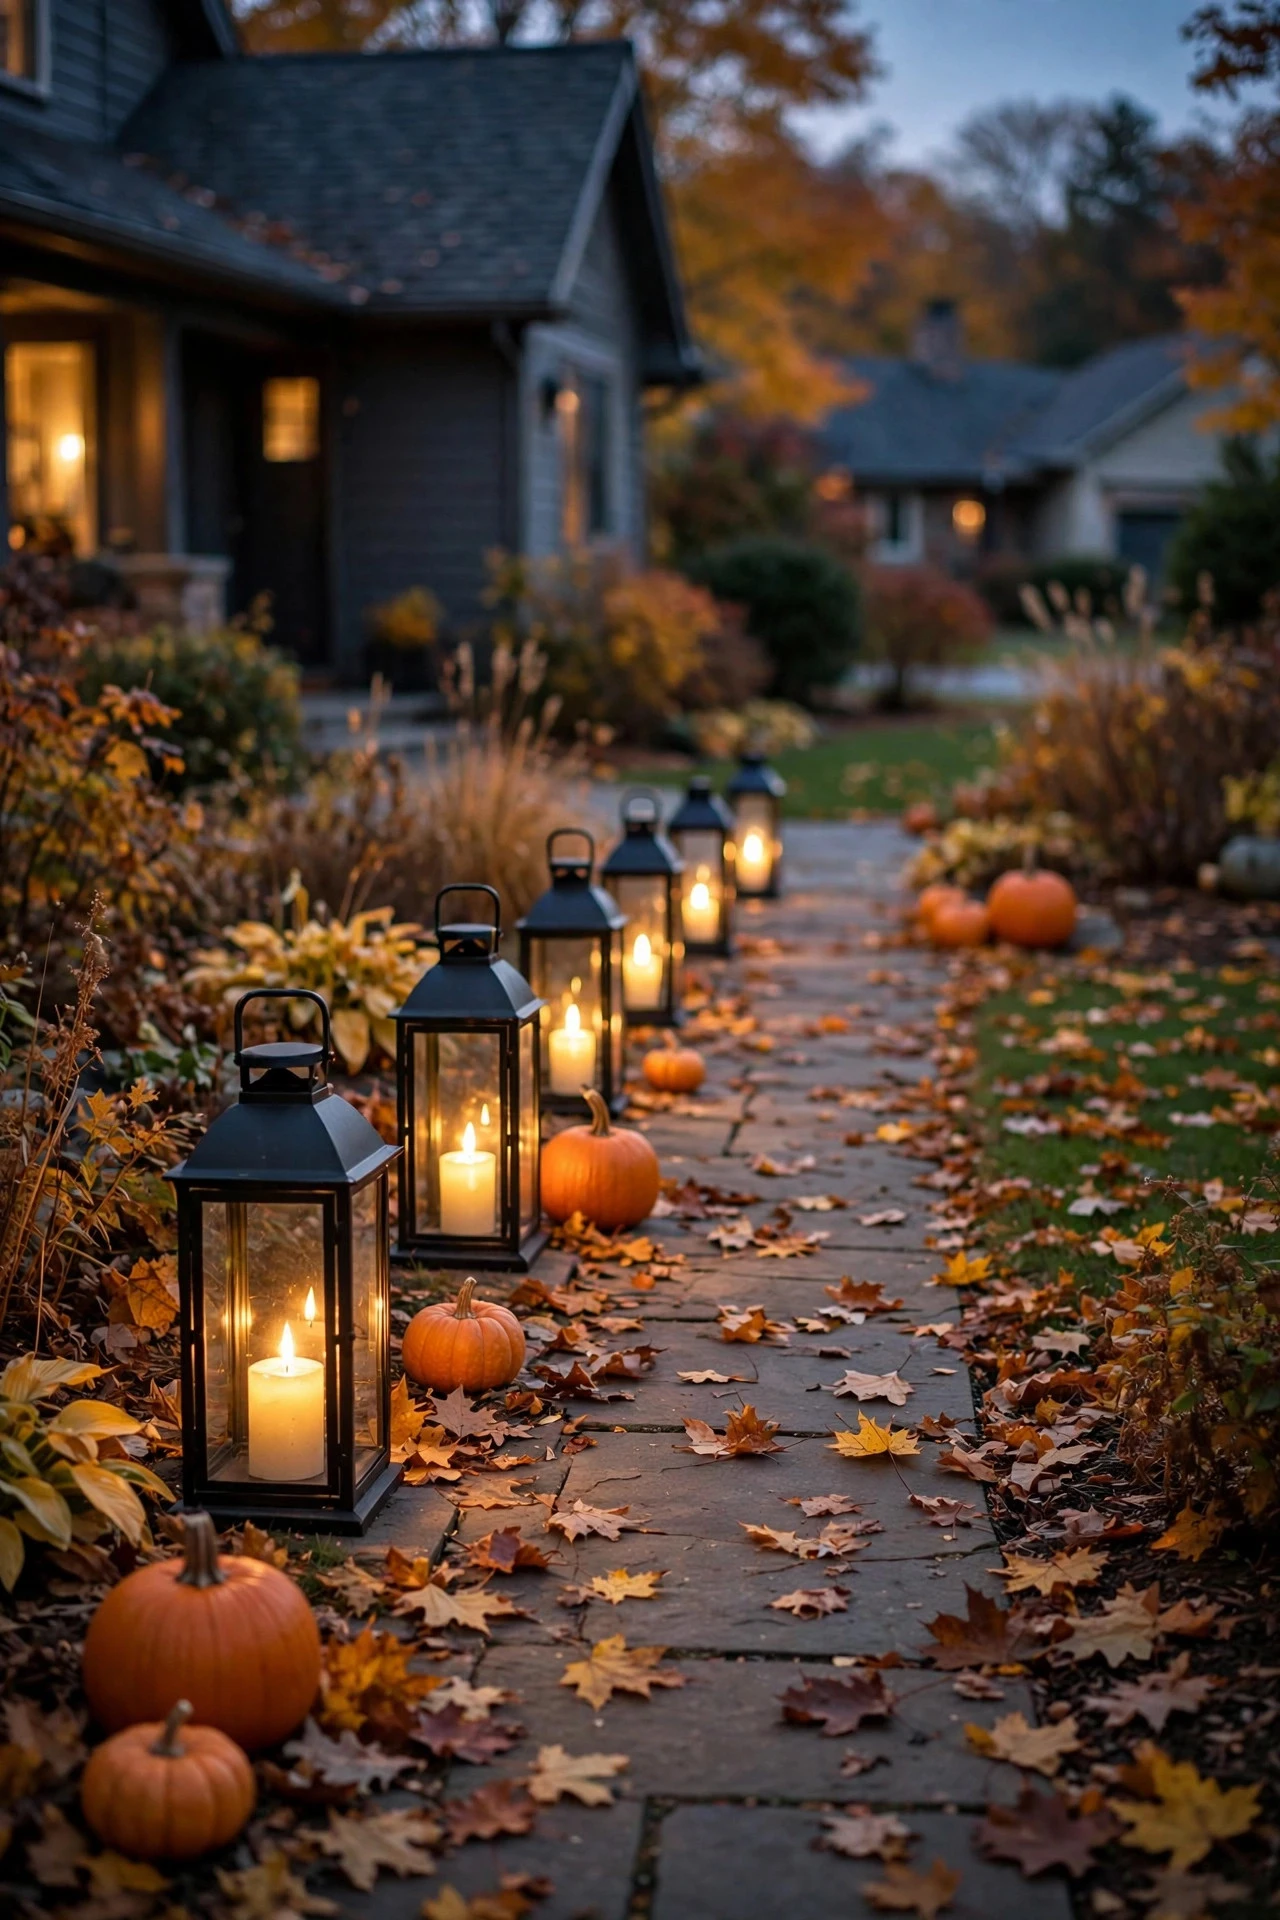
There's nothing — and I mean nothing — that says "crisp autumn night" like a row of glowing lanterns flanking a walkway. But open flames near dry leaves? Absolutely not. I use glass lanterns with battery-operated LED pillar candles instead, and the flicker effect versions are genuinely convincing from a few feet away.
For the setup: choose lanterns 10 to 14 inches tall with real glass panels (not plastic, which fogs and scratches by season two), and place them in pairs or a gentle alternating rhythm every 4 to 5 feet along the walk — so a 24-foot path takes about 10 lanterns. LED-only is the safety rule near anything flammable: pumpkins, hay bales, corn stalks, mulch beds. Go with warm-white flicker candles with built-in timers (the 6-hours-on/18-off versions are perfect — they light at dusk and you never think about them again), and buy them all in the same tone so the row reads as one. Styling-wise, I group my lanterns with small clusters of mini pumpkins and gourds at every third lantern — it looks effortless, like autumn just happened there. Anchor them against wind with a flat river stone inside the base or a discreet landscaping staple if your path runs through a windy corridor. When leaves pile up, a quick weekly brush-off keeps the glass clear, and honestly the two minutes is worth it.
Suggested budget range: $60 – $150.
4. The Pumpkin-Lined Walk
Okay, this is the one the whole street will talk about. A pumpkin-lined walkway with glowing jack-o'-lanterns (or elegant uncarved glowing pumpkins) on both sides is peak October, and it's shockingly easy if you follow the LED rule instead of fighting real candles in the wind.
In my experience, real carved pumpkins look best for about 5 to 7 days before they start sagging — so I carve a fresh batch the weekend before Halloween and use battery LED tea lights or puck lights inside each one. LED tea lights with a flicker setting give you that classic jack-o'-lantern dance without the fire risk, and they're safe inches from dry pumpkin flesh. Space the pumpkins 3 to 4 feet apart on alternating sides, right at the path edge so their glow spills across the walking surface — that's what actually lights your footing. For a longer-lasting version (all of October), skip carving entirely: cluster heirloom pumpkins, white ghost pumpkins, and green-blue jarrahdale types around small ground spotlights or uplights, which I'll talk more about in idea 16. The uplight-pumpkin trick lasts for weeks because nothing's cut open. Pro tip: after carving, rub the cut edges with petroleum jelly — it slows dehydration by a day or two. And always — always — LED only inside carved pumpkins near dry leaves.
Suggested budget range: $25 – $80.

5. Copper-Wire Fairy Lights Woven Into Hedging
If your pathway is bordered by boxwood, yew, or any low hedge, you have a lighting opportunity most people completely miss: weaving warm copper-wire fairy lights right through the greenery. The effect is magical — the whole hedge line glows like embers, and it casts the prettiest dappled light across the walkway.
Here's the practical part: use outdoor-rated copper-wire string lights (IP44 minimum — fall rain is no joke) with the tiny seed LEDs, roughly 30 to 60 lights per linear foot of hedge depending on how dense you want it. Start at the base and spiral upward through the branches, keeping the wire loose so it doesn't strangle growth. Connect sections end-to-end with the waterproof snap connectors, and plug everything into an outdoor timer — I set mine to run 5 PM to 11 PM in October. The copper wire is nearly invisible by day, which is the whole point; at night it disappears completely and you're left with pure glow. One safety note: LEDs stay cool, which is why this is safe inside live greenery, but check that the lights are genuinely outdoor-rated — indoor-only fairy lights in wet bushes are a short-circuit waiting to happen. Weave a little deeper than you think; leaves will drop onto the lights, and a weekly shake keeps them visible. This technique looks stunning alongside my fall porch lighting ideas if your walk leads straight to a decorated entry.
Suggested budget range: $40 – $110.

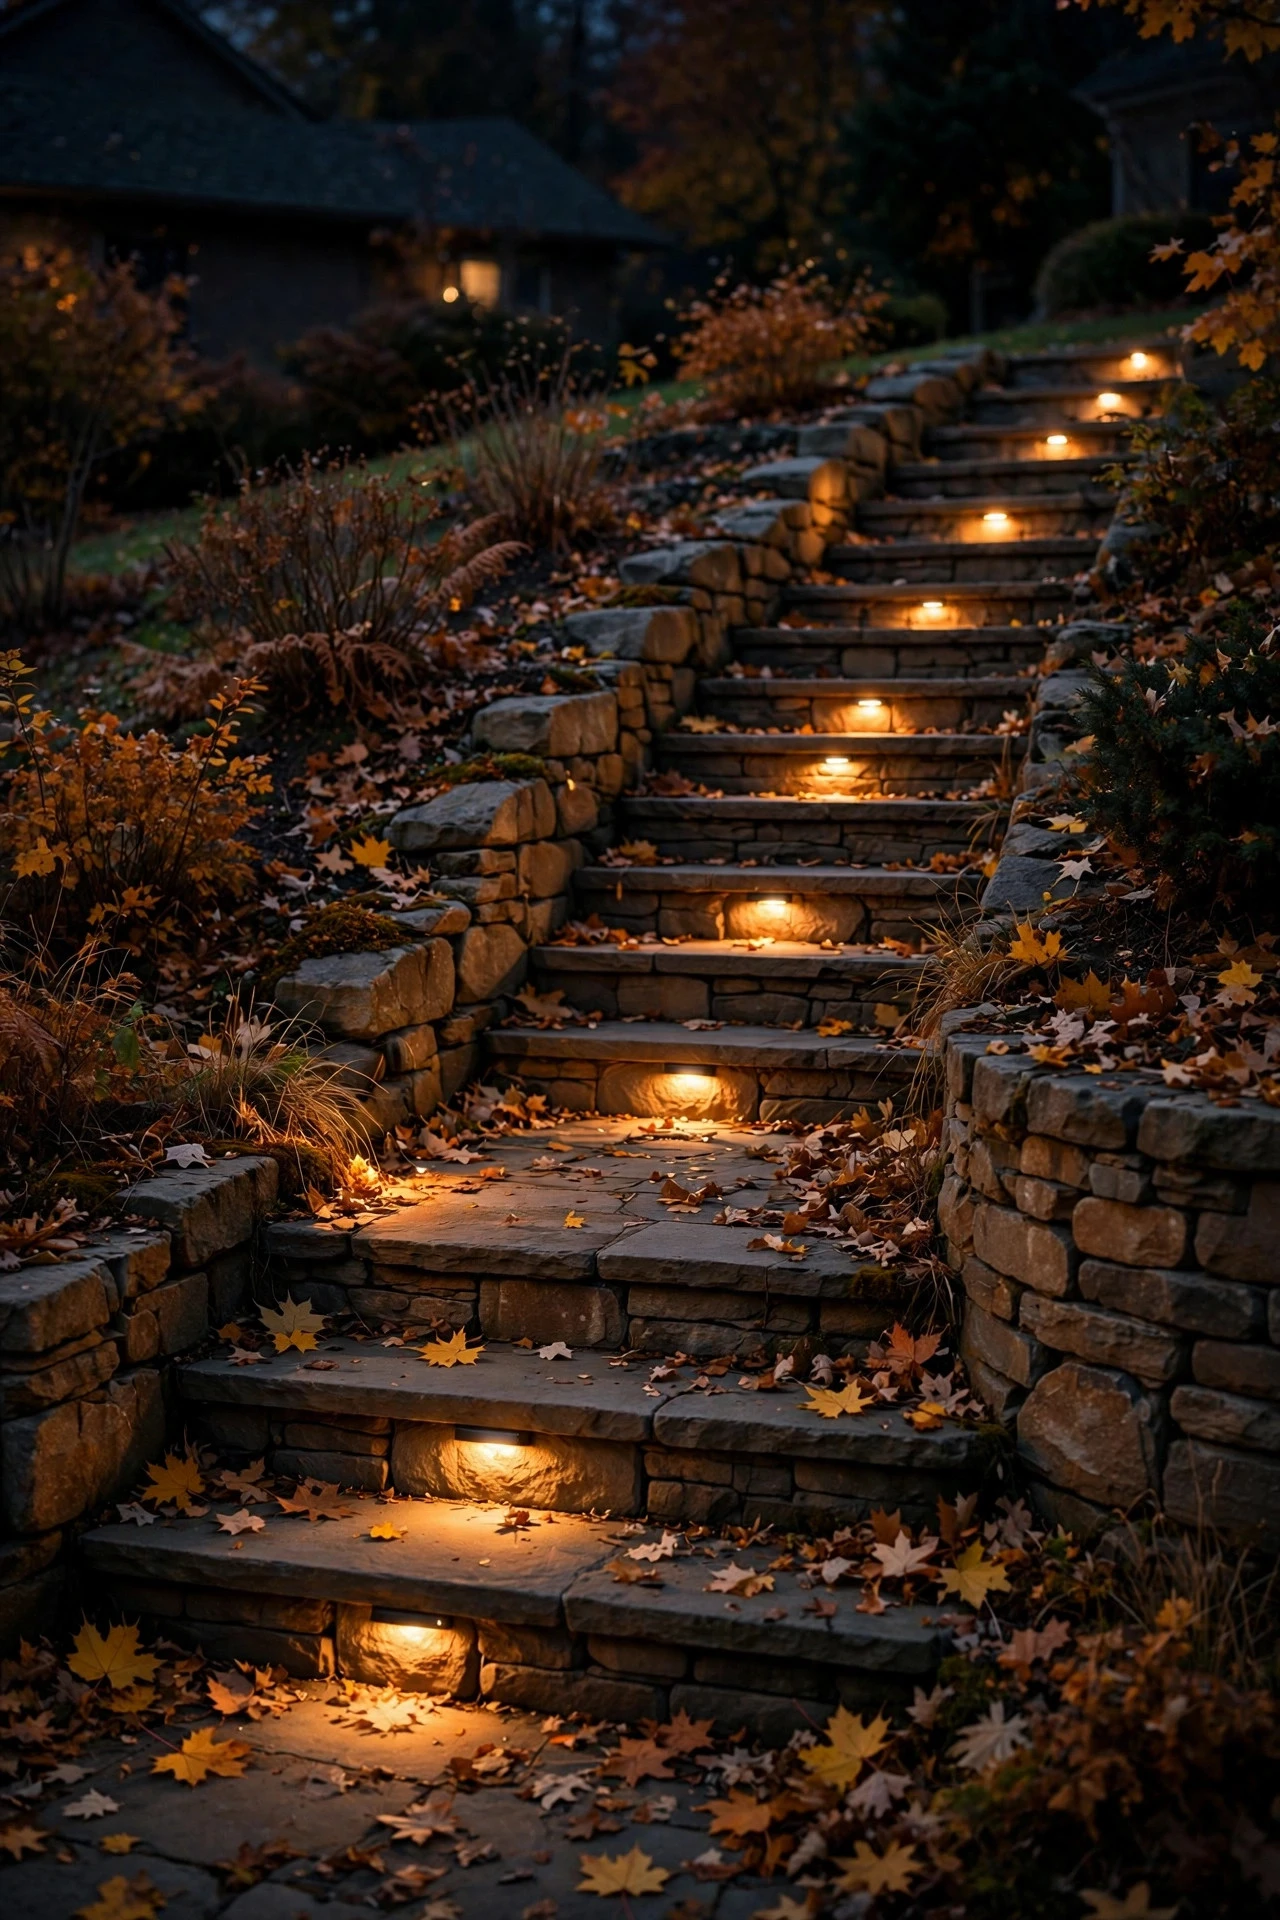
6. Step and Tier Lights for Sloped or Stepped Walks
Wet leaves on steps are genuinely dangerous — this idea is equal parts pretty and practical. If your path has stairs, a slope, or even a single step up to the porch, recessed step lights or surface-mounted tier lights are the single best safety upgrade you can make before the dark months.
For installation: hardwired LED step lights mount directly into risers or retaining walls, spaced one light per 3 to 4 steps, wired back to the same low-voltage transformer as idea 2. No masonry? Surface-mounted mini tier lights stick to risers with weatherproof adhesive or a single screw, and solar versions work fine here because each unit is small and sips power. I always recommend placing them on the riser (the vertical face) rather than the tread — tread-mounted lights get stepped on, collect leaf litter, and blind you at eye level when you're climbing. Aim for a low 2700K glow that washes just the step edge; you want definition, not a landing strip. Timer them to come on 30 minutes before sunset so they're lit for the early-evening dog walk. And here's the maintenance bit nobody tells you: brush the step lights clear after every big leaf drop, because one buried light creates a dark gap that defeats the whole purpose.
Suggested budget range: $50 – $180.
7. Modern Bollard Lights
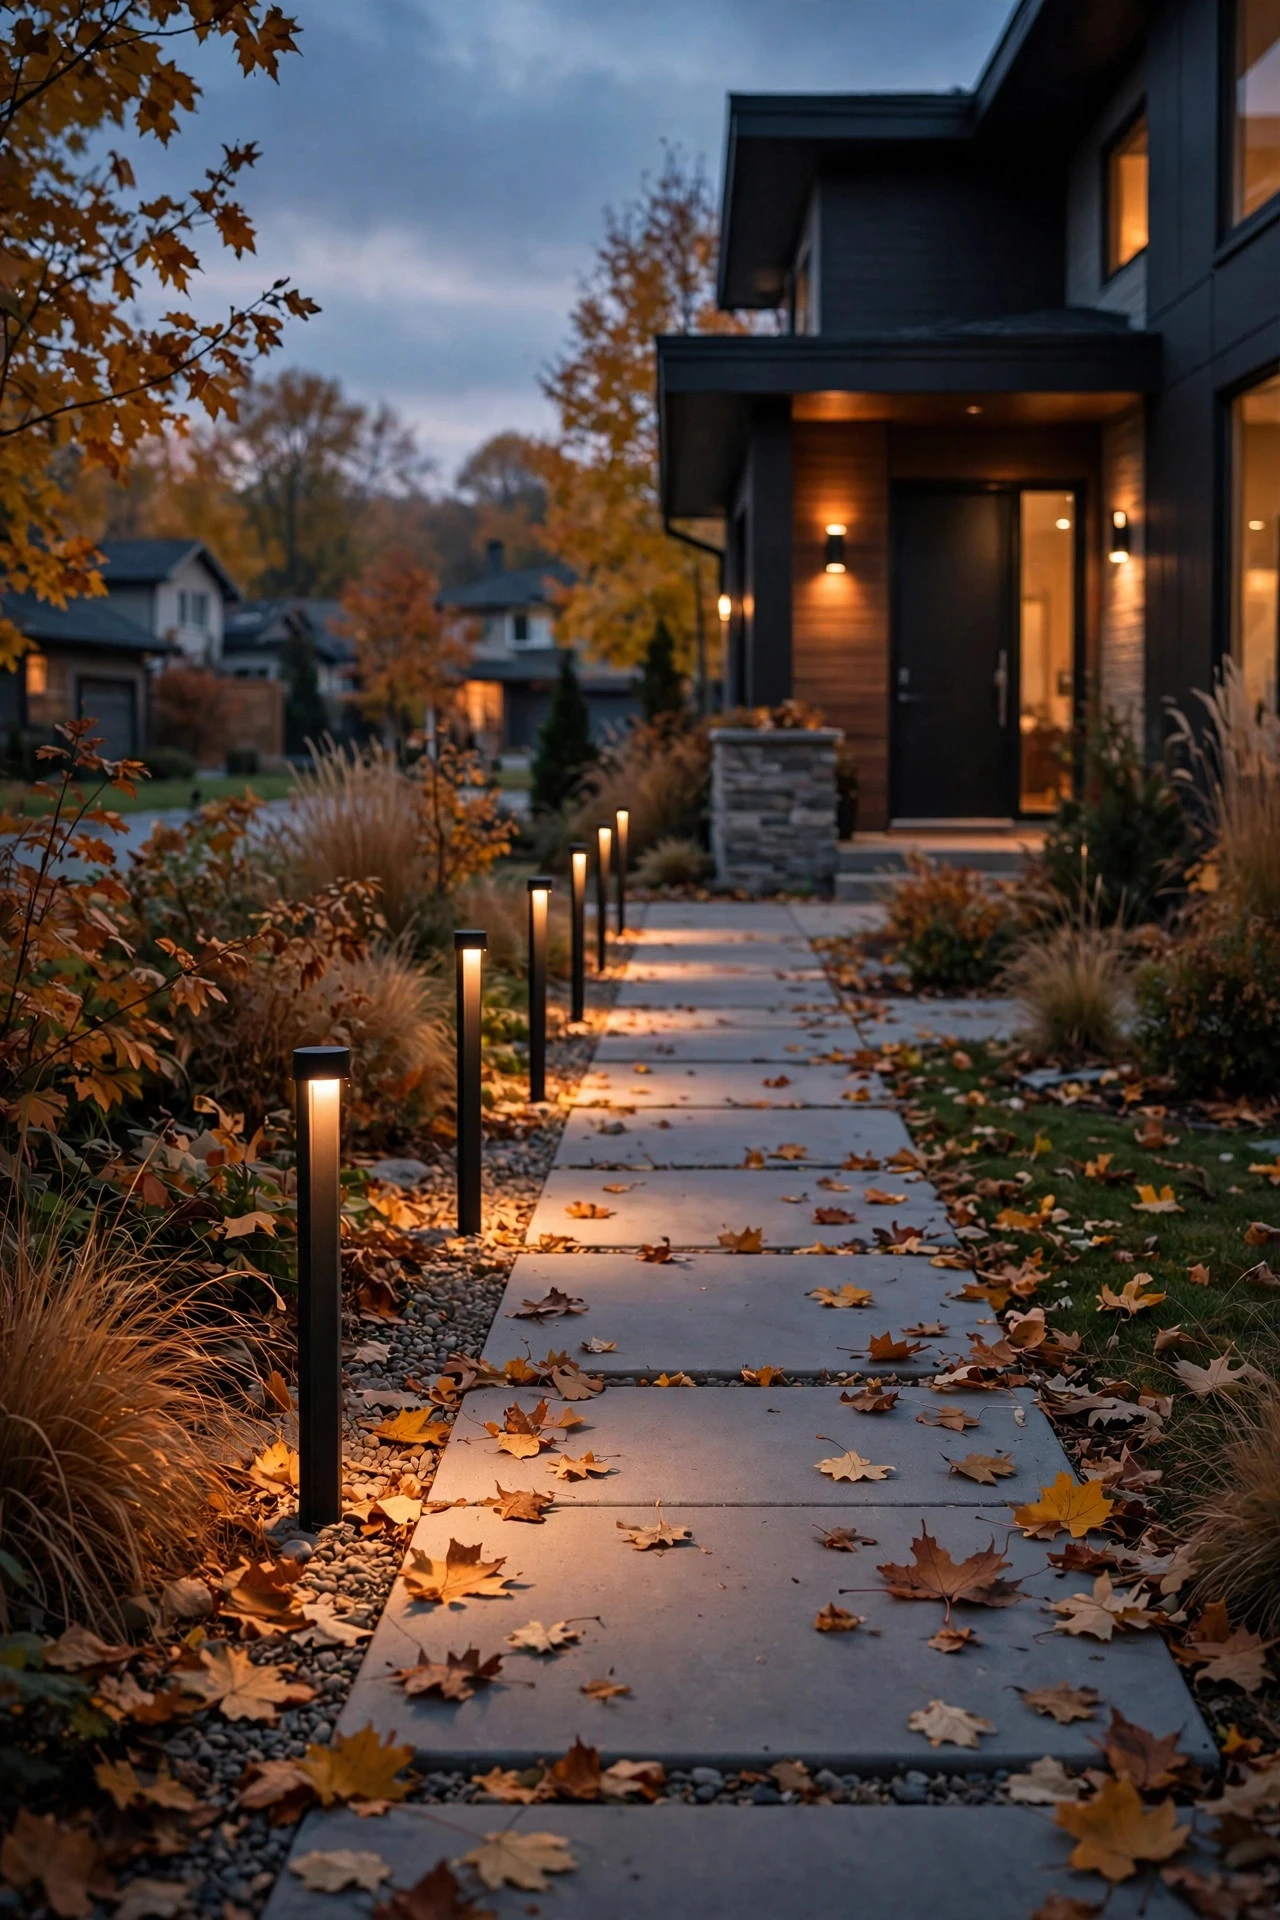
If your home leans modern — clean lines, minimal trim, maybe a flat roofline — traditional stake lights can look fussy. Bollard lights are my answer: slim, upright posts (usually 2 to 3 feet tall) that give your pathway a crisp, architectural rhythm and a beautifully even wash of light.
Placement is everything with bollards because they're visually prominent. Space them 8 to 12 feet apart on one side of the path only — a single clean line looks intentional, while two rows can feel like an airport runway. Set them back a full 2 feet from the walk edge. Most residential bollards run on the same 12-volt low-voltage system as idea 2, so you can wire them into an existing transformer; choose fixtures with a fully shielded top (dark-sky friendly) so light goes down onto the path, not up into your neighbors' windows. I like a matte black or bronze finish for fall — it disappears against mulch beds and bare branches. Because bollards sit higher, they're naturally leaf-resistant: most leaves blow right past, and a quick wipe of the lens every couple of weeks is all they need. One caution: don't use bollards on a narrow path where kids or pets barrel through — at 2 feet tall they're a shin-height obstacle. On a main walk, though, they're stunning.
Suggested budget range: $100 – $280.
8. Motion-Sensor Accents at the Path Entrance
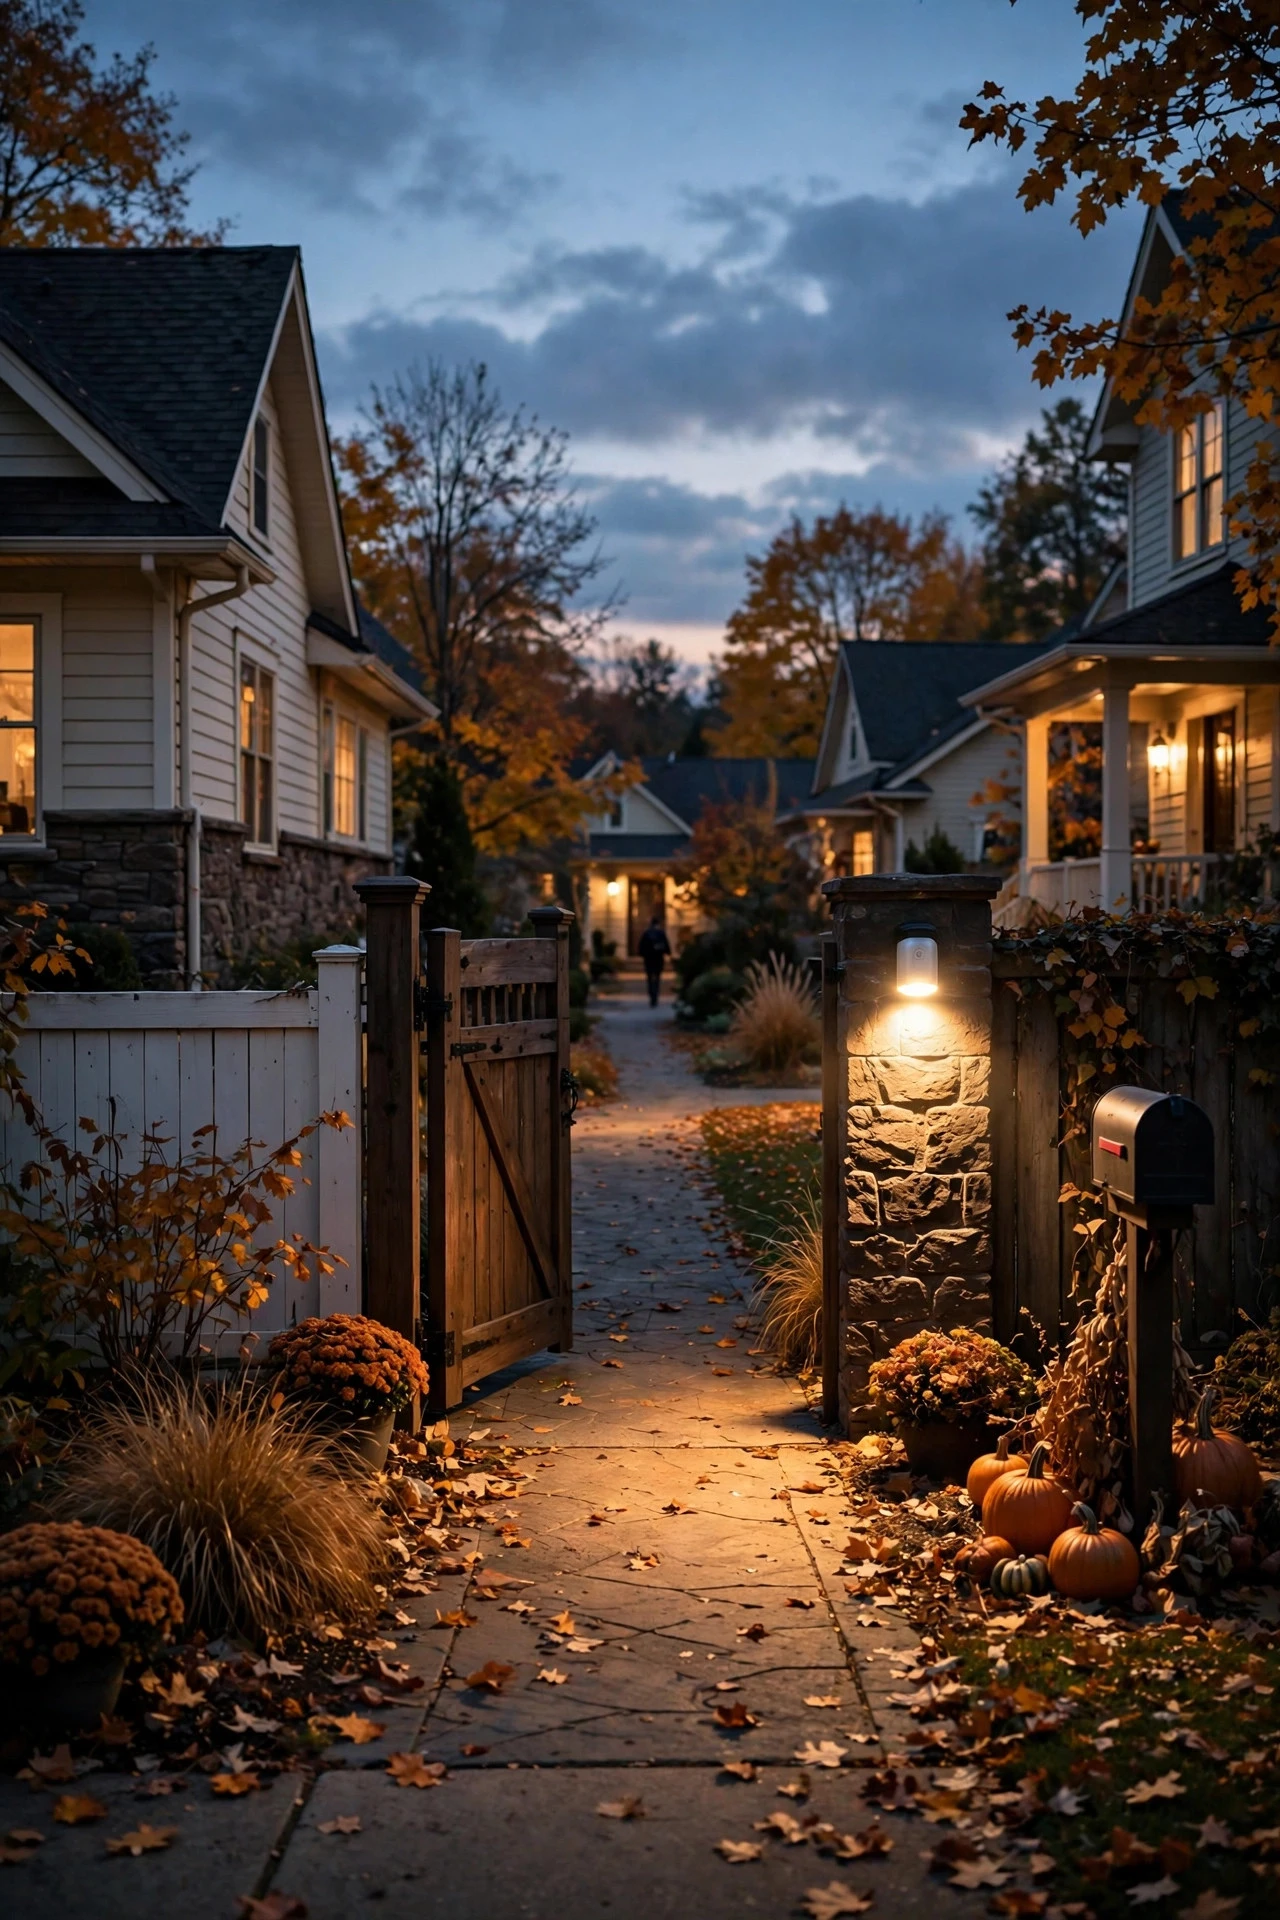
Here's the thing about a fully lit path: sometimes you want it lit all evening, but the gate or the driveway end of the walk is a different story. A motion-sensor light at the path entrance gives you bright, welcoming light exactly when someone arrives — and saves energy the rest of the night.
I mount a compact motion-sensor flood or wall pack 8 to 10 feet high at the gate post, garage corner, or fence line where the walkway begins, aimed down the path so it washes the first 15 to 20 feet. Set the sensitivity to cover a 30-foot range and the timer to shut off after 2 to 3 minutes — long enough to reach the porch, short enough that passing cars don't keep it lit all night. In my experience, the "dusk-to-dawn low, motion-to-bright" dual-mode fixtures are the sweet spot: they glow softly all evening so the entrance never looks dead, then kick up to full brightness when someone approaches. Angle the sensor head away from the street to cut down on false triggers, and keep the light itself shielded so it doesn't glare into drivers' eyes. Pair this with always-on path lighting and you've got a walkway that's both beautiful and genuinely secure.
Suggested budget range: $30 – $90.
9. Up-Lit Fall Planters (Mums, Grasses, Kale)
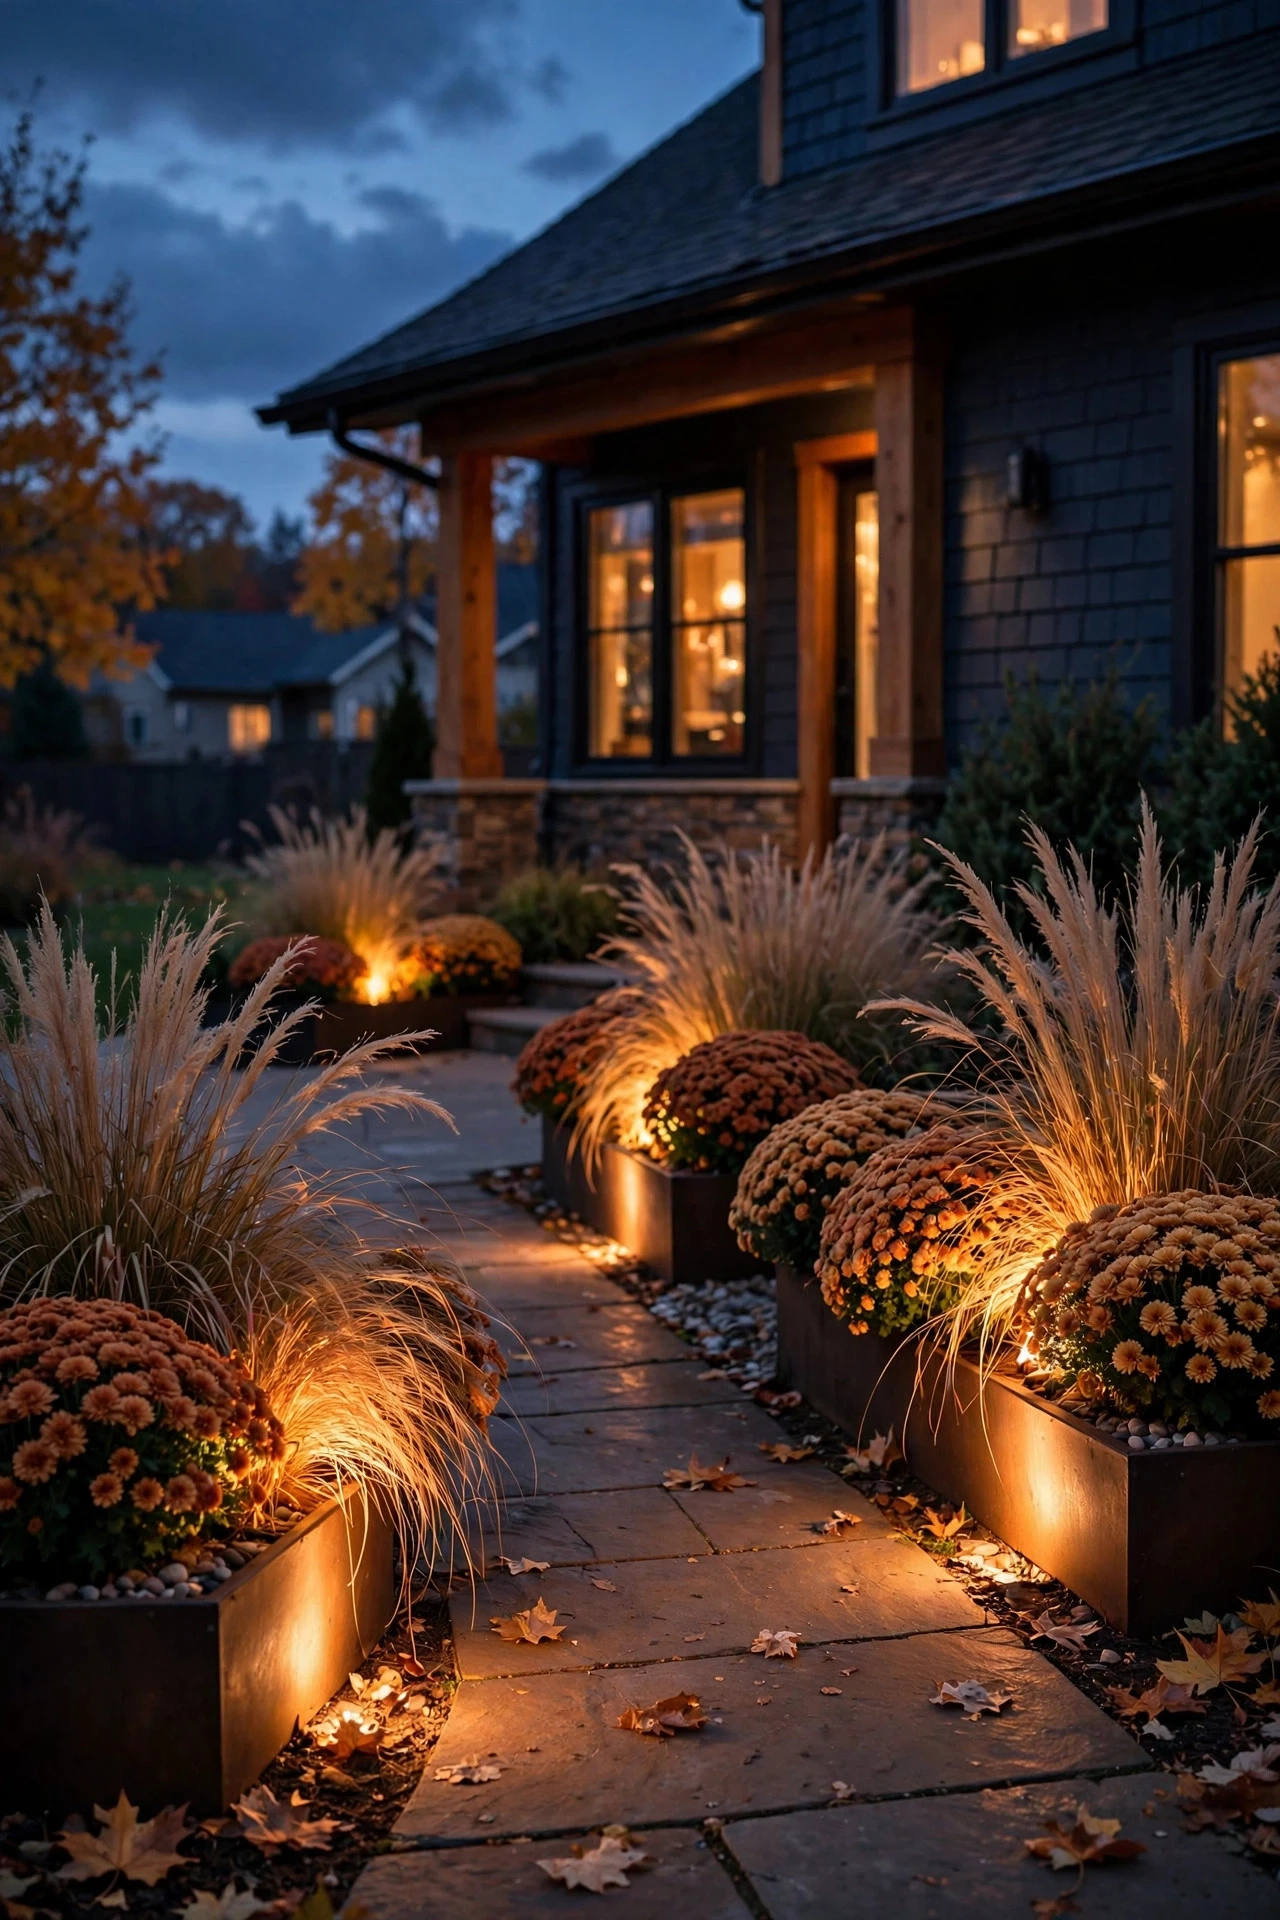
Your fall planters are doing all that gorgeous work — bronze mums, fountain grasses going gold, ornamental kale — and then they vanish at 6 PM. A small uplight in each planter turns them into glowing sculptures and throws a beautiful halo of light onto the walkway beside them.
The setup is simple: use a low-voltage mini spotlight (3 to 5 watts) or a solar spot with a ground stake, pushed into the soil at the back of the planter, aimed up through the foliage at about a 30-degree angle. One light per 2-foot planter is plenty; for a long window box, two spaced 18 inches apart. Keep the fixture 4 to 6 inches below the foliage line so you get that dramatic under-glow instead of a visible bright dot. I always recommend 2700K warm white for mums — cooler temps make orange and bronze blooms look gray and dead. Waterproofing matters here: fall means daily watering stops but rain starts, so confirm IP65 or better and keep wire connections out of the drainage path at the planter's base. My favorite styling trick is pairing this with idea 3's lantern rows — a lantern at ground level plus an up-lit mum behind it creates the most romantic little vignette you've ever seen on a Tuesday evening.
Suggested budget range: $45 – $120.
10. Recessed In-Ground Well Lights: the Most Leaf-Proof Fall Pathway Lighting Ideas
If leaves are your nemesis — and in October, they are everyone's nemesis — recessed in-ground well lights are the most leaf-proof option in this entire post. They're flush with the soil or lawn, so leaves blow right over them, mowers pass over them, and nothing gets knocked over by the wind.
Installation is a weekend project: dig a 10-to-12-inch deep hole, drop in the well housing with a gravel base for drainage, and set the fixture so the lens sits exactly flush with grade — proud lenses catch mower blades and collect leaves. Space them 6 to 8 feet apart along the path, about 2 feet back from the edge, aimed at a slight angle across the walk so the beams graze the surface. Wire them into your low-voltage system with waterproof connectors, and choose fixtures with adjustable heads so you can aim around newly planted beds. The one honest downside: in-ground fixtures can collect water if drainage is poor, so I always recommend the gravel bed (3 to 4 inches of pea gravel under each housing) and checking after the first big rain. In clay soil, consider raising them a quarter inch and mulching around the collar instead. When the first snow flies, these are the fixtures that keep working with zero attention — and that reliability is worth every penny of the slightly higher cost.
Suggested budget range: $110 – $300.
11. A String-Light Canopy Over the Path
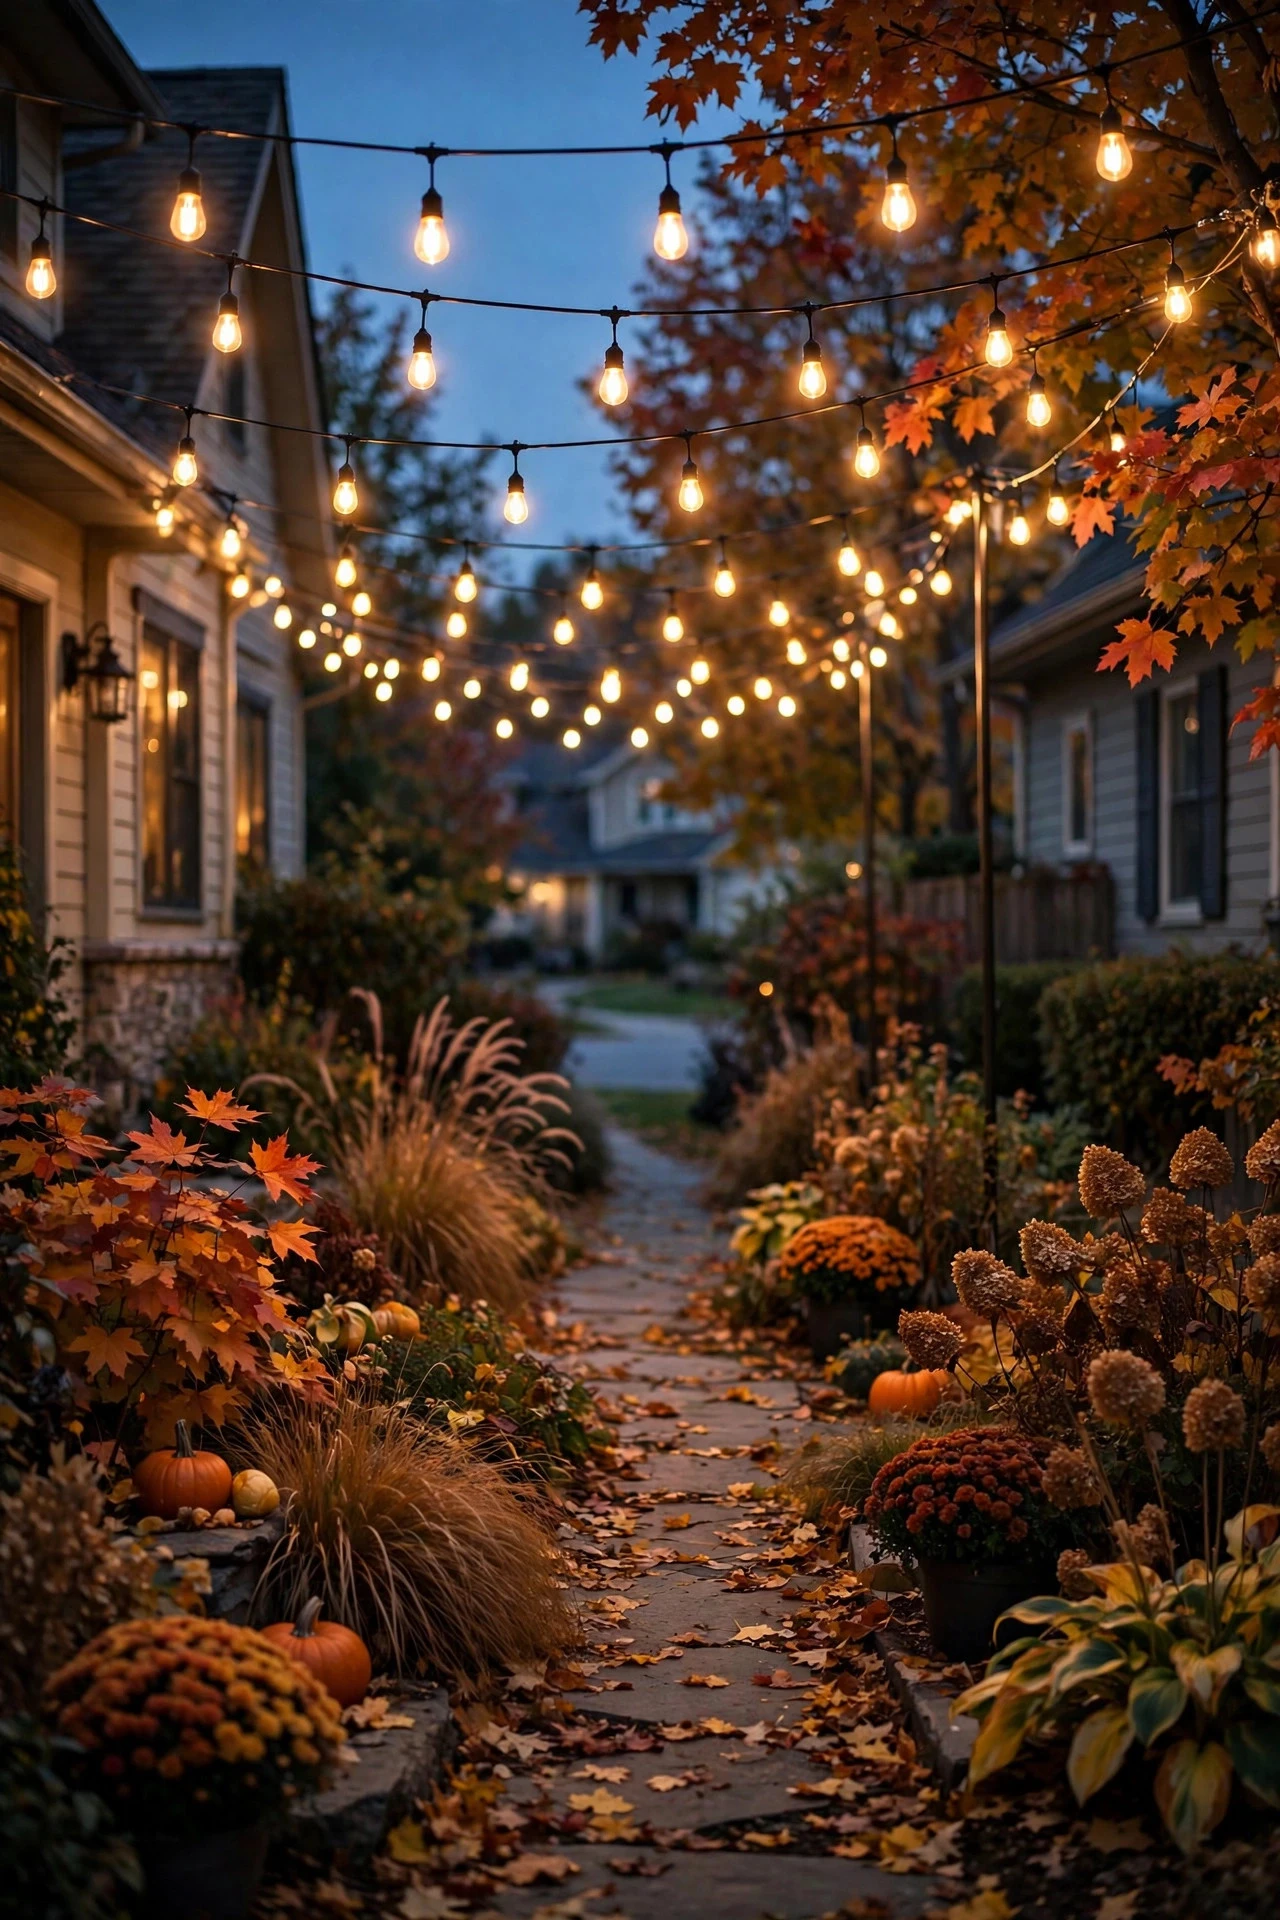
Some walkways deserve a full moment, and a canopy of string lights overhead turns an ordinary path into the kind of scene people photograph. This works best where your walk passes between two structures — house to garage, fence to fence, or under a simple pergola or arbor.
Here's how I do it: string commercial-grade outdoor Edison-style LED string lights (the 48-foot strands with shatterproof bulbs are my go-to) in gentle swags between anchor points 8 to 10 feet high, keeping the lowest point of each swag at least 7 feet above the walking surface so tall guests don't duck. Space parallel strands 2 to 3 feet apart for a full canopy, or do a single zigzag for a lighter touch. For spans over 15 feet, run a galvanized guide wire first and zip-tie the light strand to it — this keeps the swag from sagging and snapping in fall storms. Anchor to screw-in hooks rated for outdoor use, never to gutters or downspouts (they'll pull loose in the first windstorm). Plug into a heavy-duty outdoor timer and set it for dusk to 11 PM. One weatherproofing note: use only LED Edison bulbs rated for wet locations, and cap any unused socket ends — October rain finds every unsealed socket. On a still October night with leaves drifting down through the lights? Honestly, it's the best seat in the house.
Suggested budget range: $70 – $200.
12. Shepherd's Hooks with Hanging Solar Lanterns
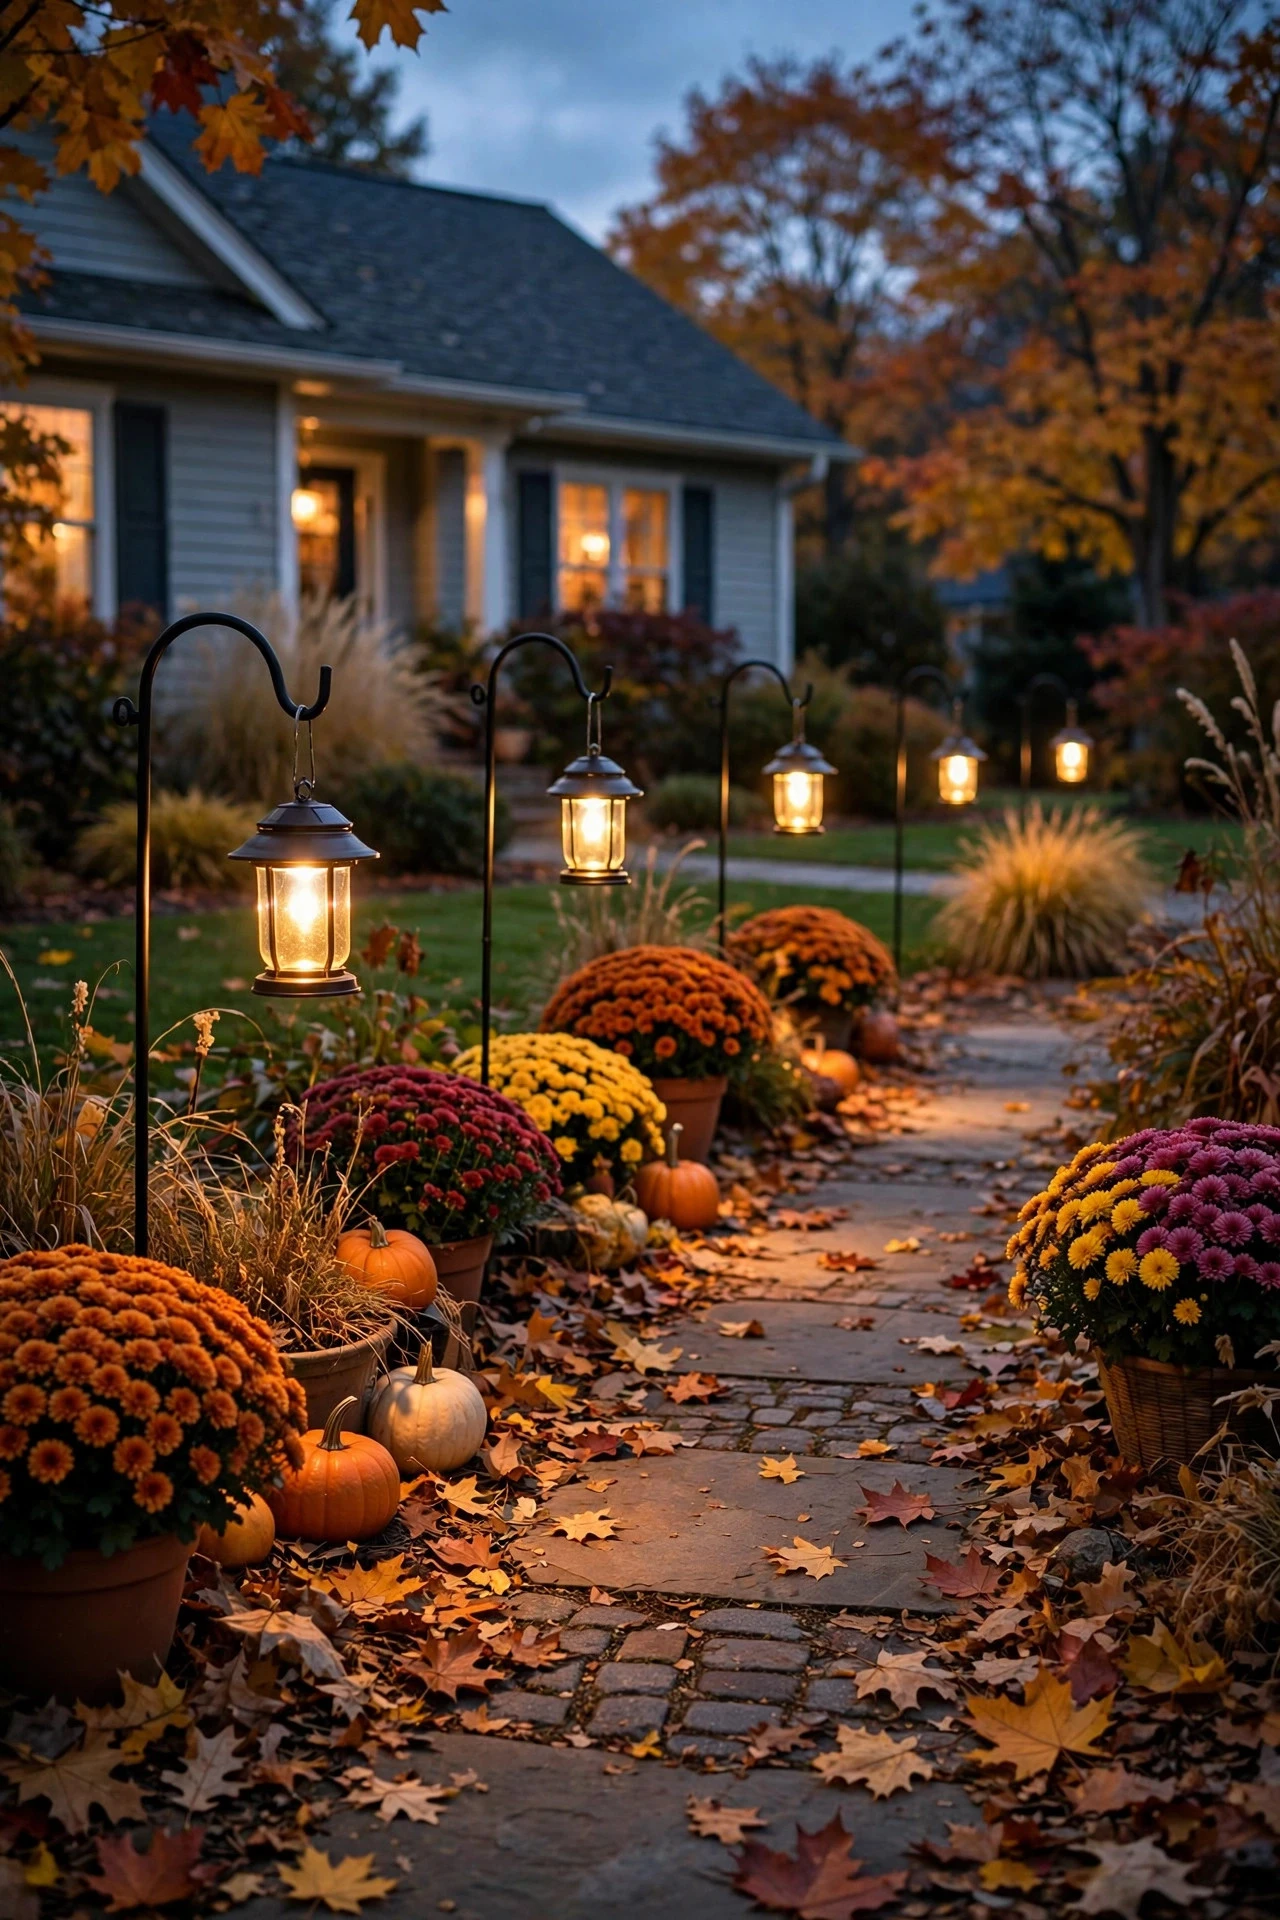
Shepherd's hooks are my secret weapon for pathways that need height without wiring — that graceful curved stake that holds a hanging lantern about 3 feet off the ground, right at eye level for maximum charm.
Drive 48-inch shepherd's hooks into the ground 12 to 18 inches back from the path edge, alternating sides every 8 to 10 feet. Hang solar lanterns with warm-white LEDs (look for 10 to 15 lumens — plenty for accent glow), making sure the solar panel on top of each lantern gets clear sky; tuck them out from under heavy tree limbs or they'll charge poorly in short October days. I always recommend the hooks with a double-prong base — single-prong hooks lean within a week in soft fall soil, especially after rain. Wind is the real enemy here: in exposed spots, choose lanterns with a locking hook or add a small S-hook carabiner so they don't swing off in a gust. Styling-wise, this is where I go full autumn — hang the lanterns and then wrap a little faux fall garland (maple leaves, berries) around the top curve of each hook. It looks custom and costs almost nothing. Bring the lanterns in before the first hard freeze if they're not rated below 32°F; most budget solar lanterns aren't.
Suggested budget range: $50 – $140.
13. LED Luminaria Bags for Autumn Evenings
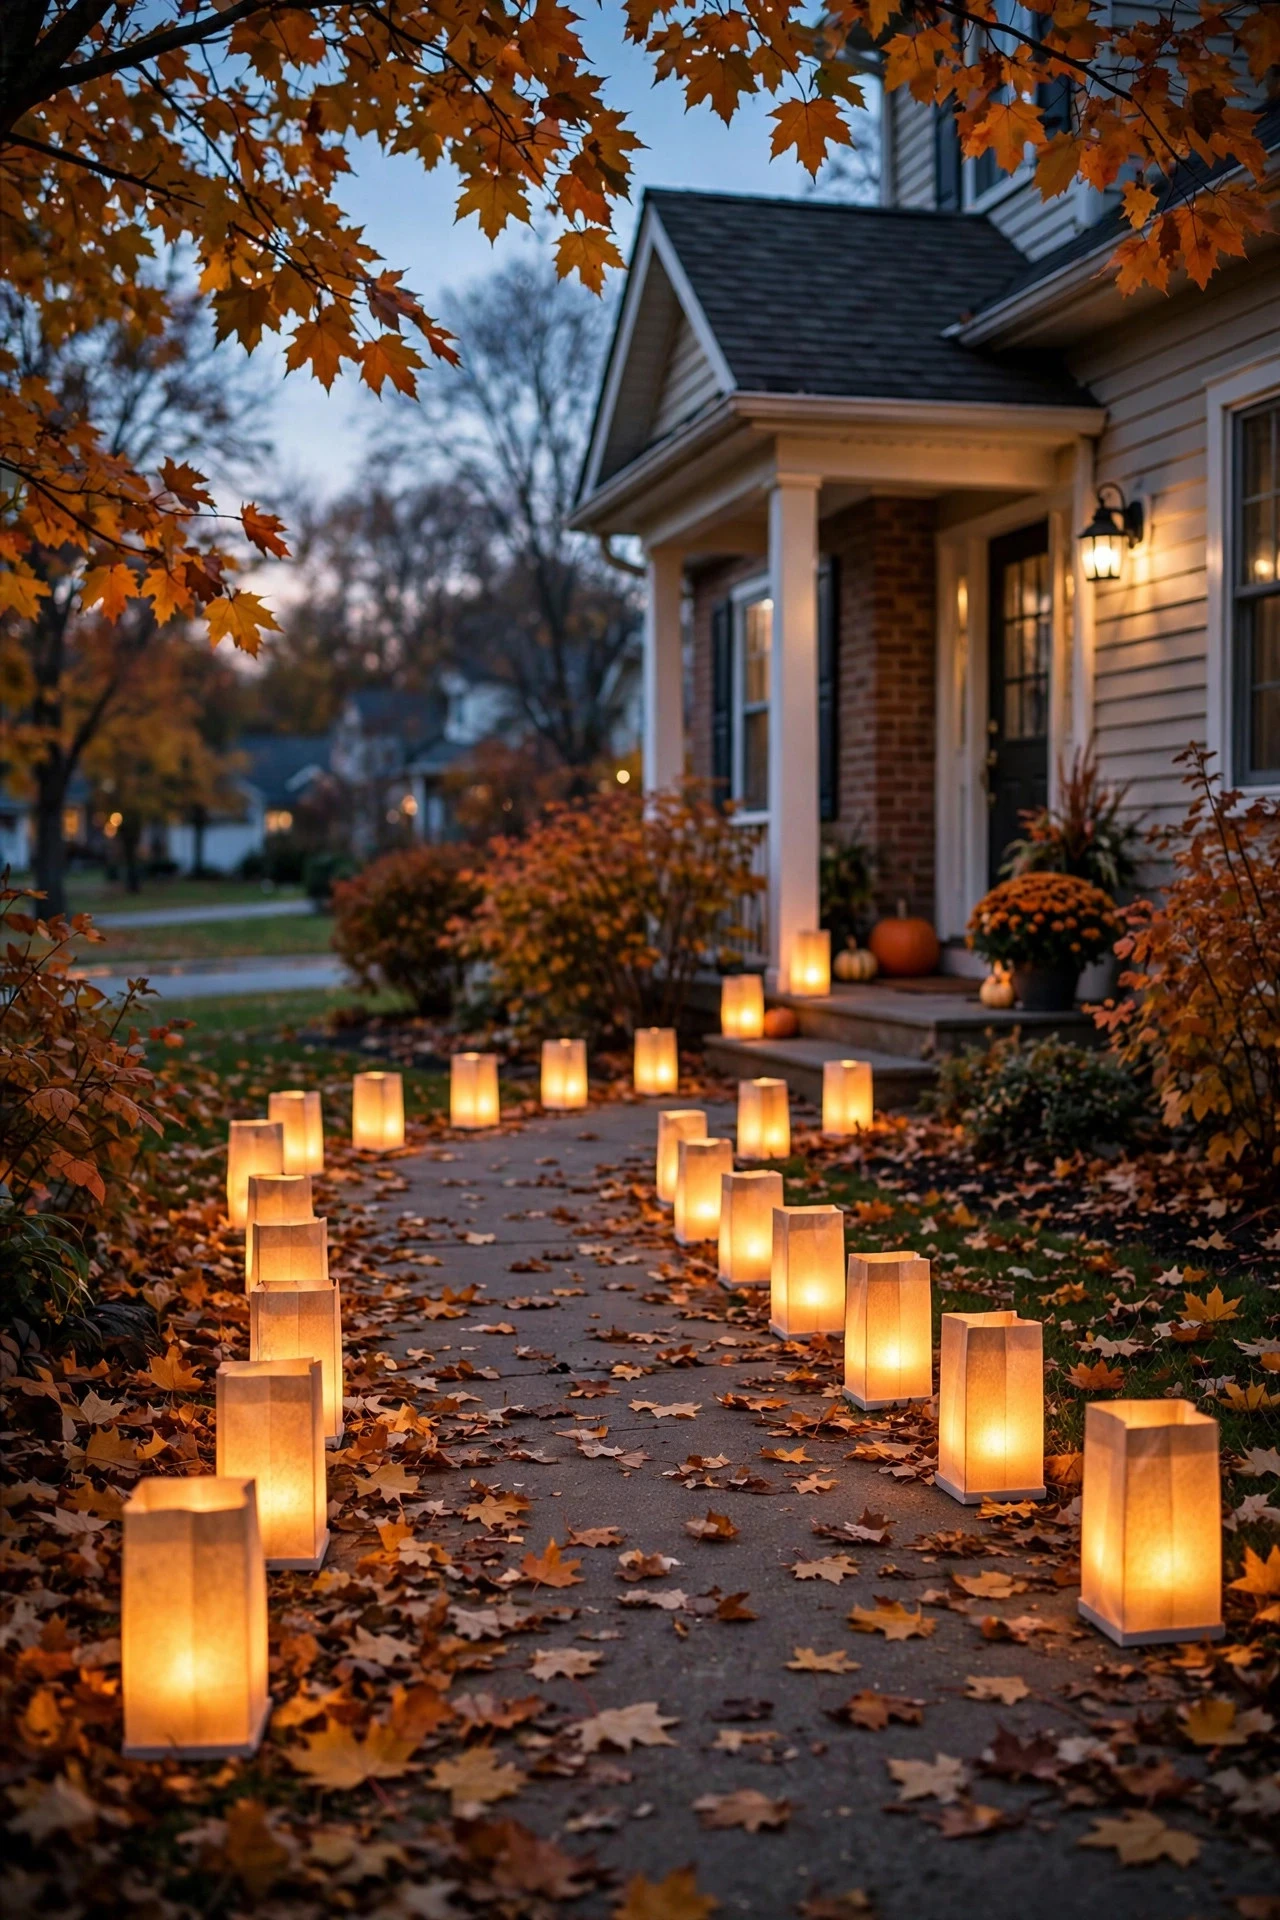
Luminarias — those glowing paper-bag lanterns — are a Southwestern tradition, but honestly? They belong on every fall walkway at least once a season. The real ones use candles and sand, but for October with dry leaves everywhere, I do the electric version and sleep soundly.
Here's the safe method: use white or kraft paper lunch bags (or reusable LED luminaria bags if you want them to survive rain), fold the top cuff down about 2 inches for structure, and put 2 inches of sand or pebbles in the bottom — this is the windproofing, don't skip it. Drop in a battery-operated LED tea light or flameless votive in warm white, flicker mode if you have it. Line them along both edges of the path, 3 to 4 feet apart, and you'll use 15 to 20 bags for a typical walk. They're an evening-only decoration: set them out before a dinner party or trick-or-treat night and bring them in after. The safety rules are simple but non-negotiable: LED only (never a real flame in a paper bag near dry leaves), keep bags 2 feet from any mulch bed or dry planting, and don't use them on genuinely windy nights — a toppled bag with a real candle is exactly how fires start, and even the LED version looks sad tumbling down the street. For Halloween night specifically, these plus idea 4's pumpkins make the best house on the block.
Suggested budget range: $20 – $55.
14. Layered Warm-White and Amber Tones
This one is more of a designer's trick than a product, but it might be my favorite idea in the whole post: layering two warm color temperatures — 2700K warm white for your path lighting and a deeper 2200K amber for accent features — to create depth that single-temperature lighting just can't achieve.
In practice: keep your functional path lights (stakes, bollards, wired run) at 2700K so footing is clearly visible, then add amber 2200K accents — uplights on trees, fairy lights in planters, a glowing lantern cluster near the porch — for the atmosphere layer. The slightly deeper amber reads as "autumn" to our eyes, echoing candlelight and harvest tones, while the 2700K keeps everything legible and safe. I learned this from photographing my own walkway: single-temperature lighting looks flat in photos, but the two-tone layering gives you that magazine glow. If you're buying new fixtures, check the color temperature on the box — mixing random "warm white" products from different brands can land anywhere from 2200K to 3500K, and 3500K will clash with amber accents and look oddly blue. Stick to one 2700K set for the path and one amber set for accents. This pairing is especially gorgeous against fall foliage — maples and oaks practically ignite under 2200K uplight.
Suggested budget range: $40 – $100.
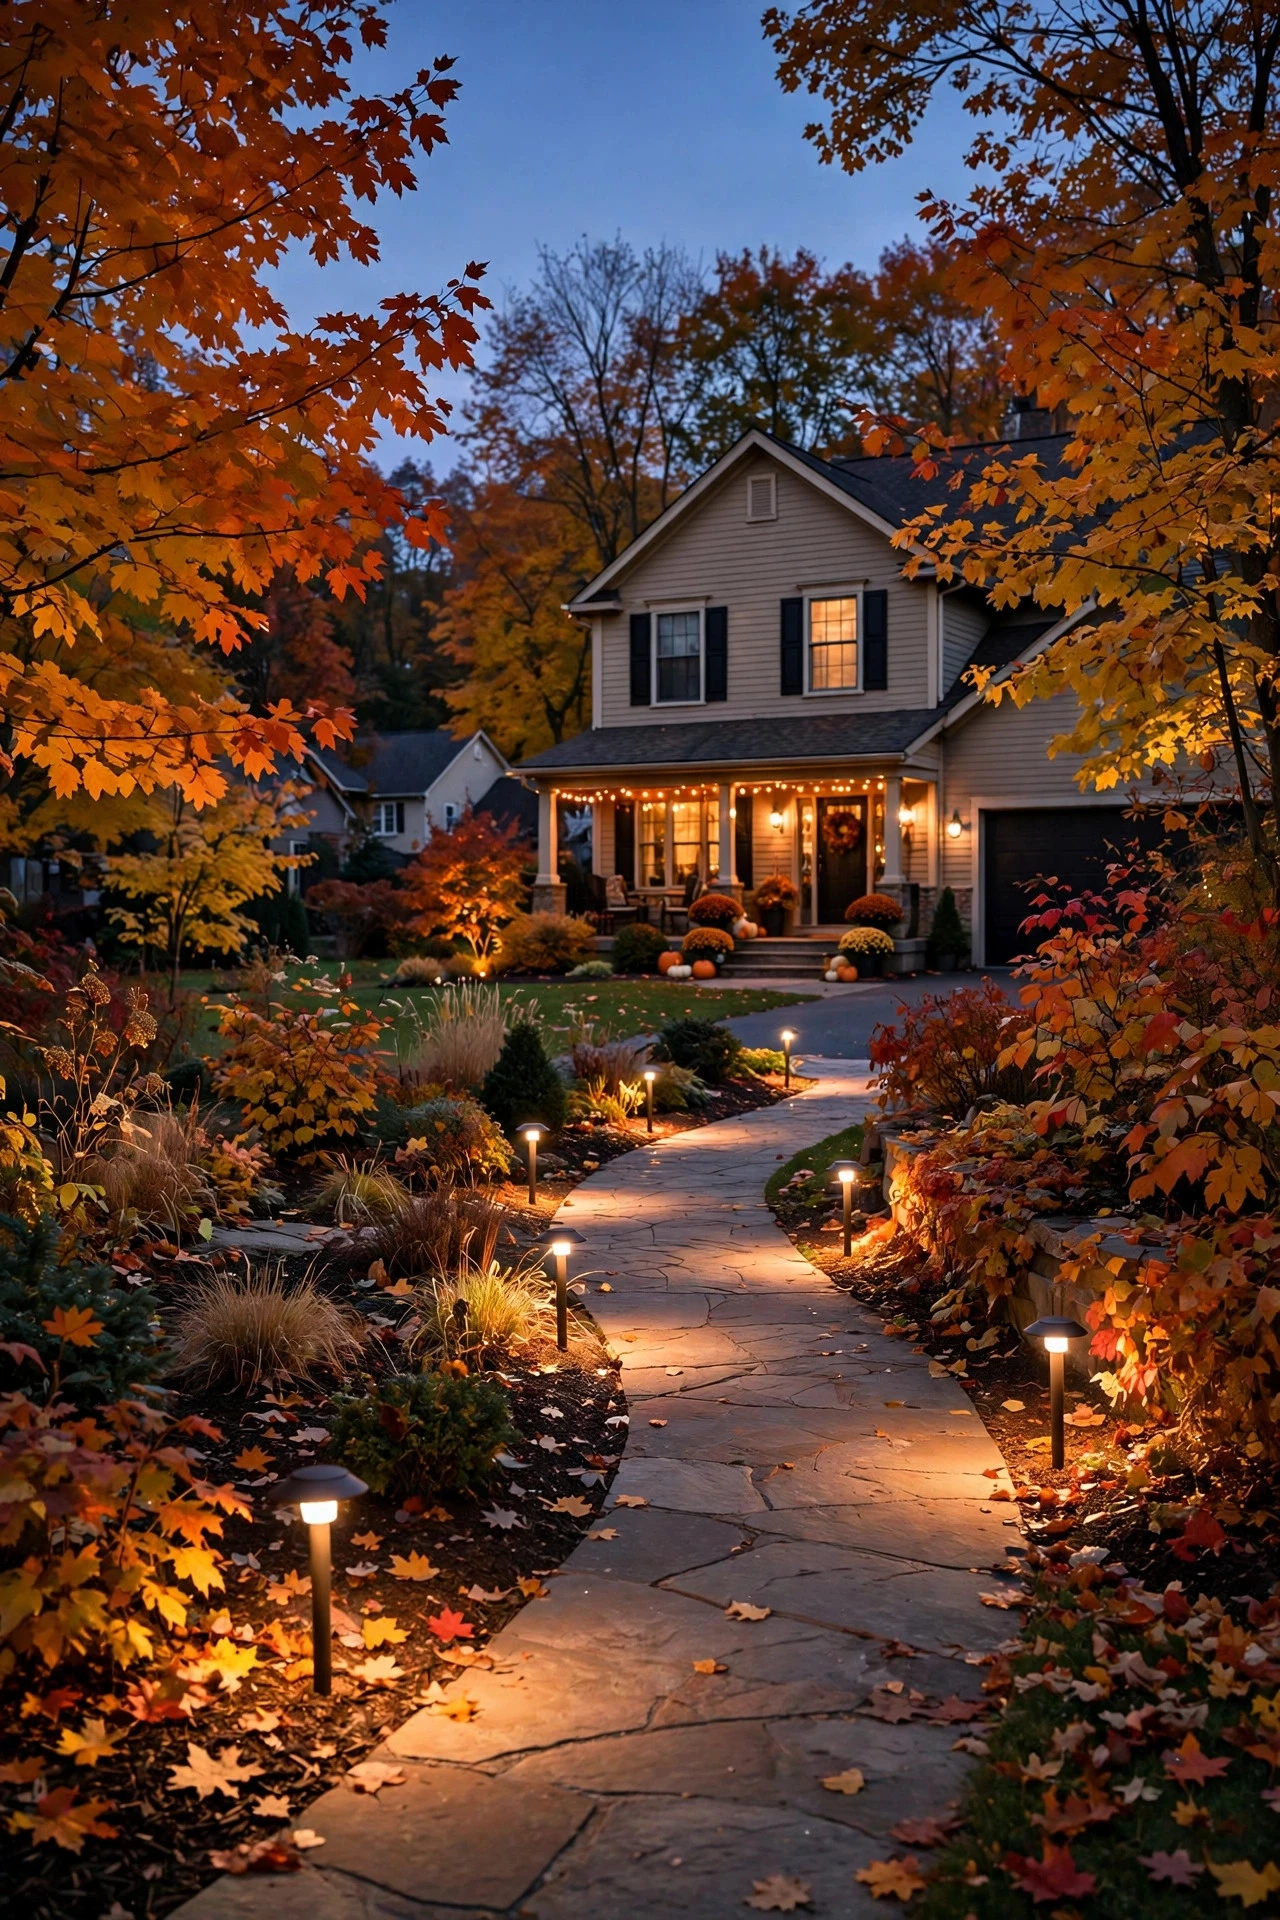
15. A Glowing Marker at the Path's End
Every great walkway needs a destination — a visual period at the end of the sentence. A glowing marker where your path meets the porch, door, or gate gives the whole walk purpose and draws the eye (and your guests) forward.
My favorite version is a backlit house-number plaque or a pair of small glowing planters flanking the final step, wired to the same timer as the rest of the path. A backlit number needs just a tiny LED strip behind a floating panel, mounted 5 feet high on the porch wall or a post, and it doubles as genuinely useful wayfinding for visitors and delivery drivers on dark October evenings. Alternatively, place two large planters with up-lit ornamental grasses or mini evergreens at the path's end — the vertical glow reads as a gateway. Whichever you choose, make it slightly brighter than the path lights leading to it; the eye follows the brightest point, and you want that "arrived home" feeling. This is the perfect tie-in to the rest of your entry design — if you haven't seen them yet, my entryway lighting ideas cover porches and front doors in the same warm style. Keep the marker on the same dusk-to-dawn or timer schedule as the walk so the whole scene turns on as one.
Suggested budget range: $45 – $130.
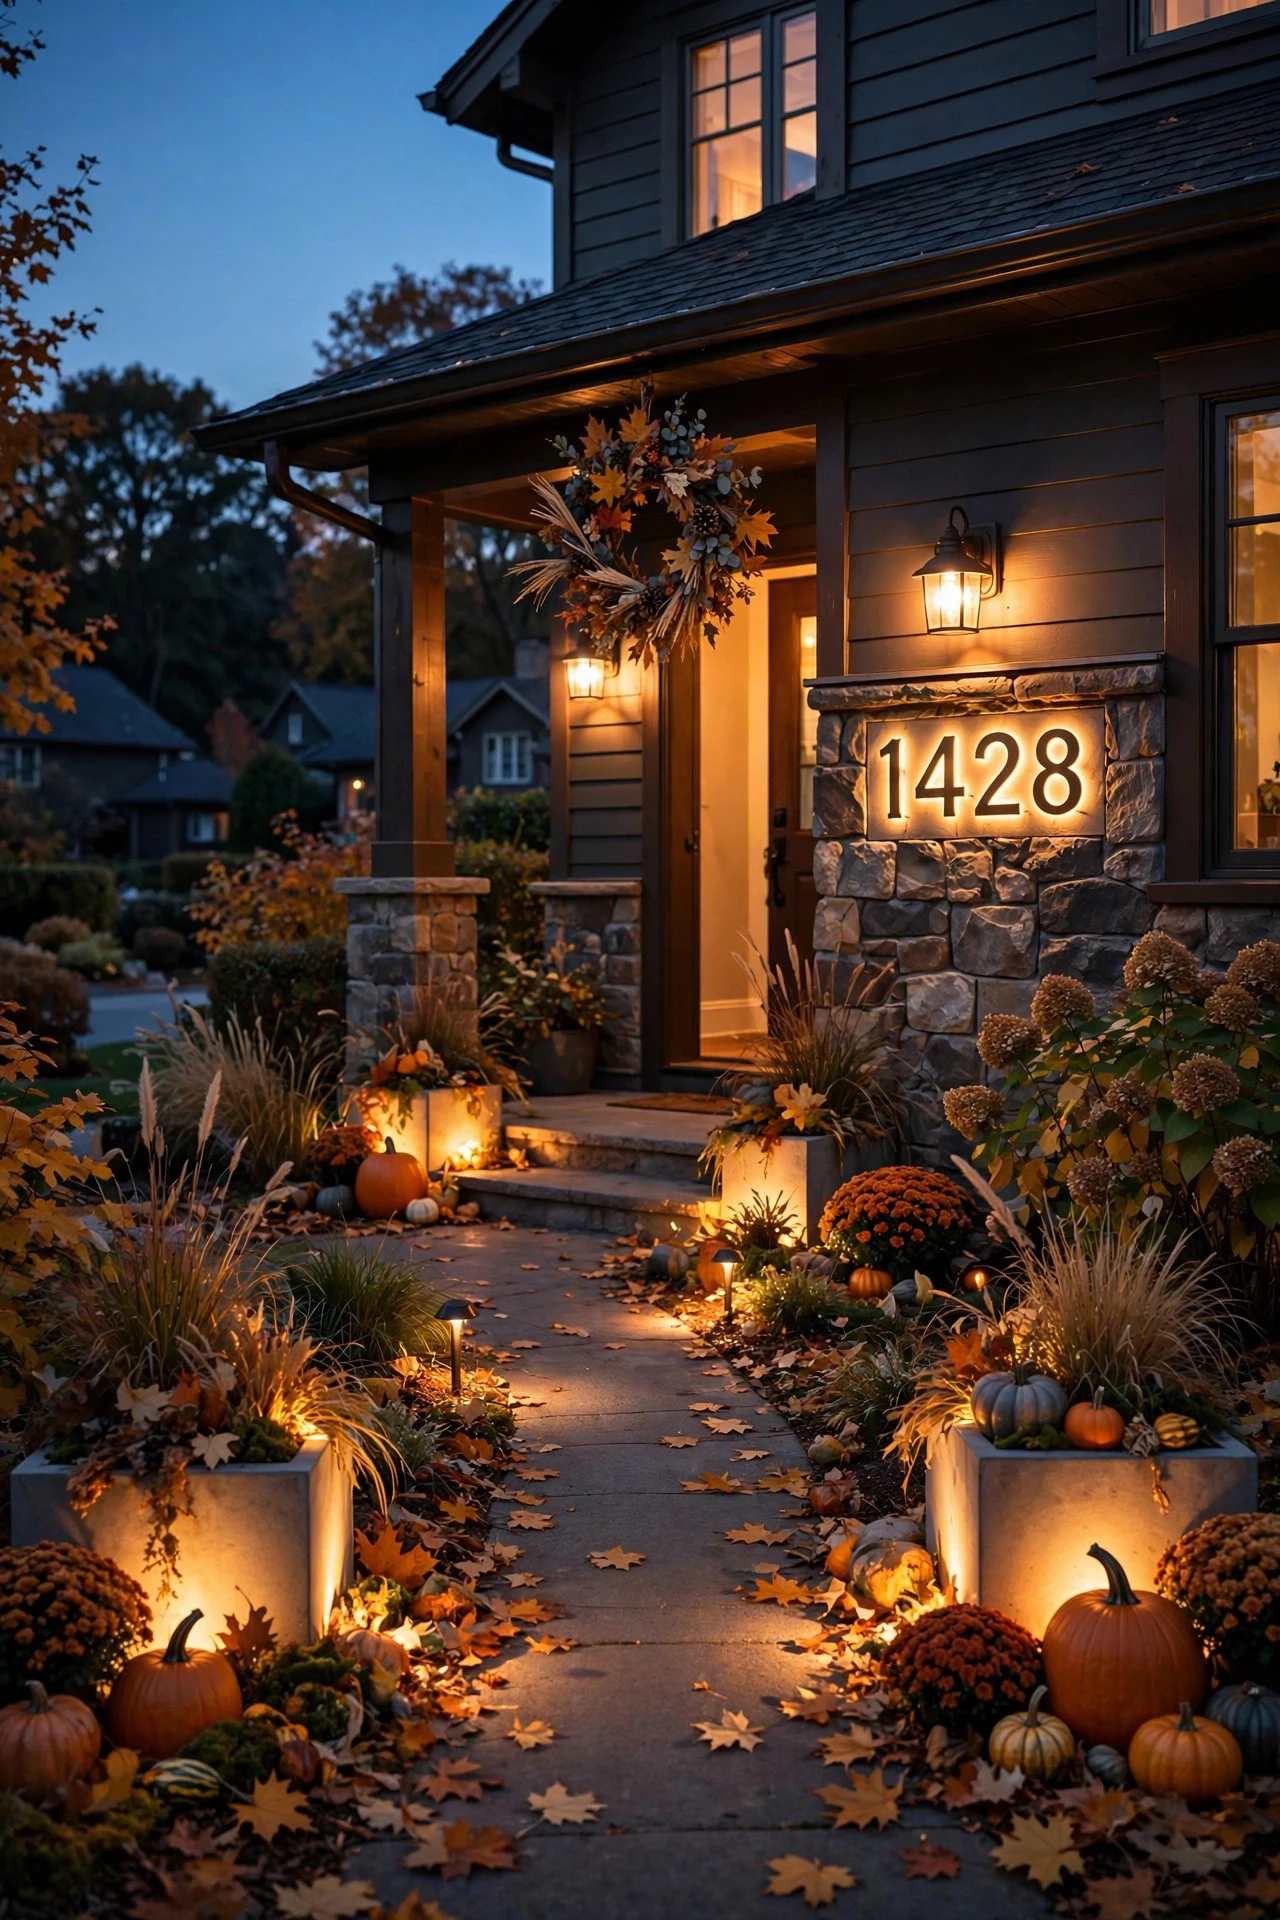
16. Spotlight Wash Across the Path
Uplighting trees is a landscape-lighting classic, but here's the autumn twist I love: aiming low-voltage spotlights so their beams graze across the path surface itself, catching every texture of stone, brick, or flagstone — and every fallen leaf in golden detail.
Use adjustable low-voltage spotlights (4 to 6 watts) on ground stakes, set 3 to 4 feet off the path edge and aimed low — about a 20-degree angle — so the beam skims the walking surface rather than blasting into the sky. Space them 10 to 12 feet apart, alternating sides, and aim each one slightly across the path so the pools of light overlap. This grazing technique is incredibly flattering on textured pavers and natural stone, and it makes wet leaves glisten instead of looking like dark patches — honestly, it's the prettiest way to handle the one thing you can't stop falling from the trees. Keep the fixtures 2700K to 3000K; cooler light turns stone blue-gray and kills the autumn mood. One practical note: stake the fixtures firmly and check the aim monthly, because frost heave and curious raccoons both love to nudge them. And shield the lens side facing the street — a low aimed spotlight can glare straight into a passing driver's eyes if you're not careful.
Suggested budget range: $60 – $160.
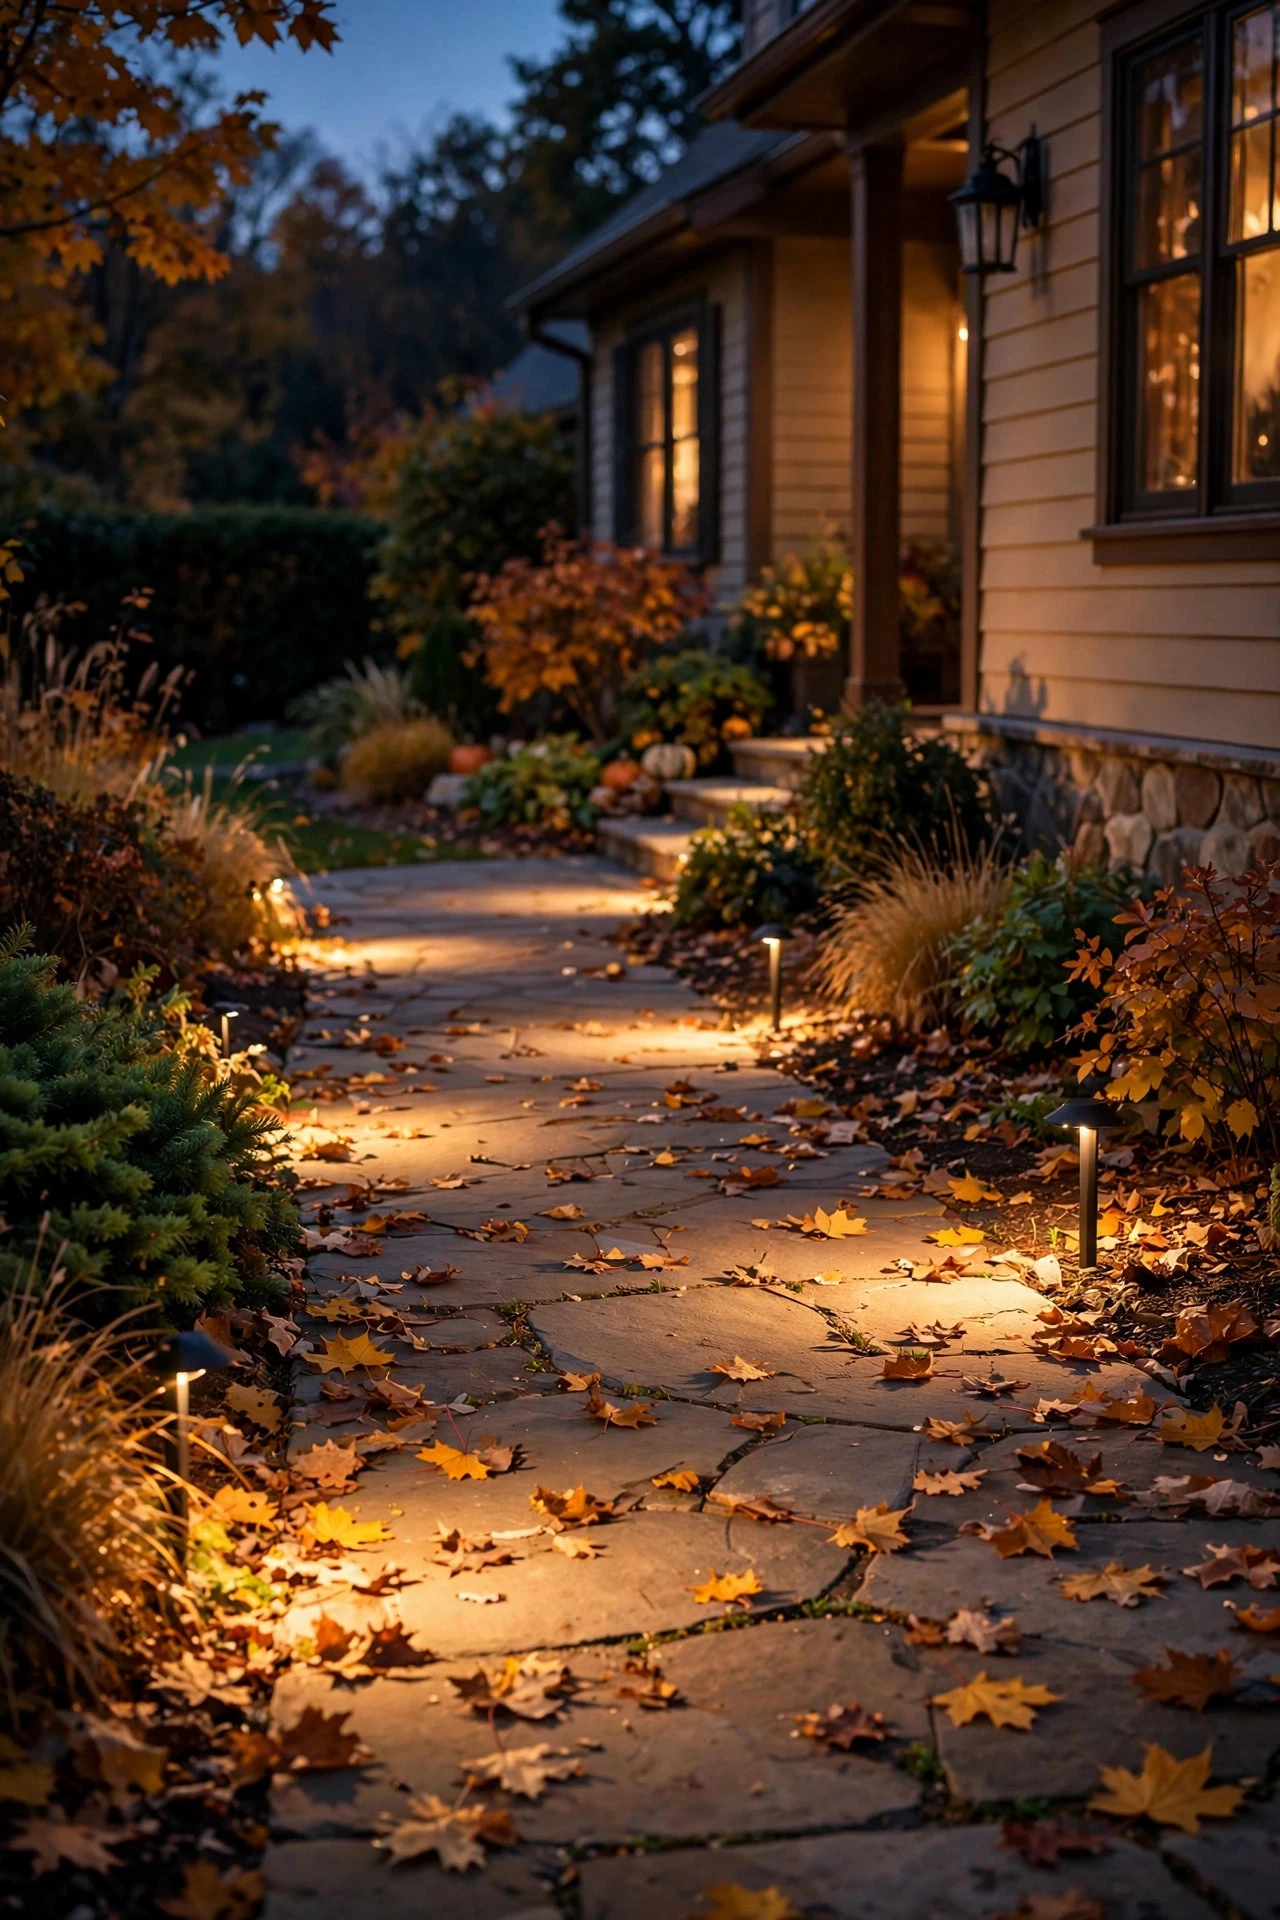
## 17. The Timer and Zone Master Plan for All Your Fall Pathway Lighting
If you take one thing from this post, let it be this: the best fall pathway lighting ideas in the world fall flat without a timer. Nobody — not you, not me — is walking outside at 5:47 PM every October evening to flip switches. A smart timer setup makes the whole walkway light itself, night after night, while you stay warm inside.
Here's my recommended master plan, and it works whether you're solar, wired, or a mix: put your core path lighting on a photocell timer that runs 6 hours from dusk — that covers the whole October and November evening. Put your accent layers (lanterns, fairy lights, canopy strings) on a separate plug-in timer set for 5 PM to 10:30 PM, so the decorative glow peaks while you're actually enjoying it. If you have solar exterior house lights, check their built-in dusk-to-dawn sensors align with your wired timers — mismatched on/off times make a walkway look glitchy. For the genuinely fancy version, a smart plug or smart outdoor timer lets you adjust everything from your phone — and even set a "party mode" that keeps everything lit until midnight on weekends. Label your zones with a strip of tape on the timer — "PATH," "ACCENTS," "PORCH" — because future-you will be grateful. Test the whole system once at dusk before the season really starts, and then forget about it until spring.
Suggested budget range: $25 – $80.
Frequently Asked Questions
Are solar pathway lights strong enough for fall nights?
They can be, with the right expectations. Modern solar path stakes with warm-white LEDs put out 5 to 15 lumens each — plenty for marking a walkway edge and creating atmosphere. But October and November bring two challenges: shorter daylight hours (less charging time) and leaves covering the panels. In my experience, solar works best for the decorative layer, while a low-voltage wired run handles the safety-critical lighting. If you go all-solar, choose fixtures with larger panels, brush leaves off weekly, and position panels for maximum southern exposure.
What color temperature looks best for fall pathway lighting?
Warm white, 2200K to 3000K — no exceptions in my book. This range flatters autumn foliage, makes brick and stone look rich, and feels like candlelight instead of a parking lot. I keep functional path lights at 2700K and use a deeper 2200K amber for accents (see idea 14). Avoid anything above 3500K outdoors in fall; cool white makes orange mums look gray and kills the entire cozy mood you're working for.
How do I keep falling leaves from blocking my path lights?
Pick leaf-shedding fixture shapes first: domed caps, bollards, and in-ground well lights (ideas 1, 7, and 10) are naturally leaf-proof. Then make it a routine — a quick sweep or brush-off once a week during heavy leaf drop takes five minutes and keeps every light performing. Keep fixtures set back 12 to 18 inches from the path edge so blowing leaves don't drift directly onto them, and trim back any overhanging branches right above your lights in early October.
What's the best timer setup for pathway lights?
A dusk-to-dawn photocell timer running 6 hours is my go-to for the core path — it self-adjusts as sunset gets earlier through the season. Put decorative accents on a separate plug-in timer set for 5 PM to 10:30 PM. If you're mixing solar and wired fixtures, check that the solar lights' built-in sensors don't conflict with your wired timers' schedule. And always test the full system at dusk once before the season starts, so you're not troubleshooting in the dark.
A Walkway That Welcomes You Home
That's the thing about fall pathway lighting ideas — they're never really about the lights themselves. They're about that feeling when you turn onto your street at 6 PM, see your walkway glowing warm gold through the drifting leaves, and think: that's home. Start with one layer — even just a row of solar stakes — and build from there. Mix your heights, keep your color temperatures warm, put everything on timers, and clear those leaves once a week. Your walkway will carry you through the darkest evenings of the year beautifully, right up until it's time to think about holiday lights. If you're ready to keep going, browse more outdoor living ideas on the site — there's a whole season of glow waiting for you.