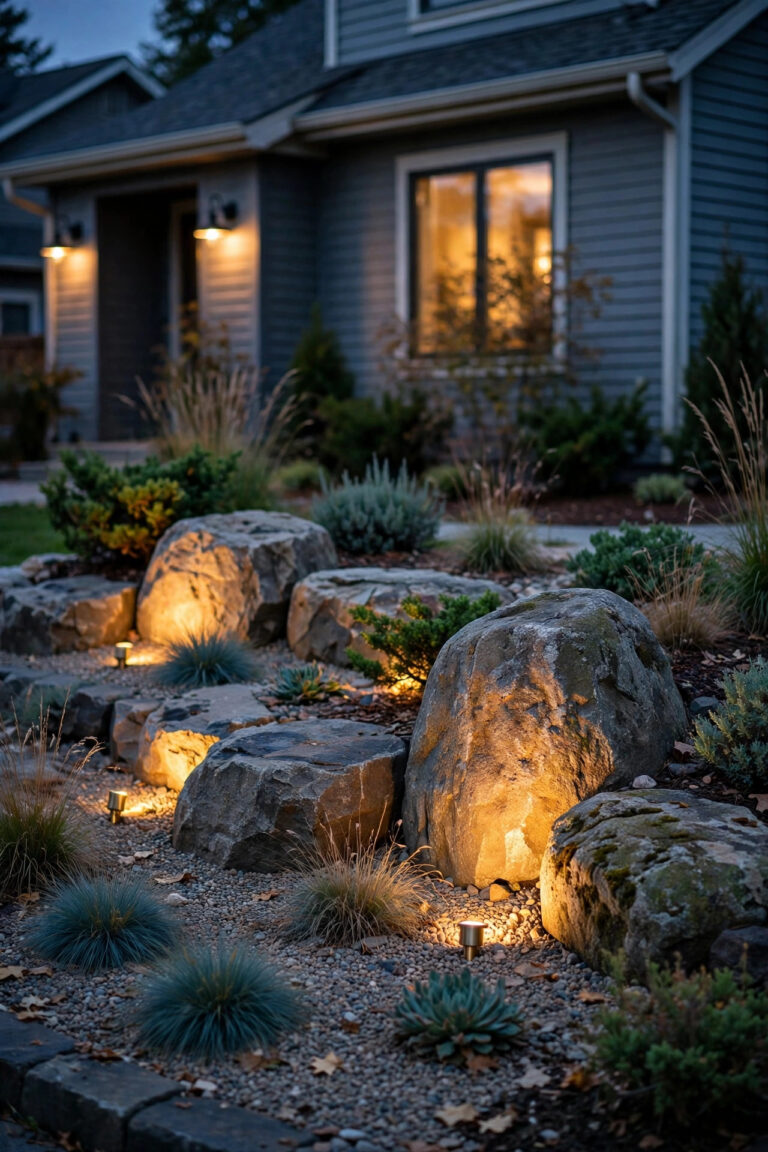
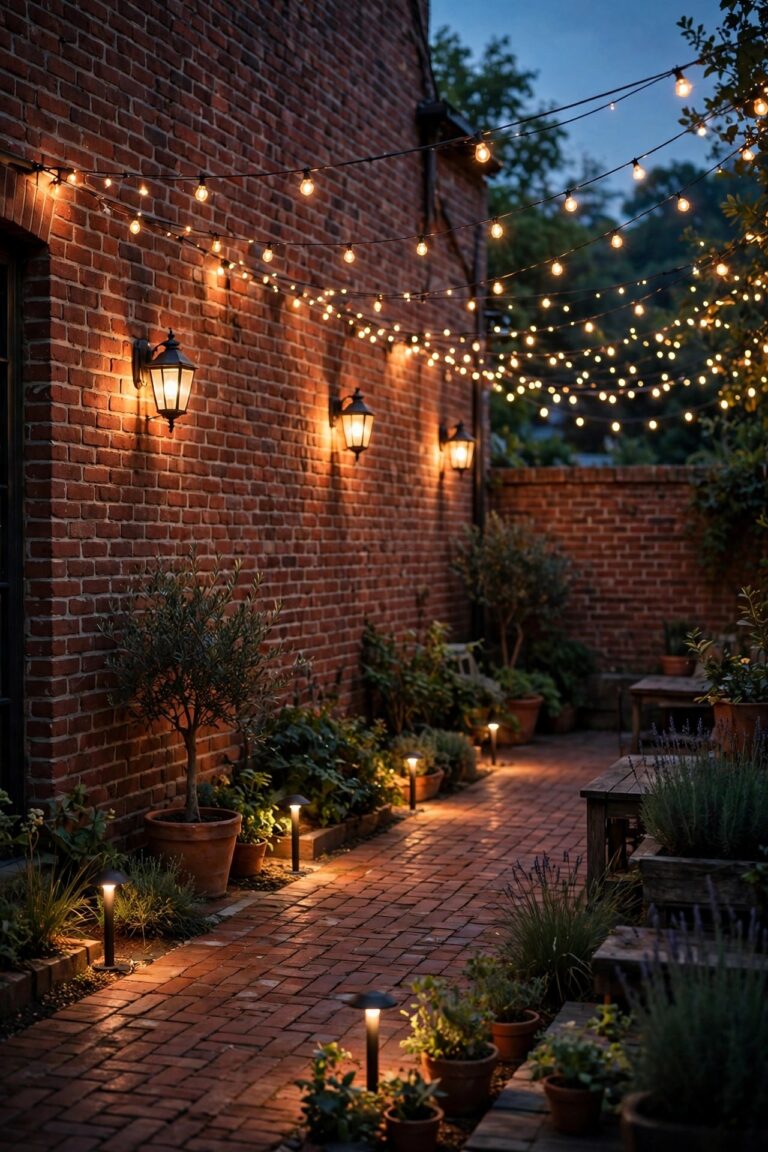
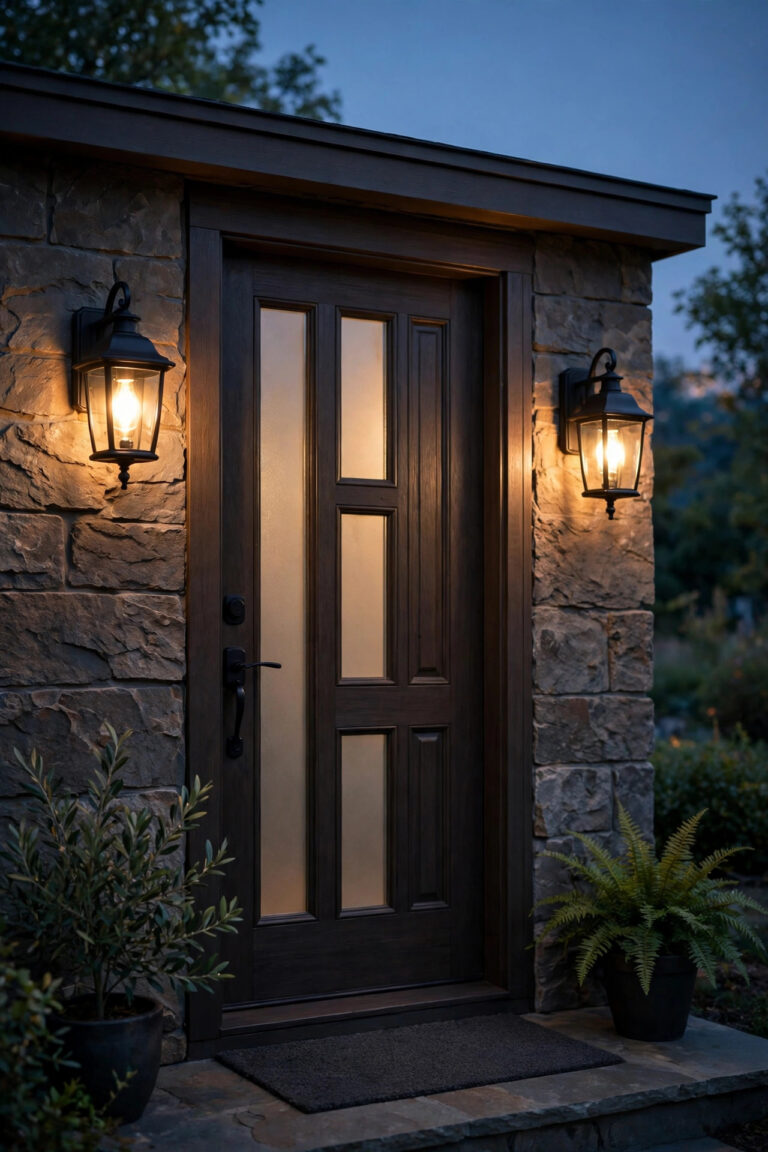
There's a moment just after sunset when a good lamp post turns an ordinary house into the one the whole street slows down to admire. When I started hunting for front yard lamp post ideas for my own driveway, I figured it was mostly about picking a pretty fixture. Honestly? It's about layers. A lamp post is the tall, welcoming anchor of your yard's lighting — it pools warm light where the walkway meets the driveway, gives guests a friendly beacon to aim for, and fills that middle height your porch sconces and low path lights leave empty. Get the height, placement, and bulb temperature right, and everything feels intentional instead of patched together over the years. Below are 19 ideas I've installed myself, borrowed from neighbors, or tested in my own yard — from classic wired posts to solar picks that need zero trenching. Each one comes with the placement tricks I'd use again and a realistic budget, so you can plan the whole project before you dig a single hole.
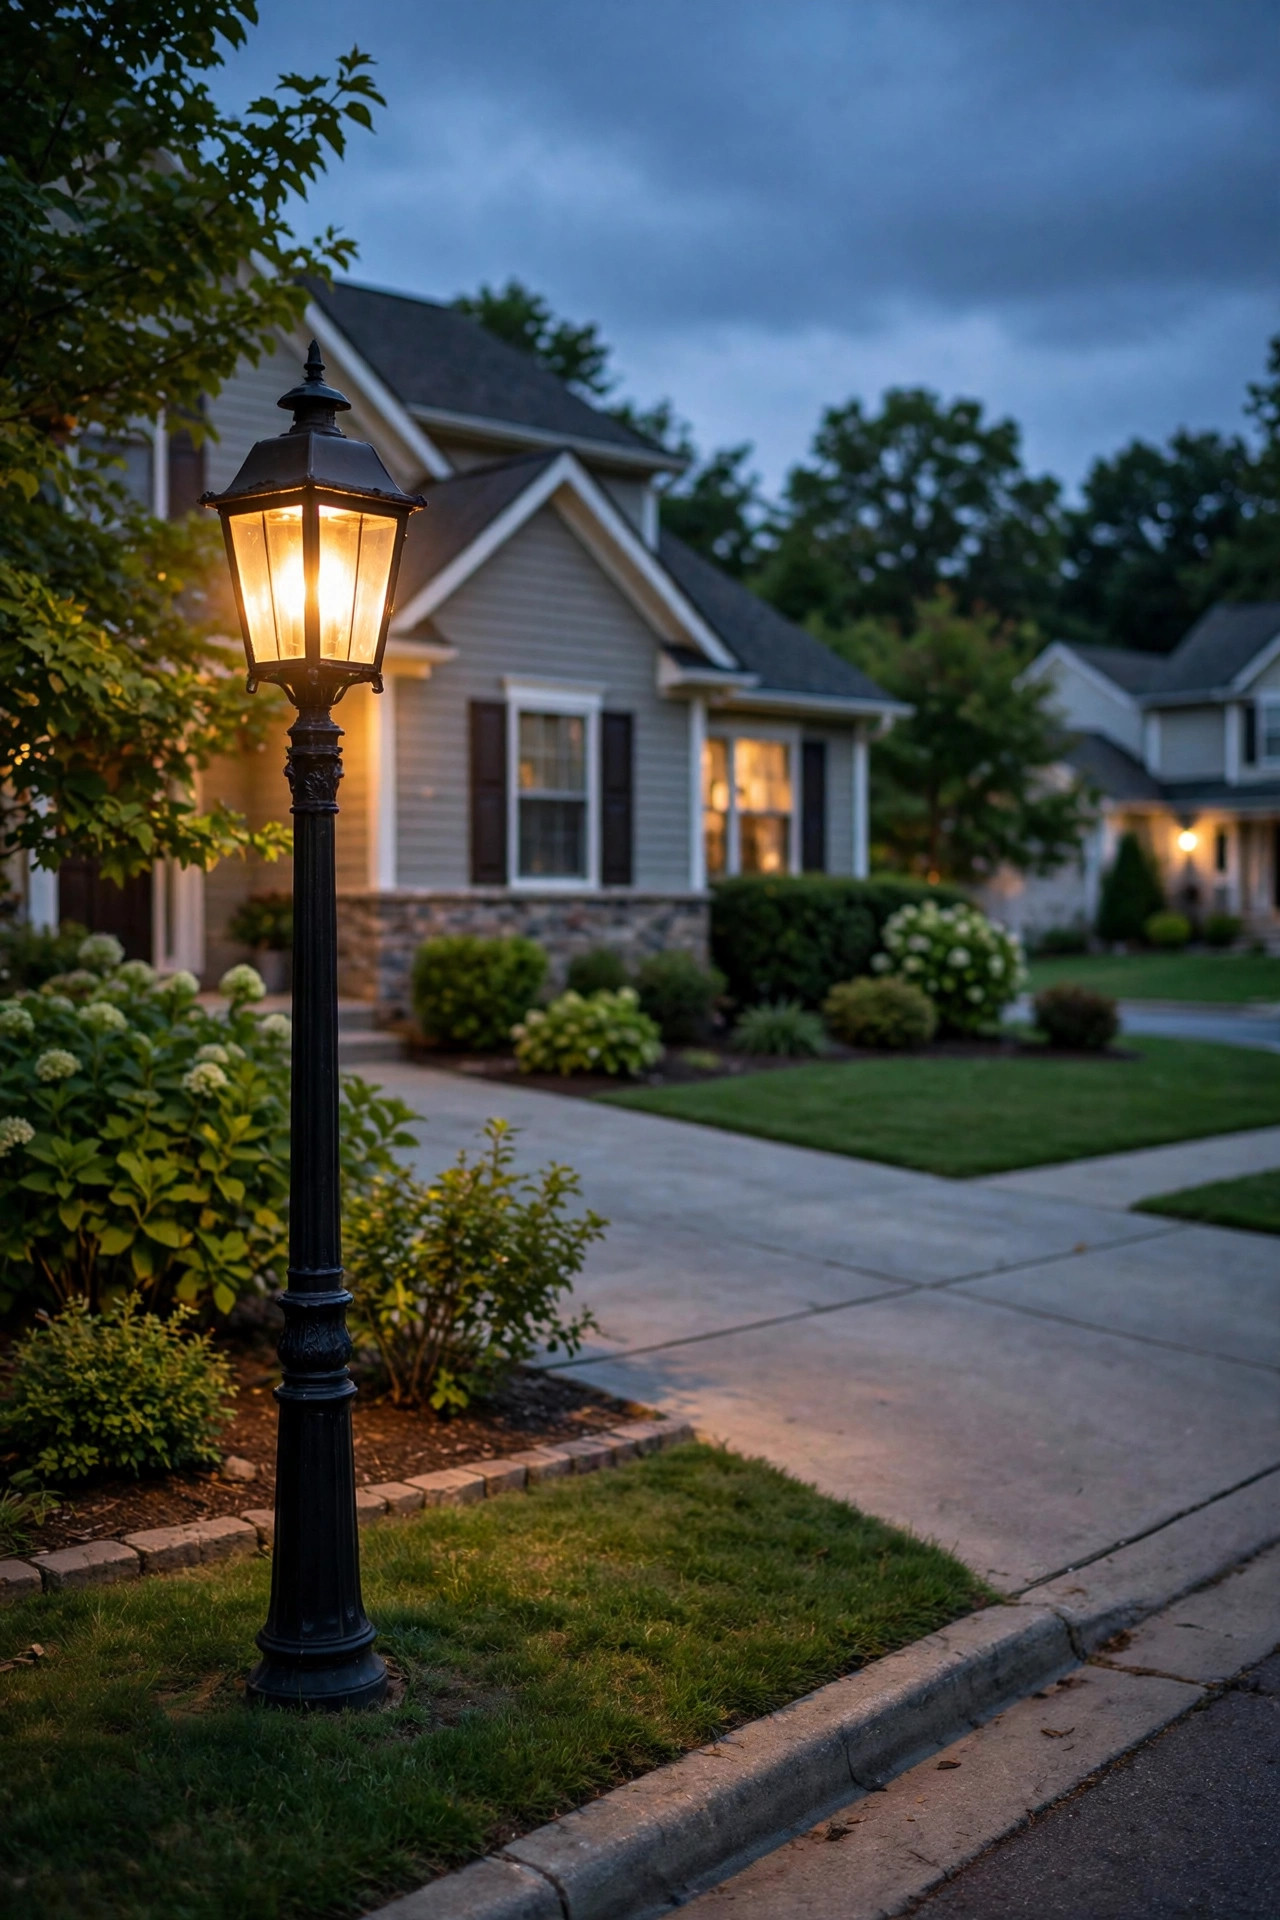
1. The Classic Black Lamp Post at the Driveway Entrance
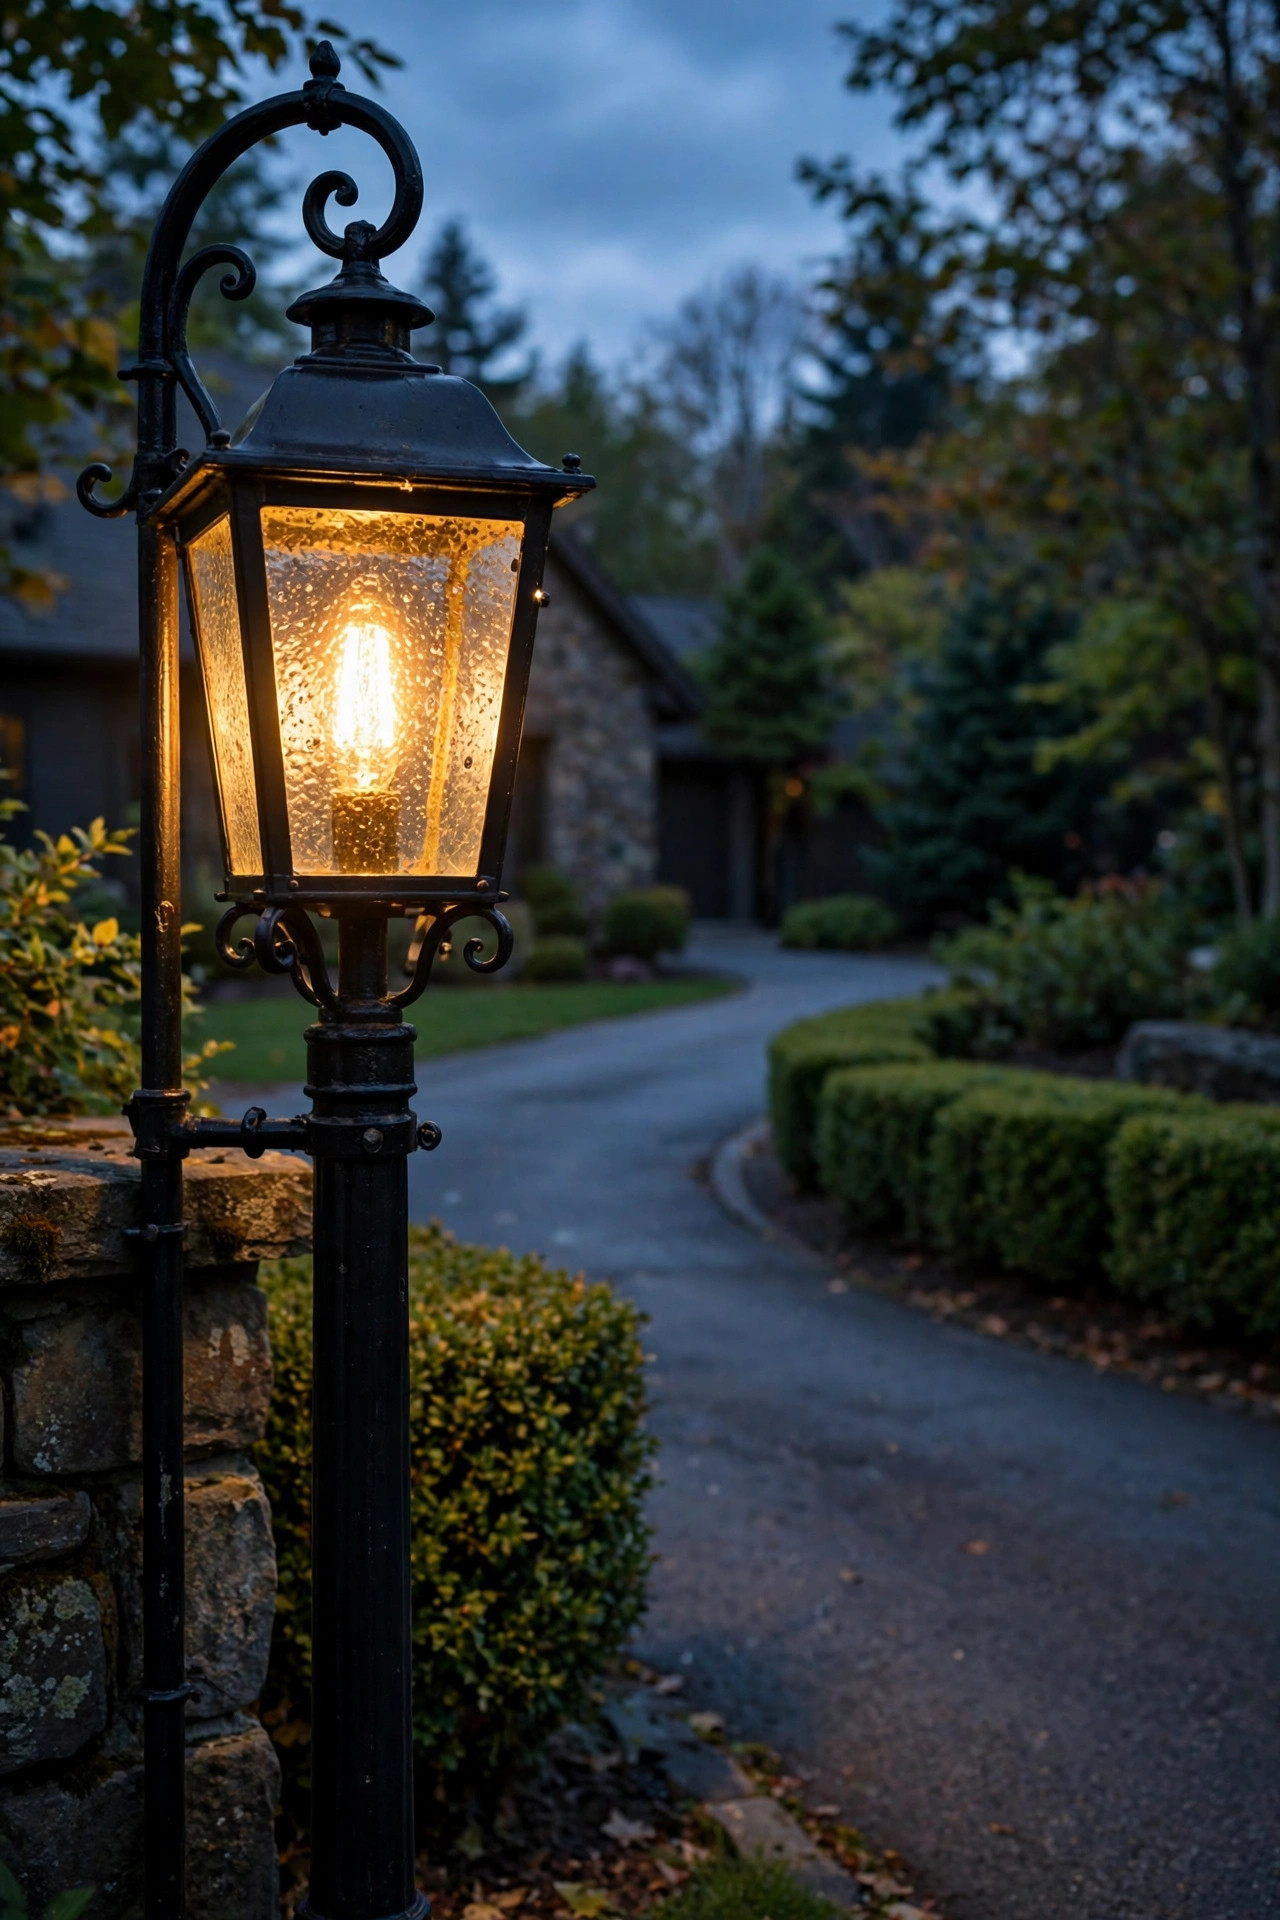
If you only ever install one post, make it this one. A matte black cast-aluminum lamp post, about 6.5 to 7 feet tall, set 2 feet back from the driveway edge where it meets the walkway — that's the sweet spot in my experience. Clear seeded glass shows off an LED filament-style bulb at 2700K, which reads warm and welcoming instead of harsh. Dig the footing about 18 inches deep, pour a small concrete base, and let it cure a full day before mounting; a post that leans even slightly looks tired forever. I run mine on low-voltage landscape wire tied into the same transformer as my path lights, so everything switches on together at dusk. One practical tip: keep the post at least 10 feet from the street so car headlights don't wash it out and delivery drivers can still swing wide. For more ways to make this anchor work with the rest of the drive, my driveway lighting ideas cover the full layout. It's the single change that made our front yard look "finished."
Suggested budget range: $180 – $450.
2. Solar Front Yard Lamp Post Ideas for Zero-Wiring Yards
No trench, no transformer, no electrician — solar lamp posts are the idea I recommend most to friends who rent or just hate digging. Modern solar posts carry their panel in the cap and a battery sized to run 8 to 10 hours after a decent day's sun, which is plenty from spring through fall. The catch, in my experience, is honest placement: the panel needs five to six hours of direct sun, so a post tucked under a maple will glow weakly by 9 p.m. Look for models rated 150–300 lumens if you want real wayfinding light, not just a decorative sparkle, and pick one with a replaceable battery so the whole fixture isn't landfill in three years. I stake mine first with a temporary ground spike for a week to test the light pool before committing to the permanent base. Solar posts also pair beautifully with solar path lights, since everything shares the same dusk-to-dawn rhythm with no timer to program.
Suggested budget range: $120 – $350.

3. A Double-Head Lamp Post for a Wide Driveway
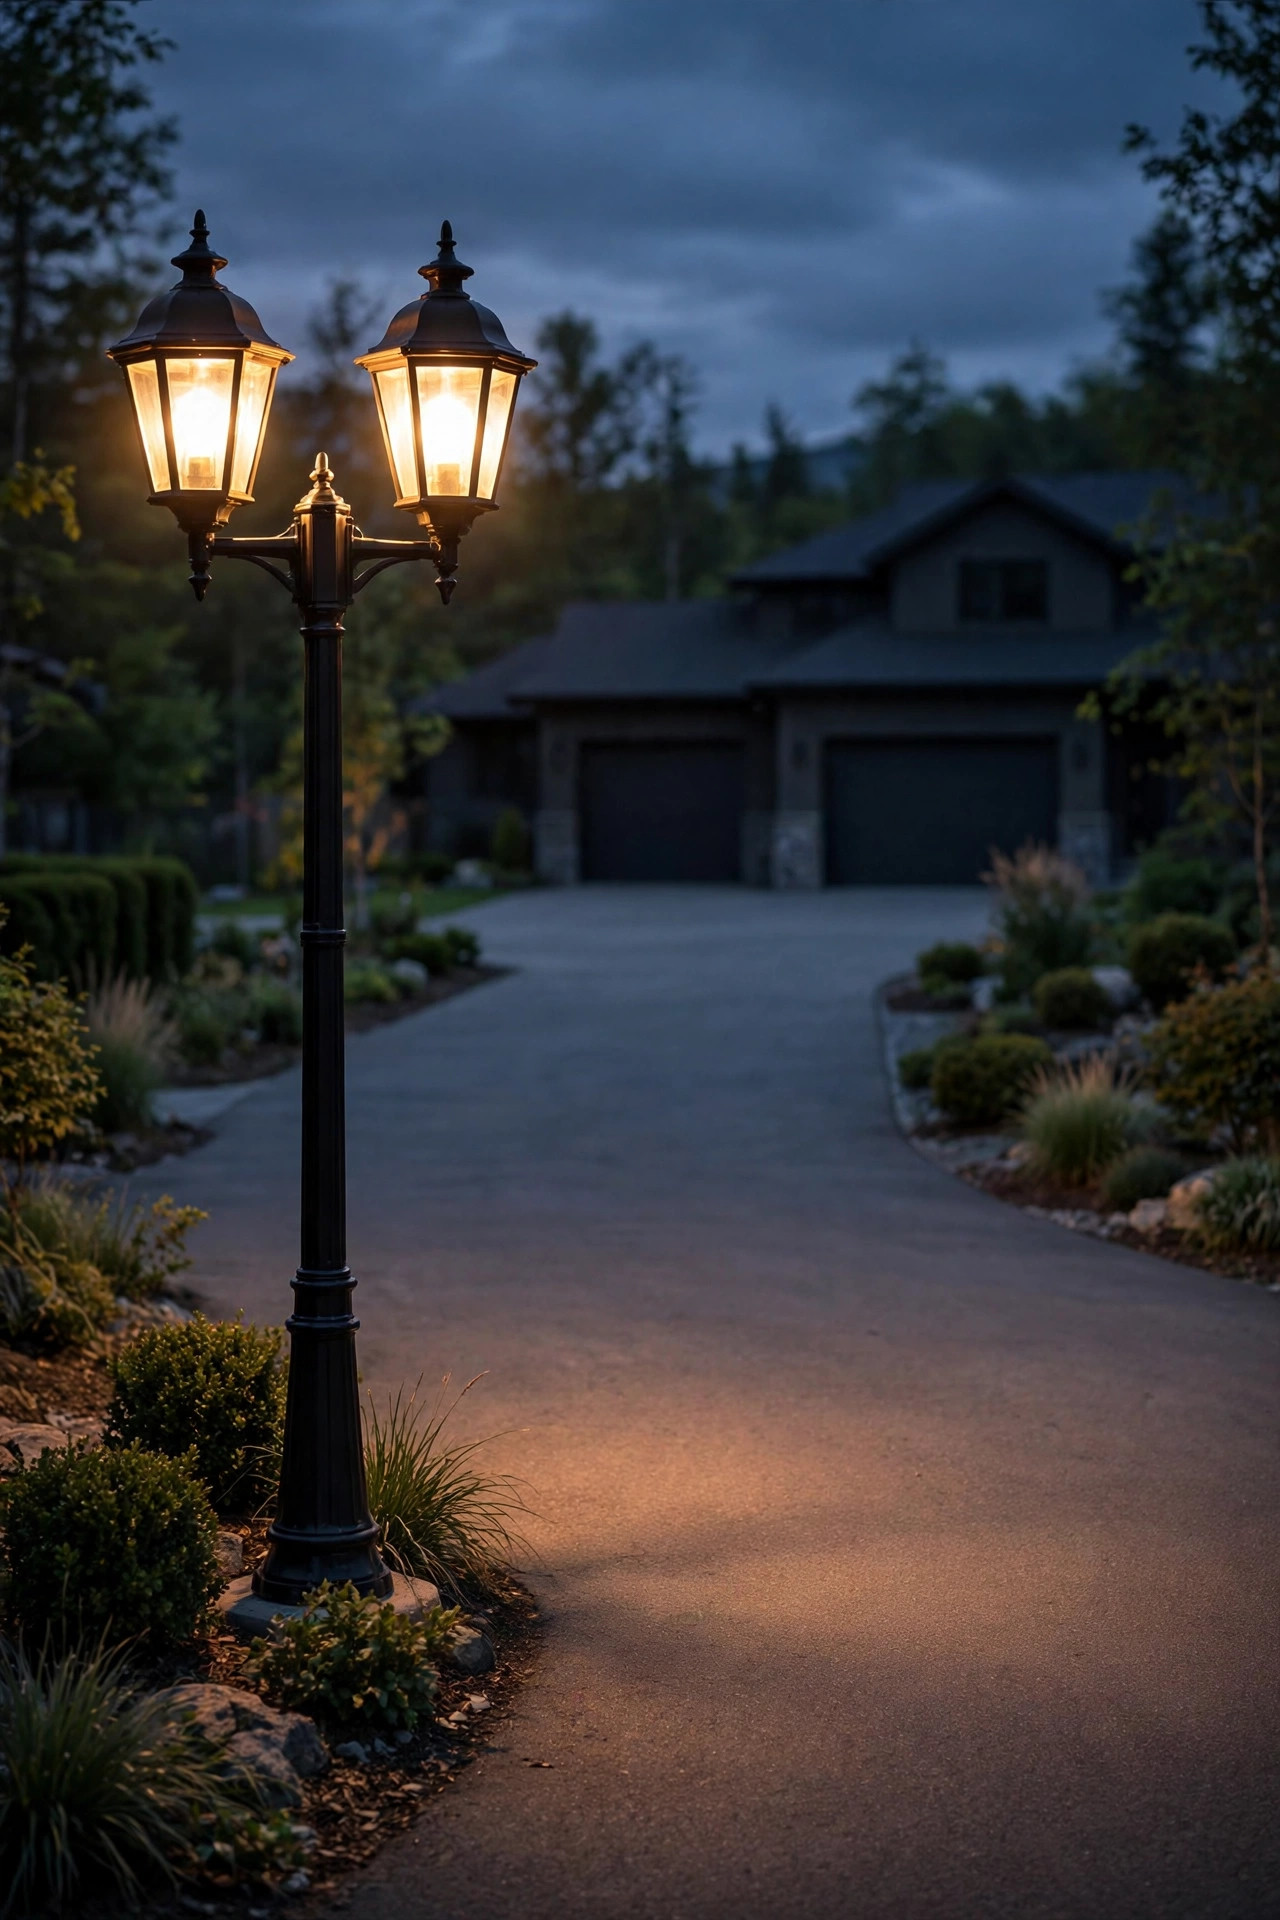
Our driveway fits two cars side by side, and a single lantern left the far half in shadow. A double-head post — two lanterns branching from one pole at slightly different angles — solved it in an afternoon. Aim one head down the driveway toward the street and the other across toward the garage door, and the overlap kills the dark gap in the middle. I like each head on its own 800-lumen LED bulb, dimmable, so movie-night arrivals don't get blasted. Keep the total height around 7 feet; taller than that and the light spreads thin and starts glaring into second-story windows. Because one post does the work of two, you also dig half the trench — a real back-saver on a long run. Style-wise, double heads read a little more formal, which suits brick and colonial homes especially well. If your driveway is narrower than 16 feet, honestly, skip this and stick with a single head; too much light on a small slab looks like a parking lot.
Suggested budget range: $250 – $600.
4. The Lamp Post With a Built-In Outlet (You'll Use It Constantly)
This is the idea nobody thinks of and everybody ends up grateful for. Plenty of lamp posts now come with a GFCI-protected outlet built into the base, weather cover and all. Ours powers the holiday inflatables in December, the leaf blower in October, and a string-light run across the porch in summer — no more extension cord snaking out the garage door. When you shop, confirm the outlet is GFCI and rated for wet locations, and if you're hiring the install out, tell the electrician before the concrete is poured so the wiring plan includes the extra circuit capacity. I also use ours for a small electric snow-melting mat on the front steps in January. One warning from experience: put the outlet on the house-facing side of the post so the cord drapes into the flower bed, not across the walkway where it's a trip hazard at night. It's a small premium over a plain post, and it pays for itself the first holiday season.
Suggested budget range: $200 – $500.

5. Pair the Lamp Post With Your Mailbox
The mailbox is where your yard meets the world, and lighting it solves two problems at once: guests find your house number after dark, and the mail carrier gets a safer stop in winter. I mounted our post about 18 inches behind the mailbox so the lantern glow falls across the box and the house numbers without shining into drivers' eyes. A solar model works well here if the curb gets sun, but a wired post on a photocell is honestly the set-and-forget winner. Match the finish to your mailbox — matte black with black, aged bronze with bronze — so the pair reads as one designed unit. Keep brightness modest, around 400–600 lumens; you're lighting a mailbox, not landing planes. If your numbers are hard to read even with light, my mailbox lighting ideas go deeper on reflective numbers and backlit plaques that pair with a post. Neighbors have copied this one more than anything else on our street.
Suggested budget range: $150 – $400.

6. A Planter-Base Lamp Post You Can Dress for Every Season
Some lamp posts sit in a wide, soil-filled base that works as a mini planter, and it's become my favorite styling trick in the whole yard. In spring I ring ours with pansies, in summer it's trailing petunias, and by October there are mums and a couple of small pumpkins tucked in. The flowers sit right in the pool of warm light, so they glow after dark like a little stage set. Practically speaking, the planter base also adds serious weight, which makes these posts a good pick for windy corners where a skinny footing feels nervous. Use a free-draining potting mix and keep mulch an inch below the post's access panel so you can still reach the wiring. One caution from my own mistake: skip thirsty plants that need daily watering right against the post — constant splashing on the finish will age it early. Drought-tolerant annuals or even good faux greenery in winter keep it cheerful with almost no fuss.
Suggested budget range: $130 – $320.

7. A Colonial Lantern Head for Traditional Homes
If your house wears shutters, a six-panel door, or any hint of colonial style, a lantern-head post with a crossbar and finial will look like it was always there. The proportions matter more than the price tag in my experience: the lantern head should be roughly one-quarter the height of the post, or it reads either top-heavy or lost. Clear glass shows the bulb, so choose a pretty LED filament bulb and keep it at 2700K for that candlelit warmth. Aged bronze and black both work; I lean black against red brick and bronze against stone or beige siding. A subtle detail I love: many colonial heads include a ladder rest bar, purely decorative, but it sells the period look. Because the style is traditional, it pairs best with symmetric plantings — two boxwoods flanking the post base make the whole vignette feel deliberate. This is also a forgiving style for mixing with older porch lanterns, since the silhouette has barely changed in a century.
Suggested budget range: $200 – $550.

8. A Sleek Modern Post Light for Contemporary Facades
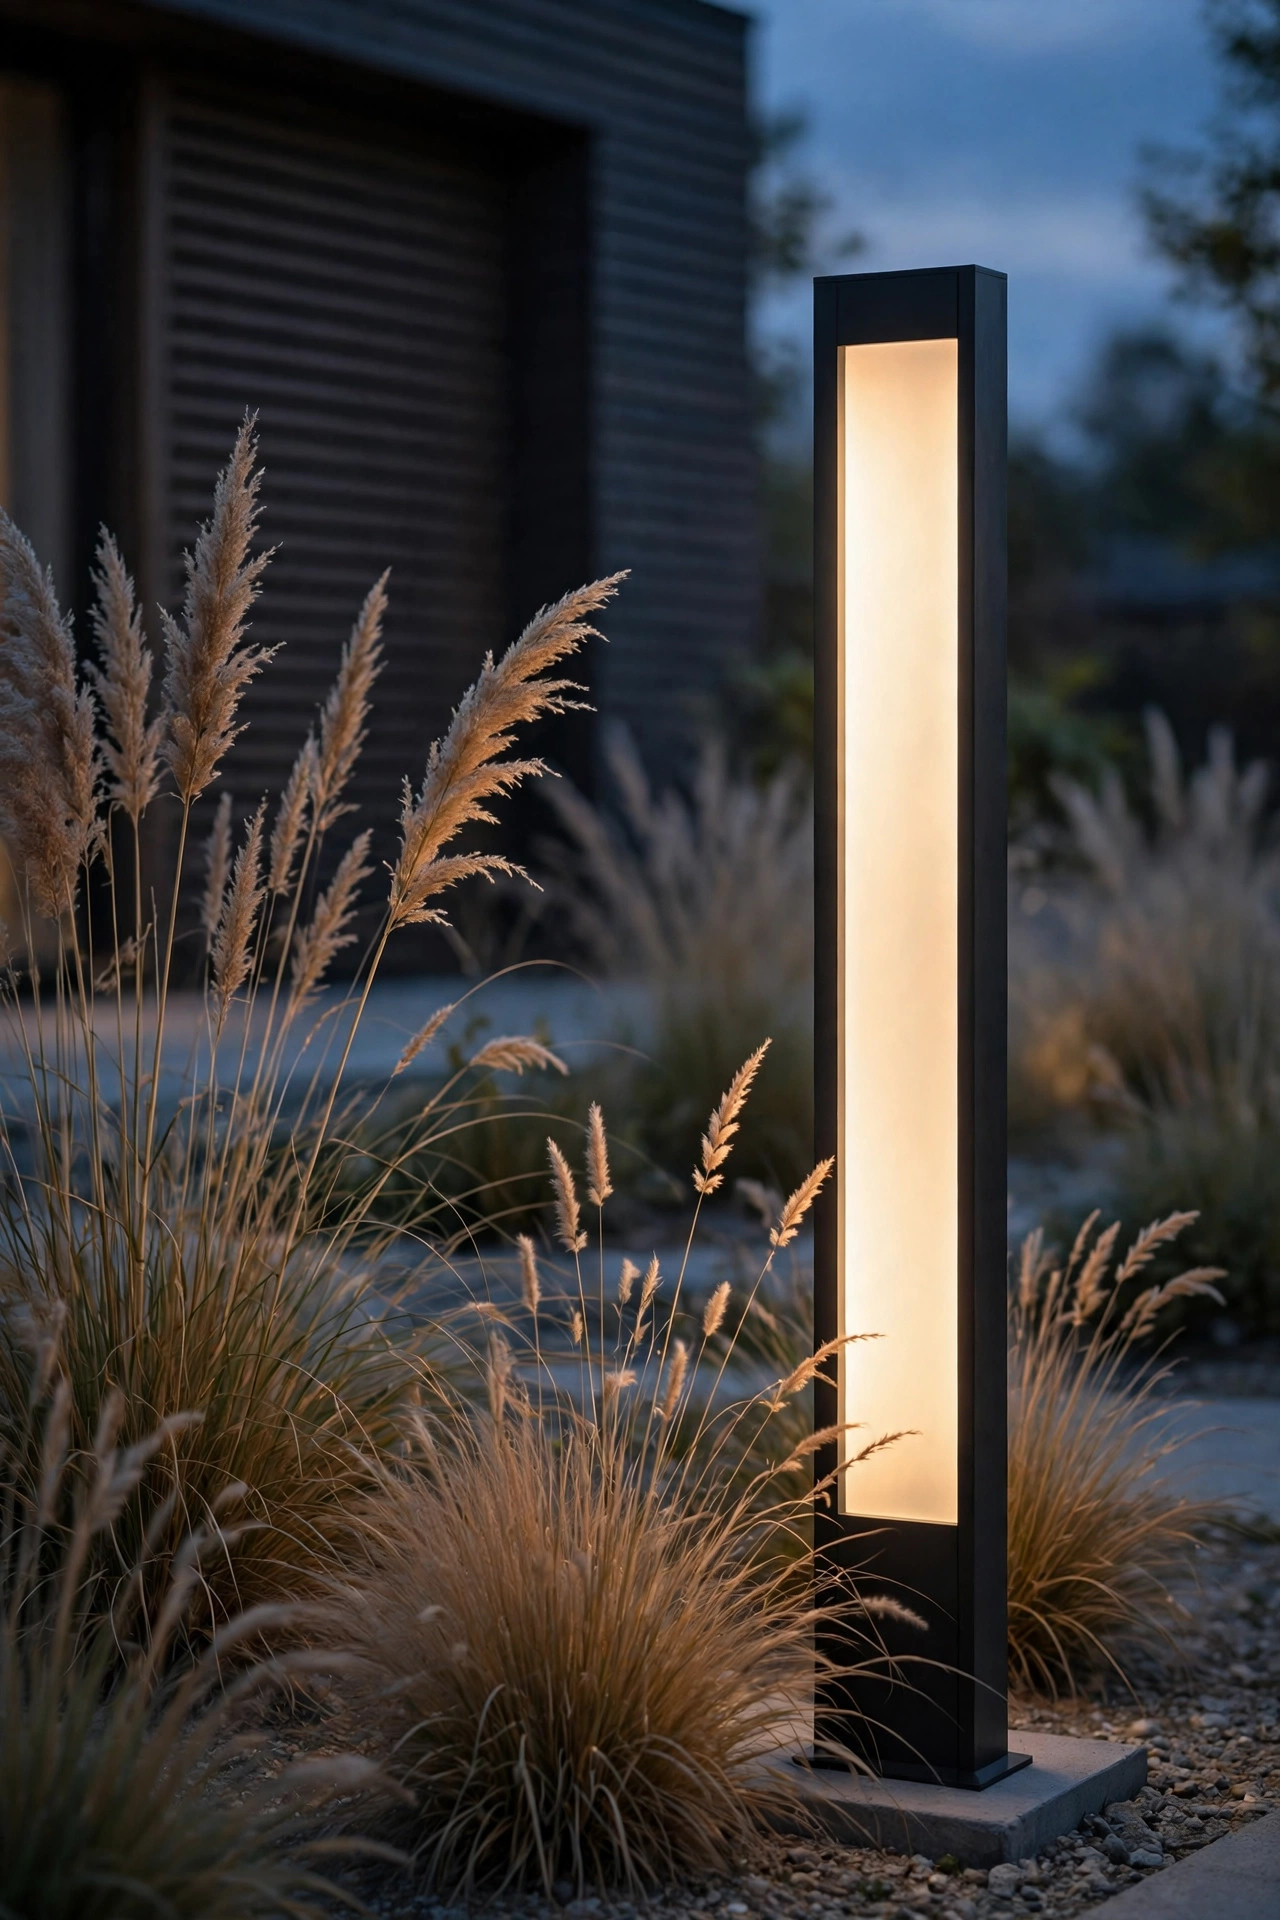
Not every yard wants a lantern. For homes with clean lines, flat or low-pitch roofs, and lots of glass, I reach for a slim modern post — a simple rectangular or cylindrical column with the light tucked into a slit or frosted panel near the top. The glow washes down the post itself and pools softly at the base, which looks sculptural against ornamental grasses. Stick to one finish and repeat it everywhere: matte black post, matte black path lights, done. Modern posts often run a little shorter, 5 to 6 feet, and that's fine because the light is aimed down where you walk. Where I see people go wrong is mixing — one modern post plus cottage path lights plus a colonial porch lantern, and nothing matches. Commit to the minimal look or don't start it. Warmth still matters, though: even the sleekest fixture should run 2700–3000K, because blue-white light makes a modern facade feel like a gas station at night.
Suggested budget range: $220 – $650.
9. Make Any Lamp Post Smart With a Motion Sensor or Smart Bulb
You don't need a new fixture to get smart behavior — a smart LED bulb or a screw-in motion sensor in your existing post changes everything. Mine ramps up to full brightness when a car turns into the driveway, then settles back to a soft 30% glow the rest of the night. That dim-idle trick saves energy and, honestly, looks more expensive than full blast all evening. Set the sensor's range to about 15–20 feet so passing sidewalk walkers don't trigger it every five minutes, and point the sensor eye toward the driveway rather than the street. If your post is wired to a switch, a smart bulb needs the switch left on — I put a little switch guard over ours so nobody kills the power out of habit. Scheduling through an app also means the post handles daylight saving time on its own, which my old mechanical timer never did. Start with the bulb swap; it's a fifteen-minute experiment before you commit to anything fancier.
Suggested budget range: $160 – $420.
10. A Dusk-to-Dawn Photocell Post You Never Think About Again
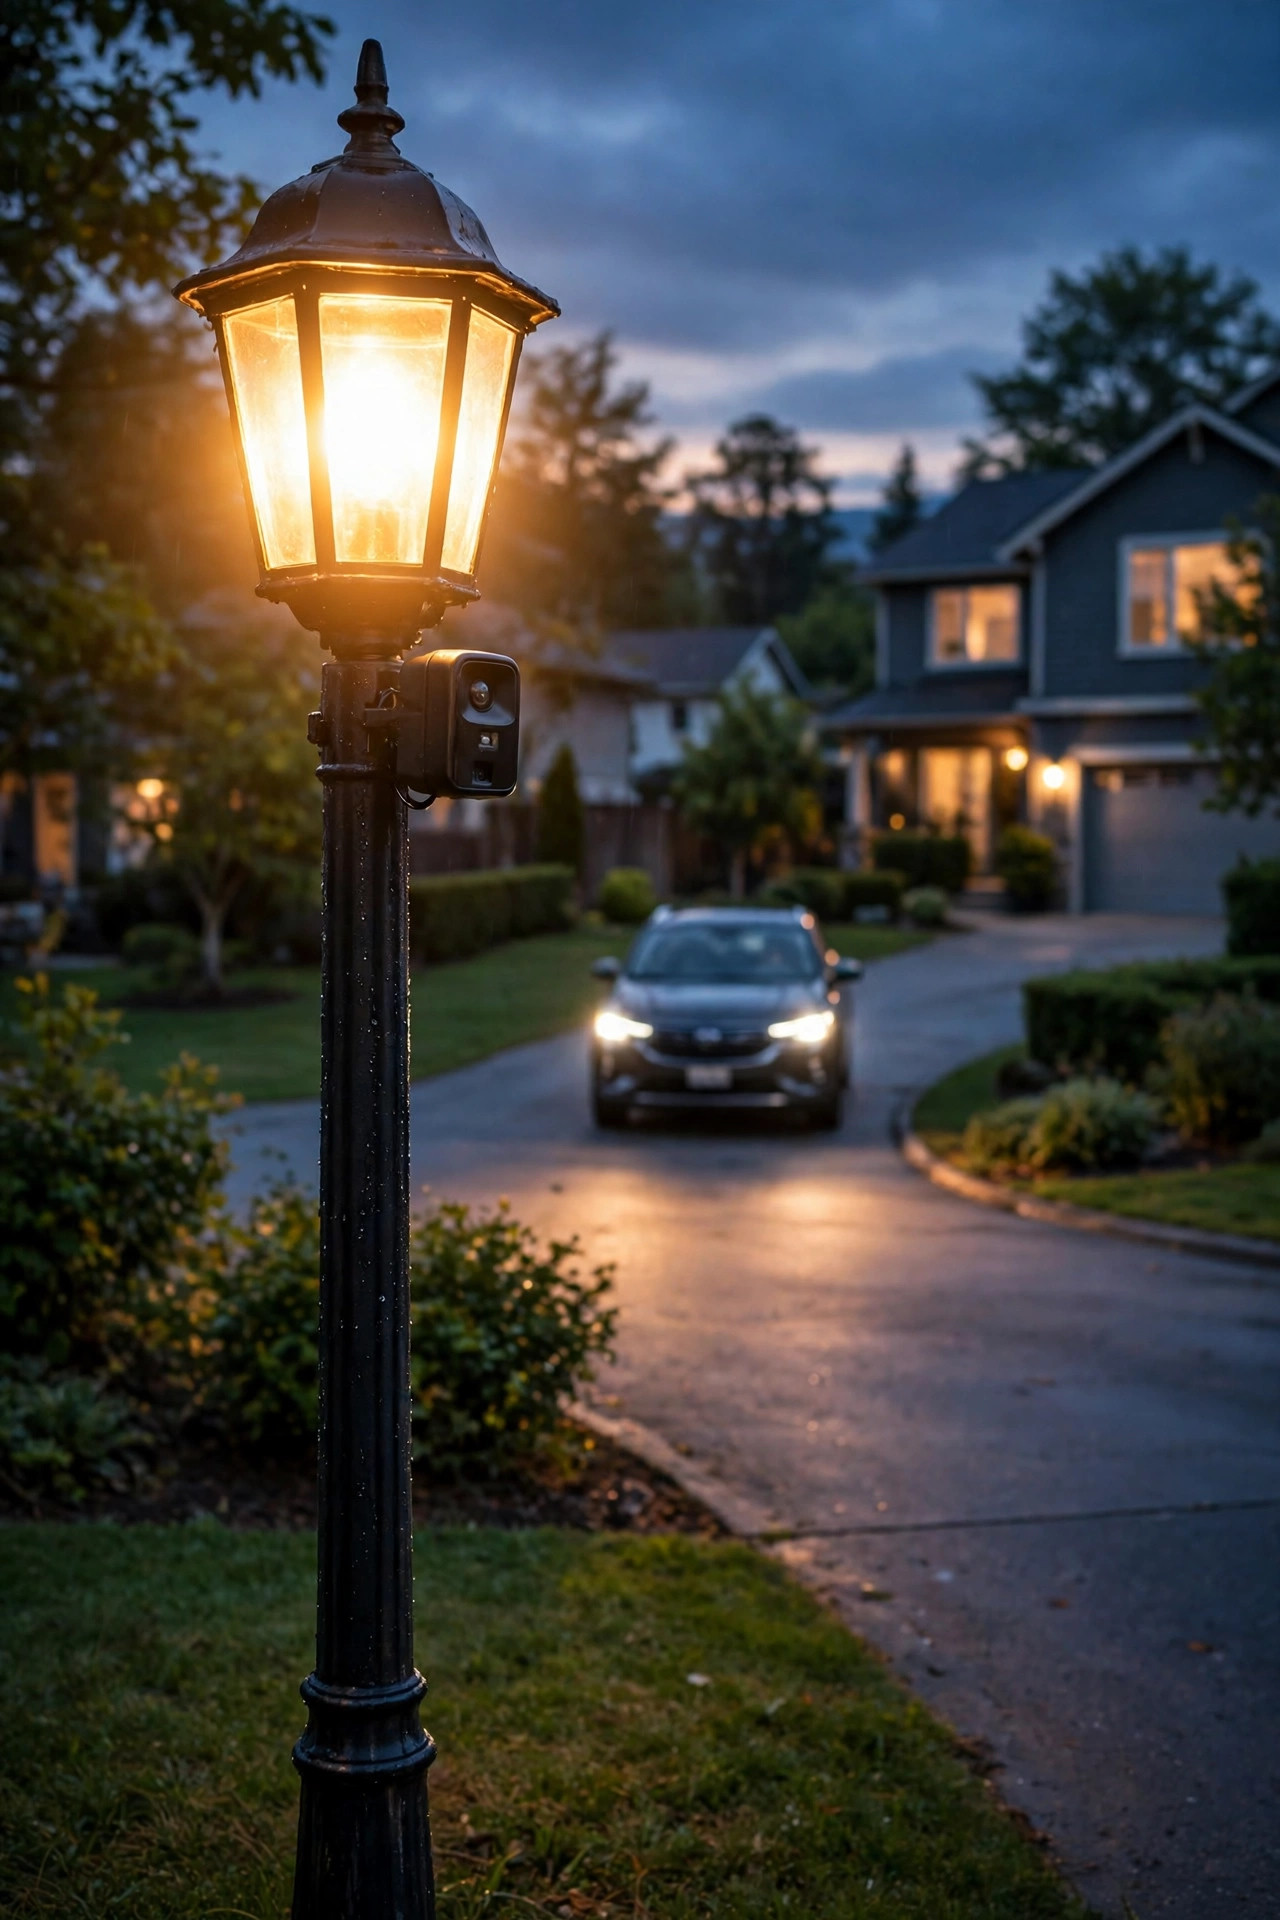
The most reliable lighting in my yard is the kind I never operate. A lamp post with a built-in photocell clicks on when the light fades and off at sunrise, in every season, with no timer drifting out of sync by December. If you're buying new, choose a post with the sensor in the fixture head rather than the bulb, so you can use any LED bulb you like. Placement has one gotcha I learned the hard way: don't set a photocell post directly across from a bright streetlight or a neighbor's floodlight, or the sensor may think it's still daytime and cycle off and on all night. A small shield or a quarter-turn of the sensor usually fixes it. Running costs are tiny — an 800-lumen LED burning 12 hours a night uses roughly 3.5 kilowatt-hours a month, well under a dollar in most states. For a rental property or a second home, this is the one I'd install and drive away from without a second thought.
Suggested budget range: $140 – $380.

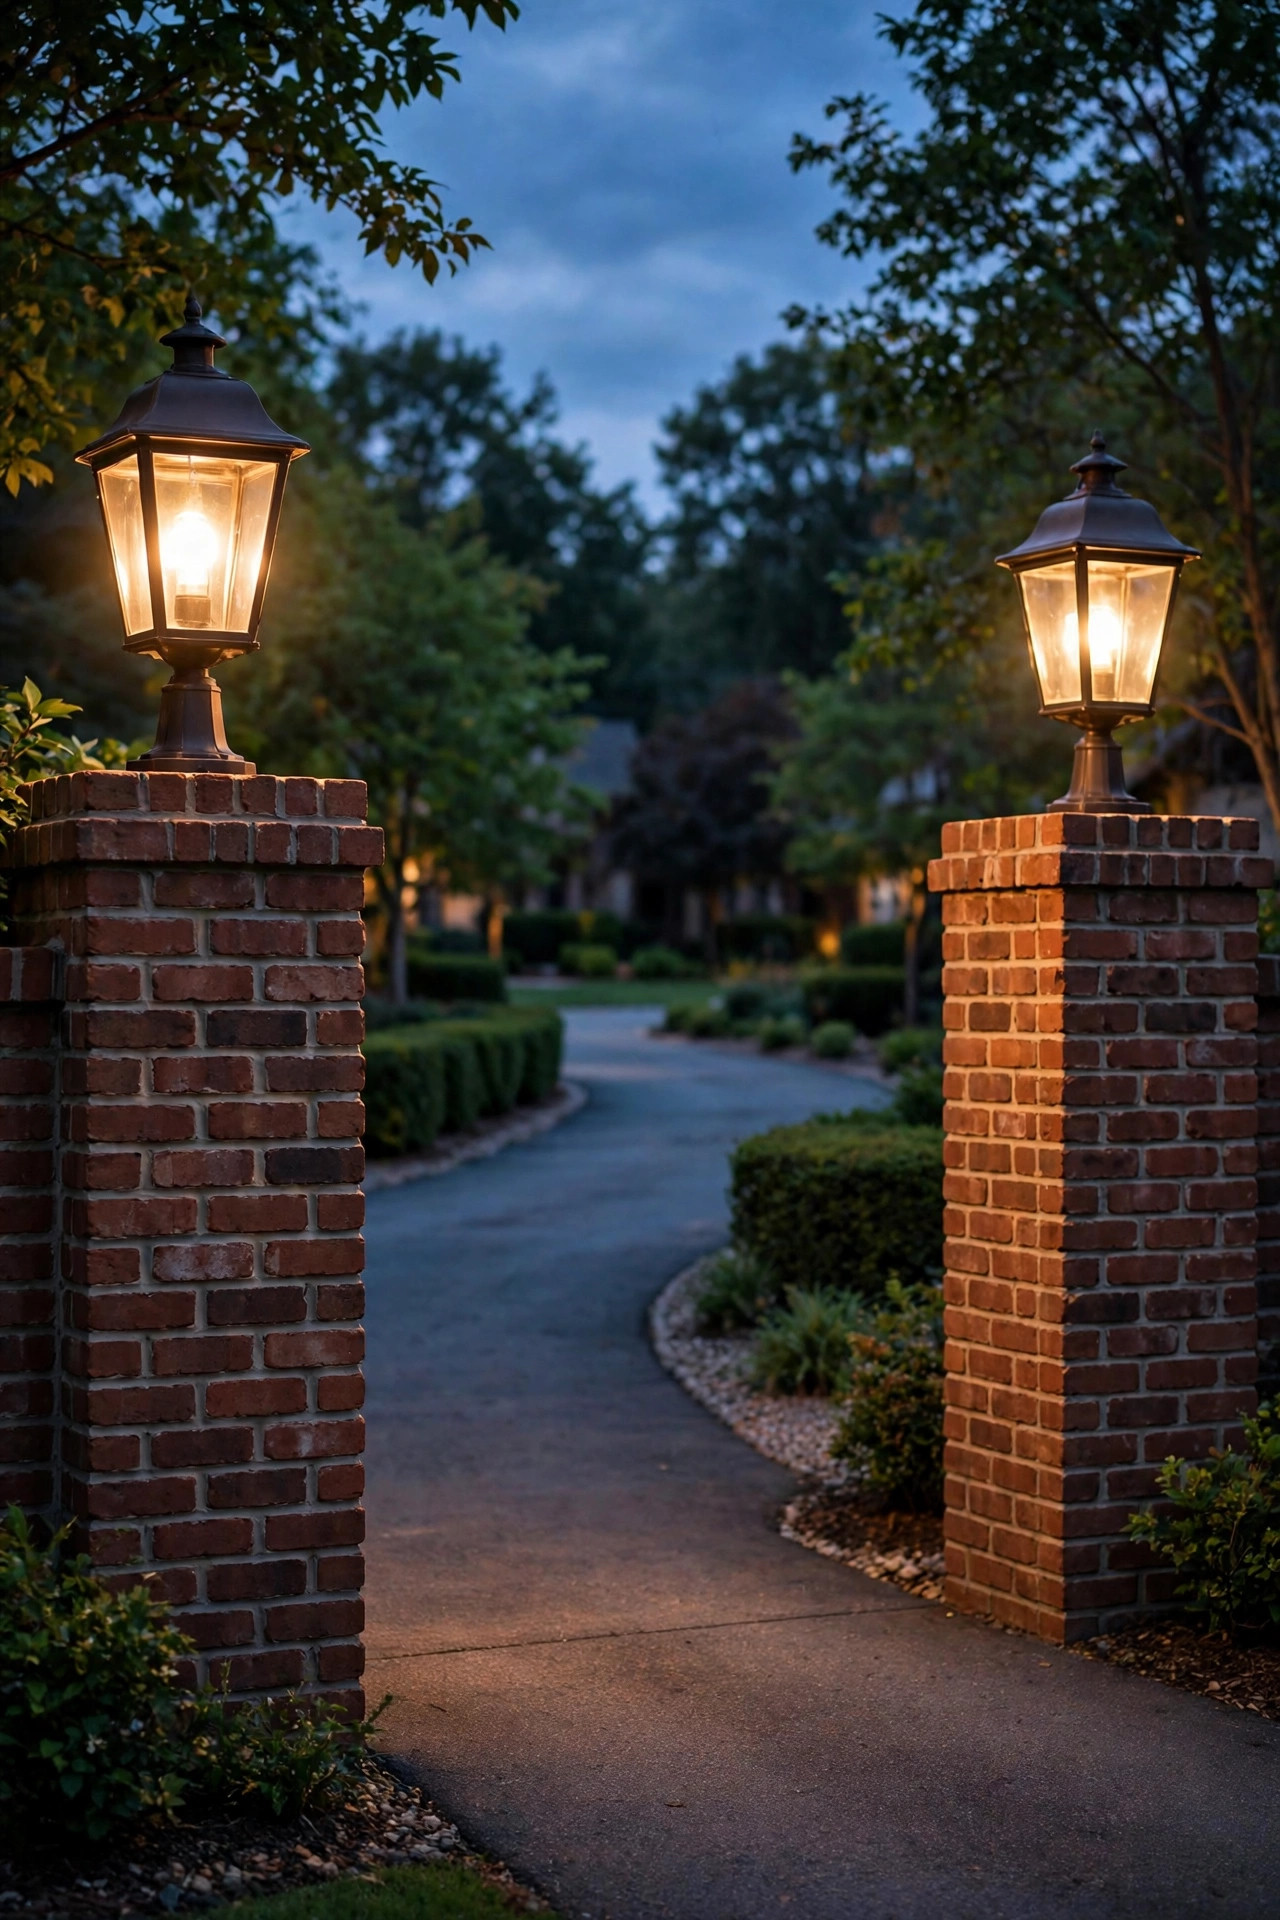
11. A Matched Pair Flanking Brick Driveway Pillars
For a grander entrance, mount lantern-style post lights on top of low brick or stone pillars at either side of the driveway. It frames the approach like a gate without the gate, and guests instantly read "turn here" even on a dark, unfamiliar street. Pillars around 24 to 30 inches tall with a capstone give the lantern a finished seat; the fixture itself should be a pier-mount style with a flat base plate. Run conduit through the pillar during construction if you can — retrofitting wire through finished masonry is the one part of this project I would not DIY. Symmetry is the whole game here: identical fixtures, identical bulbs, identical height, or the pair looks like a mistake instead of a design. I keep these on the same photocell circuit so they always switch together. If a full pillar is beyond the budget this year, two matching ground posts at the same spots deliver 80% of the look for a fraction of the masonry bill.
Suggested budget range: $350 – $900.
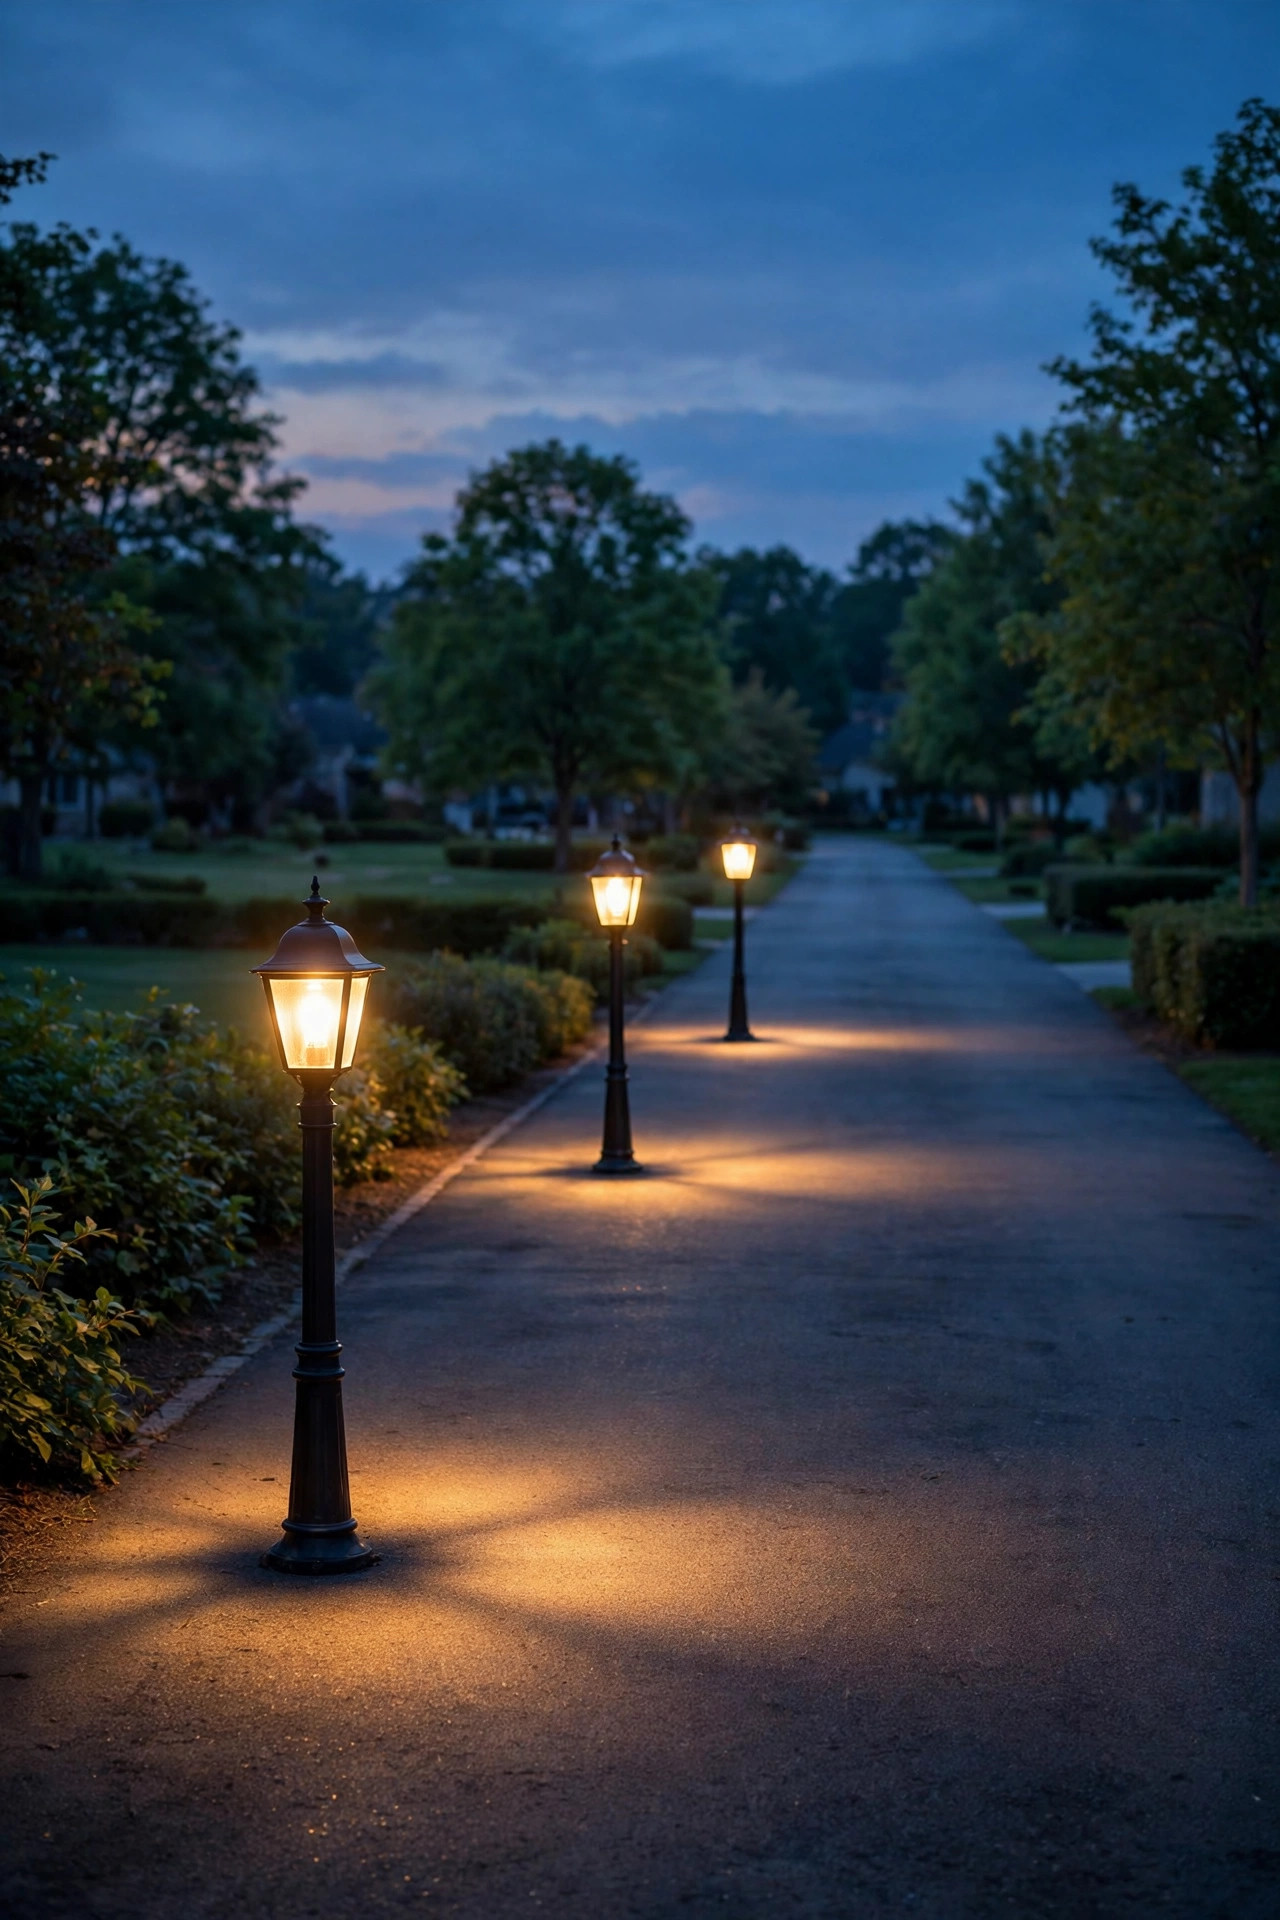
12. Place a Post at the Walkway's Bend, Not Just the Ends
Most people light the start of the walkway and the porch, then leave the middle to luck. The bend in a curved path is exactly where guests hesitate — and where a lamp post earns its keep. Set the post on the outside of the curve, about 18 inches off the path edge, so its light pool covers the turn and the plantings behind it in one sweep. In my yard this single post replaced three path lights that kept getting kicked and tilted by the mower. Height helps here too: a 6-foot post throws a wider, softer circle than knee-high fixtures, so one post calmly covers what several small lights do in patches. Watch the sightline from inside the house, though — you want to see a gentle glow through the front window, not a bare bulb glaring at the sofa. A frosted lens or a bulb set deep in the lantern fixes that in seconds. It's the placement trick I'd rank first for safety and first for looks.
Suggested budget range: $170 – $430.

13. A Midpoint Post for a Long Driveway
On a long driveway — say 60 feet or more — one post at the house and one at the street leave a genuinely dark middle stretch, and backing out at night gets tense. A third post at the midpoint, offset to the same side as the others, turns the whole run into a calm, even glide. This is where low-voltage wiring shines, because trenching 12-volt cable 6 inches deep is a weekend job, while a new 120-volt run means permits and 18-inch burial in most areas. Space the posts evenly by eye at dusk, not by tape measure at noon: stand at the street after dark and shuffle the middle post until the pools of light just touch. Voltage drop is the quiet enemy on long runs, so use heavier 12-gauge cable and a transformer with a little headroom. Honestly, this is the post visitors compliment most, because a lit midpoint makes the whole property feel larger and safer before they even reach the door.
Suggested budget range: $300 – $800.
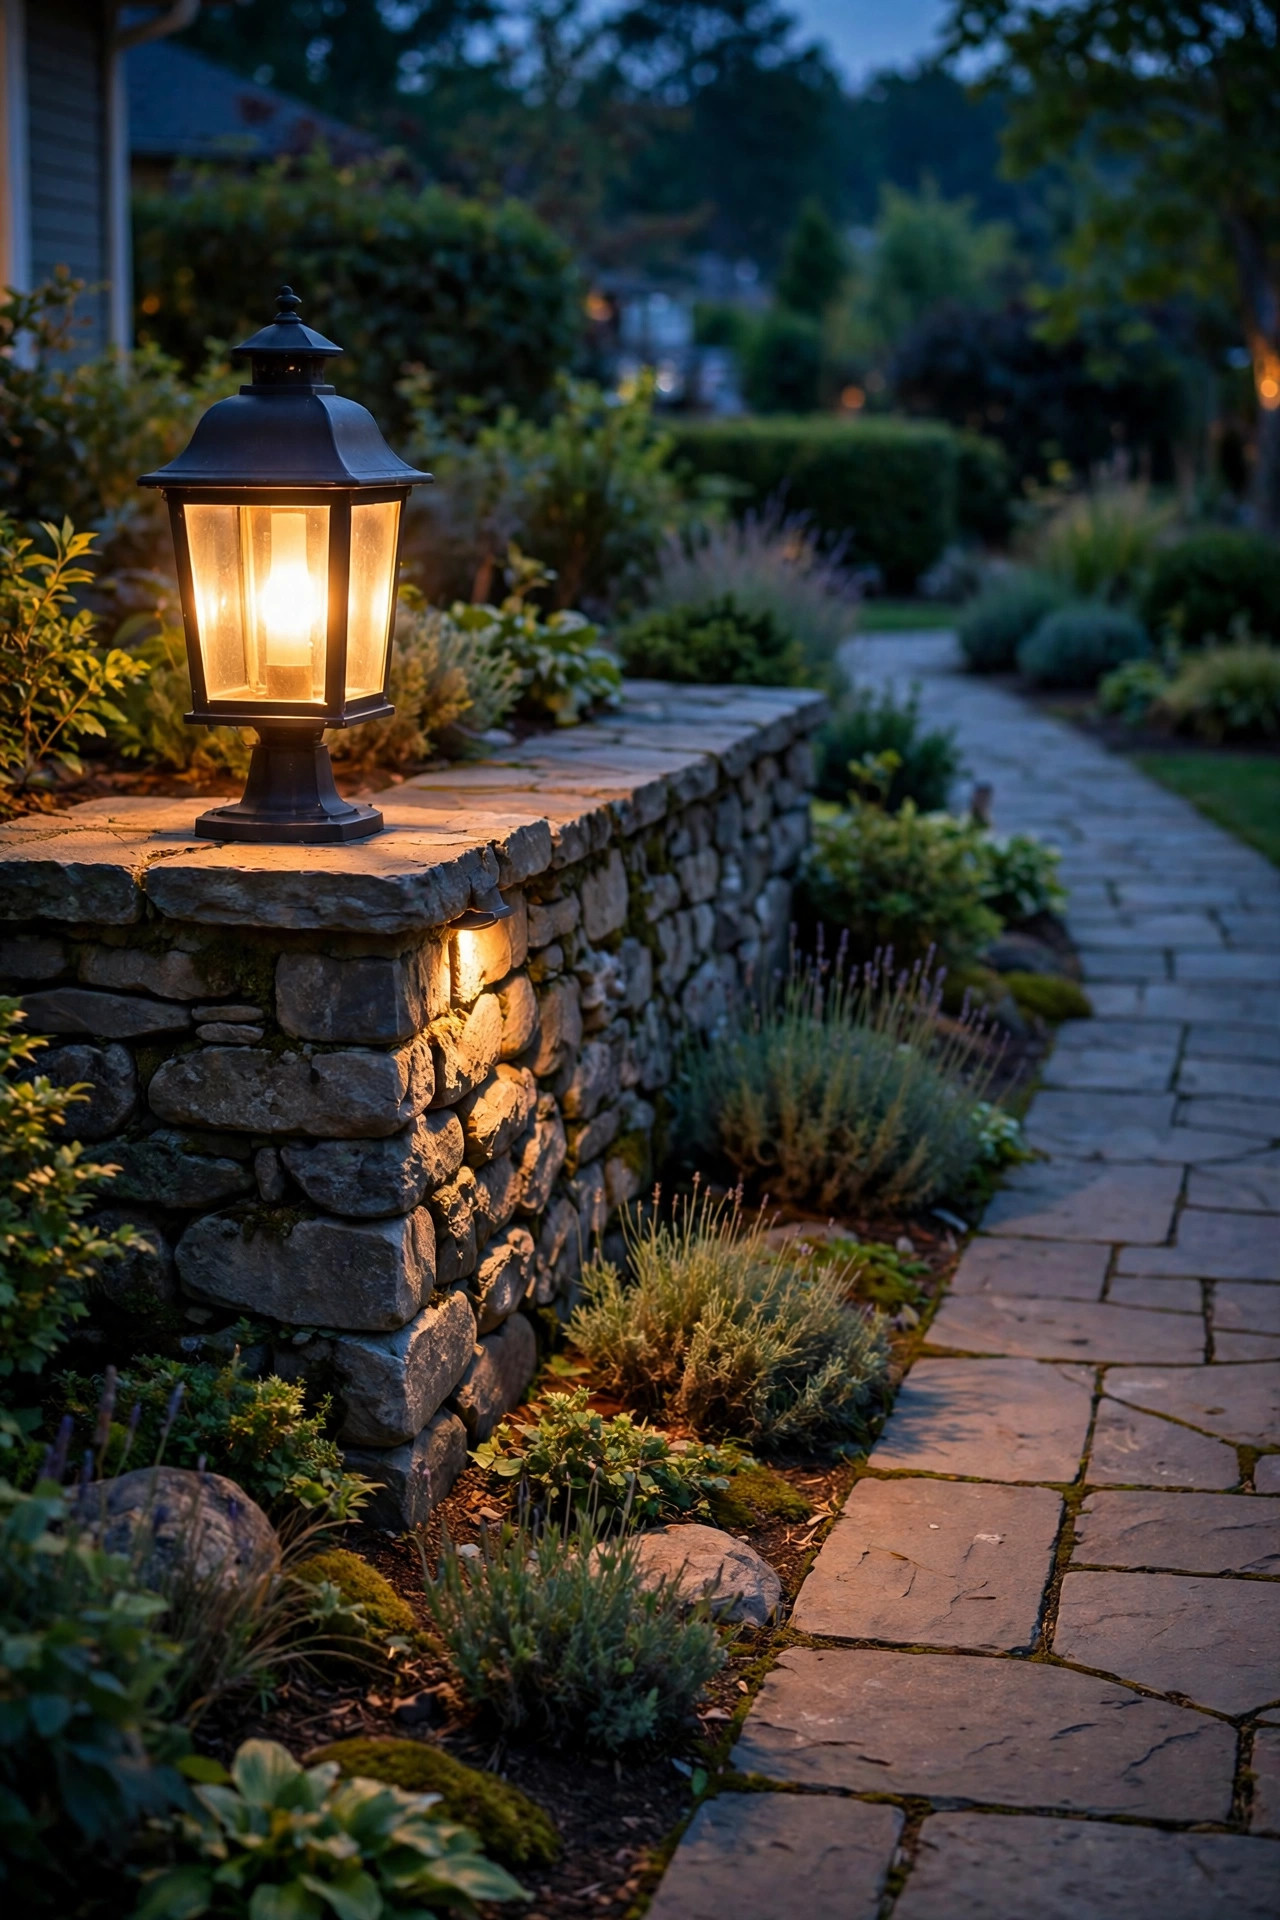
14. A Pier-Mount Lantern on a Low Garden Wall
If your front yard already has a low retaining wall or a stone-edged bed near the walk, a pier-mount lantern turns that wall into lighting infrastructure. The fixture bolts flat to the wall cap, and at 18 to 24 inches above the wall its glow lands right at walking height — softer and more intimate than a tall post. I ran a pair of these along our front wall and they read like something from an old garden estate, especially with ivy or creeping thyme softening the base. Because the lantern sits lower, choose a bulb around 500–700 lumens so it charms instead of dazzles, and pick a fixture rated for wet locations since it lives fully outdoors. One practical note: seal the mounting screws with a dab of silicone so water can't wick into the wall cap over winter. This is also a lovely solution where a tall post would block a view you love from the porch — the light stays in the garden layer where it belongs.
Suggested budget range: $280 – $750.
15. Add an Illuminated House Number to the Post
A lamp post already stands where people look for your address, so it's the natural home for your house numbers. Backlit number plaques and side-mounted lit number panels both work; even a simple non-lit plaque benefits, because the post's glow makes standard numbers readable from a slow-moving car. In my experience the sweet spot is numbers at least 4 inches tall, in a finish that contrasts with the post — brushed nickel on black reads beautifully at night. Keep the plaque on the street-facing side and tilt it a few degrees toward approaching traffic if your street curves. This is one of those small upgrades with an outsized practical payoff: delivery drivers, rideshares, and — the one nobody likes to think about — emergency vehicles all find you faster. If your post is solar, choose a plaque with its own tiny panel rather than draining the main battery. Pair it with the mailbox arrangement from earlier in this list and your house becomes the easiest one on the block to find after dark.
Suggested budget range: $180 – $460.

16. A Flickering Flame-Effect Post for Instant Cozy
Some evenings call for atmosphere over brightness. A flame-effect LED bulb inside a clear-glass lantern mimics a gas flame so convincingly that two neighbors have asked who installed our "gas line." Use it where the post's job is mood — near a bench, a porch corner, a garden gate — rather than where you need to see a house key. Flame bulbs usually offer a steady mode too, so one fixture can do both jobs; I switch ours to steady when we're expecting guests and back to flame for quiet nights. Because the effect relies on seeing the "flame," this is the one style where clear glass beats frosted every time. Keep the rest of the yard's lighting honest warm white at 2700K so the flame reads as an accent, not a theme park. It's also a charming seasonal swap: flame bulb in October, classic filament for the holidays, back to flame for summer porch season. One bulb, three personalities, about two minutes per change.
Suggested budget range: $150 – $390.

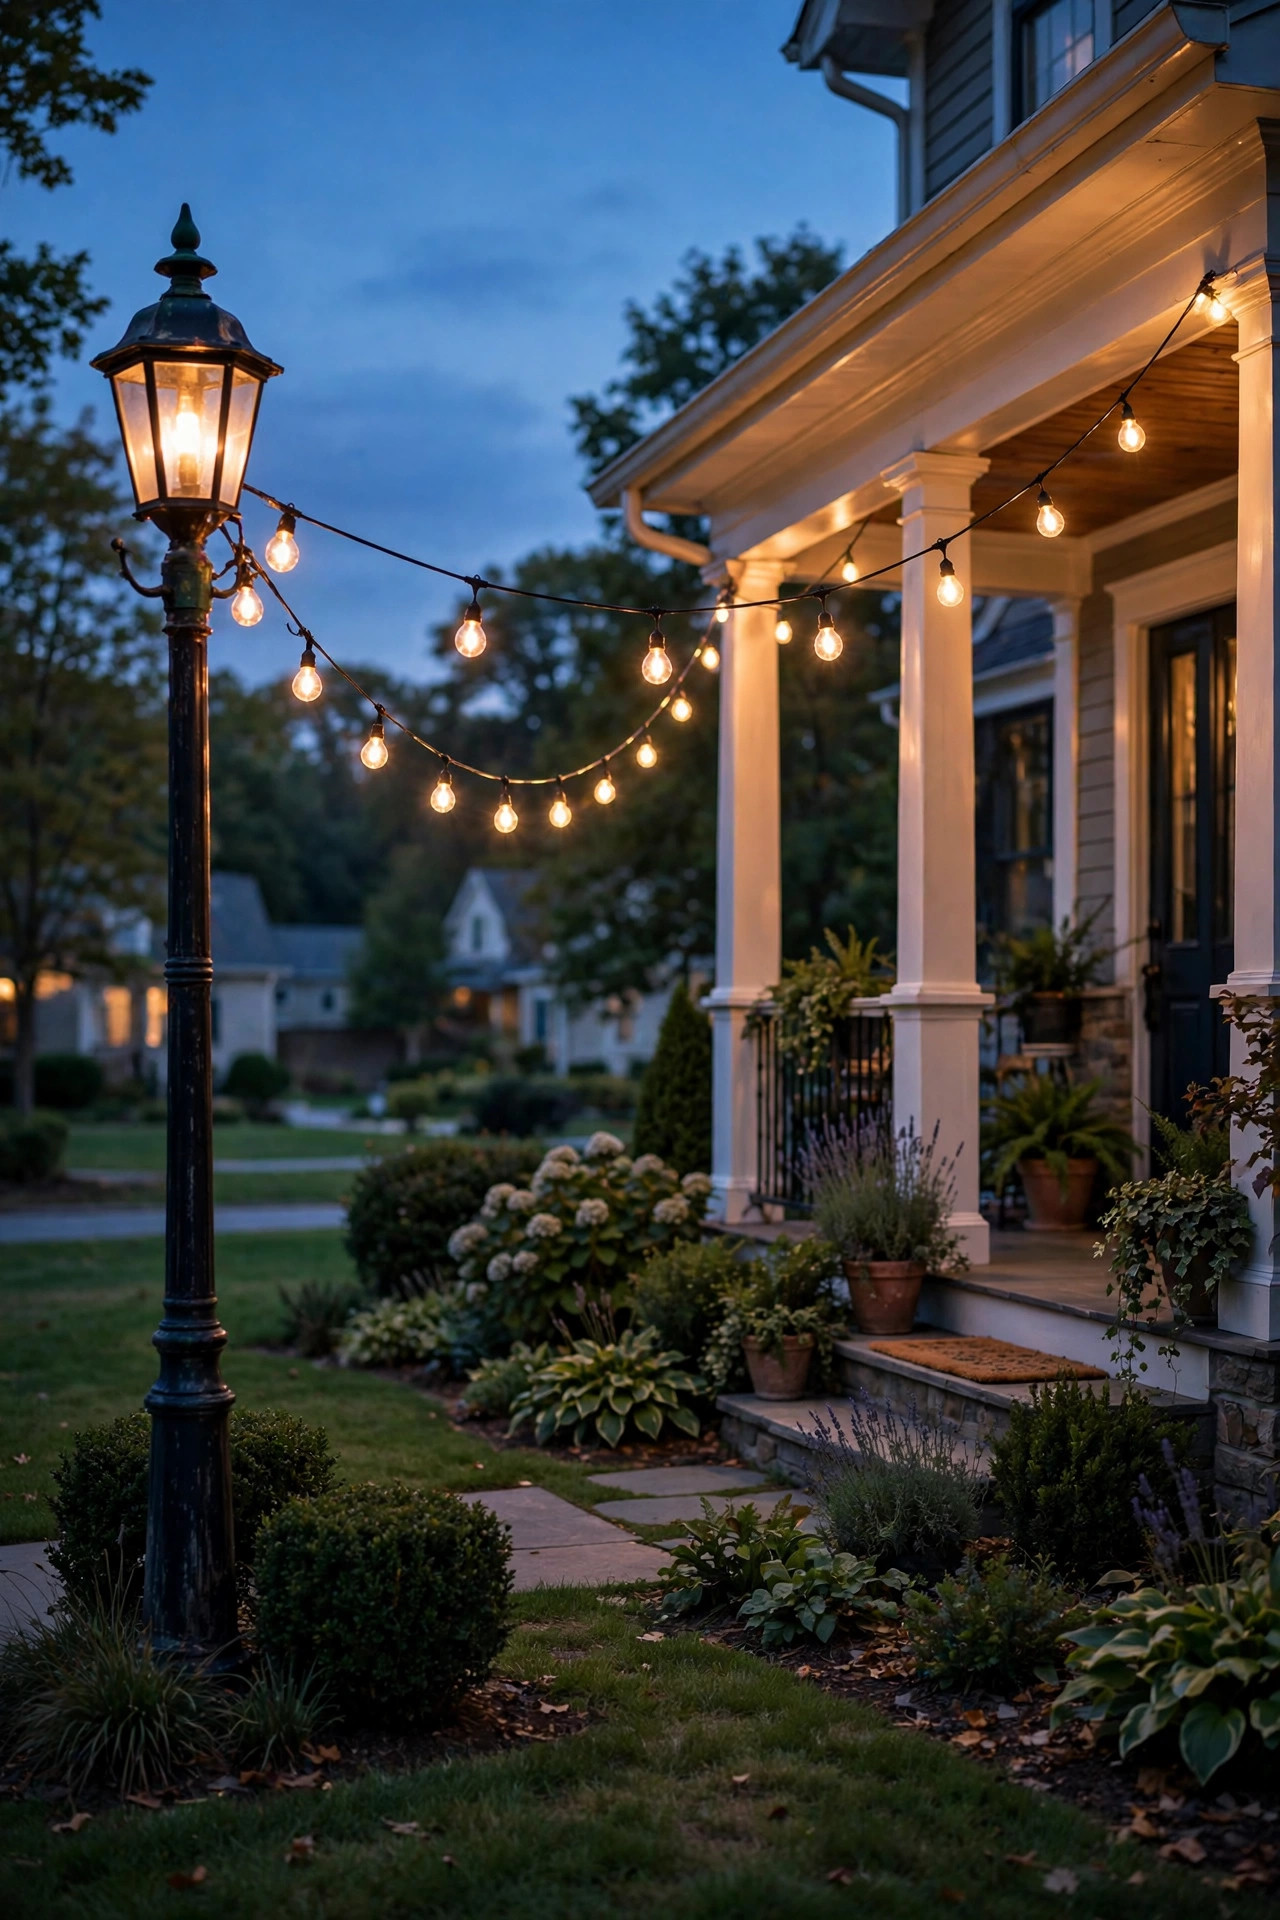
17. Dress the Post With a Seasonal String-Light Swag
Here's the party trick: your lamp post is a perfectly placed anchor for a swag of string lights running to the porch or a nearby tree. One gentle catenary of warm globe or café lights turns the whole front yard into an event space for graduations, birthdays, and ordinary Friday nights that deserve better. Use outdoor-rated, shatterproof LED string lights, keep the swag's lowest point at least 7 feet above the walkway, and plug into a GFCI outlet — ideally that built-in post outlet from idea four. A simple timer plug means the swag joins the post's dusk routine automatically. In winter I swap to a greenery garland with tiny warm fairy lights wound around the post itself, which looks festive without a single inflatable. The key discipline, learned from one saggy first attempt: two anchor points and a proper hook at each end, not a hopeful loop over the finial. Done right, it's the cheapest "renovation" your front yard will ever get.
Suggested budget range: $190 – $480.
18. Solve a Sloped Front Yard With a Post on the High Side
Sloped yards break standard lighting plans because fixtures on the downhill side glare up at the house while the uphill side stays dark. A lamp post planted on the high side of the slope, near the top of the front steps, fixes the geometry: its light falls down the hill in a natural wash, the way moonlight would. Set the post a touch deeper than usual — 24 inches of footing is cheap insurance against frost heave on a grade — and use a level pad of gravel or a small concrete collar so rain doesn't erode the base. In my yard, this one post plus the step lights ended the nightly stumble guests used to do between the car and the door. If your slope is terraced, place the post at the middle terrace so it serves both levels instead of favoring one. Avoid the temptation to line the whole slope with posts; on a hill, one well-placed tall light beats four small ones arguing with each other.
Suggested budget range: $200 – $520.

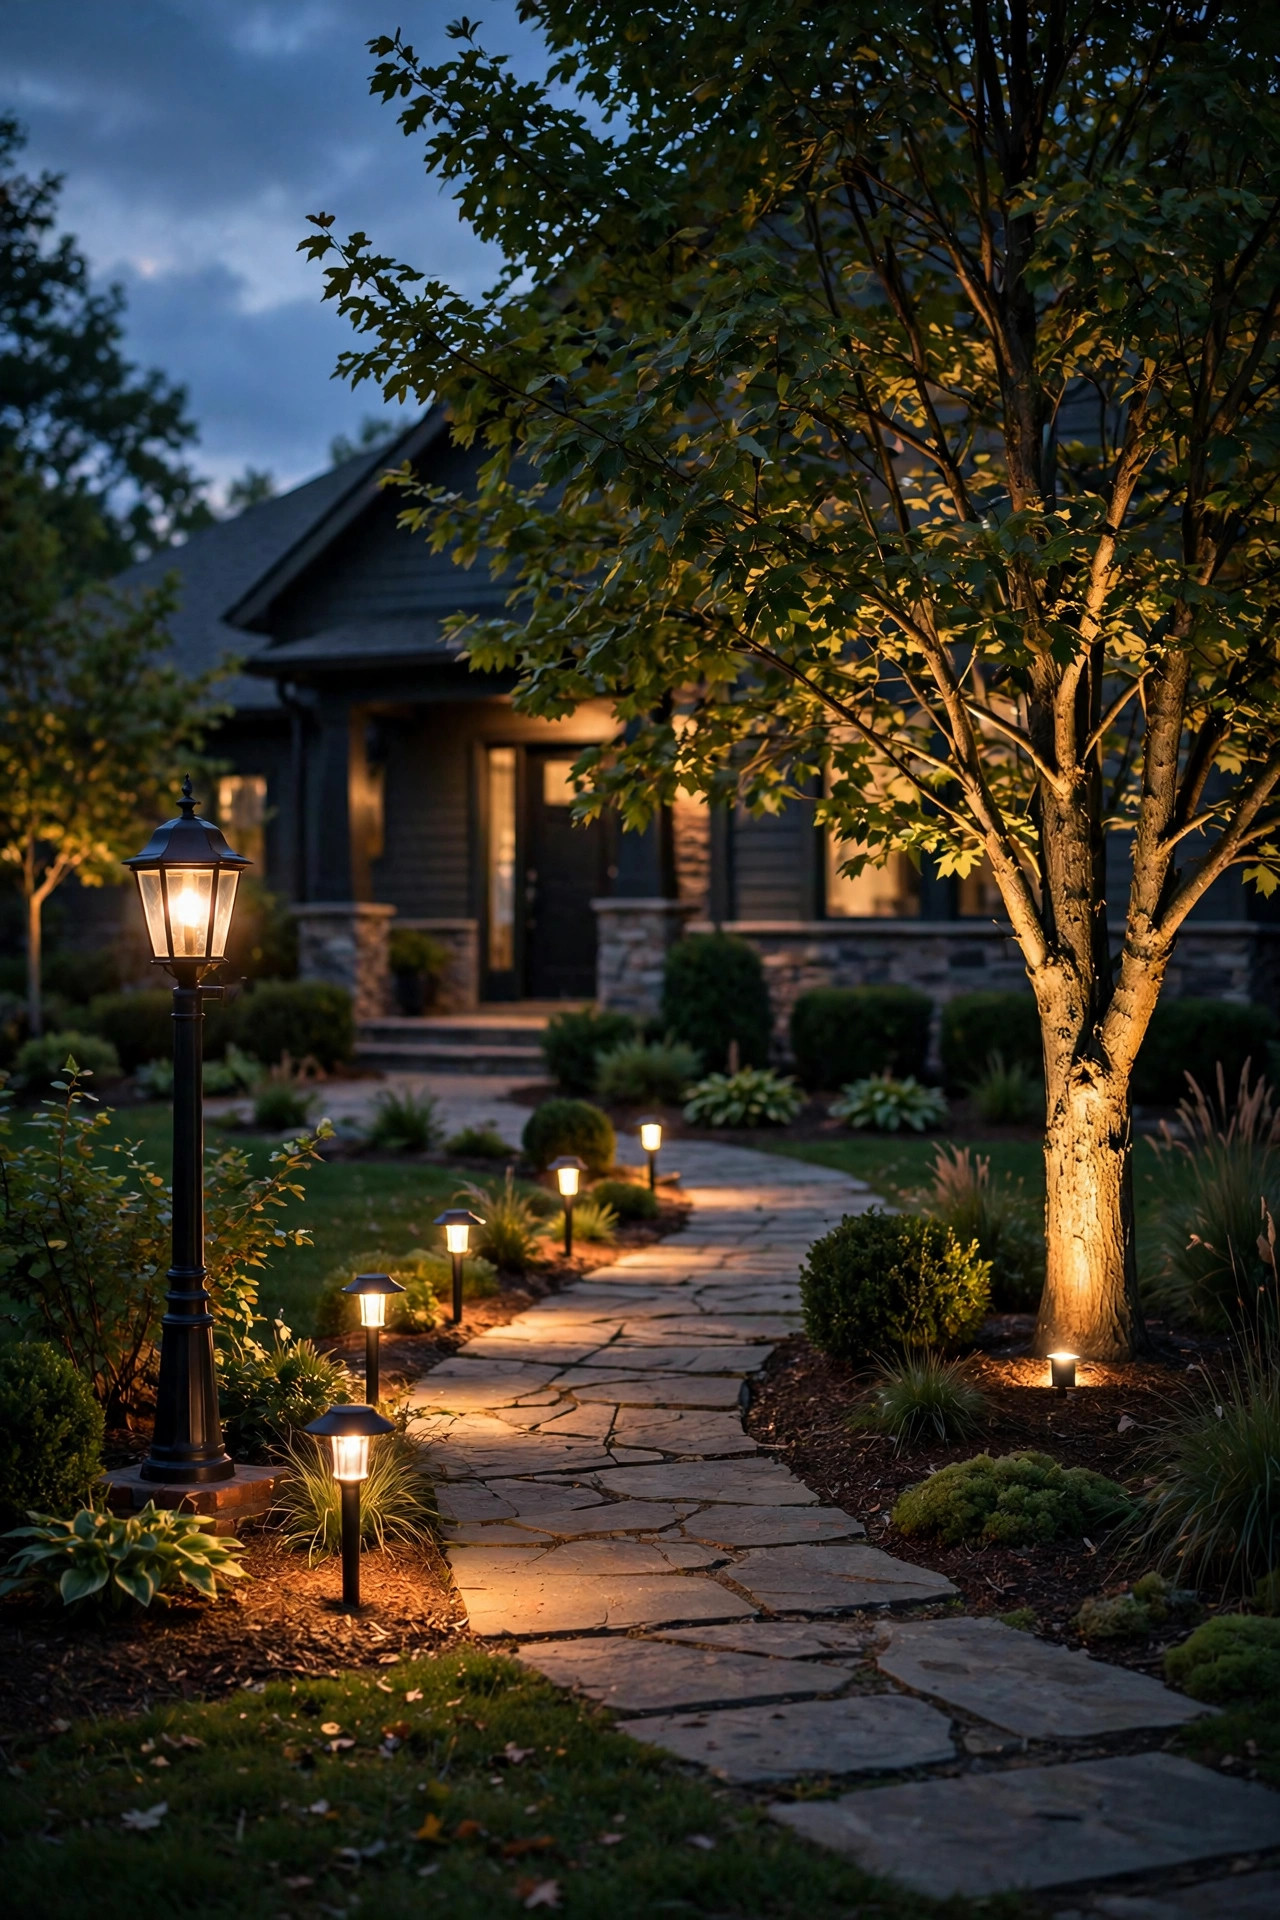
19. Layer Your Front Yard Lamp Post Ideas Into a Full Plan
The posts that look truly professional are never working alone — they're the tall layer in a three-height plan. Here's the combination I recommend to anyone starting fresh: one lamp post as the anchor, low path lights to trace the walkway, and one or two soft uplights washing a tree or the front facade. Each layer does a different job, so nothing has to be painfully bright; in fact, the whole yard can run dimmer and look richer. Put everything on one transformer or smart schedule so the scene arrives together at dusk. When I plan a yard, I literally sketch three circles — tall, low, accent — and check that every part of the yard falls into at least one. My front yard landscape lighting guide walks through that layering approach in more depth if you want the full method. Start with the post, live with it a month, then add layers — that's honestly how the best-looking yards on our street got that way.
Suggested budget range: $450 – $950.
Frequently Asked Questions
How tall should a front yard lamp post be?
For most homes, 6 to 8 feet is the sweet spot, putting the light source around 5.5 to 7 feet off the ground. That height clears most shrubs, throws a generous pool of light, and stays below the roofline of a one-story home. Smaller townhomes can go 5 to 6 feet; grand two-story facades can handle 8 to 9. Whatever you choose, keep the bulb roughly at or slightly above eye level for a standing adult — much lower glares, much higher feels like a streetlight.
Are solar lamp posts bright enough for a front yard?
Good ones are, with honest expectations. Look for 150–300 lumens for wayfinding light along a walkway or driveway — that's comparable to a soft wired fixture. Cheap decorative posts under 50 lumens are really just markers. Brightness also depends on sun: a panel in full sun will run strong past midnight, while a shaded panel may fade by 10 p.m. in winter. For a main driveway post, I still lean wired; solar shines as the second or third post.
What color temperature looks best for a lamp post?
Warm white, 2700K to 3000K, wins in almost every front yard I've seen. It flatters brick, stone, wood, and skin tones, and it matches the cozy glow most porch fixtures produce. Cooler 4000K and above reads commercial and can make landscaping look gray-green. Whatever you pick, match the temperature across the post, path lights, and porch so the yard reads as one scene instead of three competing ones.
Can I install a wired lamp post myself, or do I need an electrician?
Low-voltage (12V) posts are very DIY-friendly: shallow 6-inch cable burial, a plug-in transformer, and no permit in most areas. Line-voltage (120V) posts are a different story — they typically need 18-inch burial (or conduit), a GFCI-protected circuit, and a permit, and many towns require a licensed electrician. Always call 811 before digging, and if any part of the plan makes you hesitate, the electrician's fee is cheaper than a mistake buried in concrete.
Conclusion
Of everything I've added to our yard over the years, the lamp post still feels like the decision that pulled it all together — one tall, warm layer that makes the path lights, the porch, and the plantings make sense. The best front yard lamp post ideas aren't really about the fixture; they're about placing the right glow at the right height for how people actually arrive at your home. Pick one idea from this list, live with it for a season, and layer from there. Then browse the rest of the lighting ideas here on the site — your porch, paths, and garden beds deserve the same treatment, and I add new projects all the time.