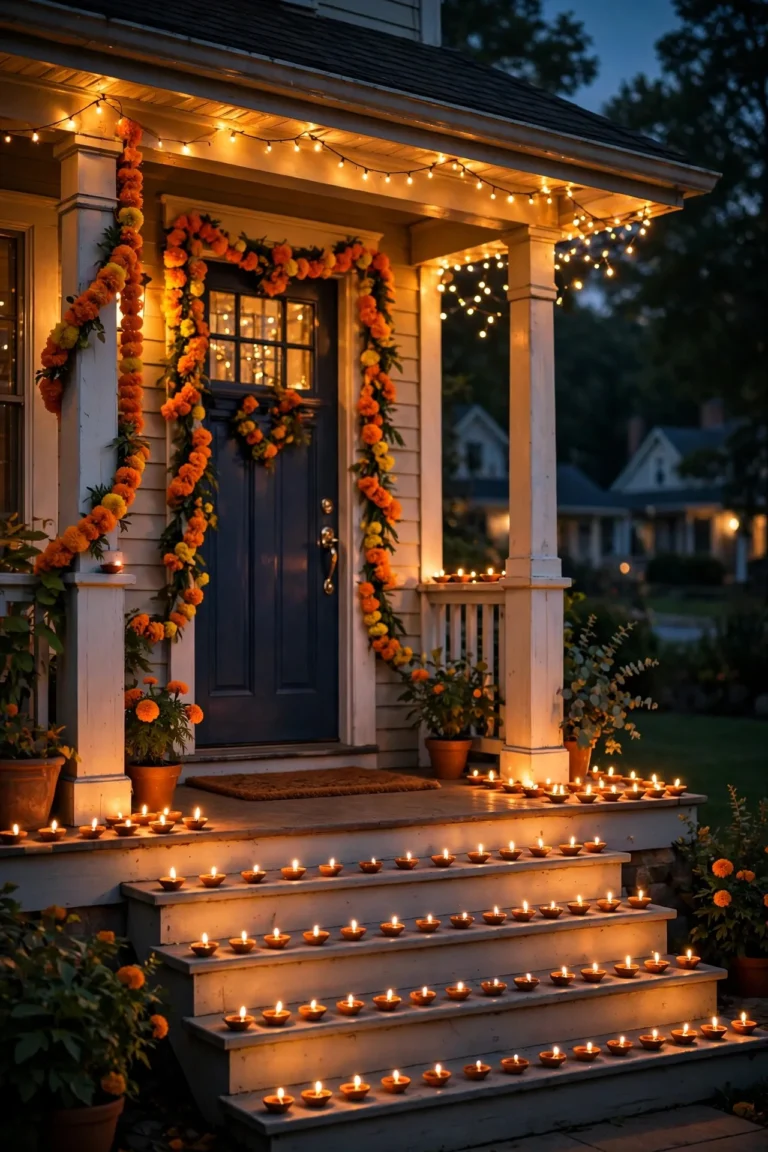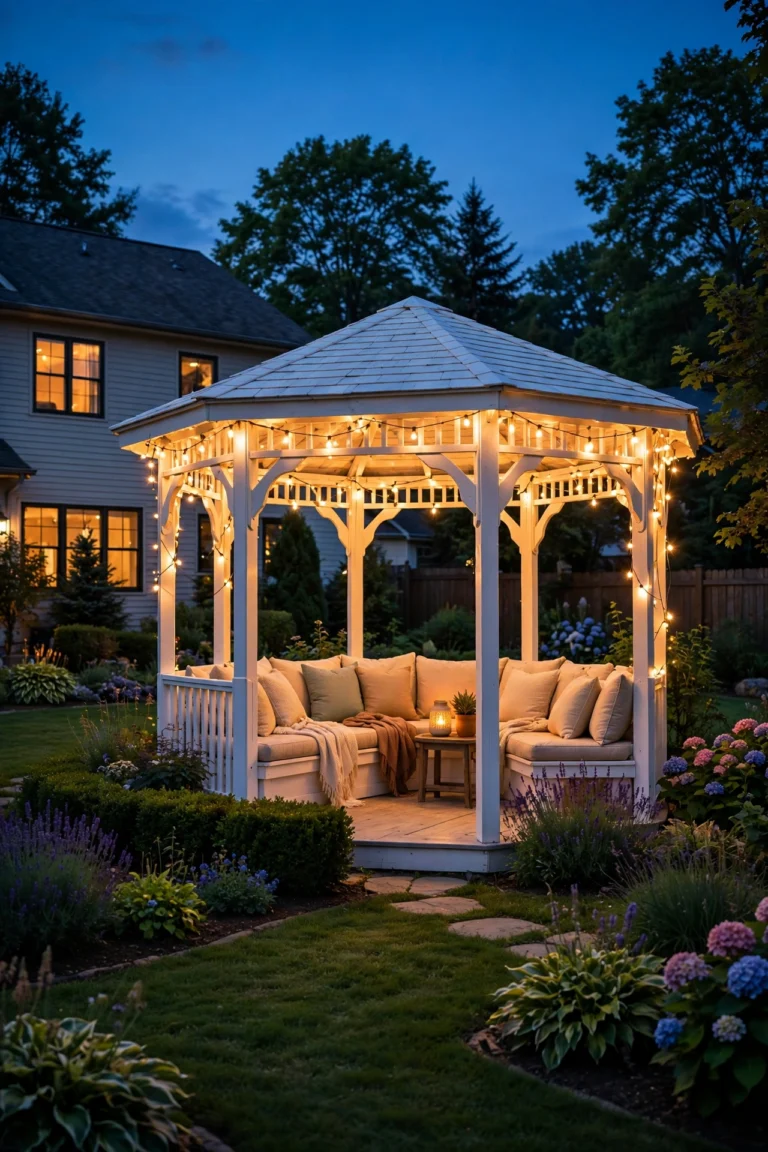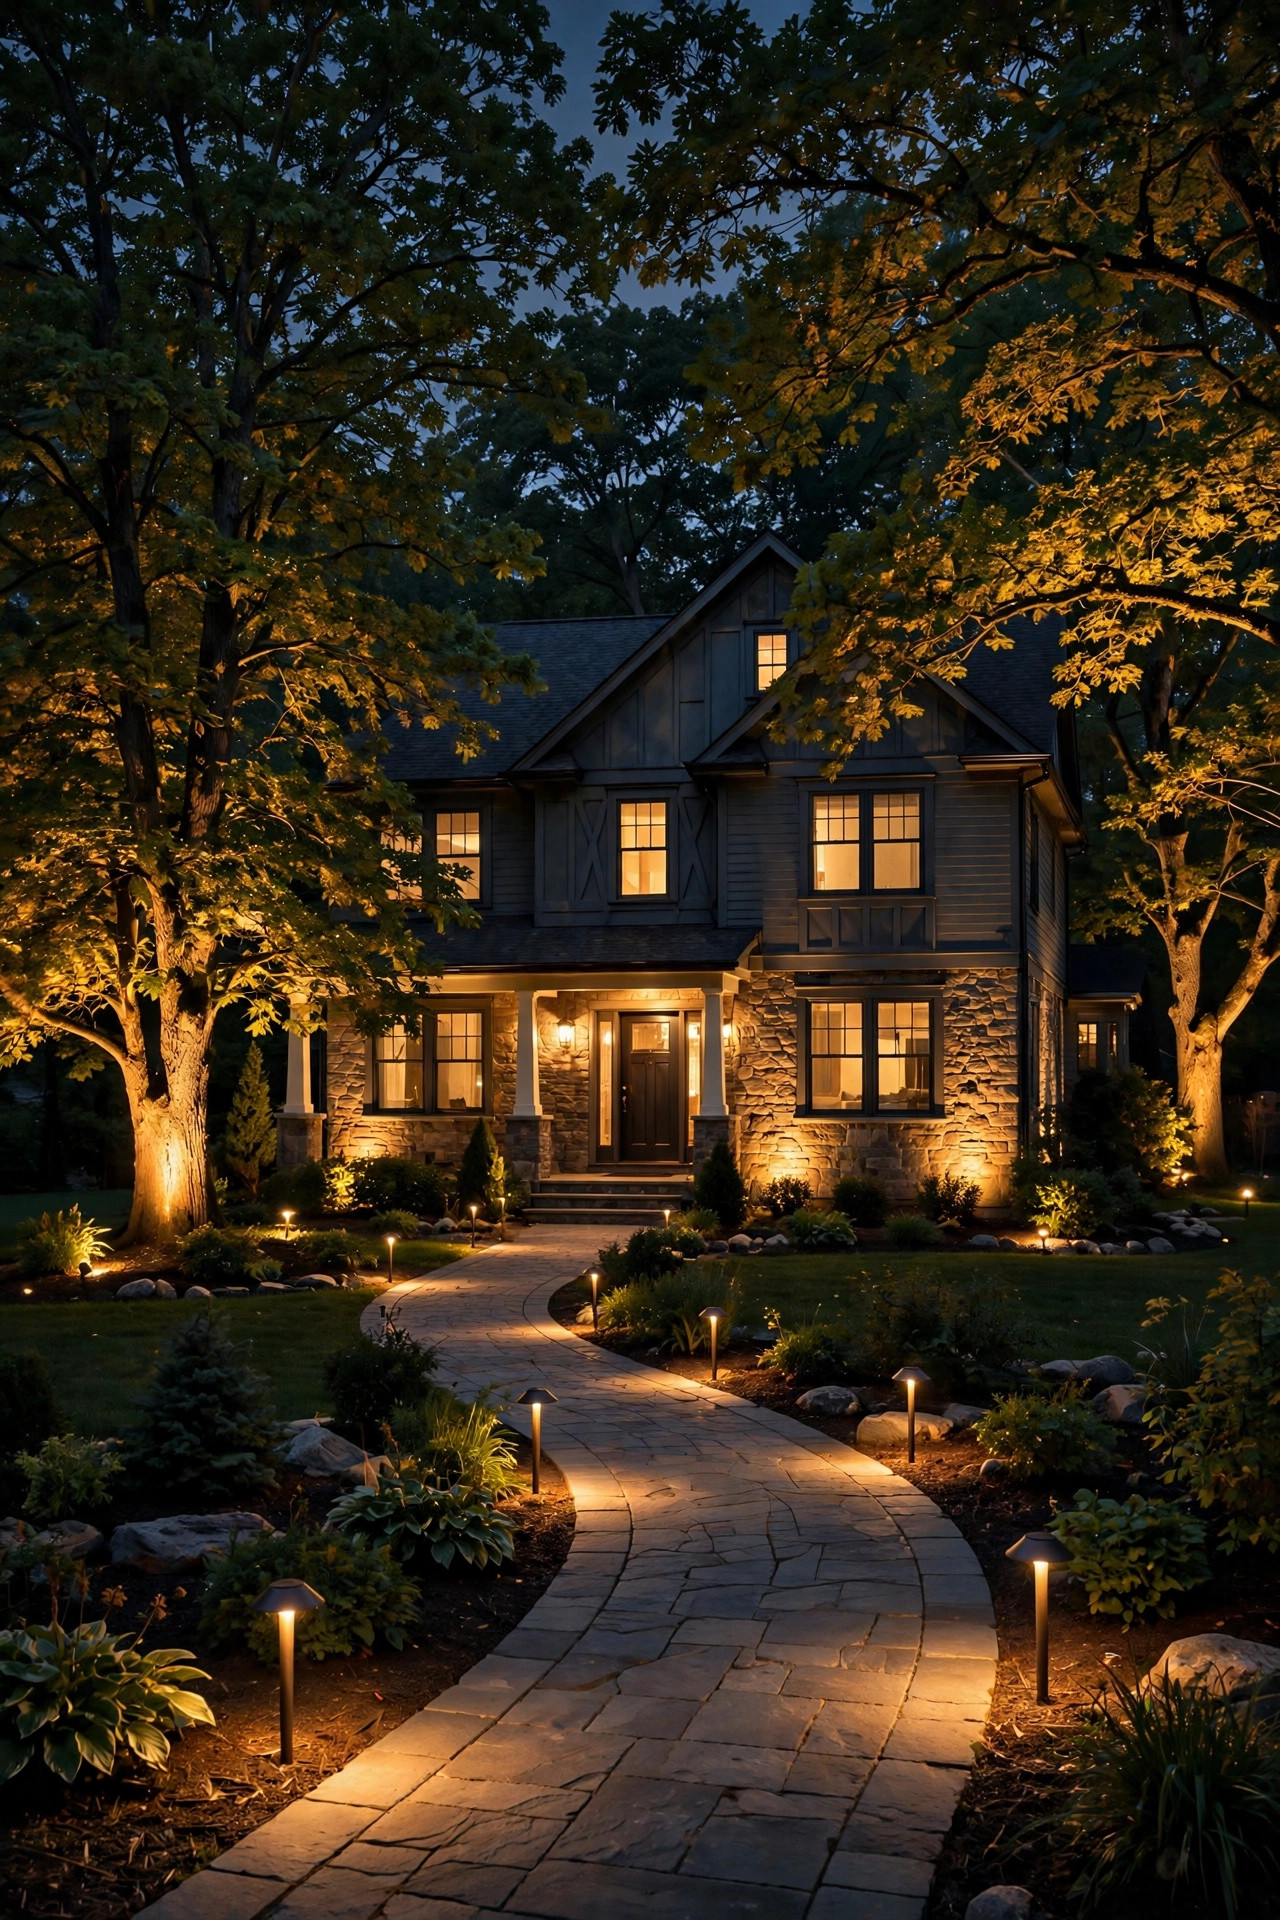
I'll be honest: my front yard used to disappear at night. Not in a dramatic way — it just went flat, dark, and a little lonely once the sun dropped. The house was pretty enough during the day, but after dinner you'd drive past and see… nothing. A porch light, a black lawn, and one sad shadow where our oak tree stood. Then a neighbor three doors down redid her front yard lighting, and suddenly her house looked like it was worth twice mine. That was the night I fell down the rabbit hole of front yard landscape lighting, and I've been happily stuck there ever since.
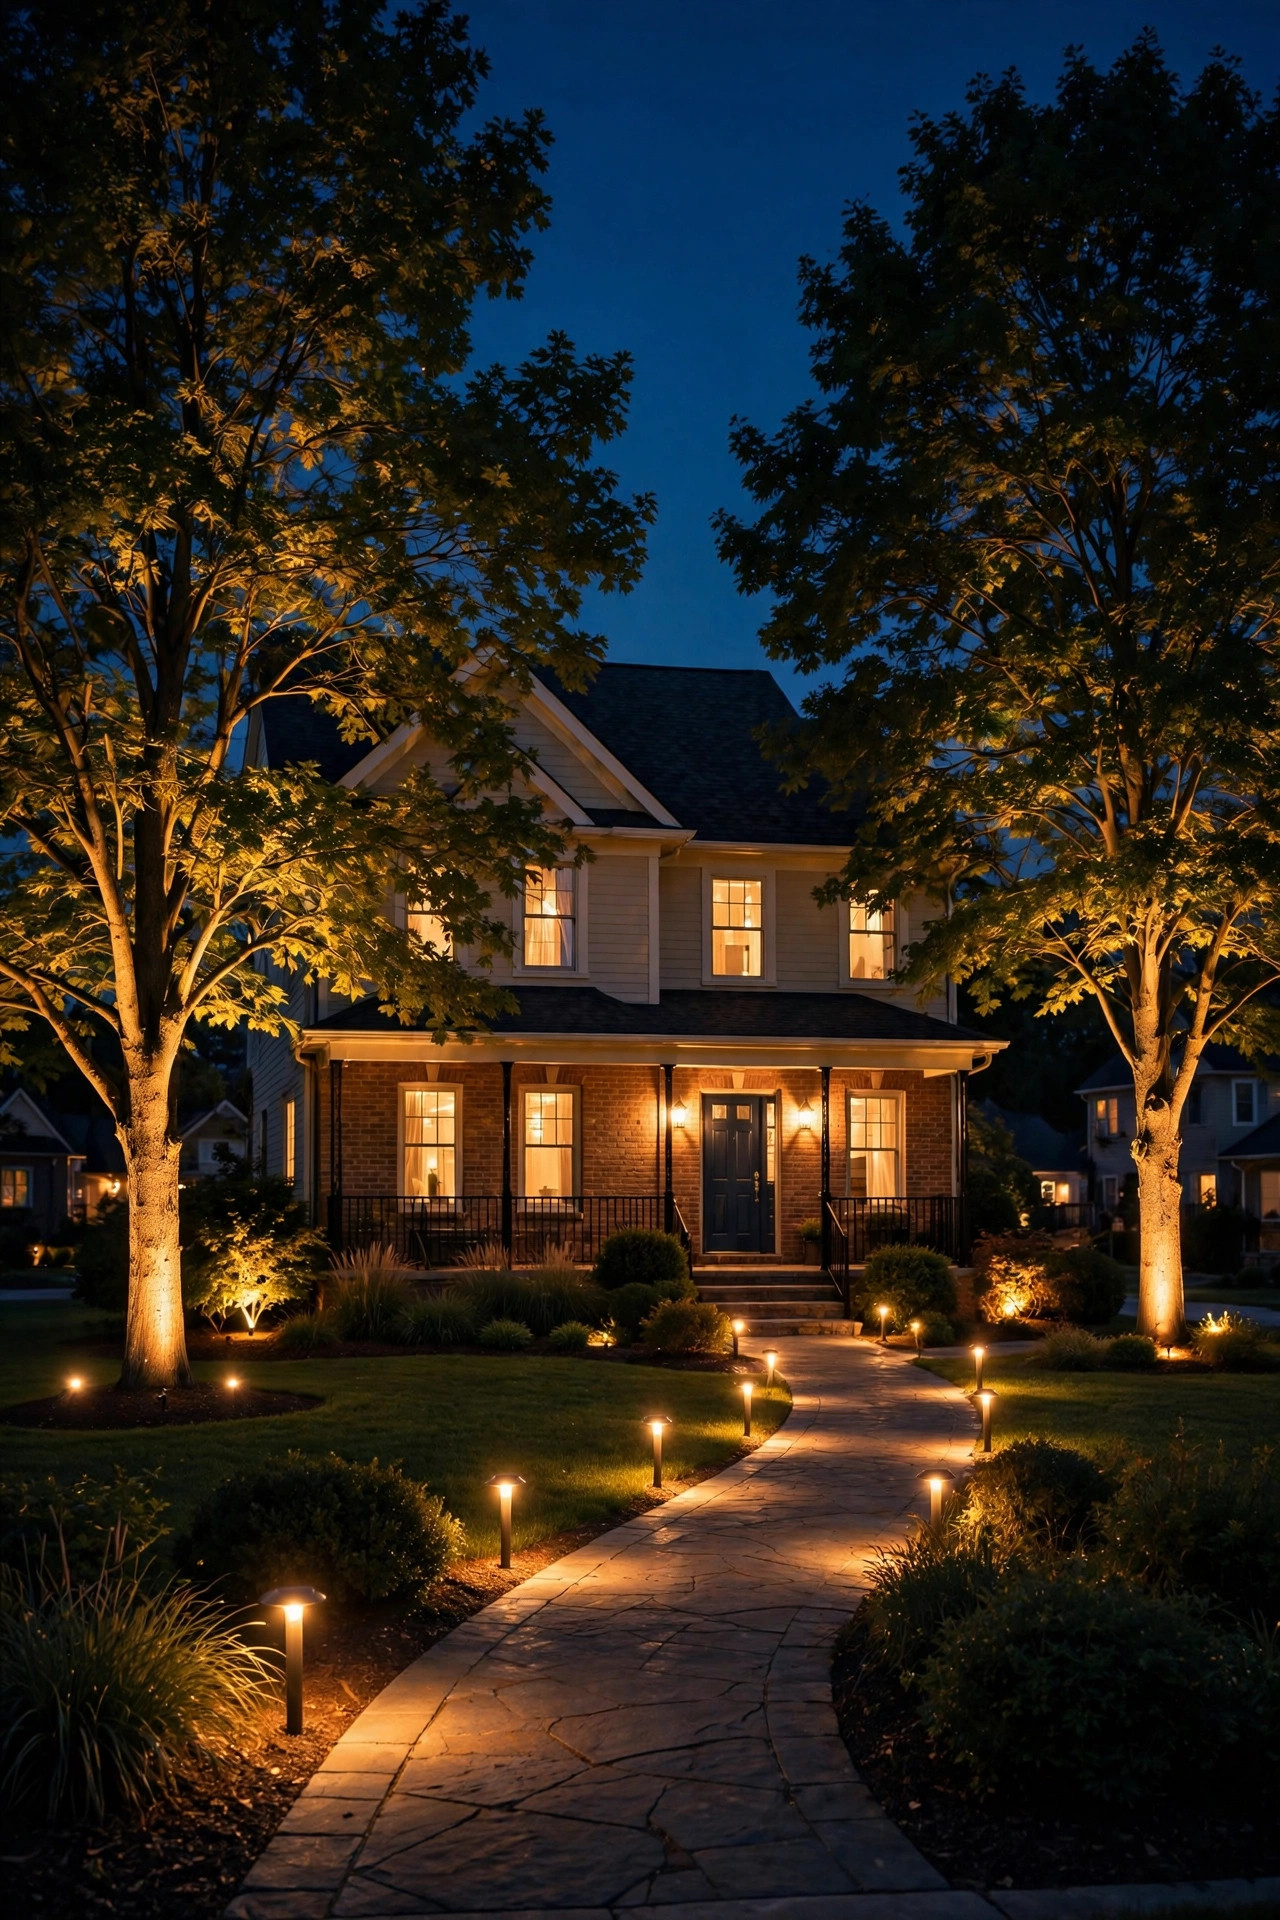
Here's what I learned: curb appeal after dark isn't about buying the brightest floodlight on the shelf. It's about layers — a little light along the path, a soft wash up the trees, a warm accent on the brick — stacked together so your home glows instead of glaring. Get the layers right and the whole street looks twice. Get them wrong and you end up with a yard that looks like a parking lot.
By the end of this guide, you'll know exactly how layered lighting works, which fixtures do what, how many you actually need, what it costs in 2026, and the five mistakes I see over and over (I made two of them myself). Let's make your house the one people slow down to look at.
The Short Answer
Layered front yard landscape lighting works by combining three layers: path lighting for safe, welcoming walkways; accent lighting (uplights, spotlights, well lights) to highlight trees, architecture, and beds; and ambient or wash lighting for overall glow and balance. Aim for warm white light (around 2700K), keep fixture brightness modest (100–300 lumens for most landscape fixtures), and space path lights 8–10 feet apart. A typical front yard needs 8–14 fixtures, and most DIY low-voltage projects land between $300 and $900 in materials. Start with one layer, live with it a week, then add the next.
How Layered Front Yard Lighting Works (the Basics in Plain English)
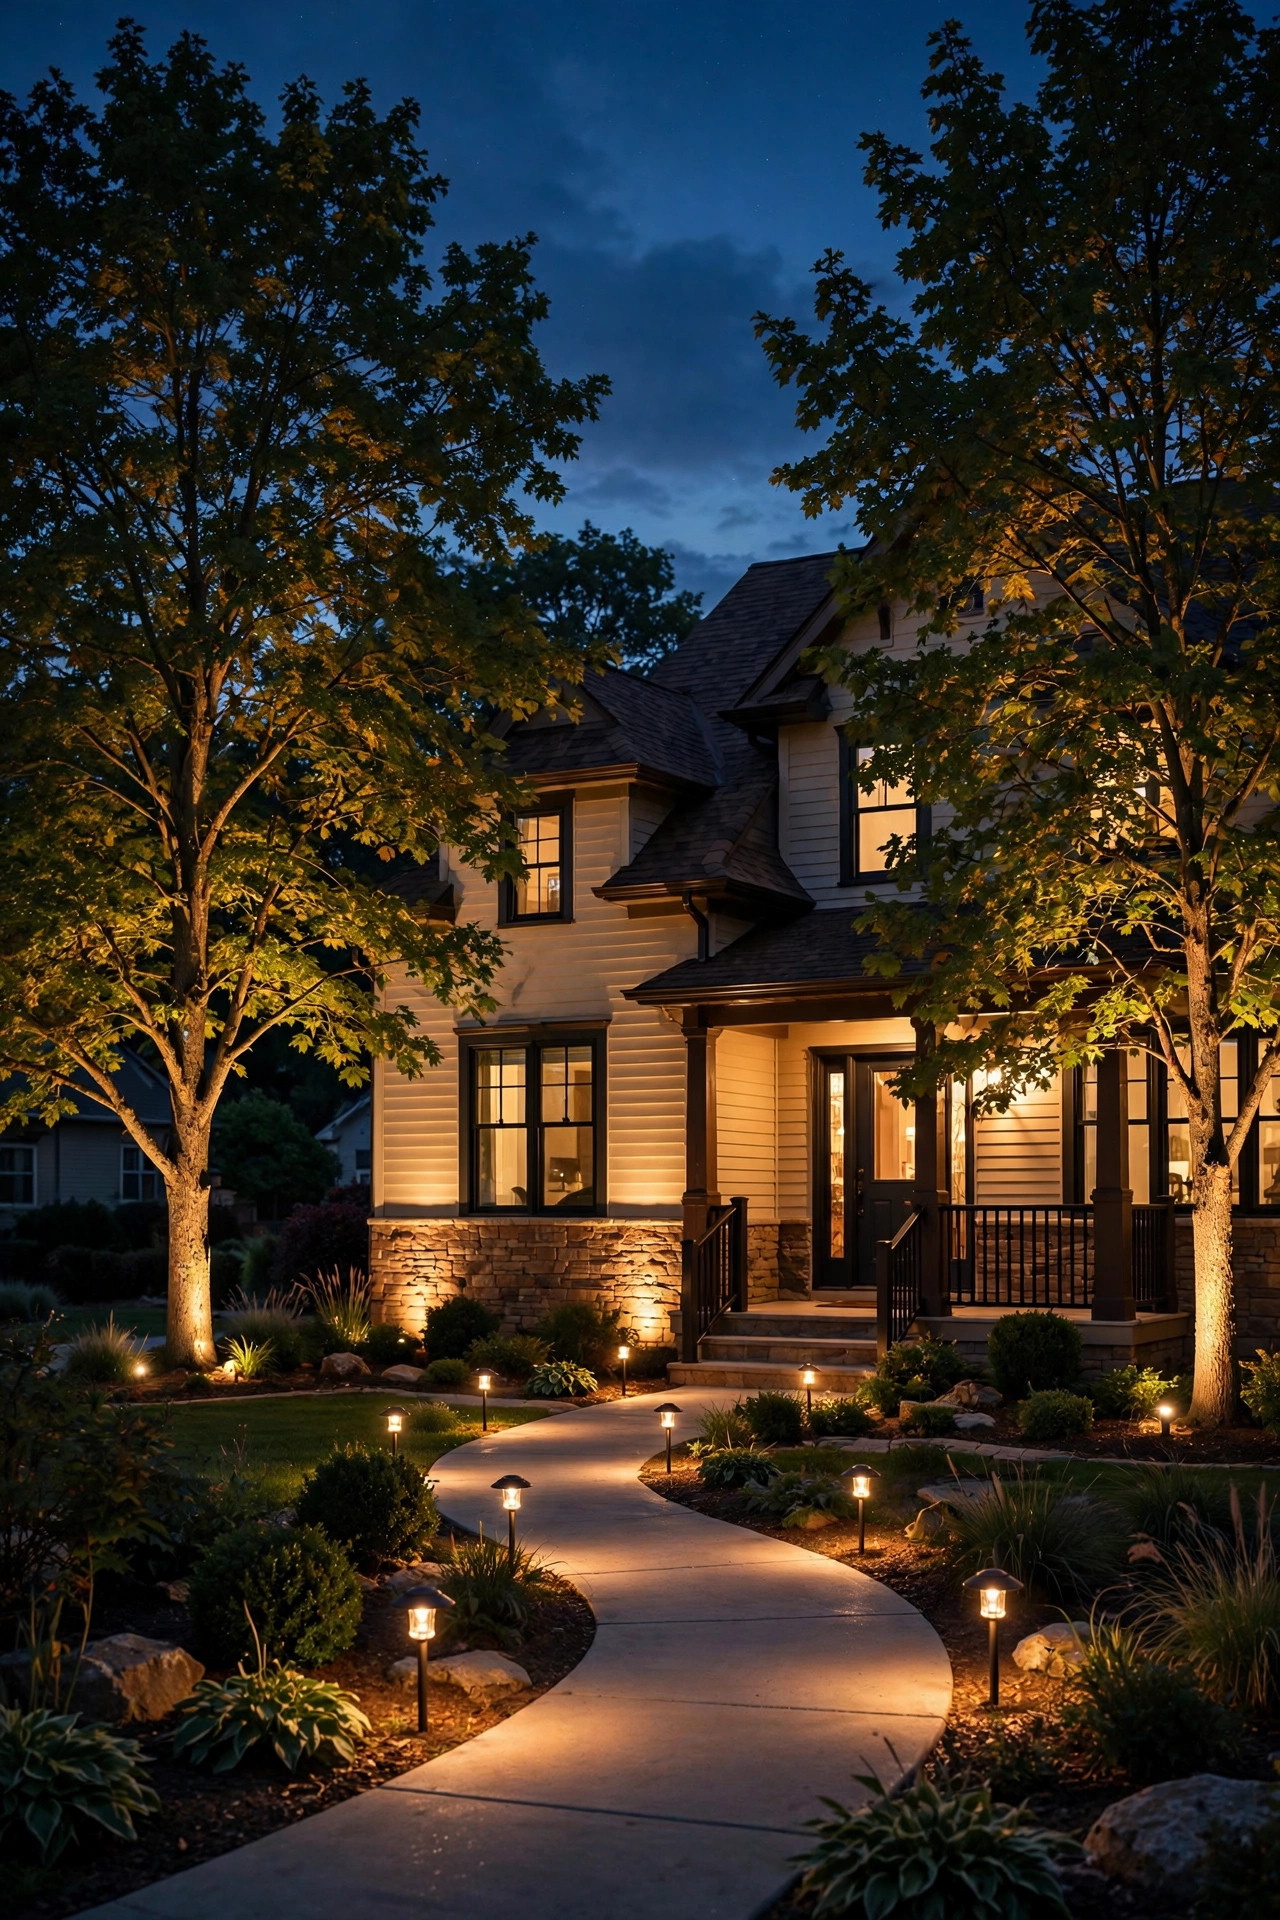
Think of your yard the way a lighting designer thinks of a living room. In a living room, you don't light everything with one blazing ceiling fixture — you layer a floor lamp, a table lamp, maybe a reading light, and the room feels warm and finished. Your front yard works the same way, just with stakes, transformers, and weatherproof fixtures instead of lamps.
The first layer is task lighting: the practical stuff. Path lights guide feet from the driveway or sidewalk to the front door. Step lights keep porch stairs safe. This layer answers one question — can a guest find their way to your door without squinting? In my experience, this is the layer most people start with, and it's the one that pays off immediately in both safety and welcome.
The second layer is accent lighting: the drama. This is the uplight at the base of your oak, the spotlight grazing your brick chimney, the small fixtures tucked into planting beds to make ornamental grasses glow like they have their own spotlight at a concert. Accent lighting creates focal points — the "ooh" moments. One well-placed spotlight on a beautiful tree does more for curb appeal than six randomly scattered path lights.
The third layer is ambient and fill lighting: the glue. This might be a soft wash across a wall, moonlighting from a tree canopy, or even the spill from your porch sconces. It fills the dark gaps between your task and accent lights so the yard feels cohesive instead of spotty — no harsh contrast between one bright patch and a sea of black.
The magic word is contrast control. A good layered plan keeps brightness ratios gentle: your brightest accents should never be more than about 3–4 times brighter than the surrounding areas. When everything is blasted at full brightness, nothing stands out — it's visual noise. Dim the background layers and let your hero features shine, and suddenly a modest yard looks intentional and expensive.
Low-voltage systems (12-volt) make all of this beginner-friendly. A single transformer plugs into an outdoor outlet, steps the power down to a safe 12 volts, and you run cable to each fixture. No conduit trenching for most layouts, no electrician required in most jurisdictions for the low-voltage portion. The fixtures connect in minutes. That's how a weekend DIYer (hi) can do this without a contractor.
The Main Fixture Types, Compared Honestly
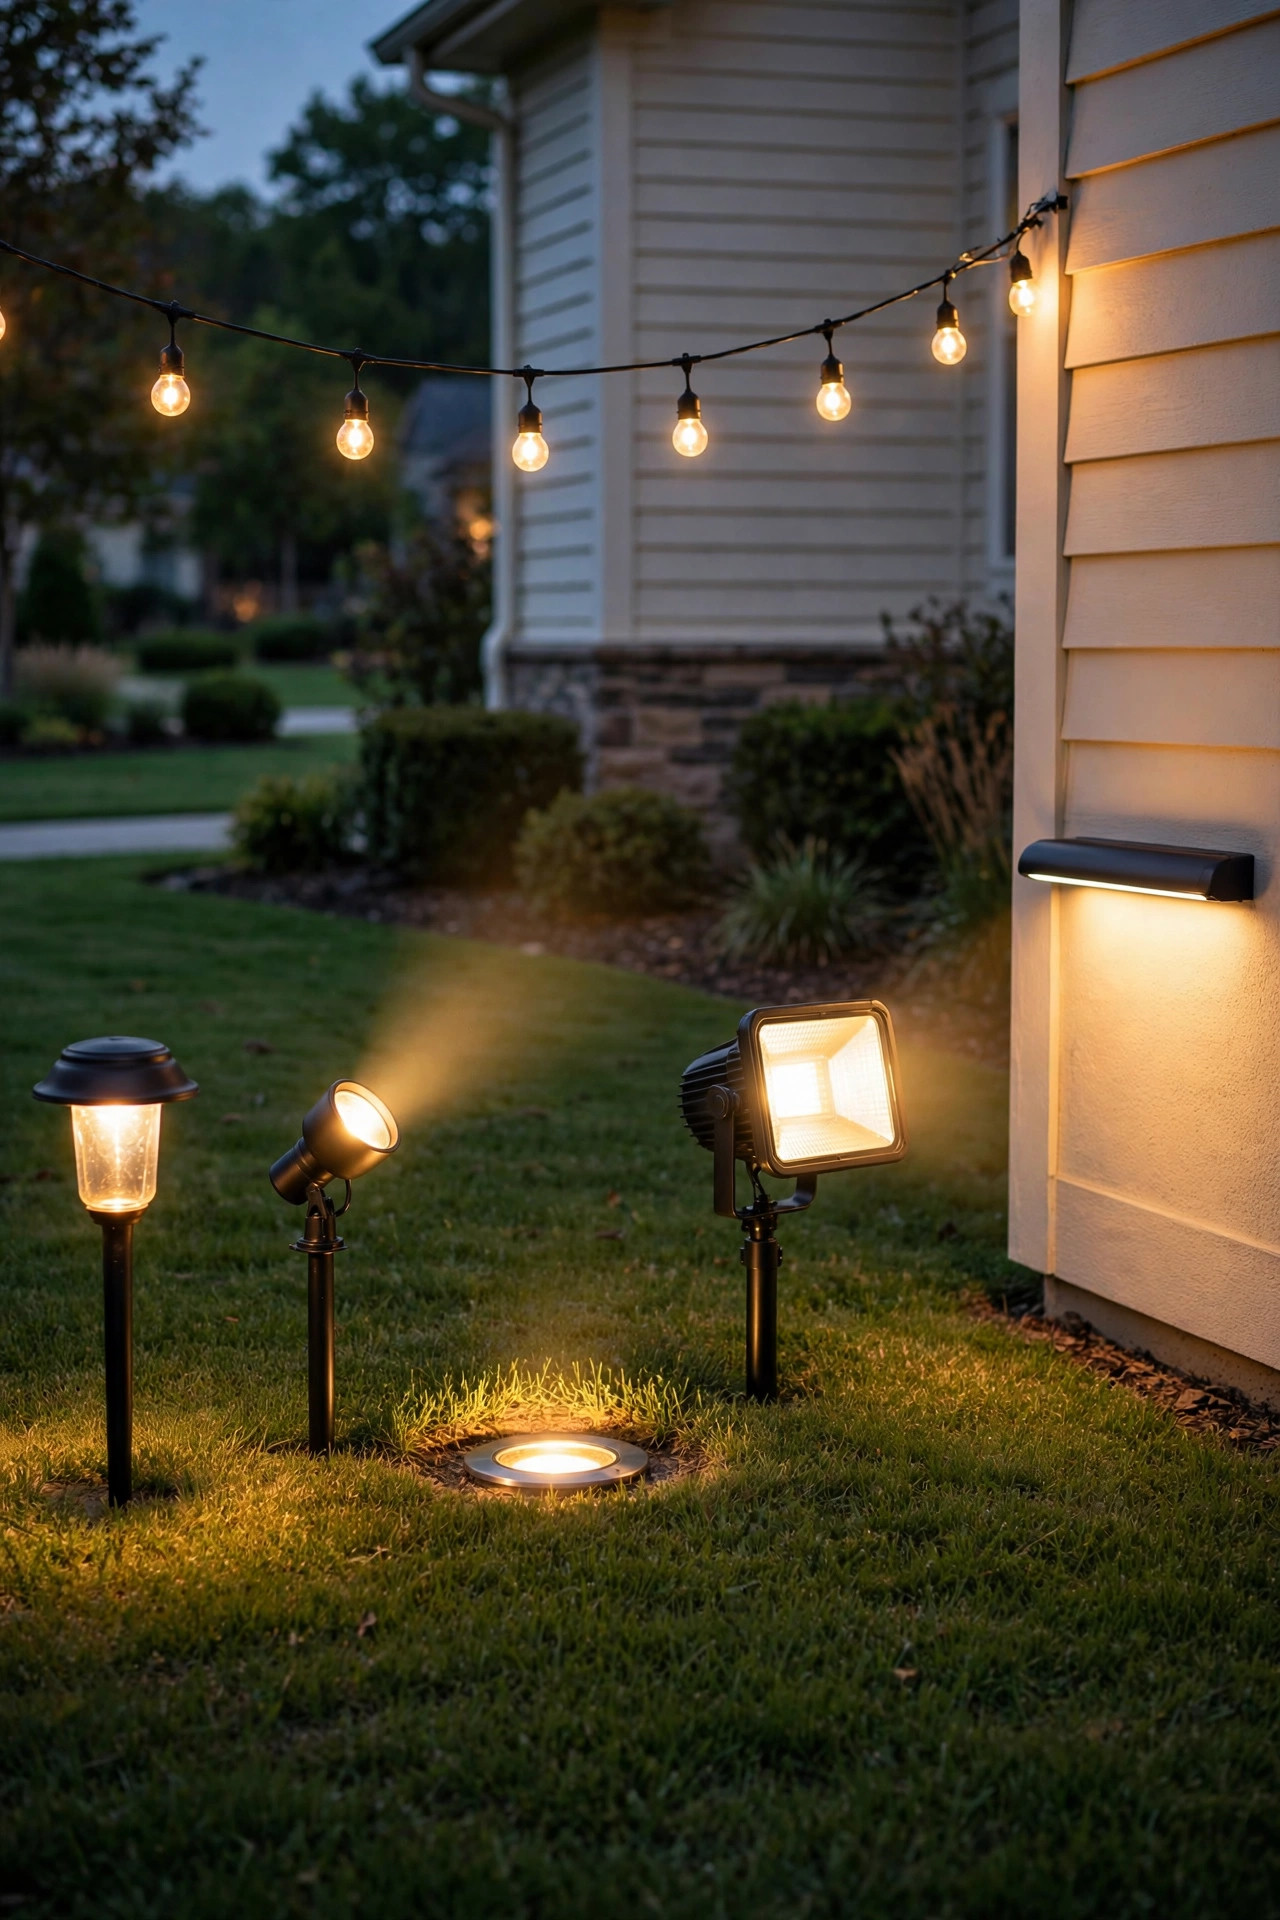
Walk into any home improvement store and the lighting aisle is overwhelming. Here's the real lineup of what goes in a front yard, with my honest take on each.
Path lights are the little mushroom-cap or lantern-style fixtures on short stakes. They're the friendliest looking fixtures and the most beginner-friendly — push the stake in, point the cap down. Their job is guiding feet, not lighting faces: the light should pool softly on the ground. Overdoing them is the single most common rookie look (more on that in the mistakes section).
Spotlights (bullet lights) are adjustable directional fixtures, usually staked into the ground or mounted on a small base. They're the workhorse of accent lighting — aim one at a tree trunk, a column, a sculpture. The adjustable head is what makes them versatile, but it also means you have to aim them thoughtfully.
Well lights are recessed fixtures that sit flush in the ground with the lens at grade level. They vanish during the day and throw light straight up at night — perfect for a clean look in front of a tree or wall where you don't want visible hardware. Downside: they're the hardest to install yourself because you're digging a hole and setting a canister.
Floodlights are wide-beam fixtures for washing large areas — the side of a garage, a big hedge row. They come in hardwired and low-voltage versions. Use them sparingly; a yard lit like a stadium loses all its charm. In my experience, one floodlight in the right spot beats three scattered around.
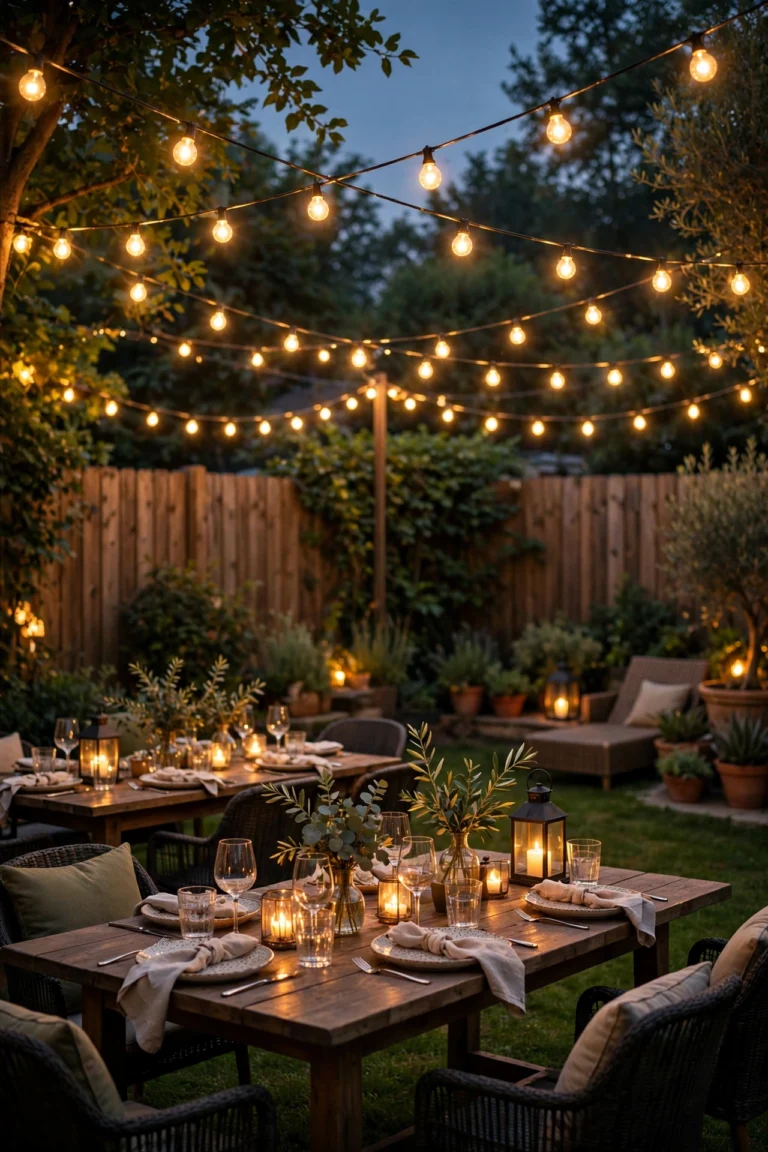
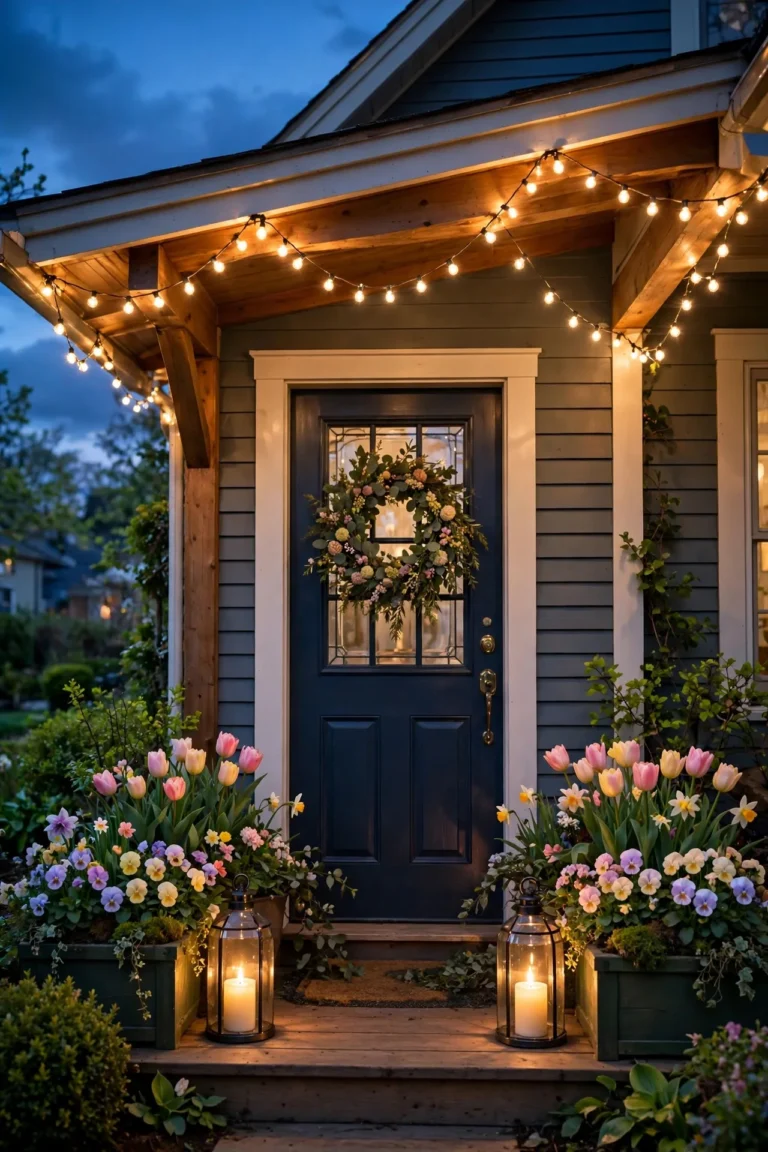
String lights are the mood-makers. Swagged between posts along a fence line or strung under a front porch overhang, they add sparkle and warmth. They're not practical lighting — you won't navigate by them — but nothing says "people live here and love it" quite like warm string lights. Go for commercial-grade outdoor strands; the thin indoor ones die in one season.
Wall washers are wide, even fixtures designed to bathe a surface — a brick facade, a retaining wall, a privacy fence — in soft, uniform light. They're the secret to making a house look finished at night because they eliminate the dark wall problem without hot spots.
Here's the honest comparison:
| Fixture Type | Cost Range (per fixture, 2026) | Installation Effort | Best For |
|---|---|---|---|
| Path lights | $25–$60 | Easy — stake in the ground | Walkways, driveways, garden edges |
| Spotlights | $30–$80 | Easy to moderate — stake and aim | Uplighting trees, columns, sculptures |
| Well lights | $40–$100 | Moderate — digging and setting | Clean uplighting where hardware must hide |
| Floodlights | $35–$120 | Moderate — mounting and wiring | Broad walls, large hedges, security areas |
| String lights | $20–$50 per strand | Easy — hang and plug in | Porches, fences, patio edges, instant ambiance |
| Wall washers | $45–$110 | Moderate — positioning for even wash | Facades, retaining walls, fences |
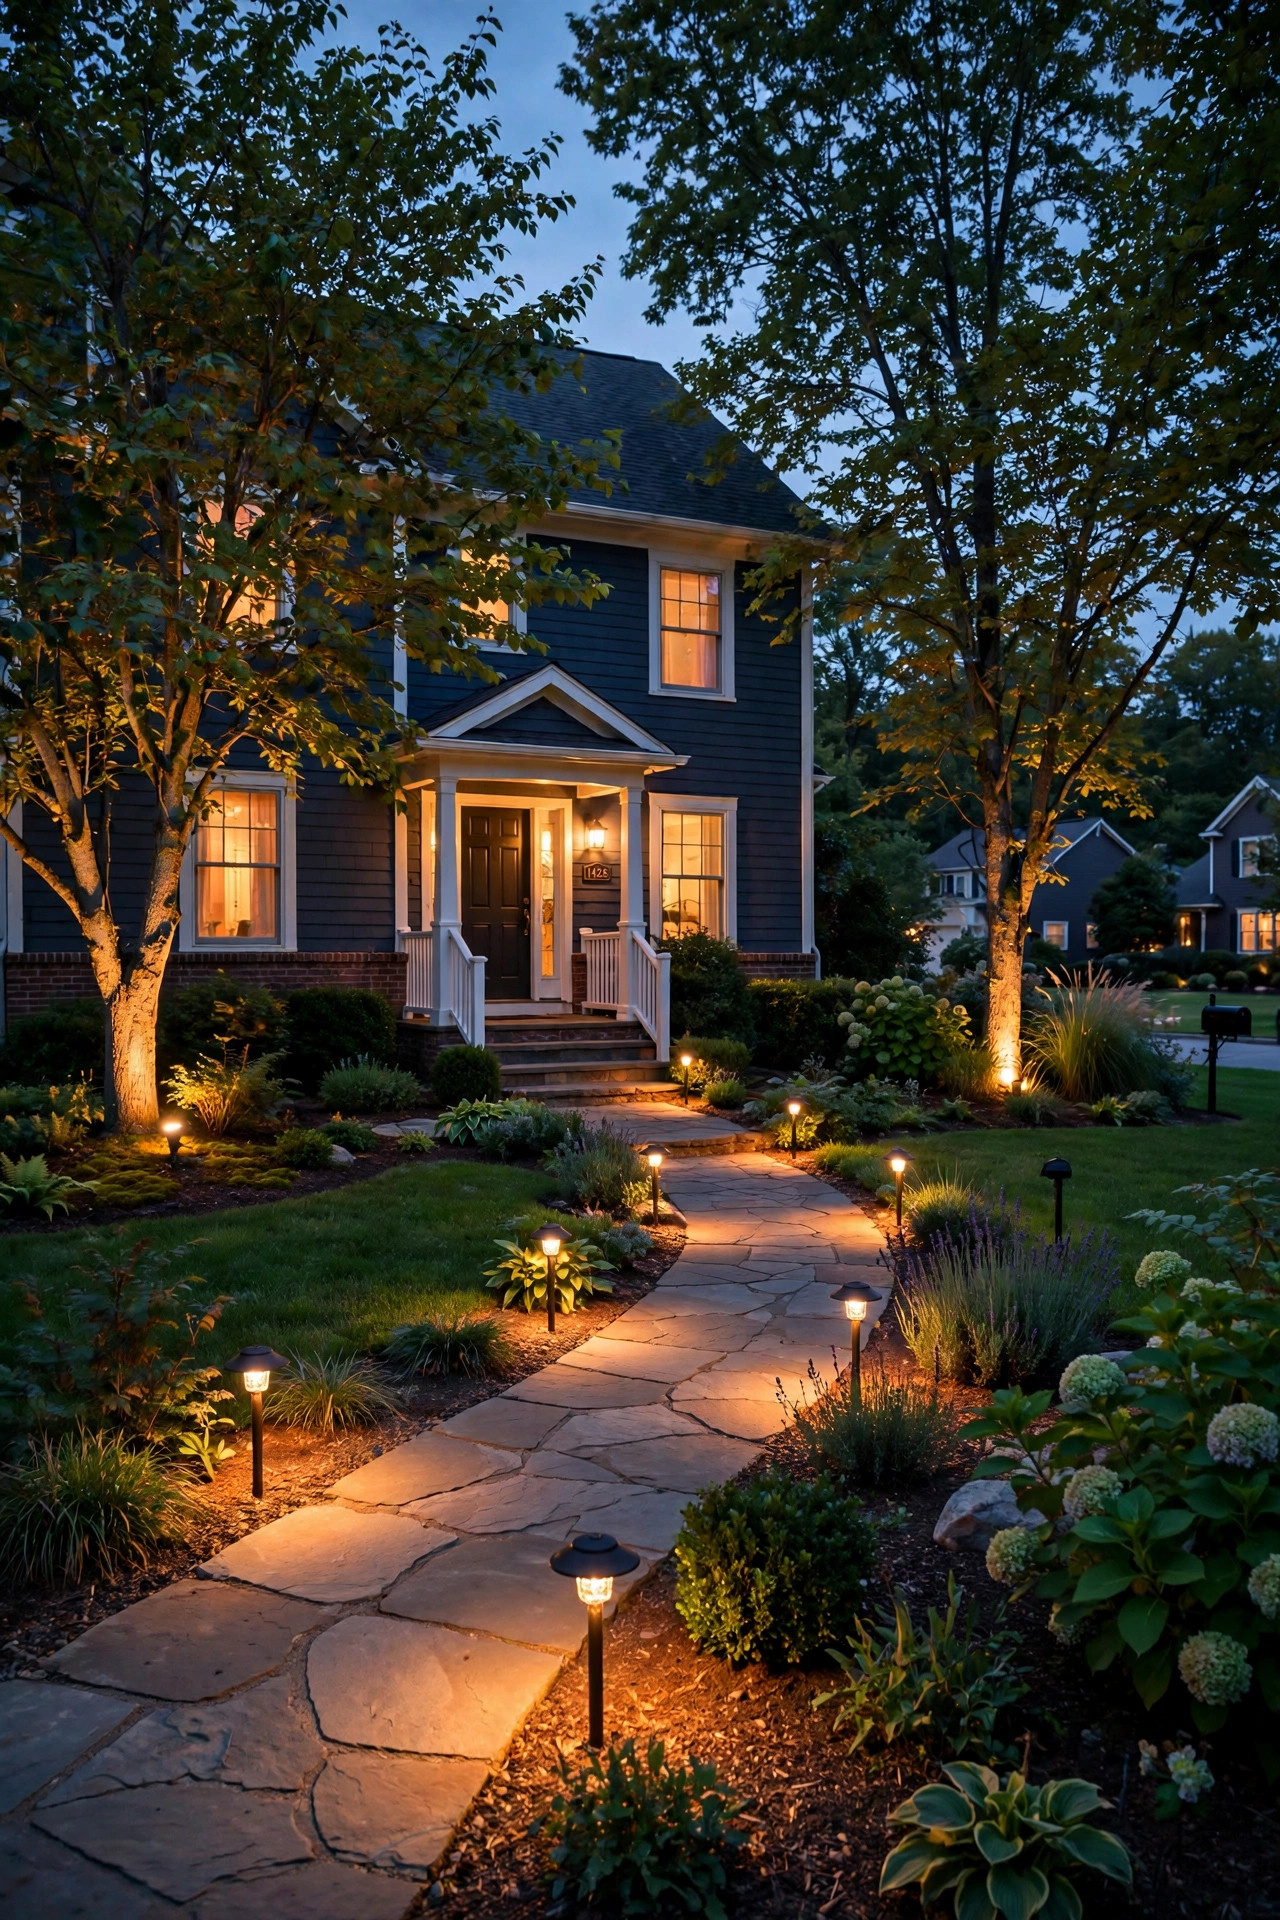
How Many Fixtures You Need and Where to Put Them (Spacing Rules, Measurements)
This is the question I get most, and the answer is always "fewer than you think." A standard suburban front yard — say 40 to 60 feet wide with a walkway from the sidewalk to the porch — typically needs 8 to 14 fixtures total for a proper layered look. My first attempt used 22. It looked like a runway. Don't be me.
Start with a walk of your property at dusk. Stand at the curb and look at your house. Note three things: the path a visitor takes, the features that are already beautiful (mature tree, brick chimney, ornamental grasses), and the dark holes (the side yard, the garage wall). Your fixtures go in that order: path first, features second, holes third.
Path light spacing: place them 8 to 10 feet apart, staggered on alternating sides of the walkway rather than in a straight military row on both sides. Staggering looks natural and halves your fixture count. Set each fixture 12 to 18 inches off the edge of the path — close enough to pool light on the walking surface, far enough that nobody trips on the stake. For a 30-foot walkway, that's about 3 to 4 path lights. Walk the path after installing and look for dark gaps; adjust before you bury cable.
Accent spacing: one spotlight per hero feature is usually enough. A medium tree (20–30 feet tall) needs one to two uplights placed 12 to 24 inches from the trunk, angled up and slightly outward so the canopy catches light. A large tree (over 35 feet) can take three fixtures around the trunk. For architecture — columns, chimneys, gable ends — space spotlights so their beams just overlap, typically 6 to 10 feet apart depending on beam width.
The view-from-the-street test is your final judge. After everything is connected but before you bury the cables, wait until it's fully dark, walk to the curb, and look. This is the view that matters most for curb appeal. If one area screams and another disappears, rebalance — move fixtures rather than buying more.
One practical note on cable runs: low-voltage cable loses voltage over distance (that's "voltage drop"), so keep your longest run under about 100 feet for a standard 12-gauge cable, and place the transformer roughly central to your fixtures if you can. The low-voltage path light guide goes deeper on wiring specifics if you want the nitty-gritty.
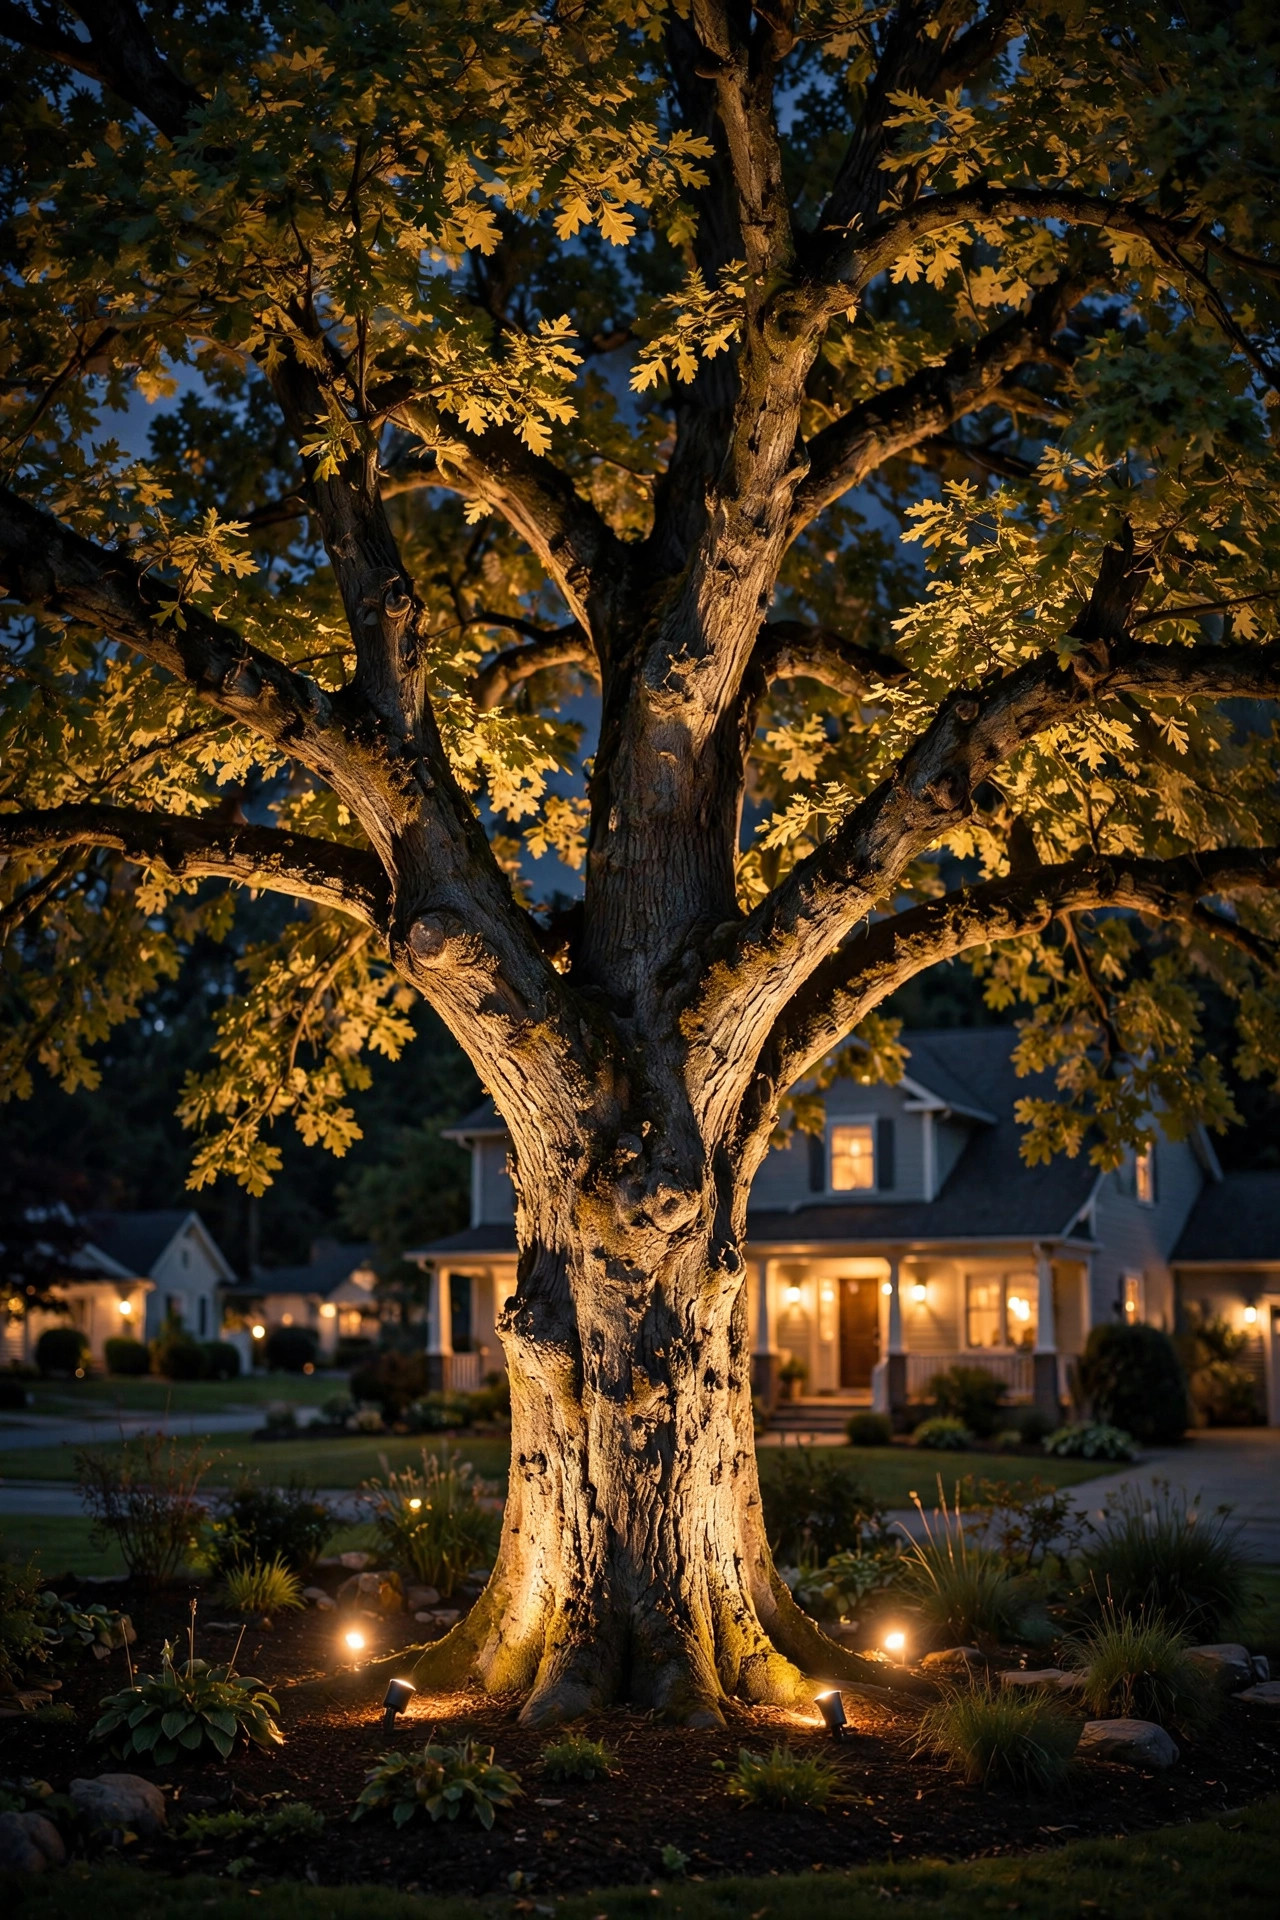
Uplighting Trees and Architecture
Uplighting is the single most dramatic trick in front yard landscape lighting, and it's almost embarrassingly simple. Place a fixture at the base of something beautiful, aim it up, and watch your yard transform. The first time I uplighted our oak, I actually gasped. The trunk's bark texture appeared, the canopy glowed against the sky, and the whole tree looked ten feet taller.
For trees, placement matters more than power. Set the fixture 12 to 24 inches from the base of the trunk and aim the beam slightly off-center — straight up the middle looks flat, while an angled beam catches the bark texture and throws interesting shadows through the branches. For a tree with a dense canopy, a narrower beam (35–45 degrees) punches through the leaves. For a spreading ornamental tree where you want the whole form to glow, go wider (60 degrees or more). Deciduous trees in winter are secretly gorgeous when uplighted — the bare branch structure creates natural sculpture, which is why I keep ours on through the cold months (see my notes on winter landscape lighting).
For architecture, think grazing rather than blasting. Brick and stone have texture — set a fixture 18 to 36 inches from the wall and aim it nearly parallel so the light rakes across the surface and the mortar lines and texture pop. That's called grazing, and it makes ordinary brick look rich. For smooth siding, back the fixture up to 4 to 6 feet so the beam spreads evenly and you don't get a hot spot. Columns get one fixture each, aimed up — a row of lit columns is pure curb appeal. Chimneys and gable ends are naturals: they're already the tallest thing on the house, so lighting them gives your home presence.
Color temperature discipline is what separates amateur from polished: keep every accent fixture in the yard at the same warm white, around 2700K. One cool-white fixture in a sea of warm light looks like a mistake (because it is). If your fixtures have selectable color temperature, lock them all to the same setting during installation.
Watch the moon, too. In my experience, uplighting looks best when it's the star — heavy cloud cover nights make your accents pop, while a bright full moon washes them out a bit. That's normal and actually a lovely rhythm to live with.
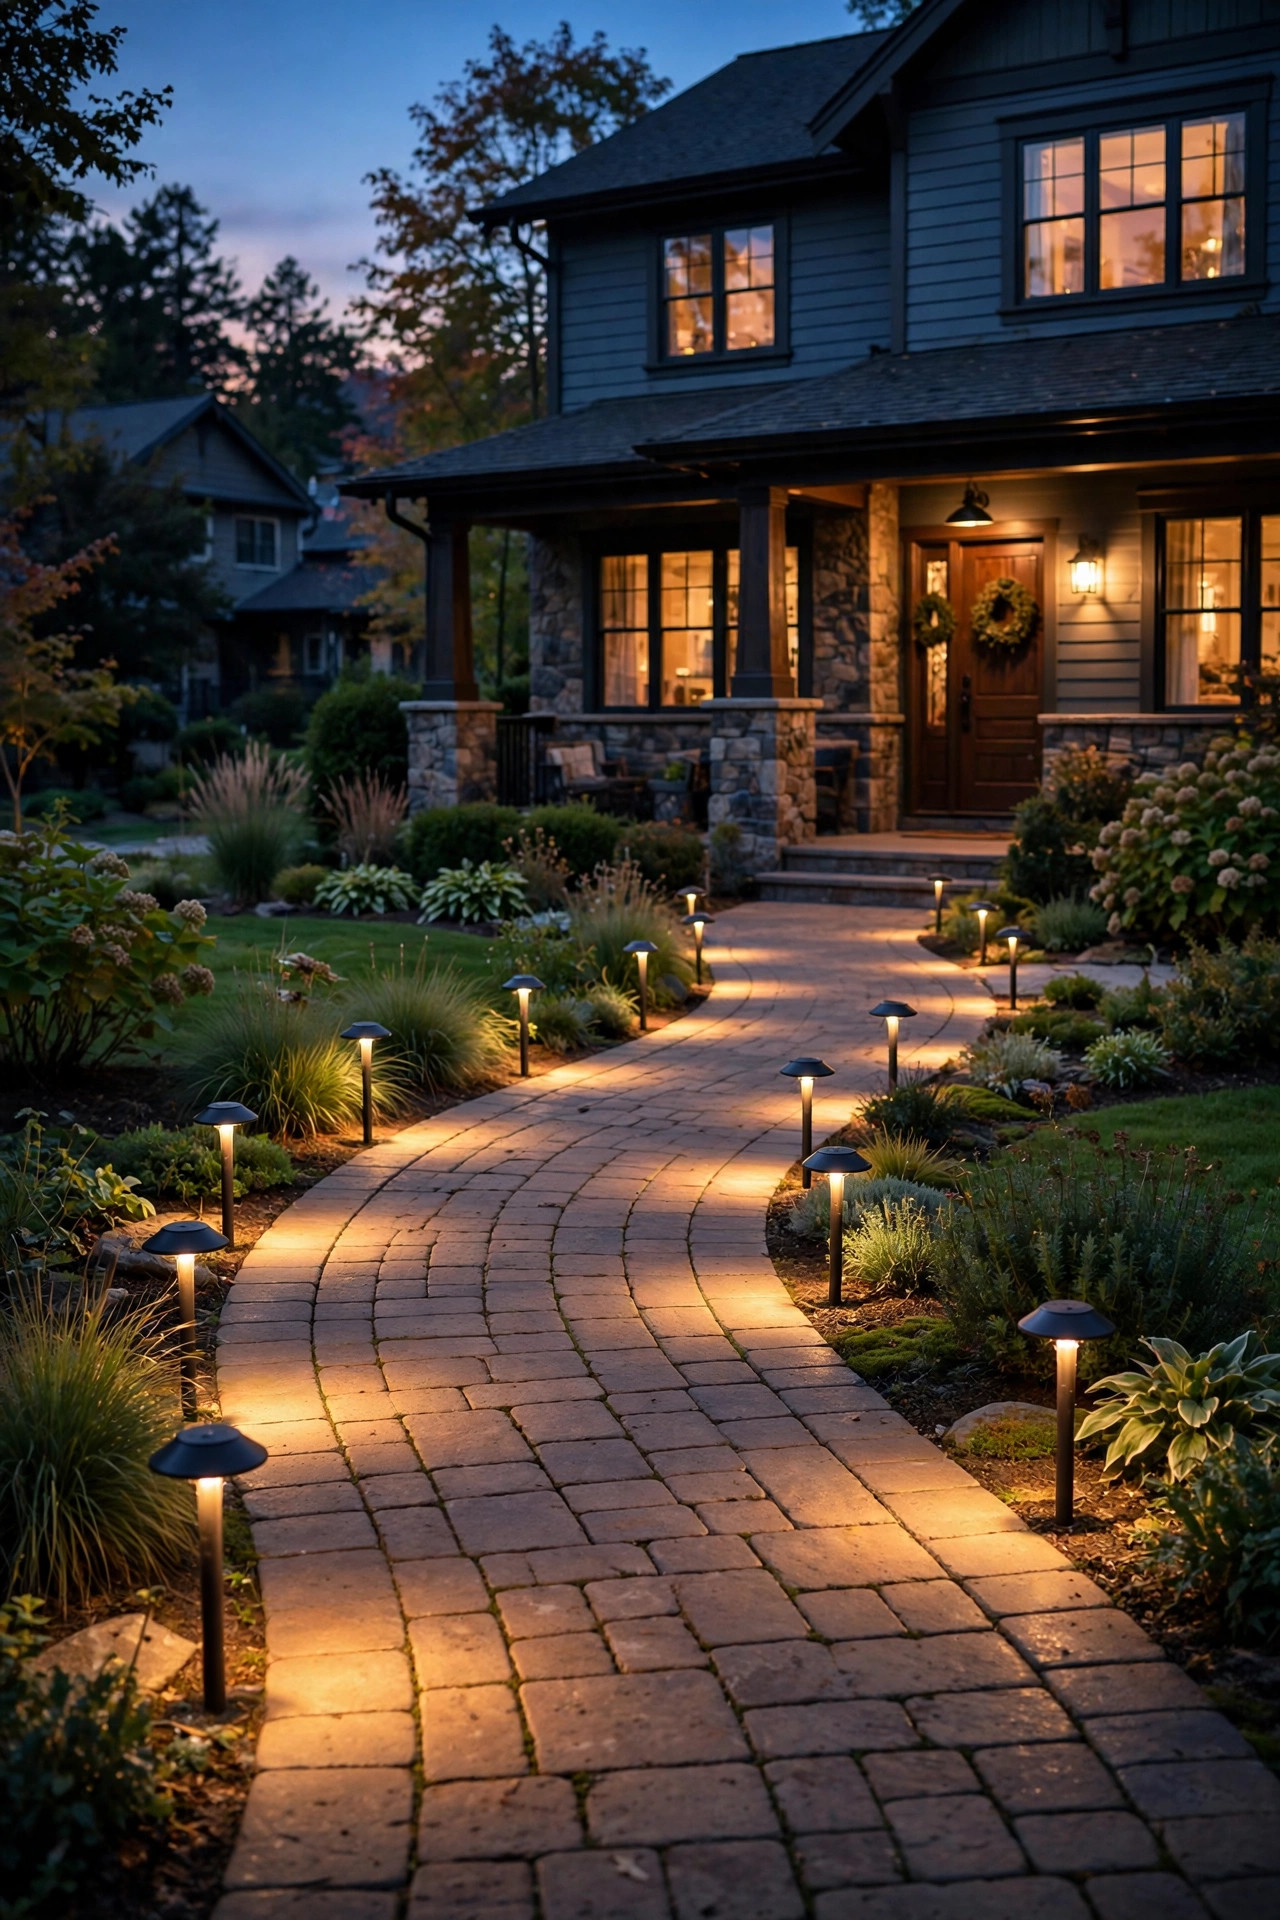
Path and Walkway Lighting Placement Rules
Path lighting is where beginners overdo it and where restraint pays off beautifully. The goal is a ribbon of soft light that says "come on in" — not an airport runway. I learned this the hard way with my 22-fixture phase, and my yard has never looked better than it does now with four.
The golden rule: light the path, not the person. Fixture heads should direct light downward, pooling on the walking surface. If the bulb is visible from a standing position, the fixture is wrong for the job or installed wrong — visible bulbs create glare that actually makes it harder to see where you're walking. Choose fixtures with shielded heads or caps that hide the light source.
Stagger, don't line. Alternate fixtures on opposite sides of the walkway, 8 to 10 feet apart. A straight row on both sides looks institutional. For curved walkways, place a fixture on the outside of each curve — that's where feet naturally drift and where the darkness feels deepest. For straight runs, the stagger alone does the work.
Height and offset: most path light heads sit 14 to 24 inches above grade, and the fixture should stand 12 to 18 inches back from the path edge. Closer than that and you create blinding hot spots; farther and the light never reaches the walking surface. Around autumn, when leaves pile up, give the fixtures a little extra clearance — wet leaves against a warm fixture head are a smolder risk and they block the light anyway.
Steps and elevation changes deserve their own attention. Any step up or down should have a fixture nearby — a small step light or a path light positioned to catch the tread. This is genuinely a safety issue, not just aesthetics; an unlit step is a liability. Porch steps get step lights recessed into the riser or mounted on the adjacent wall.
Driveway edges need less than you think. A few fixtures at the driveway entrance and one or two along a long driveway are plenty — you don't need to line the whole thing. Cars have headlights; your lighting just needs to mark the edges and the turn-in point.
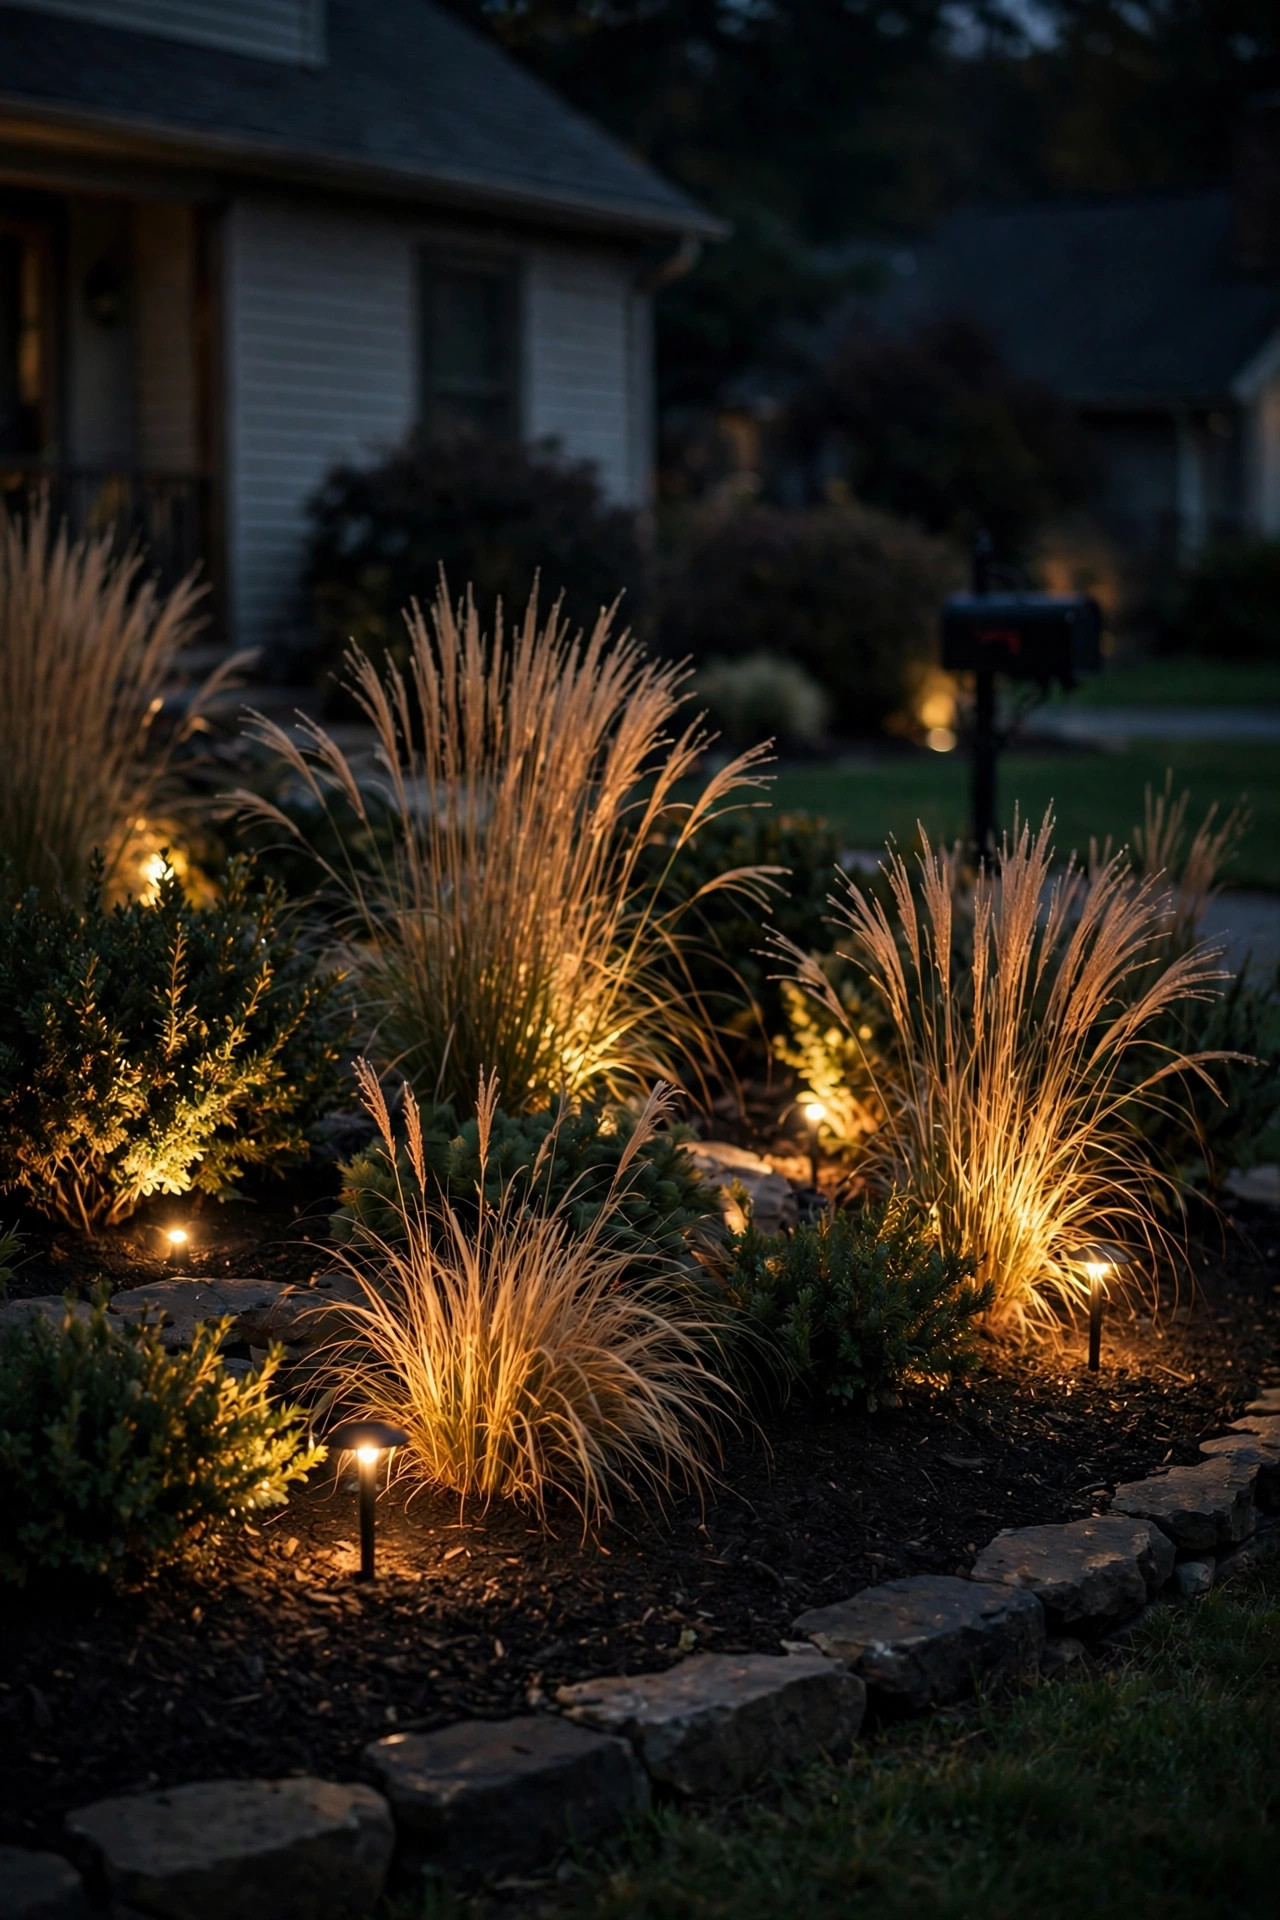
Accent Lighting for Beds and Features
Beds and borders are where front yard landscape lighting gets artistic. A well-lit planting bed at night looks like a stage set — grasses glowing, shrubs layered in shadow, mulch going dark so the plants float. It's my favorite part of the whole system because it changes with the seasons without me doing a thing. Spring perennials, summer grasses, fall seed heads — the same fixtures give me a different show every few months.
Grasses are the superstars. Ornamental grasses backlit or side-lit at night look almost magical — the fine blades catch the light and glow. Place a small spotlight low and to the side of a grass clump so the light rakes through it rather than blasting the front. One fixture per large clump, shared between two small ones.
Shrubs want front-lighting with restraint. A small spotlight 2 to 3 feet in front of a shrub, aimed at its upper third, creates a soft mound of light. Avoid lighting the entire shrub evenly — that looks flat. Let the bottom fall into shadow; the contrast is what gives it depth.
Flower beds don't need much — in fact, overlit flowers look garish. A couple of low, warm fixtures at the back of the bed to silhouette the blooms against the house is plenty. Save the drama for foliage and structure.
Water features and sculptures are natural focal points. A small fountain gets one spotlight aimed at the falling water (moving water catches light beautifully), and a sculpture gets the museum treatment — one fixture, aimed to create interesting shadows, never two competing beams. If you have a birdbath, try a fixture low and behind it so the silhouette reads against the glow.
Fences and retaining walls can carry the ambient layer. A row of well lights or a wash along a fence line gives the yard boundaries definition and makes the whole property feel larger. Keep this light dim relative to your accents — it's background, not the show.
One rule of thumb for beds: light the odd-numbered plants. Light three of five shrubs, one of two grass clumps. Leaving some features dark is what creates the depth that makes the lit ones look intentional.
What It Costs in 2026 (Honest Ranges, Running-Cost Math)
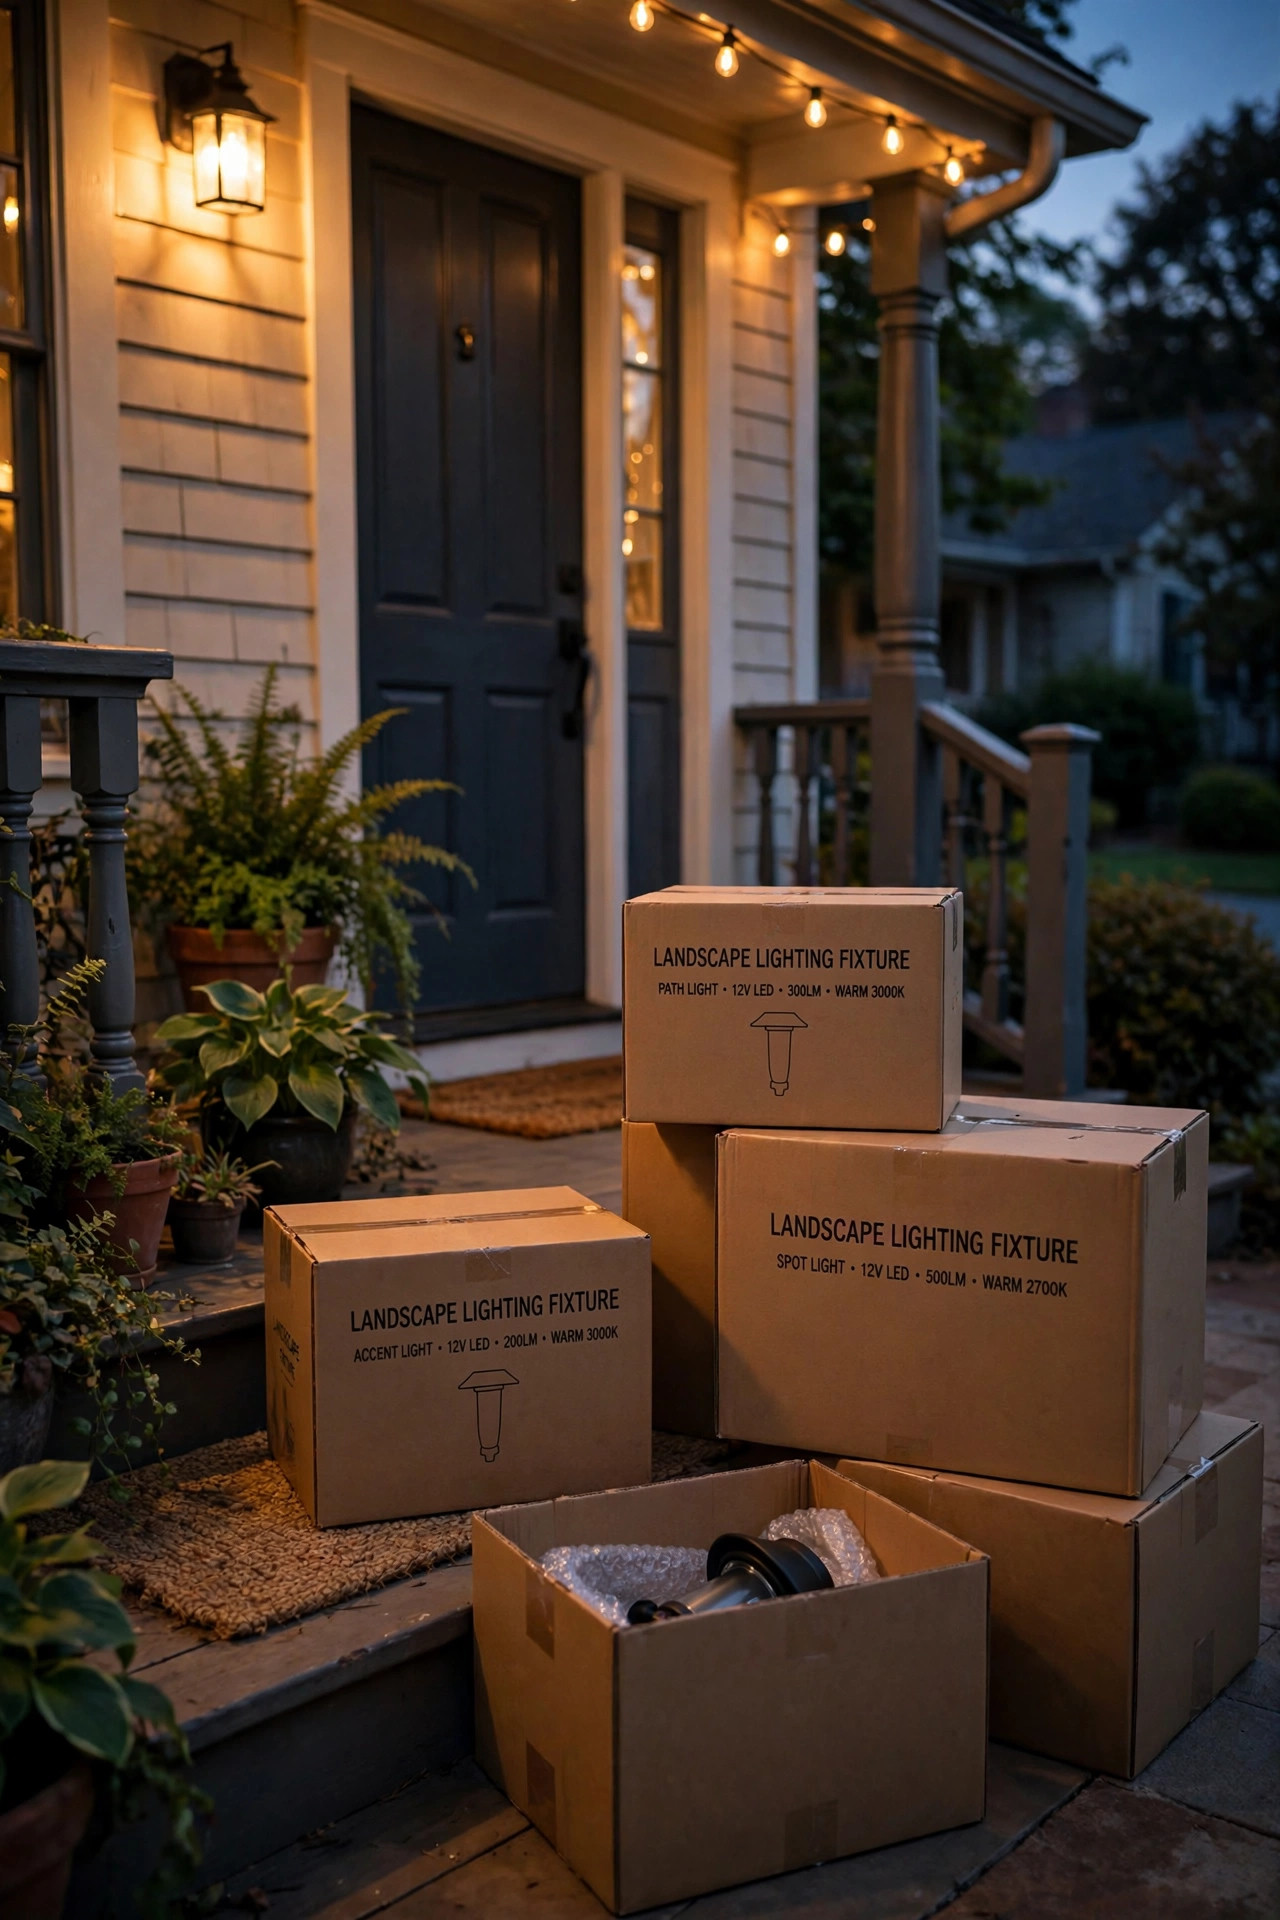
Let's talk real money, because this is where most guides get vague and I refuse to be. A DIY low-voltage front yard lighting project in 2026 breaks down like this:
Materials for a typical 10-fixture front yard:
– Fixtures: $30–$80 each → $300–$800 total
– Transformer (150–300 watt): $80–$200
– Low-voltage cable (12-gauge, 100 ft): $40–$70
– Connectors, stakes, misc: $30–$60
DIY total: roughly $450 to $1,130 for a proper layered setup. Most people land around $600–$800. A professional installation of the same yard typically runs $2,000 to $4,500 depending on your market, fixture quality, and how much digging is involved.
Transformer sizing is the math people skip and then regret. Add up the wattage of all your fixtures, then multiply by 1.25 — your transformer should be rated at least 25% above your total load. So ten 5-watt LED fixtures = 50 watts total → a 75-watt transformer minimum, though I'd buy a 150-watt unit so you can add fixtures later without replacing it. Transformers are cheap relative to the hassle of swapping one; buy headroom.
Running costs are where LED changes everything. Ten 5-watt LED fixtures draw 50 watts total. Run them 6 hours a night at the US average of about $0.17 per kWh: that's 0.05 kW × 6 hours × 365 days × $0.17 ≈ $19 per year. Nineteen dollars. The old halogen equivalent (ten 35-watt fixtures) would cost around $130 a year and burn out bulbs constantly. LED fixtures last 25,000–50,000 hours — at 6 hours a night, that's 11 to 22 years. The fixture pays for its LED premium in the first year of electricity savings.
Where to save and where to splurge: save on cable and connectors (commodity stuff), splurge on the transformer (a good one with a timer and photocell saves you daily hassle) and on fixtures for your hero accents (the uplight on your oak deserves a solid brass or copper fixture, not thin plastic). Mid-range fixtures from the big home improvement stores are genuinely fine for path lights.
5 Mistakes That Ruin the Effect
I've made two of these personally and seen the other three on every street in America. Learn from my runway phase.
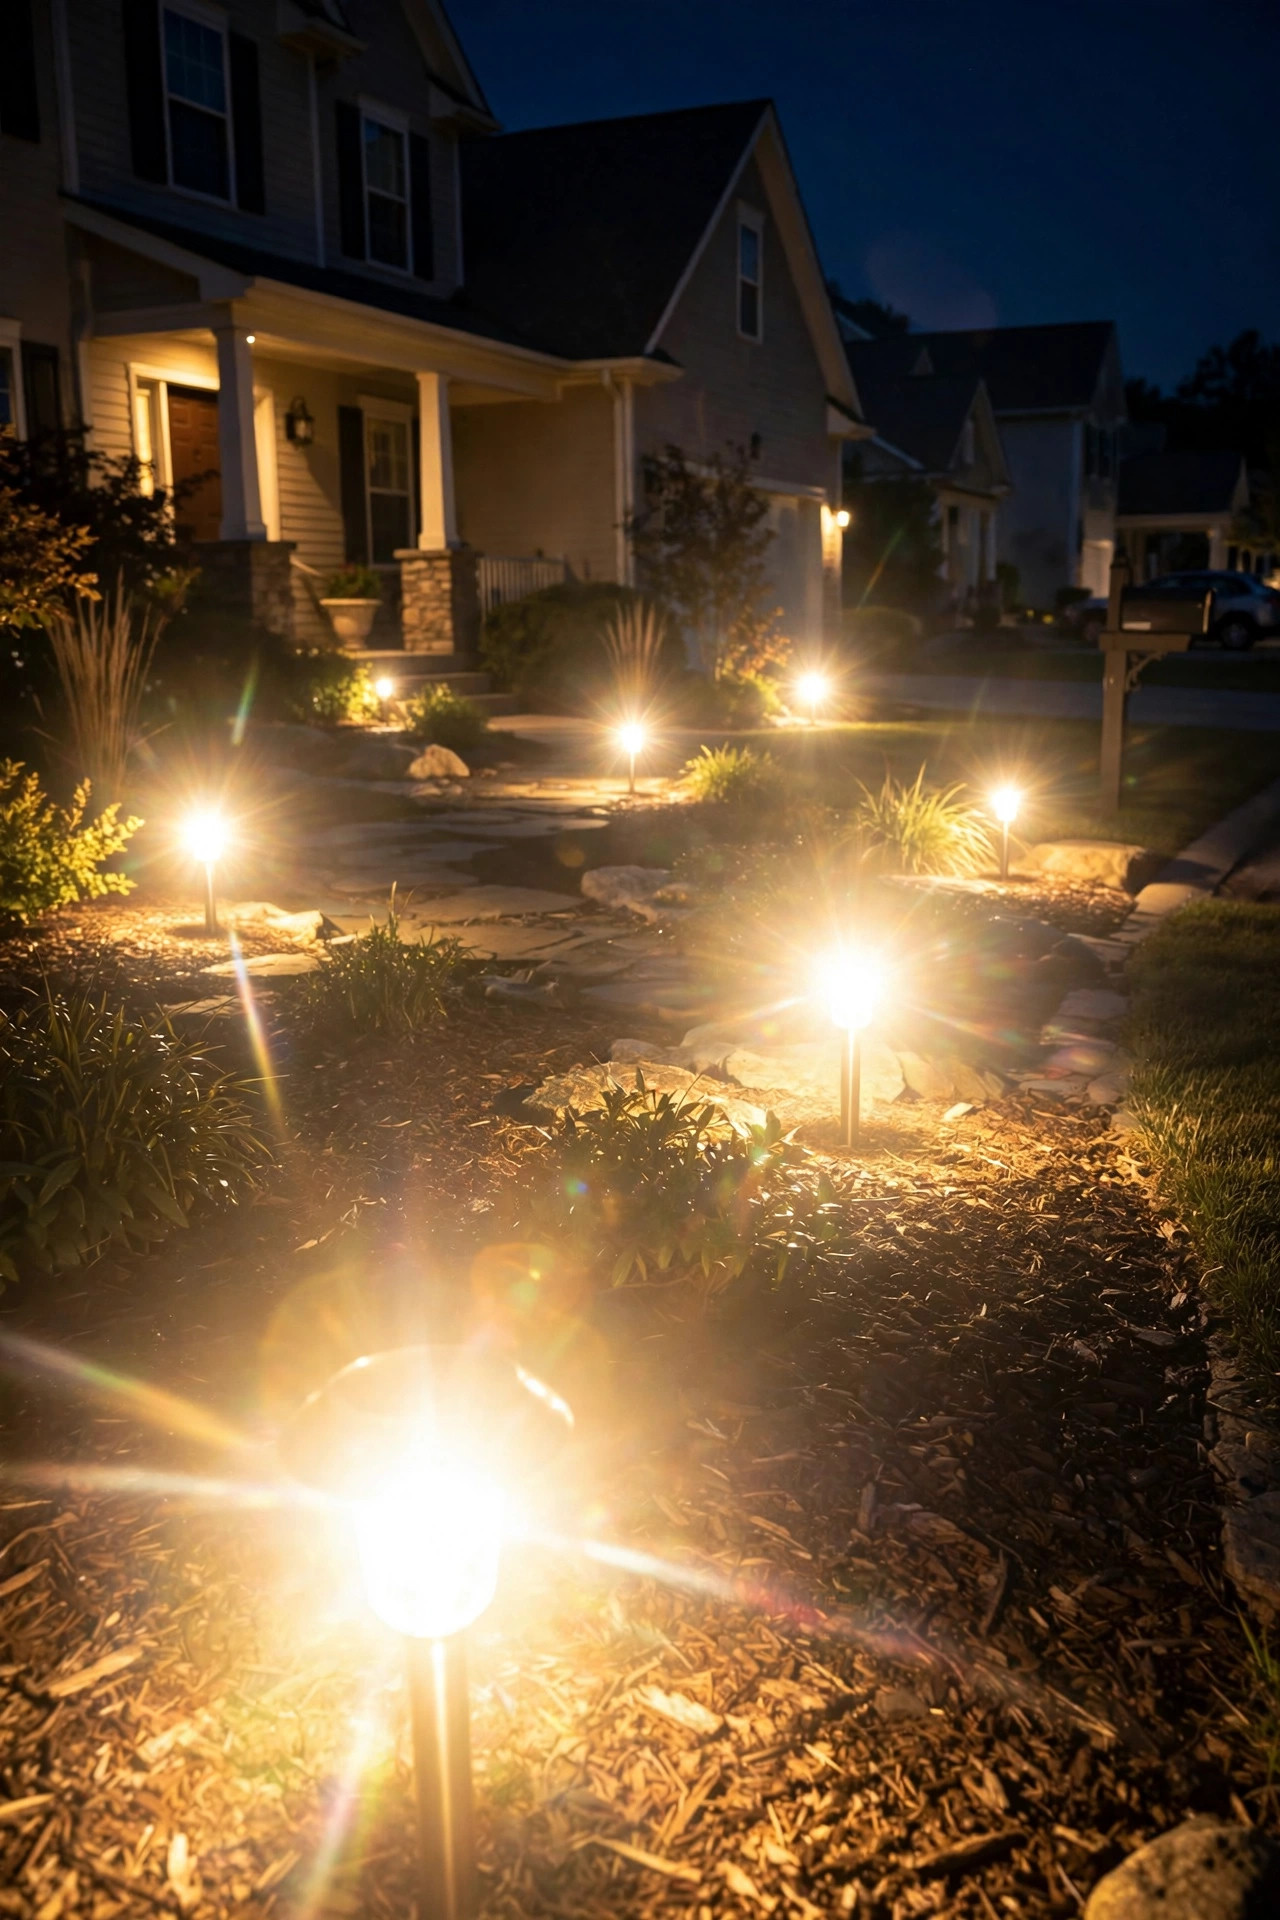
Mistake 1: Too many path lights. The runway look. A straight double row of path lights marching to the door screams "I just discovered the lighting aisle." Four staggered fixtures beat eight lined up every time. If your path looks like an airport, pull half of them and redeploy to beds or trees.
Mistake 2: Mixing color temperatures. One 5000K cool-white fixture in a yard of 2700K warm whites looks broken — like a fluorescent tube wandered into a candlelit dinner. Check the color temperature on every fixture before you install, and if a bulb is replaceable, make sure the replacements match. This is the cheapest fix with the biggest visual payoff.
Mistake 3: Aiming fixtures at windows. An uplight pointed at the house instead of the tree throws glare straight into your living room and your neighbor's bedroom. Every accent fixture should be aimed and then checked from inside the house at night. If you can see the bulb from your couch, re-aim it. Fixtures near windows should use shields or be positioned so the beam stays below the sill line.
Mistake 4: Lighting everything equally. When the path, the tree, the beds, and the garage are all the same brightness, nothing is the star. Your eye needs a hierarchy: one or two hero features brightest, supporting beds medium, background fills dimmest. Dimming or choosing lower-lumen fixtures for background areas is what creates the depth that reads as "professionally designed."
Mistake 5: Forgetting the neighbors. Light trespass — your fixtures shining into the neighbor's windows or yard — is the fastest way to turn curb appeal into a feud. Keep beams on your property, use shielded fixtures near lot lines, and walk the neighbor's sidewalk at night to check. Most municipalities have nuisance lighting ordinances; being a good neighbor is also being a compliant one.
Safety and Electrical Basics (Outdoor Ratings, GFCI, Low-Voltage Rules)
I am not an electrician, and this isn't electrical advice — but these are the non-negotiable basics every homeowner should know before touching outdoor lighting. When in doubt, call a licensed electrician. A few hundred dollars for a pro beats a house fire every time.
Outdoor ratings: every fixture, cable, connector, and transformer in your yard must be rated for outdoor/wet locations. Look for the UL or ETL listing mark and a "wet location" or "suitable for outdoor use" designation. Indoor-rated anything outside is a failure waiting for the first rainstorm. Fixtures carry IP ratings — IP65 or higher means protected against water jets and dust, which is what you want for anything sitting in a rainy bed.
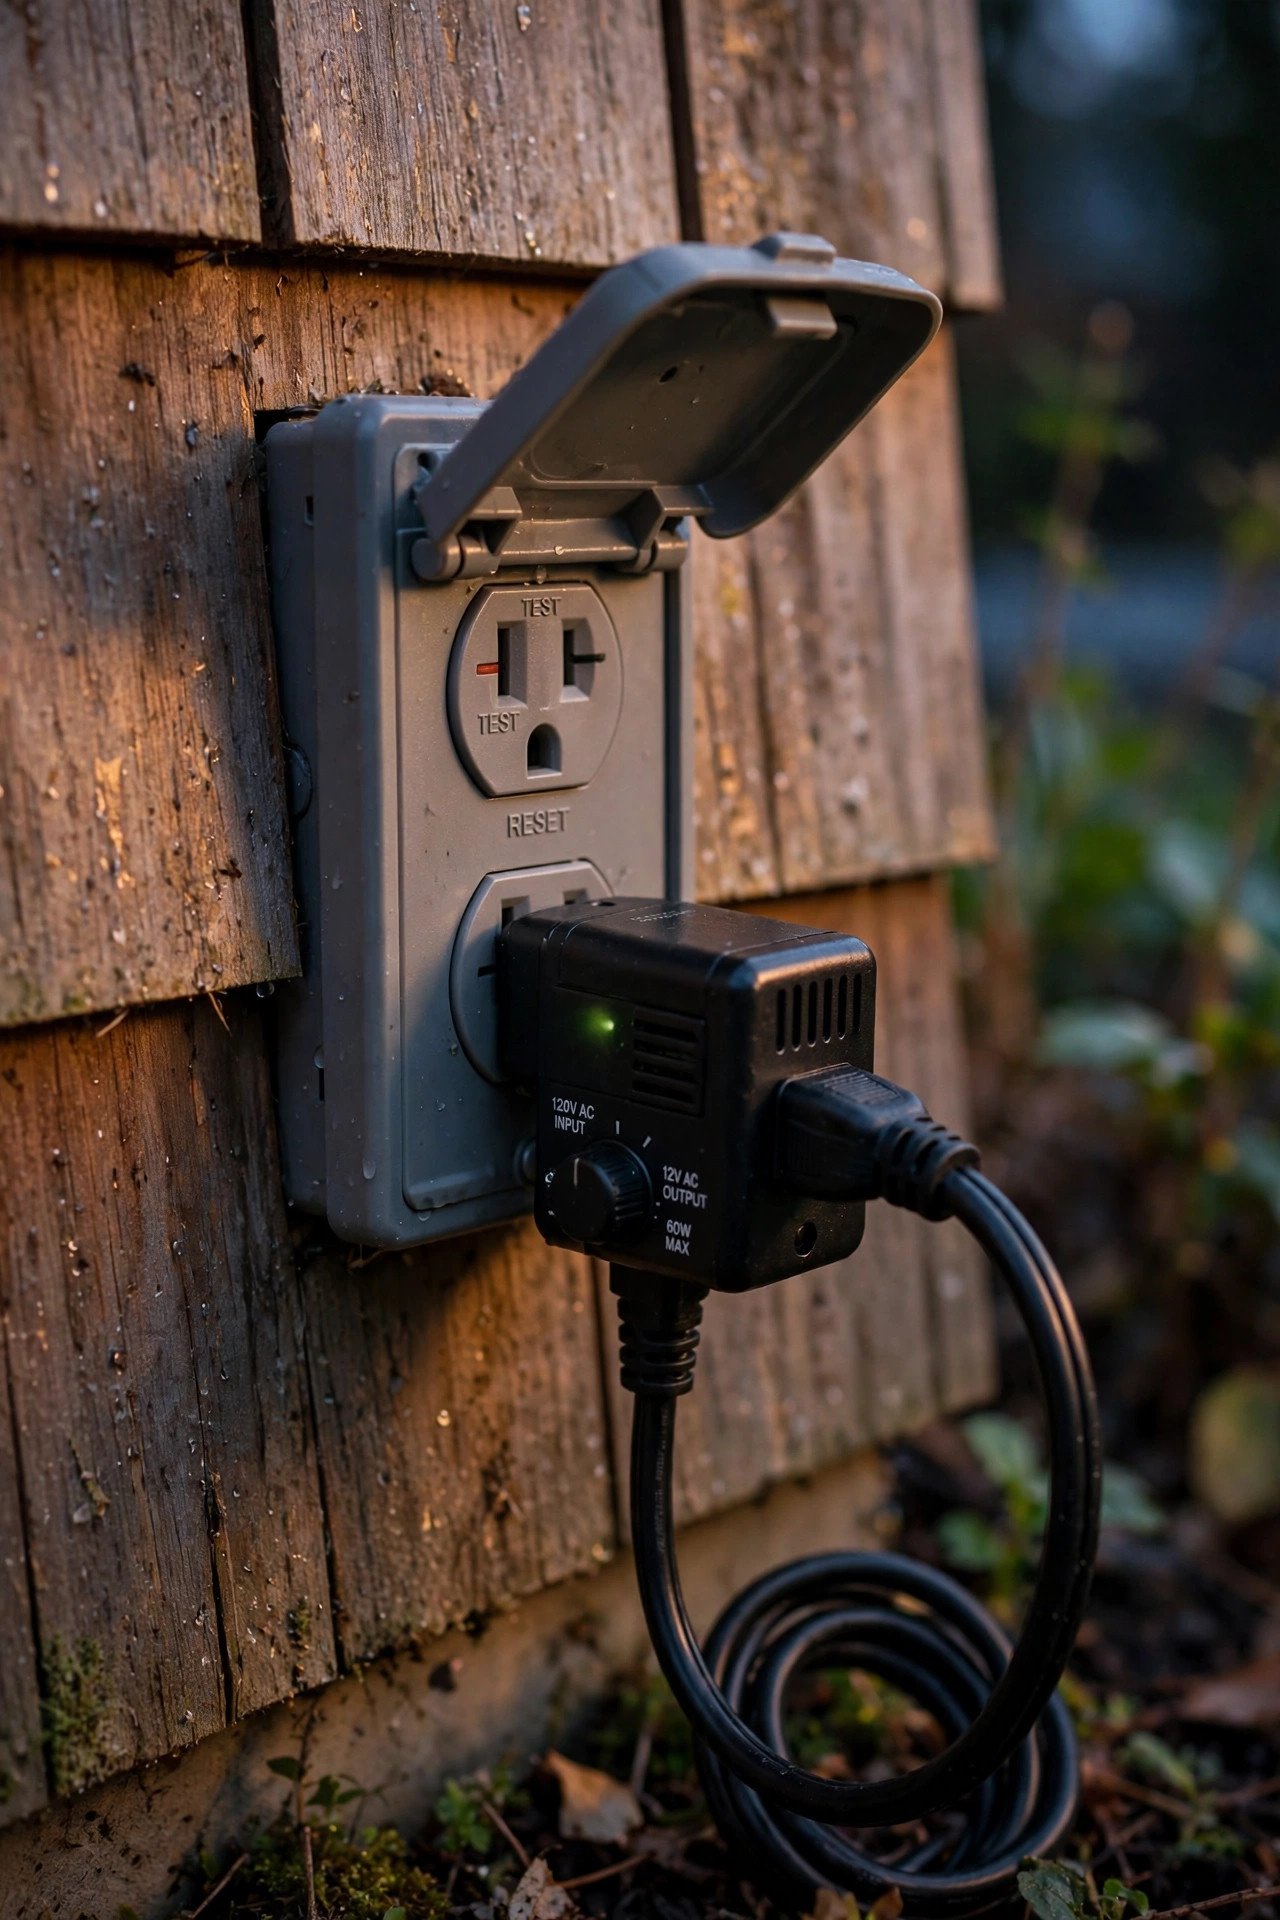
GFCI protection: the outlet powering your transformer must be GFCI-protected (the kind with the test/reset buttons). This is code in most places for outdoor outlets and it's genuinely life-saving — a ground fault in wet conditions is exactly the scenario GFCI exists for. If your outdoor outlet isn't GFCI, have an electrician swap it before you plug in a transformer.
Low-voltage rules: 12-volt landscape lighting is considered low-risk, which is why it's DIY-friendly — but "low risk" isn't "no rules." Keep low-voltage cable at least 6 inches deep if it's in a lawn area where you'll aerate or edge, use direct-burial rated cable, and never run it through the same conduit as line-voltage wiring. Keep splices in waterproof connectors rated for direct burial; a wire nut wrapped in electrical tape is not a waterproof connection.
LED-only near flammables: this one matters more than people think. Old halogen landscape bulbs run extremely hot — hot enough to scorch dry mulch or ignite leaves piled against a fixture. If any fixture sits in or near mulch, dried grasses, or leaf litter, it must be LED. LEDs run barely warm to the touch, which is one more reason the industry has moved on from halogen. When autumn drops leaves everywhere, you'll be glad every fixture is cool-running.
Timers and photocells: use them. A transformer with a built-in photocell and timer means your lights come on at dusk and off at a sensible hour automatically. Lights blazing at 3 a.m. waste energy and annoy neighbors; a timer set to off by midnight (or whenever your street quiets down) is the considerate default.
Maintenance and Seasonal Tips
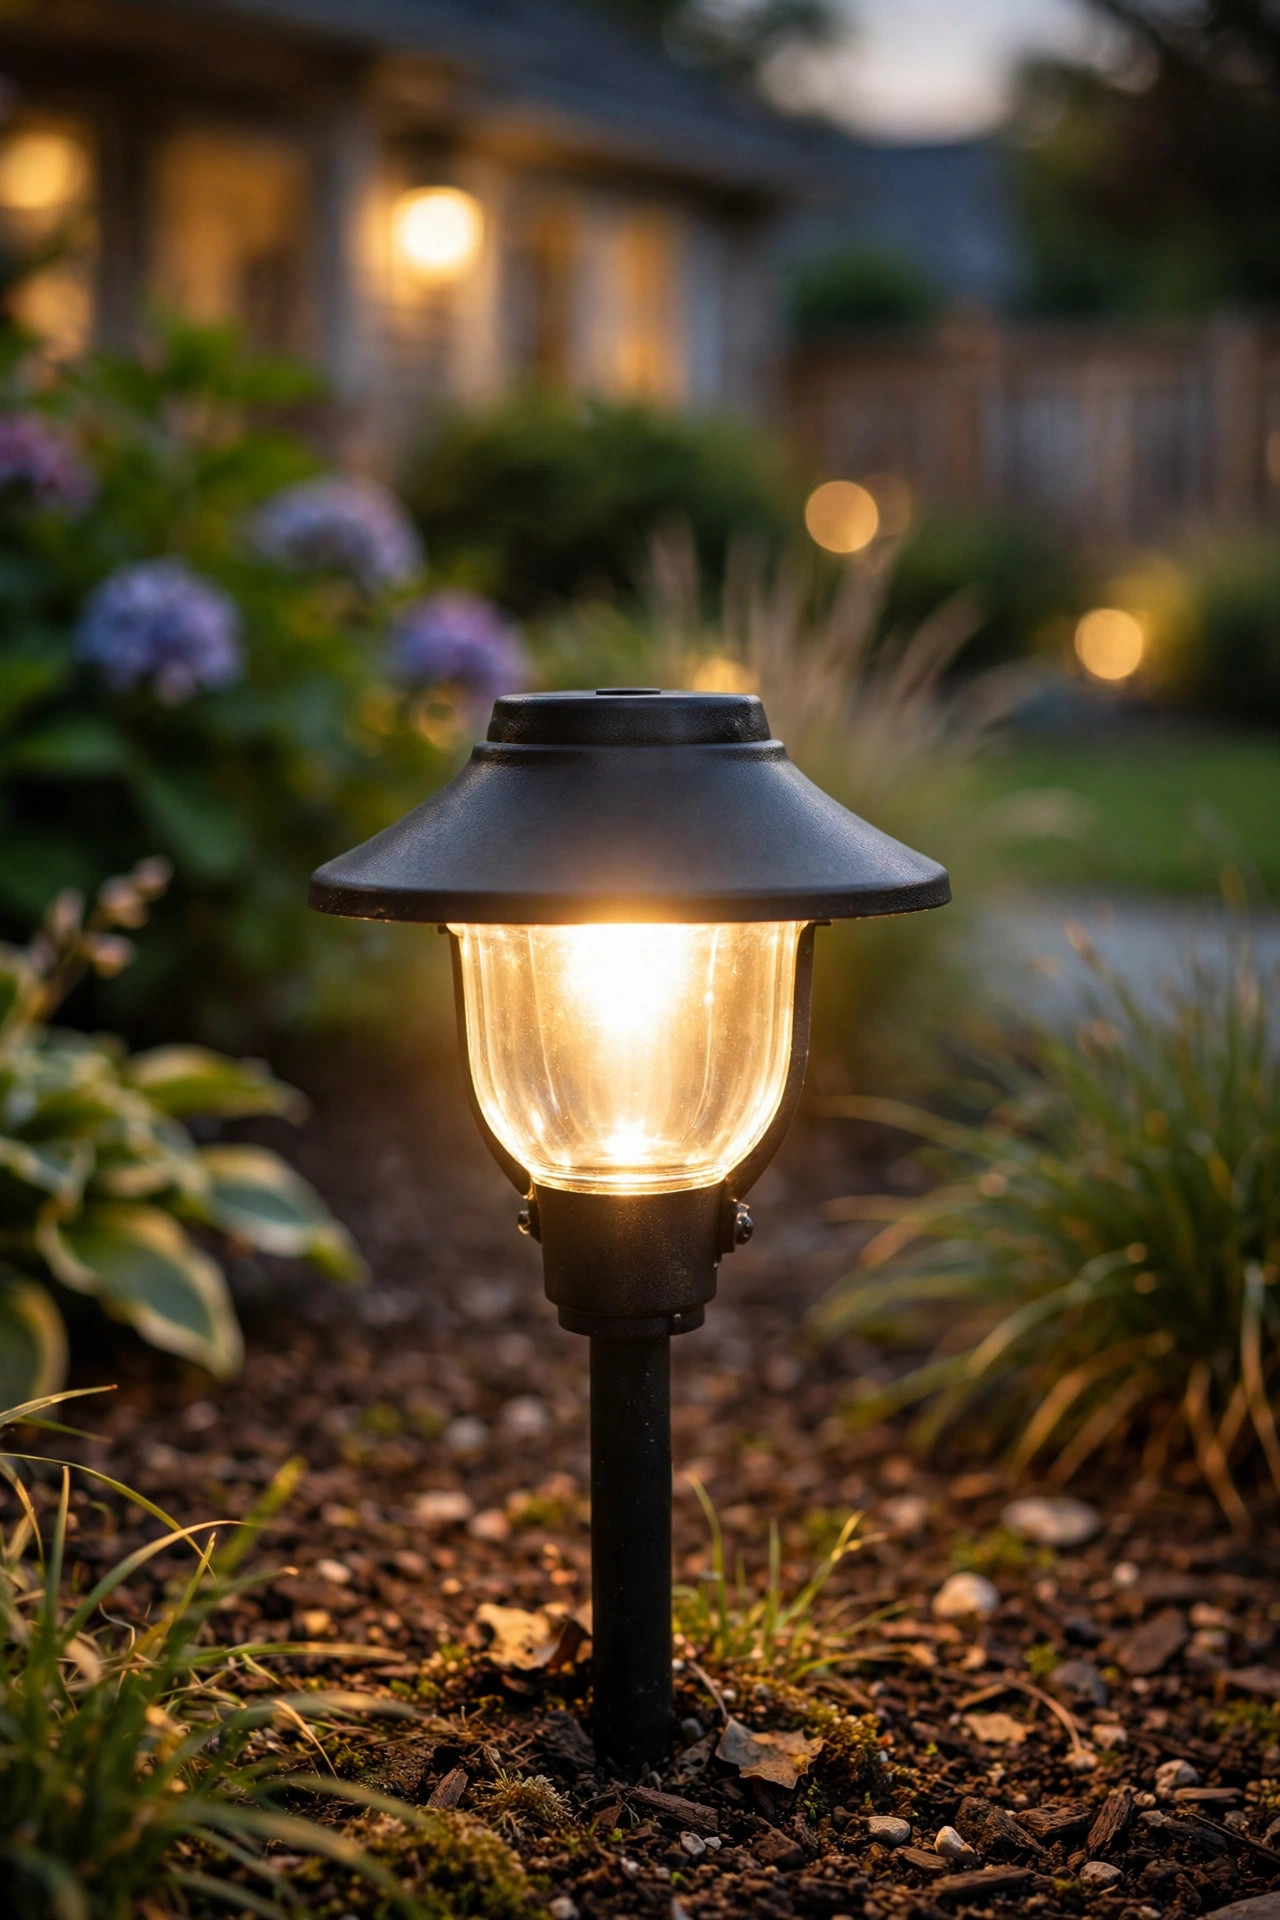
Landscape lighting is low-maintenance, not no-maintenance. The good news: a twice-a-year routine of about 30 minutes keeps everything looking like the day you installed it.
Spring: walk the whole system and check for winter damage — heaved fixtures, chewed cable (rabbits love the stuff), and fixtures knocked over by snow shovels. Re-aim anything that shifted. Clean every lens with a damp cloth; a season of grime can cut light output noticeably. Trim back plants that grew into beam paths over winter — a shrub that doubled in size will swallow a spotlight whole. This is also the moment to add fixtures for new plantings.
Summer: check that mulch hasn't been piled against fixture heads (landscapers are notorious for this) and that irrigation sprinklers aren't blasting fixtures directly — constant water jetting wears seals. If you have a smart timer, adjust the on/off times as days lengthen; there's no point in lights clicking on at 8 p.m. when it's still bright.
Fall: clear leaves away from fixture heads, especially well lights at grade level — a mat of wet leaves over a lens kills the output and holds moisture against the seal. Check that no fixture is buried under fresh mulch. Consider whether you want the system running through winter; I keep ours on because bare-branch uplighting is gorgeous, but if you shut down, unplug the transformer and bring any plug-in string lights inside.
Winter: if you run the system, knock snow off fixture heads after storms and watch for ice damming around well lights. Cold is fine for LEDs — they actually run more efficiently in the cold — but freeze-thaw cycles can heave stakes, so do a mid-winter re-aim check.
The annual once-over: once a year, open each fixture and check the gaskets and seals for cracking, tighten any loose connections, and verify the transformer is still sized right if you've added fixtures. Five minutes per fixture, once a year, and a quality system will run for a decade or more.
Frequently Asked Questions
How much does front yard landscape lighting cost?
A DIY low-voltage project for a typical front yard runs $450 to $1,130 in materials for 8–14 fixtures, with most people spending $600–$800. Professional installation of the same scope typically costs $2,000 to $4,500. Running costs are tiny with LED — about $19 a year for ten fixtures running six hours nightly. The transformer is the one place I'd buy more capacity than I need today; upgrading later costs more than the bigger unit does now.
Can I install landscape lighting myself, or should I hire a pro?
Most low-voltage (12-volt) landscape lighting is genuinely DIY-friendly — you're staking fixtures, running cable, and plugging in a transformer, with no line-voltage work in most layouts. If you're comfortable with a shovel and following a layout plan, a weekend gets it done. Hire a pro when you need line-voltage wiring (new outdoor outlets, hardwired fixtures), have complex drainage or hardscape to work around, or want a designer-grade plan. A good middle path: DIY the installation from a plan you sketch yourself, and hire an electrician for any outlet or wiring work.
How long do LED landscape lights last?
Quality LED landscape fixtures are rated for 25,000 to 50,000 hours. At six hours a night, that's roughly 11 to 22 years of service — you'll likely replace the fixture housing for cosmetic reasons before the LED dies. The weak points are seals, gaskets, and connections, not the light source itself, which is why the annual maintenance check matters more than the LED rating. Cheap fixtures fail at the housing and seals years before the LED gives out, so fixture build quality is where longevity actually lives.
Why are some of my landscape lights dimmer than others?
Nine times out of ten, it's voltage drop — fixtures at the far end of a long cable run get less voltage and glow dimmer. Fixes: shorten the run, upgrade to thicker 12-gauge cable, split fixtures across two runs from the transformer, or move the transformer to a more central location. Less commonly, it's a corroded connection (check your waterproof splices) or a failing LED driver in one fixture. If one fixture is dim while its neighbors on the same run are fine, suspect that fixture, not the wiring.
How long does installation take?
A typical 10-fixture front yard takes one full weekend day for a first-timer — roughly 6 to 8 hours including layout, digging shallow trenches or tucking cable under mulch, mounting the transformer, and aiming everything at night. The aiming step can't be rushed; you need full darkness, so plan for the layout and wiring during the day and the final aiming after sunset. A second pair of hands helps enormously — one person at the fixture, one at the curb judging the view.
Conclusion
Front yard landscape lighting isn't about buying the most fixtures or the brightest bulbs — it's about layering modest, warm light in three thoughtful tiers: paths that welcome, accents that dramatize, and fills that tie it all together. Start with one layer, live with it for a week, and add the next. Keep your color temperature consistent, your beams on your own property, and your fixture count lower than your instincts suggest. Do that, and your house becomes the one the whole street slows down for — and honestly, there's no better feeling than pulling into your own driveway at night and thinking, *yes, this is home*. If you found this guide useful, you might enjoy my deeper dive on LED exterior lighting options next.