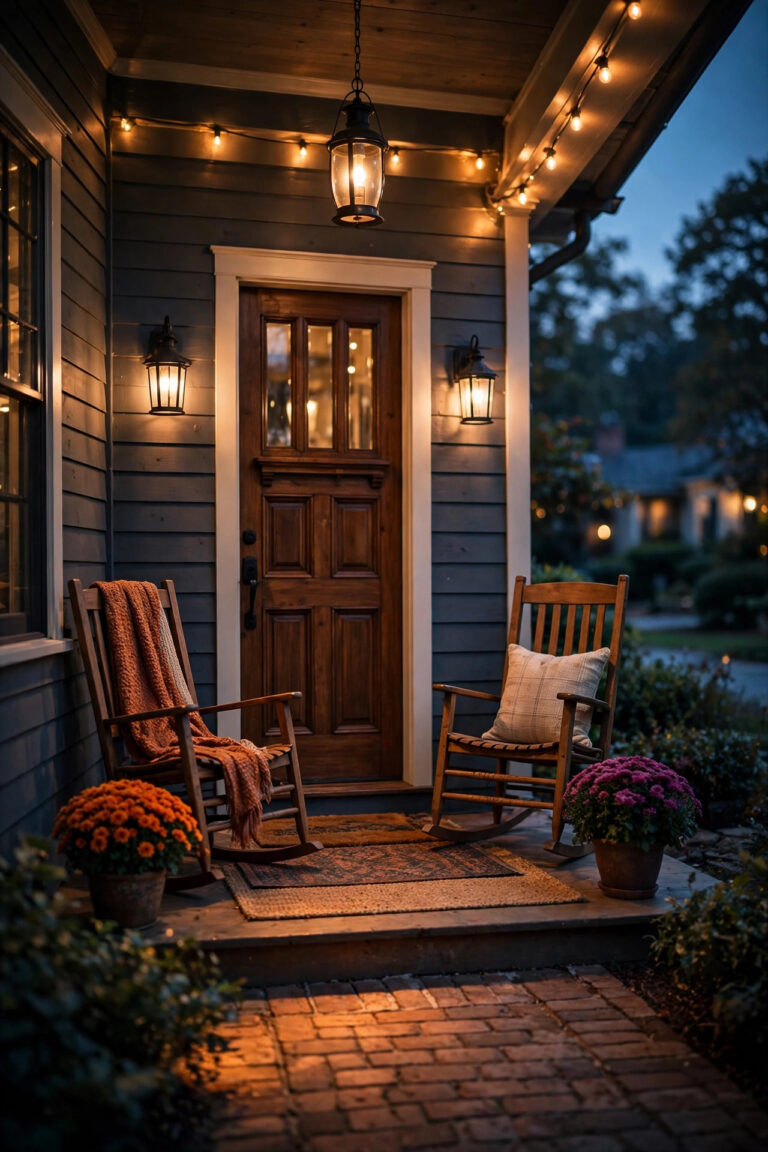
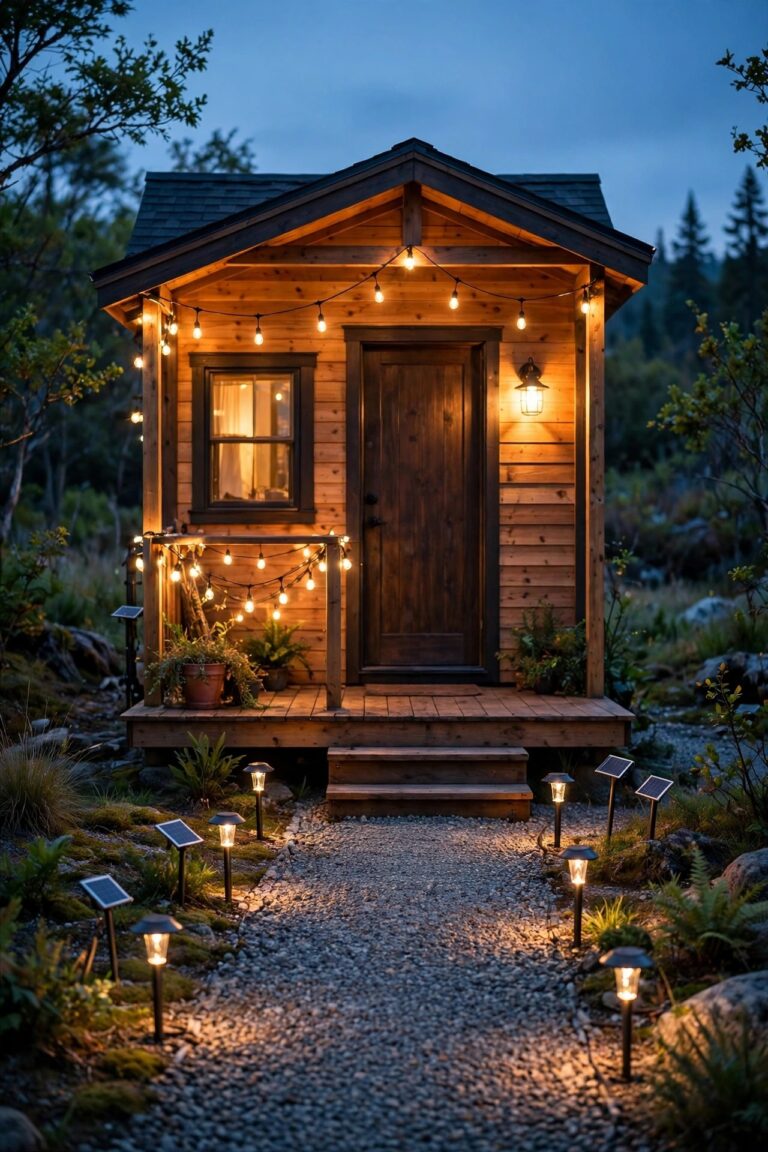
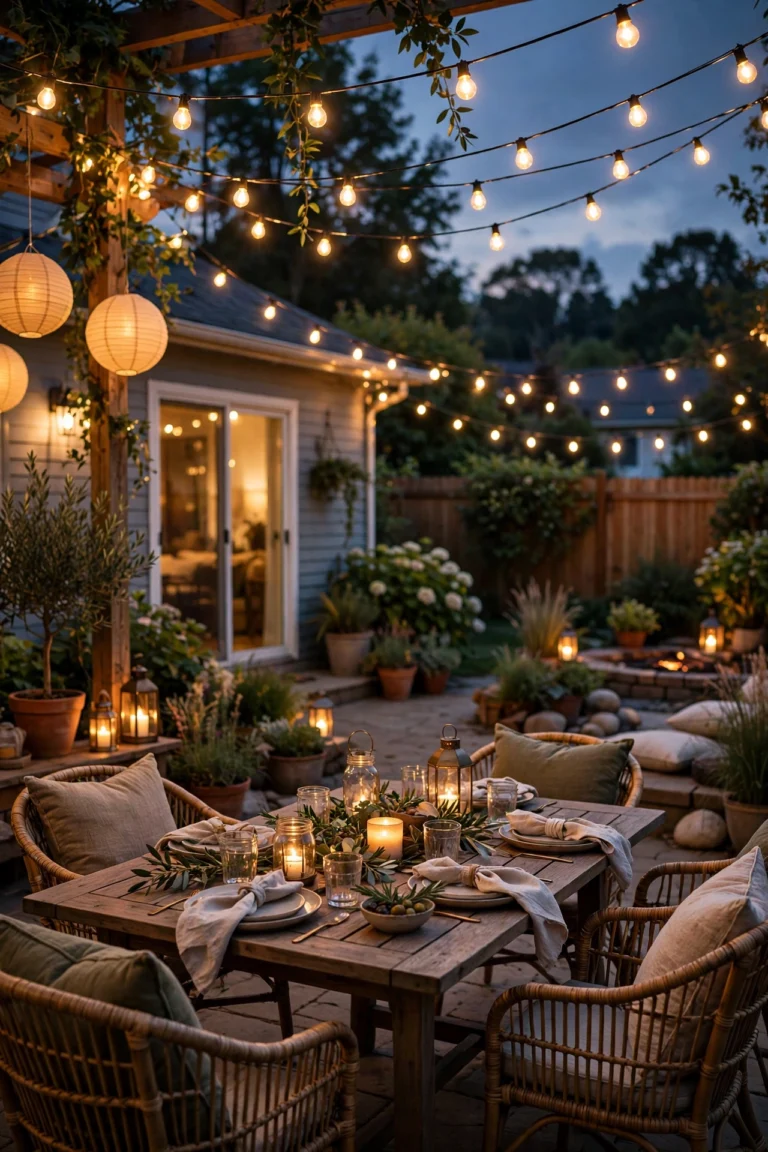
When we moved into our townhome, the patio felt like an afterthought: a concrete slab barely 10 feet wide, a tall fence on each side, and one lonely porch bulb that made the whole space look like an interrogation room. Sound familiar? The good news is that narrow lots respond beautifully to the right townhome patio lighting ideas, because every fixture works harder in a small footprint. My approach is the same one I use in sprawling backyards, just scaled down: layer the light. Something soft overhead so the space reads as a room, something warm at eye level so faces glow instead of glare, and something low along the ground so steps, edges, and planters stay visible and safe. In a narrow lot I also think vertically, borrowing the fences and walls as reflectors instead of fighting them. Below are the 19 setups I recommend most, from five-minute solar swaps to a full layered plan, each with an honest budget range so you can mix, match, and build at your own pace.
1. Plan the Layers First — My Rule for Every Set of Townhome Patio Lighting Ideas
Before you buy a single fixture, measure your slab. Most townhome patios run 8 to 12 feet wide and 15 to 25 feet deep, and knowing your exact footprint changes everything. I sketch the space into three zones: the door landing, the seating or dining area, and the path to the gate. Then I assign each zone one light from each layer — overhead, eye level, and ground level. In a small space you rarely need more than 8 to 14 fixtures total, which is wonderful news for your budget. Decide on one color temperature now, 2700K to 3000K warm white, and buy everything to match, because mismatched bulbs look twice as obvious when fixtures sit a few feet apart. Note where your single outdoor outlet lives, since most townhome patios have exactly one, and plan cord runs along the fence line where nobody walks. This twenty-minute sketch is the step that separates a patio that glows from a patio that merely has lights on it.
Suggested budget range: $0 – $25.
2. Zigzag String Lights Across the Narrow Width
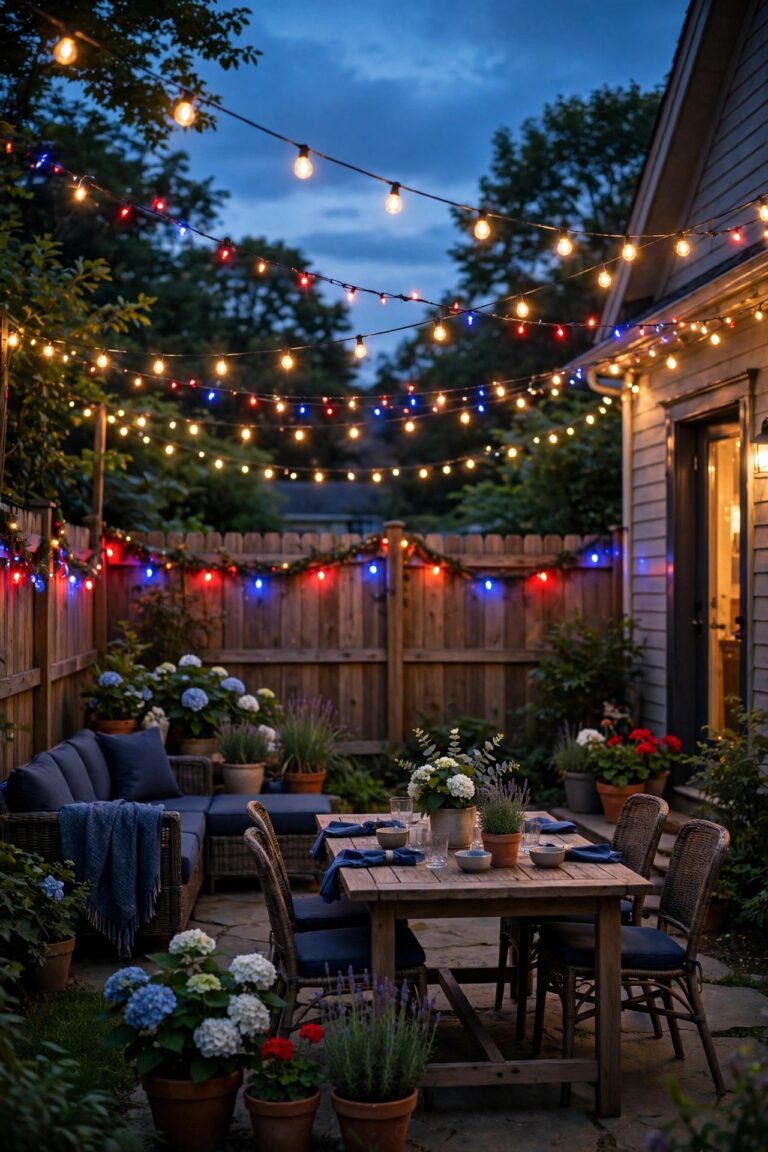
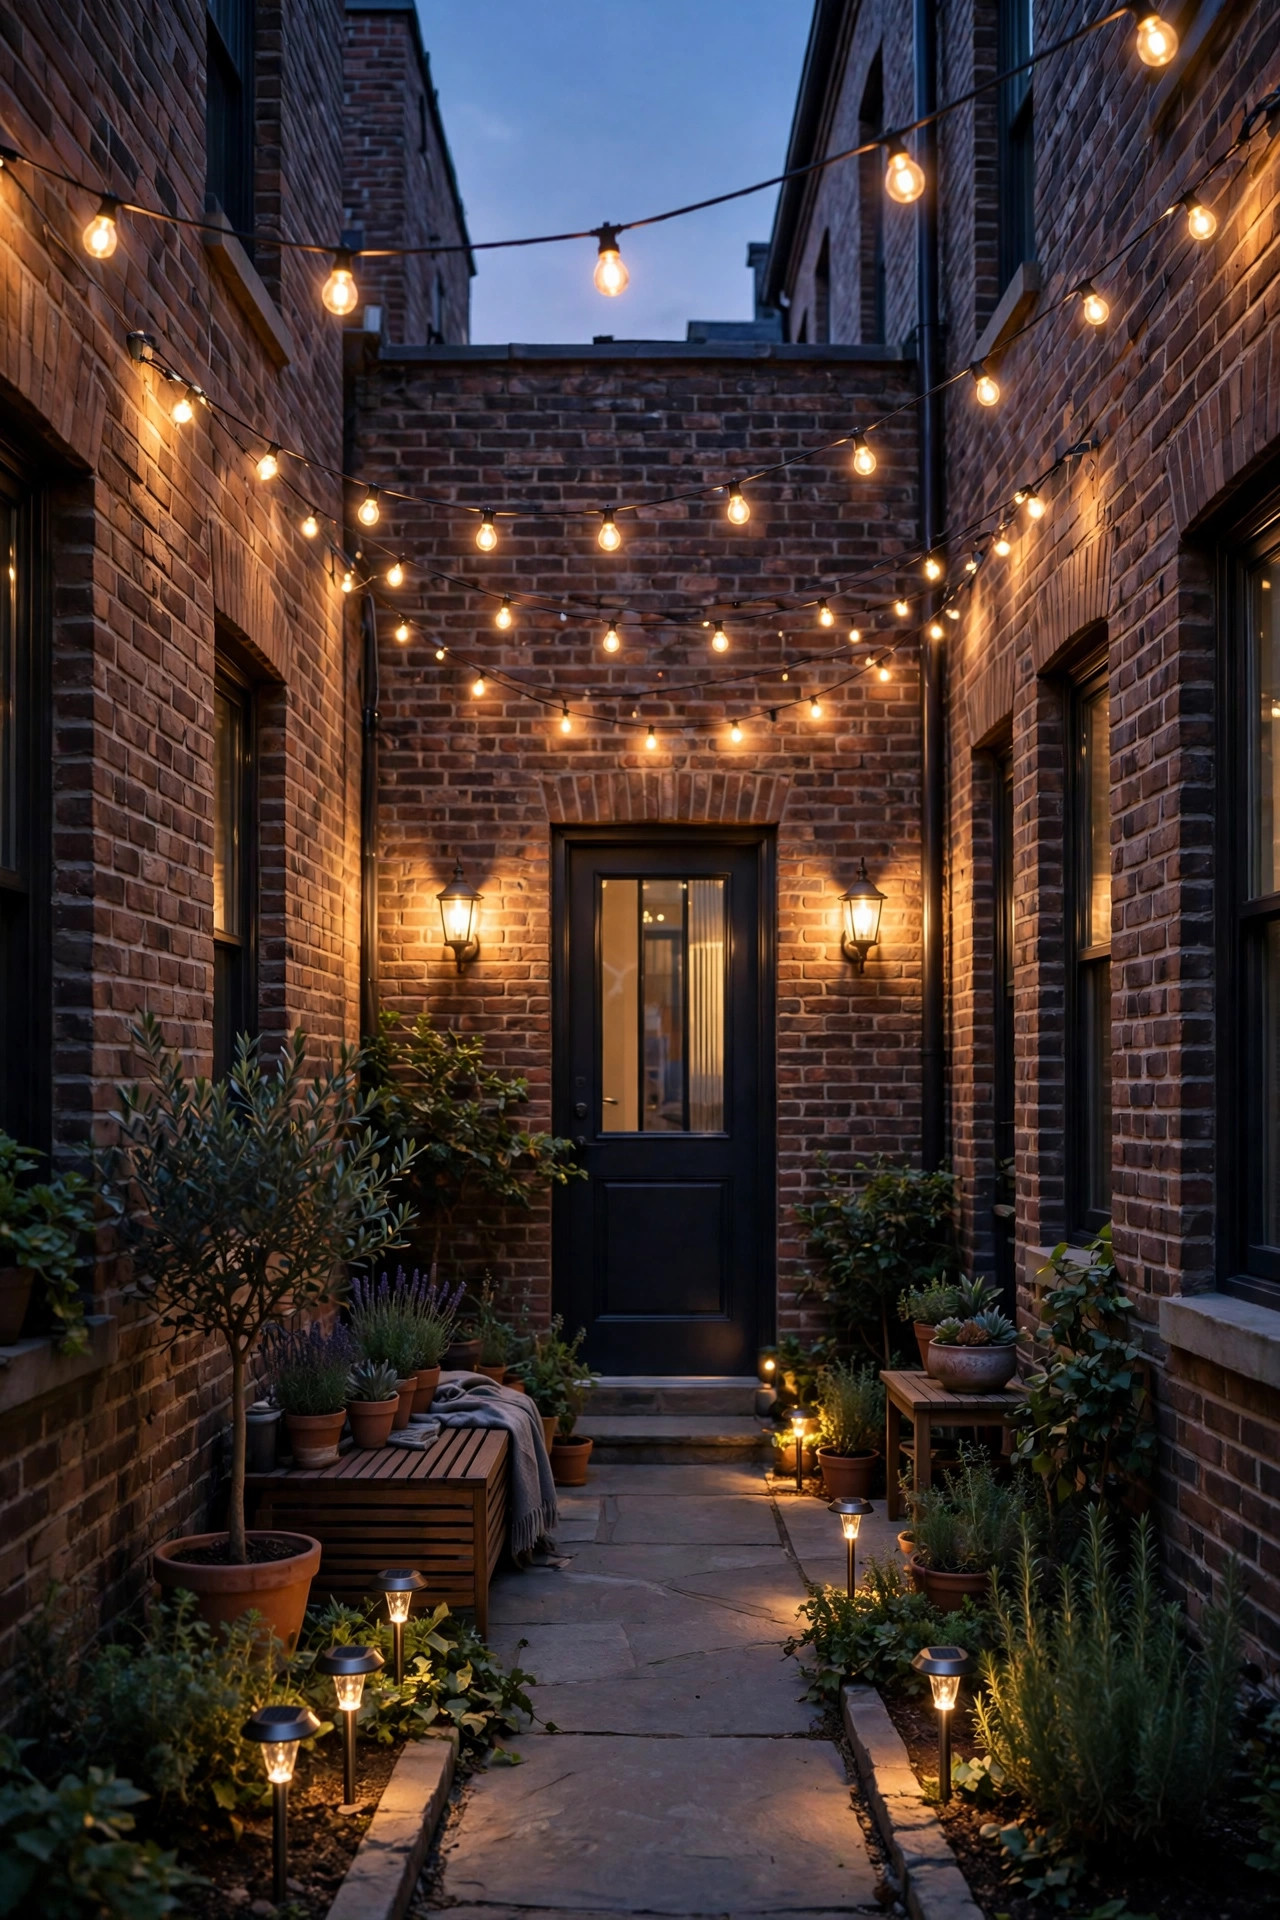
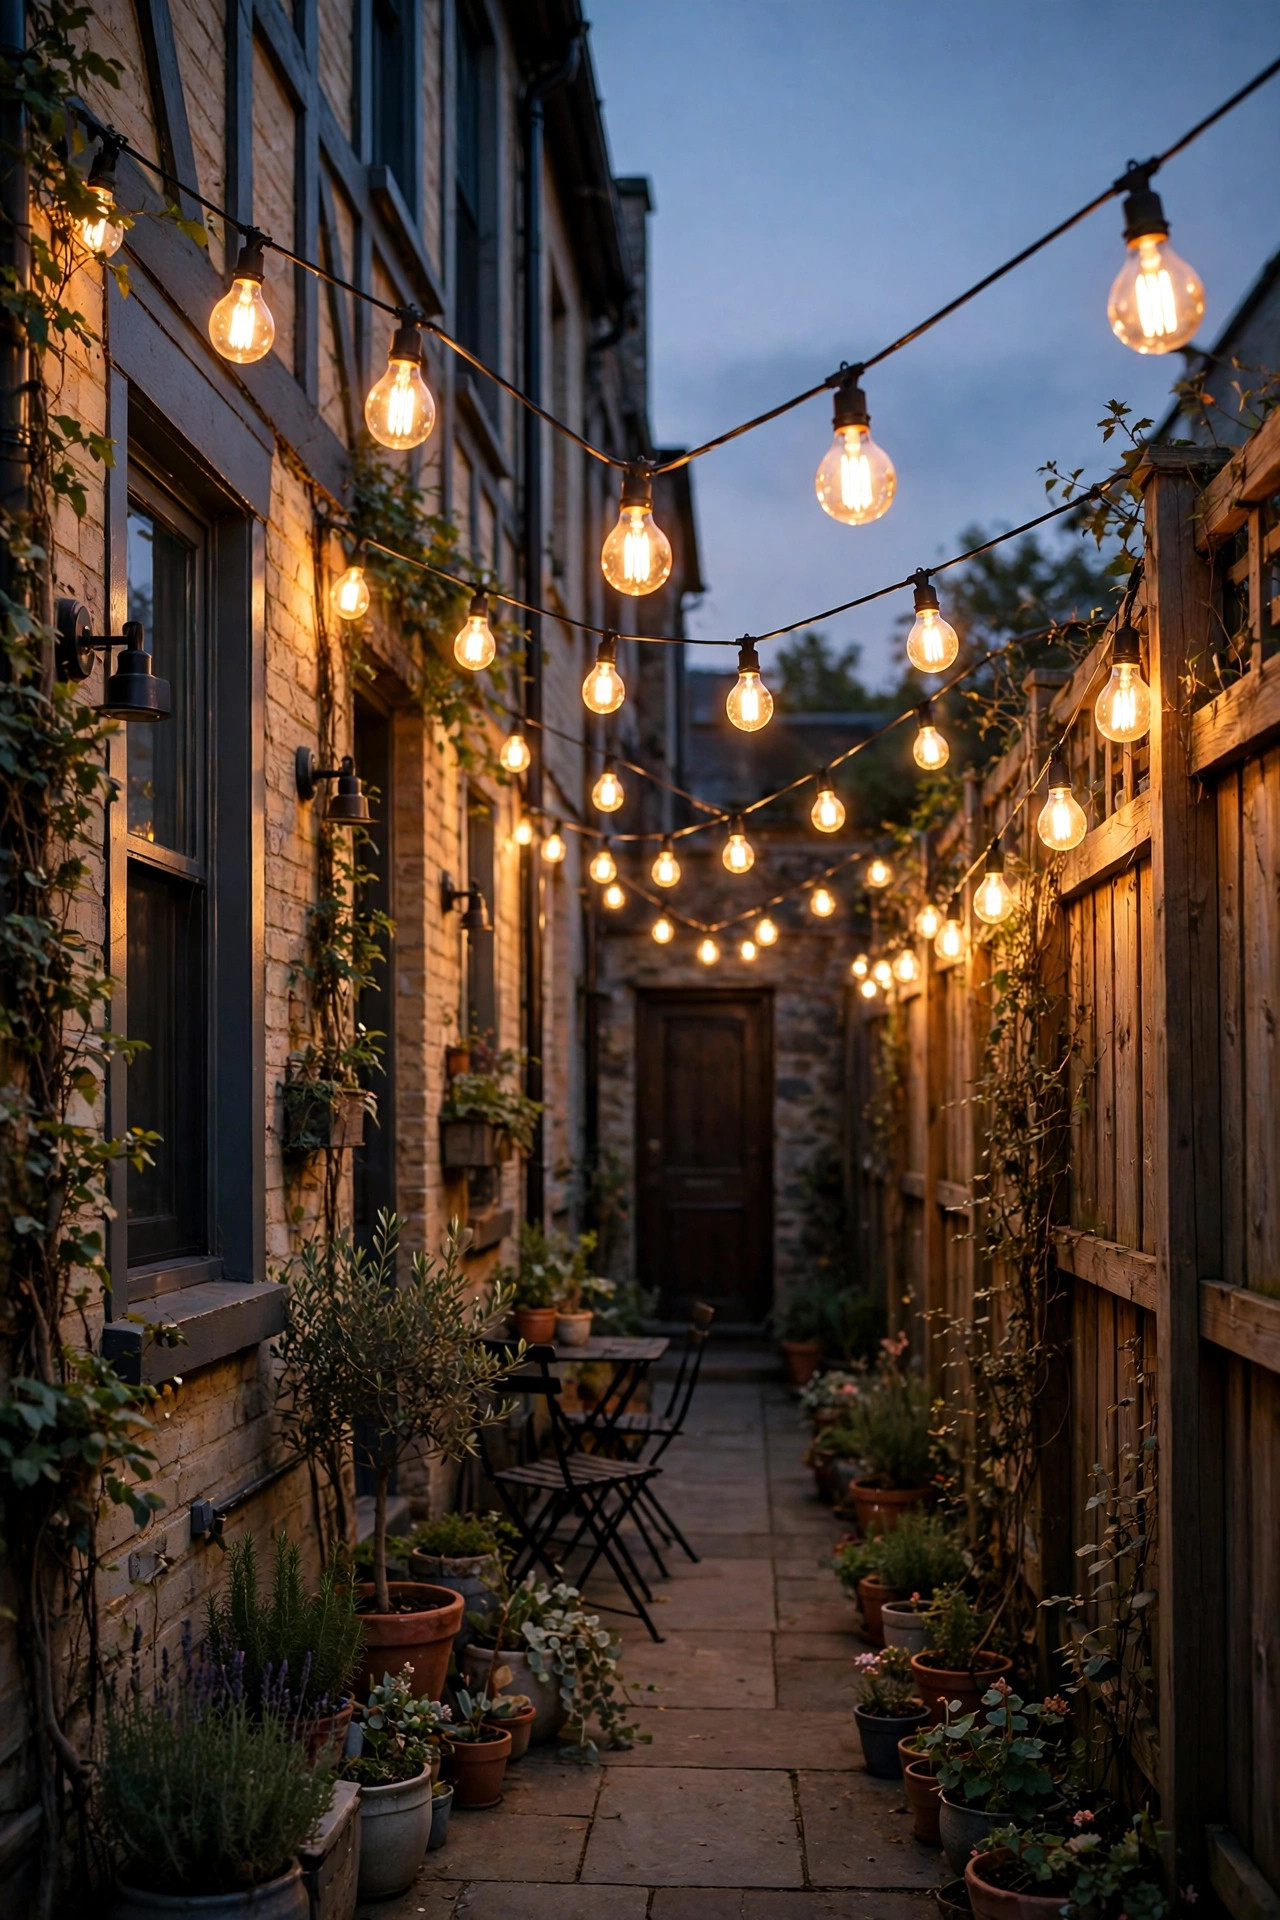
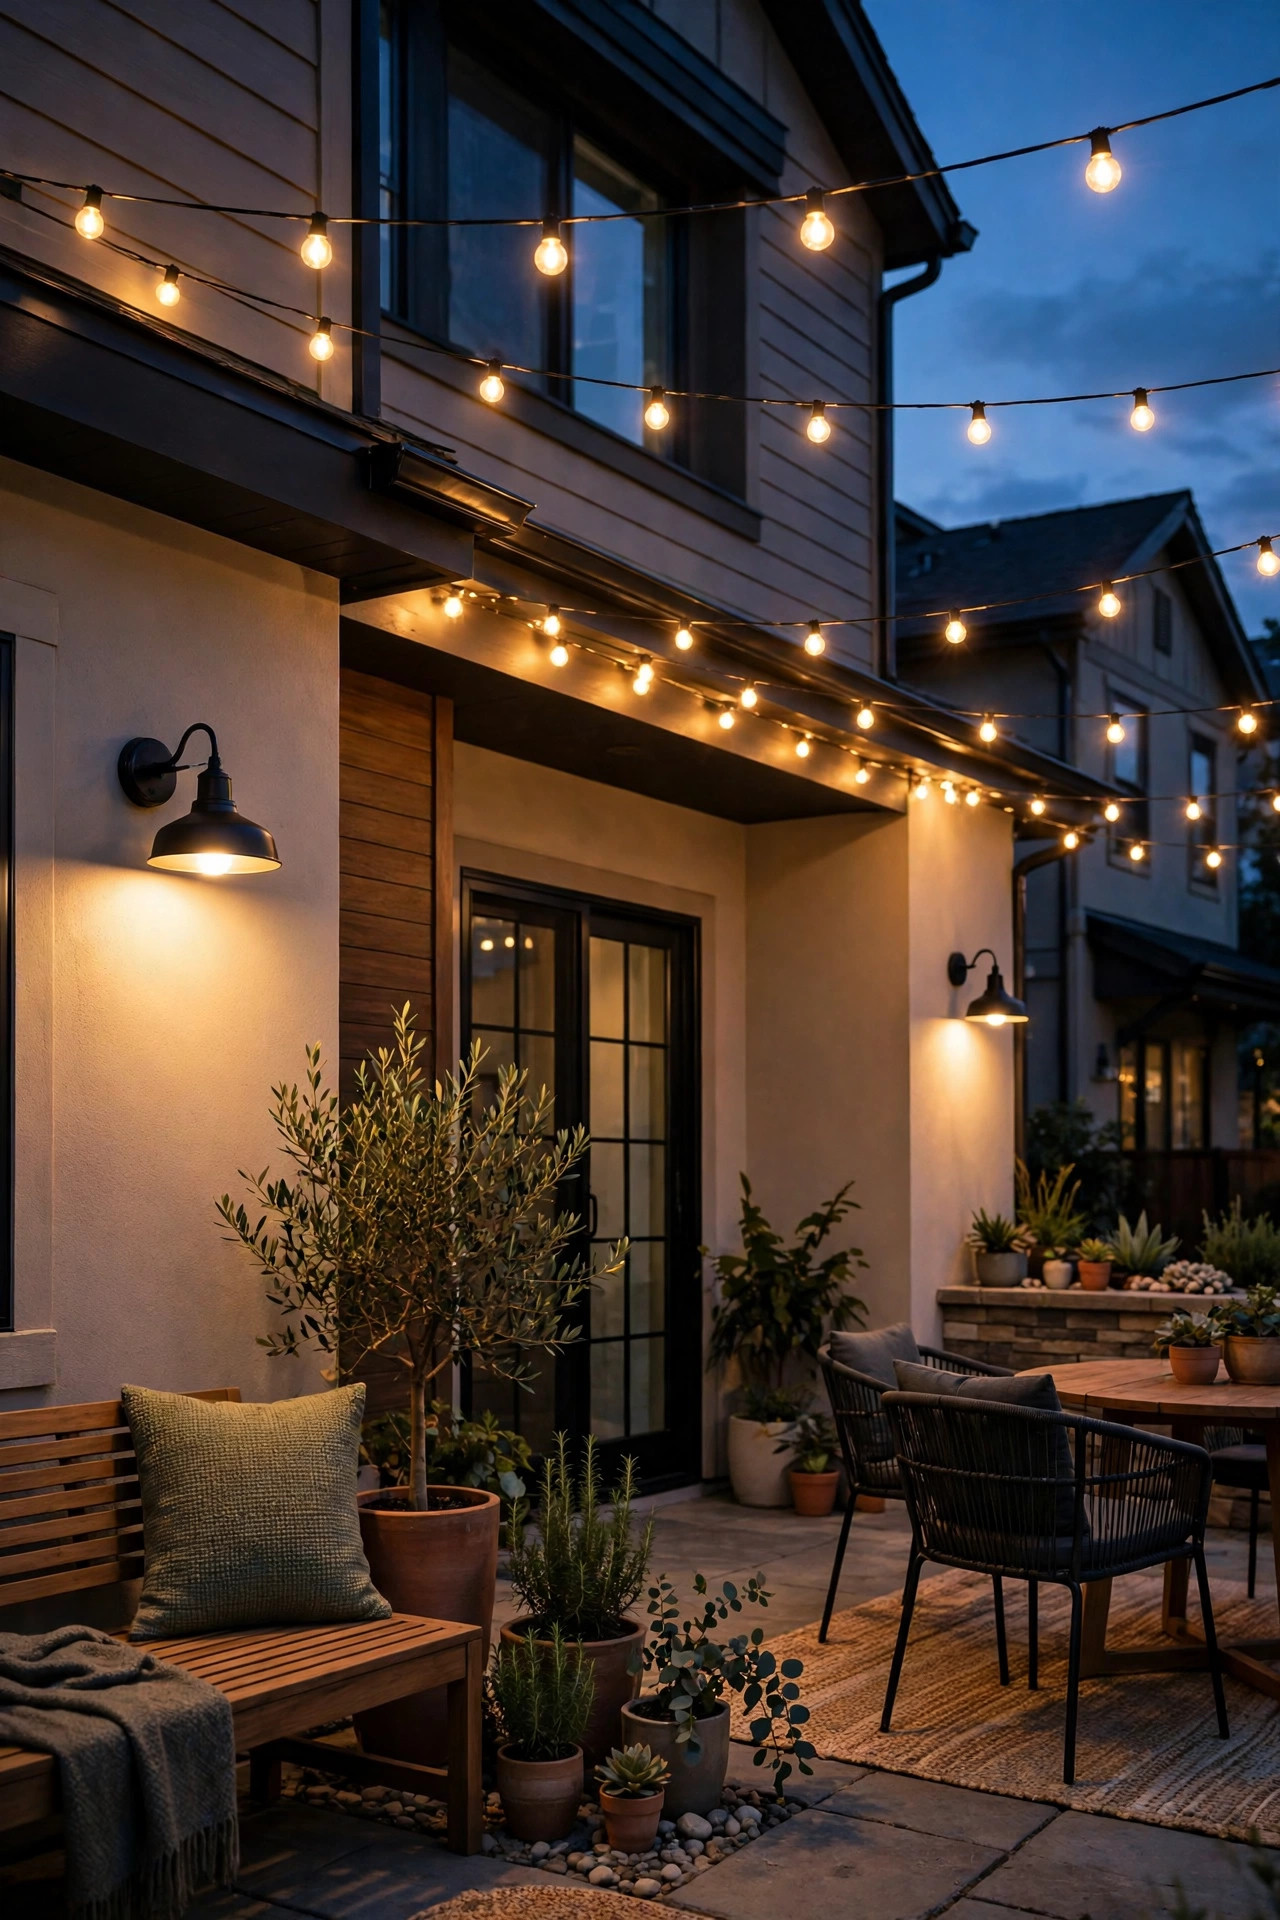
A narrow patio turns string lights from a chore into a gift, because the short spans you actually need are the easy ones. A single 25-foot strand zigzagged between the house wall and the fence gives you three soft swags of overhead light, and no run is long enough to sag badly. Anchor into studs or solid fence posts with screw hooks, never into vinyl siding, and keep the lowest dip at least 7 feet above the floor so taller guests are not ducking. Choose shatterproof LED bulbs; a strand this close to seating gets bumped, and glass over a dining table is a risk I never take. Warm white filament-style bulbs at 2700K make the whole slab feel like a bistro courtyard. Plug into a GFCI outlet and, if your fence line gets the cord there, run it tight along the base where feet never land. One strand honestly covers most townhome patios, which keeps this the highest-impact layer per dollar on the whole list.
Suggested budget range: $25 – $60.
3. Flank the Back Door With Slim Wall Sconces
Floor space is precious on a townhome patio, so my favorite eye-level light takes up none of it. A pair of low-profile wall sconces flanking the back door or sliding door adds instant architecture, and fixtures that project less than 6 inches from the wall never catch a passing shoulder. Up-down cylinder styles are my pick for narrow lots: they wash the wall above and pool light below without throwing glare sideways into the neighbors windows. Aim for 450 to 800 lumens per fixture, which is plenty when the seating sits within a few feet. Choose a wet-rated fixture, since a townhome patio rarely has a deep covered eave protecting the back wall. If your electrical box already exists from the old porch light, this is usually a simple swap; if you need new wiring, that is electrician territory and worth the call. Match the bulb temperature to your string lights and the whole back wall becomes one calm, even layer of glow.
Suggested budget range: $40 – $120.

4. Line the Gate Path With Solar Path Stakes
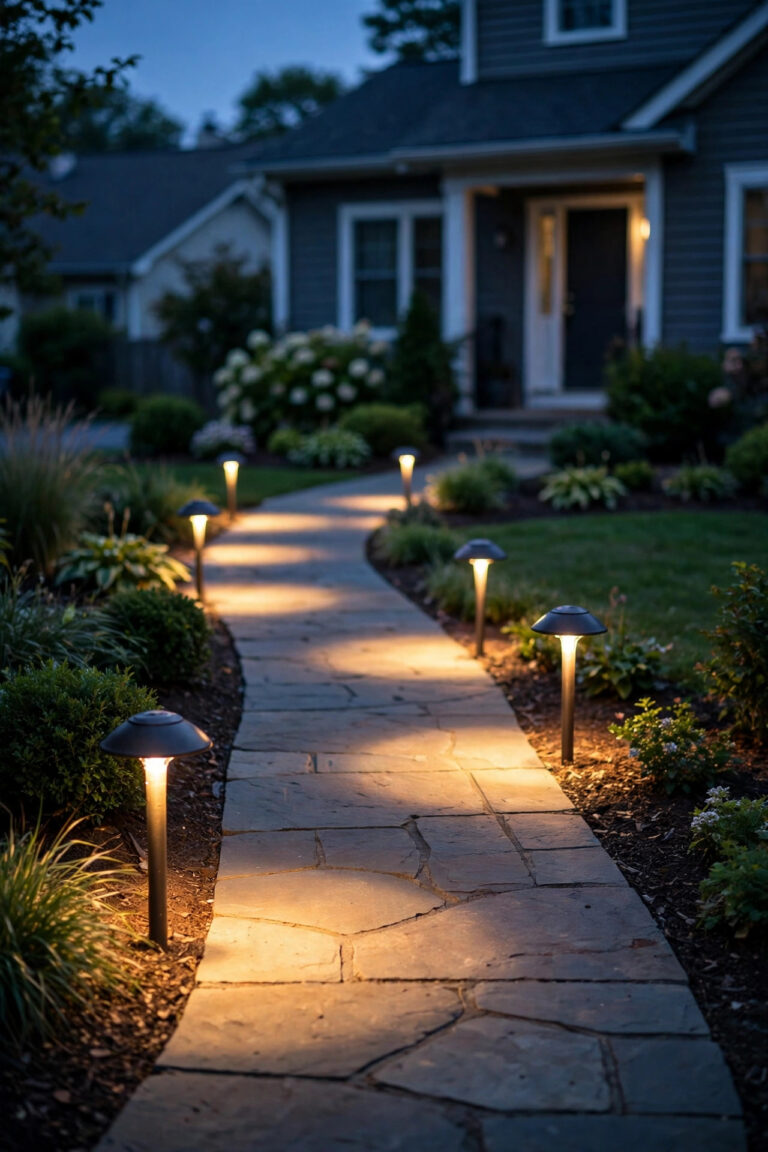
Almost every townhome has the same awkward feature: a narrow strip of walkway running from the patio to the side gate, used for trash bins, bikes, and late-night dog trips. Solar path stakes were made for it. Push them in every 4 to 6 feet along one side only — in a tight strip, a single staggered line reads cleaner than pairs and halves the cost. Look for warm white models in the 30 to 100 lumen range; you want wayfinding pools of light, not a runway. One honest caution: a tall fence can shade the strip for much of the day, so check where the sun actually lands before you buy a dozen. If the strip sits in shadow, choose stakes with remote or detachable panels, or put the panel-topped side toward the gap between fence and house. My roundup of narrow side yard lighting ideas covers this exact layout in more depth. Wipe the panels monthly and these humble stakes will quietly work for years.
Suggested budget range: $20 – $50.

5. Wash the Fence With Light Instead of Fighting It
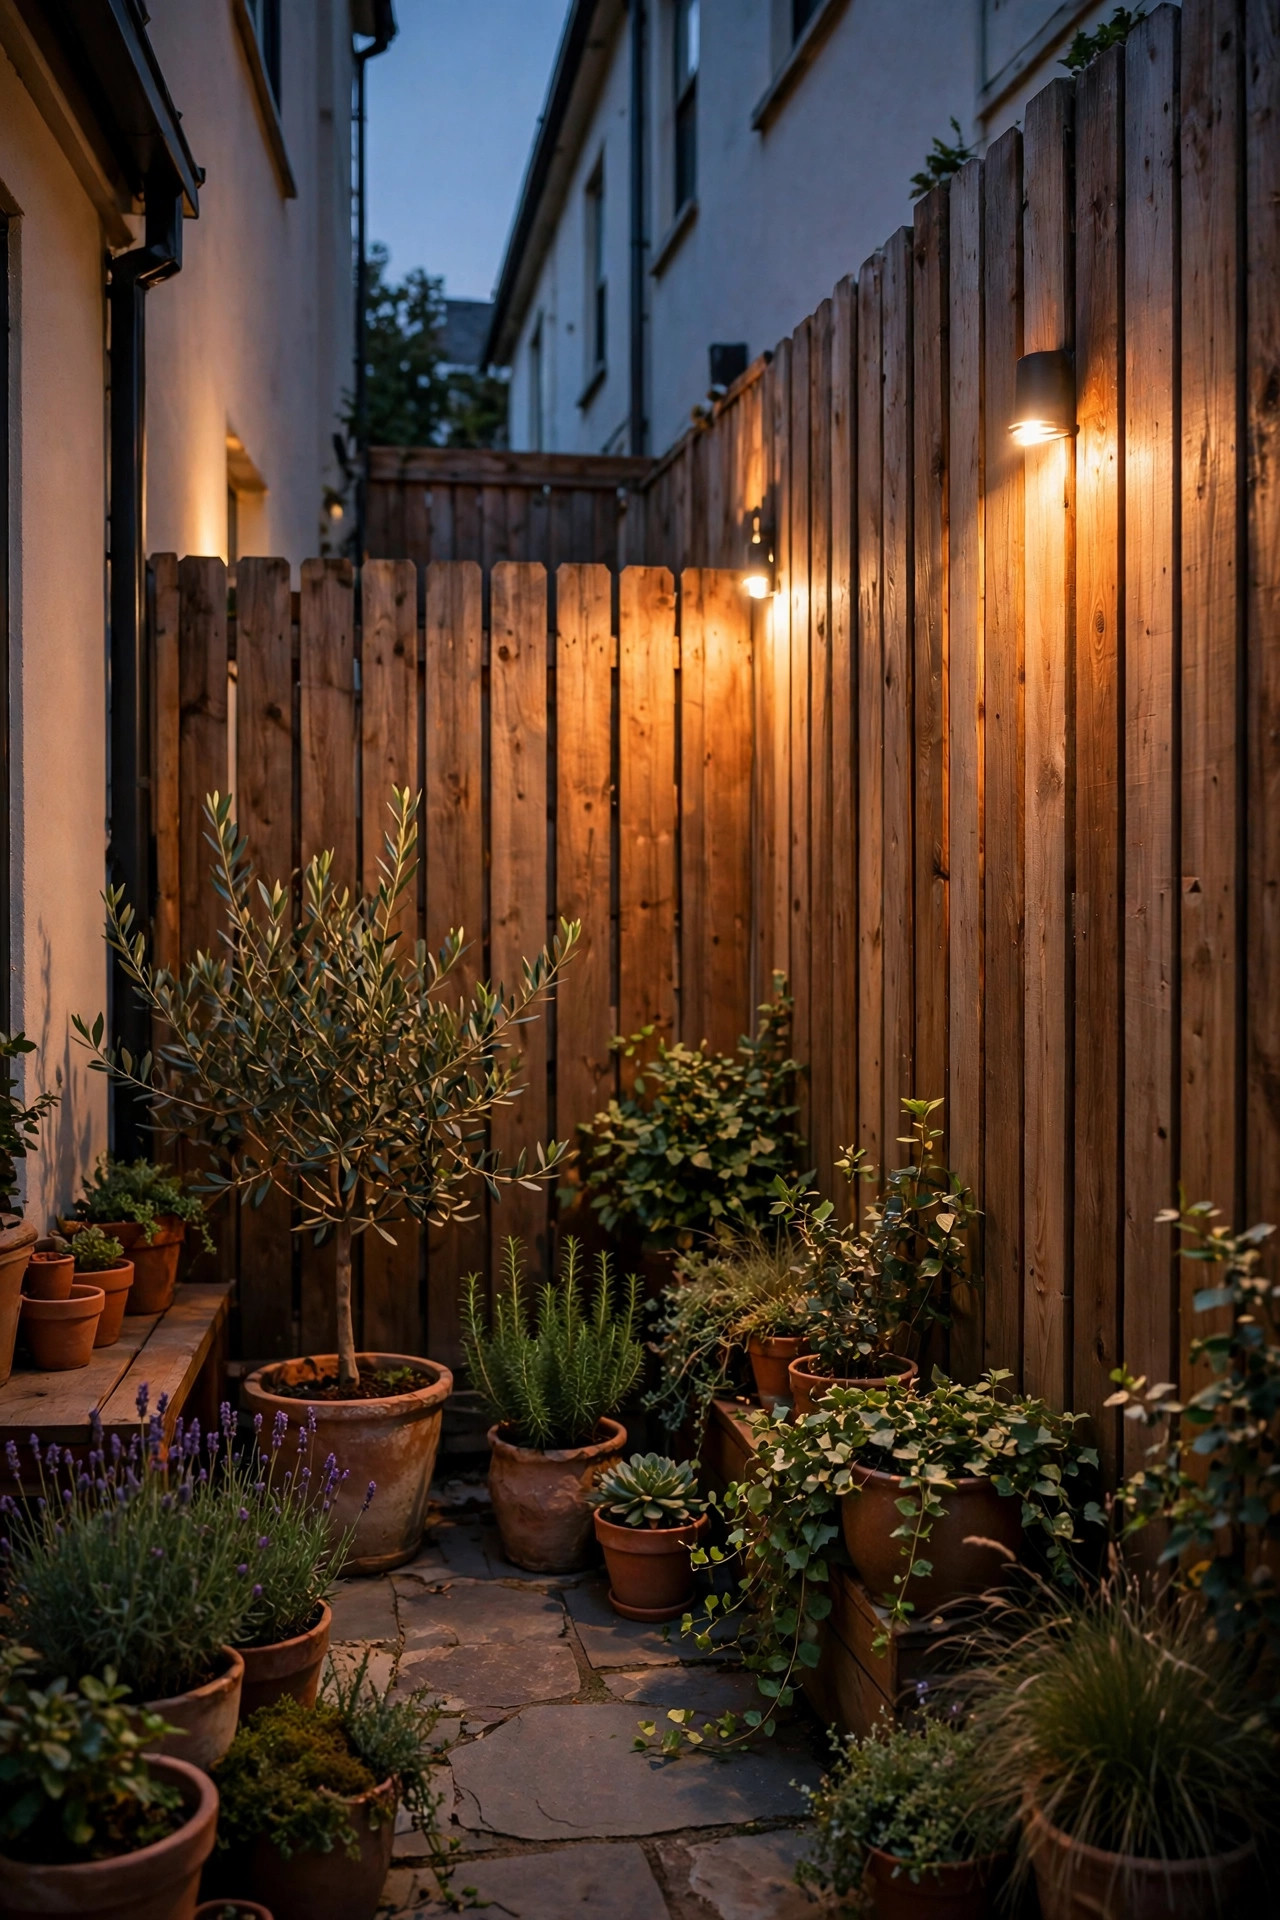
In a narrow lot, the fence is your largest surface, and most people leave it pitch dark, which makes the patio feel like a tunnel. Grazing light down or up that fence transforms it into a glowing backdrop and visually pushes the walls outward. My method: place low-voltage wash lights or solar spotlights at the fence base, spaced 4 to 6 feet apart, angled up so the beam skims the boards and shows off the wood texture. Downward fence-mounted fixtures work beautifully too and keep every lumen inside your lot. Keep individual fixtures modest, around 100 to 300 lumens, because the goal is a wash, not a spotlight show, and your neighbors on the other side will thank you. This trick pairs perfectly with a privacy screen planting in front of it. For more ways to make a tall fence glow, my notes on privacy fence lighting ideas are the natural next read. Honestly, this one change is what guests comment on most.
Suggested budget range: $35 – $90.
6. Hide LED Strips Under Benches, Steps, and Rail Caps
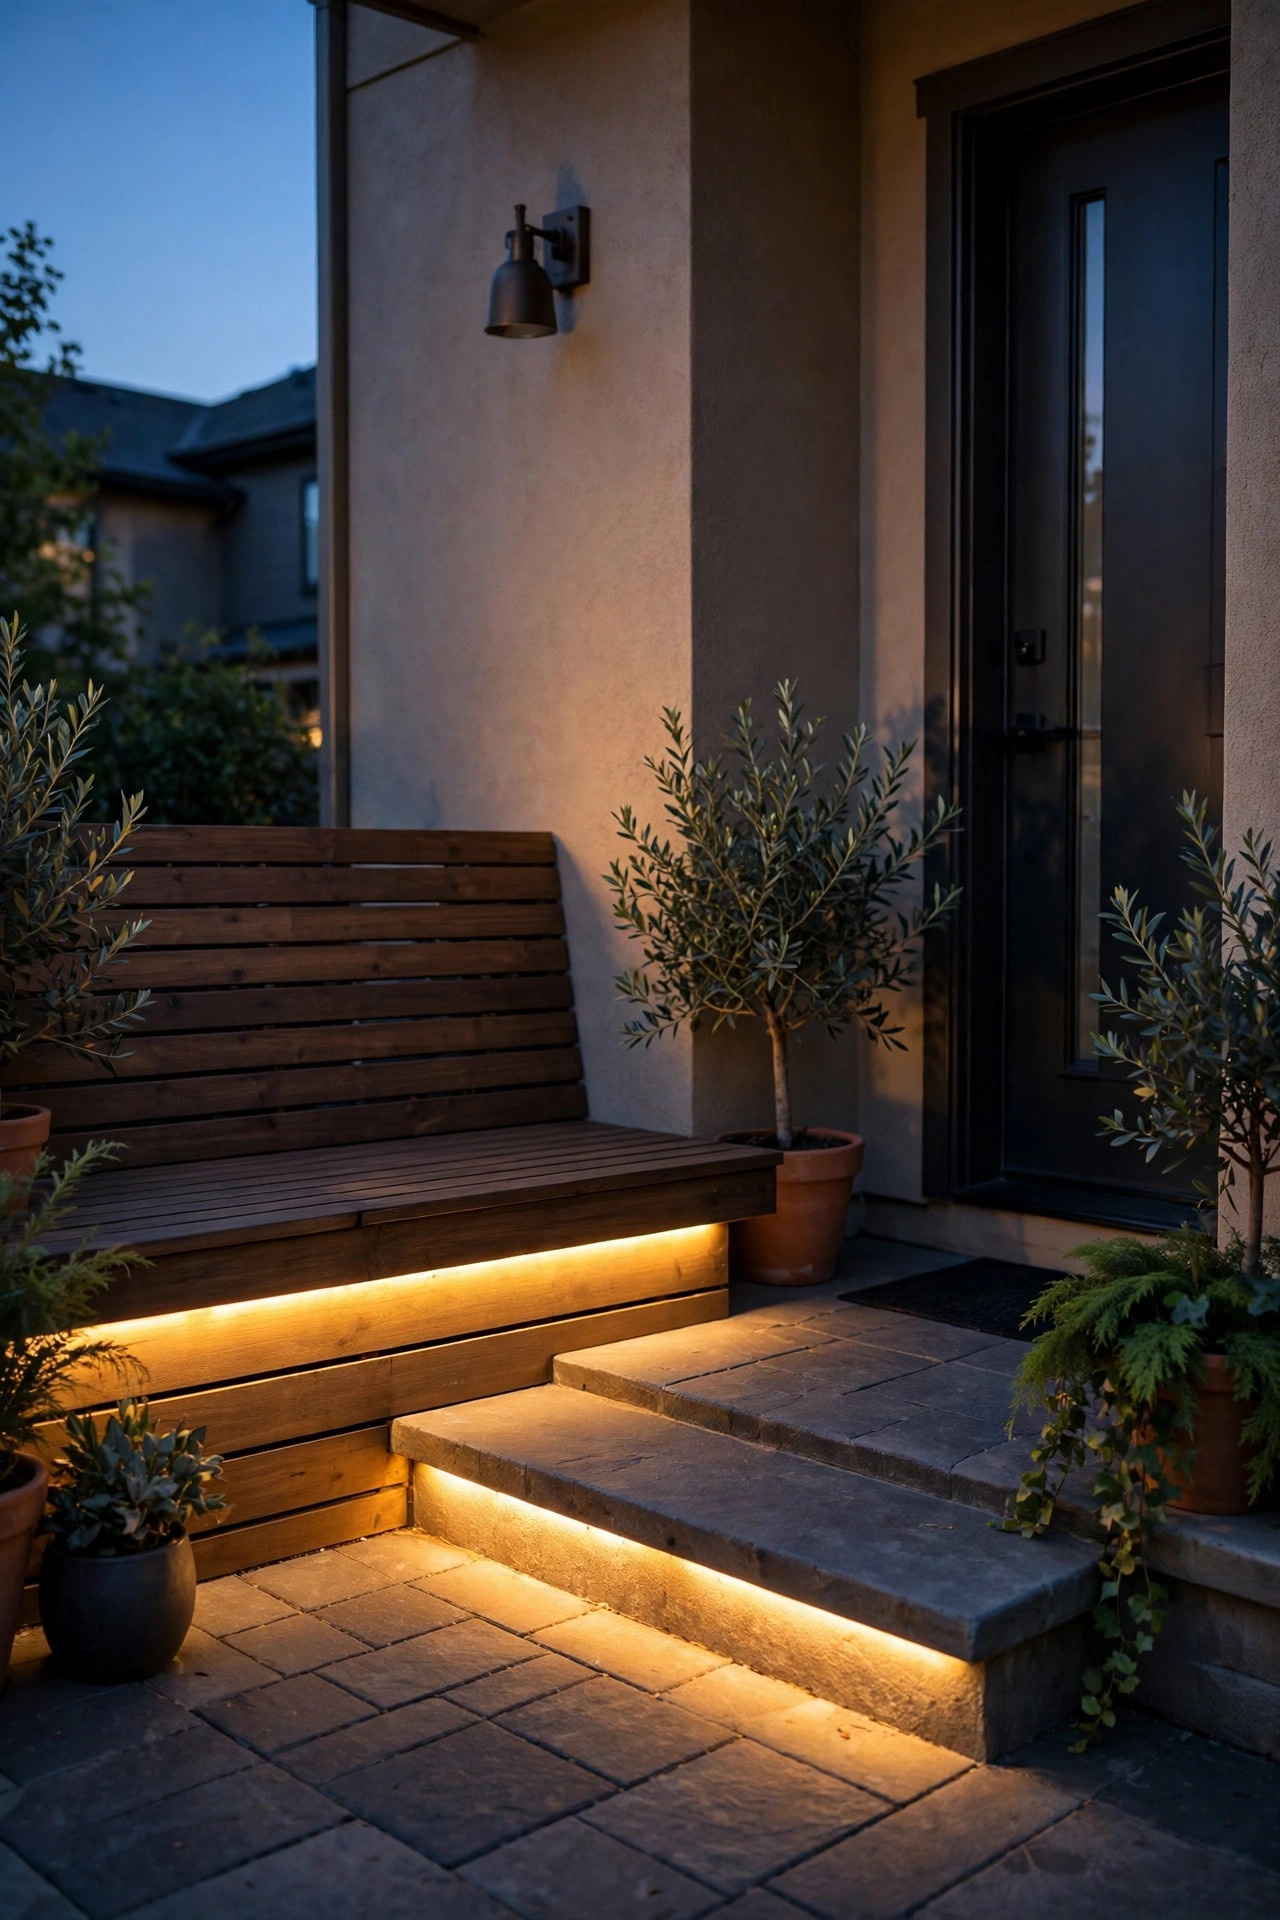
When floor and wall space are both spoken for, the undersides are still free. Waterproof LED strip lighting tucked under a built-in bench, a step nosing, or a railing cap hides the source completely and leaves only a clean line of glow — a trick that makes a narrow patio look deliberately designed. Choose an IP65 or better strip rated for outdoor use, and run it in an aluminum channel if you can; the channel diffuses the dots into one smooth ribbon and protects the strip from kicks and weather. Low-voltage strips run off a small transformer plugged into your one precious outlet, and a single 16-foot roll usually covers a bench plus a step. Keep the color temperature at 2700K to match the rest of your layers. This is also the safest step light I know, because the glow lands exactly where feet go without a single bulb at ankle height to trip over or break.
Suggested budget range: $30 – $75.
7. Hang One Pendant Over the Dining Spot
Every small patio deserves one focal fixture, and over the table is where it earns its keep. A single pendant hung 30 to 36 inches above the tabletop pools warm light exactly where faces and plates are, and lets the corners of the lot stay soft and dim, which reads as bigger. If your townhome patio is covered, a wet-rated flush or pendant mount is straightforward. If it is open, use a plug-in swag pendant hung from a pergola beam or a shepherd hook rated for the weight, and swag the cord along the beam so nothing dangles mid-air. Dimmable is non-negotiable for me here: full brightness for serving, half for lingering. A woven, metal, or seeded-glass shade all work; just avoid bare bulbs at seated eye height, because in a narrow space you are always close to the fixture. One beautiful pendant does more for a small patio than six mediocre fixtures scattered around it.
Suggested budget range: $50 – $150.

8. Cluster Flameless Lanterns in the Dead Corners
Every narrow patio has two corners nobody uses — too tight for a chair, too visible to ignore. That is exactly where a lantern cluster belongs. Group two or three lanterns of different heights on the floor or a low plant stand, each holding a flameless LED candle with a built-in timer, and the dead corner becomes a glowing vignette. I always recommend flameless here rather than real candles: corners sit close to fence boards, planters, and cushion fabric, and LED candles give you the same flicker with zero fire risk and no wax on the concrete. Set the timers once and the clusters switch themselves on at dusk every evening, which makes the patio look loved even on nights you never step outside. Metal, wood, and woven lanterns all work; in a small space I like matching finishes so the cluster reads as one arrangement instead of clutter. Move them around seasonally — flanking the door in winter, framing the seating in summer — and the patio feels refreshed for free.
Suggested budget range: $25 – $70.

9. Uplight One Vertical Feature to Borrow Height
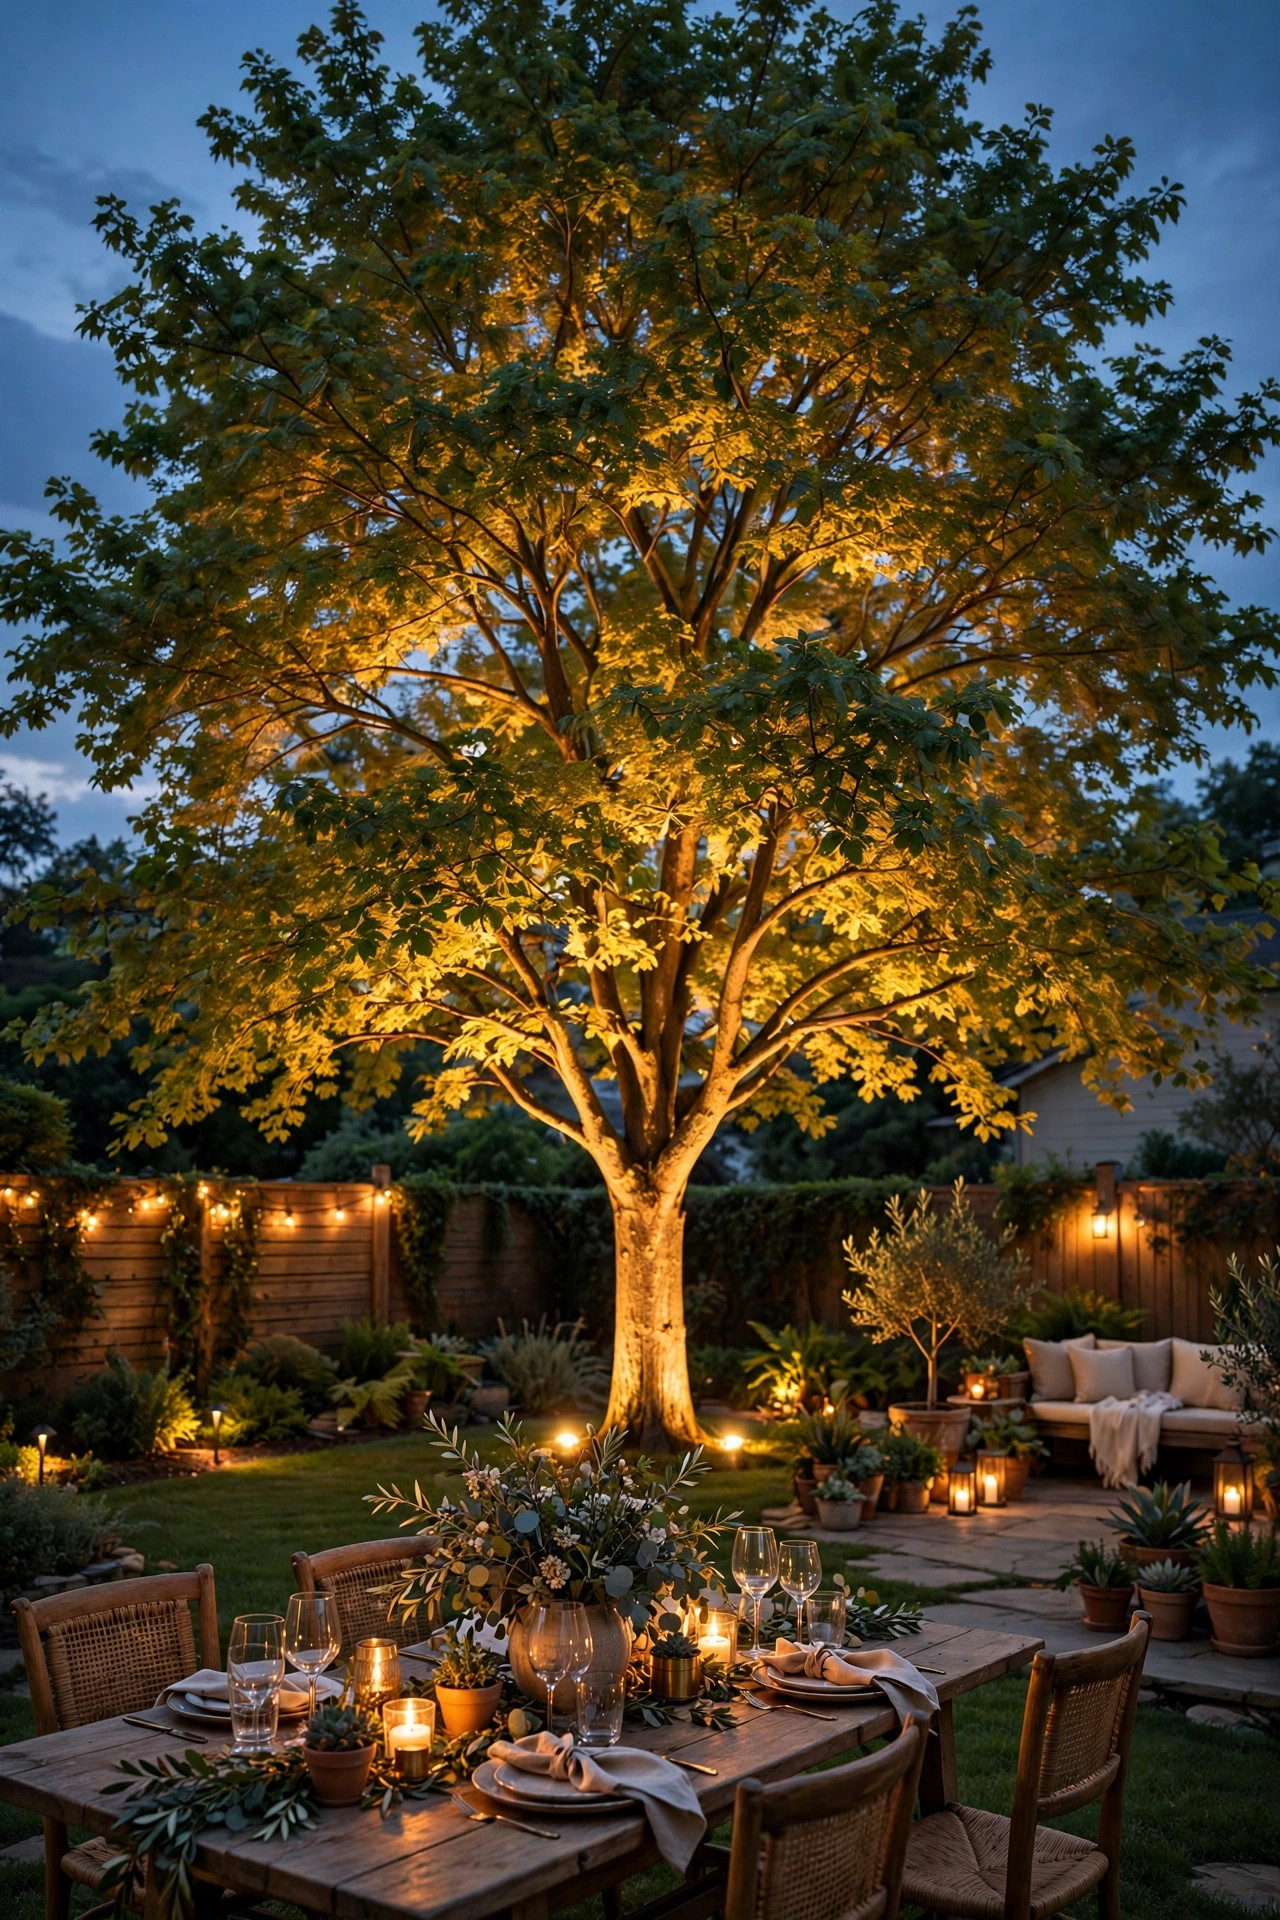
Narrow lots feel bigger when the eye travels up, so give it somewhere to go. Pick one vertical feature — a columnar shrub, a small ornamental tree in a planter, a tall grasses pot — and uplight it with one or two narrow-beam fixtures, a 10 to 20 degree beam angle, placed close to the base and aimed straight up through the foliage. The lit canopy becomes a ceiling of leaves and the whole patio feels taller. Keep brightness gentle, 150 to 300 lumens total; in a confined lot a blasted-bright tree looks theatrical and spills into second-story windows. If your feature is potted, solar uplights with a separate panel work well as long as the panel can sit in a sunny gap. This is also the prettiest backdrop for the seating area, so position the feature behind where guests sit rather than behind where they look from. One uplighted plant, chosen well, does the work of a whole fixture package.
Suggested budget range: $30 – $80.
10. Add Step and Edge Lights Where the Slab Changes Level
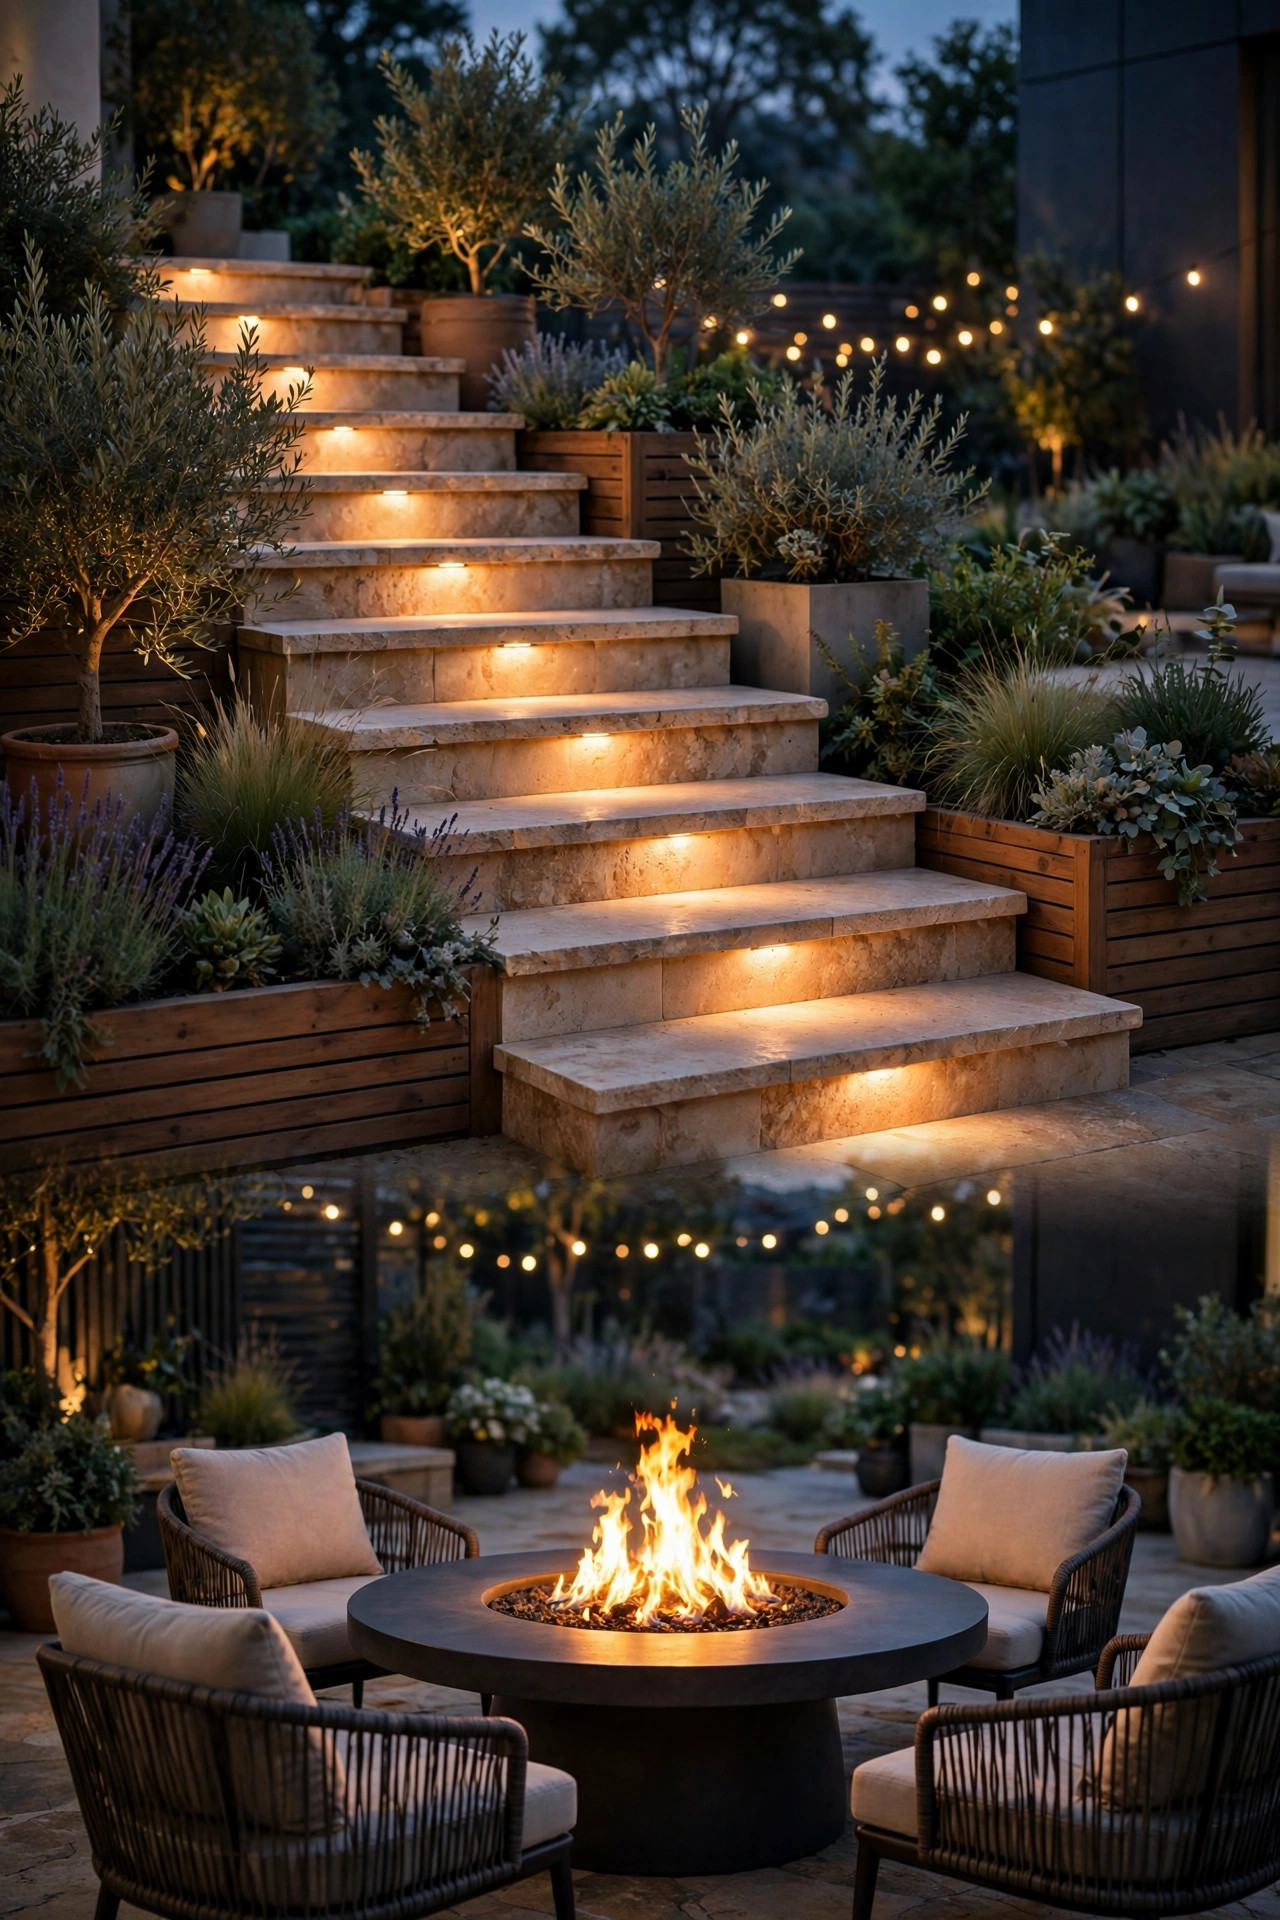
The most useful light on a townhome patio is the one nobody notices until it saves an ankle. The step down from the back door and the edge where the slab meets the yard are classic trip points, especially when guests are carrying drinks in the dark. Surface-mount step lights are the easy retrofit: small, shielded fixtures that screw onto a riser or mount along the slab edge and throw a soft pool straight down. Solar step lights work too and need no wiring at all. One fixture per tread edge is plenty; in a narrow space, two corners lit clearly beats a bright strip that glares. Choose diffused lenses so the light spreads instead of spots, and warm white to match your layers. Do the same at any raised planter edge or deck transition. This is unglamorous lighting, and I always recommend doing it early, because every other layer you add makes these shadow lines harder to judge, not easier.
Suggested budget range: $20 – $60.
11. Put Everything on a Dimmer — The Upgrade Behind the Best Townhome Patio Lighting Ideas
When your neighbors are twelve feet away in both directions, control matters as much as the fixtures themselves. A dimmer on the sconces and pendant, plus a smart plug on the string lights, lets you run the patio at dinner-party bright while you serve and settle to a soft 40 percent glow for the rest of the evening. That lower setting is the whole secret to a narrow patio feeling cozy instead of lit up like a storefront. Smart plugs also give you scheduling: strings on at sunset, off at 10:30, automatically, which is the single most neighbor-friendly habit you can build. Look for outdoor-rated plugs with a weatherproof housing, and plug everything into a GFCI outlet. If hardwired dimming is in the cards, make sure the switch is rated for LED loads so you avoid flicker. Honestly, I would add dimming before I added a single extra fixture — it multiplies the moods every fixture you already own can make.
Suggested budget range: $20 – $65.

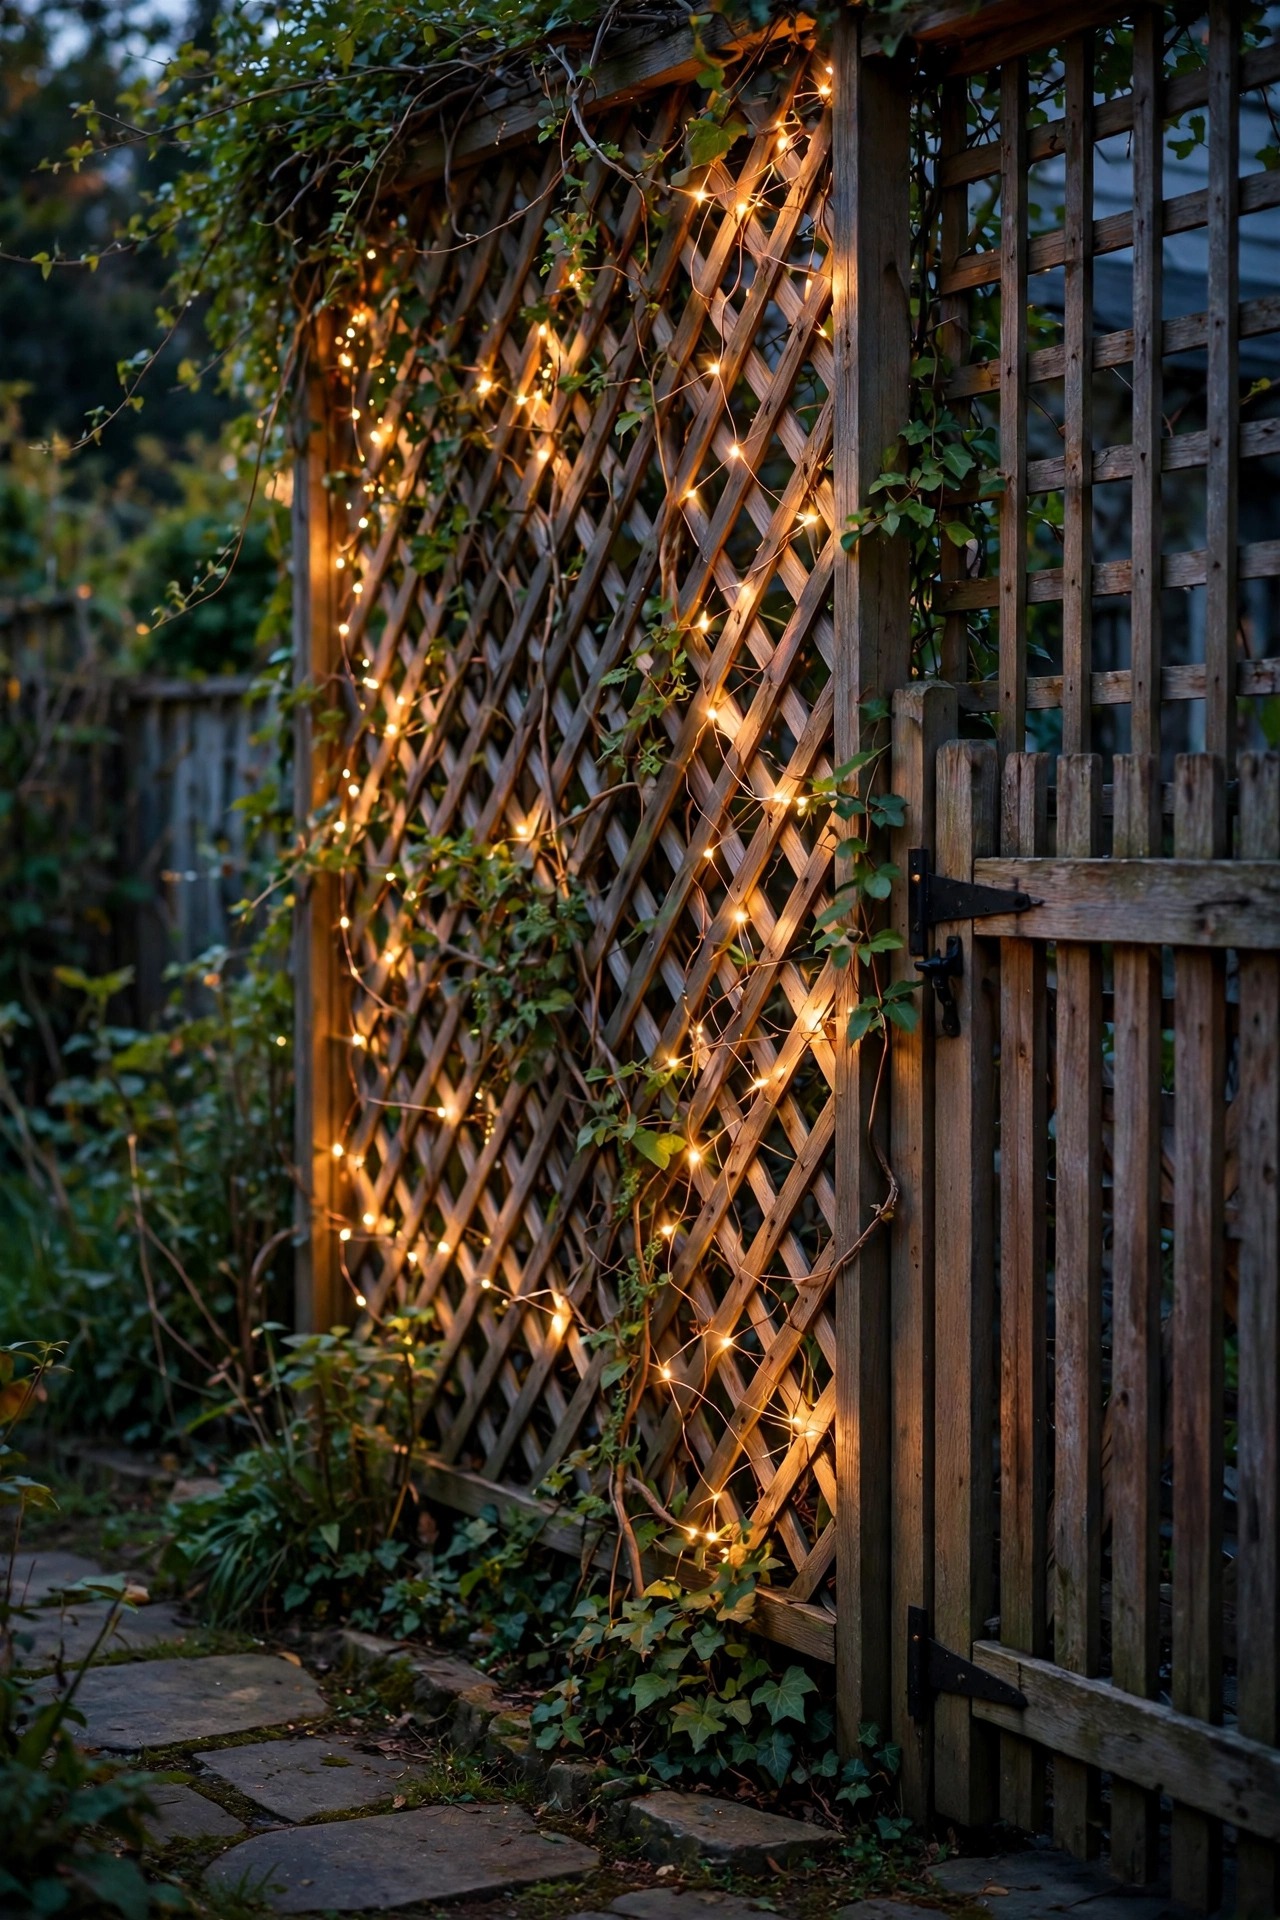
12. Weave Fairy Lights Through a Privacy Trellis
Most townhome patios end at a trellis, screen, or the one fence panel directly in your sightline from the sofa — so make that panel the prettiest thing in the lot. Copper-wire fairy lights woven through a lattice trellis or along a climbing plant create a soft, starry backdrop that costs almost nothing and draws the eye to the far end, which stretches the whole space visually. Solar and battery strands are ideal here since the trellis usually sits far from the outlet, and the wire disappears against the wood. Weave loosely in a zigzag rather than wrapping tight; you want scattered points of light, not an outline. A 33-foot strand typically covers one trellis panel with some left for a planter. In my experience this is the layer guests photograph, and it pairs beautifully with the fence wash from earlier in this list — one gives you glow, the other gives you sparkle. Keep strands LED-only near any fabric or dried plant material.
Suggested budget range: $15 – $45.
13. Use Rechargeable Table Lamps You Can Carry Anywhere
Some of my favorite townhome patio lighting is not installed at all. Small rechargeable LED table lamps — the cordless kind with a warm dimmable bulb and a handle or stem — put a pool of light exactly where the evening happens: the dining table tonight, the side table by the reading chair tomorrow, the step by the door when you are unloading groceries. Because there is no cord, nothing crosses the narrow walkway to trip over, which matters in a space where every route is a few feet wide. Most run 8 to 20 hours per charge and recharge indoors overnight, so the patio stays uncluttered. Buy two and use them as a pair; symmetric pools of light make a small table feel set rather than improvised. Choose 2700K settings and metal or rattan shades that suit your style. On a per-fixture basis they cost more than solar stakes, but the flexibility in a small footprint is honestly unmatched.
Suggested budget range: $25 – $60.

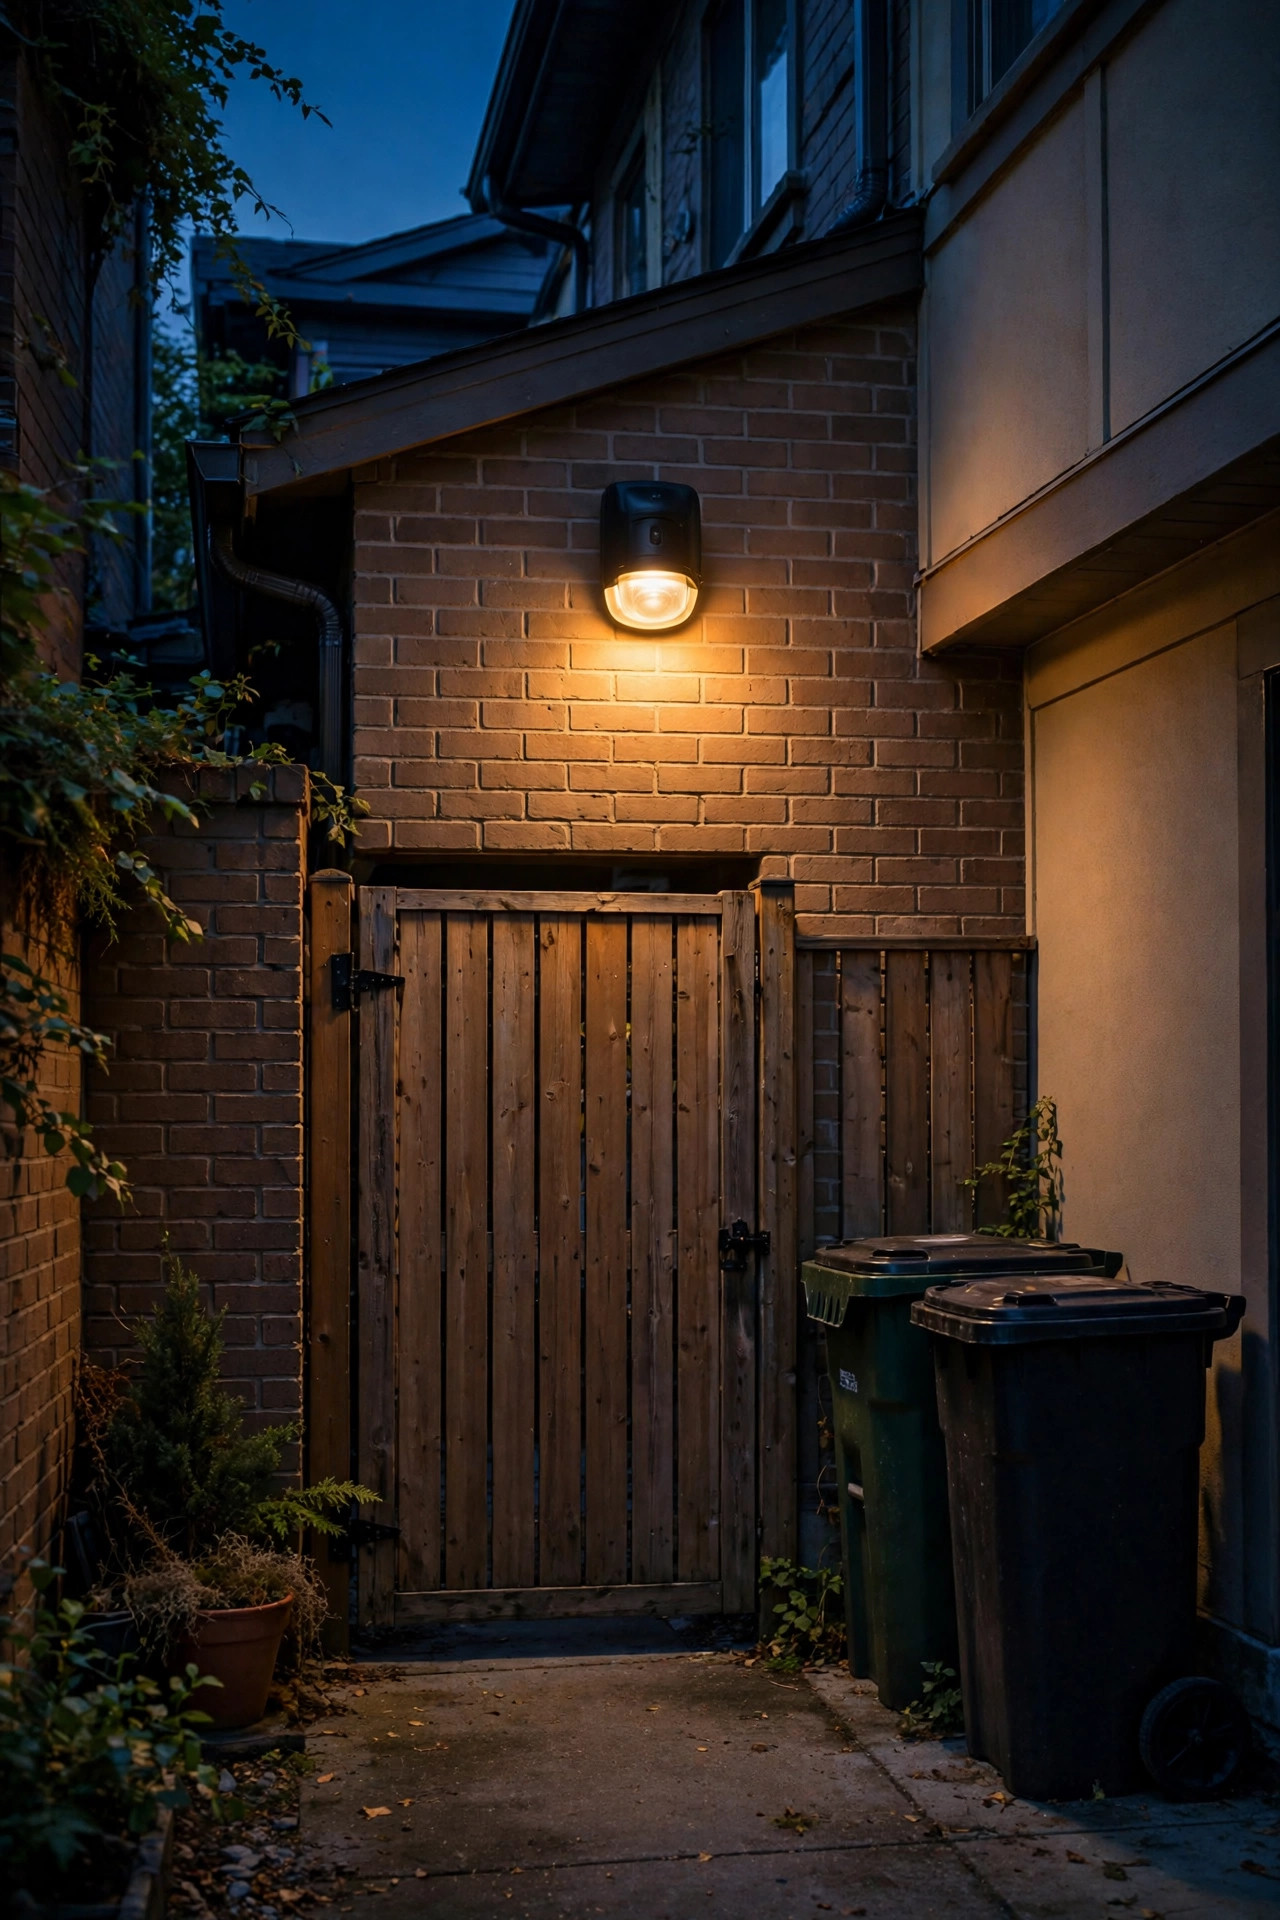
14. Add a Shielded Motion Light by the Gate
The gate corner of a townhome lot does a lot of unglamorous work: trash bins, recycling runs, the dog at 11 p.m. A motion-sensor light makes all of it easier, but in a narrow lot the wrong fixture blasts the neighbors bedroom windows every time a cat walks by. Choose a shielded, downward-aimed model so the light lands on your path and nowhere else, and keep it warm white, 2700K to 3000K, rather than harsh blue-white security light. Set the timer short, one to three minutes, and angle the sensor to trigger on your walkway only, not the shared alley beyond the gate. Mount it around 7 to 8 feet high; lower and it glares, higher and the sensor misses smaller movements. Solar motion lights are a fine no-wiring option for the gate, since it usually sits far from the outlet. This is the one purely practical light on my list, and it quietly earns its place every single week.
Suggested budget range: $30 – $85.
15. Cap the Fence Posts With Solar Post Lights
If your townhome fence has exposed posts, you already own a row of tiny pedestals — use them. Solar post-cap lights drop onto standard 4×4 or 6×6 posts in minutes with two screws, no wiring, no outlet, and they trace the outline of your lot with a gentle marker glow. In a narrow space I use them sparingly: the two gate posts and the two far corners usually read best, rather than a full runway of caps competing with your other layers. Modest output is a feature here, around 10 to 40 lumens per cap, because these are punctuation marks, not work lights. Match the cap finish to your fence stain or paint so they disappear by day. Measure your posts before ordering, since nominal lumber sizes and actual cap sizes love to disagree. Of everything on this list, these might be the easiest afternoon upgrade — four screws and your lot line suddenly has definition after dark.
Suggested budget range: $25 – $70.

16. Let a Tabletop Fire Bowl Do the Glowing for You
Firelight is the original layered lighting, and a small tabletop fire bowl gives a townhome patio a living, flickering centerpiece that no bulb quite matches. Before anything else, check your HOA rules and local codes — some townhome communities restrict open flame on patios, and that answer decides whether you shop for a real bowl or a flameless LED flame version, which honestly looks better every year. If real flame is allowed, keep the bowl small, set it on a stable non-flammable surface, and hold at least 3 feet of clearance from the fence, siding, and cushions — in a narrow lot, measure that distance rather than eyeballing it. Gel-fuel and small propane tabletop models both keep smoke low, which your close neighbors will appreciate. Never leave it unattended, and keep a lid within reach for a quick smother. On flame-free nights, let the lanterns and fairy lights carry the flicker instead.
Suggested budget range: $35 – $100.

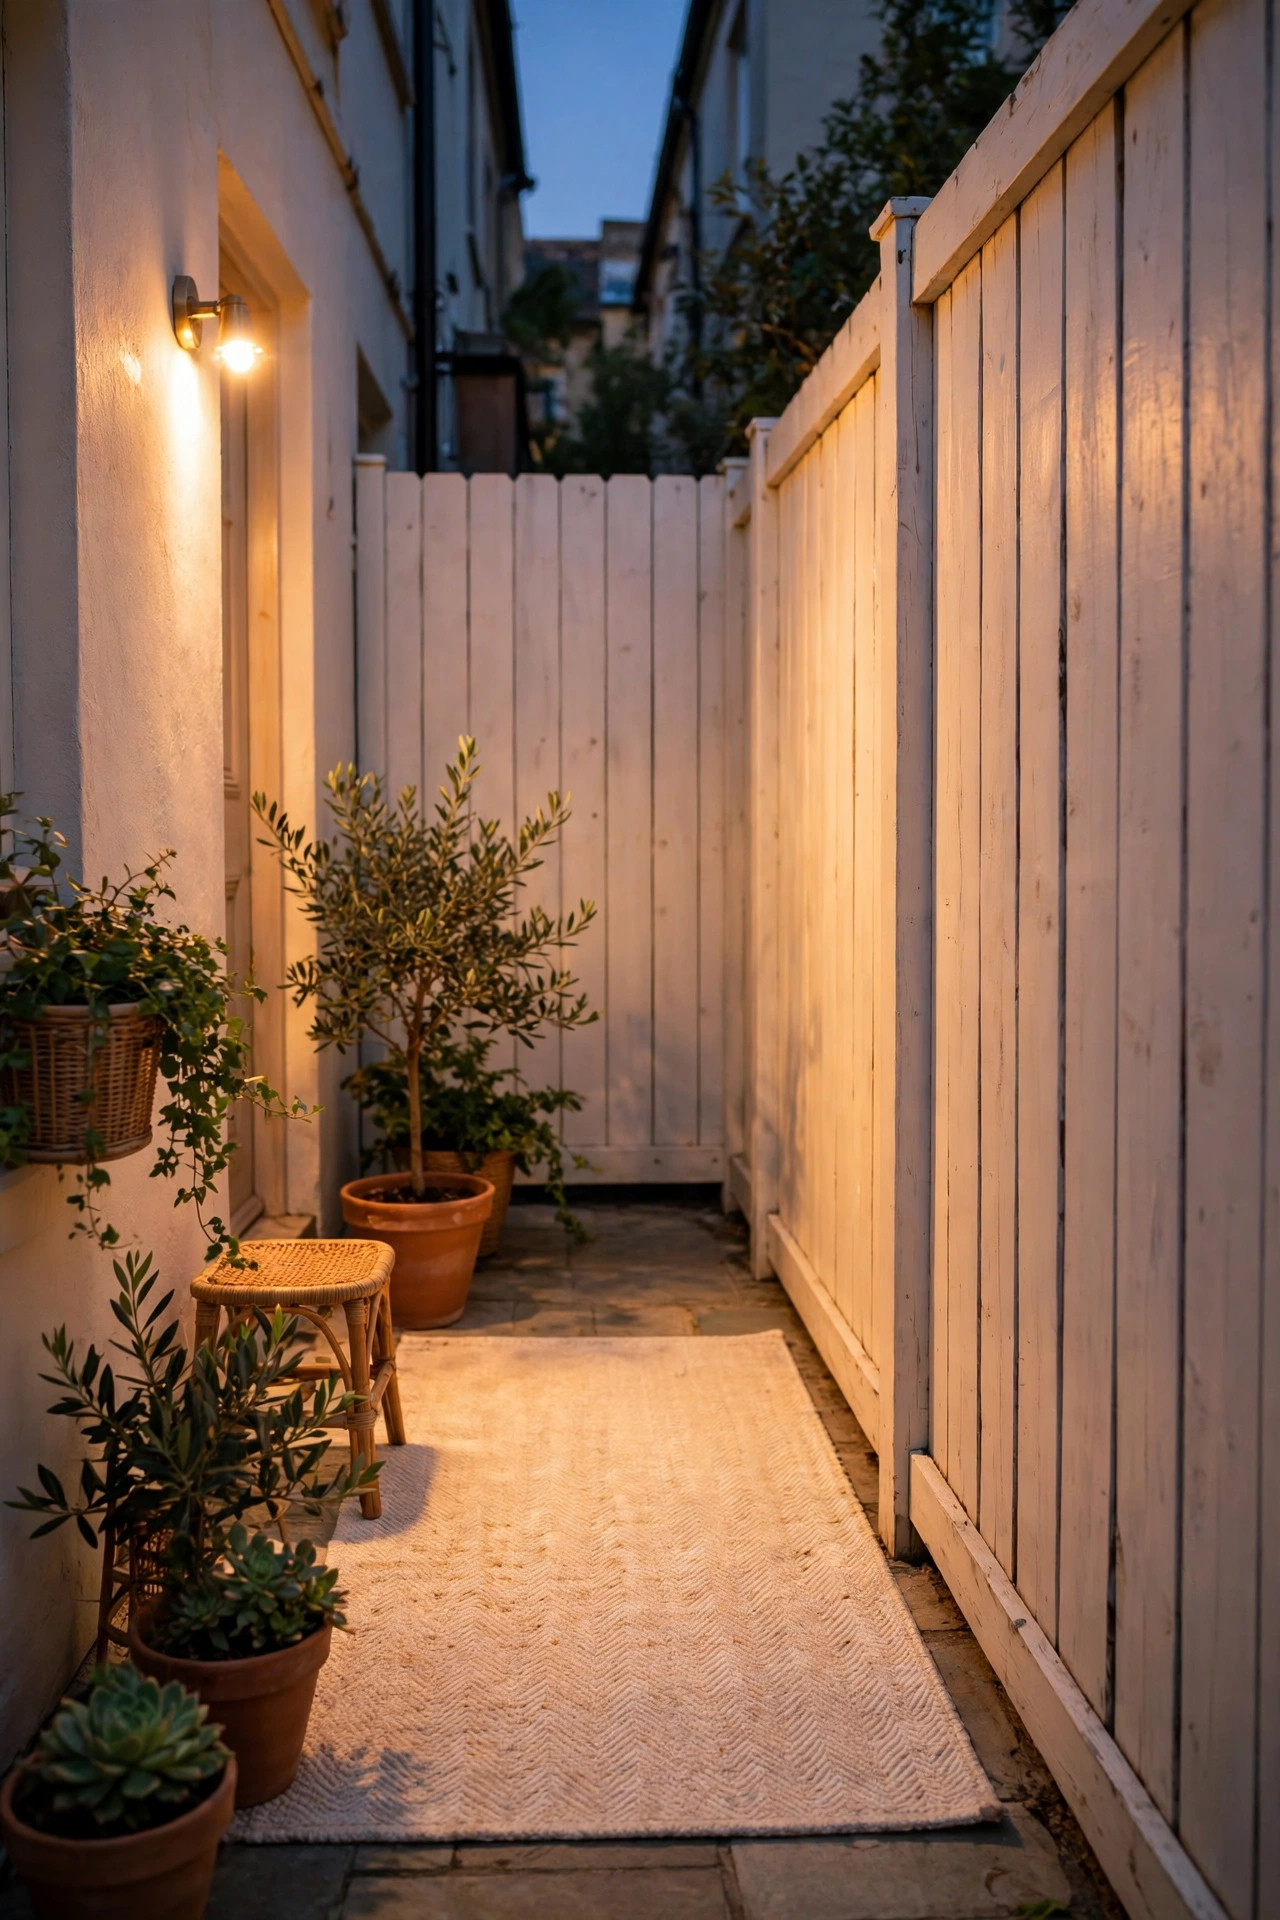
17. Bounce Light Off Pale Surfaces Instead of Adding Fixtures
Here is a trick I use in every small space: before adding another fixture, look at what your existing light is hitting. A warm bulb aimed at a dark fence disappears; the same bulb washing a pale stucco wall, a light-colored pergola ceiling, or a cream outdoor rug bounces back into the space and effectively doubles your light for free. On a townhome patio, position one sconce or uplight to graze the lightest surface you have, and let reflection do the fill work. If your HOA allows it, painting the inside of the fence a soft warm white or pale greige makes an astonishing difference after dark, turning a tunnel into a courtyard. Even without paint, pale cushions, a light tabletop, and a cream planter row all catch and return glow. This is why I plan surfaces and lights together: in a narrow lot, your walls and fence are not just boundaries, they are your biggest reflectors.
Suggested budget range: $10 – $40.
18. Set a Dusk-to-Dawn Routine and Forget the Switch
A narrow patio gets used in quick bursts — letting the dog out, grilling on a weeknight, one drink after work — and the lighting only helps if it is already on. A simple routine fixes that: photocell bulbs in the sconces so the eye-level layer wakes itself at dusk, plus an astronomical timer or smart plug running the string lights, set to switch off at a neighbor-friendly hour. Astronomical timers adjust themselves as sunset shifts across the seasons, so the patio is never blazing at 5 p.m. in June or dark at 6 in November. I re-check the schedule twice a year, at the same visit when I wipe down solar panels and test the step lights. The running cost is almost comically small — a full LED setup like this typically sips a few watts per fixture. Set it once, and your townhome patio simply glows when you need it, with no switch hunt in the dark.
Suggested budget range: $15 – $50.
19. Finish With a Dusk Walk-Through of Your Townhome Patio Lighting Ideas
The last step is a test, not a purchase. On the first evening everything is installed, walk the lot the way you actually live in it: out the back door with your hands full, to the gate, back to the seating, and into each chair. Sit down everywhere. Glare only reveals itself at seated eye height, and a sconce that looked perfect standing up may shine straight into your eyes from the sofa. Then step to the far side of your fence, or ask a friendly neighbor, and check what the lot looks like from outside: you should see glow, never bare bulbs. Note any dark gap at the step or gate, any place two color temperatures clash, and any fixture the foliage has already swallowed. Adjust angles, swap one bulb, nudge one stake — twenty minutes of fussing at dusk is what turns a pile of decent fixtures into a designed space. Repeat the walk each spring, because plants grow and stakes lean.
Suggested budget range: $0 – $30.

Frequently Asked Questions
What color temperature is best for a townhome patio?
Warm white, 2700K to 3000K, is my recommendation for every layer. It flatters faces and food, matches the porch lights on neighboring homes so your lot blends in, and attracts fewer insects than cool white. Consistency matters even more than the exact number: in a narrow space, fixtures sit close together, so one stray daylight bulb stands out immediately. Buy all your bulbs and fixtures in the same temperature from the start.
How do I keep patio lights from bothering the neighbors on both sides?
Aim everything down or into your own lot, choose shielded fixtures that hide the bare bulb, and keep brightness modest — small spaces need far fewer lumens than big yards. Put decorative layers on a timer that switches off by 10 or 11 p.m., and use motion lights with short timers near the gate instead of all-night security floods. If you can see the bulb from the fence line, your neighbor can too, so adjust until you see only glow.
Are solar lights bright enough for a narrow townhome patio?
For path marking, fence caps, and accents, yes — modern solar fixtures handle those jobs well after a sunny day. The catch on townhome lots is fence shade, which can starve panels of charge. Anchor your main seating layer with at least one plug-in or low-voltage fixture, use solar where the sun actually reaches, and choose models with detachable panels for the shadier spots.
How much does it cost to light a townhome patio?
A solar-only refresh with stakes, caps, and fairy lights can land between $75 and $150. A full layered setup — string lights, sconces, a pendant, step lights, and smart control — typically runs $250 to $600 in fixtures. Because the footprint is small, you need fewer of everything than a detached-house yard, and most of these ideas install in an afternoon with no electrician.
Conclusion
If there is one thing narrow lots have taught me, it is that great townhome patio lighting ideas are about editing, not accumulating: three calm layers, one color temperature, light aimed at your own fences and walls, and control that dims down and switches off on schedule. Start with the layer your patio misses most, walk it at dusk, and add one idea at a time. If your patio opens into a tiny courtyard, my guide to small courtyard lighting ideas applies the same layered thinking to that space, and the rest of the site is full of narrow-space projects to try next.