When your whole home is 200 square feet, every square inch outside has to pull double duty — and honestly, that is exactly why I love working on tiny house outdoor lighting ideas. A big house can hide a mediocre fixture. A tiny house cannot. One well-placed sconce lights your entry, your seating nook, and half your evening. One badly placed floodlight, and your whole lot feels like a parking lot. The trick I always come back to is layering: a soft ambient layer so the space feels welcoming, a task layer where you actually do things like unlock the door or flip burgers, and a tiny accent layer that gives the eye somewhere pretty to land. In this post I will walk you through 15 small-footprint fixtures and tricks that layer beautifully, sip power for off-grid and on-wheels setups, and store flat when space gets tight. Nothing here needs an electrician, and most of it installs in an afternoon.

1. Tiny House Outdoor Lighting Ideas Start With Three Simple Layers
Before you buy a single fixture, sketch your tiny lot and mark three zones: where you arrive, where you sit, and where you work. That little map is the whole secret behind good tiny house outdoor lighting ideas, because in a small footprint each layer has to overlap gracefully instead of competing. Your ambient layer is the general glow — string lights or an eave strip — and it should be warm, around 2700K, so the house reads cozy instead of clinical. Your task layer is brighter and aimed: the door light, a grill light, a step light. Your accent layer is pure pleasure: one uplight, one sparkle in a planter. In my experience, tiny homes need far fewer lumens than people expect — roughly 100 to 200 lumens per zone is plenty when the zones are this close together. Buy fixtures in that order, one layer at a time, and stop the moment the yard feels finished. Overlighting is the number one mistake I see on small lots, and it is the easiest one to avoid when you plan first.
Suggested budget range: $40 – $120.

2. Zigzag Solar String Lights Over the Mini Deck
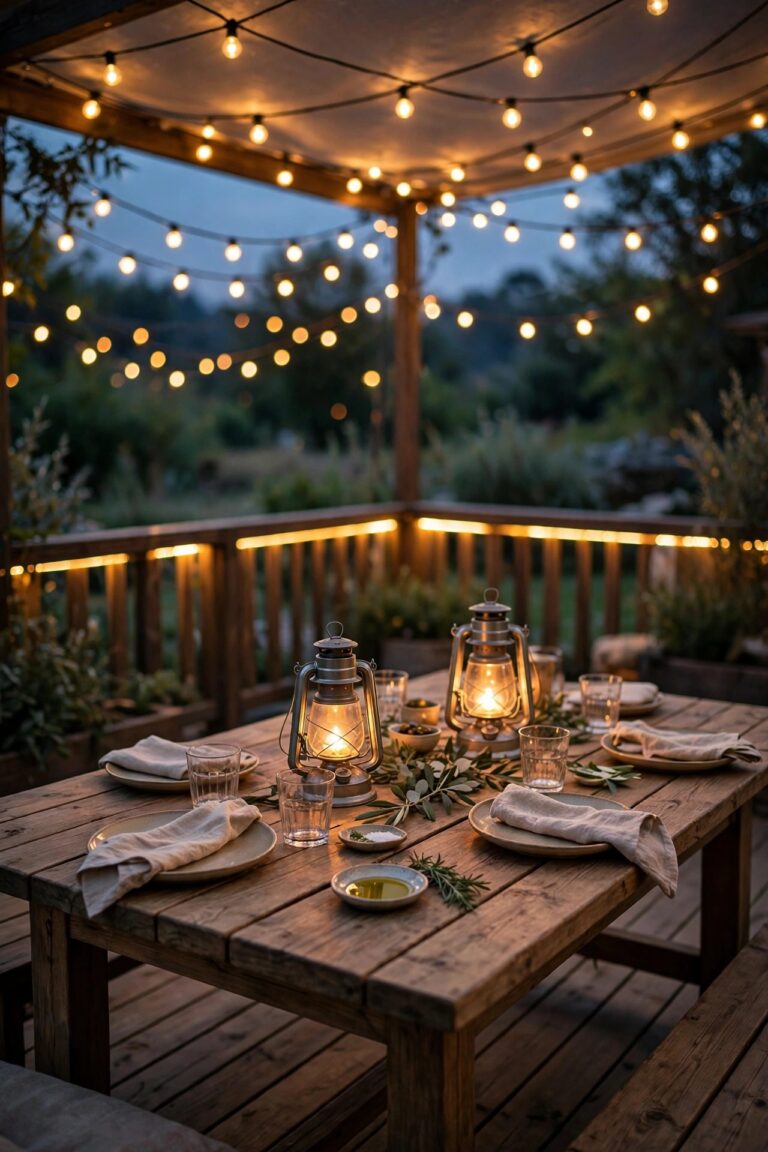
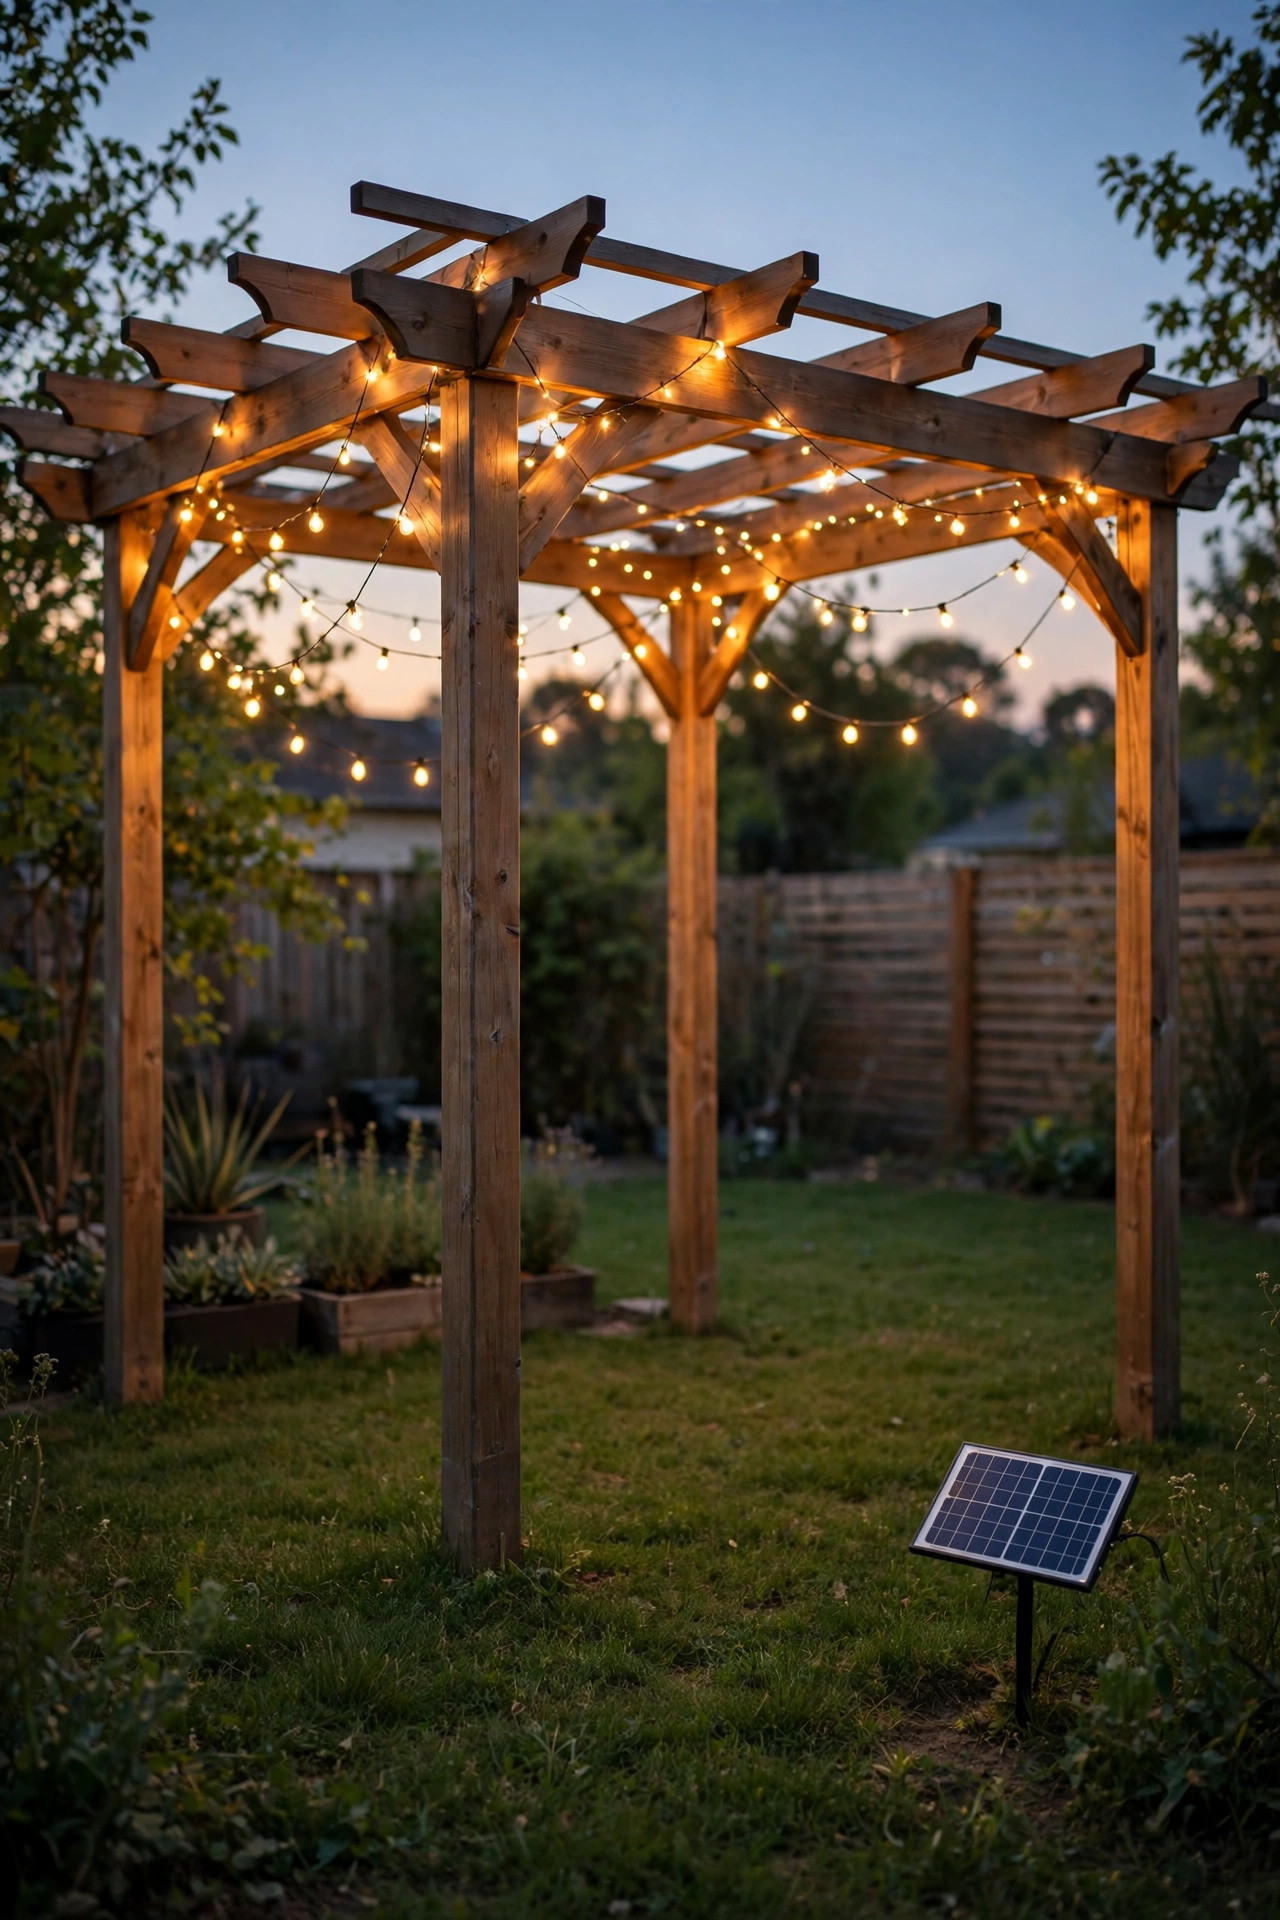
A single 25-foot strand of solar string lights, zigzagged in three gentle passes over a tiny deck, does the work of a ceiling, a chandelier, and a party invitation all at once. On a small footprint, overhead light is precious because it takes up zero floor space, and the zigzag pattern spreads the glow evenly instead of pooling it in one corner. Look for shatterproof plastic bulbs with warm 2700K LED filaments, and mount the solar panel on the sunniest corner of the roof or railing where it gets at least six hours of direct sun. I hang mine from small screw-in hooks spaced about 4 feet apart, keeping a soft sag of 6 to 8 inches between hooks — too tight looks tense, too loose hits heads. If your deck sits in shade, choose a strand with a detachable panel and a long lead cord so the panel can live in the sun while the bulbs stay in the shade. For more strand styles and hanging patterns, my roundup of solar string light ideas is a good next read.
Suggested budget range: $25 – $60.
3. Hang One Slim Solar Sconce Beside the Door
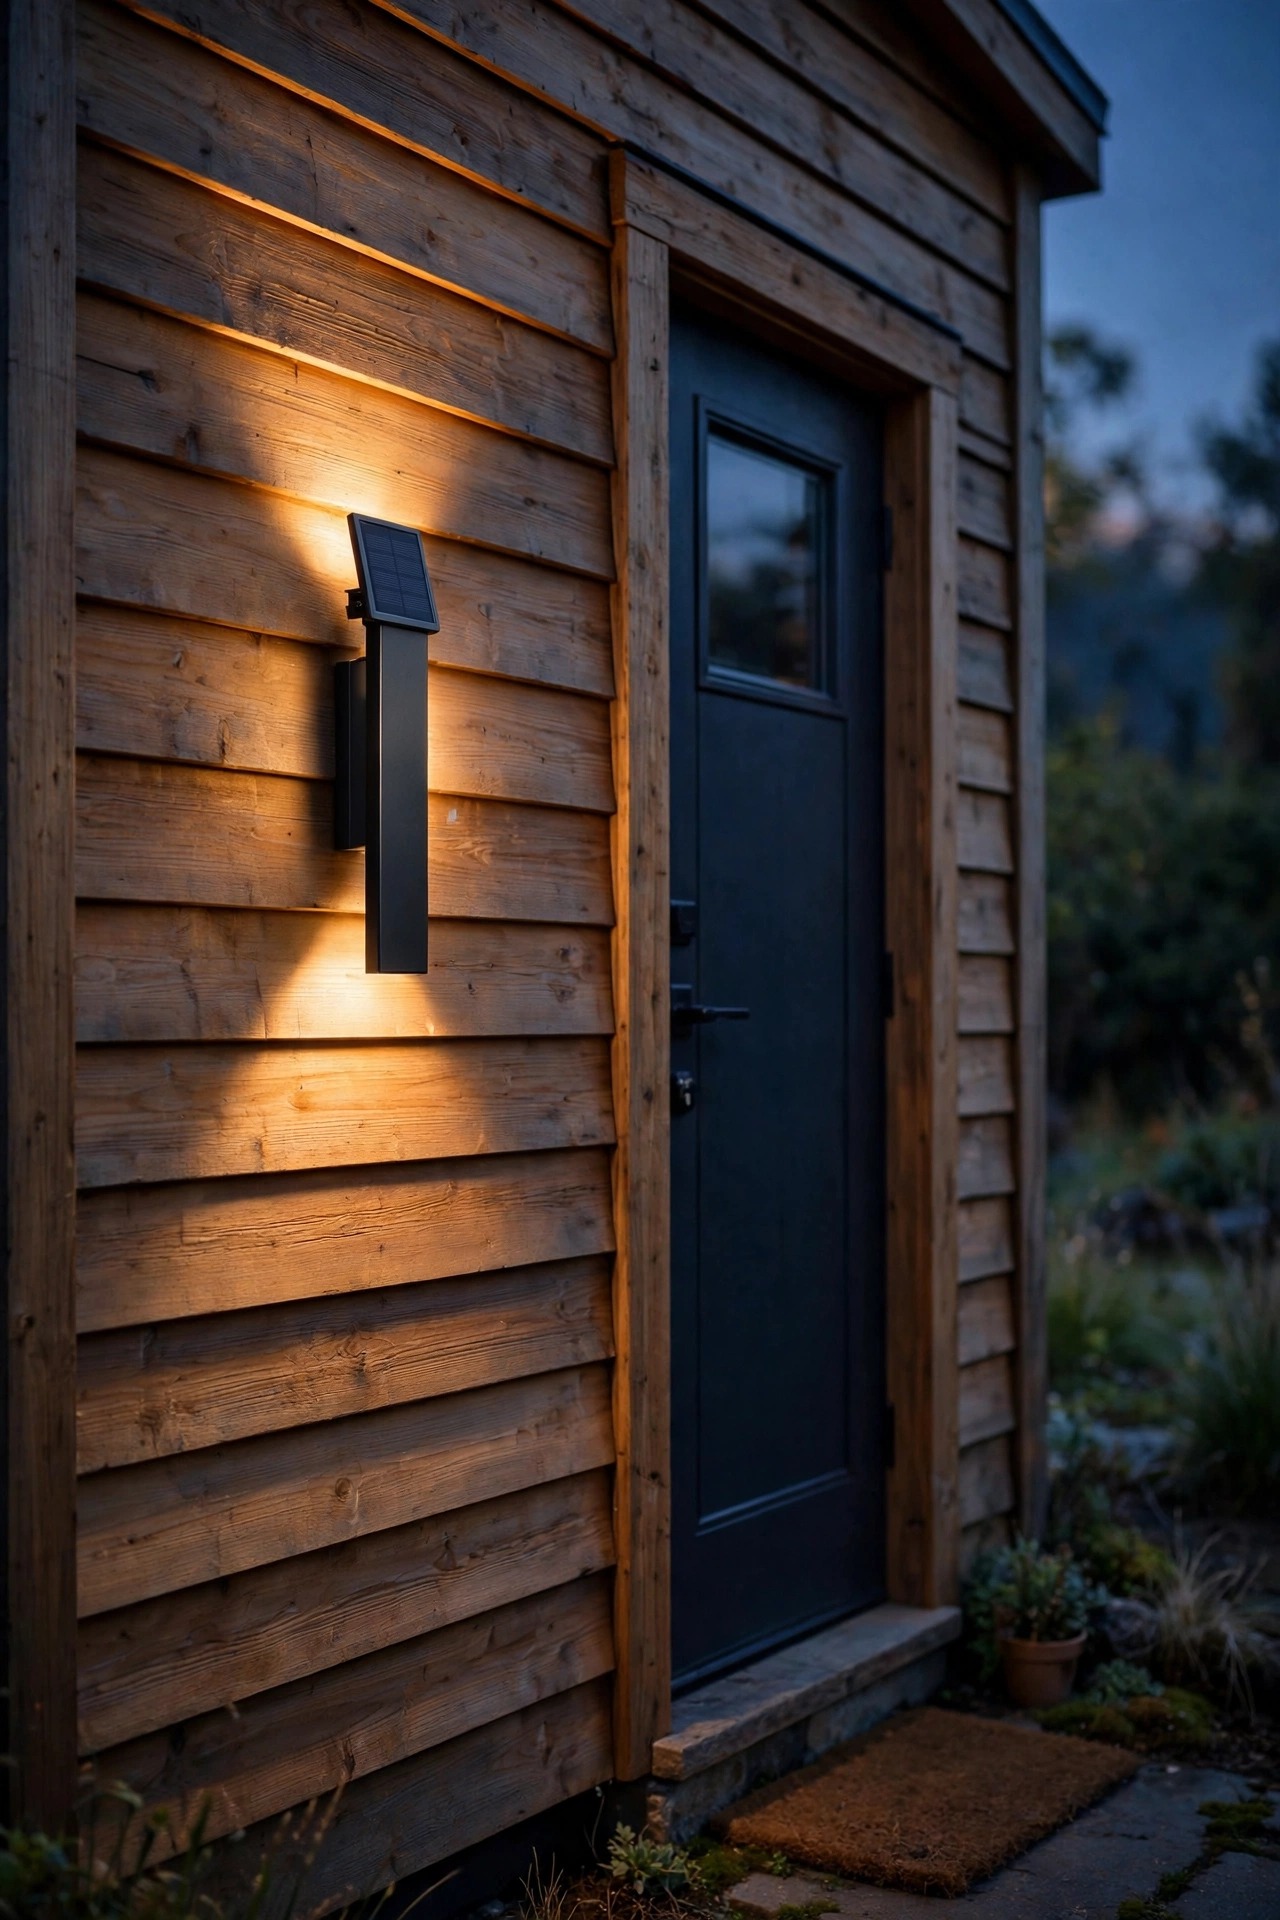
Your entry deserves one real light, and on a tiny house a slim solar wall sconce is the hardest-working fixture you will own. Pick a narrow up-down style, no more than 4 inches wide, so it hugs the siding instead of jutting into your walkway. Mount it about 60 to 66 inches from the deck floor — roughly eye level — so it washes the door and the step below without glaring into your eyes as you come home with groceries. The best models pair a dusk-to-dawn ambient mode with a motion boost, so you get a soft welcome glow all night and a brighter flash when you approach with your keys. Because it is solar, there is no wiring to run through walls you cannot afford to open up, which matters enormously in a tiny build. I always recommend testing the spot with painter tape for two nights before drilling, since moving a fixture even 6 inches changes how the light falls on the steps. If your entry is more porch than stoop, browse these small porch lighting ideas for companion fixtures.
Suggested budget range: $20 – $45.
4. Line the Short Path With Low-Profile Solar Stakes
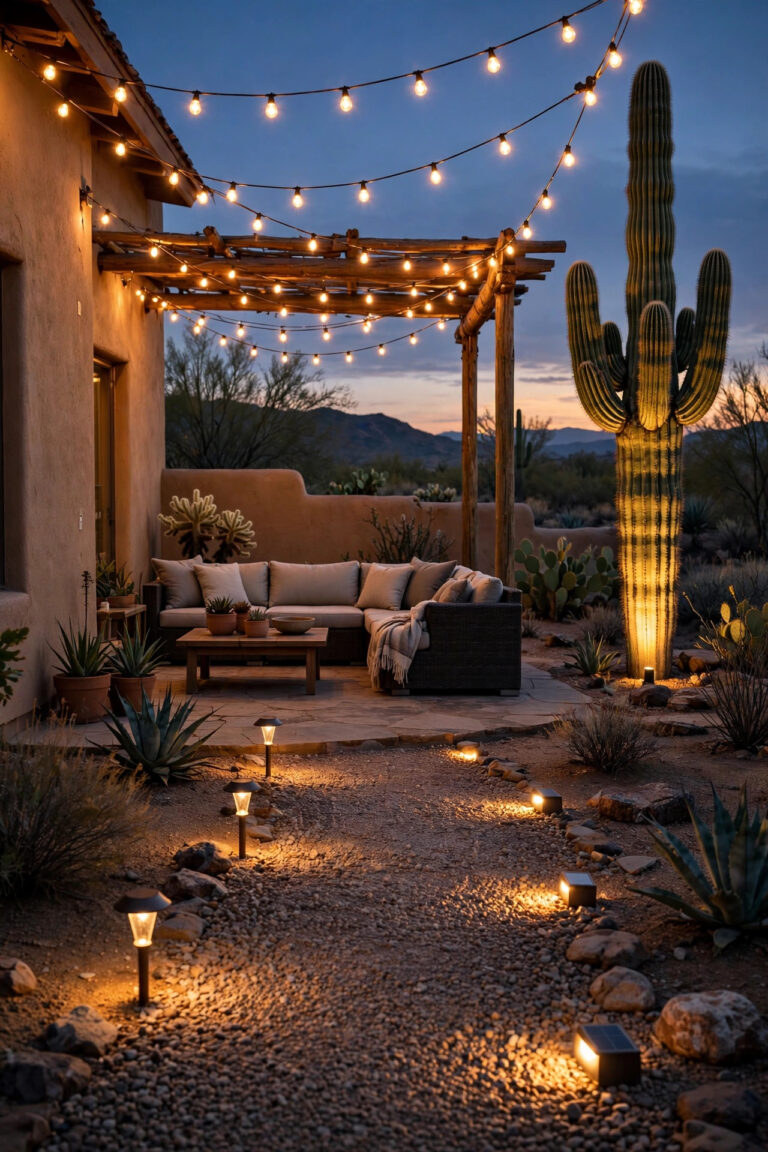
Tiny lots have tiny paths, and that is a gift: four to six low-profile solar stakes can light your whole walkway where a suburban path might need twenty. Choose short stakes, 10 to 14 inches tall, with the light aimed down at the gravel or pavers rather than out at eye level — on a small lot, glare travels fast. Space them every 3 to 4 feet, alternating sides of the path for a gentle rhythm that guides guests without looking like a runway. In my experience, the fixtures with a separate, slightly larger solar panel on top charge noticeably better in partial shade, which is common when your path hugs the house. Push them into soil an inch deeper than you think you need; frost heave and bumped mower wheels are the two main killers of path stakes. Honestly, this is the fastest curb-appeal upgrade on this whole list — fifteen minutes of work, and arriving home after dark feels ten times safer and prettier.
Suggested budget range: $18 – $40.

5. Run an LED Strip Under the Eave for a Soft Wash
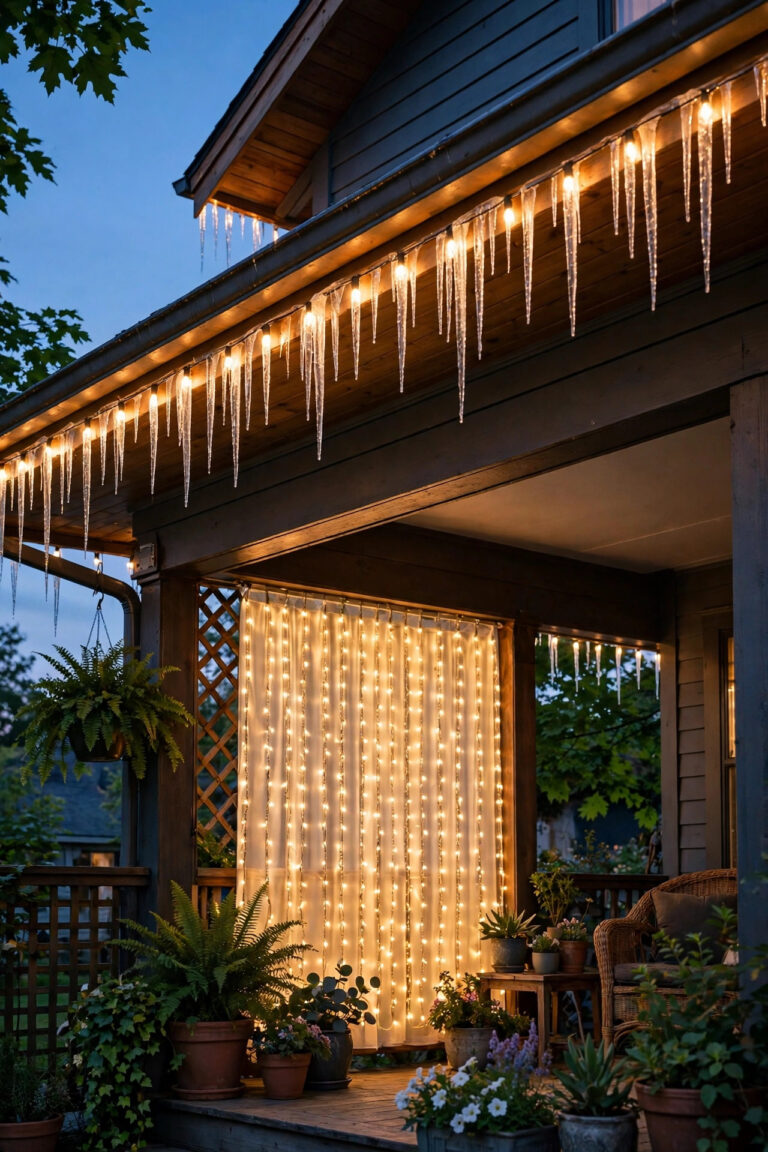
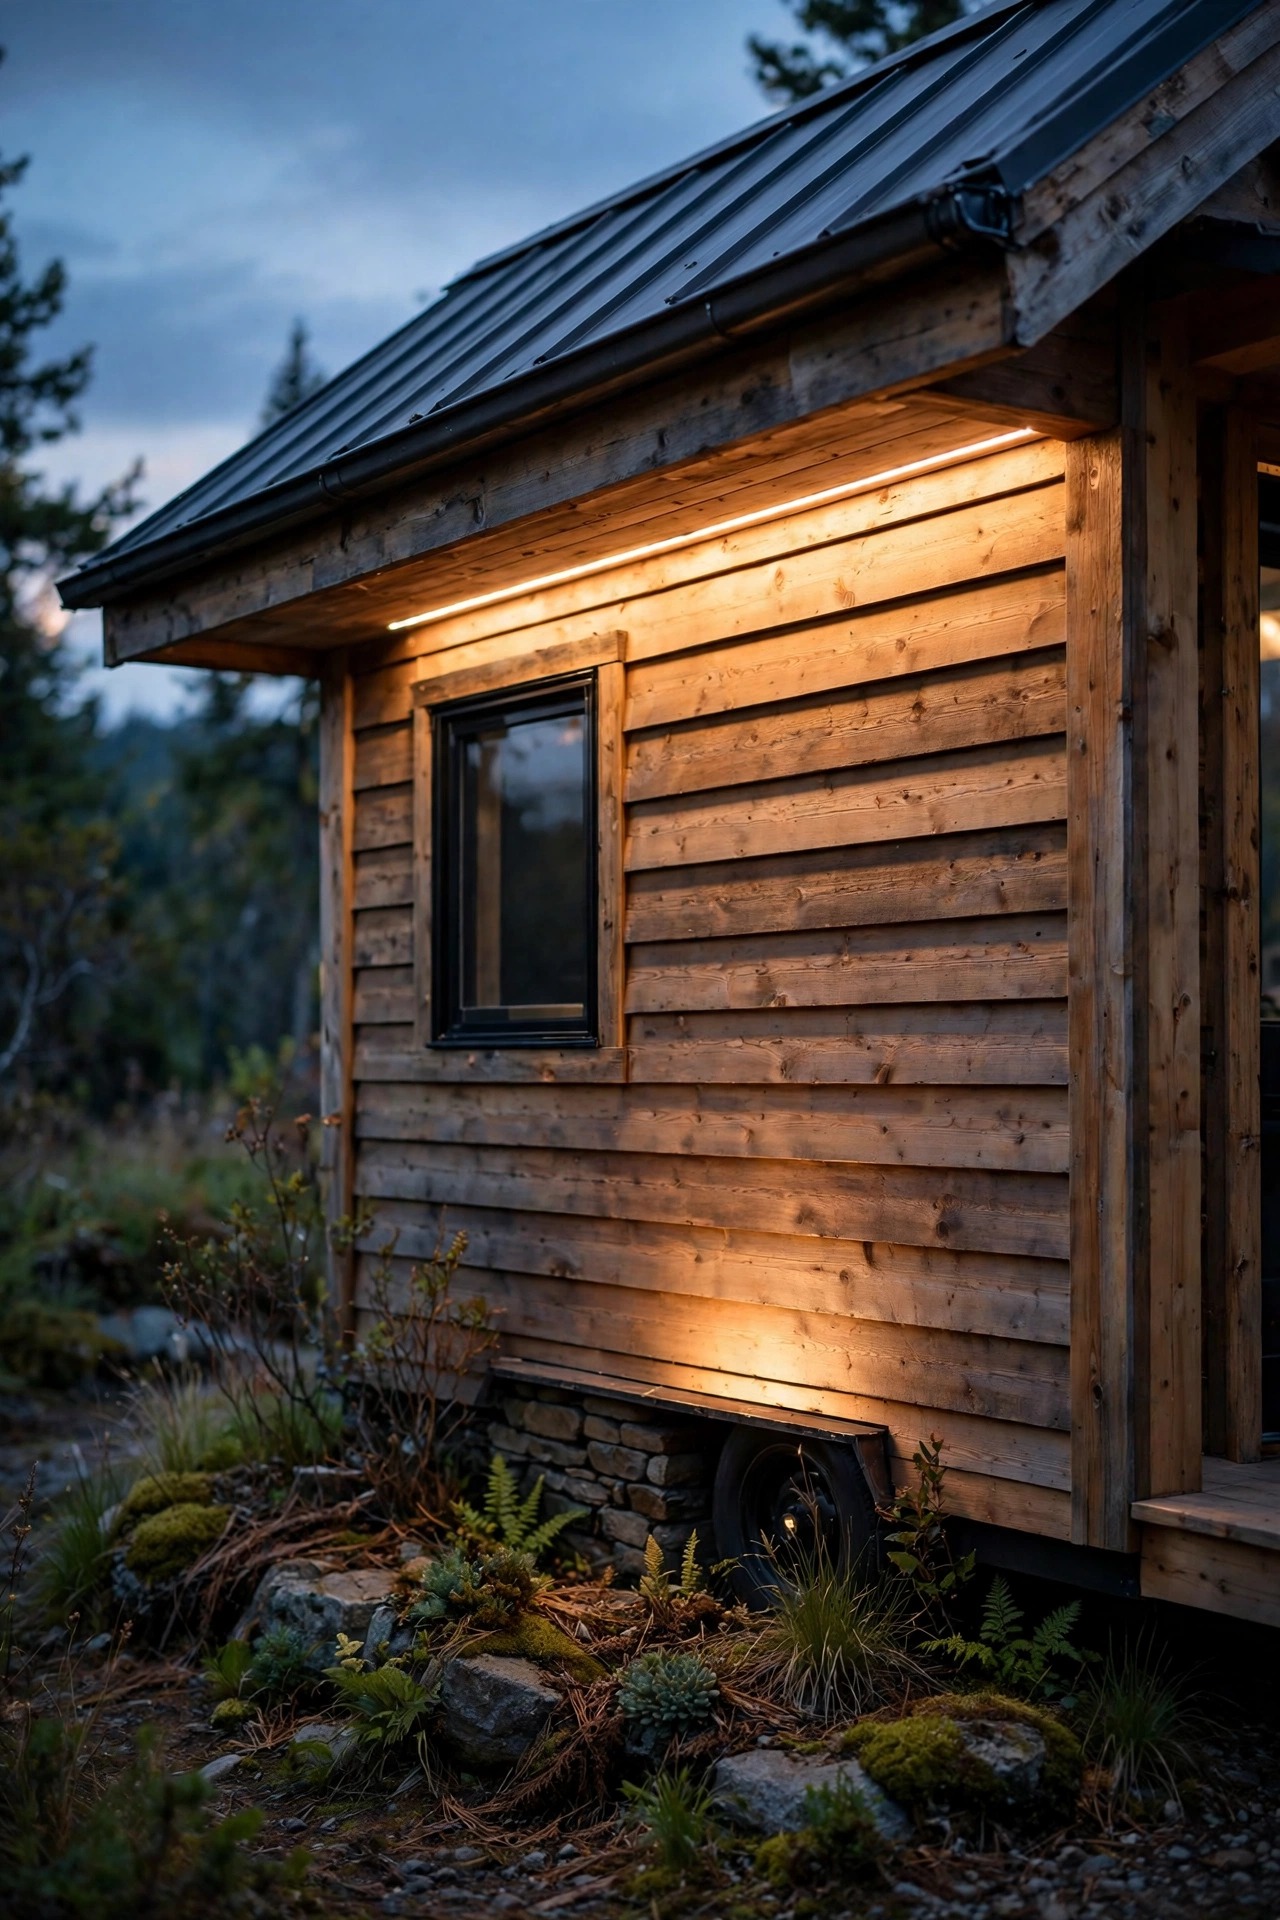
The underside of your eave or awning is prime real estate that most tiny houses waste. A weatherproof LED strip tucked up there washes the whole wall in soft, indirect light, making a 20-foot wall feel like a designed backdrop instead of a flat box. Choose an IP65-rated strip in warm white, 2700K to 3000K, and mount it in a shallow aluminum channel if you can — the channel diffuses the dots into one smooth ribbon of light and protects the strip from weather. A 16-foot roll usually covers a tiny house eave with length to spare, and the whole run draws only about 10 to 15 watts, which your solar battery bank will barely notice. I run mine on a simple plug-in timer so the wash comes on at dusk and off at bedtime without me thinking about it. Keep the strip at least a few inches back from the eave edge so you see the glow, never the diodes themselves. It is the single most architectural look on this list for the least money.
Suggested budget range: $15 – $35.
6. Cluster Rechargeable Lanterns on the Porch
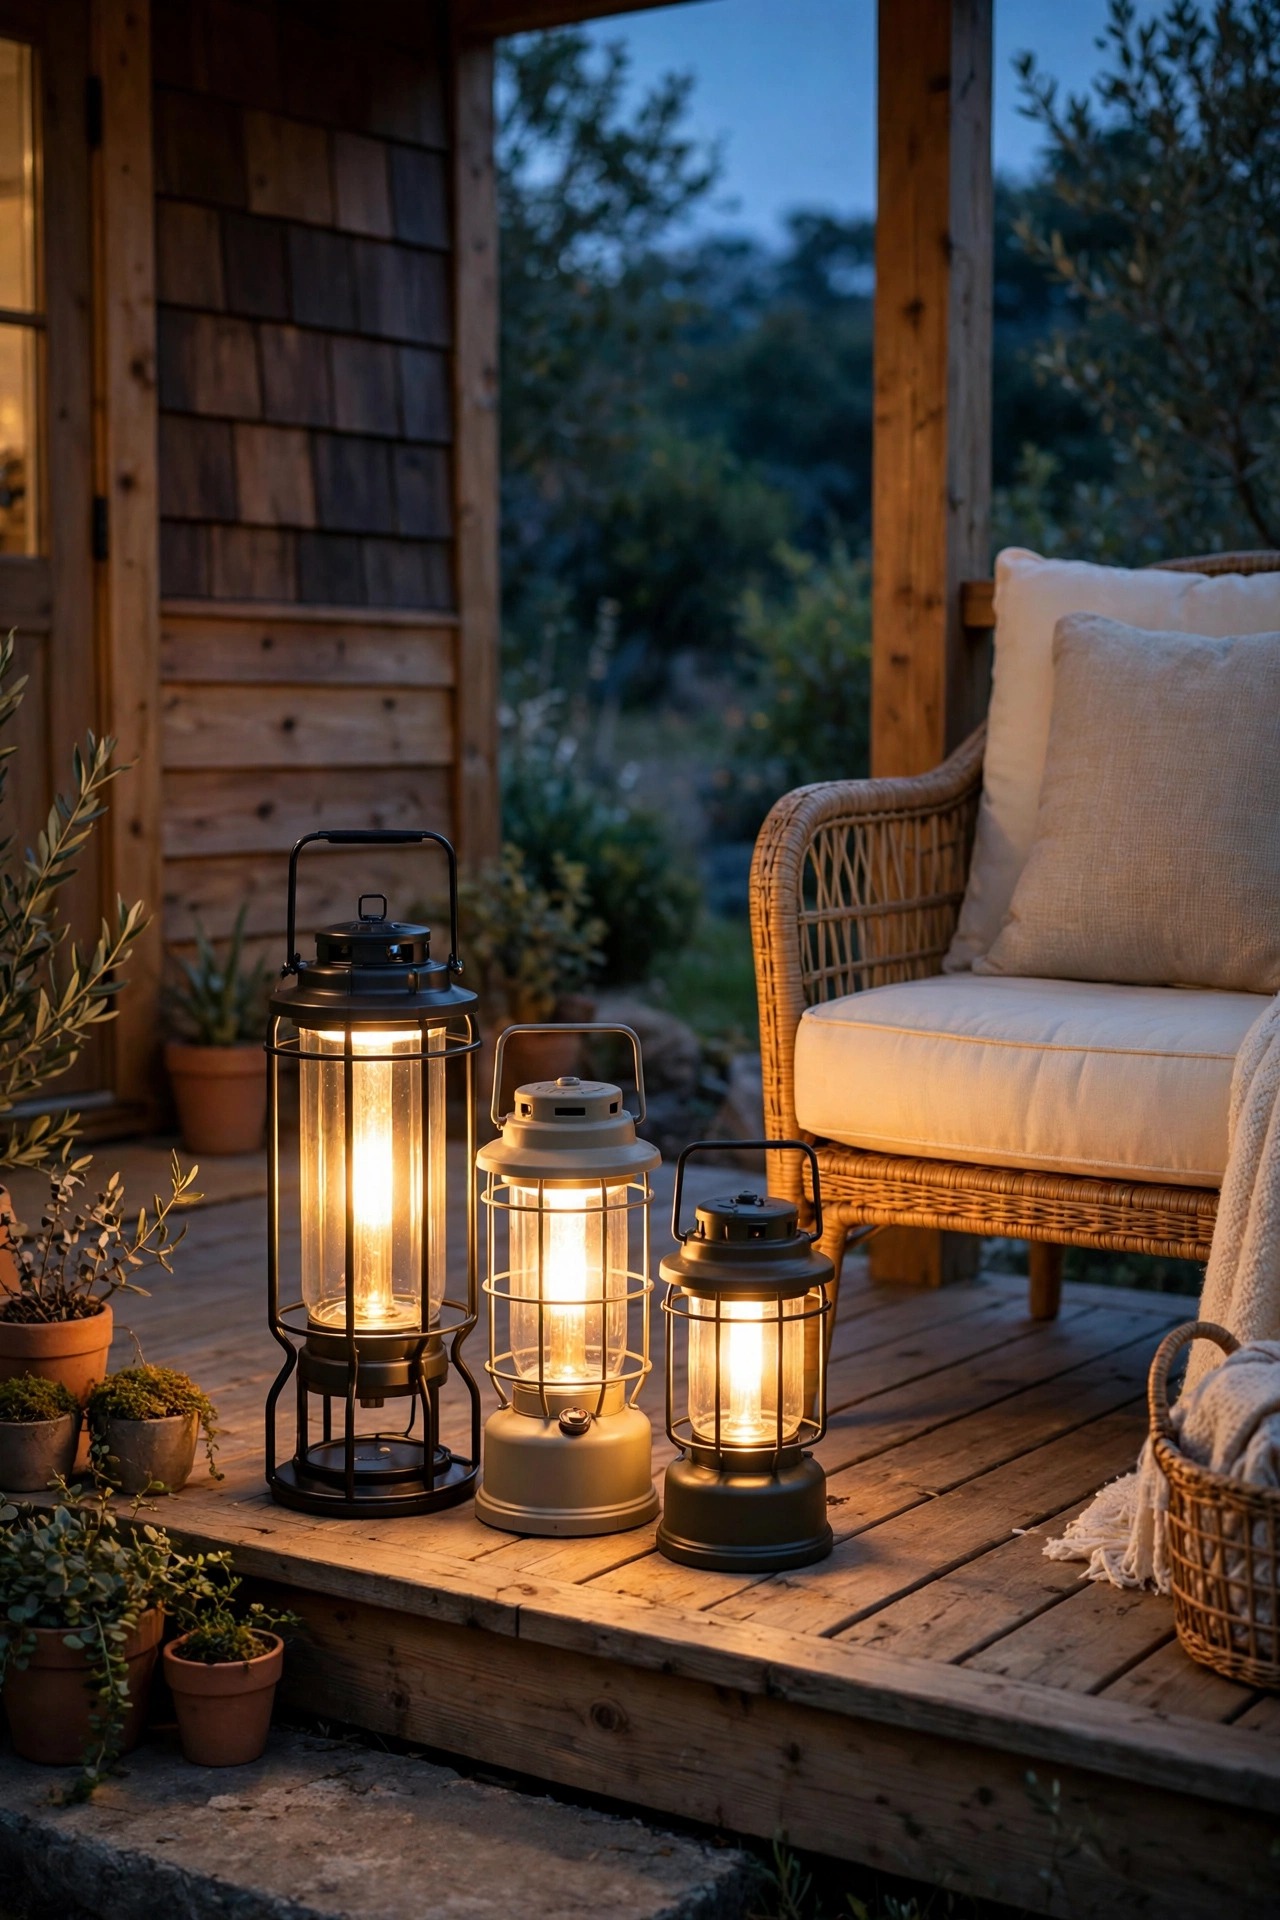
Three rechargeable lanterns in mixed heights — say 8, 10, and 12 inches — grouped on a porch corner or outdoor shelf give you candlelight charm with a dimmer switch. Rechargeable is the key word for tiny living: no cords to trip over, no battery stash eating a drawer, and you can carry one inside during a blackout or out to the fire pit when friends visit. Look for USB-C charging, at least three brightness levels, and a warm 2700K setting; the good ones run 20 to 50 hours on the lowest glow, which is usually all you need. I style mine on a small tray so the cluster reads as one intentional vignette instead of clutter, and the tray makes them easy to grab and move. Because they are flameless and cool to the touch, they are safe near cushions, curtains, and the wooden porch rail — something I never allow with real candles in a space this compact. On weeknights one lantern does the job; on guest nights, bring out all three.
Suggested budget range: $30 – $75.
7. Add a Motion-Sensor Light on the Utility Side
Every tiny house has a working side: the propane tanks, the compost bin, the storage box, the hose bib you wrestle with after dark. That side does not need pretty light — it needs honest light that appears exactly when you do. A solar motion-sensor fixture with a wide 120-degree detection angle is perfect here, because it stays dark and saves its charge until the moment you round the corner with a trash bag. Mount it 7 to 8 feet up so the sensor sees you coming from either direction, and aim the head down at a 45-degree angle to cover the work zone without spraying light into a neighbor's window. Choose a model with an adjustable timer so it shuts off 30 seconds after you leave. In my experience this is the fixture partners argue about least and thank you for most, because nobody enjoys holding a phone flashlight in their teeth while connecting a propane line in February. Pure function, zero footprint, total win.
Suggested budget range: $22 – $50.

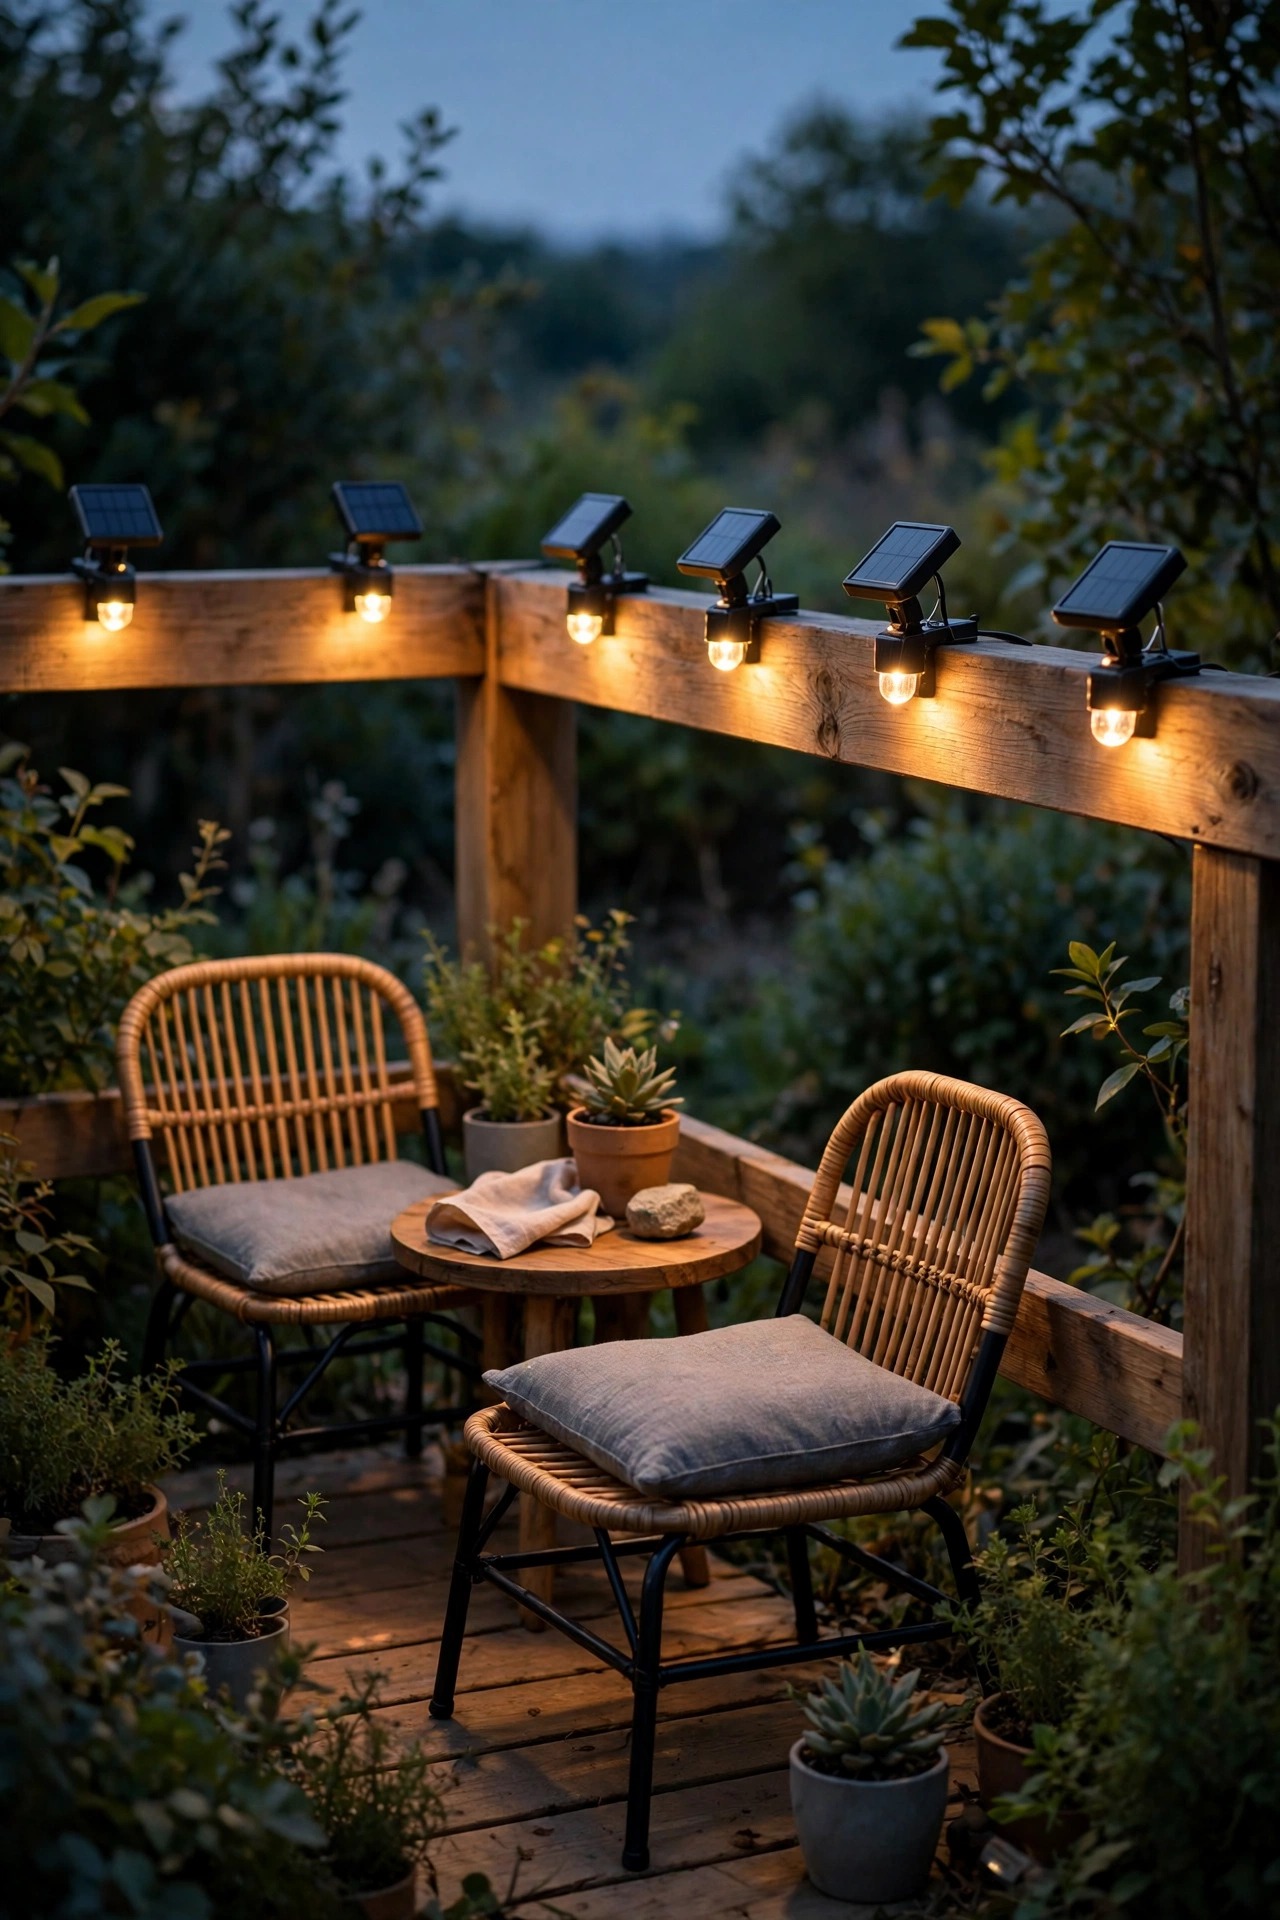
8. Clip Lights Along the Deck Railing
When your deck is 6 feet wide, the railing is not a border — it is furniture, backdrop, and shelf all in one, so let it glow. Clip-on railing lights, the kind that grip a standard 2×4 rail or baluster, trace the whole edge of a tiny deck with a dotted line of warm light that makes the space feel finished and keeps guests from misjudging the edge after dark. Solar versions charge on top and click on at dusk with no wiring at all; space them every 3 to 4 feet, or snug them at the corners and one at the stair opening if you prefer restraint. The light output is modest — these are markers, not floodlights — but that is exactly right for a space where your chair is never more than a few feet from the rail. I like the flat-top styles that double as a place to rest a drink. Choose black or bronze finishes to disappear against the wood during the day. They also come off in seconds when you need the rail clear for moving furniture.
Suggested budget range: $20 – $48.
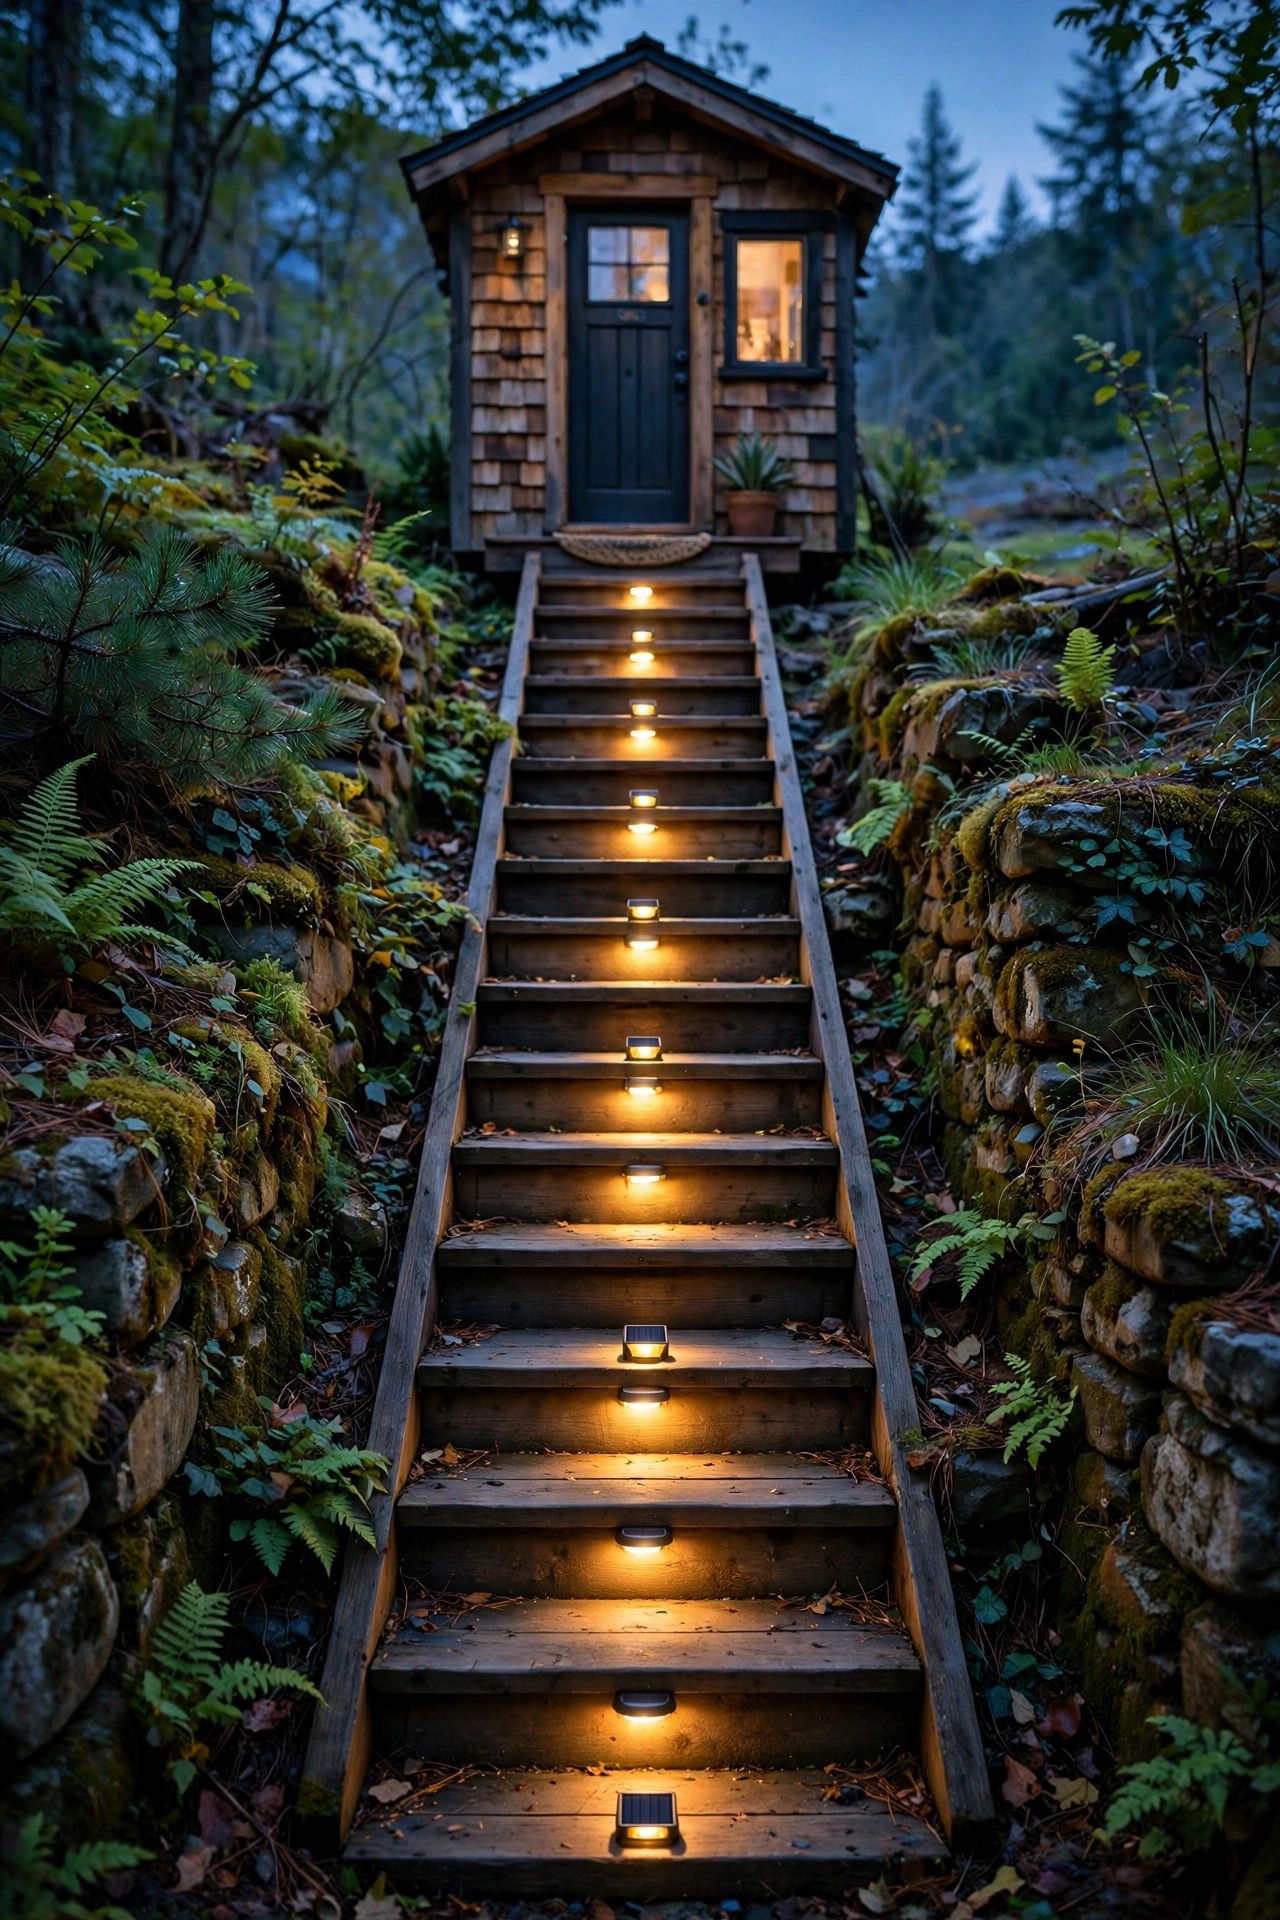
9. Stick Solar Step Lights on the Entry Stairs
Tiny house stairs are steep, narrow, and often the tallest climb in the whole home — which makes step lighting a safety essential, not a decoration. Adhesive or screw-on solar step lights, one per tread on the riser or tucked under the tread nose, turn a risky midnight descent into an easy one. Place a light on every step if your staircase has four or fewer treads, or every other step on longer runs, keeping them on the same side for a clean line. The little solar panels need daylight, so south or west facing stairs charge best; for shaded stairs, pick models with the panel on a short cord you can route to a sunny spot. Look for IP65 weather ratings and a warm output — cool white step lights feel clinical against wood. I always recommend the screw mount over adhesive alone, because heat, cold, and one kicked toe will test that glue by the second season. This is the upgrade your ankles will vote for, especially with a loft ladder waiting inside.
Suggested budget range: $16 – $36.
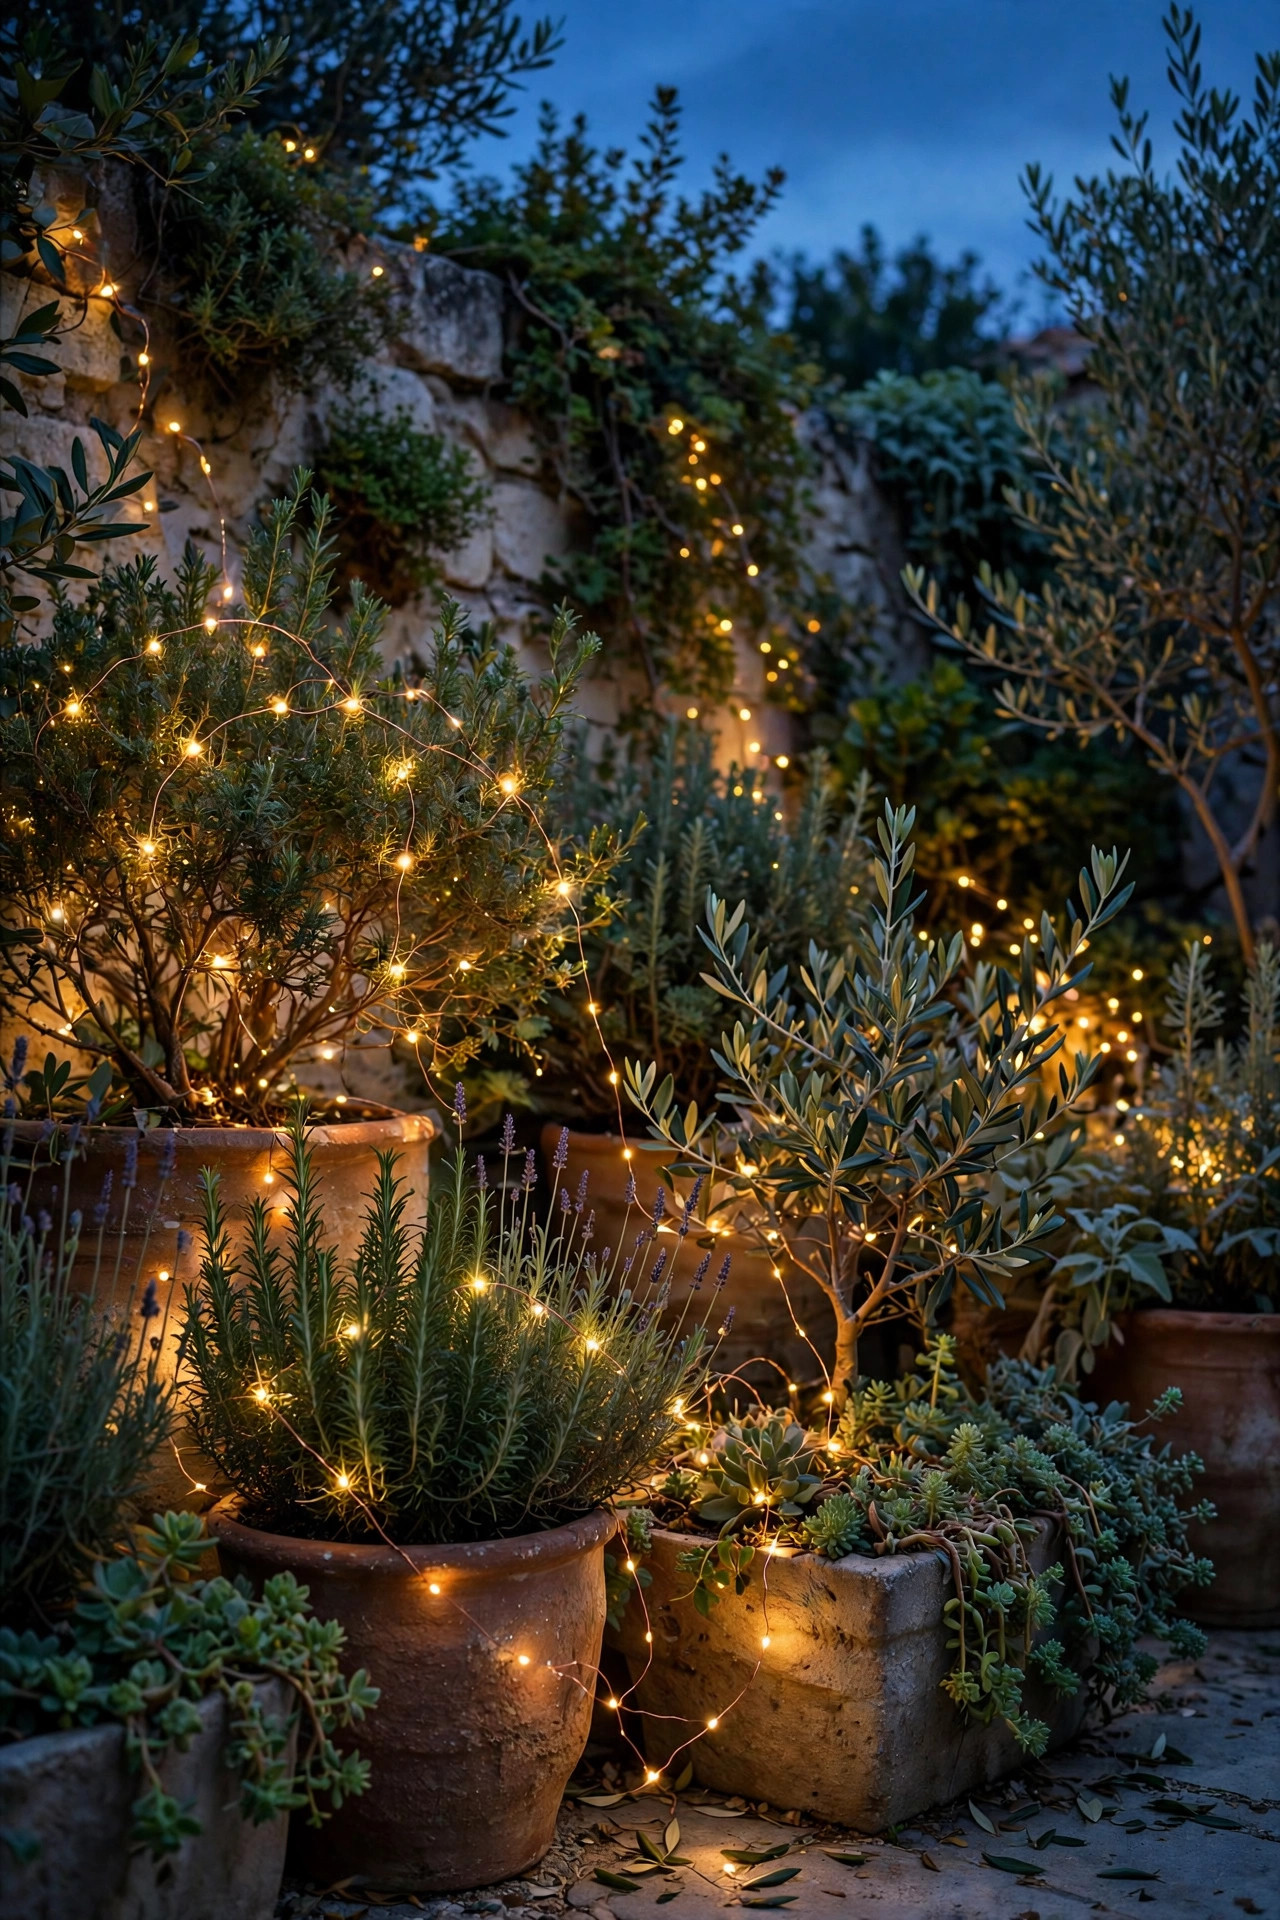
10. Twine Copper-Wire Fairy Lights Through One Planter
Every tiny lot deserves one moment of pure magic, and mine is a strand of copper-wire fairy lights woven through a single large planter by the door. The wire nearly disappears among the foliage, so at dusk the plant itself seems to sparkle — a small tree, a bushy herb pot, or a dwarf conifer all work beautifully. Battery-powered strands with a built-in 6-hours-on, 18-hours-off timer are my pick here, because they ask nothing of your outlets or your solar array and the timer means they simply handle themselves. One 33-foot strand is plenty for a single statement planter; resist the urge to fairy-light everything, because the charm is in the restraint. Tuck the battery pack in a small waterproof box or under the pot rim to keep it dry. Honestly, guests photograph this little glowing planter more than any other corner of my yard. It costs less than a pizza and delivers the exact feeling people mean when they say a tiny home feels like a storybook.
Suggested budget range: $10 – $25.
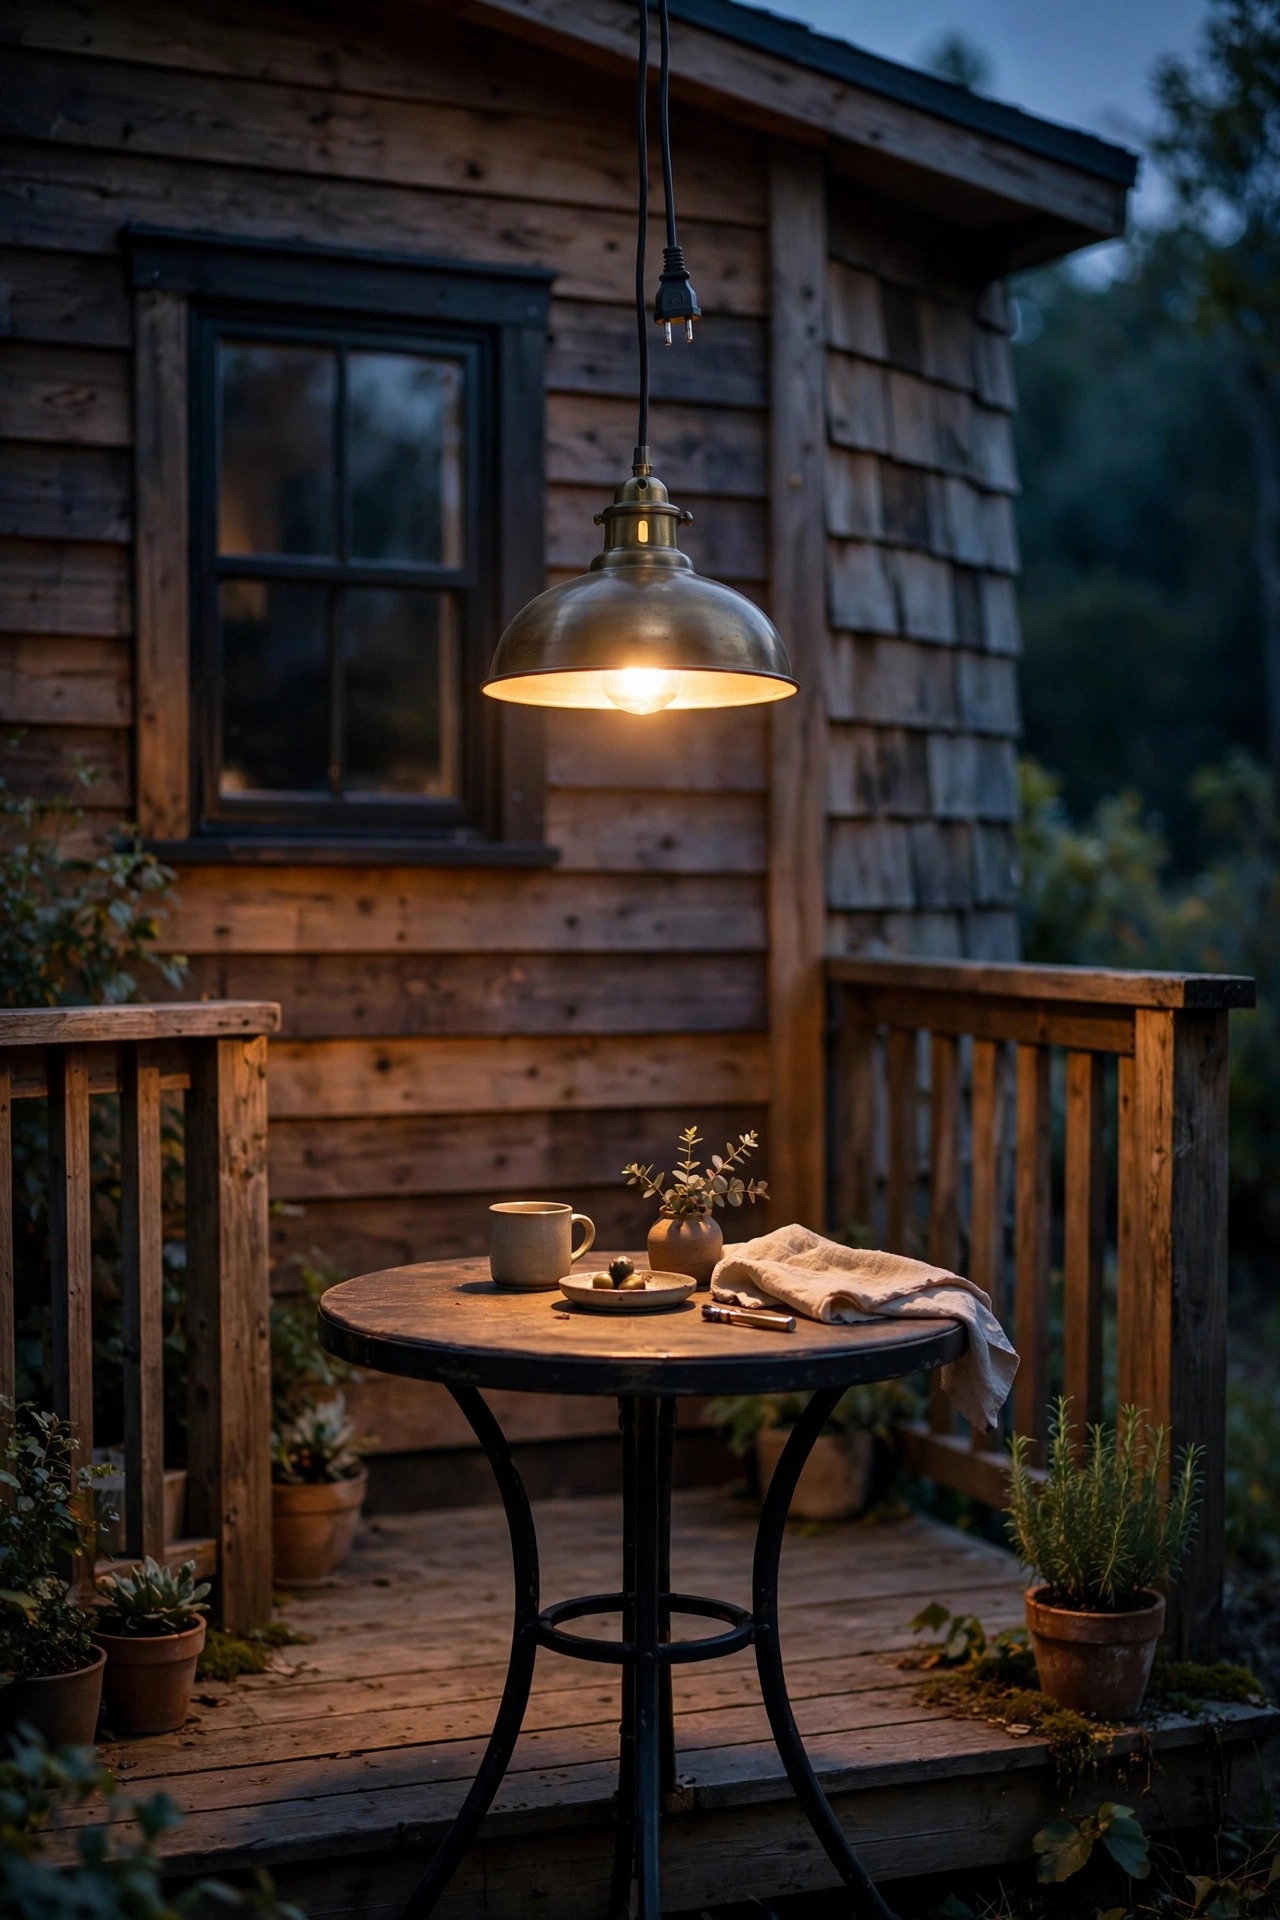
11. Hang a Single Plug-In Pendant Over the Eating Nook
If your tiny house has a fold-down table, a window seat nook, or a two-chair bistro spot on the deck, one plug-in pendant above it creates a room where there was only a corner. A weatherproof rattan, metal, or enamel shade about 12 to 14 inches across, hung 30 to 36 inches above the tabletop, pools warm light exactly where you eat, read, and play cards — and nowhere it is not needed. Plug-in matters for tiny homes: no junction box, no opening walls, just a hook in the eave or pergola beam and a cord swagged neatly to the nearest outdoor outlet. Use a warm LED filament bulb around 800 lumens on an inline dimmer so dinner can go from bright to candlelight-soft. I keep the cord hugged to the beam with small cable clips so it reads as intentional architecture, not an afterthought. This is the fixture that turns weeknight takeout on the deck into a small occasion, and it stores in a closet if you ever need the space back.
Suggested budget range: $35 – $80.
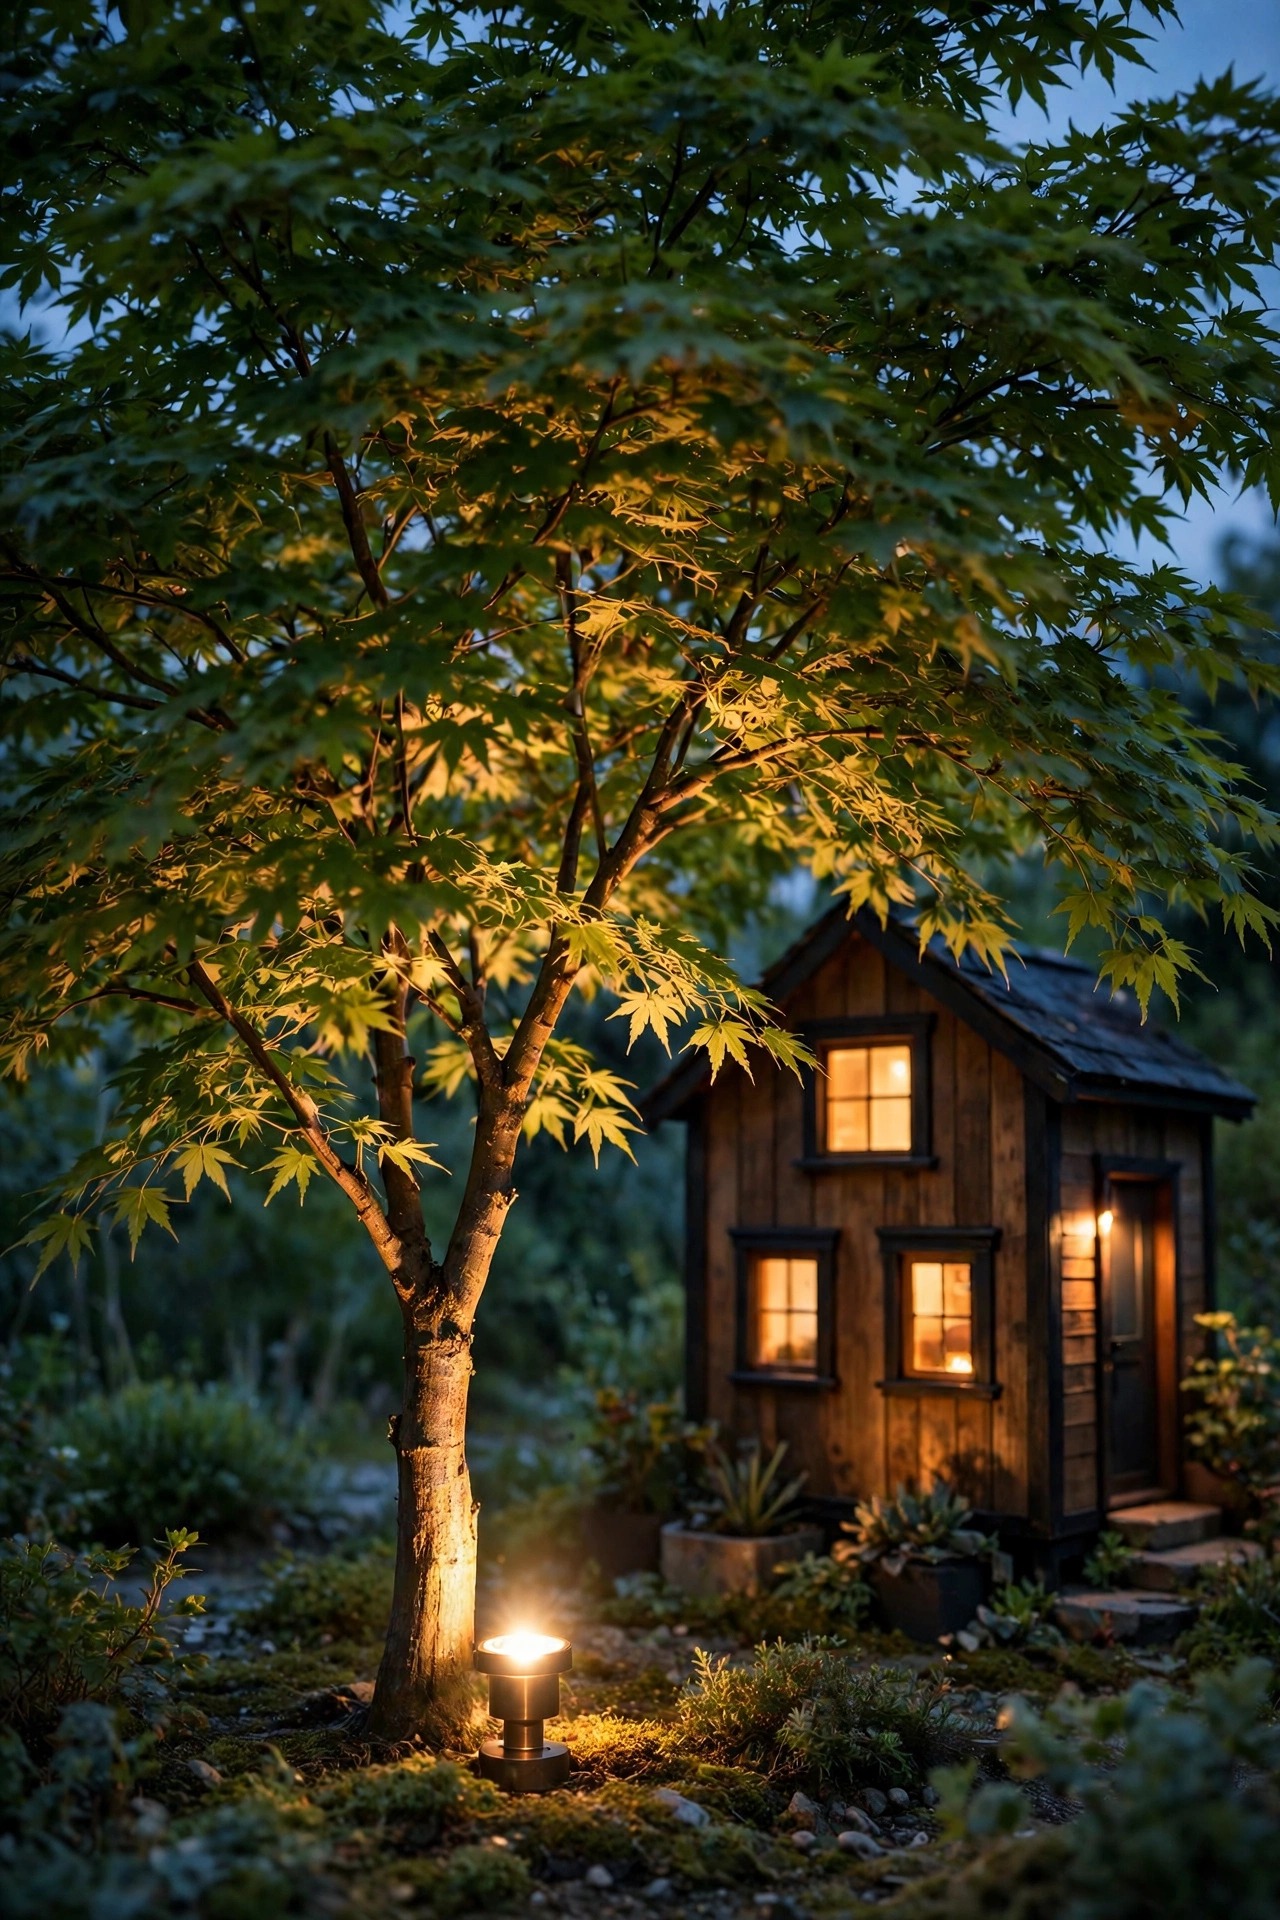
12. Uplight One Small Tree for Height
Tiny yards are short on square footage but they can borrow height, and one low-voltage or solar uplight aimed into a small tree or tall shrub gives your lot a ceiling of leaves. Place the fixture 12 to 18 inches from the trunk, angled up at about 30 degrees, so the light grazes the bark and blooms into the canopy instead of shooting straight through it. A narrow 30 to 45 degree beam works best on slim ornamental trees, Japanese maples, and even a tall potted olive by the deck. This single accent does something no string light can: it gives the eye a tall focal point, which tricks the brain into reading the whole yard as bigger. Keep it to one tree — two competing uplights on a small lot start to feel like a theater stage. Because it is independent accent lighting, it is also the perfect first piece if you are building your setup slowly, budget by budget. If you like this layered approach, you will find more in my collection of small yard lighting tricks that punch above their square footage.
Suggested budget range: $15 – $40.
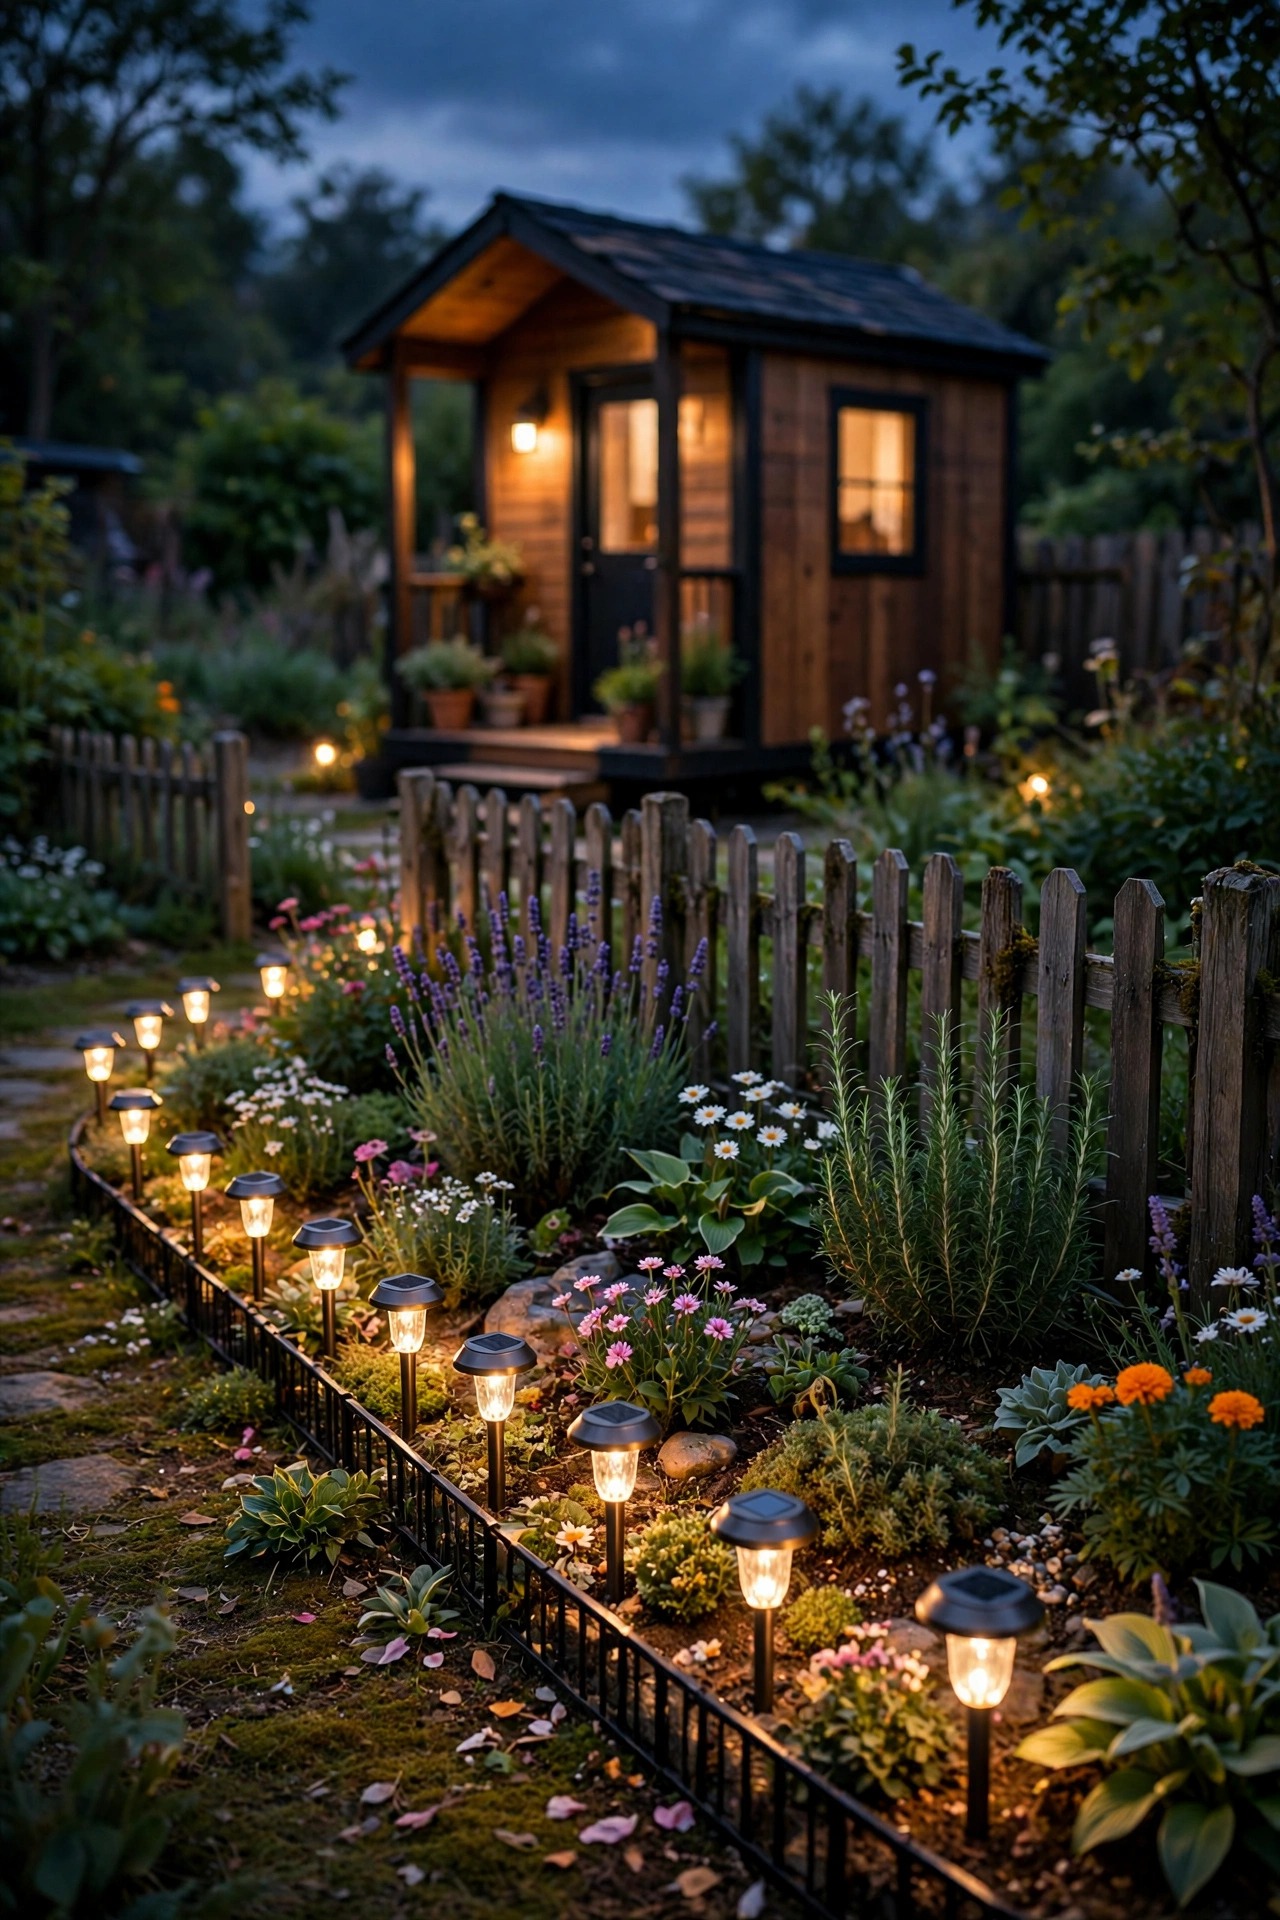
13. Edge the Tiny Yard With Solar Border Lights
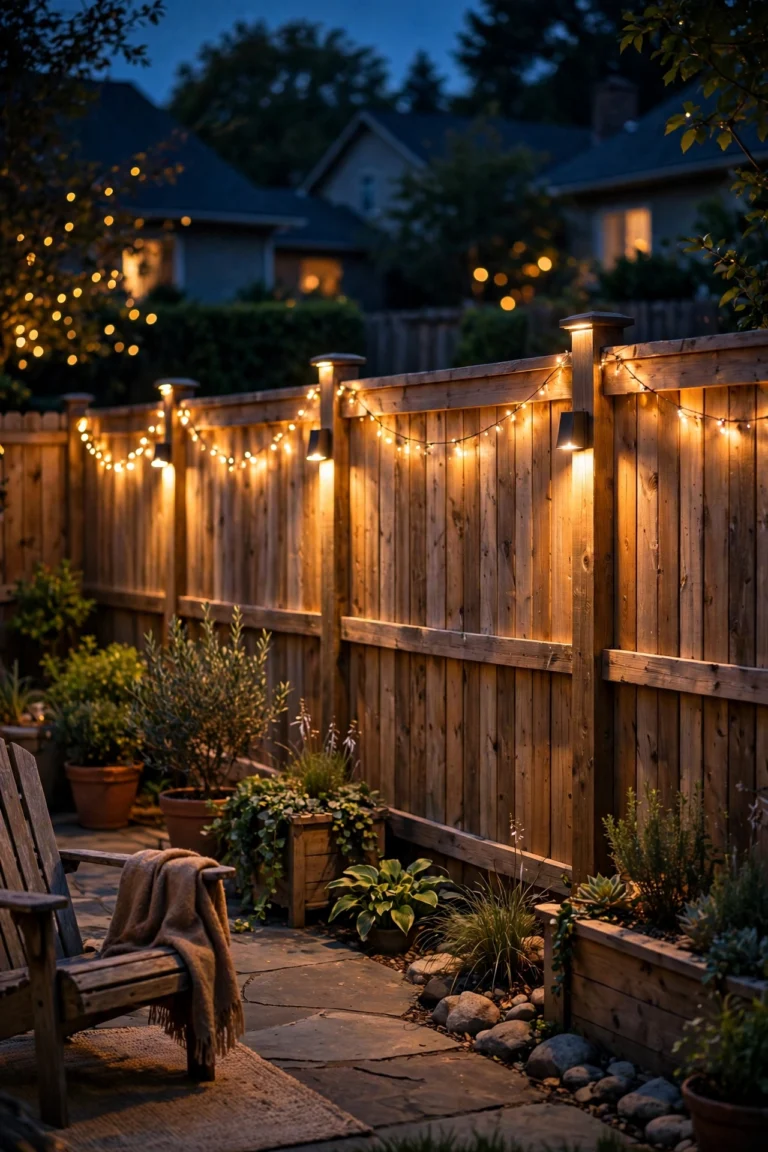
A tiny yard without edges feels like a parking spot; a tiny yard with a soft glowing border feels like a garden room. Solar border lights — the low dome, mushroom, or short bollard styles — pushed along a flower bed edge, a gravel border, or the base of a short fence give you that room outline for almost no money and no wiring at all. Space them 2 to 3 feet apart on a small lot, closer than you would in a big yard, because the run is short and an even rhythm matters more than raw brightness. I prefer fixtures under 8 inches tall so they read as a glow at ground level rather than a row of lollipops. They also quietly solve a real tiny-living problem: showing guests, delivery drivers, and your own sleepy self exactly where the planting beds begin in the dark. In winter, pull the two or three closest to your shovel path and store them in a tote — one more perk of a setup with zero wires to worry about.
Suggested budget range: $24 – $55.
14. Put Everything on Timers and Dusk Sensors
The smartest fixture in a tiny house setup is the one you never touch. Between dusk-to-dawn photocells, built-in solar sensors, and one or two plug-in timers, your entire outdoor scene can wake up at sunset and tuck itself in by 11 p.m. without a single decision from you. This matters doubly for off-grid and battery-based tiny homes, where a forgotten string of lights is a real drain by morning. I set my timers in two waves: the welcoming layer (path, porch, string lights) runs from dusk to about 11 p.m., while the single door sconce keeps its gentle all-night glow for security and late arrivals. Astronomical timers that self-adjust with the seasons are worth the few extra dollars — set them once and they follow the sunset from June to December. In my experience, automation is also what makes a small setup feel luxurious rather than makeshift: the house simply glows when it should, like it knows what time it is. Start with one timer on your biggest layer and expand from there.
Suggested budget range: $12 – $30.
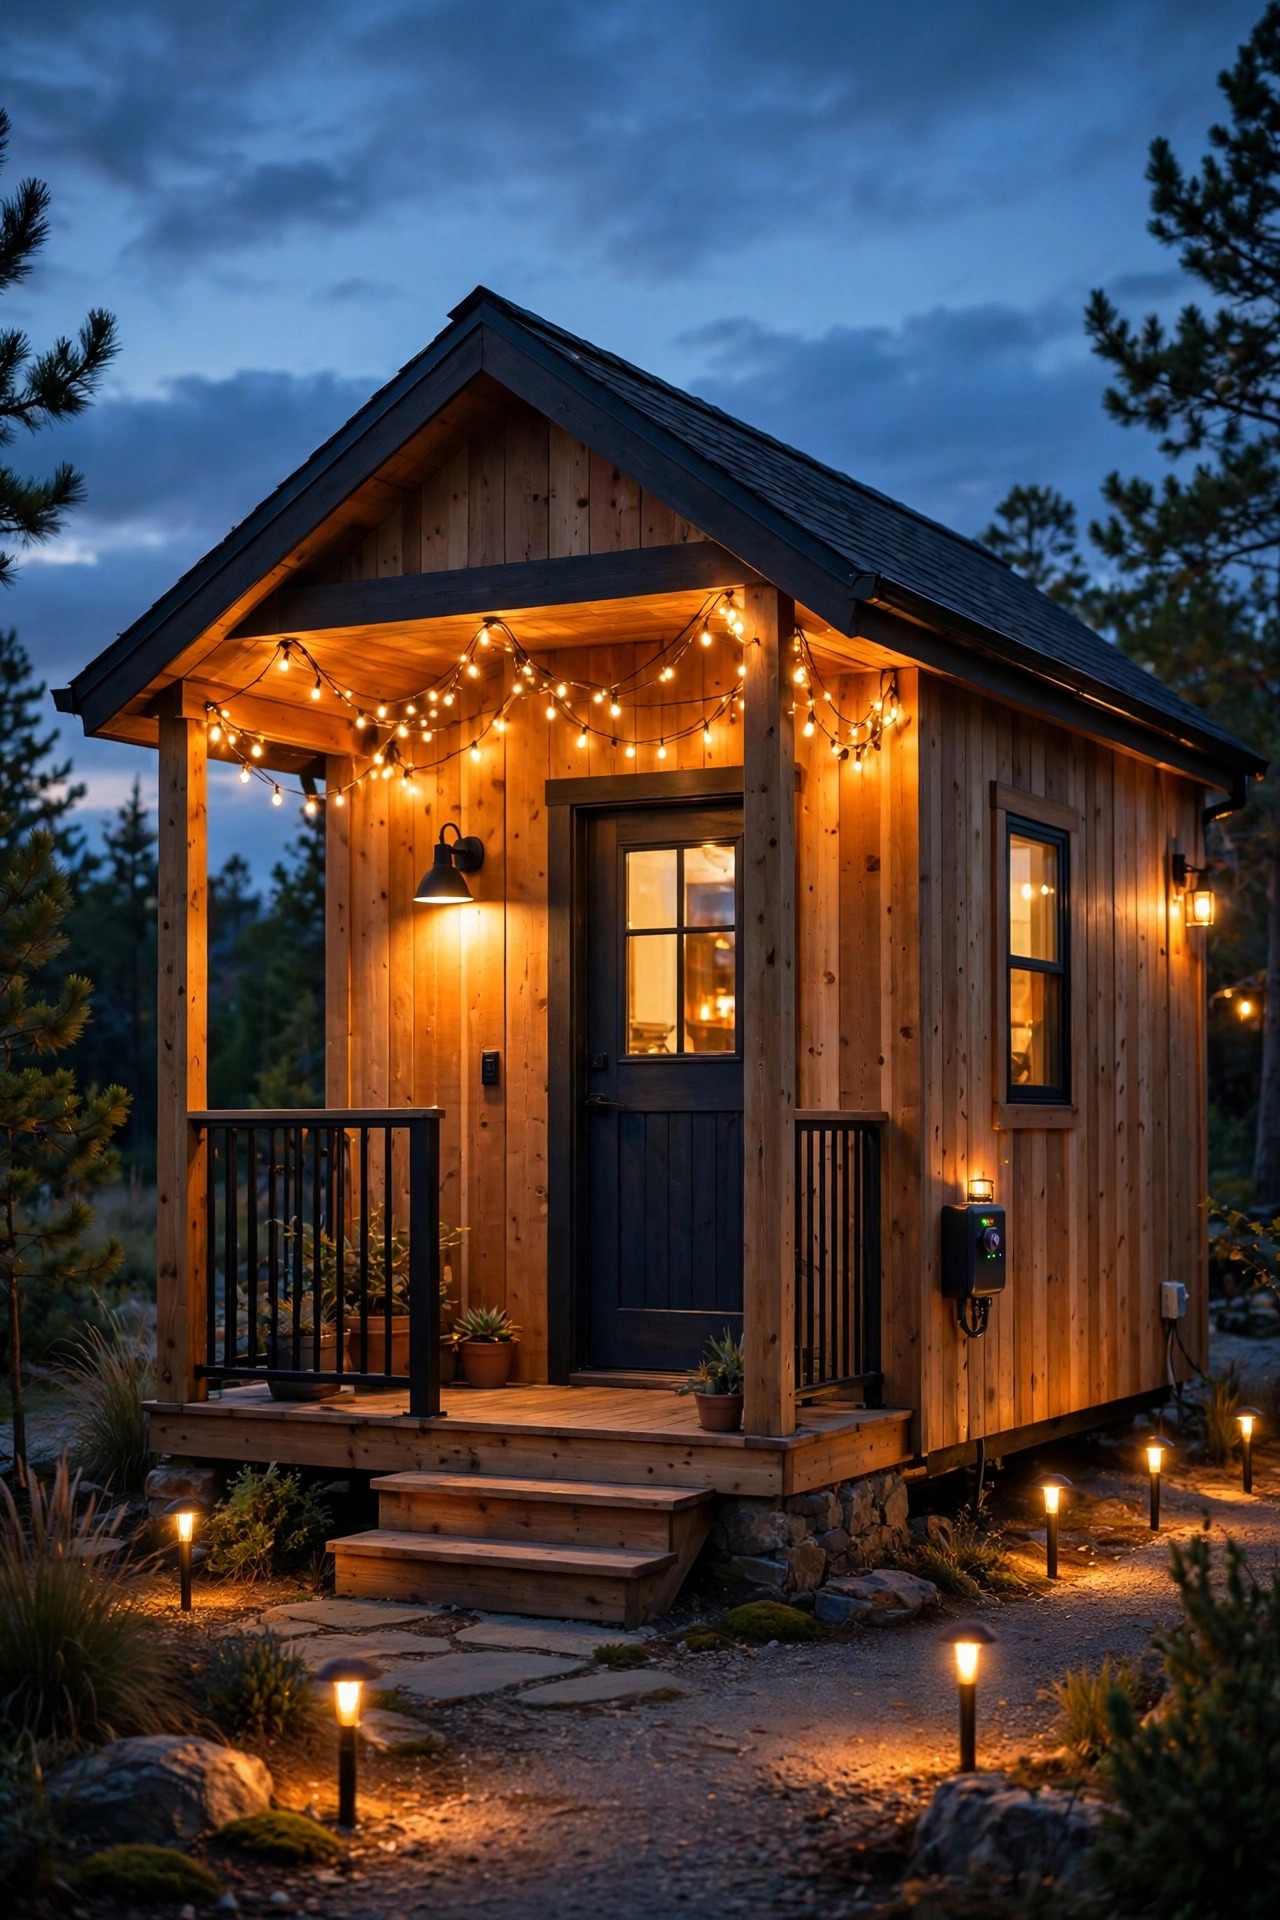
15. Finish With a Dusk Walk-Through of Your Tiny House Outdoor Lighting Ideas
The last step is my favorite ritual: wait for full dusk, step to the street or the far edge of your lot, and look at your home the way a guest sees it. Walk the whole tiny circuit slowly with these tiny house outdoor lighting ideas in mind and ask three questions. Can I see every step, edge, and door handle without squinting? Is there one pretty thing my eye lands on — the tree, the planter, the string lights? And is anything glaring, flickering, or pointing where it should not, like into a neighbor's window or straight up into the sky? Adjust angles with your hands while the fixtures are live; five minutes of nudging bollards and tilting sconces does more than another purchase ever will. Take a phone photo, too — cameras exaggerate hot spots your eyes forgive, and the photo becomes your map for next season. Then pour something warm, sit in your favorite chair, and enjoy the fact that your smallest-in-the-neighborhood home is glowing like the coziest one on the street.
Suggested budget range: $0 – $20.
Frequently Asked Questions
What color temperature is best for a tiny house exterior?
Warm white, 2700K to 3000K, is the sweet spot for tiny homes. Warmer light makes wood siding, small decks, and compact gardens feel cozy and intentional, while cool white above 4000K tends to look harsh and commercial on a small facade. Whatever you choose, keep every fixture in the same range — on a tiny lot your eye takes in all the lights at once, so even one cool bulb among warm ones stands out immediately.
Can solar lights really work on a shaded tiny house lot?
Yes, with a little strategy. Choose fixtures with detachable solar panels and longer lead cords so the panel can sit on the sunny roof or fence top while the light stays in the shade. Prioritize solar for accent and path lighting, and put your hardest-working light — the entry sconce — on a model with a bigger panel and battery. In deep shade, expect shorter run times in winter, and lean on rechargeable lanterns as flexible backup.
How much power do outdoor lights draw in an off-grid tiny house?
Very little, if you choose LED and solar. A full tiny setup like the one in this post typically draws 15 to 40 watts total when everything is on — less than one old incandescent bulb. Solar path stakes, string lights, and sconces draw nothing from your battery bank at all. Timers that shut the scene down by 11 p.m. keep even a modest 12-volt system comfortable through the night.
How do I light a tiny house on wheels without permanent wiring?
Lean on the no-wire trio: solar fixtures, adhesive or clamp mounts, and rechargeable lanterns. Solar sconces and step lights attach with two screws or heavy-duty outdoor mounting tape, string lights hang from hooks, and nothing needs an electrician or a hole in your envelope. Everything in this setup can be removed or secured in minutes before a travel day, which is exactly what a home on wheels needs.
Conclusion
Great lighting for a tiny house is never about more — it is about each fixture earning its place. Layer a soft ambient glow, honest task light where you live and work, and one small moment of sparkle, and your tiny house outdoor lighting ideas will make 200 square feet live like twice that after dark. Start with the layer you feel missing most tonight, add pieces slowly, and let that dusk walk-through be your guide. For more small-space inspiration, browse the rest of the lighting ideas here on the site — your coziest evening yet is probably one fixture away.