It's the question that quietly decides whether a yard looks like a magazine spread or an airport runway. Get your landscape light spacing rules right, and a front walk glows as one soft, unbroken ribbon. Get them wrong, and you land on one of the two looks every homeowner dreads: bright polka dots marching down the path, or one lonely pool of light lost in a sea of dark. Honestly? In my experience, spacing is the number one reason DIY lighting looks amateur — and the encouraging part is that fixing it costs nothing. You don't need fancier fixtures. You need the fixtures you already own standing at honest distances from each other. Every fixture type has a reliable spacing range, and they all grow out of one simple idea I'll teach you first: pools of light should just barely touch. By the end of this guide, you'll know the spacing for path lights, spotlights, wall washes, bollards, step lights and tree downlights, how height and beam angle bend the numbers, and how to test the whole layout with garden flags before you dig a single hole.
The Short Answer
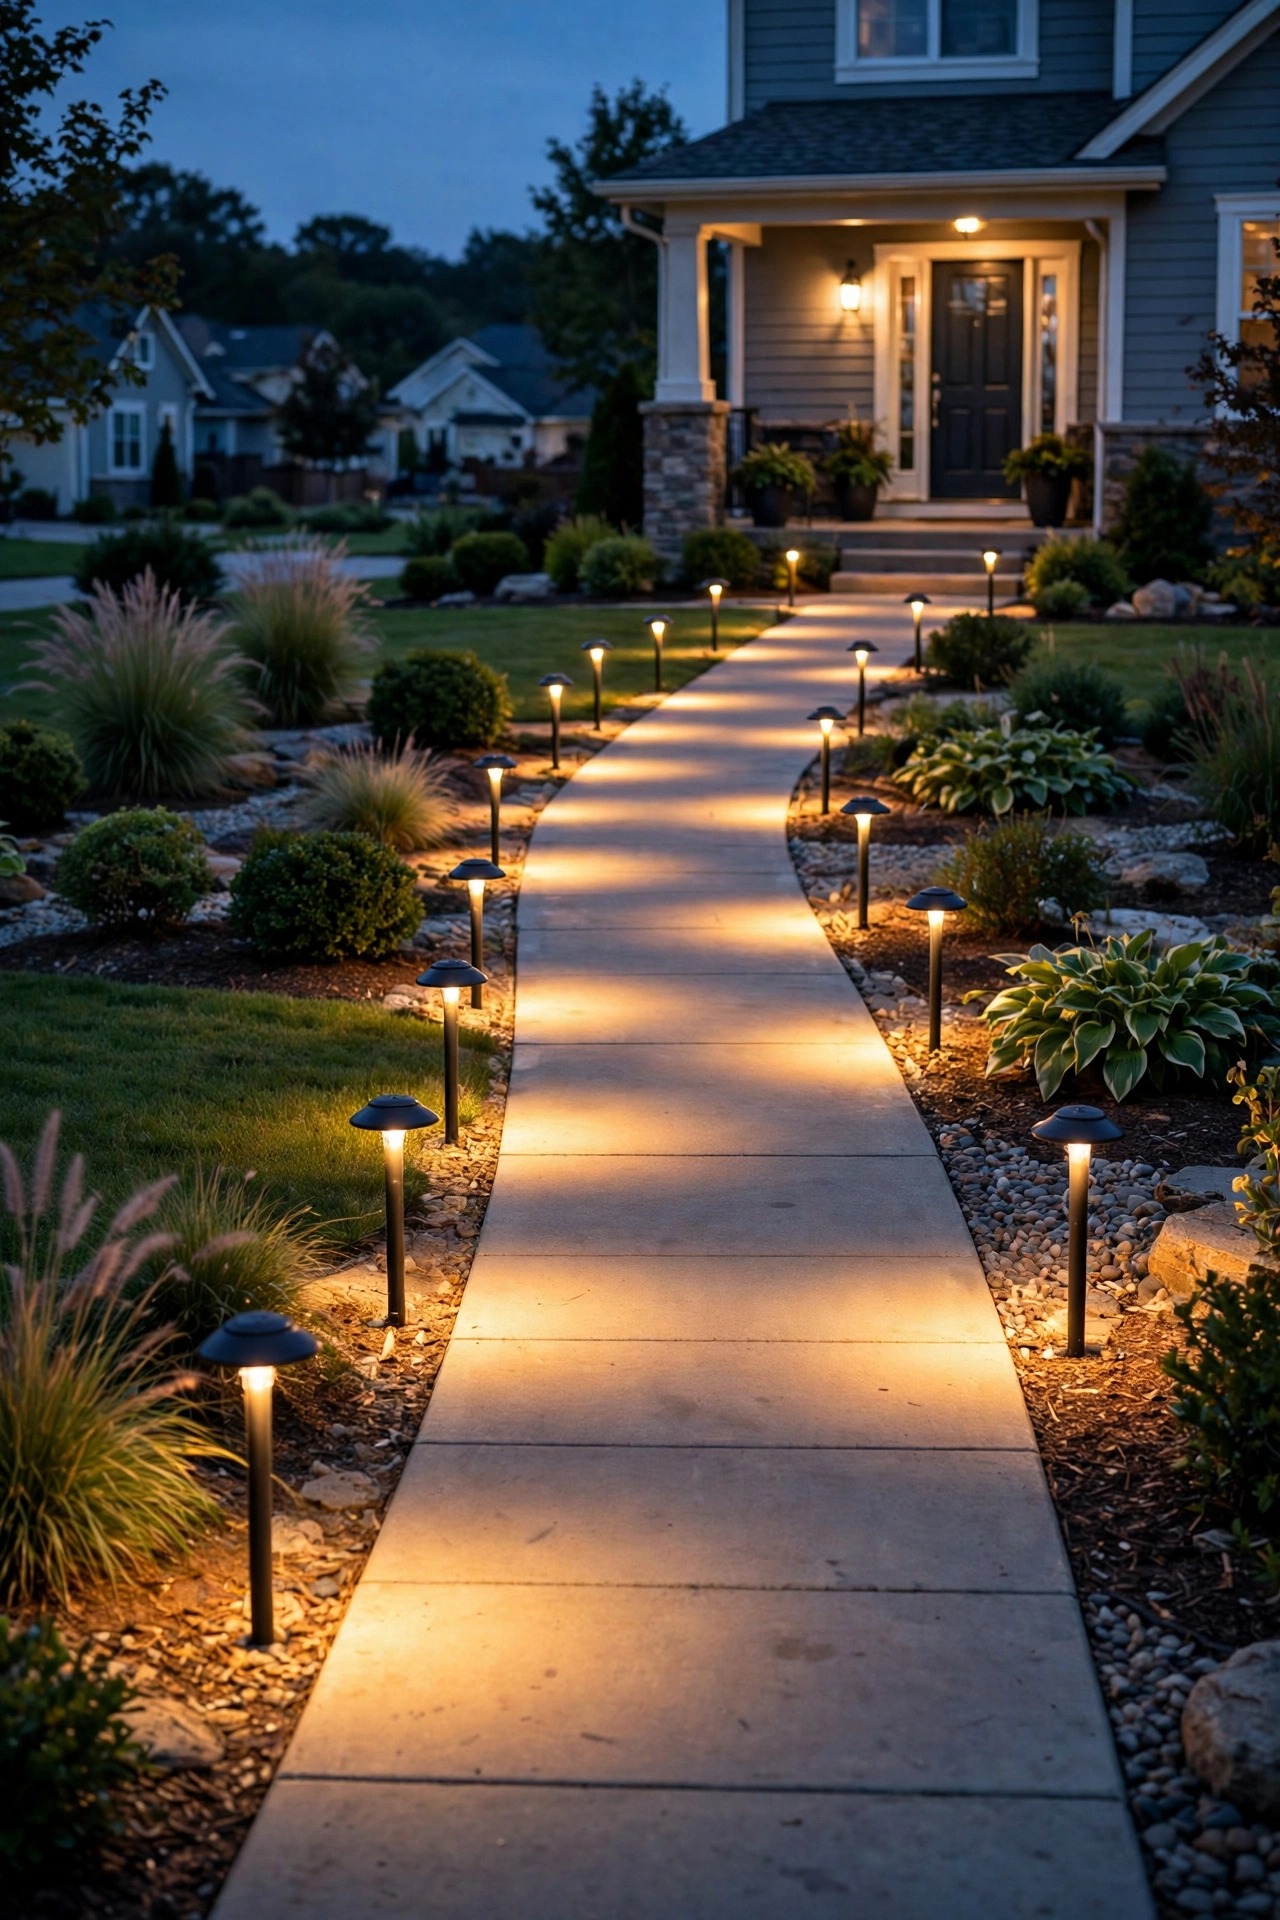
For most wired LED path lights, space fixtures 6 to 8 feet apart, staggered along one side of the walk. Spotlights go one per feature — a tree, a column, a statue — not at measured intervals at all. Wall washes sit 1 to 3 feet from the wall and roughly that same distance apart from each other, bollards land every 8 to 10 feet, and step lights go on every step or every other one. Every number flows from one principle: each fixture throws a pool of light, and neighboring pools should overlap just slightly. When in doubt, go a touch wider than feels right — at dusk, light travels farther than your eyes expect at noon.
Why Spacing Matters More Than the Fixtures You Buy
I learned this the embarrassing way. My first path-lighting project used perfectly good fixtures, and I placed them every 3 feet because more light had to mean more pretty, right? Wrong. Our front walk looked like a landing strip, the neighbors joked about guiding planes in, and the glare was so harsh you couldn't actually see the stepping stones between the lights. I re-spaced the same fixtures to 7 feet, staggered, and the walk transformed overnight — same hardware, same bulbs, completely different house. Here's why spacing carries so much weight: your eye reads rhythm. Evenly overlapping light feels calm and intentional, while alternating glare and darkness reads as unfinished, no matter how expensive the fixtures are. Spacing also decides real money. Every fixture you add costs $25 to $60, plus cable, plus a connector, plus its slice of your transformer's wattage budget. A 40-foot path lit carelessly can eat ten fixtures; lit well, it needs five. And once cable is buried, re-spacing means re-trenching — the one job nobody wants to do twice. Get the distances right on paper and in a one-night test, and everything downstream, from transformer size to your electric bill, falls into place. It is the rare home project where doing less — fewer fixtures, wider gaps — genuinely looks like more.
The One Idea Behind Every Rule: Pools of Light Should Just Touch
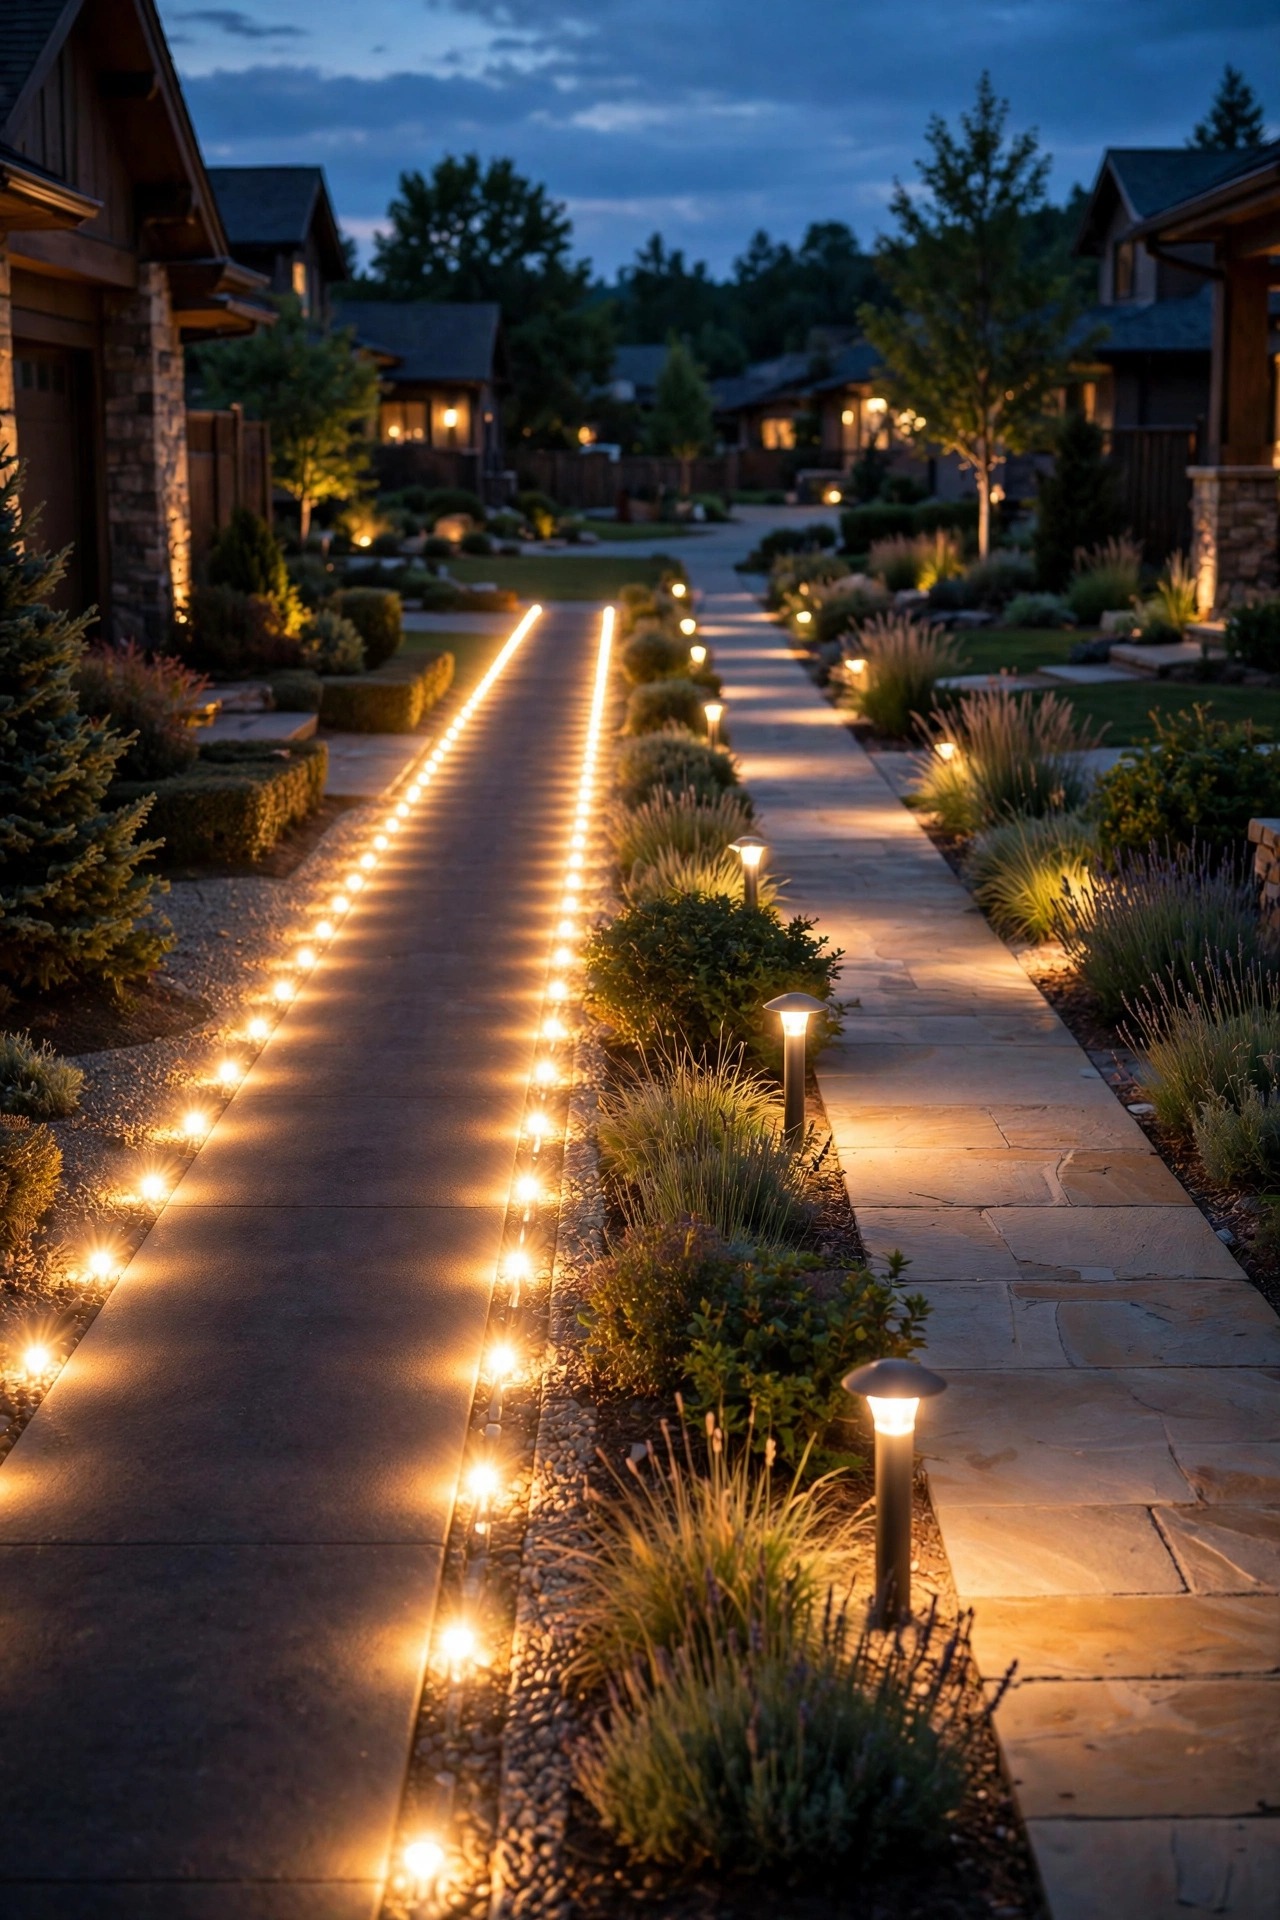
Every fixture throws a cone of light, and where that cone lands — on a path, a lawn, a wall — it paints a pool. The size of that pool depends on two things: how high the fixture sits and how wide its beam spreads. A short path light 14 inches tall might paint a useful pool 5 feet across. A 36-inch bollard with the same bulb paints one closer to 9 feet, simply because the light starts higher and travels farther before it lands. The golden rule of spacing is that neighboring pools should overlap by roughly a quarter. Overlap less and you get scalloped edges with dark bites between lights — the polka-dot look. Overlap much more and the pools stack into a hot, glaring stripe that's hard to look at and washes out every plant texture you were trying to show off. This is why no honest guide can give you one magic number: the right spacing is always "about three-quarters of that fixture's pool diameter." The ranges in the next sections are that math already done for typical residential fixtures, so you can measure with a tape instead of a calculator. When you shop, remember the pool idea — a brighter or taller fixture buys you width, not just brightness.

Landscape Light Spacing Rules for Path Lights
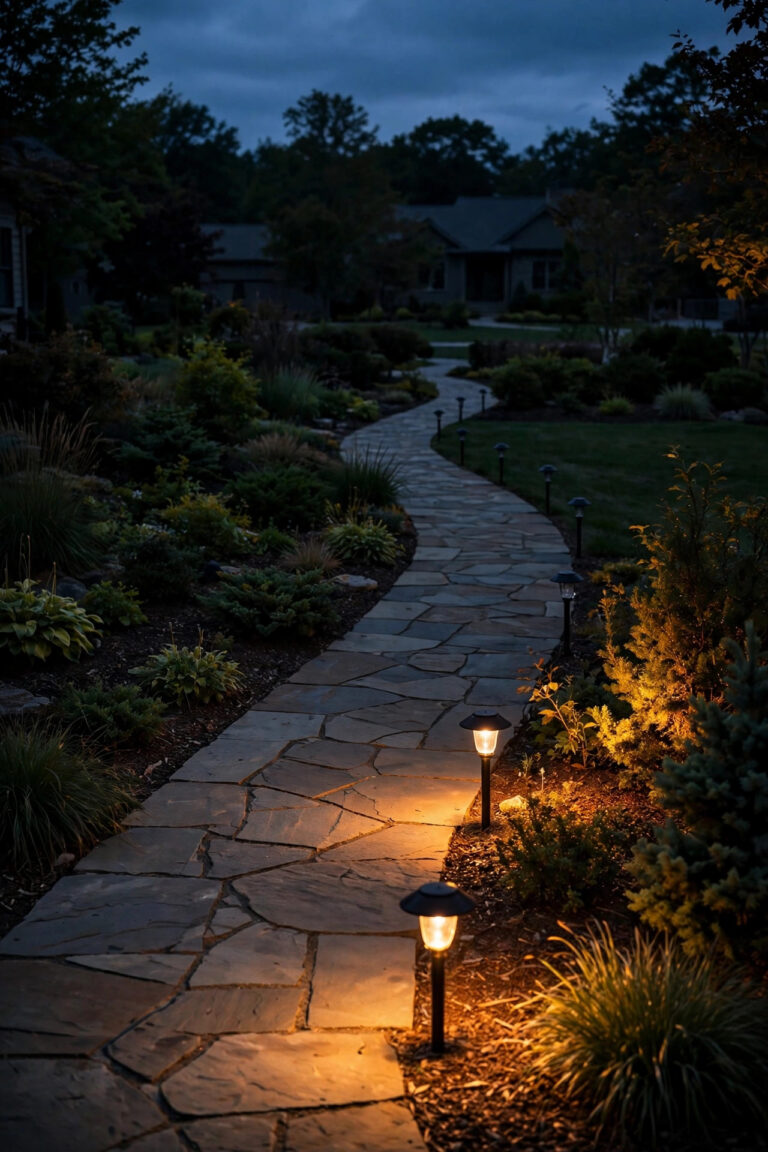
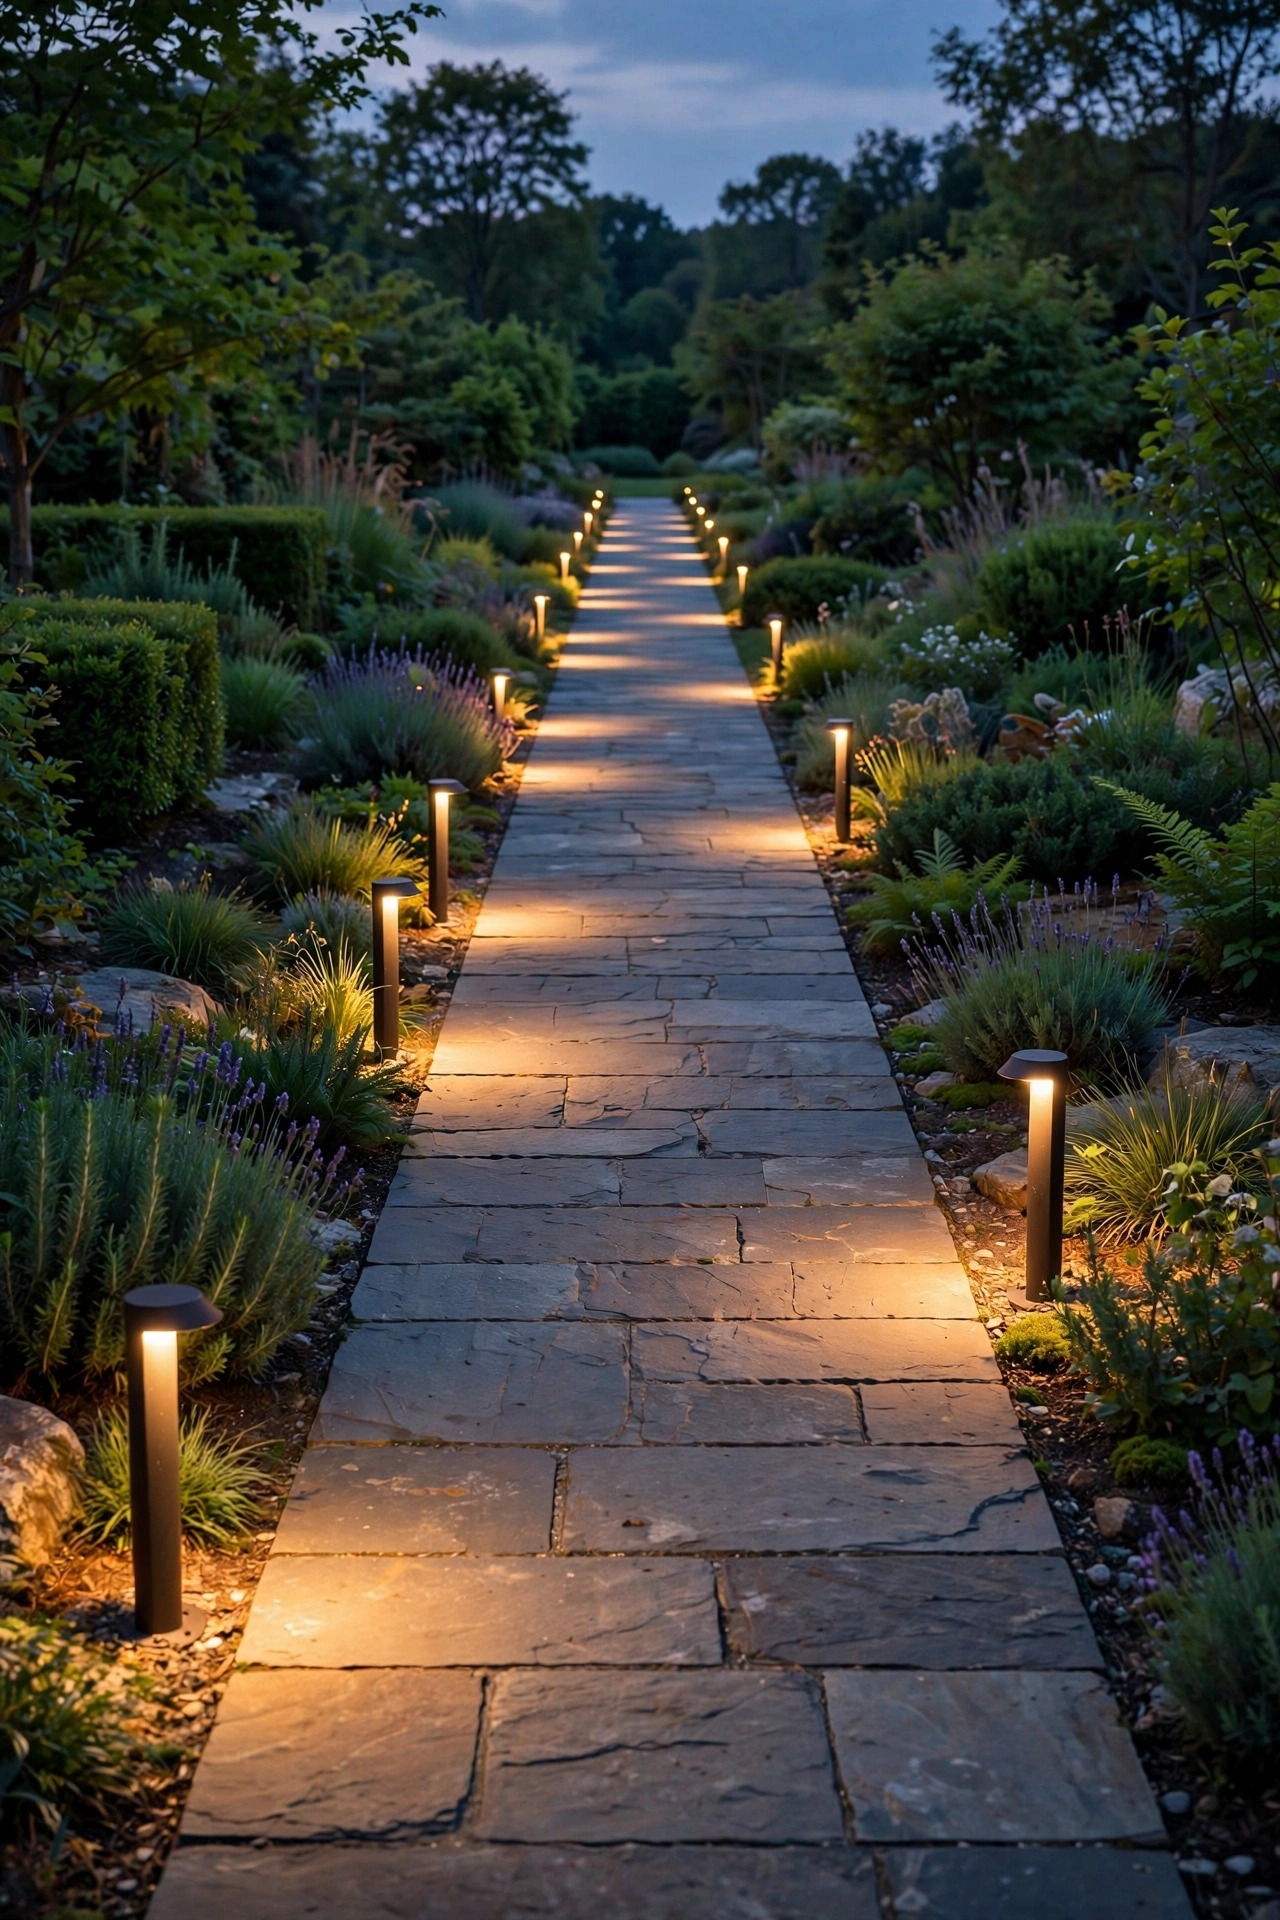
Path lights are the fixture people ask about most, so let's start here. For standard low-voltage LED path lights — the kind that throw a soft circle 5 to 7 feet wide — space them 6 to 8 feet apart, measured along the path, not as the crow flies. That distance lets the pools kiss without stacking. Dimmer fixtures play by tighter rules: basic solar stakes and low-lumen lights (under about 100 lumens) need 4 to 6 feet, because their pools are smaller and fade faster at the edges. Height bends the numbers, too. A 12-inch fixture should sit closer to the 6-foot end of the range; a 24-inch fixture can stretch to 8 or even 9 feet, and my guide to path light heights walks through exactly how height and spread trade off. Two placement habits matter as much as the tape measure. First, light from one side only and stagger — we'll dig into the zigzag in its own section below. Second, put a fixture wherever the path changes: at the bottom of steps, at a corner, where the walk meets the driveway. People trip at transitions, not mid-stride, so those spots earn a light even if it breaks your perfect rhythm. On curves, place fixtures on the outside of the bend; the light rakes across the path and shows the turn coming.

Landscape Light Spacing Rules for Spotlights and Uplights
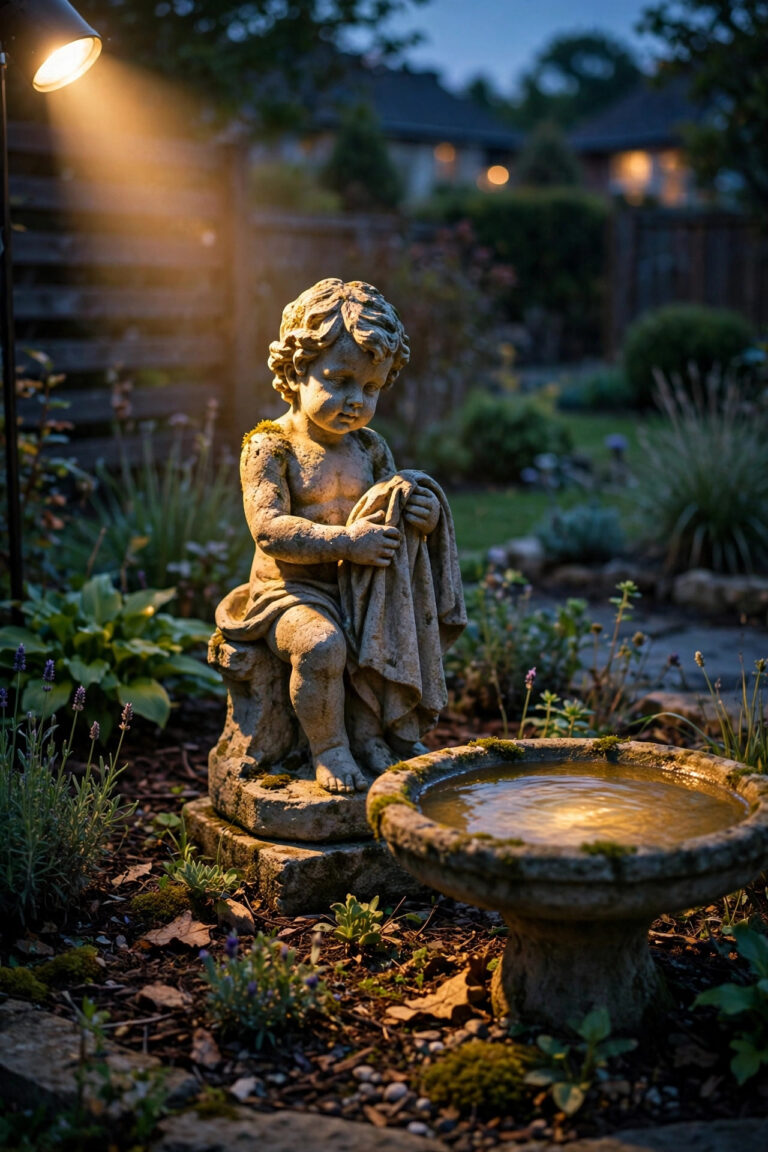
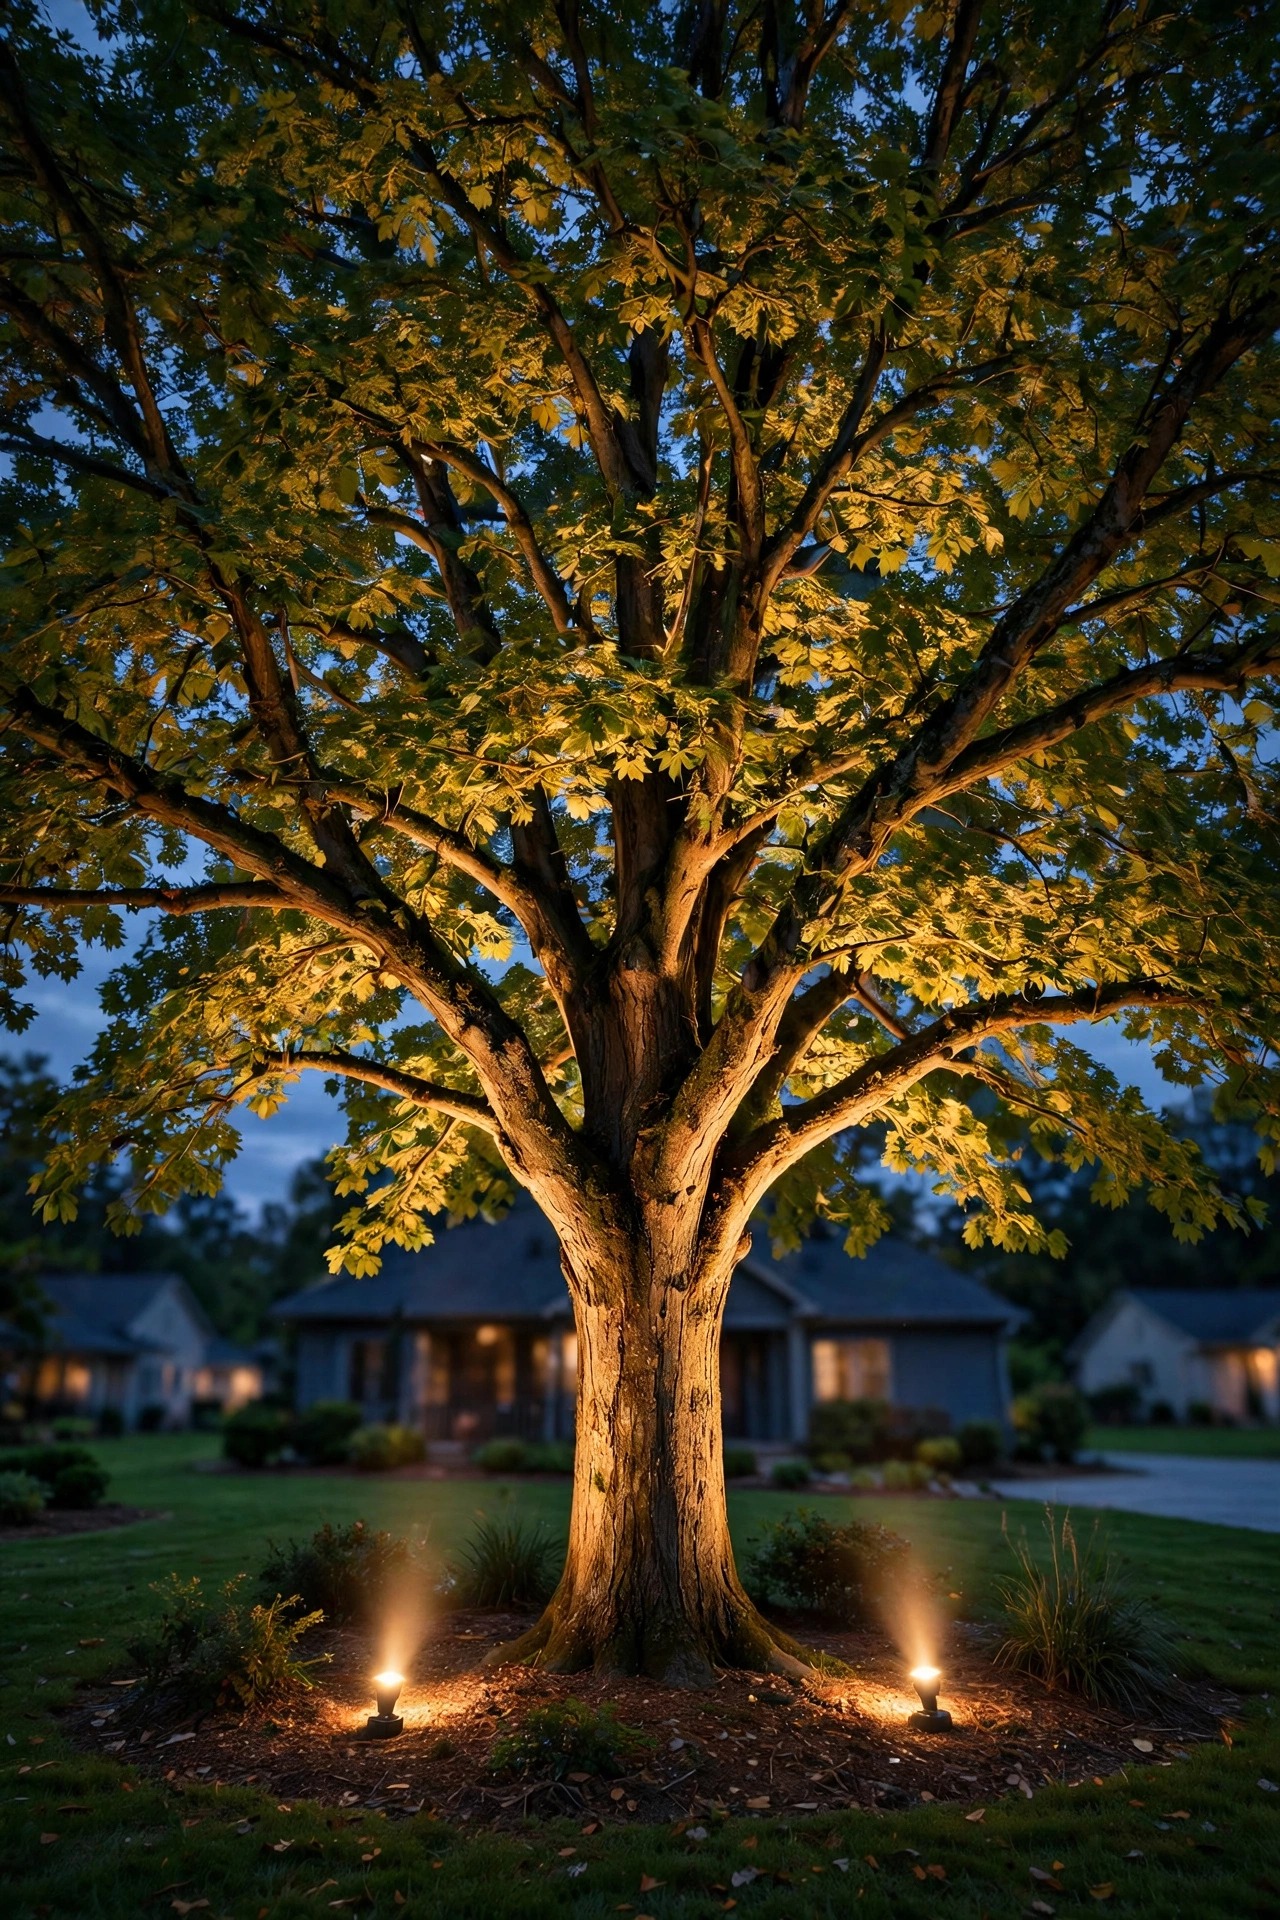
Spotlights break the tape-measure mindset entirely: you don't space them from each other, you assign them to features. One fixture per small shrub, one per garden statue, one per architectural column. A medium ornamental tree usually wants two — one from the front, one from the side at about 90 degrees — so it models with depth instead of flattening into a glowing blob. A large shade tree can take three. What you actually measure is the fixture's distance from its target and its beam angle. Set uplights 1 to 2 feet from a small trunk, 2 to 4 feet back for a big canopy, and choose the beam to fit the subject: a narrow 15- to 35-degree beam climbs a column or a skinny evergreen, while a 45- to 60-degree flood washes a broad tree or a wall of shrubs. Here's the plain-English version of beam math: at 10 feet from the fixture, a 60-degree beam spreads about 11 feet wide, a 35-degree beam about 6 feet. If two spotlights wash the same facade, space them so those spreads just touch — for most house fronts that lands the fixtures under each window bay or column, typically 8 to 15 feet apart, following the architecture instead of a ruler.
Wall Washes and Grazers: Let the Wall Set the Distance
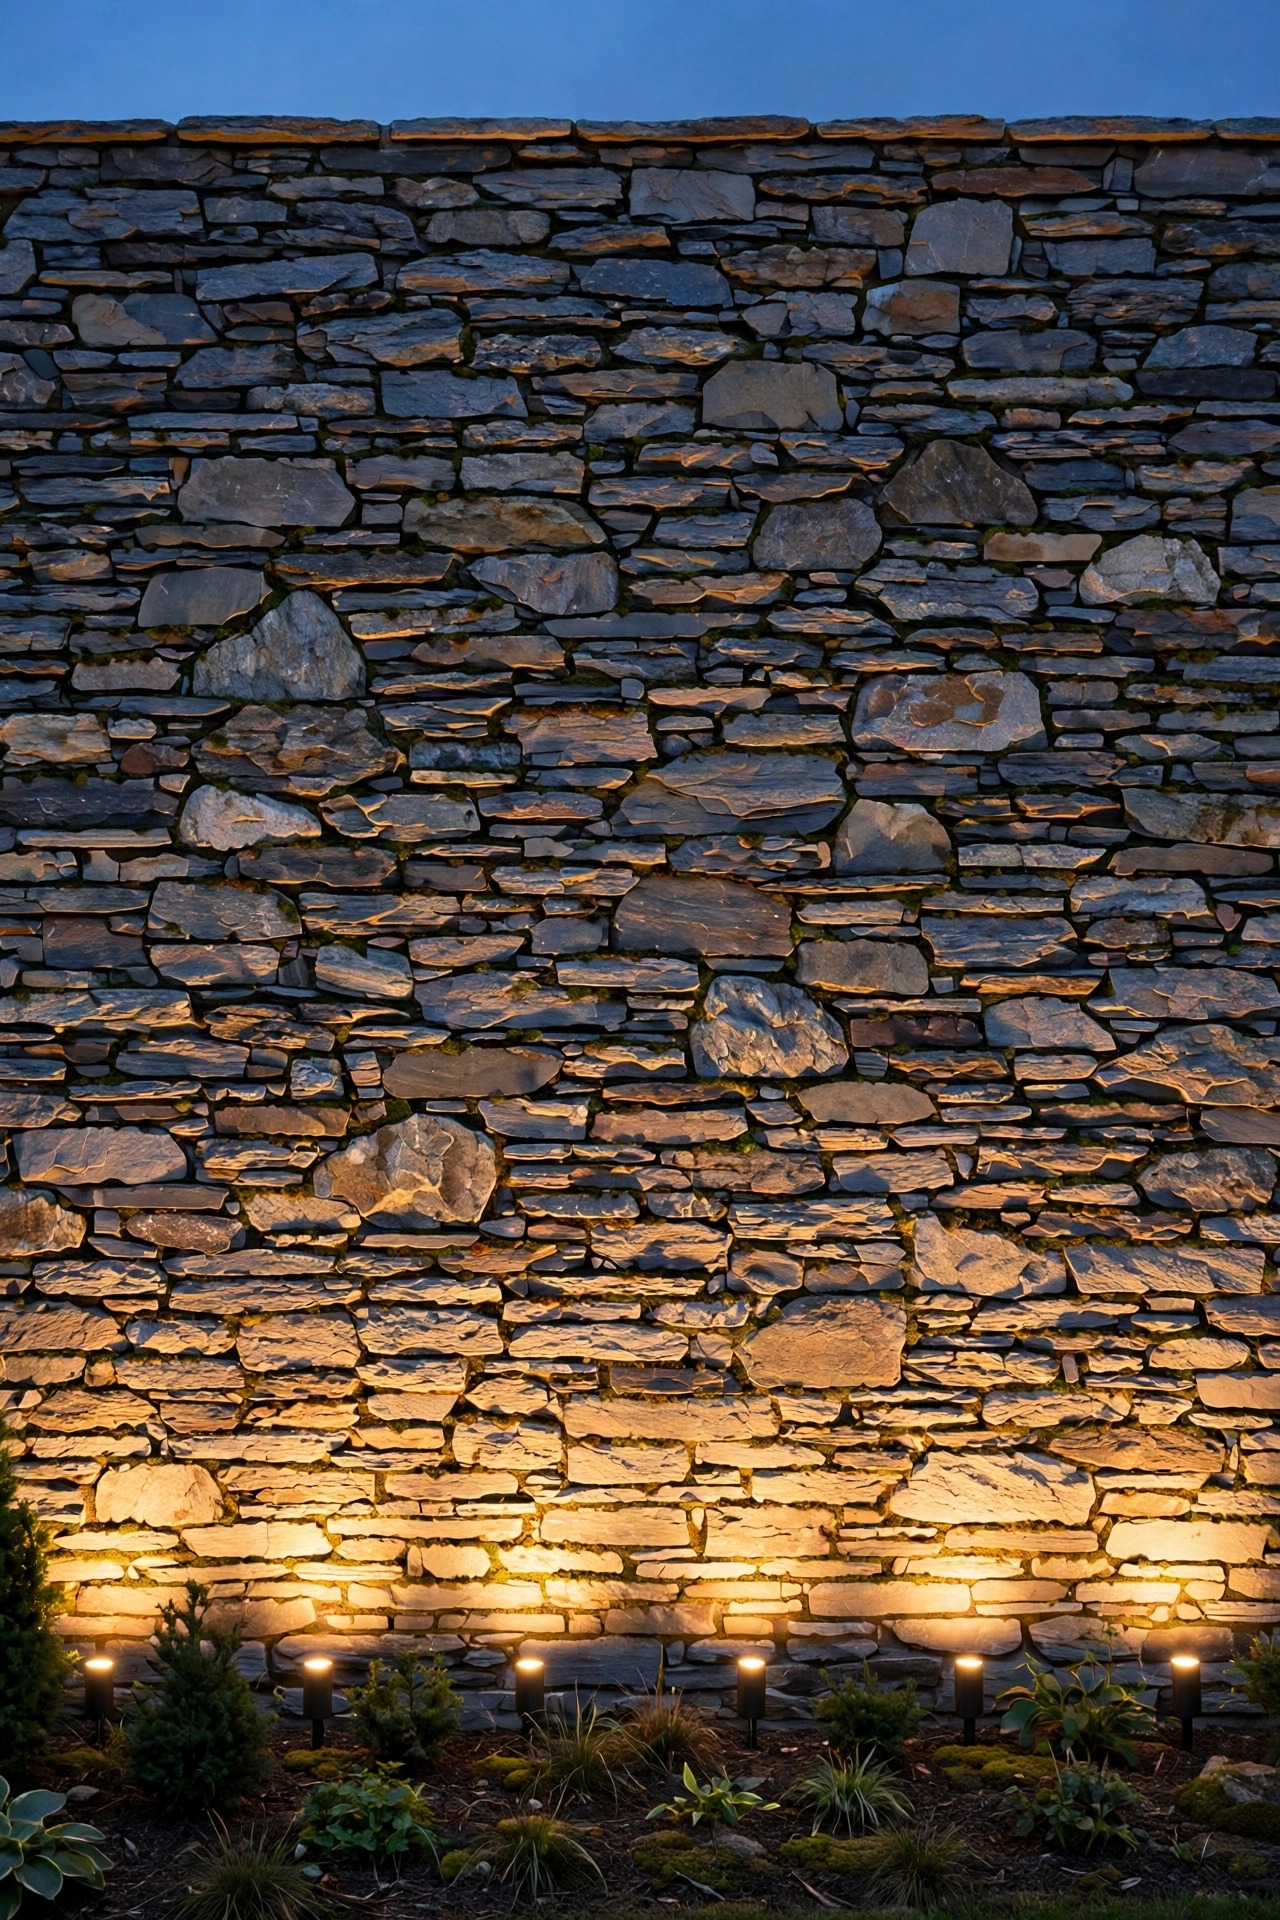
Wall lighting has the most elegant rule in this whole guide: the distance from the wall sets everything. Fixtures come in two flavors. Grazers sit close — 6 to 12 inches out — and shoot light almost straight up the surface, which rakes across brick, stone and stucco and makes every bit of texture pop. Wall washers sit farther out, 1 to 3 feet, and flood the surface evenly so the wall itself glows softly. For spacing along the wall, use the setback as your guide: fixtures spaced roughly one to two times their distance from the wall will overlap into an even wash. In practice that means grazers every 2 to 4 feet for a continuous ribbon of texture on a stone foundation, and wash bullets every 3 to 6 feet along a house wall or fence. Long walls lit for security or backdrop duty can stretch wider — a wash every 6 to 8 feet still reads as intentional, with gentle scallops between pools that many people honestly prefer. One warning from my own fence project: resist spacing washers to match your path lights' rhythm. Walls and walks are separate layers. Let each follow its own math and the yard will look composed instead of copy-pasted.
Bollards and Post Lights: 8 to 10 Feet of Breathing Room
Bollards are the tall, confident fixtures of the lighting world — 30 to 42 inches of post with light spilling from the top or a louvered head — and they need more air around them than path lights. Along a driveway or a wide walk, space bollards 8 to 10 feet apart. Their pools run 8 to 12 feet wide thanks to the height, so that spacing keeps the overlap in the sweet quarter zone. Brighter commercial-style bollards can stretch to 12 feet; the little solar bollards from the garden center, which throw a fraction of the light, should tighten down to 6 or 7 feet or they'll polka-dot on you. Placement details matter as much as spacing. Keep bollards 2 to 3 feet back from a driveway edge so car doors and mirrors survive, and at least 18 inches off a walkway edge so the fixture itself never becomes the tripping hazard. At a driveway entrance, a matched pair flanking the apron does more work than four spread down the drive — your eye reads the pair as a gate. Post lights on piers and columns follow the architecture instead: one per pier, however far apart the builder put them, and you balance the look with bulb wattage rather than by moving stone.

Step, Deck and Riser Lights: Safety Sets This Spacing
Steps are the one place I break my "wider is safer" habit, because here the lighting is safety equipment first and decor second. On a staircase people use every night, put a light at every step — a small riser light or a light in the wall beside the tread — so each tread edge reads clearly. On wide, gentle garden steps with deep treads, every other step works if the fixture is bright and mounted where its light rakes across both treads below it. Wide steps change the math sideways instead of vertically: stairs over about 4 feet wide deserve two fixtures per step, one near each stringer, or a single centered light will leave both edges in shadow. Deck lighting follows the furniture of the deck itself. Post-cap and rail lights read best every other post, which on most decks lands them 5 to 8 feet apart. Under-rail LED strip is the exception that proves the rule — it's a continuous ribbon, so there is no spacing to get wrong, just a soft line of light that makes every step and edge visible. Whatever the fixture, keep step and deck lights on the warm, dimmer side; a staircase lit like a stadium helps nobody's night vision.

Moonlighting: Spacing Decided by the Canopy, Not the Tape
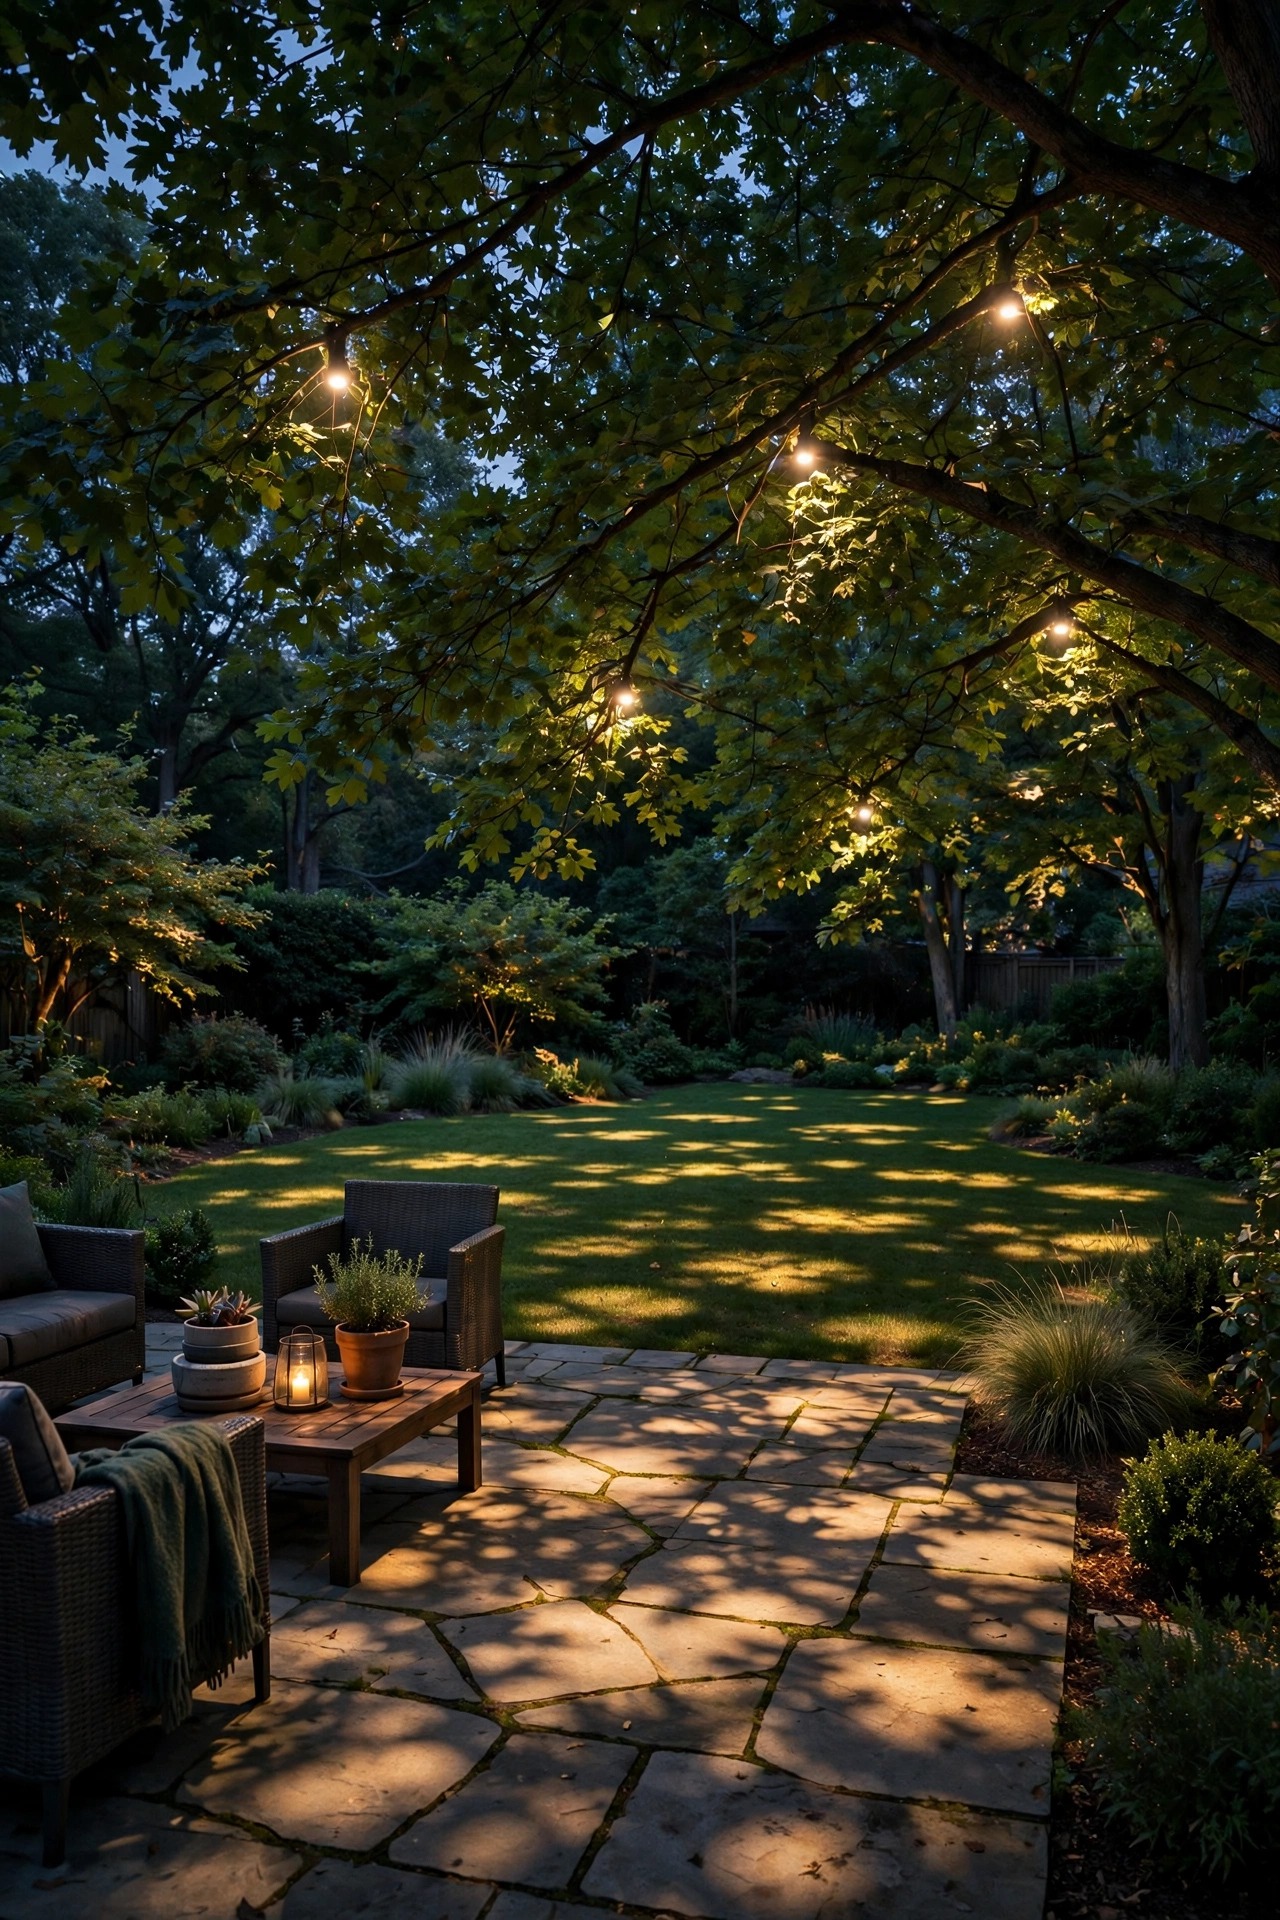
Moonlighting — downlights mounted high in trees, shining down through branches — is the most forgiving technique in this guide, because nature does the spacing for you. Fixtures typically hang 20 to 30 feet up, and from that height a single light dapples a pool 15 to 25 feet across, broken up by leaves and limbs so it reads as moonlight instead of machinery. In practice, one fixture in a medium tree is enough for the patio beneath it; a large spreading oak takes two, mounted on opposite sides of the canopy so the shadows cross and soften. On the ground, overlapping moonlight pools sit happily 12 to 20 feet apart — much wider than any path light would dare — because the broken, leafy pattern hides the seams. The mistake to avoid is treating moonlight like a streetlight grid. Two fixtures aimed at the same patch from different trees will double-light it into an obvious hot spot. Instead, let each tree own its own pool, aim for gentle gaps of real darkness between them, and the yard feels like a forest clearing. If you only remember one thing here, it's that at height, restraint is the spacing rule. Start with one fixture per tree, live with it a week, and only add a second if a corner of the yard still feels abandoned after dark.
The Zigzag Trick: Stagger Fixtures Instead of Lining Them Up
If I could only teach one spacing habit, it would be this: alternate sides. On a straight 40-foot path, lights placed every 8 feet down one side look sparse, and lights paired across from each other every 8 feet look like a runway. But stagger them — left, right, left, right, still 8 feet apart along the walk — and the pools weave into a gentle S of light that guides your eye and your feet. You buy the same five fixtures either way, yet the staggered version looks twice as designed. The trick works in garden beds, too. Place accent lights in loose triangles around shrubs and ornaments rather than in rows, and the bed gains depth; line them up and it looks like a showroom shelf. Staggering also rescues spacing that's slightly too wide. A path fixture's pool reaches across a typical 3- to 4-foot walk, so a light on the far side still washes the near edge — alternating sides effectively halves the darkness gap without adding a single fixture. About the only place I don't stagger is a formal, symmetrical front entry, where matched pairs flanking a door or gate are the entire point. Everywhere else, zigzag first and measure second.
Spacing and Your Wire Runs: The Hidden Limit
Here's the limit nobody mentions at the garden center: the wider and longer your layout, the longer your cable runs — and low-voltage cable quietly taxes you for distance. Push too many fixtures too far down one run and the last lights glow noticeably dimmer and warmer than the first, a problem called voltage drop. Spacing choices fight it or feed it. A 100-foot path lit every 6 feet puts 16 fixtures on one thirsty run; the same path staggered at 8 feet carries 12, and split into two home runs from a central transformer, each run stays short and even. As a working ceiling, keep individual runs under about 100 feet and under roughly 100 watts, and cluster your transformer near the middle of the layout rather than at one end. If dim end-of-run lights are already your reality, my landscape lighting voltage drop guide explains the fixes in plain English. The planning takeaway is simple: sketch spacing and wire runs on the same drawing. A layout that looks perfect from the porch but needs 180 feet of cable to reach the last fixture is a dim yard waiting to happen, and no spacing rule can save it. When a beloved design demands one faraway fixture, give that fixture its own short run rather than stretching the main line to reach it.
Test Before You Dig: The Flag-and-Flashlight Method
Never bury a layout you haven't seen at night. My ritual takes one evening and has saved me from every bad spacing decision I've almost made. First, mark each planned fixture with a garden flag or a cheap solar stake and live with the pattern for a day — you'll spot the awkward gaps from the kitchen window by morning. Second, do a real test night: set the actual fixtures above ground on their stakes, run the cable loose across the lawn, plug in, and walk the yard. View it from the street, from the front door, and from inside the house looking out, because a layout lives in all three views. Third, adjust while it's easy — slide fixtures a foot wider, tighten the pair that glare — then photograph the final layout with your phone and measure each gap before trenching. This planning pass is where spacing meets the rest of your design, and my low-voltage landscape lighting design guide covers how the layers fit together. Honestly, the test night is fun: it's the first time your yard glows, and moving a light that's standing on grass is infinitely easier than moving one buried beside it. Invite a second pair of eyes, too — a partner walking up the path will catch glare and dark spots you've already gone blind to.

What Proper Spacing Costs in 2026
Good spacing is the cheapest upgrade in all of landscape lighting, because it usually means buying fewer fixtures. Run the math on a typical 48-foot front walk. Lit tightly at 6 feet on both sides — the instinct most beginners follow — that's about 16 path lights. Lit my way, staggered at 8 feet on alternating sides, it's about 7. At $25 to $60 per quality wired path fixture, that single decision swings $225 to $500, before you count the cable and connectors you didn't buy. For a full front-yard layout in 2026, most DIYers I know land between $300 and $900 total: fixtures at $20 to $80 each depending on type, low-voltage cable around $0.30 to $0.60 per foot, connectors a dollar or two apiece, and a transformer in the $60 to $250 range sized to the count your spacing produced. Running costs stay almost silly: ten 5-watt LED fixtures burning five hours a night use about a quarter of a kilowatt-hour daily, roughly $1.20 a month at average US rates. Even doubling the layout barely moves the bill, which is exactly why the savings from smart spacing belong in your fixture budget, not your conscience. Spend your savings where they show — two good spotlights on your best tree beat four extra path lights every single time.
5 Spacing Mistakes That Ruin the Effect
First, the runway: matched pairs of path lights marching in lockstep down both sides of a straight walk. It reads as an airport, not a garden, and stagger fixes it in minutes. Second, the polka dots — fixtures spaced so their pools never touch, leaving bites of darkness that make guests watch their feet instead of enjoying your yard. Third, one spacing for everything: the kit box said 8 feet, so the spotlights, the path lights and the washes all landed 8 feet apart, even though each throws a completely different pool. Fourth, forgetting that plants grow. The cute shrub you lit perfectly in April will swallow a path light by its second summer; space for the mature plant, and set fixtures at the dripline of what the planting will become, not what it is today. Fifth, lighting the journey but not the destination — a beautifully spaced path that delivers guests to a pitch-black front step or a dark door. Whatever your spacing plan, reserve fixtures for the landing zones: the top and bottom of every stair, the door, the gate latch. I'd rather see a yard break its rhythm at the steps than light the middle of a path beautifully and strand its guests at the one place they can actually fall. Fix those five and you'll be ahead of most professionally installed yards I've walked.
Frequently Asked Questions
How far apart should path lights be?
For most wired LED path lights, 6 to 8 feet apart, staggered down alternating sides of the walk. Dim solar stakes and low-lumen fixtures need to tighten up to 4 to 6 feet, because their pools of light are smaller. Taller fixtures (around 24 inches) can stretch toward 8 or 9 feet since height widens the pool. Whatever the number, judge it at night by the overlap: pools should just touch, with no dark scallops between them and no glaring hot stripe down the middle of the path.
Should path lights go on both sides of the walkway?
Usually not in matched pairs — that double row is exactly what creates the runway look. Placing lights on both sides works beautifully when they're staggered, offset so a light on the left sits midway between two on the right. The exception is a formal, symmetrical entry, where an intentional matched pair at the door or gate reads as architecture. For a typical curved or straight front walk, one staggered line of fixtures gives you the same visibility for half the hardware and a far more natural feel.
Can landscape lights be too close together?
Absolutely, and it's the most common beginner mistake I see. Fixtures crowded closer than about half their pool diameter stack light into hot spots that glare, flatten plant texture, and actually make the dark areas beyond them feel darker by contrast — your eyes adjust to the brightness and lose the rest of the yard. Over-lighting also wastes money twice: once on fixtures you didn't need, and again on the bigger transformer and extra cable to feed them. If your yard feels harsh at night, try removing or re-spacing a third of the fixtures before you change a single bulb.
How many landscape lights do I need for an average front yard?
Divide and conquer by zone. Measure your path length and divide by 7 for a fixture count, then add one spotlight per feature you want to showcase — most front yards have three to six worth lighting — plus one light per landing, step run and entry. For a typical suburban front yard that math lands between 12 and 20 fixtures, which surprises people who assumed they'd need forty. Remember the transformer check, too: add up the wattage, keep it under 80 percent of the transformer's rating, and your count is honest.
Conclusion
Every number in this guide is the same idea wearing different clothes: know your fixture's pool of light, and let neighboring pools just touch. Follow the landscape light spacing rules by type — path lights 6 to 8 feet and staggered, spotlights assigned to features, washes spaced by their setback, bollards breathing at 8 to 10 feet, a light at every step that matters — and your yard will look calm, layered and intentional instead of dotted or glaring. Sketch it, flag it, test it on one honest night before you dig, and adjust without mercy. Then pour something cold, sit on your own front step, and enjoy the ribbon of light you built. For more ways to layer that glow, browse the lighting ideas and guides here — your next favorite corner of the yard is waiting.