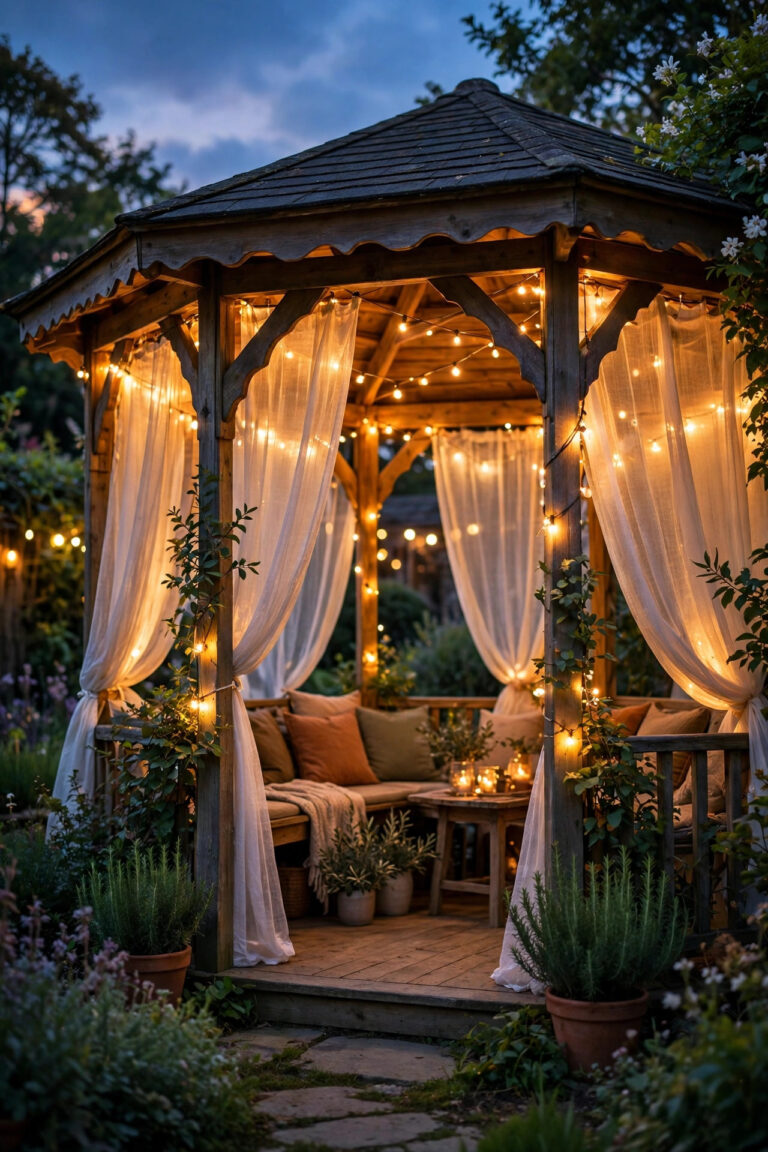
A ceiling fan changed my gazebo from a pretty structure we admired from the kitchen window into the room we basically live in from May through September. Moving air knocks the perceived temperature down, keeps the mosquitoes honest, and makes a 90-degree evening feel like a choice instead of a punishment. But the fan is only half the story — the best gazebo ceiling fan light ideas treat the fan and the lighting as one layered system: a warm center light for cards and conversation, a soft ambient ring so the posts don't disappear into the dark, and brighter task light only where you actually need it. In my experience, that layering is what separates a gazebo that glows from one that just has a bulb stuck in it. Below are my 19 favorite combinations — damp-rated workhorses, statement fandeliers, solar and battery options for gazebos with no wiring at all, and the string-light and rafter layers that finish the look. Every pick includes the sizing, mounting, and safety details that actually matter outdoors, plus an honest budget range so you can plan the weekend.
1. The Damp-Rated Ceiling Fan With an Integrated LED Light Kit
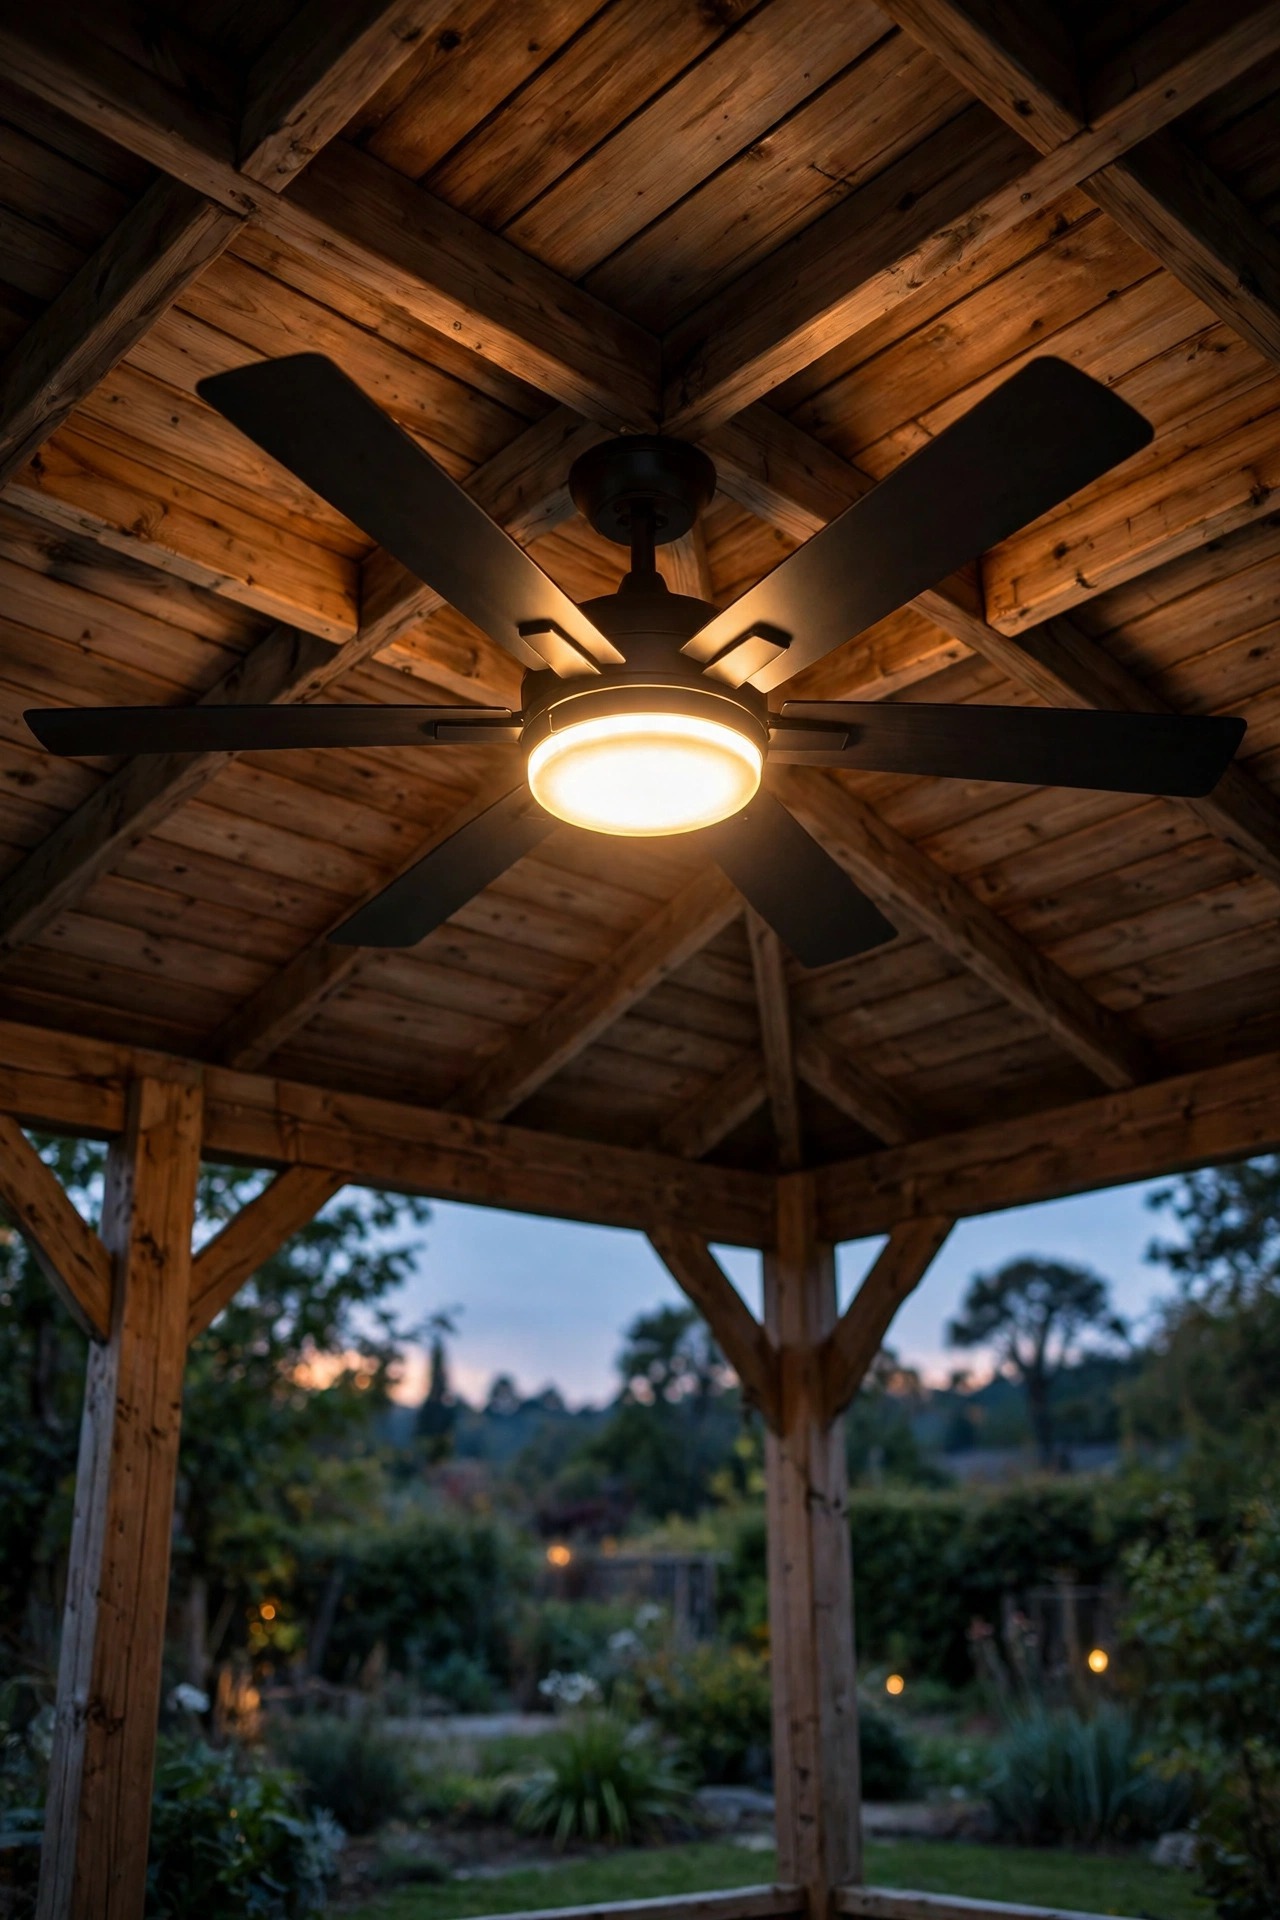
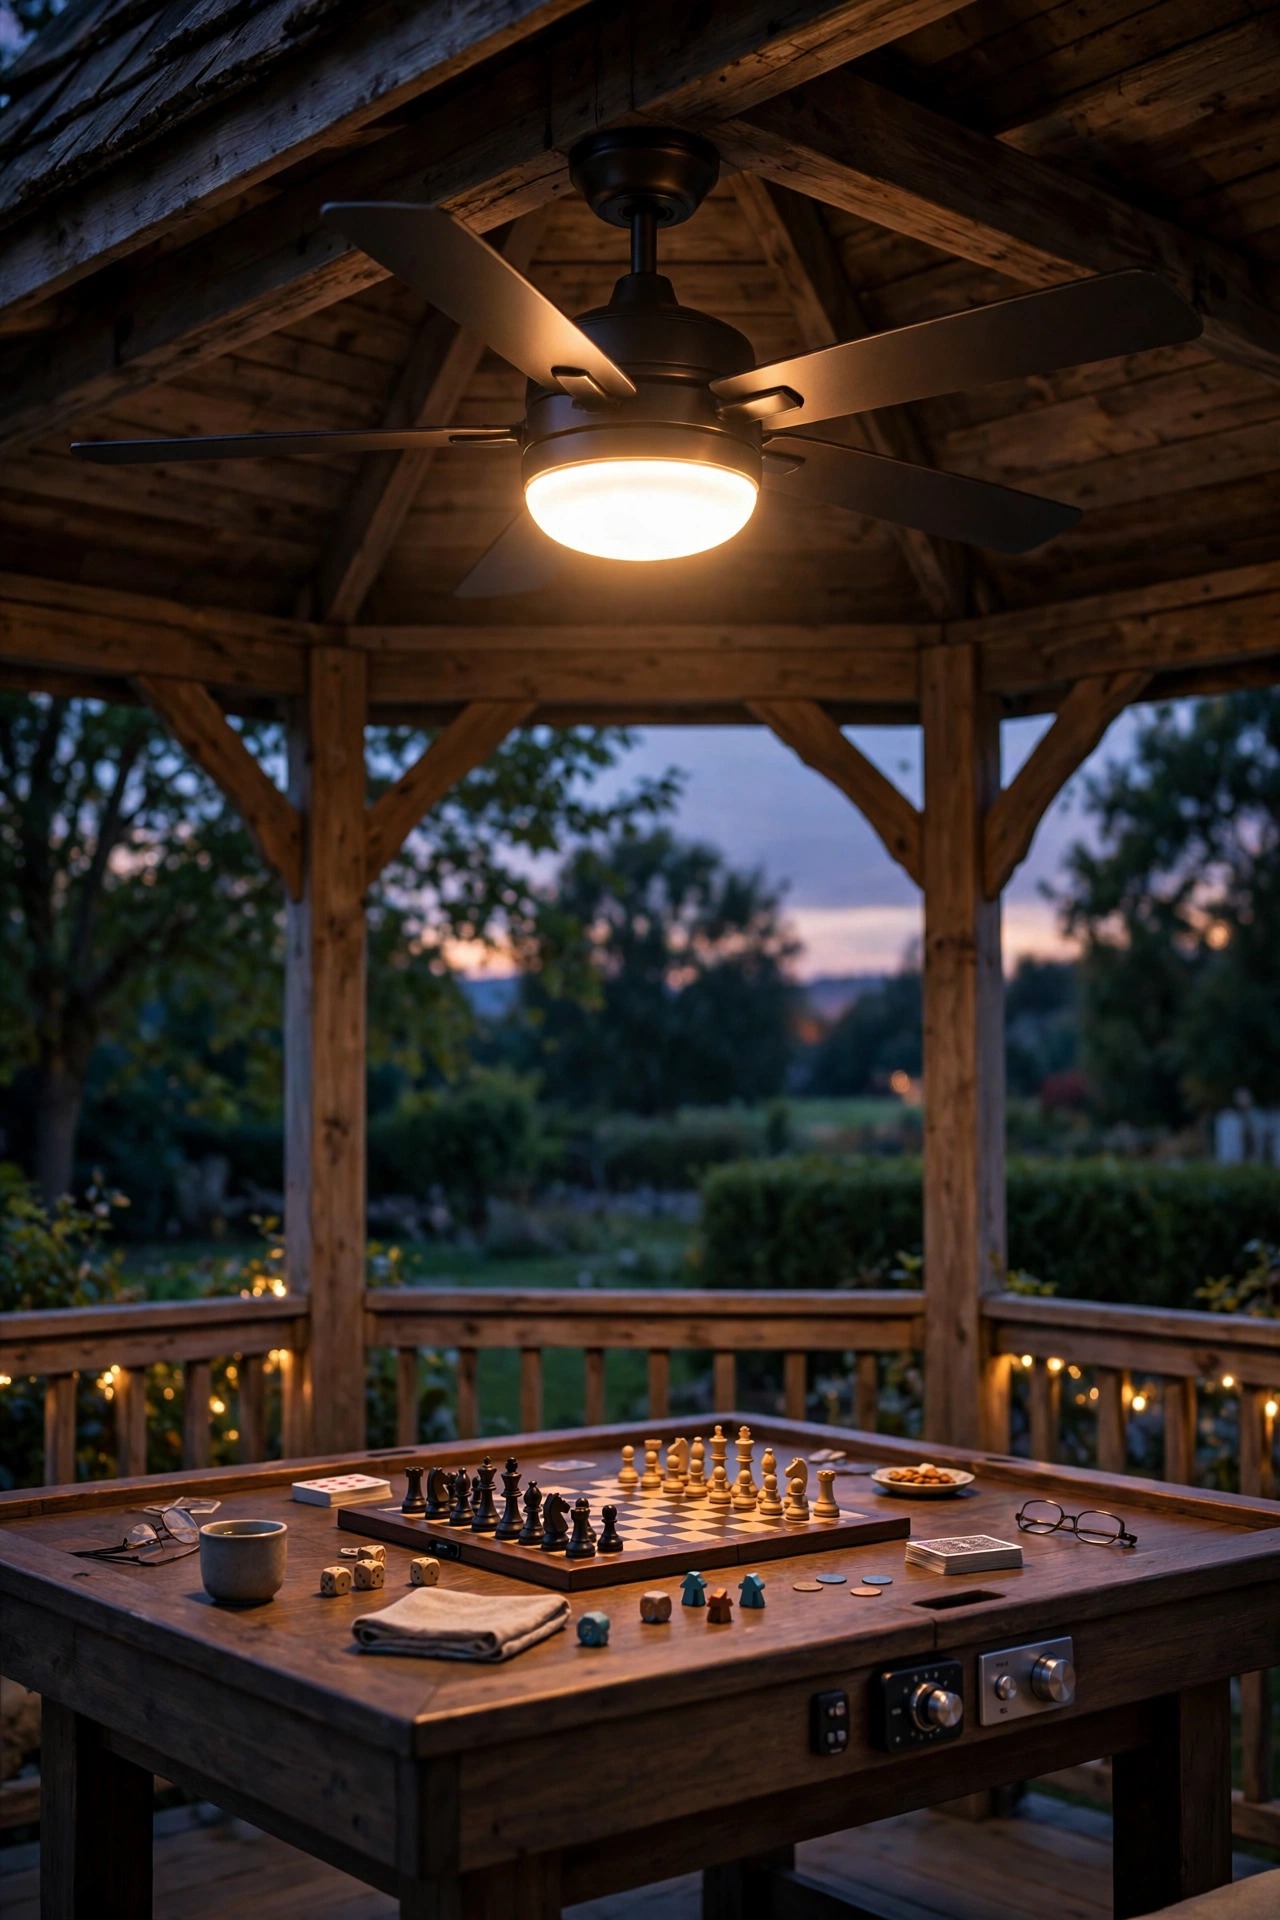
This is the anchor piece I'd start every gazebo with: a ceiling fan actually rated for outdoor use, with the light built right into the center hub. Look for a damp rating at minimum — that means a sealed motor housing, corrosion-resistant hardware, and blades made from ABS or a similar material that won't sag, warp, or peel the way indoor wood blades do after one humid summer. If your roof drips a little or the sides sit open to blowing rain, step up to a wet-rated model instead. For the light itself, an integrated LED kit in the 800 to 1,600 lumen range gives you real, usable brightness for cards, board games, and conversation, and I strongly prefer 2700K to 3000K color temperature — warm enough to flatter faces and food. Choose a remote or wall control over a pull chain out here, because nobody wants to climb onto a chair over a set table to change the speed. In my experience, this one purchase does about 70 percent of the work: breeze overhead, warm light at face level, and a finished look that makes the whole structure feel intentional instead of improvised. Suggested budget range: $180 – $450.
2. Gazebo Ceiling Fan Light Ideas Start With Sizing: Match the Fan to Your Floor
Before you fall for a finish, measure. Fan sizing is the unglamorous step that decides whether your gazebo feels breezy or just stirs the air in one corner. For a gazebo up to about 10 by 10 feet (100 square feet), a 42-inch fan is honestly plenty. A 12 by 12 or 14 by 14 floor wants a 52-inch fan — the most common size, and the one I'd call the sweet spot for most backyards. Hexagonal and octagonal gazebos 16 feet across need 60 inches or more, or two smaller fans if the roof structure allows it. Beyond diameter, check the airflow rating: 3,000 to 5,000 CFM on high is a good target, and a blade pitch of 12 to 14 degrees moves air more efficiently at lower, quieter speeds. Clearance matters just as much. Blades should sit at least 7 feet above the floor for safety — 8 to 9 feet is ideal — and keep at least 18 to 24 inches between the blade tips and the posts or railings so the breeze spreads instead of chopping against the frame. Measure twice, buy once. Suggested budget range: $150 – $500.

3. The Fandelier: Chandelier Drama With a Real Breeze
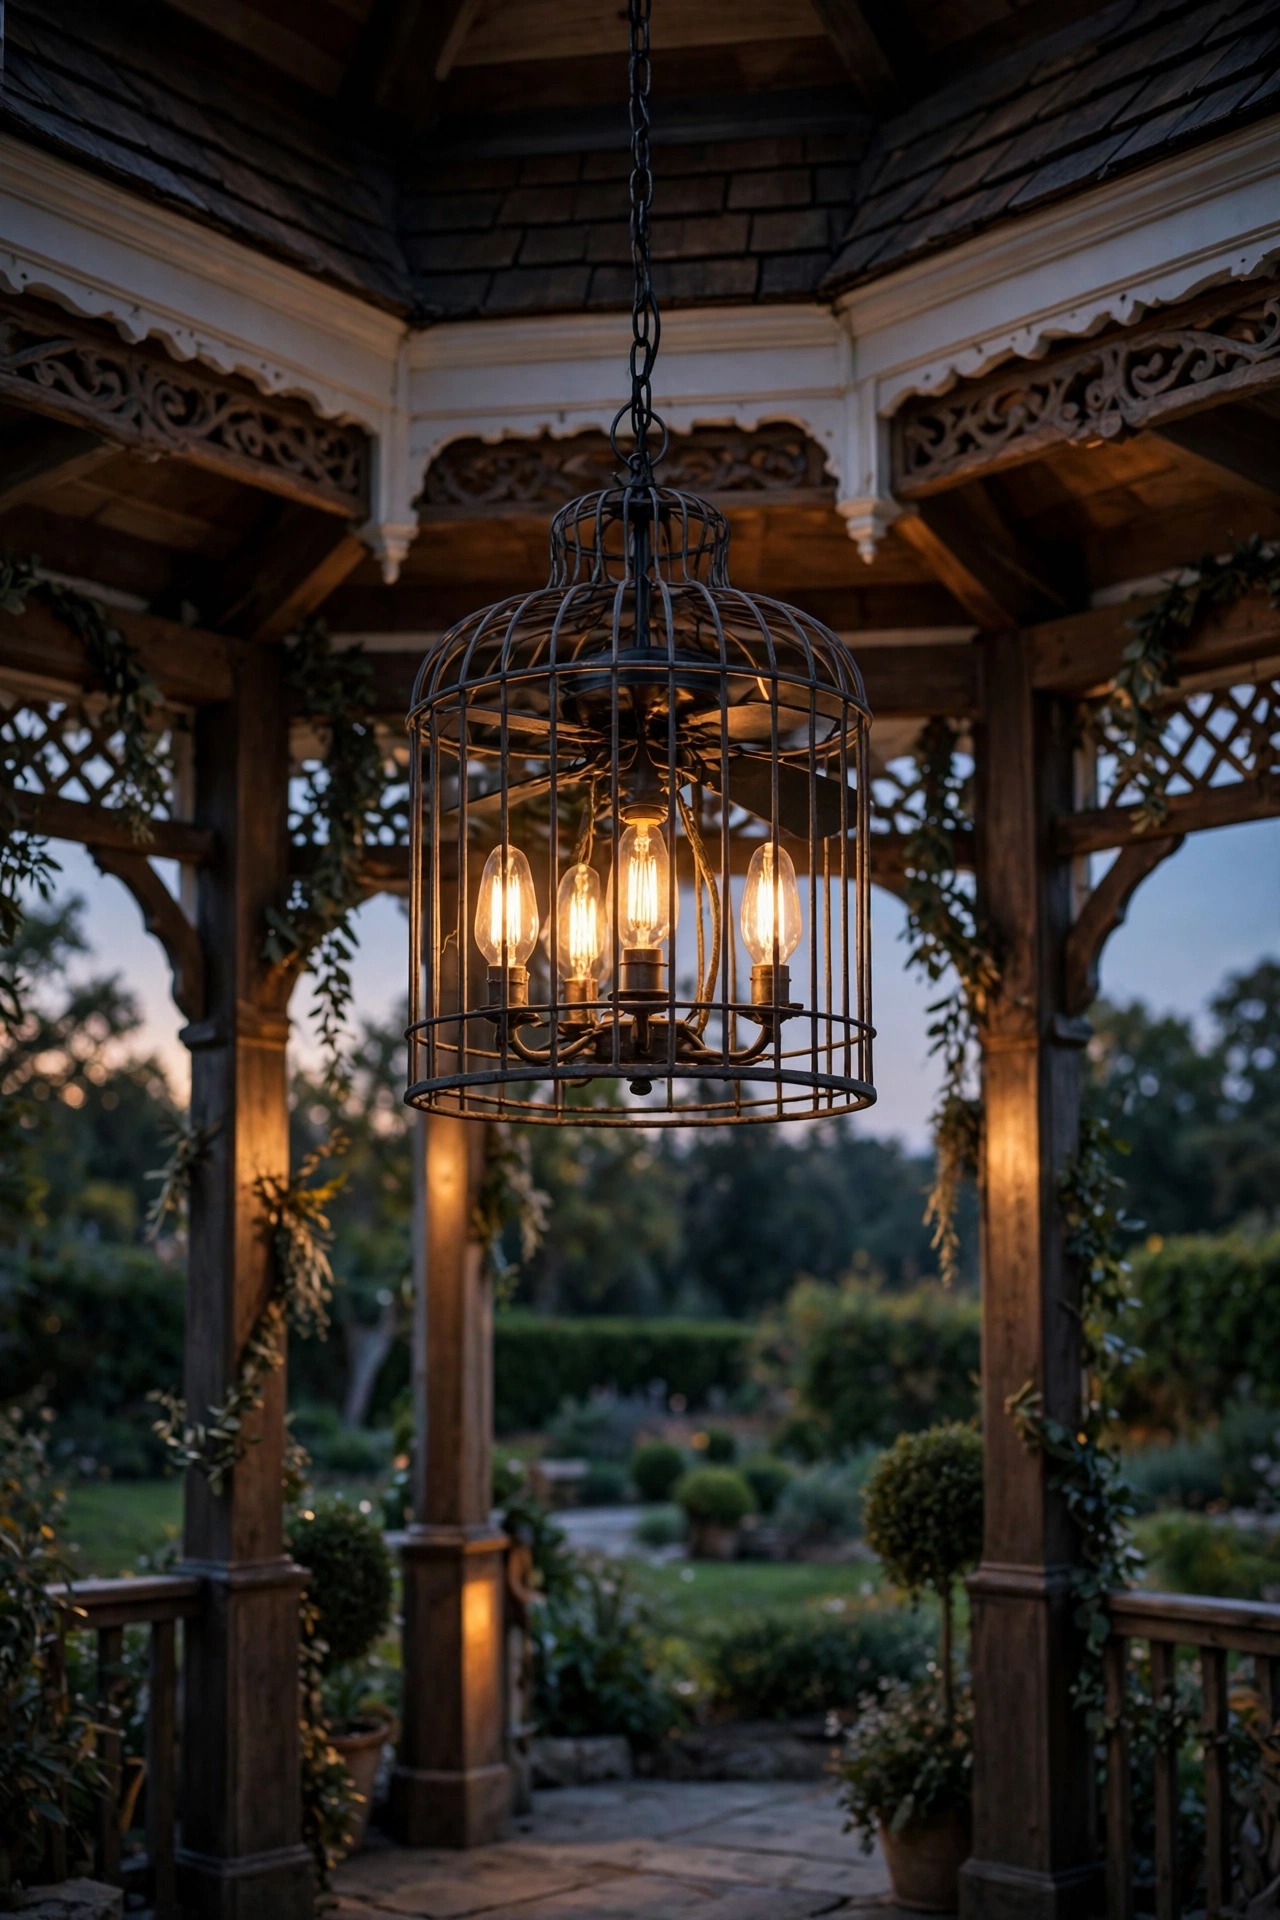
If your gazebo leans more "garden party" than "ceiling fan aisle," a fandelier is the compromise that actually works: a chandelier-style fixture with fan blades hidden inside a cage, tucked into a drum, or designed to retract when the fan is off. You get the sparkle and silhouette of a statement chandelier plus genuinely useful airflow, all in one mount. One warning from my own shopping mistakes — a large share of fandeliers are indoor-only, so check the damp or wet rating before you fall in love, and pass on anything that doesn't list one. I like models with warm filament-style LED bulbs visible through the cage, on a dimmer, so dinner can run low and golden while the blades do the work. Hang it so the bottom of the fixture clears heads comfortably — about 7 feet from the floor — and let it be the only "jewelry" on the ceiling; the rest of your layers should support it quietly. If you love this look, my roundup of outdoor chandelier ideas has more statement fixtures that pair beautifully with a fan nearby. Suggested budget range: $220 – $600.
4. Flush-Mount Hugger Fan for Low Gazebo Ceilings
Plenty of kit gazebos have ceilings that top out around 8 feet, and a standard fan on a downrod would put the blades at head height — not charming, just dangerous. A flush-mount, or "hugger," fan solves it by sitting tight against the ceiling, keeping the blades up at a safe 7-plus feet even in a low structure. The trade-off is airflow: a fan hugging the ceiling can't pull air from above as freely, so it moves a little less air than the same fan on a short rod. Compensate by choosing a model with a higher CFM rating and a slightly steeper blade pitch, and run it one speed higher than you think you need. Most huggers come with a low-profile LED dome light, which is perfect here because there's no room for a hanging light kit anyway. Keep the dome frosted rather than clear — at that height, a bare bright bulb sits right in everyone's sightline when they're seated and looking up. This is the fan I recommend most for metal kit gazebos and low, flat-roofed structures. Suggested budget range: $160 – $380.

5. Long Downrod Fan for Vaulted and Cupola Ceilings
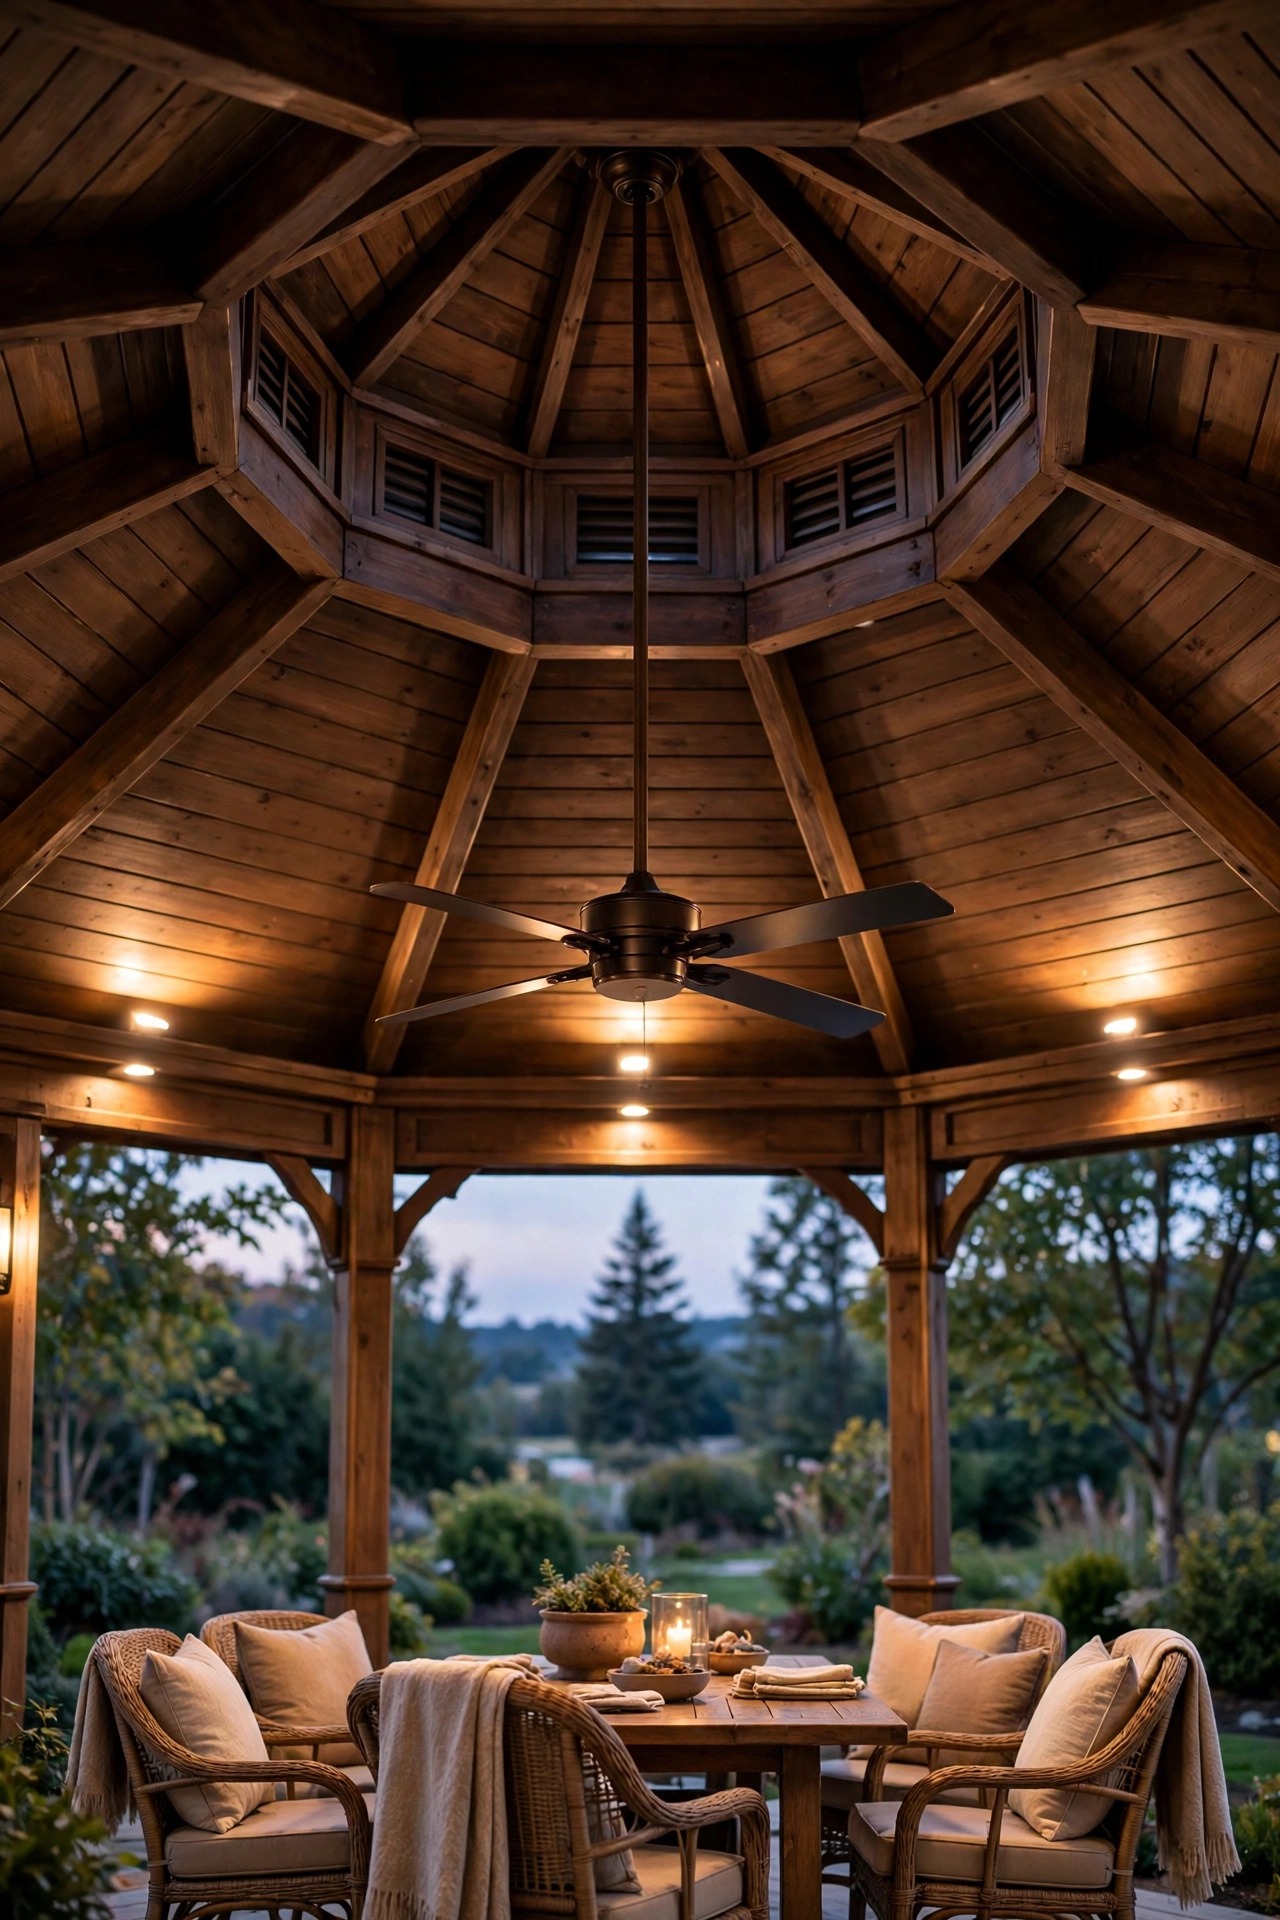
Tall, vaulted gazebo ceilings are gorgeous — and terrible for ceiling fans mounted way up at the peak, where they stir hot air 12 feet above your guests and do nothing at seating level. The fix is a downrod: a 12, 18, or even 36-inch rod that brings the fan down into the useful zone, with the blades ending up 8 to 9 feet above the floor. If your ceiling is sloped or peaked, make sure the fan includes (or accepts) a sloped-ceiling adapter; many handle angles up to about 30 degrees. A longer rod also needs the wiring extended inside it, which most kits include, and a properly balanced fan on a long rod should not wobble — if it does, use the balancing kit before blaming the rod. My favorite version of this look pairs a matte black rod and fan against a white or natural wood vault, so the fan reads as part of the architecture. The light kit hangs lower too, which means your main light source lands closer to the table, where it belongs, instead of washing the ceiling peak. Suggested budget range: $200 – $550.
6. Tropical Wide-Blade Fan for Maximum, Gentle Airflow
For a big gazebo where you host long dinners, a tropical-style fan with five wide blades — often shaped like palm leaves or broad paddles — moves a lot of air slowly and evenly instead of blasting one spot. That gentle, whole-room breeze is exactly what you want over a table: napkins stay put, candles (the flameless kind) don't gutter, and conversation doesn't compete with wind noise. On high, a good 52 to 60-inch tropical fan pushes 5,000 CFM or more, but you'll honestly live on low and medium. Outdoors, choose the versions with ABS "leaf" blades rather than real woven or wood blades, which swell and droop in humidity. One styling note: the light kits on tropical fans tend to be modest — a small dome or a single bowl — so plan a supporting layer like post lanterns or string lights from the start rather than expecting the fan to light the whole gazebo. Think of this one as your air engine first and a light source second, and build the glow around it. Suggested budget range: $240 – $650.

7. Farmhouse Metal Fan With Filament-Style LED Bulbs
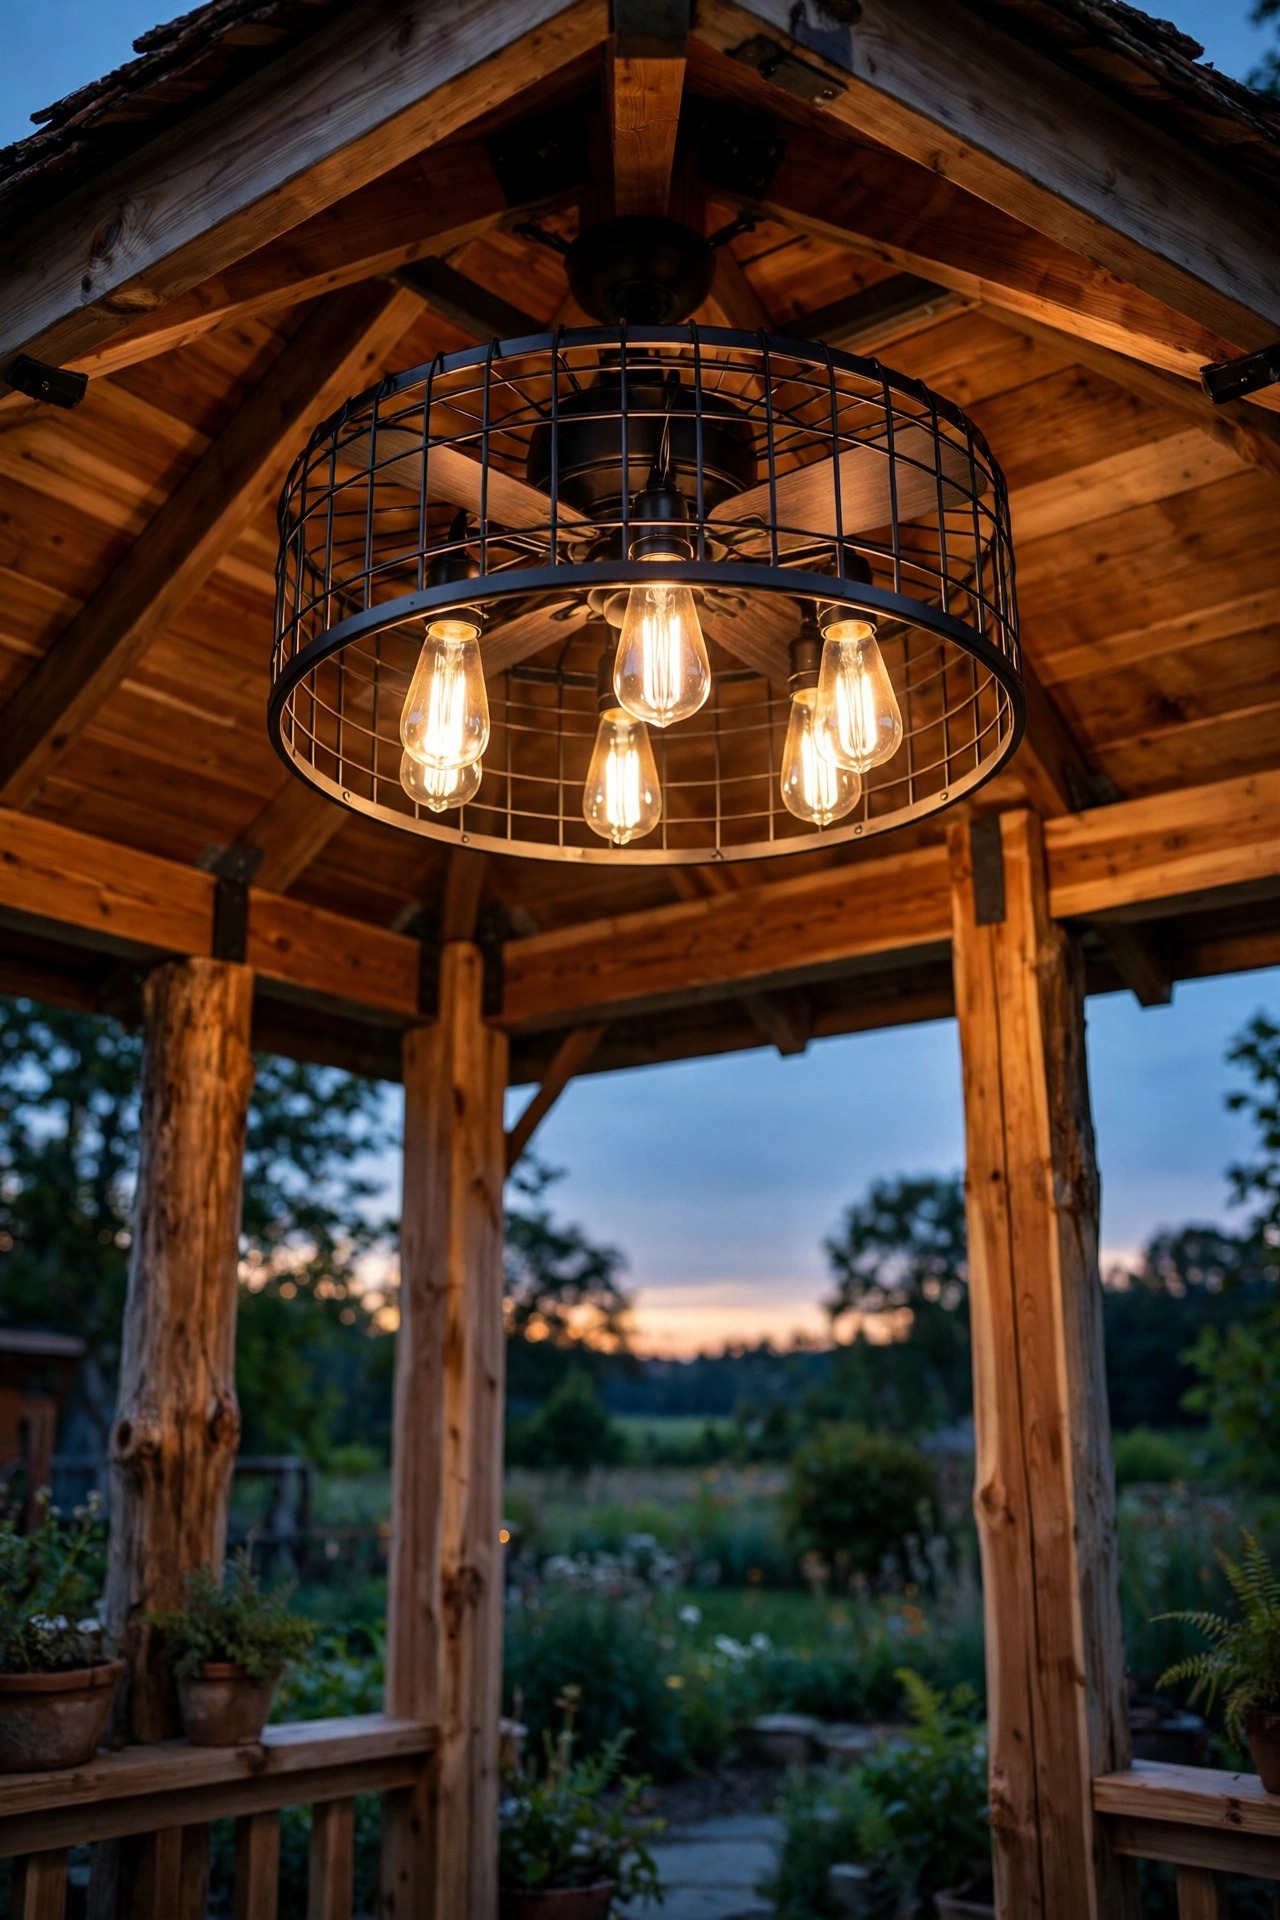
The farmhouse look translates beautifully to a gazebo: a matte black or oil-rubbed bronze fan, often with a simple metal cage around exposed filament-style LED bulbs and blades in a weathered wood tone. It's a natural partner for cedar posts, black lantern accents, and the galvanized planters so many of us already own. The cage does more than decorate — it protects the bulbs from the occasional bumped ladder or wind-blown cushion, which matters in an open structure. Choose filament LEDs at 2700K for that candlelight warmth, and put them on a dimmer because exposed filaments at full brightness can glare when you're seated beneath them. Metal-bodied fans hold up well outdoors as long as the finish is powder-coated and the rating is damp or wet; wipe the blades down a couple of times a season, because outdoor fans collect a surprising film of pollen and dust that dulls both the finish and the airflow. If your house exterior already leans farmhouse, this is the fan that will look like it was always part of the plan. Suggested budget range: $190 – $480.
8. Solar-Powered Ceiling Fan for Off-Grid Gazebos
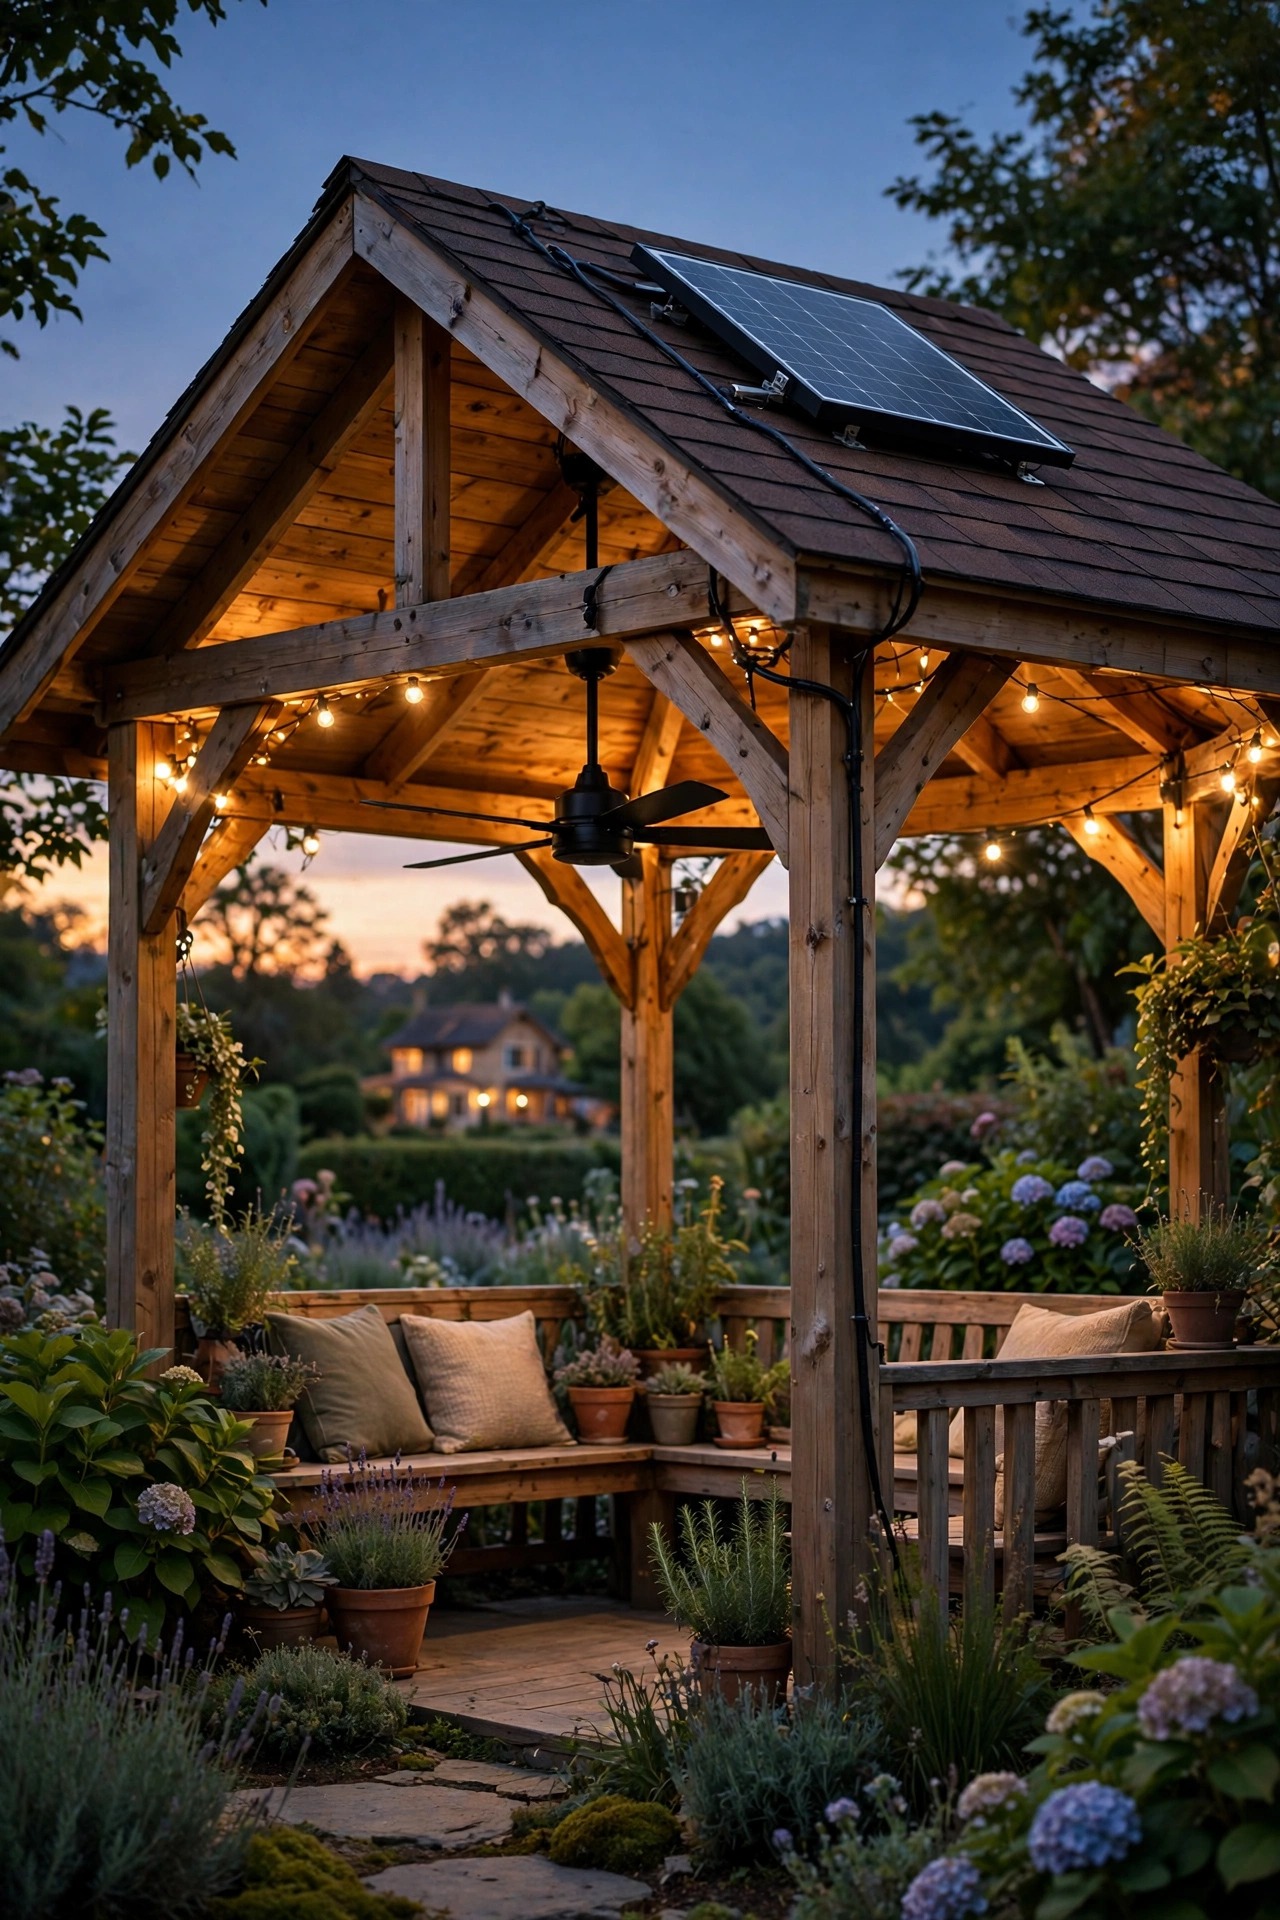
No power at the gazebo? A solar ceiling fan kit — a modest fan paired with a rooftop solar panel and a battery — gives you real moving air and a small LED light with zero trenching, conduit, or electrician bills. The panel mounts on the gazebo roof, ideally facing south, and charges during the day; most kits run 6 to 10 hours on a full charge, which covers an evening easily. Be honest with yourself about scale, though: these fans are smaller (typically 32 to 42 inches) and move less air than a wired 52-inch fan, and the light is a supporting glow, not a main source. I treat a solar fan as the comfort layer and pair it with solar string lights or lanterns so the whole setup is off-grid. It's a genuinely great answer for a gazebo placed far from the house, near a garden or pond, where running power would cost more than the structure did. On cloudy stretches, expect shorter runtimes — that's physics, not a defect. Suggested budget range: $120 – $350.
9. Battery Clip-On Fans Paired With Separate Lantern Light
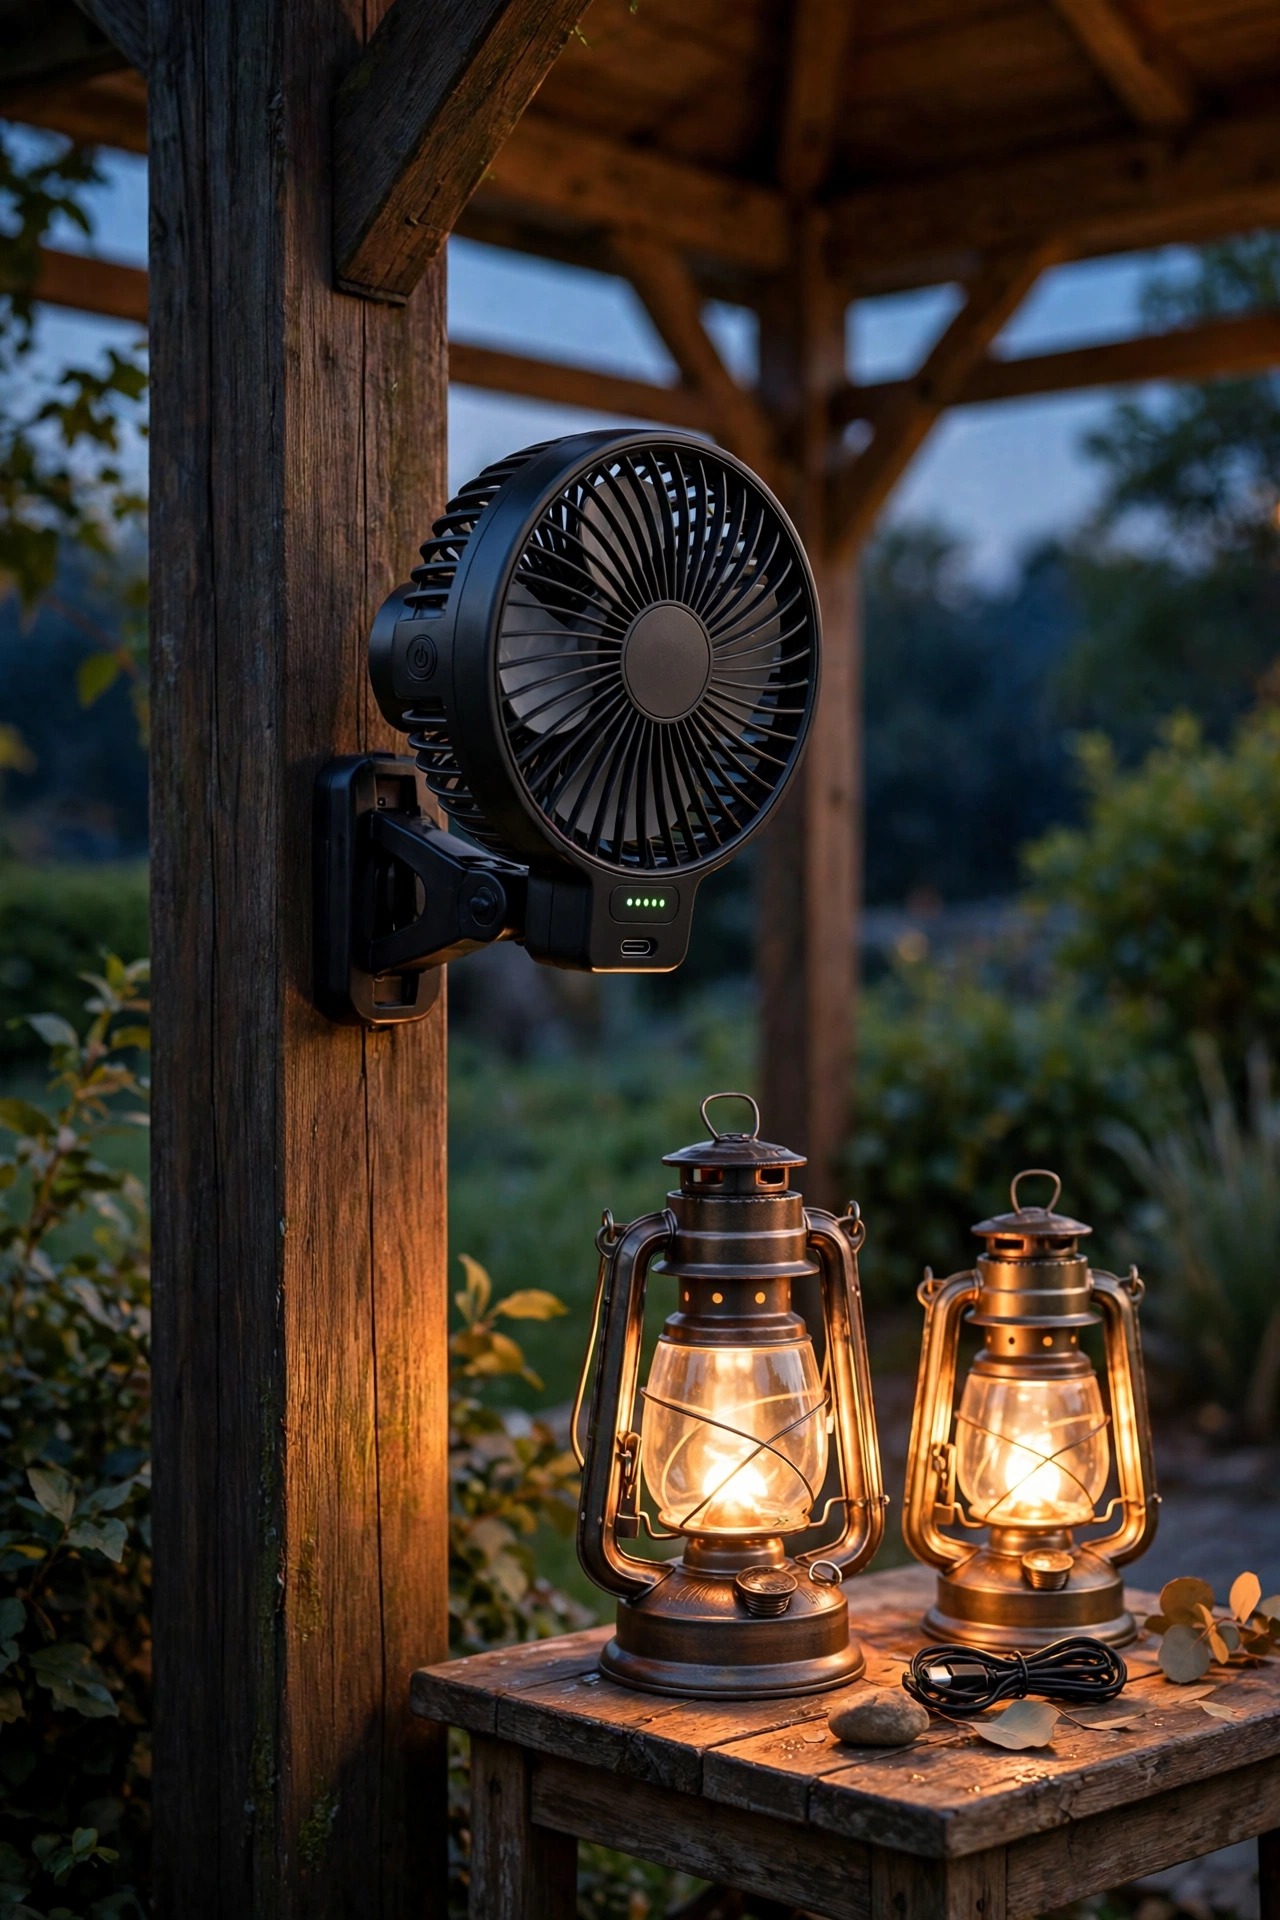
Renters, new homeowners, and anyone whose gazebo has no wiring and no budget for it yet: you can still have breeze plus light tonight. Rechargeable clip-on and clamp fans — the sturdy kind sold for workshops and camping — grip a post or rafter, run 8 to 20 hours per charge depending on speed, and move a surprising amount of air for their size. One at each end of the gazebo, aimed along the seating, beats one in the middle. Then handle the light separately with battery lanterns or a string of outdoor fairy lights, which honestly gives you more flexible layering than a single ceiling fixture would. The honest trade-offs: you'll be carrying fans in to charge, and two small fans won't match a real ceiling fan on a still, humid night. But as a $100 answer to "our gazebo is too hot and too dark," it's hard to beat, and everything you buy stays useful for camping and power outages later. Start here, upgrade when you're ready. Suggested budget range: $40 – $150.
10. String Lights Radiating Out From the Fan Hub
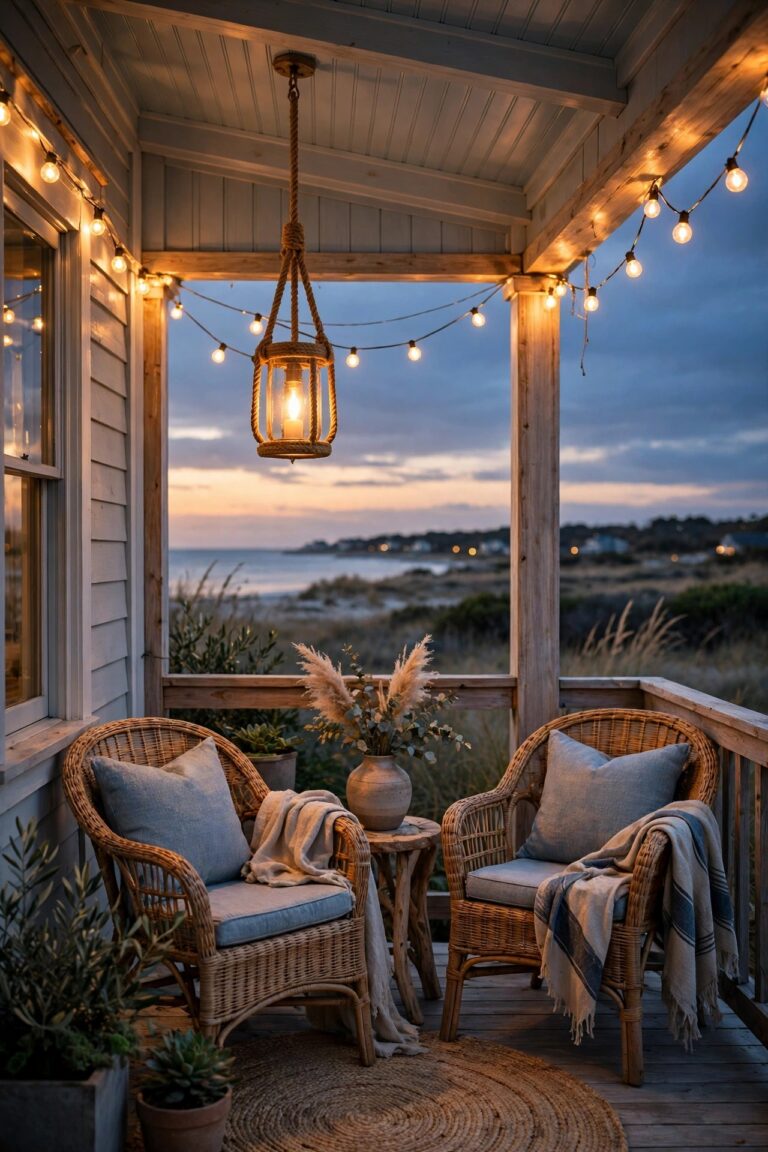
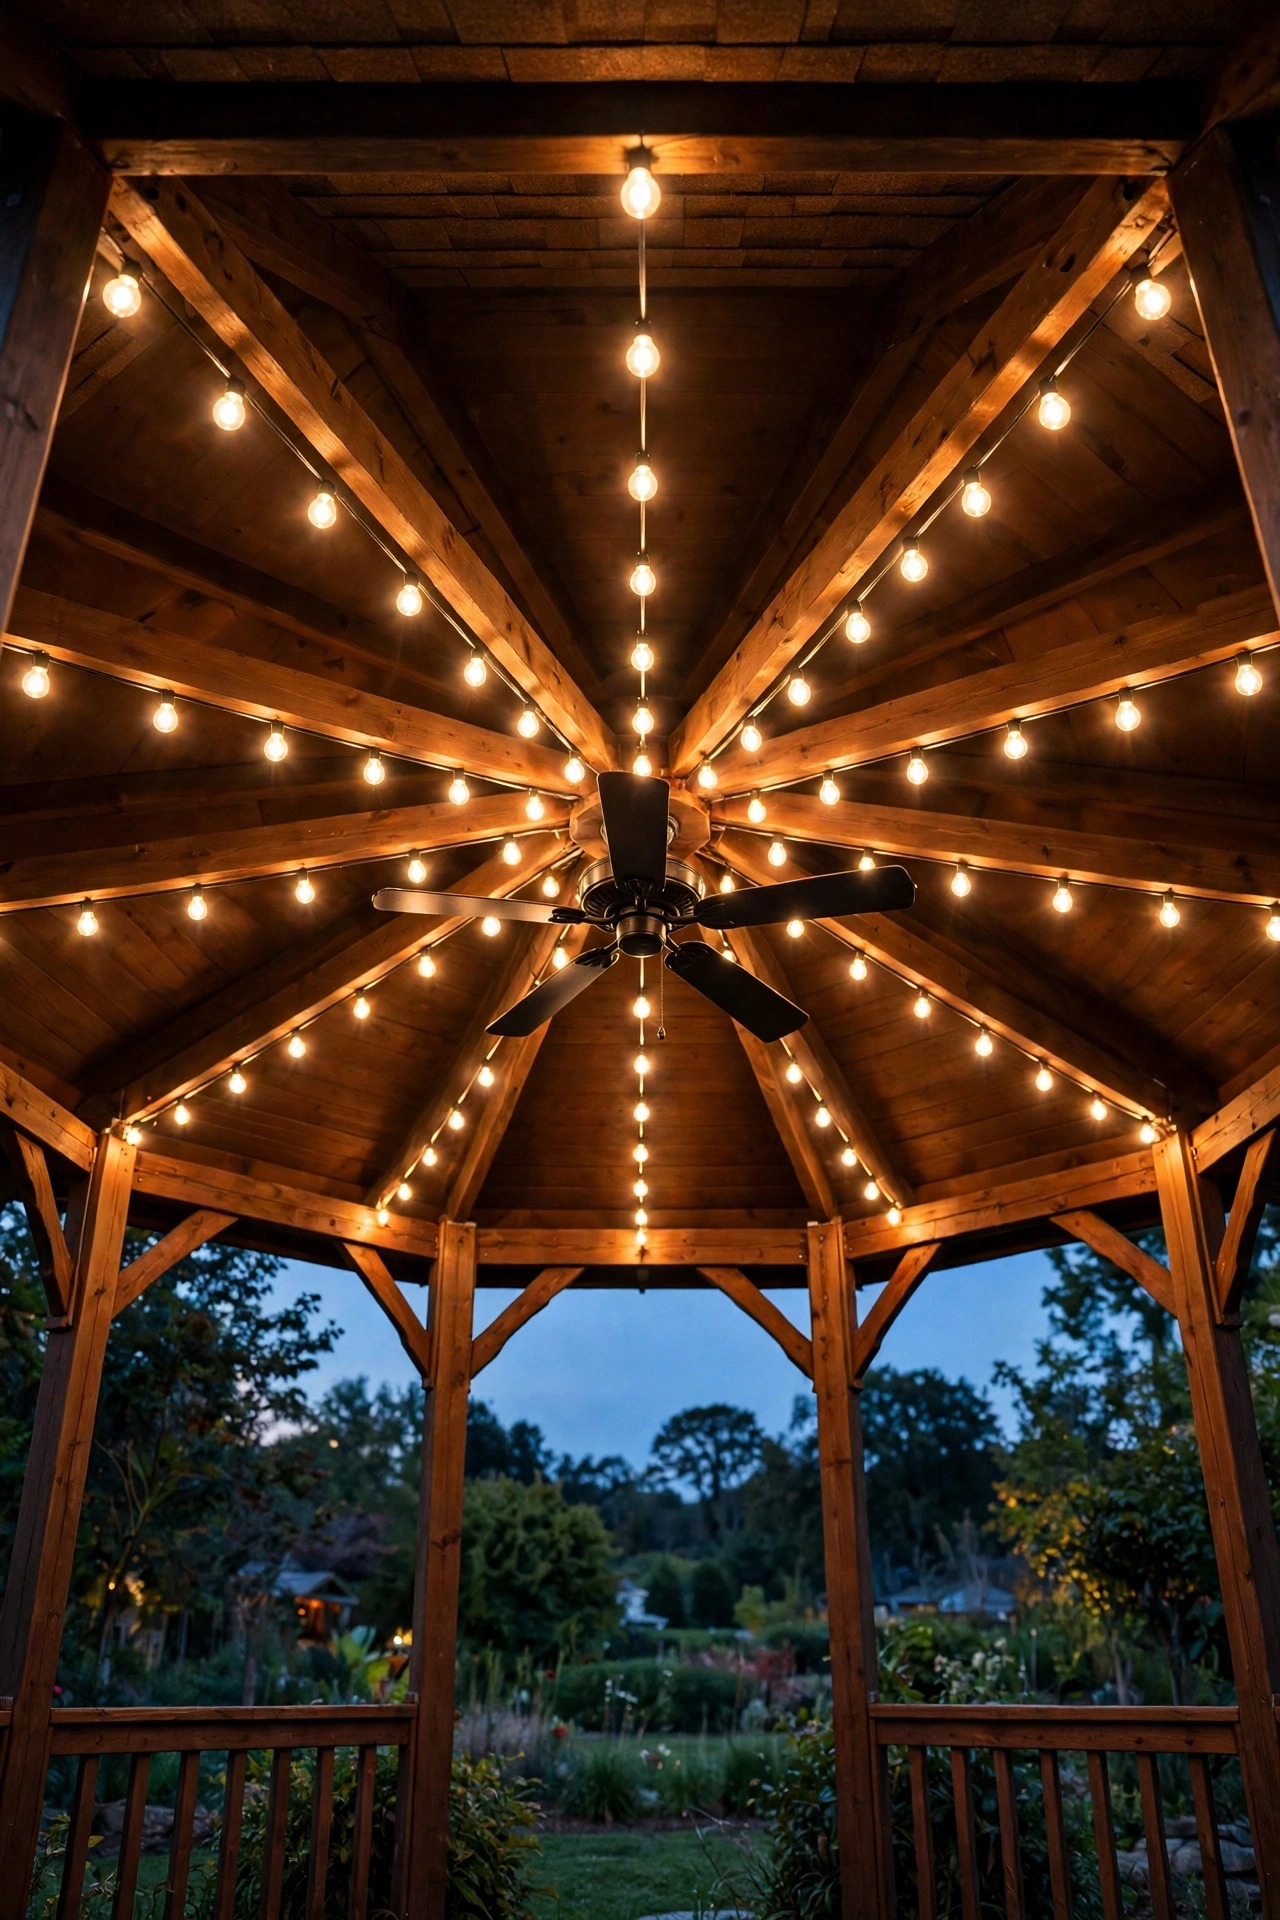
This is the look that gets saved to everyone's inspiration board: the ceiling fan in the center, and strands of string lights radiating out from around the fan mount to each post, like spokes. The fan light becomes the warm center of a star, and the whole ceiling glows. Two rules make it work safely. First, the strands must run outside the fan's blade diameter and sit a few inches above or below the blade plane — never where a swaying strand could drift into the blades; secure every strand with proper hooks or cable guides, not hope. Second, use shatterproof LED string lights rated for outdoor use, in the same 2700K family as your fan light so the layers match. I like a gentle swag — about 6 to 8 inches of dip on a typical run — rather than pulling strands drum-tight, which looks tense and stresses the sockets. On a dimmer or smart plug, this layer alone can carry a quiet weeknight; with the fan light on too, you're ready for a full dinner party. Suggested budget range: $35 – $120.
11. LED Strip Lights Hidden Along the Rafters
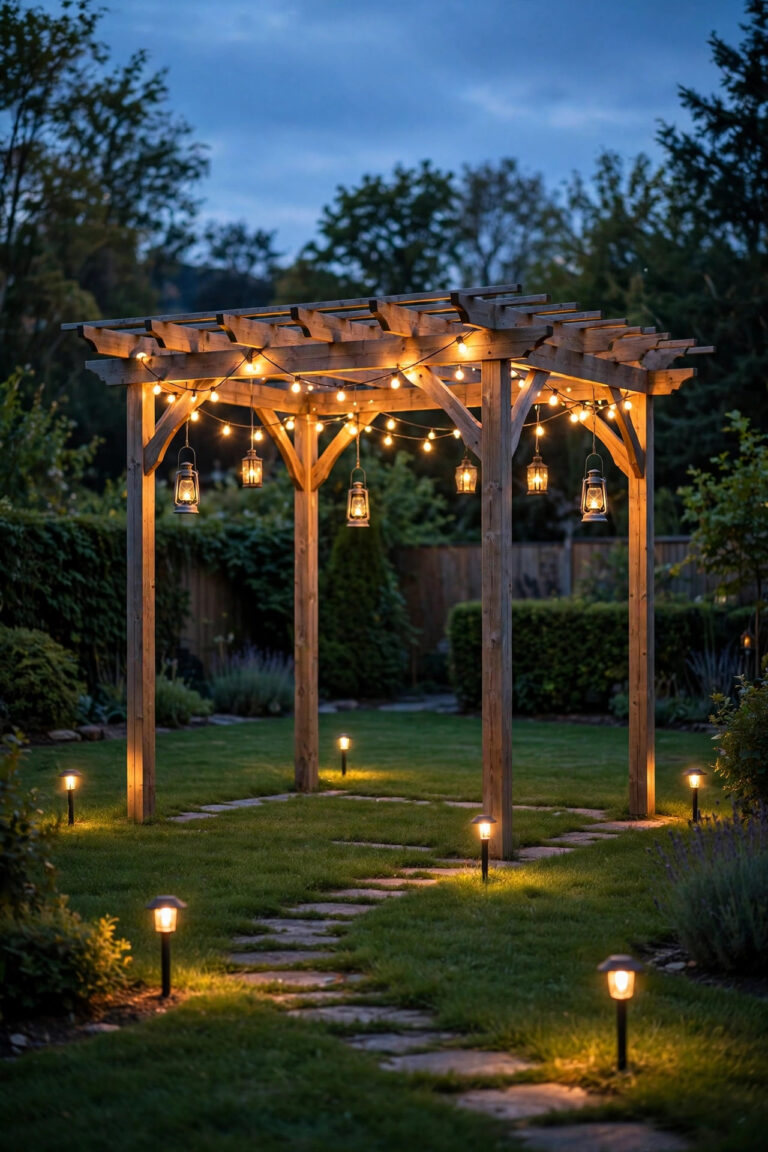
If string lights are the jewelry, hidden LED strips are the architecture. Run outdoor-rated LED strip lights (IP65 or better) in an aluminum channel along the underside of the rafters or the ring beam, facing up or sideways so you see the wash of light, not the diodes. The result is a soft, even glow that outlines the whole ceiling structure and makes a gazebo look twice as expensive at night. Strips pair beautifully with a ceiling fan because they fill in exactly what a center light can't: the edges. No more dark corners at the posts, no more silhouetted guests. Put the strips on their own dimmer or smart switch, separate from the fan light, so you can run glow-only on movie nights. In my experience, warm 2700K strips at about half brightness are the sweet spot — full blast reads commercial. I use the exact same hidden-strip trick in my pergola lighting ideas, and it works just as well there. Keep the power supply and any connections inside a weatherproof box, and buy the channel — bare strip glued to wood peels by August. Suggested budget range: $50 – $180.

12. Lantern Sconces Mounted on the Gazebo Posts
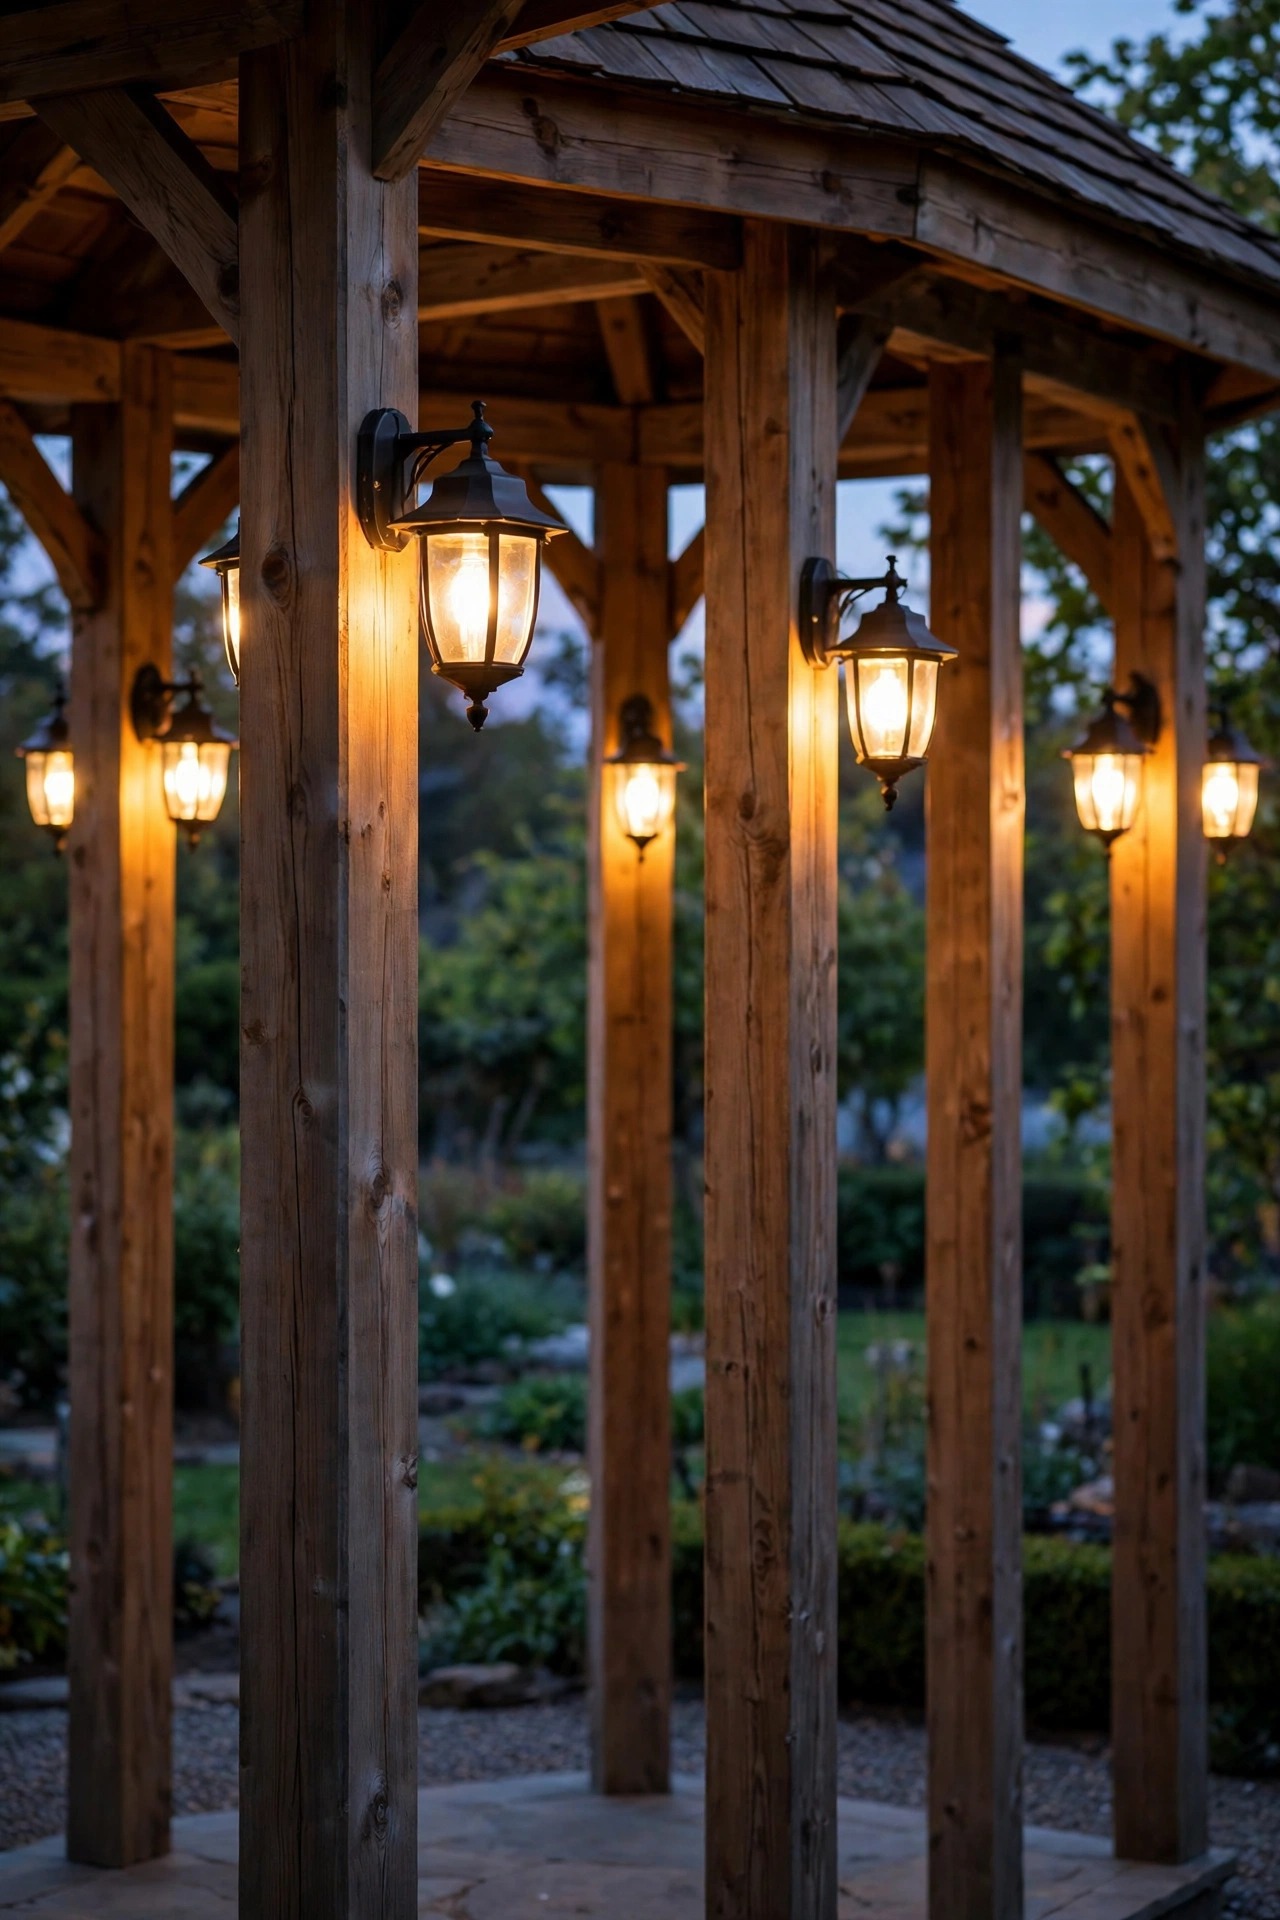
A center fan light, however good, leaves faces shadowed when people sit with their backs to it. The classic fix is light at the perimeter: a lantern-style sconce mounted on each post at about 5½ to 6 feet up, right around seated eye level. Suddenly every seat has its own warm pool of light, and the gazebo reads as a ring of glow from across the yard — honestly one of the prettiest views in my whole garden at night. Hardwired sconces are the polished option if you're already running power for the fan; solar post lanterns are the zero-wiring version and have gotten genuinely good, as long as the little panels get a few hours of sun. Battery lanterns on post hooks are the flexible middle ground. Match the lantern finish to your fan — black with black, bronze with bronze — so the ceiling and the posts feel like one designed system. I go deeper on post and perimeter fixtures in my main gazebo lighting ideas roundup, if you want more options for this layer. Suggested budget range: $60 – $240.
13. Wire the Fan and the Light on Separate Controls
Here's an upgrade most people don't think of until they've lived with a gazebo fan for one summer: put the fan motor and the light on separate controls. With a single switch or one remote button cycling everything, you're stuck with all-or-nothing — but real evenings aren't like that. On a bright twilight, you want breeze with no light at all. In October, you want the warm light on and the fan off. Separate control means a dual fan/light wall switch, a two-channel remote, or separate smart switches, and it changes how often you actually use the space. If you're running new wiring, this is a five-minute conversation with your electrician and a few dollars of hardware; as a retrofit, many fans accept a universal remote kit that splits fan and light control even on a single power feed. One non-negotiable either way: the fan must hang from a fan-rated electrical box anchored to the structure — a standard light box is not rated for a fan's weight and vibration. It's the least glamorous line in this whole post, and the most important. Suggested budget range: $75 – $350.

14. Remote and Smart Controls You'll Actually Use
The best gazebo setup is the one you don't have to get up from the hammock to run. A simple handheld remote handles fan speed and light dimming from your chair, and it's the single accessory I'd never skip. From there, smart control is a small step: a smart fan switch or a plug-in smart bridge lets you run the fan and light from your phone or voice assistant, set the light to fade on at sunset, and schedule the fan to start an hour before your usual evening sit. I use a schedule more than any voice command — the gazebo is simply on, glowing and breezy, when we wander out with drinks. Two practical notes. First, your Wi-Fi has to actually reach the gazebo; test it with your phone out there, and if it's weak, stick with the radio-frequency remote, which works through walls and posts without any network. Second, keep the physical remote in a weatherproof box on a post, because a remote that lives in the house is a remote that never gets used. Suggested budget range: $30 – $150.

15. Tunable-White and Color-Changing Light Kits
Some fan light kits — and plenty of replacement LED modules — let you tune the color temperature, sliding from a candle-warm 2700K up to a crisp 5000K daylight. It sounds like a gimmick until you use a gazebo for more than dining. Warm for dinner and drinks, a notch cooler and brighter for board games, craft projects, or cleaning up after a party — one fixture, several rooms' worth of moods. Full color-changing kits go further, and I'll be honest: the colors come out for the Fourth of July and kids' birthdays, and then we live at warm white the other 360 days. That's fine — the value is in the tuning, not the rainbow. If your current fan has a dull or too-blue light, a replacement tunable LED module is one of the cheapest upgrades in this entire list and takes about fifteen minutes with a screwdriver. Just match every other layer — strips, strings, lanterns — to the fan's warm setting most of the time, because mismatched color temperatures side by side look like a mistake, not a choice. Suggested budget range: $35 – $140.
16. Misting Ceiling Fan for Seriously Hot Evenings
In genuinely hot climates — the kind where a fan alone just moves warm air around — a misting ceiling fan is the heavy artillery. A fine ring of nozzles around the fan sends out an ultra-fine mist that the blades spread and evaporate, dropping the felt temperature noticeably without soaking anyone when it's set up right. Most kits connect to a garden hose or a small pump and reservoir. Setup details matter: the mist should evaporate before it lands, so run it on lower fan speeds first and adjust nozzle flow, and keep the mist path away from the light fixture and any electronics. Hard water will clog nozzles over a season; a vinegar soak in the fall keeps them clear. I'd skip misting over a wooden dining table you care about and near cushions that stay out all season, but over a stone floor with casual furniture, on a 100-degree Texas or Arizona evening, it turns an unusable gazebo into the best seat in the yard. Budget for the fan-plus-mist kit as one purchase rather than a retrofit. Suggested budget range: $150 – $400.

17. Flameless Candles and Lanterns That Survive the Breeze
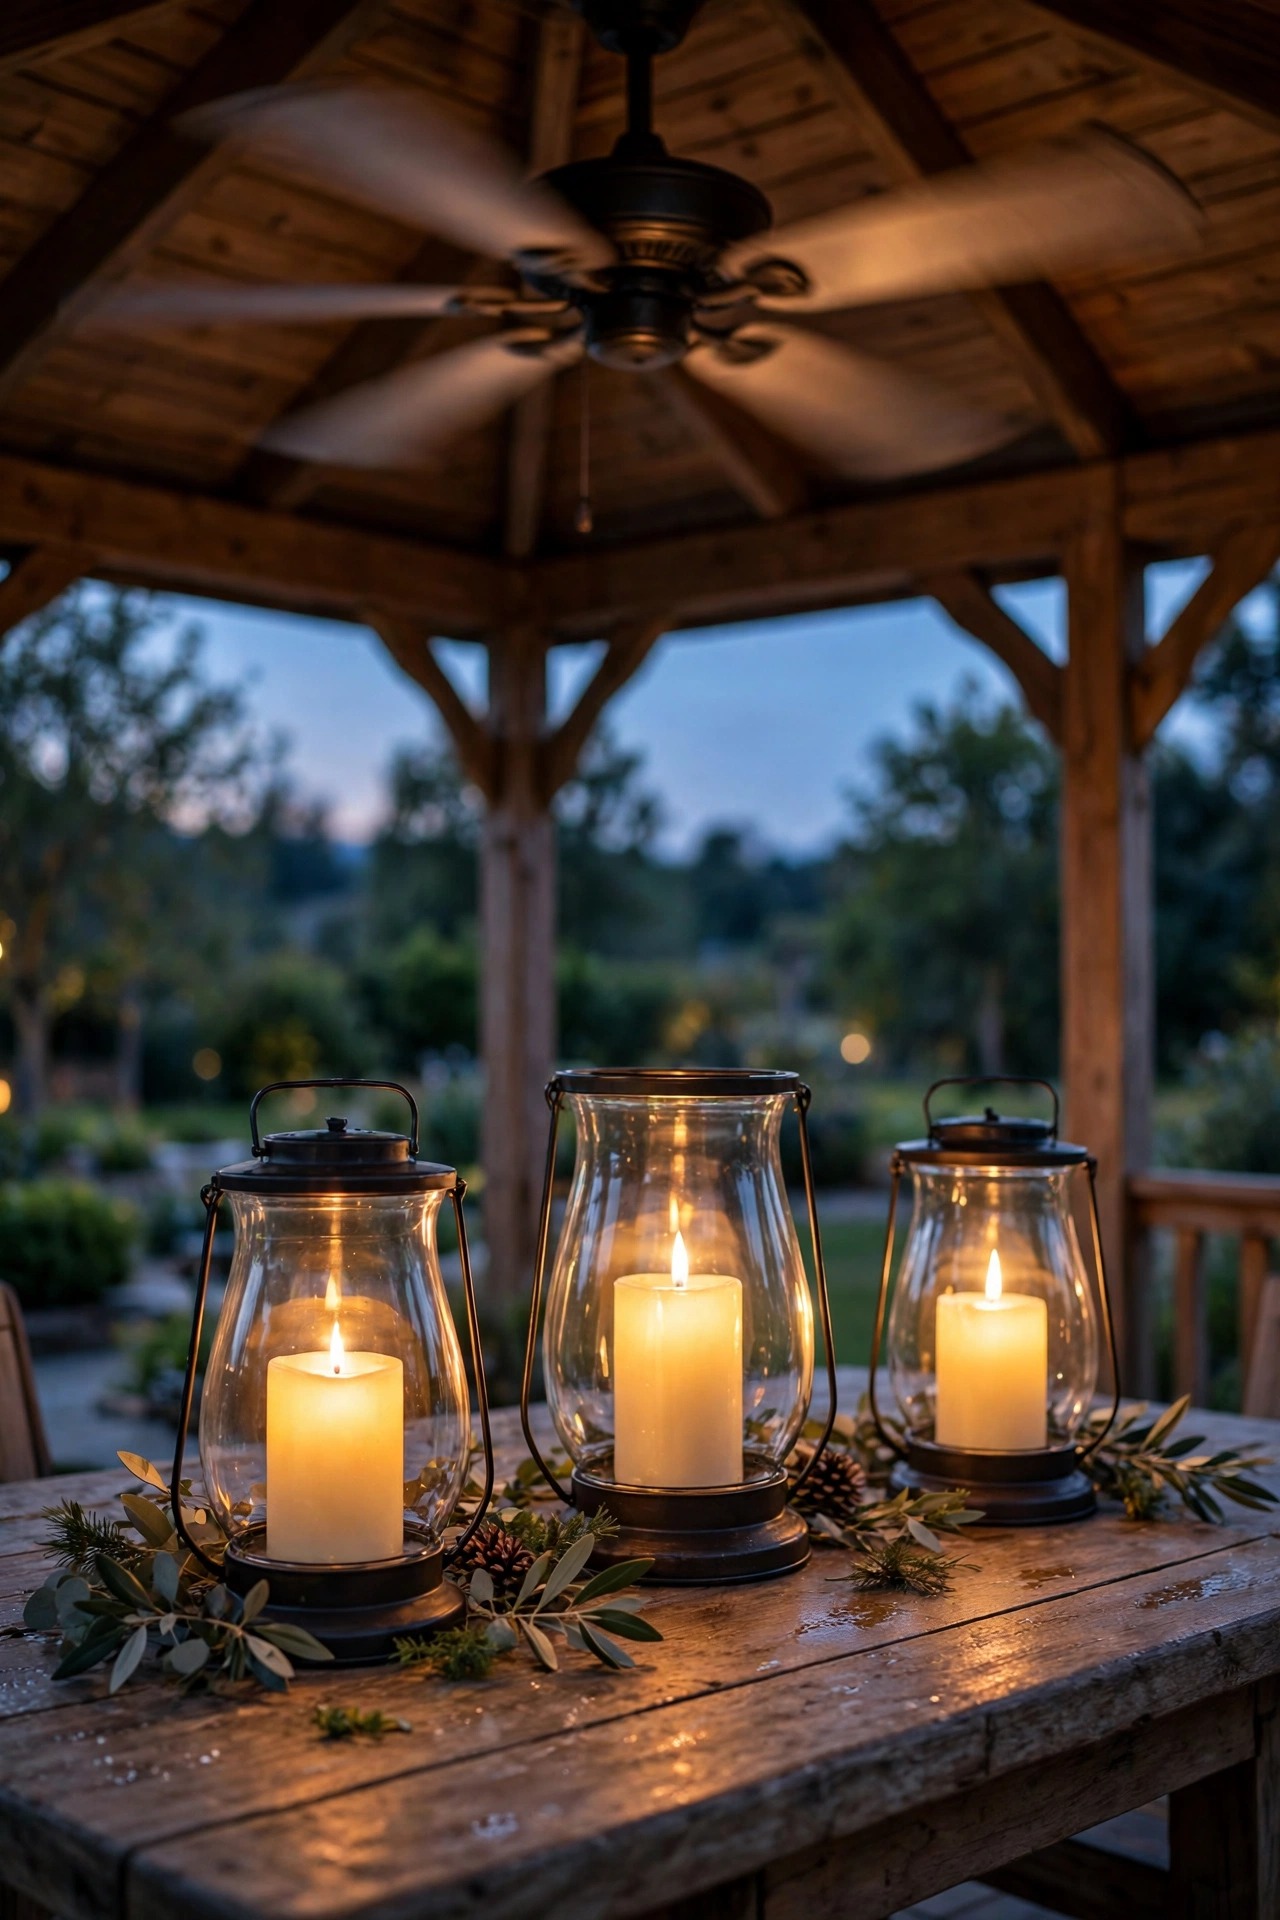
A quick, slightly sad truth: real candles and ceiling fans do not mix. The same breeze that keeps you comfortable makes open flames gutter, smoke, and blow out — and a tipped candle near dry cushions is a risk nobody needs. The good news is that modern flameless candles are genuinely convincing: flickering LED flames, real wax bodies, and timers that turn them on at dusk for five hours and shut themselves off. Cluster three or five in hurricane lanterns on the table or along the railing and you get the candlelit look with the fan happily spinning overhead. Weight matters outdoors — choose lanterns with some heft, or add a little sand in the base, so a gust through the gazebo doesn't slide them around. This is also my favorite layer for renters and solar-only gazebos, because it needs no power at all and travels to the picnic table or the fire pit whenever you want it to. Set the timers once in spring and the gazebo simply glows a little every single evening, whether you remember or not. Suggested budget range: $25 – $90.
18. Dusk-to-Dawn and Timer Controls So It Runs Itself
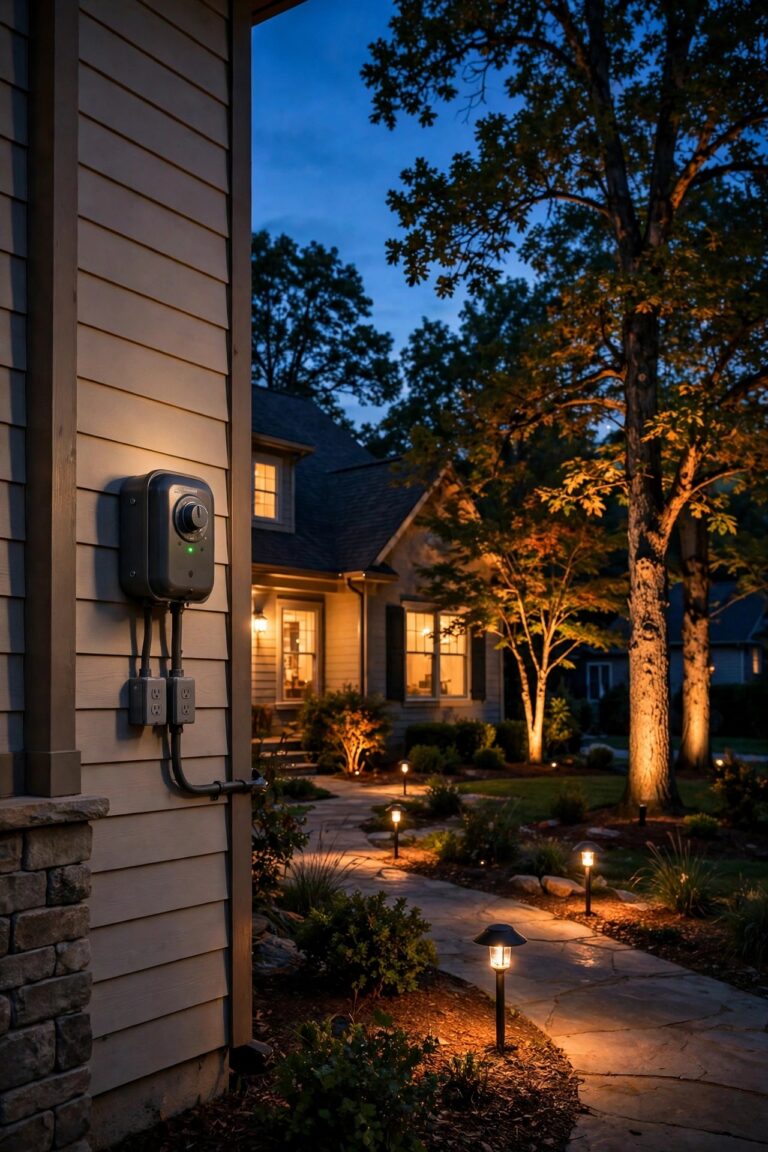
The loveliest gazebo is the one that's already glowing when you step outside, and automatic controls make that happen without a thought. A photocell on the light layer turns fixtures on at dusk and off at dawn; a timer or smart schedule does the same on a clock, which I prefer in summer when dusk drifts later every week. My own setup: the post lanterns and string lights come on at sunset on a smart schedule, the fan light stays manual (we turn it on when we sit down), and the fan itself runs on a timer for the two hours after dinner so nobody forgets it spinning all night. Automation is also a real energy saver — LED layers use so little power that the cost of leaving them on by accident is mostly about light pollution and burned-out hours, but a schedule ends that entirely. And if you travel, a gazebo that lights itself every evening makes the house look lived-in from the street. Small hardware, daily payoff. Suggested budget range: $20 – $120.

19. Layered Gazebo Ceiling Fan Light Ideas: The Full Breezy-Night Setup
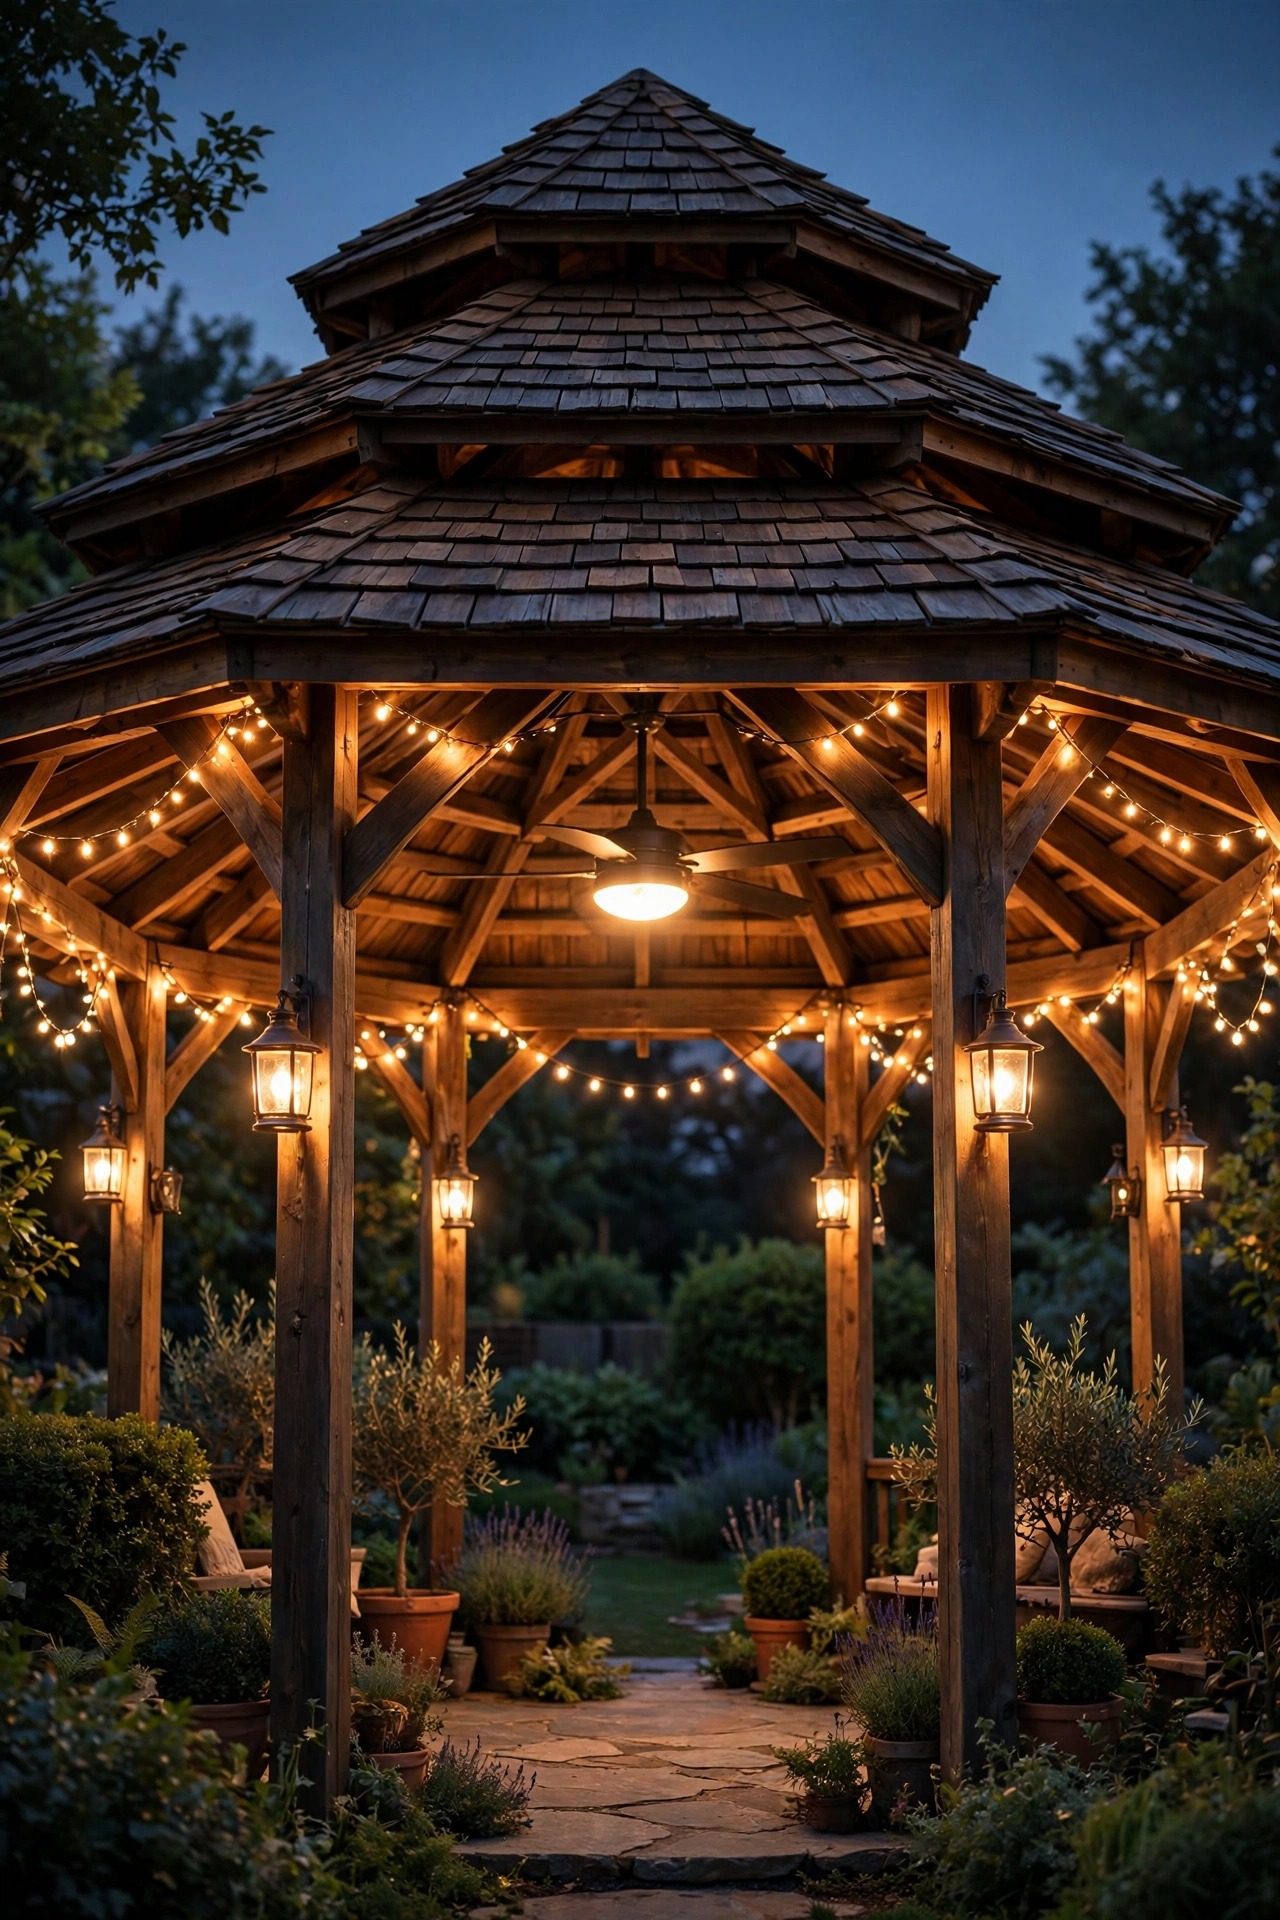
If I were building one gazebo from scratch tomorrow, this is the exact recipe I'd follow. Center: a 52-inch damp-rated fan with a dimmable 2700K integrated light, on separate fan and light controls, mounted so the blades sit about 8½ feet up. Ambient layer: hidden LED strips along the rafters on their own dimmer, plus string lights swagged post to post — not both at full blast, just enough to erase the dark corners. Perimeter: lantern sconces on the posts so every seat has light at face level. Table: a cluster of flameless candles in hurricanes for the flicker no bulb can fake. Automation: lanterns and strings on a sunset schedule, fan on a remote that lives in a weatherproof box on the post. Nothing in that list is exotic, and that's the point — five modest layers, each dimmable or switchable on its own, add up to a gazebo that feels like a small resort pavilion. Buy the fan first, live with it a month, then add layers in the order above as budget allows. Suggested budget range: $450 – $1,200.
Frequently Asked Questions
Can I use an indoor ceiling fan in a gazebo?
I really wouldn't. Indoor fans aren't sealed against humidity, so the motor corrodes, the finish fails, and wood blades absorb moisture and sag within a season or two. Outdoor fans carry a damp rating (fine under a solid roof) or a wet rating (safe with direct rain exposure), and that rating is what keeps the fan safe and under warranty. An indoor fan outdoors is a false economy.
What size ceiling fan do I need for a 12×12 foot gazebo?
A 52-inch fan is the right match for a 12×12 (144 square foot) gazebo. Look for at least 4,000 CFM of airflow on high, and mount it so the blades sit 8 to 9 feet above the floor — use a short downrod or flush mount to land in that zone. If your gazebo is hexagonal with seating pushed to the edges, good perimeter lighting matters as much as fan size.
How can I power a ceiling fan in a gazebo with no electricity?
You have three honest options: a solar fan kit with a roof panel and battery (smaller, gentler airflow), rechargeable clip-on fans paired with battery lanterns (cheapest, most flexible), or hiring an electrician to run a buried conduit line with GFCI protection from the house (the only route to a full-size wired fan). Never run an extension cord as a permanent solution — it's a trip and weather hazard.
What color temperature is best for gazebo lighting?
Warm white, 2700K to 3000K, for every layer — fan light, strips, strings, and lanterns. It flatters skin, food, and wood, and it doesn't attract bugs the way harsh blue-white light does. If you choose a tunable kit, treat 2700K as home base and only go cooler for short bursts of task lighting like games or cleanup.
Conclusion
A great gazebo evening comes down to moving air plus light that comes from more than one direction. Start with the right fan, sized and rated for your structure, then add the layers — rafter glow, post lanterns, a little tabletop flicker — until the whole space feels warm and effortless. These gazebo ceiling fan light ideas are meant to be mixed, not matched perfectly, so take the two or three that fit your budget and your climate and build from there. And when you're ready to keep going, browse the rest of my outdoor lighting ideas here on the site — your backyard's best summer room is closer than you think.