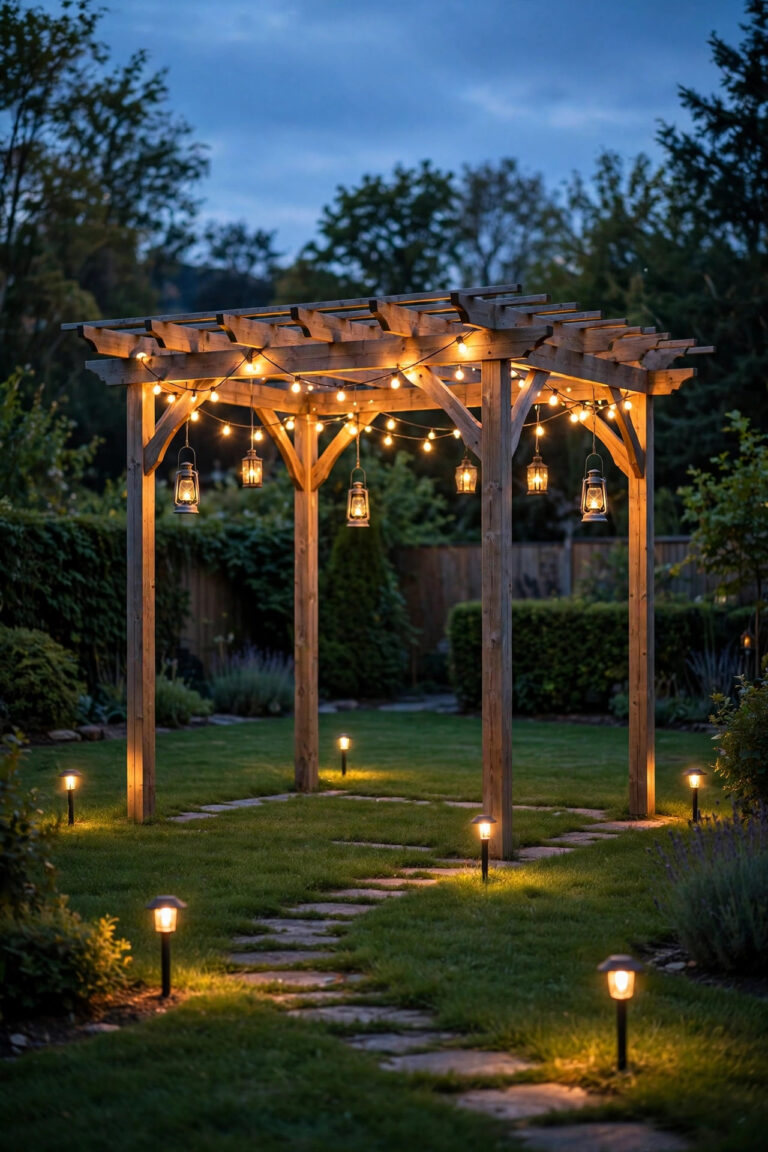
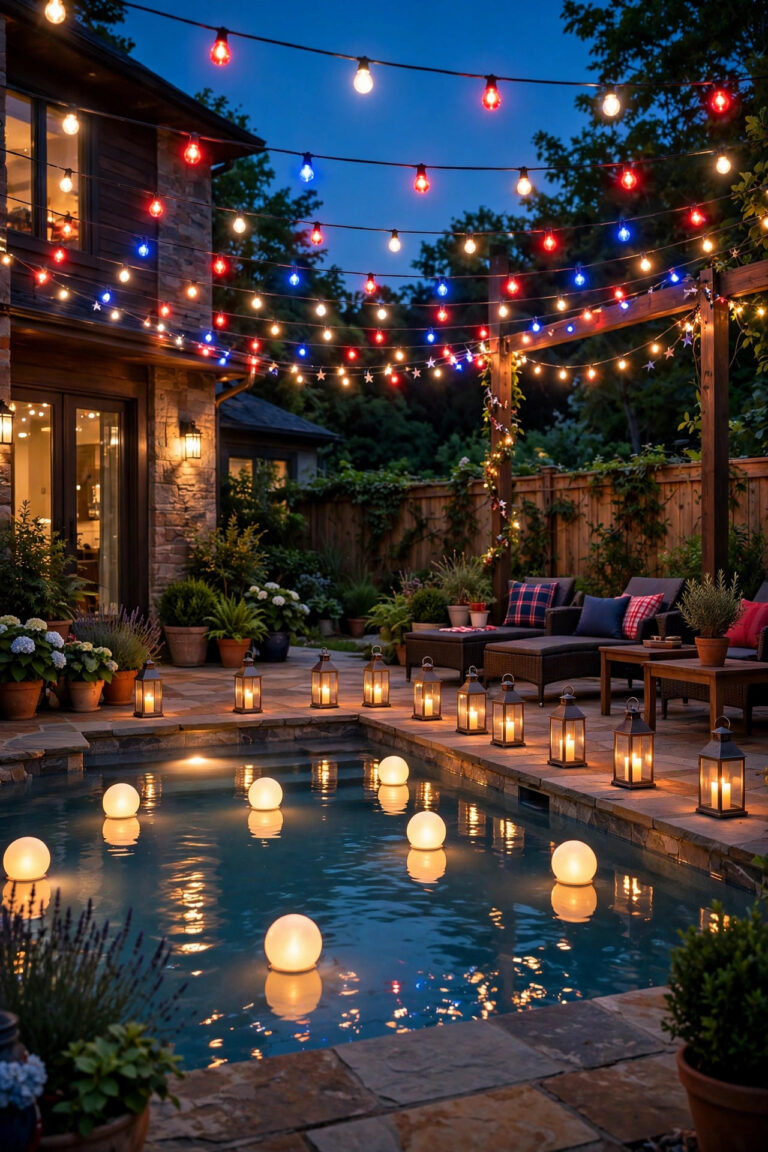
A hardtop gazebo is the one backyard structure that truly earns its keep in every season. That solid metal roof shrugs off summer downpours, holds up under a dusting of snow, and turns a rainy October evening into the coziest seat in the yard. The only problem? Most go dark by eight o'clock. After testing setups on my own gazebo through two full years of weather, I have landed on the hardtop gazebo lighting ideas that actually survive real life: hardwired fixtures the solid frame can carry, solar pieces that never need an outlet, and layers you can swap with the seasons. My rule is the one I use everywhere outdoors: layer the light. Something overhead, warmth at eye level, a little guidance down low. Inside are 21 ideas, from a $15 strand of fairy lights to a proper ceiling fan, plus the winter-proofing details that keep everything working in January. If you want the broader overview first, my general gazebo lighting ideas post covers the basics.
1. Hardtop Gazebo Lighting Ideas Start With Café String Lights
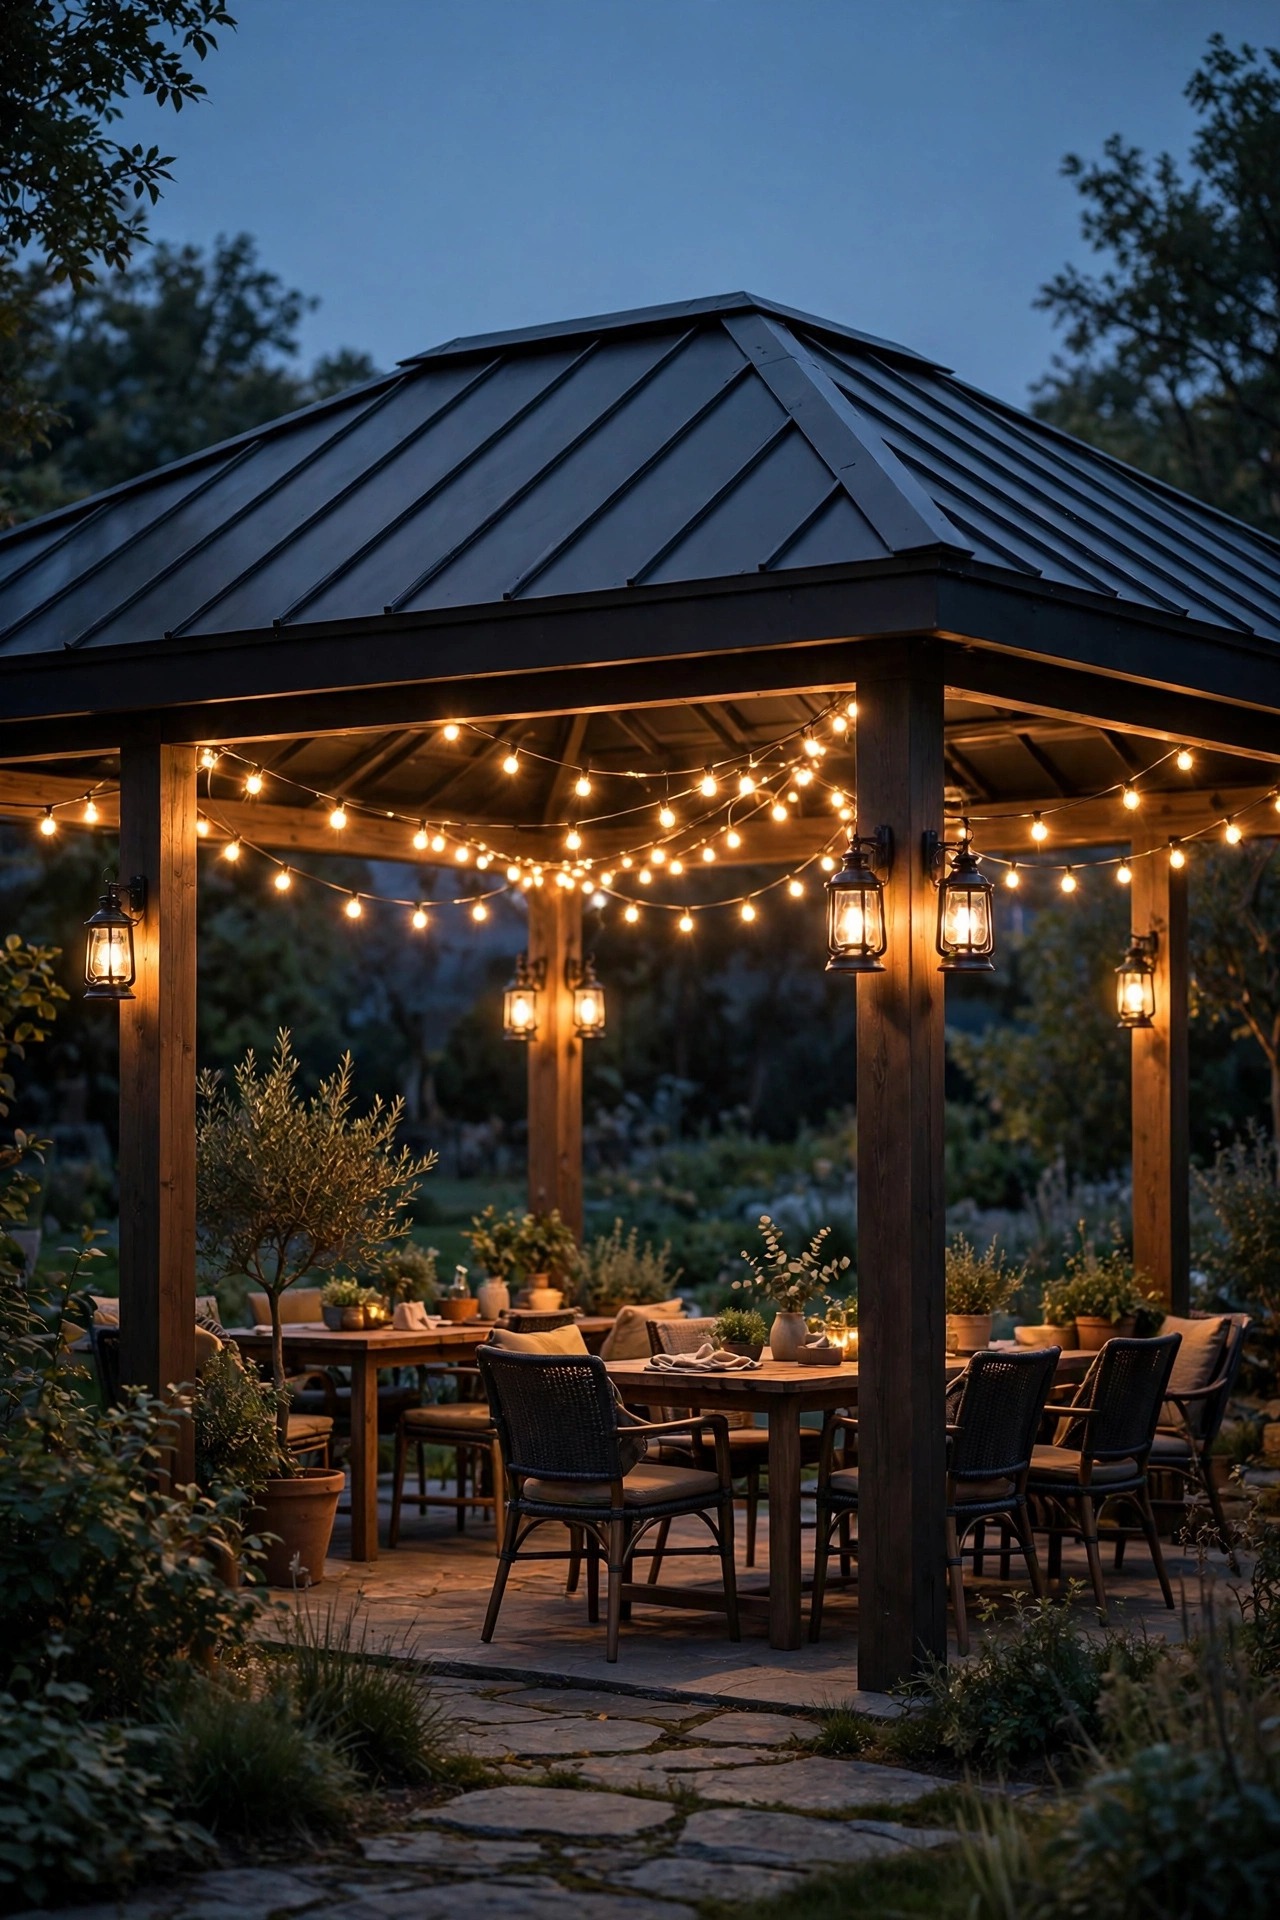
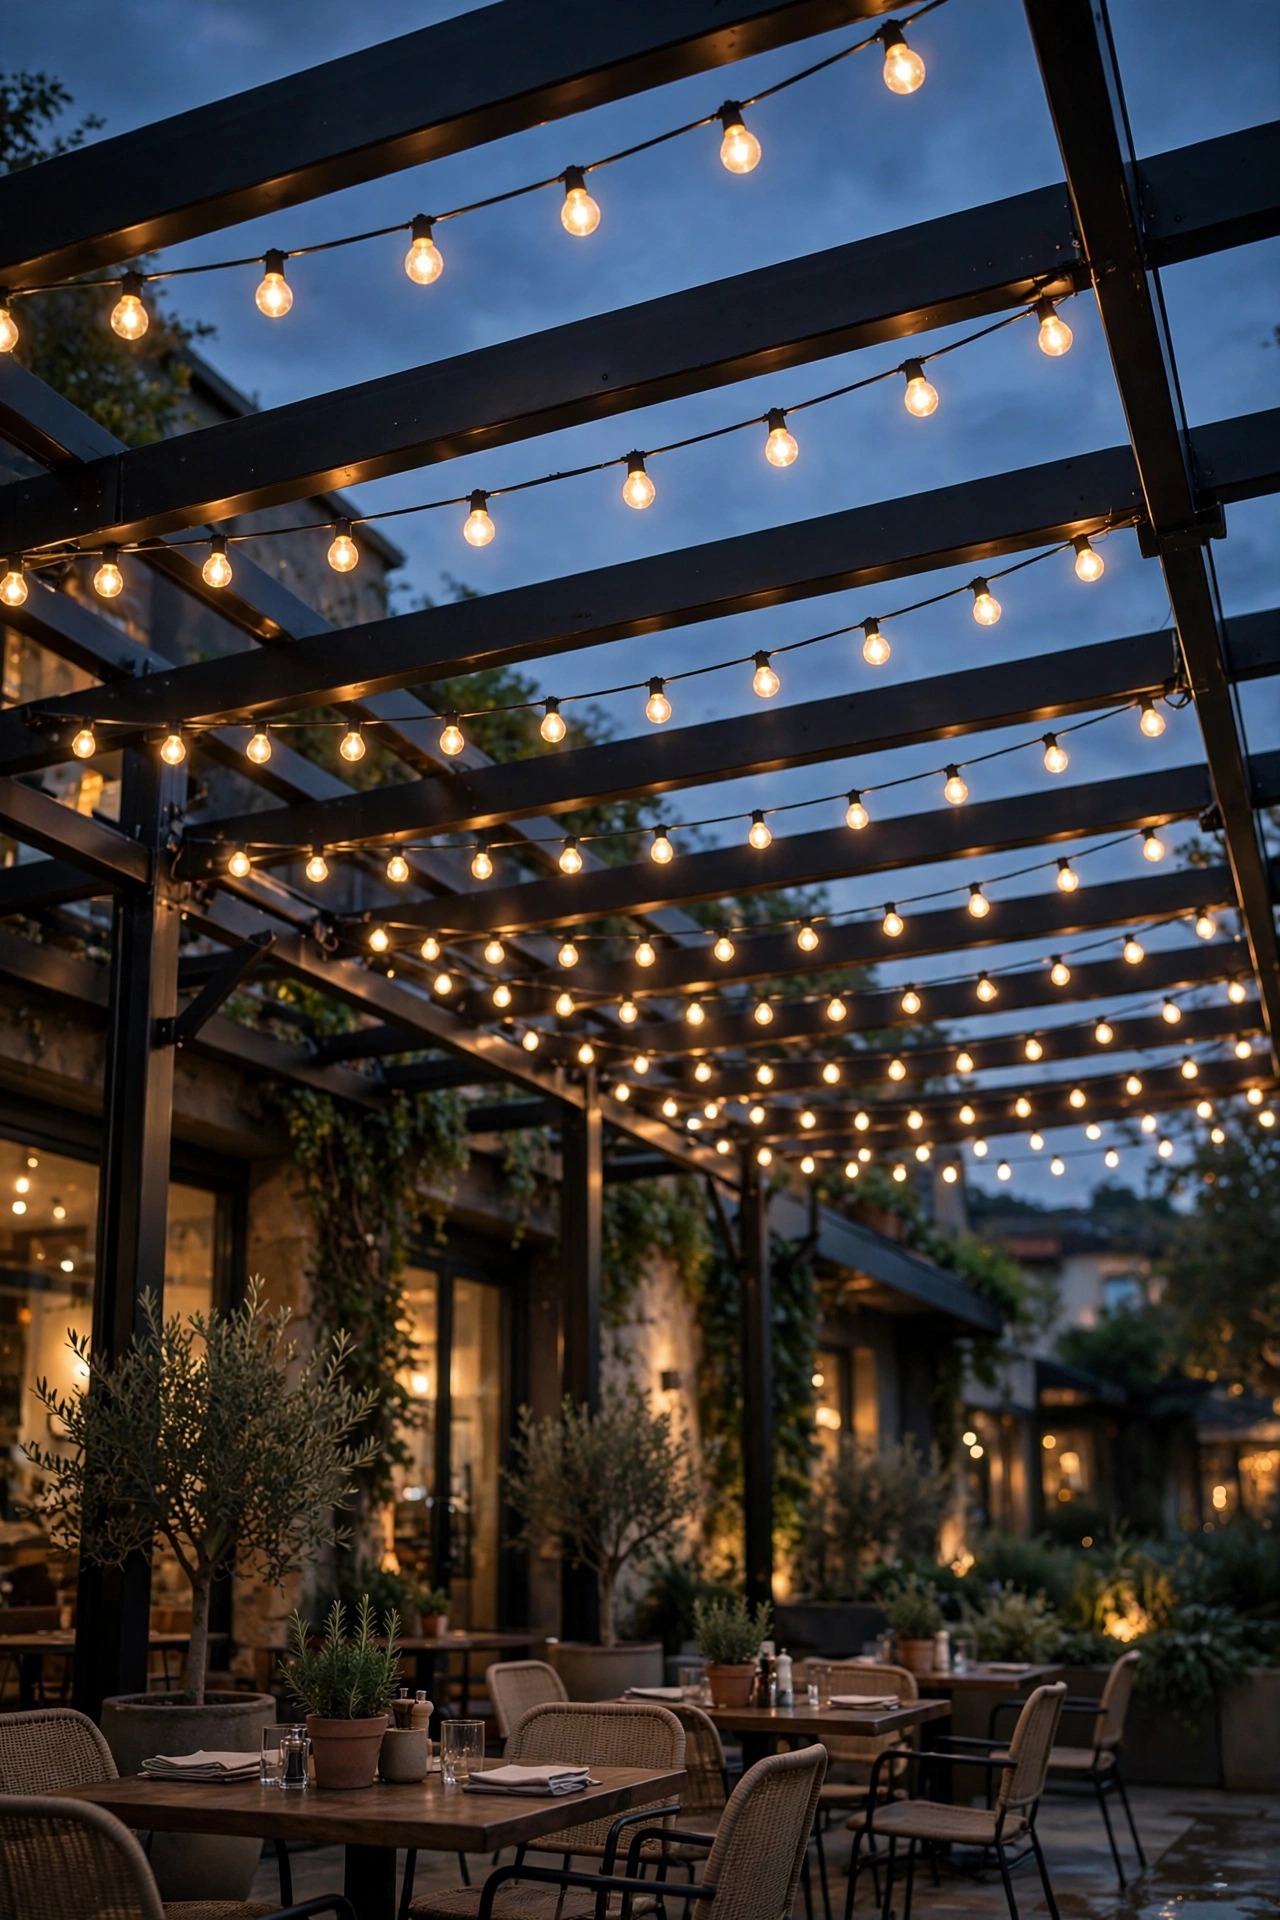
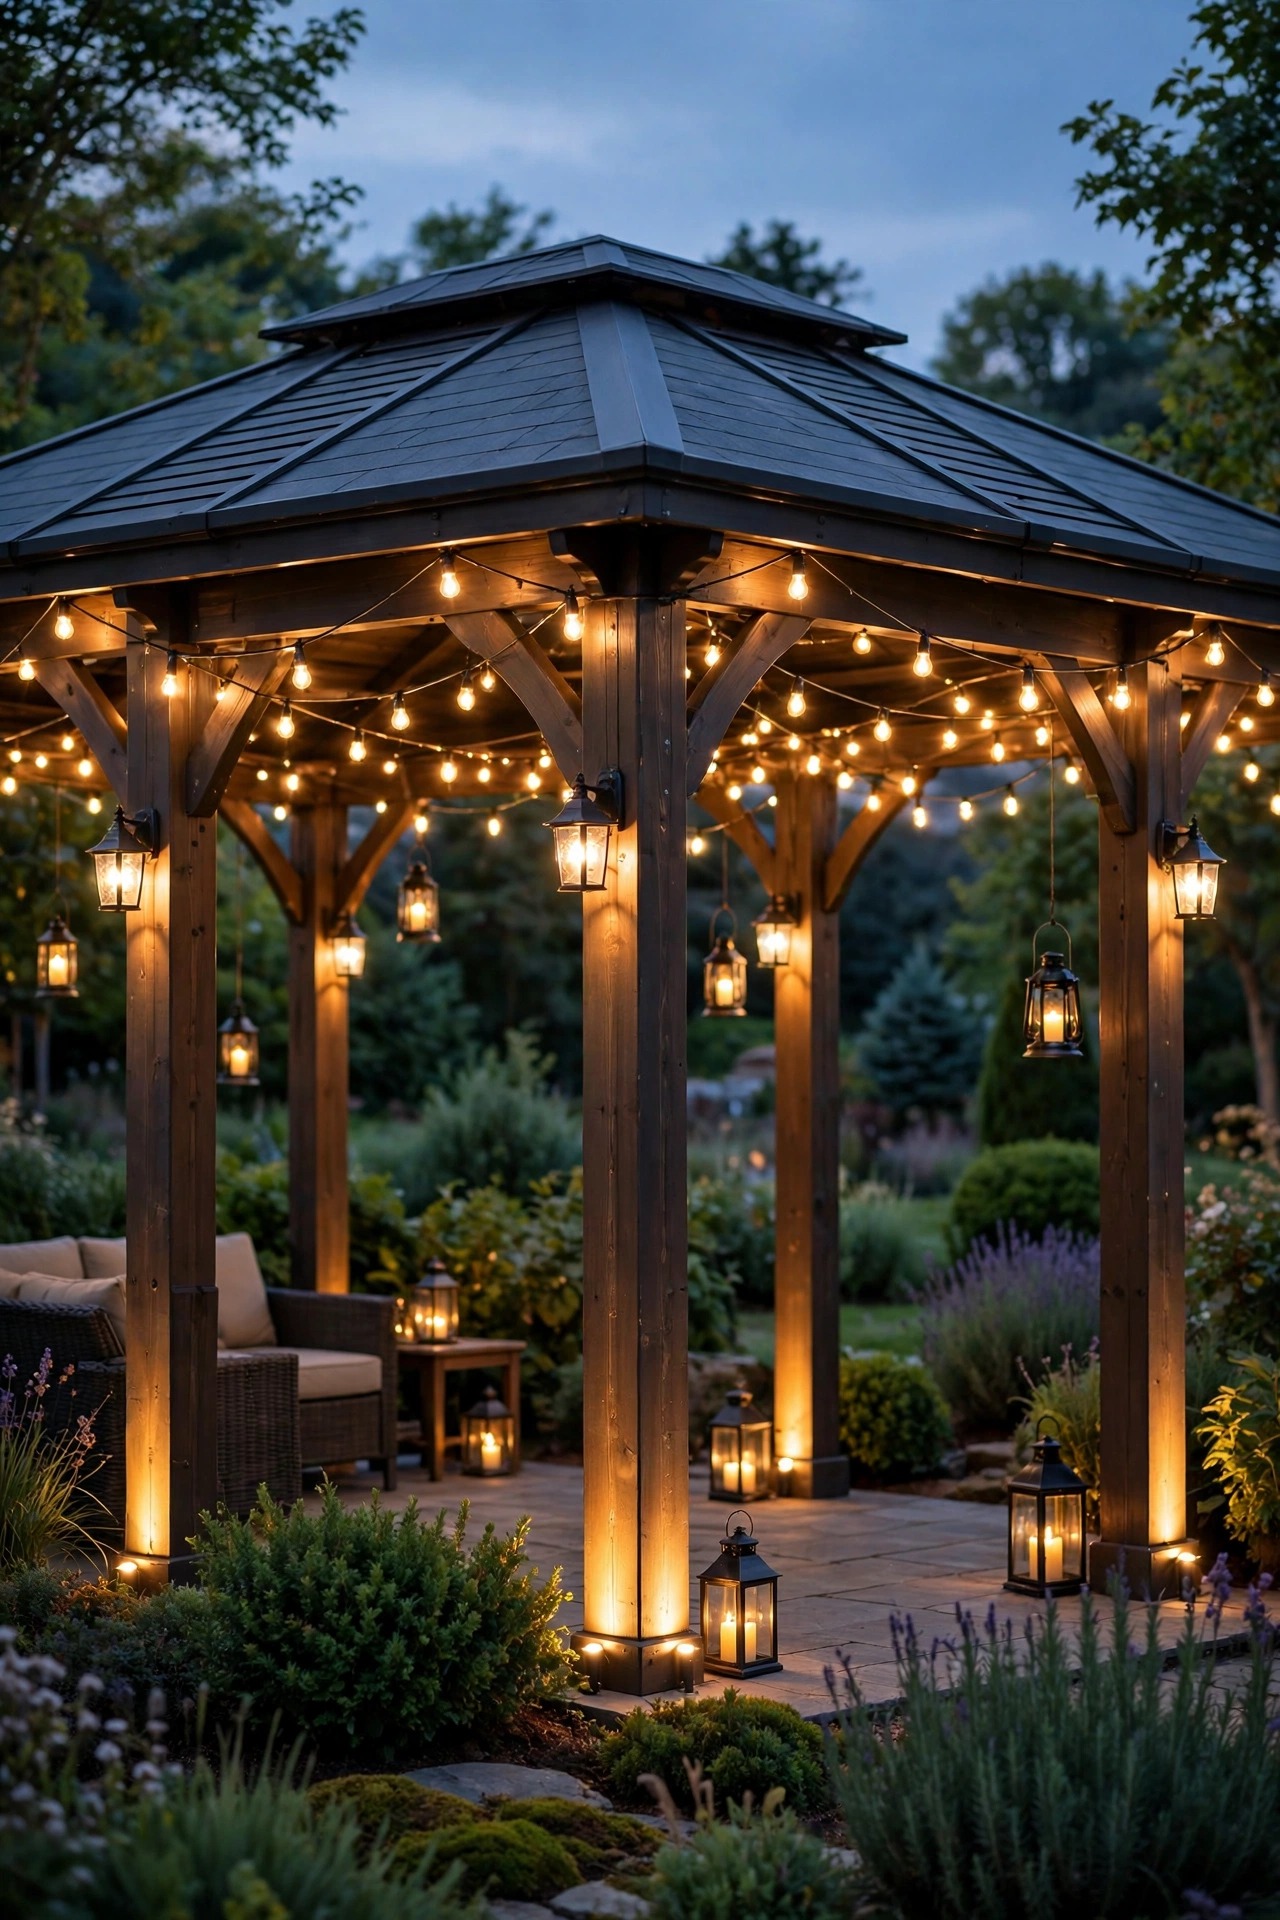
If I could only pick one layer, it would be café string lights swagged under the roof. A hardtop gazebo is made for them: the rafters give you solid anchor points every few feet, and the roof keeps the strands out of the worst weather, so they last years longer than exposed strings on a patio. I run two or three strands in gentle swags from the center peak out to the posts, keeping the dips even at about 12 to 18 inches. Use commercial-grade strands with suspended sockets and shatterproof LED filament bulbs; they shrug off wind sway and the bulbs sip electricity. Space bulbs so no socket sits directly over where heads will be when people stand up, and use stainless screw hooks rather than nails so you can drop the strands for a roof cleaning. On my 10-by-12-foot gazebo, two 48-foot strands give full coverage without a single dark corner. The look is pure bistro, and it is the layer guests always compliment first. If you want more swag patterns and spacing math, the bistro string light ideas in my string light collection are a great companion read.
Suggested budget range: $40 – $120.
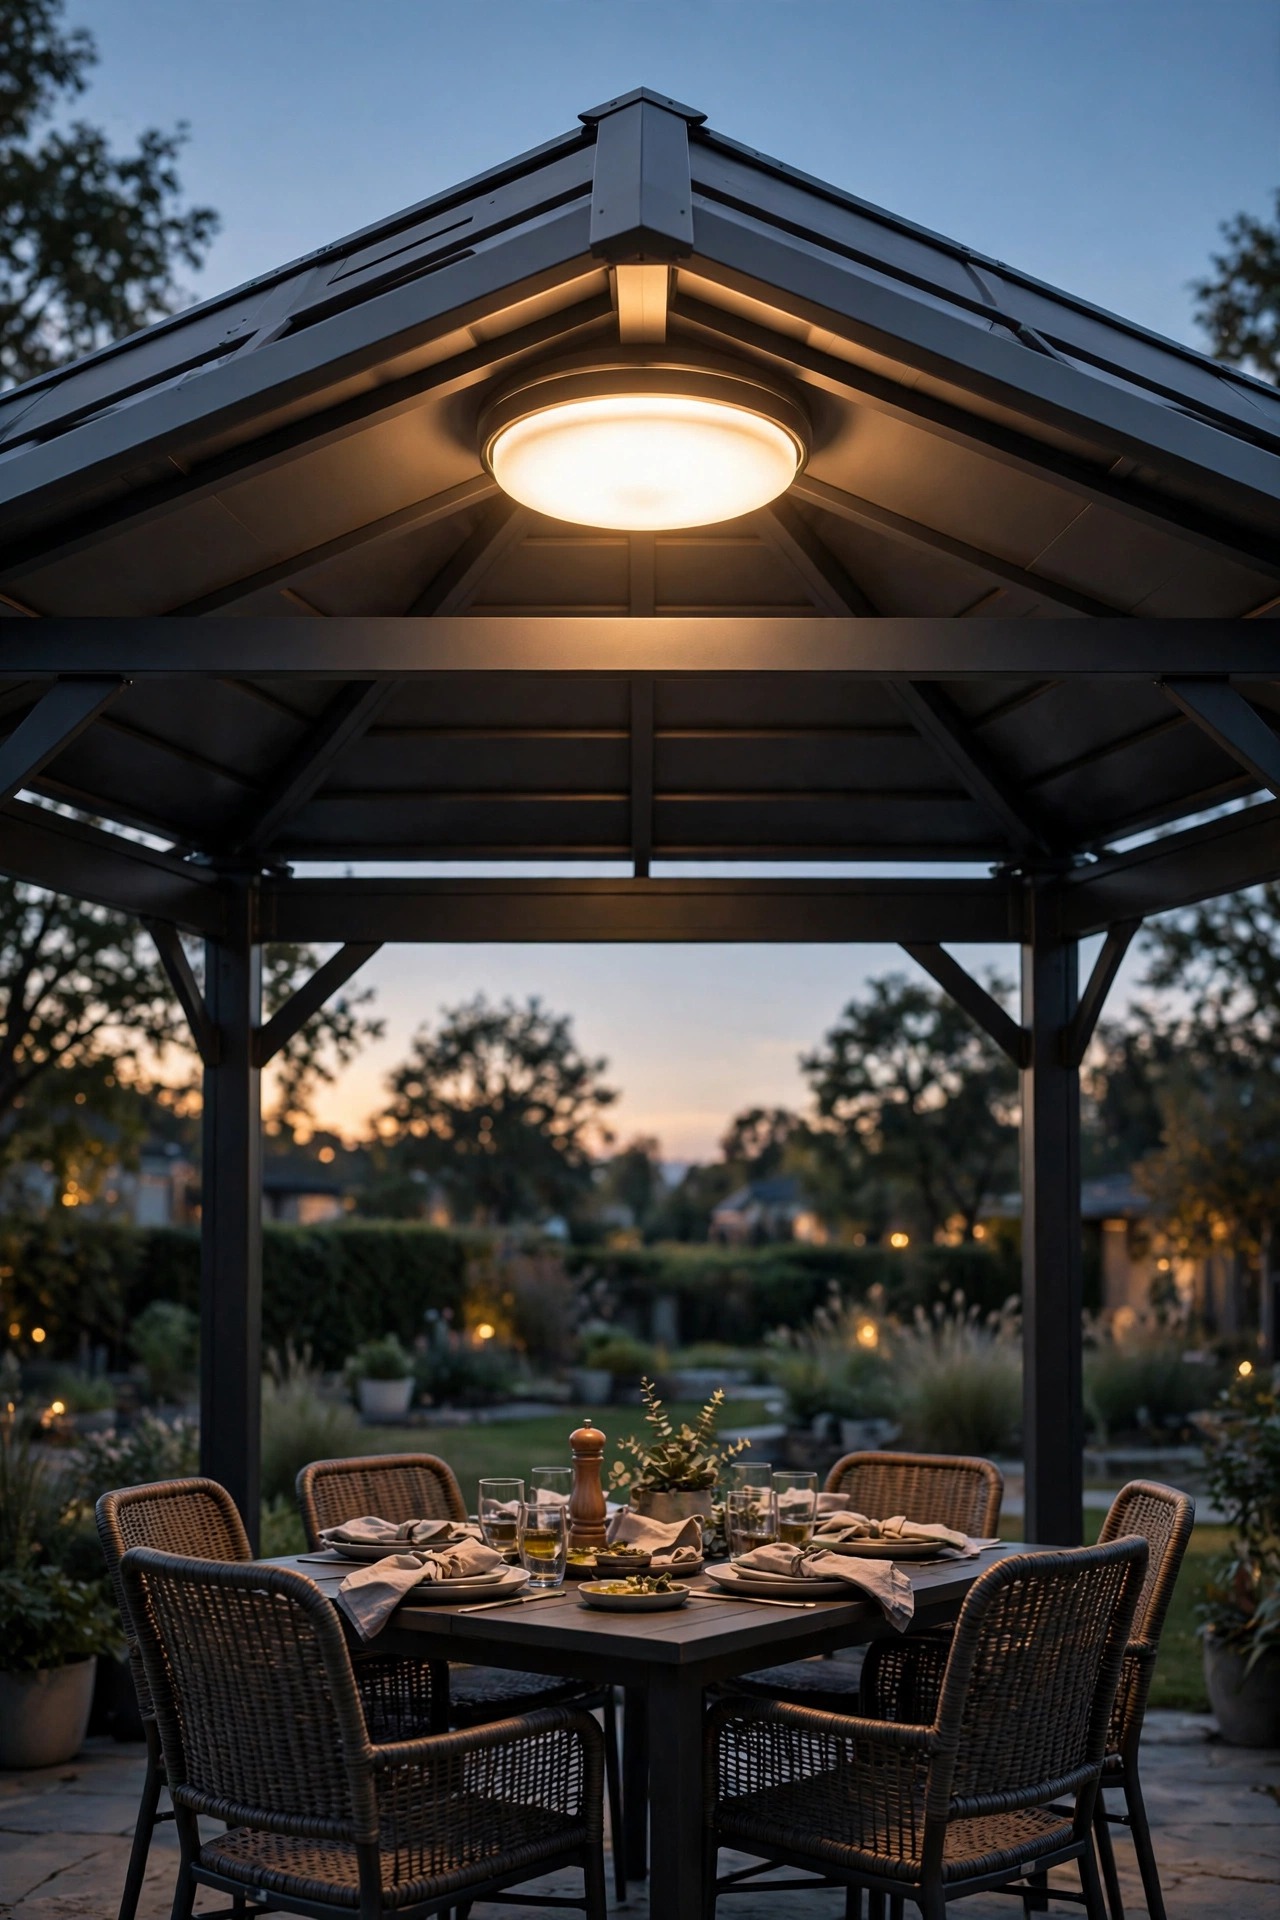
2. A Flush-Mount Ceiling Fixture at the Center Peak
The peaked ceiling of a hardtop gazebo has a natural home for a real ceiling fixture, and a damp-rated flush-mount light gives you honest, shadow-free brightness that string lights cannot. This is the layer I switch on for board games, serving dinner, and cleaning up after dark. Because the frame is metal, mounting is straightforward: a junction box secured to the center beam, wired back to a GFCI-protected circuit. Honestly, if you are not comfortable running that wire, this is the one project in the post worth handing to an electrician; the gazebo itself will outlast us, so the wiring should be done right. Choose a fixture with a frosted or opal diffuser so the LED source never glares at seated eye level, and pick 2700K for that firelight warmth. Look for a wet-location rating rather than just damp, because wind-driven rain absolutely finds its way under a gazebo roof in a storm. Mine has survived three winters of freeze and thaw without a flicker, which is more than I can say for the indoor-rated fixture a neighbor tried first.
Suggested budget range: $60 – $180.
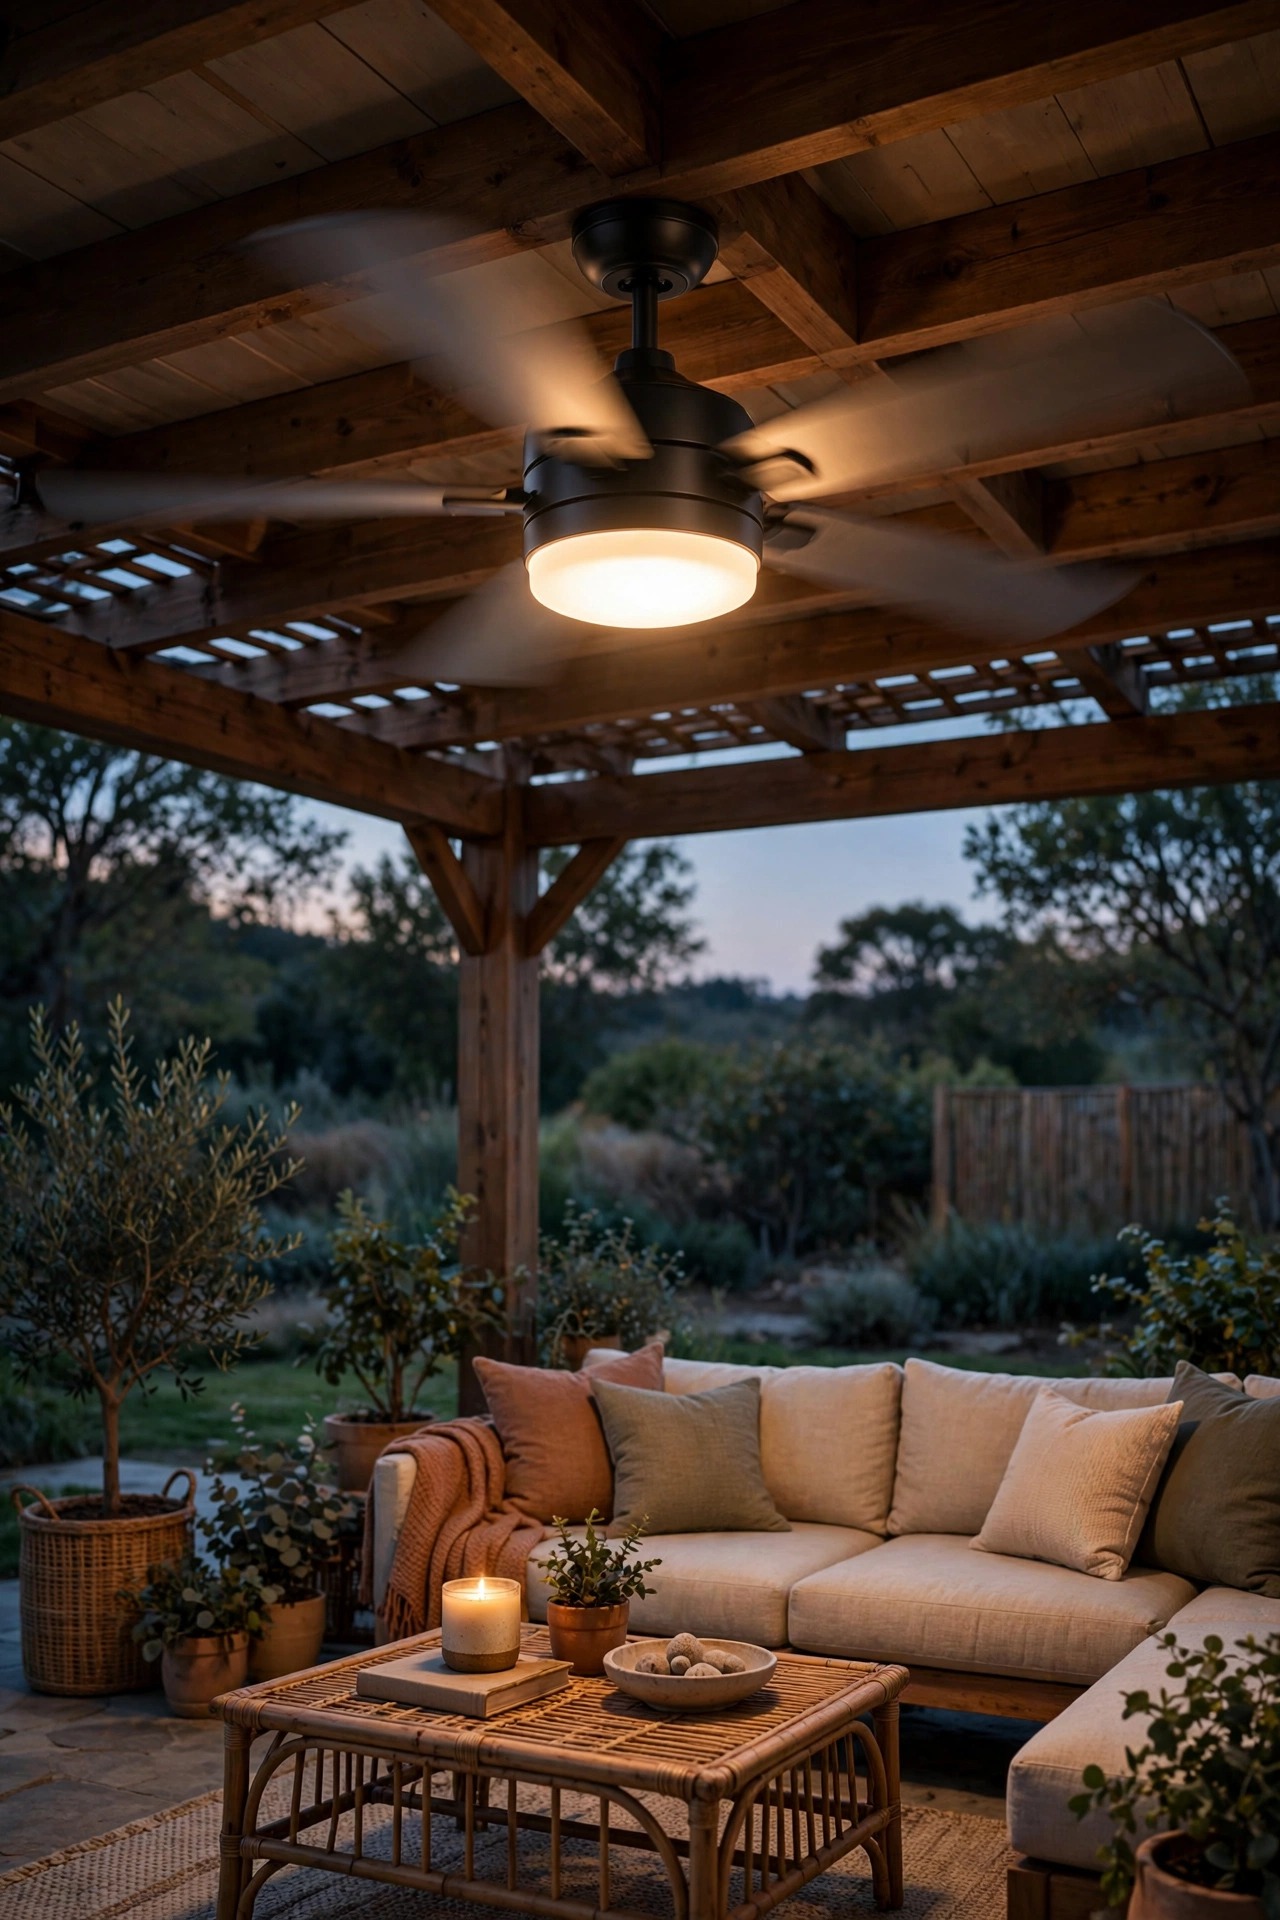
3. An Outdoor Ceiling Fan With a Light Kit
A ceiling fan with an integrated light is the hardest-working upgrade a hardtop gazebo can get. The solid roof structure handles the weight and vibration that would worry me on a fabric canopy, and the payoff is huge: moving air on muggy July nights, a gentle push of warm air downward when you are out there with a throw blanket in November, and bright central light from the same fixture. Choose a fan rated for wet locations with ABS blades that will never warp or droop, sized at 42 to 52 inches for most gazebos. The light kit should be LED and dimmable, ideally on a separate switch or remote control from the fan so you can run air without light for movie nights. Clearance matters: keep blades at least 7 feet above the floor, which the peaked roof usually makes easy. I run mine on the lowest setting during dinners; it keeps mosquitoes from settling, which nobody believes until they sit under it. One honest note: this is a two-person install and another job where an electrician is money well spent if no ceiling box exists yet.
Suggested budget range: $180 – $450.
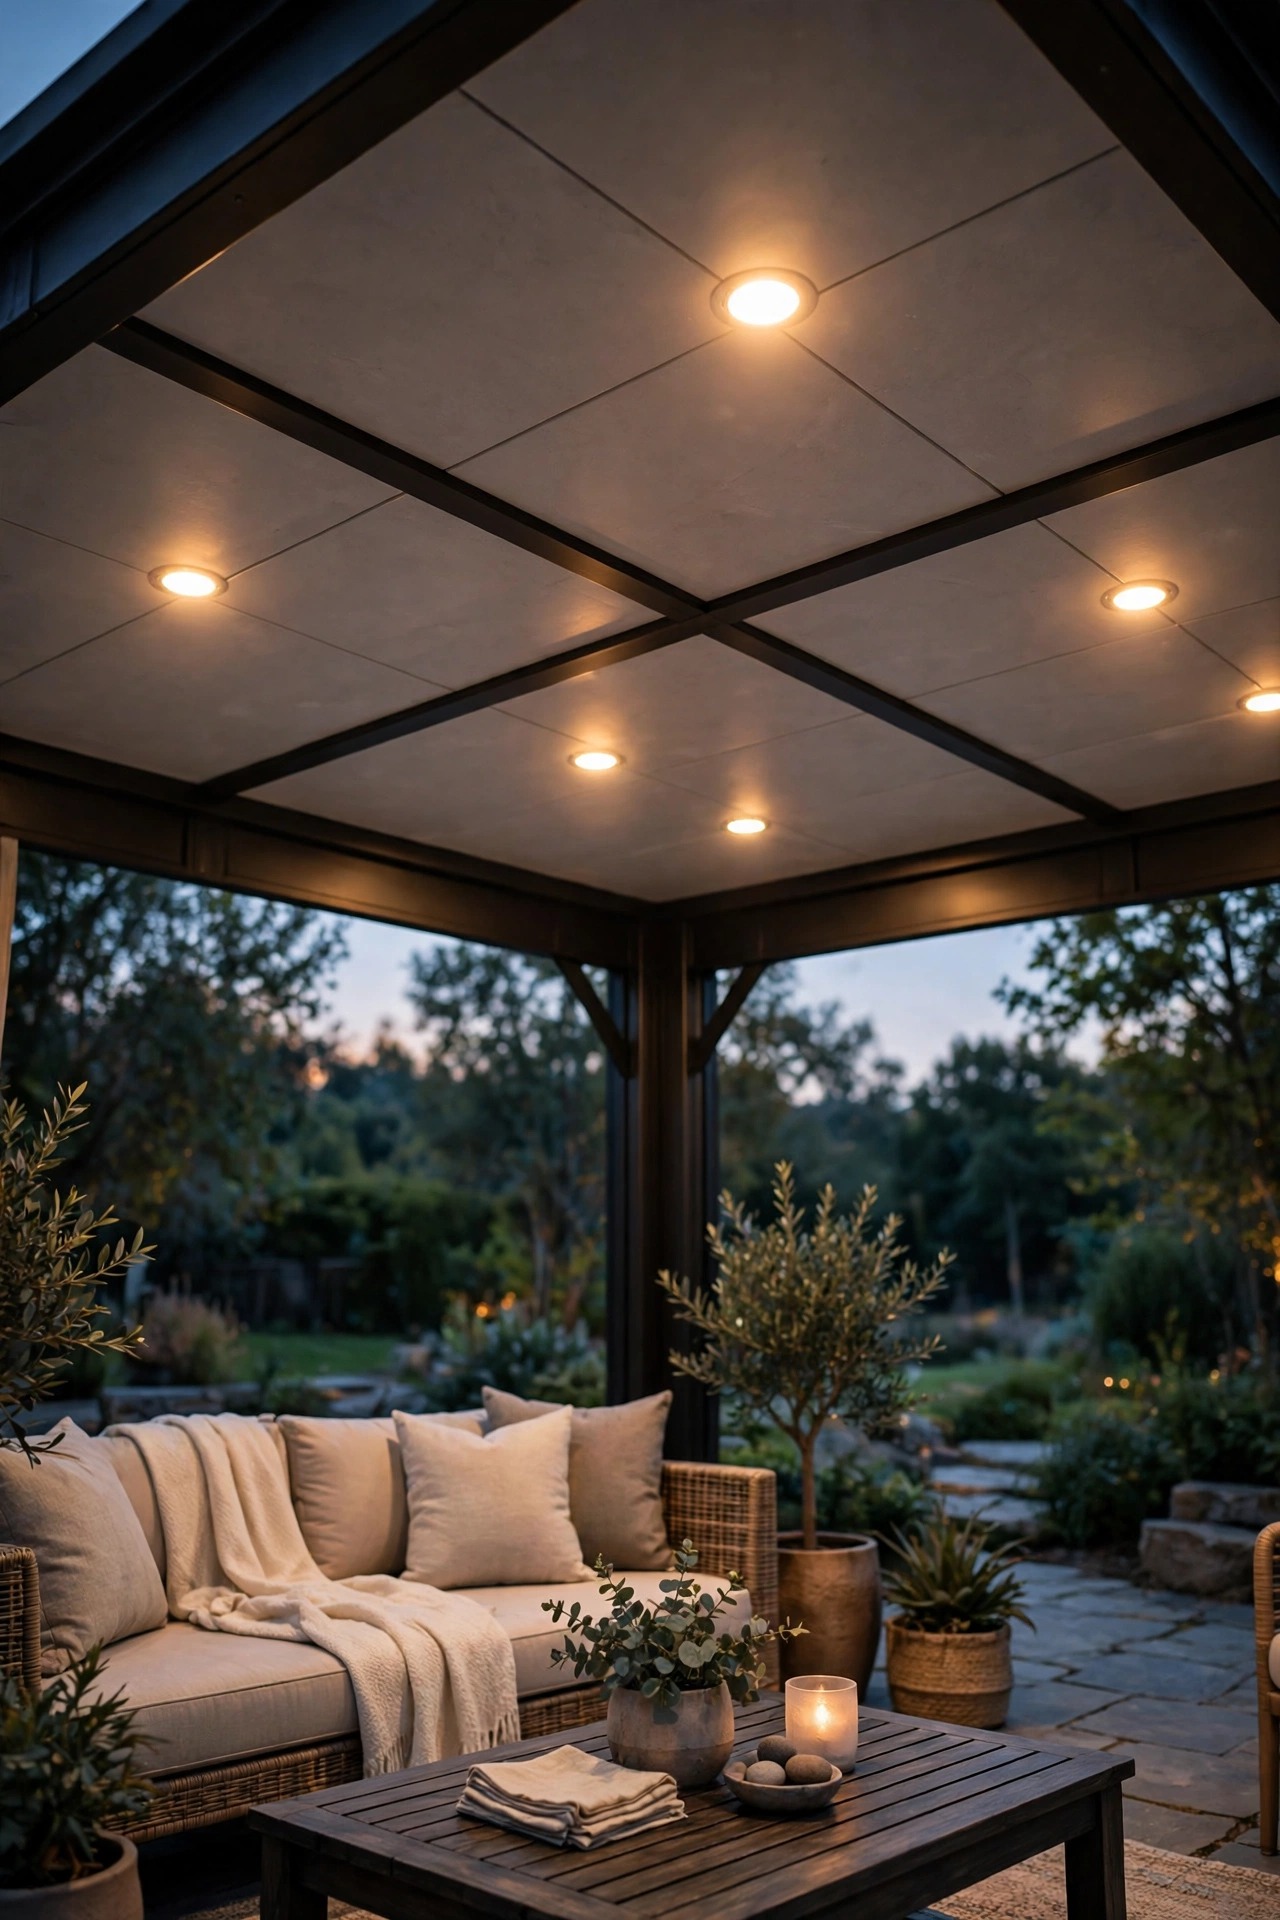
4. Recessed LED Downlights in the Ceiling
For a clean, built-in look, recessed LED downlights tucked into the ceiling are hard to beat. On a hardtop gazebo with a finished or paneled ceiling, slim 4-inch recessed modules sit nearly flush and throw neat pools of light exactly where you aim them: over the table, the reading chair, the serving counter. I like four downlights on a 10-by-12 roof, one toward each quadrant, all on a dimmer. Gimbal-style trims are even better because you can tilt the beam to wash a post or highlight the centerpiece instead of lighting the top of everyone's head. Use only fixtures rated for wet locations and covered ceilings, and keep them on a GFCI circuit. The dimmer is non-negotiable in my book; these lights are wonderfully bright at full power for a card game and just right at 30 percent for a quiet drink. Because they are sealed LED modules with no bulb to change, they are also the most winter-indifferent lights I own. Snow load on the roof, single-digit temperatures, none of it matters. They just come on.
Suggested budget range: $120 – $350.
5. LED Strip Lights Hidden Along the Rafters
The prettiest trick I know for a hardtop gazebo costs almost nothing: LED strip lights hidden along the tops of the rafters, so the ceiling itself seems to glow. You never see the strip, only a soft wash of light bouncing off the metal roof panels, and it makes the whole structure feel taller and warmer. Use outdoor-rated, silicone-coated strip with an IP65 rating or better, clipped or channeled along the beam rather than relying on the adhesive backing, which gives up after a hot August. A warm 2700K strip reads candlelight-soft against a dark roof. Run the low-voltage wire down one post inside a slim cover strip and plug the driver into a smart plug, and suddenly your rafter glow is on a sunset schedule. In winter this is my favorite layer of all: it reflects beautifully off a light dusting of snow on the roof above and makes the gazebo look like a lantern from the kitchen window. Keep strips at least a few inches from any fabric curtains, and never use indoor-only strip outdoors, no matter what the price tag tempts you to do.
Suggested budget range: $35 – $90.

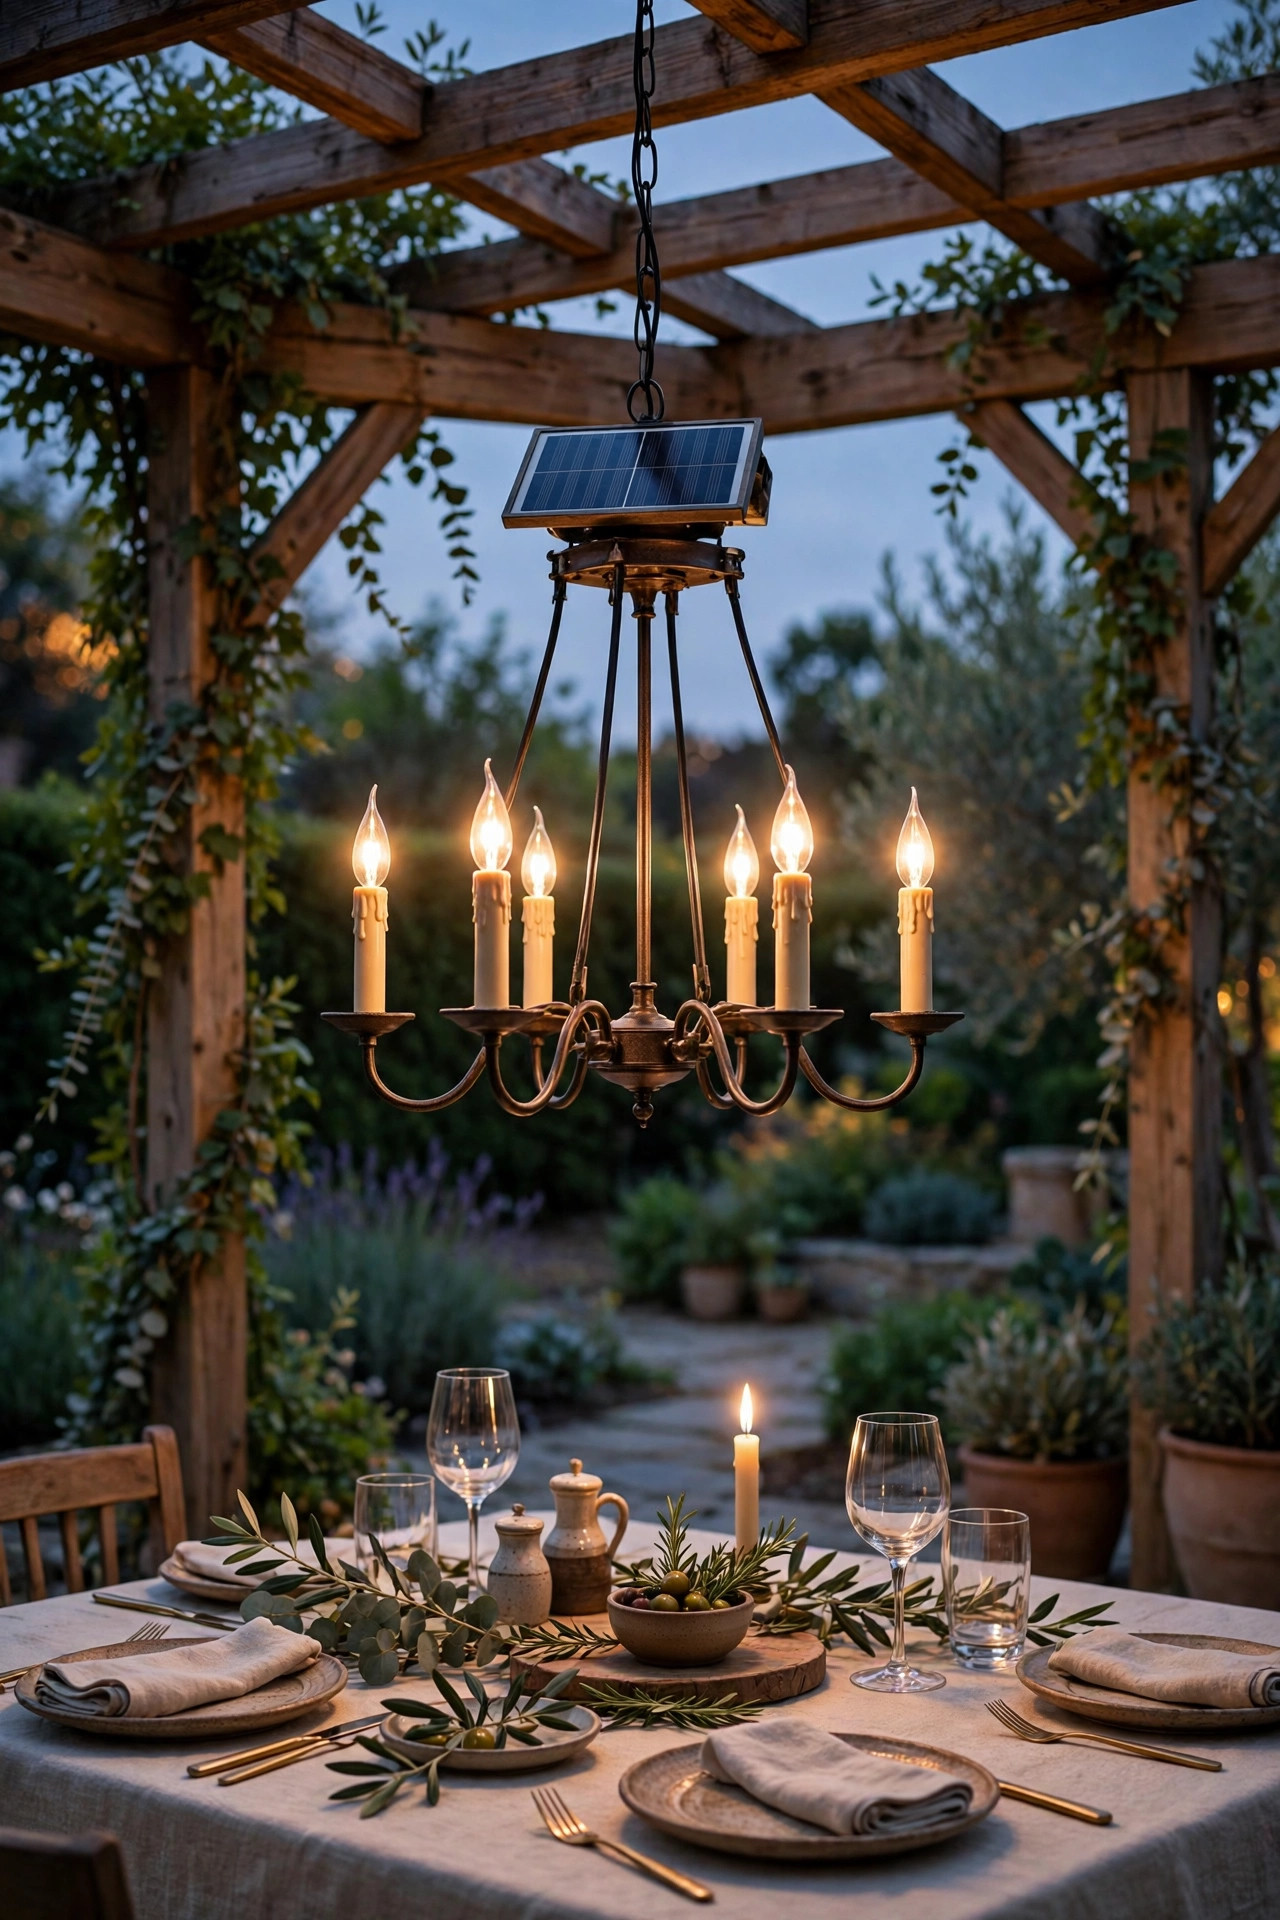
6. A Solar Chandelier, No Wiring Required
Not every hardtop gazebo sits near an outlet, and that is where a solar chandelier earns its place. These hang from the center hook just like a real fixture, charge from a small panel you mount on the sunny side of the roof or stake in a flower bed, and come on at dusk with a genuinely pretty, multi-bulb glow. The hardtop helps here too: the center beam or hook is rated for real weight, so you are not limited to the flimsiest options. Look for one with a replaceable battery and a remote panel on a long cord, because a panel stuck in permanent shade under the roof edge will undercharge by December when the sun sits low. I hang mine slightly lower than a hardwired fixture, about 30 inches above the table, so the light feels intimate. Honestly, the glow is softer than a wired chandelier; think dinner-party ambiance, not task lighting. Pair it with the string lights from idea one and nobody will guess there is not a single wire involved. In cloudy stretches, a panel angled toward the southern sky makes a bigger difference than any battery upgrade.
Suggested budget range: $45 – $110.
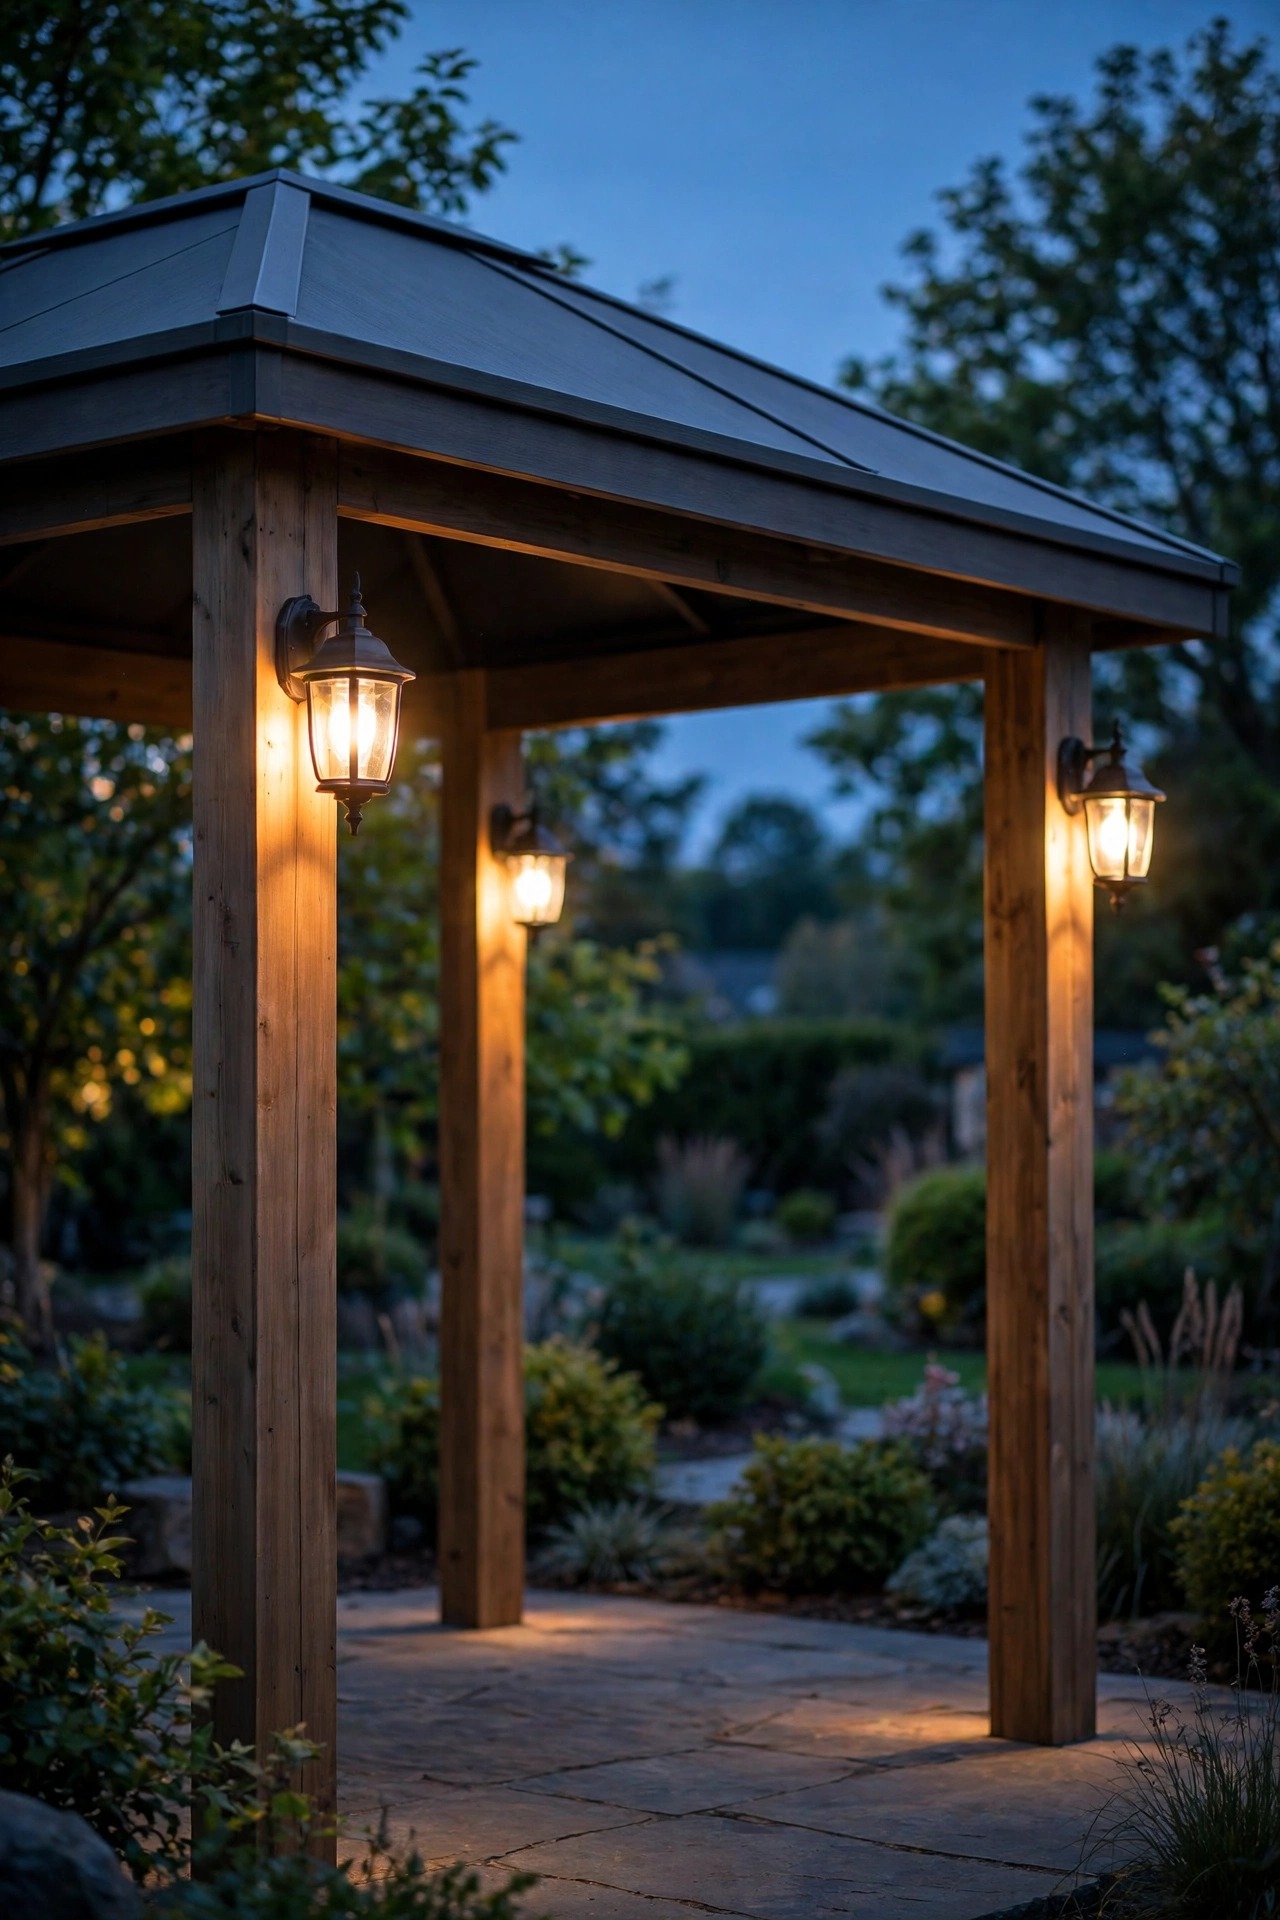
7. Sconce Lights Mounted on Every Post
Post sconces are the eye-level layer that makes a gazebo feel like a room. A small lantern-style fixture on each post, mounted about 5 and a half to 6 feet up, washes warm light down the posts and across the floor, and from the yard it frames the whole structure like a picture. Hardwired versions tie into the same GFCI circuit as the ceiling fixture; solar versions with decent panels work surprisingly well on south and west posts. My honest advice is to match the style to your ceiling light but not to obsess over a perfect set. What matters more is consistency of color temperature: every bulb in the gazebo should be the same 2700K so nothing reads blue or mismatched in photos. Four posts take four sconces; on a six-sided gazebo, light every other post and let the glow overlap. Choose fixtures with the bulb tucked behind seeded or frosted glass so you are never staring at a bare filament from a lounge chair. These are also the lights I leave on latest into the night, long after the overheads go off, because at ankle level the gazebo still looks alive from the house.
Suggested budget range: $80 – $240.
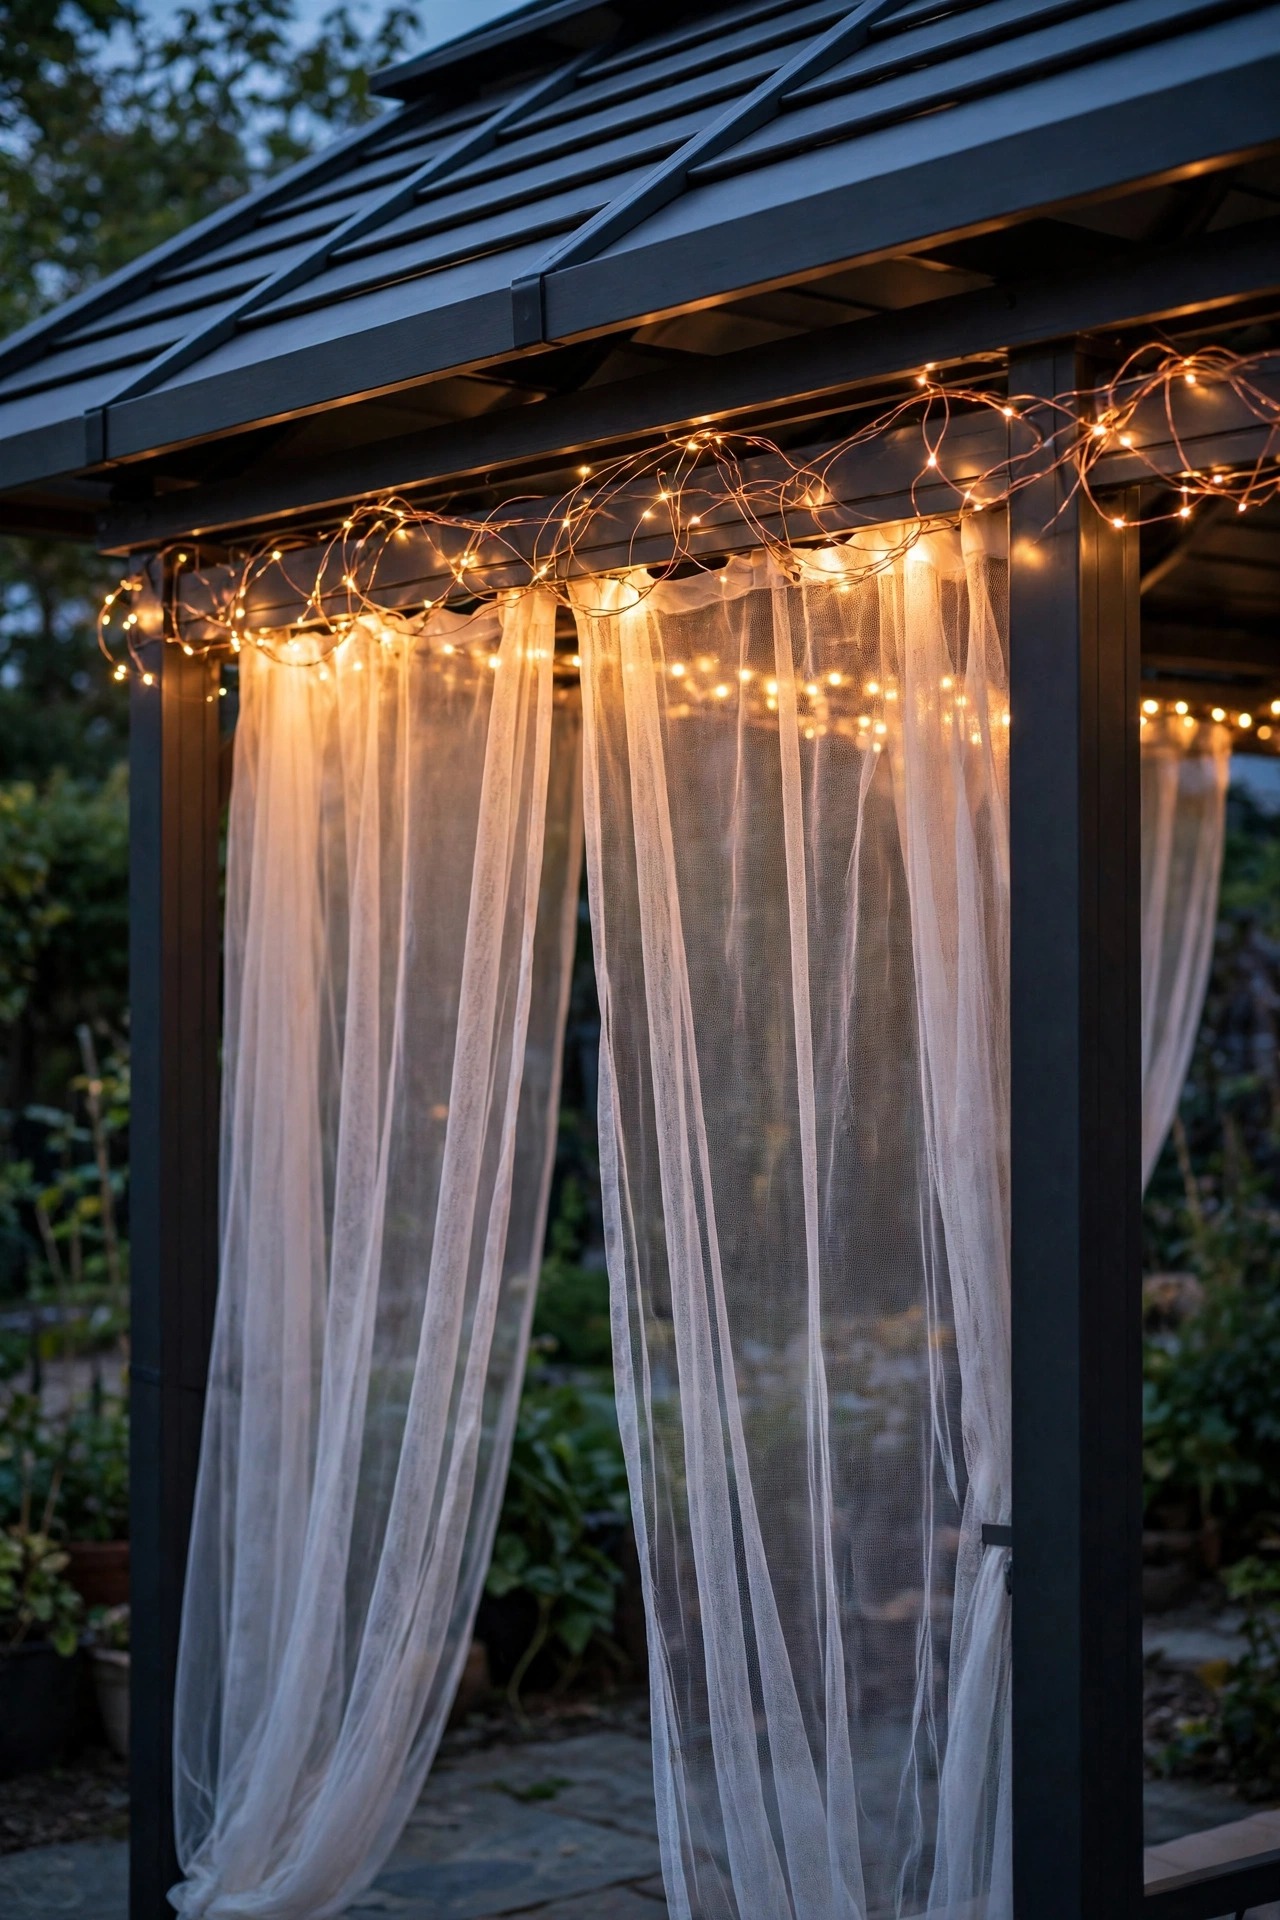
8. Fairy Lights Woven Along the Curtain Rail
Most hardtop gazebos have a curtain or mosquito-net rail running around the top of the frame, and it is a gift for fairy lights. I weave a copper-wire strand in and out along the rail, letting it drape a few inches between clips, and the effect is a soft halo tracing the whole perimeter. Because the lights sit right at the curtain line, any sheer panels you close diffuse them into the gentlest glow, like the inside of a paper lantern. Use battery or solar fairy lights here rather than plug-in strands; the wire is so fine that a small battery pack tucks invisibly behind a post. One firm safety rule from my own near-miss: LED fairy lights only near fabric, and keep the strand a hand's width from where curtains bunch at the corners. Copper wire can be reshaped every season, and I redo mine each spring in about twenty minutes while the first coffee goes cold. It is the cheapest idea in this entire list and, on a still evening with the nets closed, quite possibly the prettiest. Guests under ten years old call it the fairy tent, and they are not wrong.
Suggested budget range: $15 – $45.
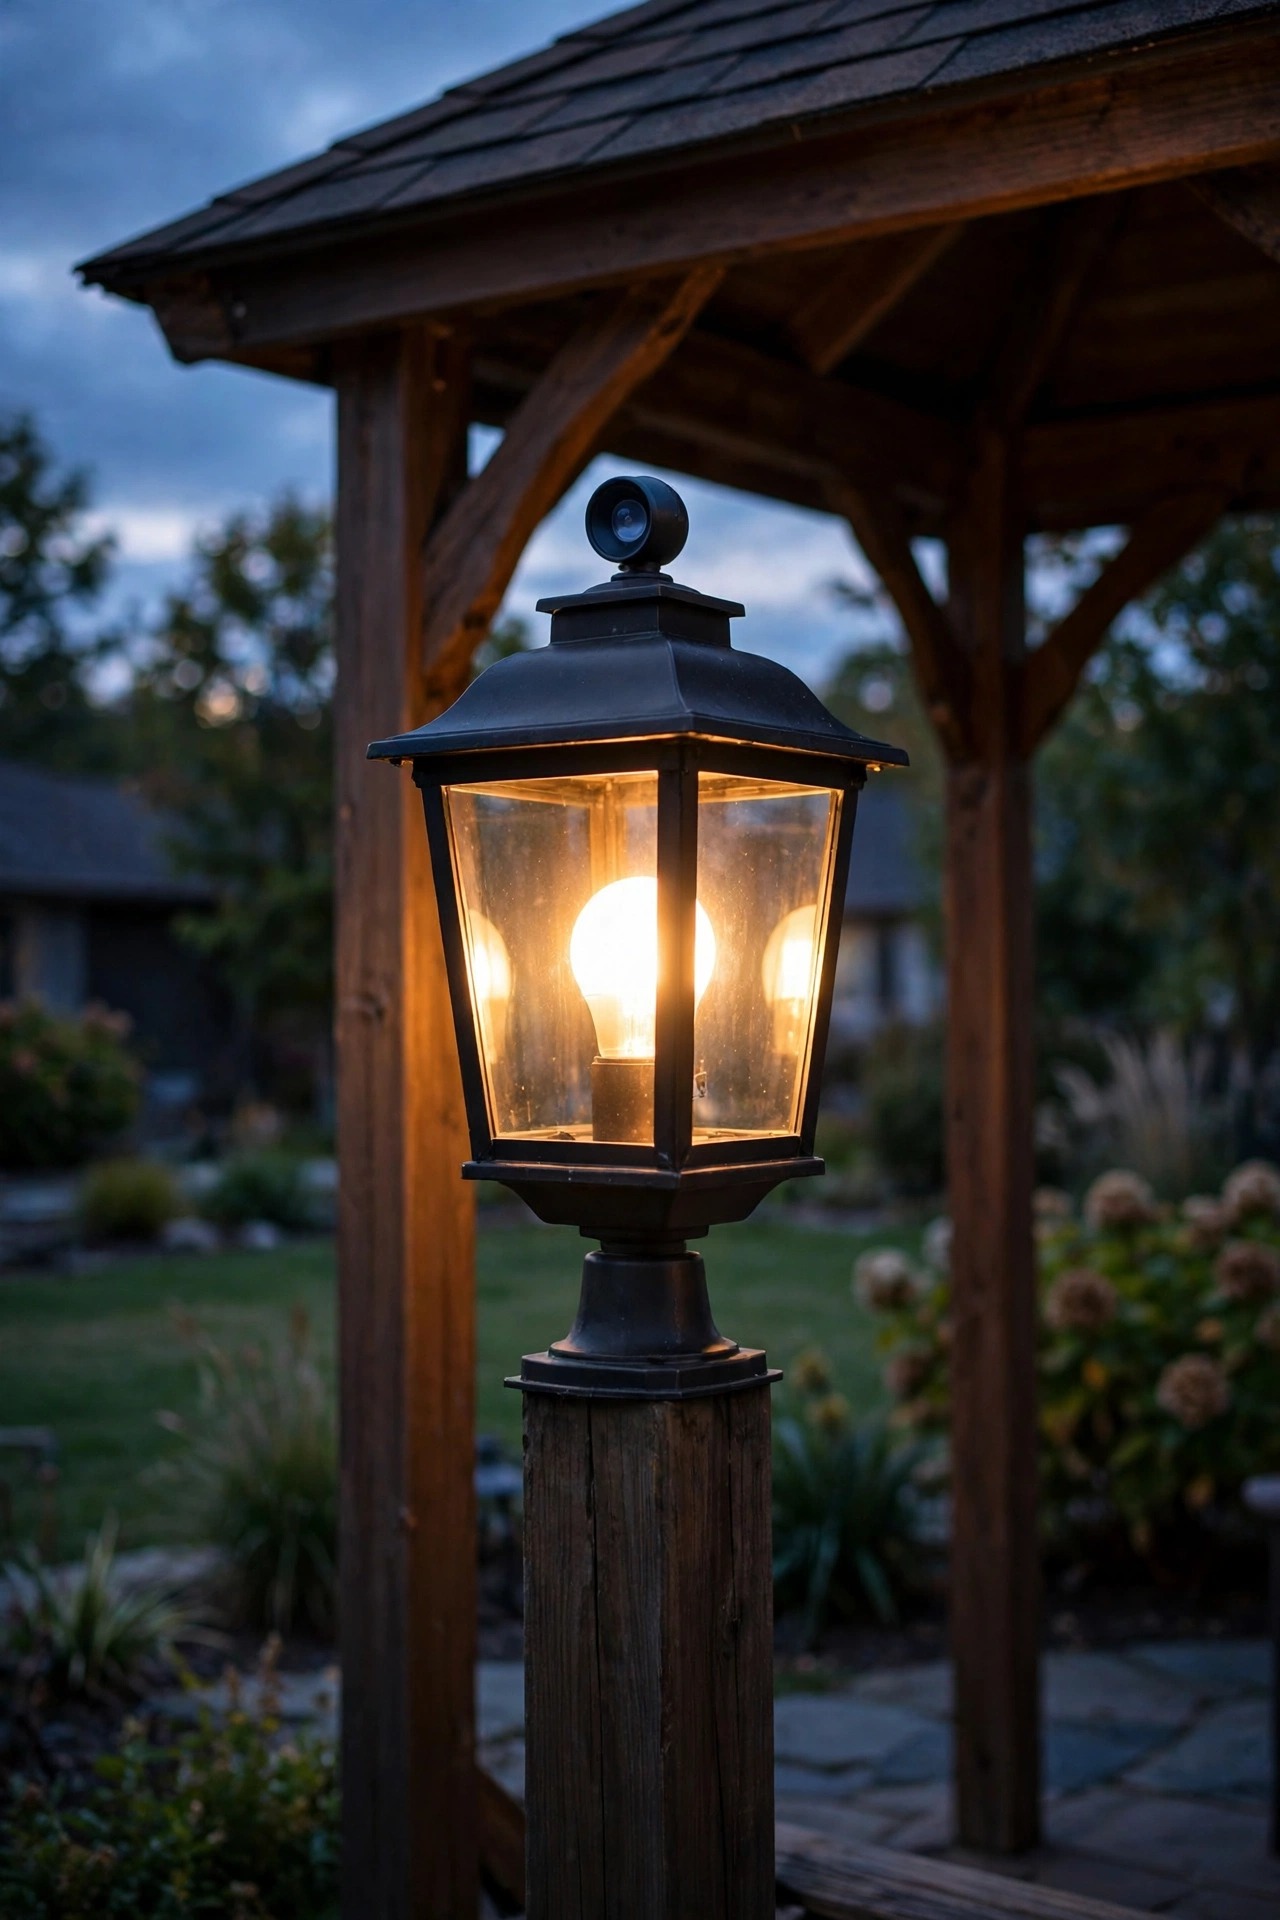
9. Dusk-to-Dawn Photocell Bulbs in Your Existing Fixtures
The simplest year-round upgrade I know is swapping the bulbs in your gazebo fixtures for dusk-to-dawn photocell bulbs. Each bulb has its own tiny light sensor, so the sconces and porch-style fixtures come on by themselves at sunset and shut off at sunrise, whether it is a long June evening or a December afternoon that goes dark before dinner. There is nothing to program and nothing to forget, which matters in winter when nobody wants to trek across a frosty yard to flip a switch. They work in any standard socket, including the ceiling fixture and post sconces from earlier ideas, as long as the bulb is rated for enclosed or outdoor use to match the fixture. One quirk to know: if two photocell bulbs can see each other, they can confuse one another and flicker, so use them in fixtures that face outward or shield the sensors from each other. Mine have handled two winters without a single failure, and the gazebo quietly lighting itself at dusk has become one of my favorite small daily pleasures. It also makes the yard look lived-in when we travel, which I count as a real security plus.
Suggested budget range: $20 – $50.
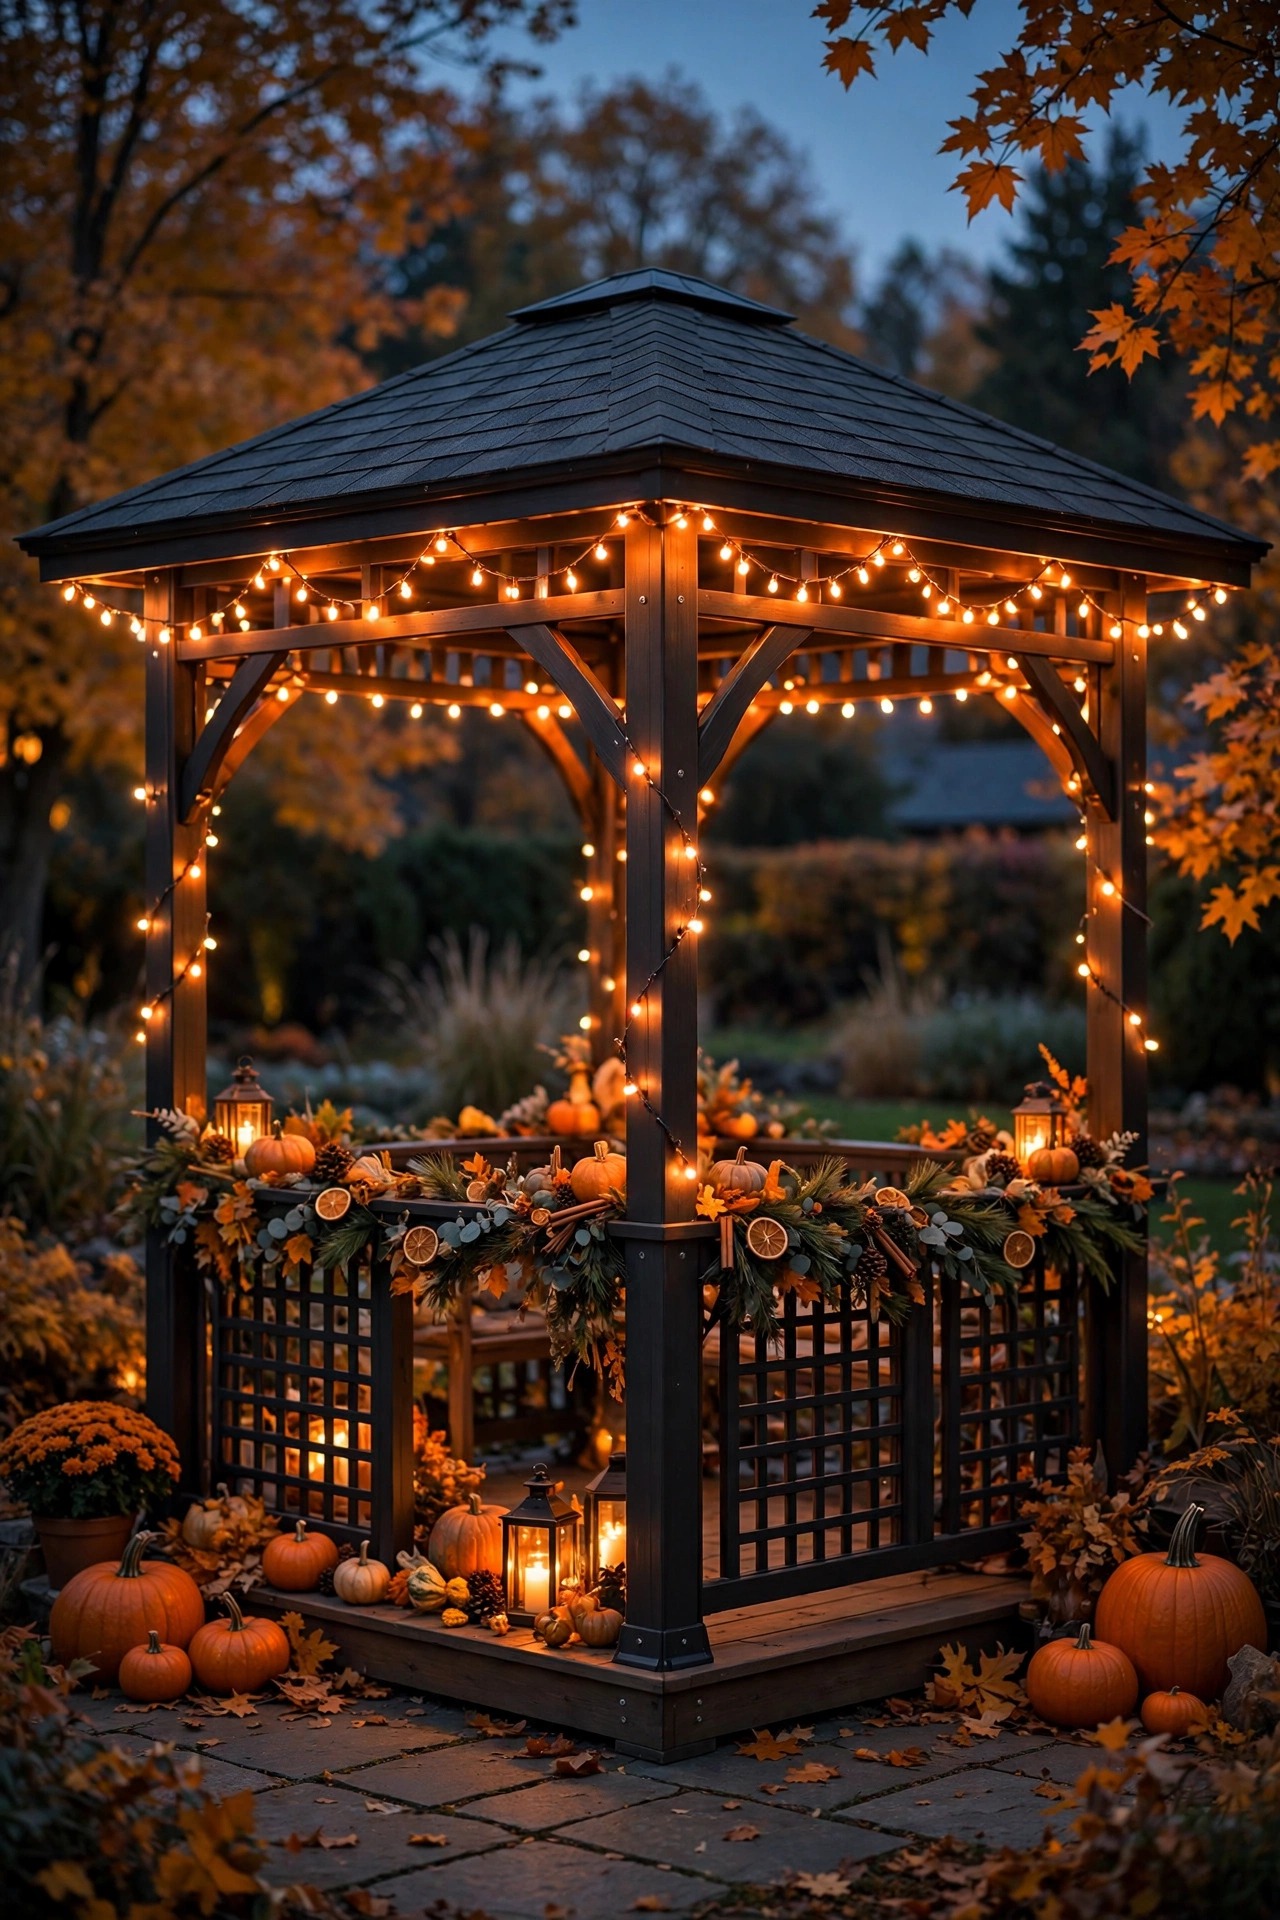
10. Smart Color-Changing Bulbs for Holiday Scenes
A hardtop gazebo is standing holiday infrastructure, and smart color-changing bulbs let it dress for every season without a single ladder trip in the cold. I keep outdoor-rated smart bulbs in the post sconces and ceiling fixture year-round, set to warm white 99 percent of the time, then switch to scenes: deep orange for October evenings, red and green for December, soft pastels for Easter brunch, red white and blue for the Fourth of July. The trick is restraint. One or two colors at a time, at modest brightness, looks festive; a rainbow strobe looks like a carnival ride. Schedule the scenes in the app so the gazebo joins the celebration at dusk on its own. In my experience, smart bulbs behave best when the Wi-Fi signal reaches the yard comfortably, so check your connection out there before buying a dozen. These are also the easiest way to dim everything for stargazing without touching a switch. Just remember the rule I set for myself: the default scene is always warm white, because that is the light we actually live in.
Suggested budget range: $45 – $120.
11. Lantern Pendants Over the Dining Table
If your gazebo hosts dinners, a pair of lantern pendants hung over the table will change how the whole space feels. Hung from the rafters on short chains or hooks so the bottoms sit about 30 inches above the tabletop, they put a pool of warm light exactly where faces and food are, and leave the edges of the gazebo pleasantly dim. The hardtop frame carries the weight easily, which means you can choose real metal-and-glass lanterns instead of the lightweight imitations a canopy would demand. Hardwired pendants on a dimmer are the deluxe route; battery lanterns with a remote are the renter-friendly one and honestly look 90 percent as good. Keep bulbs at 2700K and frosted, since a bare bulb at eye level across a dinner table will have your guests squinting by dessert. I center mine on the table rather than the gazebo, which sounds obvious until you watch someone center them on the room and light a chair. In winter, with the curtains drawn and the pendants low, it feels like dining in a little glass house. That is the meal everyone remembers.
Suggested budget range: $70 – $200.

12. Ground Uplights Washing the Posts
For pure drama, aim a few uplights at the gazebo from the ground. Low-voltage spotlights staked in the beds around the structure, angled up each post, turn a plain gazebo into the focal point of the whole yard after dark. The light grazes the posts and dies out under the roof, so the structure reads tall and architectural instead of flat. I use one fixture per front-facing post, set 12 to 18 inches out from the base, with a narrow beam so the light climbs rather than spilling across the lawn. Low-voltage systems are the friendly route here: a small transformer, a timer, and cable you bury with a flat spade in an afternoon, no electrician needed. Wet-location fixtures with sealed lenses handle sprinkler spray and snow melt without complaint, and LED versions sip so little power that running them nightly costs pennies a month. From inside the gazebo you barely notice them; from the street or the kitchen window, they are the layer that makes people slow down. Pair them with dim interior light, not bright, so the contrast does the work.
Suggested budget range: $50 – $140.
13. Solar Path Lights Guiding the Way In
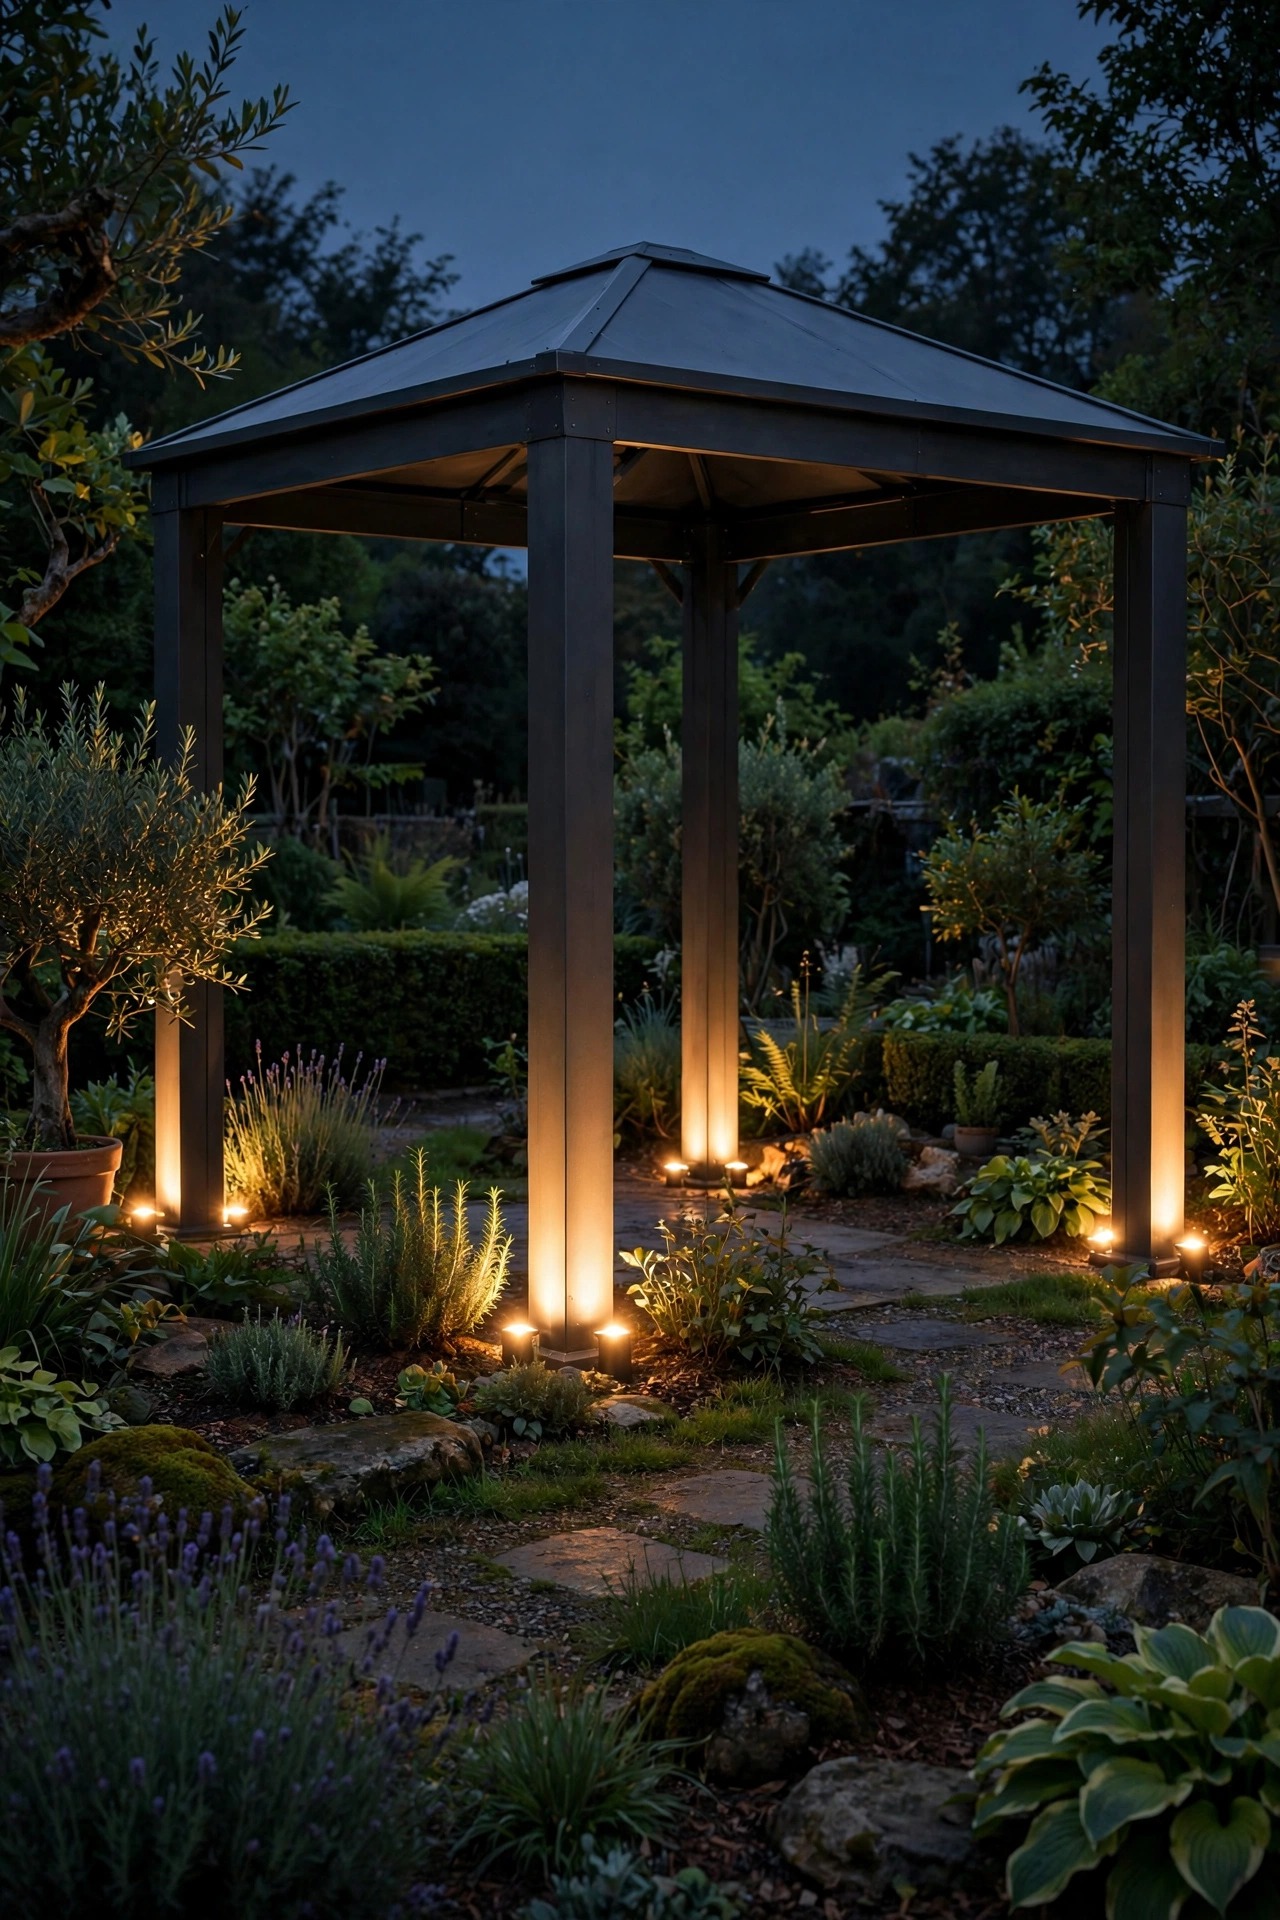
A glowing gazebo at the end of a dark yard is only welcoming if guests can find their way to it, so I always light the route. A line of solar path lights from the patio door to the gazebo entrance does the job with zero wiring and zero planning beyond a sunny afternoon of staking them in. Space them 4 to 6 feet apart and stagger them slightly rather than lining them up like an airport runway; the gentle zigzag looks designed, not municipal. Choose stakes with warm white LEDs and metal housings if they will live outdoors all year, because the cheapest plastic ones yellow and crack after one hard winter. Here is my honest winter tip: in December and January, path lights in shaded yards may only glow for a few hours after dusk, which is fine for dinner guests and disappointing only if you expected all-night light. For the two spots that matter most, the step up into the gazebo and any turn in the path, I use brighter fixtures with replaceable batteries and keep a spare set charged in the garage.
Suggested budget range: $35 – $100.
14. Flame-Effect Solar Torches Around the Base
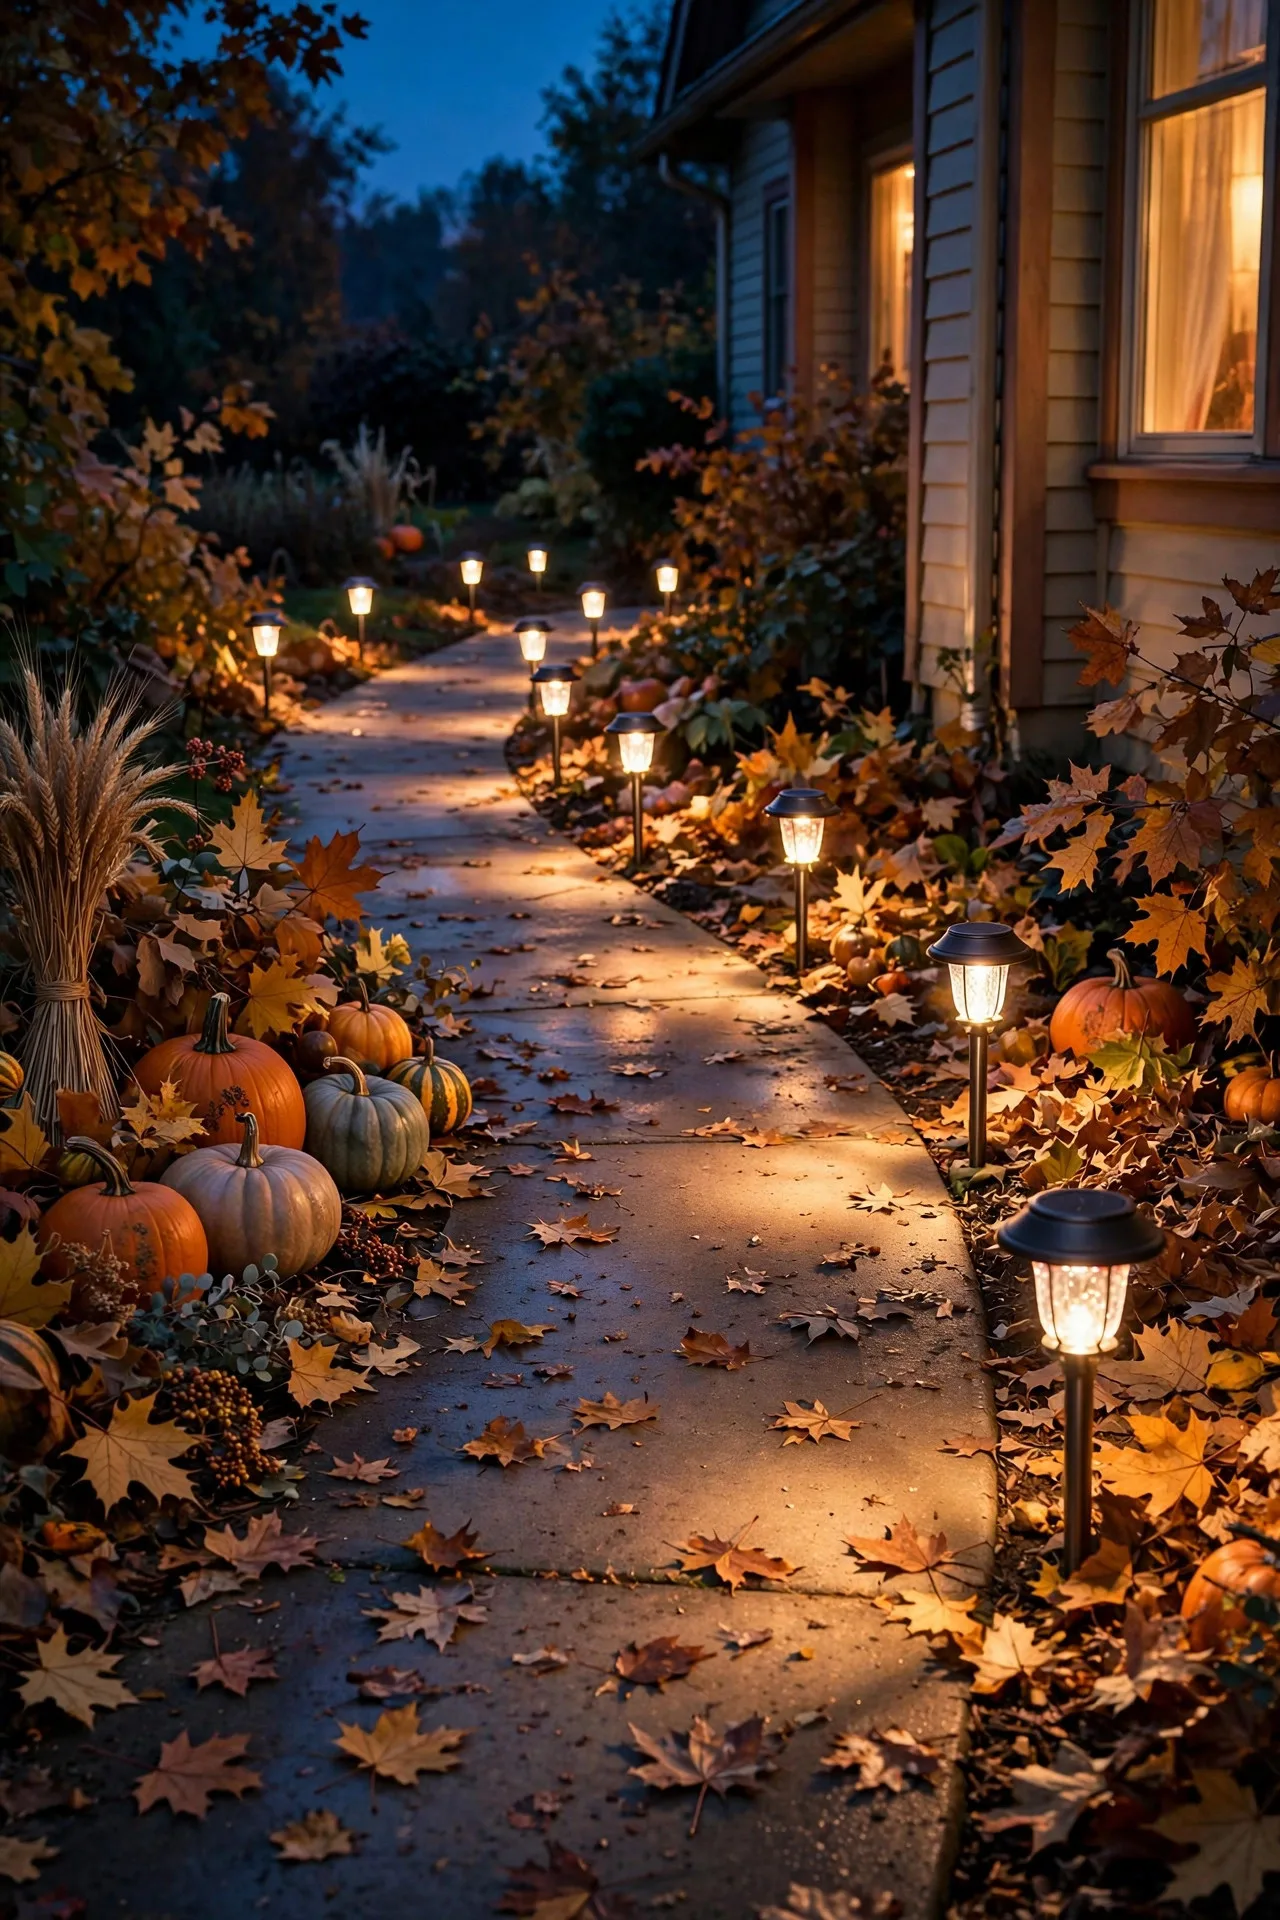
Some nights call for a little theater, and flame-effect solar torches around the base of the gazebo deliver it safely. A cluster of LEDs flickers in a pattern that, from ten feet away, reads as real flame, but there is no fire near the curtains, no fuel to store, and nothing to blow out in a gust. I plant three or five around the planting beds at the gazebo's edge, odd numbers always looking more natural than pairs. They charge all day and flicker from dusk, and because they are solar there is no wiring to plan. The year-round catch is quality: the bargain versions fade to a sad orange blink by their second season, so choose torches with replaceable batteries and decent solar panels, and wipe the panels clean when you do the spring garden tidy. In October they double as Halloween decor without buying a thing, and in summer they give the tiki mood guests love. Just set expectations honestly: this is ambiance at ankle height, not light you can read by, and it is best layered under the real fixtures.
Suggested budget range: $40 – $110.

15. Flameless Candles in Windproof Hurricane Lanterns
Real candles and gazebo curtains are a combination I will never sign off on, but flameless candles inside glass hurricane lanterns give you the flicker with none of the risk. I group them in threes on the table and a low shelf: tall, medium, short, all in warm white with a gentle flicker setting rather than the frantic strobe some come with. The hurricane glass matters more than the candle, because a gazebo breezes through in summer, and glass also keeps rain off if a shower catches you mid-dinner. Choose candles made of real wax for the look, but resin versions for any spot that gets direct sun through the roof edge, since wax can slump on a 95-degree afternoon. Timers are the feature to pay for: set them once and the lanterns wake up at six every evening for five hours, all season, without you thinking about it. This is my most-borrowed idea. Every single guest asks where they are from, and every single one is relieved to hear there is no actual flame near the drapes.
Suggested budget range: $25 – $70.

16. Icicle Lights Along the Roof Edge for Winter
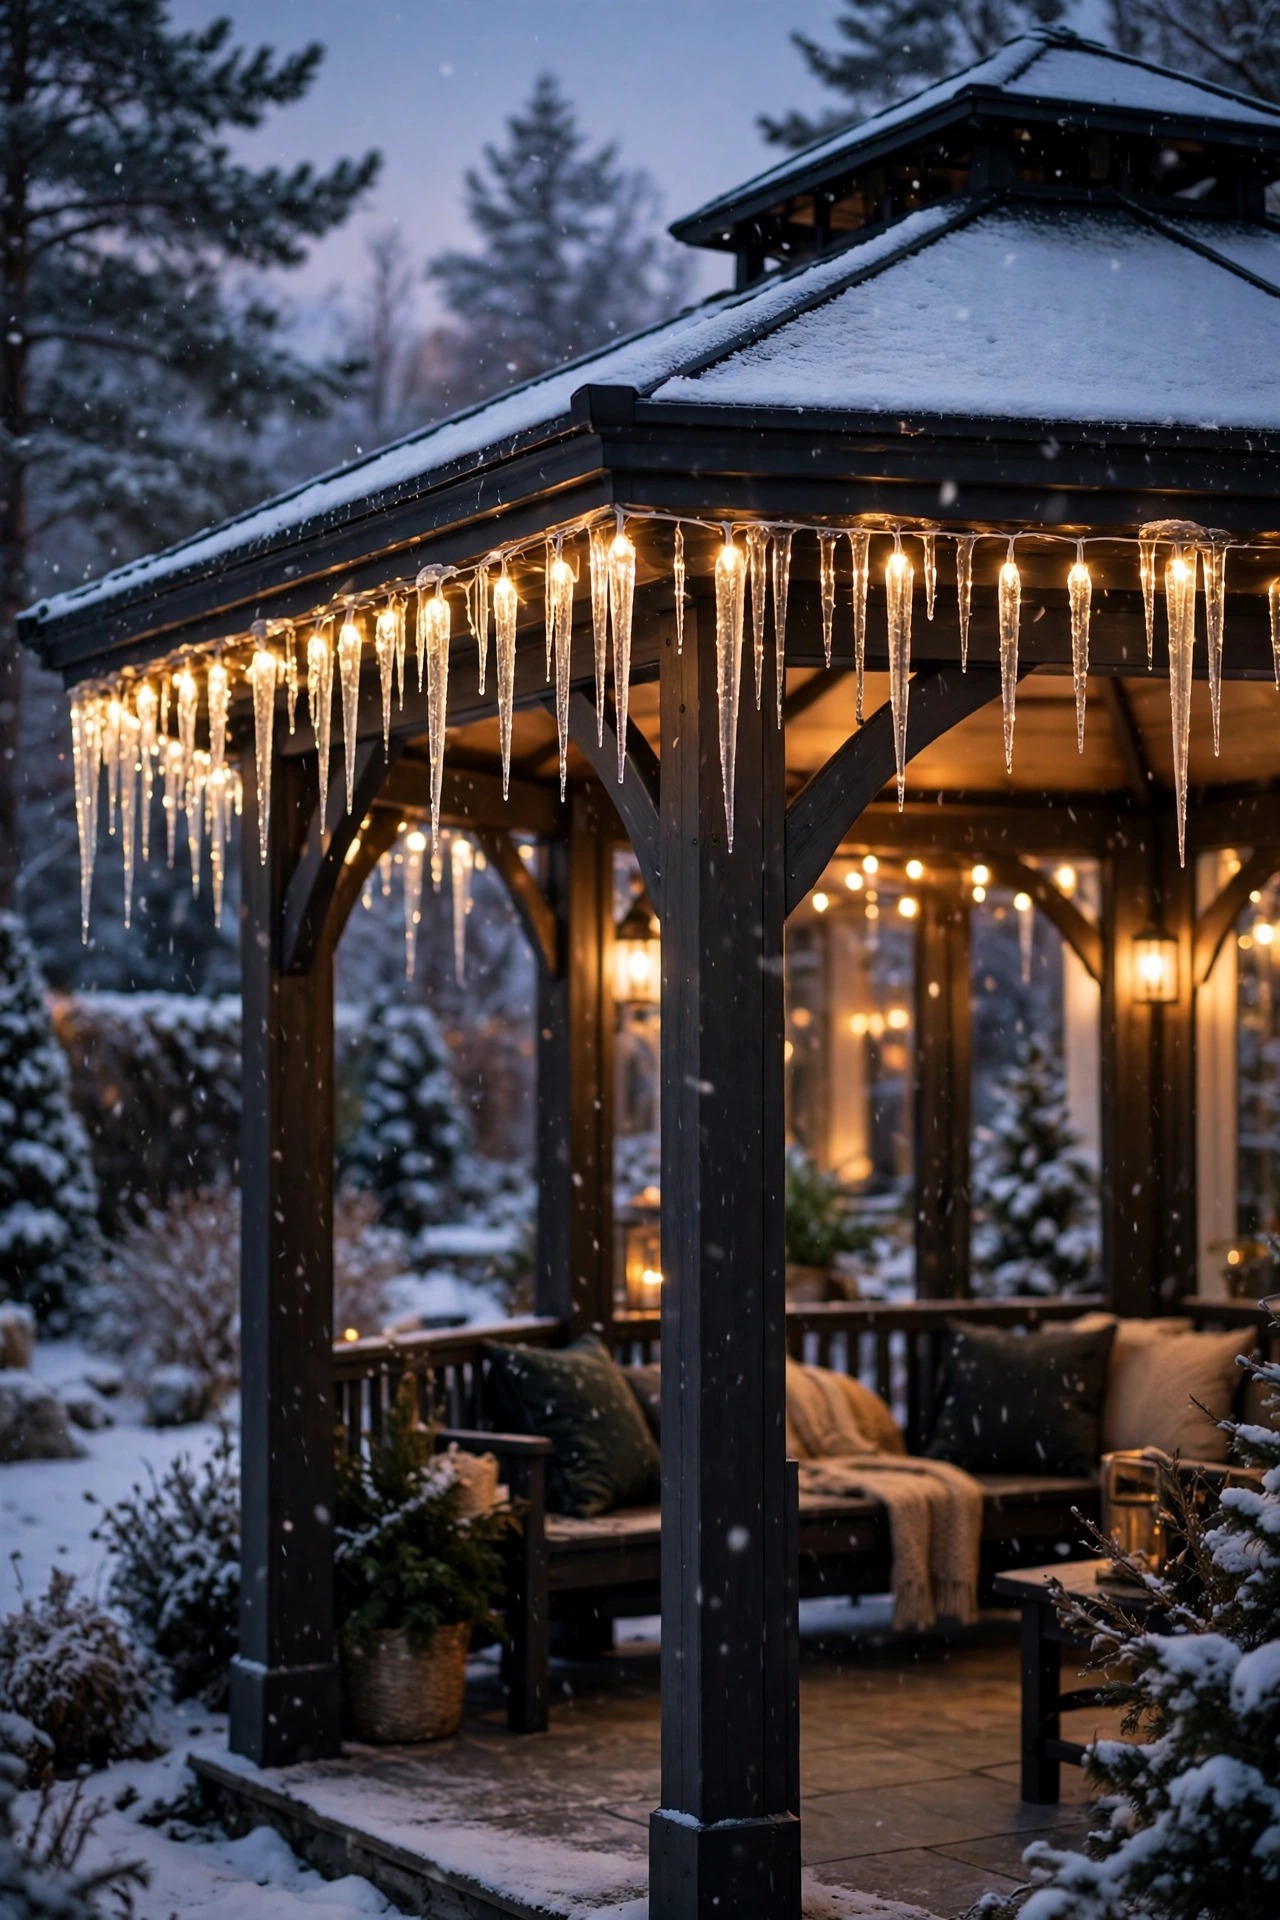
Come December, the hardtop roof edge is the easiest canvas on your whole property. A strand or two of icicle lights clipped along the gutter line or front beam turns the gazebo into the neighborhood's favorite winter scene, and because the clips grip the frame itself, installation takes fifteen minutes with cold fingers instead of an hour on a ladder. Warm white drops look like real icicles catching light; I run one strand across the front and let the interior stay its usual warm self. Outdoor-rated strands with shatterproof bulbs handle freeze and thaw cycles that kill indoor sets by New Year. The honest year-round note: take them down by February. Clips left up all year fade and loosen in the summer sun, and part of the magic is that this layer is a season, not a fixture. Store the strands wrapped around a piece of cardboard so next December is untangling-free. On the first snowy evening, with the icicles lit and the interior glowing behind them, this is the view that ends up on our family group chat every year.
Suggested budget range: $30 – $85.
17. An Infrared Heater Paired With Warm Light for Cold Months
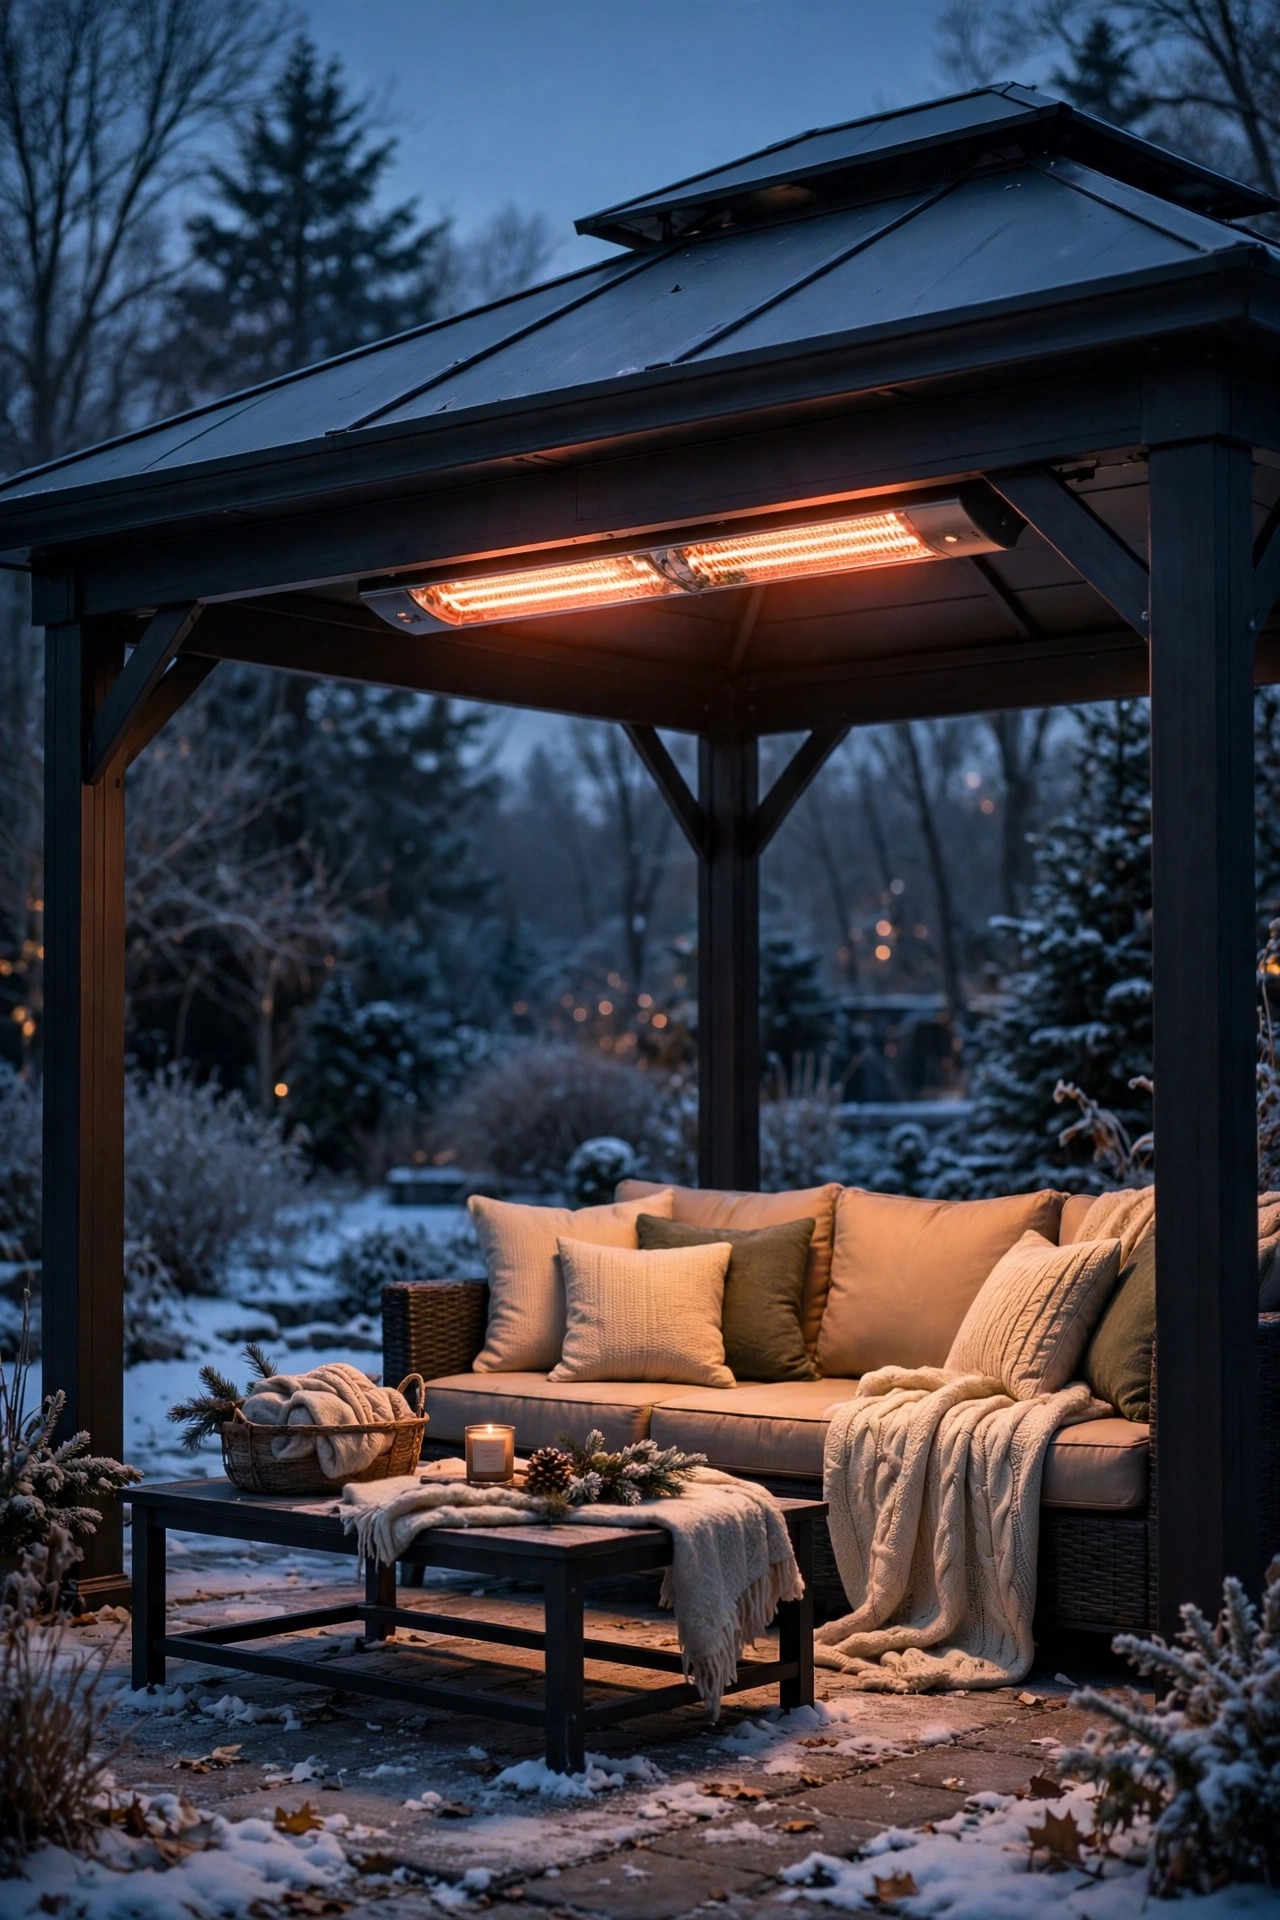
Year-round use stops being a slogan the first truly cold evening, and an infrared heater is what makes a hardtop gazebo genuinely comfortable in January. Mounted high on a post or under the roof edge, it warms people and furniture directly instead of trying to heat the outdoor air, and the solid structure gives you mounting options a soft-top could never hold. Pair it with warm, dim lighting rather than bright light: at 2700K and half brightness, the space feels fireside, while bright white light makes a cold night feel colder. Keep the manufacturer's clearances exactly; heaters and curtains are not friends, so mount it on the post opposite the curtain stack and never drape fabric anywhere near it. This is line-voltage work on a dedicated circuit for most models, which means an electrician, a permit in many towns, and no shortcuts from me. The payoff is real, though. Hot cider in February, under your own roof, while snow lands silently outside the light: that is the moment the whole year-round idea proves itself.
Suggested budget range: $120 – $300.
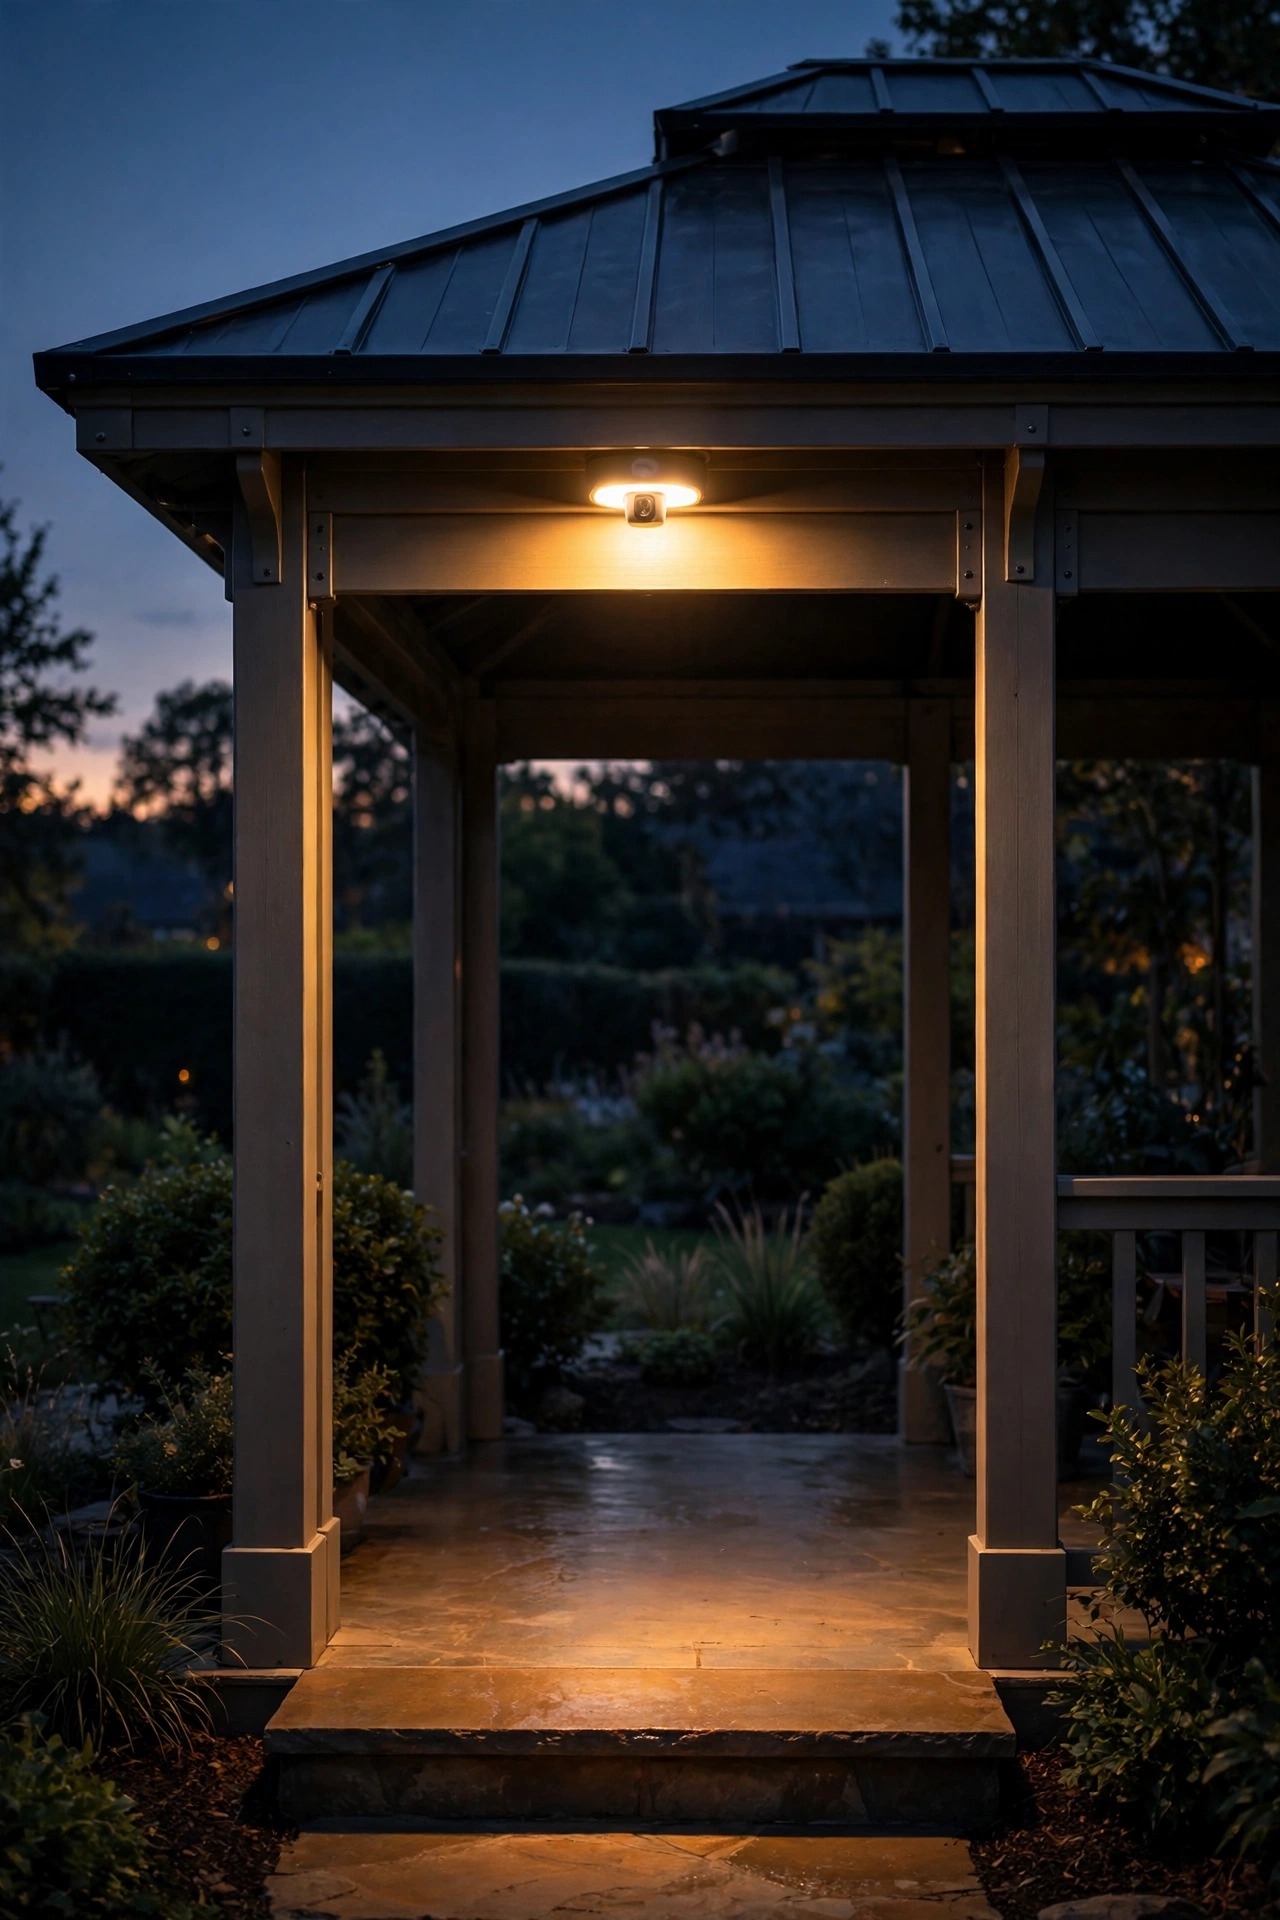
18. A Motion-Sensor Light at the Entrance
Not every light in the gazebo needs to be beautiful. A motion-sensor light over the entrance step is the practical layer that keeps everyone safe, and it earns its keep the first time someone carries a tray out in the dark. Mount a compact wet-rated fixture on the entrance post at about 7 feet, angled down at the step, and set the sensitivity so it ignores the cat but catches a person from about 10 feet out. Battery and solar versions install in minutes with two screws; hardwired versions tie into the main circuit if you are already running one. I keep mine on a short two-minute timer so it is a welcome, not a floodlight, and I chose a warm bulb to match everything else rather than the harsh blue-white most security lights ship with. In winter this little light is the hardest worker of all: it catches you coming home with groceries across a dark, possibly icy yard and lights the one step that matters. Practical is not the opposite of pretty. This one does both jobs quietly.
Suggested budget range: $25 – $80.
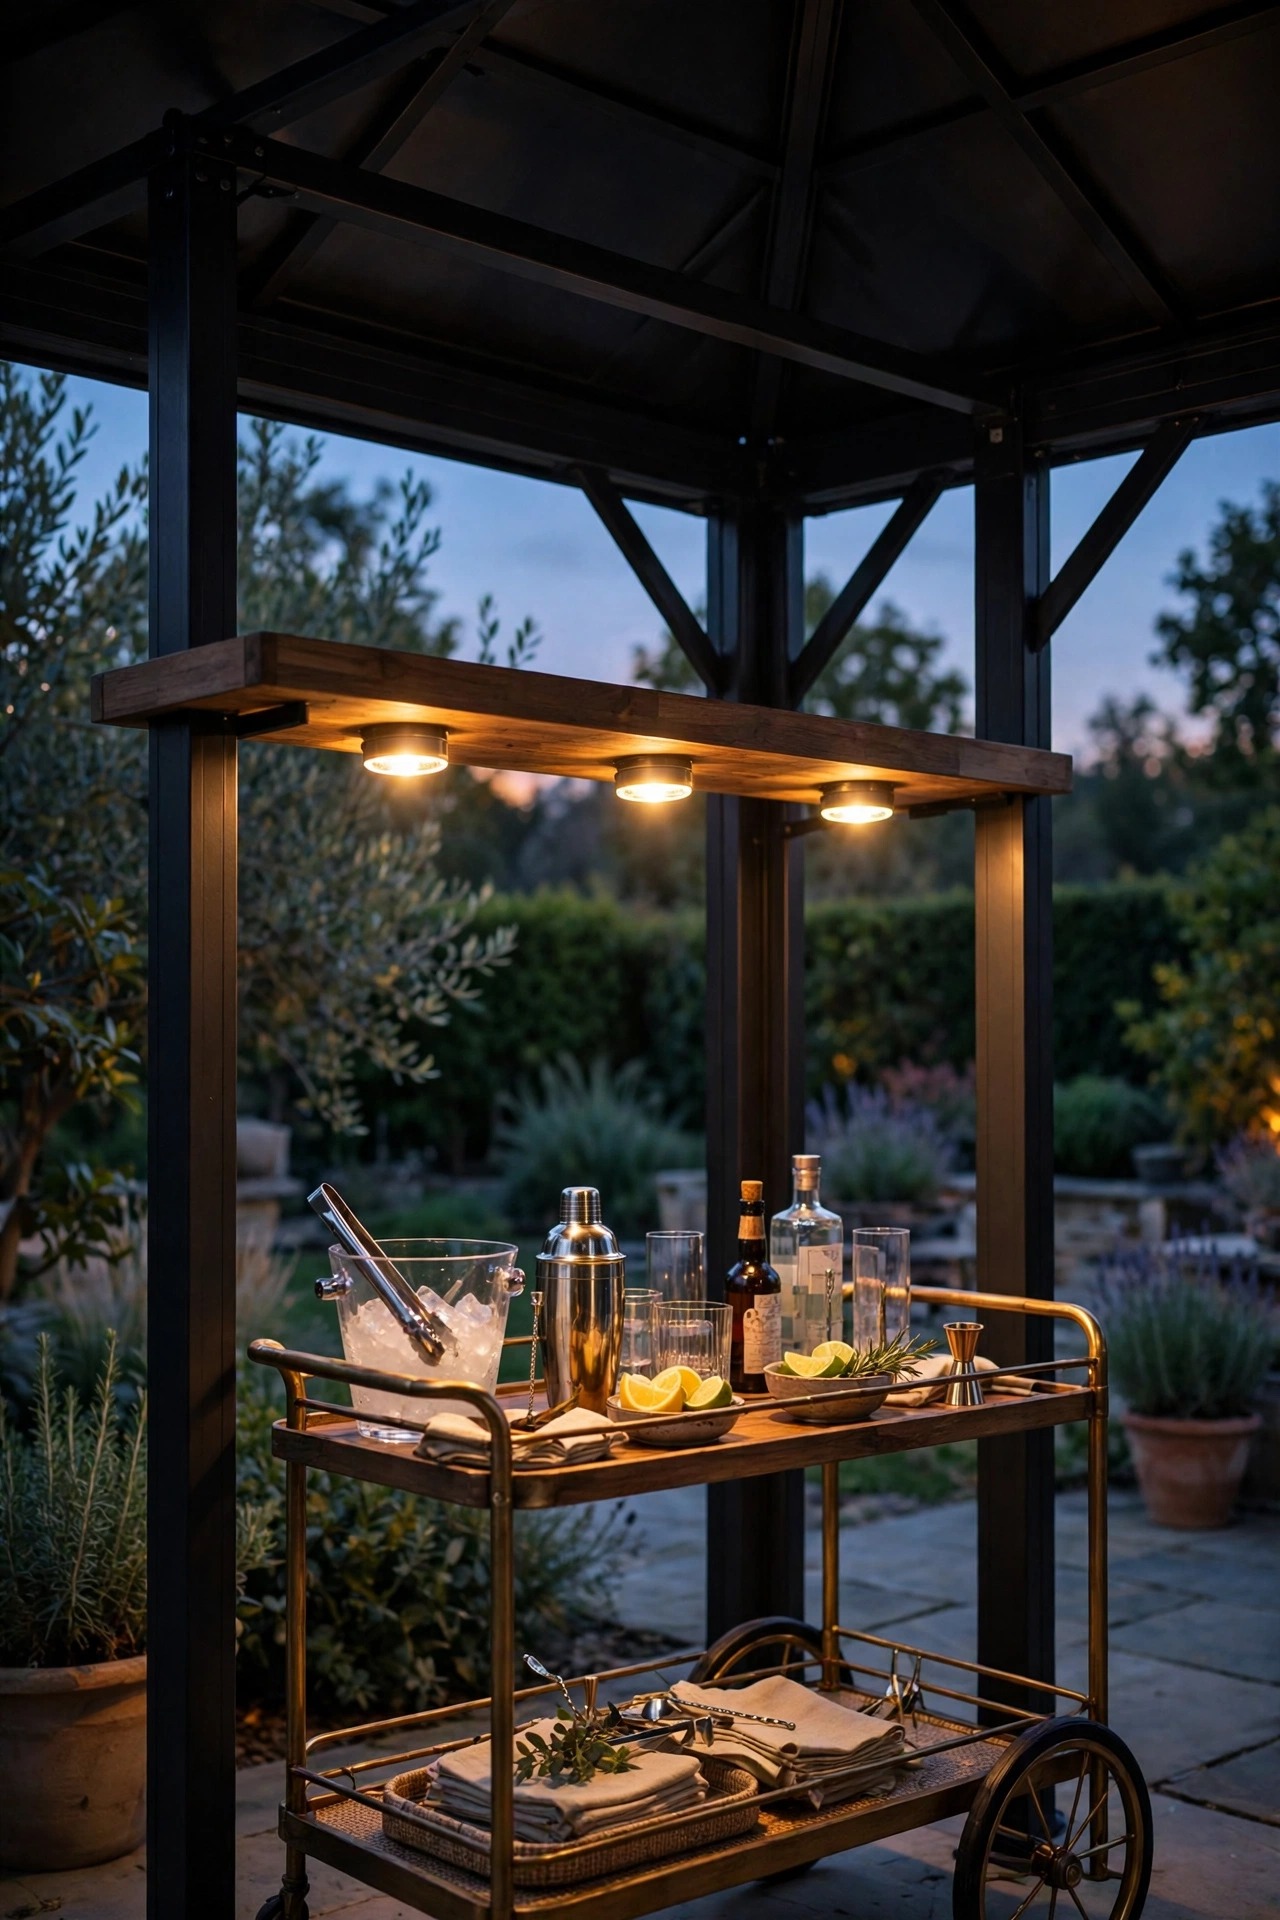
19. Battery Puck Lights for the Serving Shelf and Bar Cart
Every gazebo develops a dark little work zone: the serving shelf, the bar cart, the storage bench where the cushion bag lives. Battery puck lights fix those spots for pocket change. The flat, stick-on discs press on and off with a tap, and remote-controlled versions let you light the whole shelf from your chair. I put two under the roof-end shelf where drinks get mixed and one inside the storage bench, where it has saved me from the nightly flashlight hunt more times than I can count. Adhesive pads do not love temperature swings, so add a small screw or a strip of outdoor mounting tape if yours will live out there all year; mine get fresh batteries each spring when the clocks change, which is the only schedule I have ever kept. Keep color temperature consistent with the rest of the gazebo so the work light does not look like a refrigerator opening. This is the least glamorous idea in the post and the one my husband requested by name. Sometimes the best lighting idea is simply being able to see the bottle opener.
Suggested budget range: $18 – $45.
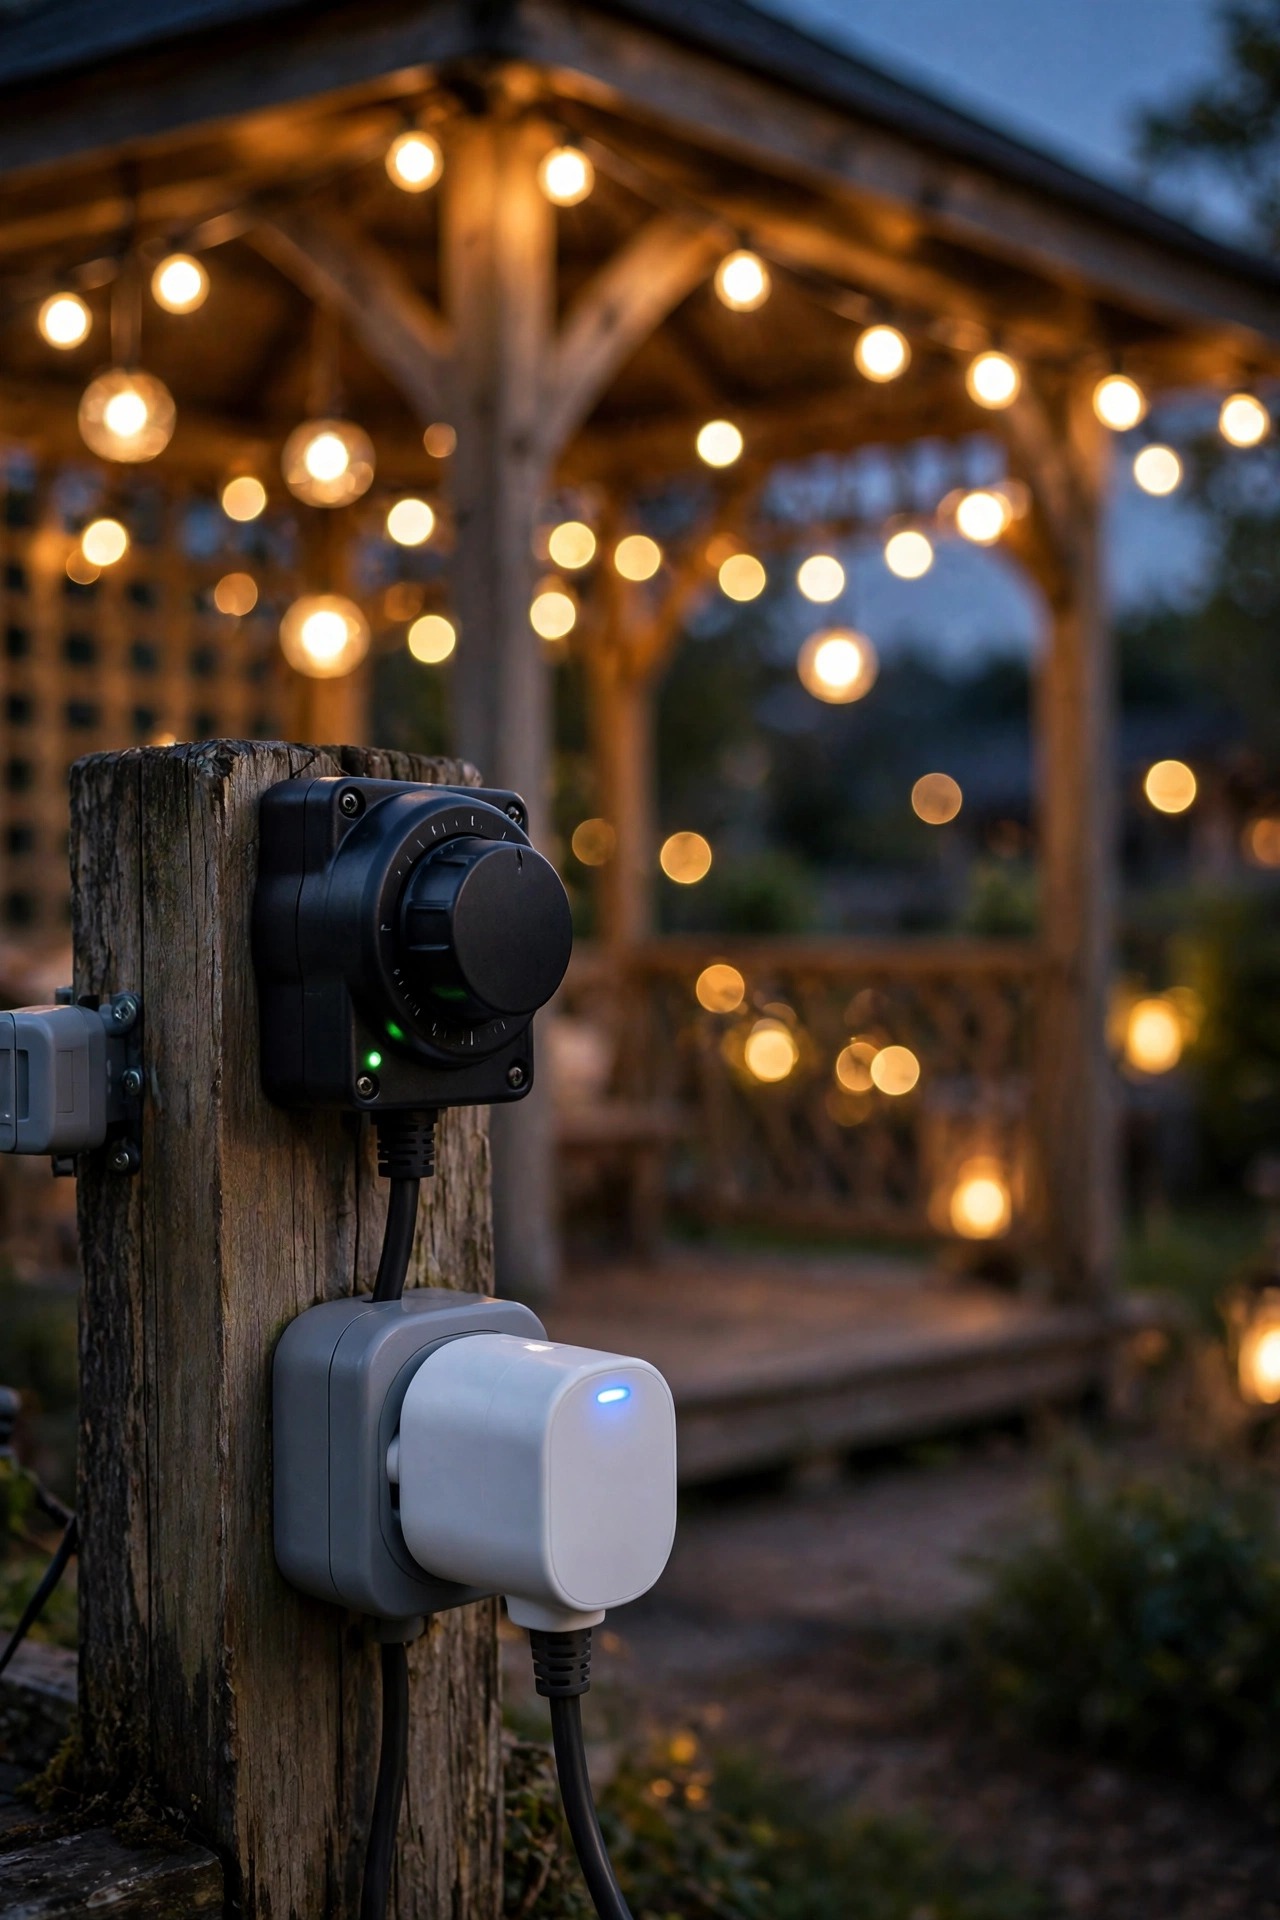
20. Dimmers, Timers, and Zoned Controls
Twenty ideas in, here is the one that ties them together: put your layers on separate controls. The overheads on one dimmer, the sconces on a timer, the solar pieces doing their own dusk-to-dawn thing. Zoning is what lets the same gazebo host a bright card game at seven and a mellow firelight glow at ten without changing a single bulb. An outdoor-rated smart plug handles the string lights and strips on a sunset schedule that adjusts itself all year, which quietly solves the biggest year-round annoyance: in June you want lights at nine, in December at five. A simple mechanical timer works fine too and never needs an app update. My one firm opinion: dimmers on the ceiling fixtures are worth every penny, because fixed-bright light is the reason most gazebos feel harsh at night. Label the switches inside the back door while you are at it, in pencil, before the first party. Someone will ask which switch does what, in the dark, holding a tray. It is better if the answer is written down.
Suggested budget range: $30 – $95.
21. Putting Your Hardtop Gazebo Lighting Ideas Together, Season by Season
Here is how my own gazebo actually runs across the year, because the best hardtop gazebo lighting ideas are a system, not a shopping list. The permanent layer never changes: post sconces on photocell bulbs, the ceiling fixture on a dimmer, uplights washing the posts, and the motion light standing guard at the step. Spring adds the café strings and rafter strips, checked and re-clipped after winter. Summer brings the fan, the fairy lights on the curtain rail, and flameless candles on every table. Fall is for warmth: smart bulbs shift a touch deeper, the lanterns come out, and the heater gets its first test evening before we actually need it. Winter swaps in the icicle strand, leans on the heater and pendants, and lets everything else run on timers so the gazebo glows by itself at five while we are still inside cooking. None of this takes more than an hour a season to adjust. Start with any three ideas from this list, live with them a month, and add layers only where the dark spots bother you. That slow build is how you end up with a gazebo that feels finished in every month of the year.
Suggested budget range: $250 – $700.
Frequently Asked Questions
Can you hardwire lights into a hardtop gazebo?
Yes, and that is one of the biggest advantages of a hardtop. The metal frame and solid roof can carry a junction box, ceiling fixture, or fan that a fabric canopy never could. Run the feed through conduit to a GFCI-protected circuit, use only wet-location fixtures, and keep connections inside sealed boxes. If you are adding a new circuit or a heater, hire a licensed electrician; many towns also require a permit for new outdoor circuits. Solar and battery options from this list cover everything else with no wiring at all.
What color temperature is best for a gazebo?
Warm white, 2700K to 3000K, is the range that makes a gazebo feel like evening rather than an office. I use 2700K for sconces, strings, and candles where the mood matters, and up to 3000K for the ceiling fixture and work spots where you want a touch more clarity. The single most important rule is consistency: pick one temperature and use it everywhere, because one cool-white bulb in a sea of warm ones is all anyone will see.
How do I keep gazebo lights working through winter?
Choose fixtures and bulbs rated for wet locations, not just damp, and look for an IP65 rating or better on strips, strings, and solar pieces. LEDs actually perform beautifully in the cold; it is batteries that lose stamina, so bring battery candles and puck lights in on the coldest nights or expect shorter runtimes. Photocell bulbs and timers keep everything on schedule without trips across a frozen yard, and a five-minute autumn check of clips, seals, and connections prevents most midwinter failures. Snow load on the roof itself is a gazebo question, not a lighting one, so follow your manufacturer's limits.
Can I light a hardtop gazebo with no nearby outlet?
Absolutely; about half of this list needs no outlet at all. A solar chandelier on the center hook, fairy lights on a battery pack, flameless candles, and solar path and flame torches will carry a gazebo beautifully. The keys are panel placement, with at least six hours of direct sun and a south-facing angle in winter, and realistic expectations on cloudy weeks. For brighter light without wiring, a low-voltage system still needs one outlet for its transformer, but battery lantern pendants get surprisingly close. If you fall in love with the space, running one GFCI outlet to the gazebo later is a smaller job than most people fear.
Conclusion
A hardtop gazebo is built for all four seasons, and with layered light it finally lives like it. Something overhead, warmth at eye level, a guide along the ground, and controls that run themselves: that is the whole formula behind these hardtop gazebo lighting ideas. Start with the layer you will use most, add the next one when a dark spot annoys you, and let each season bring its own small swap. If a pergola is also on your project list, my pergola lighting ideas use the same layering approach under an open sky, and the rest of the site is full of outdoor rooms waiting for their own glow.