There's a reason the prettiest yards in my neighborhood all seem to glow from inside the trees. Ground lights point up and show you the fixture; light that falls from above shows you the yard. After years of experimenting, tree mounted downlight fixtures have become my favorite layer of all: they hide in the canopy, wash paths and patios in soft pools of light, and filter through the leaves to throw those dappled shadows you simply can't fake from the ground. My philosophy is always layering — gentle downlight from above as the base, a few uplights for drama on the trunk, and task light only where you actually need it. In this post I'm sharing 15 ways to mount downlights in trees: extension arms, growth-friendly straps, hanging canopy pendants, and everything between. You'll get mounting heights, aiming tips, honest tree-safety notes, and a budget for each idea, so you can start with one fixture in your best tree this weekend.
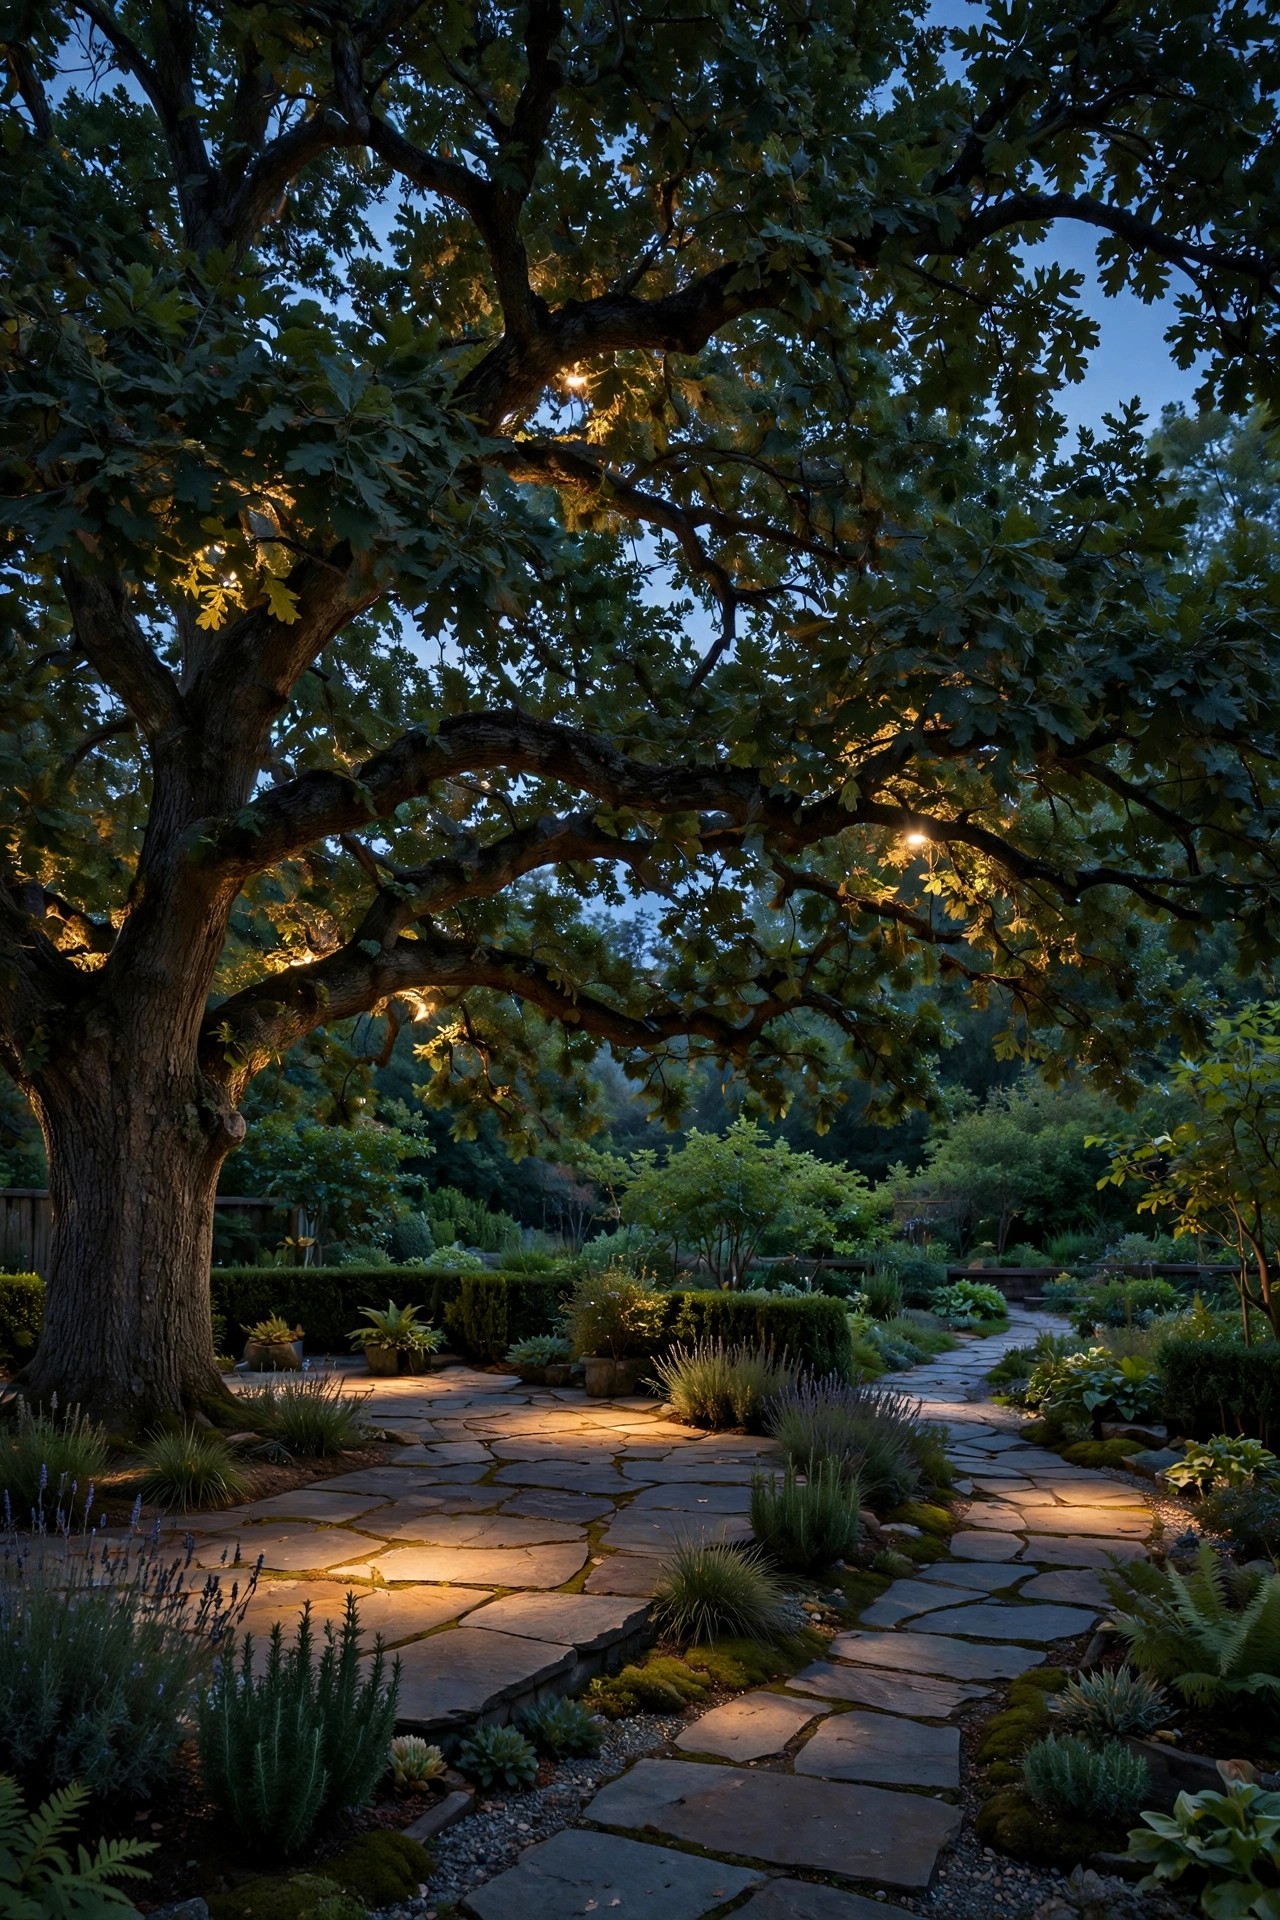
1. The Classic Extension Arm: Tree Mounted Downlight Fixtures Done Right
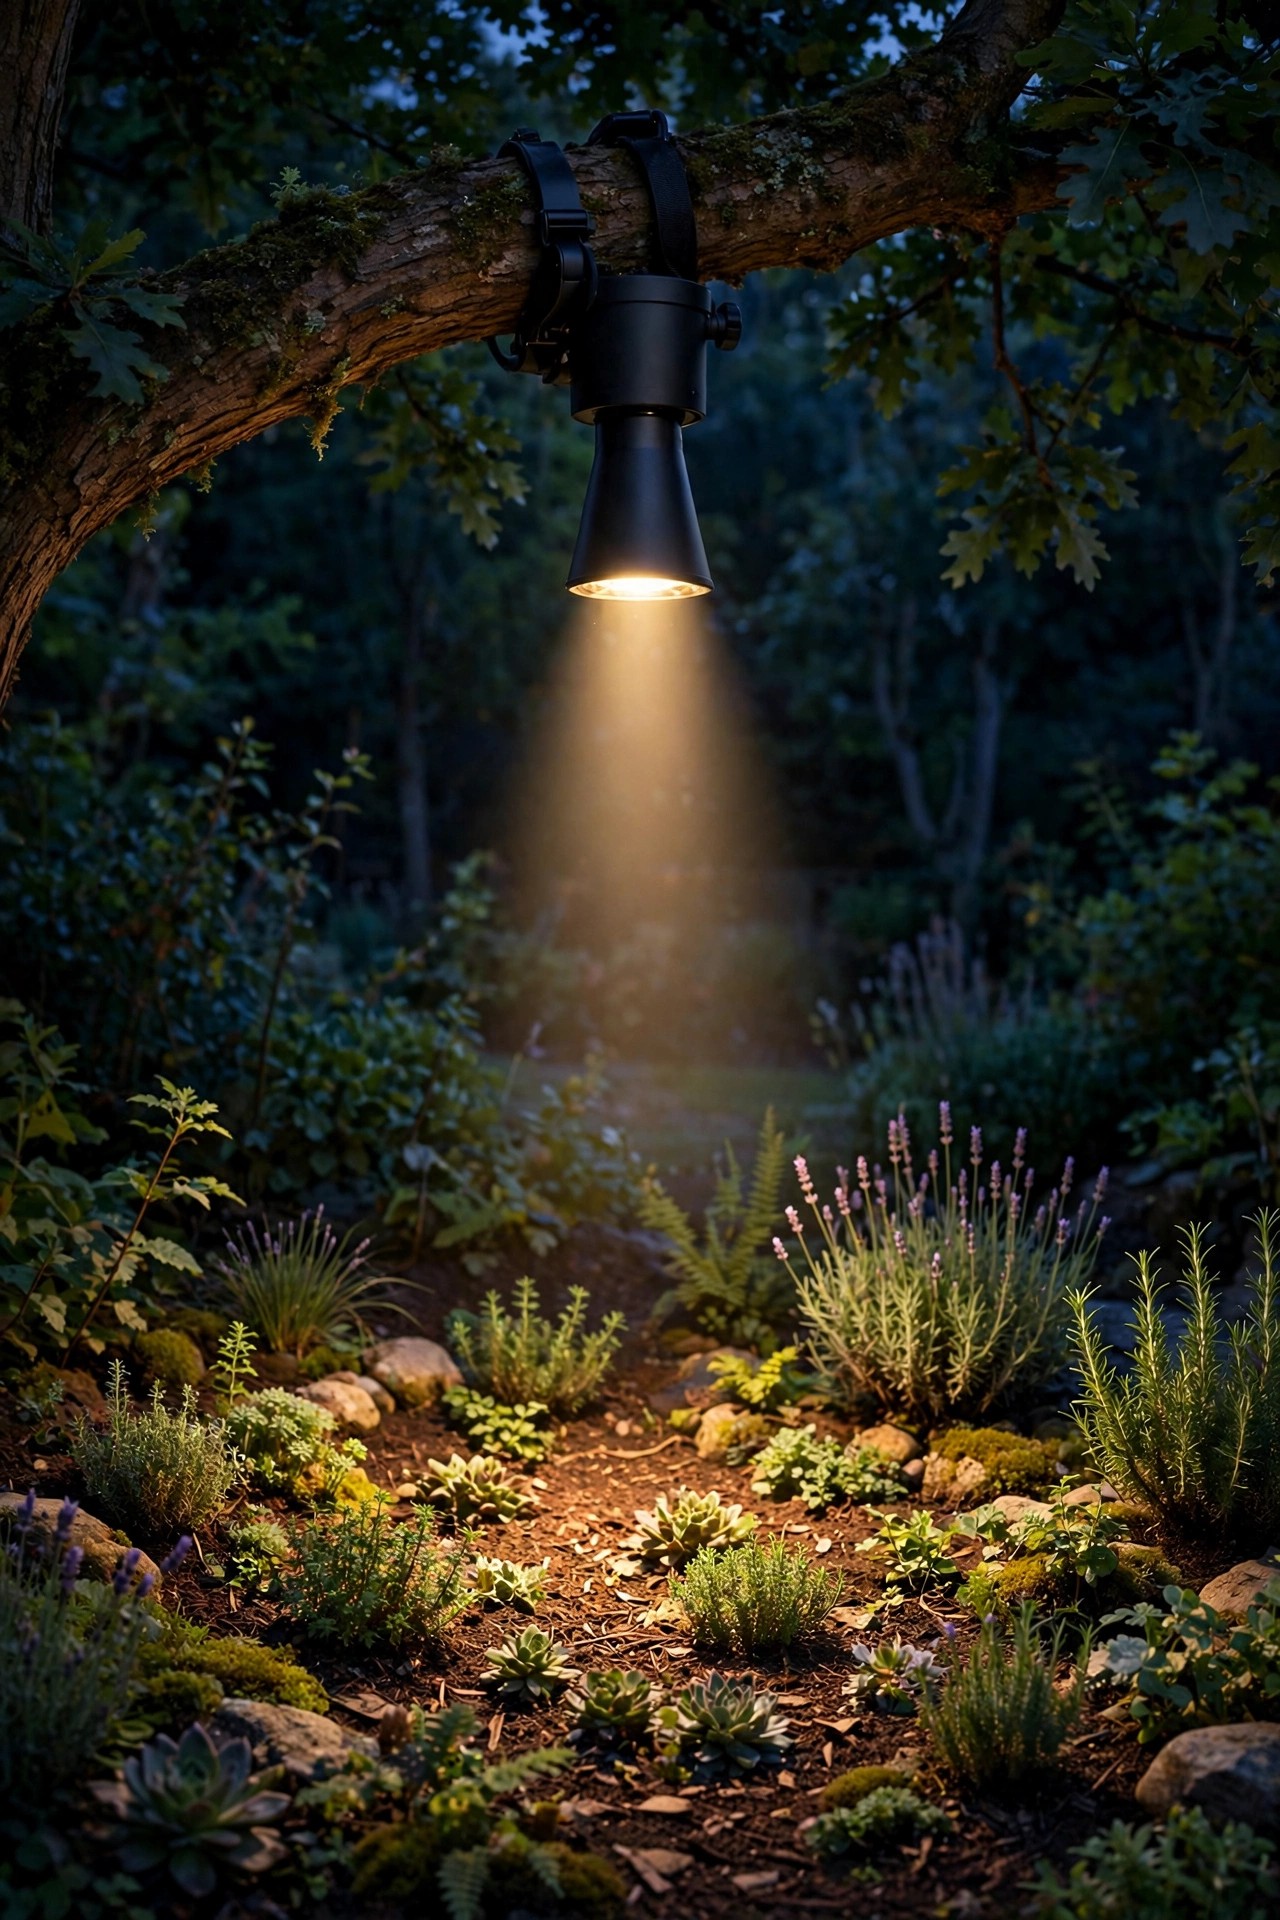
If you picture moonlighting, this is the fixture behind it. An extension arm — usually a slim, bark-brown metal bracket — reaches 12 to 24 inches out from the trunk so the small downlight at its tip clears the bark and aims straight down. Mount it 18 to 25 feet up on a mature oak, maple, or pine, and the light falls in a wide, soft cone that reads as moonlight, not machinery. I recommend a 35- to 60-degree beam, 2700K, and a modest 300 to 600 lumens; more than that and you've built a stadium, not a mood. Run the low-voltage cable down the back of the trunk where nobody sees it, and leave a gentle slack loop at the fixture so the tree can sway and grow without straining the wire. Attach the arm with stainless hardware, and keep the fixture small — the whole point is that by day you should barely notice it, and by night you shouldn't notice it at all. This is the single most forgiving setup for beginners, and in my experience it's the one people end up expanding to every good tree in the yard.
Suggested budget range: $60 – $140.
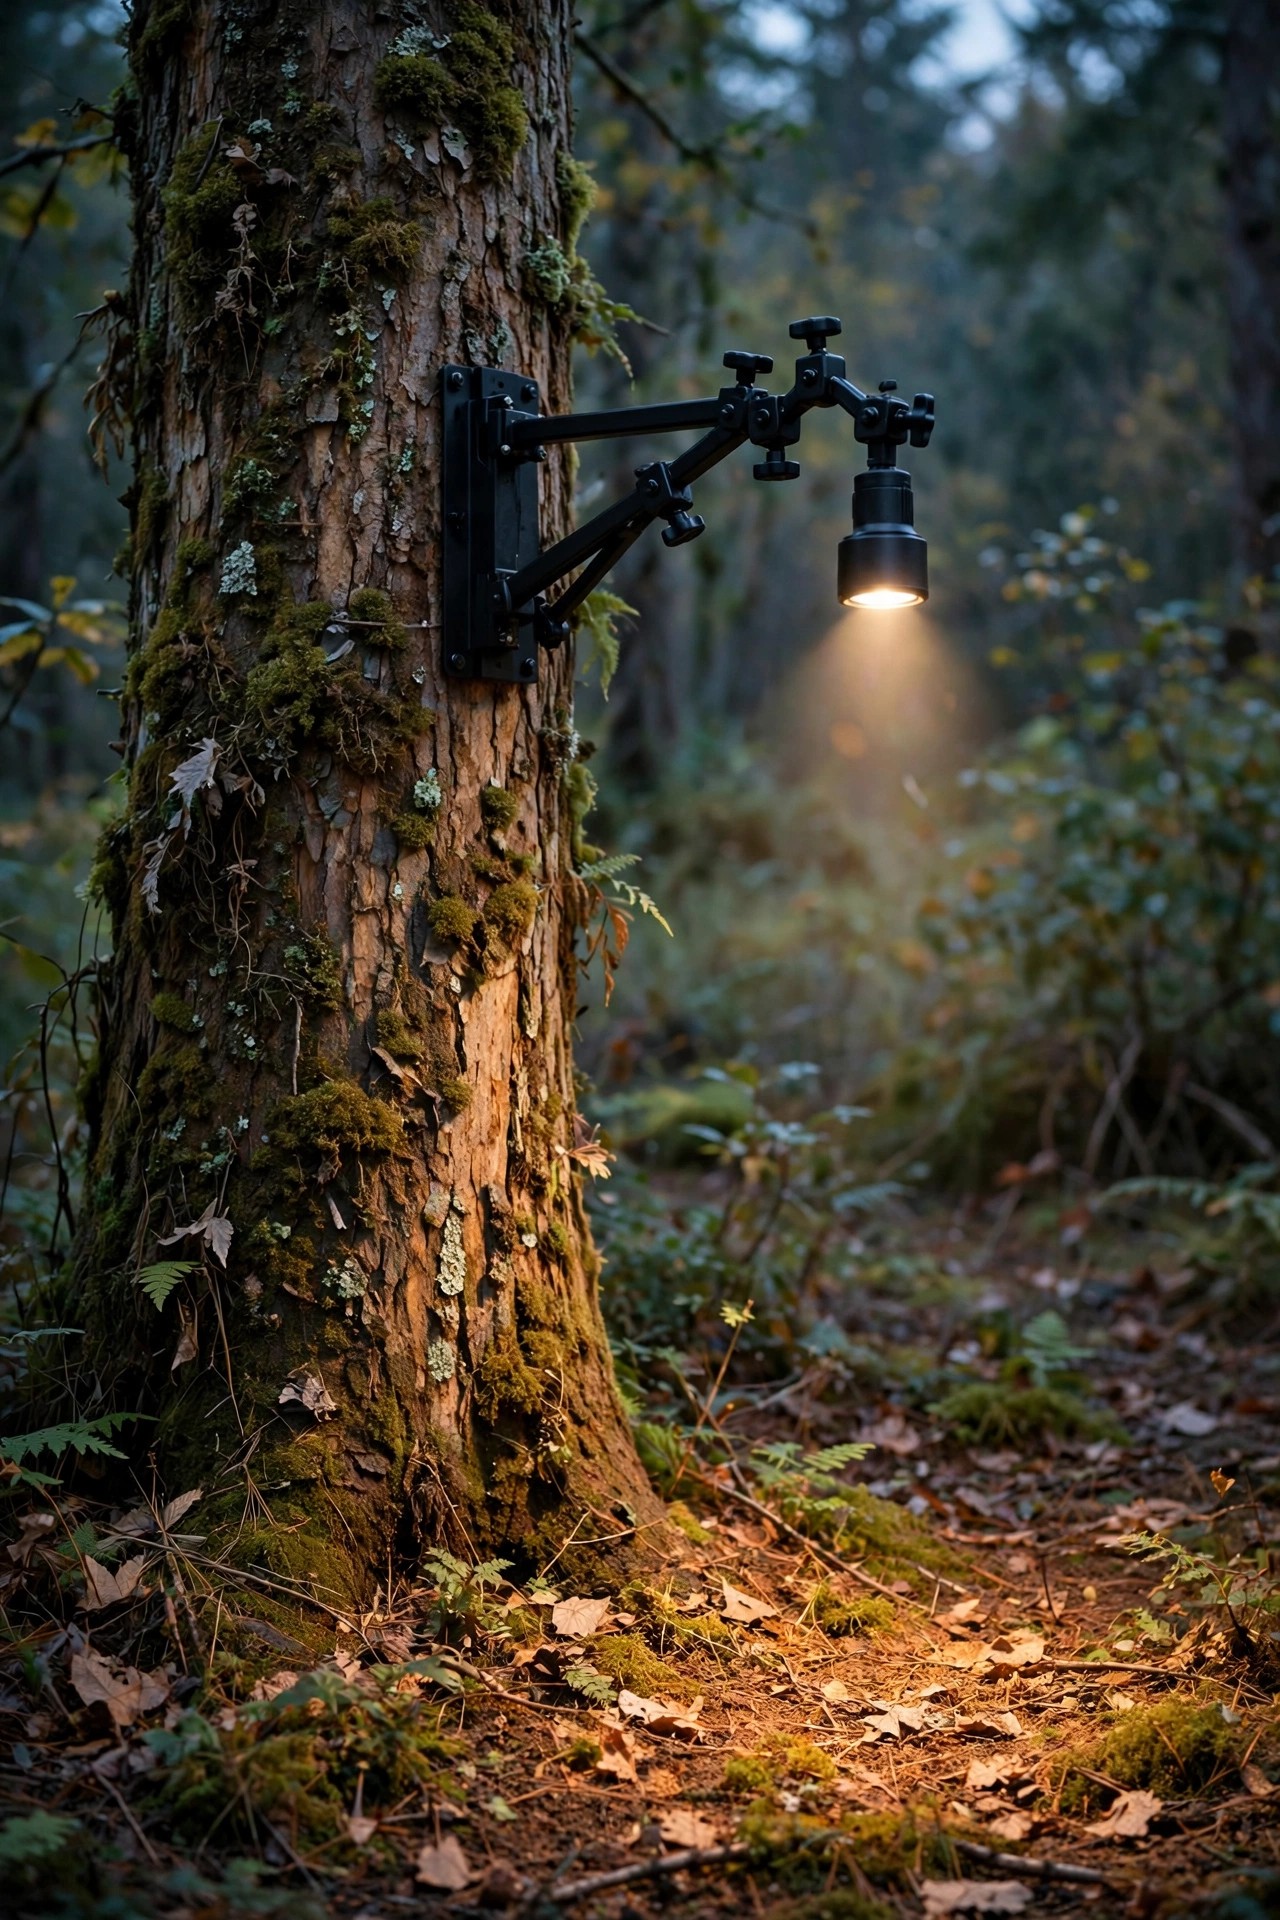
2. Stainless Strap Mounts That Grow With the Tree
The most common question I get about tree lights is "won't that hurt the tree?" — and straps are my favorite answer. Instead of drilling, a wide stainless steel band wraps the trunk and holds a small mounting bracket, with a rubber or cork liner between metal and bark. Nothing penetrates the tree, so there's no wound for pests or disease to find. The one rule you cannot skip: get up there once a year, every spring, and loosen the strap. A healthy tree adds real girth every season, and a forgotten strap will eventually girdle the trunk — the very harm you were avoiding. Straps work beautifully on young to medium trees, roughly 6 to 14 inches in diameter, and they're ideal if you like to experiment, because the whole fixture moves in minutes with no holes left behind. Pair the strap with a compact LED downlight in the 200 to 400 lumen range aimed down at a bed or path. Honestly, for the first fixture in a first tree, this low-commitment, tree-friendly option is the one I always recommend to friends.
Suggested budget range: $45 – $110.
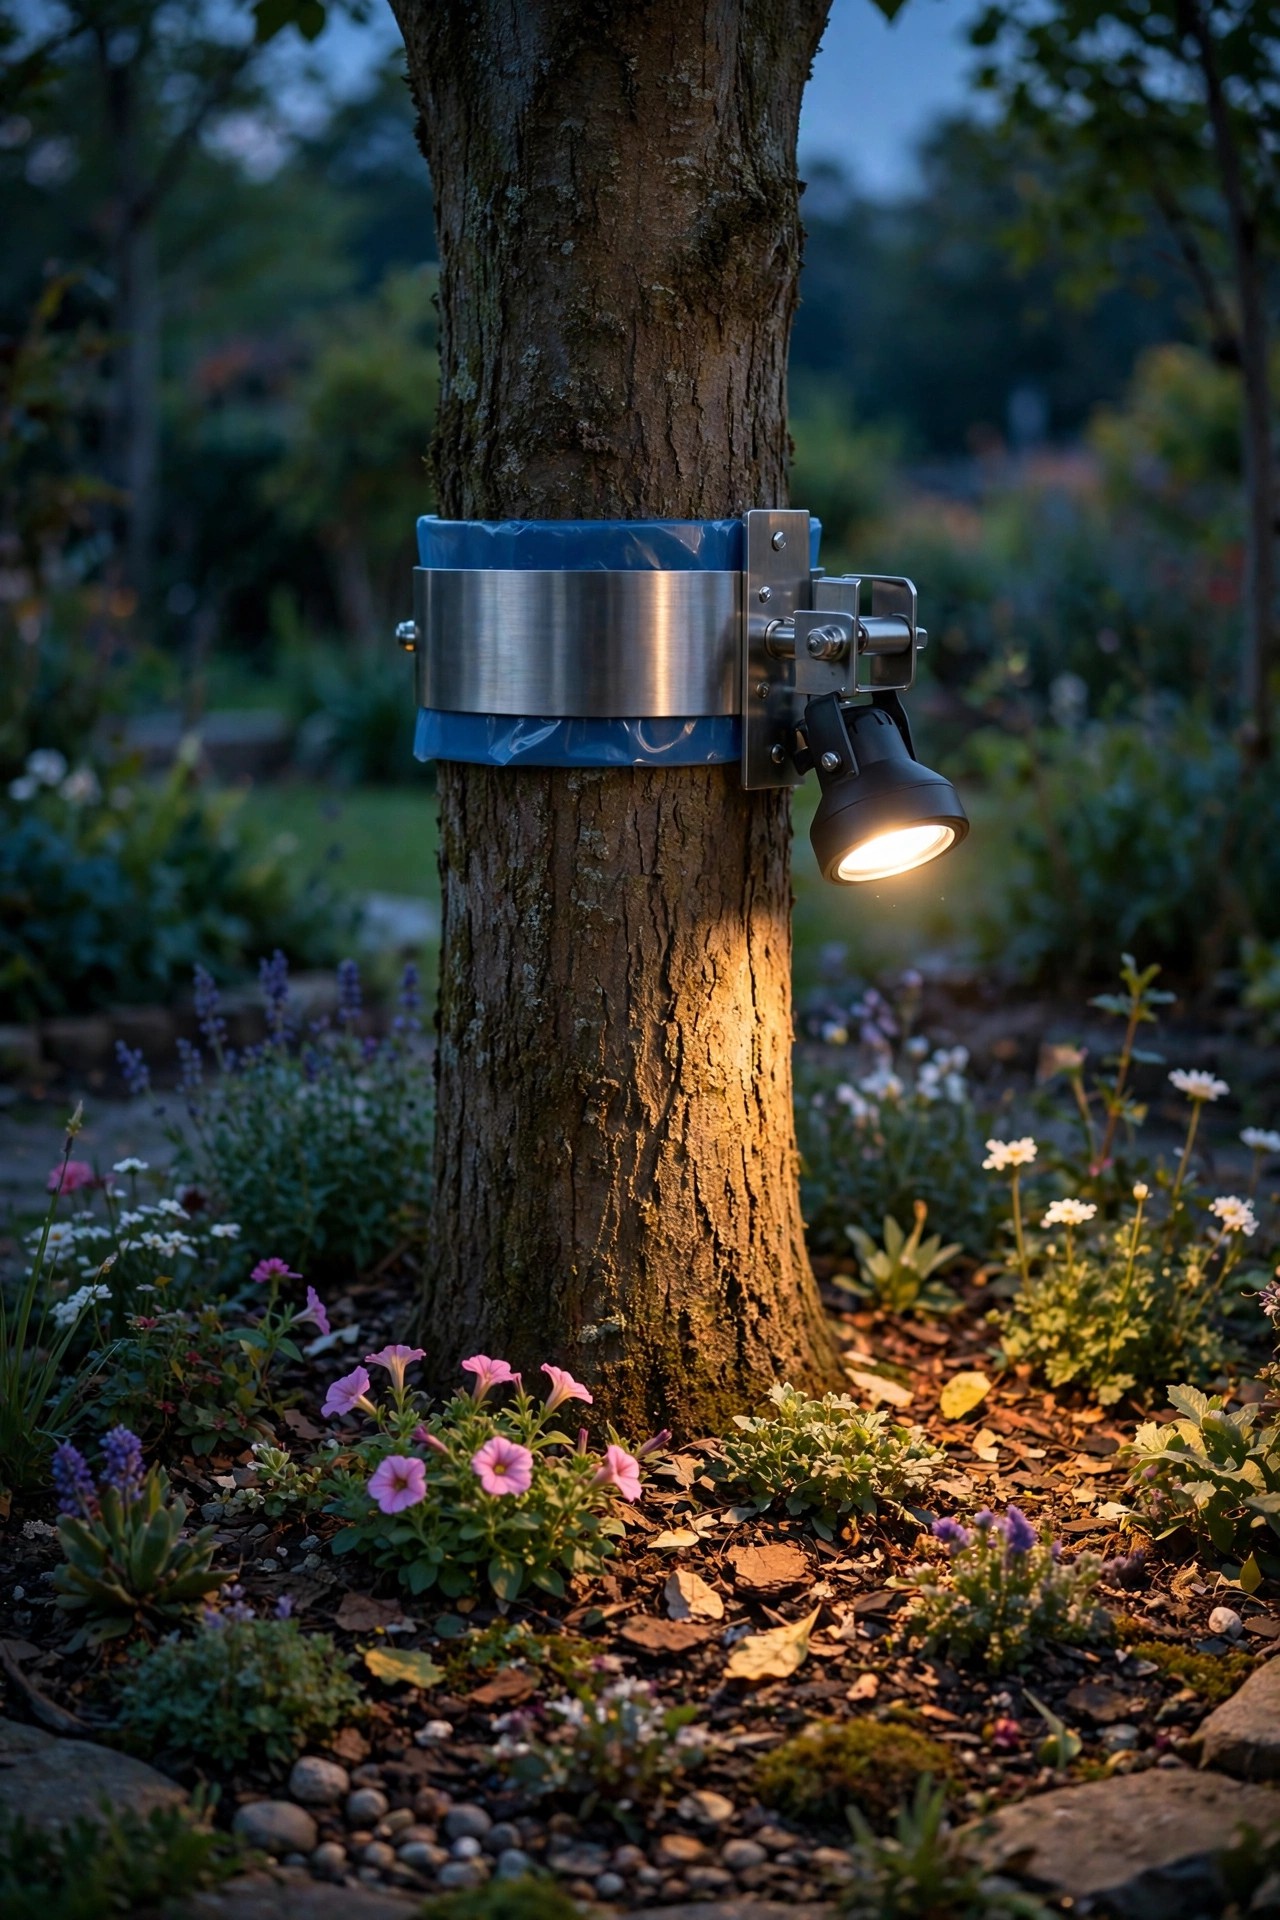
3. A Canopy Pendant Hung From a Sturdy Limb
Sometimes the most charming answer isn't a bracket at all — it's a pendant. A small lantern-style LED downlight hangs from a strong horizontal limb on stainless cable or chain, dropping 2 to 4 feet below the branch so it glows like something out of a storybook over a bench, a reading chair, or a garden gate. The fixture bottom should hang around 7 to 9 feet above the ground: low enough to feel intimate, high enough that nobody bumps it. Choose a limb at least 4 inches thick, in sound healthy wood, well away from any weak fork or crotch, and use a proper eye lag rated for the load. Because the pendant can sway in the wind, LED is the only bulb choice I'd ever consider here — no filament to break, no heat near leaves — and a little extra cable slack keeps the sway gentle instead of wild. In my garden, one pendant over a stone bench under the crabapple is where everyone ends up at the end of the evening. It's the least "landscape lighting" looking idea on this list, and often the most loved.
Suggested budget range: $70 – $160.
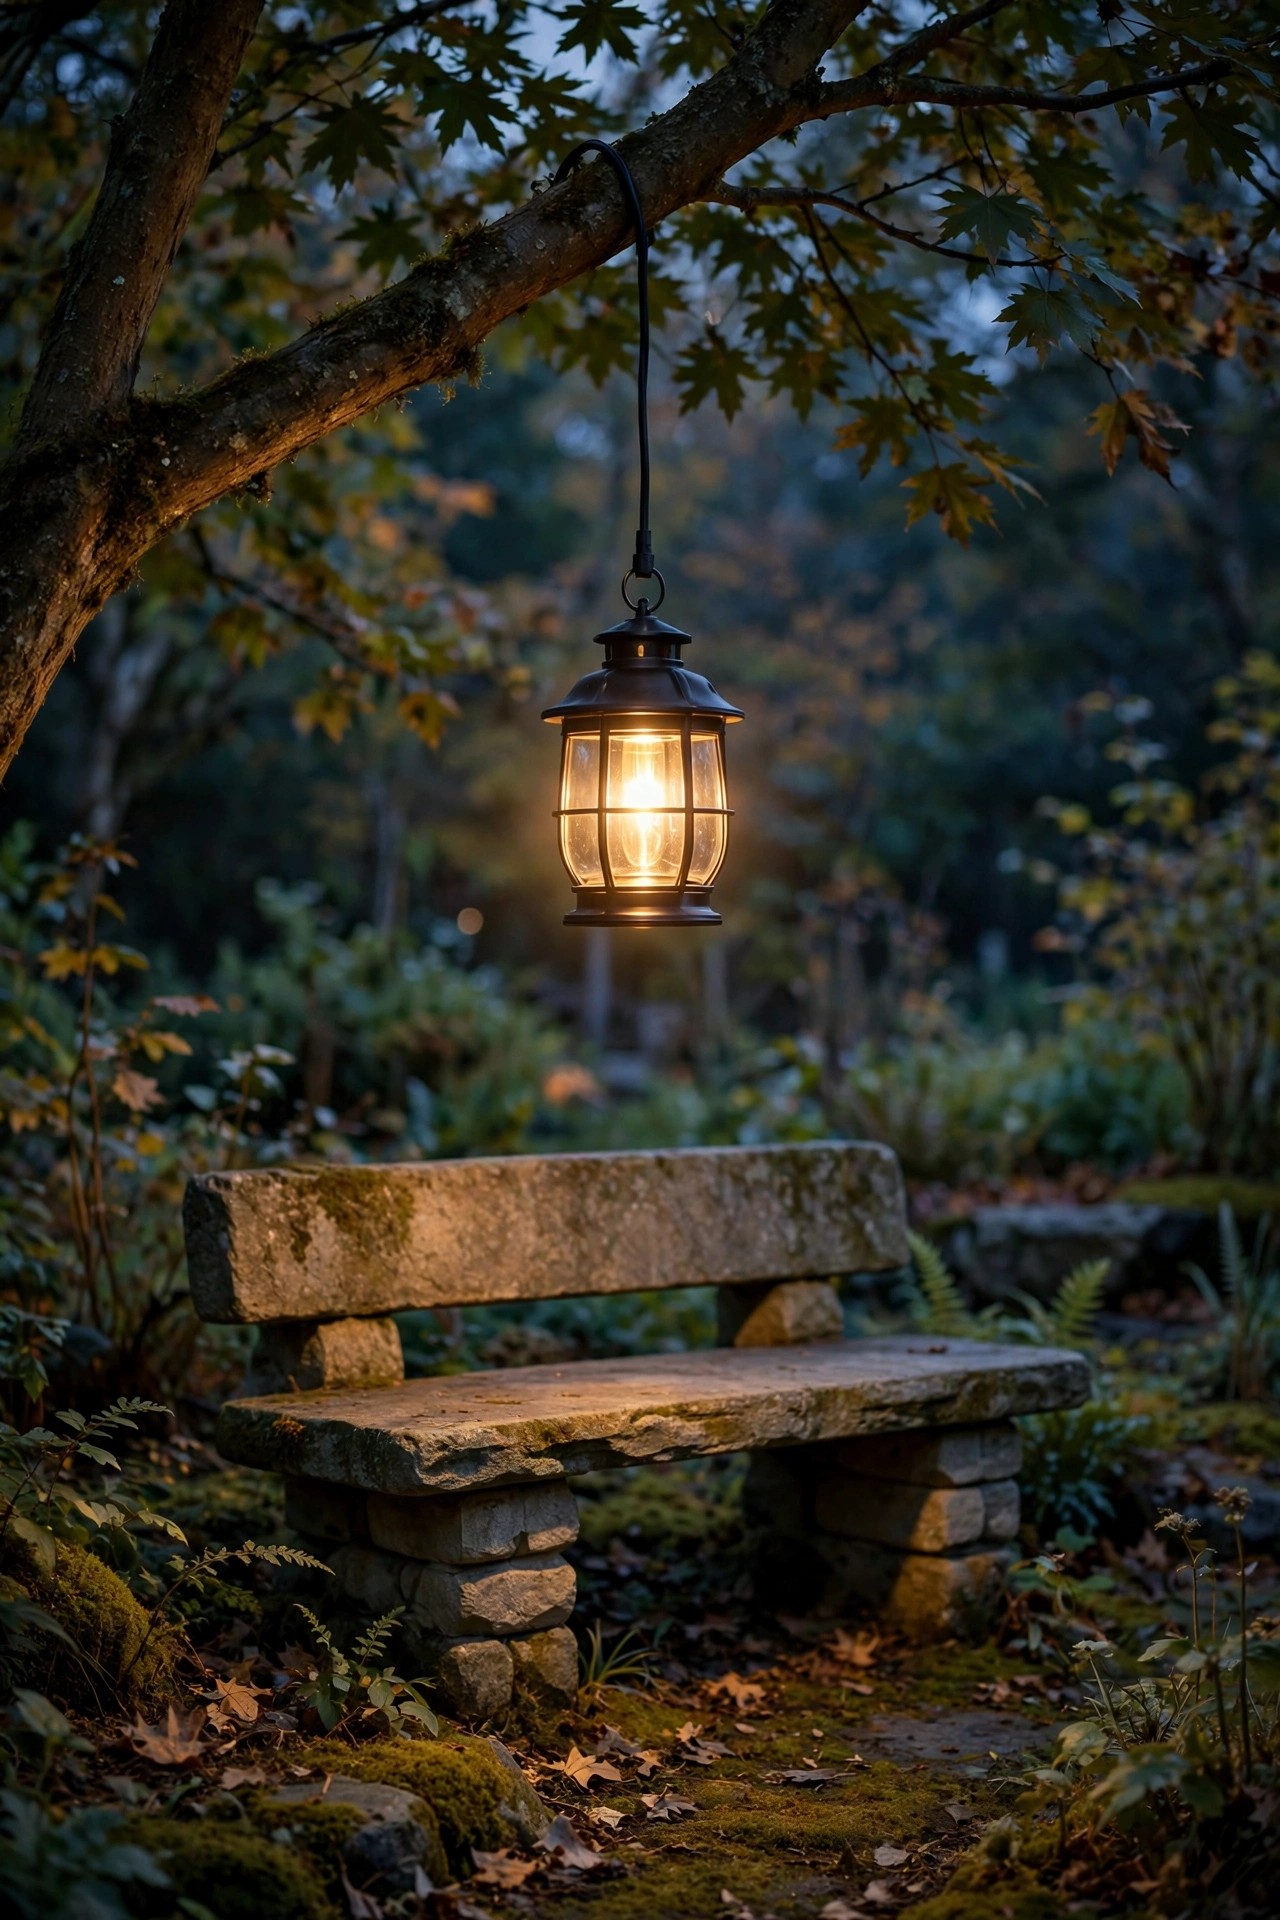
4. Cable-Suspended Downlights Between Two Trees
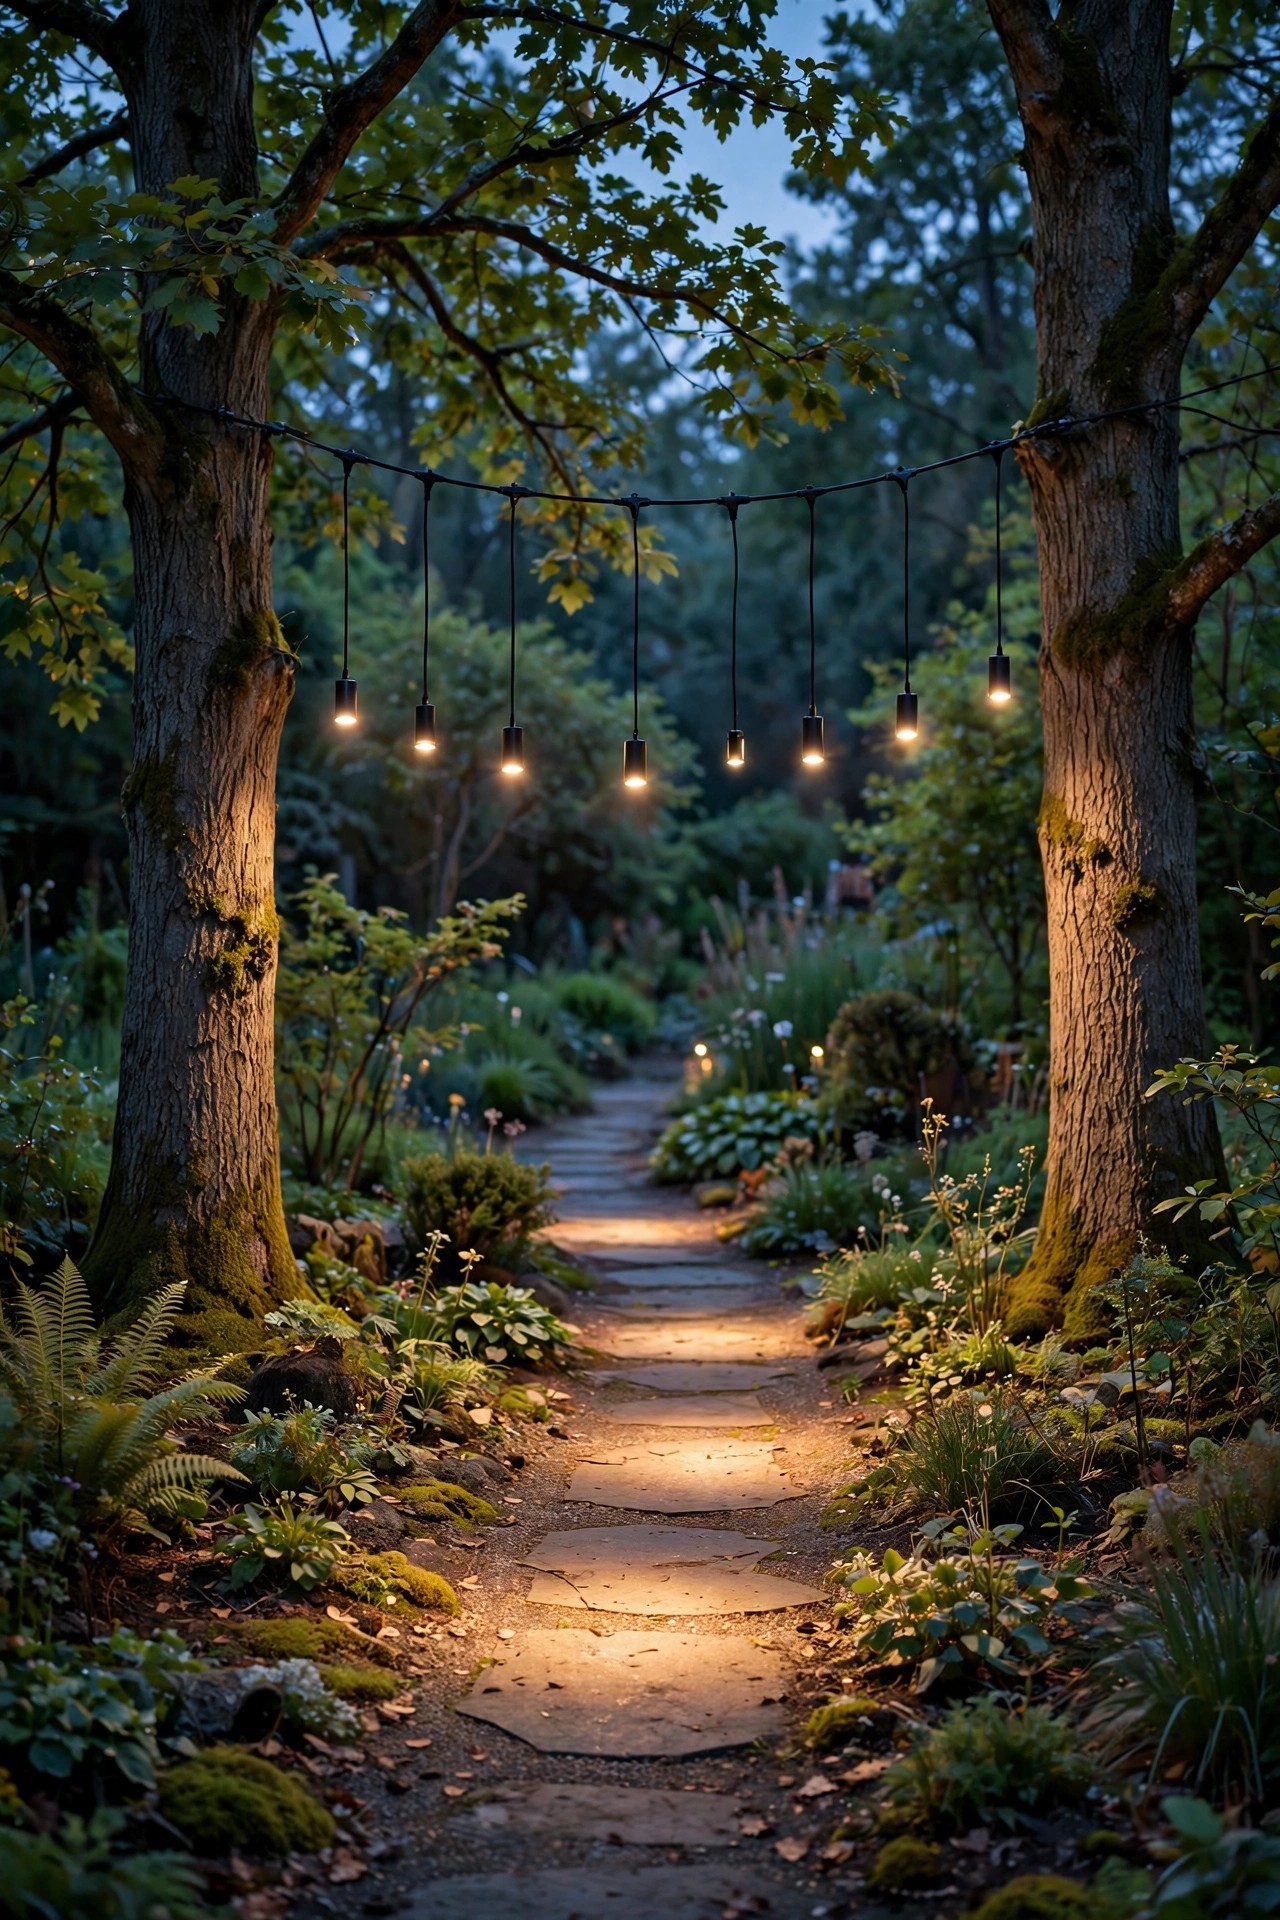
When two trees stand 15 to 30 feet apart — across a path, a courtyard, or a lawn panel — a tensioned stainless cable between them becomes invisible infrastructure for one, two, or even three small downlights clipped along its span. This is how I light the middle of spaces where there's nothing to mount to and digging a trench for ground fixtures feels like overkill. Use a turnbuckle at one end to tension the cable, keep the lowest point of the sag at least 9 feet above the ground, and because the whole run is low voltage, it's a safe, code-friendly DIY. The fixtures hang a few inches below the cable on short drops, aimed straight down, and from underneath at night you just see floating pools of light — guests never figure out where they're coming from. Space multiple fixtures 6 to 10 feet apart along the cable for even coverage, and choose matched 2700K lamps so the color stays consistent. It's part tree lighting, part café string-light thinking, and it turns the awkward gap between two trees into the best-lit spot in the yard.
Suggested budget range: $90 – $220.
5. Trunk-Hugging Clamp Rings for Smaller Trees
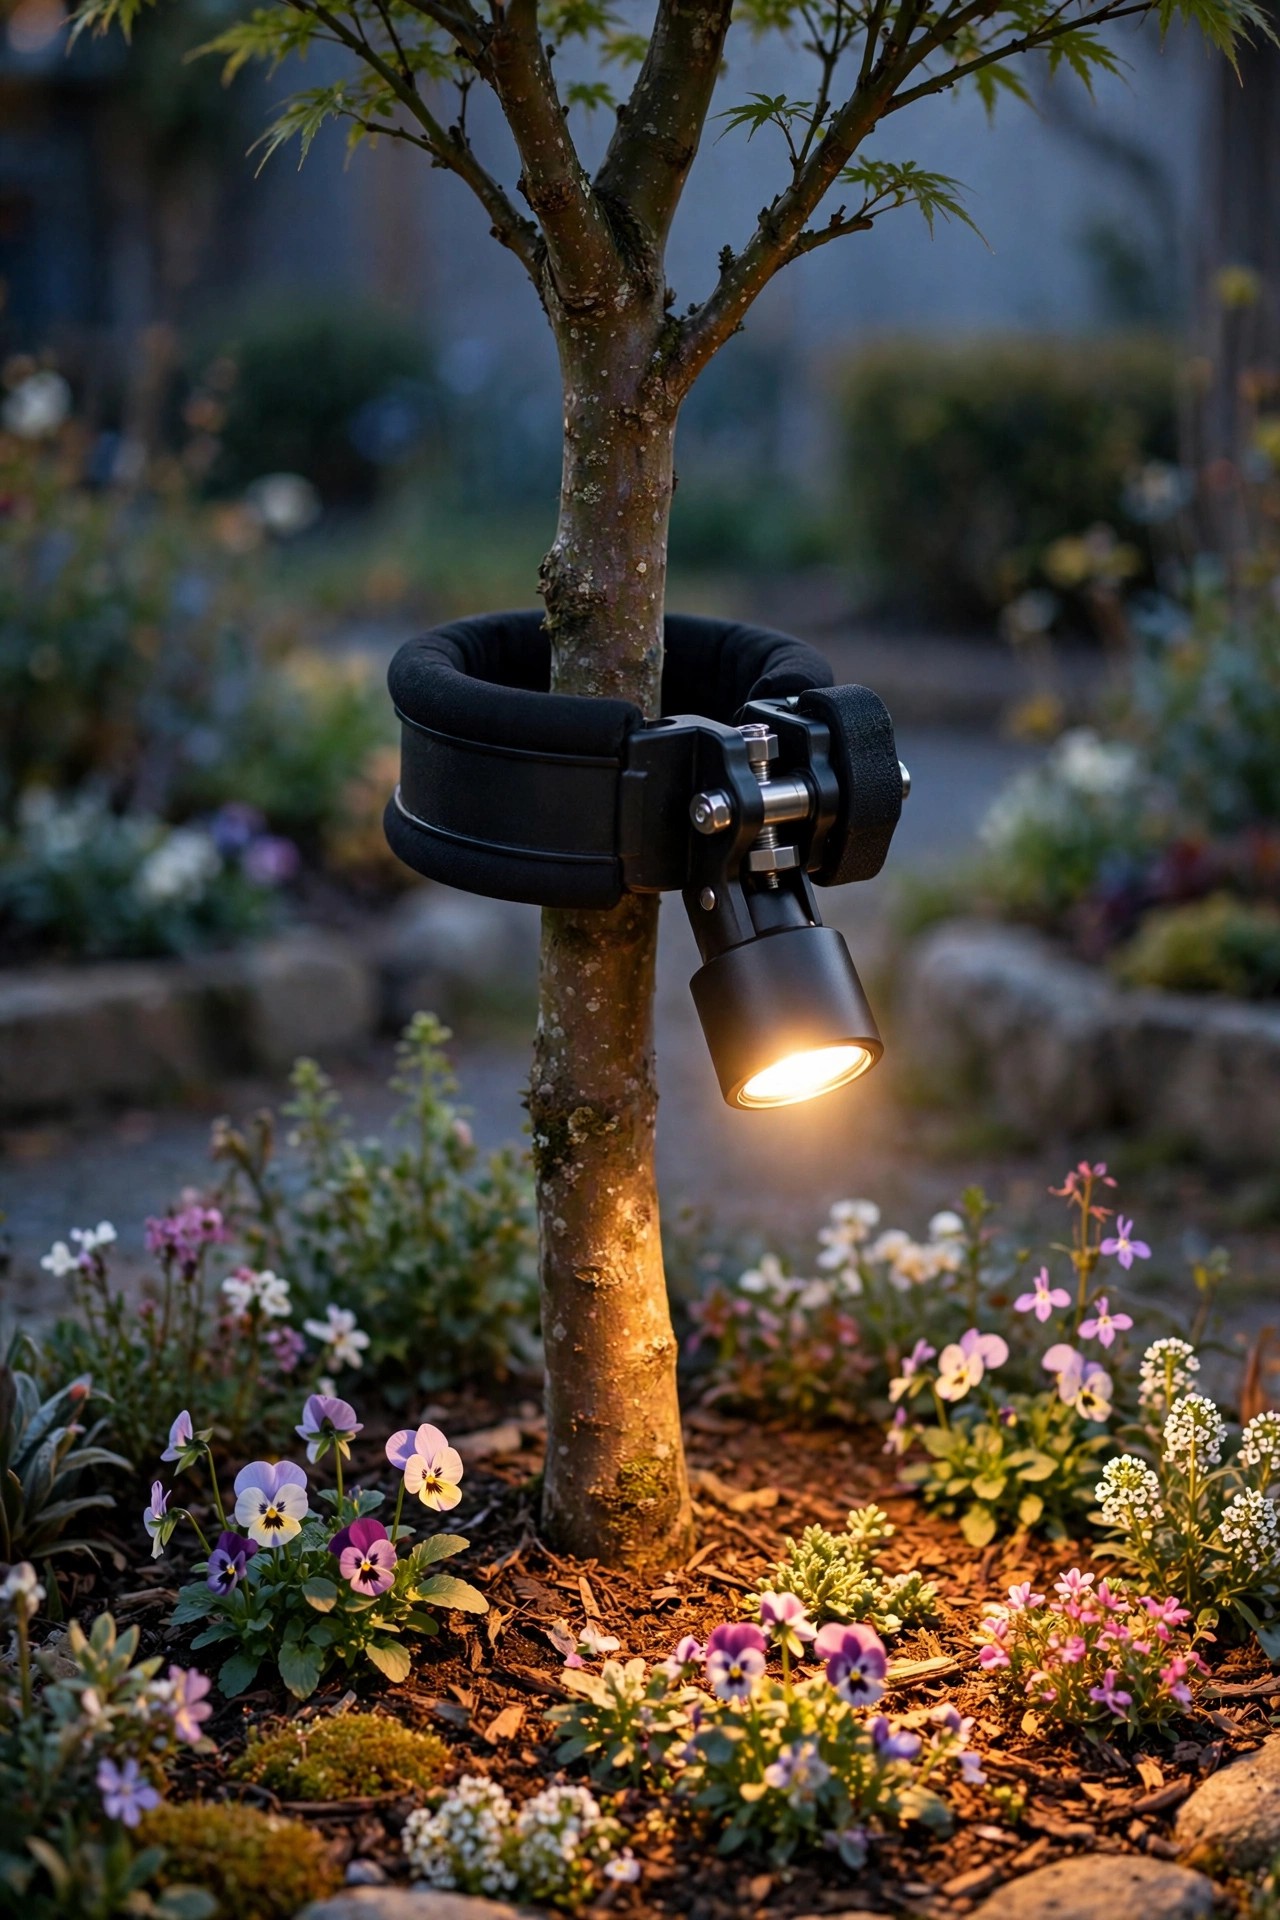
Not every tree is a 60-foot oak, and smaller ornamental trees — redbuds, dogwoods, Japanese maples in the 6- to 12-inch trunk range — deserve a mount sized to them. A padded clamp ring wraps the trunk with a cushioned, adjustable grip and carries one compact downlight on a short standoff. Mounted 10 to 14 feet up, it throws a focused pool of light exactly where small trees live: over the flower bed beneath them. The padding matters more than people think; bare metal on thin ornamental bark will scar it, so check that the clamp has a full rubber or felt liner and re-check the fit every spring, same as a strap. Keep the fixture light — this is a job for a 3- to 5-watt LED in the 200 to 350 lumen range — and angle it straight down or a few degrees out from the trunk. I love this mount for a matched pair flanking a front walk, where two small trees each drop a soft circle of light onto the beds below. It's precise, tidy, and completely reversible when the tree outgrows it.
Suggested budget range: $40 – $95.
6. An Aimable Swivel Arm for Tricky Angles
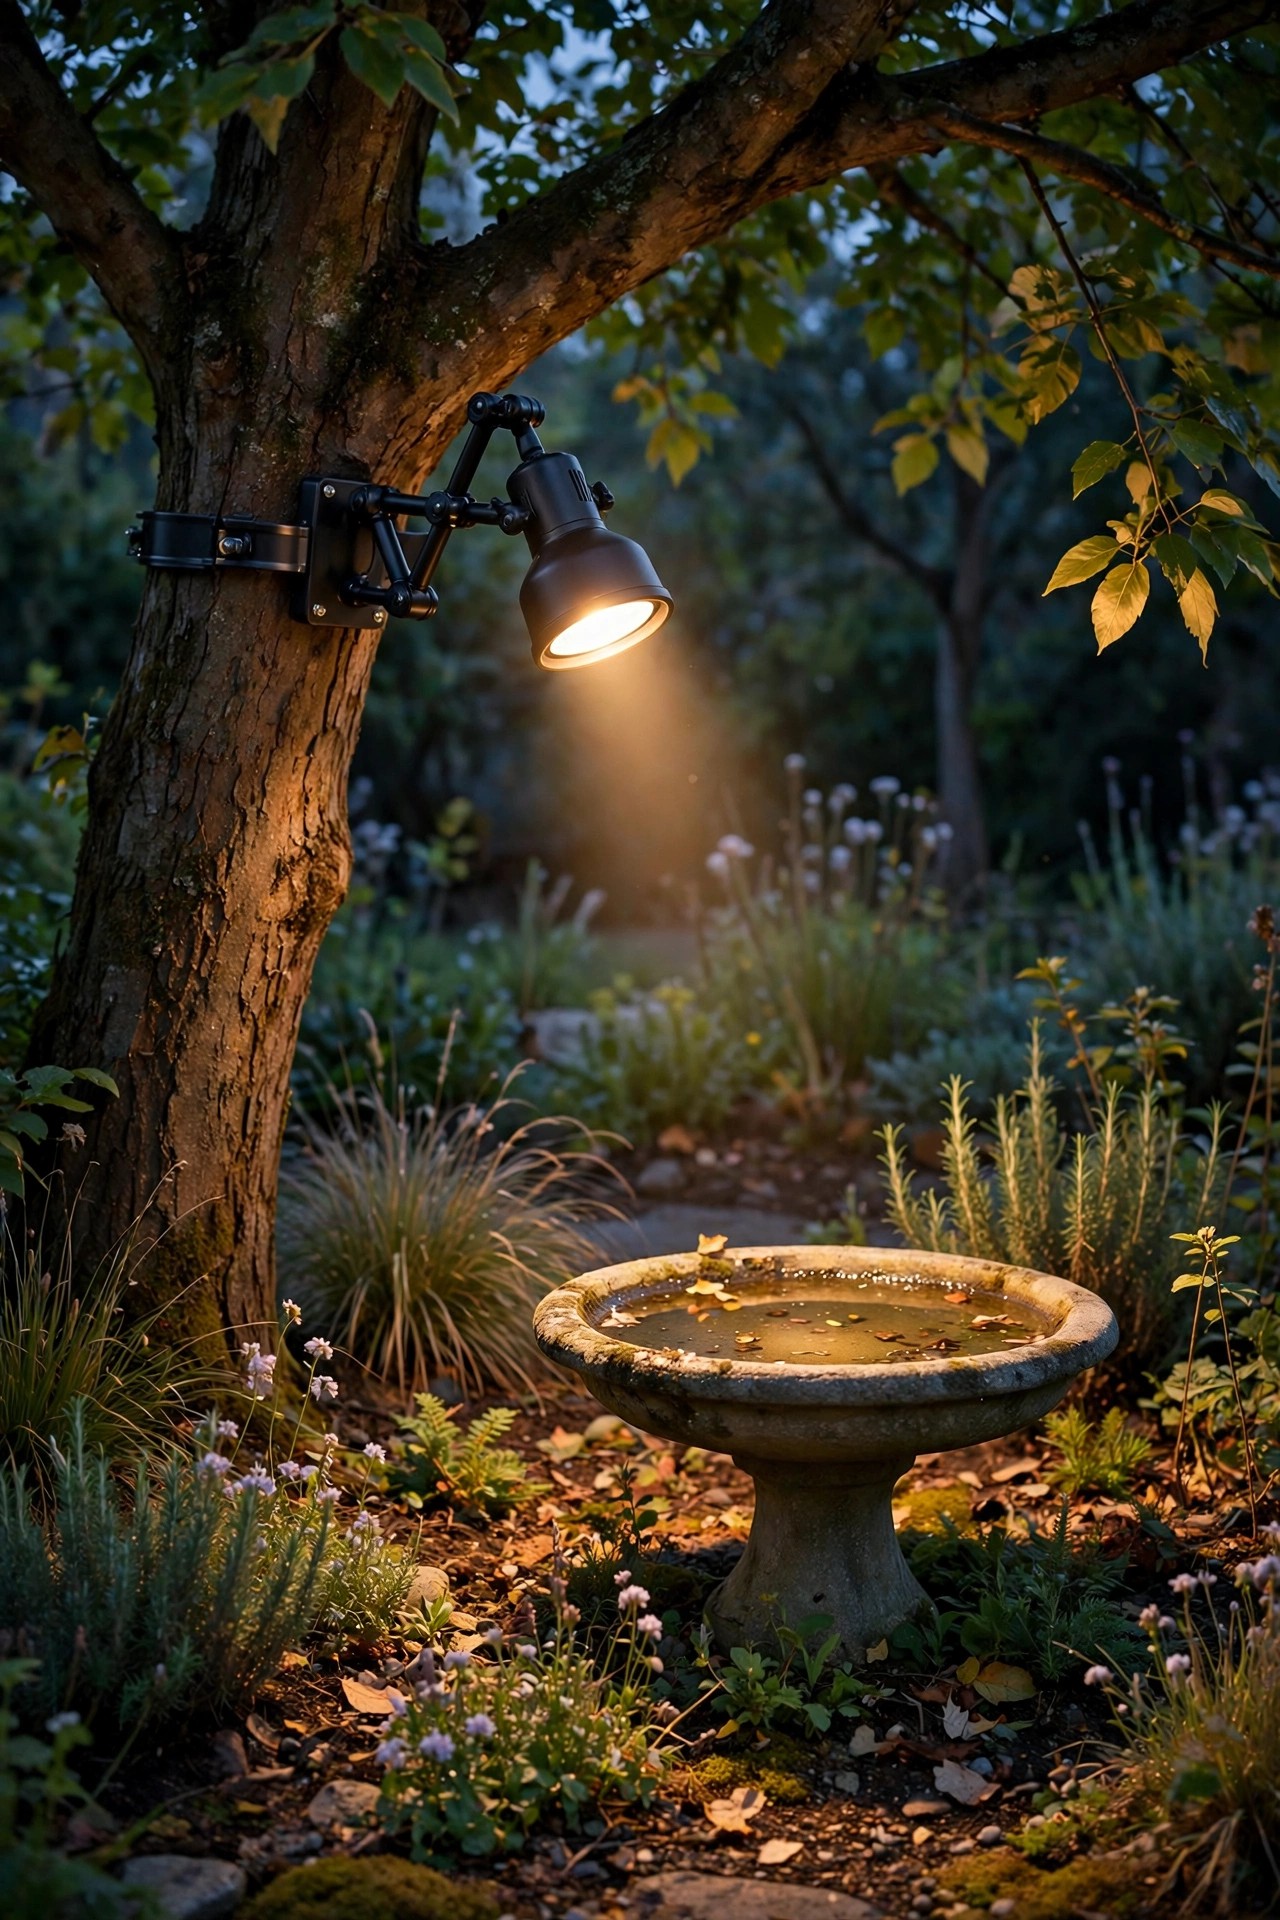
Trees grow, canopies shift, and the spot that was perfect in April can be leaf-blocked by July. That's why a swivel-knuckle arm earns its keep: the fixture sits on an adjustable joint that tilts up to about 30 degrees and rotates, so you can re-aim from a ladder in two minutes instead of remounting anything. I use aimable arms to throw light at specific targets — a birdbath, a bench, the bend in a path — rather than straight down, which gives a more designed, intentional look. A narrow 25- to 35-degree beam keeps the light on the target and out of the neighbors' windows. The trade-off is discipline: an angled fixture reveals its source more than a straight-down one, so keep brightness modest, around 250 to 450 lumens, and after dark, stand in the yard and check the view from the street and the patio before you lock the knuckle down. Re-check the aim every year or two as the branch structure changes. It's a small bit of maintenance that keeps a good design good, and honestly the ability to fine-tune is what separates a lighting plan from a lighting accident.
Suggested budget range: $55 – $120.
7. A Dual-Head Arm for Wide Lawns and Big Seating Areas
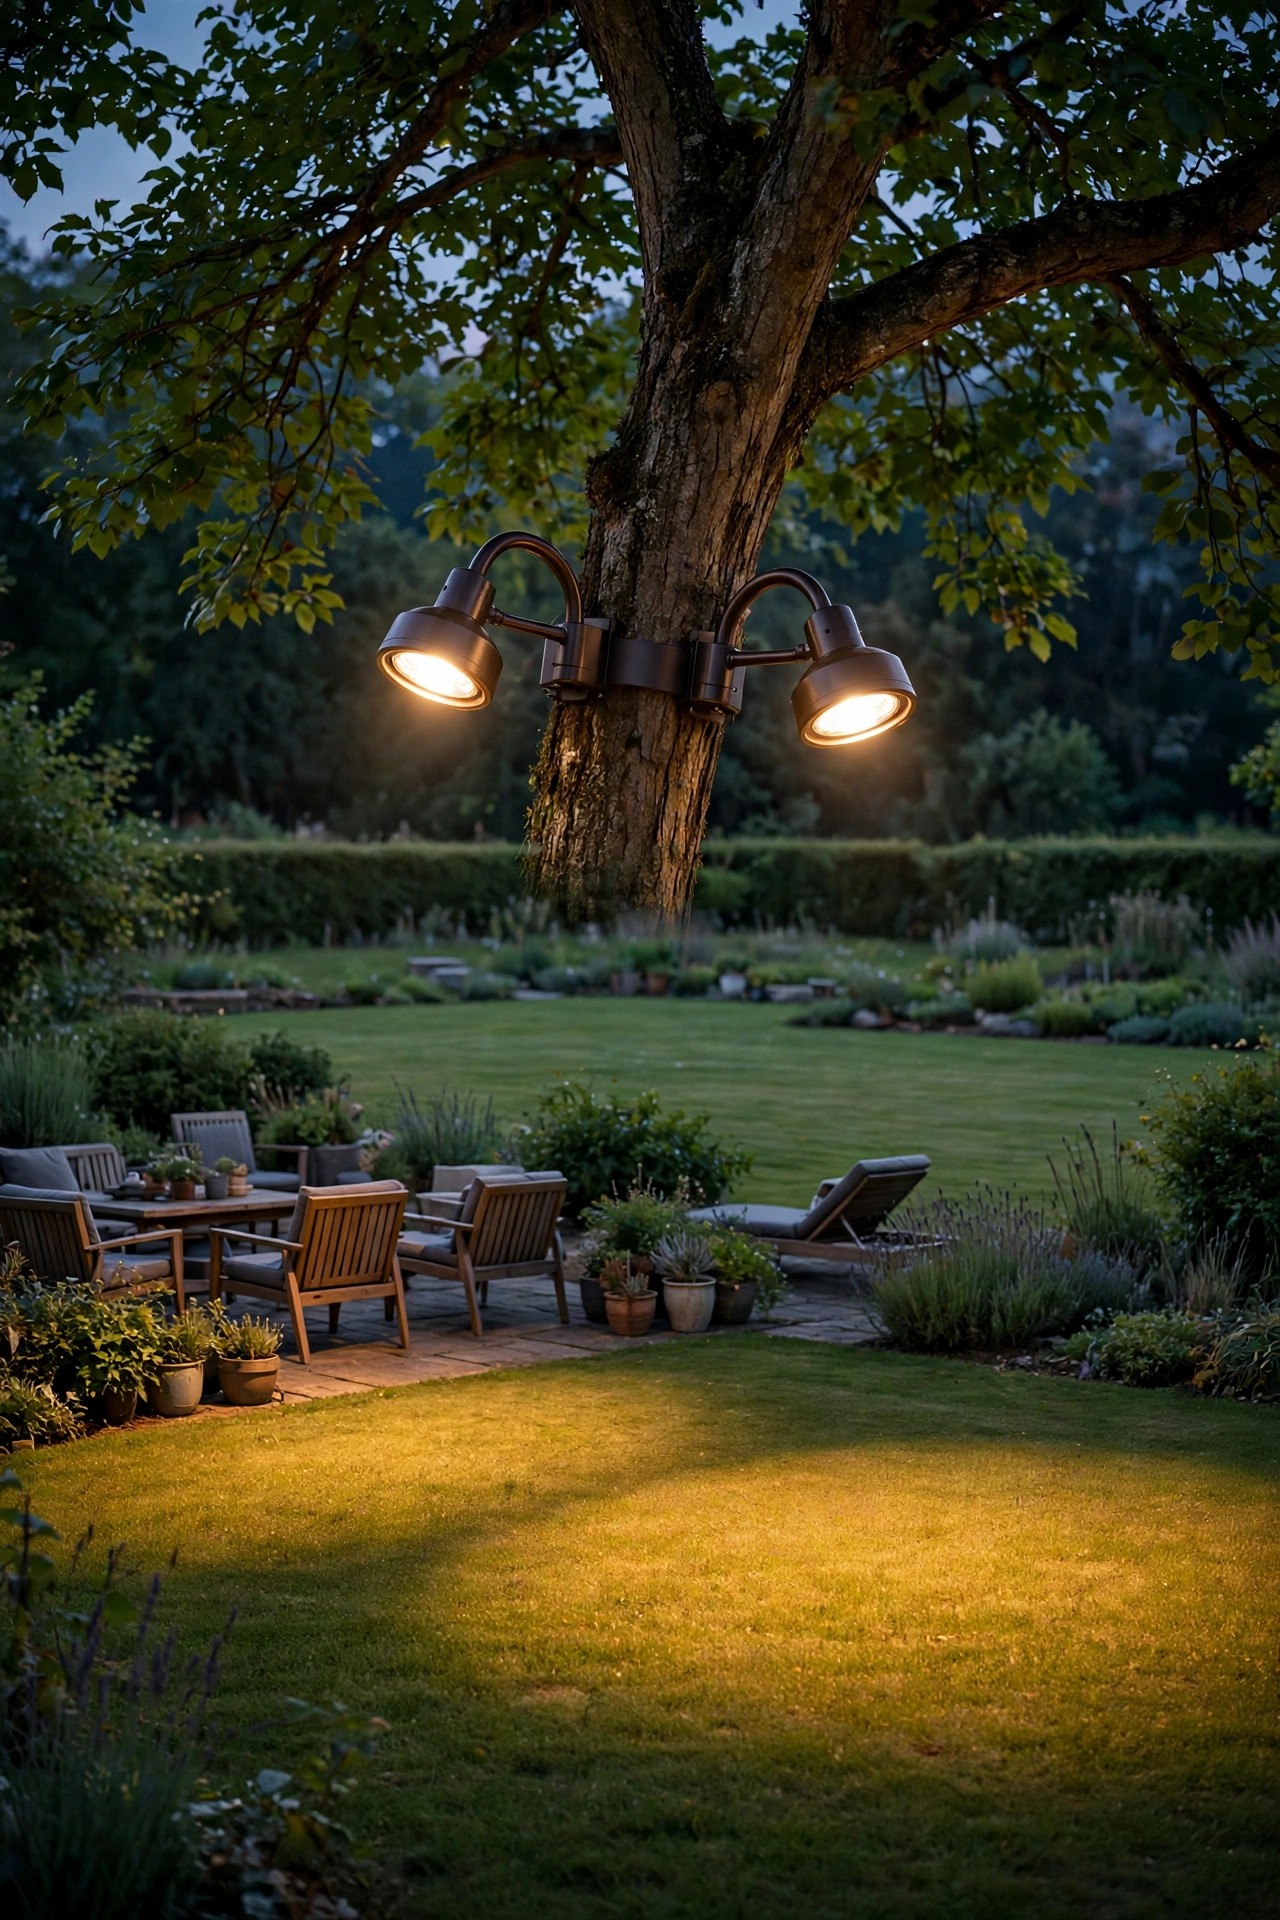
One fixture makes a pool; two heads on a single arm make a scene. A dual-head arm mounts once to the trunk and carries two independently aimable downlights, which is exactly what a wide lawn panel or a big seating area under a spreading tree needs. Aim one head at the seating, the other at the lawn or a nearby bed, each in the 300 to 500 lumen range, and the overlap gives you that layered, dimensional look from a single mounting point and a single cable run. Do the transformer math before you buy: two 7-watt LED heads plus cable losses means this tree wants its own healthy slice of your transformer's capacity, and long cable runs to a tall tree argue for a heavier gauge wire to avoid dimming. Mount the arm 16 to 22 feet up on the side of the trunk facing the space you're lighting. In my experience, the dual-head is the best value-per-ladder-trip on this entire list — one climb, one mount, and a whole outdoor room lit. Just resist the urge to crank both heads to full brightness; the magic is in the balance.
Suggested budget range: $110 – $240.
8. High-Canopy Moonlighting at 25 to 30 Feet
This is the showpiece technique: fixtures hidden 25 to 30 feet up in a big mature canopy, fitted with wide 60-degree beams and 600 to 900 lumens, so the light filters down through layer after layer of leaves and lands as soft, dappled shadow patterns — the closest thing to real moonlight you can buy. The effect is genuinely magical, and I'll be honest about the catch: this is not a casual ladder job. Hire an arborist or a lighting pro with climbing gear for the install; it's money well spent and they'll also tell you if the tree is healthy enough to host fixtures. From the ground, you want no visible hot spots and no single bright source — if you can see the fixture's glare, the beam is too narrow or the aim is off. My complete moonlighting trees guide walks through fixture counts, spacing, and the shadow patterns for different canopy shapes if you want to plan a whole tree properly. Start with two fixtures in one hero tree rather than one fixture in every tree — depth comes from layering within the canopy, not from spreading thin.
Suggested budget range: $150 – $350.
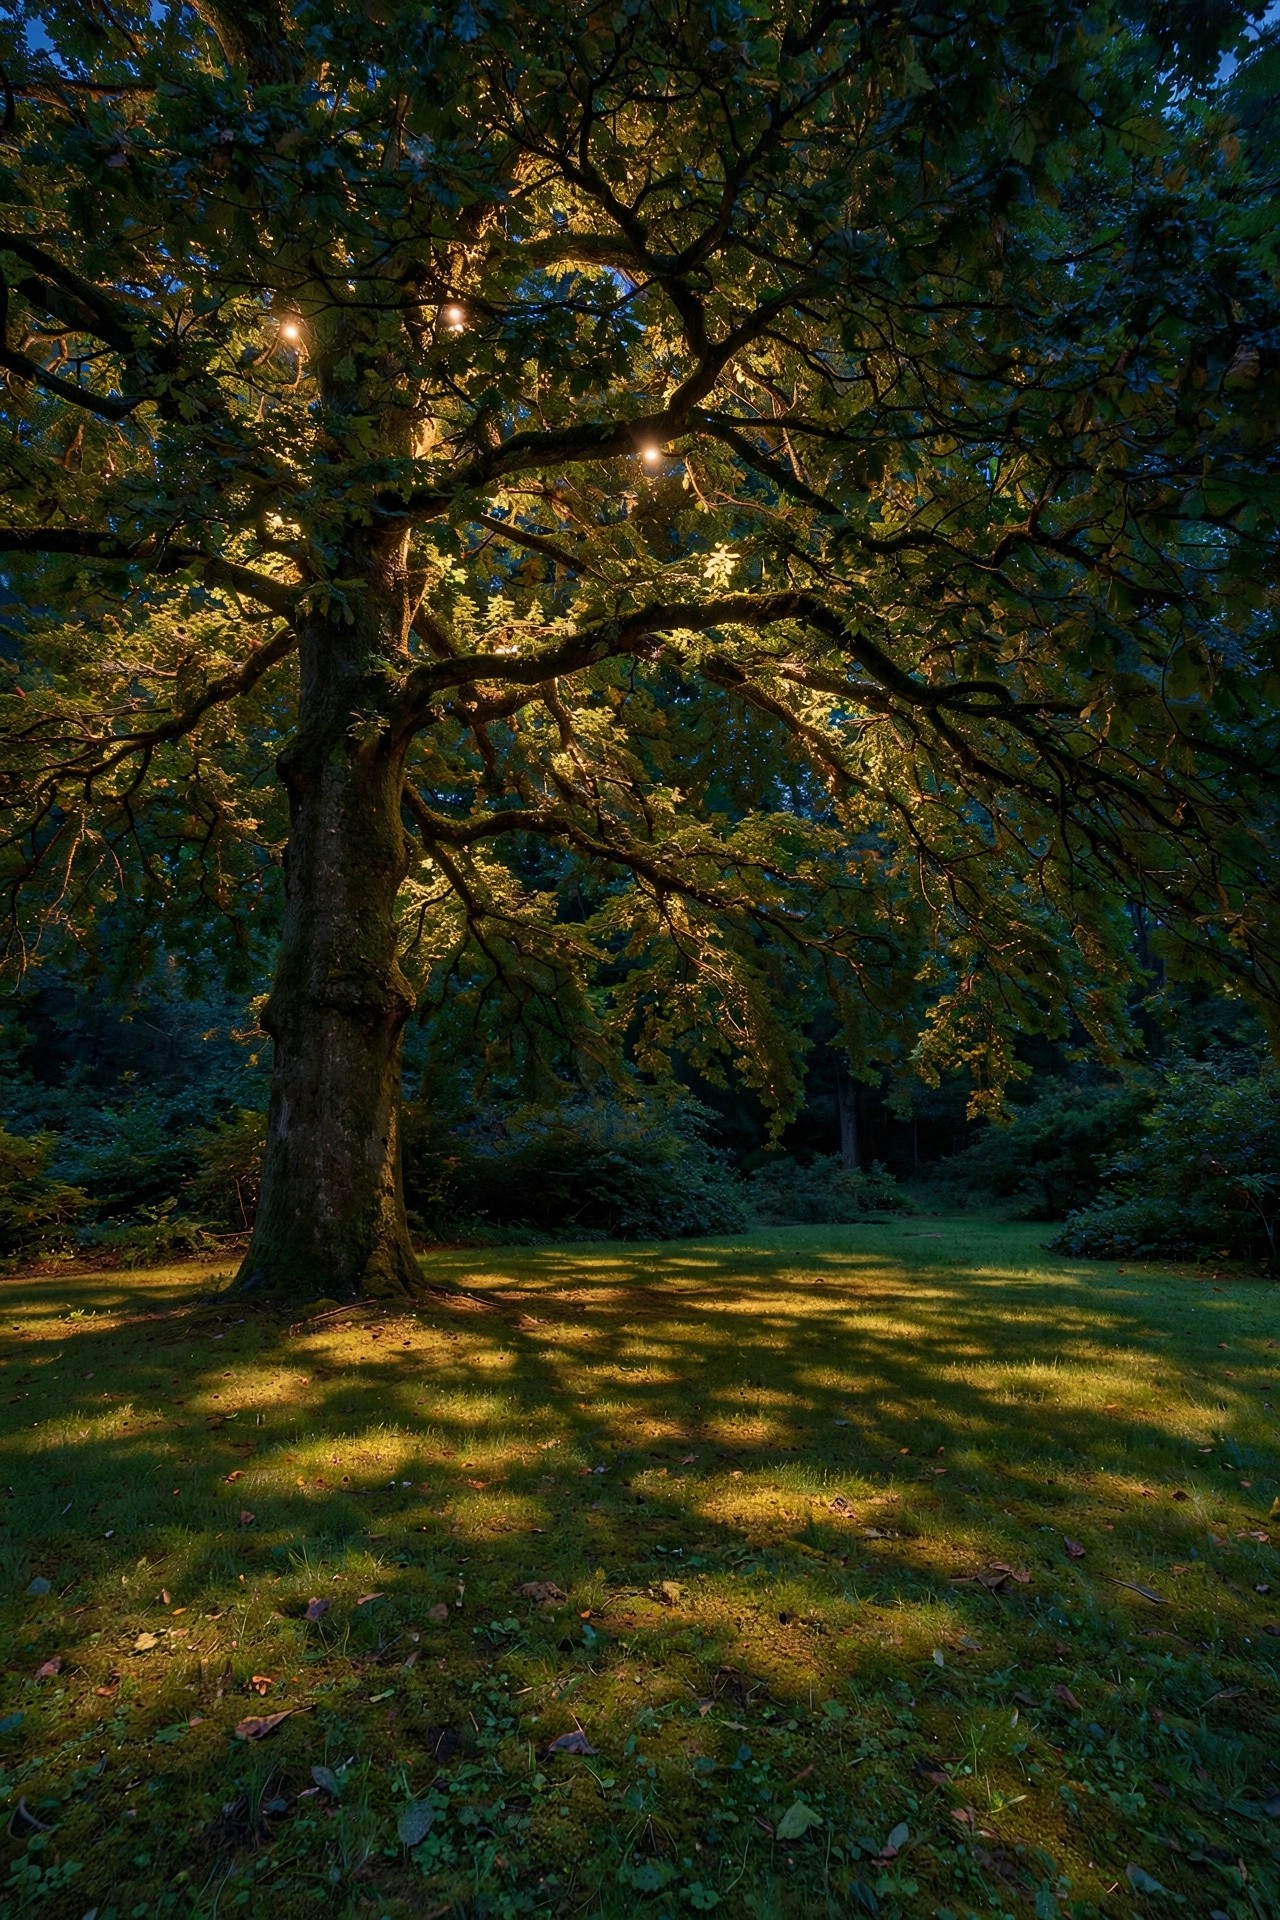
9. A Low Branch Downlight Over a Garden Path
Not every tree light needs altitude. A compact downlight mounted on a sturdy low branch at 12 to 15 feet, directly over a garden path or a set of steps, is one of the most practical fixtures you can own: it puts a calm, even pool of light exactly where feet go, with no glare in your eyes as you walk toward it. The secret is a shielded or recessed-lens fixture so the bulb itself is never visible from standing height, plus modest output — 200 to 350 lumens is plenty at that height. One fixture covers a circle about 8 to 10 feet across, so for a longer path, alternate trees or pair with low path lights instead of adding more tree fixtures. Because the mount is reachable with a standard extension ladder, this is the most DIY-friendly idea here: keep the cable tidy down the back of the trunk, protect the circuit with GFCI, and you're done in an afternoon. It's the first tree light I installed, years ago, over the stepping stones to our side gate — and it has quietly done its job every night since.
Suggested budget range: $45 – $100.
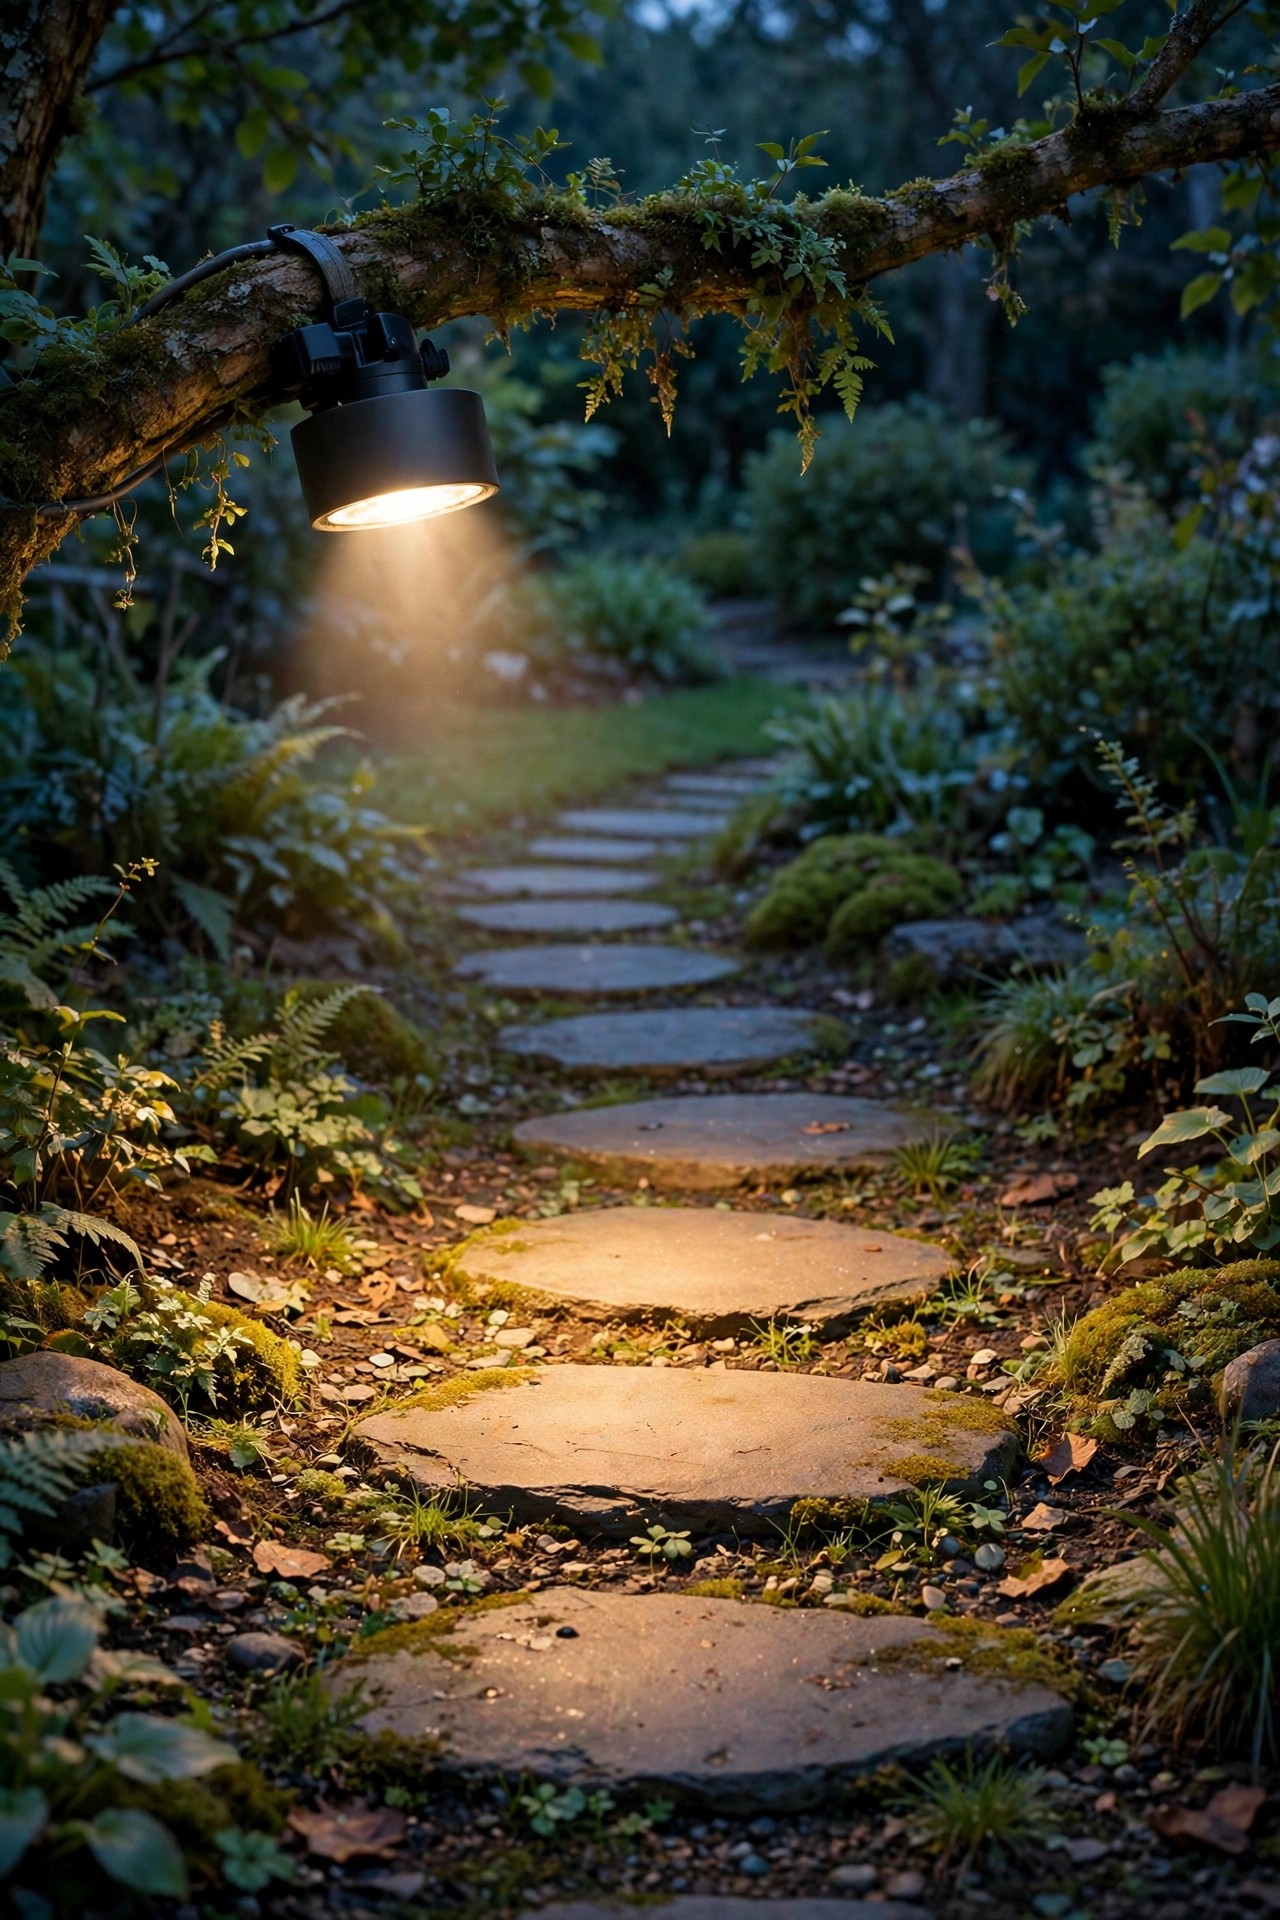
10. Downlights Over the Outdoor Dining Spot
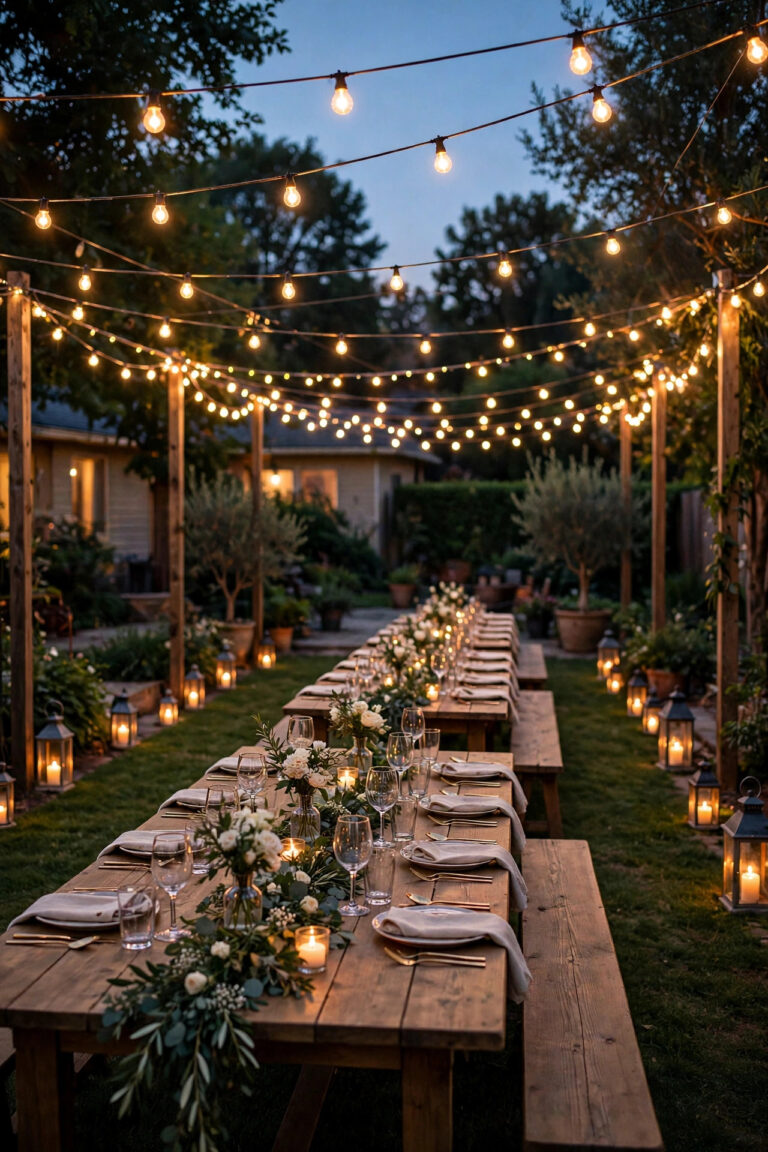
If you eat outside under a tree, a downlight above the table changes everything: food looks appetizing, faces look warm, and you're not squinting into a wall lantern or eating by the blue glare of a phone flashlight. Aim for a mounting height of 12 to 18 feet — the light needs to pass through some leaves for that dapple effect, but the source shouldn't be so high that dinner lands in a dim, washy glow. Two fixtures from slightly different angles, each about 300 to 450 lumens at 2700K, beat one bright one every time, and a dimmer on the transformer lets you drop to a candlelight level after the meal. One practical warning: don't mount directly over a grill. Heat and grease smoke are hard on fixtures and lenses, so offset the light a few feet from the cooking zone and let a separate task light handle the grill itself. In our yard, the downlit maple over the picnic table is where summer birthdays happen, where homework gets finished on warm evenings, where everything happens. Light from above is simply how outdoor rooms want to be lit.
Suggested budget range: $65 – $150.
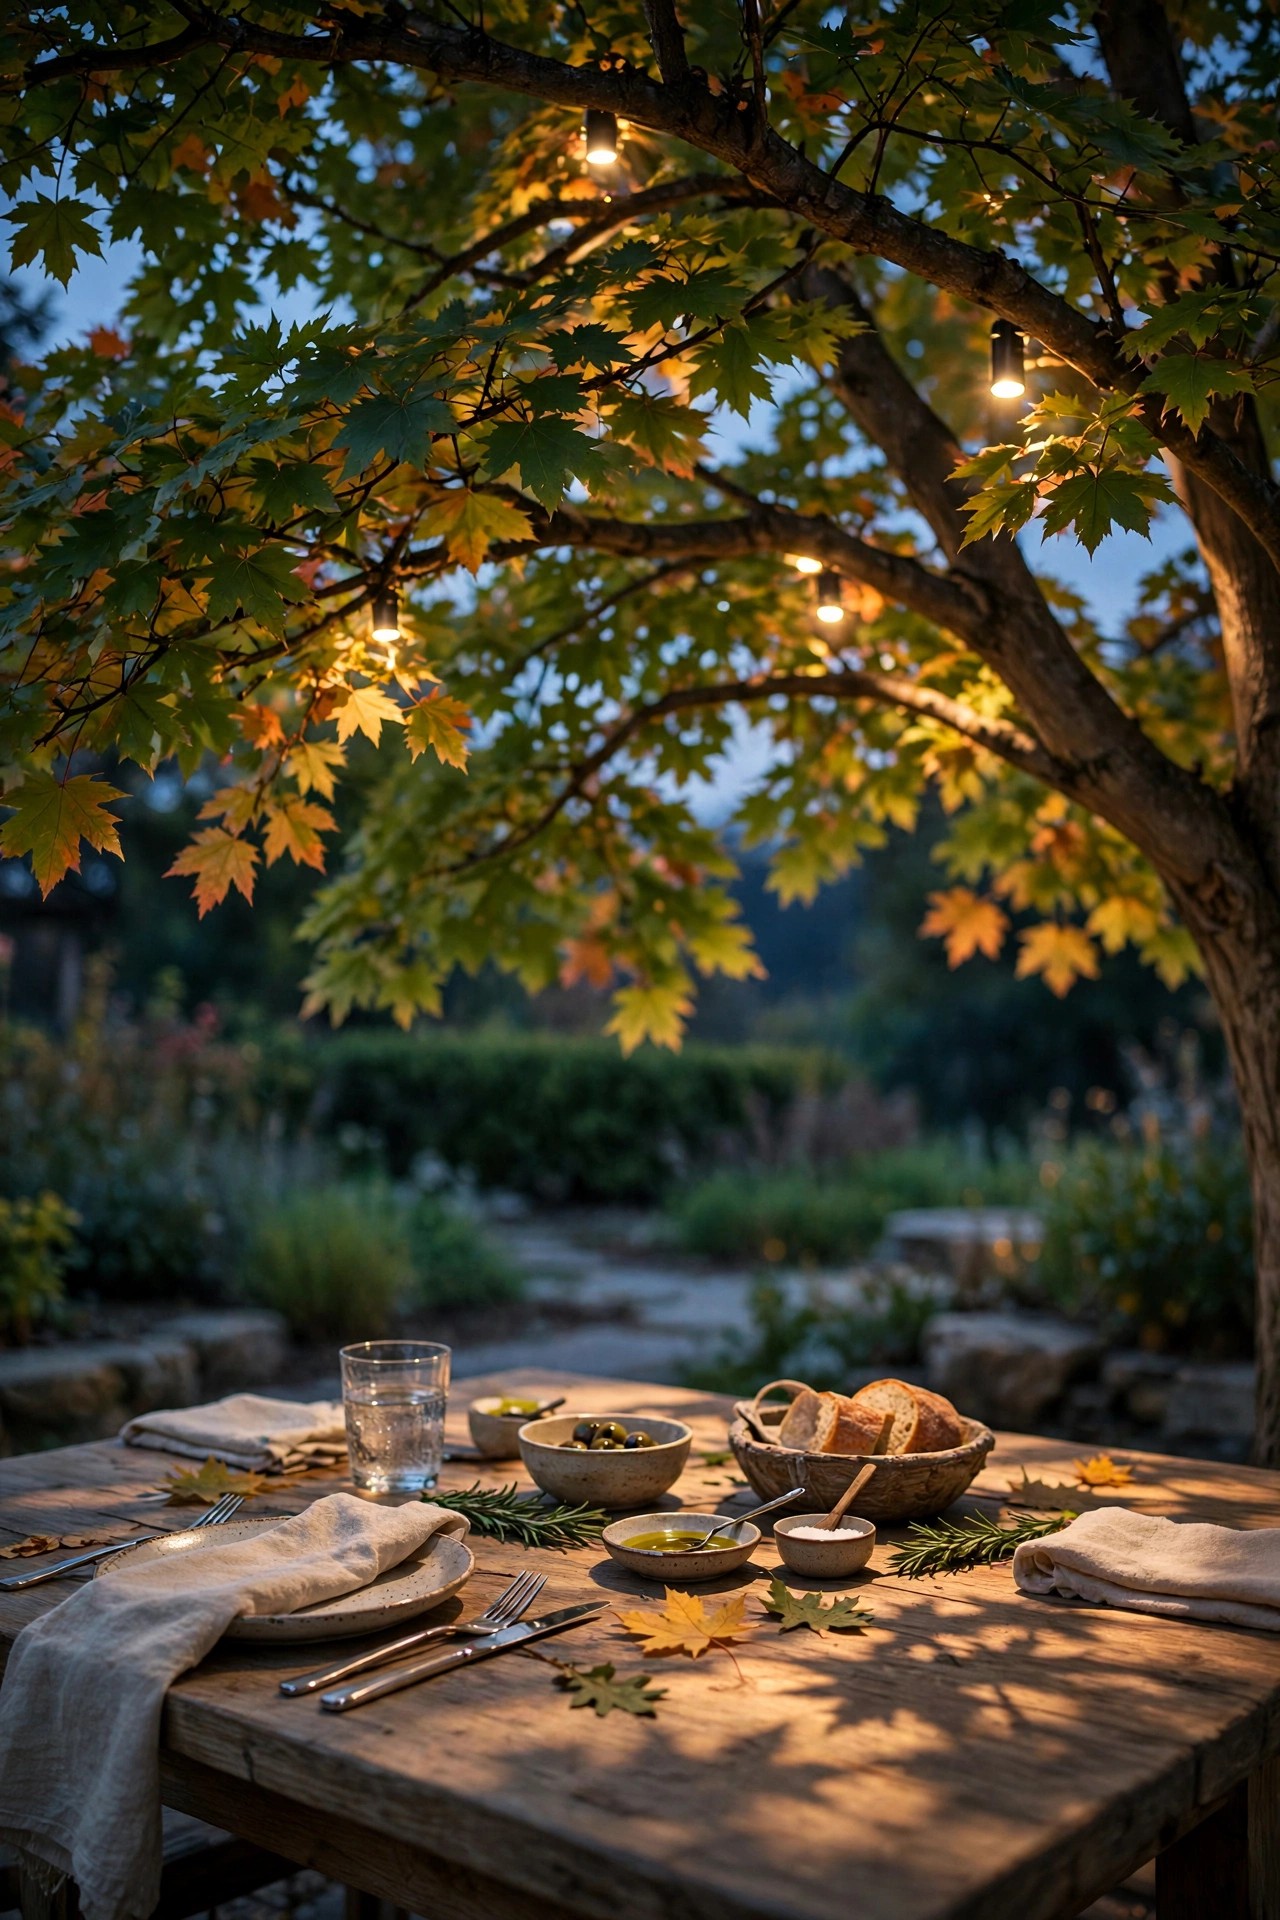
11. Solar Tree-Mounted Downlights, Honestly Assessed
I get asked about solar tree lights constantly, so here's my honest take. A solar downlight strapped to a trunk sounds perfect — no wire, no transformer, ten-minute install — and it can work, in exactly one situation: when the panel gets real sun. Most panels need 6-plus hours of direct light, and a fixture mounted inside a leafy canopy is charging in the shade it creates. The fix is a remote panel on 10 to 15 feet of cable, strapped higher on the sunny side of the trunk or on a nearby post. Output is modest, typically 100 to 200 lumens, so think mood and wayfinding, not task light. Where solar genuinely shines is as a trial run: strap one up, live with the placement for a month, and if you love it, that's exactly where the wired fixture goes later. It's also a fair choice for a far corner tree where trenching cable would cost more than the light is worth. Just buy the version with a replaceable battery, because the battery — not the LED — is what wears out in two to three seasons.
Suggested budget range: $25 – $70.
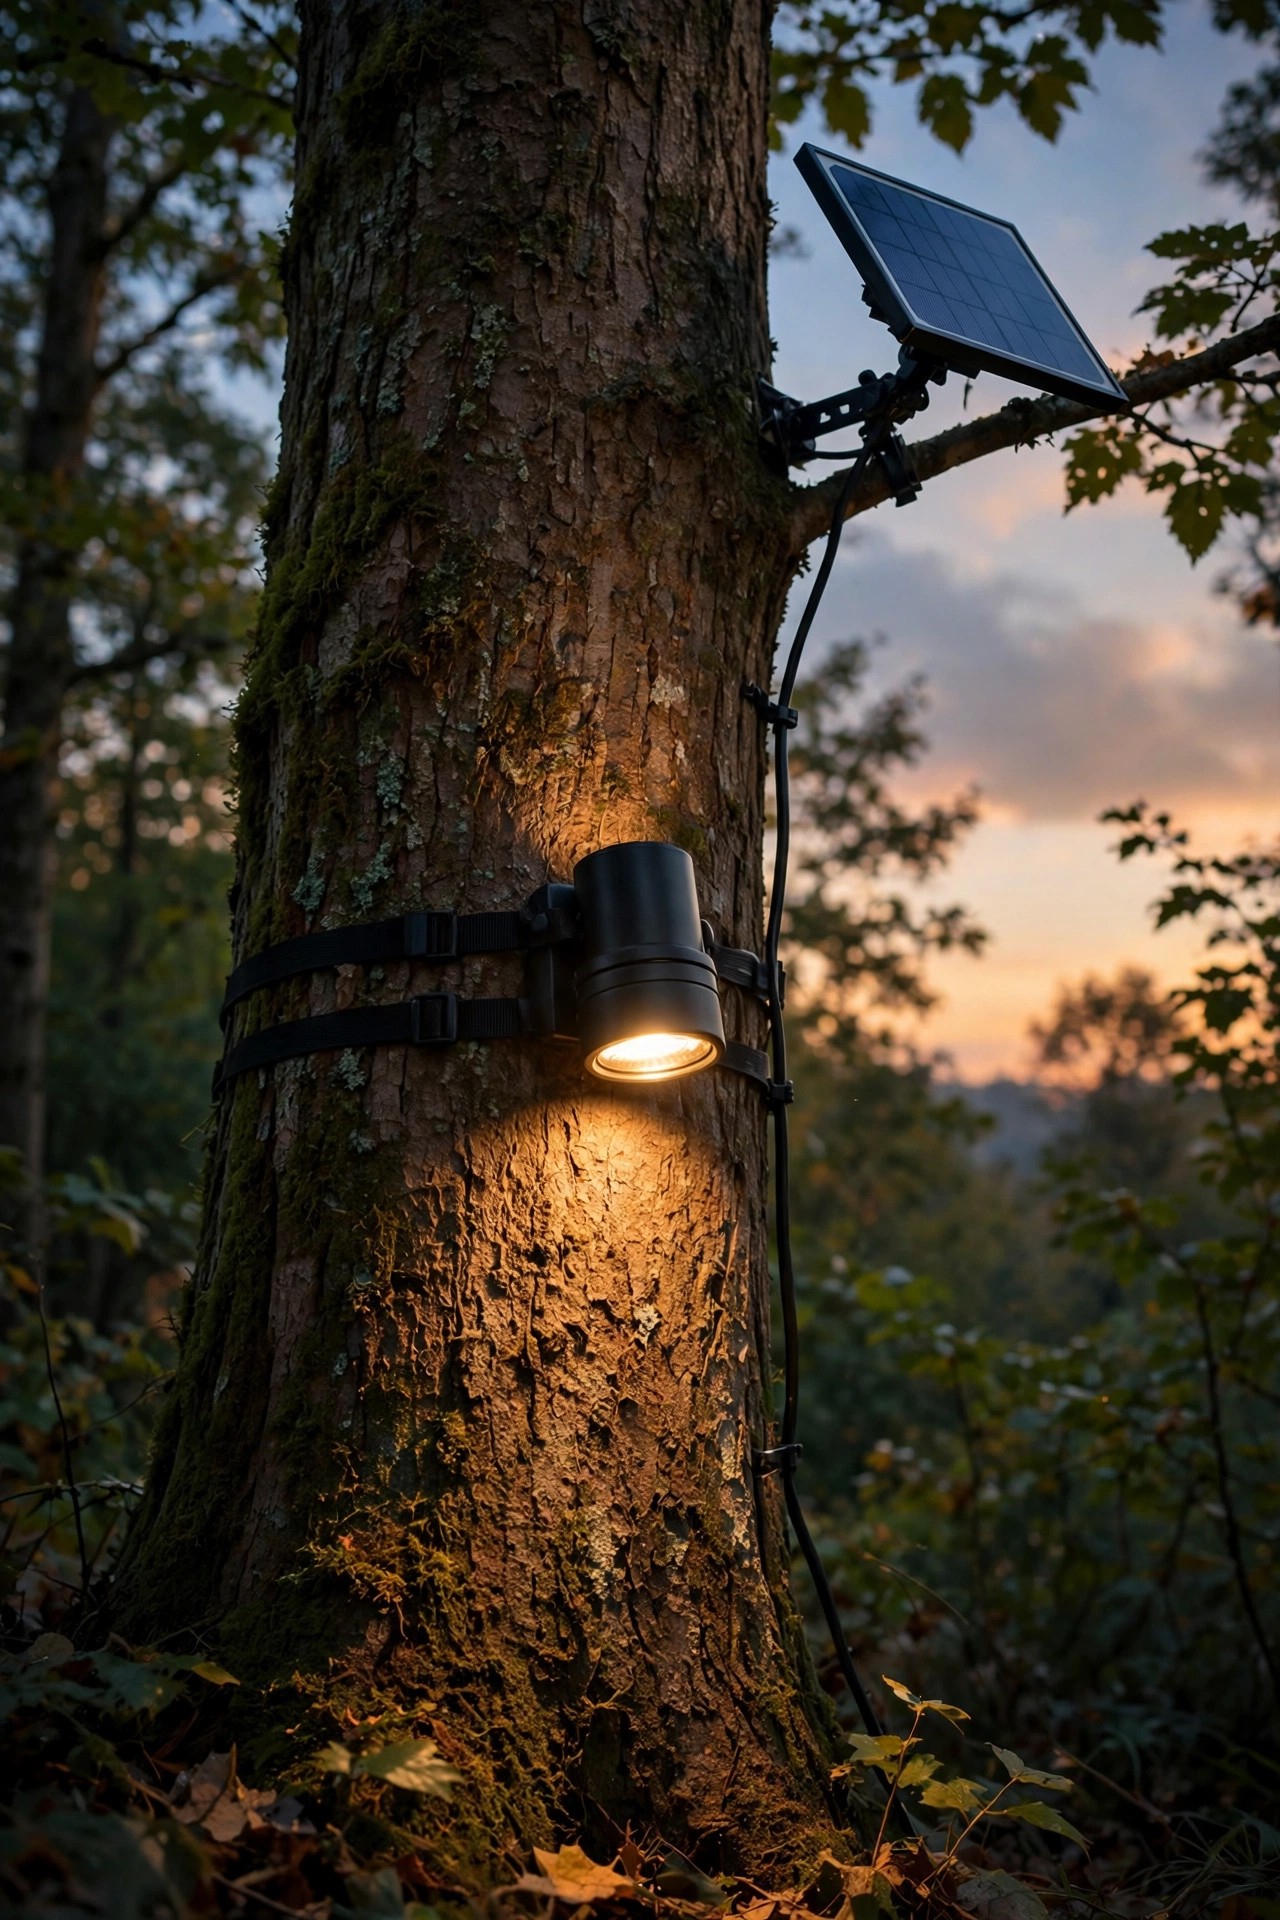
12. Shielded, Dark-Sky-Friendly Downlights
A light in a tree can be a nuisance or a neighborly glow, and the difference is shielding. Look for fixtures with a long snoot, a recessed lens, or a full shield that hides the bulb from every angle except straight below — that's the dark-sky principle, and in a tree it matters doubly because the fixture sits above fence lines where stray light travels. Aim every fixture straight down or nearly so, keep color temperature at 2700K or warmer (I often use 2200K amber-toned lamps near bedrooms), and use only the lumens the job needs. Shielded downlights also look better for a purely selfish reason: with no visible bulb glare, all your eye registers is the lit scene — the path, the bed, the table — which is exactly the designed effect you're paying for. Bats, birds, and the neighbors all approve, and in my experience the shielded setup is the one that makes people say "your yard looks beautiful" instead of "your yard is bright." If your town has an outdoor lighting ordinance, this style is almost always the compliant one, too.
Suggested budget range: $60 – $130.
13. Quick-Release and Lowering Mounts for Easy Servicing
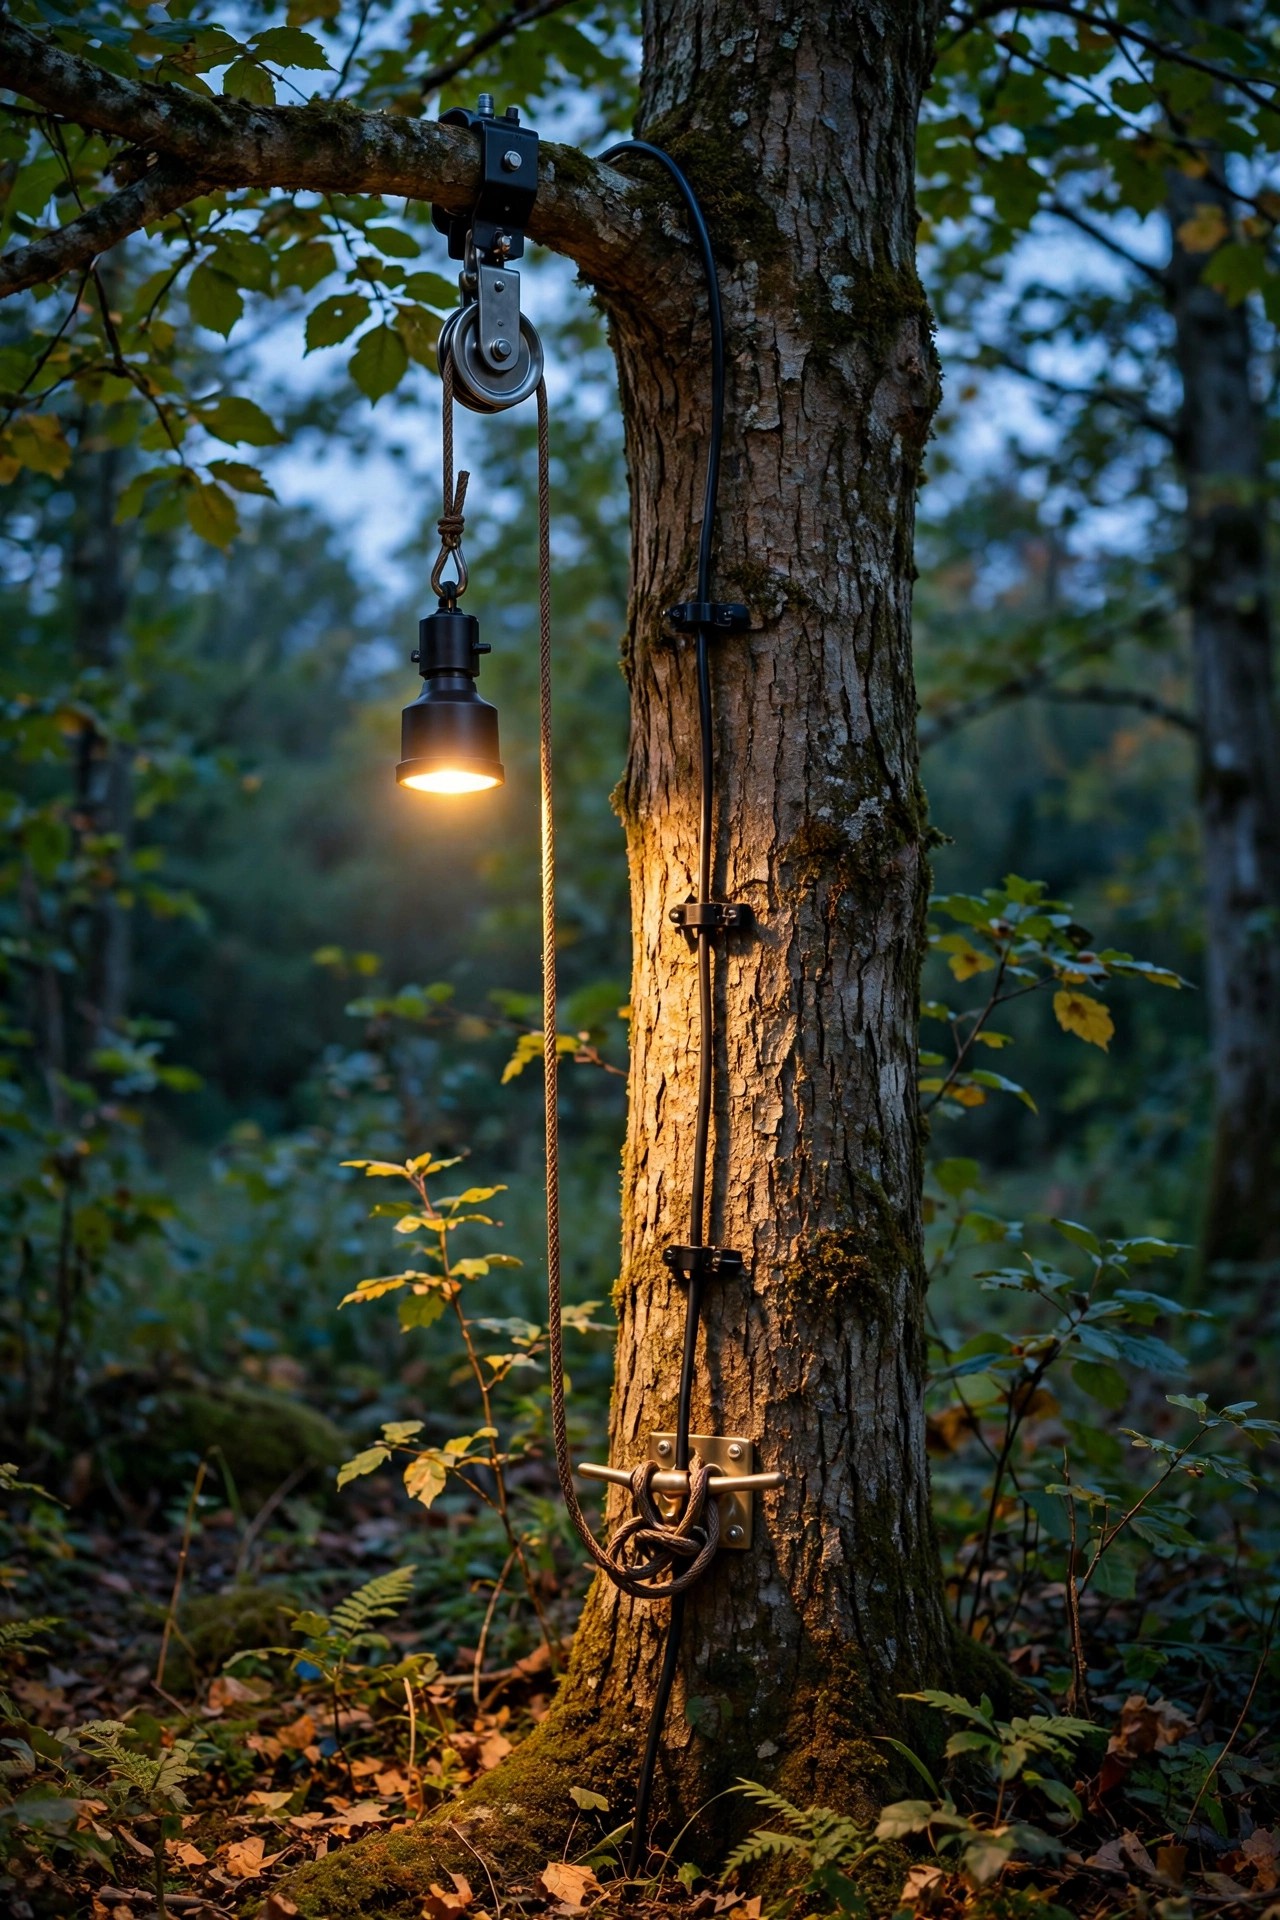
Here's a problem nobody thinks about until year three: the fixture 20 feet up needs a lens cleaning, a lamp swap, or a re-aim, and nobody wants to climb for it. Quick-release mounts solve this two ways. The simple version is a clip or bayonet bracket — the fixture twists off its mount and drops into your hand from a ladder at lower heights. The elegant version is a lowering system: the fixture rides a small pulley at the mount, with a thin cable running down the trunk to a cleat, so you lower the light to the ground, service it, and hoist it back like a flag. Either way, you also get seasonal flexibility — I know gardeners who swap a narrow beam for a wider one each fall when the leaves drop and the yard's lighting needs change completely. The hardware costs more upfront, and the moving parts want a drop of lubricant and a once-over every year. But if your trees are tall and your fixtures are many, serviceable mounts turn a dreaded chore into a ten-minute job, and your lights actually stay clean, aimed, and bright.
Suggested budget range: $80 – $180.
14. A Trio in One Big Tree: The Full Moonlight Effect
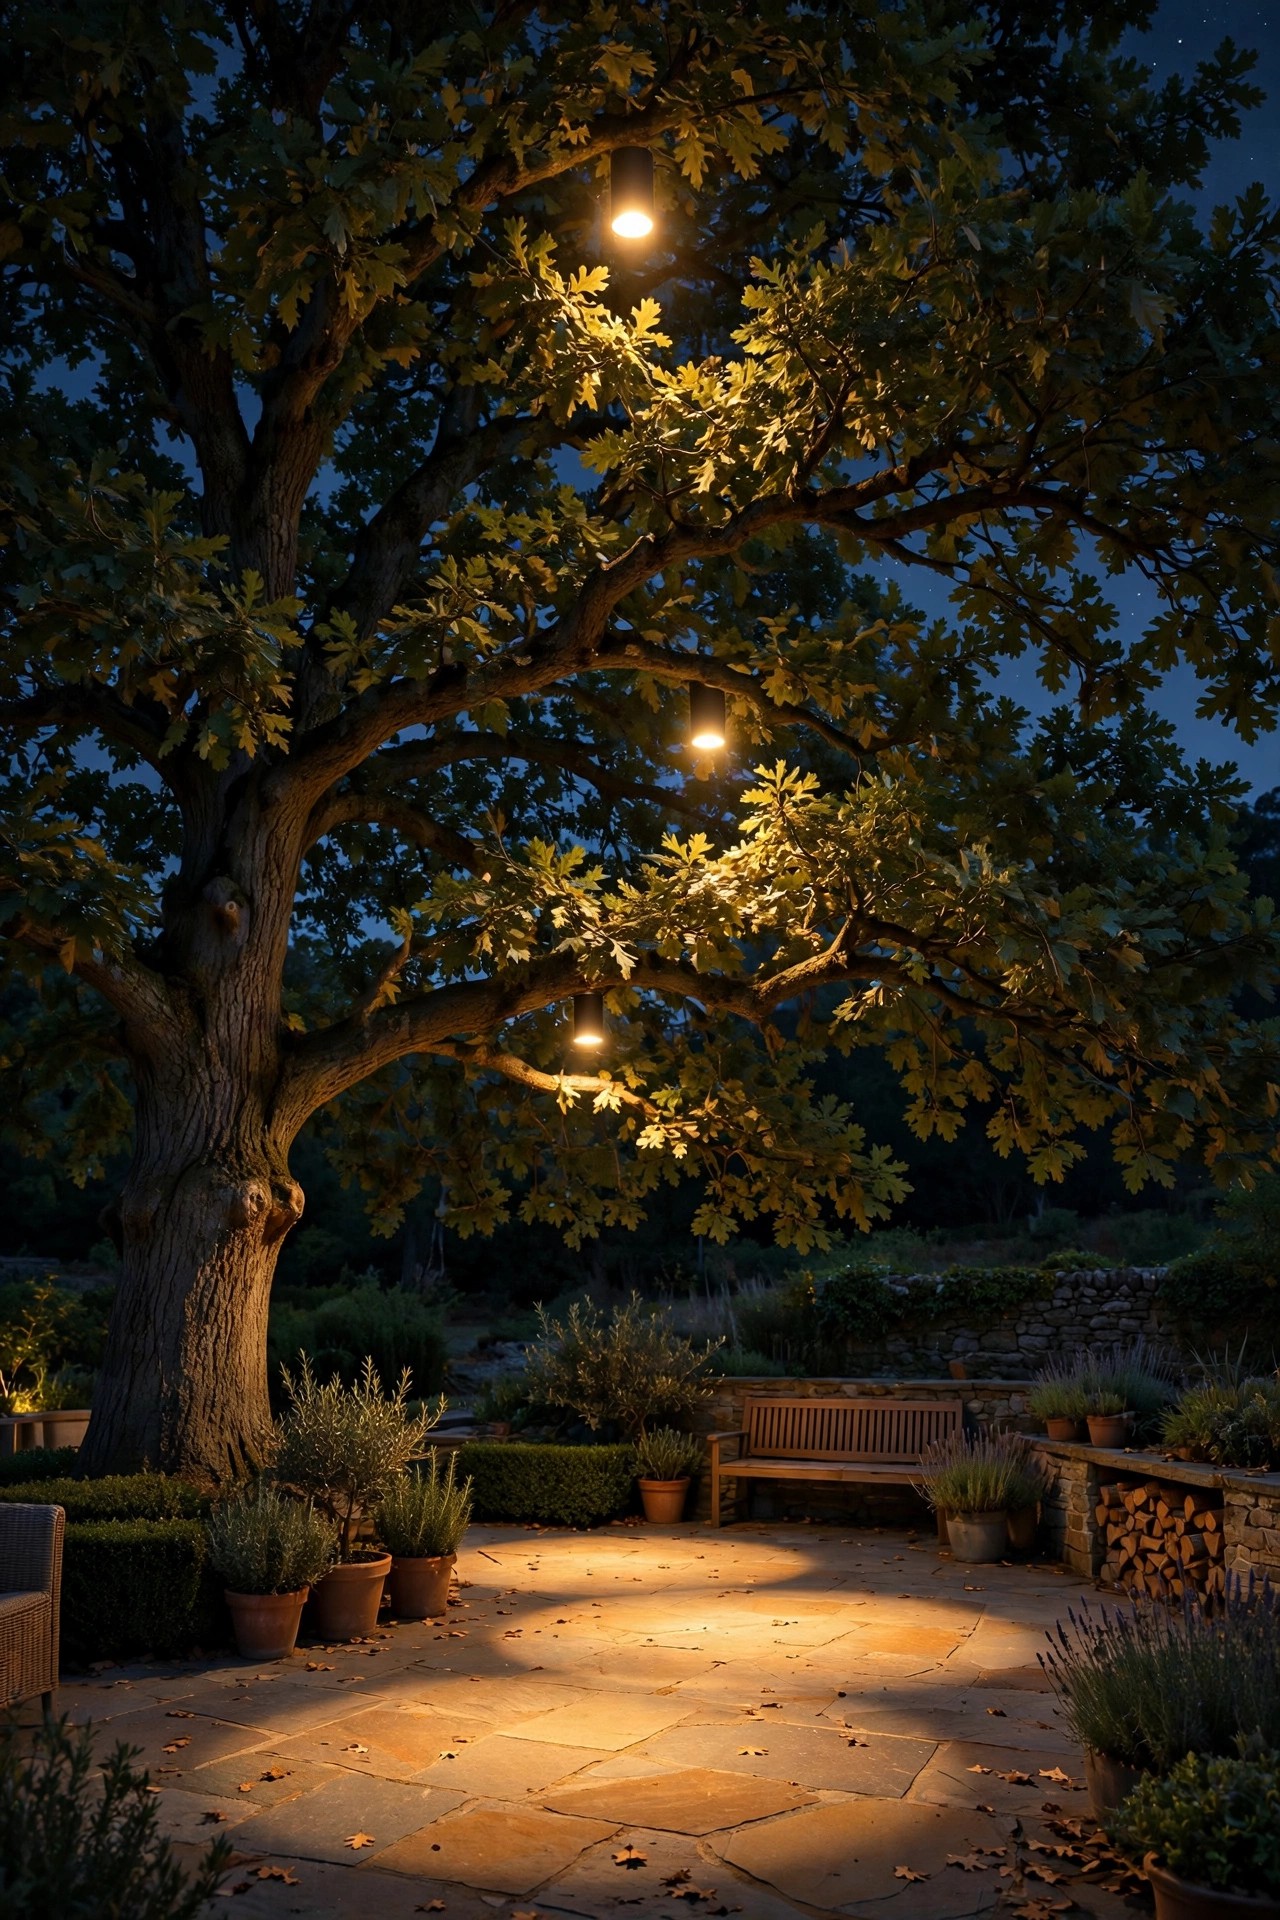
When one tree is the centerpiece of your yard — the big oak over the patio, the maple that shades everything — it deserves more than one fixture. Three downlights in a single mature canopy, placed at different heights and angles (say 18, 22, and 26 feet), create overlapping pools of light with different shadow patterns, which is what real moonlight through a real canopy actually looks like. Vary the beams: one wide 60-degree wash for the general area, two narrower 35-degree fixtures for the seating zone and the path. Do the math before you climb: three 7-watt fixtures is an easy load, but the long cable run up a tall trunk means voltage drop is real — use a heavier gauge cable for the home run, or the highest fixture will sulk at half brightness. Put the trio on one zone of your transformer so they always come on together as a single composition. This is the most expensive idea here per tree, and in my experience it's also the one that makes people stop on the sidewalk. One hero tree, fully lit, beats five trees with one bulb each.
Suggested budget range: $180 – $420.
15. Pair a Downlight With an Uplight in the Same Tree
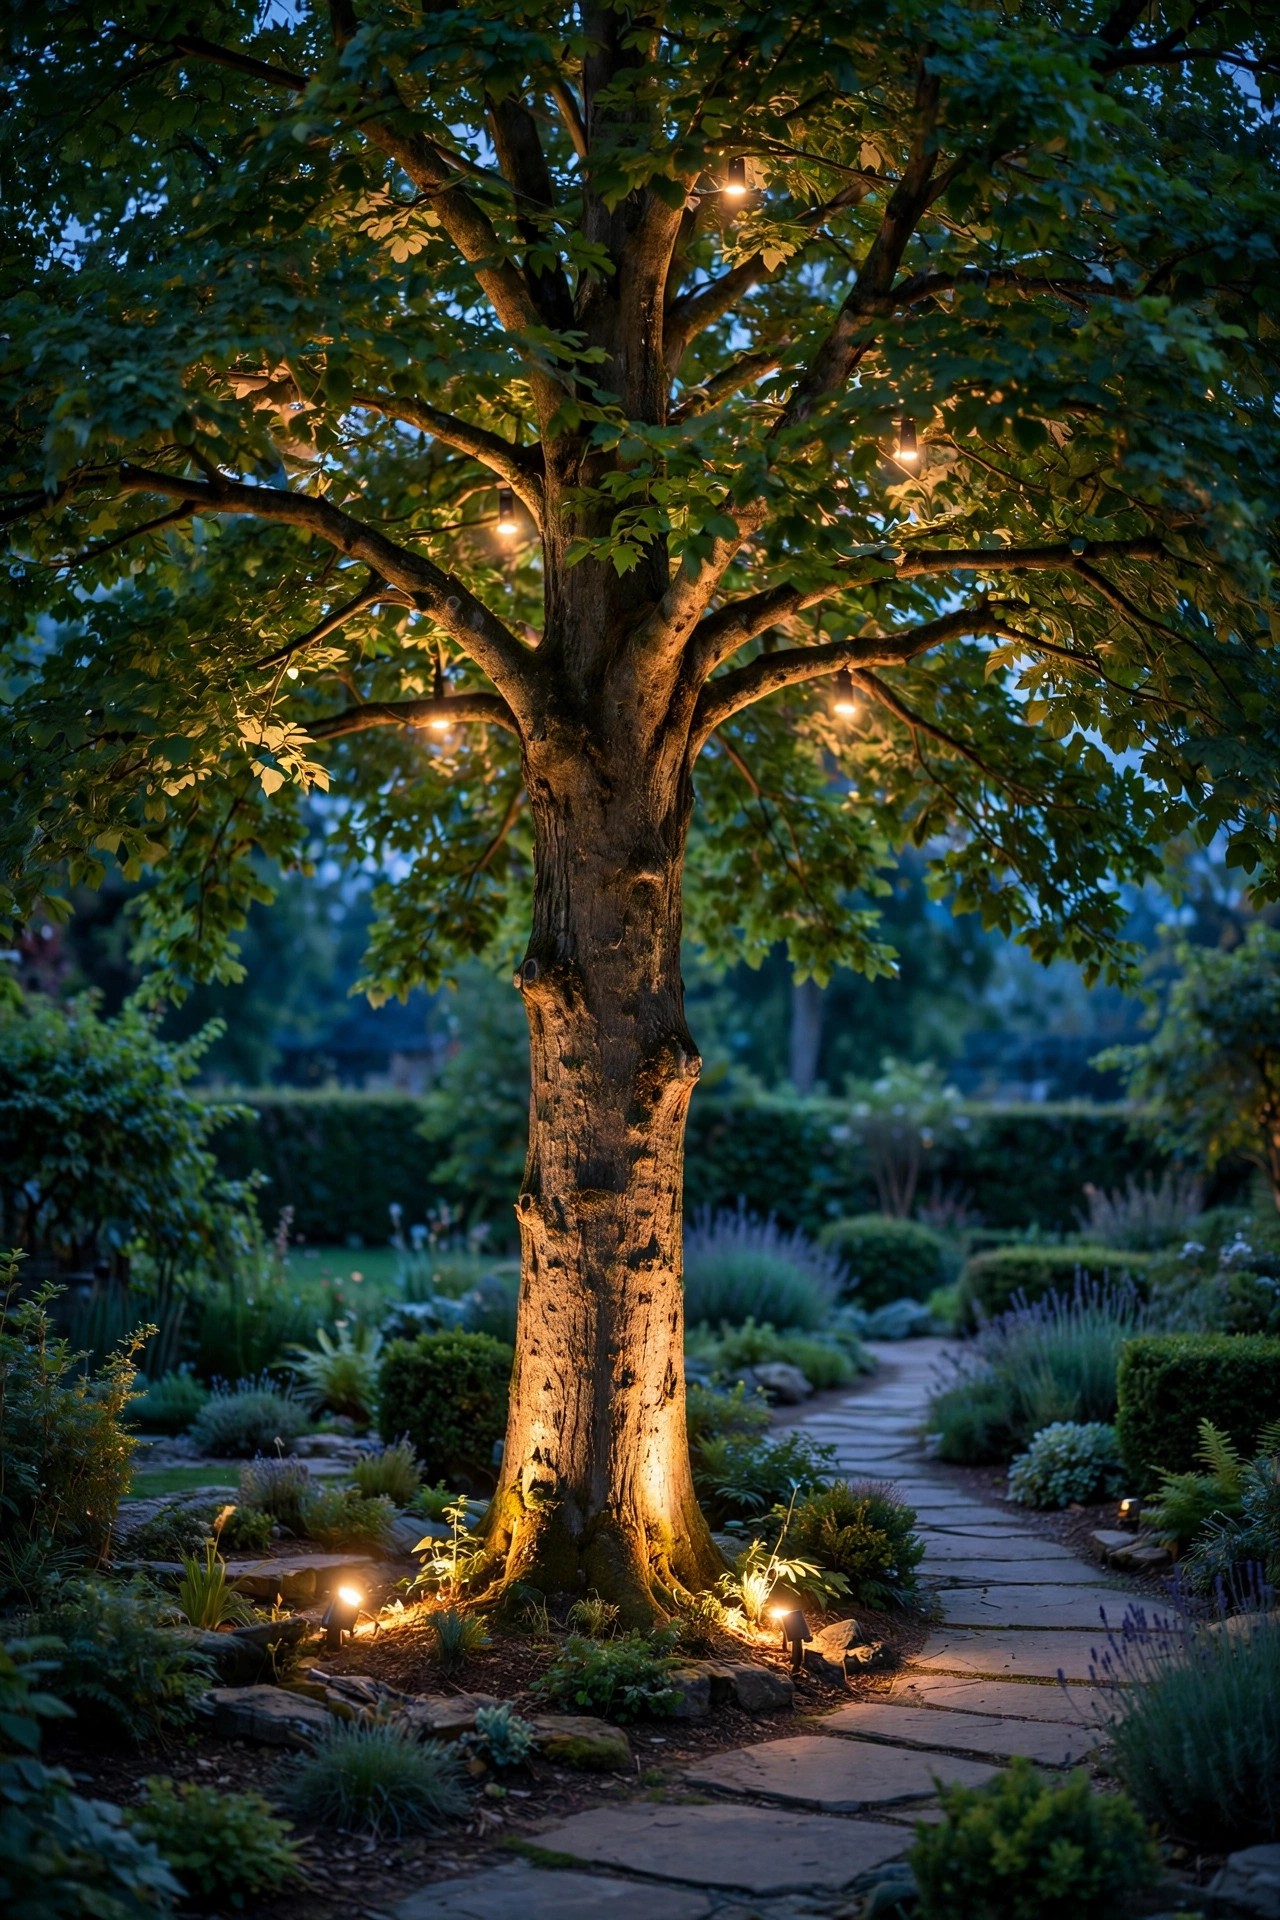
My favorite finishing move is to give one tree both directions of light. The downlight in the canopy does the useful work — soft, moonlit pools on the ground — while a single well light or bullet uplight at the base grazes the trunk and lifts the lower canopy, giving the tree itself a sculptural presence instead of leaving it a black silhouette with light leaking out of it. The two fixtures balance each other: downlight alone can look flat, uplight alone can look theatrical, but together the tree reads as a complete composition from trunk to crown. Keep the uplight subtle, around 300 to 500 lumens, and angled to graze the bark's texture rather than blast the underside of the canopy. If you're deciding which effect belongs where in your yard, my comparison of uplighting vs downlighting breaks down the mood each one creates, room by room. Wire both fixtures to the same zone if you always want them together, or split them across two zones for nights when you want just the gentle downlight. Either way, this pairing is where a nice yard starts looking like a designed one.
Suggested budget range: $120 – $280.
Frequently Asked Questions
Will mounting a light damage my tree?
Done right, no. Straps and padded clamps never wound the tree at all — just loosen or resize them every spring, because a snug strap on a growing trunk can girdle it. Screw-mounted arms make small, localized holes, similar to what arborists consider acceptable for healthy mature trees when you use stainless hardware and keep the fixture count low. What actually harms trees is neglect: forgotten straps, chafing cables, and wire stapled tight with no slack for growth. If your tree is stressed, very young, or a prized specimen, have an arborist bless the plan first.
How high should tree mounted downlight fixtures be mounted?
Match height to the job. Over a path or steps, 12 to 15 feet gives a calm pool of light without glare. For general moonlighting over a patio or lawn, 18 to 25 feet is the sweet spot. For a big mature canopy and that true dappled-moonlight effect, 25 to 30 feet. The higher you mount, the wider the beam and the more lumens you'll need — and above about 20 feet, I'd hire a climber rather than stretch a ladder.
How many lumens do I need for a moonlighting effect?
Less than you'd guess. A single fixture at 250 to 450 lumens handles most path, bed, and seating jobs at moderate heights. High-canopy work at 25 to 30 feet wants 600 to 900 lumens with a wide beam so the light still lands softly. Perceived brightness drops as light travels and as leaves filter it, which is the whole point — if the yard looks "lit," you've overshot; if it looks moonlit, you nailed it. Always choose 2700K for that warm, natural feel.
Can I install tree downlights myself, or do I need a professional?
Low-voltage (12V) systems are genuinely DIY-friendly: no conduit, no permit in most places, and the shock risk is minimal — just keep the transformer on a GFCI-protected outlet. A strap or clamp mount at 12 to 15 feet is a comfortable ladder job for most people. I'd hire out three things: anything above 20 feet, anything involving a chainsaw-adjacent climbing situation, and any 120V line-voltage work, which belongs to a licensed electrician, full stop. A pro install also gets you an arborist's eye on tree health.
Conclusion
If I had to boil fifteen ideas down to one principle, it's this: the best light in a yard falls from above, and trees are the most beautiful place to put it. Whether you start with a simple strap mount over the path or go straight to a three-fixture moonlight composition in your hero oak, tree mounted downlight fixtures give you soft, layered, glare-free light that ground fixtures just can't imitate. Start with one tree, live with it for a few weeks, and build your layers from there — and when you're ready to give that same tree its sculptural moment, my tree uplighting guide is the perfect companion read. Browse around the site for more ideas whenever you're ready; your canopy is waiting.