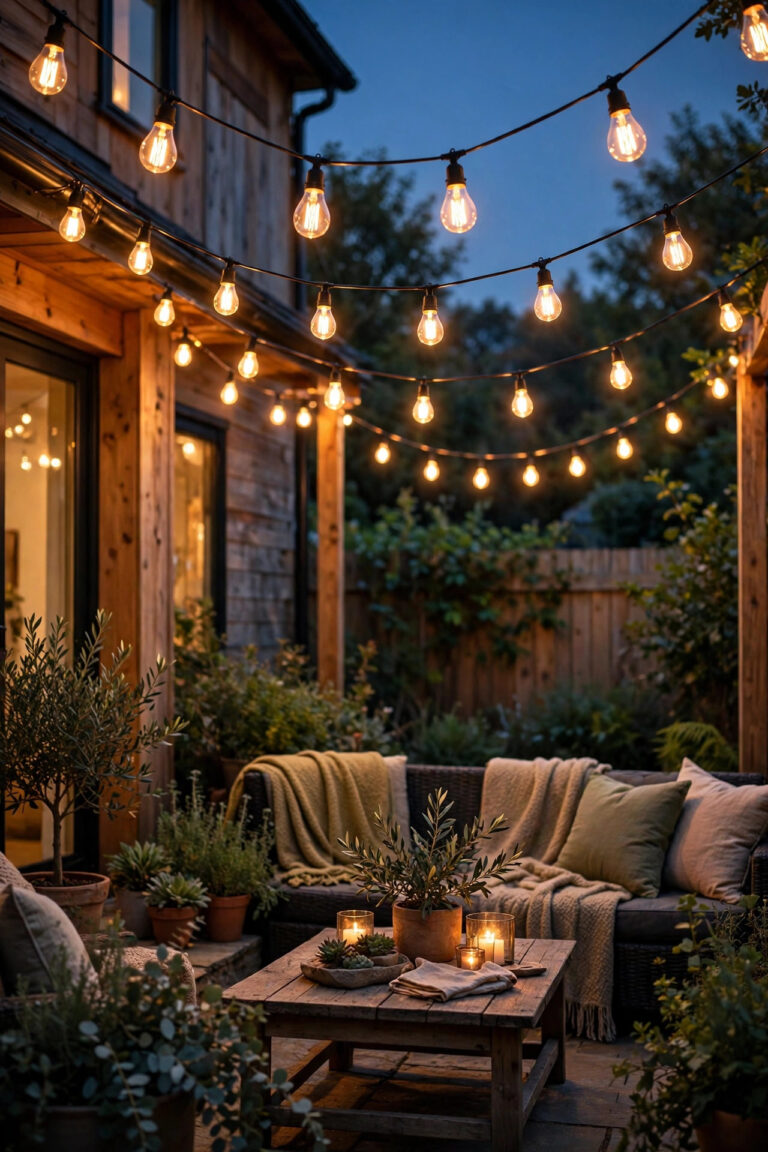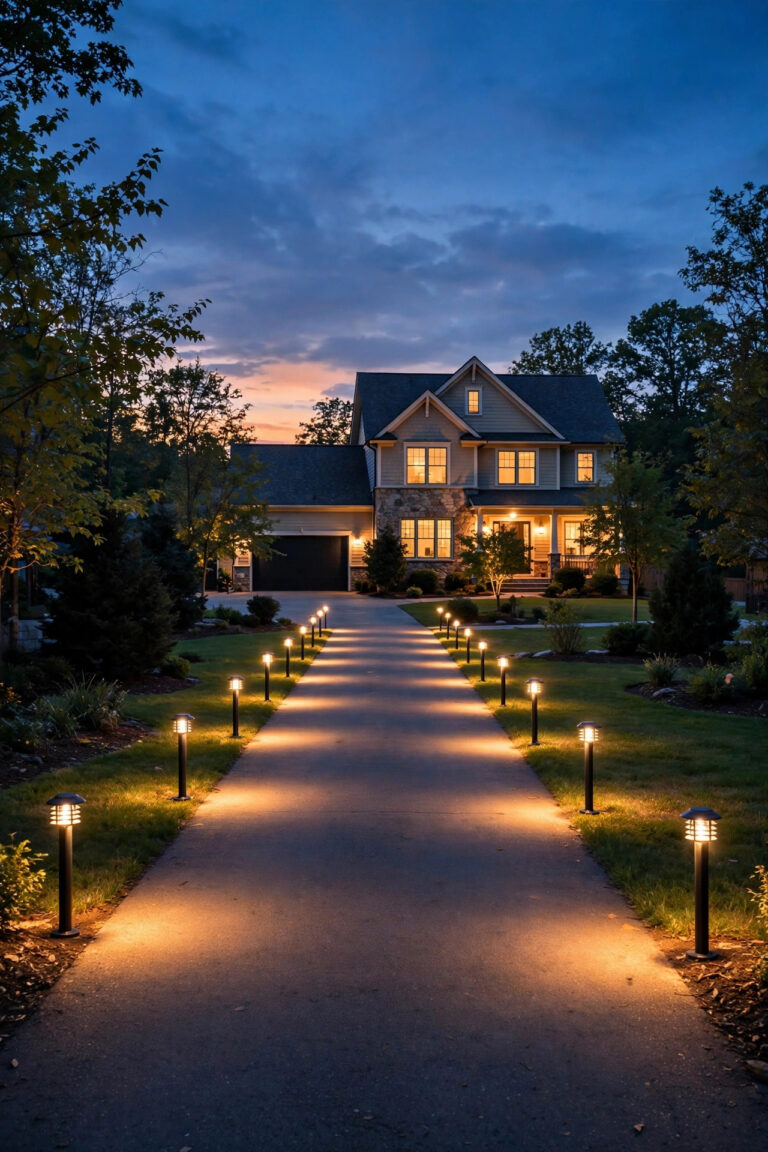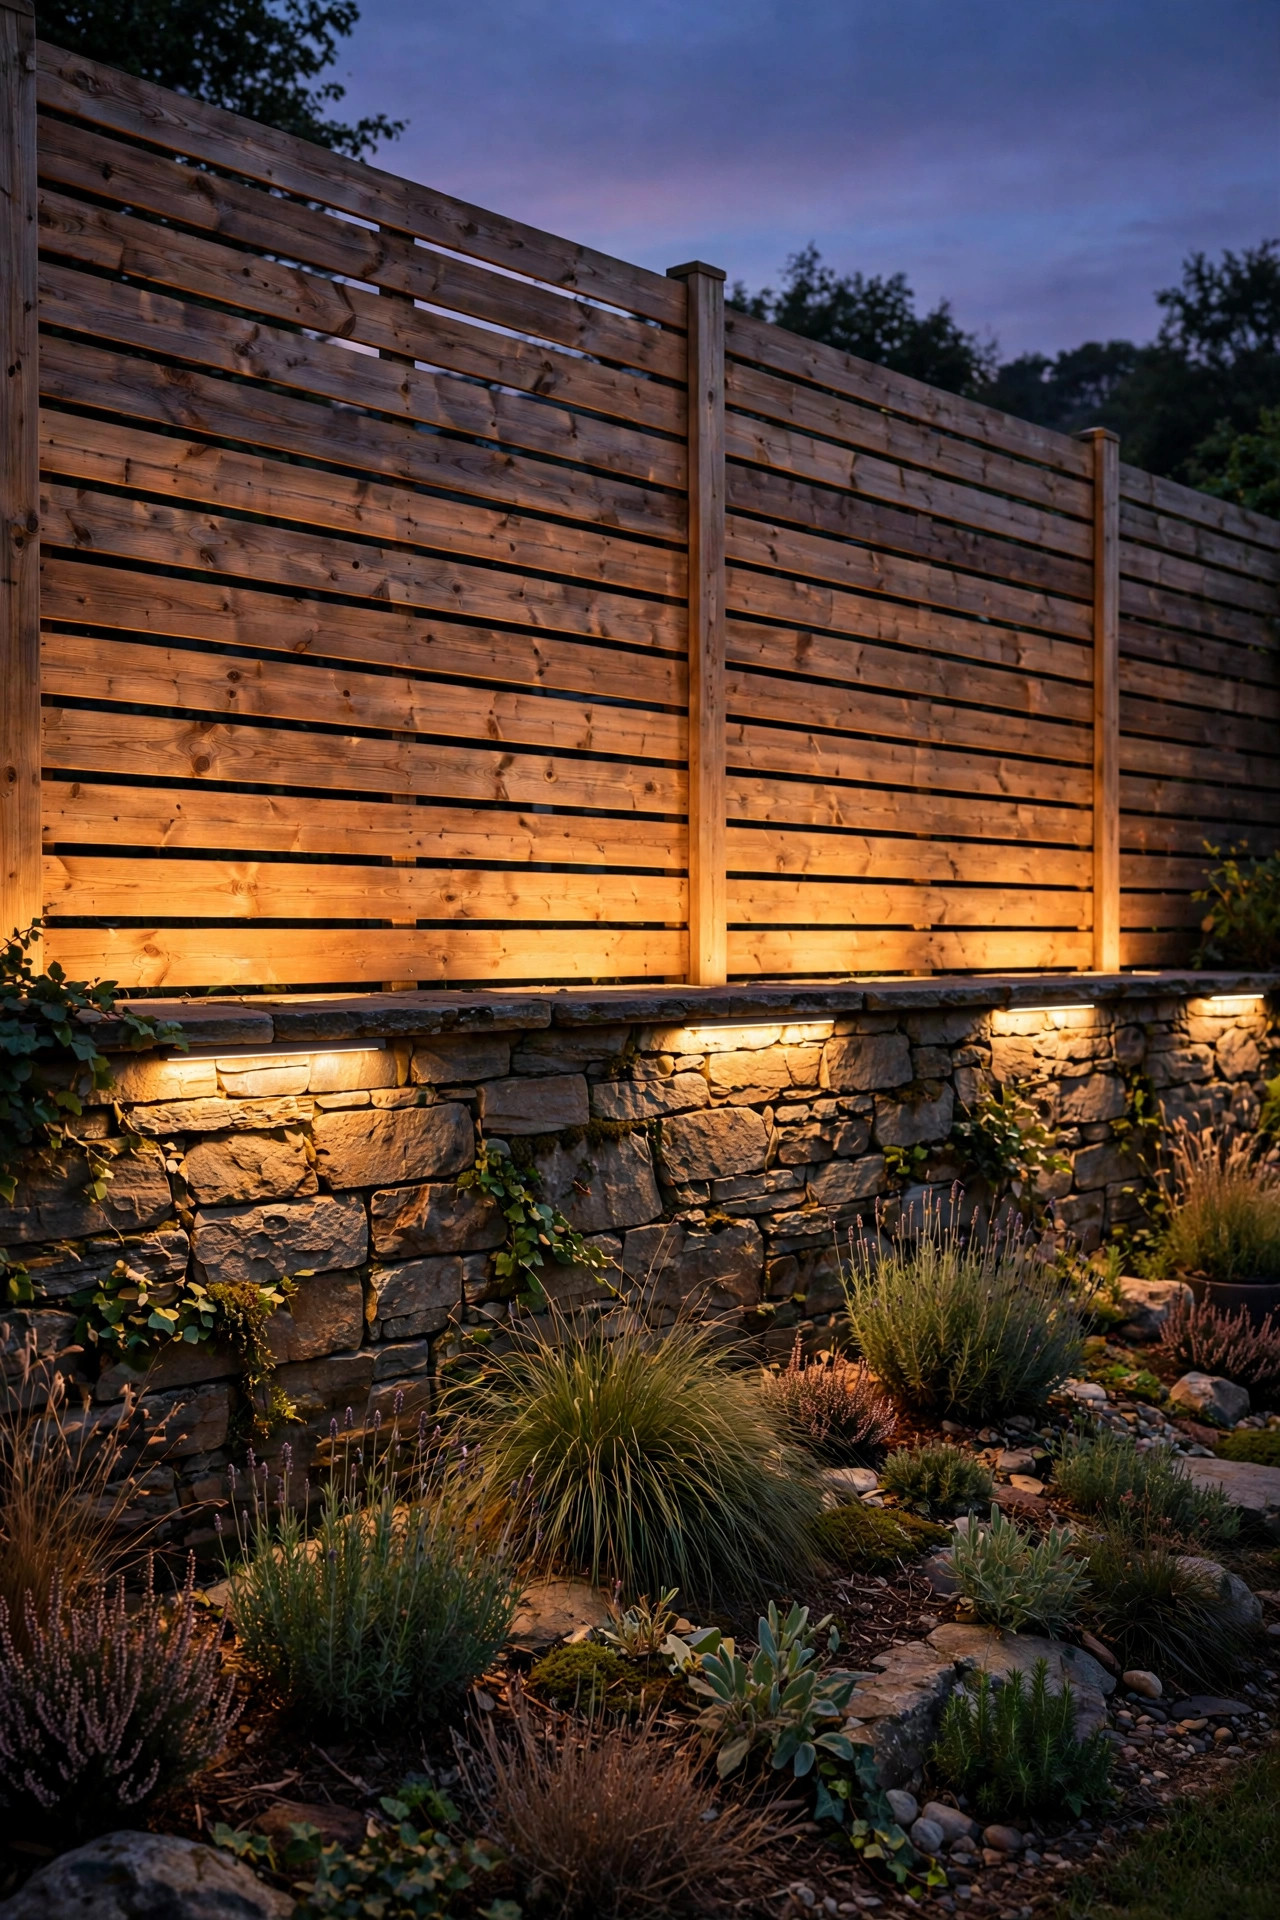
Fence wall wash lighting is the one technique I'd recommend to anyone whose backyard feels flat and a little forgotten after sunset. Most of us stare at our fences and garden walls all evening — they're the backdrop to every patio dinner and every quiet coffee on the porch — yet they go completely dark at night. A wash of light changes that entirely. Instead of a few bright spots, you bathe the whole surface in a soft, even curtain of warm light, and suddenly the yard has depth, the plantings in front of the fence stand out, and the whole space feels like a room instead of a yard. In my experience, the secret is layering: one even wash as your base, then a couple of accents and shadows for contrast. Below are 19 ways to wash fences and garden walls of every material, each with the spacing, beam angles, and honest budget ranges I wish someone had handed me when I started.
1. The Classic Ground Wash: Fence Wall Wash Lighting Basics
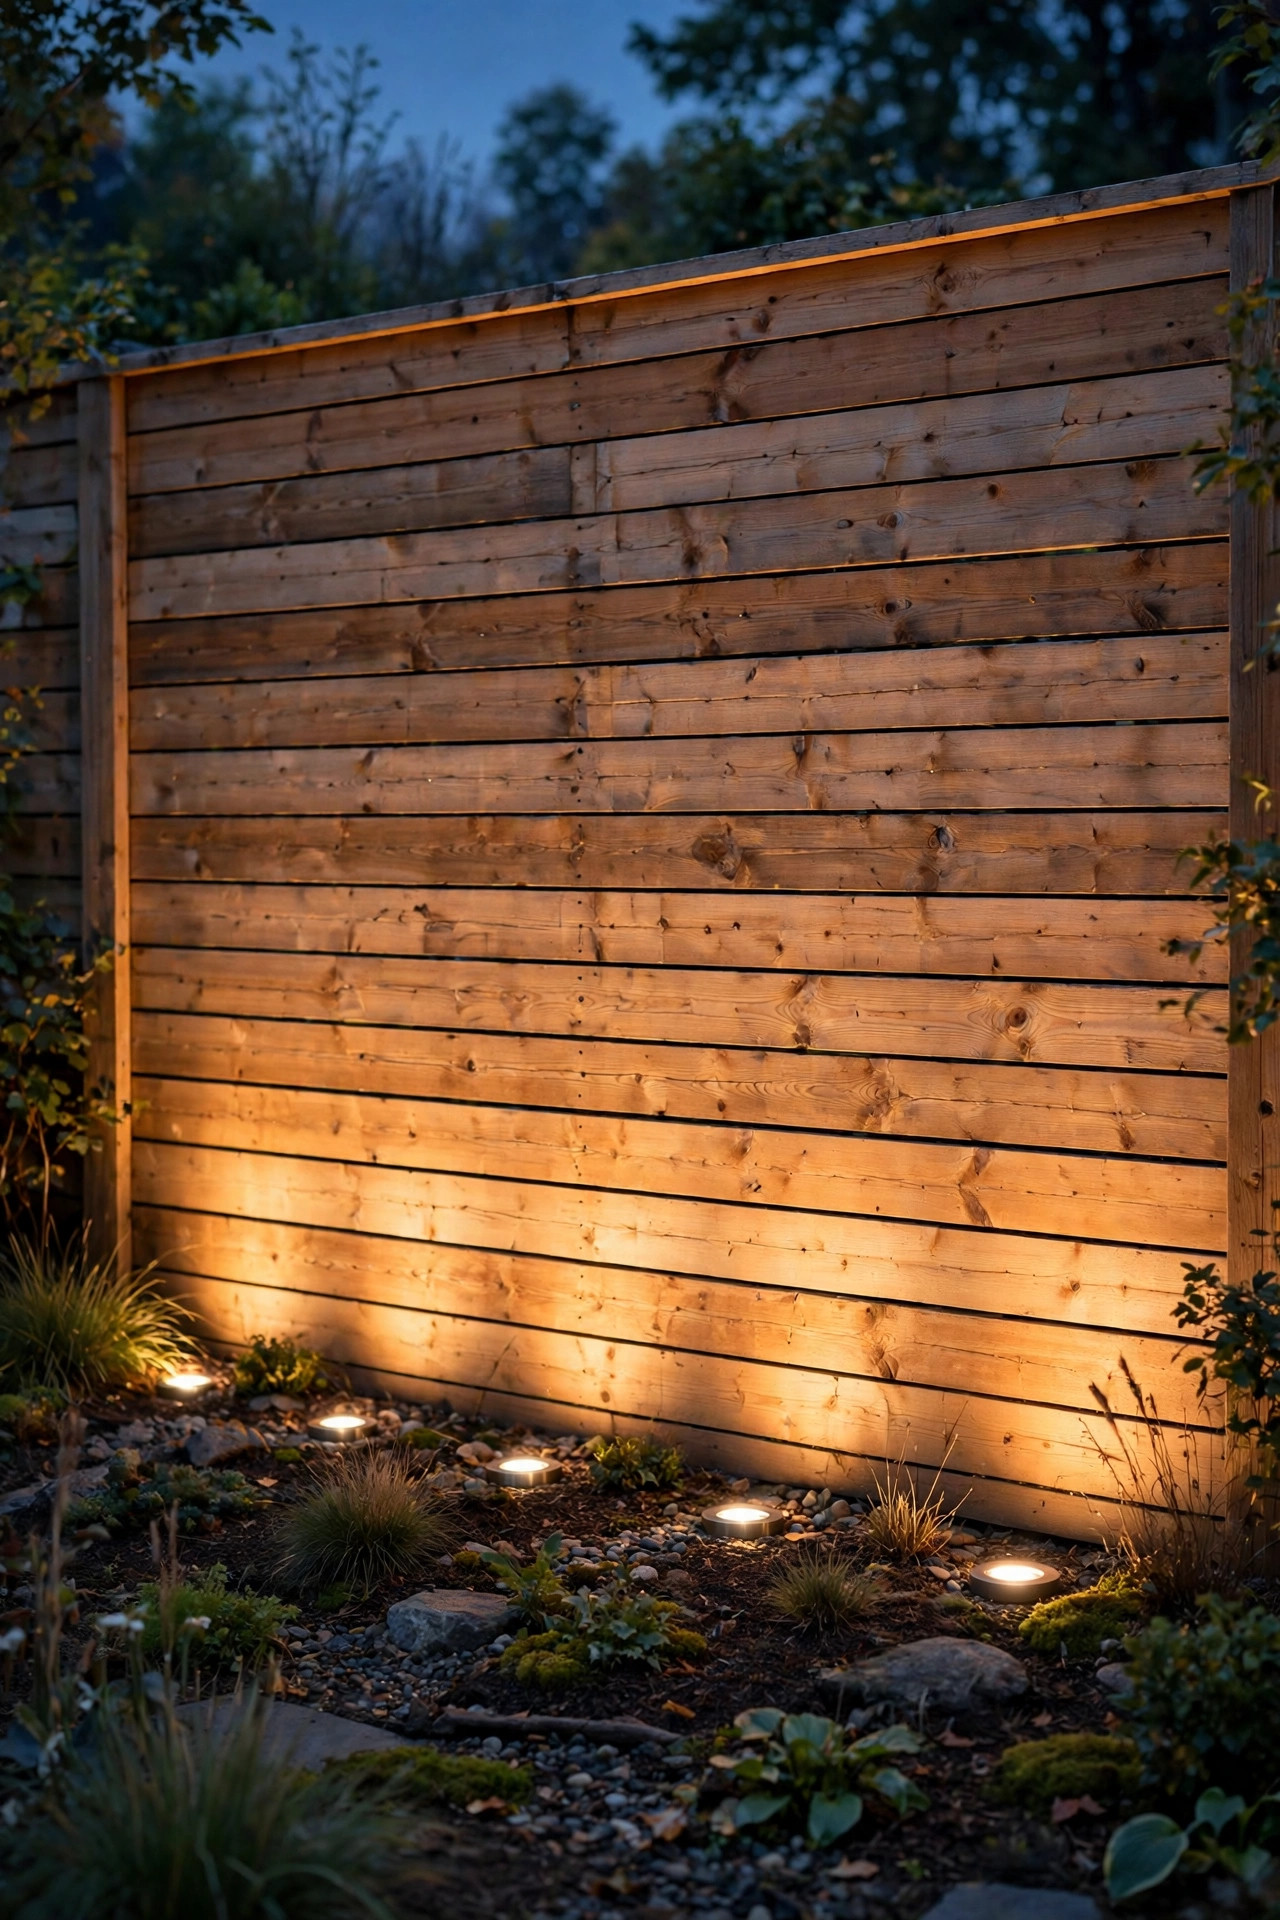
If you do nothing else on this list, start here: a row of wide-beam fixtures on the ground, set back from the fence or wall, aimed up so their beams overlap into one seamless sheet of light. This is the foundation of fence wall wash lighting, and it works on wood, vinyl, stone, and stucco alike. Use flood or wash fixtures with a beam angle of 60 degrees or wider, and set them 12 to 24 inches out from the base of the wall — closer gives you a dramatic, concentrated glow at the bottom, further back spreads the light higher and softer. Space fixtures 6 to 8 feet apart so the edges of each beam just kiss the next one; gaps show up as dark scallops, and honest? Nothing ruins the effect faster. A 2700K warm white lamp flatters almost every material and keeps the mood cozy rather than clinical. My wall washing exterior guide walks through the setback math for different wall heights if you want to get precise. Test your spacing with a flashlight at dusk before you bury a single cable. Suggested budget range: $80 – $200.
2. Graze Textured Stone and Brick to Show Off the Surface
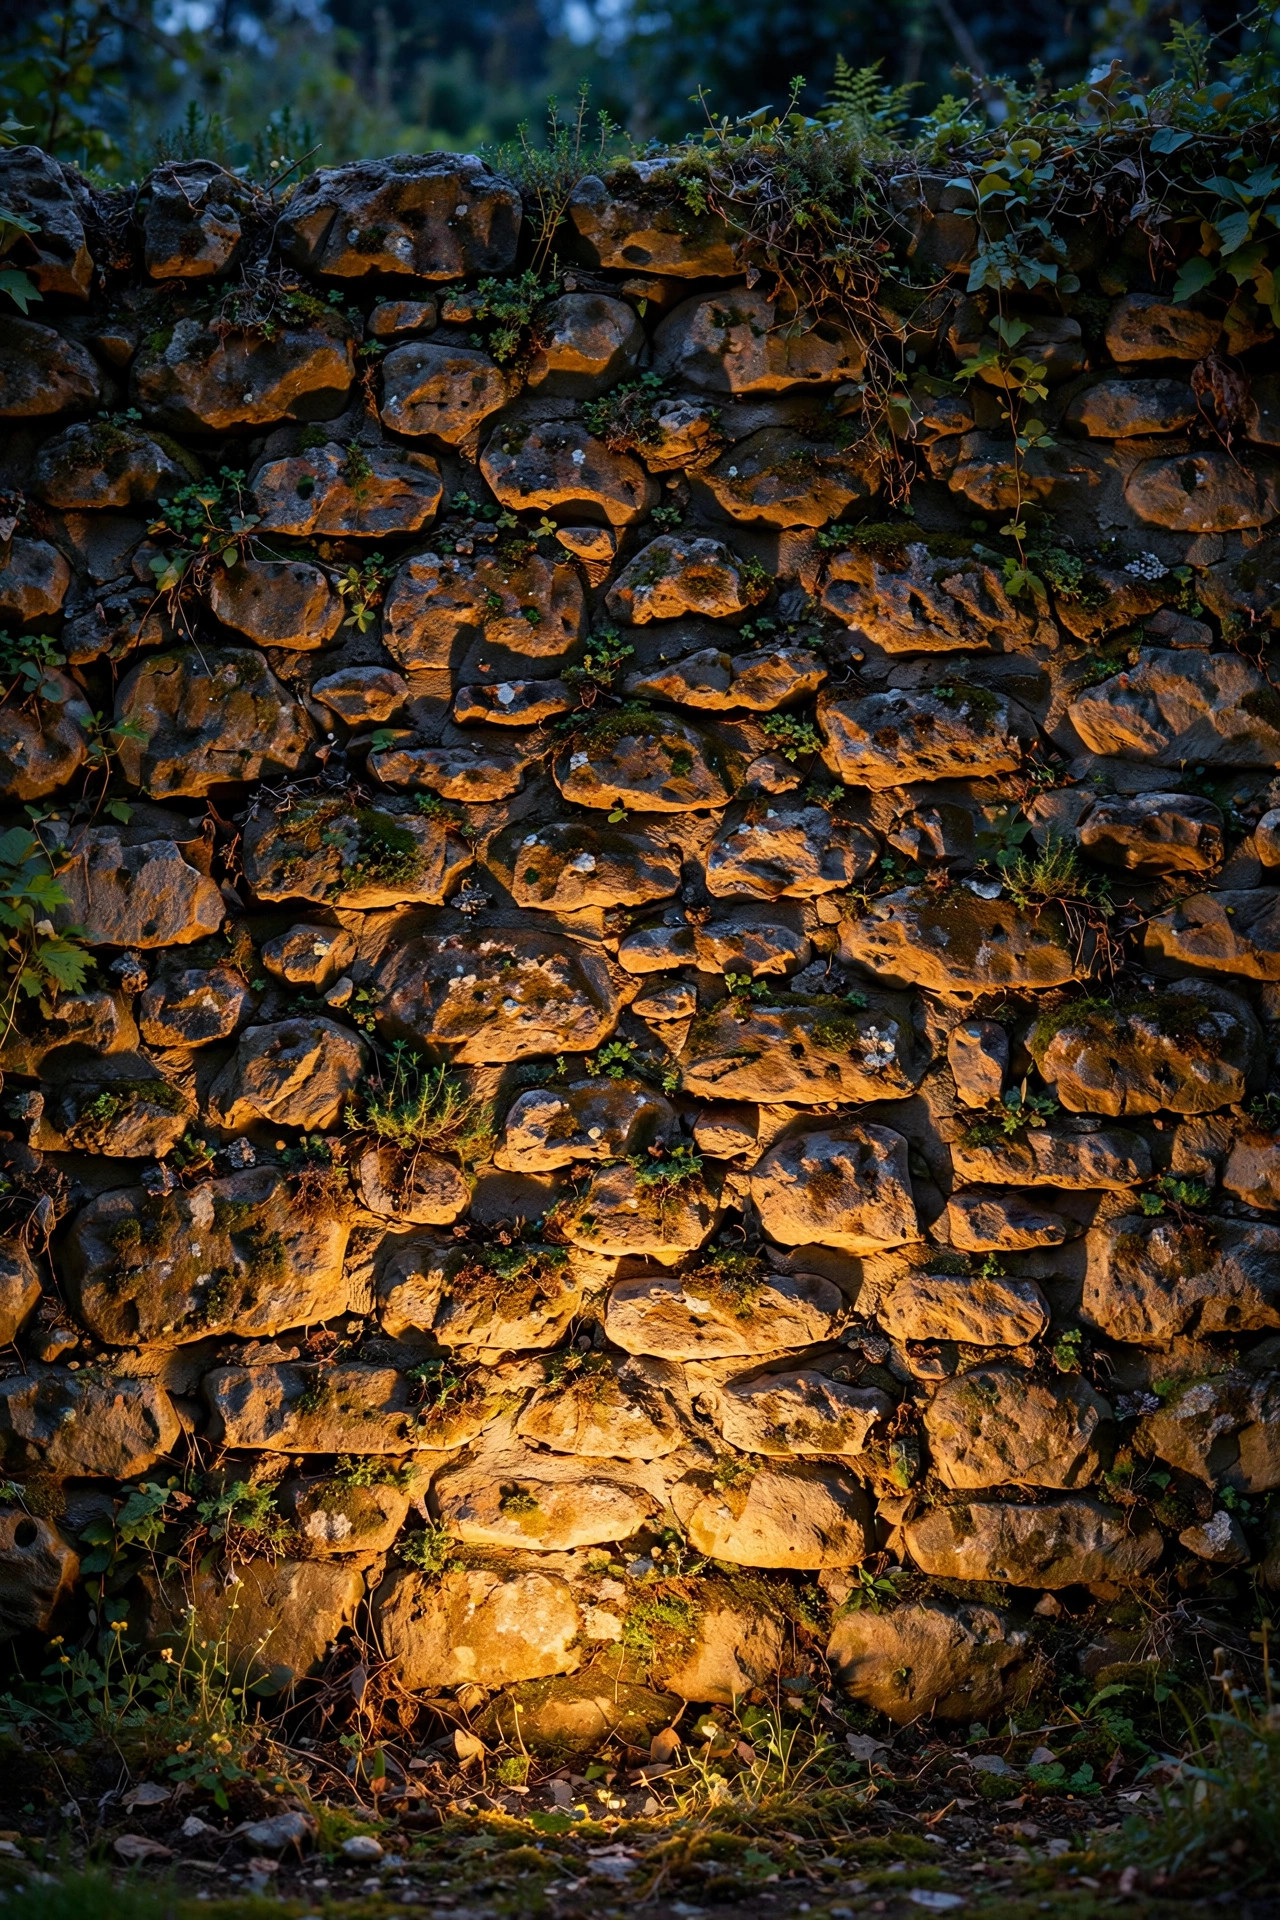
Washing and grazing are cousins, but grazing is the one that makes a textured wall sing. Instead of setting fixtures back, you place them just 4 to 6 inches from the base of a stone, brick, or stacked-block wall and aim the beam almost straight up, so the light skims across the surface. Every bump, mortar line, and rough edge throws a tiny shadow, and a flat wall suddenly looks like it was carved. This is my favorite treatment for a rustic stone garden wall or an old brick boundary — the texture does all the work, you just supply the light. Use a narrower beam here, around 24 to 36 degrees, and keep the fixture tight to the wall; pull it even a foot out and the effect washes flat again. One caution from my own yard: grazing exaggerates flaws too, so if your mortar is crumbling or a panel is warped, you'll see it. That's fixable with a weekend of repointing, and the payoff is a wall that looks expensive every single night. Suggested budget range: $70 – $180.
3. Pull Back for a Smooth, Even Wash on Stucco and Siding
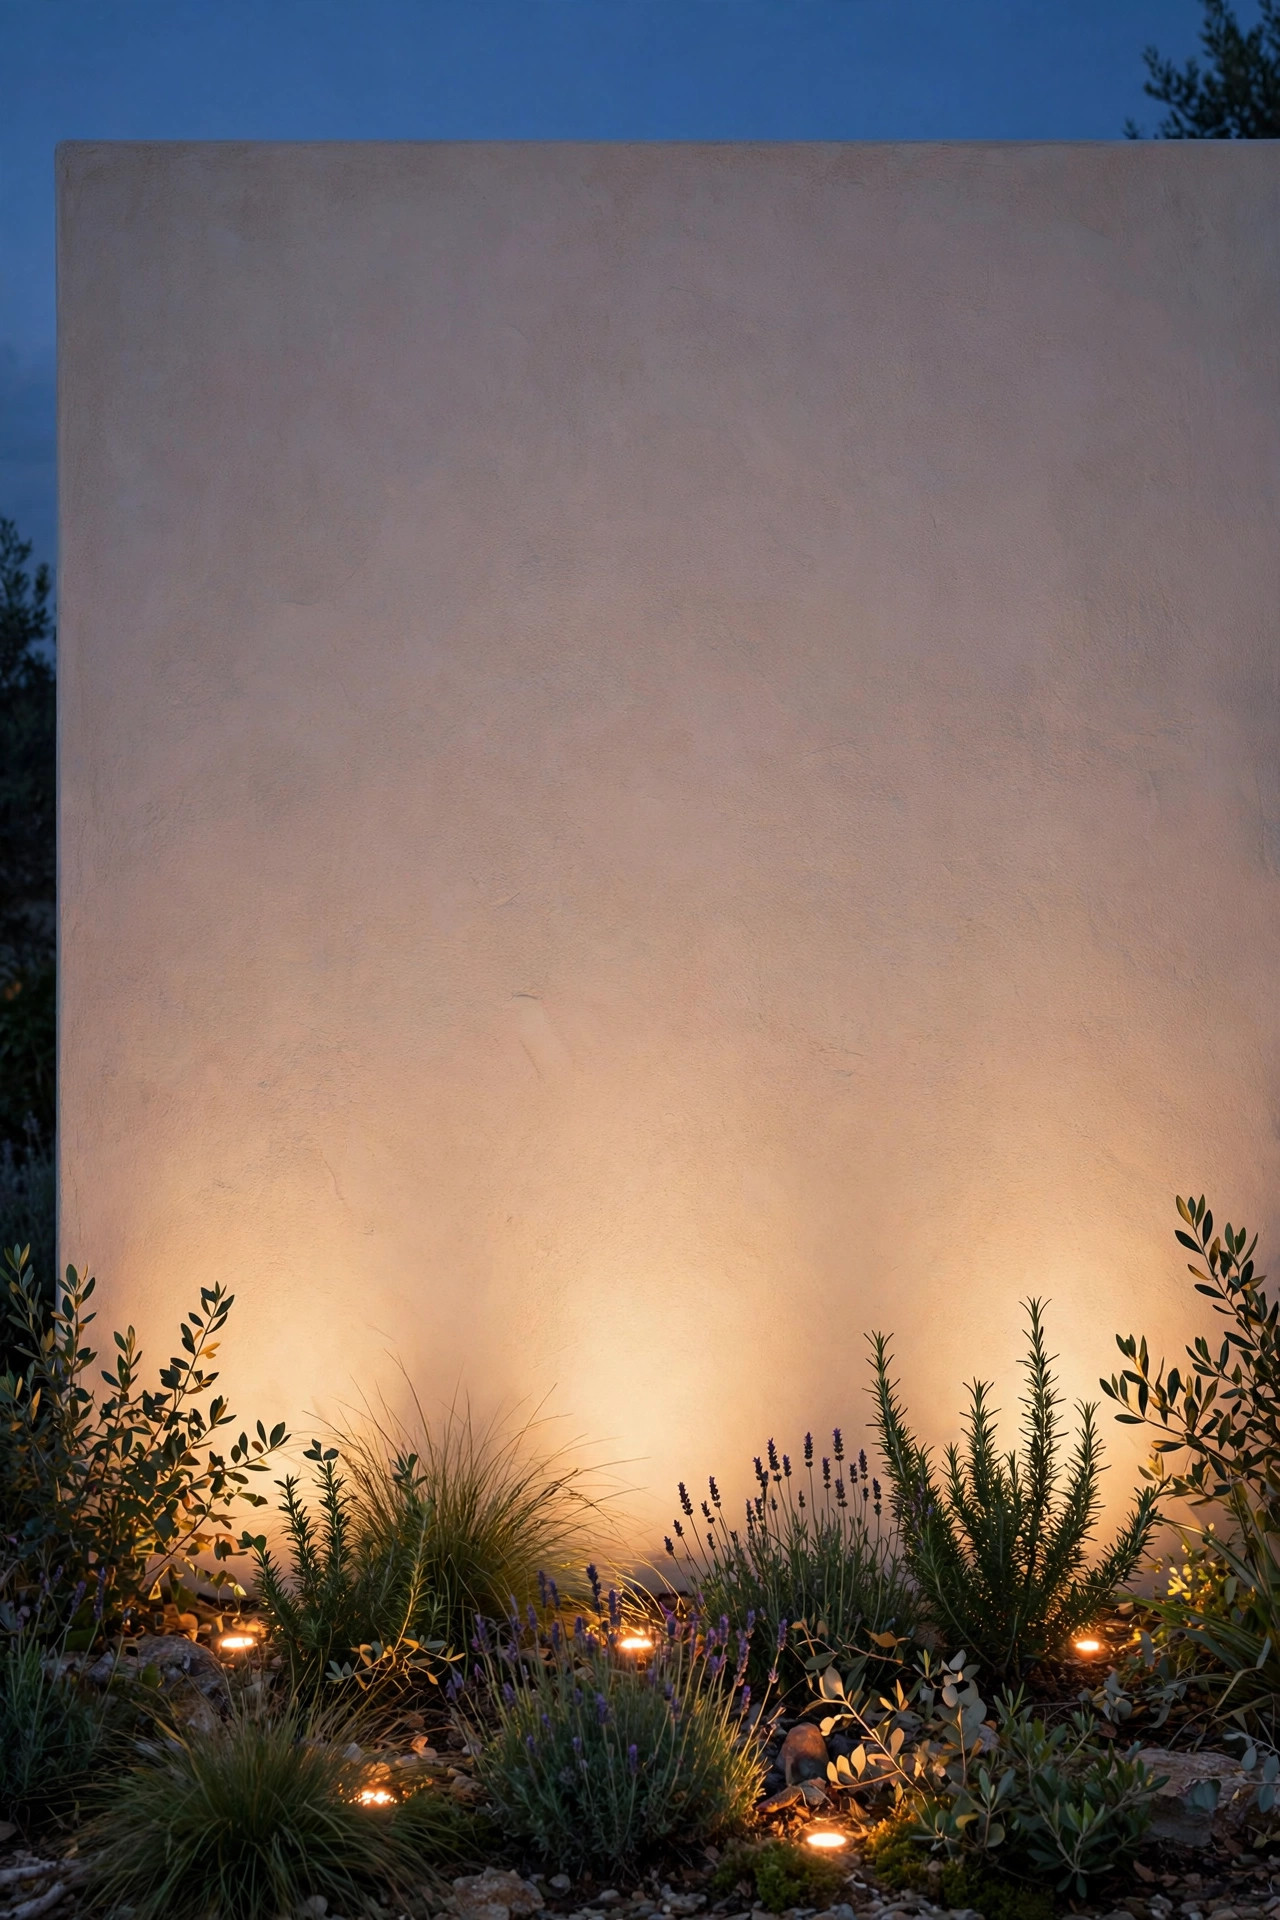
Smooth walls are the opposite problem: stucco, painted siding, and vinyl fencing show every hot spot and streak, so your fixtures need distance to blend. Set wash lights 24 to 36 inches out from the base and choose the widest beam you can find — 90 degrees or more if the fixture offers it. The extra distance lets the light feather out before it lands, which hides the bright pool at the bottom that gives away cheap installs. I also angle the fixture head slightly less steep on smooth walls, aiming at a point about two-thirds up the surface rather than straight at the top edge; the beam then fades naturally instead of cutting off. If your fence is white or pale vinyl, drop your brightness expectations down a notch — pale surfaces reflect a lot, and what looks gentle on cedar can glare on white pickets. In my experience, one dimmer or a lower-lumen lamp choice (200–300 lumens per fixture) keeps light-colored fences elegant instead of interrogation-room bright. Walk the yard from your neighbors' side too, just to be sure you're not beaming them. Suggested budget range: $90 – $240.
4. In-Ground Well Lights for a Hardware-Free Wash
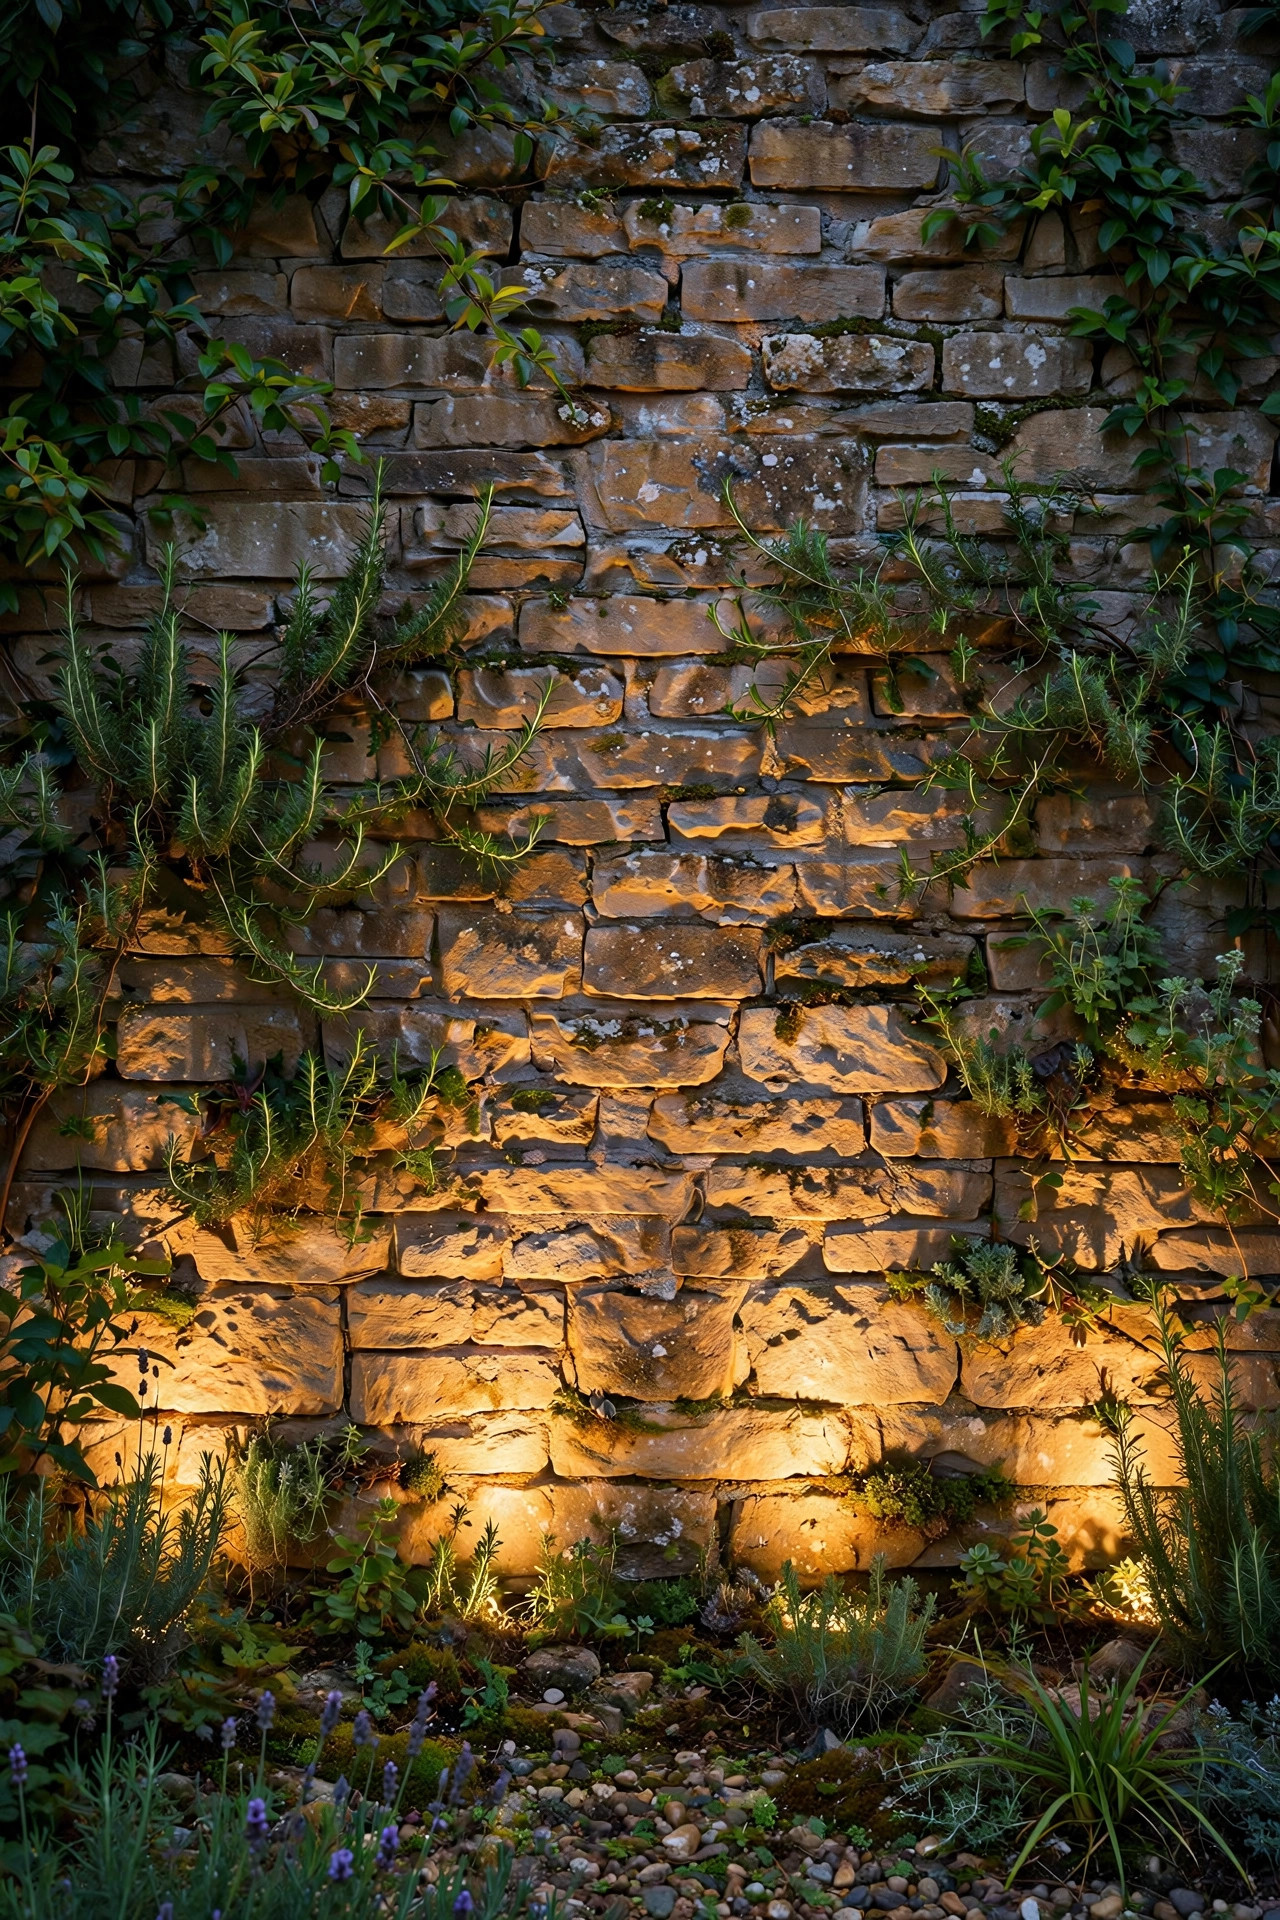
If you love the glow but hate looking at fixtures, bury them. Well lights sit in a sleeve set flush with the soil or mulch at the base of your wall, so by day there's almost nothing to see — no stakes to mow around, no housings for the string trimmer to chew on. At night the light simply appears at the foot of the fence and climbs. Choose sealed, gasketed models rated for direct burial, because a cheap open well will fill with mulch and rainwater and die young; I learned that one the expensive way. An adjustable internal gimbal matters more than you'd think, since you can't nudge a buried fixture the way you can a staked one — being able to tilt the lamp a few degrees after install lets you fine-tune the wash. Well lights also shrug off foot traffic near gates and play areas. My rundown of in-ground well lights covers drainage and sleeve sizing if you're planning a run of them. One well light every 5 to 6 feet washes a standard 6-foot fence beautifully. Suggested budget range: $120 – $300.
5. Linear LED Wash Bars for Long, Unbroken Garden Walls
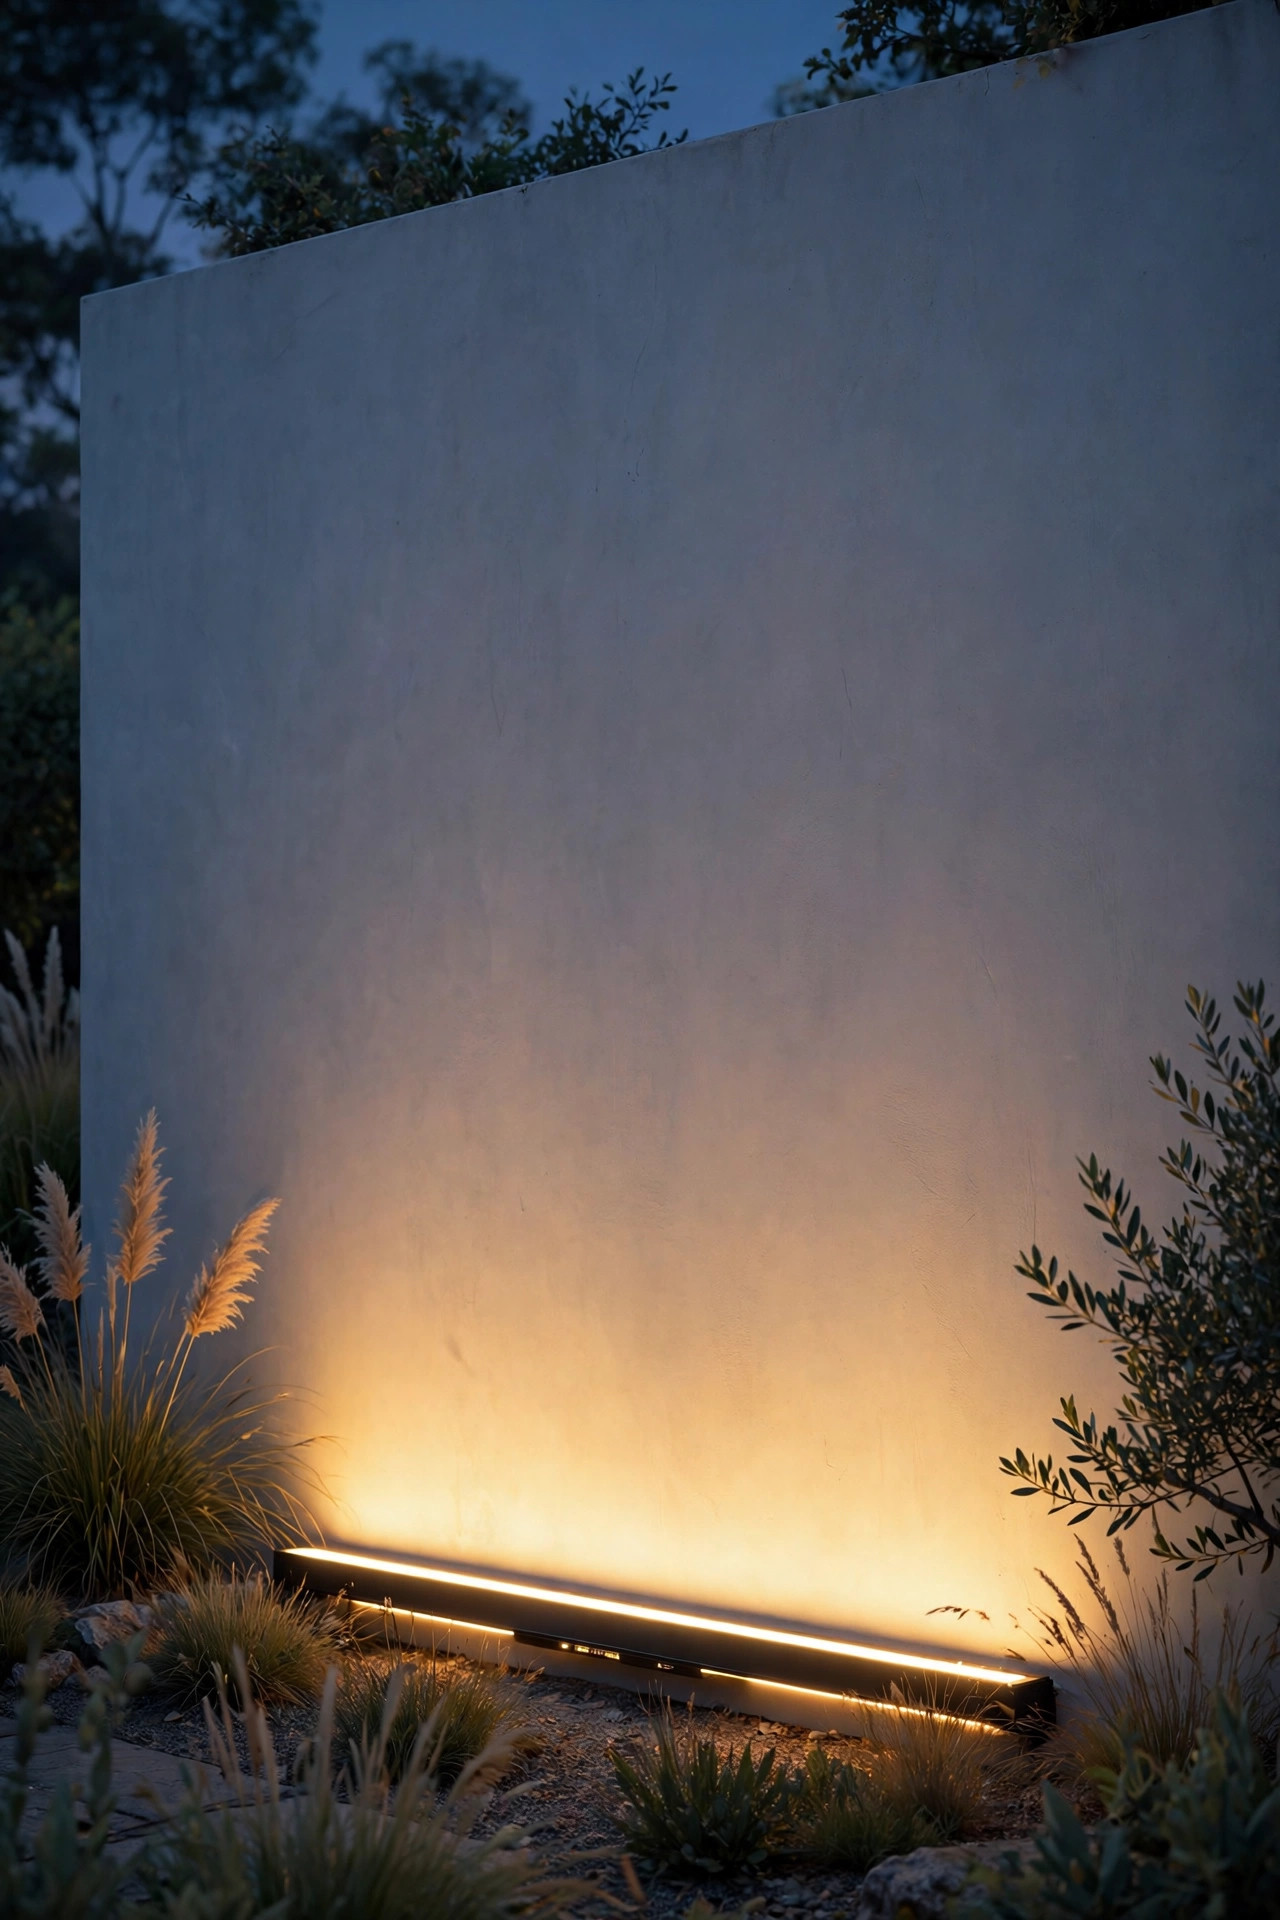
For a long retaining wall, a raised planter, or a modern concrete garden wall, individual fixtures can look busy. A linear LED wash bar — a slim, low-profile strip fixture mounted at the base or tucked under a capstone — throws one continuous ribbon of light with no scallops at all. It reads clean and architectural, which is exactly right for contemporary yards and long straight runs. Look for bars in 12- to 24-inch sections you can link, with an IP65 or better outdoor rating, and mount them 6 to 12 inches out from the wall face, angled up at roughly 30 degrees. If your wall has a cap or coping that overhangs slightly, hiding the bar beneath it gives you that gorgeous floating-glow effect where the light source is invisible entirely. Color consistency is the one trap: buy all your bars at once from the same line, because mixing production runs can leave one section noticeably warmer than its neighbor. In my experience, bars are also the easiest wash to put on a dimmer, and a dimmed bar at dusk is pure understated luxury. Suggested budget range: $150 – $400.
6. Light Each Fence Bay Between the Posts
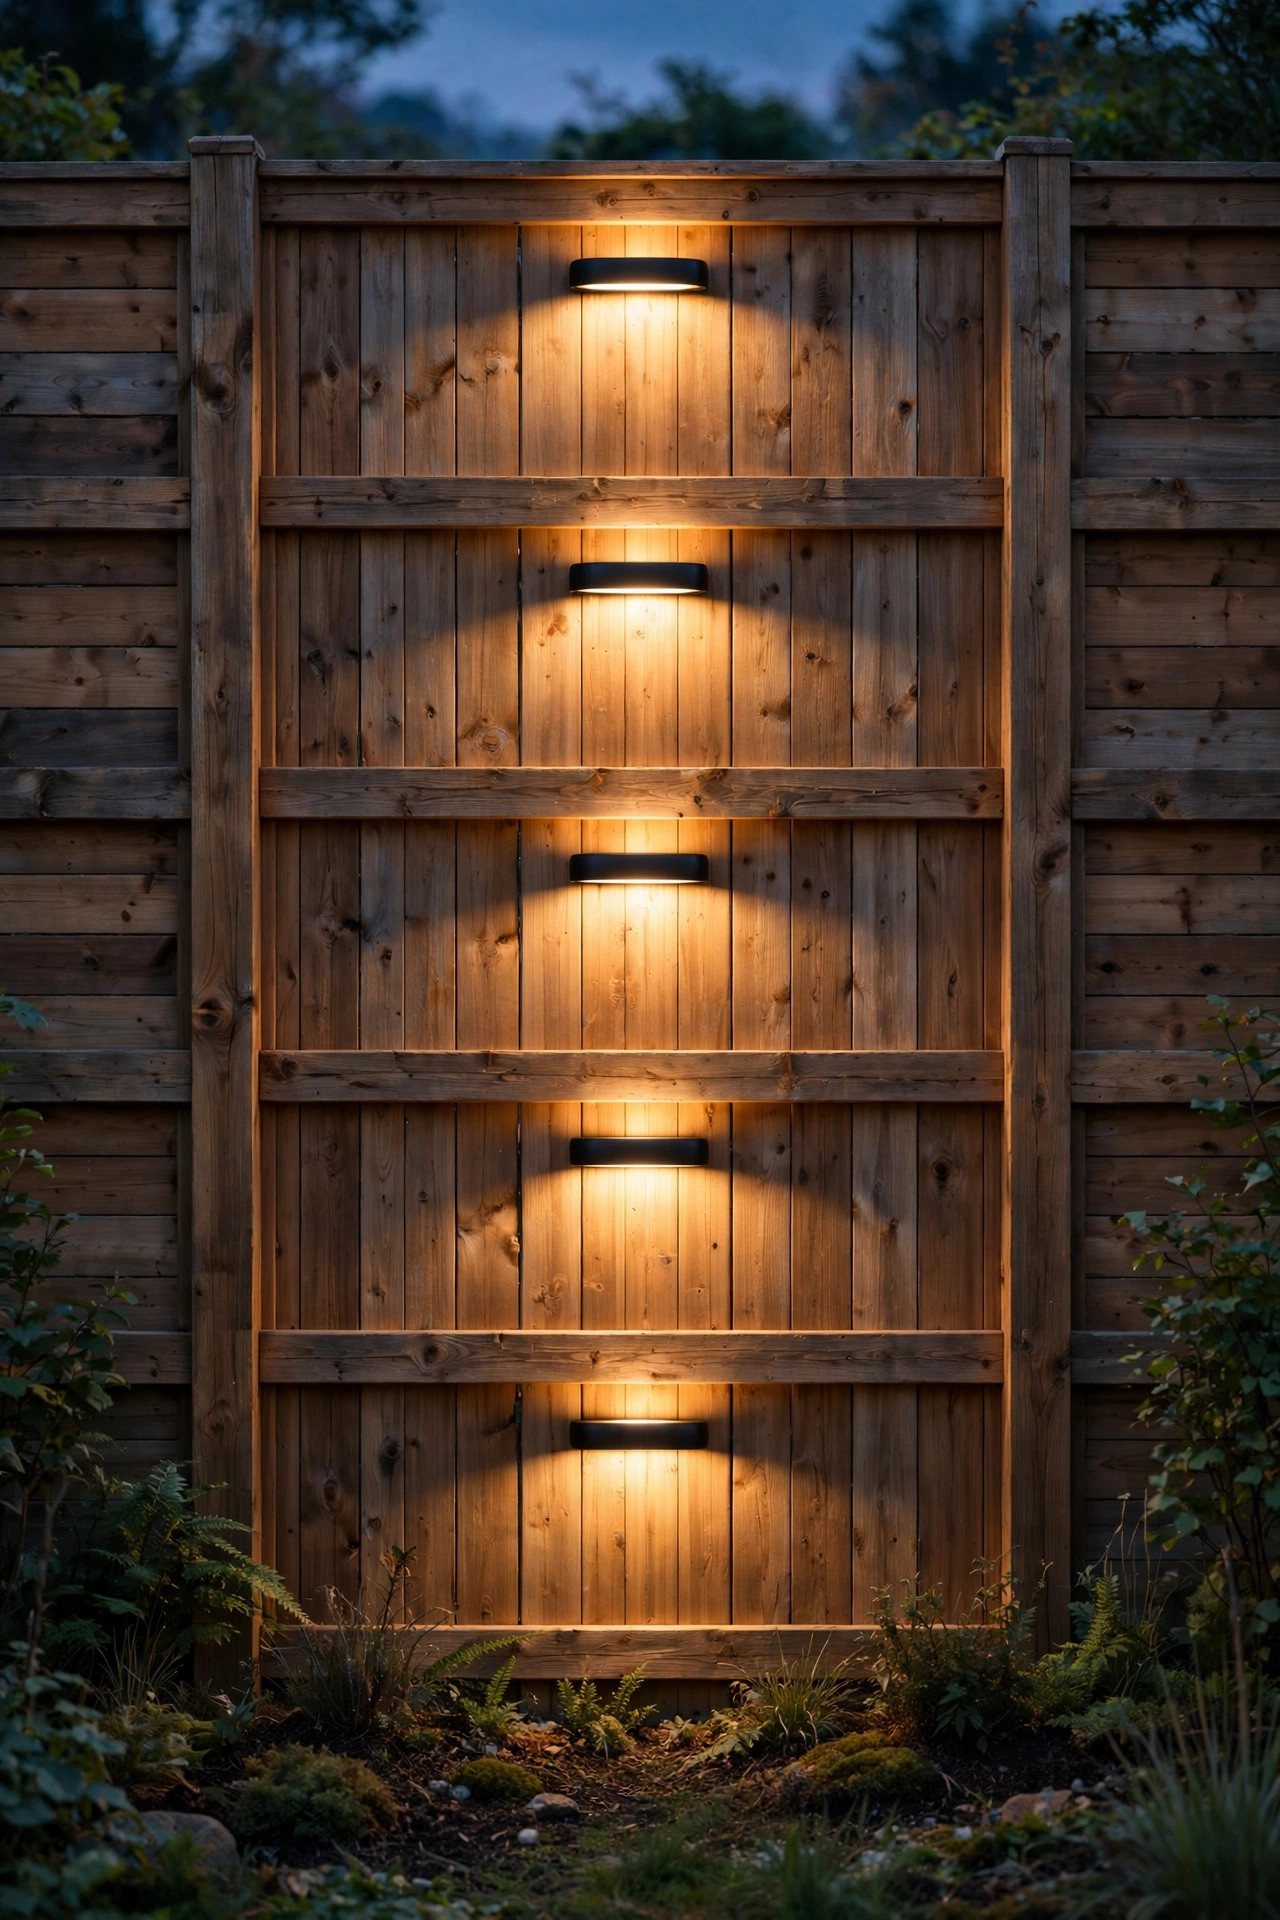
Wood privacy fences are built in bays — the panels between posts — and lighting them bay by bay gives the whole fence a rhythm that a random fixture row never will. Center one wash fixture in each bay, set about 18 inches out, and the posts fall into soft shadow while each panel glows. The repetition reads intentional and tailored, like the fence was designed around the lighting. An 8-foot bay takes one fixture comfortably; on 6-foot bays you can alternate — light every bay for a bright backdrop, or every other bay for a moodier, dappled rhythm along the fence line. This is also the easiest layout to expand later, because the pattern is already decided; you just fill in the skipped bays. Keep the fixtures identical and the setback measurement consistent, since the eye catches a single off-line fixture instantly at night. If your fence is due for a refresh anyway, my collection of fence lighting ideas pairs well with this approach for gates and post caps. Measure twice, bury cable once. Suggested budget range: $100 – $260.
7. Downwash From a Pergola, Eave, or Fence Cap
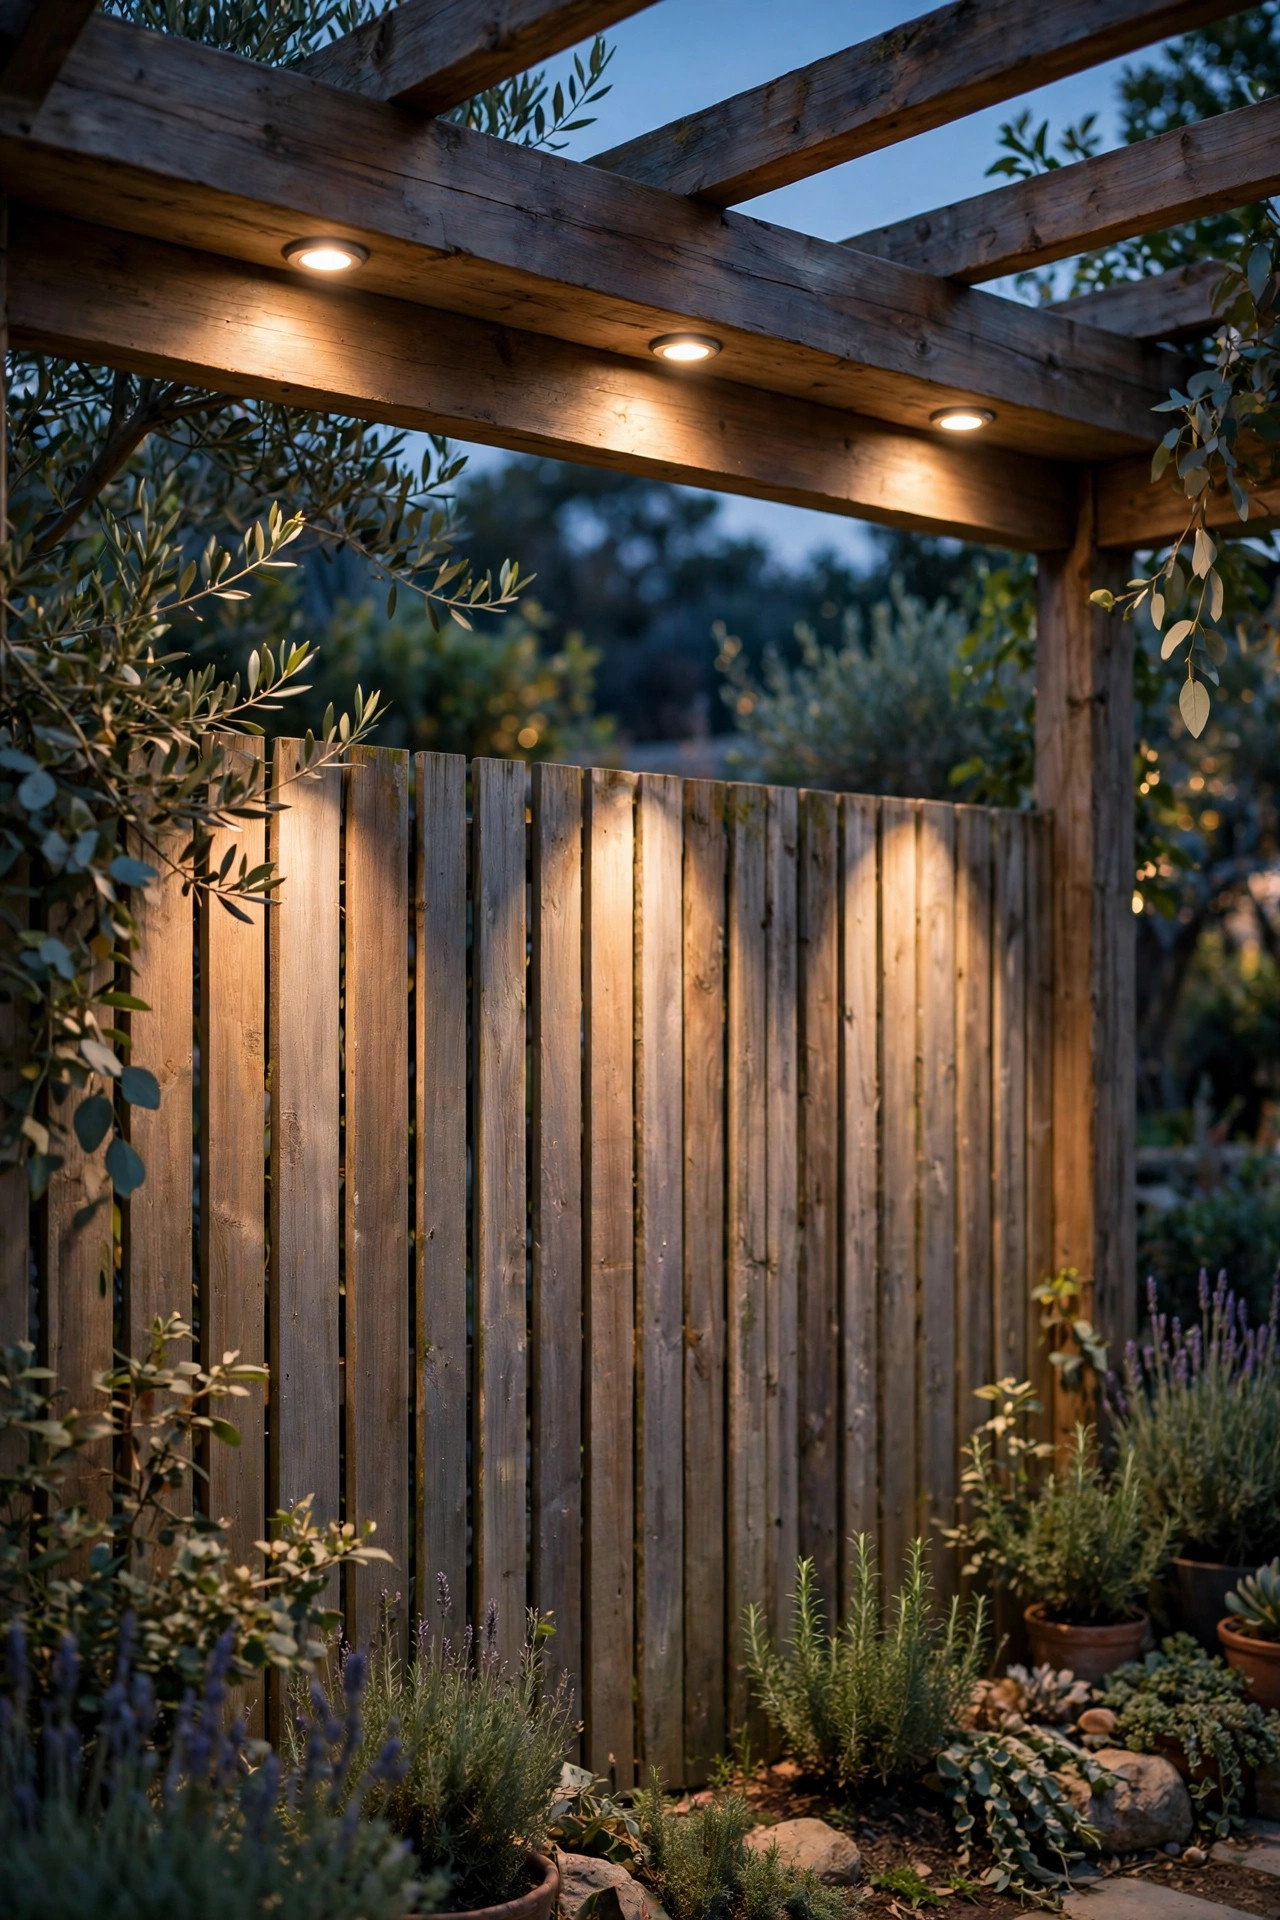
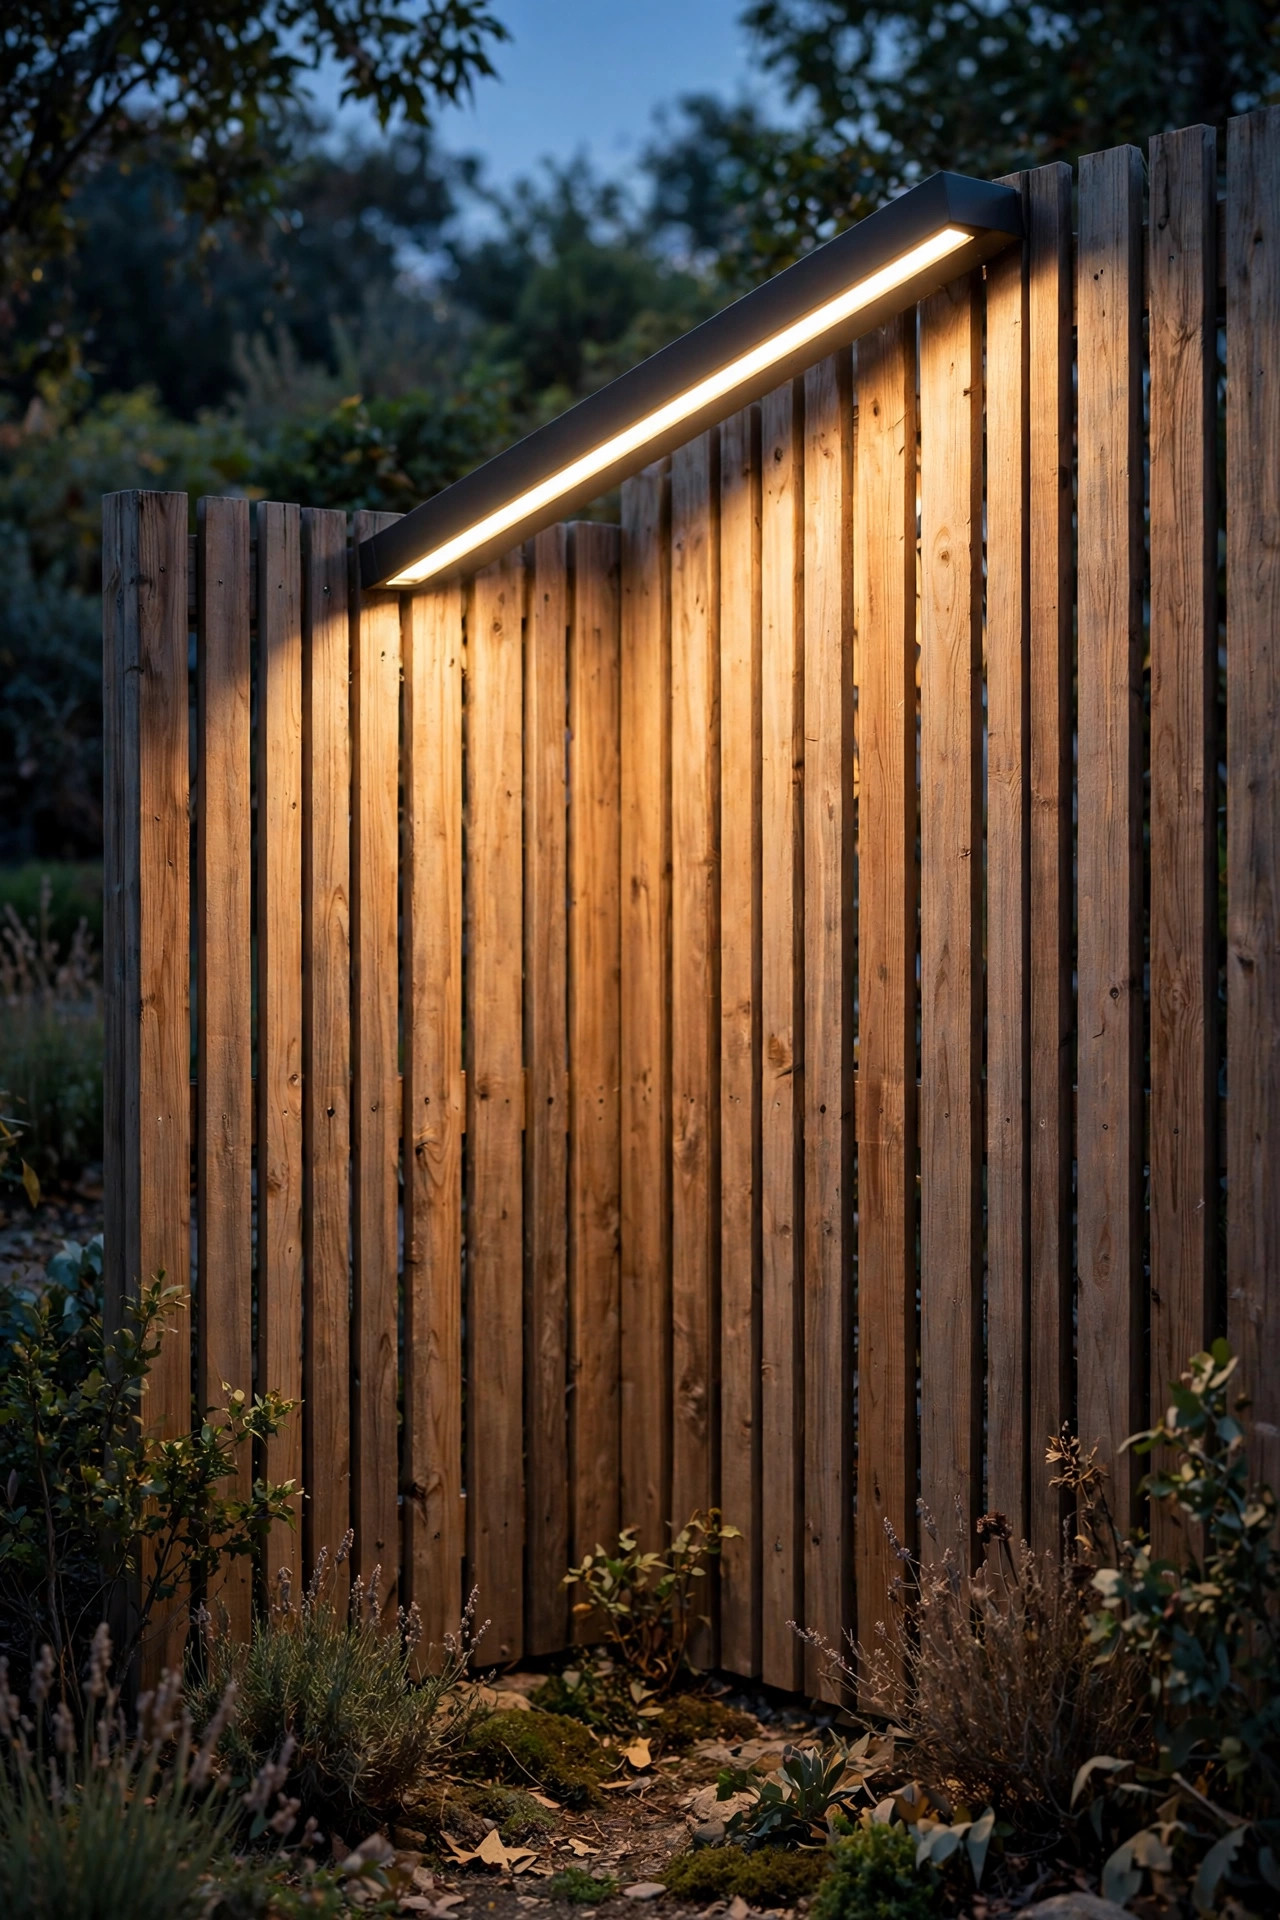
Washing doesn't have to come from below. Mounting small downlights on a pergola beam, a porch eave, or a purpose-built fence cap rail and aiming them down the face of the fence creates a soft curtain of light that feels completely different — more like moonlight, less like a stage. Downwashing is kind to glare, too, because the light source points away from anyone sitting in the yard. Use shielded fixtures with the lamp recessed into the housing, space them 4 to 6 feet apart along the beam, and let the beams overlap slightly on the fence face. This approach shines (sorry) when the ground at the base of your fence is paved or planted too densely for ground fixtures — a patio-side fence, for instance, where there's nowhere to stake anything. Wiring runs along the beam or cap instead of through beds, which makes installation and any future repairs much easier. One tip: keep the mounting height and the fence height in proportion; a downwash from 9 or 10 feet will comfortably dress a 6-foot fence in light all the way to the ground. Suggested budget range: $140 – $350.
8. Solar Wash Lights for a Wire-Free Fence Line
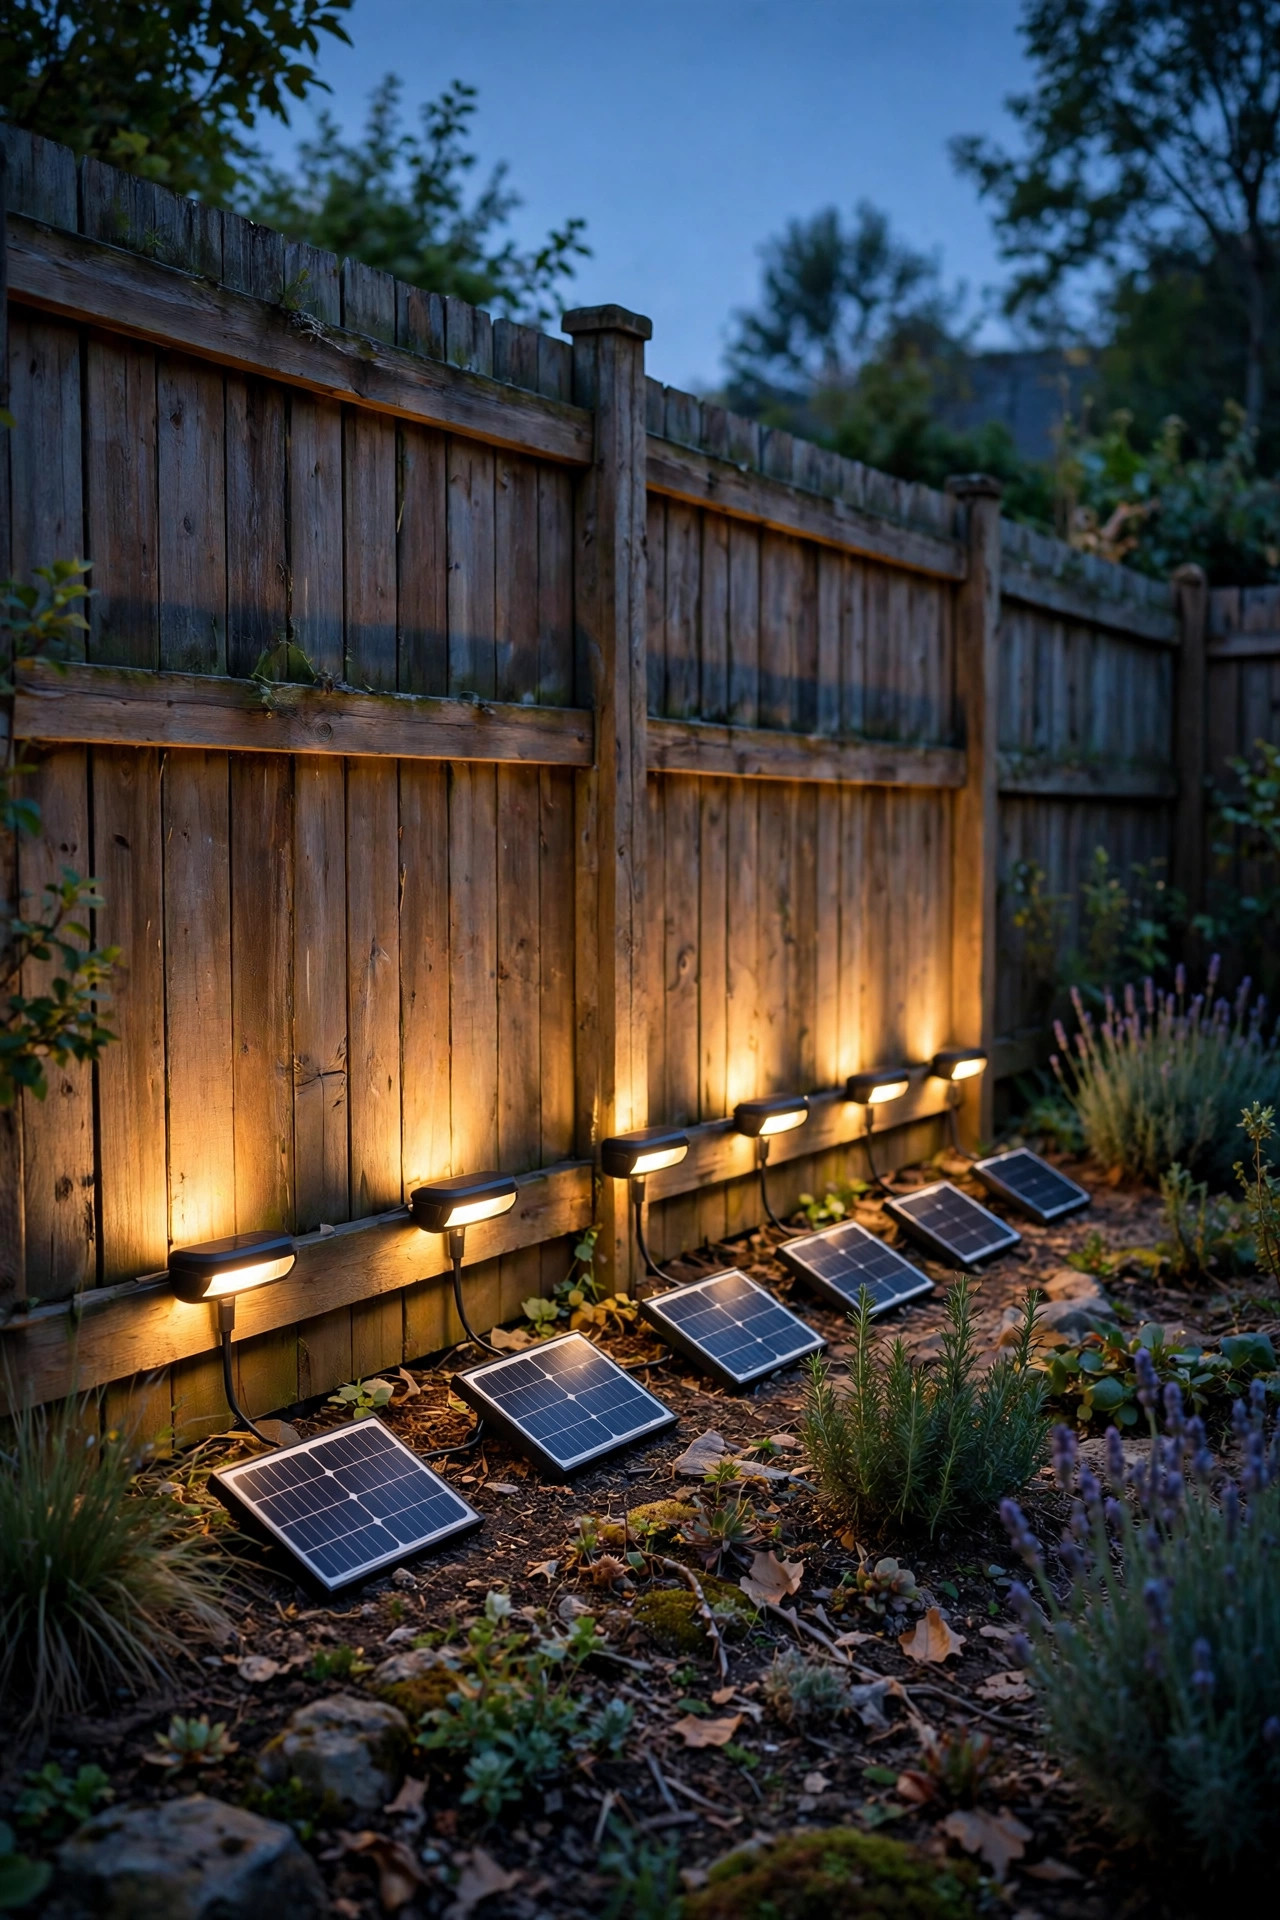
No outlet near the fence? Long run down a back property line? Solar wash lights have honestly gotten good enough to anchor a real fence wall wash lighting plan — as long as you choose them with open eyes. Look for models with a separate, larger solar panel you can stake in a sunny spot and connect with a short cable, because panels built into the fixture top only work where the fence line itself gets six-plus hours of direct sun. For a true wash you want 200 lumens or more per fixture and a wide beam; most bargain multi-packs are accent lights, not washes, and will leave you with polka dots. Space solar washes a bit tighter than wired ones, every 5 to 6 feet, to compensate for the gentler output. Expect a slightly shorter runtime in December — that's physics, not a defective product — and brush snow and pollen off the panels a few times a year. For renters and anyone testing a layout before committing to buried cable, solar is the smart first draft. Suggested budget range: $60 – $160.
9. Backlight Shrubs Against a Washed Wall for Silhouettes
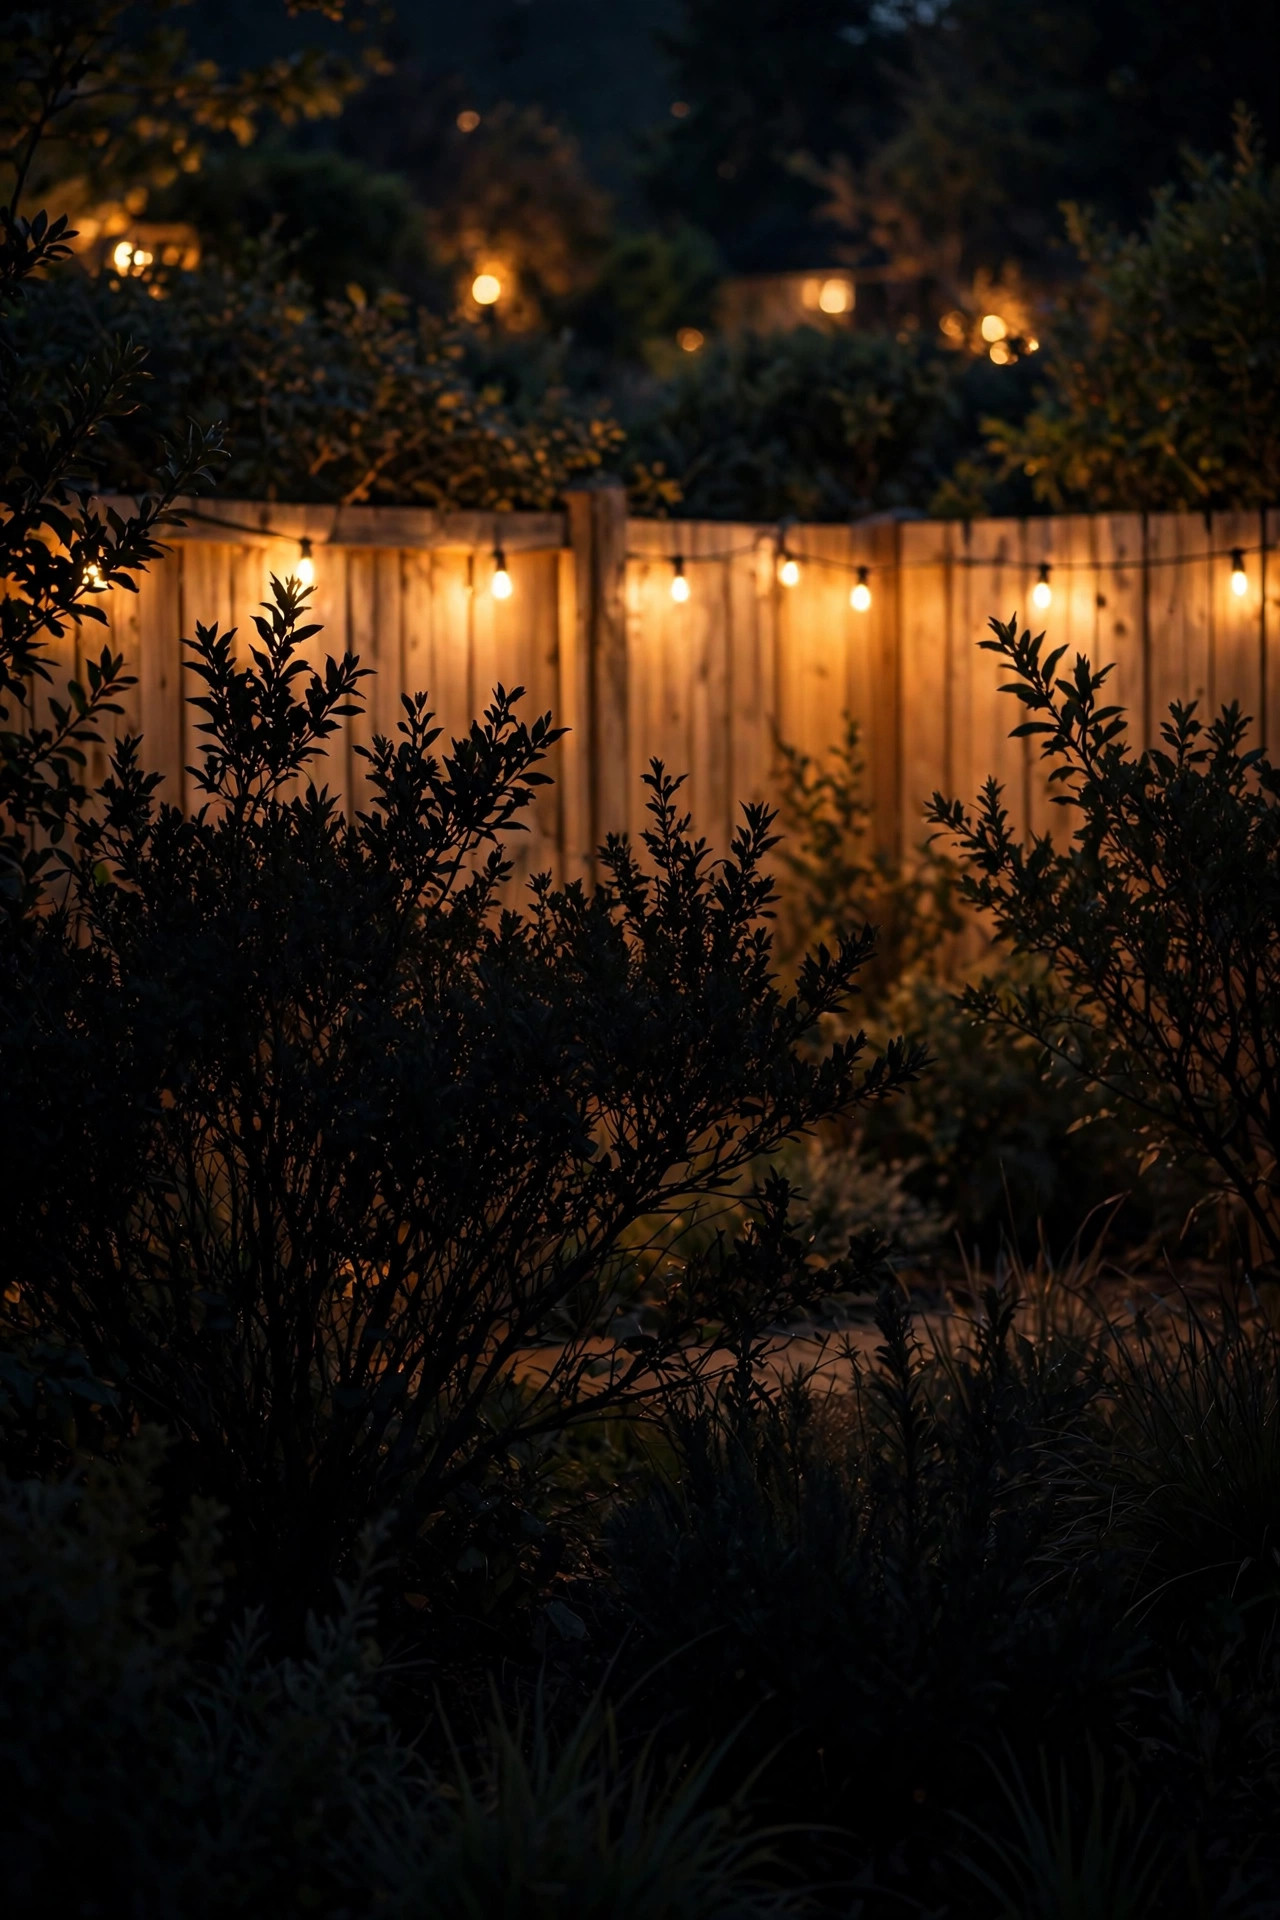
Here's where a plain wash turns into art. Wash the fence as your base layer, then let the shrubs and ornamental grasses planted in front of it go dark. Their shapes print against the glowing backdrop as silhouettes — a rounded boxwood, a feathery grass, the vase shape of a small tree — and the depth is honestly stunning for something so simple. The trick is keeping the foreground plants unlit, which means your wash fixtures should sit between the plants and the fence, or be aimed tightly enough that spill doesn't creep onto the foliage. It also means resisting the urge to add path lights right in front of the bed; keep the foreground quiet and let the wall do the talking. Works beautifully with fences of any material, but pale fences and light stone walls throw the strongest backdrop. In my experience this is the single most complimented effect in my yard, and guests never guess it's just the regular wash with the plant lights deliberately left off. Layering really is everything. Suggested budget range: $90 – $220.
10. Wash a Retaining Wall From the Planting Bed Below
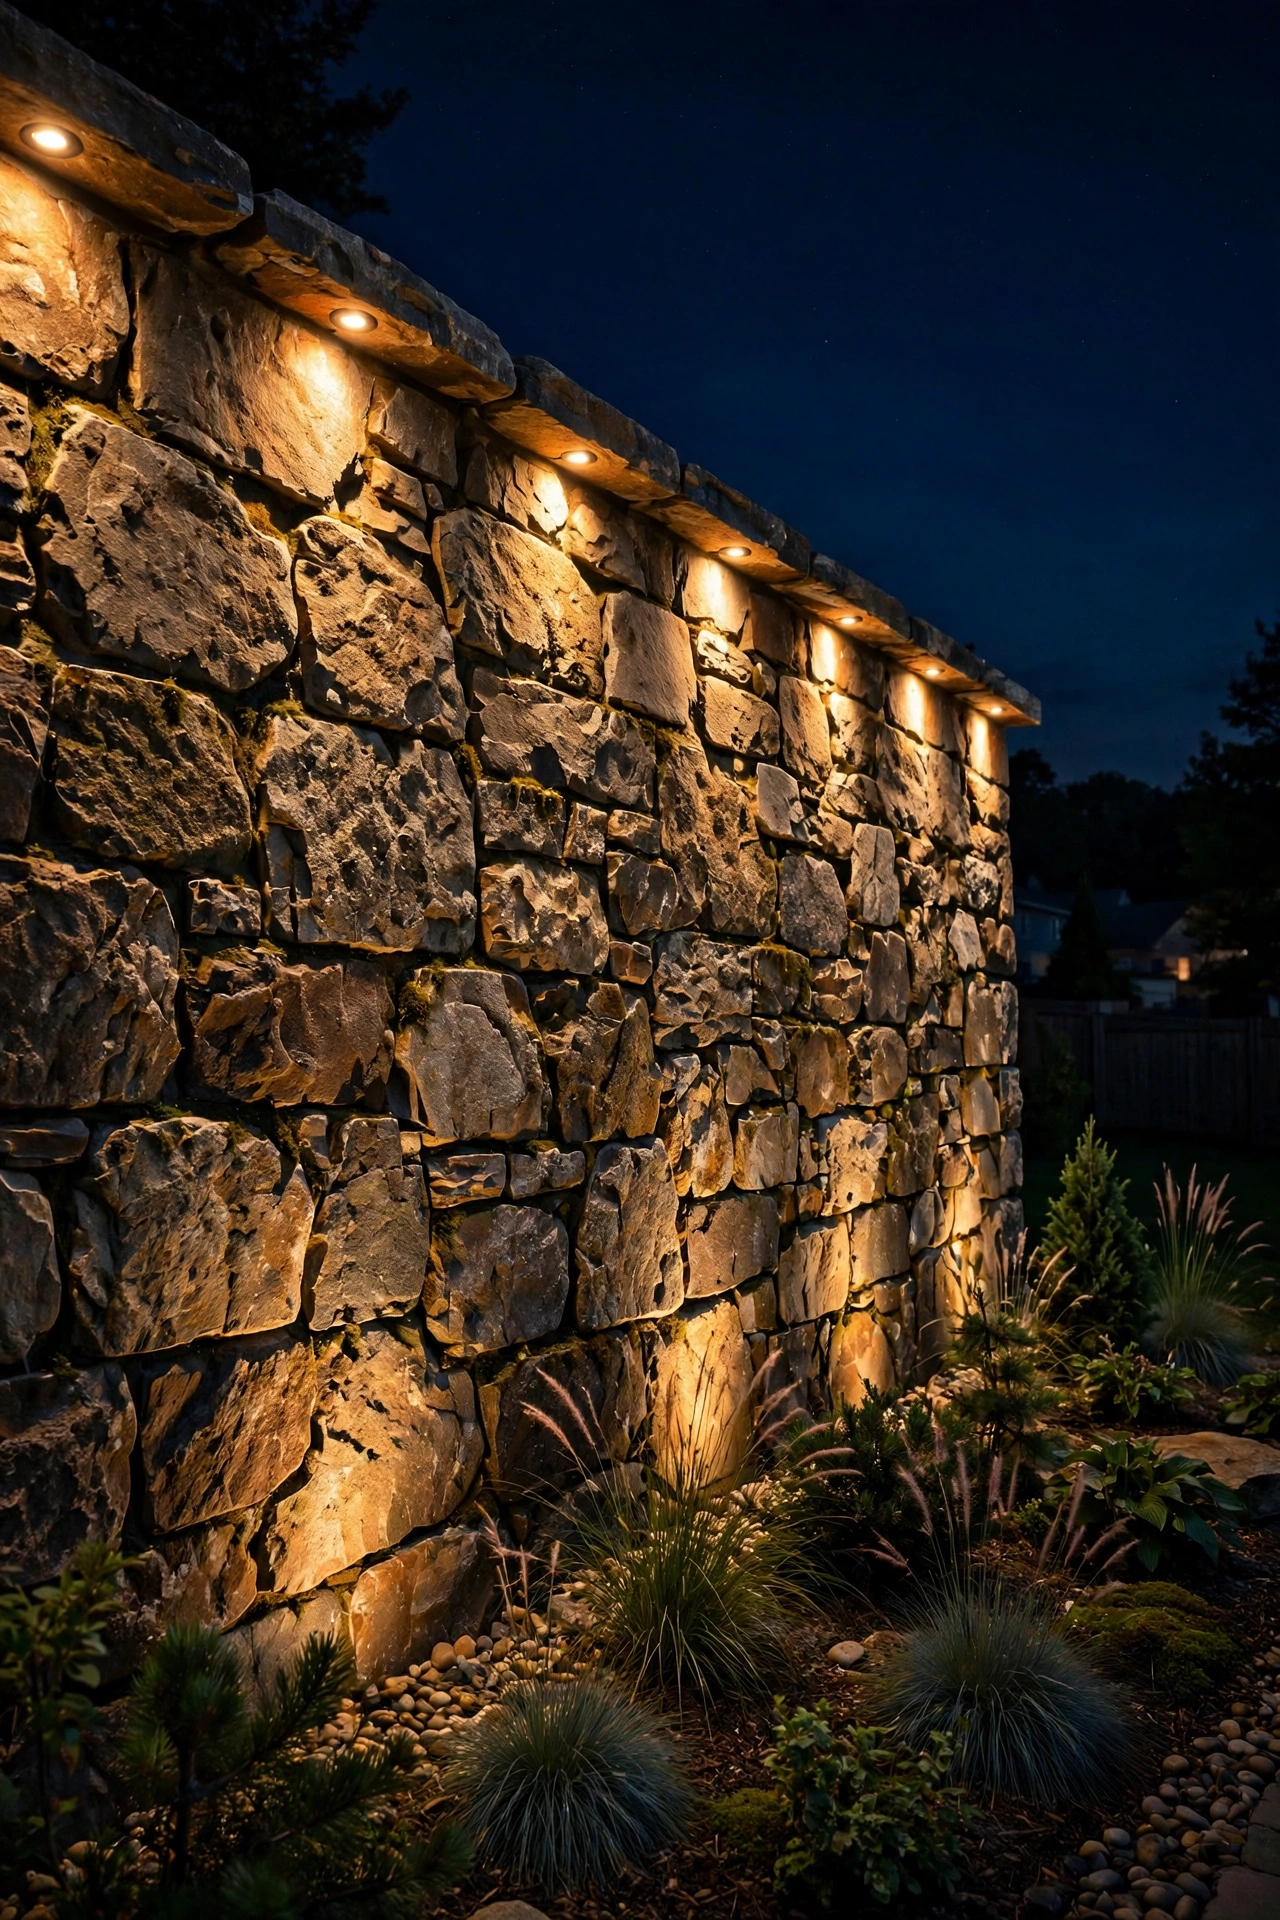
Retaining walls earn a wash for practical reasons as much as pretty ones: they mark a level change, and a lit wall edge keeps guests from misjudging the drop on a dark evening. Set small wash fixtures in the planting bed at the wall's base, 10 to 14 inches out, and aim up so the light climbs the wall face and just kisses the capstone. That bright cap edge reads as a clear visual boundary from the upper level, which is exactly what you want. Stone and block retaining walls have texture to spare, so a grazing angle works wonderfully here; smooth poured-concrete walls want the wider, softer beam treatment from idea 3. Mind the drainage: retaining walls weep water through their joints after rain, so choose fixtures with sealed housings and keep junction boxes up out of the lowest, wettest part of the bed. A low retaining wall of 2 to 3 feet needs surprisingly little light — 150 to 250 lumens per fixture is plenty — because you're never asking the beam to travel far. Suggested budget range: $80 – $210.
11. Carry the Wash Around Corners Without a Dark Gap
Corners are where wash lighting plans go to die. The run looks perfect along the back fence, then the corner post sits in a black hole and the side fence starts over like a different yard. The fix is one dedicated fixture placed diagonally at the corner itself, aimed into the angle so it feeds light to both faces at once. Set it about 18 inches out from the corner point on the diagonal line, and use a wide beam — this single fixture has two jobs. Alternatively, end each run slightly closer to the corner than your usual spacing (say 4 feet instead of 6), and let the two beams' edges overlap around the post. I prefer the diagonal fixture for inside corners of L-shaped yards, where you see both fence faces from the patio, and the tightened spacing for outside corners on a property line. Either way, stand at your main viewing spot at night and look specifically at the corners before you call the layout done; your eye forgives a mid-run imperfection but never a dead corner. Suggested budget range: $60 – $150.
12. Match Color Temperature to Your Wall Material
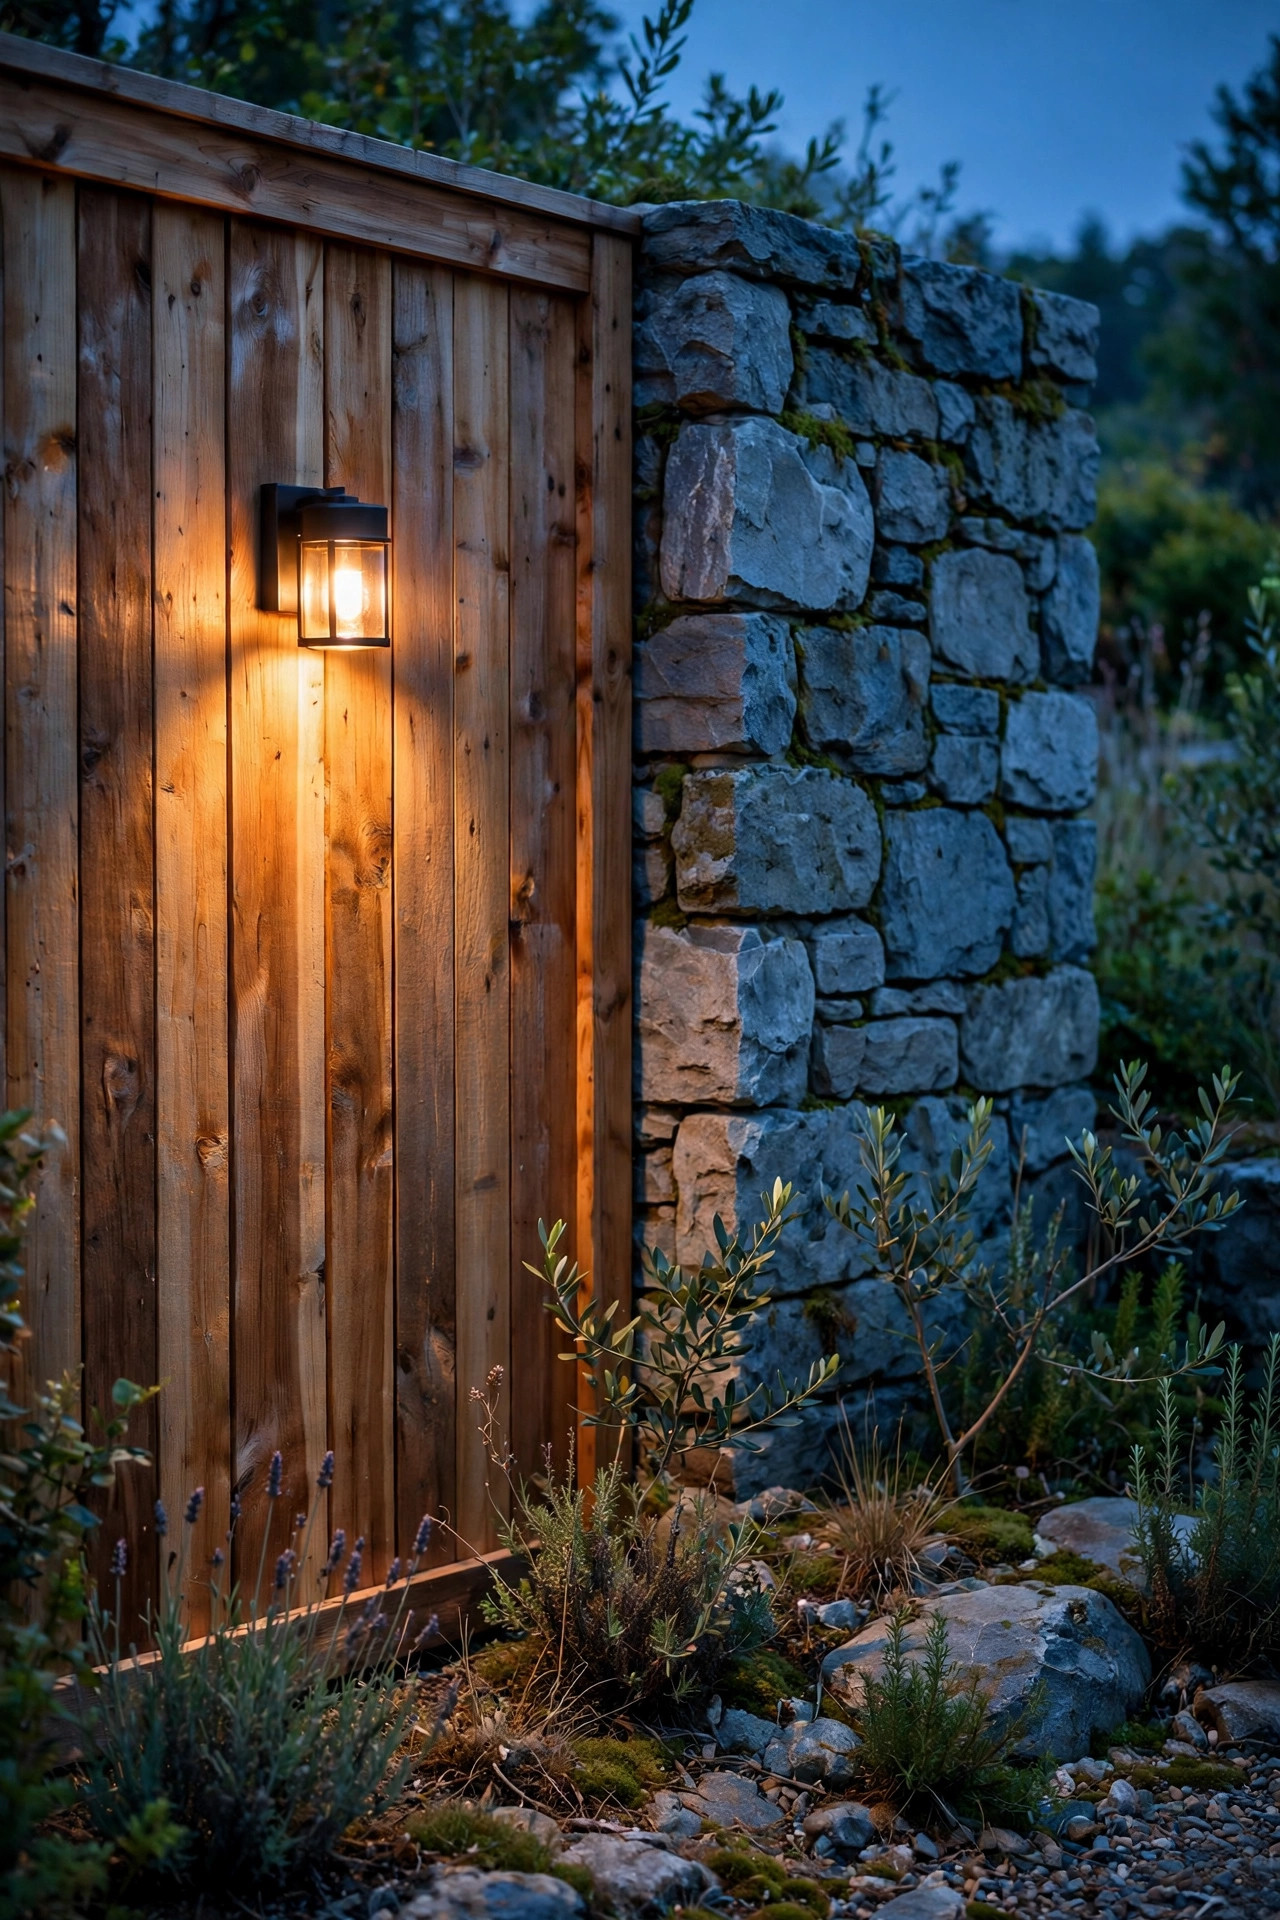
The same wash light can make one fence look golden and another look like a parking lot, and the difference is color temperature. Warm materials — cedar, redwood, red brick, warm-toned stone — glow under 2700K light, which deepens their natural color. Cooler materials like gray composite fencing, blue stone, or pale stucco often look cleaner at 3000K, where 2700K can turn them oddly yellow. My rule of thumb: match the light's warmth to the material's undertone, and never mix temperatures along one continuous fence run — a warm section beside a cool section looks like a mistake even when both are pretty alone. If your fence line changes material, say wood in back and a stone wall on the side, either commit to one temperature everywhere or use the change deliberately at a corner, where a shift reads as a natural zone break. Test before you commit: most fixtures let you swap a lamp, so try one of each on your actual wall for a night. Your eyes at dusk are a better judge than any spec sheet, honestly. Suggested budget range: $50 – $140.
13. Spacing Rules That Keep Fence Wall Wash Lighting Even
Every disappointing wash I've ever seen broke one of three simple rules, so let's write them down. Rule one: setback should be roughly one-quarter to one-third of the wall height — for a 6-foot fence, that's 18 to 24 inches out — so the beam has room to spread before it lands. Rule two: space fixtures 6 to 8 feet apart for standard wash floods, and tighten to 5 to 6 feet for anything narrower than a 60-degree beam. Rule three: aim each fixture so the top of its beam just reaches the top of the fence; over-aiming throws light into your neighbor's yard and under-aiming leaves a bright skirt at the bottom with darkness above. When a fence sits on a slope, keep fixtures level with the grade at each spot rather than forcing one straight line — a wash should follow the land. Follow these and fence wall wash lighting stops being guesswork; it becomes the most forgiving, reliable effect in the whole yard. Suggested budget range: $100 – $280.
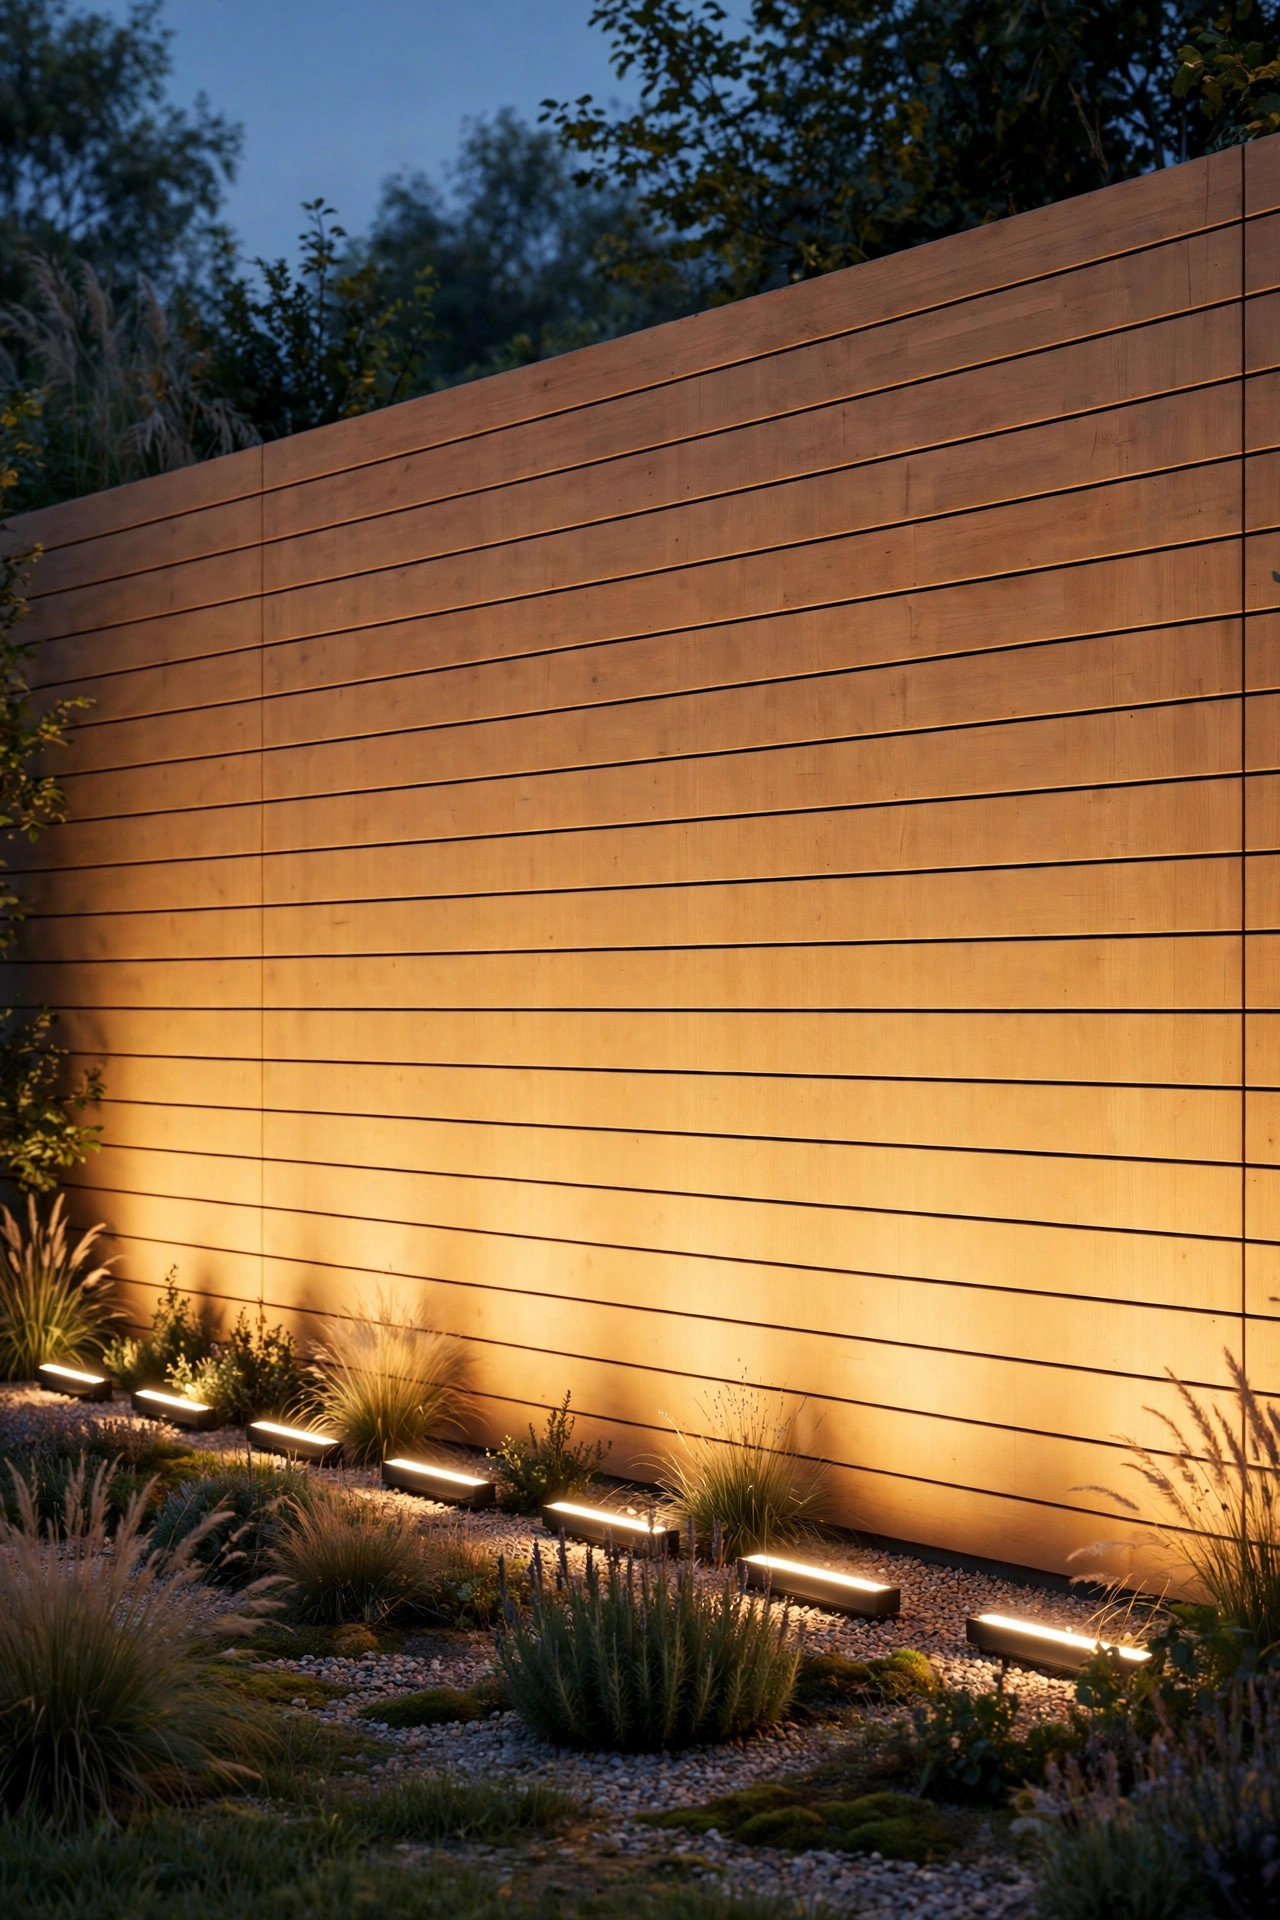
14. Layer a Bright Accent Over a Soft Wash
A wash is a backdrop, and backdrops beg for a star. Once your fence glows evenly, pick one focal point — a fountain against the wall, a specimen Japanese maple, a piece of garden art — and give it its own tighter, brighter accent light layered over the wash. The contrast between the soft background and the focused beam is what makes a yard look professionally designed rather than merely lit. Keep the accent's brightness roughly double the wash's, use a narrow 15- to 24-degree spot, and aim it so the beam doesn't blast a hole in the wash beside the subject; a slight offset angle keeps both layers readable. I keep accents and washes on separate zones or at least separate dimmers, because some nights you want the full composition and some nights just the quiet backdrop. This layering principle — wash for atmosphere, accent for drama — is the same one I use for trees and facades, and honestly it's the closest thing outdoor lighting has to a universal rule. Suggested budget range: $130 – $320.
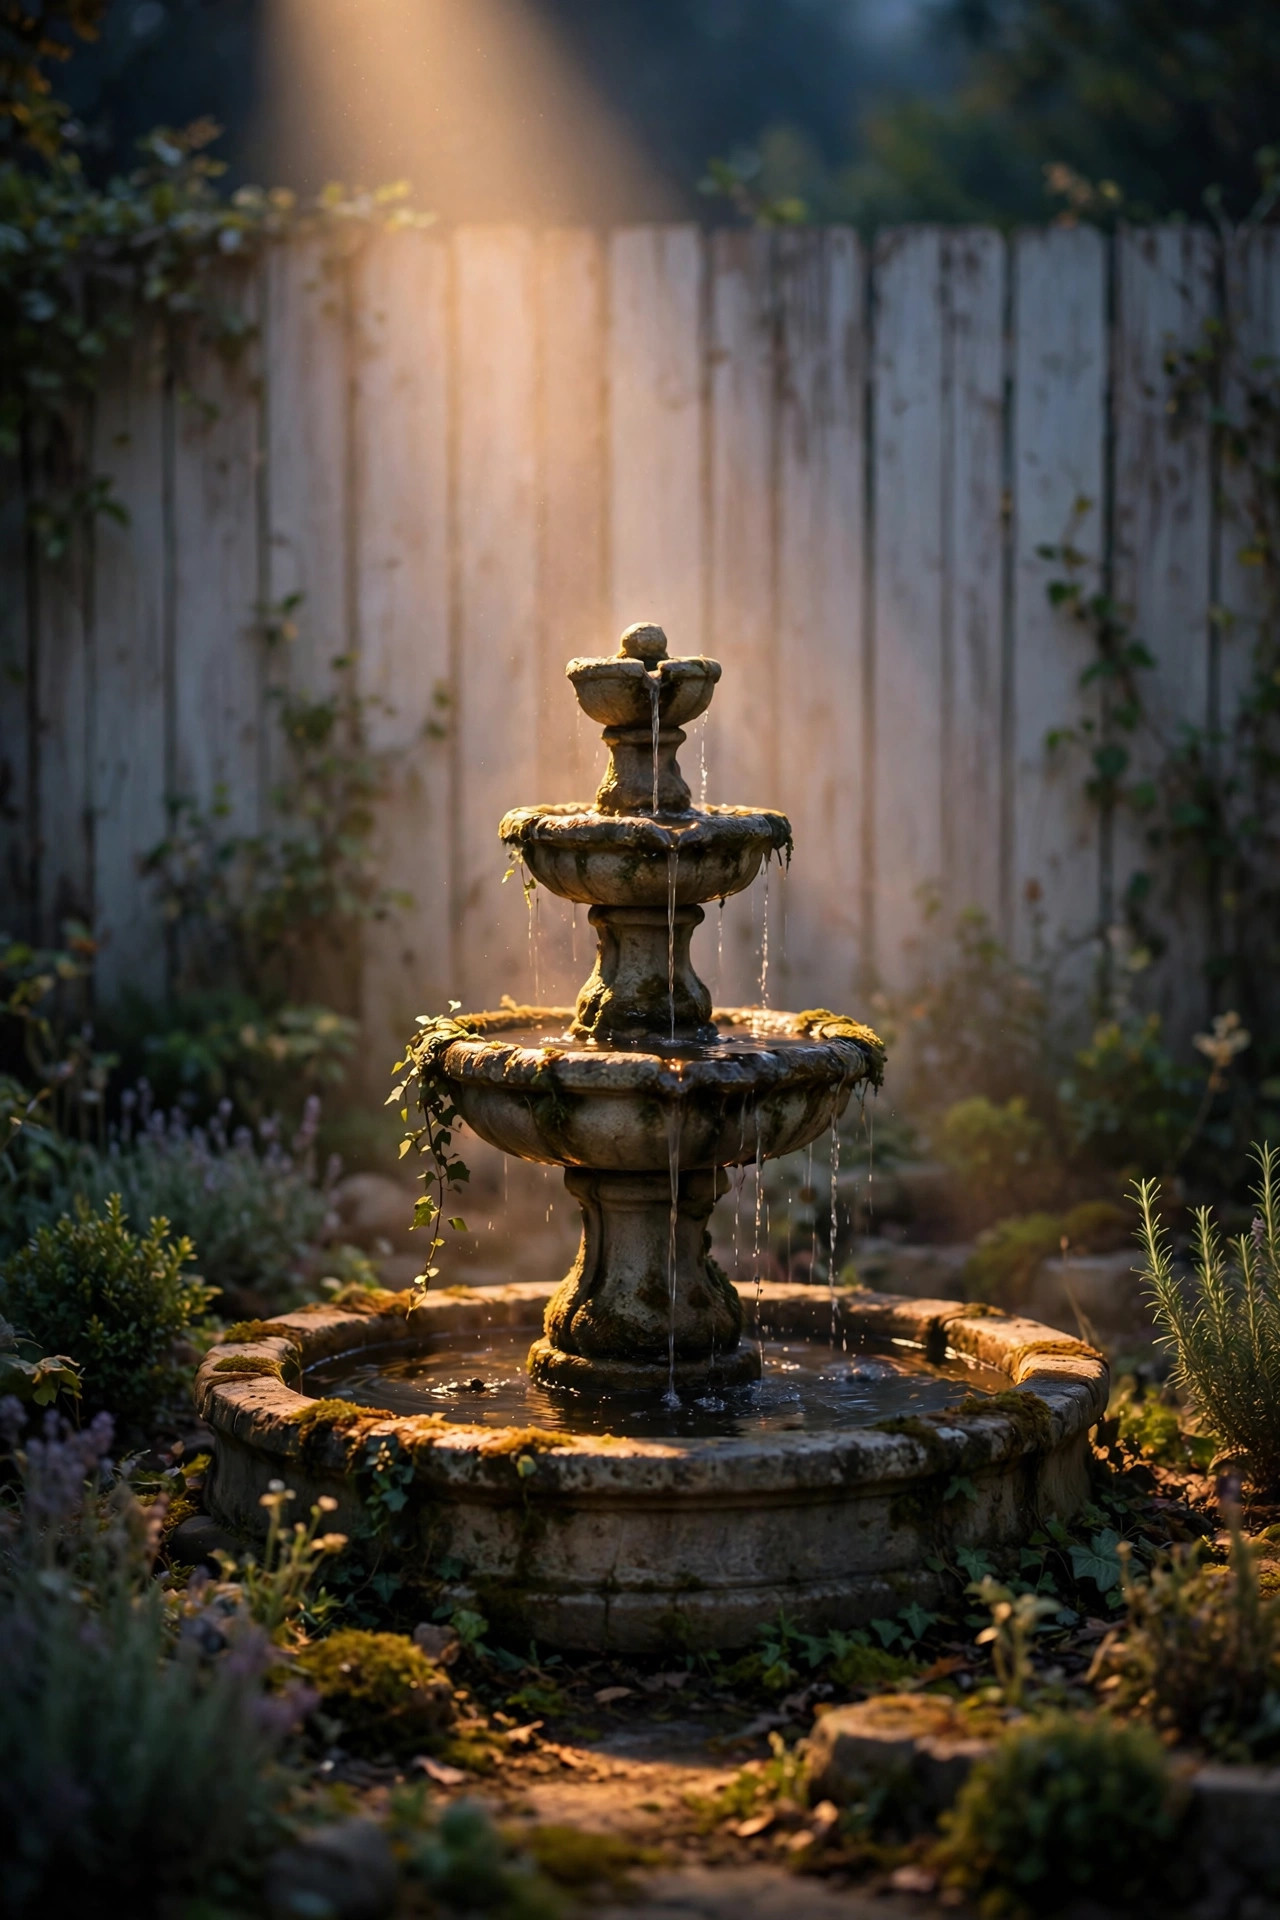
15. Shielded, Low-Glare Washes Your Neighbors Will Love
A wash aimed carelessly doesn't just light your fence — it lights your neighbor's bedroom window, and nothing sours a pretty yard faster. The fixes are cheap and easy. Choose fixtures with a shield, hood, or louvered face that hides the bare lamp from any normal viewing angle; if you can see the bulb itself from a seated position, your guests are squinting whether they mention it or not. Keep the beam's top edge at or below the top of the fence by adjusting aim, not by dimming everything into uselessness. On a property-line fence you share with a neighbor, a downwash (idea 7) or a tightly grazed uplight keeps light on your side where it belongs, and it's worth a friendly heads-up conversation before install day. Dark-sky friendly practice — warm color temperature, shielded fixtures, lights off when the yard's empty — isn't just polite; in my experience the shielded version genuinely looks richer, because your eye reads the lit surface instead of staring into a bare LED. Suggested budget range: $110 – $290.
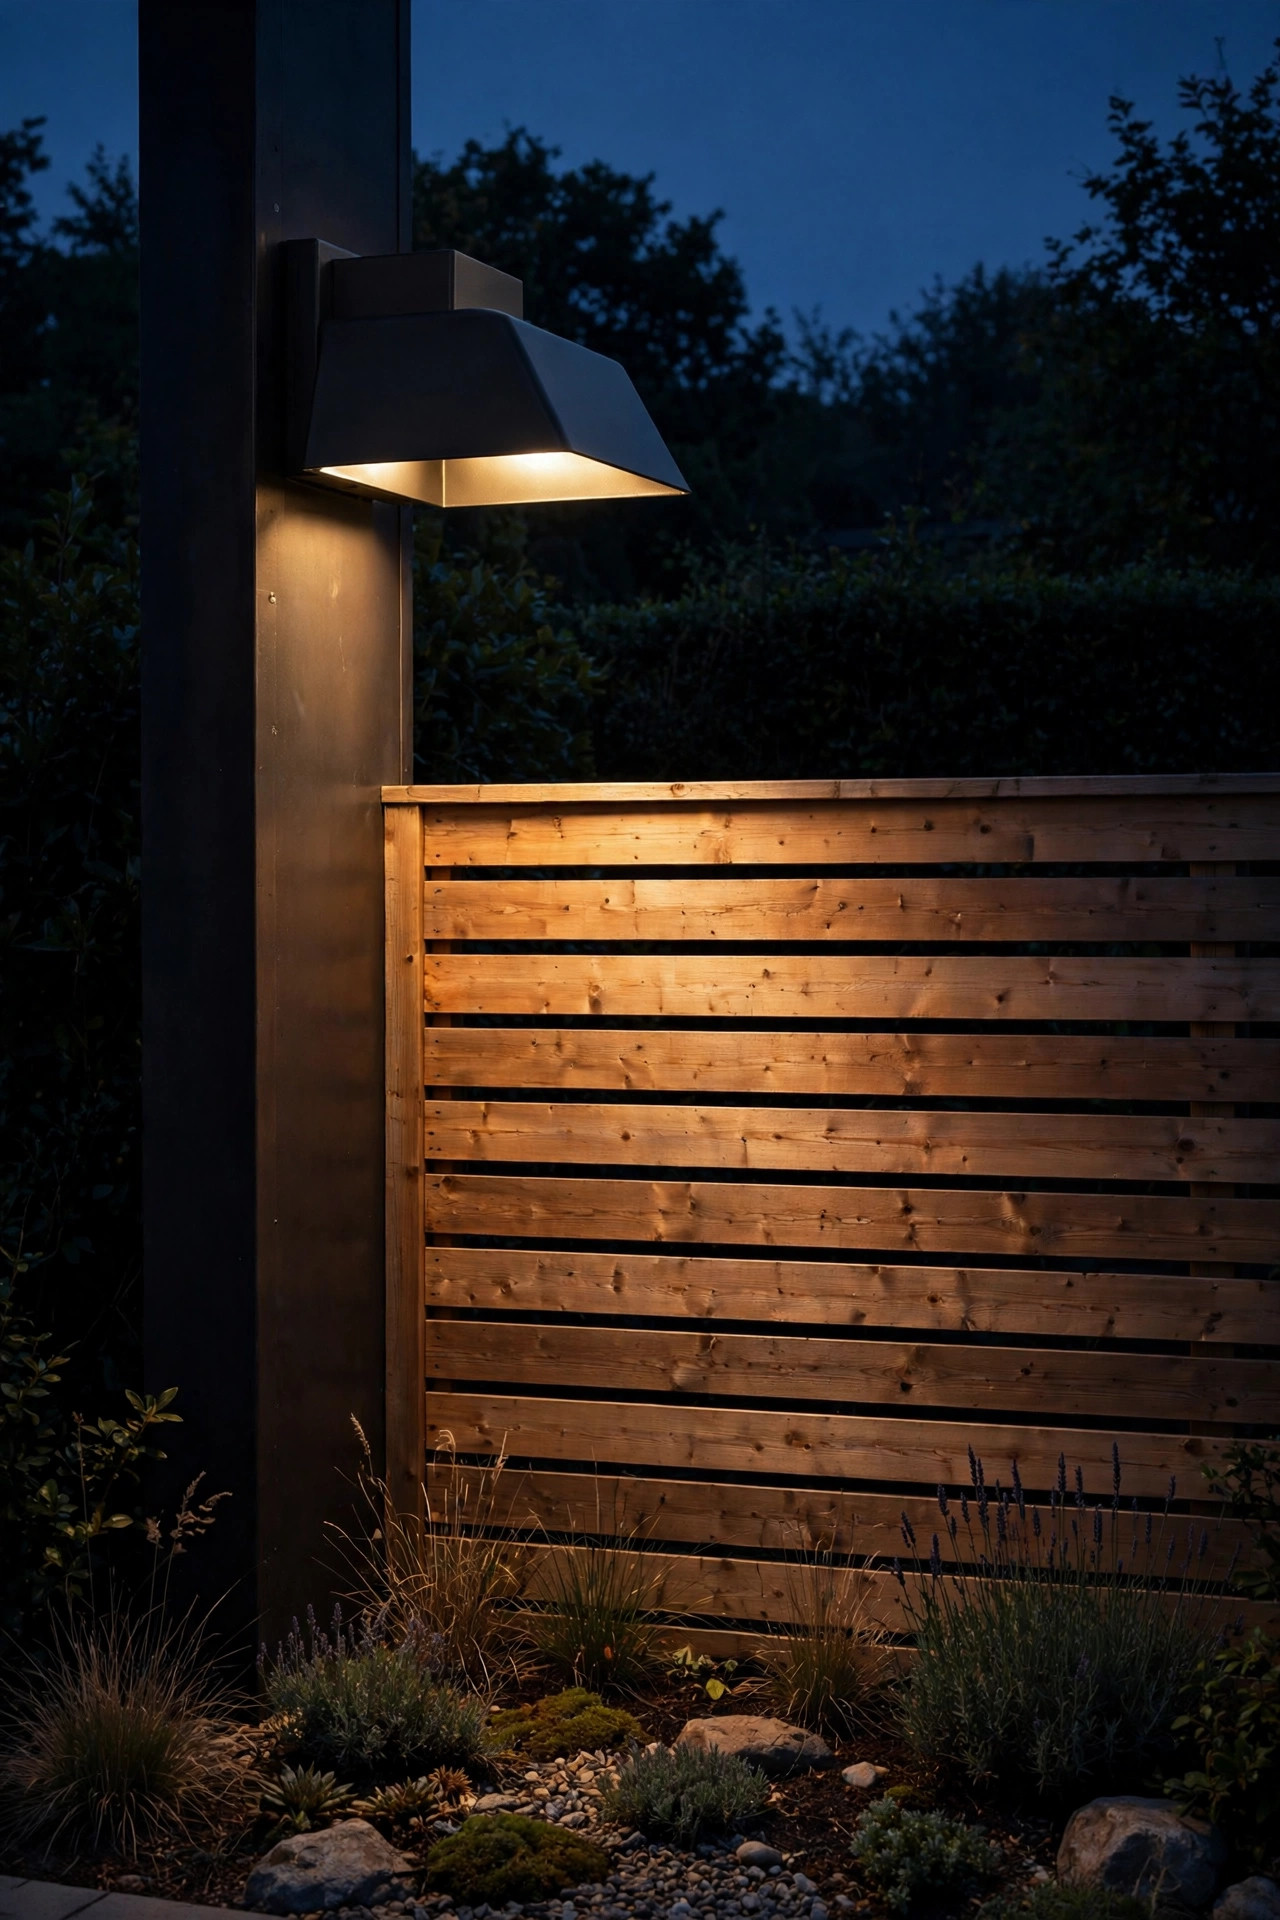
16. Smart Zones and Timers for a Long Fence Line
A full perimeter wash can be a dozen or more fixtures, and you do not want to walk the yard flipping switches — or run the whole production until 2 a.m. Split the wash into zones: the patio-side fence on one circuit, the side and back lines on another. Each zone gets its own timer or smart control, so the entertaining backdrop can glow until midnight while the far fence shuts off at ten. Astronomical timers that track sunset are my favorite set-and-forget option, since the wash comes on exactly at dusk all year without reprogramming. Adding dimming to the zone you sit beside most is worth every penny; a wash at 60 percent is cozier for a quiet evening, and you can bring it to full for parties. If you're wiring new runs anyway, home-run each zone's cable back to the transformer separately — five extra minutes of trenching buys you years of flexibility. Just size the transformer with headroom: add up your fixture wattages and buy the next size up. Suggested budget range: $160 – $450.
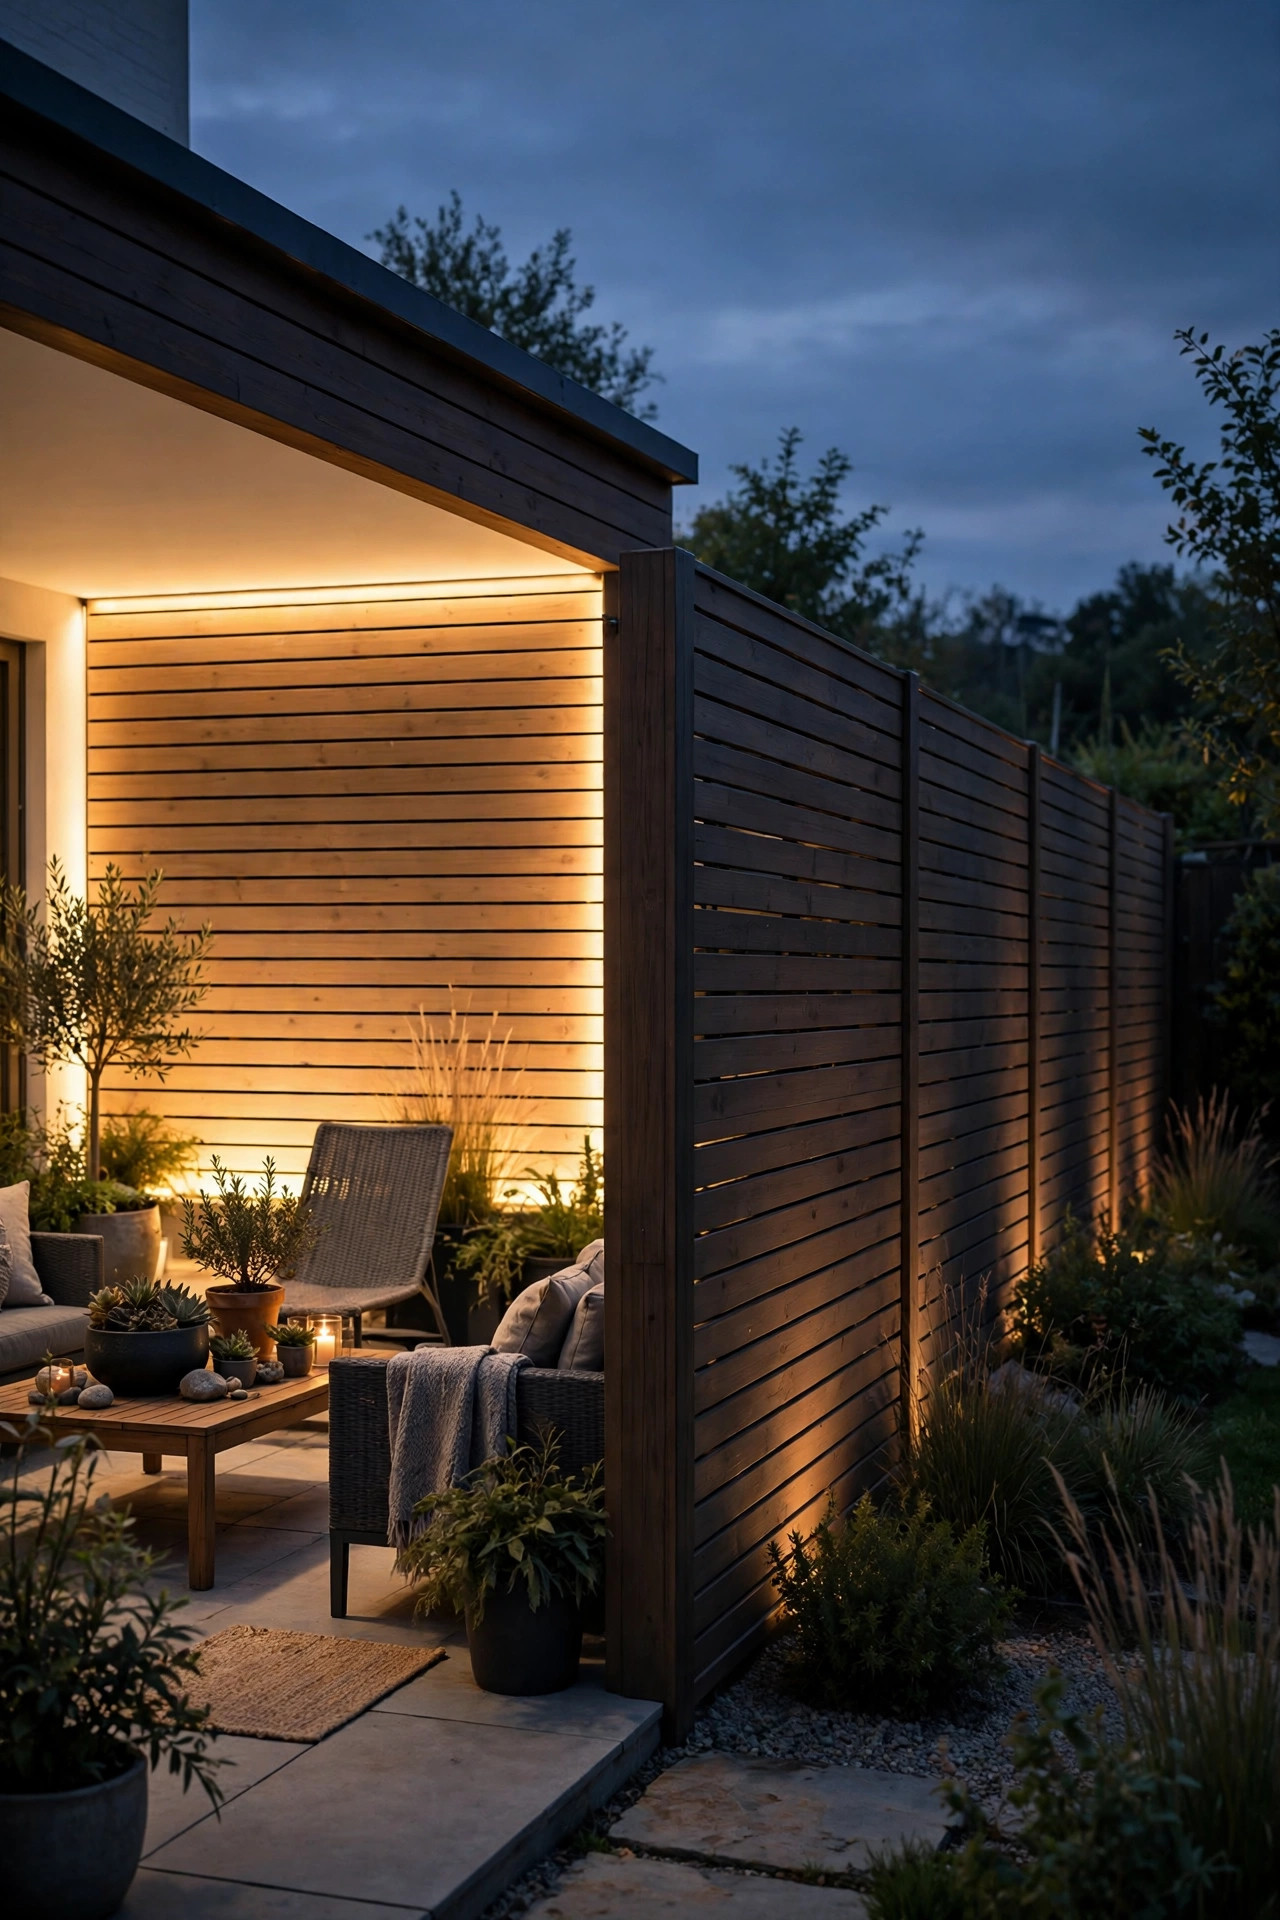
17. Accent-Wash Gates, Niches, and Garden Art on the Wall
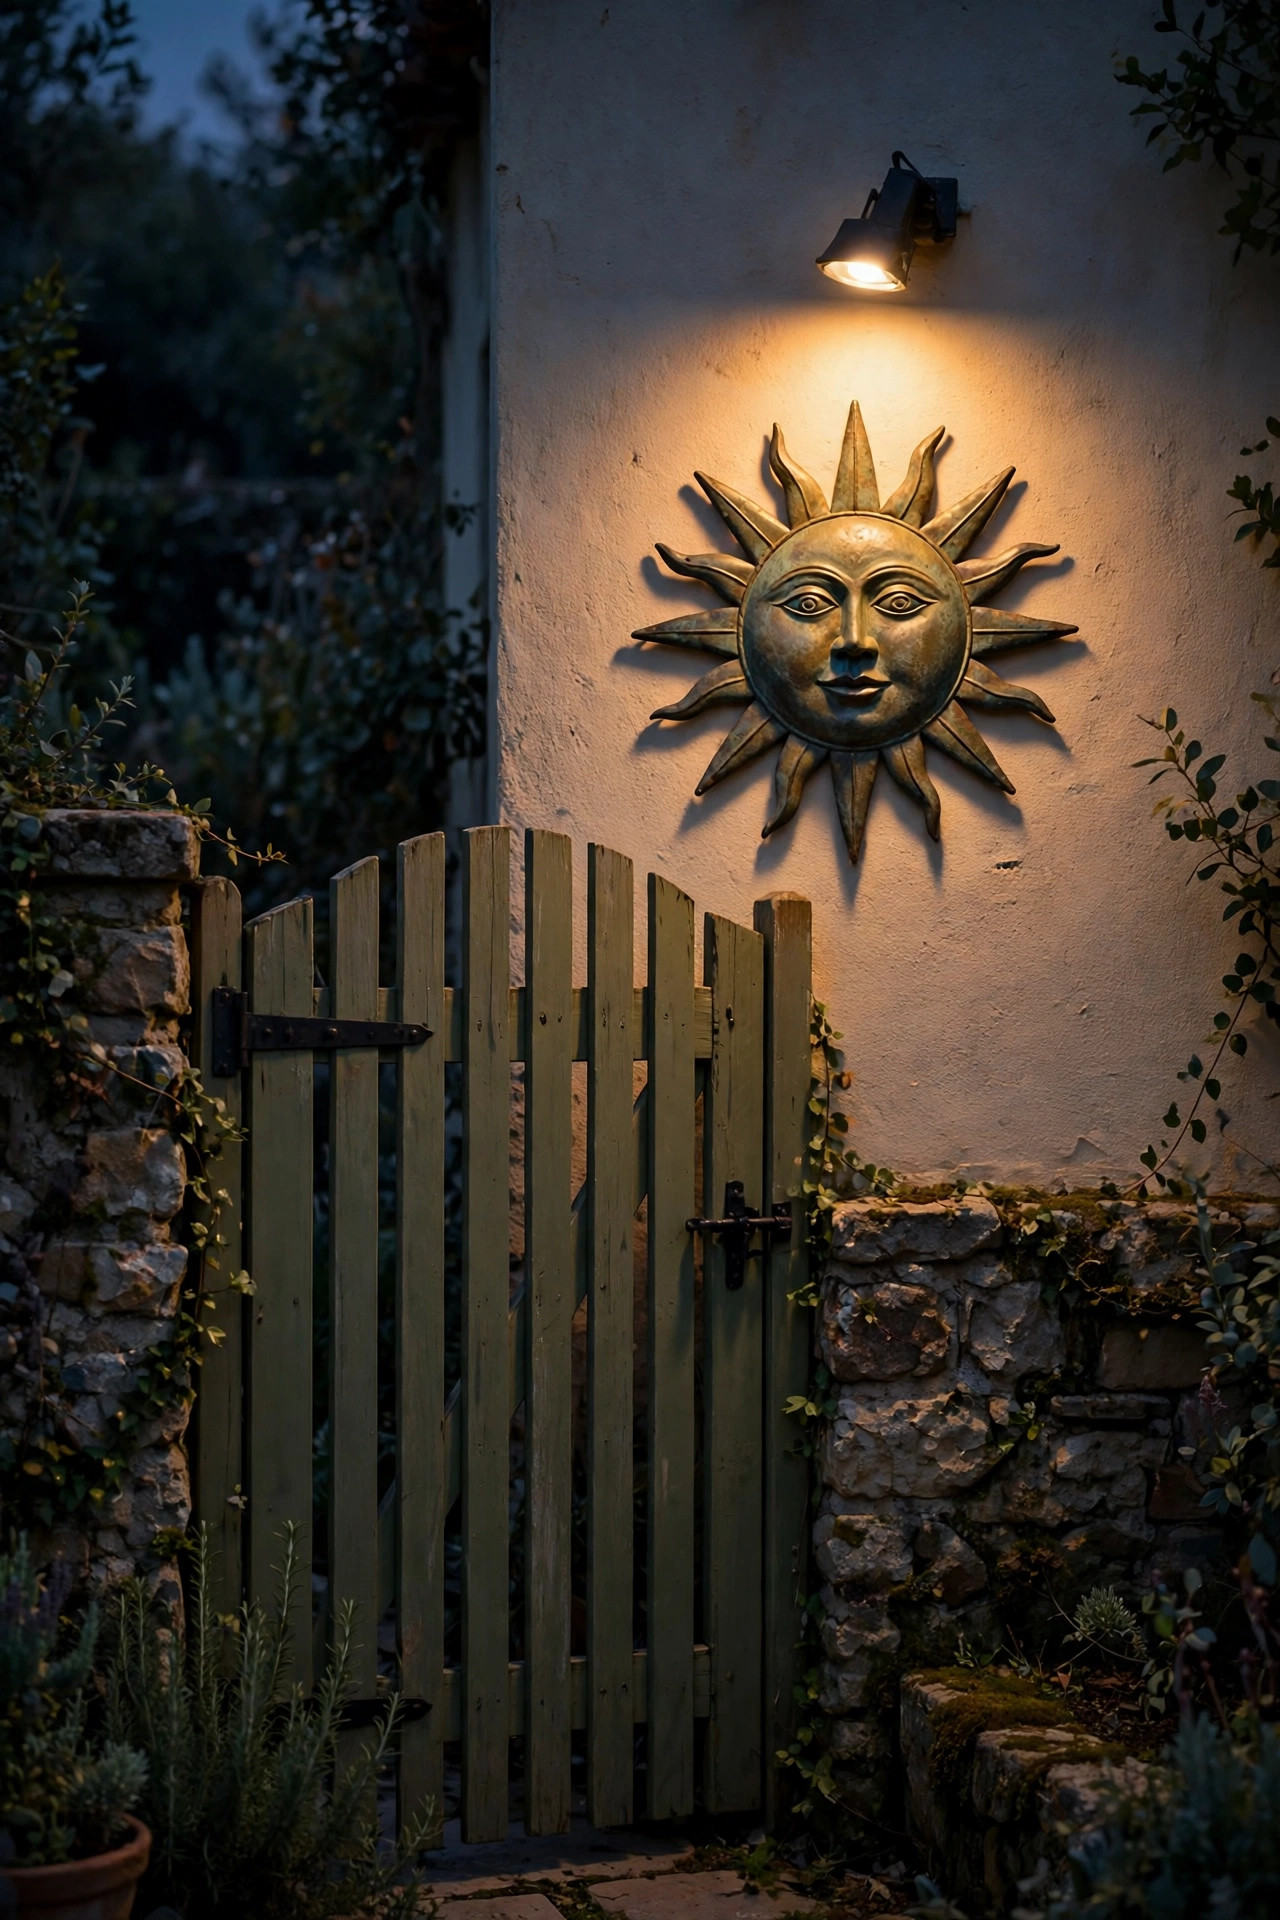
Some fences and walls have features that deserve their own little wash: a garden gate you want guests to find, a niche holding a statue, a mounted planter or a sun-face plaque on the wall. A small, dedicated wash fixture — narrower and softer than your main run — turns each feature into a pool of light with its own quiet moment. For a gate, a single wash from 12 inches out, aimed up the gate face, makes the entry read clearly without the porch-light glare of a security fixture. For wall-mounted art and niches, a mini downwash from a tiny fixture tucked above the piece, or a small ground wash below it, gives a gallery feel; keep it to 100–200 lumens so it whispers rather than shouts. If the feature sits mid-run on a washed wall, dim or skip the main wash fixture nearest it so the accent still registers as special. These little dedicated washes are inexpensive, and they're the details people photograph. Honestly, they're my favorite finishing touch on any fence line. Suggested budget range: $70 – $190.
18. Seasonal Color Washes for Holidays and Gatherings
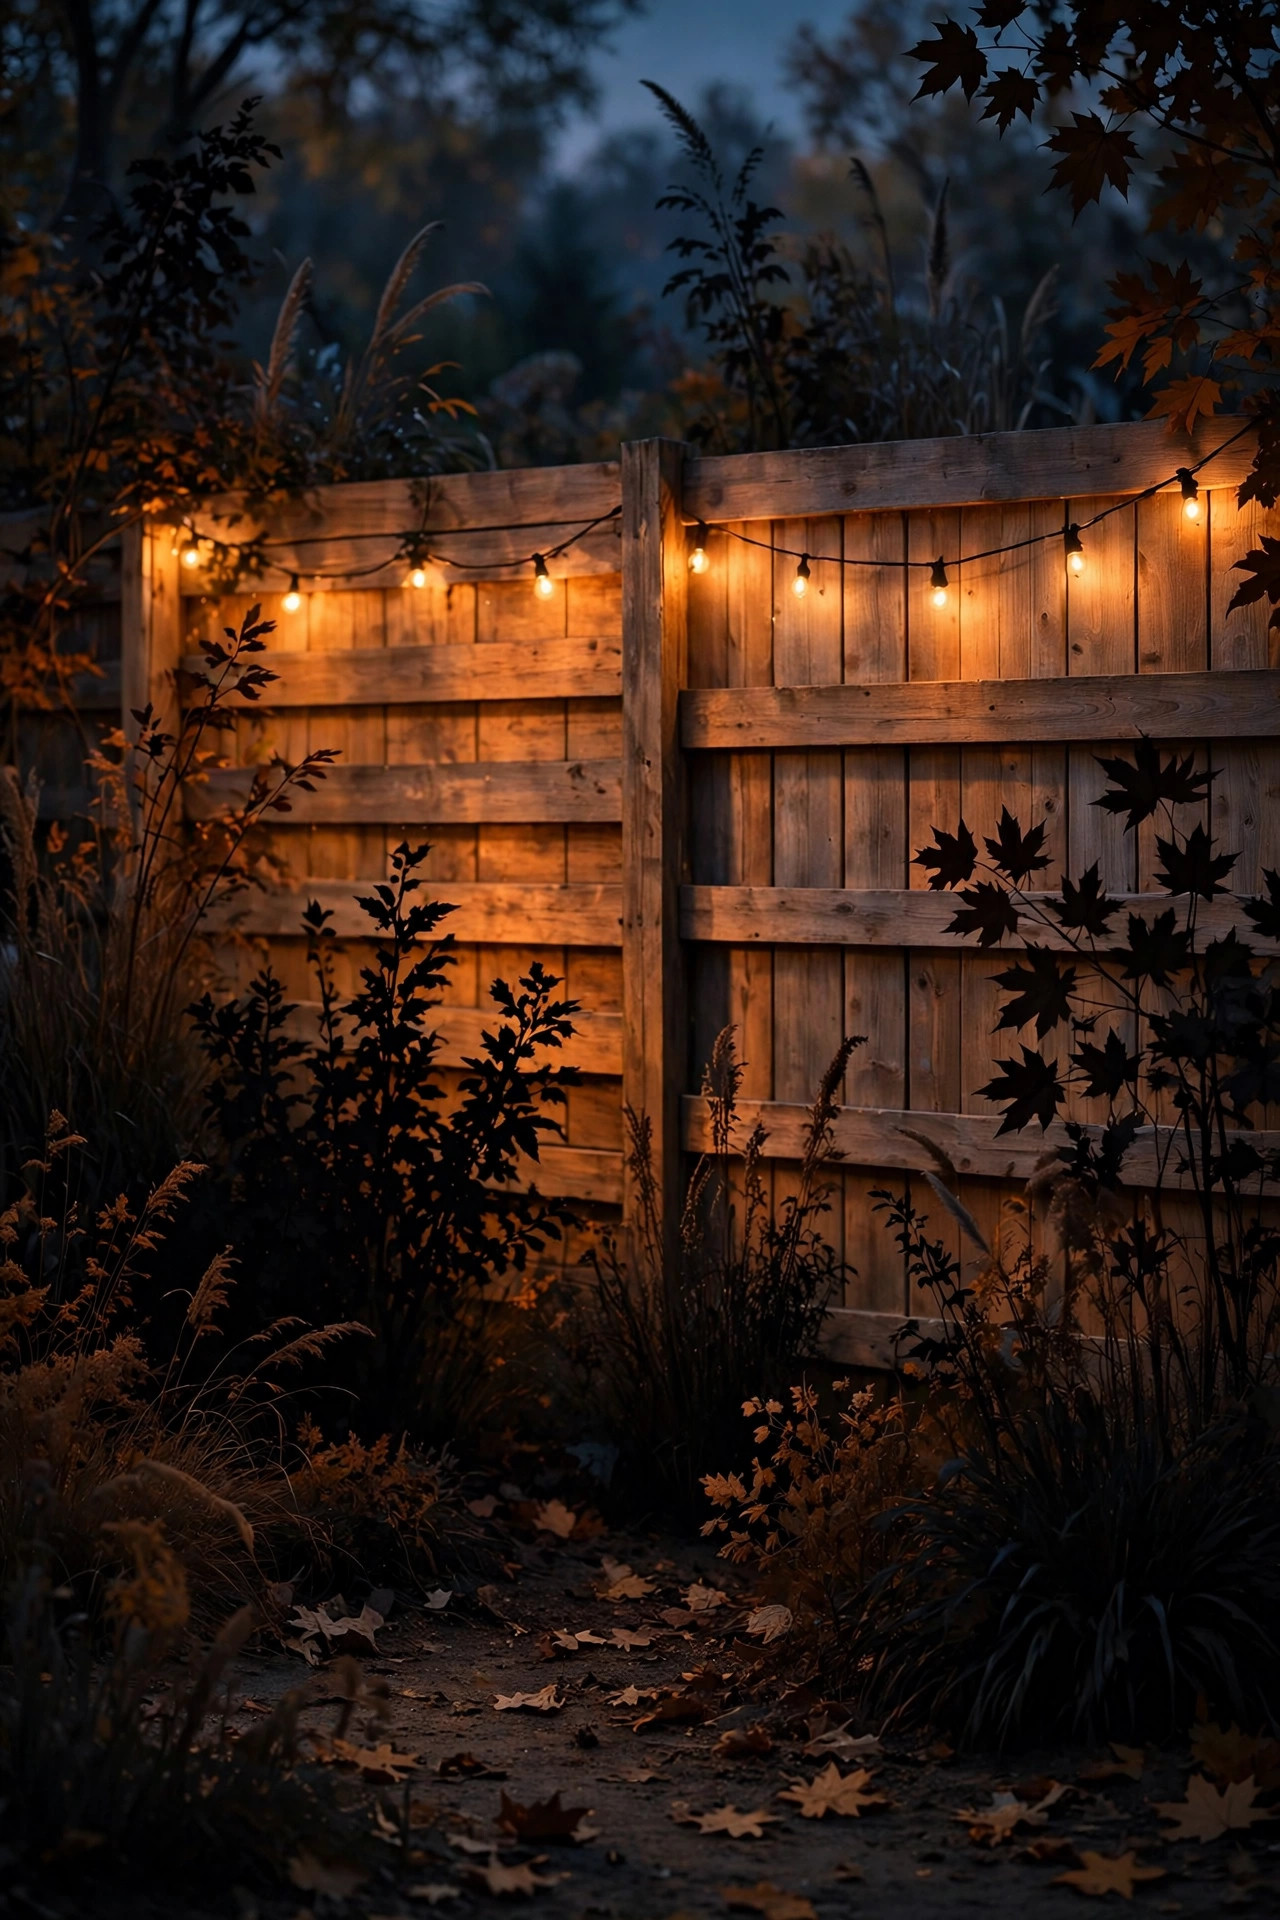
A wash system is a blank canvas, and a couple of times a year it's fun to paint it. Color-capable wash fixtures — or simple colored lens covers and smart bulbs swapped into your existing housings — let the fence glow amber for a fall gathering, soft green for a garden party, or red and green at Christmas, then return to warm white the rest of the year. The wash format flatters color in a way string lights can't: one even field of color across the whole backdrop, with your plantings silhouetted against it. My advice is restraint — one color across the whole fence reads elegant, while rainbow cycling reads carnival. Keep the saturation soft and the brightness moderate, and always check HOA rules before lighting a front-facing fence in color. Because the wash is already zoned and aimed, seasonal changes take ten minutes, most of it in the app or swapping lenses. Then January comes, the warm white goes back in, and the yard settles into its classic look until the next excuse to celebrate. Suggested budget range: $90 – $240.
19. Pull It Together: A Whole-Yard Fence Wall Wash Lighting Plan
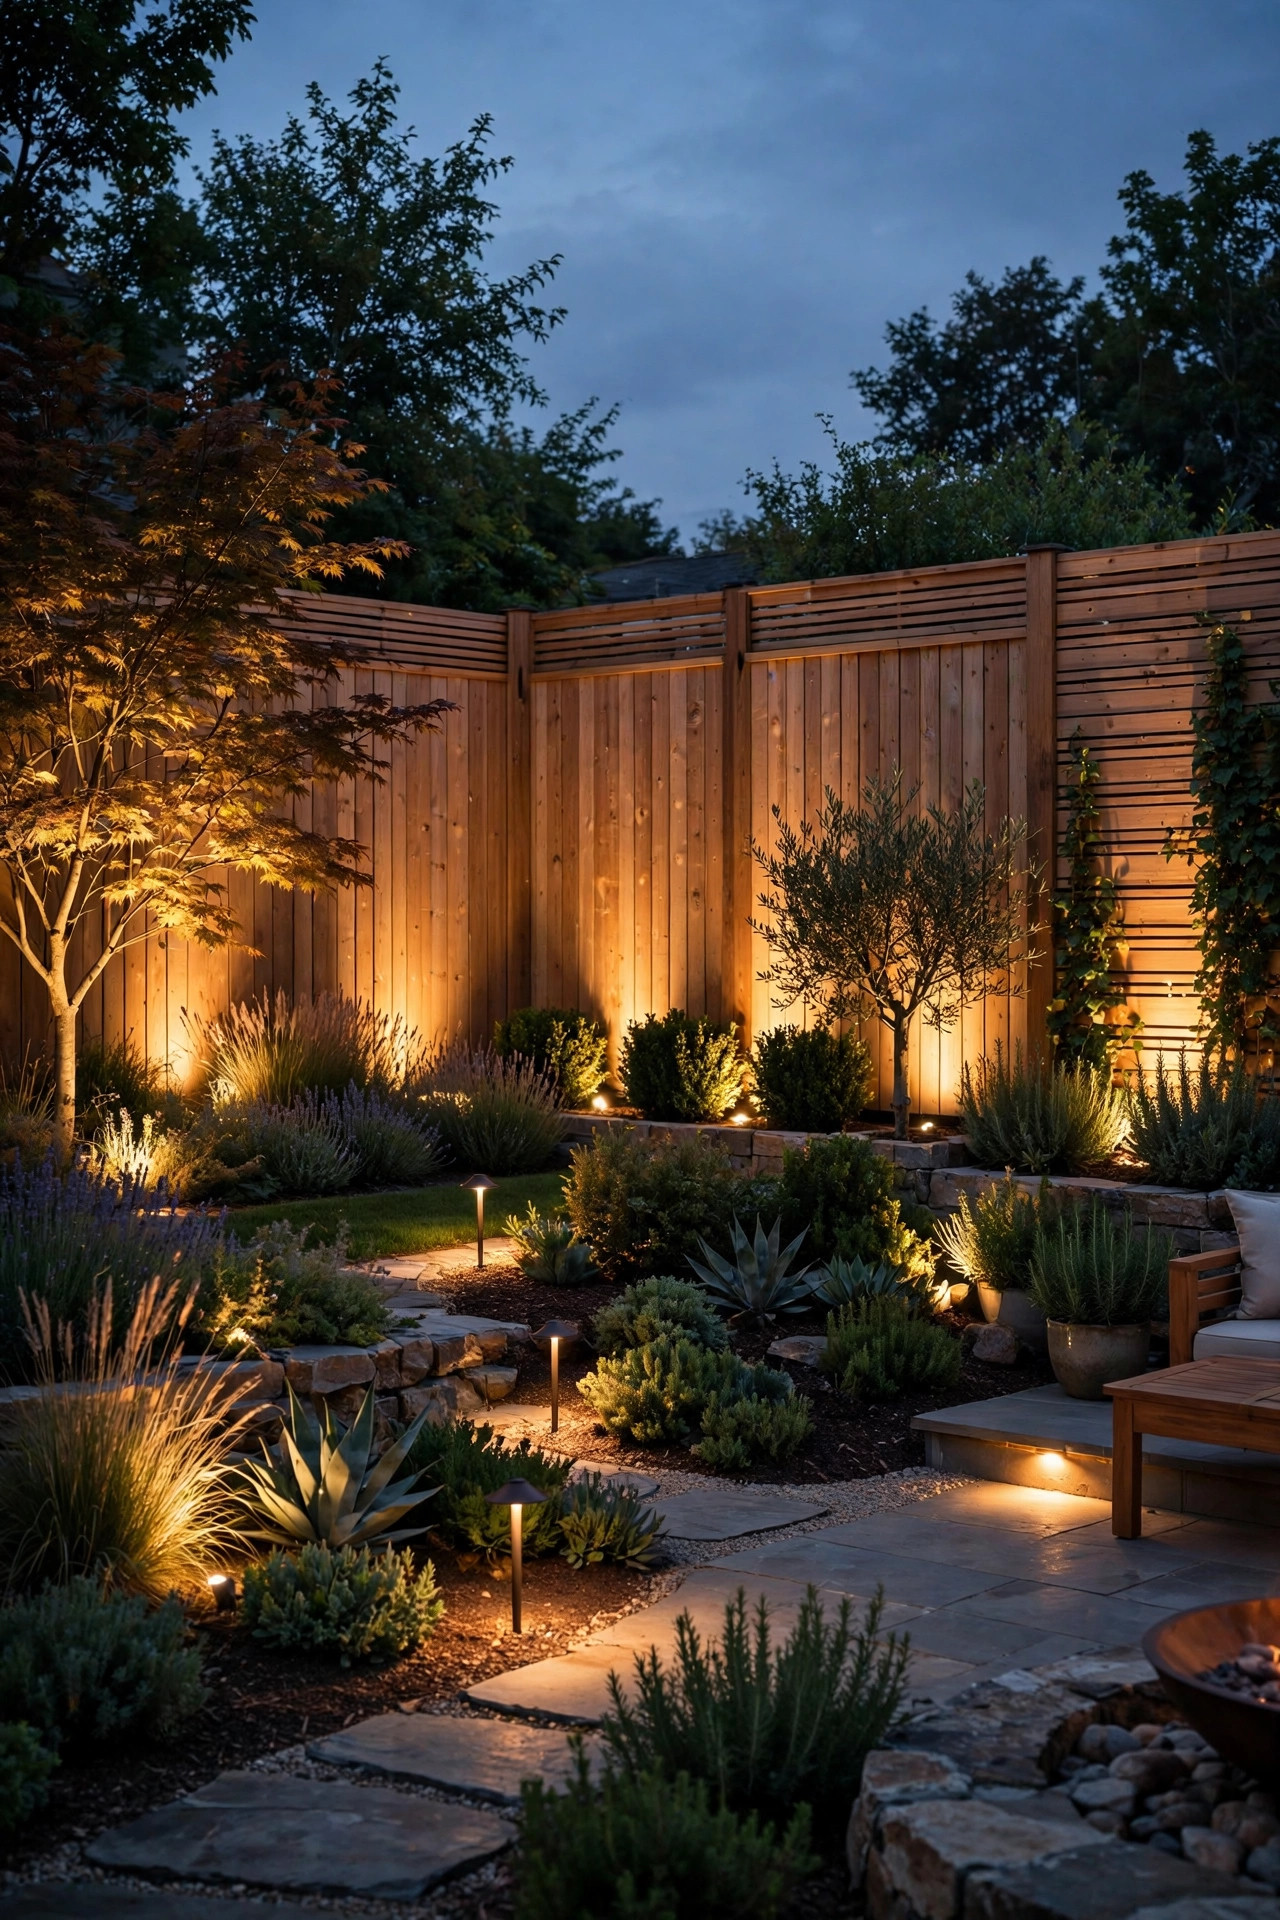
Here's how I'd build the complete plan for a typical backyard, start to finish. Walk the fence at dusk and divide it into zones by how you use the space: the entertaining backdrop behind the patio, the side lines, the far back run. Give the entertaining zone the full treatment — ground wash at proper spacing, one layered accent, dimming control — because that's the wall you actually look at. Side fences get the honest basics: bays lit between posts, corners covered, shielded fixtures for the neighbors' sake. The far back run can go solar or every-other-fixture to save budget without losing the effect. Layer in silhouettes by leaving the foreground plantings dark, add a small dedicated wash at the gate, and put everything on astronomical timers. Buy fixtures in phases if you need to — zone by zone over a season is exactly how I built mine — but buy the same fixture line throughout so color and beam stay consistent. Fence wall wash lighting done this way stops being a project and becomes the yard's permanent evening architecture. Suggested budget range: $400 – $1,200.
Frequently Asked Questions
How far from the fence should wash lights be placed?
For most 6-foot fences and garden walls, set wash fixtures 18 to 24 inches out from the base — roughly one-quarter to one-third of the wall height. Move in to 4 to 6 inches only when you deliberately want a grazing effect on textured stone or brick, and move out to 24 to 36 inches for a softer, more blended wash on smooth stucco, siding, or pale vinyl. When in doubt, test one fixture at dusk and slide it until the bright pool at the bottom disappears into an even gradient.
What color temperature is best for washing a fence?
Warm white, almost always. 2700K flatters cedar, redwood, brick, and warm stone, and it's the coziest choice for a fence you'll sit beside. 3000K suits cooler materials like gray composite, blue stone, and pale stucco, where 2700K can look yellow. The only hard rule is consistency: pick one temperature for a continuous fence run, because a visible warm-to-cool shift along one wall always looks accidental.
Can solar lights really wash a whole fence?
Yes, with the right fixtures and honest expectations. Choose solar wash lights rated 200 lumens or more with a wide beam and a separate panel you can place in full sun, and space them every 5 to 6 feet. They'll give you a genuine, gentle wash for most of the evening. In mid-winter or on heavily shaded fence lines, wired low-voltage fixtures are still the reliable choice — many yards happily mix solar on the far runs with wired fixtures near the patio.
How many wash lights do I need for a 50-foot fence?
At standard spacing of 6 to 8 feet, a 50-foot fence takes 7 to 8 wash fixtures. Space them 5 to 6 feet apart (9 to 10 fixtures) if your fixtures have narrow beams or lower output, or if you want an especially bright, even result. Add one extra fixture dedicated to each corner, and count a gate or feature accent separately. It's always cheaper to plan the full count up front than to add a mismatched fixture later.
Conclusion
A fence or garden wall is the biggest surface in your yard, and fence wall wash lighting is simply the art of giving that surface its evening life — one even, warm, layered glow at a time. Start with the classic ground wash, respect the spacing rules, shield your fixtures, and layer an accent or silhouette where the yard asks for a little drama. You'll be amazed how much bigger, warmer, and more finished the whole space feels. Browse more of my lighting ideas here on the site, pick your first zone, and start this weekend — the fence you already have is all the canvas you need.