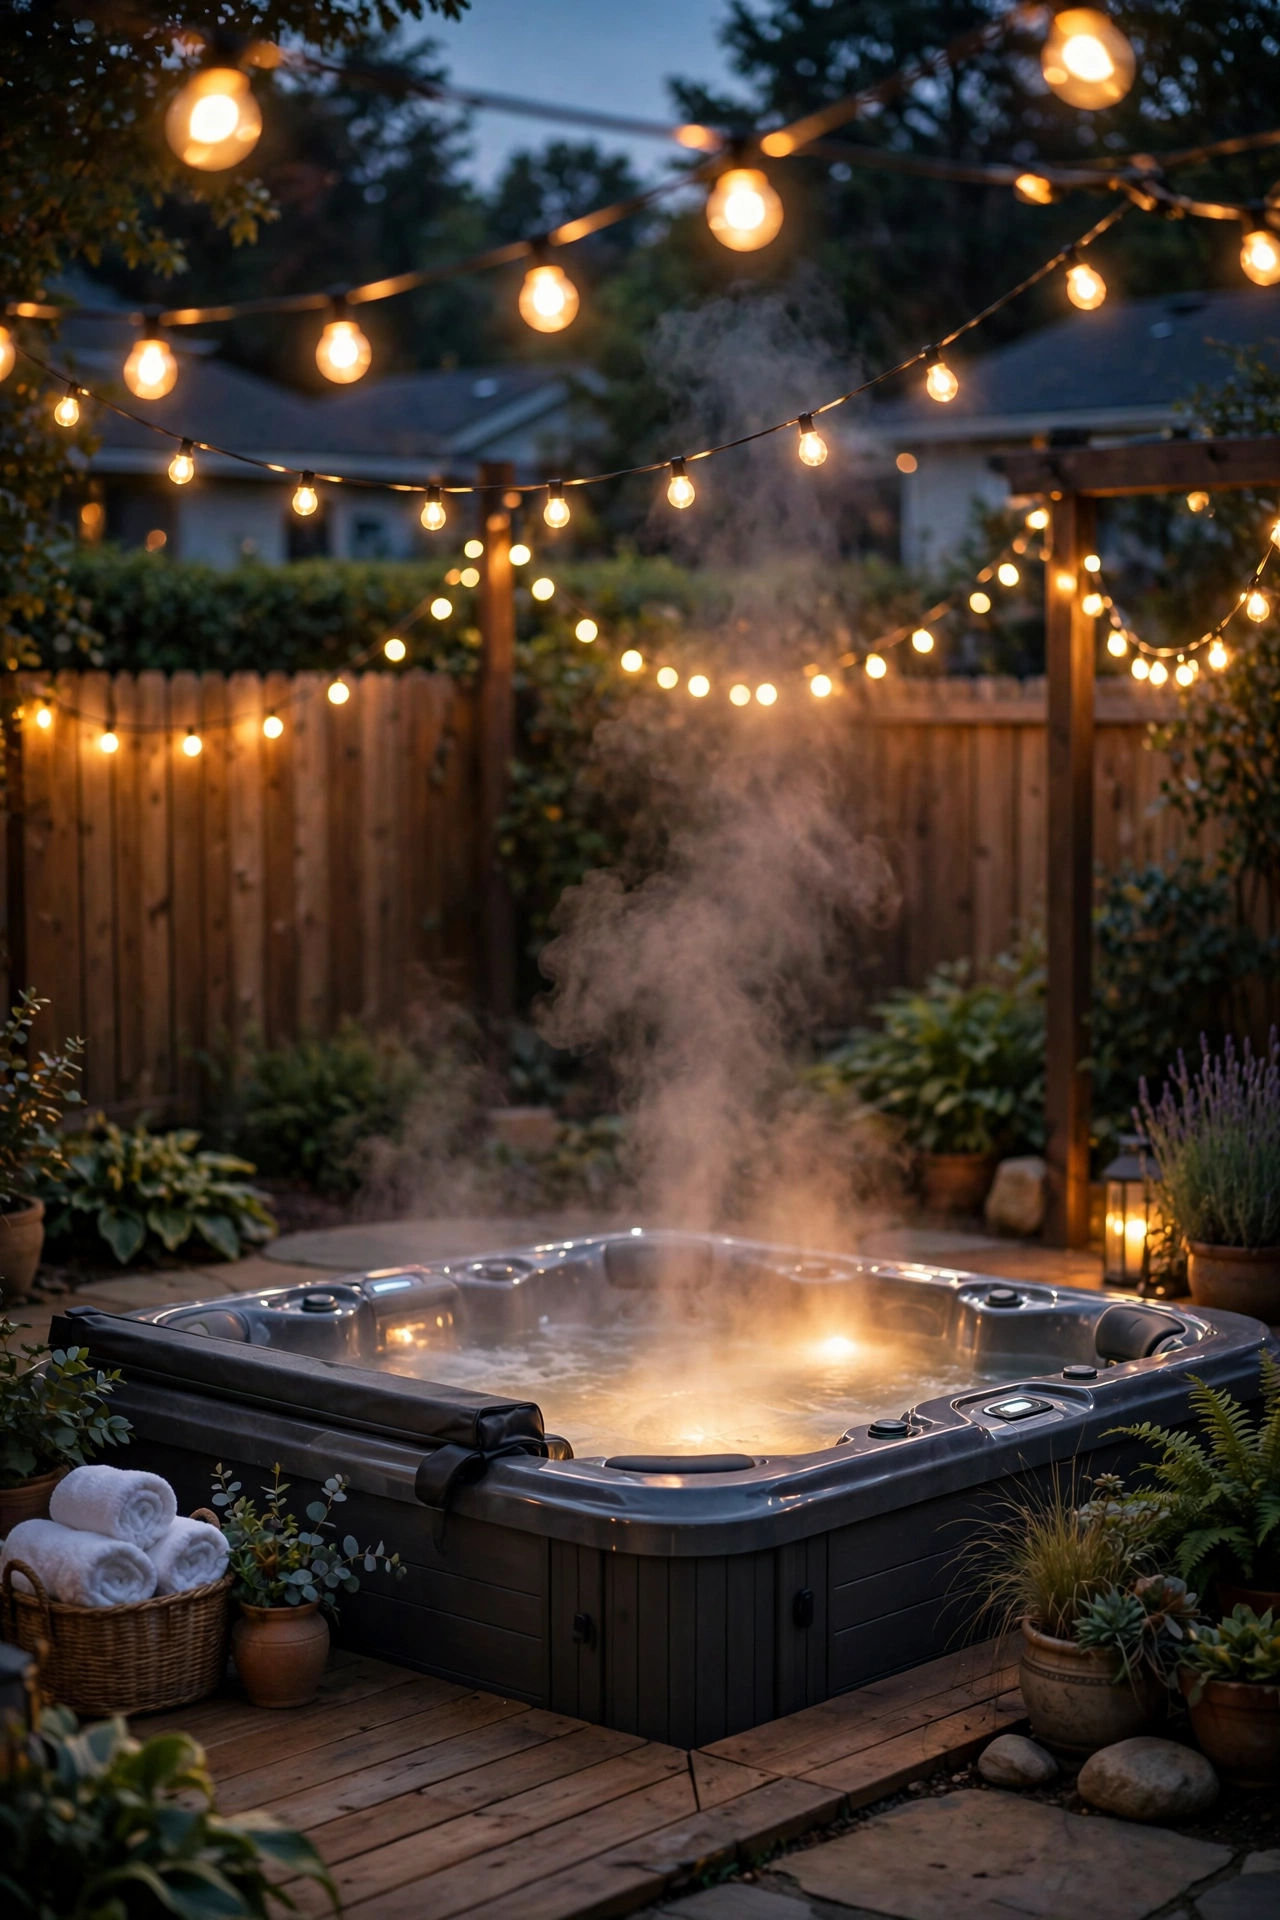
Turning Your Backyard Into a Starlit Sanctuary
There's nothing quite like sliding into steaming water on a cool evening, steam curling up into the dark, the rest of the world going quiet. If you're dreaming up hot tub lighting ideas that make those evening soaks feel like a private resort, you've come to the right place — because the tub itself is only half the magic. The other half is the light around it.
In my experience, the secret to lighting a spa area is layering. One bright overhead fixture kills the mood instantly (nobody wants to feel like they're soaking under a parking lot lamp), but a single lonely candle leaves you squinting for your drink. The sweet spot is three layers: a soft ambient glow overhead, gentle accent light on the surrounding surfaces, and a little practical task light where you actually need it — the steps in, the control panel, the spot where you set your robe down. When those three layers work together, your backyard hot tub stops looking like an appliance on a slab and starts feeling like a destination.
Below are my 15 favorite ways to light a hot tub or spa area, from weekend-friendly string lights to more ambitious projects. Every idea includes real-world details — bulb types, spacing, timers, and weatherproofing — plus honest safety notes, because anything involving water and electricity deserves respect. Let's dive in.
1. Drape a String-Light Canopy Overhead
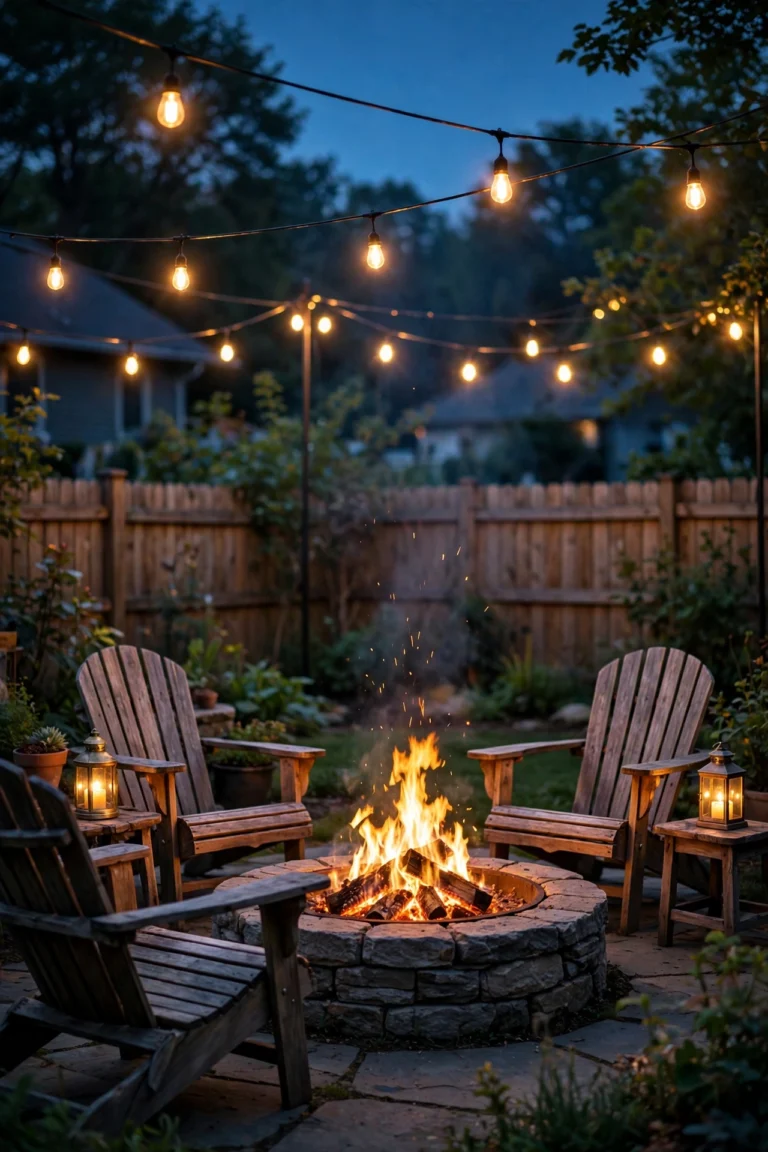
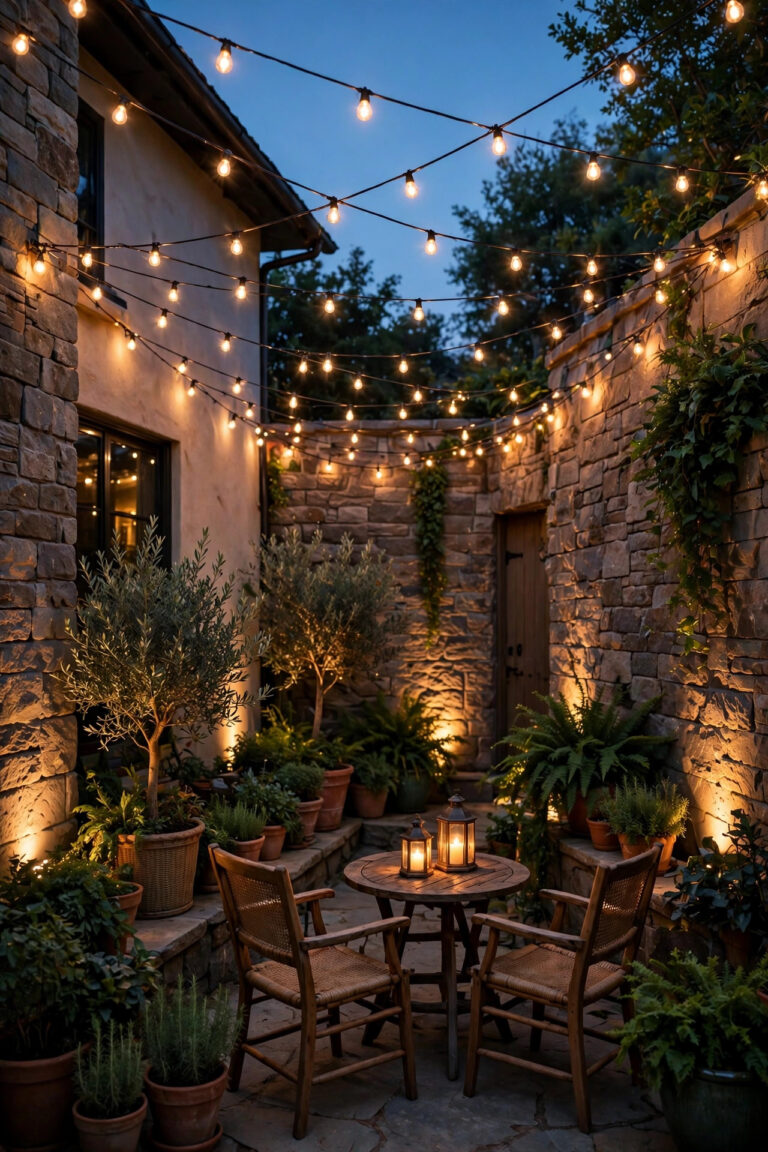
If I could only pick one idea on this list, it would be this. A loose canopy of warm-white string lights hung over the tub transforms the whole space in under an hour. I like to hang two runs of shatterproof LED globe lights (the plastic kind, never glass near a tub) in a loose zigzag or X pattern from a pergola, the house eaves, or two tall shepherd's hooks anchored in planters. Keep the lowest strand at least 8 feet above the water surface — high enough that no one can reach them while soaking, and well outside any splash zone.
Spacing matters: let the strands sag naturally between anchor points about 6 to 8 feet apart, with the bulbs hanging 10 to 14 inches apart along the strand. That gentle swag reads as romantic, not saggy. Use warm-white 2700K bulbs for the dreamiest glow, and plug everything into an outdoor-rated timer or smart plug so the canopy clicks on at dusk and off at bedtime — in my experience, 8 p.m. to 11 p.m. covers most soaking sessions without wasting energy. Make sure the entire circuit is plugged into a GFCI-protected outlet, and give plugs a drip loop so rain runs off instead of tracking in.
Suggested budget range: $40 – $120.
2. Add Submersible Underwater LED Lights
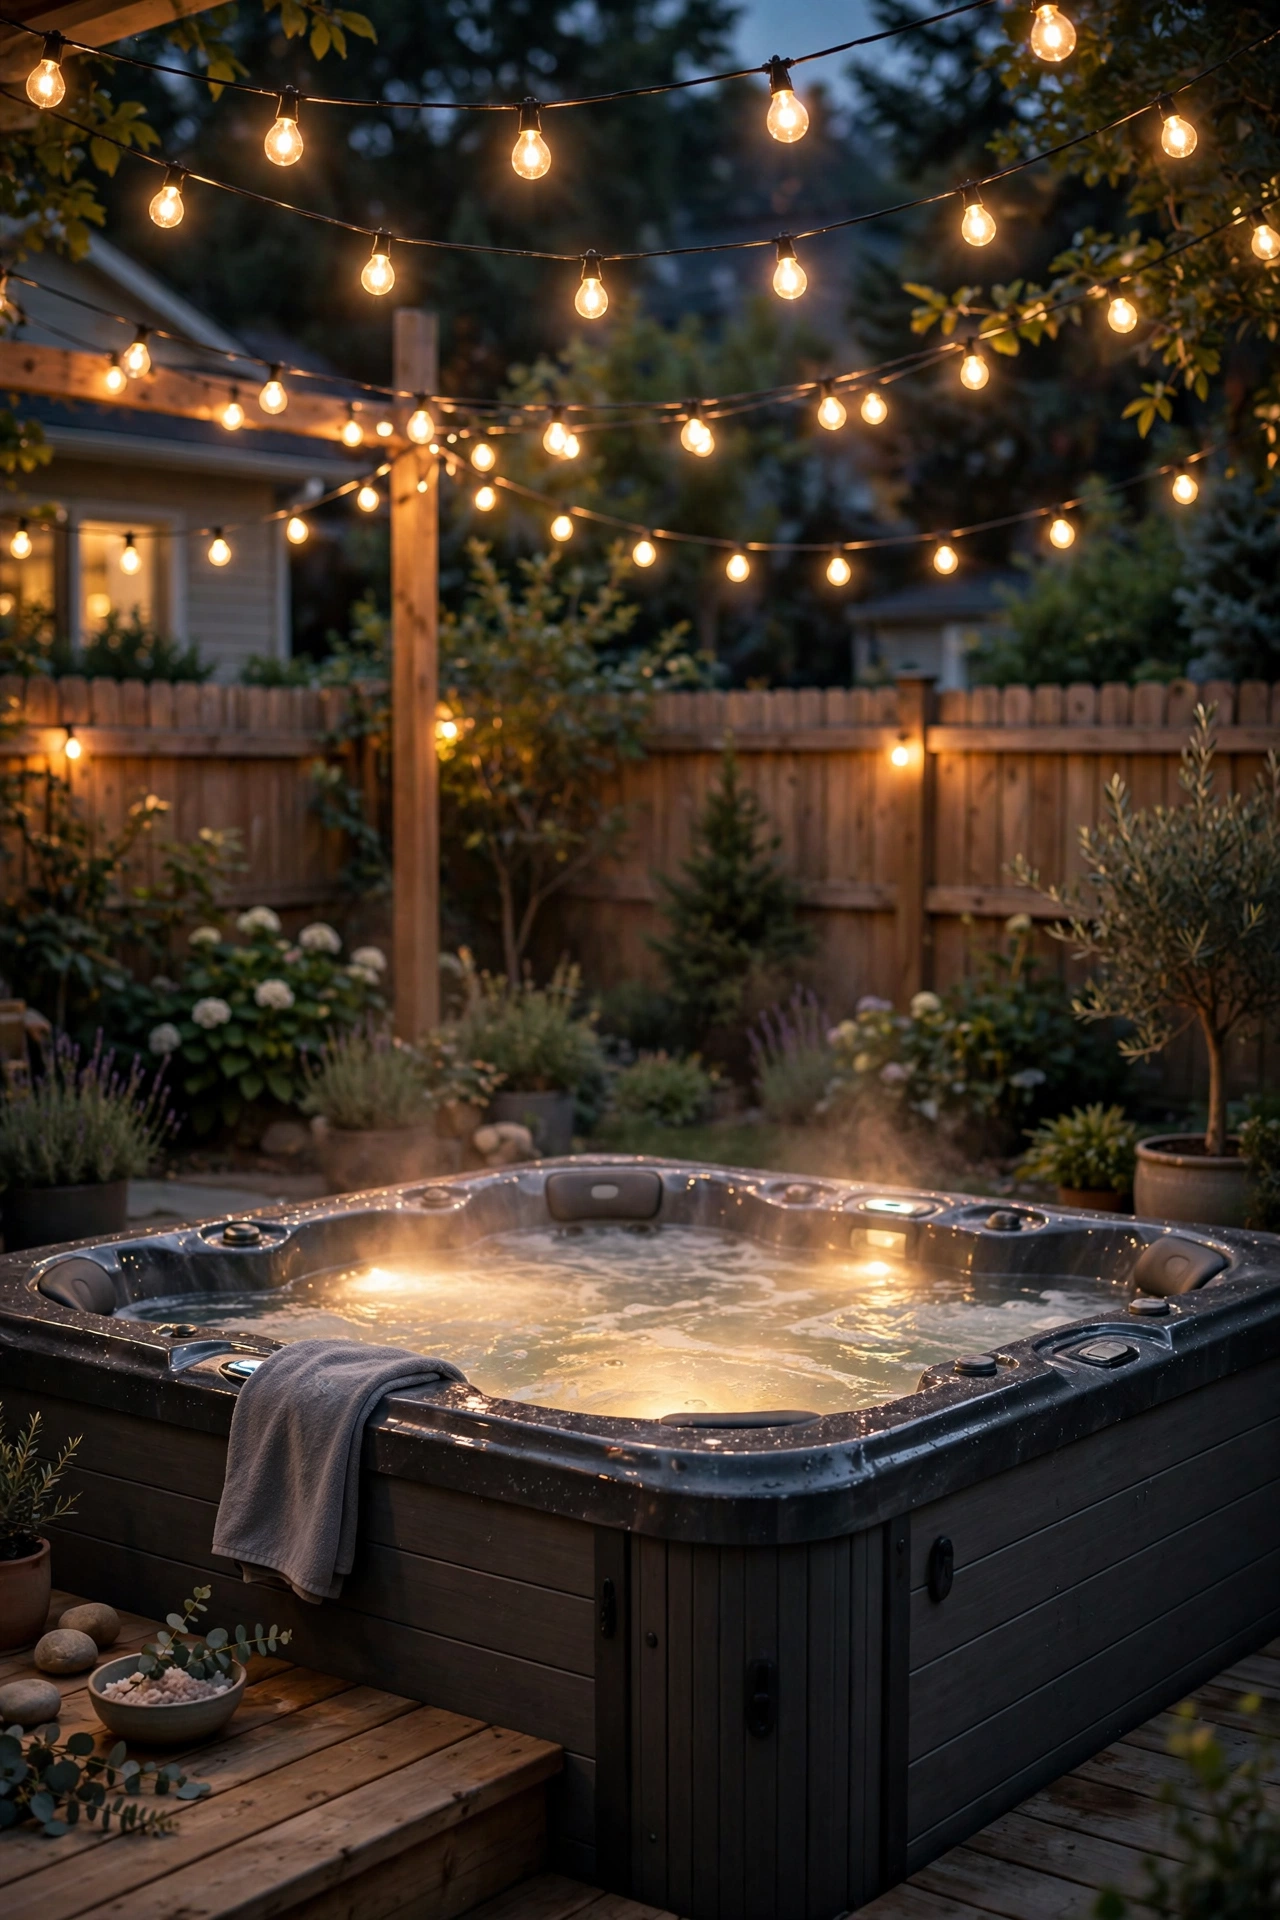
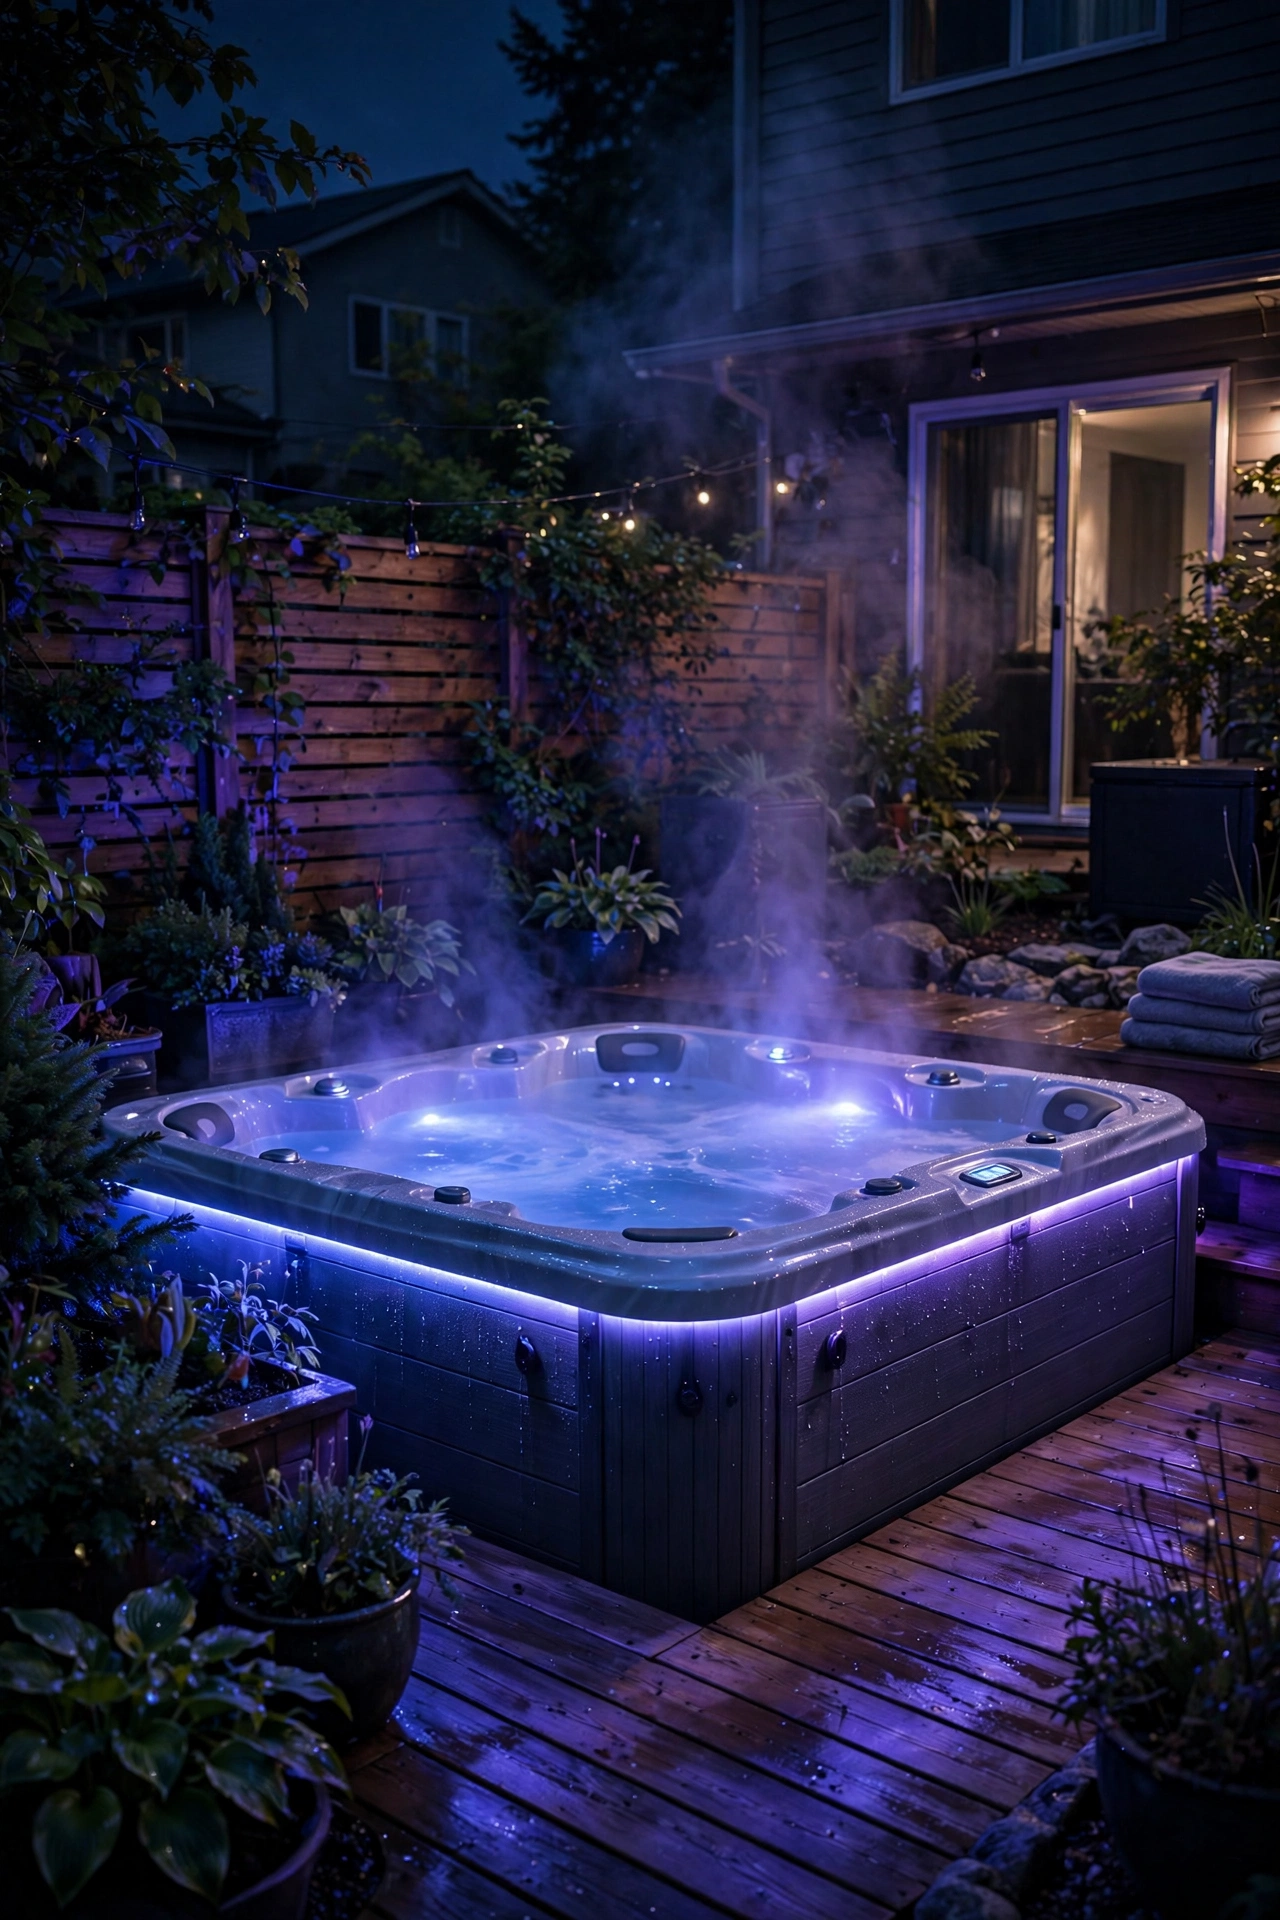
This is the one idea that makes people gasp. Battery-operated or rechargeable submersible LED pucks drop straight into the water and bathe the whole tub in color from below — no wiring, no electrician, no risk. I always recommend these to renters or anyone who doesn't want to modify their spa. Most puck lights come with a remote, and honestly? The slow color-fade mode is pure magic at 9 p.m. when the steam is rising.
Place 2 to 4 pucks depending on tub size — one in each corner of a square tub, or three evenly spaced in a round one. They sit flat on the spa floor, and because they're sealed and battery-powered, there's no shock hazard. Look for ones rated fully waterproof (IP68) and for warm-water use, since 104-degree water and tub chemistry are harder on cheap seals. Charge or swap batteries every 3 to 4 soaks; keep a second set charged so you're never mid-soak when they die. One safety note: never put plug-in mains-powered lights in the water — only low-voltage, battery, or factory-installed spa lights belong inside a tub.
Suggested budget range: $25 – $60.
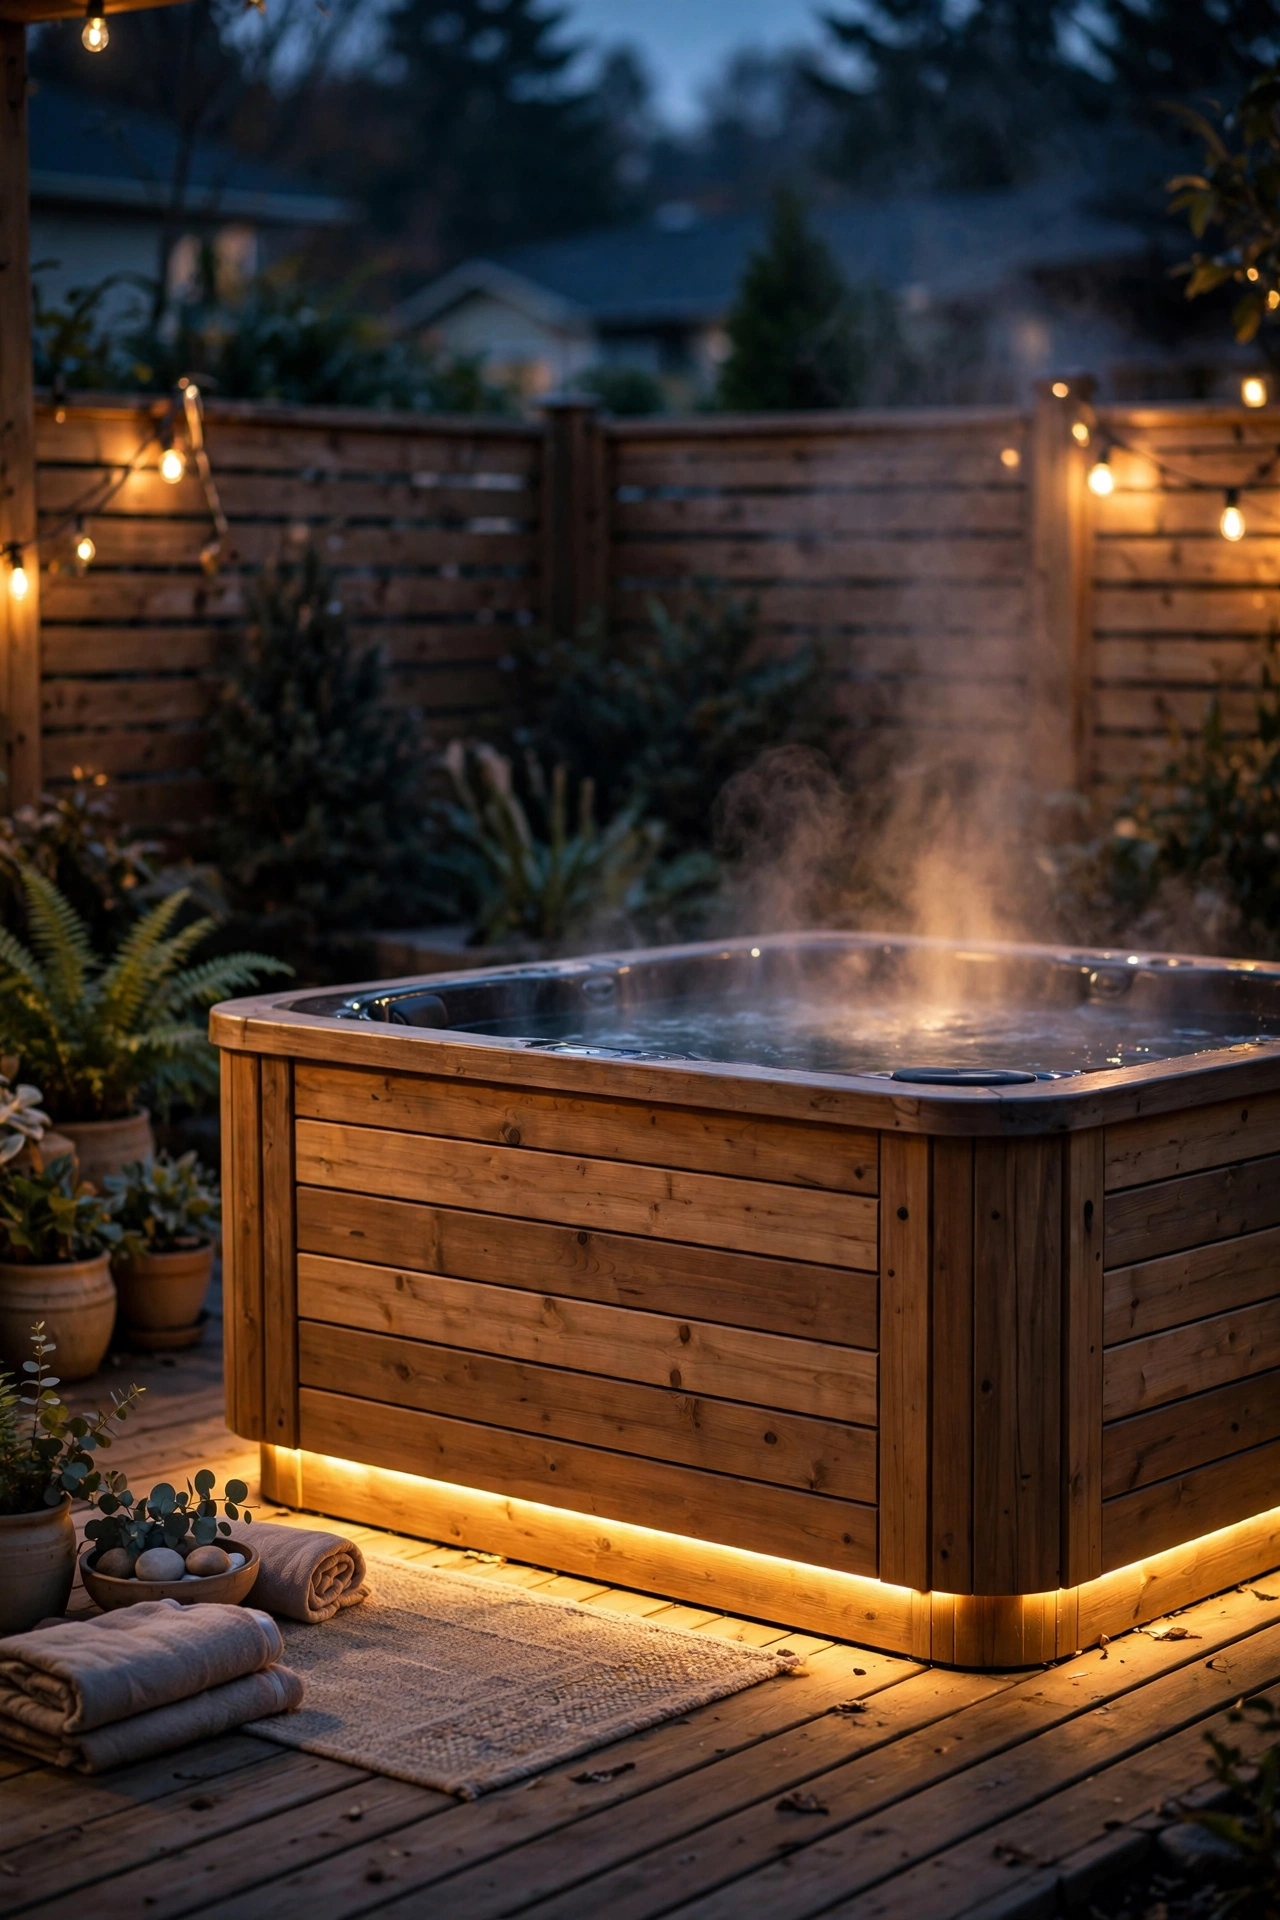
3. Line the Spa Cabinet with LED Strip Lighting
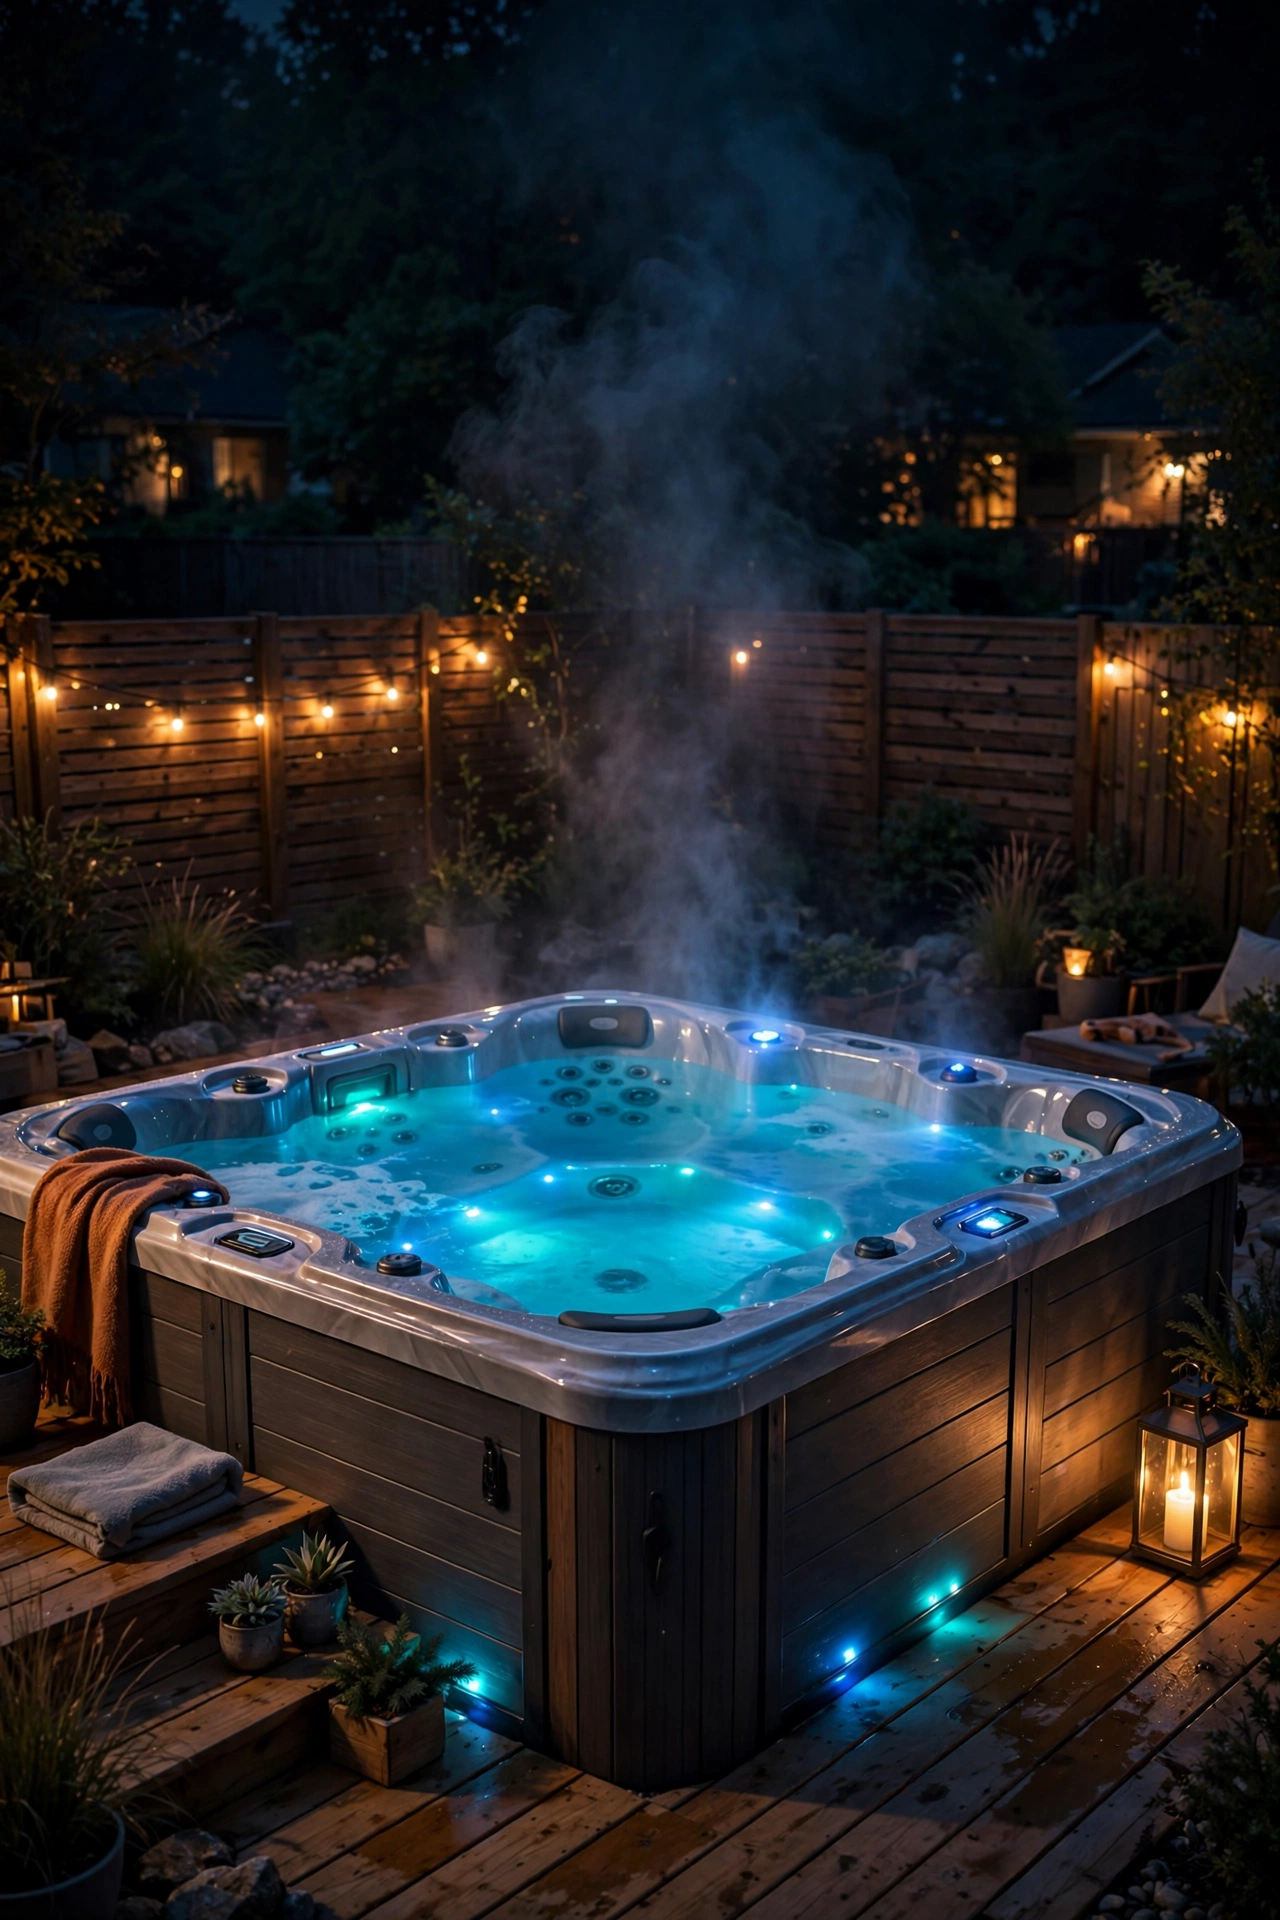
Most hot tubs sit in an equipment cabinet that's basically a plain box — and a run of adhesive LED strip light under the lip of the cabinet turns that box into a glowing halo that floats above the deck. I love this look because it defines the tub's shape after dark and gives off enough ground-level glow to see where you're stepping, without any harsh direct light.
Use outdoor-rated (IP65 or better) 12V LED strip in warm white or RGB if your tub has color moods you want to echo. Mount it on the underside of the cabinet's top edge, facing down toward the deck — hidden by day, glowing by night. Stick the 12V driver/transformer inside a weatherproof box a few feet away, and plug it into a GFCI outlet with an outdoor timer. Keep strips at least a foot above the ground line if your deck gets wet, and seal any cut ends with silicone end caps so moisture can't wick into the copper contacts. One 16-foot reel usually covers a standard 7-foot square tub with a little to spare.
Suggested budget range: $30 – $80.
4. Light the Steps and Path with Low-Voltage Fixtures
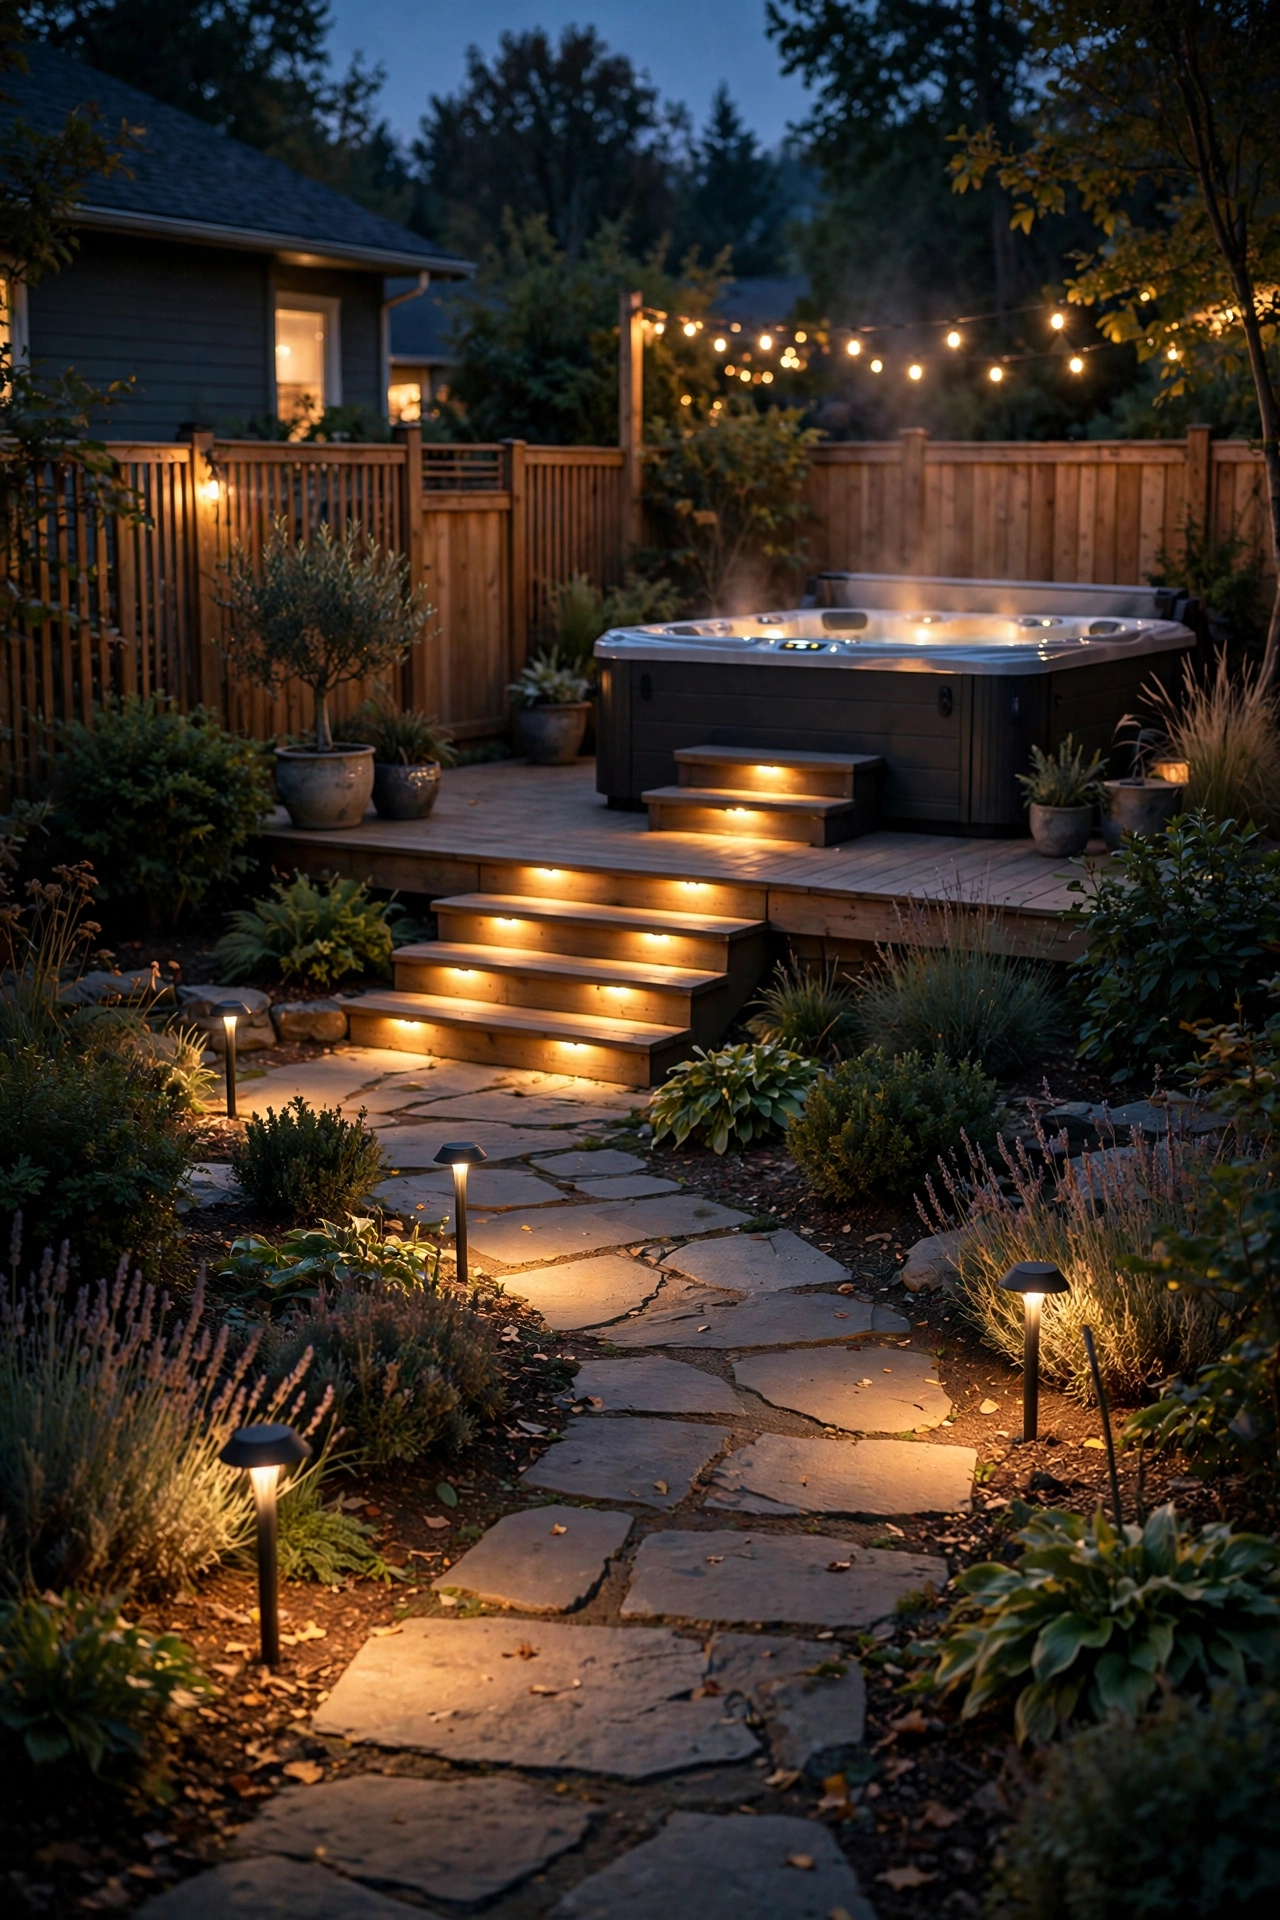
Here's the practical one, and honestly it's the most important for safety. You need to see where you're walking with wet feet in the dark — the steps into the tub, the path from the back door, any deck level changes. Low-voltage path and step lights are made for exactly this, running on a safe 12-volt circuit from a single outdoor transformer.
Space path lights 6 to 8 feet apart along the walkway to the tub, staggering them left-right so they wash the whole path without lining up like a runway. For the tub's own steps, recessed mini step lights (2 to 3 inches wide) mounted into the risers cast light downward onto each tread — install one per step. Keep every fixture at least 5 feet horizontally from the water's edge, and never run 120V line-voltage fixtures within reach of the tub. The whole low-voltage system ties back to one transformer plugged into a GFCI outlet, usually with a built-in photocell timer. If you want a full primer on this setup, I break it down step by step in my guide to low-voltage path lights.
Suggested budget range: $80 – $250.
5. Cluster Lanterns on the Deck Ledge
Sometimes the best lighting idea isn't installed at all — it's carried. A cluster of outdoor lanterns grouped on the deck ledge or a small side table next to the tub gives you flickering, romantic light you can rearrange in seconds. In my experience, odd numbers look best: three or five lanterns of mixed heights (8, 12, and 16 inches) read as curated rather than cluttered.
Go with flameless LED lanterns or real-candle lanterns with enclosed glass chimneys — never open flames within a few feet of a hot tub, where steam and splashes meet bare flame. Battery lanterns with built-in timers are my favorite because they light themselves every evening at dusk for about 5 hours and you never think about them. Tuck them on a ledge or stool at least 2 to 3 feet back from the tub's edge so they're out of the main splash zone, and pick lanterns with weighted bases or sand in the bottom so a gust of wind doesn't send one tumbling into the water.
Suggested budget range: $35 – $120.

6. Fake the Firelight with LED Flame Torches
Nothing says "evening soak" like firelight, but real torches and hot tubs are a terrible combination — splashing water, steam, and fuel don't mix, and many areas have open-flame rules near structures. Solar or battery LED flame torches solve it: they flicker convincingly from 10 feet away, stay cool to the touch, and never go out in the wind.
Stake 4 to 6 torches in a loose ring around the tub area, about 6 to 8 feet from the water's edge — close enough for the flicker to feel intimate, far enough that no one splashes them. Solar versions need 6+ hours of direct sun to run all evening, so if your tub sits under trees or a roof, grab the battery or rechargeable ones instead and plan on a charge every couple of nights. The dancing-amber LED versions read far more realistic than static warm bulbs; look for ones with a visible flame flicker mode. As a bonus, some models include citronella-style scent features, though honestly I buy them for the look.
Suggested budget range: $40 – $100.

7. Try Moonlighting from an Overhanging Tree
Moonlighting is one of my favorite pro lighting tricks, and it costs almost nothing if you already have a tree. A single downward-aimed spotlight mounted high in a branch casts soft, dappled light through the leaves — it genuinely looks like moonlight, complete with moving shadows. Over a hot tub, that effect is unbelievably relaxing.
Mount a small 12V LED spot or flood (35 to 50 watts equivalent) in the tree 15 to 20 feet up, aimed down at the tub and surrounding deck. You want a wide beam (60 degrees or more) for a soft wash, not a tight spotlight that creates a harsh circle. Run the low-voltage cable down the back of the trunk in cable clips — dark cable against dark bark disappears by day. Angle the fixture slightly off-center so light filters through leaves rather than blasting straight down. Tie it into your existing low-voltage transformer with a photocell so it fires automatically at dusk.
Suggested budget range: $50 – $140.

8. Set the Mood with Color-Changing Bulbs
Some nights call for candlelight-warm, others call for a slow turquoise fade that makes the steam glow teal. Color-changing smart bulbs let you have both, and you only need a handful of fixtures to pull it off. I always recommend keeping the color scenes slow and saturated rather than fast and rainbow — a gentle blue-to-purple fade feels spa-like; a strobe party mode does not.
Screw 2 to 4 smart PAR-style or standard bulbs into existing fixtures around the tub — wall sconces on the house, post lights on the deck railing, even the fixtures in your string-light canopy if they're the replaceable-bulb kind. Group them in the app so one tap sets the whole scene, and use the scheduling feature to have them settle into a calm warm white at 8 p.m. and switch to your favorite color fade at 9. Keep brightness modest (dimmed to 30 to 50 percent reads much more luxurious than full blast). All of these should still sit on GFCI-protected outdoor circuits, and the smart features work best when your Wi-Fi reaches the backyard — a cheap range extender solves that if the signal drops.
Suggested budget range: $45 – $130.
9. Build a Fiber-Optic Star Ceiling Under a Cover
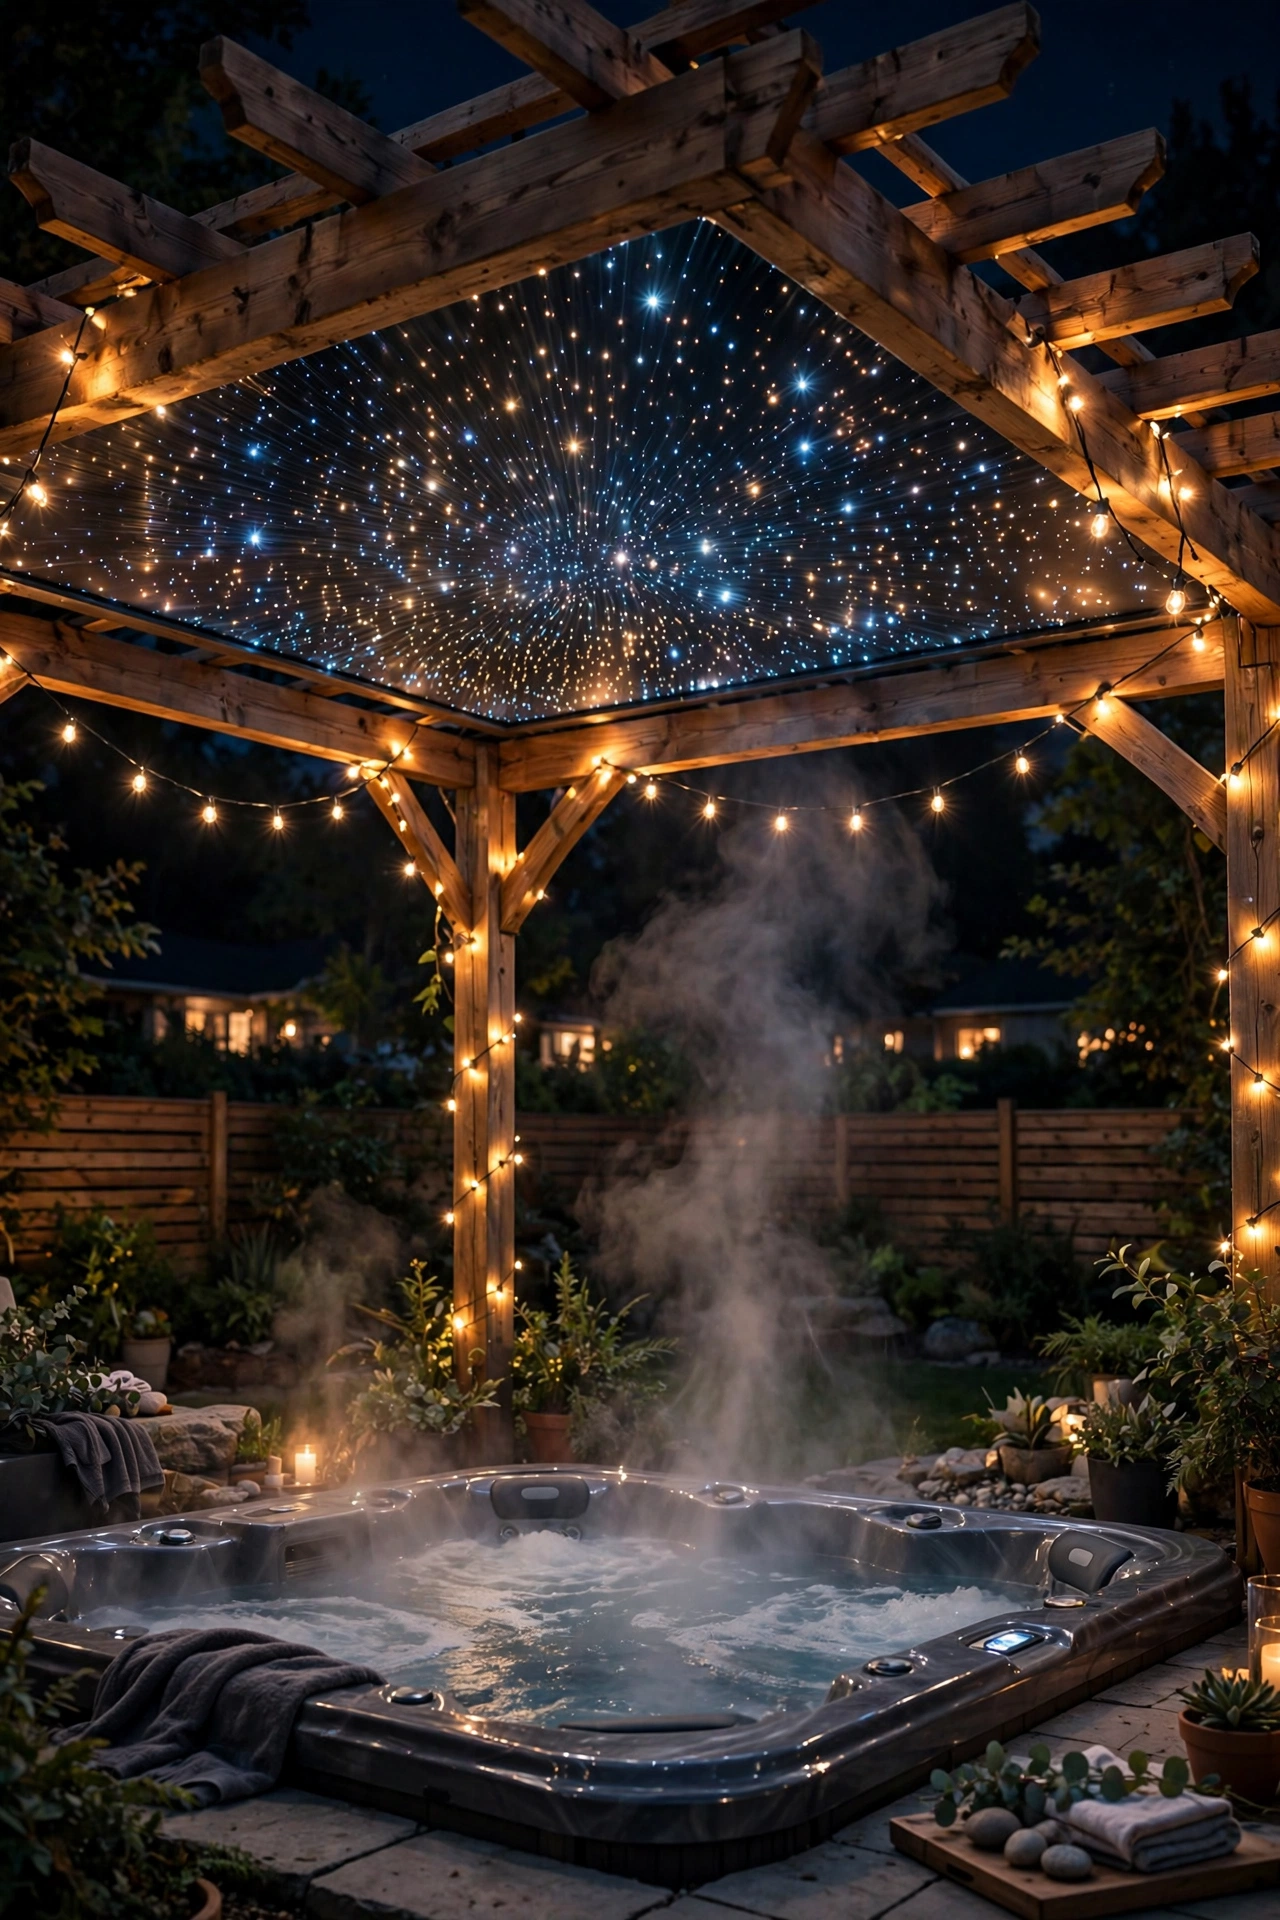
If your hot tub lives under a pergola, gazebo, or covered patio, you have the perfect canvas for the most dramatic idea on this list: a fiber-optic star ceiling. Hundreds of tiny fiber points twinkle overhead like a clear desert sky — and since fiber carries only light, not electricity, the strands themselves are completely safe to run right over the water. It's the one overhead option I'd actually hang directly above a tub.
The basic setup is a light engine (a small box with a color-wheel LED) mounted in a dry spot, with fiber bundles fanned out across the underside of the cover and the tips poking through tiny holes. A starter kit with 200 to 400 points covers a 10-by-10-foot pergola. Installation is fiddly — plan a weekend afternoon — but there's no electrical work at the ceiling itself, and the light engine stays dry on a wall or in a weatherproof box plugged into a GFCI outlet. Dim it low once you're soaking; the twinkle mode does the rest. Honestly, this one earns more "wow" from guests than anything else I've listed.
Suggested budget range: $150 – $400.
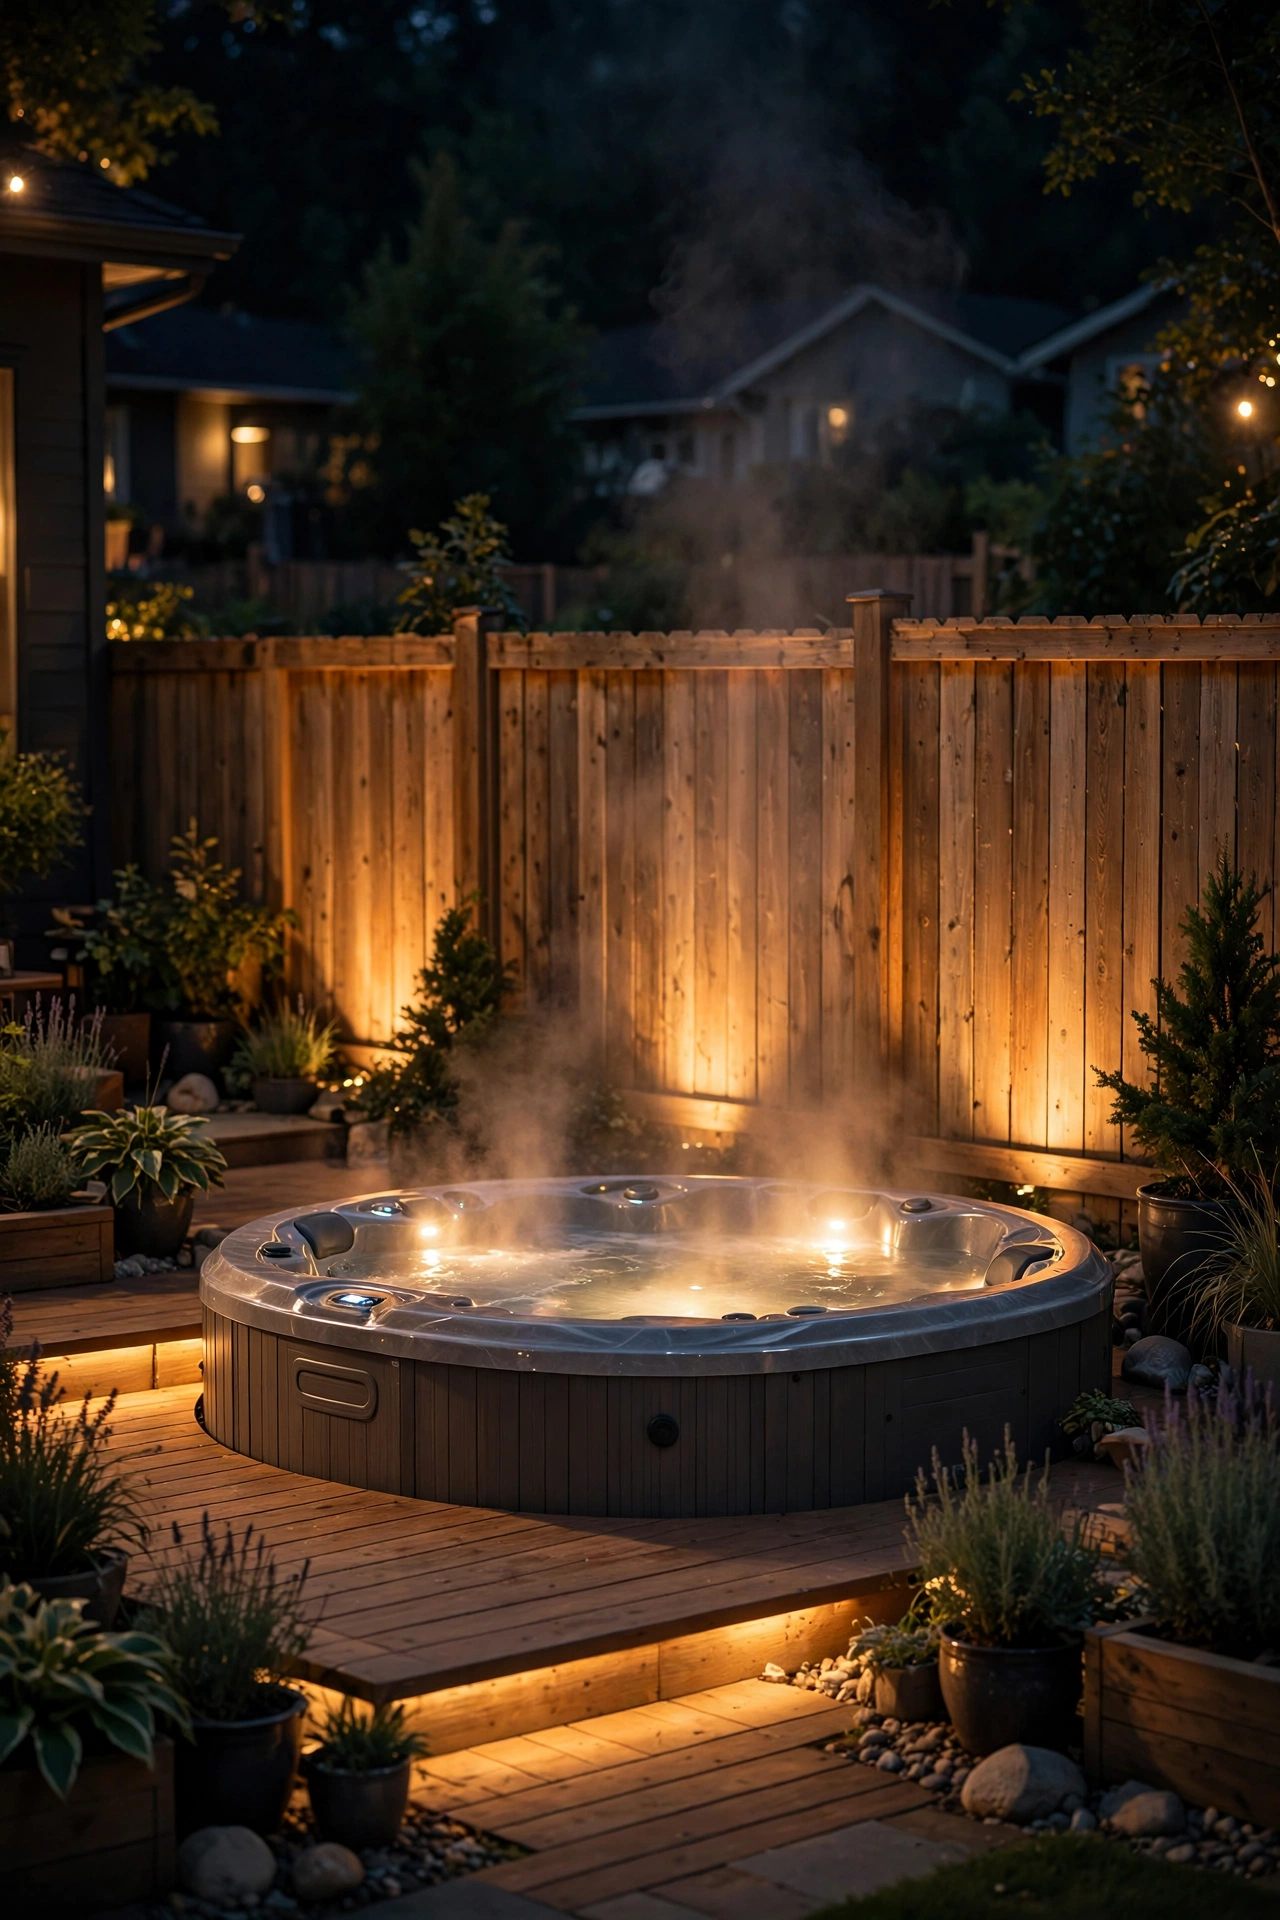
10. Wash the Fence or Wall Behind the Tub
One of the fastest ways to make a hot tub area feel finished is to light the background. A dark fence behind the tub makes the whole corner feel like a void; the same fence washed in warm light becomes a glowing backdrop that makes the tub feel tucked in and private. Two or three low-voltage uplights do the job beautifully.
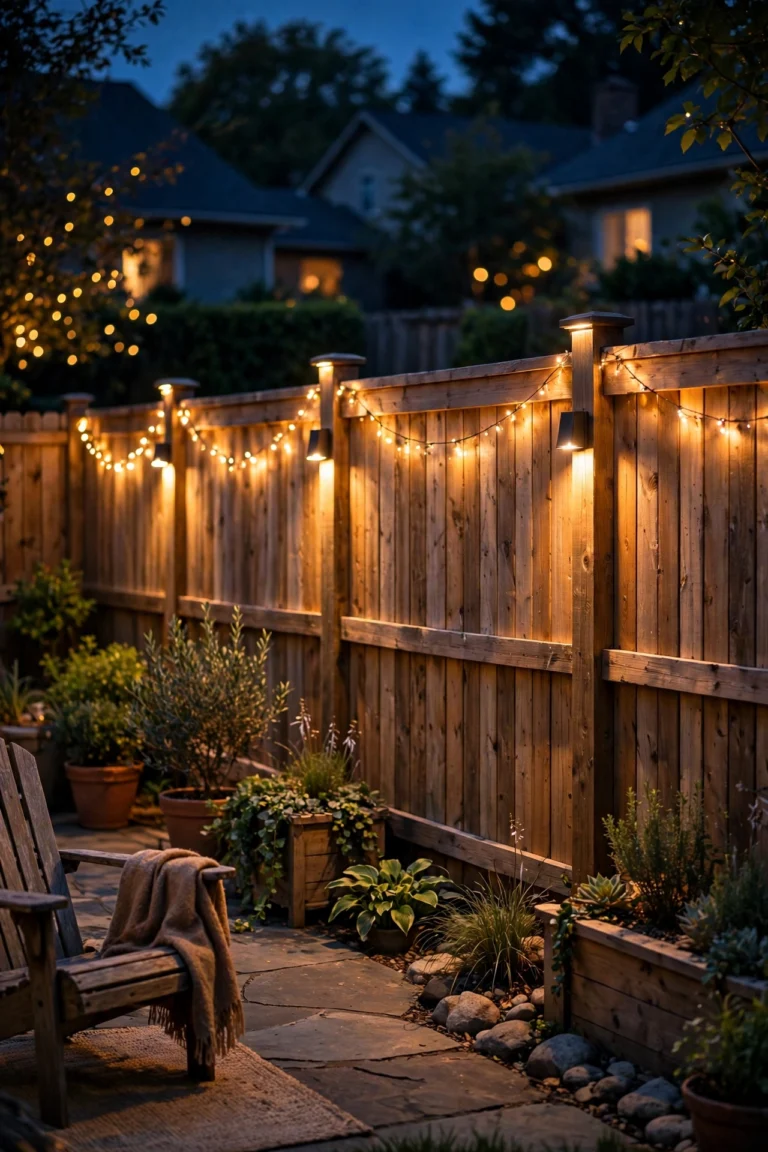
Place weatherproof 12V spotlights on the ground 2 to 3 feet out from the fence, spaced 6 to 8 feet apart, tilted up at about a 30-degree angle so the beams overlap into one continuous wash. Warm white (2700K to 3000K) keeps it cozy; avoid cool white here — it turns wood fences institutional. If the fence is cedar or redwood, a warm wash brings out the grain gorgeously at night. These tie into the same low-voltage transformer and timer as your path lights, so they run on one schedule. Keep fixtures out of the splash zone and away from foot traffic, and use fixture hoods or shields so the bulbs don't glare into your eyes while you're reclined in the water.
Suggested budget range: $60 – $160.
11. Put Everything on Timers and Smart Plugs
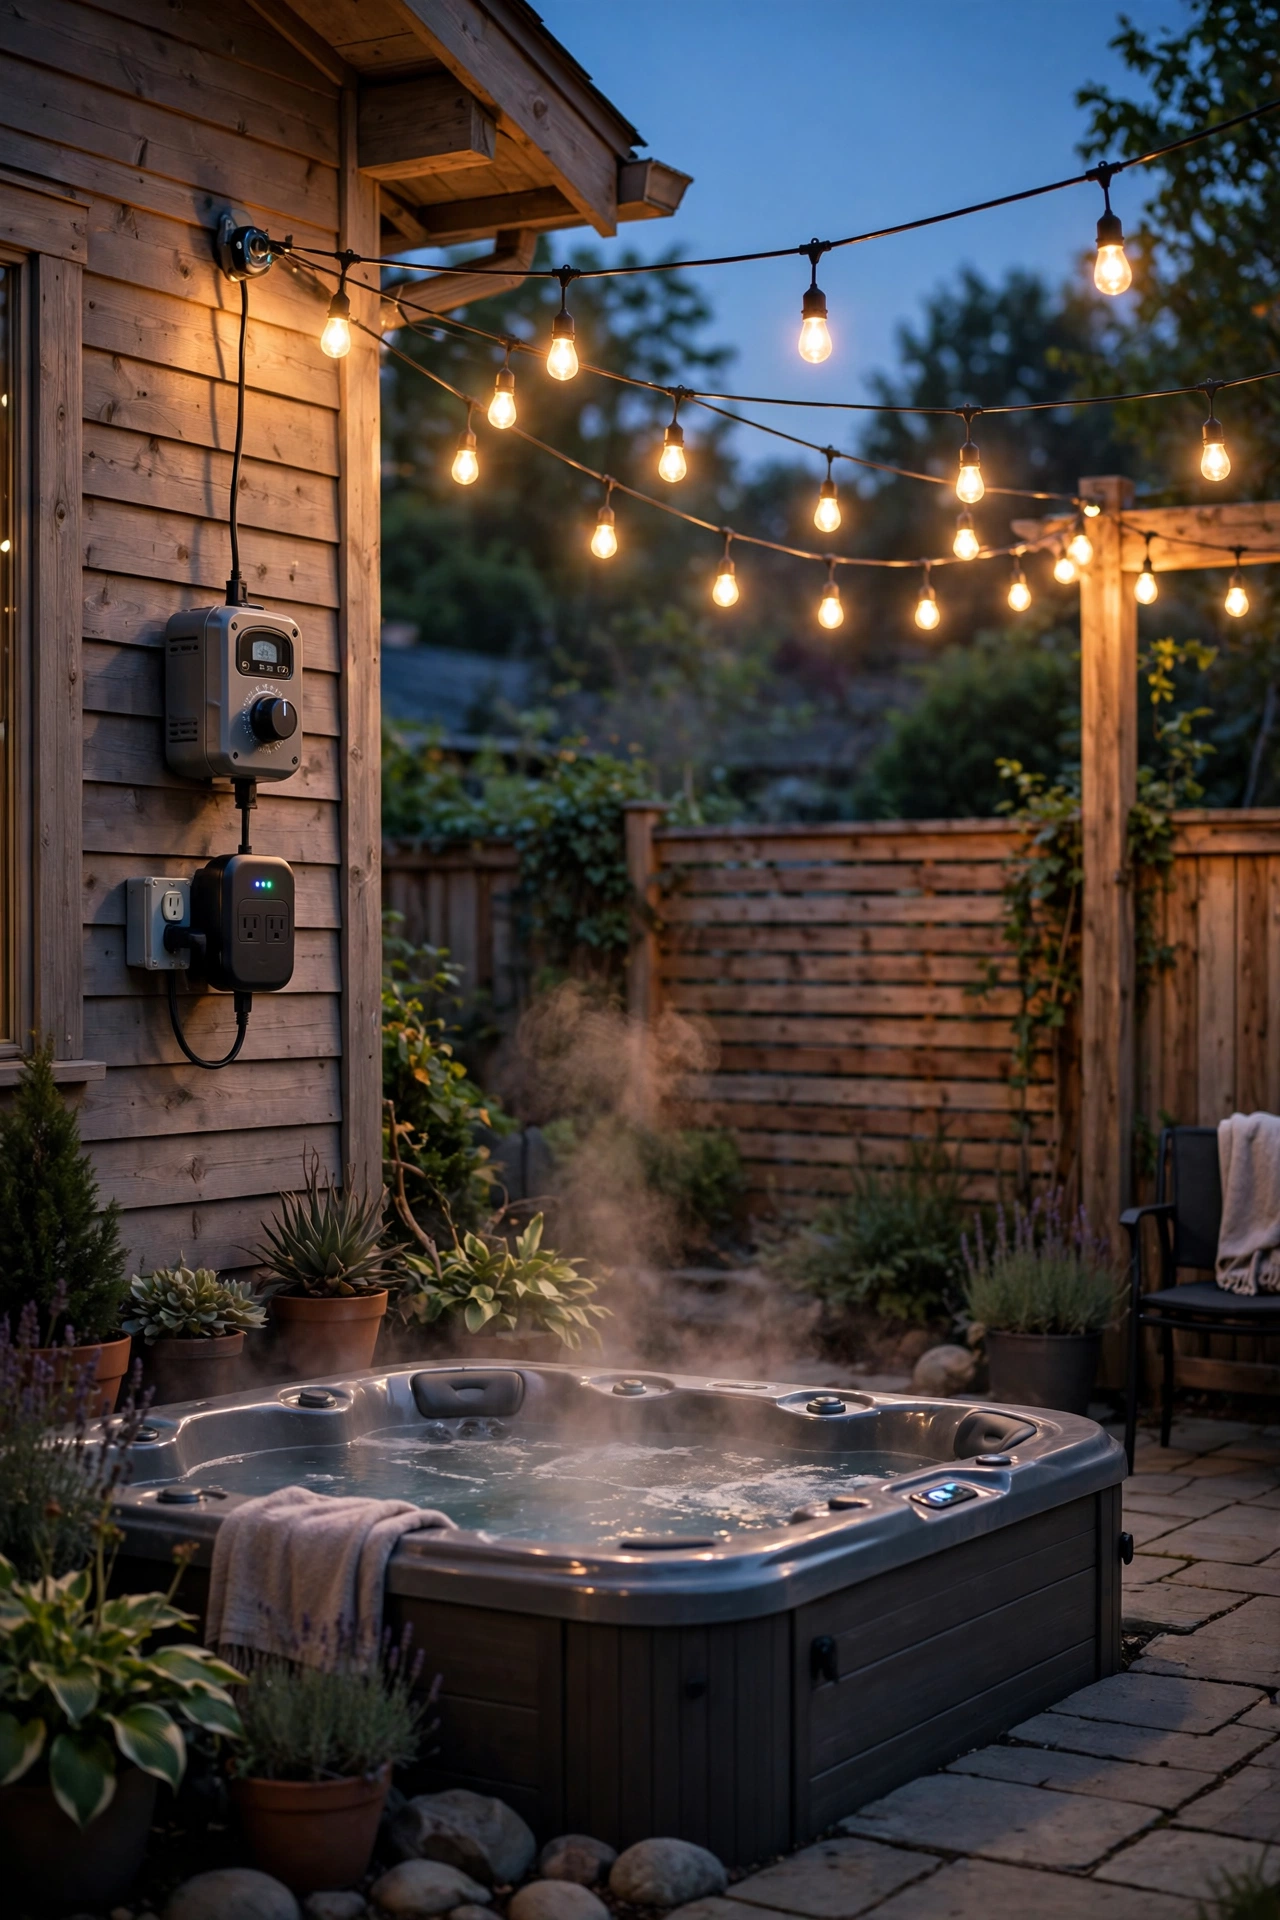
Here's the unglamorous idea that makes all the others effortless: automate everything. In my experience, the difference between lighting that gets used and lighting that gathers dust is whether you have to think about it. Timers and smart plugs mean your spa area is glowing when you walk out at 8 p.m. and dark again by midnight, every single night, with zero effort.
Use outdoor-rated smart plugs or a plug-in photocell timer on each circuit — string lights, lanterns, strips, the transformer for your low-voltage system. Set on at dusk (photocell) or a fixed time like 7:30 p.m., off at 11 p.m. or midnight. Smart plugs add voice control and the ability to turn everything off from the tub with your phone, which is genuinely wonderful when you're already settled in the water. Group the plugs in one app routine called something like "Soak Time." Make sure every plug is rated for outdoor use with a weatherproof cover, and that the whole chain still terminates at a GFCI-protected outlet — automation never replaces proper electrical safety.
Suggested budget range: $40 – $100.
12. Group LED Candles Around the Tub Edge
There's a reason spas are full of candles: nothing relaxes people faster than a soft, low flicker at eye level. Around a hot tub, flameless LED candles give you the look with none of the risk. Group them in clusters of 3, 5, or 7 along the tub's wide edge, on nearby steps, or in a shallow tray you can move as a unit.
Honestly, the trick to making fake candles look real is height variation and numbers — a single lonely candle reads as decoration; seven at different heights reads as atmosphere. Use the ones with the realistic flicker flame and built-in 4- or 6-hour timers so they light themselves each evening. Place clusters at least a foot from the water's edge (splash happens), and if you set any on the tub's own coping, make sure they're on the widest, flattest section where a stray elbow won't knock them in. Battery life is typically 2 to 3 months on a timer cycle, so this is wonderfully low-maintenance. For an even dreamier setup, pair them with the summer patio lighting canopy ideas to layer overhead and table-level glow.
Suggested budget range: $20 – $60.

13. Backlight the Towel and Changing Nook
The forgotten corner of every spa area is where you dry off — and it's usually the darkest. A little dedicated light at the towel station makes the whole routine feel considered instead of clumsy. This is task lighting at its coziest: enough to find your robe and see the steps, dim enough to keep the mood.
Mount a small weatherproof LED sconce or a short run of LED strip under a shelf or hook rail where towels hang — a warm 2700K glow at about 18 to 24 inches above the shelf is perfect. If there's a small changing bench or privacy screen nearby, a motion-activated battery puck light inside gives hands-free light exactly when you need it. Keep any hardwired fixture on a GFCI circuit and at least 5 feet from the water, and choose enclosed, wet-rated fixtures for anything within splash reach. This tiny zone takes an hour to light and you'll wonder how you ever soaked without it.
Suggested budget range: $25 – $75.

14. Ring the Perimeter with Solar Stake Lights
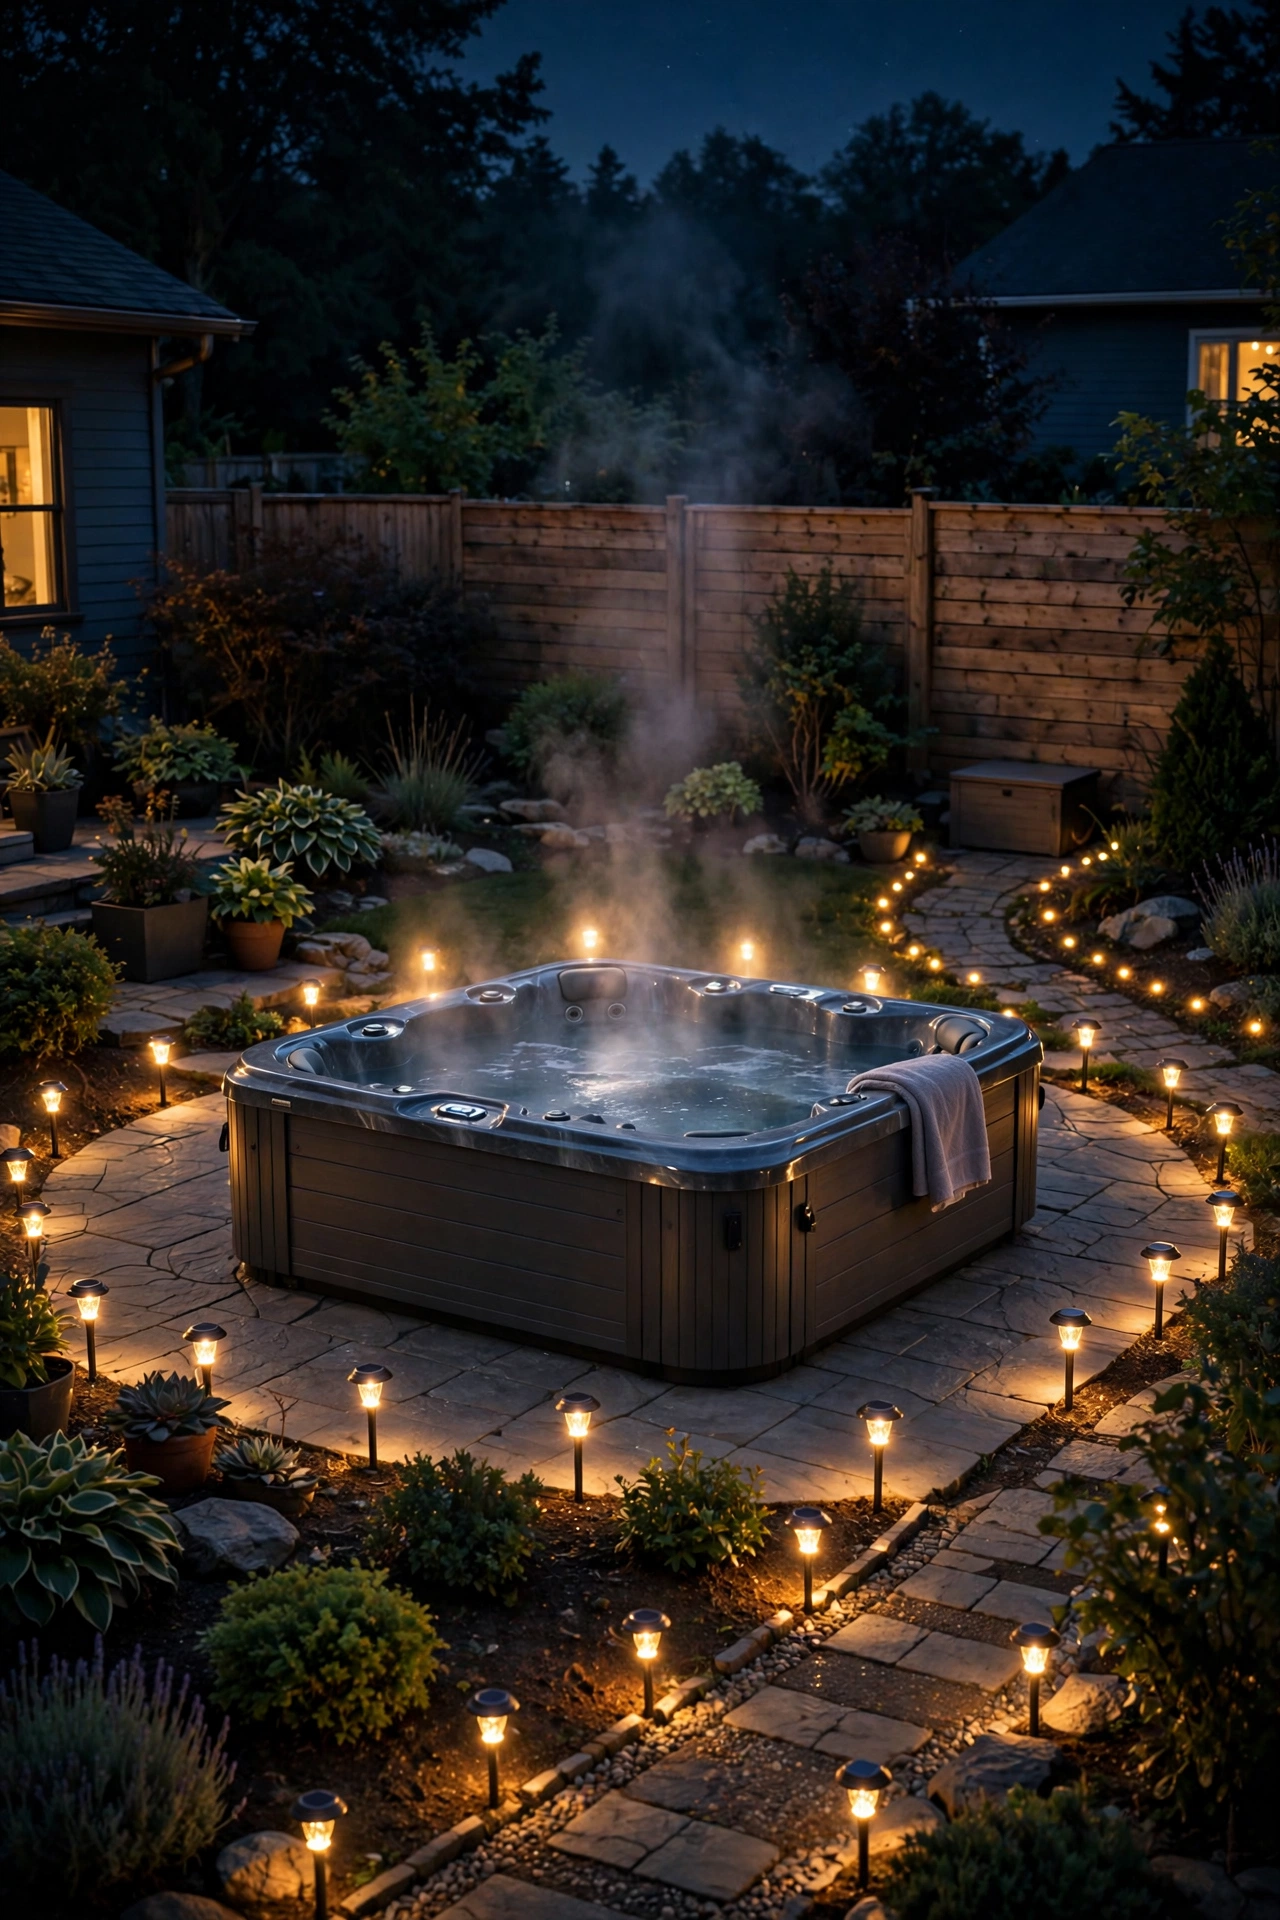
Solar stake lights get a bad rap from the dim blue ones of a decade ago, but modern warm-white solar stakes are genuinely useful for outlining a spa area — and they install in about ten minutes with zero wiring. I use them as a boundary layer: they mark the edge of the patio or the planting bed around the tub so the lit zone feels intentional rather than spilling into darkness.
Push 6 to 10 stakes into the ground in a loose ring 3 to 4 feet out from the patio edge, spaced about 4 to 5 feet apart. Pick warm-white models (3000K or warmer — check the specs, because cool-white solar stakes still dominate the cheap end) with at least 8 to 10 hours of runtime and a decent panel size. They need a full day of sun to perform, so skip them in deep shade and rely on low-voltage there instead. In winter, when nights are long, expect dimmer output and shorter runtime — that's normal, not a defect. Keep them back from the tub so they're never in a splash zone, and clear snow or leaves off the panels weekly in fall and winter.
Suggested budget range: $30 – $90.
15. Add a Star-Projector or Aurora Effect Light
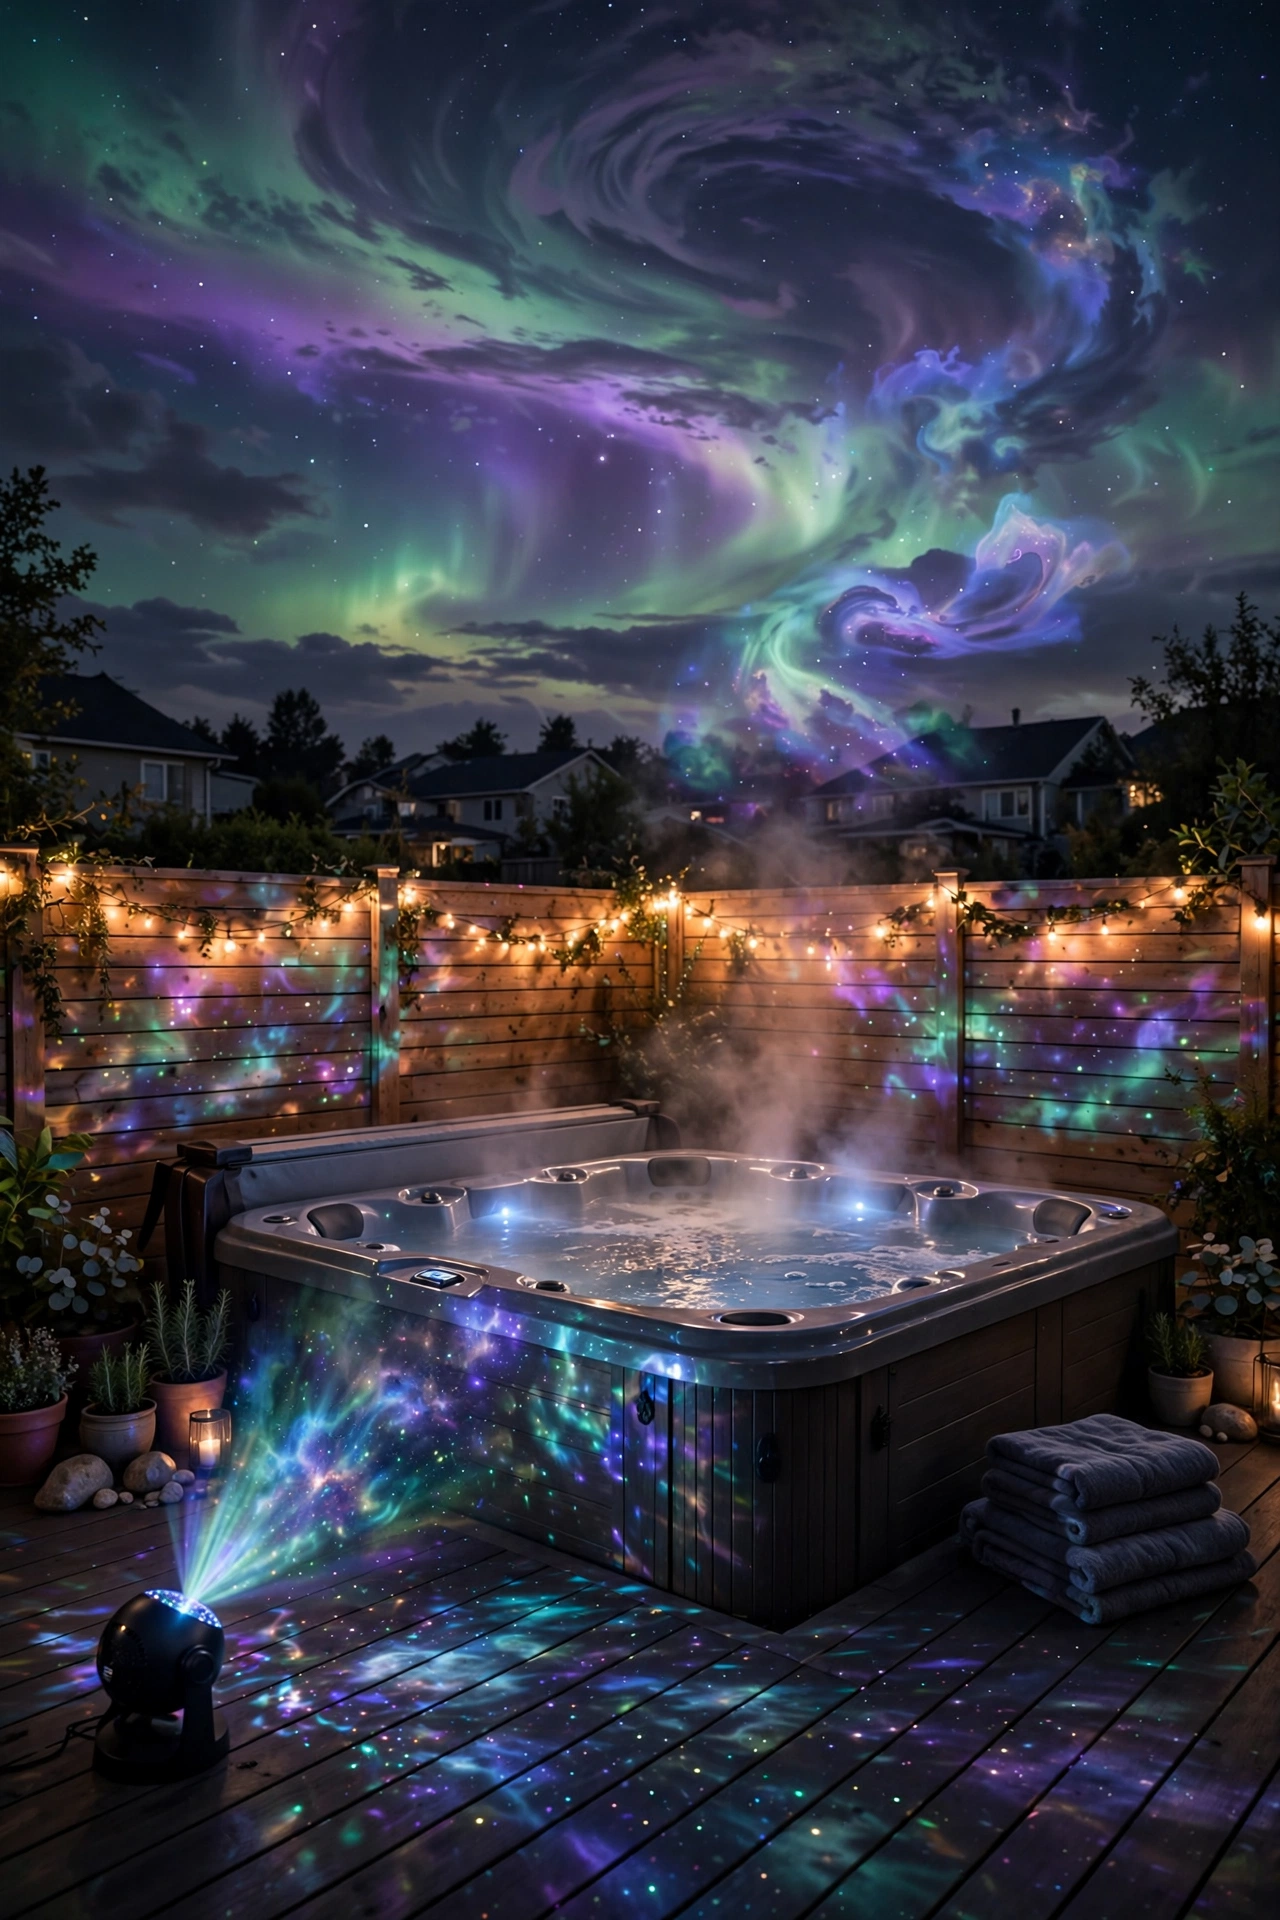
For the grand finale: an outdoor-rated star or aurora projector aimed at the fence, the house wall, or the underside of a pergola turns your soak into a light show. These little projectors paint slowly drifting nebula clouds, stars, or wave patterns across a surface — and under hot tub steam, the effect is honestly otherworldly.
Set the projector on a stable surface or tripod 10 to 15 feet from the surface you're projecting onto, plugged into a GFCI-protected outdoor outlet with a timer (these are line-voltage devices, so keep them at least 10 feet from the tub and never in a splash zone). Aim it so the pattern washes the wall behind the tub rather than shining into anyone's eyes. Green-and-blue aurora modes are the most relaxing; red laser-star modes read more festive. Most units include a remote with slow, medium, and still modes — pick slow or still for soaking. Cover or store the projector when rain is heavy unless it's fully weatherproof, and never look directly into the beam. If you love this kind of playful atmosphere, my outdoor New Year's Eve lighting post has more color-effect ideas you can adapt year-round.
Suggested budget range: $35 – $110.
Frequently Asked Questions
Is it safe to put lights around a hot tub?
Yes — as long as you follow two non-negotiable rules. First, use only low-voltage (12V), battery-powered, or solar lighting within a few feet of the water; never run 120V mains-voltage fixtures or extension cords within reach of the tub or its splash zone. Second, every outdoor circuit — string lights, transformers, smart plugs — must be plugged into a GFCI-protected outlet, which cuts power instantly if it detects a ground fault. Keep all fixtures out of the direct splash zone, use outdoor/wet-rated fixtures everywhere, and if you're ever unsure, an electrician can check your setup in under an hour.
Should I use solar or low-voltage lighting near my hot tub?
Honestly, the best setups use both. Low-voltage 12V lighting is my pick for anything important — step lights, path lights, fence washes — because it's reliable every night regardless of weather, runs off one timer, and stays bright all evening. Solar is perfect for decorative, low-stakes spots: perimeter stakes, flame torches, and accent lanterns where dimming in winter is acceptable. Just remember that solar needs direct sun to charge, so it's a poor choice under covers, trees, or on the north side of a fence.
What color temperature is best for a relaxing hot tub atmosphere?
Warm white, always — 2700K to 3000K. That's the color of candlelight and old-fashioned porch bulbs, and it makes skin tones look good, keeps the mood intimate, and doesn't kill your night vision. Cooler temperatures (4000K and up) feel clinical and energizing, which is the opposite of what you want during a soak. If you use color-changing bulbs, start scenes from warm white and fade slowly; avoid fast color-chase modes that turn a spa night into a dance floor.
How much does it cost to light a hot tub area?
A cozy setup starts around $100 to $150 — a string-light canopy, LED candles, and a few solar stakes genuinely transform the space. A layered, wired setup with low-voltage step lights, a fence wash, and automation typically runs $300 to $600. Splurge projects like fiber-optic star ceilings push $600 to $1,000+. In my experience, starting with the cheap wins and adding one wired project per season is the smartest way to build it out.
The Layered Glow That Makes Every Soak Feel Like a Getaway
If you take one principle away from these hot tub lighting ideas, let it be this: light the space in layers, not in one blast. A soft canopy overhead, a gentle glow at ground level, and a little task light exactly where you need it — that's the recipe that turns an ordinary backyard tub into the spot everyone fights over on Friday night. Start with the easy wins this weekend (string lights and lanterns take an afternoon), keep every circuit low-voltage and GFCI-protected near the water, and add one new layer each season.
Want more inspiration for the rest of your yard? Browse our other outdoor lighting ideas and keep the glow going from the front porch to the back fence.