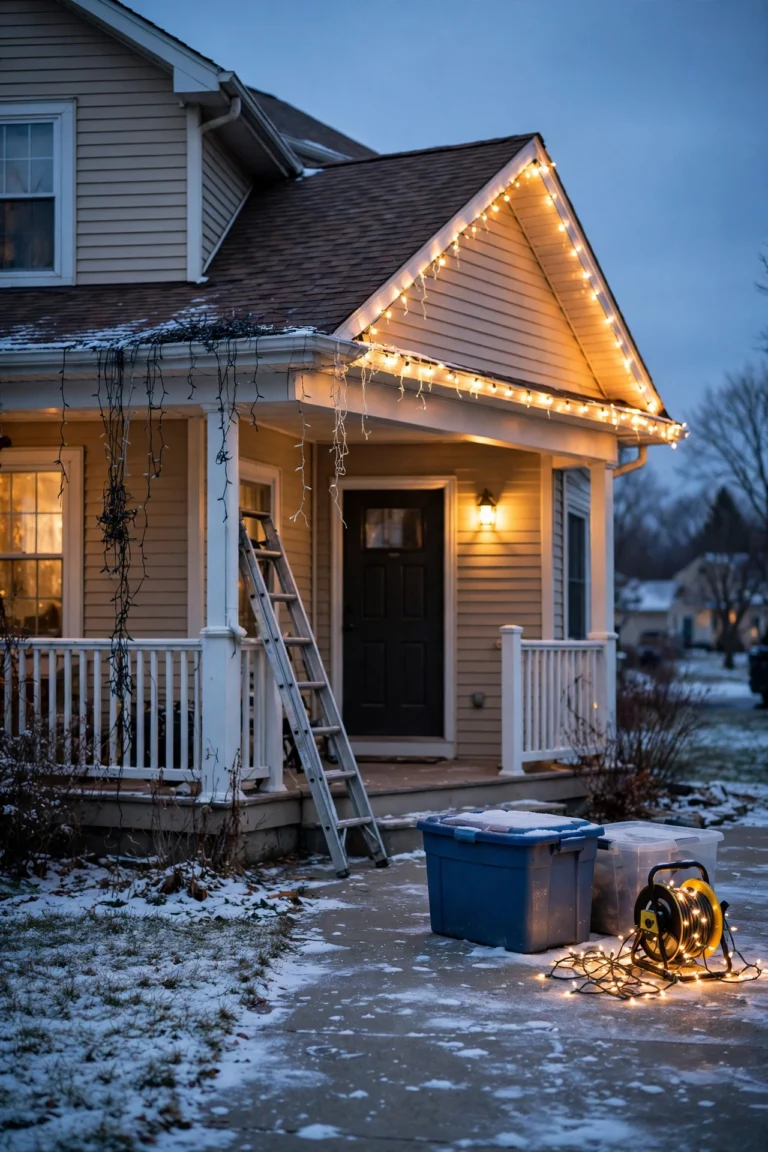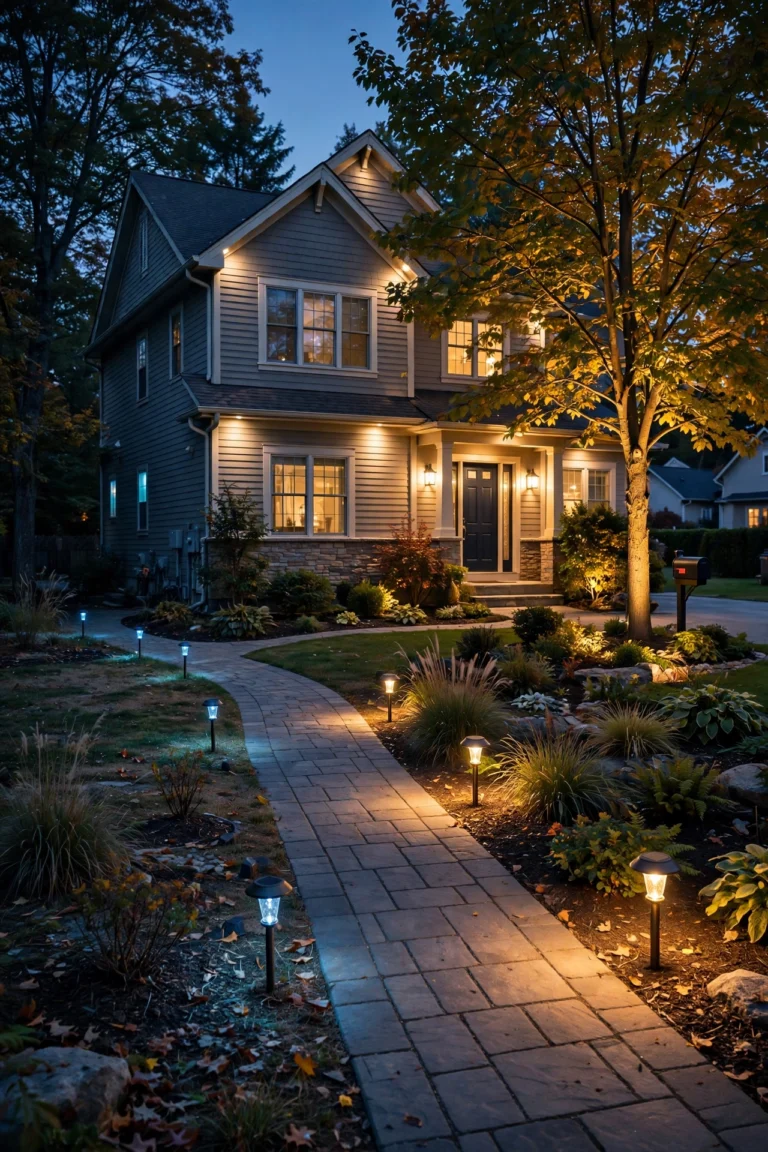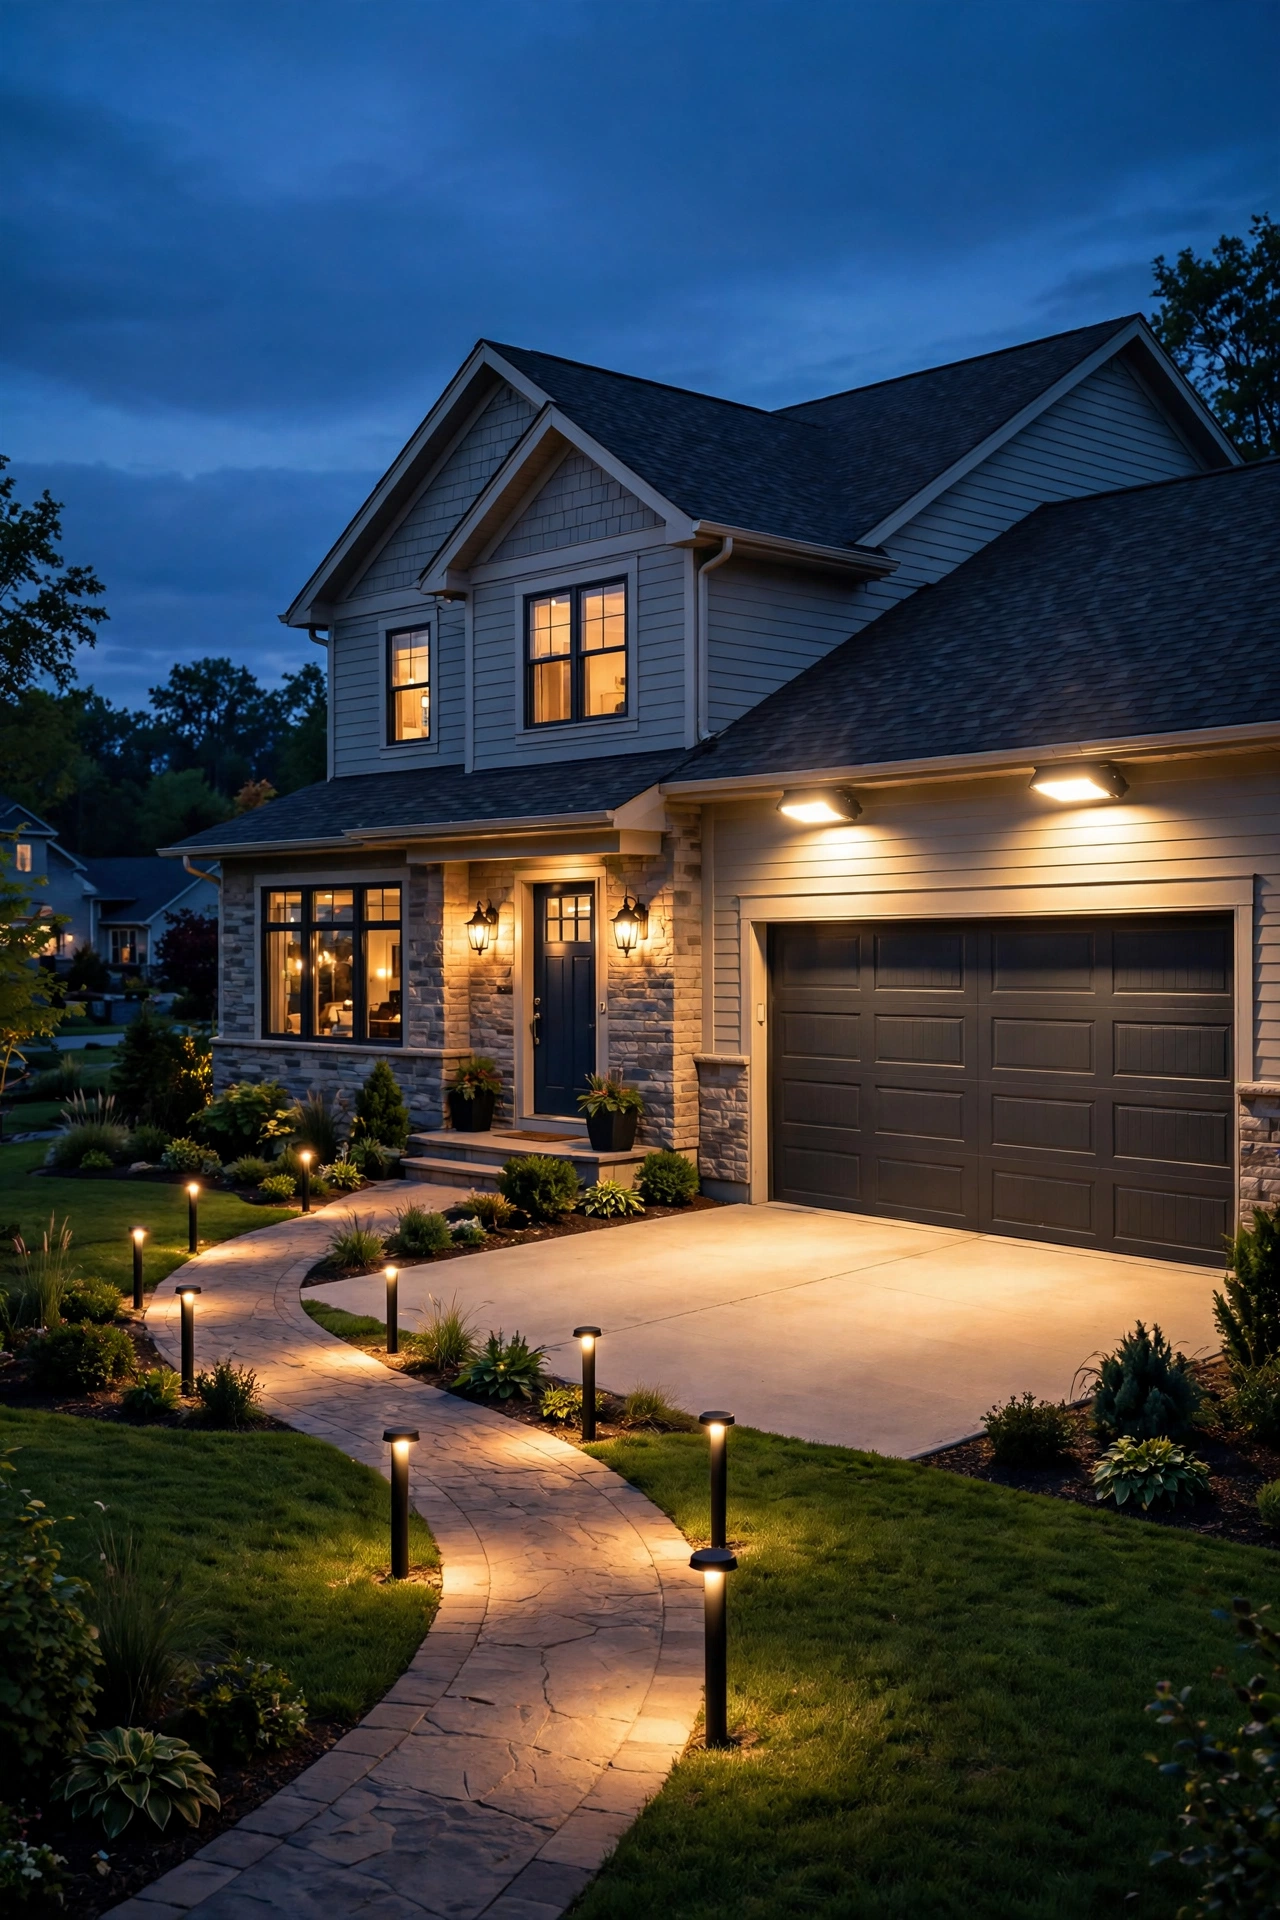
When I first got serious about outdoor lighting for home security, I did what most of us do — I bought a bright floodlight, stuck it above the garage, and felt safer for about a week. Then one night I came home late and noticed something humbling: my own side yard was pitch black, my back door was barely visible from the street of light I'd created, and my new "security light" was blasting straight into my neighbor's bedroom window. It was security theater, not security.
Here's the thing I've learned since, both from research and from living in the house I lit properly over time: light genuinely deters break-ins, but only when it's placed with intention. Random brightness actually works against you — it creates deep shadows, blinds your cameras, and annoys the people who might otherwise notice something suspicious around your home. A real plan lights your home in layers, zone by zone, the way a smart burglar would walk it.
By the end of this guide, you'll know exactly what works and what doesn't, where every light should go around your property (front, sides, back, and every dark corner between them), how motion sensors compare with dusk-to-dawn fixtures, the mounting heights and brightness levels that actually matter, what a full setup costs in 2026, and the seven mistakes that make most "security lighting" worthless. Let's walk your property together.
The Short Answer
The best outdoor lighting for home security combines always-on low lighting along walkways and entries with motion-activated floodlights covering driveways, side yards, and dark corners. Mount floodlights 10 to 12 feet high, aim beams outward and down (never at doors or cameras), use warm-to-neutral white LEDs (3000K–4000K), and keep every entry, window, and approach visible from the street or from neighboring houses. The goal isn't maximum brightness — it's eliminating hiding spots so anyone near your home is always seen.
How Outdoor Lighting for Home Security Actually Deters Intruders
In my experience, this is where most security lighting plans go wrong — they're built on the assumption that "more light equals more safety," and that's only half true. What actually deters an intruder is the feeling of being seen. Studies and police department crime-prevention guidance consistently point to the same conclusion: burglars overwhelmingly prefer to work unseen. A well-lit property signals risk — neighbors or passersby might notice them, cameras can record usable footage, and escape routes are harder to navigate quietly.
But here's the part people miss. A single blinding floodlight above your garage doesn't accomplish this; in fact, it can help an intruder. Ultra-bright, poorly aimed light creates harsh contrast: the area directly under it is lit, but everything beyond the beam falls into deeper shadow than before your eyes adjusted. That wall of darkness beside the bright zone is a hiding place. Worse, if your light glares directly into your security cameras or into your neighbor's windows, you've degraded your footage and turned your closest allies (your neighbors) into annoyed adversaries who stop paying attention.
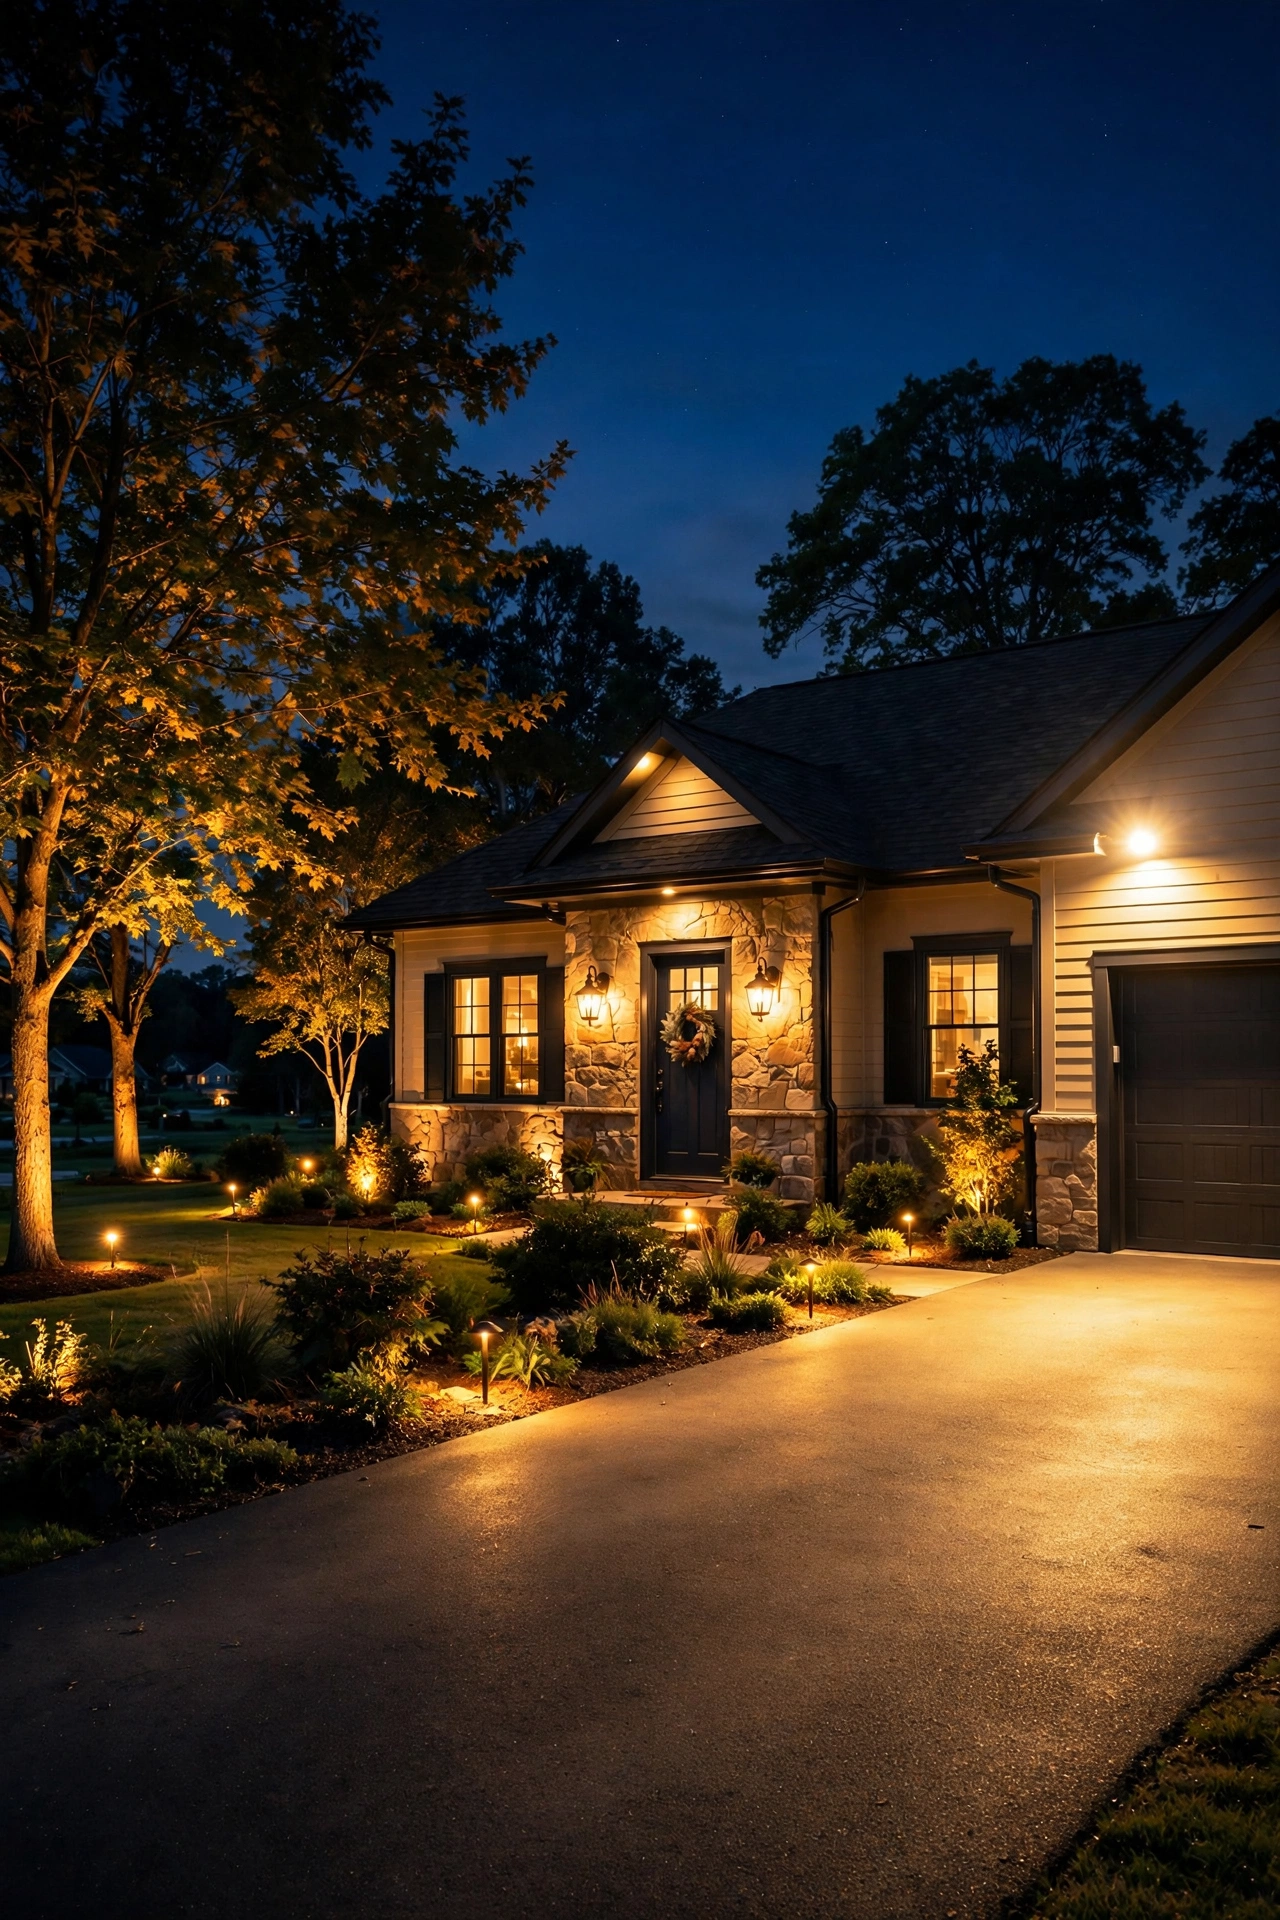
What works is layered, even lighting with no surprises. Soft ambient light keeps walkways and entries visible all night, so you never wonder who's at the door. Motion-triggered zones add a sudden "you've been noticed" jolt in the areas that should normally be quiet — side yards, back fences, the approach to ground-floor windows. And consistent perimeter visibility means a potential intruder can see from the street that there is simply nowhere dark to stand. Honestly? A home with modest but thoughtfully placed lighting looks harder to approach than a home with one stadium-bright fixture and shadows everywhere else. That's the principle behind everything that follows.
Start at the Front: Entry and Porch Lighting
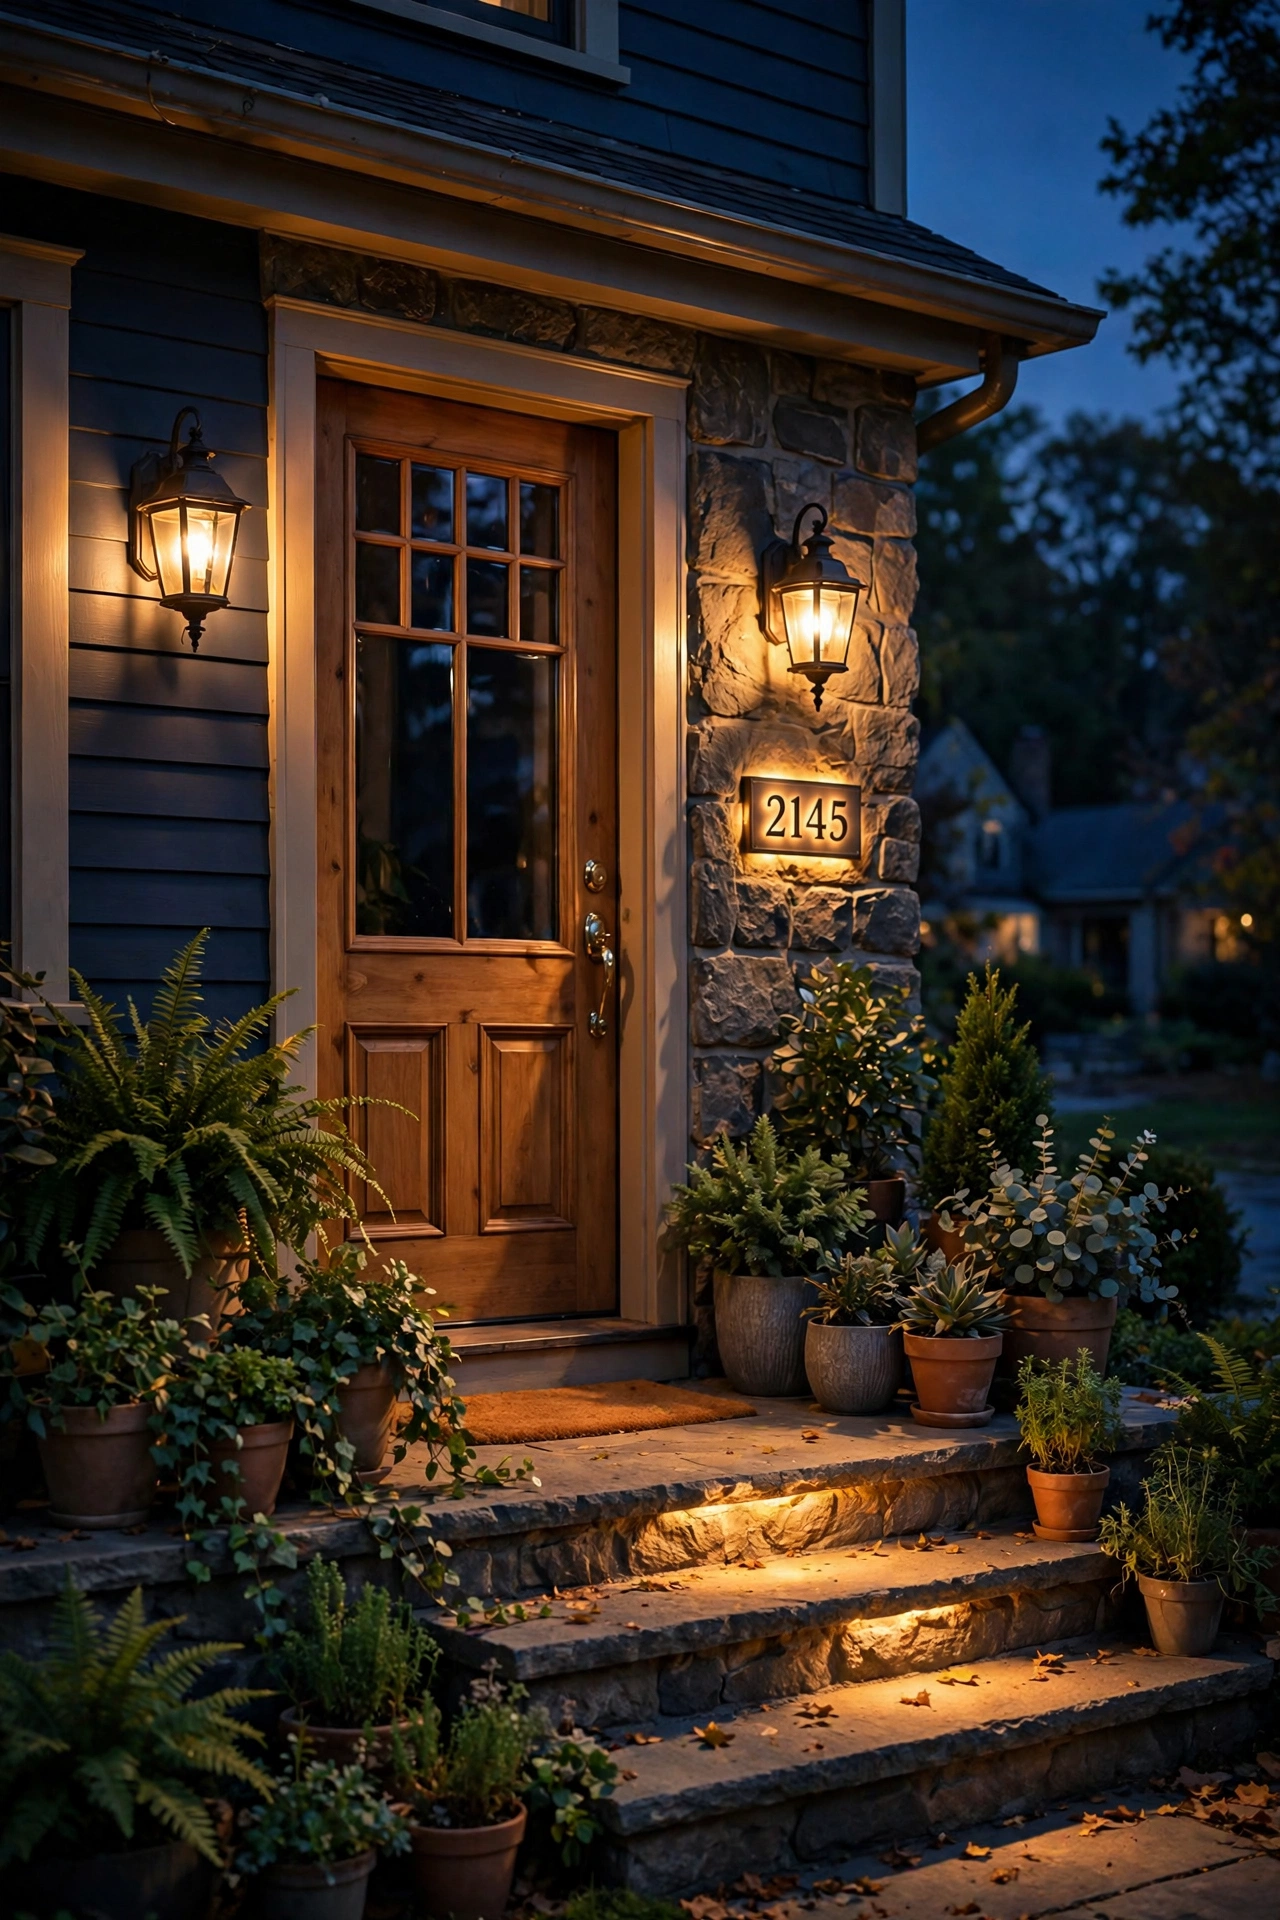
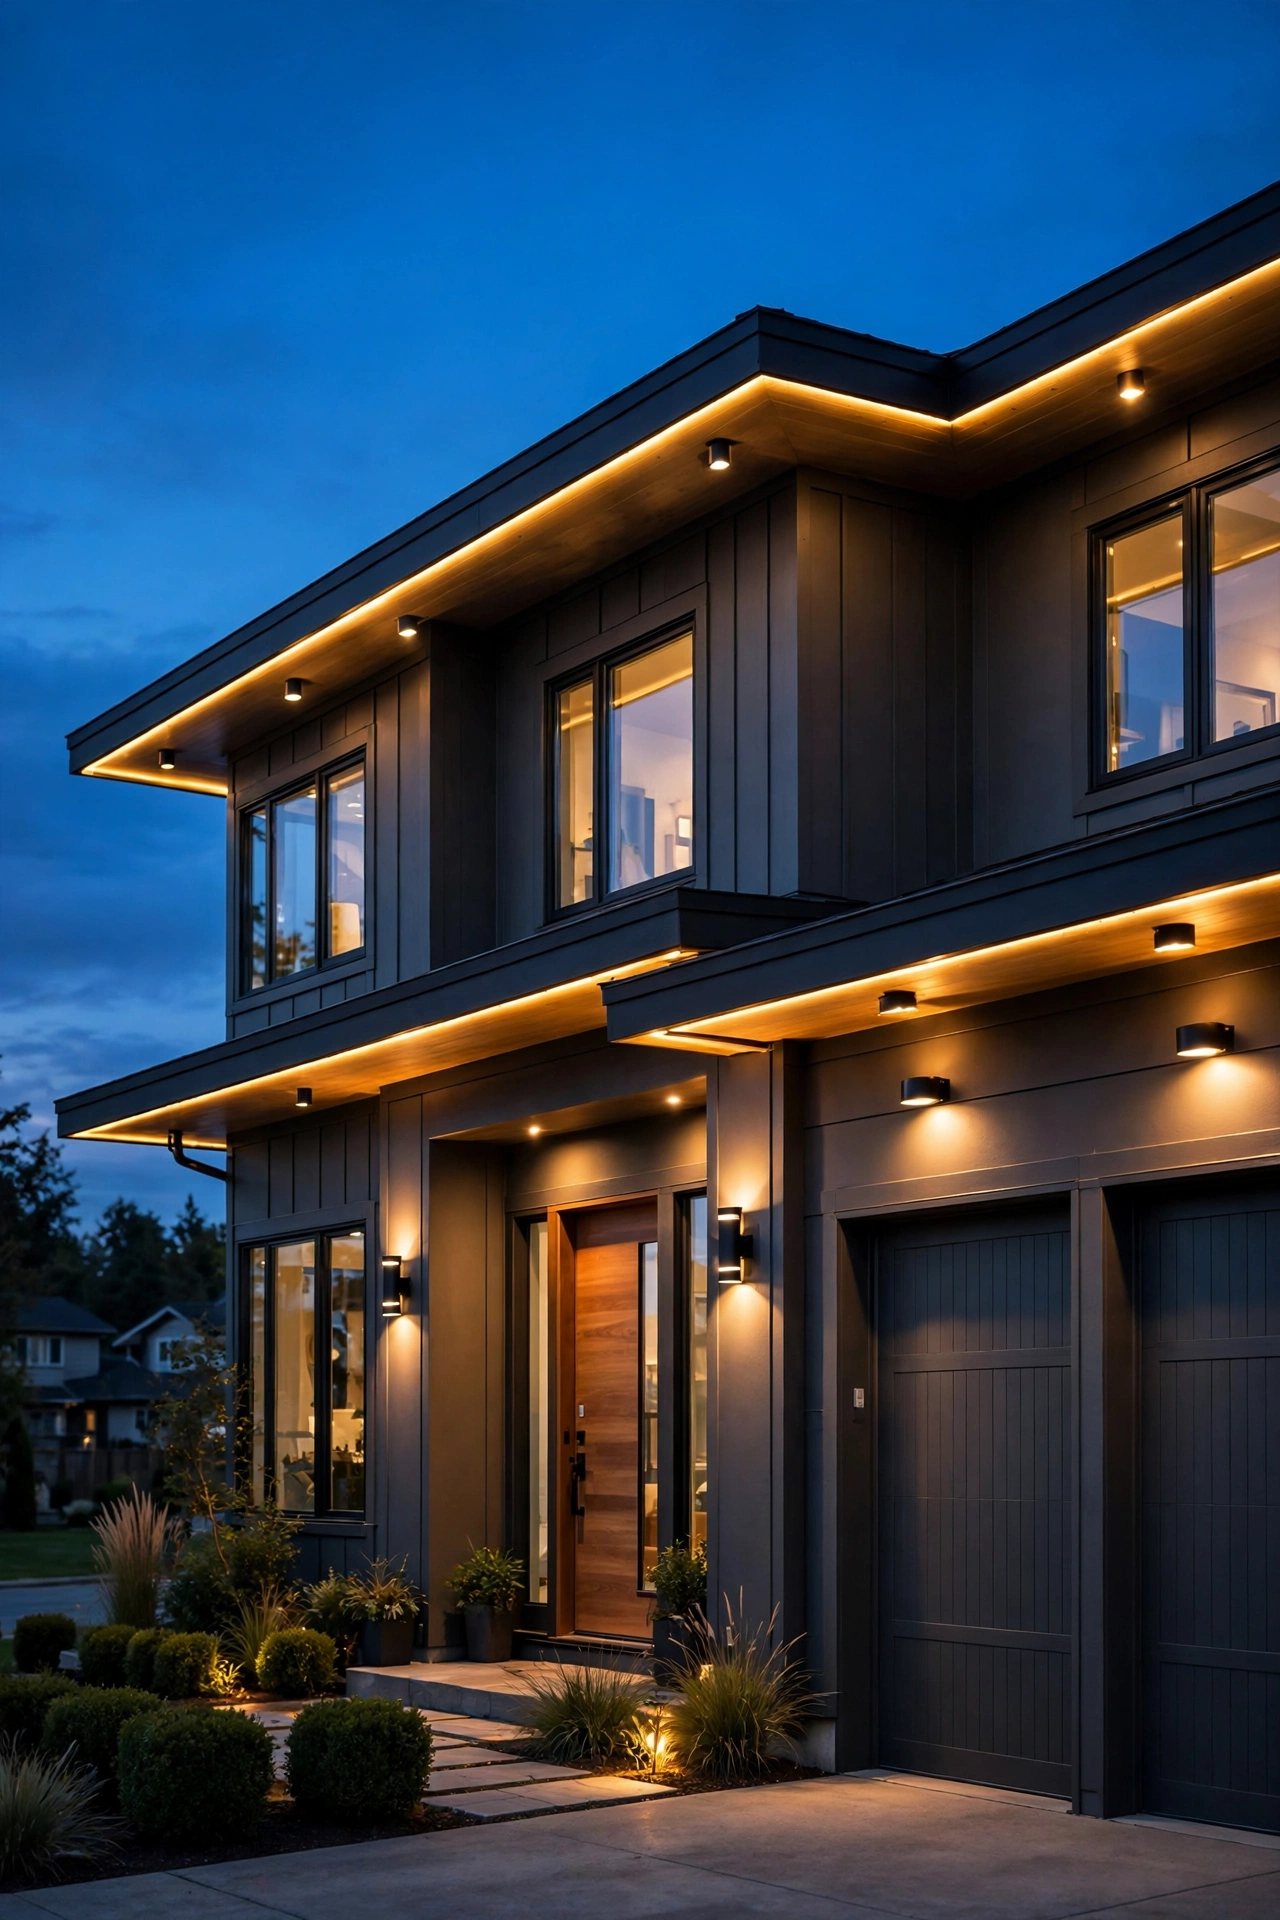
Your front entry is the single most important zone in any home security lighting plan, and it works differently from the rest of your property. The goal here isn't to startle anyone — it's constant, welcoming visibility. Every approach to your front door should be lit well enough that a stranger would feel watched walking up to it, day or night. That means sconces flanking the front door, a lit path from the driveway or sidewalk, and enough glow on the entry that your doorbell camera or door viewer works perfectly.
Mount wall sconces 60 to 66 inches from the porch floor to the center of the fixture — roughly eye level. Place them 8 to 12 inches to the side of the door frame, on both sides if your door is 36 inches or wider. This height keeps the light off faces' harsh top-down shadows and avoids the glare you get when fixtures sit too high. Use 3000K warm white bulbs around 450 to 800 lumens per sconce; that's plenty for a porch without turning your entry into an interrogation room.
Your house numbers matter more than most people think — they're how emergency services find you at night. Backlit or directly illuminated house numbers readable from 30 feet are a small upgrade with a real purpose. And keep your porch lights on dusk-to-dawn, not motion-triggered: a visitor, delivery driver, or family member should never trigger a sensor just walking up to your front door. The front of your home should simply always look lived-in and awake. Motion lights belong at the zones nobody should be visiting after dark.
Driveway and Garage: Stop the "Nobody's Home" Look
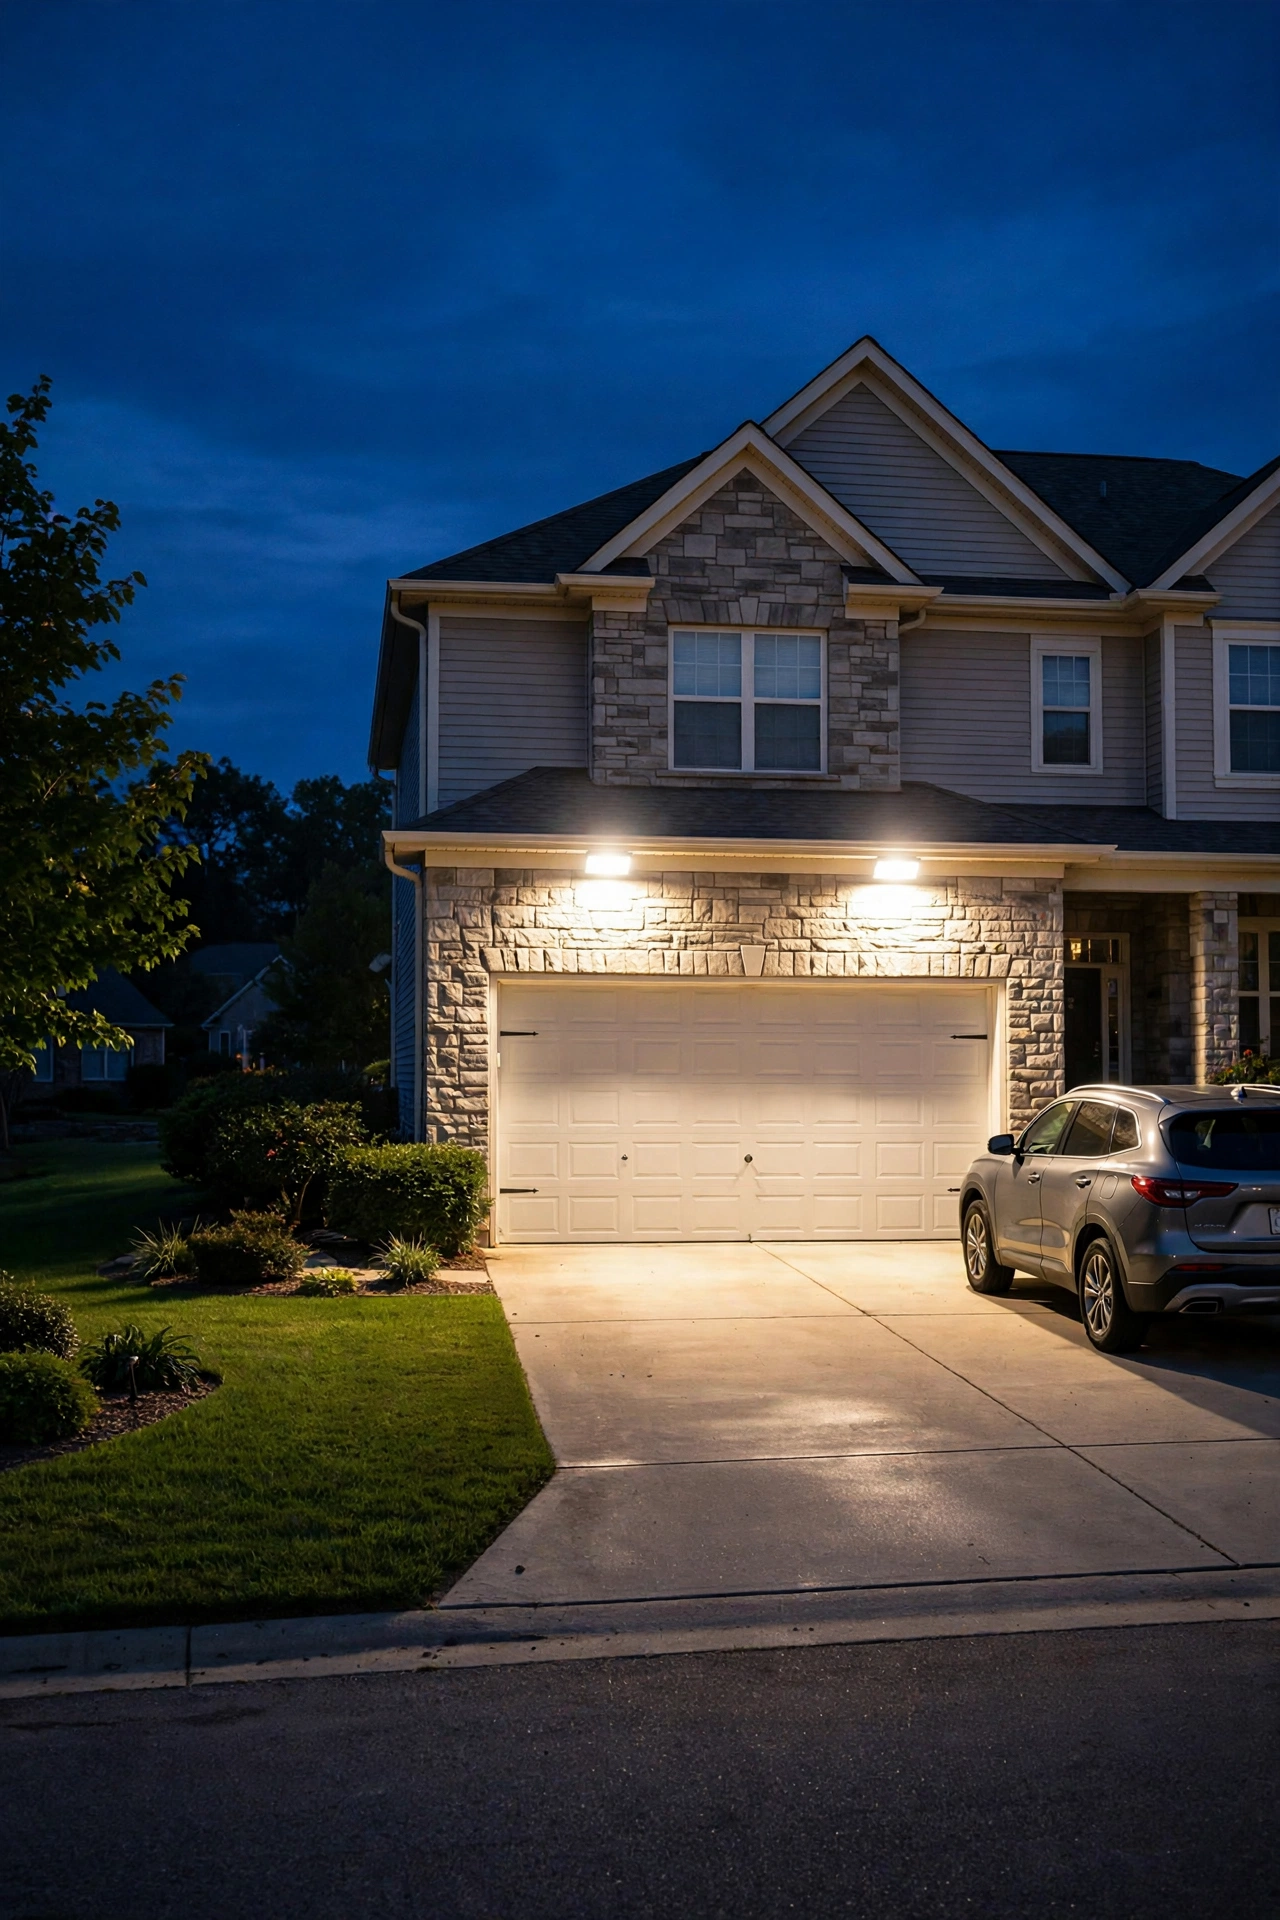
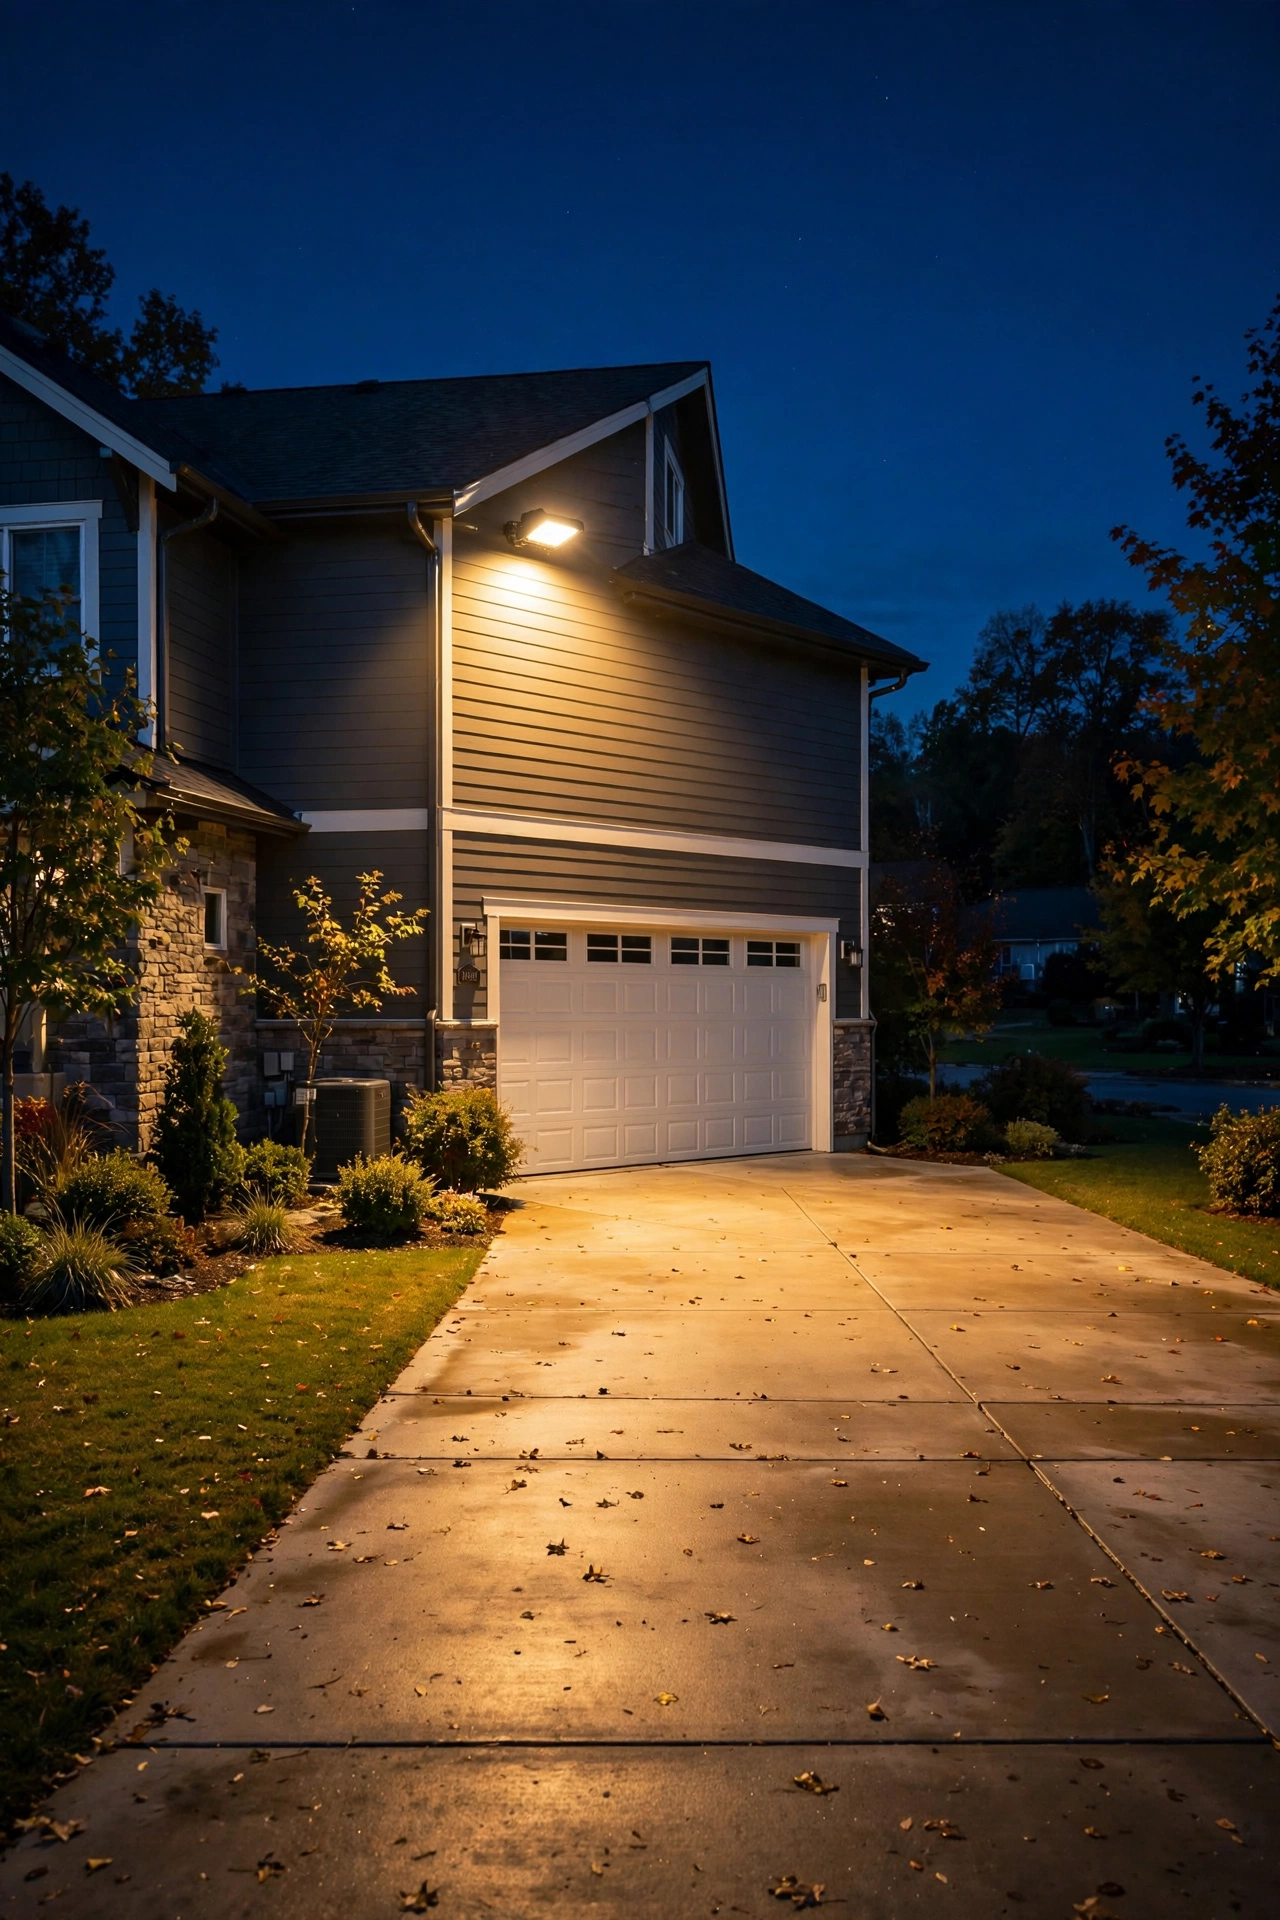
A dark driveway tells the whole street one thing: nobody's watching. It's also the approach route for more than half of residential break-ins, since garages hold tools, bikes, and often an interior door that homeowners forget to lock. This zone wants a two-layer approach — a steady low glow so the area never goes fully dark, plus motion-triggered floodlights that activate when someone actually approaches.
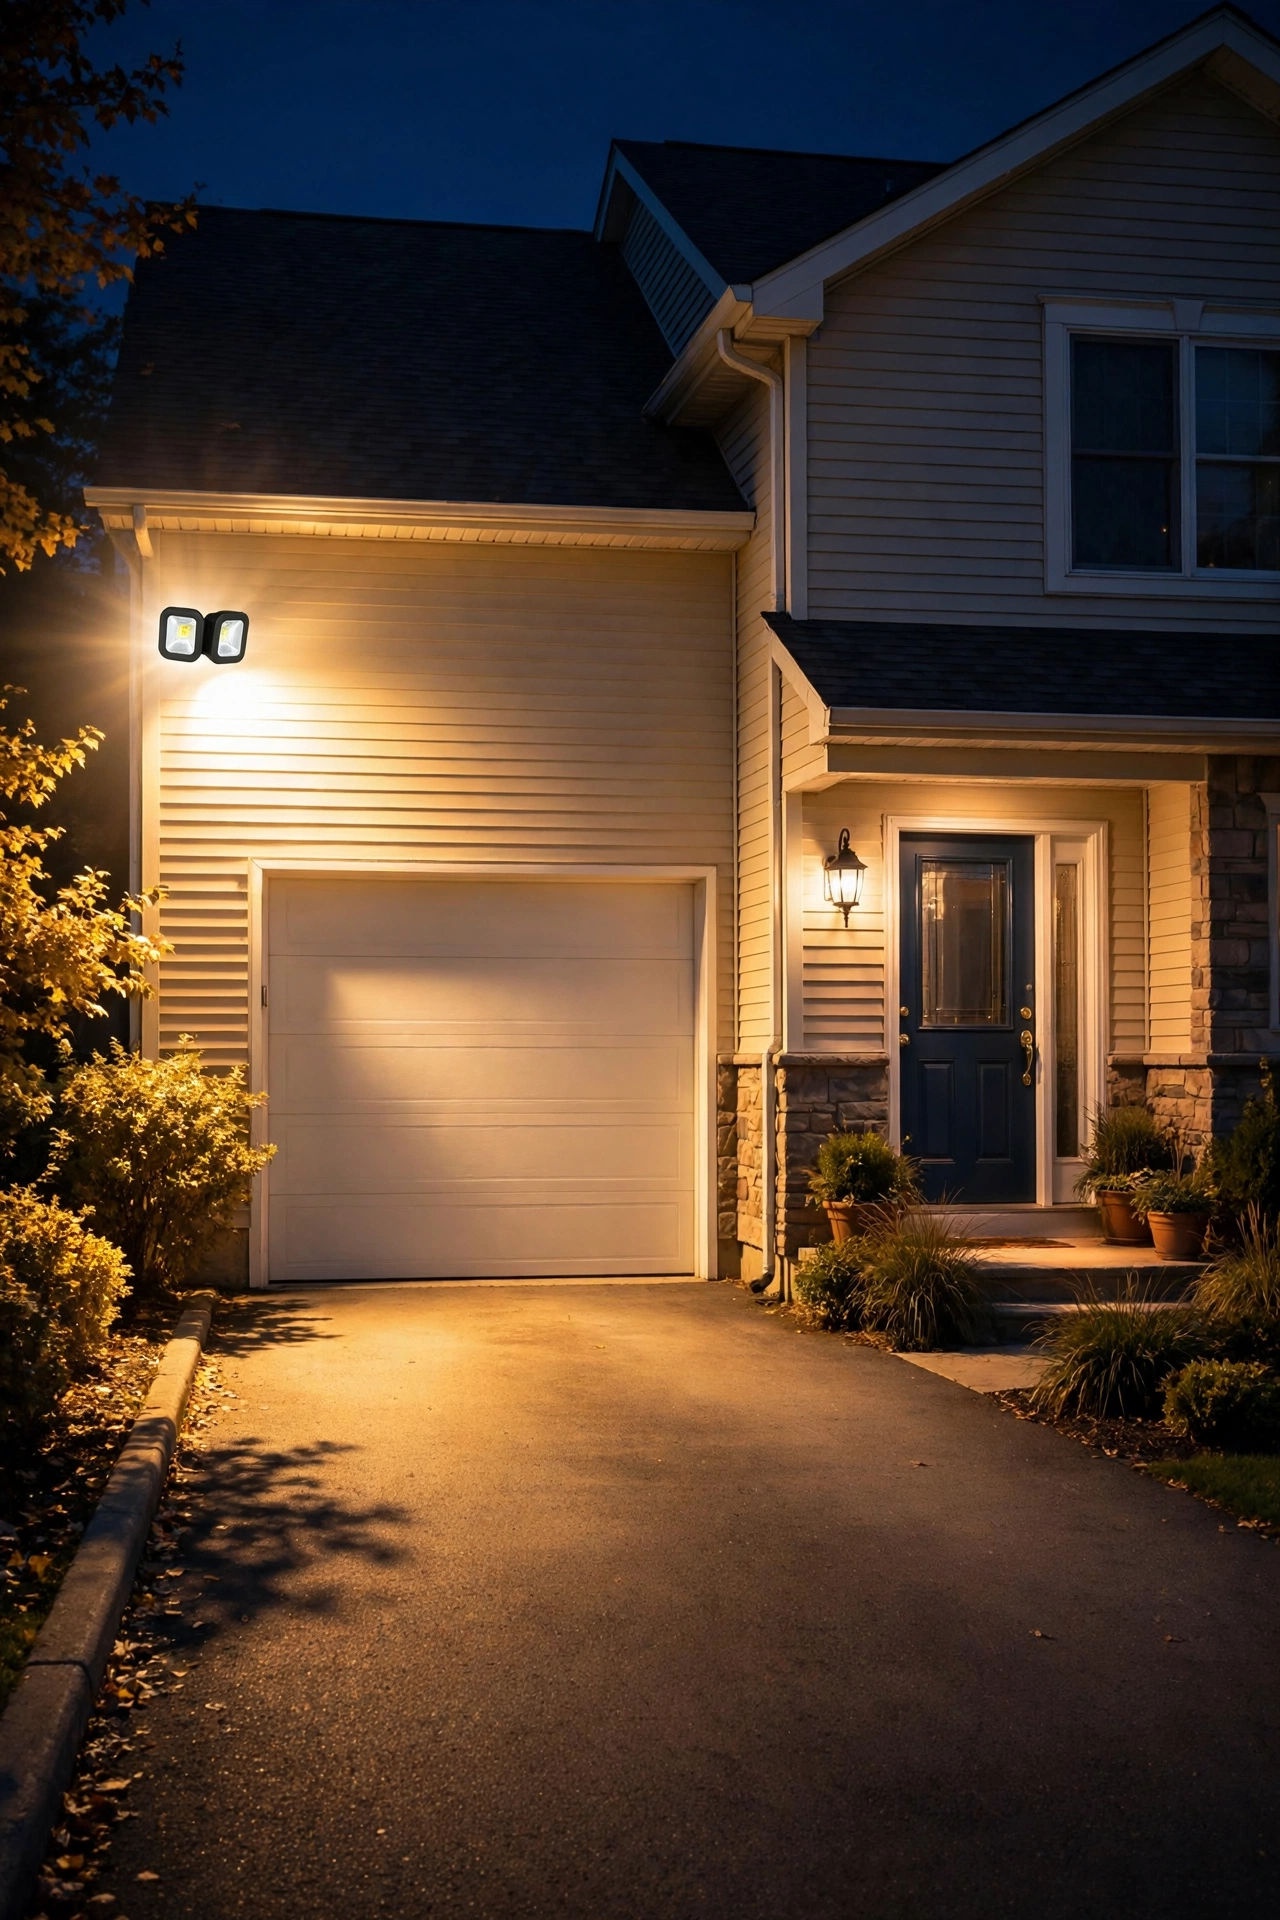
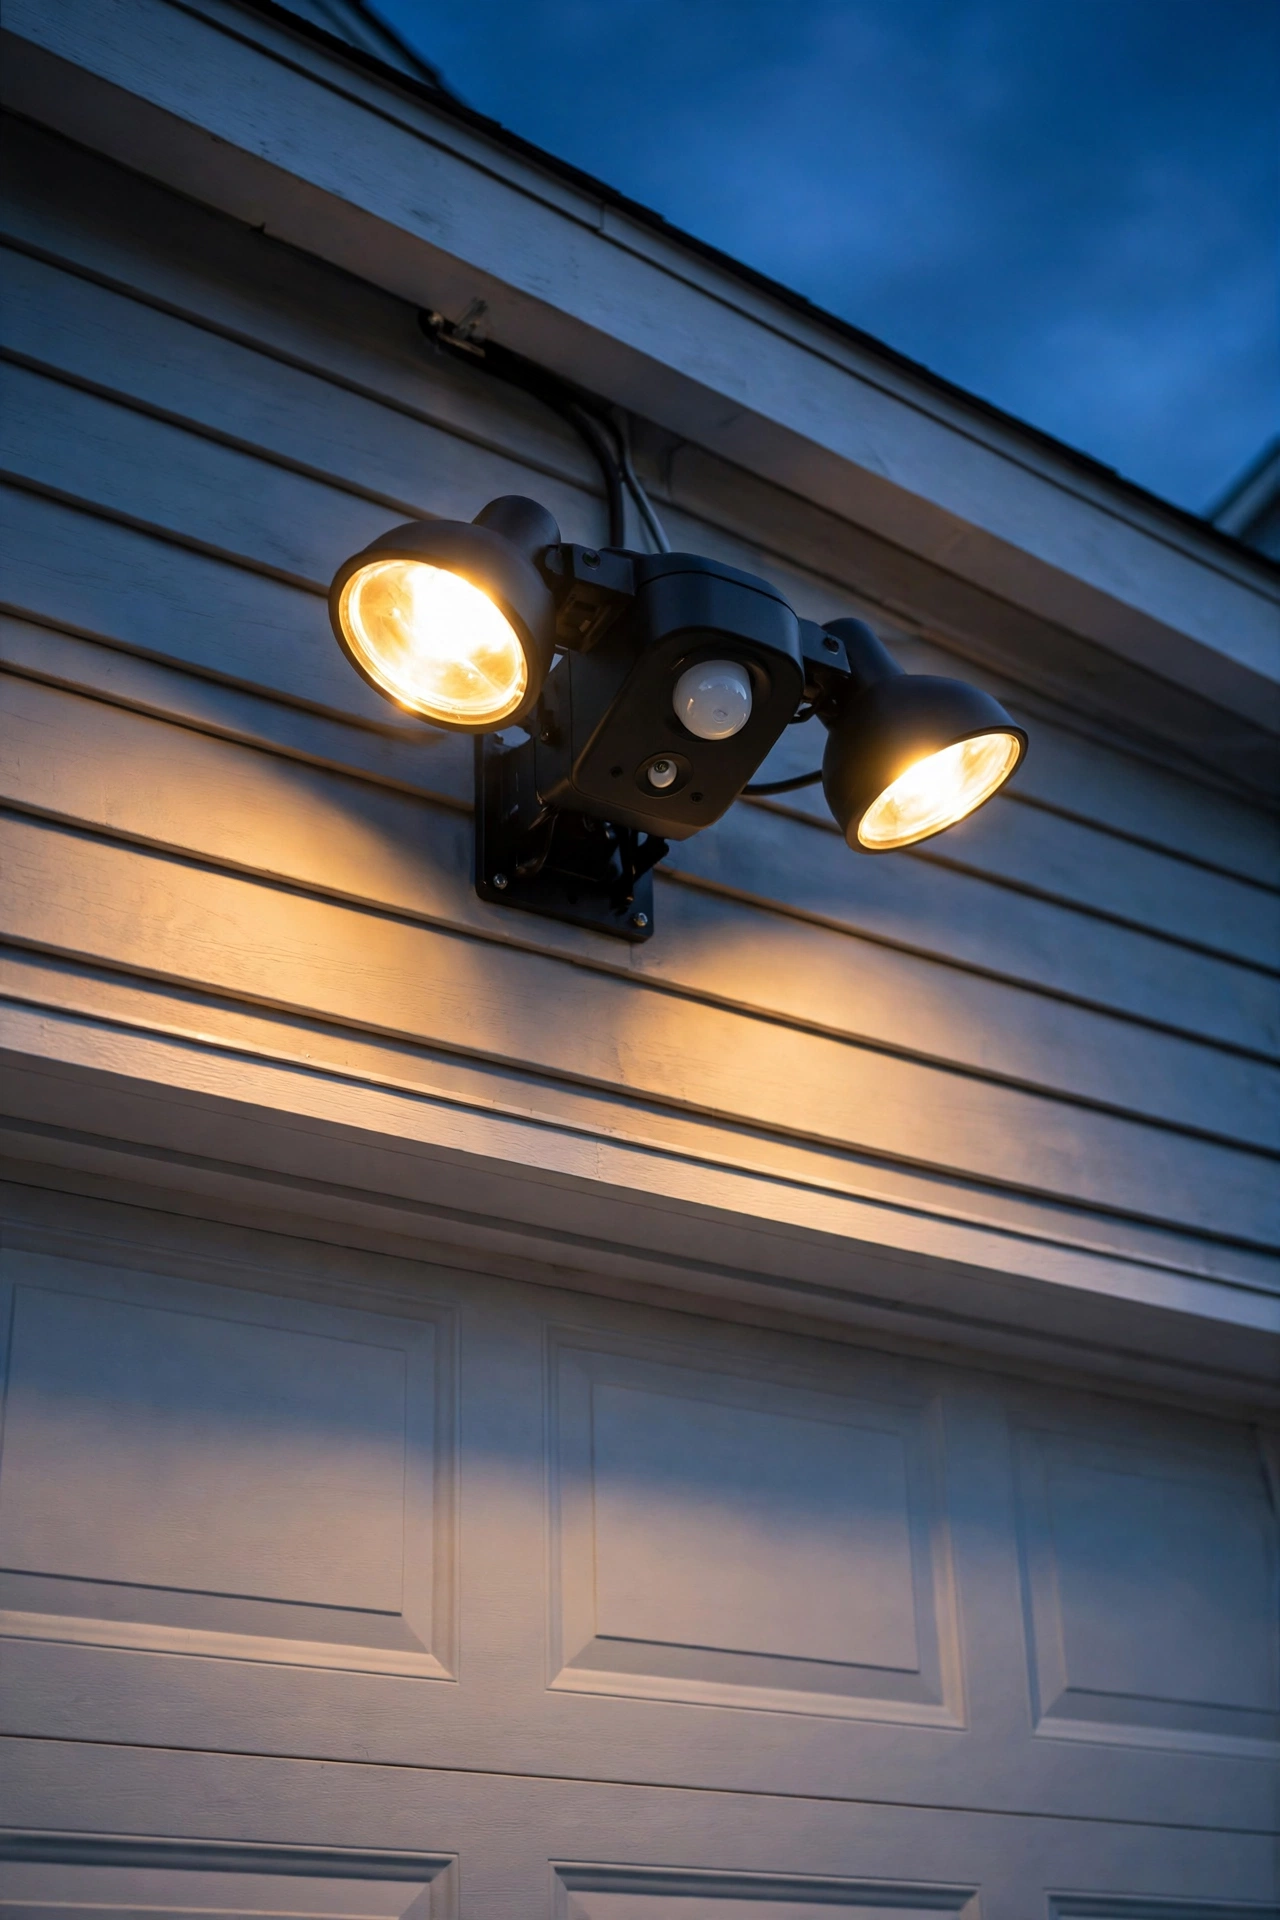
For the steady layer, low-voltage path lights along the driveway edge (spaced 8 to 10 feet apart) or a single coach light on each side of the garage door keeps the area visible and guides cars safely. For the trigger layer, mount an LED floodlight 10 to 12 feet high on the garage face or front corner, aimed outward and downward across the driveway at about a 30- to 45-degree angle. One well-aimed fixture can cover a standard two-car driveway; aim the beam so the light pool ends at your property line, not your neighbor's bedroom.
Here's a detail I wish someone had told me earlier: use a floodlight with adjustable dual heads so you can widen coverage without blasting one spot, and set the motion timer to at least 5 minutes so the light doesn't blink off while someone is still standing there. A light that snaps off after 30 seconds is worse than useless — it tells an intruder the house is empty and nobody noticed. When your motion sensors kick on and stay on for a sensible stretch, the message is clear: something detected you, and it's still watching.
Side Yards: The Forgotten Zone
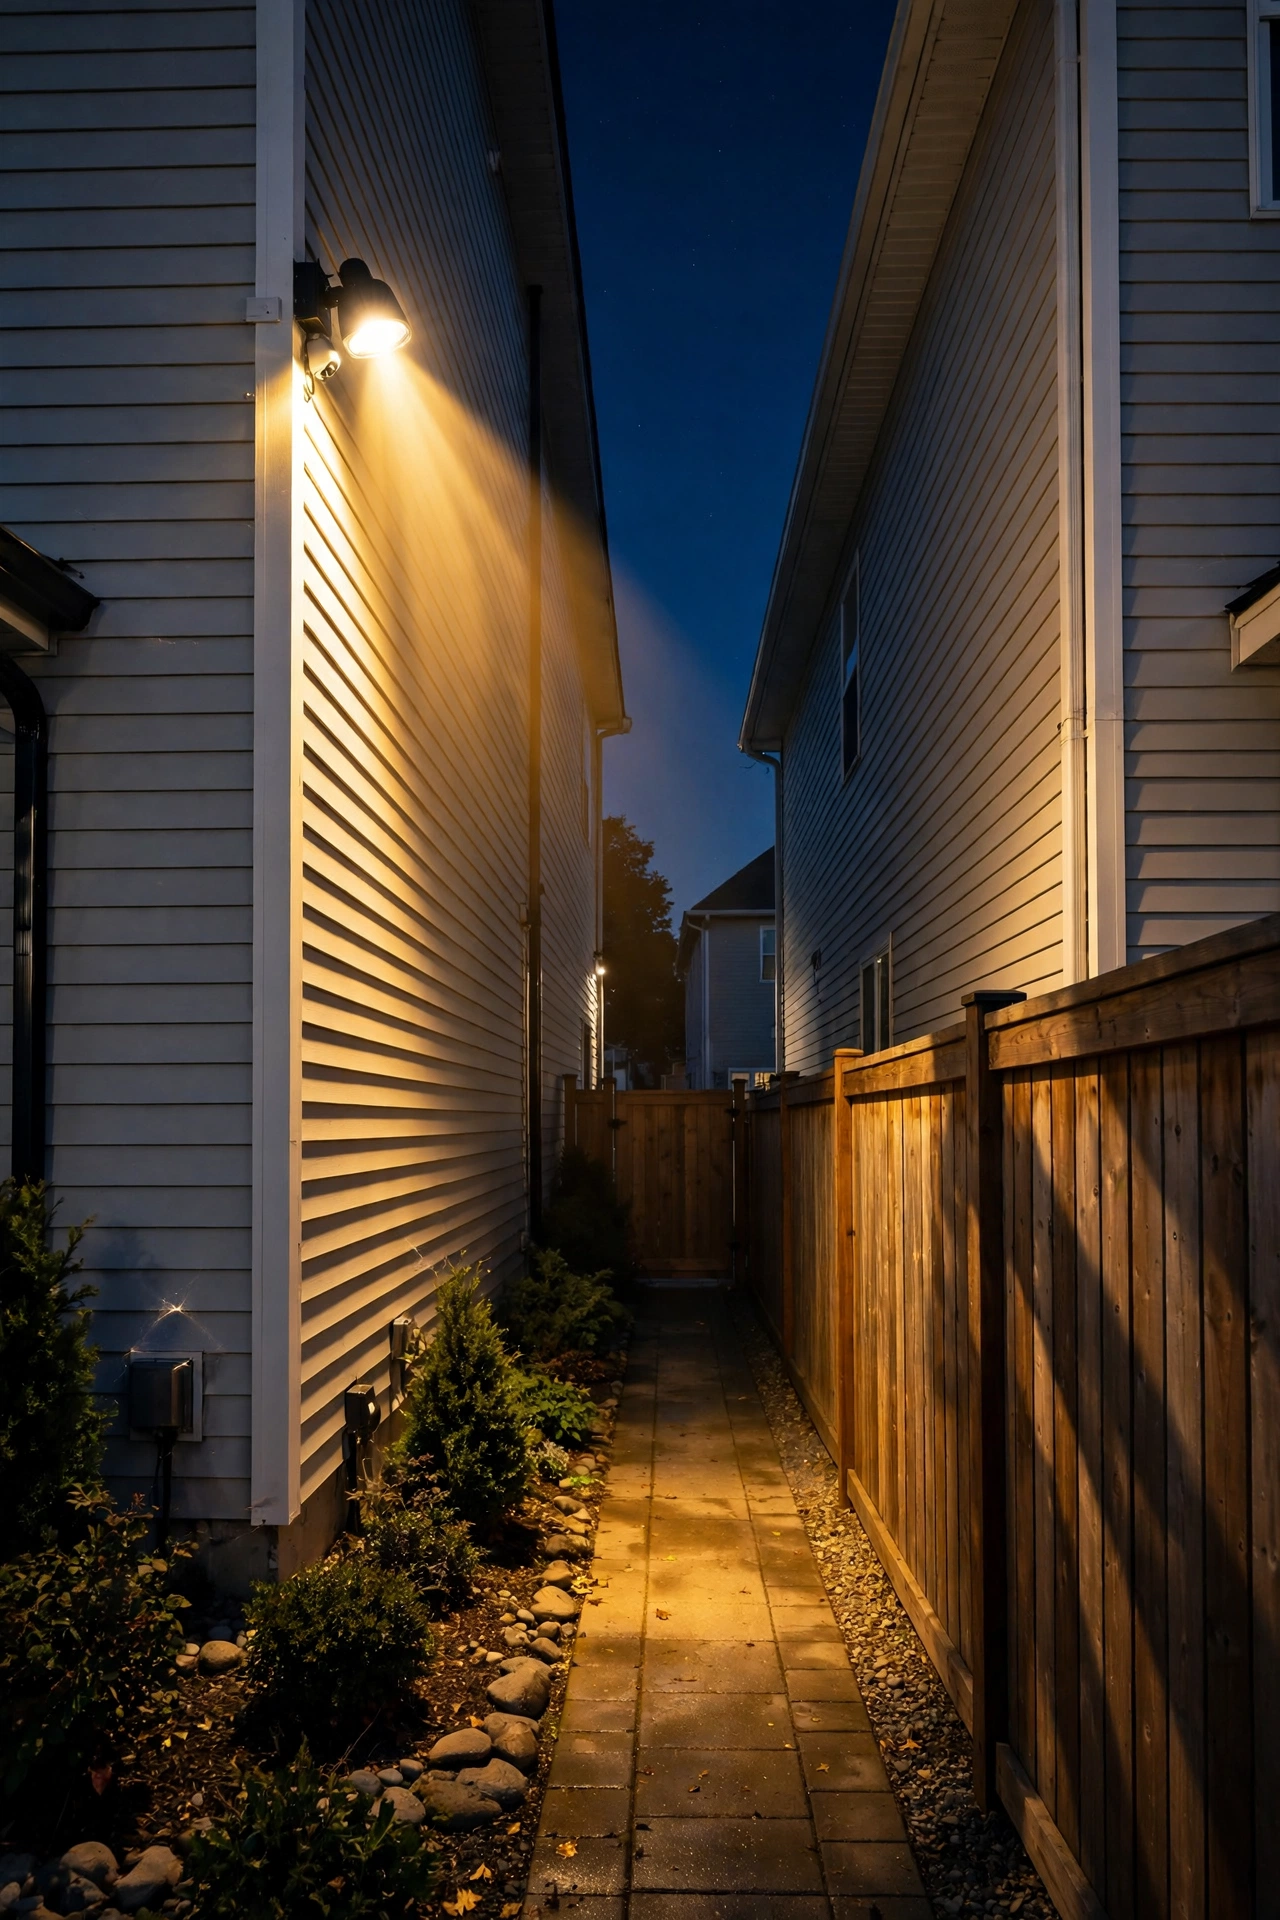
If you only take one thing from this whole guide, let it be this: light your side yards. In my experience, the narrow strip of grass between houses is the most common unlit approach in American suburbia — and burglars know it. Side gates, basement window wells, and side doors sit out of sight from the street and from neighbors, which is exactly why they're the preferred entry route for anyone who has cased your home. Yet most security lighting plans skip them entirely because homeowners rarely walk there after dark.
Side yards are ideal for motion sensors, because there's no reason anyone should be there routinely at night. A single LED motion floodlight mounted 8 to 10 feet high at the house corner can sweep a 40- to 60-foot side yard. Look for fixtures with a detection range of 40 to 70 feet and a wide detection angle (240 to 270 degrees is ideal for corner mounting), and aim the sensor slightly downward so it catches movement at ground level without being triggered by passing cars on the far side of a fence.
You don't need much brightness here — 1,000 to 2,000 lumens is plenty in a narrow zone, and smaller fixtures blend better against the house. What you need is surprise: the light should only come on when something is actually there. Set sensitivity to medium, and if pets or wildlife trigger it constantly, most modern sensors let you adjust the detection zone or angle the sensor downward a touch. A side yard that snaps to attention the moment someone steps into it is one of the strongest deterrents on your entire property — and it costs less than a single restaurant dinner.
Backyard and Patio: Light the Perimeter, Not the Party
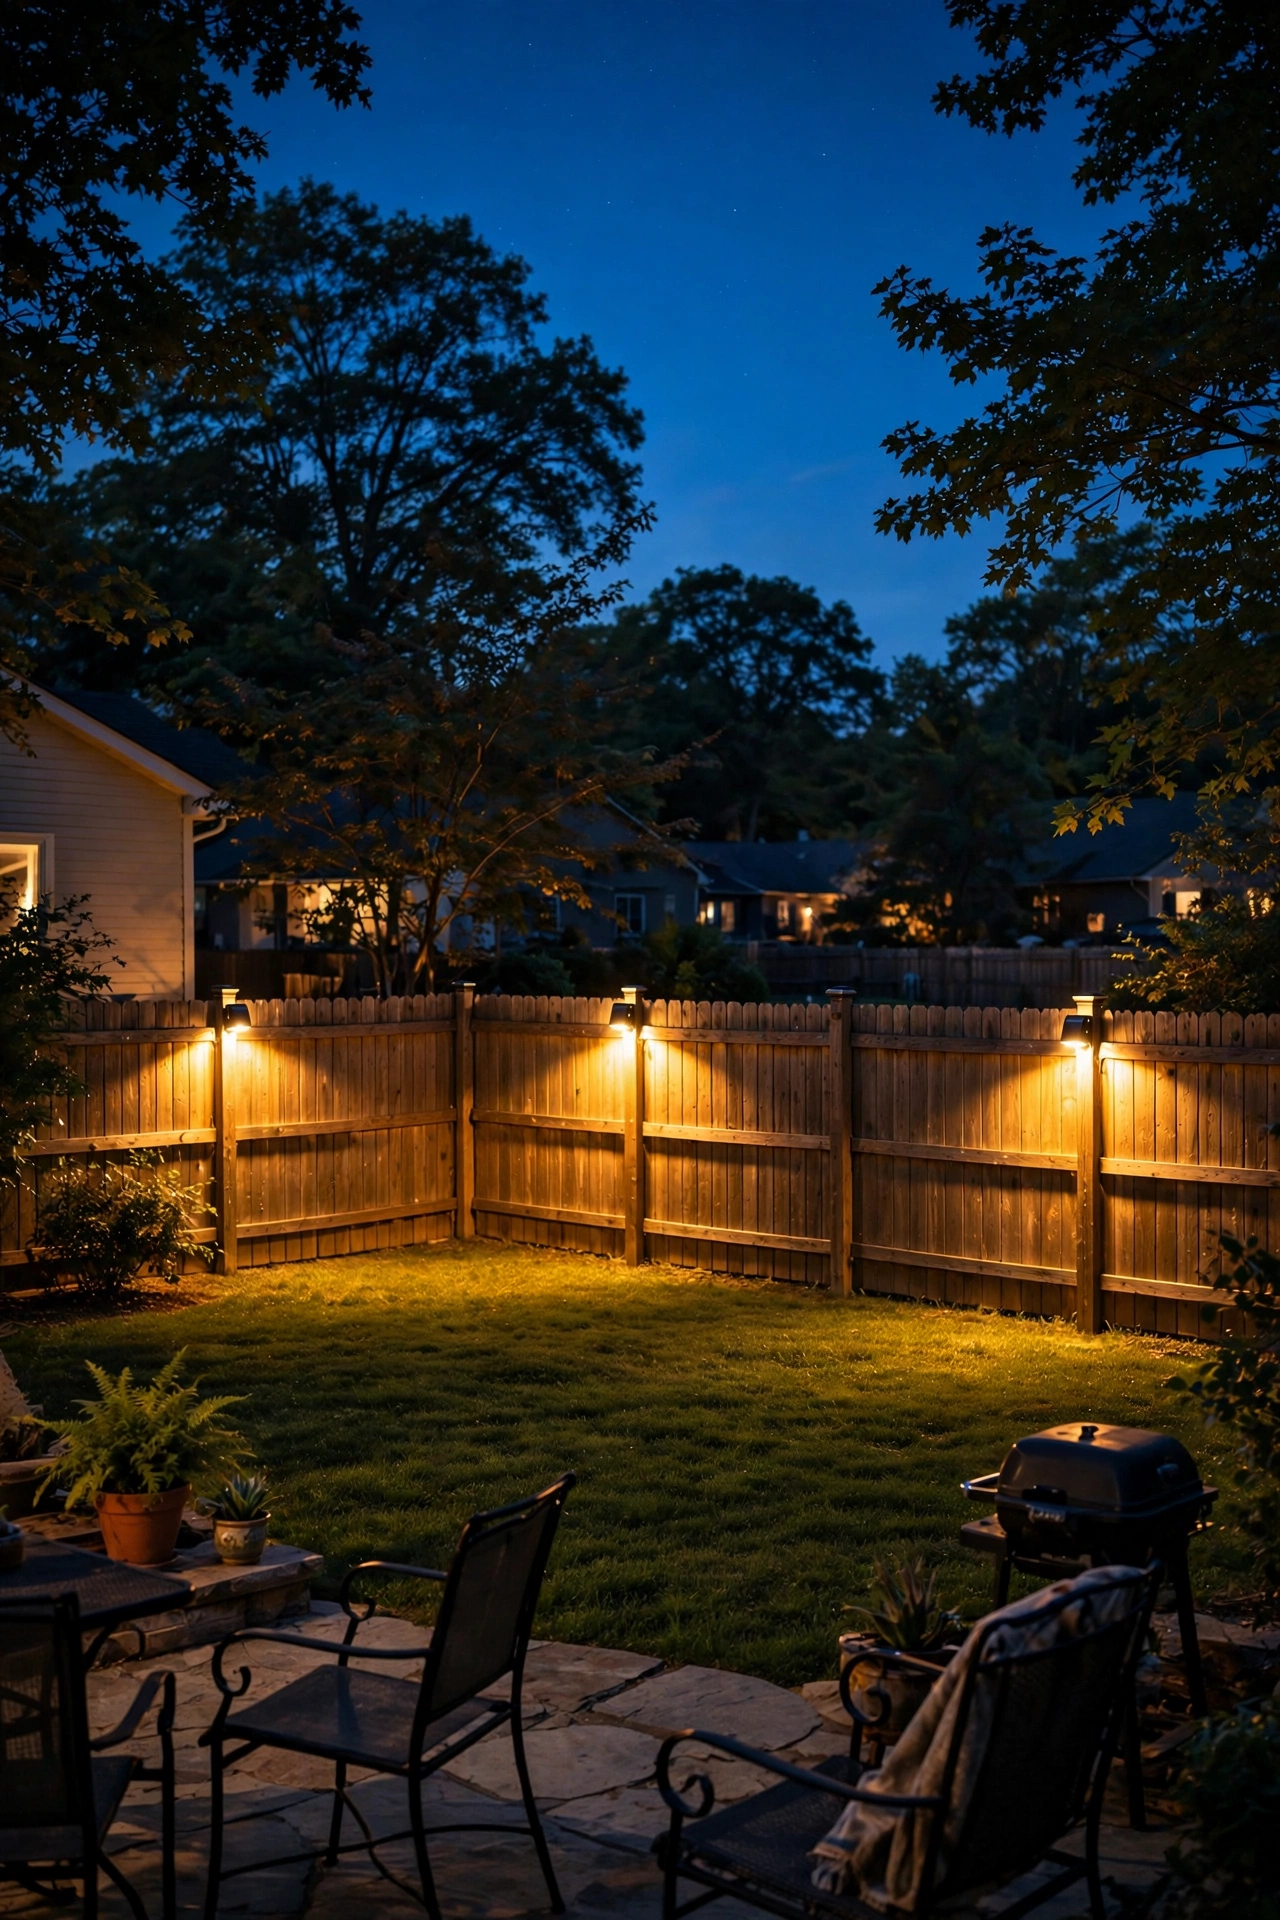
Backyards trip people up because the instinct is to make them cozy — and you should! — but security lighting for the back of your home has a different job: the perimeter. An intruder climbing your back fence should step into light, not darkness. That means thinking of your backyard in two rings: the living ring (patio, deck, seating area) lit warmly for ambiance, and the outer ring (fence line, rear corners, access to windows) lit for visibility and detection.
For the living ring, keep what you already love — string lights, lanterns, step lights — running on a timer until a reasonable hour. For the outer ring, motion floodlights mounted high on the rear of the house cover the main lawn; for deep lots, add a second motion fixture on a rear fence post or a tall garden stake aimed back toward the house so nobody can approach the rear doors unseen. Ground-floor sliding doors and basement windows facing the yard deserve direct attention — a small motion spot light mounted above them changes the calculation for anyone testing the handle.
One caution: avoid aiming rear floodlights directly into your neighbors' second-story windows. It ruins goodwill fast, and goodwill is a security asset — neighbors who like you notice things. Instead, aim beams down and across your own yard. And if you have a fence, consider low-voltage fence-post cap lights: they won't catch an intruder, but they erase the fence-line shadow corridor where someone can walk unseen. For more on getting beam angles right, my guide to outdoor flood light placement covers aiming techniques in detail.
Windows and Dark Corners: Close the Blind Spots
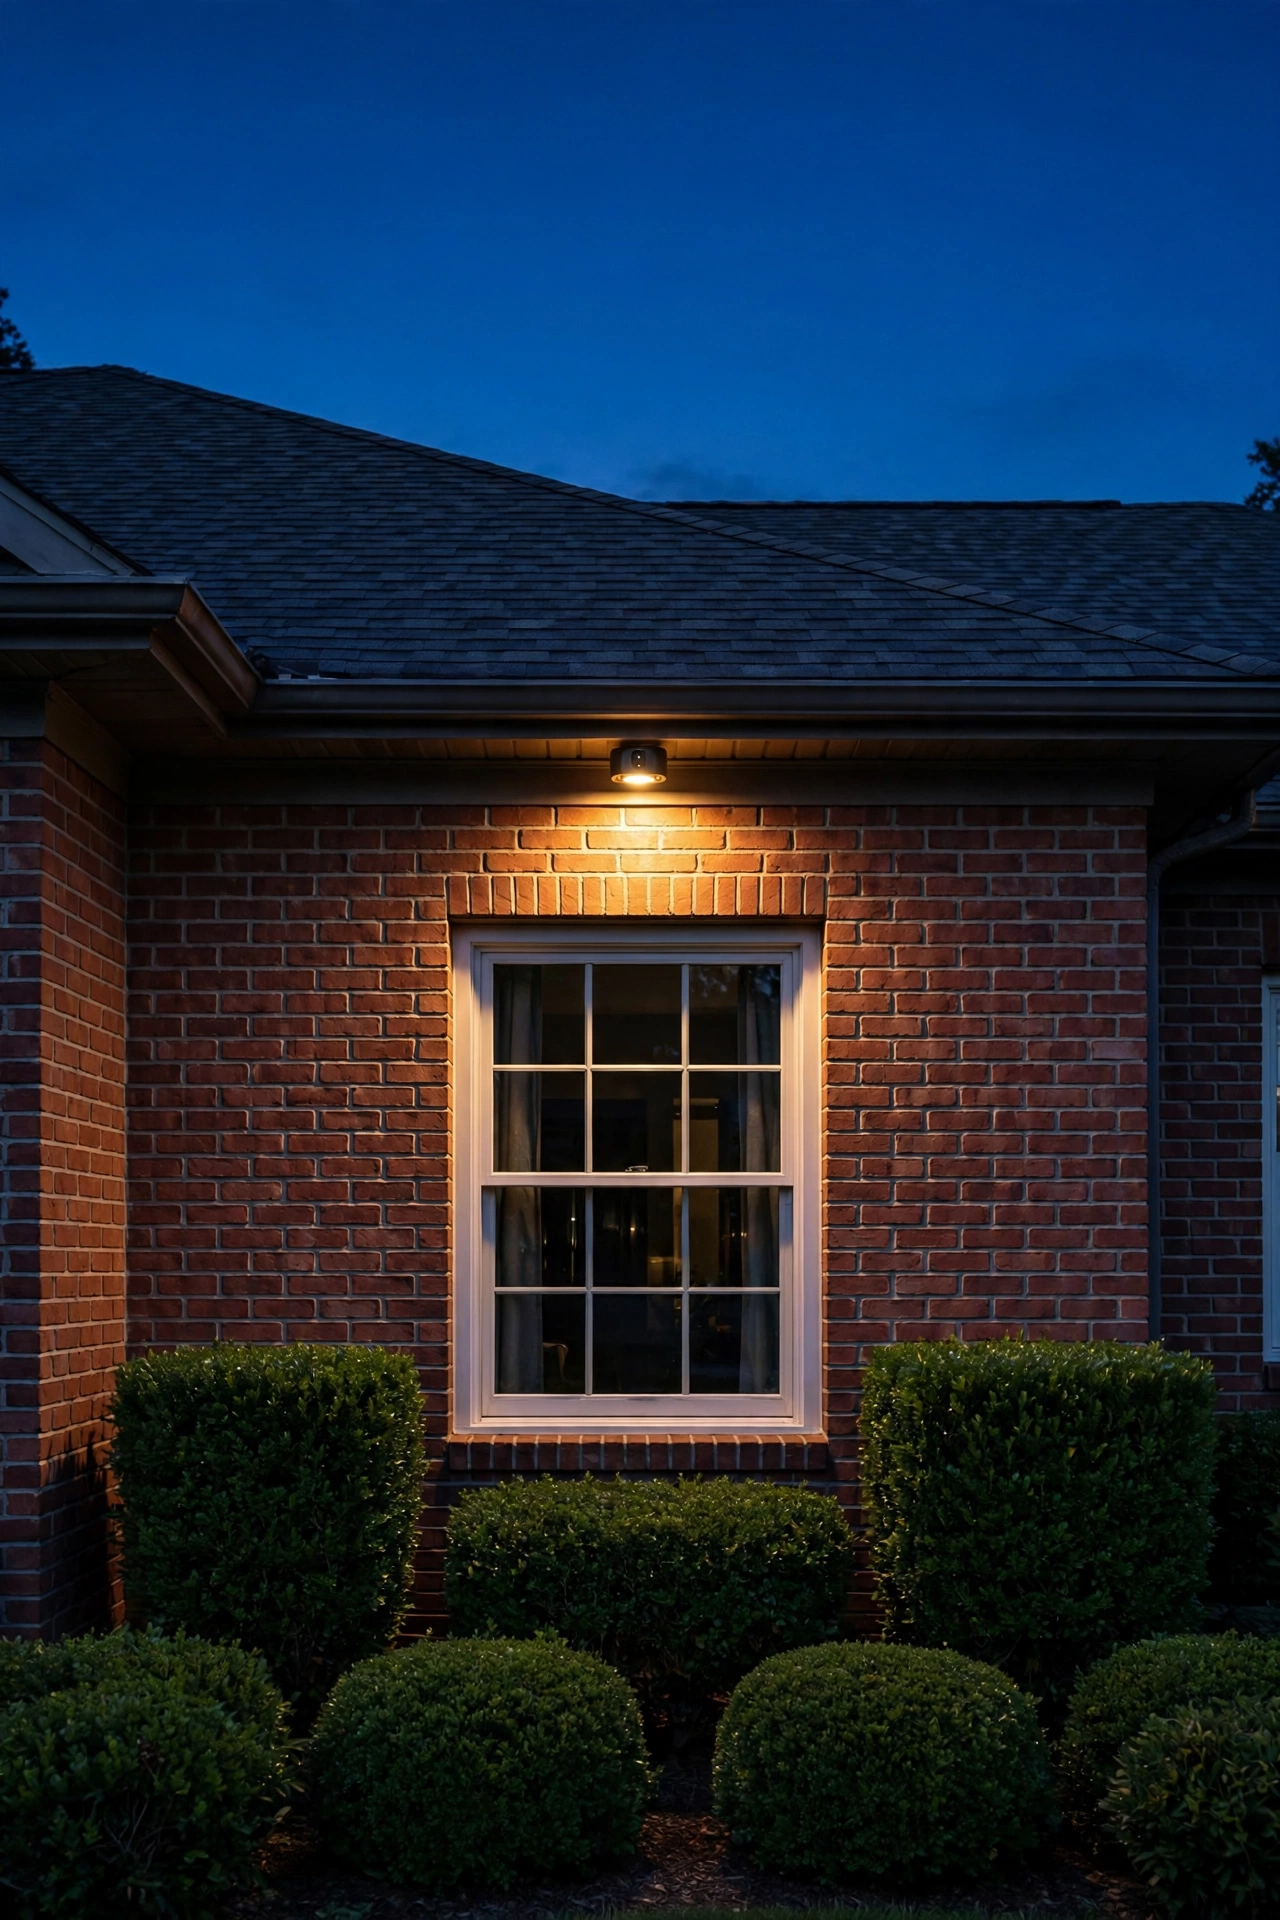
Burglars don't walk through front doors — they check windows. Every ground-floor window is a potential entry, and the ones that matter most are the ones you can't see from the street: side windows behind shrubs, basement windows at the bottom of window wells, and any window hidden behind a tall fence or dense landscaping. Your lighting plan needs to treat these as individual zones, not afterthoughts.
Start by walking your property at night — really, put on shoes and do it. Have someone stand inside and turn on all your existing lights, then walk the perimeter and note every window that stays dark or sits in a shadow pocket. Those are your blind spots. For each one, the fix is usually simple: a small motion-activated spot or wall light mounted above or beside the window, aimed outward so it lights anyone standing there while illuminating the window itself for anyone looking from inside or from a neighbor's yard.
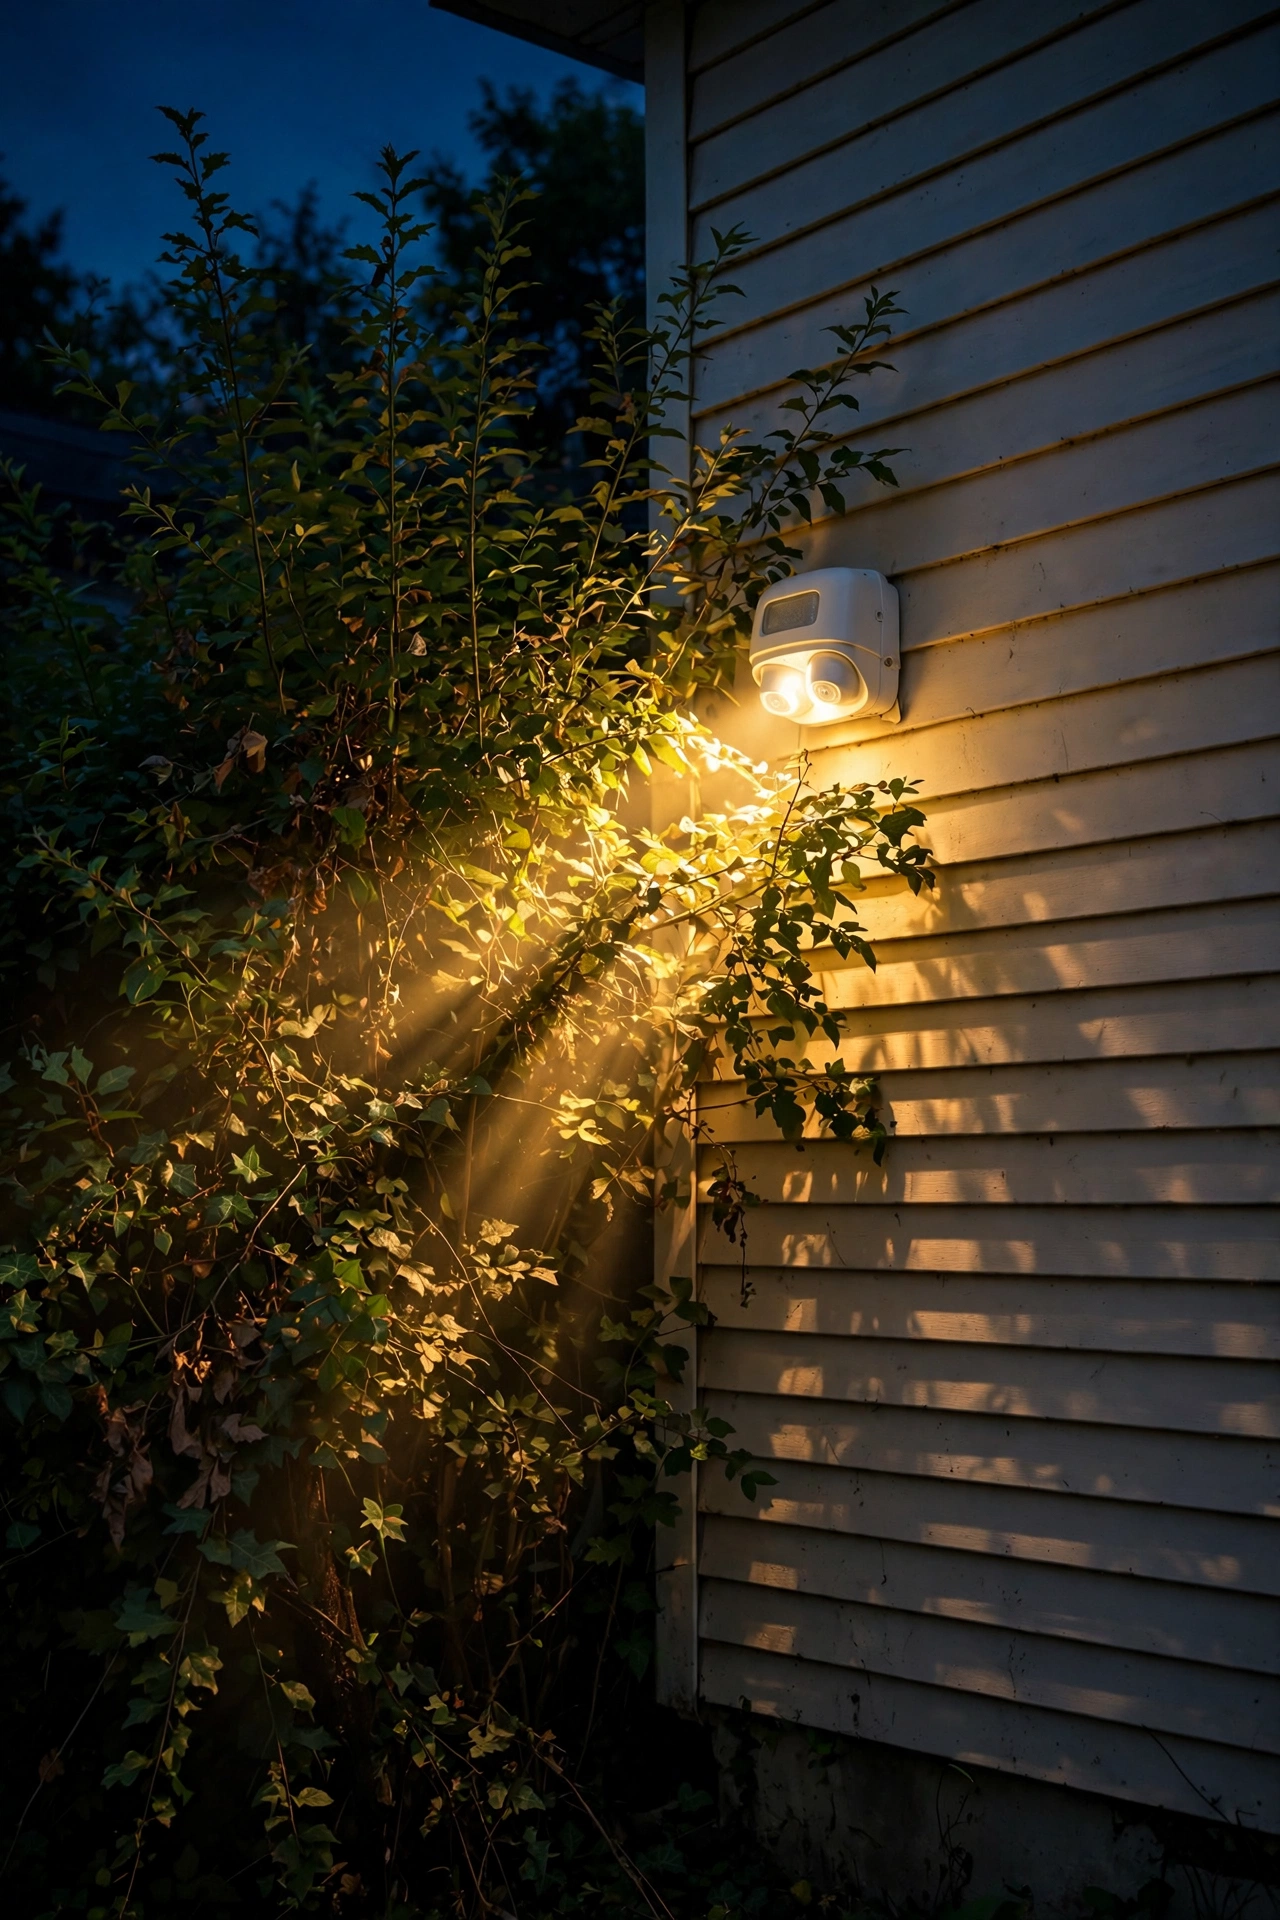
Trim back overgrown shrubs before you add lights, because light bouncing off leaves just 6 inches from a window creates moving shadows that trigger motion sensors all night and make your cameras useless. Keep planting beds under windows trimmed below the sill — no higher than 3 feet — so there's nowhere to crouch. And for basement window wells, a small solar or low-voltage stake light tucked at the top of the well removes the darkest spot on most homes for almost nothing. Honestly, this one night-walk will probably teach you more about your home's vulnerabilities than any gadget you could buy.
Motion Sensors vs Dusk-to-Dawn: An Honest Comparison for Home Security
This is the question I get asked most, and the honest answer is that you need both — they do different jobs. Dusk-to-dawn lights (photocell fixtures that switch on at sunset and off at sunrise) provide the constant baseline: entries, walkways, and the front of your house should never go dark. Motion sensors provide the startle factor: zones that should normally be quiet get a sudden burst of light and attention when something moves. A property with only dusk-to-dawn lights has no alarm signal; a property with only motion lights goes dark between triggers, leaving shadowy gaps all night.
Here's the breakdown so you can decide fixture by fixture:
| Approach | Typical cost (2026) | Installation effort | Energy use | Best for |
|---|---|---|---|---|
| Dusk-to-dawn LED fixture | $25–$60 per fixture | Low (replaces existing fixture) | ~10–20W all night, roughly $5–$12/year per fixture | Porches, entries, walkways, front facade — anywhere that should always look lived-in |
| Motion-sensor floodlight | $35–$120 per fixture | Medium (aiming and sensitivity tuning needed) | Near zero on standby; full power only when triggered | Side yards, backyards, driveways, dark corners, garage — zones nobody visits after dark |
| Smart/dual-mode (both in one) | $60–$150 per fixture | Medium to high (app setup, Wi-Fi) | Adjustable; low-level all night, full on motion | Anywhere you want both — many homeowners start here for the garage and rear of house |
My rule of thumb: if a legitimate visitor would regularly walk there after dark (front door, path, driveway arrival), go dusk-to-dawn. If movement there after dark is inherently suspicious (side gate, back fence, basement window), go motion. If you want a deeper dive on sensor types, ranges, and tuning, my motion sensor outdoor lights guide walks through the options fixture by fixture.
Brightness, Color, and Placement Rules That Make Outdoor Lighting for Home Security Work
This is the technical core of the whole plan, and it's simpler than the spec sheets make it look. Let's talk brightness first. Residential security lighting doesn't need to be blinding — in fact, the sweet spot for most zones is far lower than people expect. Porch sconces: 450 to 800 lumens each. Path lights: 100 to 200 lumens each (their job is guidance, not security). Motion floodlights for side yards and backyards: 1,000 to 2,500 lumens. Driveway floods: 2,000 to 3,500 lumens. Anything above about 3,500 lumens in a residential zone is almost certainly creating more glare and shadow than safety.
Color temperature matters more than most homeowners realize. For security purposes, I recommend 3000K to 4000K — warm white to neutral white. Why not the icy 5000K+ "daylight" bulbs? Because they wash out facial features on camera footage and make your home feel like a parking lot, which lowers the chance a neighbor glances over when something's wrong. Warm-neutral light renders faces and clothing colors accurately on cameras and looks like a lived-in home. That's the whole goal: make it obvious that a real, alert household lives here.
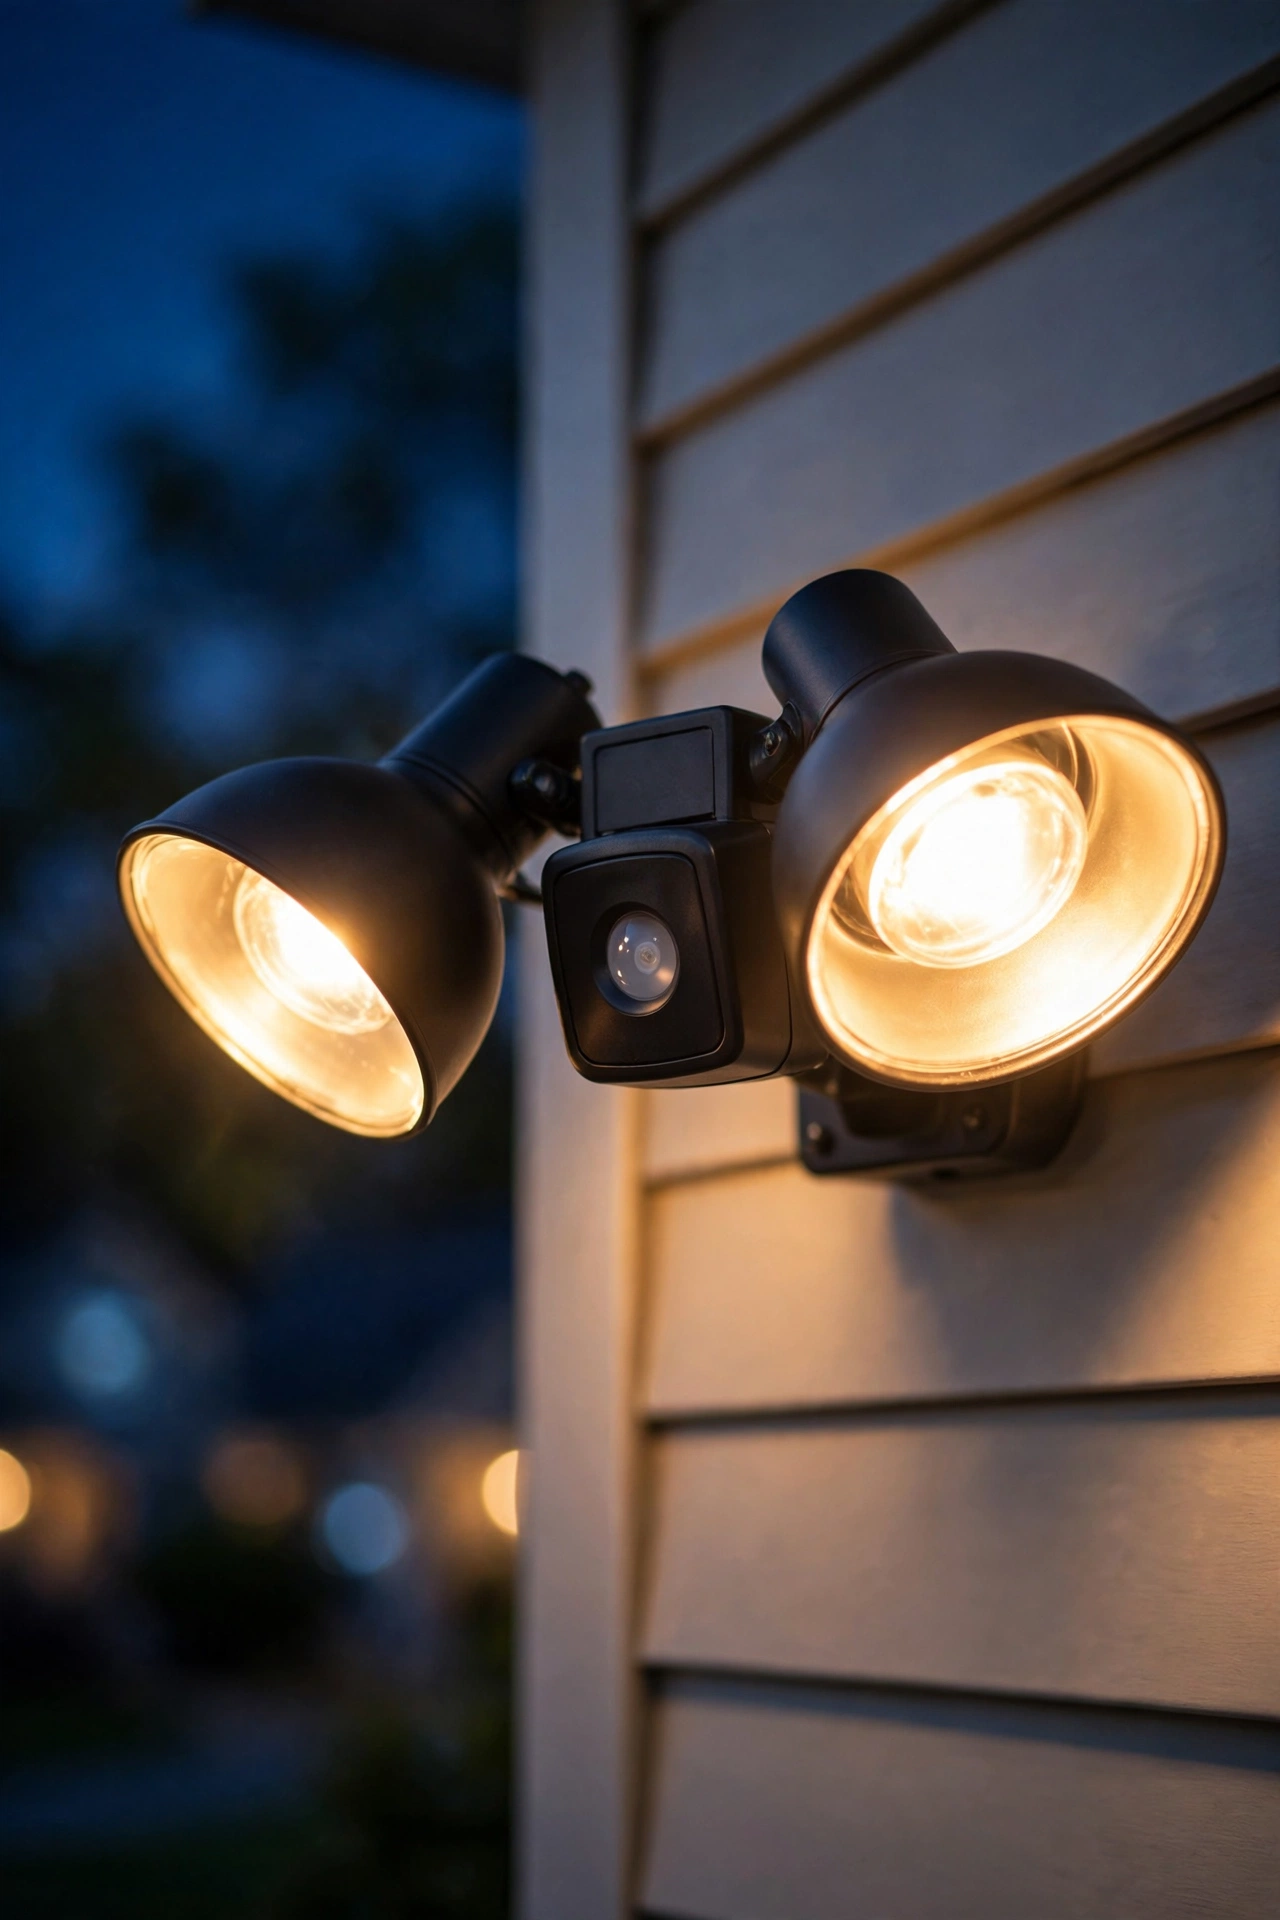
Placement rules are where plans live or die. Mount floodlights 10 to 12 feet high — high enough that they can't be tampered with or shaded with a hand, low enough that the beam actually reaches the ground usefully. Aim every beam outward and downward at roughly 30 to 45 degrees; never aim at your own doors, windows, or cameras, because backlight turns people into unidentifiable silhouettes. And keep beams off your neighbors' windows — a light trespass complaint gets your best fixture disconnected. Finally, overlap coverage: each motion zone should slightly overlap the next, so there's no dark seam between the driveway flood and the side-yard sensor. For a full walkthrough of aiming geometry, see my detailed guide on outdoor flood light placement.
Smart Features Worth Paying For (and the Ones That Aren't)
Smart security lighting has matured enough that some features are genuinely useful now — and some are expensive distractions. Let's be honest about which is which. The single most valuable smart feature is the vacation/away mode: lights that randomize their schedule slightly to simulate someone being home. Unlike a simple timer that flips everything on at 7 PM sharp every night (a pattern a watching burglar can learn in three evenings), a randomized pattern looks lived-in. If you travel, this one feature is worth upgrading for.
App-controlled scheduling and dimming are the next tier of usefulness. Being able to adjust a motion light's sensitivity from your phone instead of climbing a ladder with a screwdriver at dusk is a bigger quality-of-life upgrade than it sounds. Geofencing (lights reacting when your phone leaves or arrives) is nice but unreliable enough that I wouldn't build a security plan on it. Camera-integrated floodlights — the kind that record when motion triggers them — are legitimately useful for evidence, but only if you also follow the placement rules above; a camera blinded by its own floodlight's glare records nothing usable.
What I'd skip: color-changing party modes on security fixtures (fun, irrelevant to safety), voice control as a primary interface (you won't be talking to your floodlights during a break-in), and subscription cloud features that stop working when you stop paying. Buy fixtures that work fully offline with local scheduling, and treat the app as a convenience, not the brain of the system. A motion light that needs Wi-Fi to turn on is not a security light — it's a liability with a subscription.
What Full Outdoor Lighting for Home Security Costs in 2026
Let's talk real numbers, because "security lighting" ranges from a weekend project to a full professional install, and you should know where you land. A solid DIY setup for a typical suburban home — two dusk-to-dawn porch sconces, one motion floodlight for the driveway, one for the side yard, one for the backyard, plus a handful of low-voltage path lights and replacement bulbs — runs about $250 to $500 in fixtures. Add $100 to $200 more if you want smart features or camera-integrated floods. Most homeowners can install these in a weekend with basic tools, since you're usually swapping existing fixtures or mounting on siding and plugging into an outdoor outlet.
If you need new wiring — no outdoor outlets where you need them, or you want low-voltage landscape lighting professionally trenched and connected to a transformer — budget $800 to $2,500 for a professional install depending on yard size and fixture count. That number feels big, but the fixtures will last 15 to 20 years, and LED running costs are almost nothing: a 15-watt LED dusk-to-dawn fixture running 12 hours a night costs roughly $8 to $12 per year to operate at average US electricity rates. Motion fixtures cost even less, since they run at full power only when triggered.
My honest recommendation: start with the $250-to-$500 DIY tier covering entries, driveway, and one side yard. That's where roughly 80 percent of the deterrent value lives. You can add the backyard perimeter and window spots in a second phase next season. And if your home is in an area where break-ins are rising, check with your insurer — several major carriers offer small premium discounts for documented exterior lighting and security upgrades, which can quietly pay for the project over a few years.
7 Mistakes That Create False Security
These are the traps I see over and over — including in my own first attempt. Each one feels like it should help, and each one quietly undermines the whole plan.
1. One stadium-bright floodlight and nothing else. As covered earlier: extreme brightness in one spot deepens the shadows everywhere else. Spread moderate light across zones instead of concentrating it.
2. Aiming beams at the camera or the door. Light pointed at your doorbell camera whites out every face into a glowing blob. Light should illuminate people approaching your doors — from the side or above — never blast toward the lens or straight out at visitors.
3. Leaving motion lights on 30-second timers. A light that blinks off while someone is still in the yard trains an intruder to simply wait it out. Set motion hold times to 5 minutes or more.
4. Letting shrubs swallow your fixtures. A motion light buried behind a bush triggers on leaves all night, burns out its welcome (and your patience), and illuminates foliage instead of people. Trim everything within 2 to 3 feet of fixtures and keep window plantings below the sill.
5. Lighting your house but not your approach. A brilliantly lit facade with a pitch-black walkway and dark driveway means an intruder crosses your property in darkness and only steps into light at your door. Light the approaches — walkways, driveway edges, side gates — first.
6. Never testing at night. Most people install lights on a Saturday afternoon, declare victory, and never see what their property actually looks like at 11 PM. Walk your property after dark seasonally; bulbs dim, fixtures shift in wind, and trees grow into beam paths.
7. Forgetting the "lived-in" signal. Security lighting that only works when you're awake to notice it misses half its job. Timers, dusk-to-dawn fixtures, and randomized away-mode schedules keep your home looking occupied whether you're in bed or out of town. A dark house with one motion light is a house advertising that nobody's home.
Maintenance: Keeping Your Security Lighting Working All Year
A security lighting plan is only as good as its weakest burned-out bulb, and this is the unglamorous part that separates real protection from decoration. The good news: LED fixtures have made maintenance dramatically simpler than the old halogen days. The bad news: "low maintenance" is not "no maintenance," and a dead motion light over your side gate is worse than never having one — it's a blind spot you trust.
Build a simple seasonal routine. Every three months, walk your property at night (I do it at the start of each season — it takes 15 minutes) and check every fixture: is it on, is the lens clean, is the beam still aimed where you left it? Clean lenses and sensor domes with a damp cloth — a season's worth of dust, pollen, and spider webs can cut light output by 20 to 30 percent. Check that motion sensors still trigger at the right distance; spiders love building webs across sensor domes, which causes exactly the phantom triggers that make people give up on their sensors.
Once a year, replace batteries in any solar or battery-backed fixtures, tighten mounting screws loosened by wind and temperature swings, and re-trim any landscaping that has grown into beam paths. If you have dusk-to-dawn photocells, wipe them too — a dirty photocell thinks it's always dusk and runs the fixture 24/7, or always bright and never turns on. And keep one spare bulb or fixture on the shelf; the night you discover a dead floodlight over your back door is the night you don't want to wait for a delivery. Fifteen minutes a season is the cheapest security upgrade that exists.
Frequently Asked Questions
Should I leave my outdoor lights on all night for security?
For entries, porches, and walkways — yes. Constant low-level light on your front approach signals that your home is occupied and makes your doorbell camera useful all night. For side yards, backyards, and dark corners, motion-activated lights are better than always-on: the sudden activation draws attention exactly where it matters, costs less to run, and doesn't create the constant glare that annoys neighbors. The winning combination is dusk-to-dawn on the front of the house and motion sensors everywhere else.
What color of light is best for home security cameras?
Warm-neutral white in the 3000K to 4000K range records the most usable footage. Cool daylight bulbs (5000K and above) wash out facial details and clothing colors on most consumer cameras, and they create harsher contrast that deepens shadows. Match your security-zone color temperature to around 3000K–4000K and keep it consistent across fixtures — mixed color temperatures make footage harder to interpret and make your property look haphazard.
Can my HOA restrict my security lighting?
Often, yes — many HOAs regulate fixture styles, brightness, color temperature, and light trespass onto neighboring properties. Before installing, check your HOA's architectural guidelines for rules about floodlights, fixture finishes, and "dark sky" provisions that may require shielded fixtures. The good news: most restrictions target glare and aesthetics, not security itself. Fully shielded fixtures aimed downward at your own property almost always comply, and they happen to be the best choice for security anyway. If you need a dusk-to-dawn upgrade, my guide to dusk-to-dawn outdoor lights covers fixture styles that satisfy most HOA rules.
Are motion sensor lights better than lights that stay on all night?
Neither is universally better — they solve different problems. Always-on lights deter by making your home look occupied and keeping cameras effective; motion lights deter by startling intruders and alerting you that something moved. Motion lights also save energy and reduce light pollution. Use always-on (dusk-to-dawn) for areas with legitimate nighttime foot traffic — front door, walkway, driveway — and motion sensors for zones where any movement after dark is suspicious. Homes that layer both are consistently rated harder targets in crime-prevention guidance.
How much does it cost to run outdoor security lights each month?
Far less than most people fear. A typical 15-watt LED dusk-to-dawn fixture running about 12 hours a night costs roughly $0.70 to $1 per month at average US electricity rates. A full setup of four to six dusk-to-dawn fixtures adds about $3 to $6 per month to your electric bill. Motion-sensor fixtures cost pennies per month since they sit in low-power standby and only run at full brightness when triggered. Swapping old halogen floods (which could cost $8–$10 per month each) for LEDs is one of the fastest paybacks in home improvement.
The Final Verdict
Real outdoor lighting for home security isn't about the brightest floodlight on the block — it's about a room-by-room plan where every zone of your property has a job: constant warm light at the front door, motion sensors guarding the side yards and backyard, path lights on every approach, and not a single dark corner left for someone to stand in. Start with your entry and driveway this weekend, add the forgotten side zones next, and walk your property at night every season to keep the whole system honest. Your home will look warmer, your cameras will actually work, and anyone casing the street will pick an easier target. If you're ready to keep going, browse the rest of our outdoor lighting guides — there's a whole layered plan waiting for every corner of your home's exterior.