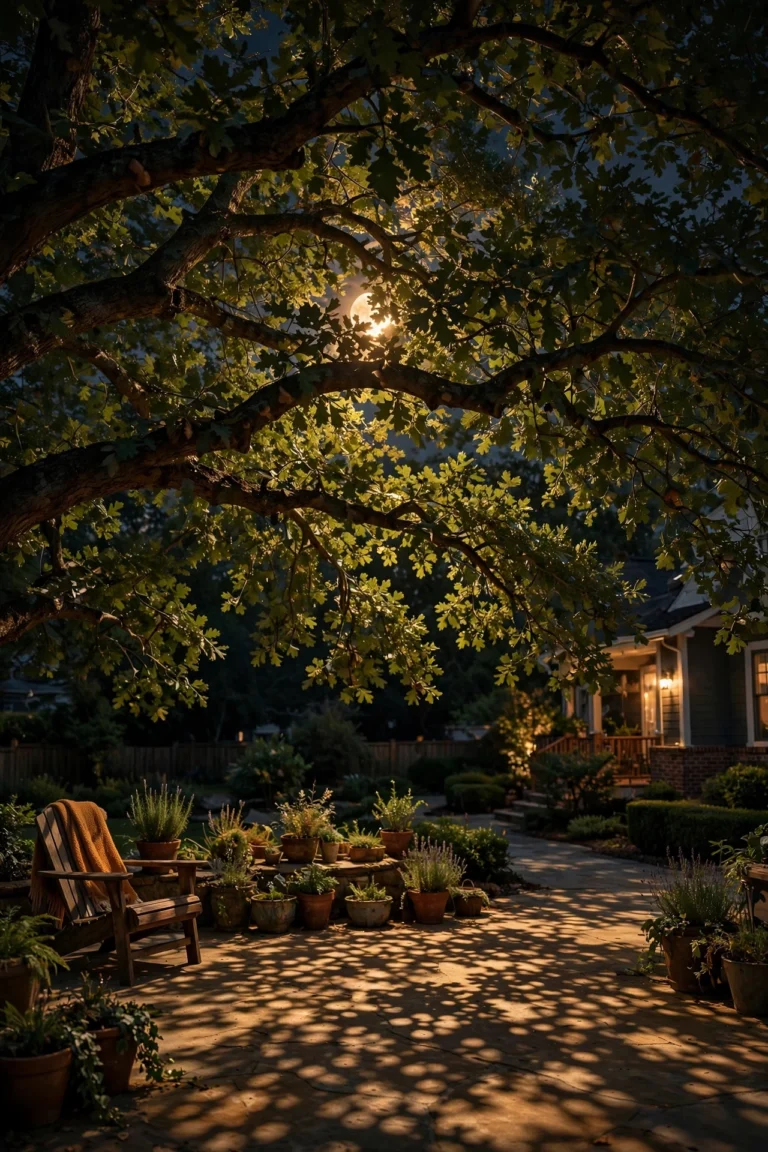
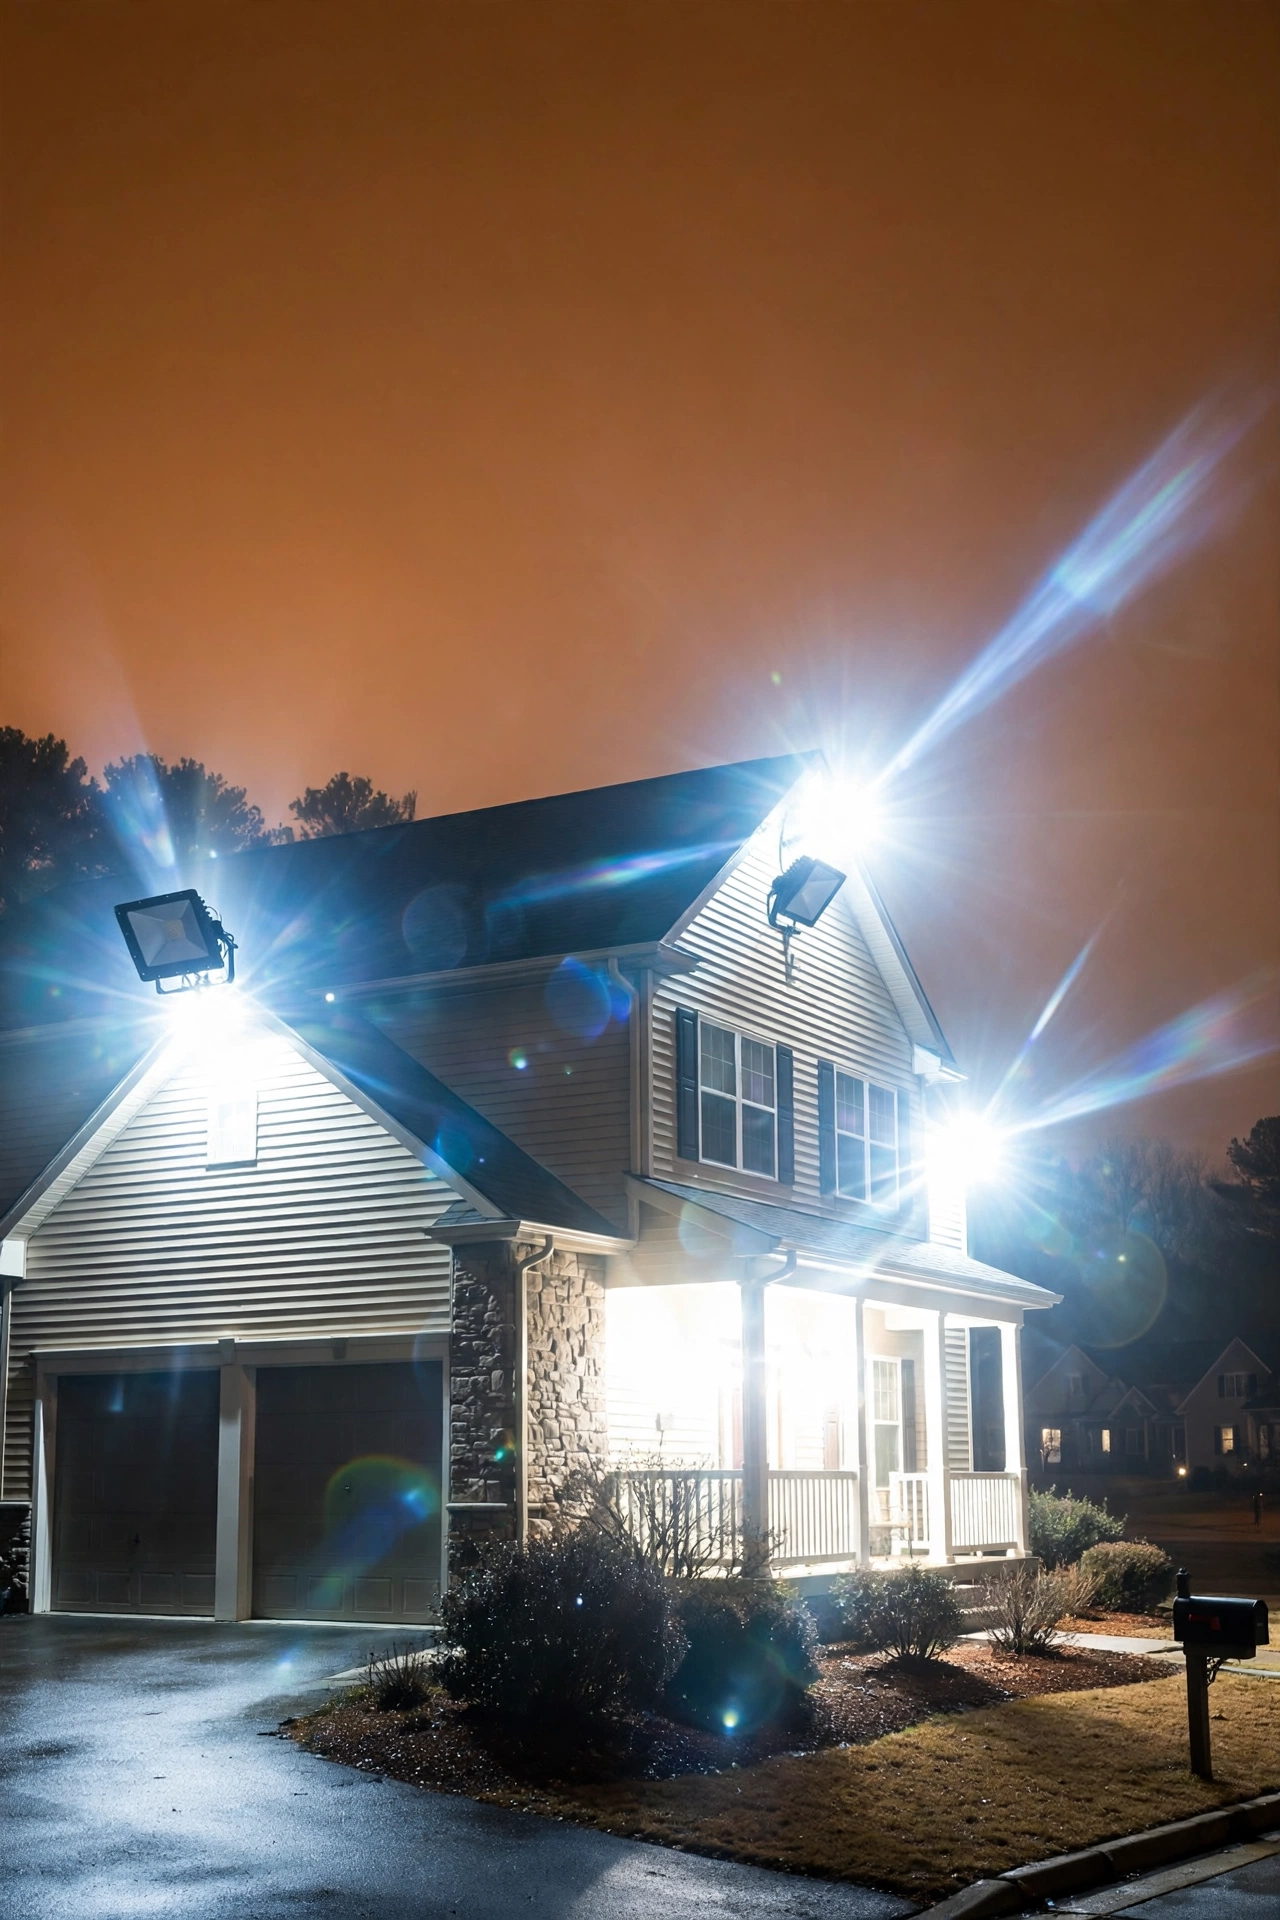
A few years ago, my next-door neighbor installed the brightest security floodlight I've ever seen — a cold, white beam that turned our whole block's backyards into a parking lot at midnight. I couldn't see the stars from my patio anymore, and honestly? It made me sad. Not just because it was ugly, but because it felt unnecessary. That light wasn't keeping anyone safer. It was just… everywhere.
That floodlight is what started my deep dive into dark sky outdoor lighting. I wanted to figure out whether I could have a warm, welcoming, well-lit yard — the kind that makes a house feel like home after dark — without contributing to the glow that washes out the night sky. Turns out, I absolutely could. It comes down to five simple principles, and most of them will actually save you money.
In this guide, I'll walk you through everything: what light pollution is and why your yard is part of it, the five principles that make any fixture dark-sky friendly, which fixture types do it best, what it costs in 2026, the mistakes I see everywhere, and how to keep the peace with your neighbors.
The Short Answer
Outdoor lighting is dark-sky friendly when it directs light only where it's needed — down toward the ground, not up into the sky or sideways into your neighbor's windows. That means using fully shielded fixtures (so no bulb is visible from above or the side), warm-colored light at 3000K or below, the lowest brightness that still does the job, and timers or motion sensors so lights aren't burning all night. The International Dark-Sky Association (now DarkSky International) publishes a Fixture Seal of Approval for products that meet these standards. If your fixture shields the bulb, glows warm, and points down, you're most of the way there.

What Light Pollution Actually Is (and Why Your Yard Is Part of It)
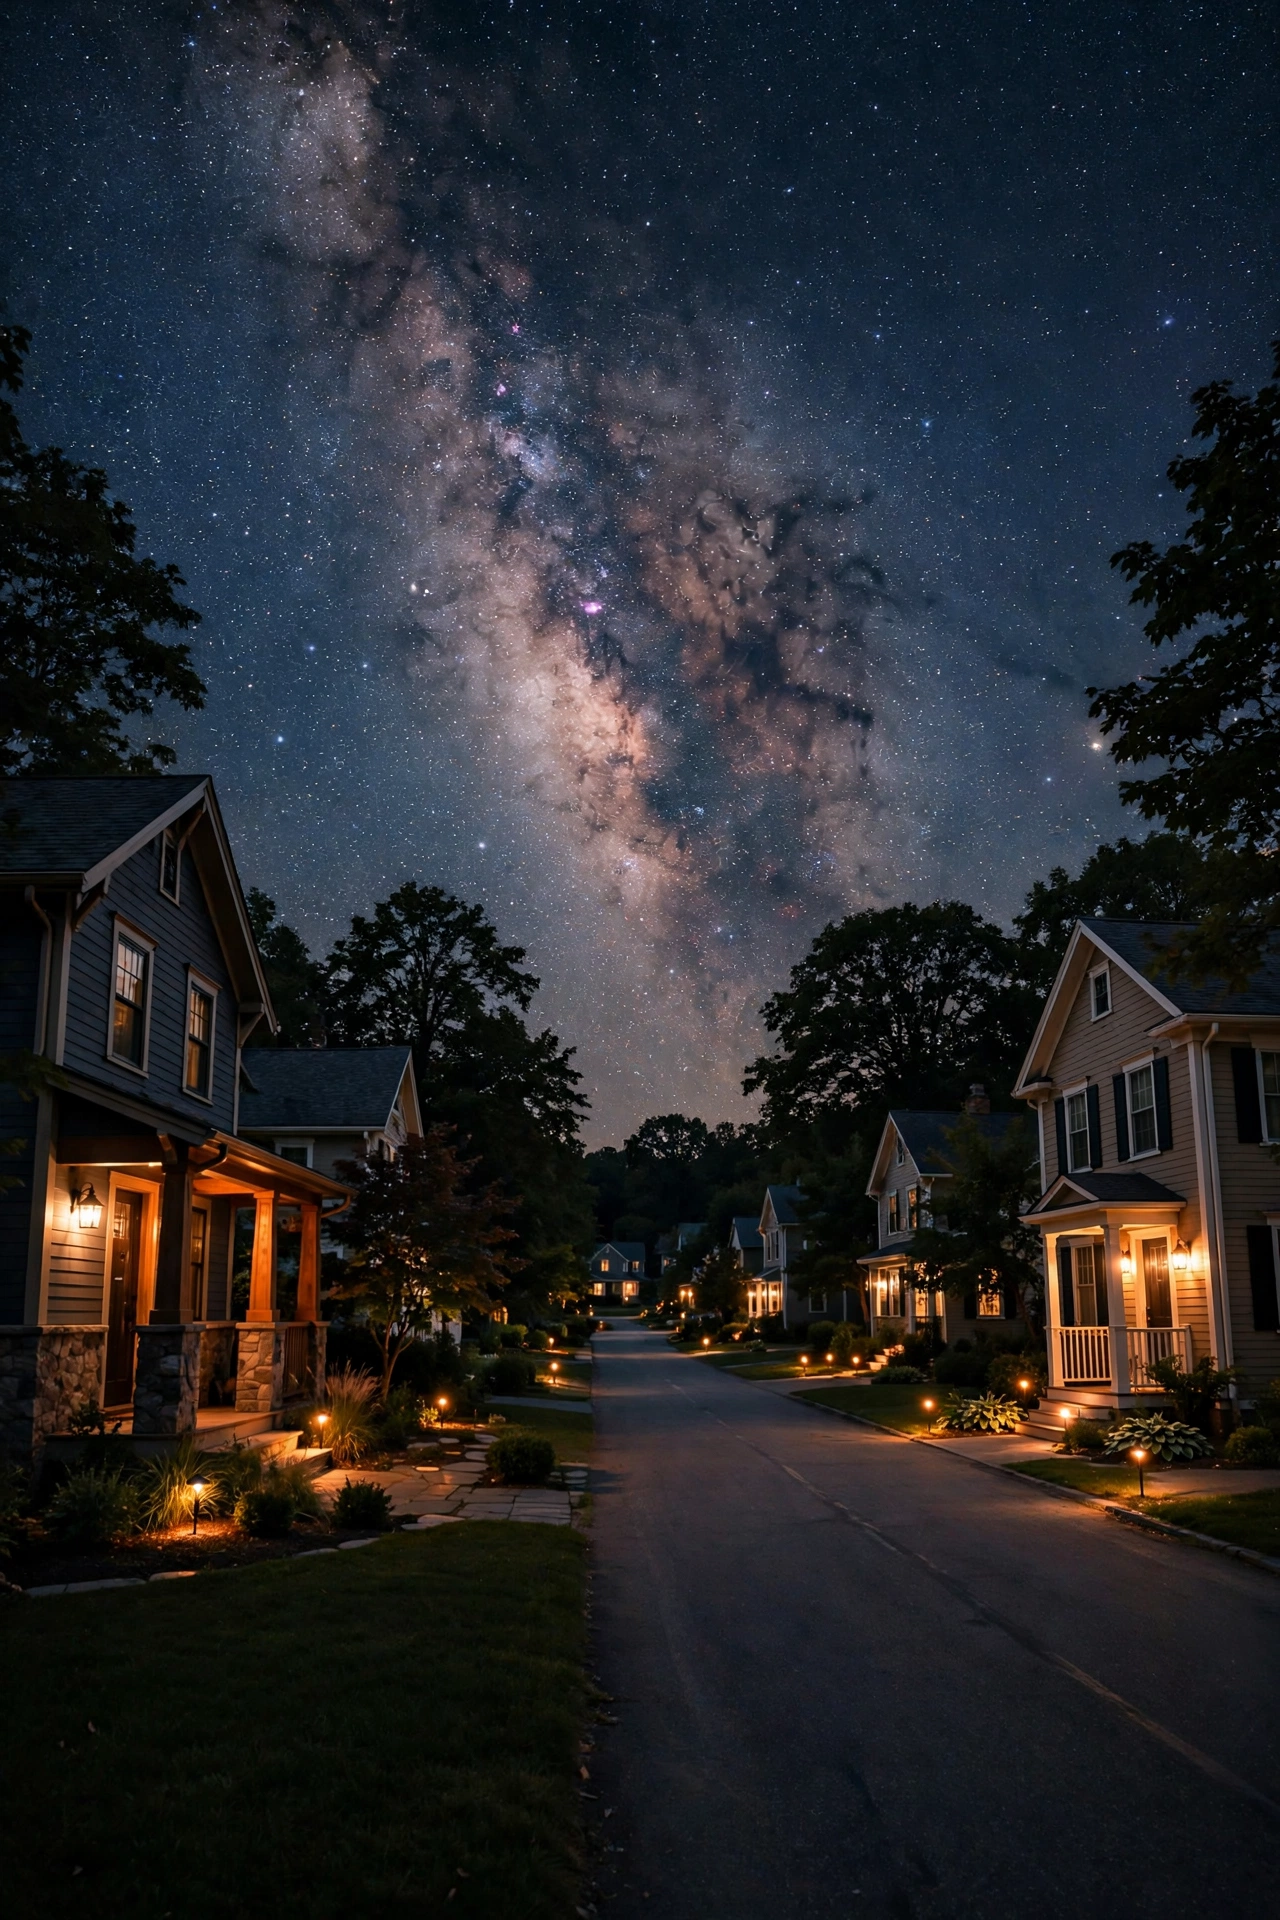
Light pollution is any artificial light that goes where it isn't wanted — spilling up into the sky, across property lines, or glaring into people's eyes. Most of us picture cities when we hear it, but honestly, suburbs and small towns contribute a huge share. Every unshielded porch light, every glaring driveway floodlight, every decorative uplight aimed at the stars instead of the tree adds up. I think of it like noise pollution: one loud car is annoying, but a whole street of them changes the character of a neighborhood.
There are three types you'll hear about. Skyglow is the orange-ish dome of light over populated areas — that's what hides the Milky Way. Glare is the harsh brightness that makes it hard to see (think: squinting at a neighbor's bare bulb from your kitchen window). And light trespass is light that lands on your property from someone else's fixtures — or vice versa. All three come from the same basic problem: light pointed in the wrong direction.
Why should a homeowner care? For one, it's waste. The U.S. Department of Energy has estimated that roughly a third of outdoor lighting is wasted on unshielded or poorly aimed fixtures. That's money spent lighting up clouds. Beyond that, there's mounting evidence that excessive nighttime light disrupts sleep, confuses migrating birds and insects, and washes out a sky that people have admired for all of human history. My favorite argument, though, is the simplest one: dark-sky friendly lighting looks better. A yard lit with intention — pools of warm light exactly where you walk and gather — is cozier, more elegant, and more dramatic than a yard blasted flat with floodlights. Once you see the difference, you can't unsee it.
The Five Dark-Sky Principles, in Plain English
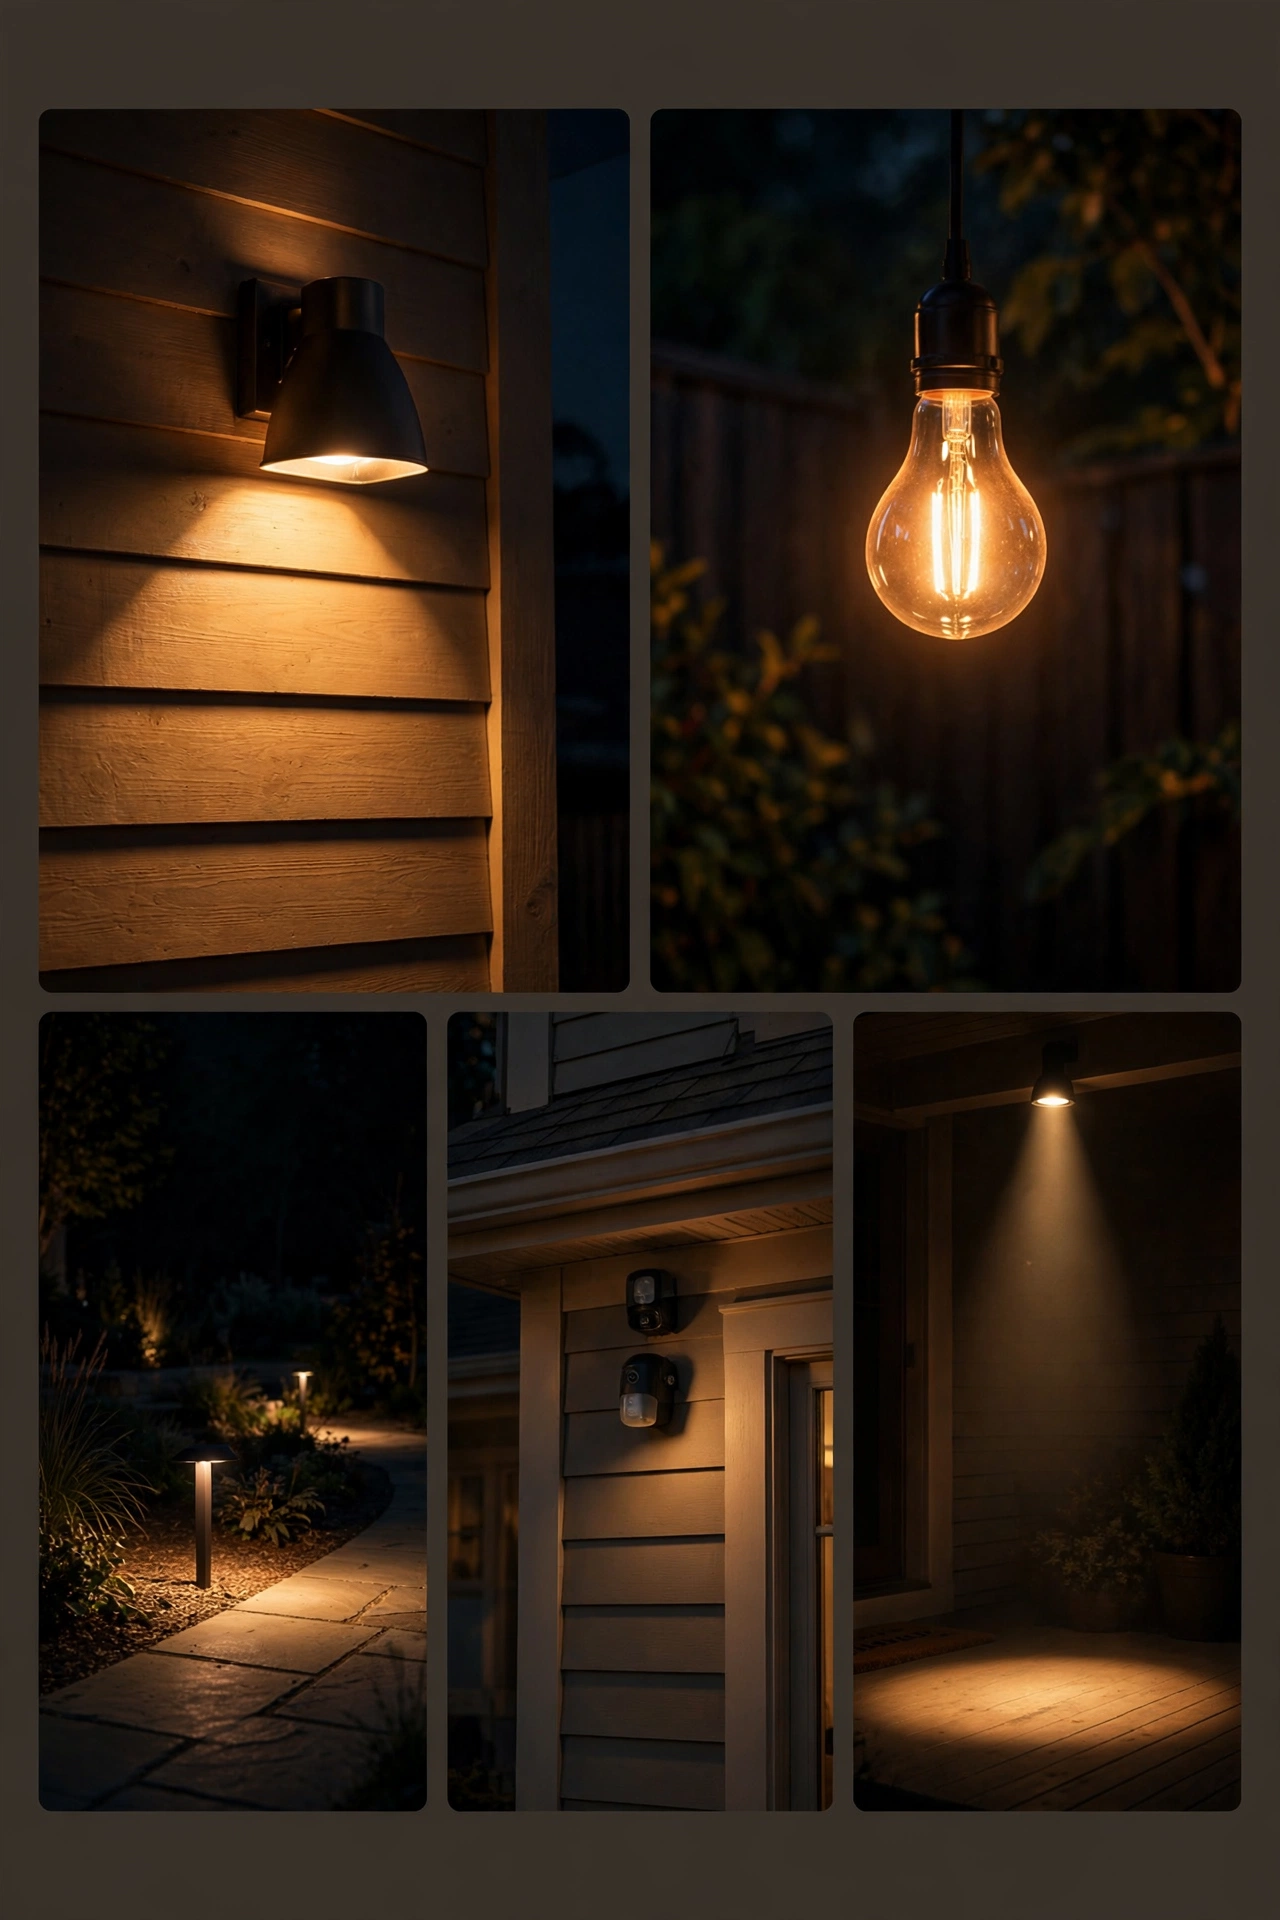
Everything in dark sky outdoor lighting traces back to five principles published by DarkSky International. I love this list because it's a perfect checklist — run any lighting plan through it and you'll catch almost every mistake before you spend a dime. In my experience, people who memorize these five make better decisions in the store aisle than people who memorize fifty product reviews.
1. Shield it. Use fixtures that block light from going anywhere except down. A fully shielded (or "full cutoff") fixture hides the bulb completely when viewed from above or the side. If you can see the bulb from across the street, the fixture isn't shielded.
2. Warm it. Use light at 3000 Kelvin or below. Cool-white and daylight bulbs (4000–5000K) scatter more in the atmosphere and create more skyglow. Warm light also just looks like home.
3. Lower it. Use the minimum brightness needed. Outdoor lights don't need to be as bright as you think — 300 to 700 lumens is plenty for most porch and path applications, and many decorative lights are fine under 300.
4. Time it. Lights should only be on when needed. Timers, photocells, and motion sensors keep your yard from burning electricity and adding glow all night long.
5. Aim it down. Every fixture should point downward, never up. Light belongs on paths, porches, and people — not on the sky.
Notice what's not on the list: "buy expensive fixtures." You can satisfy all five with a twenty-dollar shielded fixture and a nine-dollar warm LED bulb. The principles are about behavior and geometry, not budgets.

Shielding: The Single Biggest Difference You Can Make
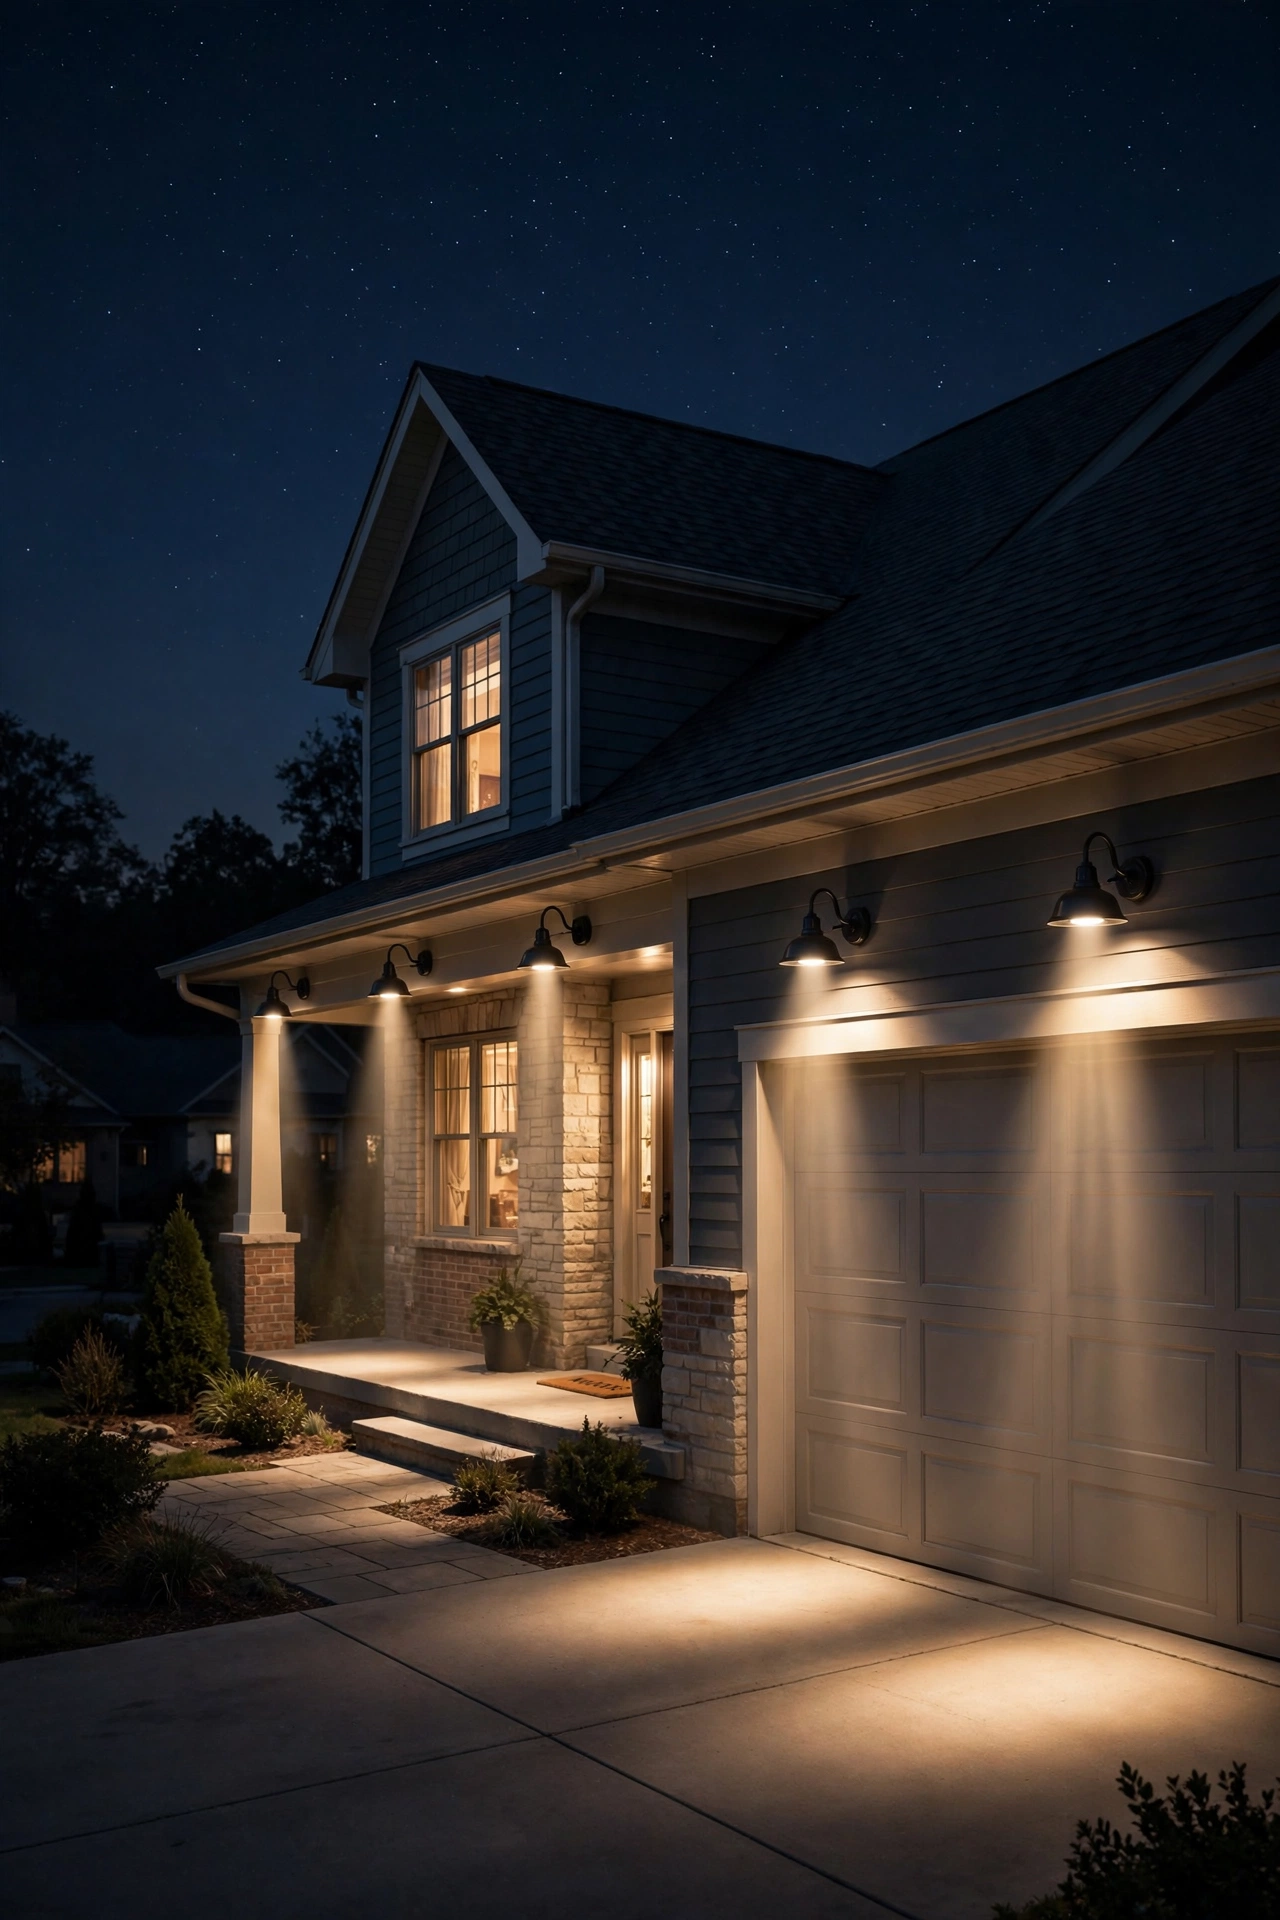
If I had to pick one change that matters most, it's shielding. Shielding means the fixture's housing blocks light from escaping upward or sideways, so all of it goes down onto the ground where you actually need it. You can spot a shielded fixture in about two seconds: stand across the street and look at it. Can you see the bare bulb? If yes, it's unshielded, and a chunk of that light is going straight into the sky and into people's eyes. A fully shielded fixture shows you a glowing patch of ground and nothing else — no visible bulb, no glare.
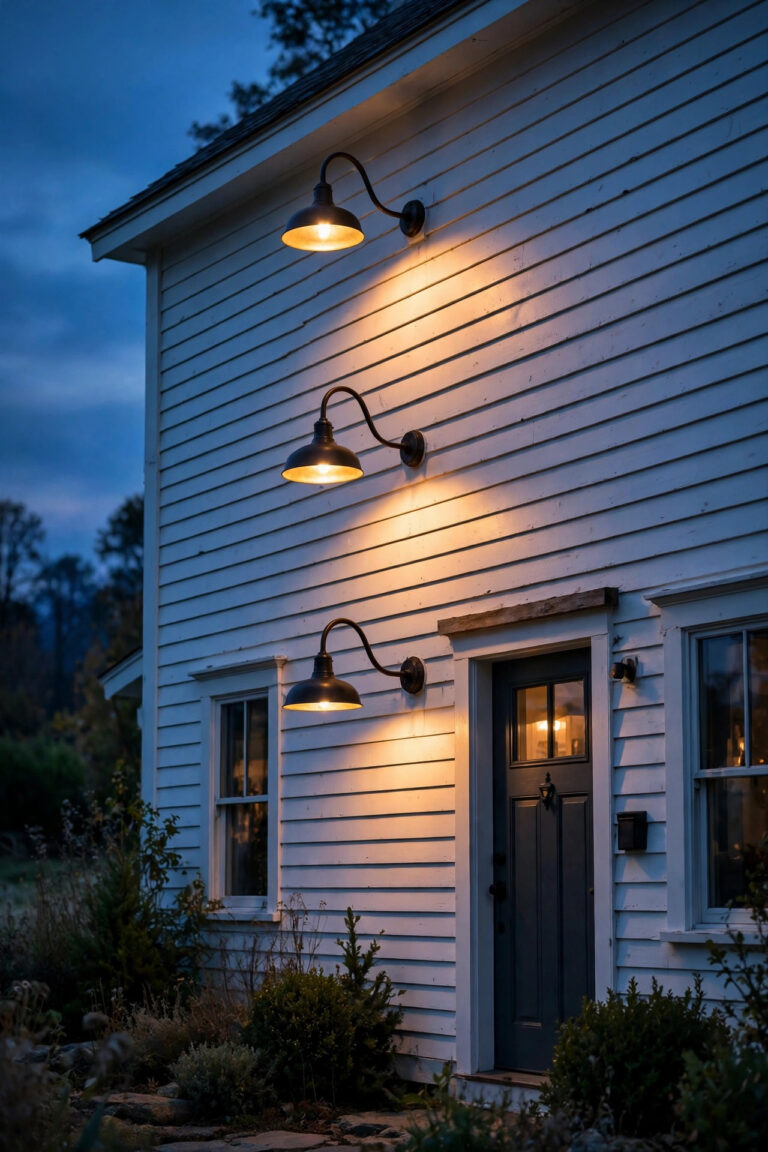
Here's the practical trick I use on every fixture I evaluate: the bulb should sit fully recessed inside the housing, with the lens or opening flush or below the bottom edge of the fixture. Wall-mounted lanterns with open bottoms and visible filaments? Beautiful, terrible for the sky. Those same lanterns with a frosted lens and a recessed bulb? Much better. The fix is often embarrassingly simple — swapping an exposed fixture for a shielded version of the same style costs about the same money.
For security lights, this matters most. A classic wall-pack security light with the bulb hanging below the housing throws half its light upward. Replace it with a full-cutoff wall pack — where the lens is recessed and angled — and you'll get the same ground coverage with zero skyward waste. In my experience, people who make this one swap are usually stunned by how much better their yard looks: the glare disappears, and suddenly the warm pool of light on the driveway feels intentional instead of industrial.
Quick shopping tip: look for "full cutoff" or "fully shielded" on the packaging, and check for the DarkSky International Fixture Seal of Approval. That seal exists specifically to save you the guesswork.

Go Warm: Why Color Temperature Matters at Night
Color temperature, measured in Kelvin (K), describes whether light looks warm and golden or cool and bluish. And for dark sky outdoor lighting, it matters far more than most people realize. The short version: the bluer the light, the worse it is for the night sky. Blue-rich light scatters more in the atmosphere (the same reason the sky is blue during the day), which means cool-white 5000K LEDs contribute disproportionately to skyglow compared to warm 2700K bulbs at the same brightness.
Here's what I recommend for every outdoor fixture: 3000K or below. For porches, patios, and gathering spaces, I personally prefer 2700K — it matches candlelight and makes skin tones look flattering. For paths and driveways, 2700K to 3000K is the sweet spot. Anything above 4000K outdoors is, in my opinion, a mistake: it looks like a hospital parking lot, it's harsher on sleep if it leaks into bedrooms, and it pumps more blue light into the sky.
One thing to know: warm doesn't have to mean dim or yellowed. Modern 2700K LEDs render colors beautifully and can be plenty bright. When I redid my own winter landscape lighting, I switched everything from mixed 4000K leftovers to a consistent 2700K, and the whole property instantly felt warmer and more expensive — while using the same wattage. The consistency matters as much as the number: a yard mixing 2700K, 4000K, and 5000K looks chaotic no matter how well everything is shielded. Pick warm, then pick it everywhere.
Less Is More: Getting Brightness Right
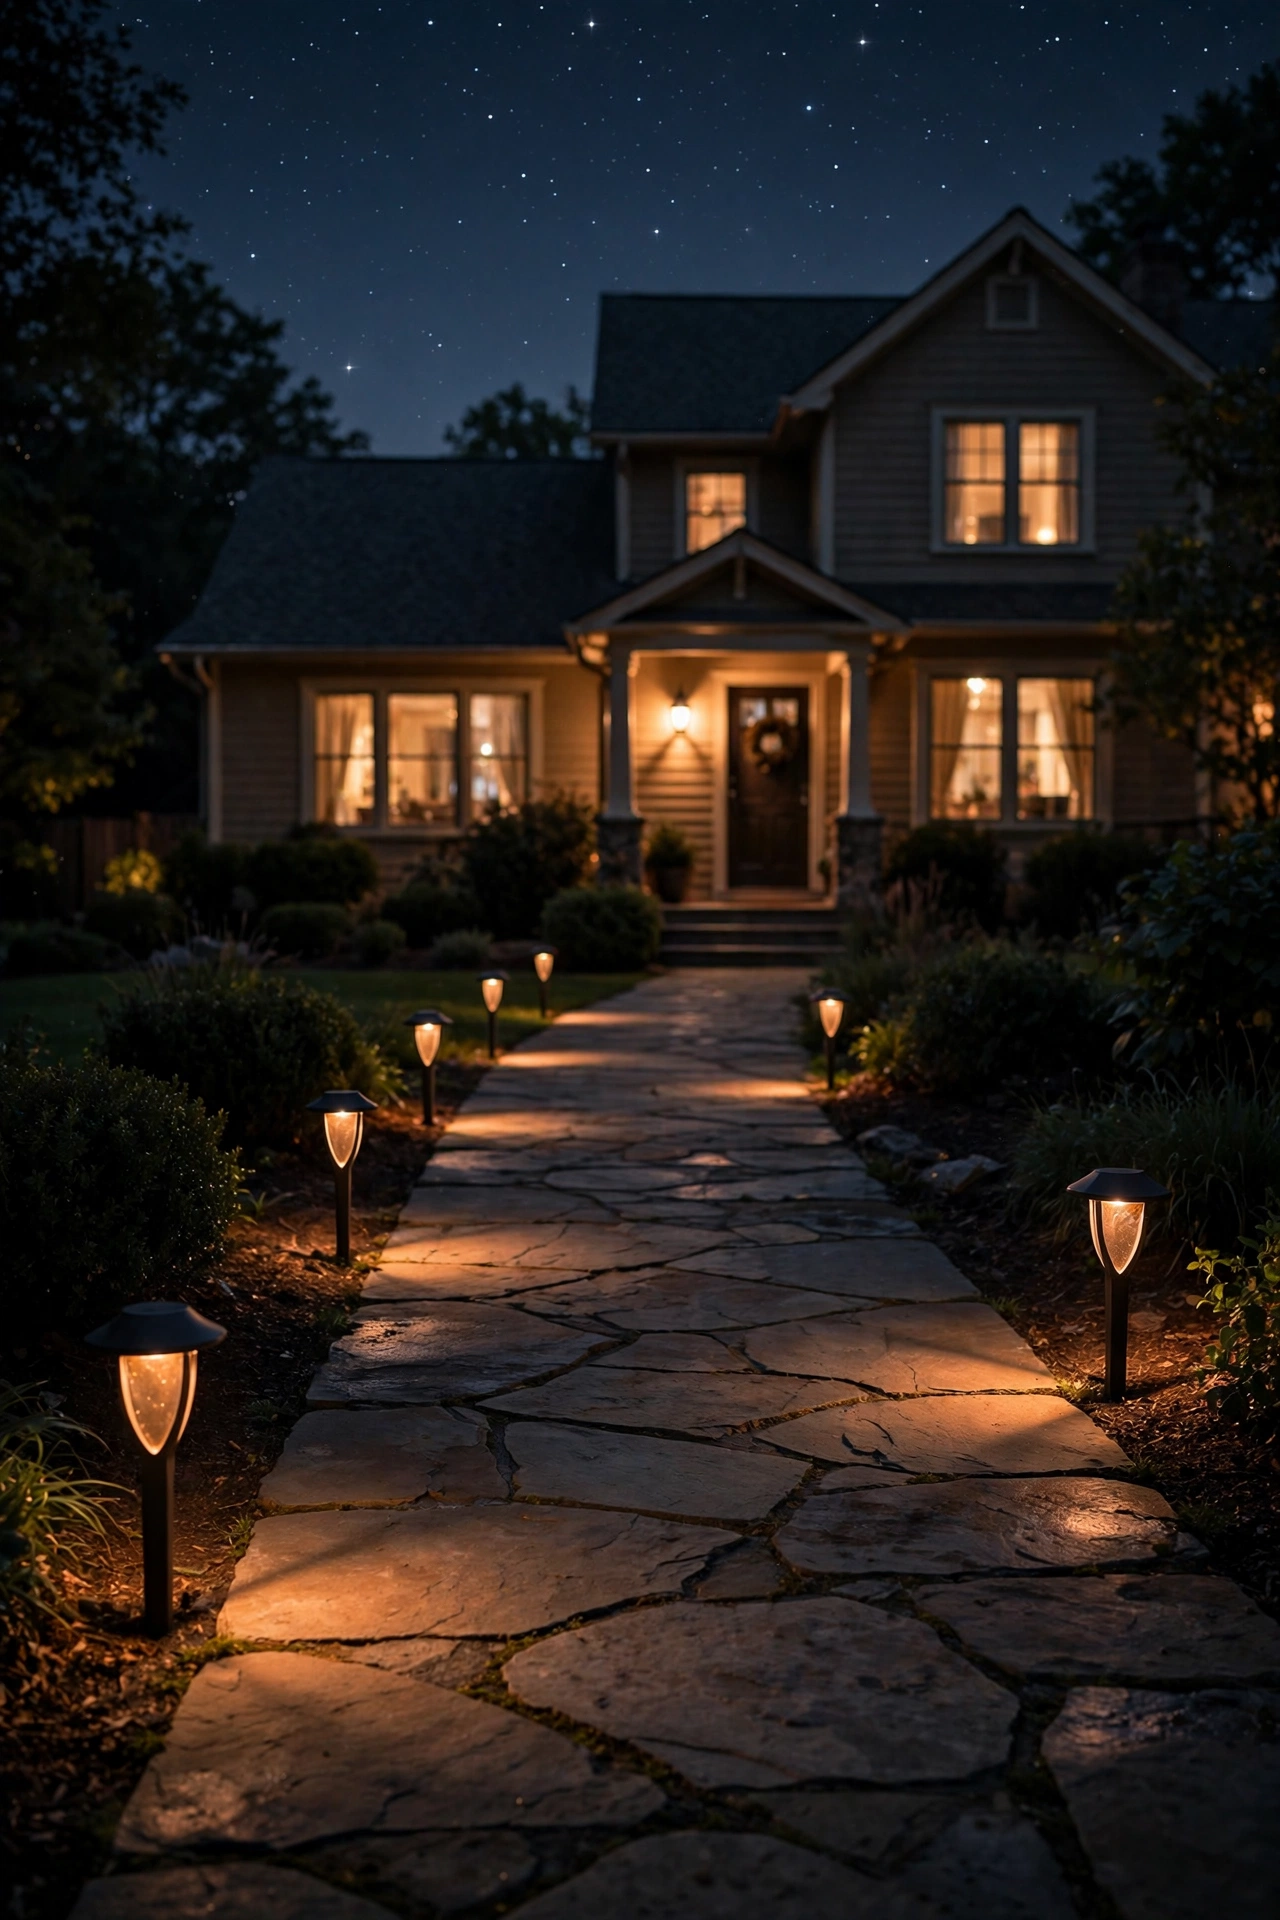
Here's the secret nobody in the lighting aisle will tell you: outdoor lights are almost always too bright. We buy a 1600-lumen floodlight for a walkway that a 300-lumen path light would handle beautifully, then wonder why the yard feels harsh. More light isn't more safety — it's more glare, and glare actually makes it harder for your eyes to see because your pupils constrict against the bright source.
My rule of thumb, tested over dozens of projects: a porch or entry needs 400–800 lumens total (one well-placed fixture, not three blazing ones). Path lights do their job at 100–300 lumens each — their purpose is to mark the path edge, not to illuminate it like a runway. Step lights can be as low as 50–100 lumens. Decorative string lights are often 20–60 lumens per bulb, which is plenty for ambience. A typical security light needs 700–1300 lumens, but only when motion-activated.
I always recommend buying one fixture first and testing it at night before committing to a whole set. It's the cheapest experiment in this whole guide. Stand where the fixture will mount, turn it on, and walk the area it covers. If you squint, it's too bright. If it creates a comfortable pool of light you can walk through without thinking, it's right. And remember that eyes adapt — after five minutes in the dark, you'll be amazed how far 200 lumens goes.
The math helps sell this, too. Ten 9-watt warm LED path lights running five hours a night use about 0.45 kWh a day — roughly 6 cents at typical rates, or about $22 a year. Drop those to 5-watt bulbs because you aimed them well, and you've nearly halved it. Dark-sky friendly lighting is one of the rare upgrades that gets cheaper the better you do it.
Timers and Motion Sensors: Light Only When It Counts
A perfectly shielded, warm, dim fixture that's on all night is still adding glow all night. That's why timing is one of the five principles — and honestly, it's the easiest one to get right. A light that's on for three hours serves you exactly as well as one that's on for ten, and it costs a third as much to run.
Start with a photocell: a small dusk-to-dawn sensor that turns lights on automatically at sunset and off at sunrise. Almost every outdoor fixture can accept one, and screw-in photocell adapters cost about $10–$15. But for most yards, I prefer something smarter — a timer that shuts everything off at a set hour. My own setup runs dusk to 11 p.m., because nobody in my house is admiring the landscaping at 2 a.m. Many digital timers now have an "astronomic" mode that calculates sunset for your zip code and lets you set an off-time. They're about $15–$25 and worth every penny.
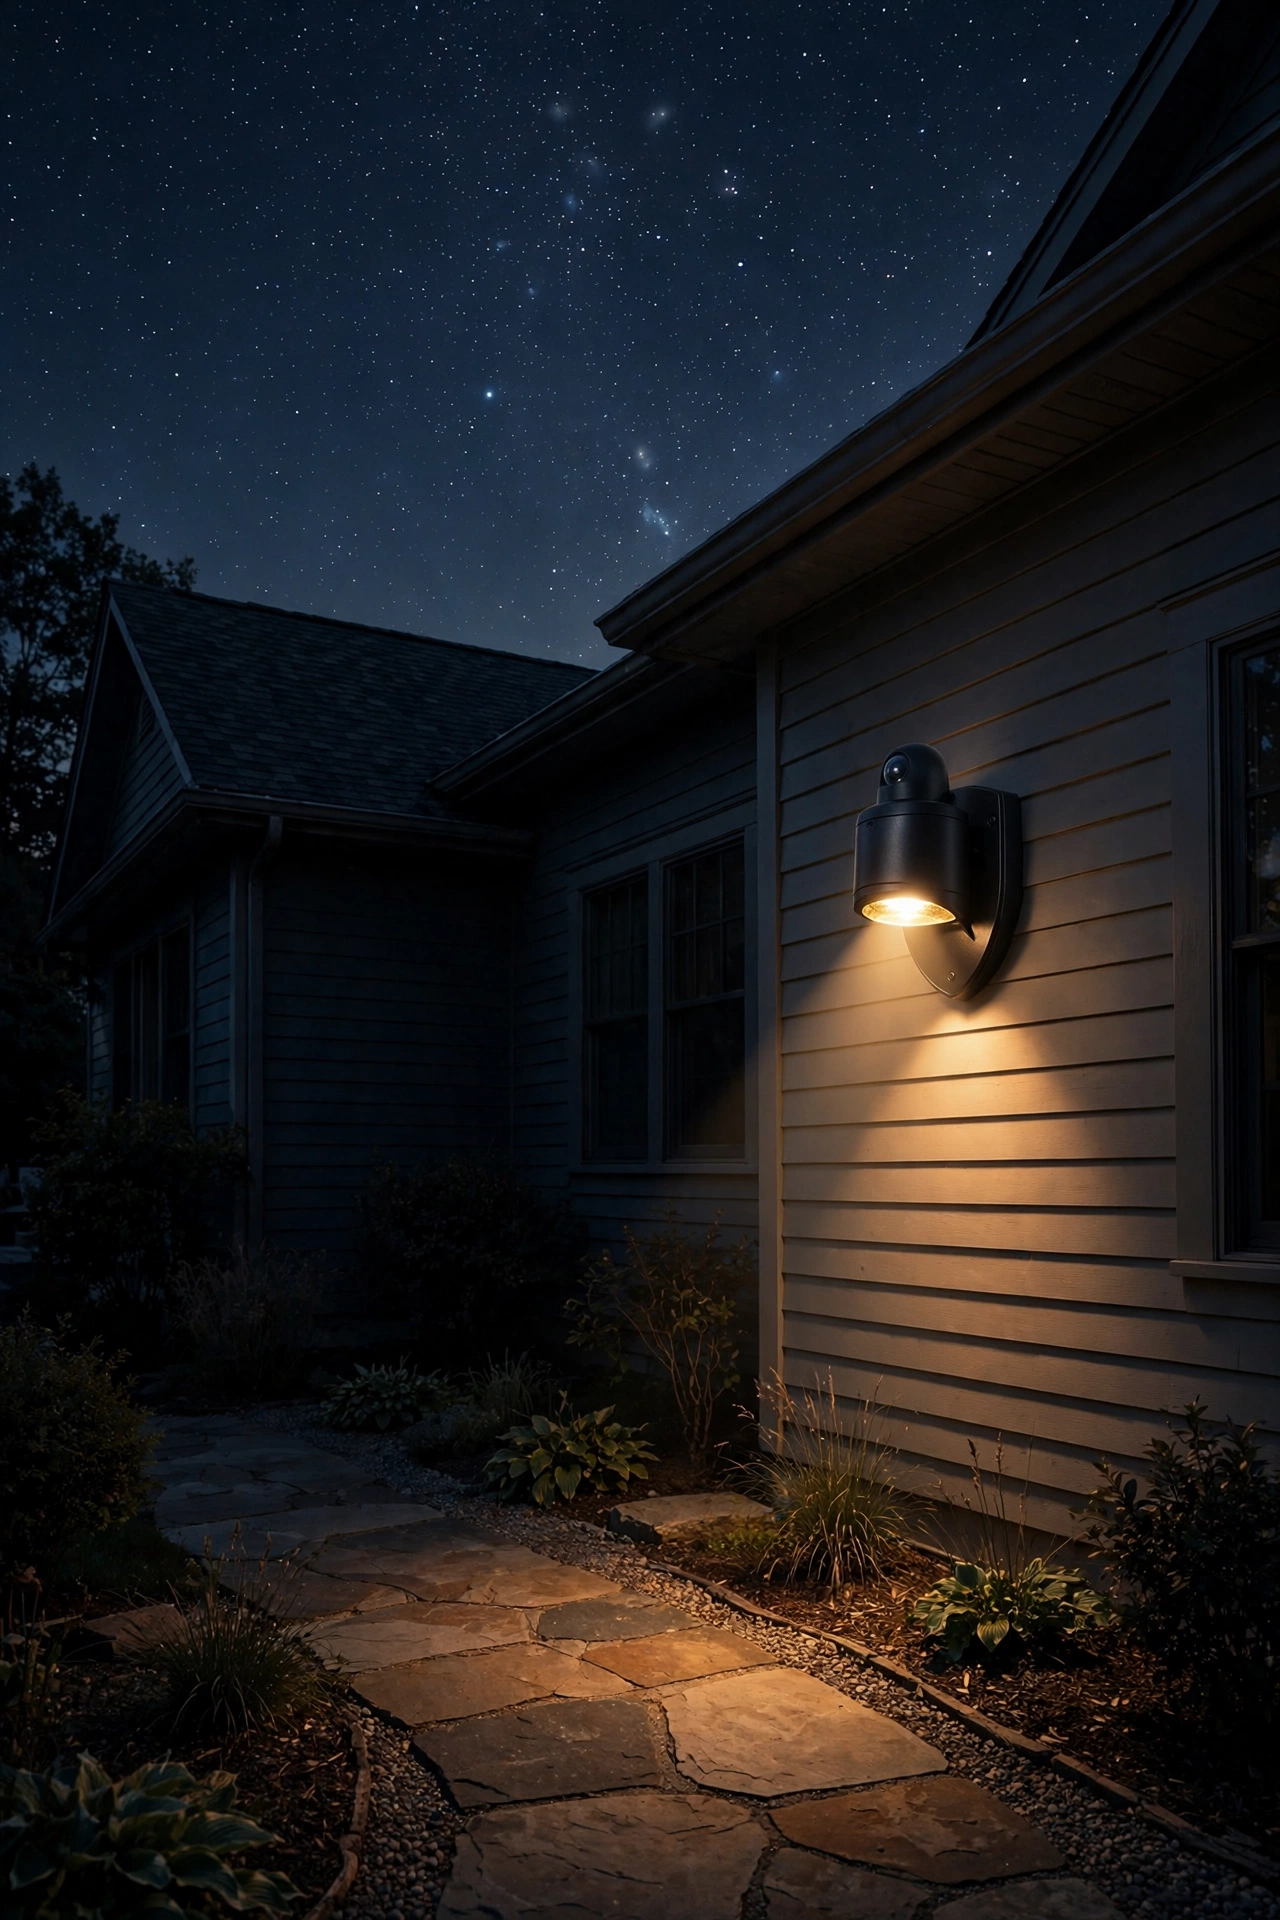
Motion sensors are the real heroes, though. For security and utility lighting — driveways, side gates, back corners — motion-activated lights give you full brightness exactly when someone's there and near-zero otherwise. Look for models with adjustable sensitivity and a 1-to-10-minute timer, and mount them 7–9 feet high aimed down so passing cars and swaying branches don't trigger them constantly. The sweet spot I always recommend: dual-bright fixtures that glow softly (say, 30%) all evening for ambience, then jump to full brightness when motion is detected. You get the welcoming look plus the security punch, with a fraction of the light-hours. When I planned motion-sensor coverage in my spring setup, pairing them with a dusk-to-11 timer gave me the best of both worlds — the same approach I detailed in my summer patio lighting setup for keeping evening hangouts lit but not wasteful.
Aim Down: Placement Rules That Protect the Sky
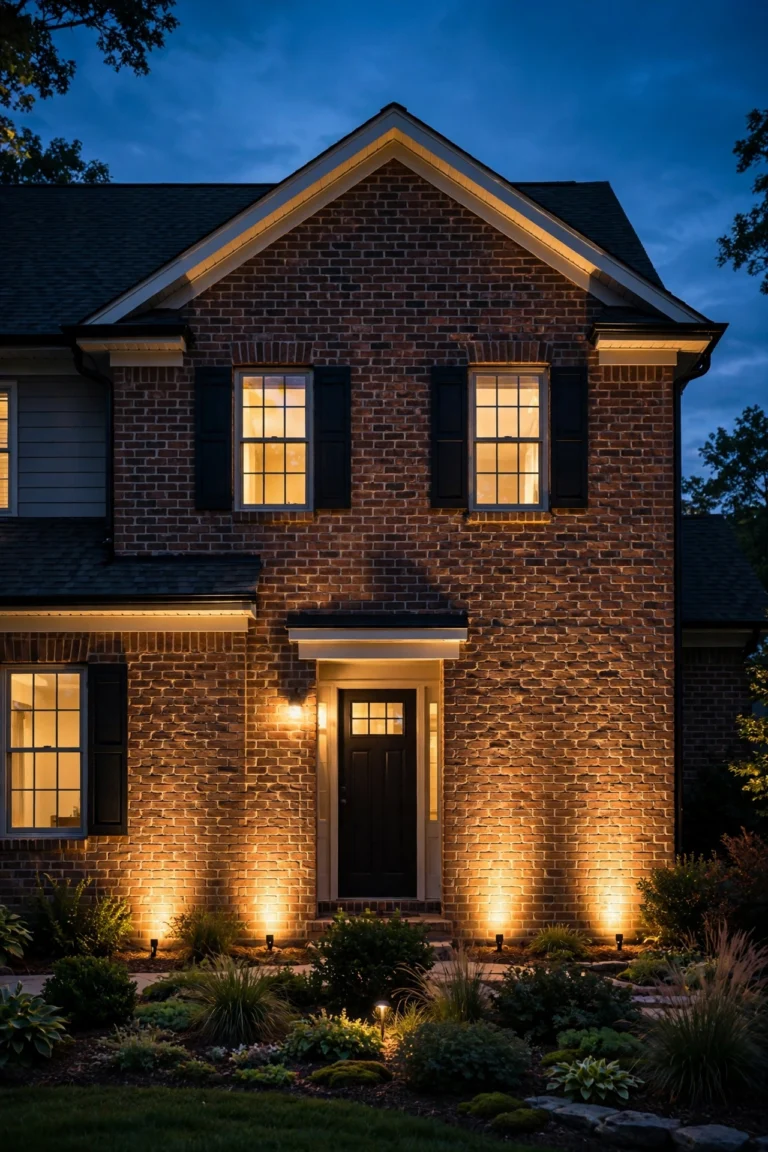
Where you point a light matters as much as what light it is. The five principles say it plainly: aim everything downward. That means no uplighting trees into the sky, no wall-washing that sprays light above the roofline, no decorative fixtures tilted toward the stars. I know uplighting looks gorgeous — I used to do it too — but it's the single most sky-hostile technique in residential lighting. Every lumen aimed up is a lumen feeding skyglow, and shielded downlights can create nearly the same drama by lighting a tree from a branch-mounted fixture pointed down ("moonlighting") instead of from the ground pointed up.
Here are the placement rules I actually use, with measurements:
– Wall fixtures and sconces: Mount 66–72 inches from the floor to the fixture center, flanking doors. Never mount above 10 feet on a residential wall — higher mounting spreads light wider and leaks more sideways.
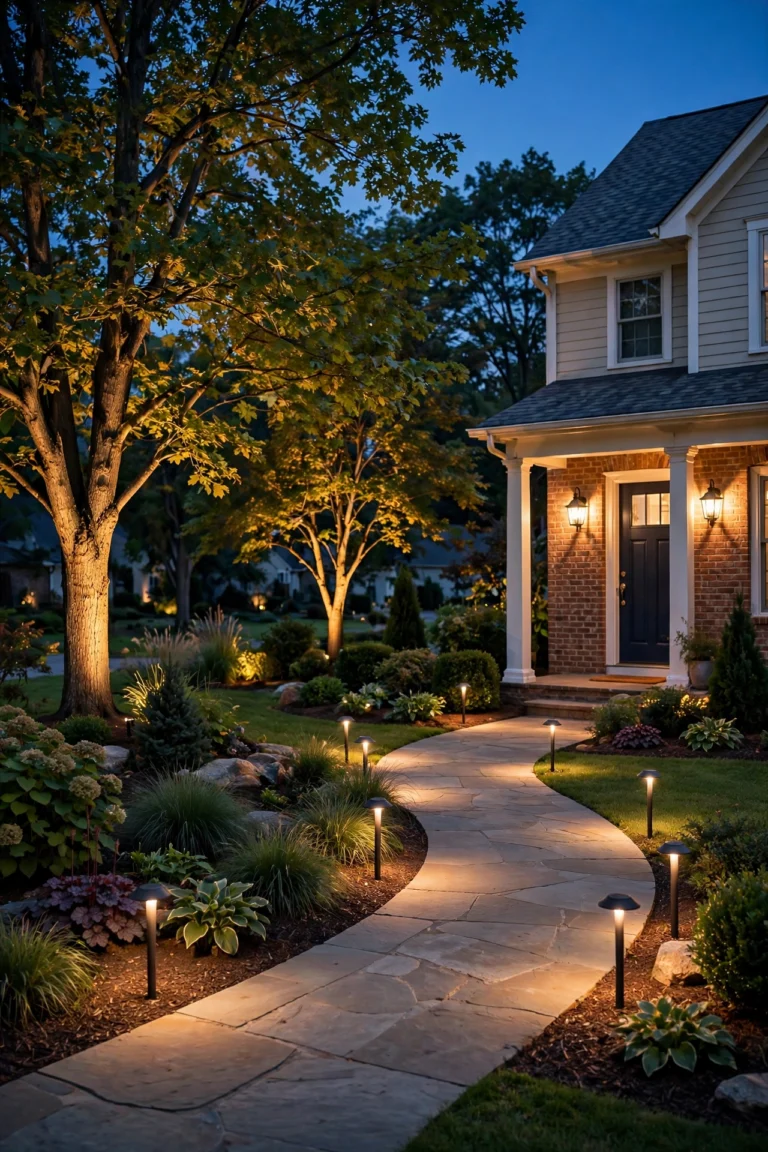
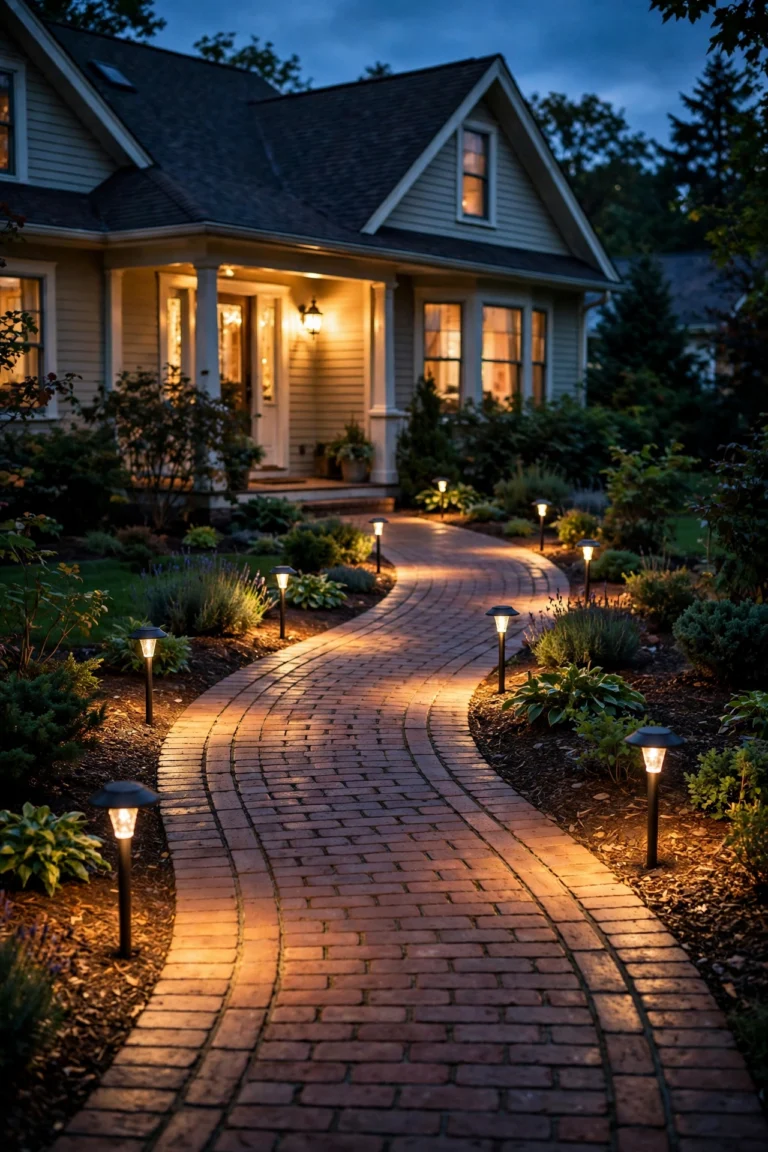
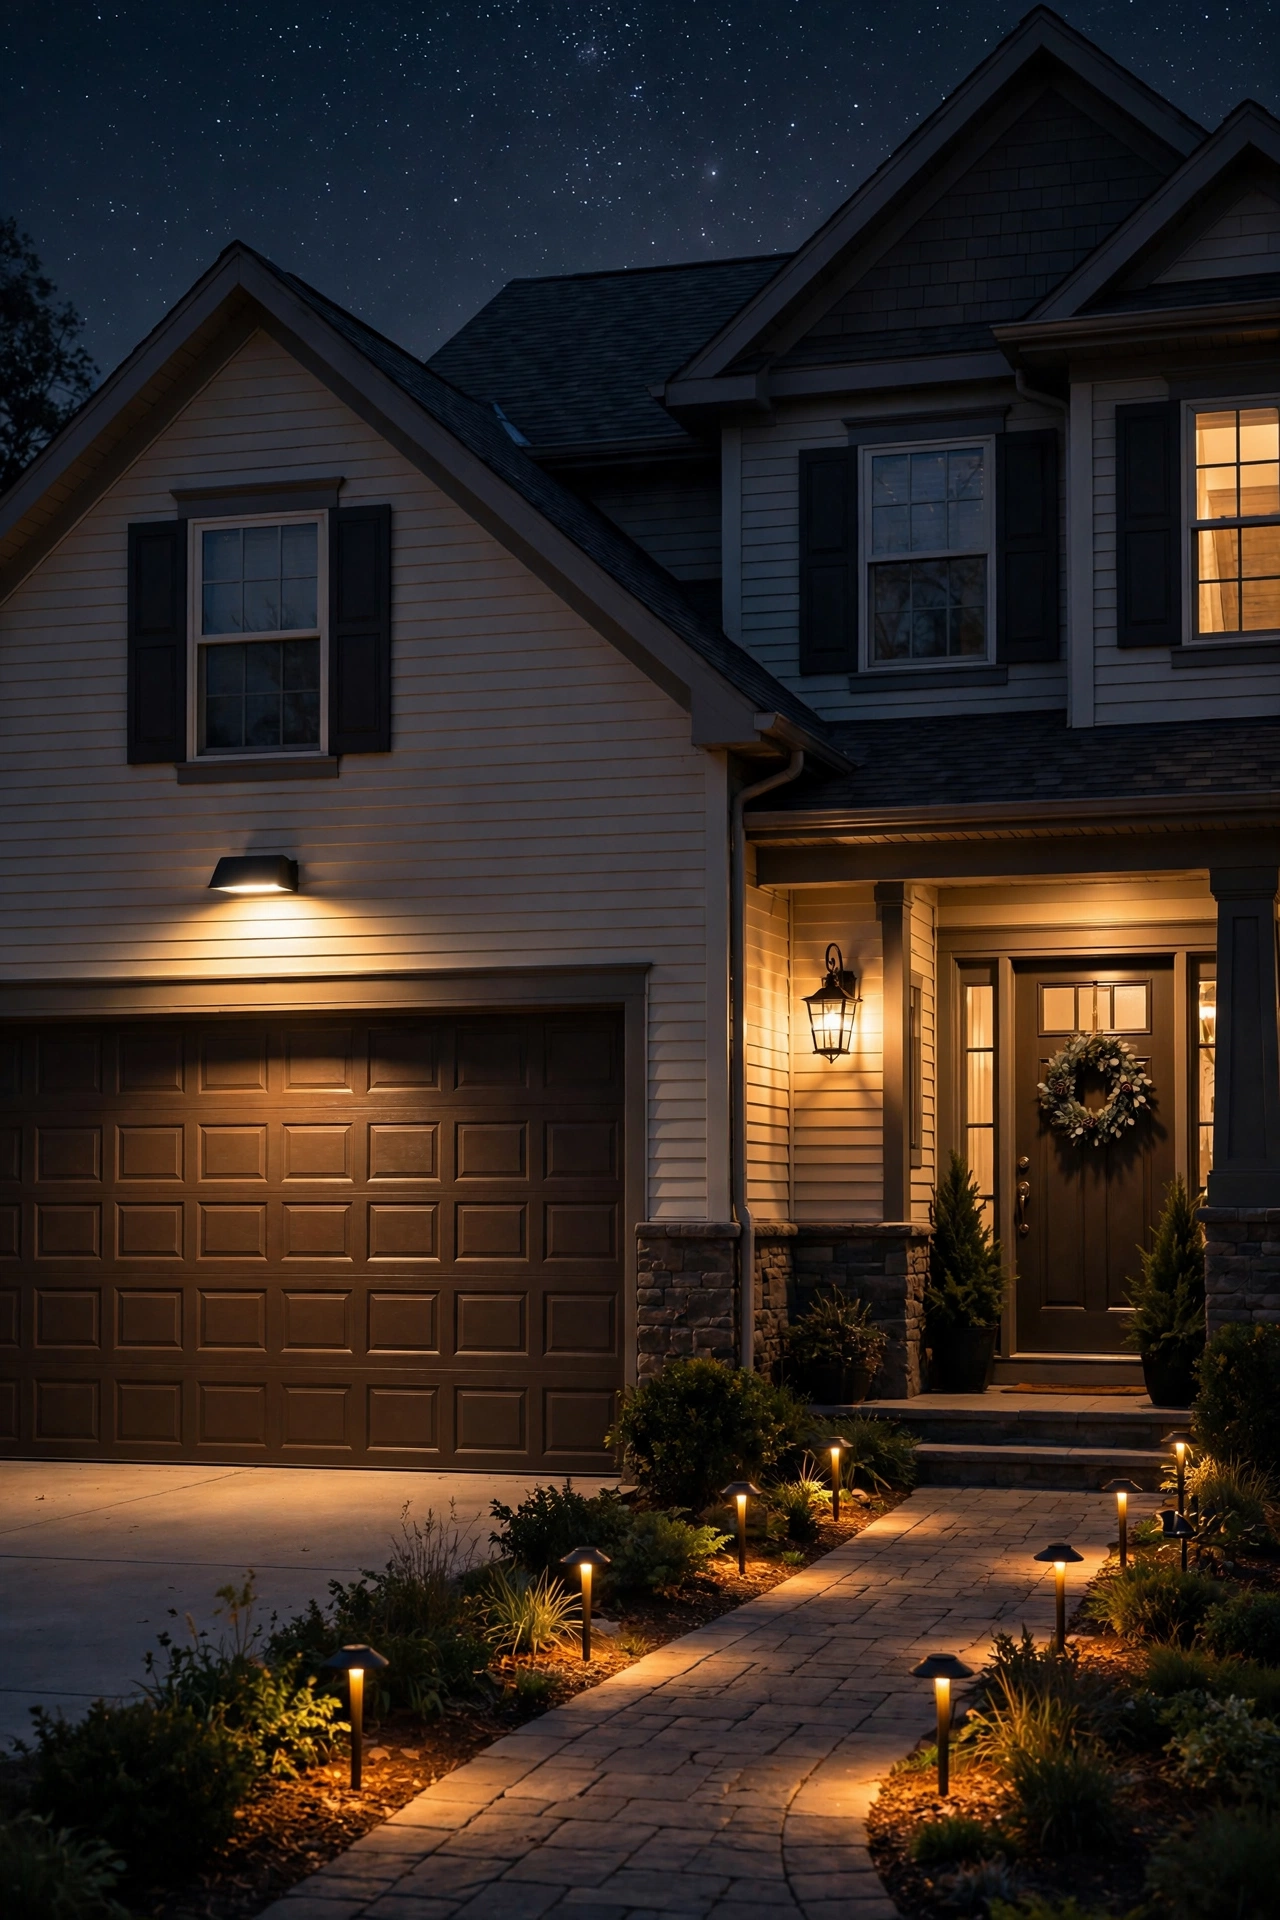
– Path lights: Choose short fixtures, 14–20 inches tall, spaced 6–8 feet apart in a staggered pattern (alternate sides of the path). Taller path lights spray light wider and cause more glare. For the full walkthrough — spacing, staggering, and transformer sizing — see my low-voltage path light guide.
– Floodlights and security lights: Mount under the eaves, aim straight down or tilted no more than 30 degrees from vertical, and keep the beam on your own property. The lit area should end at your property line, not your neighbor's bedroom.
– Step and deck lights: Recess them into risers or mount low on posts, aimed at the surface. These are inherently sky-friendly because they're so low.
Do the "walk the line" test after dark: stand at your property line in each direction and look back at your house. If any bare bulb glares at you, something needs shielding, dimming, or re-aiming. This five-minute check has saved more friendships than any other tip I give.
Dark Sky Outdoor Lighting Fixtures, Compared Honestly
Some fixture designs are fundamentally sky-hostile — no warm bulb fixes a globe light spraying in all directions. Here's my honest comparison, so you know what to buy, what to fix, and what to avoid.
| Fixture type | Typical cost | Dark-sky friendliness | Best for |
|---|---|---|---|
| Full-cutoff wall pack | $60–$180 | Excellent — zero upward light | Garages, driveways, entries |
| Shielded sconce (recessed bulb) | $40–$120 | Very good | Front doors, porches, patios |
| Shielded low-voltage path light | $25–$80 per fixture | Very good | Walkways, garden beds |
| Motion-sensor security light (shielded) | $30–$70 | Good, if aimed down and timed | Driveways, side yards, gates |
| Amber/warm string lights | $20–$60 per strand | Fair — good if low, warm, and timed | Patios, pergolas, gathering areas |
| In-ground well light | $40–$100 | Poor (aims up by design) | Skip, or use only inside dense shrubs aimed at the plant, never the sky |
| Post-top globe light | $50–$150 | Poor — throws light in all directions | Avoid, or retrofit with a shielded head |
A few honest notes. String lights get a "fair" because they're decorative and beloved — mine are timed to shut off at 11 p.m., mounted low under a pergola, and every bulb is 2700K. That's a perfectly fine compromise. Well lights and post-top globes are the two I genuinely steer people away from: a globe on a 6-foot post is essentially a tiny sky lantern, and no warm bulb fixes the geometry. If you love the look of a post light, swap the globe head for a shielded carriage-style head — same charm, a fraction of the sky damage.
When shopping, the words that matter are "full cutoff," "fully shielded," and the DarkSky International seal. If the packaging brags about "360-degree illumination," that's a sign to keep walking. A $15 fully shielded fixture with a warm bulb outperforms a $150 unshielded "premium" fixture on every metric that matters to the sky.

Retrofit vs. Replace: What's Worth Doing First
You don't have to rip out every fixture to go dark-sky friendly. In my experience, about two-thirds of a typical yard's problems can be fixed by retrofitting — changing bulbs, adding shields, and adjusting timing — for under $100 total. Here's how I prioritize it.
Start with retrofits (cheap, immediate, no electrician):
1. Swap every bulb to 2700K. This is the highest-impact ten minutes in the whole project. Pull the cool-white bulbs out of every outdoor fixture and replace them with warm LEDs. Cost: $8–$20 per bulb depending on type.
2. Add shielding to exposed fixtures. Snap-on or screw-on shields exist for many common fixture styles, and a simple downward-facing shade can fix an exposed porch light for $15–$30.
3. Put everything on timers or photocells. A plug-in or screw-in timer on each circuit, or one astronomical timer at the panel, instantly cuts your light-hours. Cost: $12–$30 per device.
4. Re-aim adjustable fixtures. Floodlights and spotlights with knuckle joints can usually be tilted down in five minutes with a ladder and a screwdriver. Aim them at the ground you actually use, and make sure the beam dies before the property line.
Replace when the fixture's geometry is the problem:
Replace fixtures that can't be shielded — post-top globes, exposed-bulb carriage lanterns, uplighting kits, and any security light whose bulb hangs below the housing. There's no bulb or timer that fixes a fixture designed to spray light upward. Budget $40–$150 per fixture for a shielded replacement, and do the worst offenders first: the glaring security light, then the porch lantern, then the path lights.
Call an electrician when: you're adding new circuits, running line voltage (120V) underground, or replacing a fixture whose wiring looks damaged. Low-voltage (12V) landscape lighting is genuinely DIY-friendly — the transformer plugs into a GFCI outlet and the cables are safe to bury yourself. Line voltage is not a learning project. An electrician typically charges $150–$400 in labor per fixture for a straightforward swap, so bundle replacements into one visit.
What Dark Sky Outdoor Lighting Costs in 2026
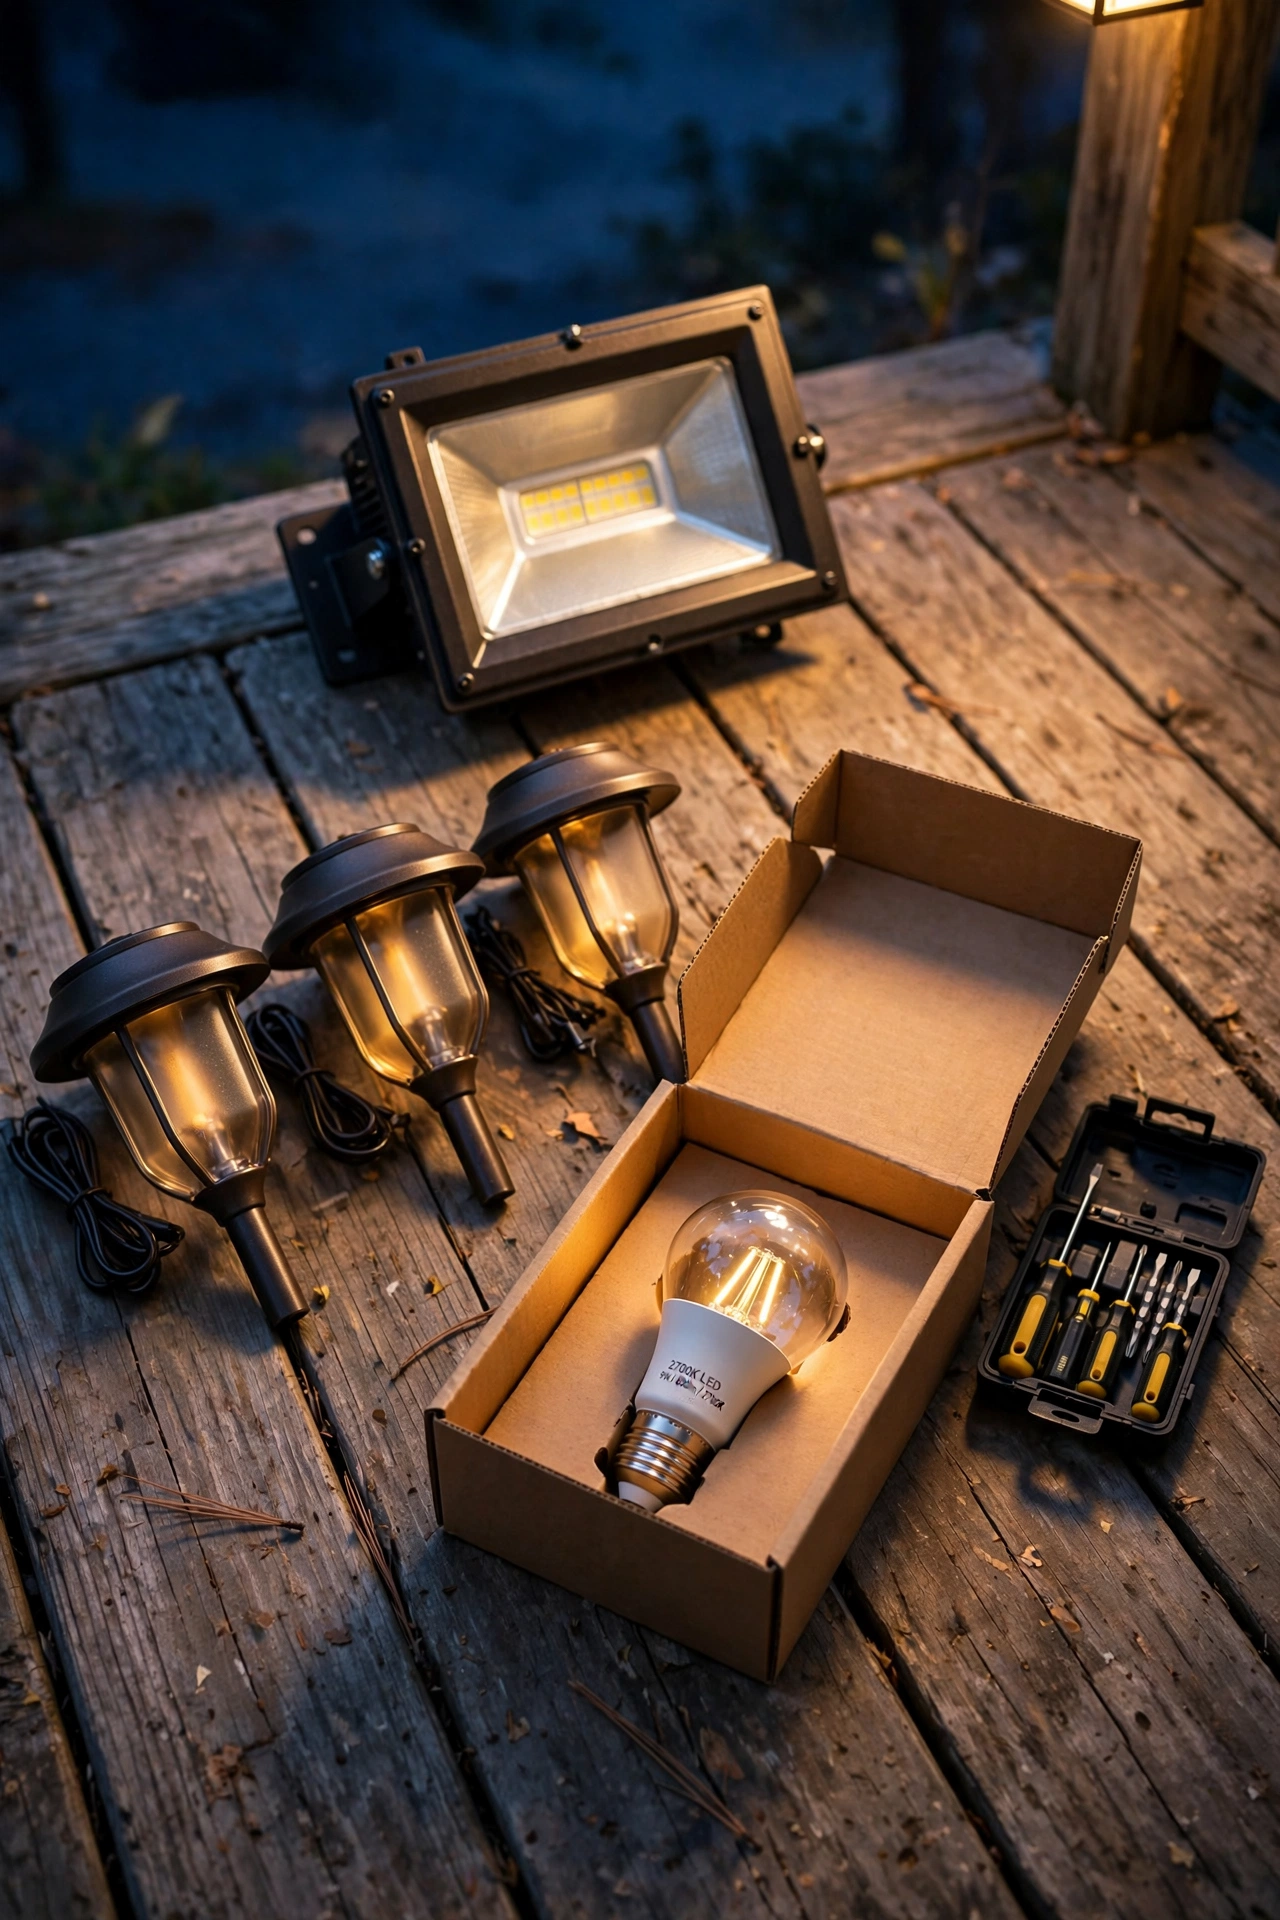
Let's talk real numbers, because "dark-sky friendly" sounds like it costs more, and it usually doesn't. In 2026, warm 2700K LEDs are commodity items, and shielded fixtures cost about the same as unshielded ones — the geometry isn't a luxury feature anymore.
Typical costs:
– Warm LED bulb swap: $8–$20 per bulb
– Snap-on fixture shield: $15–$30
– Screw-in photocell adapter: $10–$15
– Astronomical timer: $15–$25
– Motion sensor add-on or fixture: $25–$60
– Shielded low-voltage path light: $25–$80 per fixture
– Full-cutoff wall pack: $60–$180
– 12V transformer (150–300W): $80–$250
– Electrician labor per fixture swap: $150–$400
Running costs are where this approach really shines. A typical 10-fixture low-voltage yard with 9-watt warm LEDs running five hours a night uses roughly 0.45 kWh daily — about 6 cents a day, or around $22 a year at average rates. Cut the runtime to three hours with a timer and dim to 5-watt bulbs because everything's aimed properly, and you're under $15 a year. Compare that to the old 60-watt halogen path lights some of us grew up with: ten of those for five hours a night ran about $130 a year. The efficiency story is genuinely one of the easiest sells in this whole guide.
Full-yard realistic budgets: A retrofit of an existing yard (bulbs, shields, timers): $100–$250. Replacing the worst 3–4 fixtures plus retrofitting the rest: $400–$800. A complete new low-voltage system for a small yard (8–12 fixtures, transformer, cable): $800–$2,000 DIY, or $2,500–$5,000 professionally installed. In my experience, the retrofit-first approach gets you 80% of the dark-sky benefit for about 15% of the full-system cost — start there.
7 Mistakes That Ruin Dark-Sky Friendly Lighting
I see these on almost every street in America. They're all fixable, and fixing them is usually the difference between a yard that glares and a yard that glows.
1. Overlighting. The most common mistake, full stop. Four blazing sconces where one would do, a 2000-lumen floodlight on a 20-foot walkway. More fixtures and more lumens create more spill, more glare, and a flatter, uglier look. Start with less than you think you need.
2. Cool-white LEDs. That 5000K "daylight" bulb might look crisp in the package, but outdoors it reads as harsh, scatters more into the sky, and clashes with every warm bulb around it. If any of your outdoor bulbs look blue-ish next to the others, swap them to 2700K.
3. Uplighting everything. Ground-level spotlights aimed up at trees, the house, the flag — each one is a small skyglow machine. If you love the drama of lit trees, try moonlighting: mount a shielded downlight high in the tree and aim it down through the branches. Same magic, no sky damage.
4. Leaving lights on all night. A shielded fixture burning from dusk to dawn is still wasting eight hours of light nobody sees. Timers and motion sensors are cheap; "set it and forget it" all-night lighting is the most expensive setting you own.
5. Aiming across the property line. Floodlights tilted toward the street or the neighbor's yard create glare for everyone and buy you nothing. Every beam should end on your own ground.
6. Mixing color temperatures. A 2700K porch light next to a 5000K garage light next to a 3500K path light looks accidental and chaotic. Pick one warm temperature and commit to it everywhere.
7. Lighting for a magazine, not for use. Decorative lighting running in empty side yards, lit garden beds nobody walks past after dark, accent lights on every shrub — if nobody uses or sees the space at night, it doesn't need to be lit. Light the paths you walk, the doors you use, and the spots you gather. Leave the rest to the moon.
Being a Good Neighbor: Etiquette After Dark
Here's something the five principles don't say out loud: your lighting affects people who didn't ask for it. A thoughtful dark-sky plan is also, almost by definition, a good-neighbor plan — but a few extra courtesies go a long way.
Talk before you install. If you're adding security lighting near a property line, mention it to your neighbor first. Show them that it's shielded, aimed down, and on a motion sensor. I've watched this thirty-second conversation prevent years of resentment. Most lighting disputes aren't about light — they're about feeling blindsided.
Know your local rules. A growing number of cities and counties have outdoor lighting ordinances — shielding requirements, curfews, and limits on brightness or color temperature. Some HOAs have them too, and they can be stricter than the city (or, frustratingly, can mandate decorative fixtures that aren't shielded). Check your HOA's architectural guidelines and your municipality's code before you buy. If your HOA requires a fixture style that's hard to shield, propose a shielded lookalike with a warm bulb — boards usually approve anything that looks similar and photographs well.
Mind the windows. The walk-the-line test I mentioned earlier is the real standard: if your light is visible from a neighbor's window or glares across their yard, it's trespassing, no matter how shielded the packaging claims it is. Aim beams to die at your property line, keep fixtures low near shared fences, and consider a curfew timer that drops decorative lighting by 10 or 11 p.m.
When you're the one being blinded. Start kind. A friendly note — "Hey, your new floodlight is shining into our bedroom, any chance it could be aimed down a bit?" — resolves most cases. Many people genuinely don't realize; nobody stands in their neighbor's yard evaluating their own fixtures. If kindness fails, most cities have a light-trespass or nuisance complaint process, and documenting the spill with dated photos helps. But in my experience, it rarely gets that far. People who learn about shielding usually become converts.
Electrical Safety Basics for Outdoor Lighting
Dark-sky friendly and safe go hand in hand — most of the rules overlap. But outdoor electricity deserves respect, and a few basics keep your project safe from day one.
Low voltage vs. line voltage. Most landscape lighting runs on 12 volts from a plug-in transformer — that's genuinely DIY-friendly. The cable can be buried just 6 inches deep, connections use simple weatherproof wire connectors, and there's no shock hazard worth fearing. Line voltage (120V) is a different animal: it requires proper junction boxes, weatherproof connections, deeper burial (typically 18–24 inches for direct-burial cable), and in most places, an electrician or permit for new runs. If you're unsure which system you're working with, assume line voltage and call a professional.
Outdoor ratings matter. Every fixture, bulb, wire connector, and timer must be rated for its location: "wet location" for anything exposed to rain (path lights, wall packs), "damp location" for covered porches and eaves. Indoor-rated gear outdoors is a fire and shock risk, not a bargain.
GFCI protection is non-negotiable. Any outdoor outlet — including the one your transformer plugs into — must be GFCI-protected. If your outdoor outlets are old two-prong or unprotected, have an electrician upgrade them before you plug in a single light.
A few hard rules: turn off the breaker before touching any line-voltage wiring, and test with a non-contact voltage tester. Keep connections in weatherproof boxes, never just taped and buried. Don't overload a transformer — keep the total fixture wattage under 80% of the transformer's rating. Keep LED fixtures (not halogens) near anything flammable like dry mulch or wooden structures, since LEDs run dramatically cooler. And when in doubt, hire it out — a $200 electrician visit is cheaper than a hospital visit or a house fire.
Frequently Asked Questions
Does dark-sky friendly lighting cost more than regular outdoor lighting?
Usually less. Warm LEDs and shielded fixtures cost about the same as their conventional equivalents in 2026, and dark-sky setups use fewer, dimmer fixtures running fewer hours — so both the upfront and the electricity costs drop. A full retrofit of an existing yard (bulbs, shields, timers) typically runs $100–$250, while the lower wattage and timed runtimes cut the electric bill. The expensive version is buying premium "smart" everything; the dark-sky principles themselves are budget-friendly.
Is dark-sky friendly lighting dimmer than normal lighting?
It's lower brightness on purpose, but it won't feel dim. Because shielded fixtures eliminate glare, your eyes don't have to fight a bright source, so a well-aimed 300-lumen path light feels perfectly adequate — often better than a glaring 800-lumen one. For security, motion-activated fixtures still deliver full brightness when triggered. Most people report their yard looks better, not darker, after switching.
What color temperature should outdoor lights be?
3000K or below — that's the DarkSky International guideline and mine. I recommend 2700K for porches, patios, and gathering areas (warm, flattering, candle-like) and 2700K–3000K for paths and driveways. Avoid 4000K and above outdoors: it looks harsh, scatters more into the sky, and disrupts sleep more if it reaches bedrooms. Whatever you choose, use the same temperature everywhere for a cohesive look.
Can my HOA require me to change my outdoor lights?
It depends on your HOA's covenants, but yes — many HOAs regulate exterior lighting, and some now require shielded fixtures or warm color temperatures. Others lag behind and mandate decorative unshielded styles. Check your architectural guidelines before buying, and if you want to switch to dark-sky fixtures, submit a proposal with photos of the shielded alternatives — boards almost always approve fixtures that look similar to the required style. Municipal lighting ordinances can also apply regardless of HOA rules.
Do timers and motion sensors count as dark-sky friendly?
Absolutely — timing is one of the five core principles. A timer that shuts lights off at 11 p.m. or a motion sensor that only fires when someone's present dramatically reduces your light-hours, which means less skyglow and lower bills. Photocells (dusk-to-dawn) help, but a timer or motion sensor is better because the light isn't burning all night. Pair a shielded warm fixture with a motion sensor and you've nailed four of the five principles in one product.
Conclusion
Dark sky outdoor lighting isn't about giving anything up — it's about putting light where it belongs and keeping it out of where it doesn't. Shield your fixtures, go warm, use less brightness than you think, time everything, and aim it all down. Do that, and you'll have a yard that's cozier, cheaper to run, kinder to your neighbors, and gentler on the night sky above it. I made the switch a few years ago and my patio is my favorite room of the house now — under actual stars, not an orange haze. If you're ready for more ideas, browse the lighting guides here for porch, patio, and landscape projects that pair beautifully with a dark-sky approach.