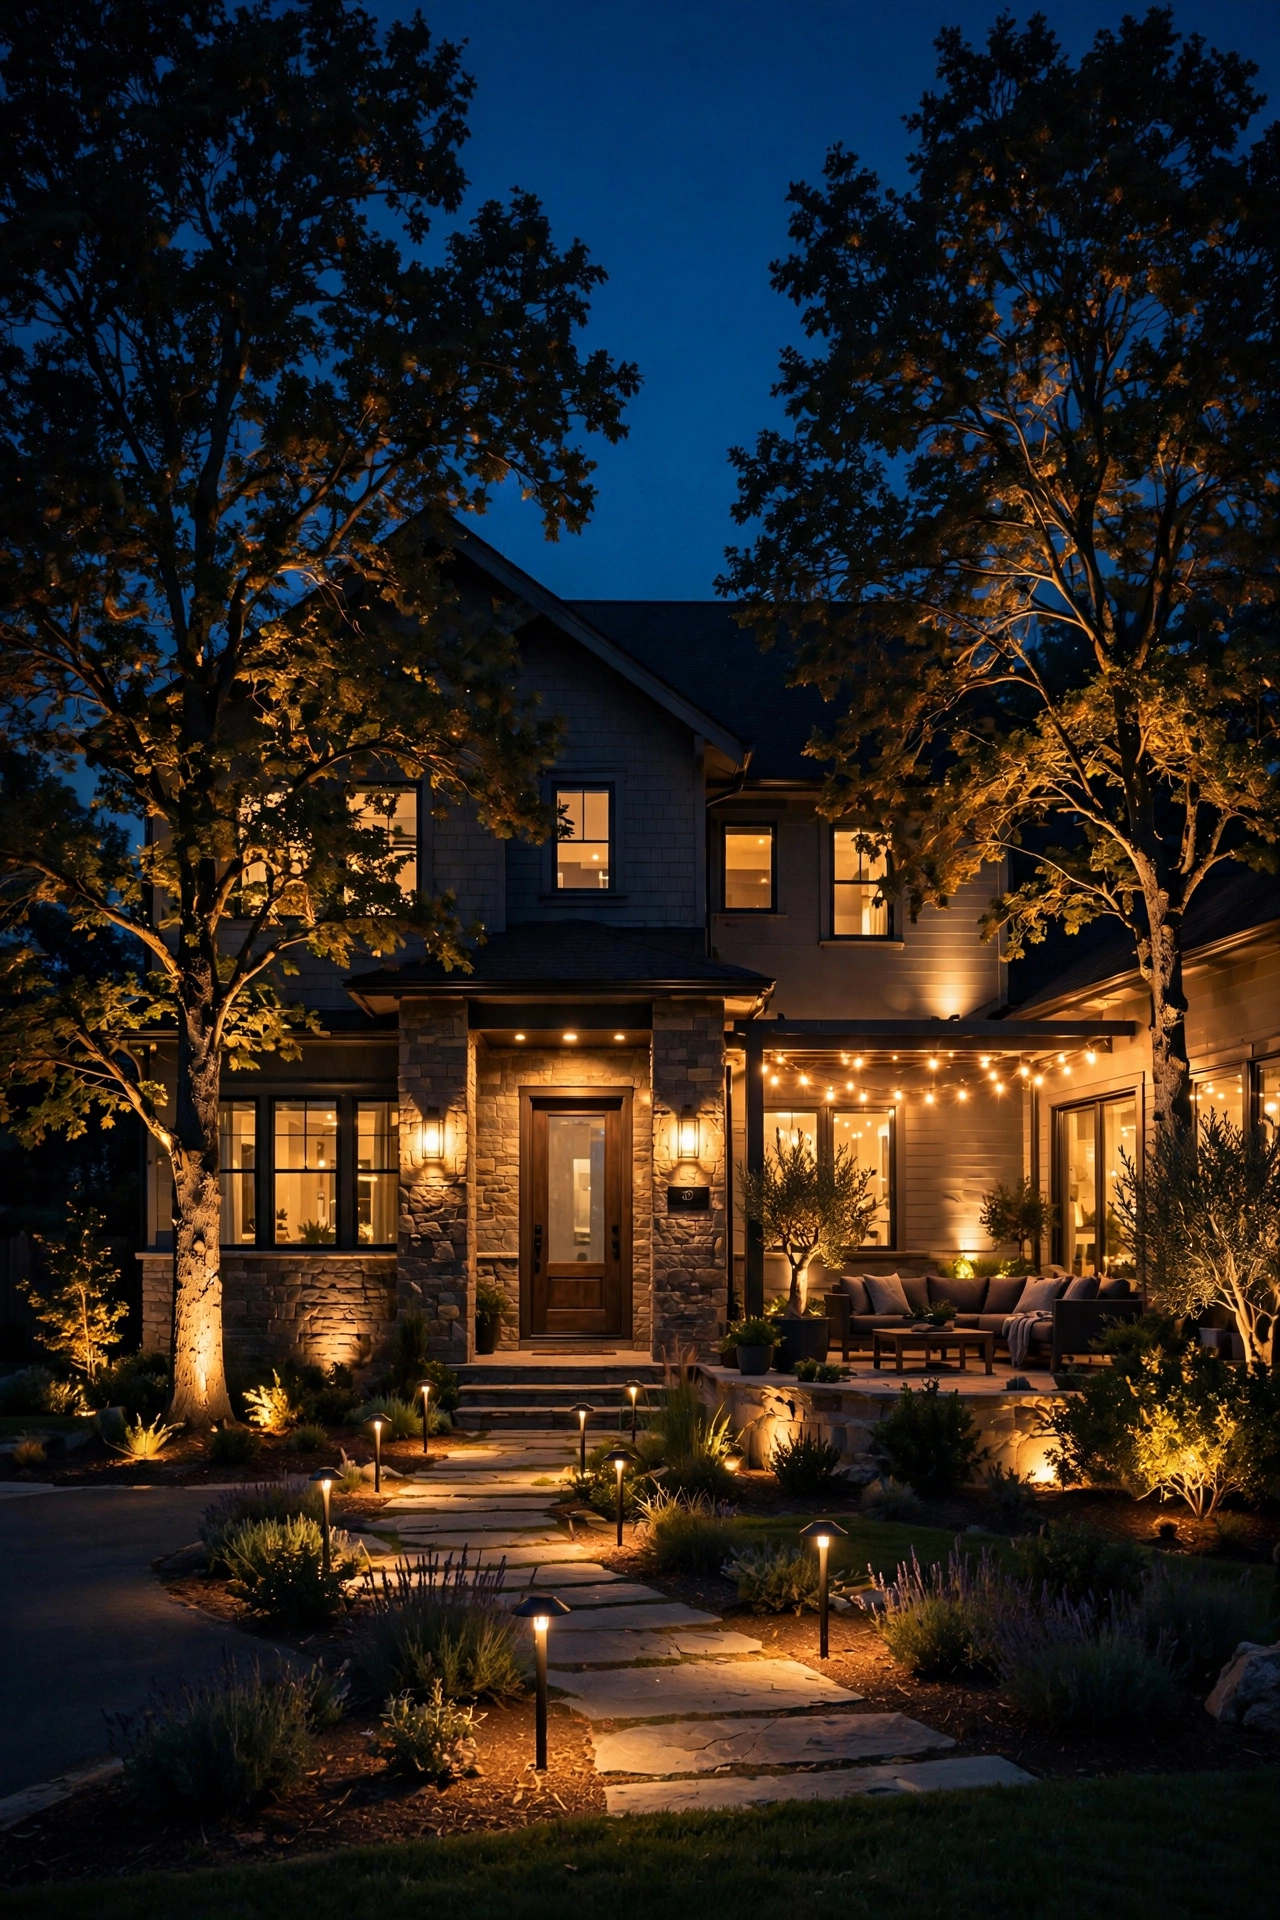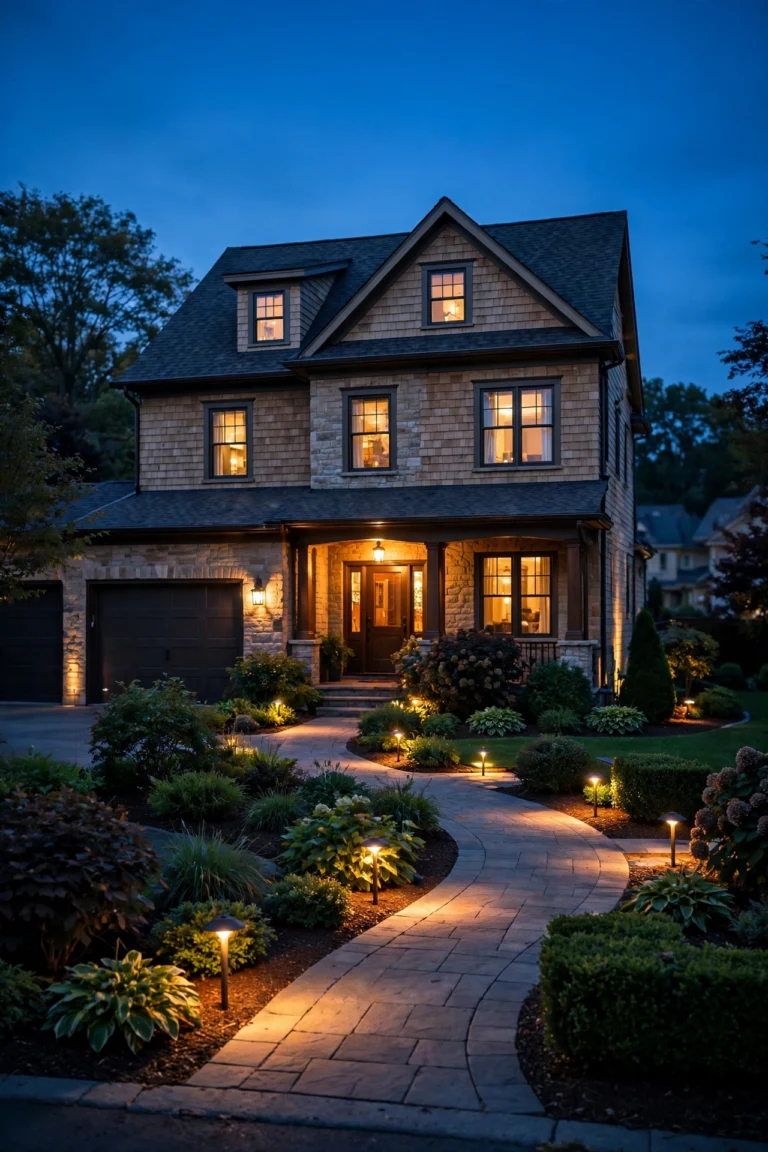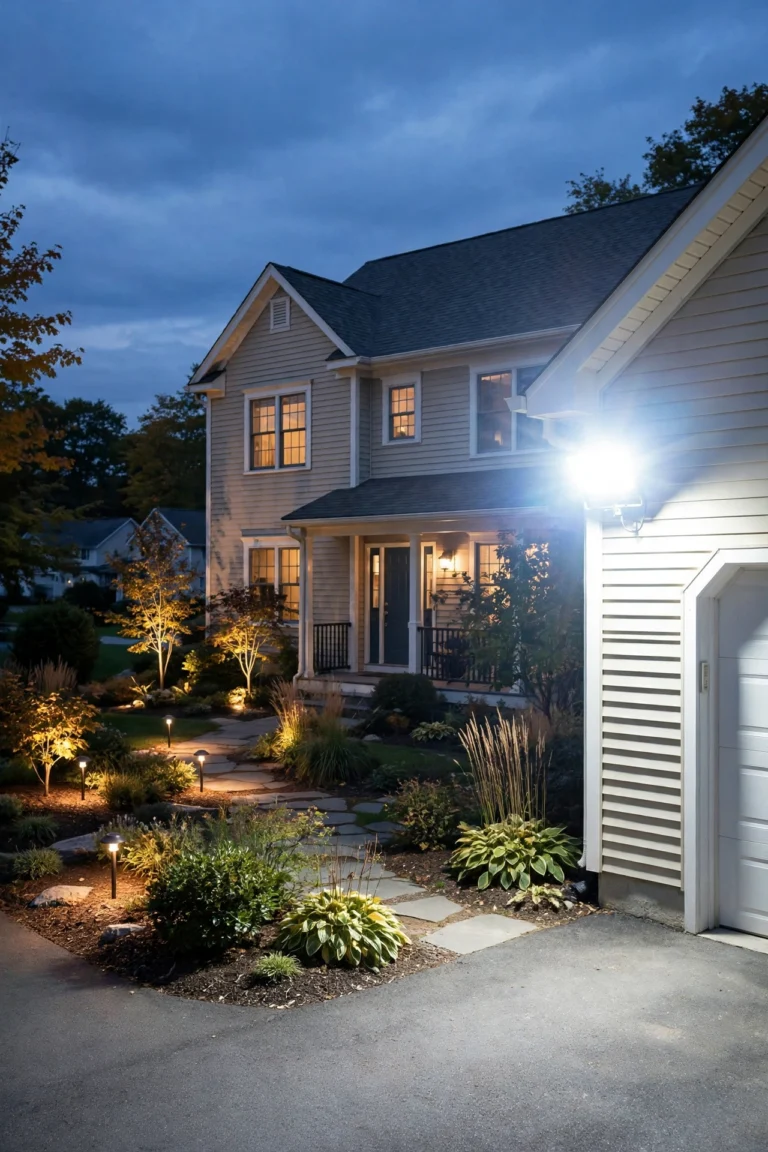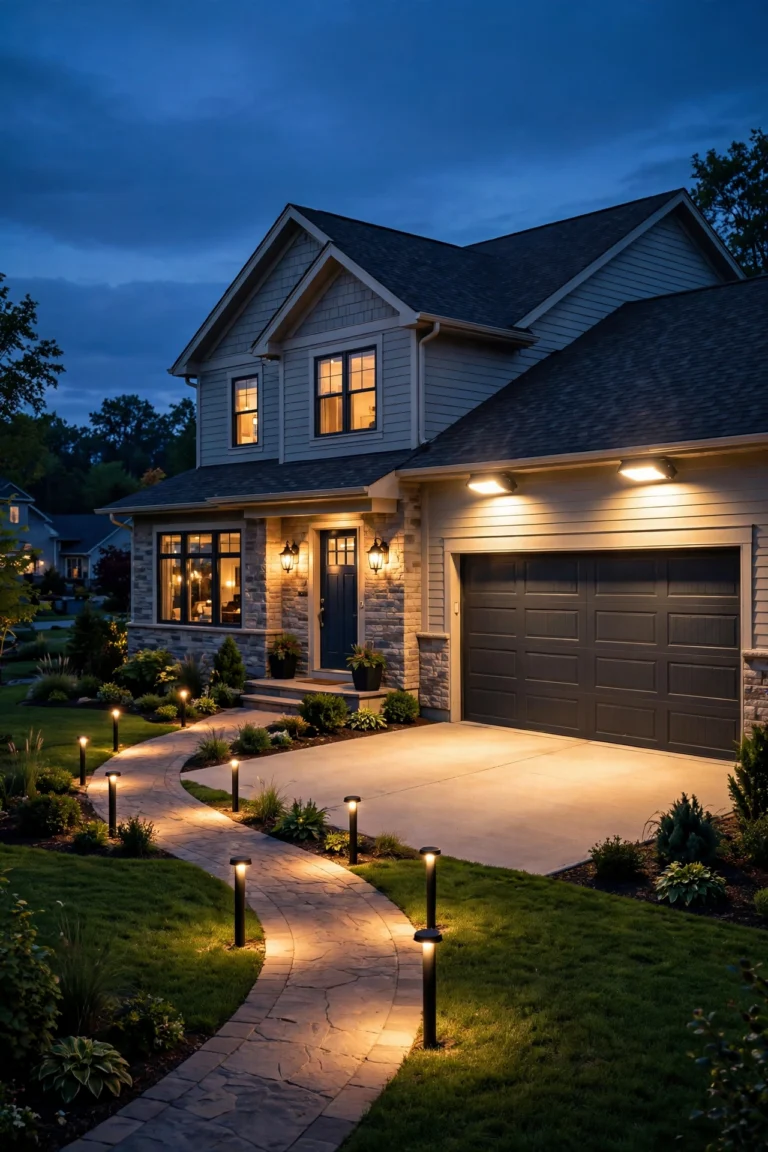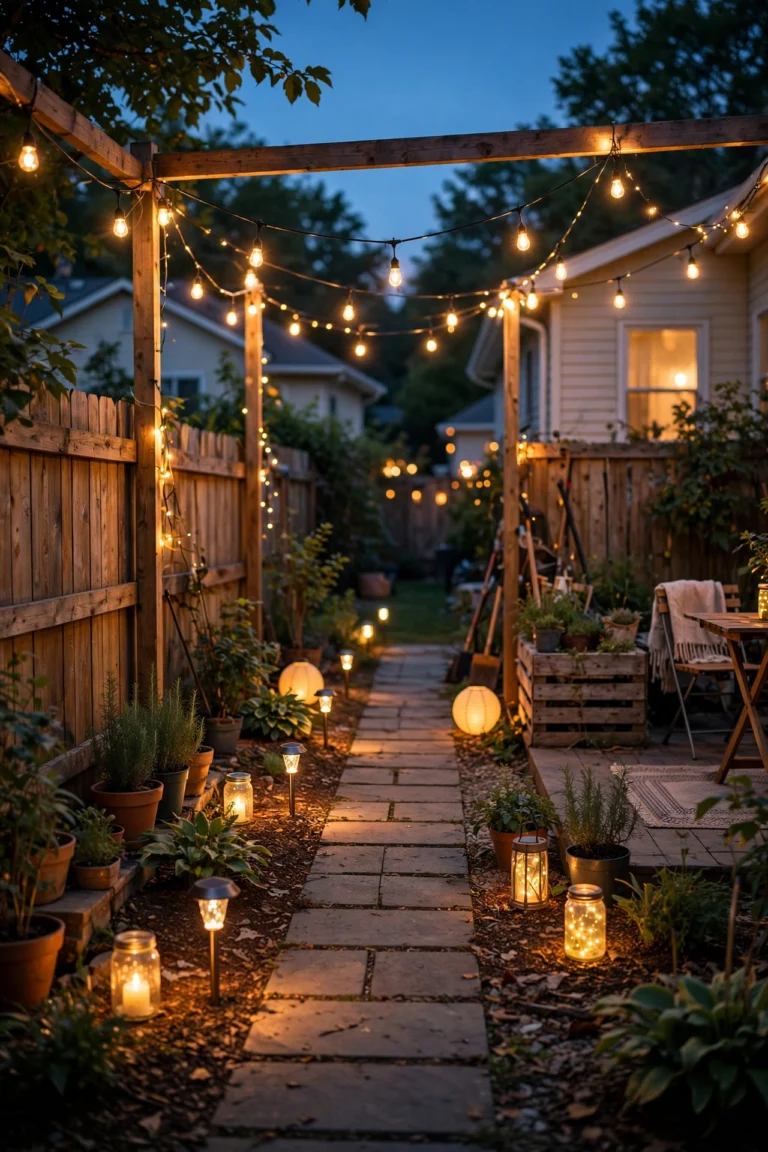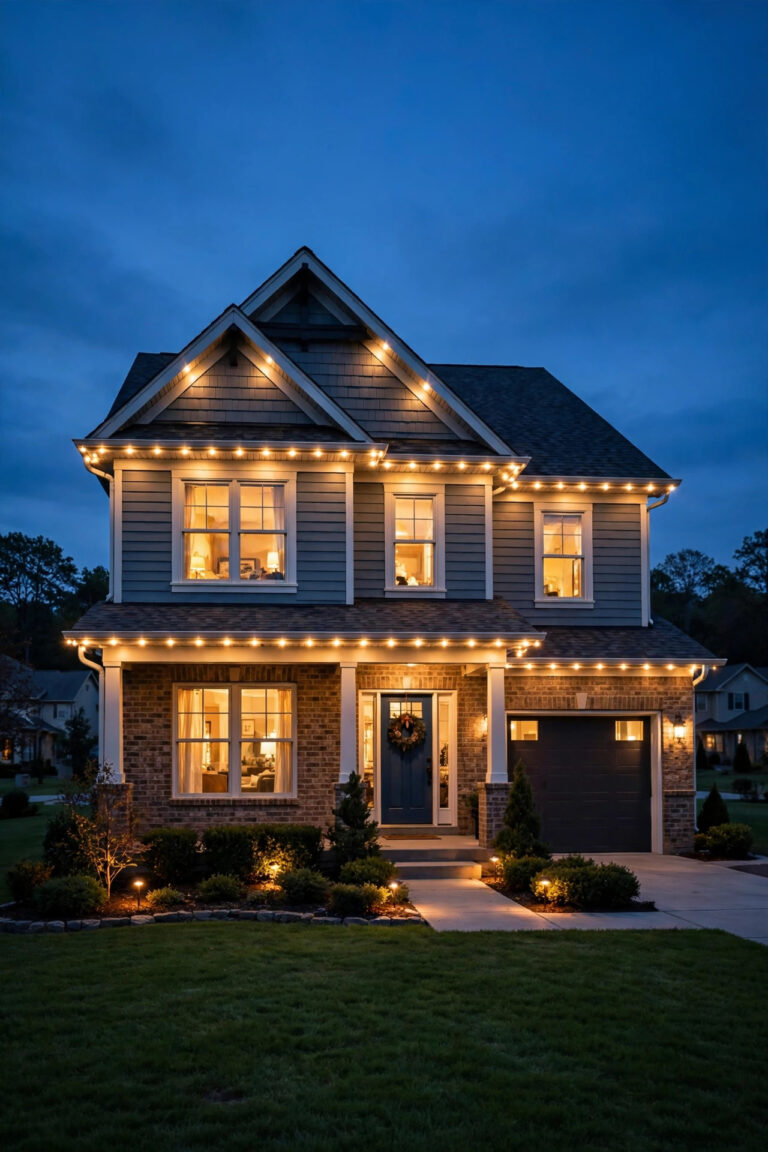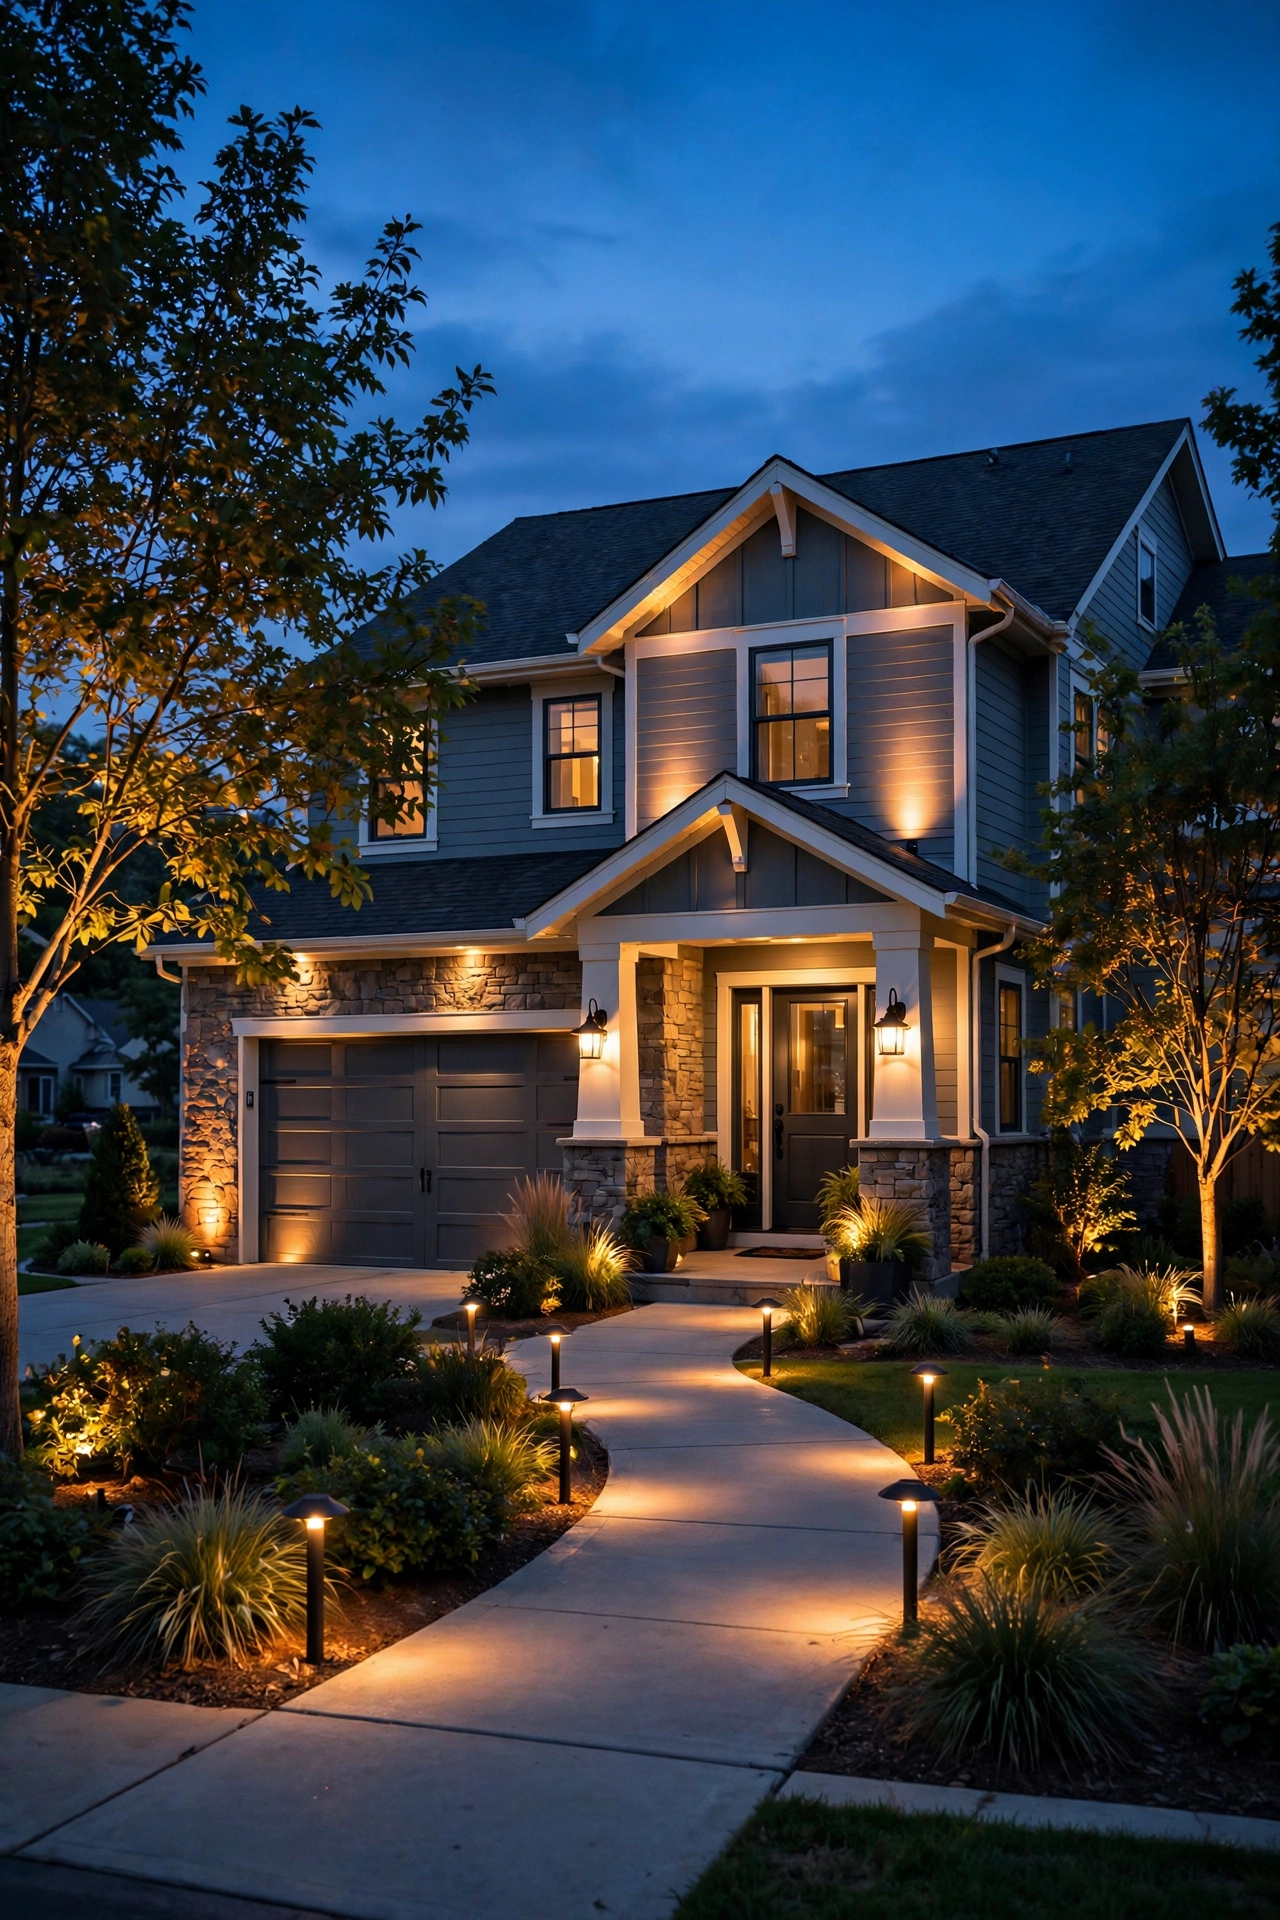
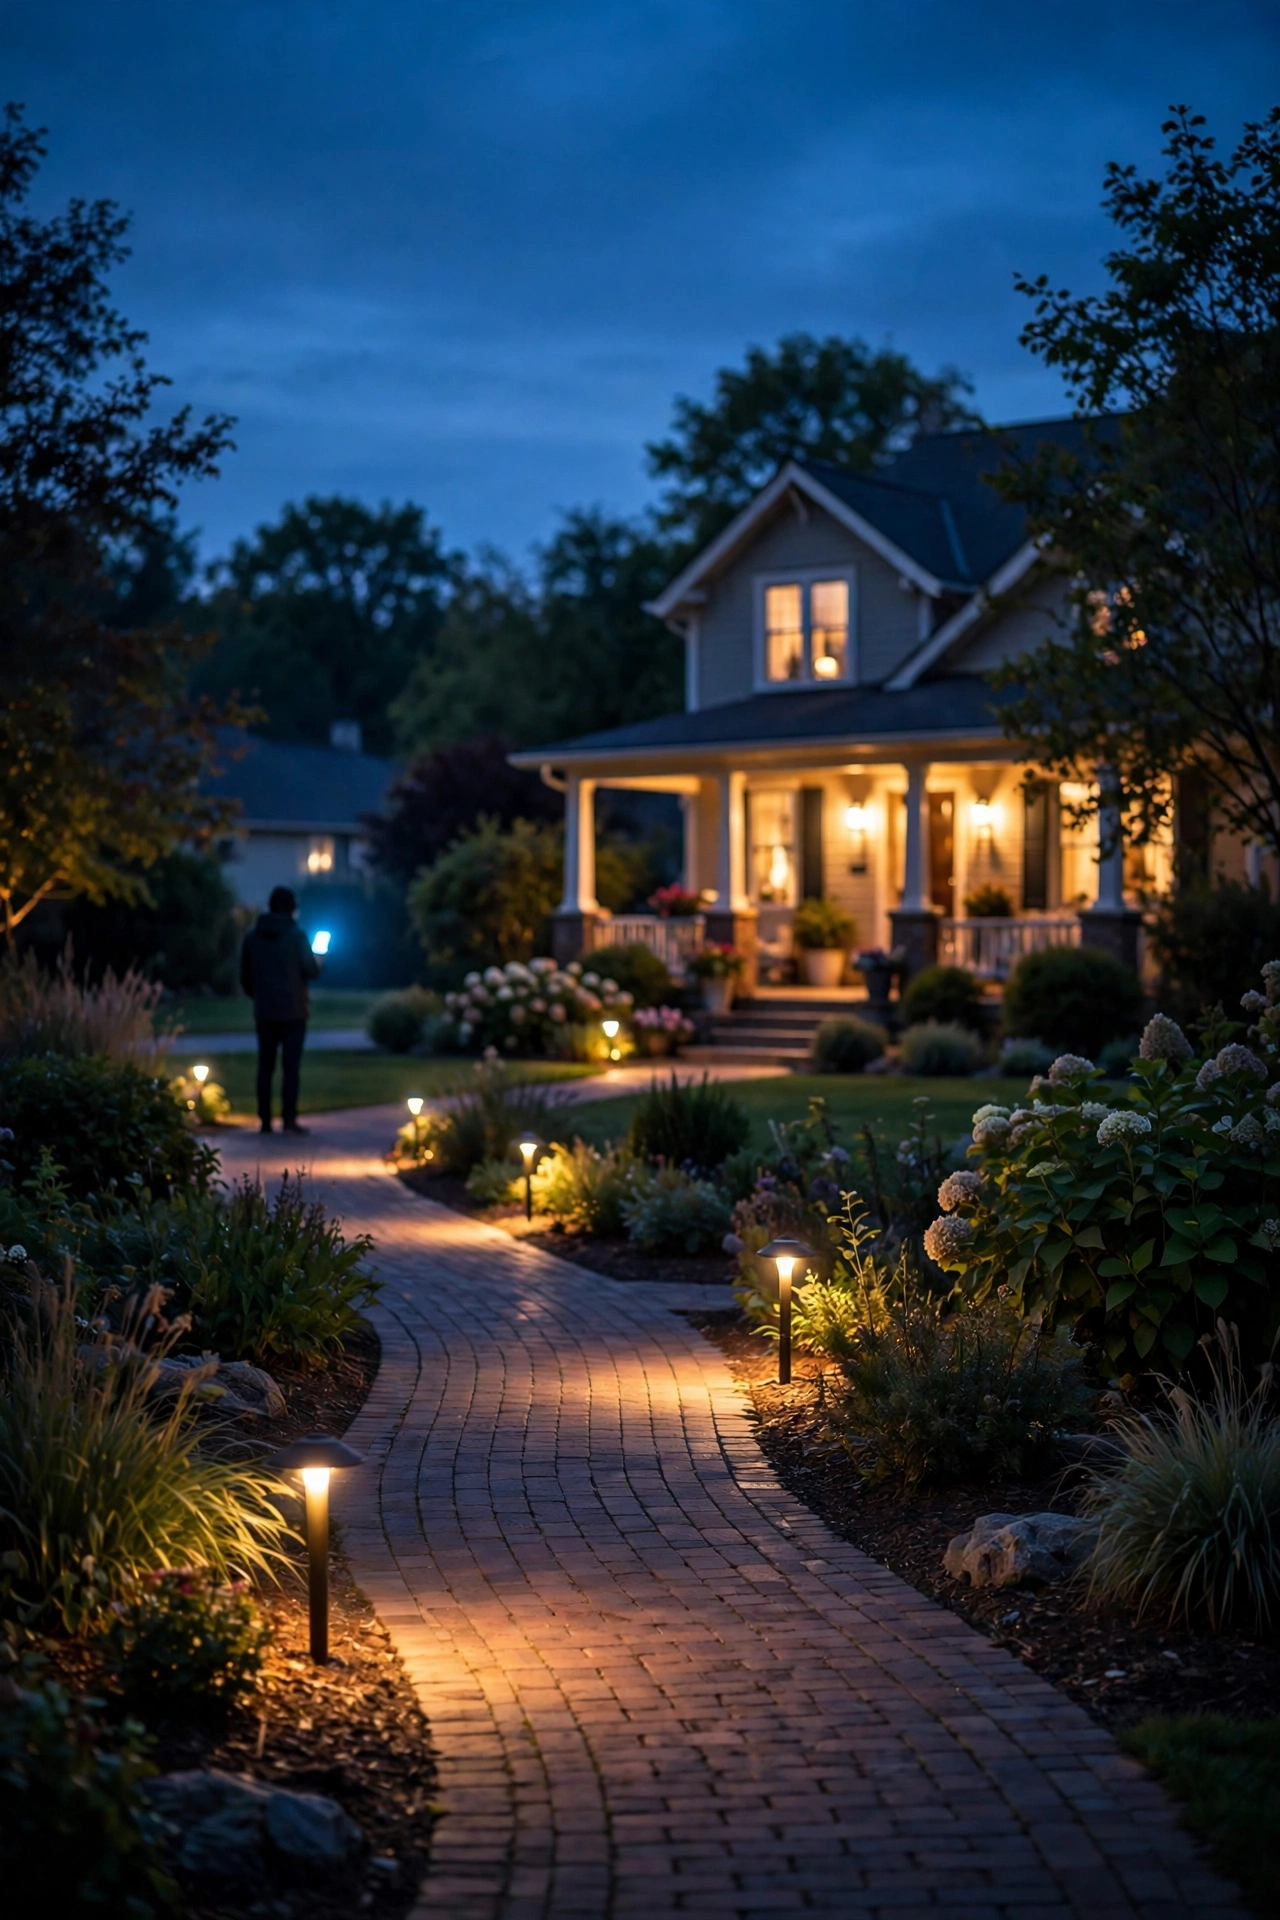
The first time I stood in my own front yard at 10 p.m., phone in hand, and watched the whole thing come alive zone by zone — path lights first, then the tree uplights, then the porch — I honestly felt like I'd hired a lighting designer for the price of a nice dinner out. That's the magic of smart outdoor lighting: not gadgetry for gadgetry's sake, but the ability to shape how your home looks and feels after dark, on your schedule, from your couch.
If you've been curious about smart outdoor lighting but stalled out in the land of acronyms and incompatible gadgets, this guide is for you. I've spent three seasons testing smart bulbs, smart plugs, smart transformers, and every app in between on my own house, and I've made just about every mistake so you don't have to. By the end of this post, you'll know what "smart" actually means for outdoor lights, which approach fits your yard and budget, how to set up lighting zones, and how to automate it all — without rewiring your house or hiring an electrician.
The Short Answer
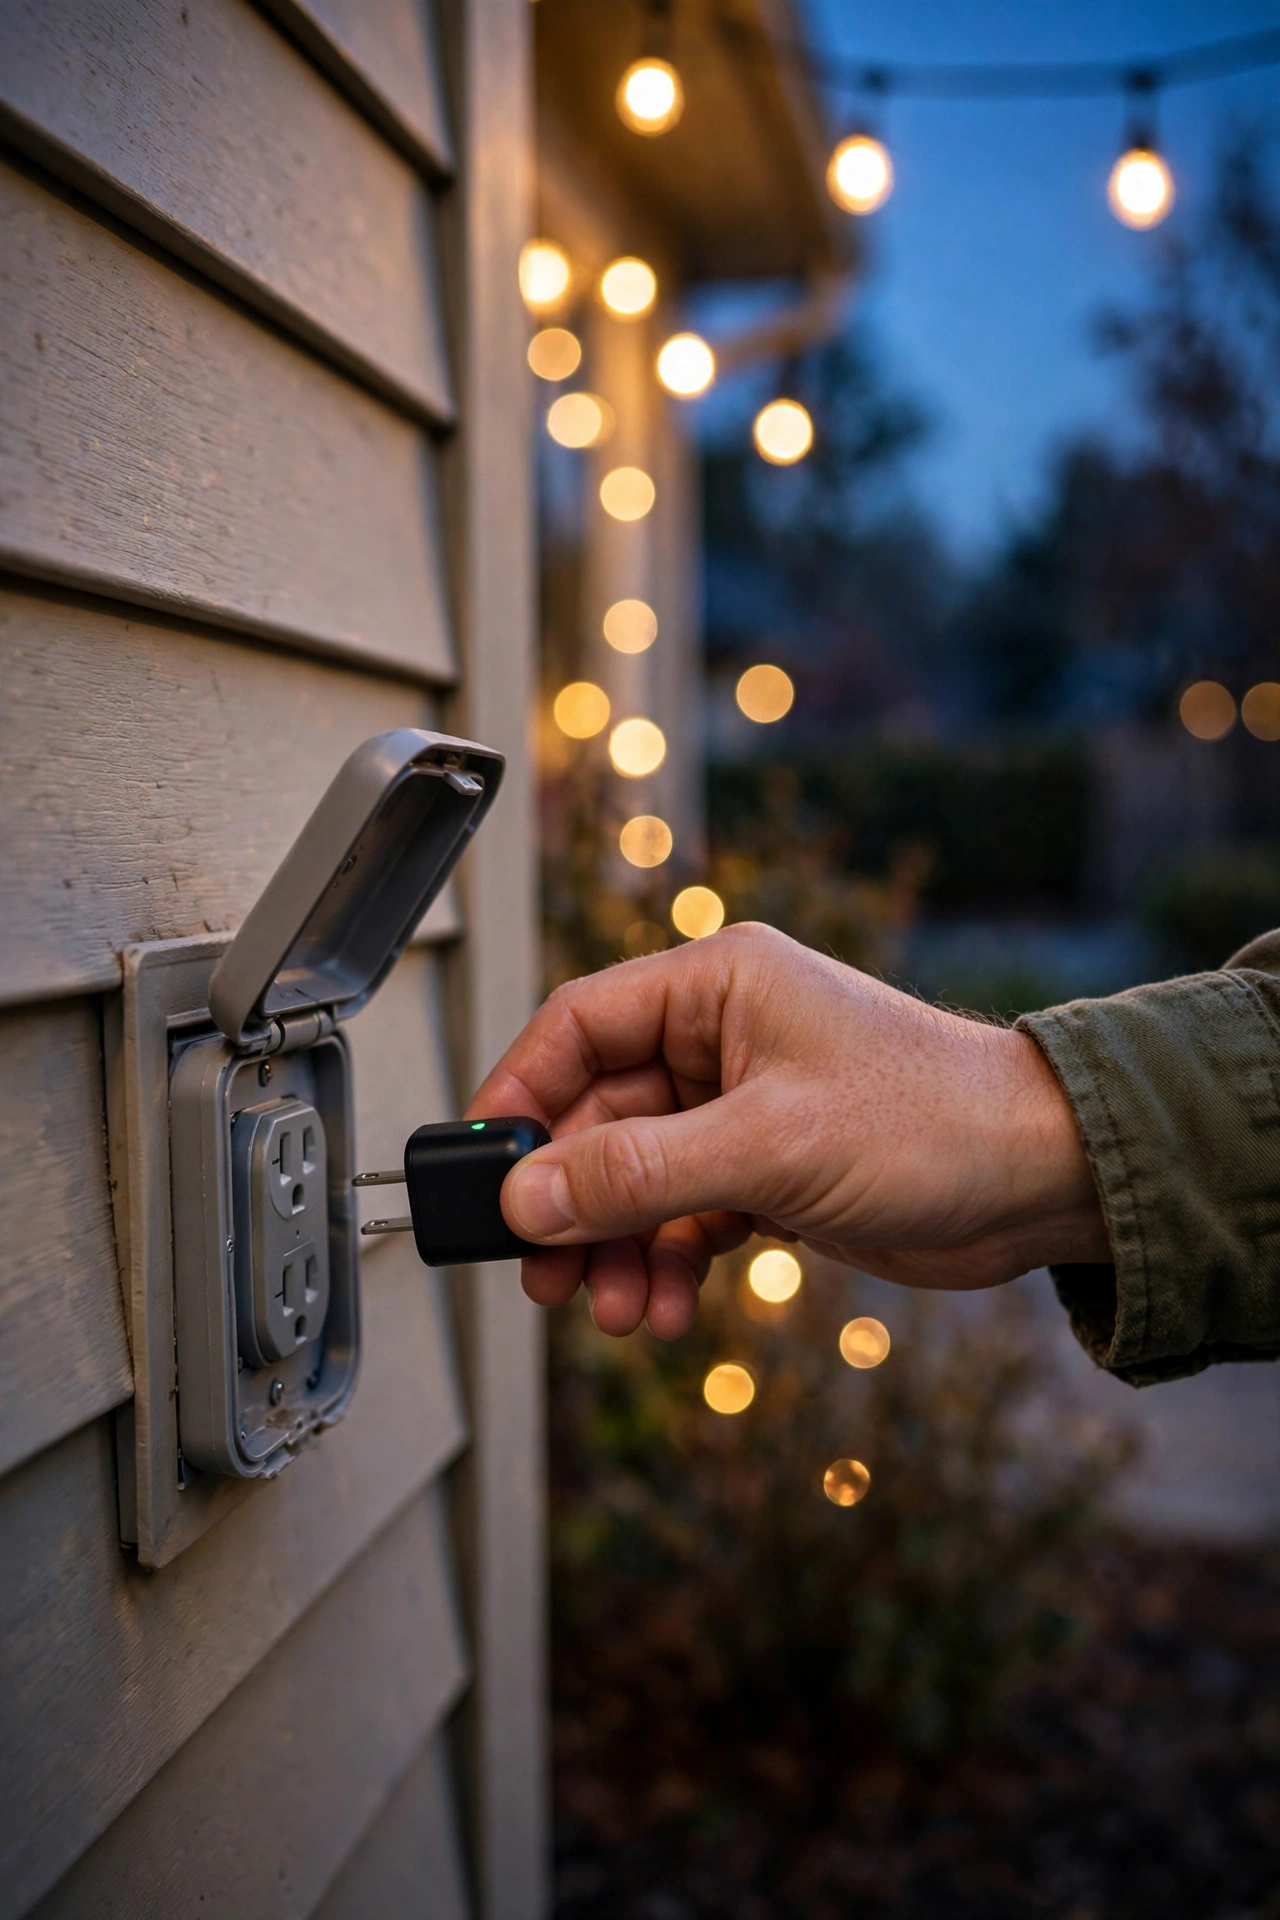
The simplest way to make outdoor lighting smart is to start with a smart plug on a timer schedule: plug your existing string lights, lanterns, or landscape lighting into it, and let it turn everything on at sunset and off at a set time — no hub, no rewiring, about $15. That's the single highest-value upgrade in smart outdoor lighting. From there, add smart bulbs where you want dimming and color, group lights into zones (front, path, patio, backyard), and use your app's automation features — sunset triggers, motion sensors, and schedules — to make it all run itself. The whole system should work without touching a switch, but still work *with* a switch when the internet goes down.
What "Smart" Actually Means for Outdoor Lights
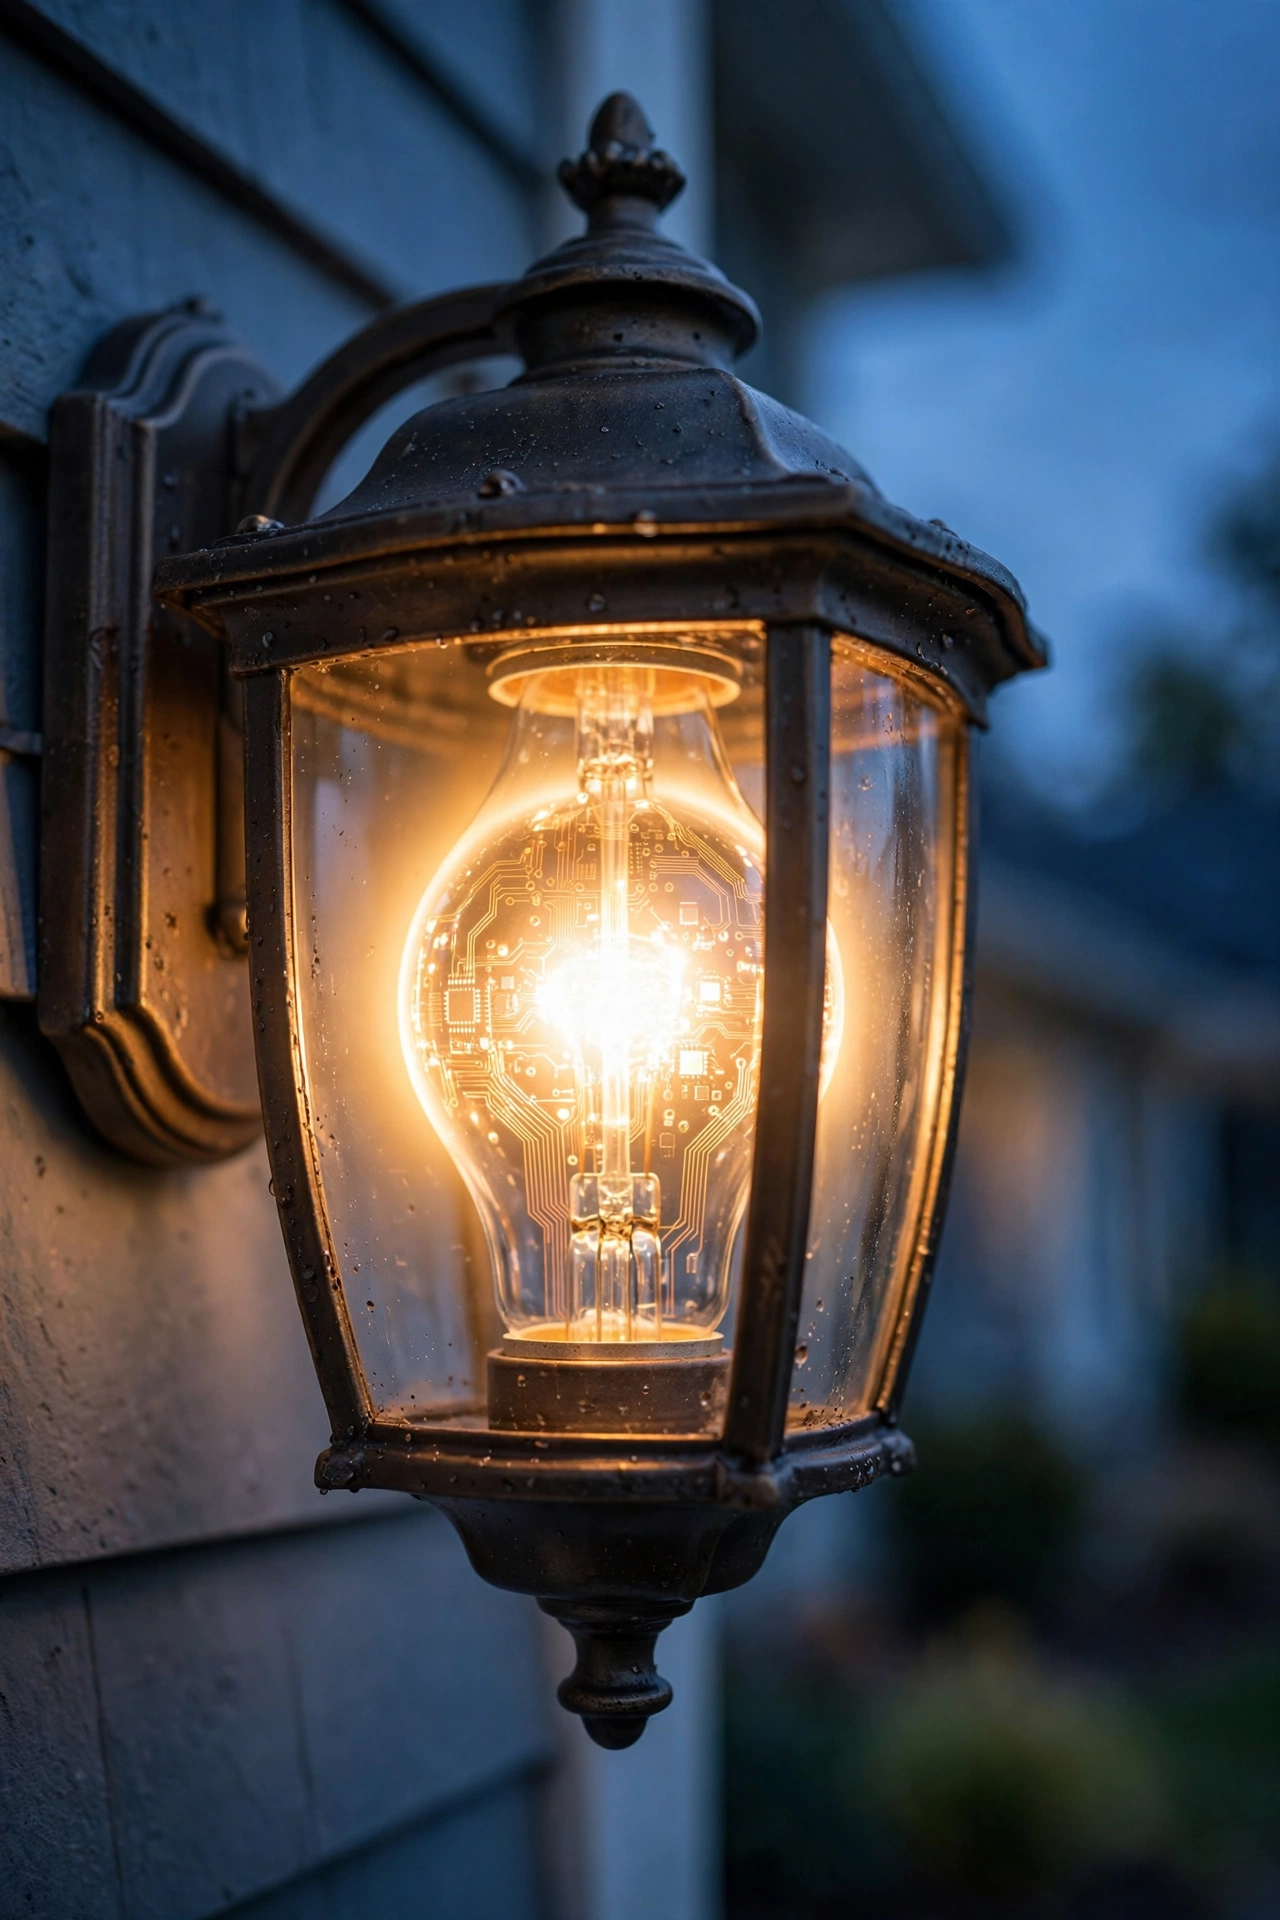
Let's clear this up first, because the word "smart" gets thrown around so loosely it's almost meaningless. A smart outdoor light is simply any light you can control beyond a physical switch — on your phone, on a schedule, or automatically in response to something (motion, sunset, your arrival home). That's it. It doesn't have to talk to a voice assistant, it doesn't need to change colors, and it absolutely doesn't require a house full of gadgets.
There are really two layers to smartness, and understanding the difference saves you money. The first layer is scheduling and remote control: lights that turn on and off by themselves. A $15 smart plug on a sunset schedule gives you this, and honestly, for about 70% of people, this is all the "smart" they ever need. The second layer is granular control: dimming, color changes, individual zones, motion triggers, geofencing. That's where smart bulbs, hubs, and dedicated systems earn their keep.
Here's the thing I wish someone had told me before I bought my first box of smart bulbs: you do not need to make *every* fixture smart. A porch sconce with a photocell bulb that turns itself on at dusk is already 90% of the way there. The lights that benefit most from being smart are the ones whose timing or brightness you'd actually want to change — entertaining areas where you dim for dinner parties, holiday displays you want to schedule, and security lighting that should react to motion. Everything else can just… turn on at sunset and off at bedtime, which a dumb timer has done since the 1980s.
The real upgrade smart lighting brings isn't control, it's *layers of automation working together*. One schedule for the everyday look, brighter motion-triggered security floods when something moves, a warm dimmed scene for dinner on the patio, and festive colors for holidays — all without you walking around flipping switches or re-programming timers twice a year.
The 5 Ways to Make Your Smart Outdoor Lighting System, Compared Honestly
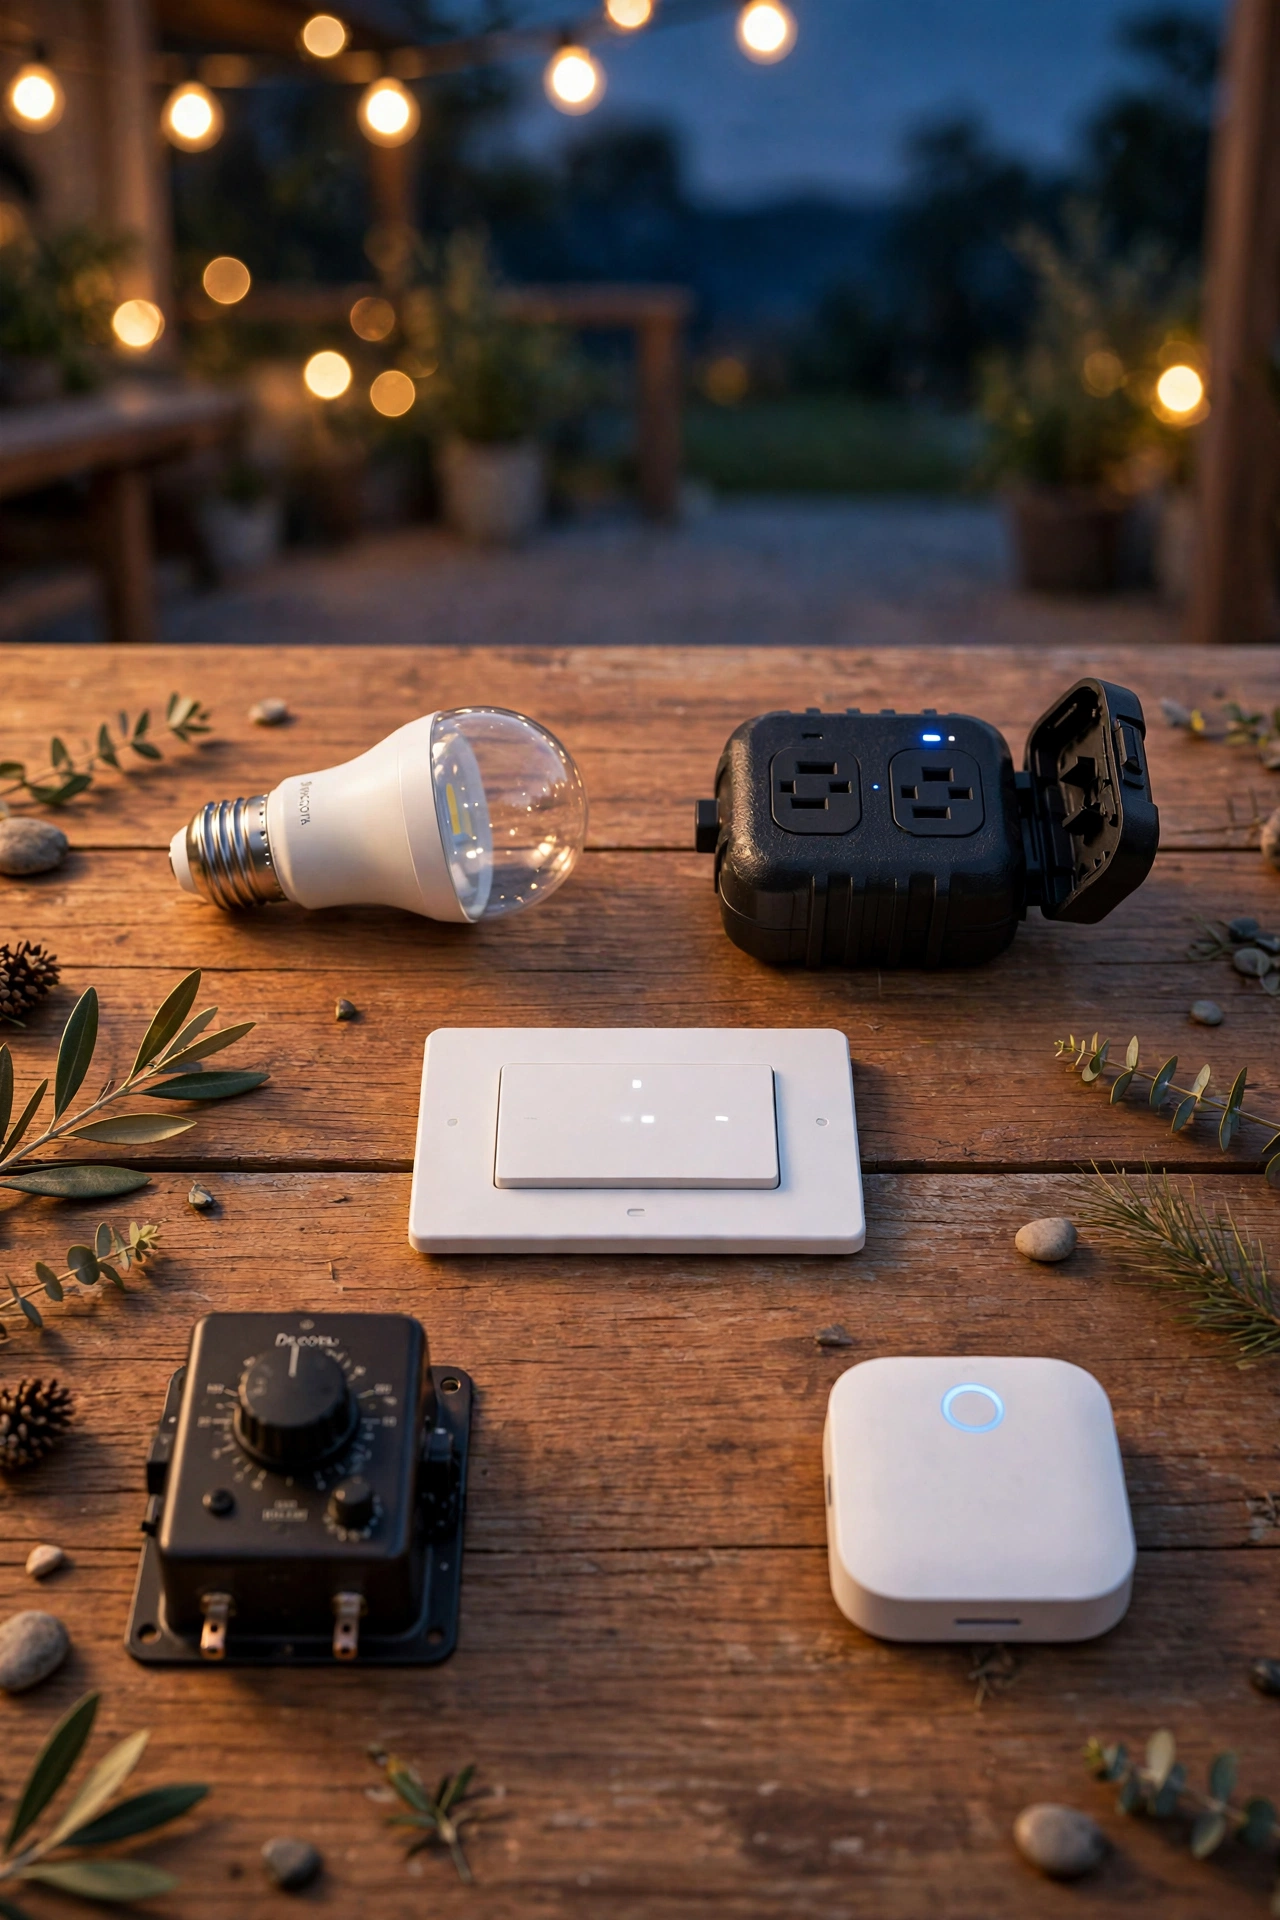
Every smart outdoor lighting setup falls into one of five approaches. I've used all five in my own yard, and each has a sweet spot — and a trap. Here's the honest breakdown:
| Approach | Best For | Typical Cost Per Point | Effort Level | The Catch |
|---|---|---|---|---|
| Smart bulbs (in existing fixtures) | Porch sconces, pendants, lamps you already own | $12–$25 per bulb | Easiest — screw it in, connect to Wi-Fi | Range can be weak at the edges of the yard; bulb must stay powered on (no one flips the switch!) |
| Smart plugs | String lights, lanterns, plug-in spotlights, fountains | $12–$20 per plug | Easiest — plug it in, name it, schedule it | Only on/off (most models don't dim); one plug per string |
| Smart switches (wall switches) | Porch and garage sconces wired to an indoor switch | $35–$60 per switch + electrician ($100–$200 per visit) | Medium — wiring work | Best installed by an electrician; not renter-friendly |
| Smart transformers | Low-voltage landscape lighting (path, spot, well lights) | $120–$300 for the transformer itself | Medium — replaces your existing transformer | Only works with 12V low-voltage systems; one brand's app |
| Dedicated smart systems | Whole-yard designs, multi-zone landscapes | $300–$800+ for hubs + fixtures | Medium to high — plan the zones | Higher upfront cost; often locked to one ecosystem |
Smart bulbs are the gateway drug, and there's no shame in that. I put them in my front-door sconces first, and being able to dim the entryway to 40% for a cozy evening was genuinely lovely. Just remember the cardinal rule of smart bulbs: the wall switch has to stay ON. The moment someone flips it off, the bulb loses power and your whole schedule dies. (I put little "leave on" labels by my switches. It works, sort of.)
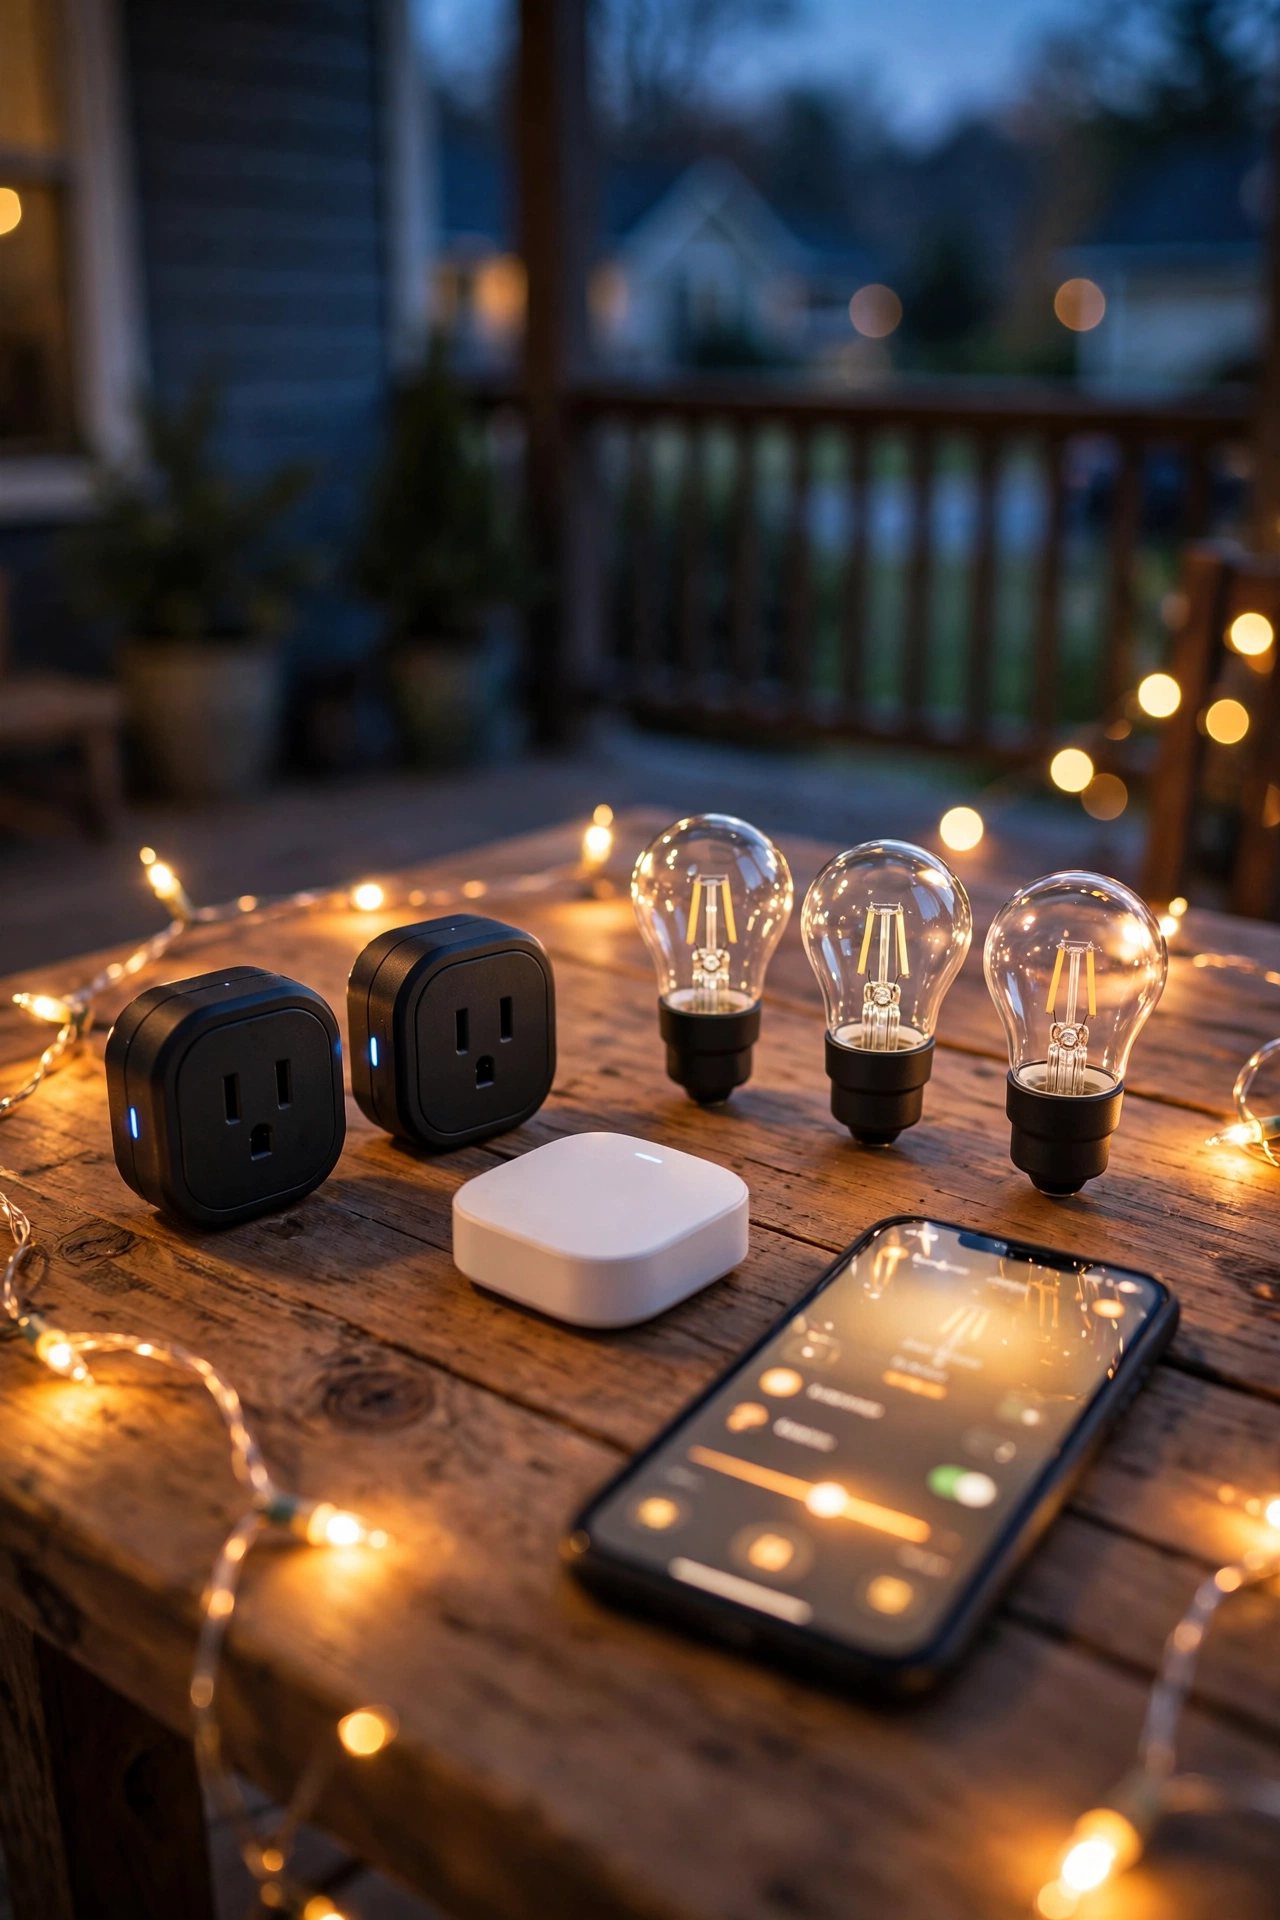
Smart plugs are the unsung heroes. My backyard string lights, the lanterns on the deck railing, and the little fountain in the flower bed all run on smart plugs with a sunset-to-11-p.m. schedule. Total cost: under $60 for the whole backyard. They don't dim, and they don't change color, but for anything that's purely decorative, on/off on a schedule is everything.
Smart switches are the permanent solution for hardwired lights. If your porch lights are controlled by an indoor switch, swapping that switch for a smart one gives every fixture on that circuit scheduling, dimming (with dimmable bulbs), and app control — without changing a single bulb. The tradeoff is wiring: if you're not comfortable turning off breakers and matching wires, budget for an electrician.
Smart transformers are the move if you already have low-voltage landscape lighting — those little path lights and spotlights staked into your garden beds. I went deep on this topic in my guide to low-voltage path lights, and the smart transformer is simply the brain box version of the ordinary transformer already powering them. Swap it in, and suddenly your whole garden lighting is zoned, scheduled, and dimmable from your phone. This is the single biggest upgrade for an existing landscape lighting system.
Dedicated systems — purpose-built outdoor lighting ecosystems with their own hubs, fixtures, and apps — are what a lighting designer would spec. They handle multi-zone yards beautifully, the range is designed for outdoors from the start, and everything just works together. The catch is cost and commitment: you're buying into one ecosystem, and the fixtures cost two to three times what generic low-voltage fixtures do. Worth it for a big yard you plan to keep for years; overkill for a rental.
Smart Outdoor Lighting Zones: Divide Your Yard Like a Designer
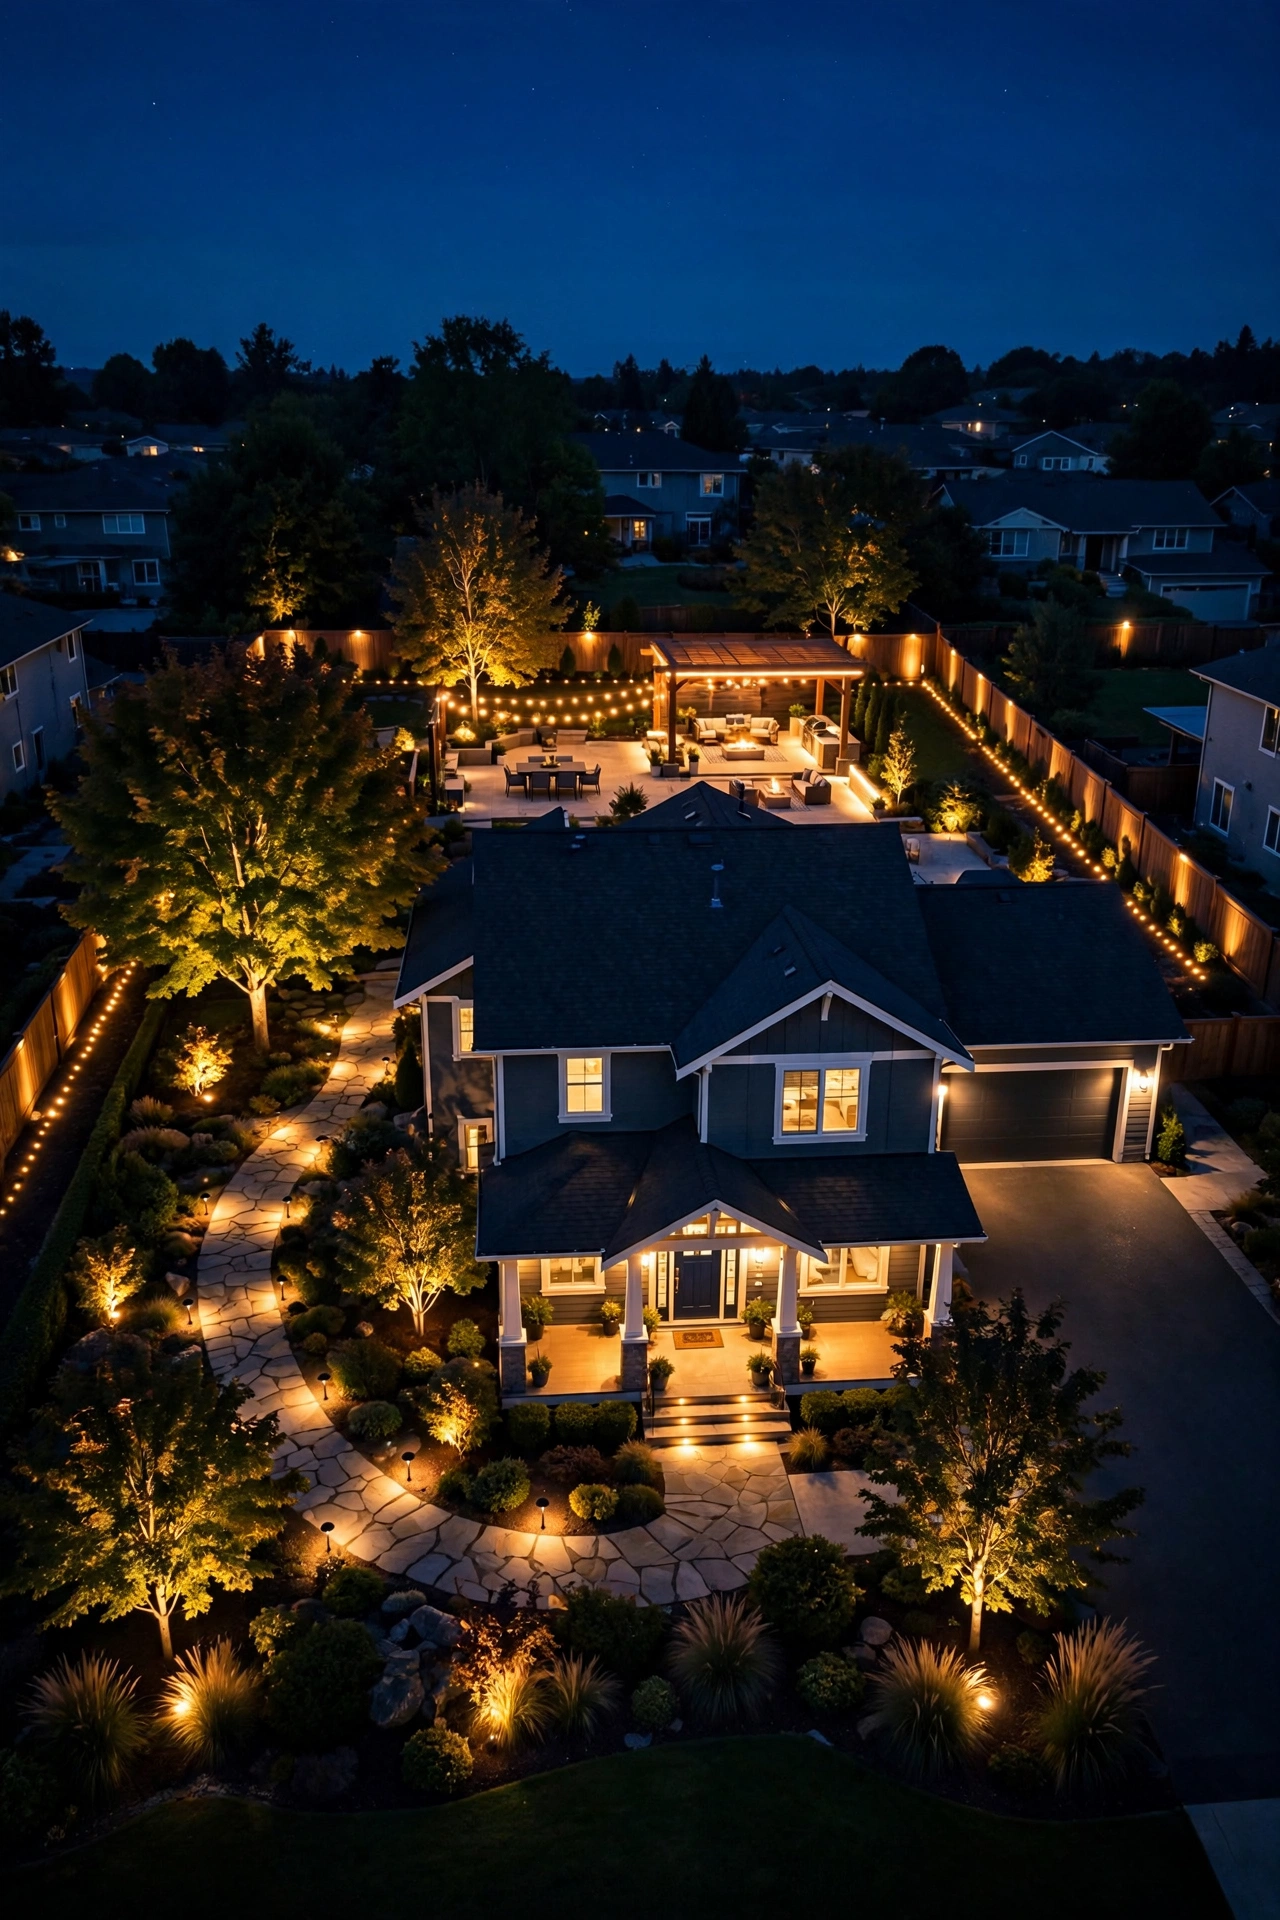
Here's the secret that separates "a bunch of smart lights" from a yard that looks professionally designed: zones. A zone is just a group of lights that behave together — and once you start thinking in zones, everything about placement, buying, and automation gets easier.
Most homes need four to six zones. Here's how I'd divide a typical suburban property, with the fixture counts that work in my experience:
Zone 1: The Welcome (front door and porch). 2–4 fixtures: a pair of sconces flanking the door, maybe an overhead pendant or a lantern. This zone runs every evening from sunset until late — it's your home's handshake. Keep it warm (2700K) and welcoming. My fall porch setup, which I detailed in my fall porch lighting ideas, runs entirely on this zone with smart bulbs so I can dim it down after the kids' bedtime.
Zone 2: The Path (walkways and steps). 4–8 path lights, staggered every 6–8 feet along walkways, alternating sides so the glow pools overlap instead of lining up like a runway. This zone is all about safety and guiding guests. It should be the last to turn off at night — I keep mine on until 1 a.m., then they drop to a dim 20% for the rest of the night.
Zone 3: The Landscape (trees, beds, and architecture). 3–6 uplights or spotlights washing trees, highlighting a specimen shrub, or grazing across a stone wall. This is your drama zone — the one that makes neighbors slow down. Run it sunset to 11 p.m. on most nights, and this is the zone where color-changing bulbs are actually fun (amber for fall, subtle green for spring).
Zone 4: The Living (patio, deck, or pergola). String lights, pendants, deck-rail lights — whatever makes your outdoor room livable. This zone needs dimming more than any other, because 100% brightness that looks great for a party feels like an interrogation when you're having a quiet glass of wine. Put this zone on smart bulbs or a dimmable smart switch, not a basic smart plug.
Zone 5: The Perimeter (fence line, side yard, driveway). Motion-sensor floods and driveway markers. This zone is security first, beauty second — it stays dark until motion wakes it up, then floods bright. Keep it separate from the pretty zones so a raccoon doesn't blast your patio scene at full brightness every night. (Ask me how I learned that one.)
Zone 6 (optional): The Water or Feature. A fountain, sculpture, or fire feature. One or two lights, often on the same schedule as the landscape zone. Small zone, big payoff — a lit water feature is the single most "expensive-looking" thing in a night yard.
When you're buying, think in zones, not fixtures. Decide which zones you want first, then choose the right approach per zone from the comparison table above. My typical recommendation: smart bulbs for the welcome zone, a smart transformer for path and landscape, a dimmable smart switch or bulbs for the patio, and motion-sensor floods (even "dumb" ones are fine) for the perimeter.
Your App Setup Walkthrough: From Box to First Sunset Schedule
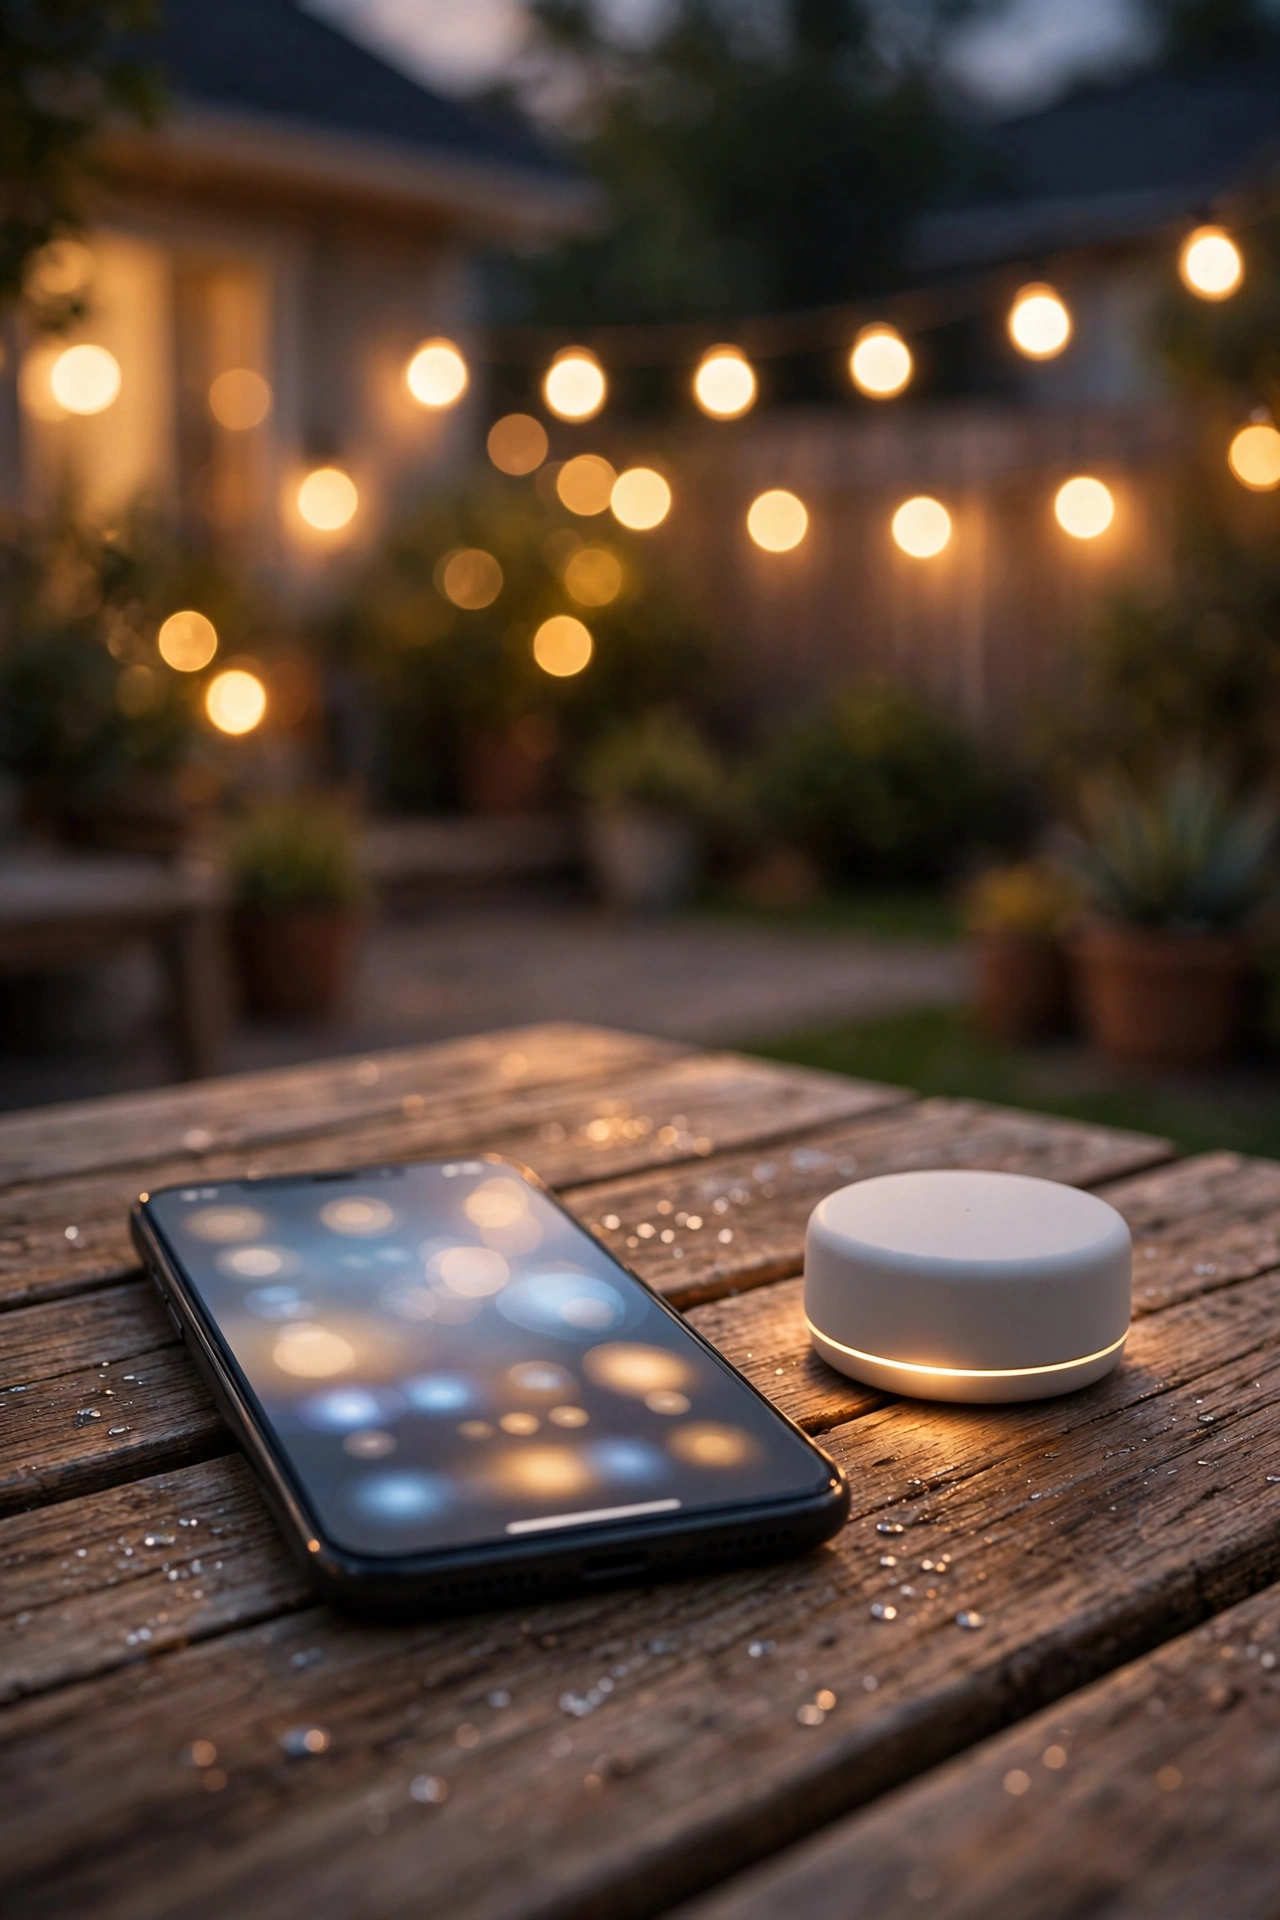
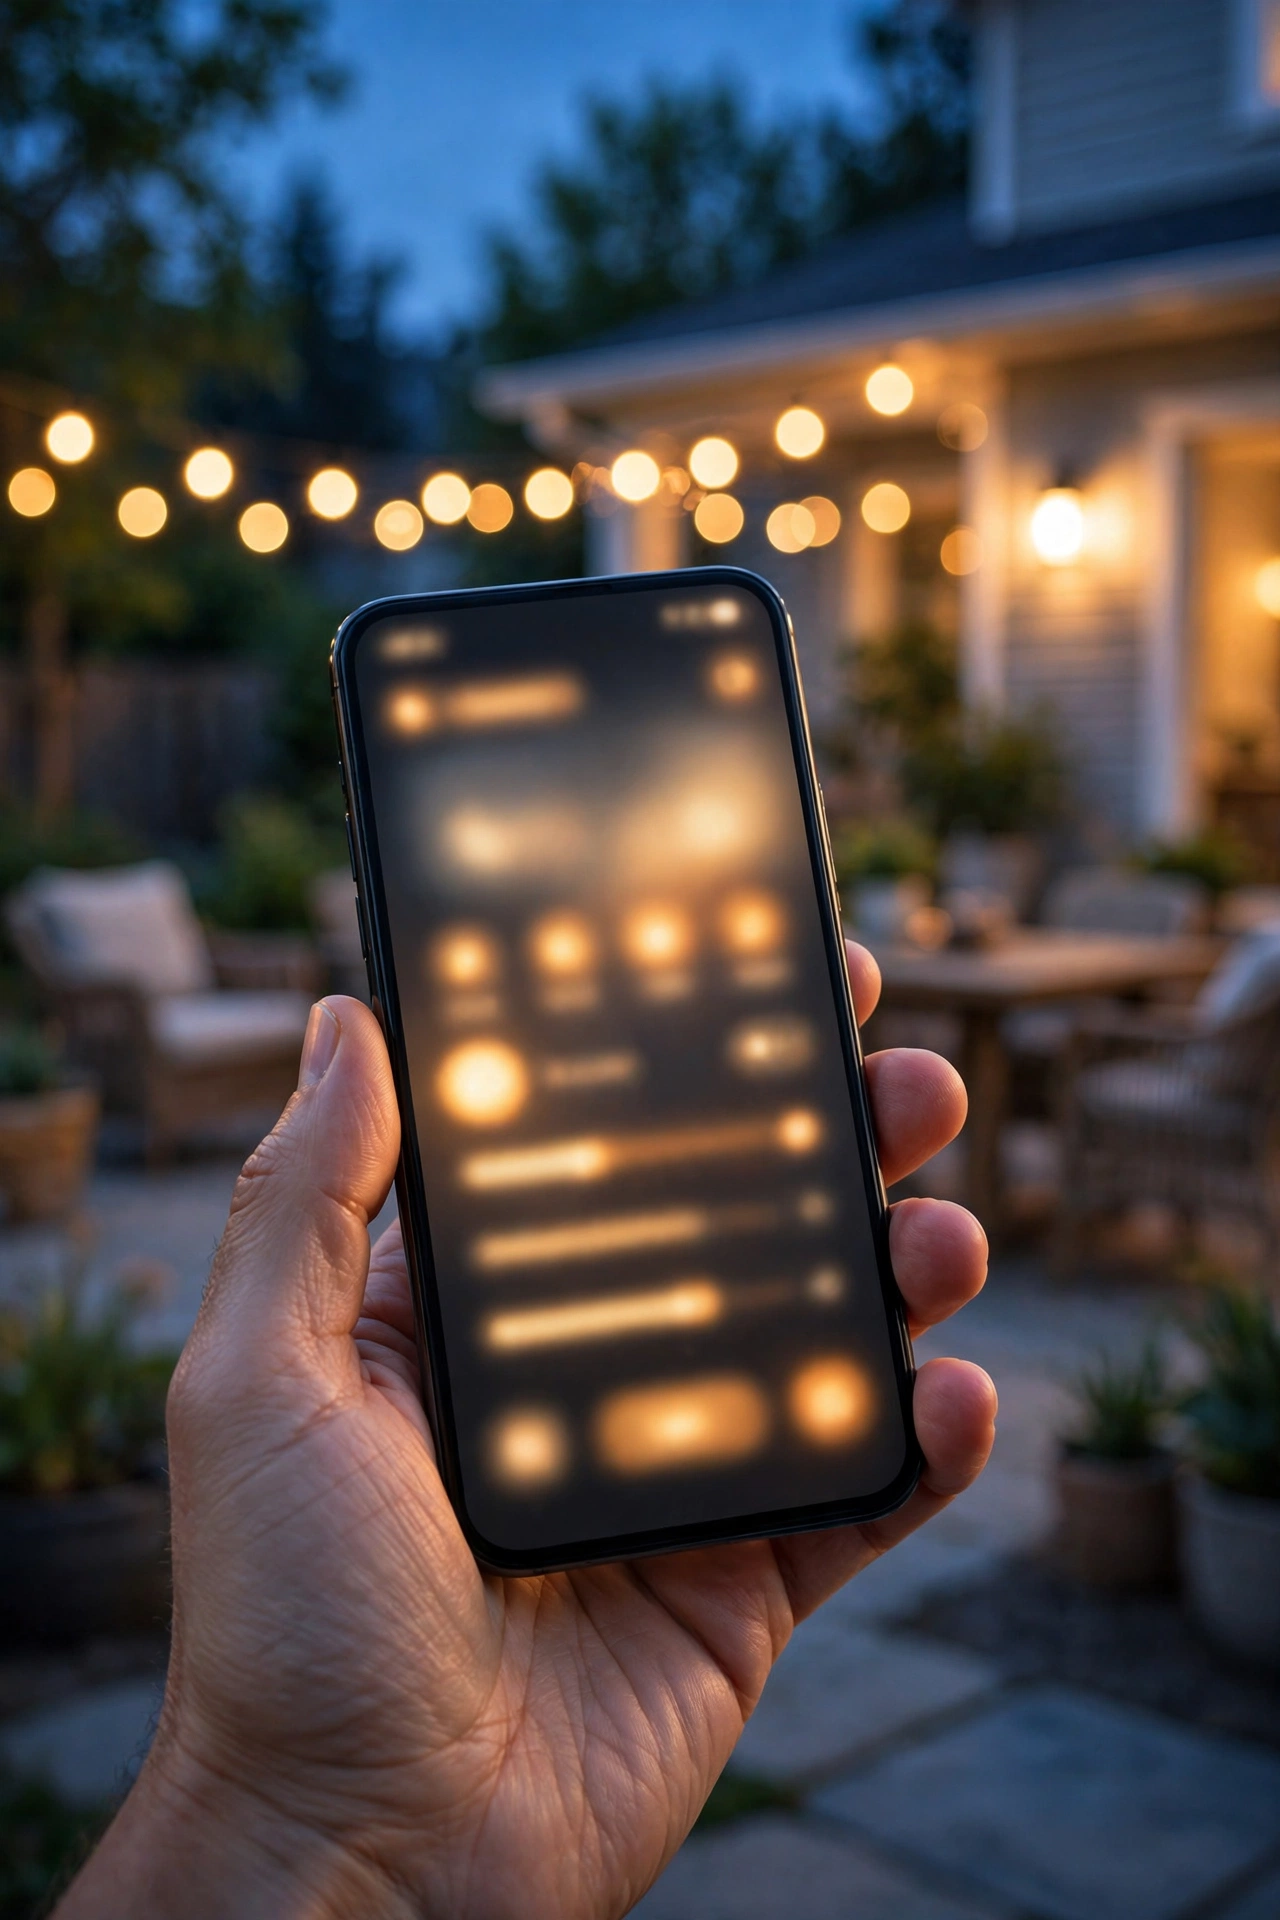
The app is where the magic happens, but it's also where people give up. Every brand's app is slightly different, but the setup flow is nearly identical across all of them. Here's the walkthrough I give friends:
Step 1: Set up near the router first. Don't install the device in the yard and then try to connect it. Pair every smart device indoors, next to your router, where the signal is strongest. Once it's on your network and updated, move it to its outdoor home. This one habit eliminates about half of all setup frustration.
Step 2: Name things like a human. "Front left sconce" beats "Smart Bulb 7." You'll thank yourself every time you build an automation or ask a voice assistant to turn something on. Name by zone and position: "Path Light 3," "Patio String Lights," "Oak Tree Uplight."
Step 3: Group into zones (rooms). Almost every app lets you group devices into rooms or zones. Do this immediately — it turns twelve individual devices into five zones you can control with one tap. This is also what makes automations manageable: you schedule zones, not bulbs.
Step 4: Set your location. This is the step everyone skips, and it's the one that unlocks sunset scheduling. The app needs your location (or at least your zip code) to know when sunset actually is. With location set, you can build schedules like "turn on 15 minutes before sunset" that adjust themselves every day of the year — no more re-programming timers when daylight saving changes.
Step 5: Build your core schedule. Start with one simple automation: all zones on at sunset, pretty zones off at 11 p.m., path zone dimmed to 20% until 1 a.m. Run that for a week. Then add layers: motion triggers, dimmed late-night scenes, a brighter "arriving home" scene. Resist the urge to build twelve automations on day one — you'll create conflicts and blame the app.
Step 6: Test the manual override. Walk through your house and flip every physical switch connected to a smart device. If a switch kills a smart bulb's power, either tape it on, replace it with a smart switch, or accept that zone will be dumb. Better to discover this on a Saturday afternoon than when guests arrive.
One more thing: write down your Wi-Fi password setup. If you ever change routers or passwords, every smart device in your yard will need to be reconnected — outdoors, in the dark, standing on a ladder. Keep a note (in the app, in a drawer, wherever) of which devices live where. Future you is already grateful.
Automations Worth Actually Using (and the Ones to Skip)
Once your zones are set up, automation is where smart outdoor lighting earns its name. But not all automations are created equal — here are the ones that genuinely improve daily life, and a couple to skip.
Sunset-to-sunrise scheduling. The foundation. Lights on at or just before sunset, off at sunrise or a chosen bedtime. Use the app's astronomical clock (it knows your location) rather than fixed times. This alone replaces every mechanical timer you've ever owned, and it self-adjusts through the seasons.
Staggered shutoff. Instead of everything going dark at 11 p.m., let zones peel off: landscape and patio at 11, welcome at midnight, path lights dimming to 20% until 1 a.m. It looks intentional, saves energy, and keeps the path lit for late arrivals. This is the automation that makes people ask who your lighting designer is.
Motion-triggered brightening. Your perimeter and driveway zones sit dark or very dim, then jump to full brightness when the motion sensor trips — staying on for 2–5 minutes. Position sensors to cover approaches (driveway, side gate, back door), not the patio where the dog sleeps. Pro tip from hard experience: set a "cooldown" so the light doesn't strobe on and off when a cat patrols.
Geofencing — arriving home. When your phone crosses a boundary (say, half a mile from home), the welcome and driveway zones turn on. It's the single most delightful automation: you pull in and the house is already glowing. Set the radius wide enough that the lights are on before you see the house — about a half mile works for most suburbs.
Scenes for entertaining. One tap: "Dinner on the patio" drops the patio to 30%, kills the landscape floods, and keeps the path at full. "Party mode" brings everything up and adds color to the landscape zone. "Goodnight" kills everything except dim path lights. Build three scenes max — more than that and you'll never remember what they're called.
Seasonal color. If you have color-capable bulbs in the landscape zone, schedule subtle seasonal shifts: warm amber through October and November, cool white with a hint of blue in January, soft green in April. Keep it tasteful — your house should not look like a nightclub.
Automations to skip: lights that turn on when you open a specific app (you'll never do it consistently), voice-only control with no schedules (fine as a backup, terrible as the plan), and anything that requires your phone to be home and awake to work — automations should live in the cloud or the hub, not on a device that leaves the house with you.
Wi-Fi vs Bluetooth vs Low-Voltage Protocols: The Connectivity Basics
Every smart device talks to your network somehow, and the protocol determines your range, reliability, and whether you need a hub. Here's the plain-English version:
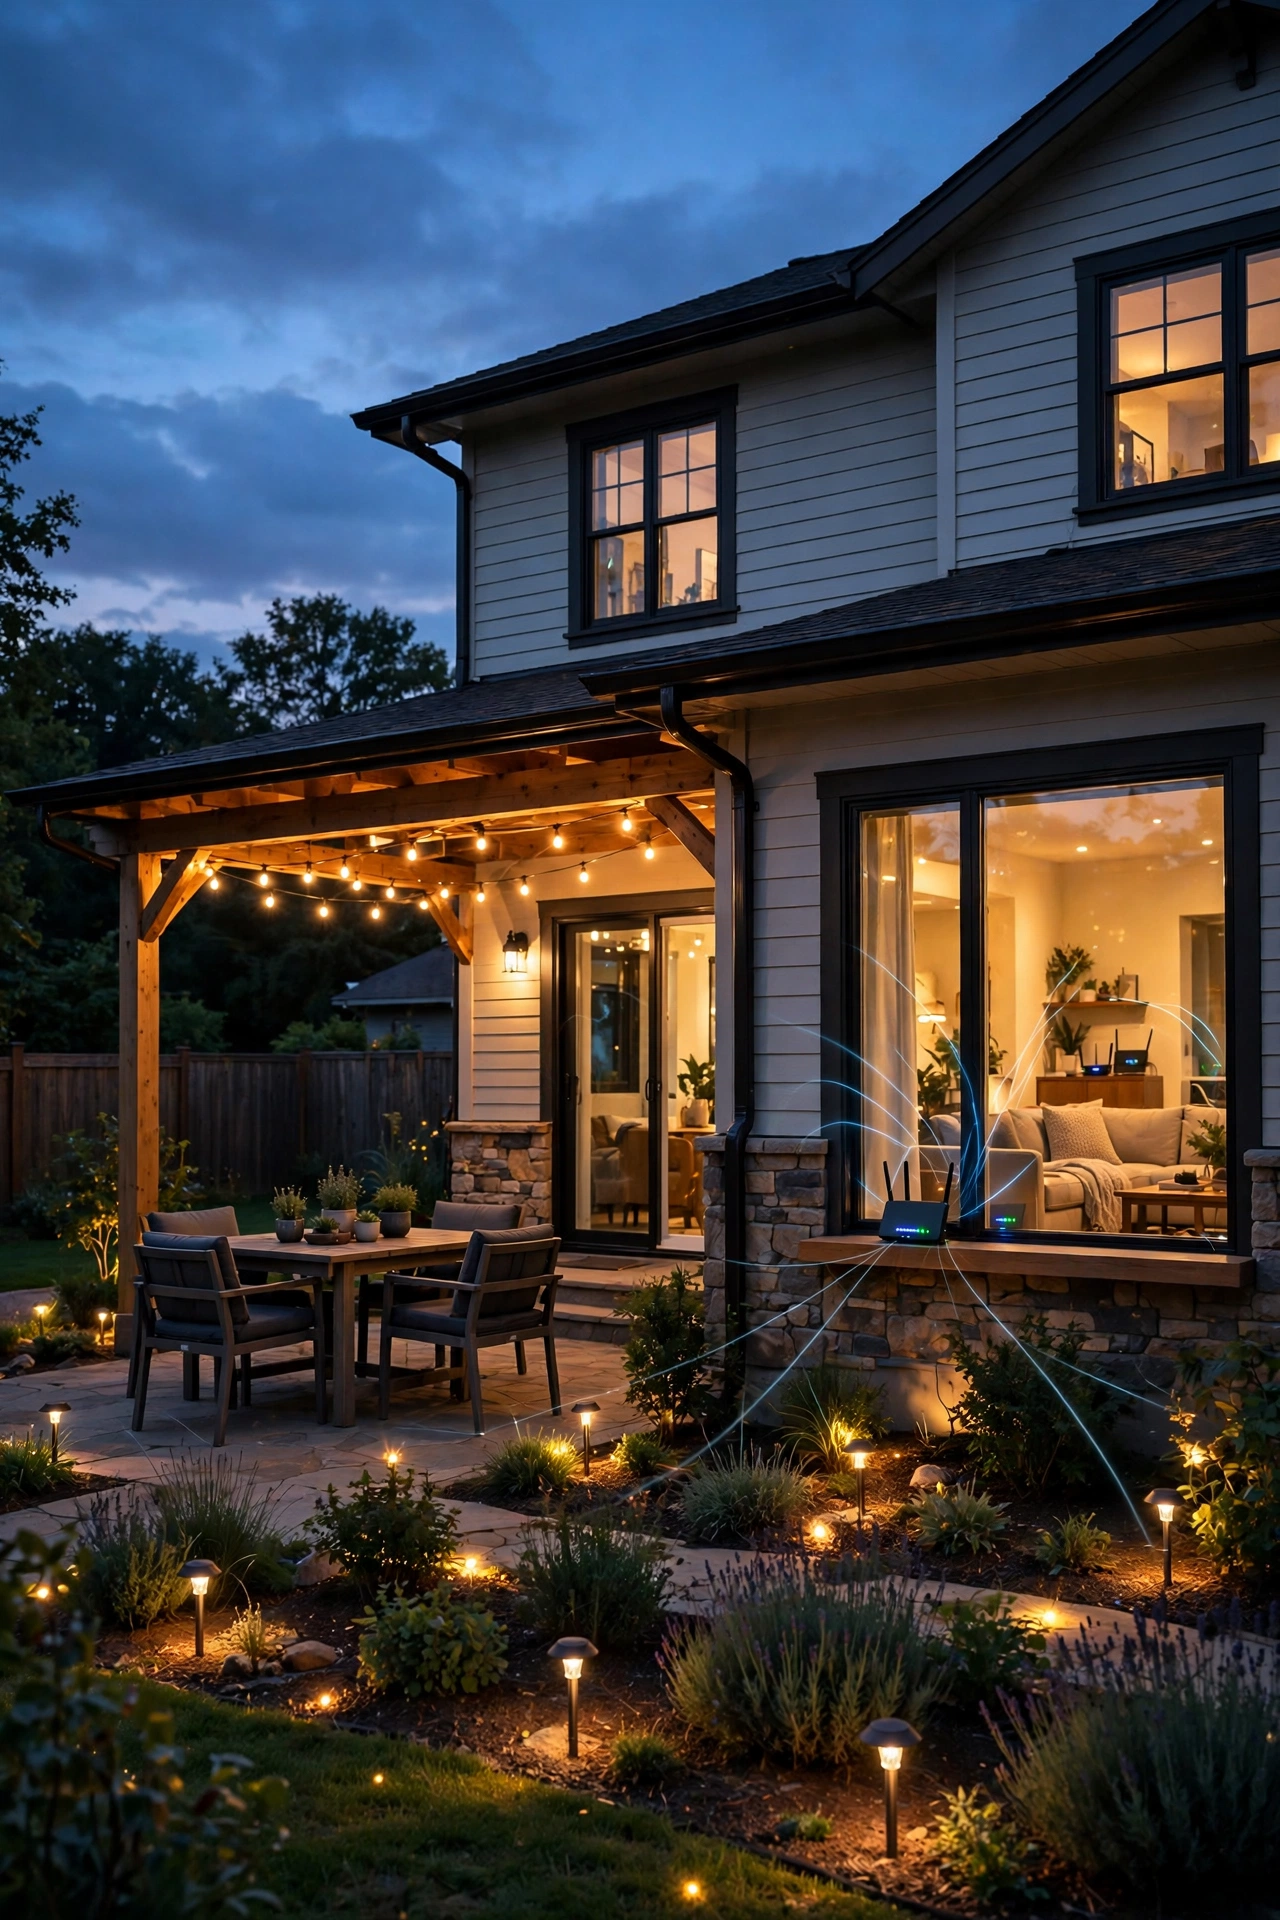
Wi-Fi (2.4 GHz) is what most smart bulbs and plugs use. The good news: no hub needed, and your phone talks to them directly. The bad news: Wi-Fi range is the number-one cause of smart lighting headaches outdoors. Your router sits in the middle of your house; your far fence is 100+ feet away through walls, siding, and possibly a brick chimney. In my experience, Wi-Fi smart devices get flaky beyond about 50–75 feet from the router, and metal fixtures and stone walls eat signal for breakfast.
The fix is boring but effective: get the signal outside. A mesh Wi-Fi node or a weather-protected outdoor access point mounted under an eave can transform a flaky backyard into a rock-solid one. Before buying a single smart device, walk your yard with your phone and check Wi-Fi strength at each planned fixture location. If you're under two bars, plan for better coverage first.
Bluetooth (and Bluetooth mesh) is common in cheaper smart bulbs and some landscape systems. Range is short — about 30 feet per device — but mesh versions relay the signal from device to device, like a bucket brigade. It works fine for a compact patio or porch, but I don't recommend it as the backbone for a whole yard; too many hops means too many failure points, and your phone has to be nearby for some setups.
Hub-based protocols (Zigbee and Z-Wave) are the enthusiast's choice and honestly the most reliable for larger yards. Devices talk to a small hub (plugged in near your router) on a low-power radio frequency that penetrates walls better than Wi-Fi and doesn't congest your network. Each powered device extends the mesh, so coverage actually *improves* as you add lights. The tradeoff: you need the hub ($50–$100), and everything has to speak the same protocol. If you're planning more than a dozen smart points across a big yard, this is the route I'd take.
Dedicated/proprietary systems (from landscape lighting manufacturers) use their own radios and apps. Range and reliability are engineered for yards — this is their whole job — but you're locked into that brand's fixtures and app. Fine if you love the system; limiting if you want to mix and match.
The practical takeaway: for a small yard or porch-and-patio setup, Wi-Fi devices are perfectly fine — just verify your signal reaches. For a full multi-zone yard, a hub-based system or a dedicated landscape system will save you months of troubleshooting. And whatever you choose, keep everything on 2.4 GHz Wi-Fi (not 5 GHz) — 2.4 travels farther and penetrates walls better, which is exactly what outdoor devices need.
What Smart Outdoor Lighting Costs in 2026
Let's talk real numbers, because the range from "a single smart plug" to "designer system" is enormous, and most articles only quote one end.
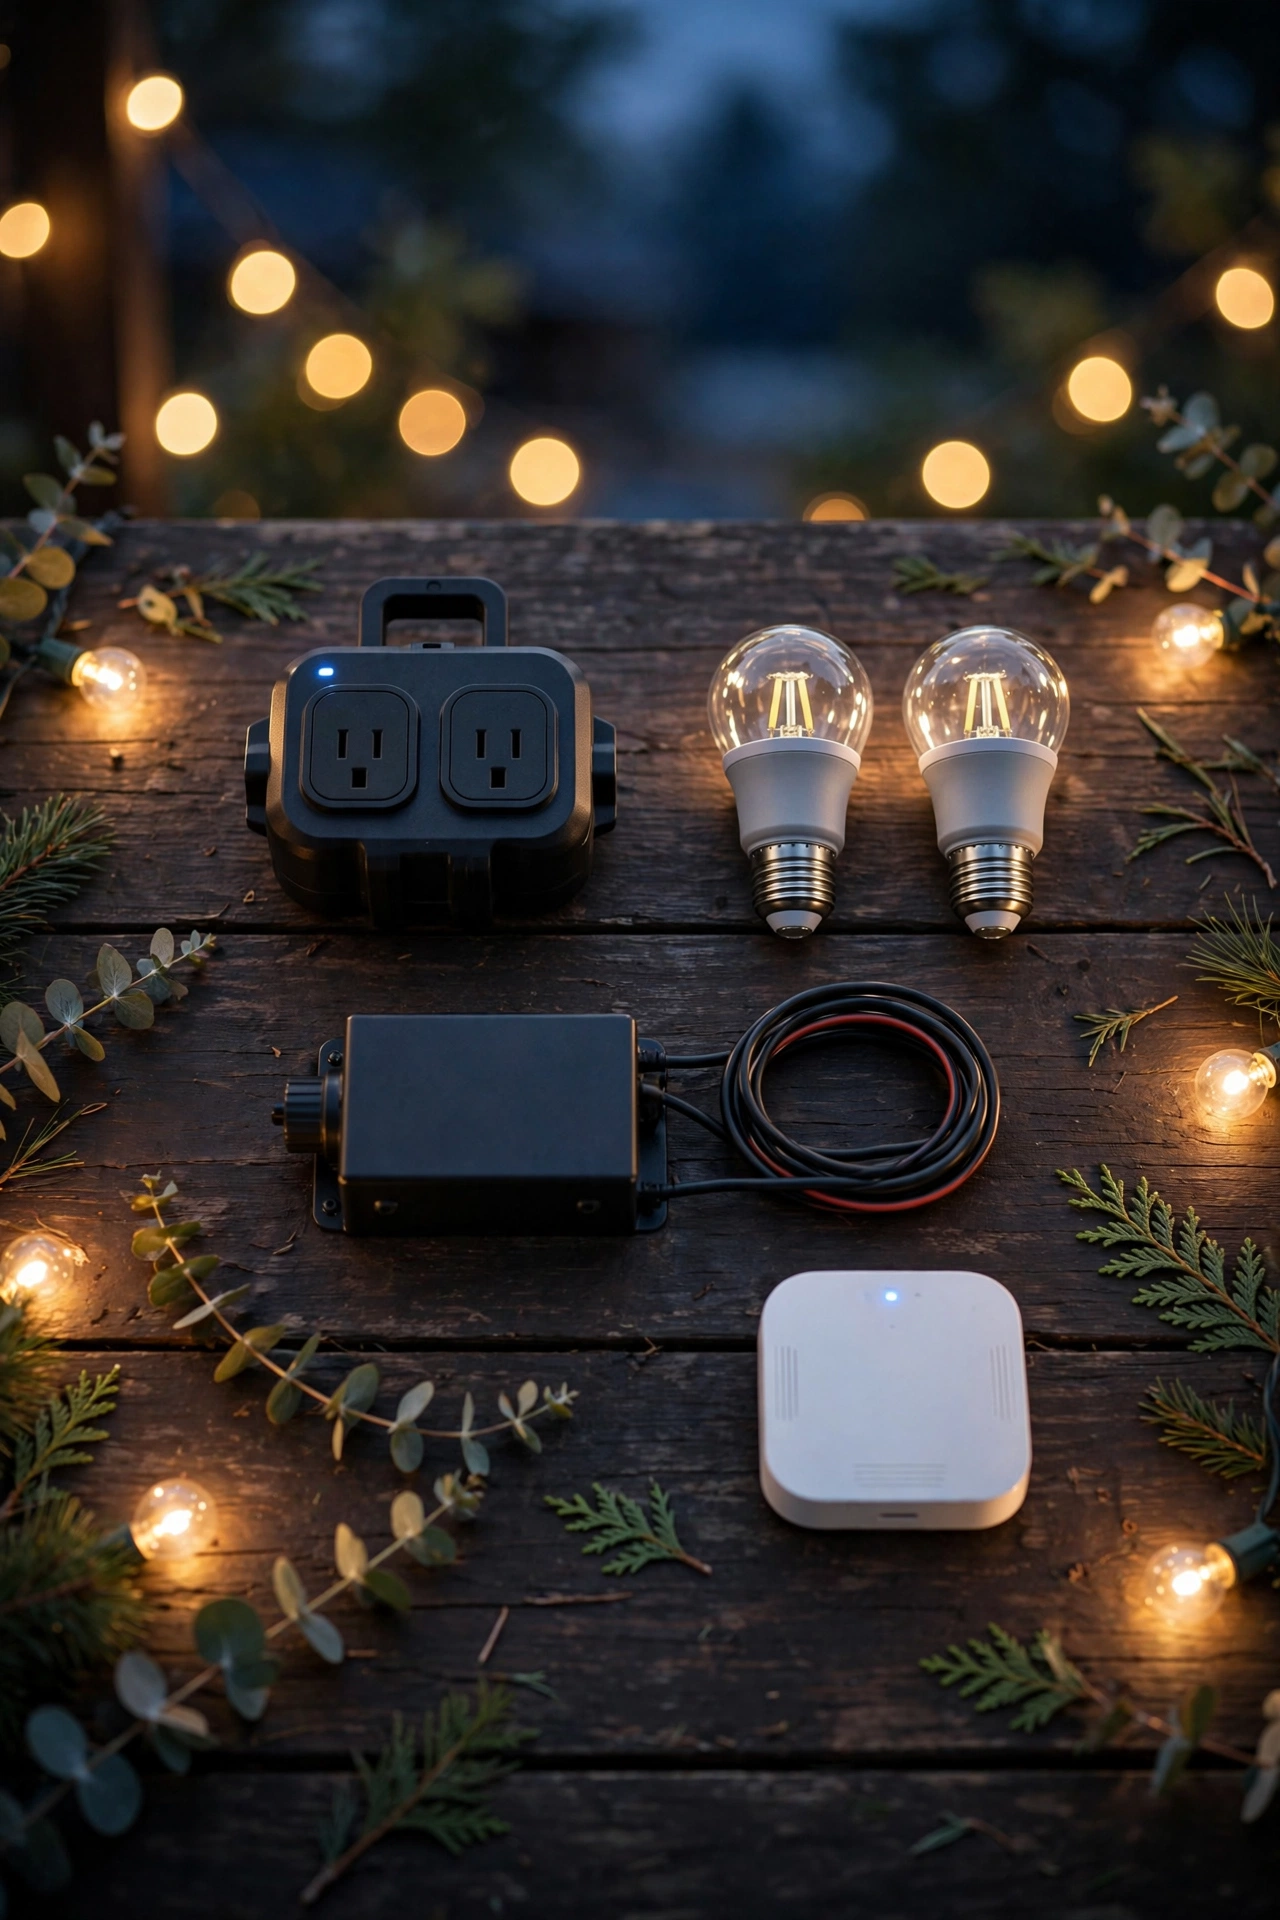
The starter tier ($30–$80): Two or three smart plugs running your existing string lights and lanterns on sunset schedules, plus maybe one smart bulb for the porch. This is where I tell everyone to begin. It delivers 70% of the smart lighting experience for the price of a pizza night.
The porch-and-patio tier ($150–$300): Smart bulbs in all your entry and patio fixtures (6–10 bulbs at $15–$25 each), two or three smart plugs for decorative strings, and possibly a mesh Wi-Fi node ($80–$150) if your backyard signal is weak. Full app control, dimming, scenes, and sunset automation for the areas you actually live in.
The whole-yard tier ($400–$900 DIY): Add a smart transformer ($120–$300) for existing low-voltage landscape lighting, or a hub-based system with 8–12 smart path/spot fixtures ($25–$50 each), plus motion sensors ($25–$40 each) for the perimeter. This is the full zoned setup from the zones section above, done yourself over a couple of weekends.
The pro-installed tier ($1,500–$5,000+): A lighting designer or electrician plans the zones, installs a dedicated smart landscape system, runs new low-voltage cable, and configures everything. Worth it for large properties or if you want it perfect on day one — and honestly, for complex yards, the design eye alone justifies it.
Running costs are almost comically low, which is the part people forget to calculate. A typical LED path light draws 3–5 watts. Ten of them running 8 hours a night at the US average of about 17 cents per kWh costs roughly… let me do the math: 40 watts × 8 hours = 320 watt-hours per night, or about 9.6 kWh per month — under $2 a month. A whole smart yard typically adds $2–$5 to the monthly electric bill. The automation actually *saves* money versus lights left on all night, because staggered shutoffs and motion triggers mean fewer burning hours.
The hidden costs to budget for: a mesh Wi-Fi node if your signal is weak ($80–$150), an electrician visit for smart switches ($100–$200), and replacement batteries for wireless motion sensors every 1–2 years ($5–$10 each). None are dealbreakers, but they're the line items that surprise people.
7 Mistakes That Ruin a Smart Lighting Setup
I've made every one of these. Learn from my yard so yours doesn't have to suffer.
1. Ignoring Wi-Fi range. The classic. You install twelve Wi-Fi bulbs across a half-acre, and the ones at the far fence drop offline every evening. Always walk the yard with your phone first. Two bars or fewer at a fixture location means fix the network before buying the bulb.
2. Mixing ecosystems without a plan. A Wi-Fi bulb from one brand, a hub-based sensor from another, a proprietary transformer from a third — and three apps that don't talk to each other. Pick *one* primary ecosystem for each zone, maximum two for the whole yard. I keep a simple rule: if it needs a third app, it doesn't get bought.
3. No manual fail-safe. This is the big one. If your smart bulbs only work through the app and your internet goes down (or the app has an outage), can you still turn on the porch light? Every zone needs a physical fallback: a smart switch on the wall, a fixture with a manual override, or at minimum a photocell bulb that works standalone. Guests, babysitters, and future home buyers should be able to turn on lights without downloading anything.
4. Forgetting the power-outage plan. Related but different: after a power outage, many smart bulbs default to FULL BRIGHTNESS ON when power returns — at 3 a.m., waking the whole house. Check each device's "power-on behavior" setting in the app and set it to "return to previous state" or "stay off." Do this on day one. Your 3 a.m. self will be so grateful.
5. Overloading one transformer or circuit. A smart transformer doesn't magically increase capacity. Add up your fixtures' wattage and stay under 80% of the transformer's rating — a 300-watt transformer should carry no more than 240 watts. Overloading causes dimming at the far end of the run and shortens transformer life.
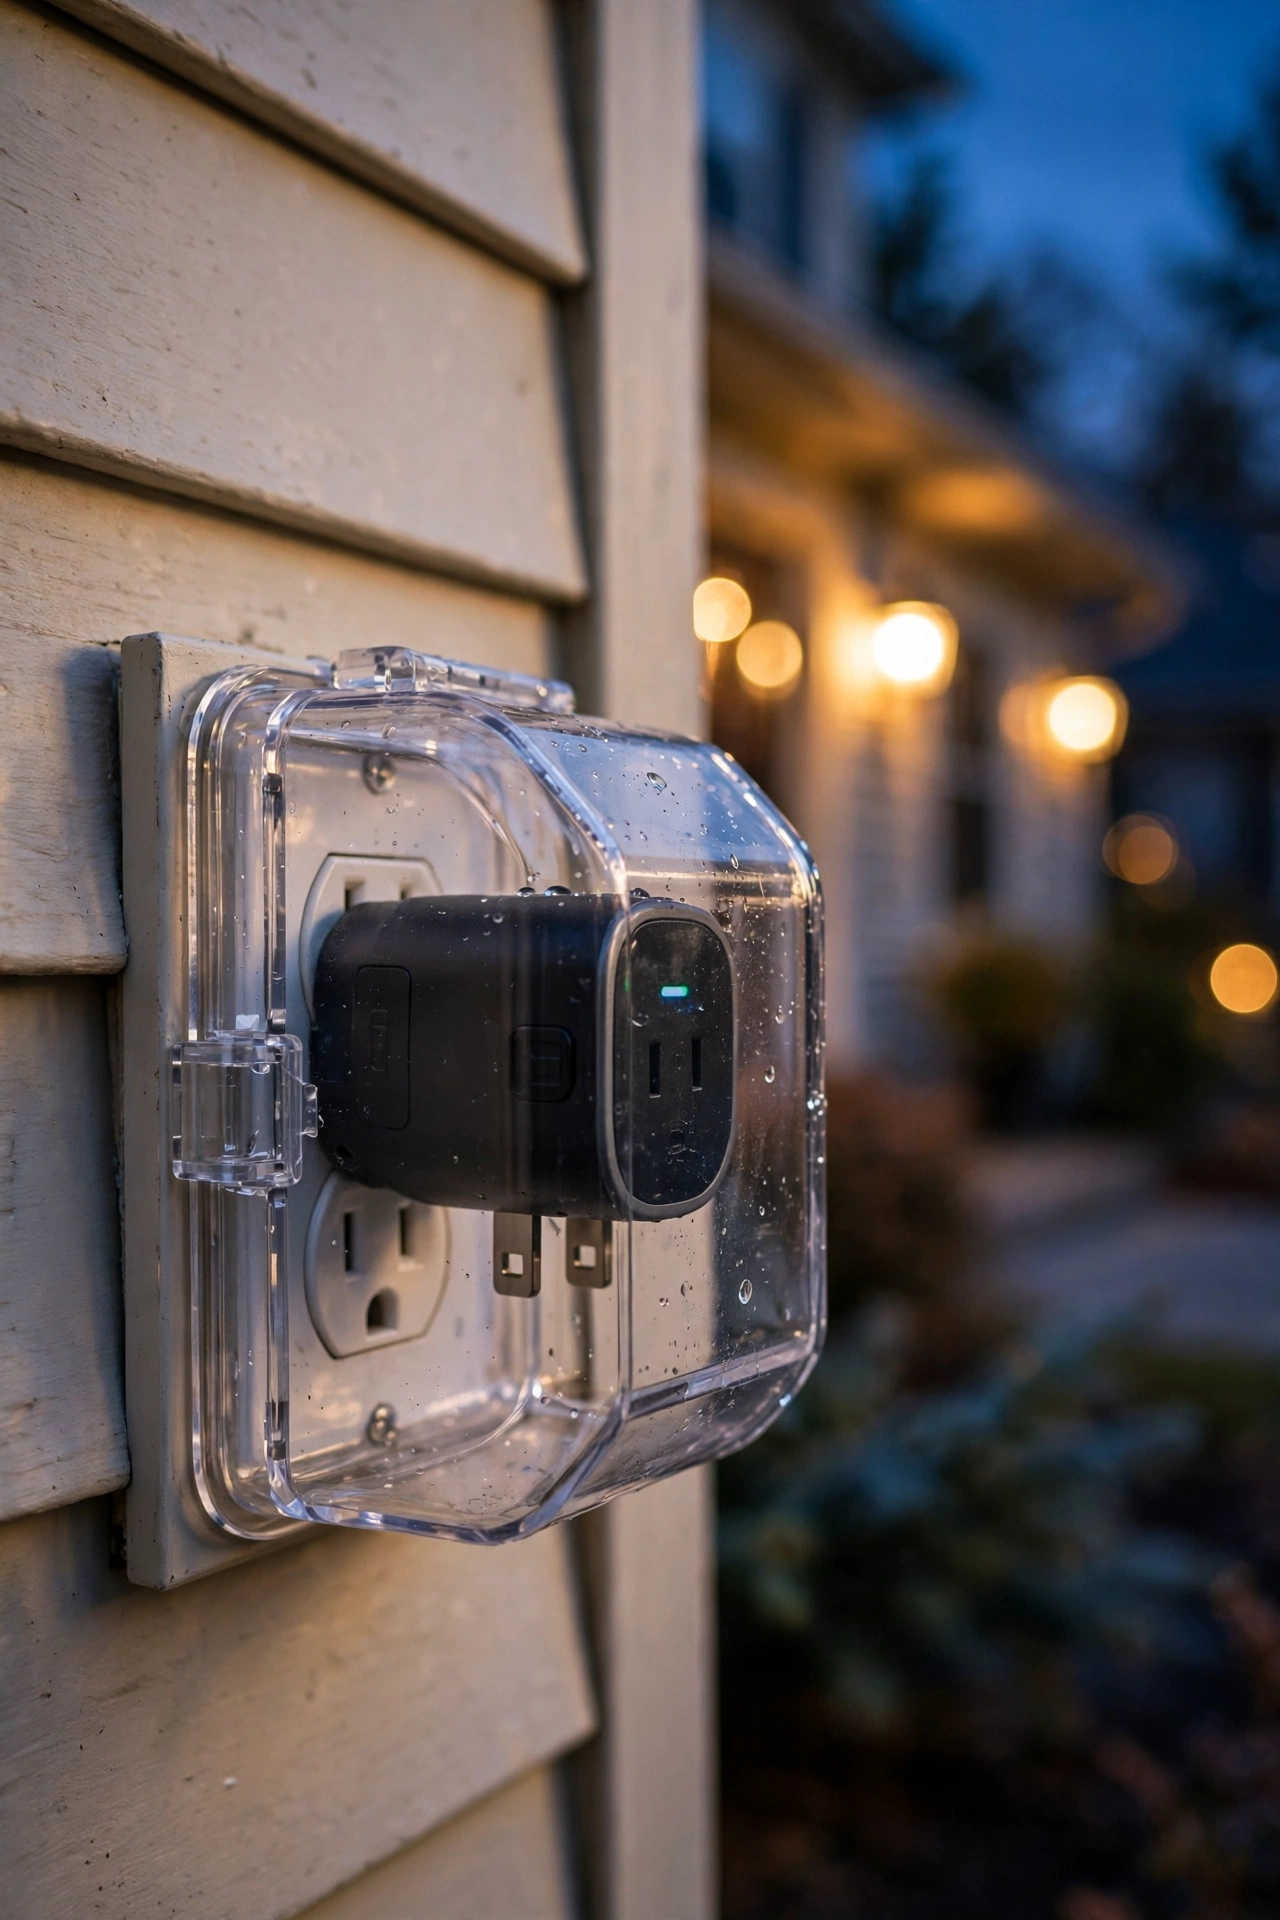
6. Using indoor-rated gear outdoors. That cheap indoor smart plug will technically work on the porch… until the first real rainstorm. Outdoor smart devices need proper weather ratings — look for enclosures rated for wet locations and plugs with covered, gasketed outlets. The $8 you save on an indoor plug isn't worth the corrosion or the short.
7. Automating everything on day one. Twelve automations built in an excited Saturday afternoon will conflict with each other by Tuesday: the geofence fights the schedule, the motion sensor fights the scene, and you end up blaming the whole system. Build one core schedule, live with it for a week, then add one automation at a time. Boring? Yes. Reliable? Also yes.
Electrical Safety Basics for Outdoor Smart Gear
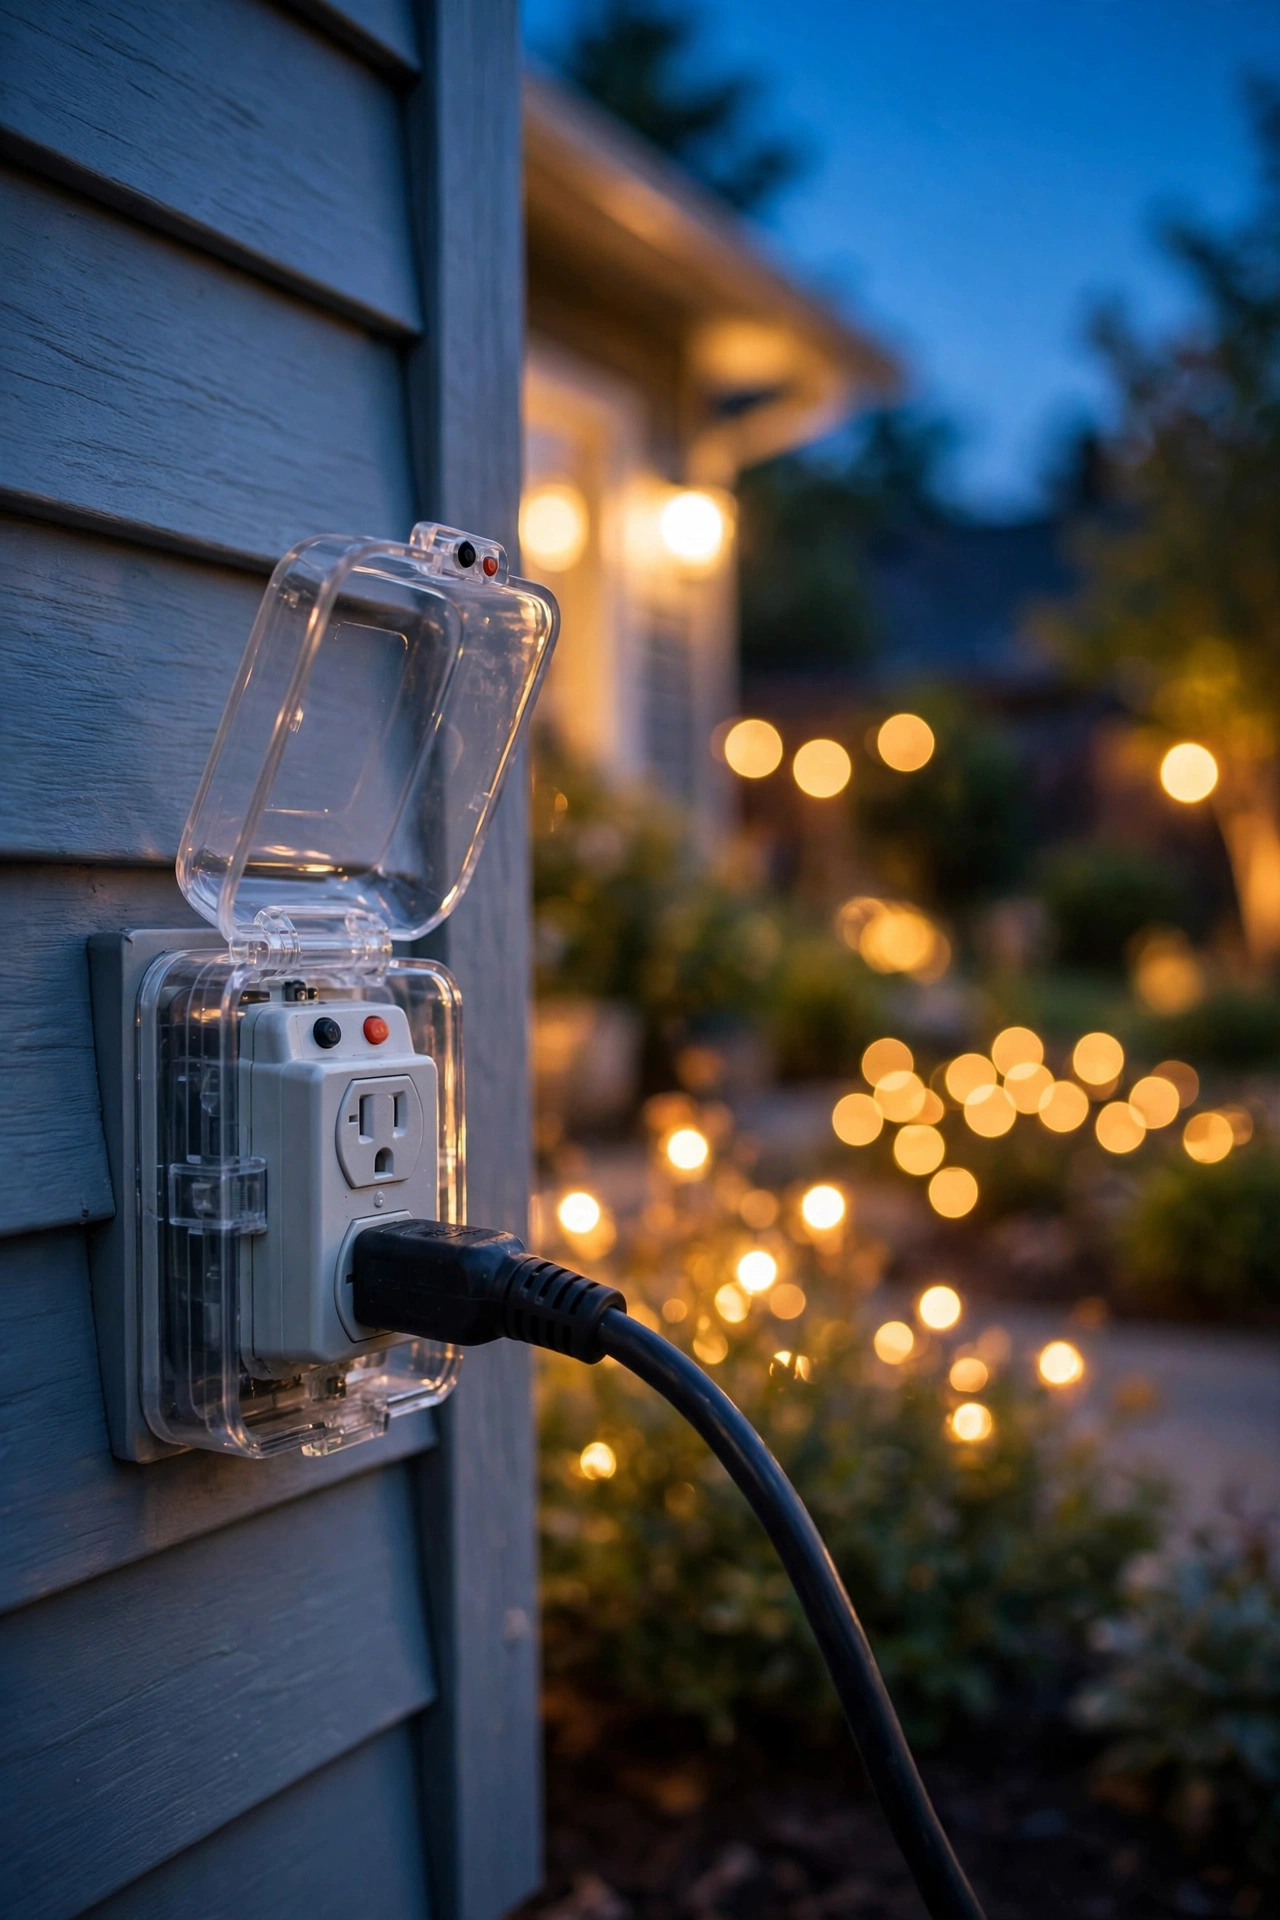
Smart doesn't change the electrical rules — it just adds gadgets on top of them. The fundamentals still apply, and outdoors they matter more because water is always in the picture.
GFCI protection is non-negotiable. Every outdoor outlet powering smart plugs, transformers, or chargers must be GFCI-protected (those outlets with the test/reset buttons). If your outdoor outlets are older and lack GFCI, that's a $15 outlet and a straightforward swap — or a quick electrician visit. This is the single most important safety item in this entire post.
Match the rating to the location. Outdoor fixtures and devices are rated for damp locations (covered porches, under eaves) or wet locations (fully exposed to rain). A damp-rated smart switch is fine inside a covered porch fixture; anything staked in the garden or hanging in open rain needs wet-location ratings. When in doubt, check the packaging — the rating is always printed there.
Low voltage (12V) is the DIY-friendly zone. Landscape lighting transformers step household current down to 12 volts, which is safe to handle, safe to bury shallowly (about 6 inches, per standard practice), and safe to adjust yourself. This is why I love smart transformers for garden lighting — you get full smart control without ever touching line voltage.
Line voltage (120V) is electrician territory. Installing smart wall switches, adding new outdoor outlets, or running new 120V circuits means working inside the breaker panel and junction boxes. If you're comfortable and your local code allows homeowner work, fine — turn off the breaker, test with a non-contact tester, and follow the wiring diagram exactly. If there's any doubt, hire it out. A $150 electrician visit is cheap insurance.
LEDs only near anything flammable. Smart bulbs are LEDs by nature, which is good — they run cool. But if you're putting smart plugs on older fixtures (holiday displays, vintage lanterns), make sure those fixtures are LED or rated for the bulb inside. Never put a high-heat bulb in an enclosed smart fixture not rated for it.
Weatherproof your connections. Smart plugs live at outlets — use outdoor-rated plugs with in-use covers (the bubble covers that close over the plugged-in cord). Keep all connections off the ground and out of puddles. And once a year, walk the yard and check for cracked covers, corroded prongs, or cable insulation chewed by the weed whacker. Five minutes, every spring — I do mine when I set out my spring front yard lighting for the season.
What to Buy First: A Sane Starter Kit
If this guide has convinced you but your head is spinning with options, here's the starter kit I'd hand you — the exact sequence I'd buy if I were starting over tomorrow:
Week 1: Two smart plugs ($25–$40). Put your existing string lights, lanterns, or plug-in spotlights on sunset schedules. This single purchase transforms your yard's evenings, and it teaches you the app, the scheduling, and the naming conventions with zero risk. If you hate it (you won't), you're out less than forty bucks.
Week 2: Two smart bulbs for the entryway ($30–$50). The sconces or pendant by your front door — the fixtures you see every single day. Set them warm and welcoming at sunset, dimming to 50% after 10 p.m. This is where you'll first feel the "designed" difference.
Week 3: Name your zones and build scenes. No purchase — just organization. Group everything in the app, build your core sunset schedule and one "goodnight" scene. Live with it. Notice what bugs you. That noticing is what tells you what to buy next.
Month 2: Fill the gap that bothers you most. Path dark? Add a smart transformer for low-voltage path lights, or solar path lights on a smart plug timer. Patio too bright for dinners? A dimmable smart switch for the patio circuit. Driveway pitch black when you arrive? A motion sensor flood. Buy to solve a real annoyance, not to complete a collection.
Later, if you're hooked: a hub-based system or dedicated landscape system for the full multi-zone yard, motion sensors for the perimeter, and color-capable bulbs for the landscape zone's seasonal scenes.
The through-line: start small, start with what you own, and let the system grow around your actual habits. The fanciest smart outdoor lighting setup is the one you actually use — and the one you'll actually use is the one that grew one zone at a time.
Frequently Asked Questions
How much does smart outdoor lighting cost in 2026?
A meaningful starter setup runs $30–$80 (a couple of smart plugs on sunset schedules using lights you already own). A full porch-and-patio setup with smart bulbs, dimming, and scenes lands around $150–$300. A whole-yard zoned system — smart transformer or hub-based fixtures, motion sensors, 8–12 smart points — typically costs $400–$900 DIY, or $1,500–$5,000+ professionally installed. Running costs are tiny: a full LED yard usually adds just $2–$5 a month to your electric bill.
Do I need a hub for smart outdoor lighting?
No — and for most people, I'd say skip the hub at first. Wi-Fi smart bulbs and plugs connect directly to your network with no hub, and they cover porches, patios, and small yards perfectly well. A hub (Zigbee or Z-Wave) becomes worth it when you pass about a dozen smart devices or need reliable coverage across a large yard, because the mesh network gets *stronger* with each device instead of congesting your Wi-Fi. Think of it as an upgrade path, not a prerequisite.
Does smart outdoor lighting work without Wi-Fi?
Partially. Schedules stored in the cloud or on a hub keep running without your phone nearby, but most Wi-Fi devices need your home network (router) to be up — if the router dies, app control dies with it, though already-running schedules on some devices continue. Hub-based systems are more resilient since devices talk to the hub locally. And the real answer to this question is the fail-safe rule: every zone should have a physical switch or manual override, so "no Wi-Fi" never means "no light."
What happens to my smart lights in a power outage?
They go off like everything else — but the surprise comes when power *returns*. Many smart bulbs default to full brightness when power is restored, which means a 3 a.m. outage can wake you to a house blazing like a stadium. Fix this on day one: in each device's app settings, find "power-on behavior" (sometimes called "power loss recovery") and set it to "return to previous state." Also note that after an outage, Wi-Fi devices reconnect on their own within a few minutes — but if your router takes longer to boot than your bulbs, give it five minutes before troubleshooting.
Can I mix different brands of smart outdoor lights?
You can, with one big caveat: keep it to one or two ecosystems, max. Mixing a Wi-Fi bulb brand with a hub-based sensor brand means two apps that don't talk to each other, and automations that span both won't work. The safest mixing strategy: choose one primary ecosystem for all your scheduled/zoned lighting, and allow "dumb-but-automated" exceptions — a standalone motion flood or a photocell path light doesn't need to join the ecosystem to do its job. If you want everything in one app with cross-device automations, commit to one ecosystem per zone.
Conclusion
Smart outdoor lighting isn't about owning the most gadgets — it's about a yard that takes care of itself. Start with a smart plug and a sunset schedule, think in zones instead of fixtures, give every zone a manual fallback, and let the system grow one real annoyance at a time. That's the whole philosophy, and it's never failed me.
If you're ready to keep going, browse more lighting ideas on the site — there's a whole world of porches, patios, and garden beds waiting for their glow-up. Your future self, pulling into a warmly lit driveway on a dark winter evening, says thanks.