Every December I used to dread the same ritual: dragging out the ladder, wrestling with roof clips in the cold, and trying to untangle string lights with numb fingers. A few years ago I discovered these christmas light projector ideas and honestly? I've never looked back. You stake a small unit in your yard, plug it into an outdoor outlet, and your whole house glows — no climbing, no staples, no sore shoulders.
My philosophy here is the same one I use for every display I plan: layering. A projector gives you the big wash of color and movement, and you anchor it with one or two real, physical light sources nearby so the whole scene feels dimensional instead of flat. What follows are 15 ways to use projectors around your home — different projection types, distances, angles, and combos — with the placement and safety details I'd share with a friend over coffee. Everything uses standard imperial measurements and prices in dollars, and none of it requires a ladder.
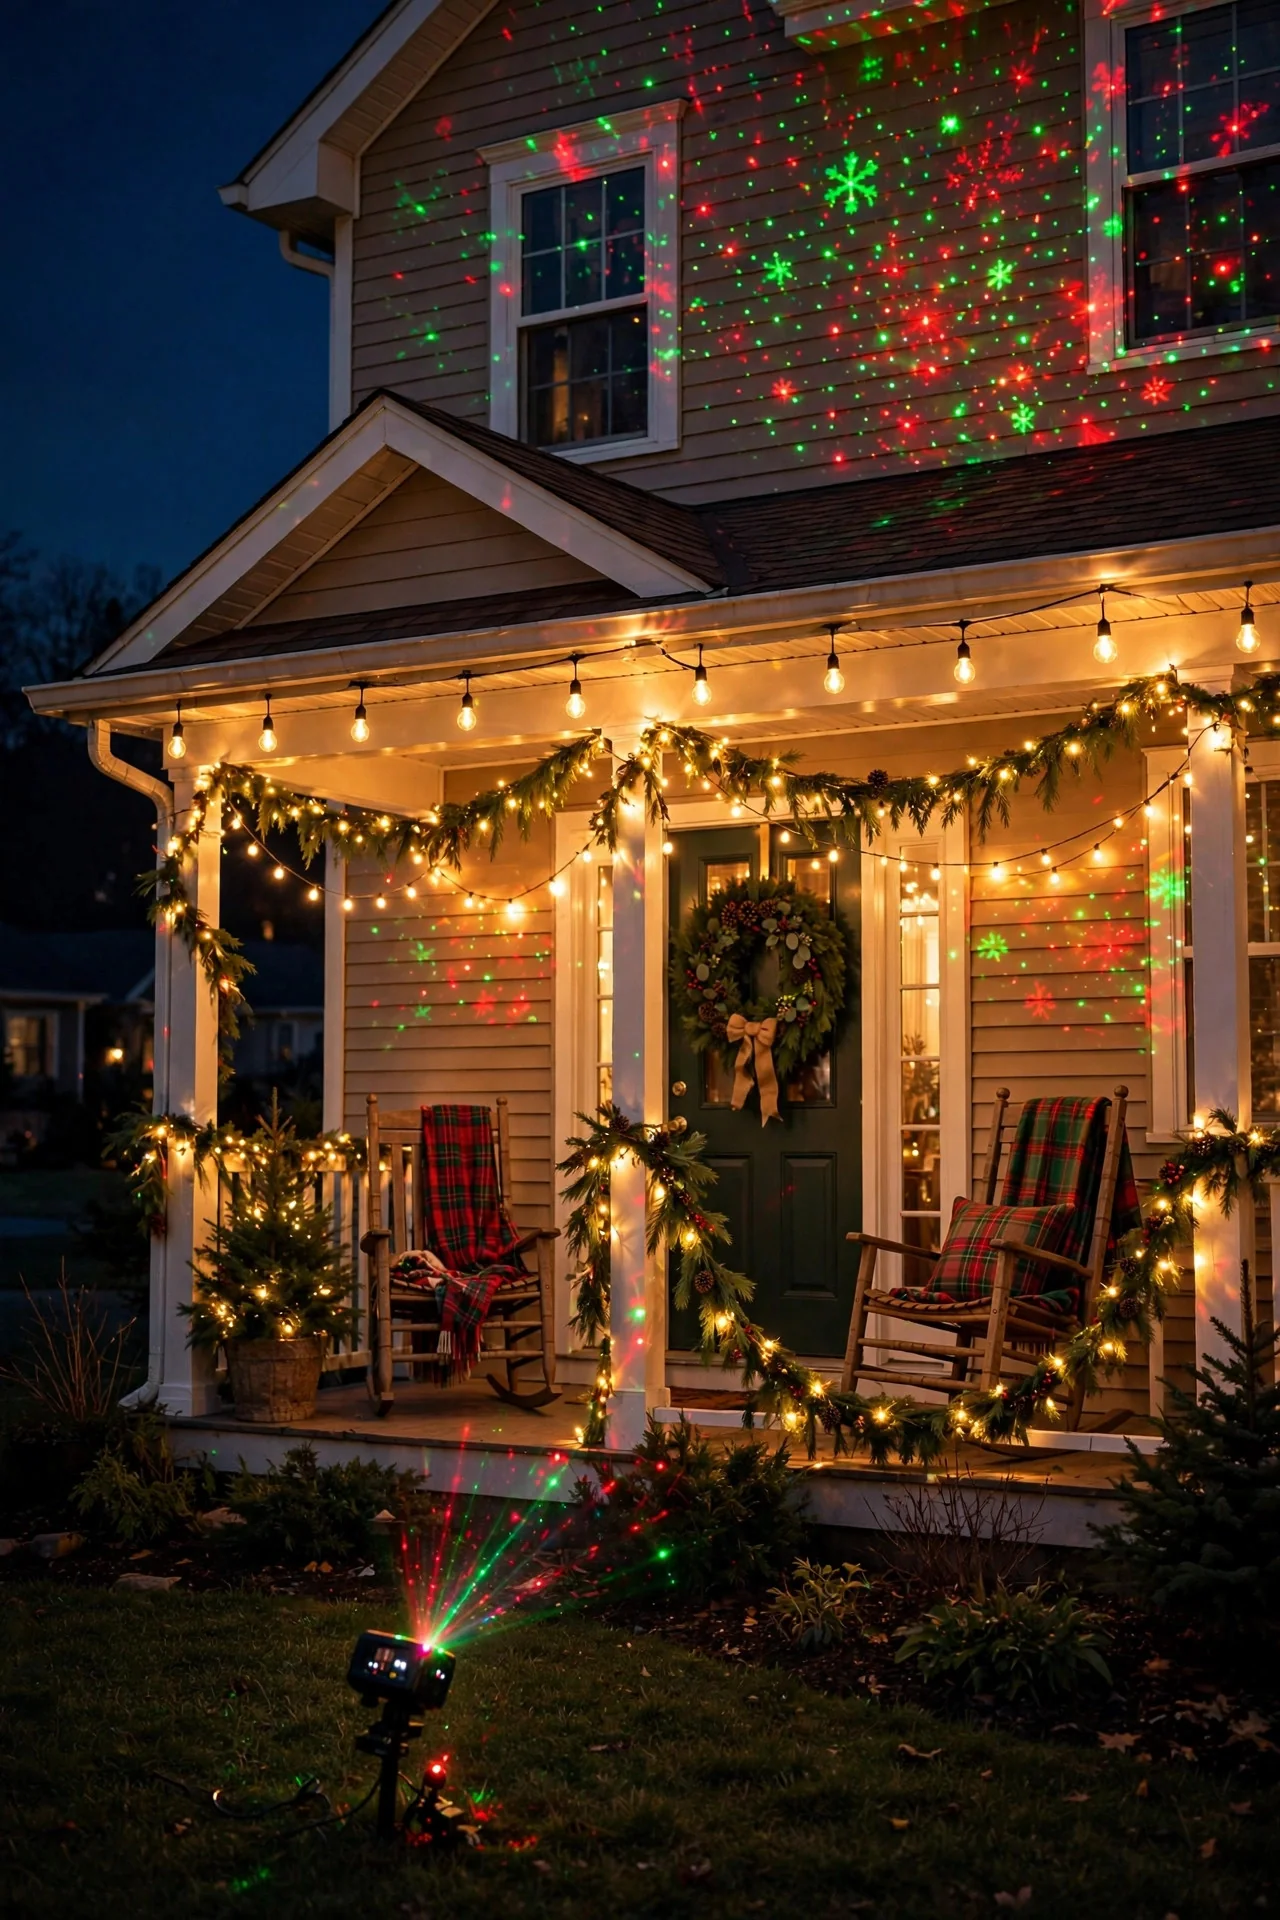
1. Christmas Light Projector Ideas That Start With Classic Red-and-Green Laser Dots
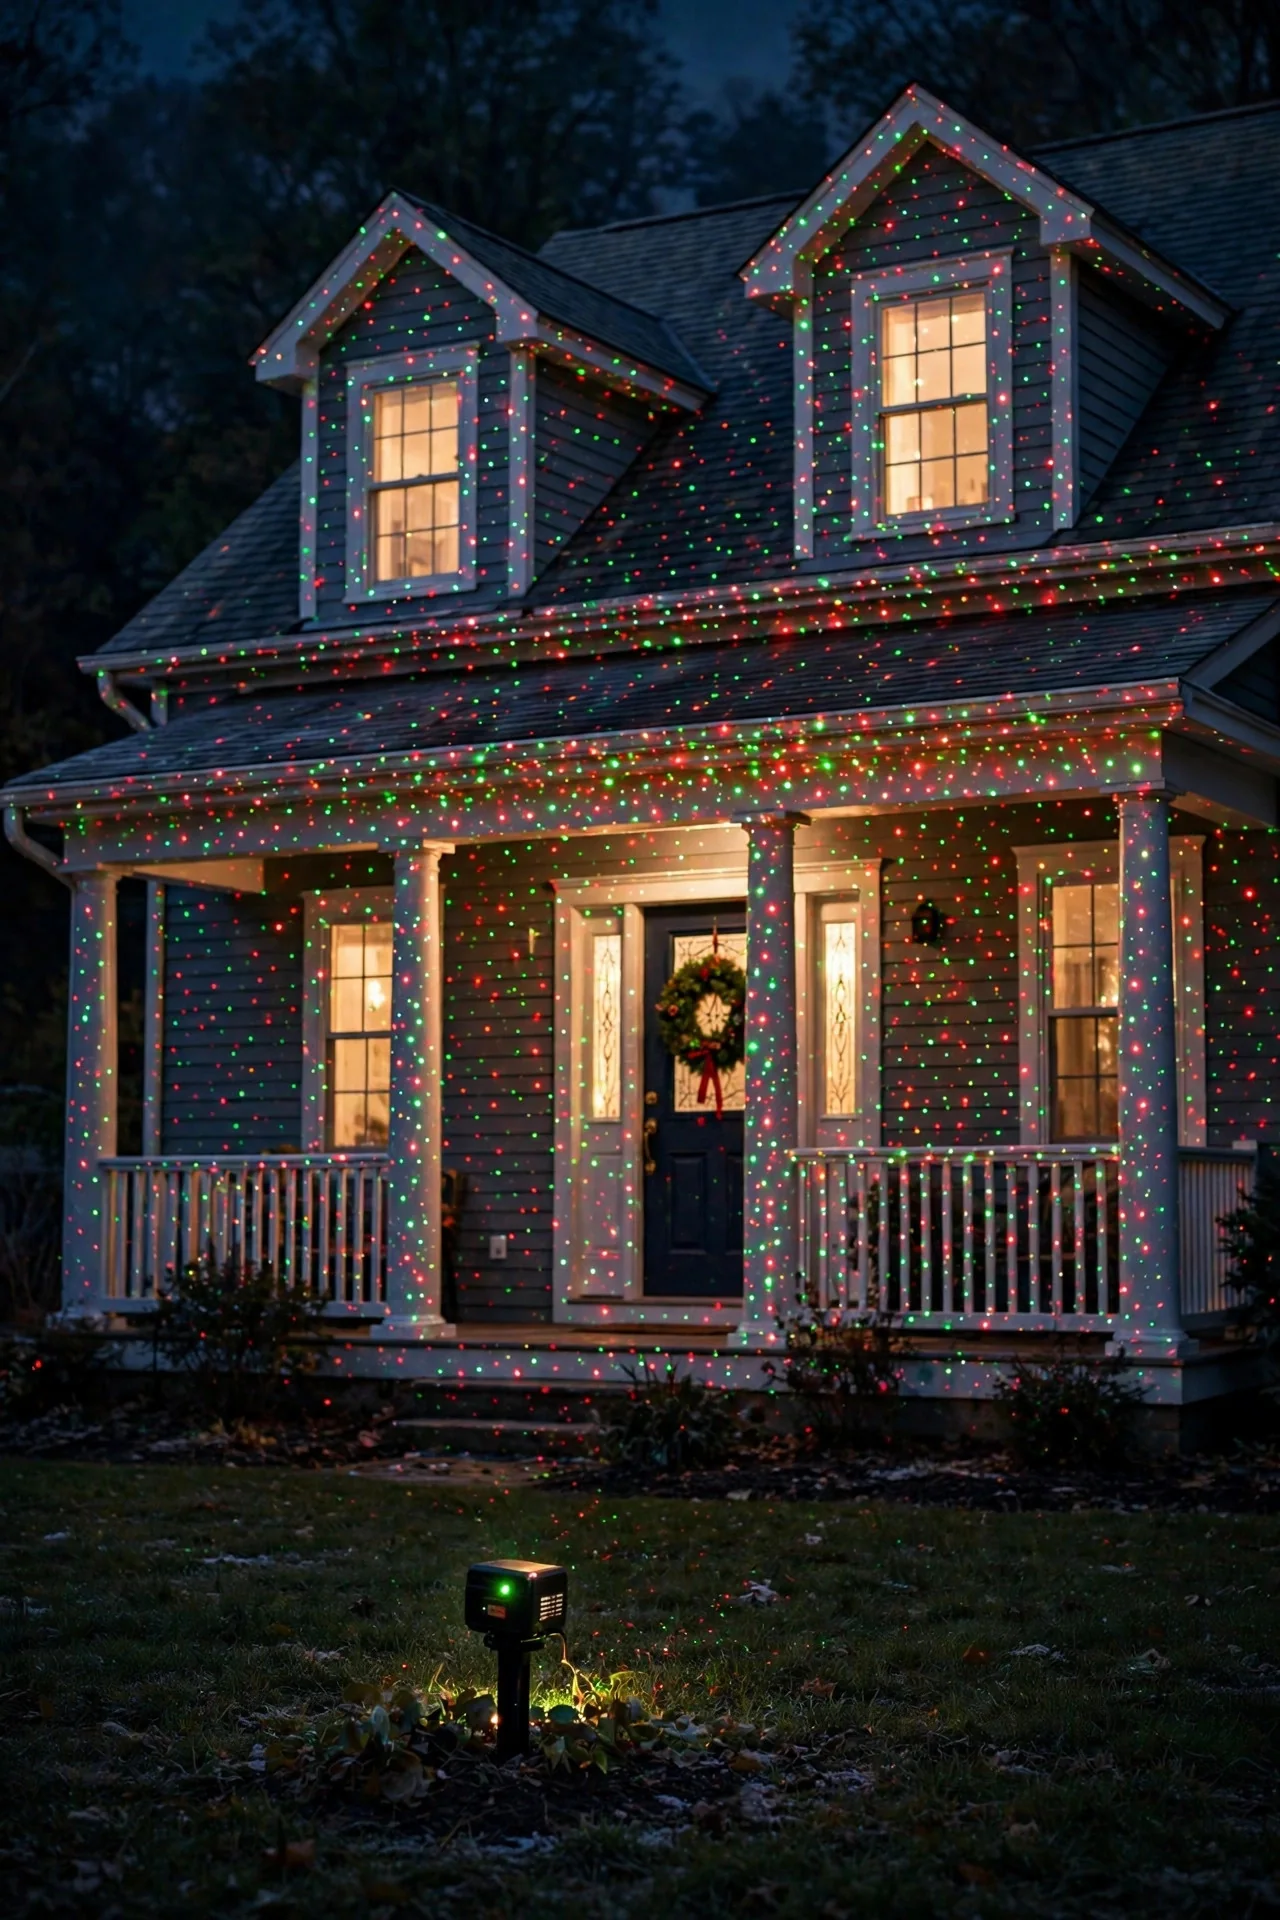
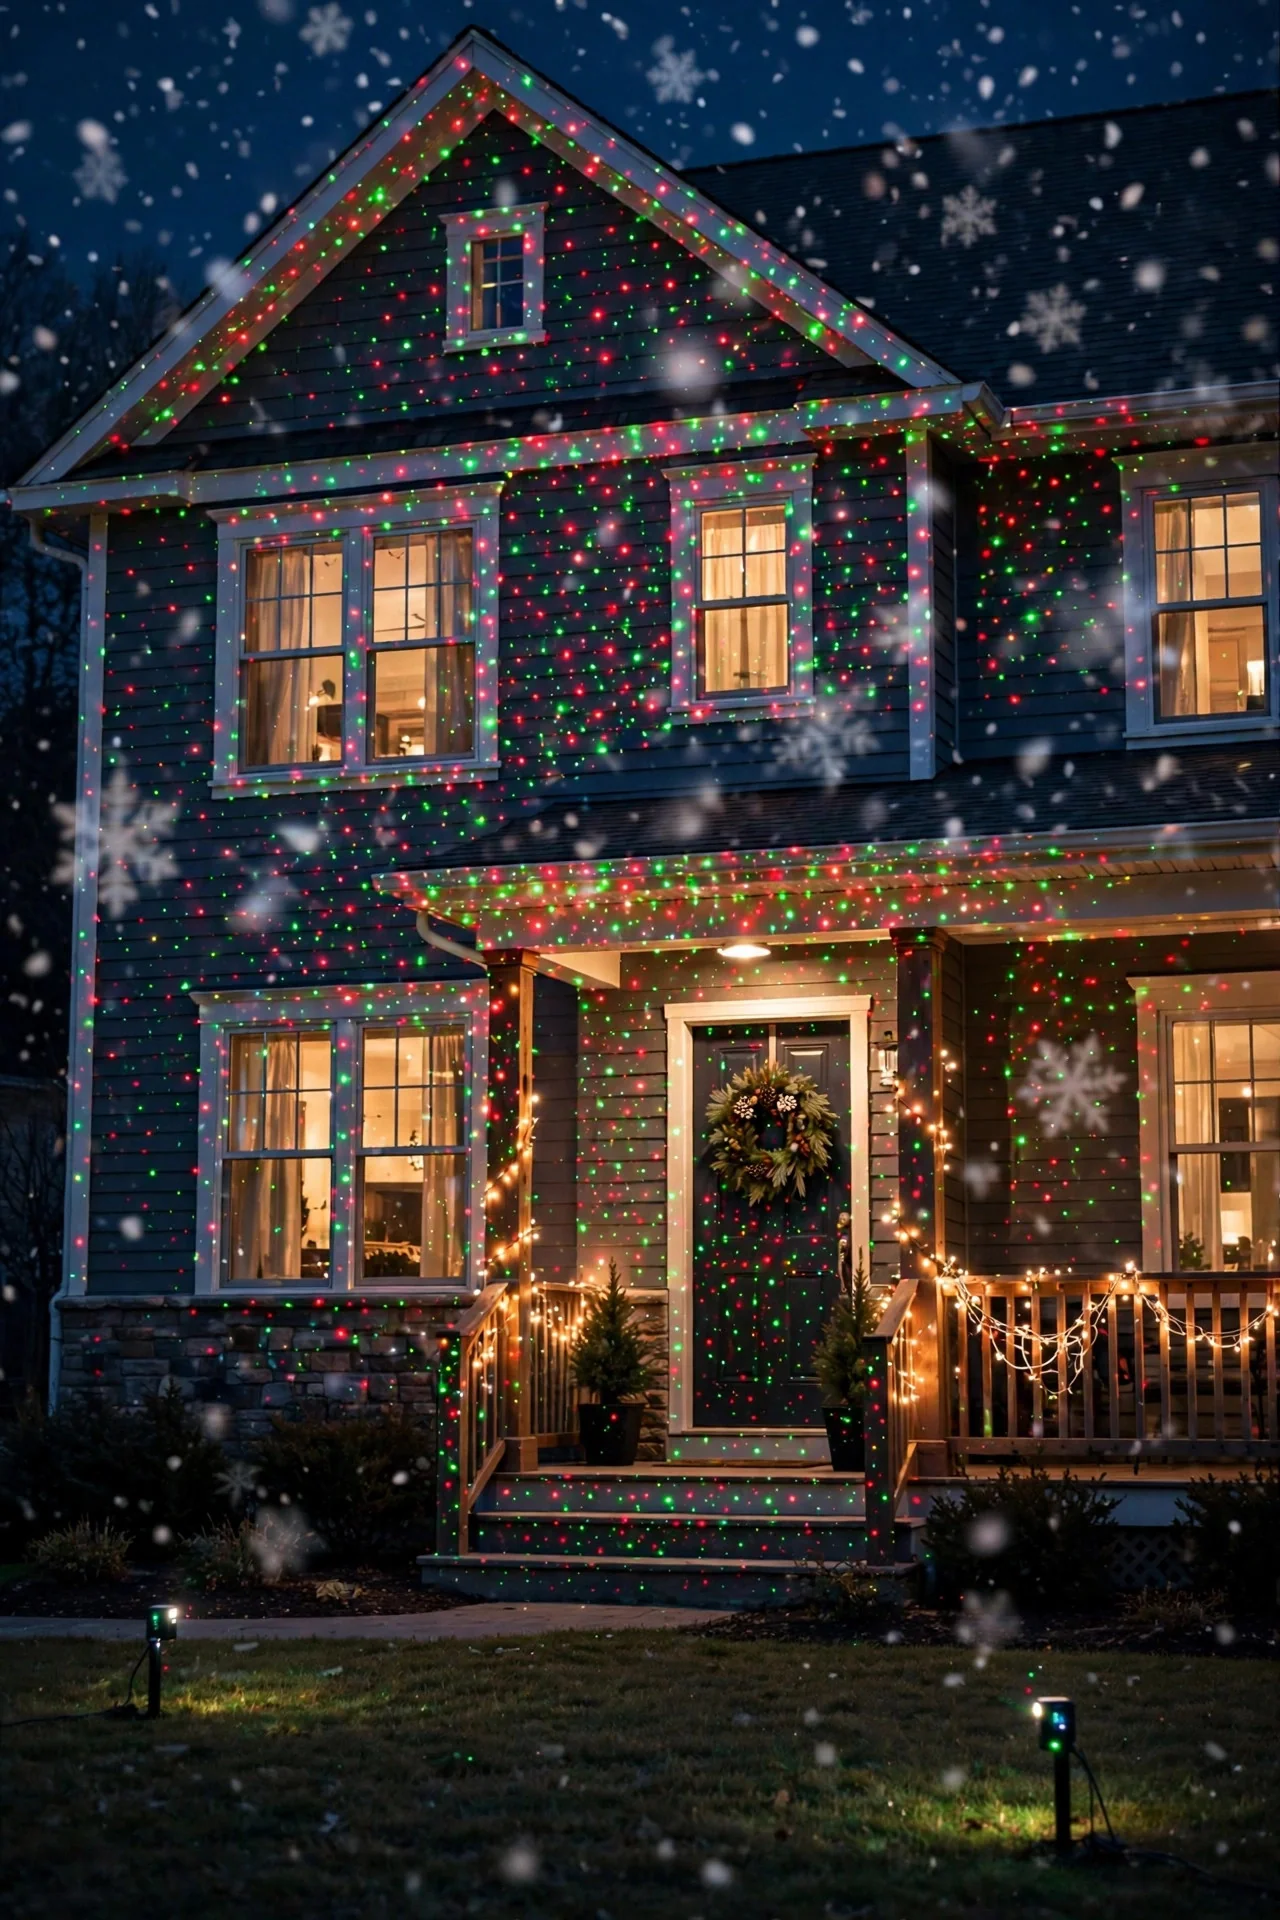
This is the look that started the whole projector trend, and in my experience it's still the fastest way to make a house look decorated. A laser unit throws hundreds of pinpoint red and green dots across your facade, and from the street it reads as a full twinkle-light display.
Set your stake 10 to 15 feet from the front of the house, angled slightly upward so the pattern covers from the porch roofline to the ground floor. In my experience, 12 feet is the sweet spot for a typical two-story front — close enough that the dots stay crisp, far enough that they spread edge to edge. Twist the head until the projection is level, then push the stake in firmly and tamp the soil around it so it can't tip in wind.
For styling, I always pair red-and-green dots with a warm white porch light left on — the warm glow near the door keeps the laser colors from feeling flat or cold. A quick safety note that matters every single time: laser projectors must aim only at your own house. Never point one toward windows, the sky, or a neighbor's yard, and don't stare into the lens. Check that your unit carries an outdoor rating (IP65 is ideal) and plug it into a GFCI-protected outlet.
Suggested budget range: $20 – $40.
2. Falling Snowfall Projection
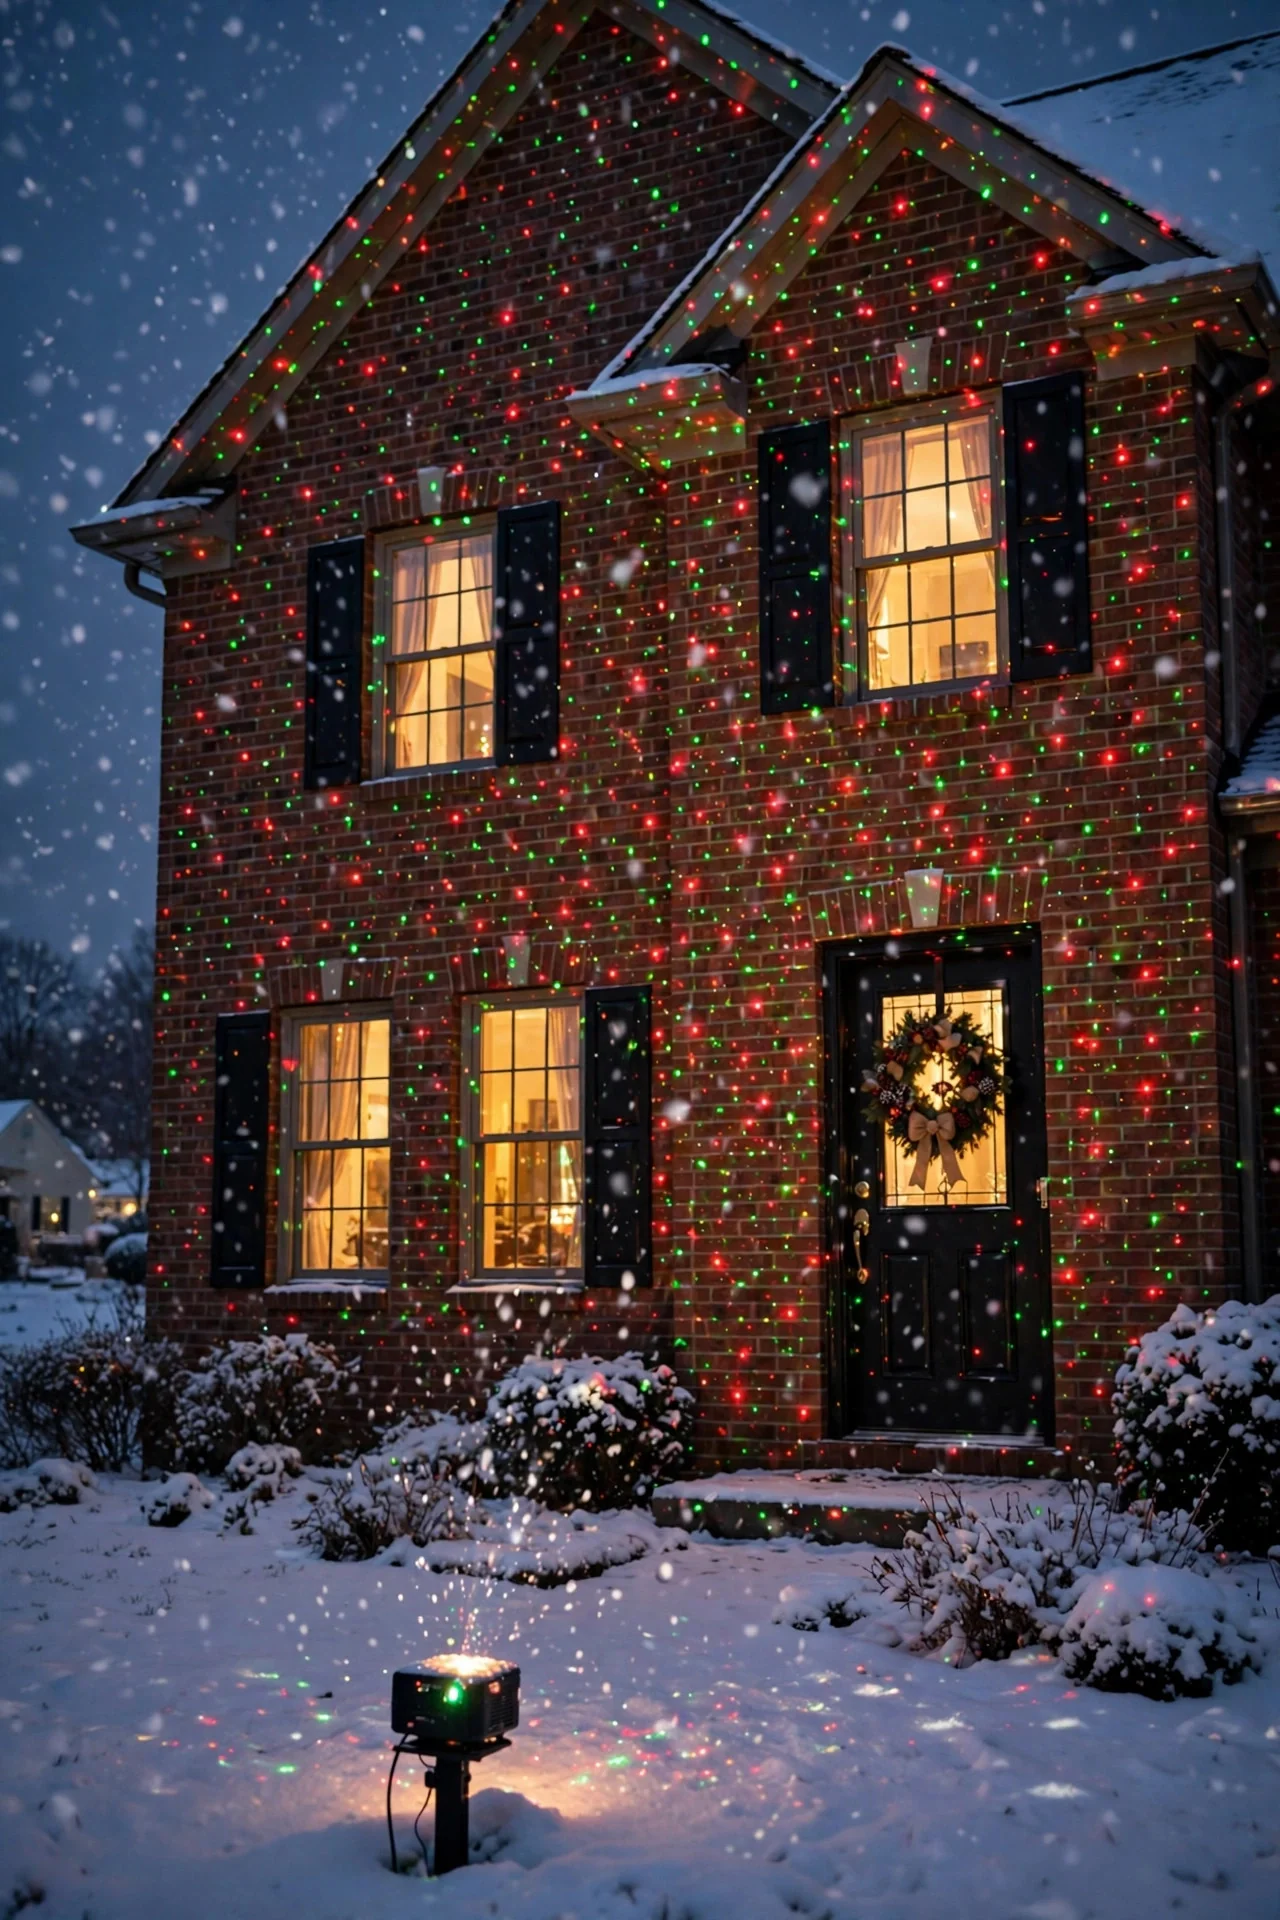
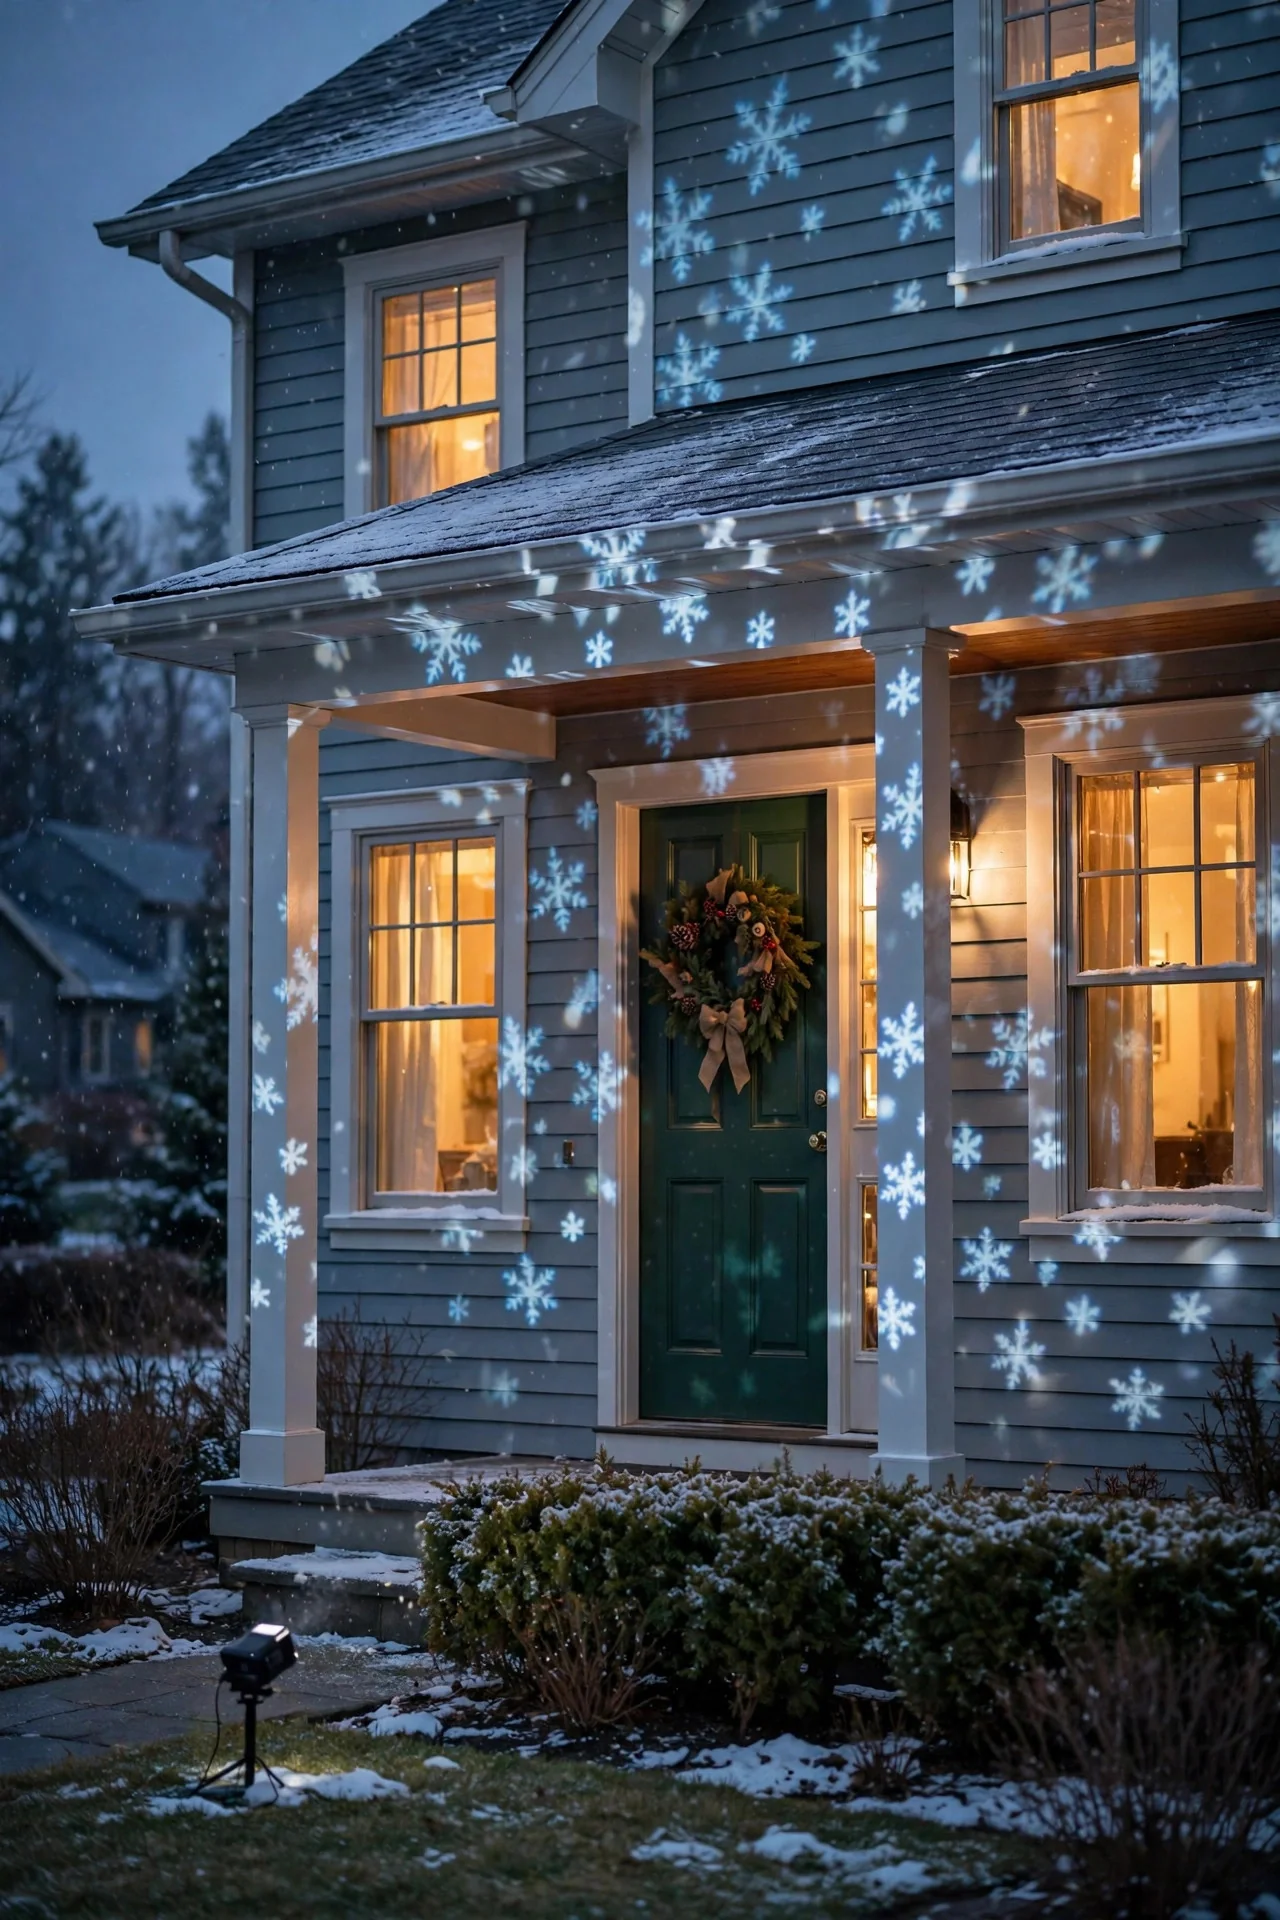
Snowfall projectors use LED-based moving images instead of lasers, and they create drifting snowflakes that glide down your facade — absolutely magical if your area rarely gets real snow. I ran one for a friend in Arizona and the neighborhood kids were convinced winter had arrived.
Place the projector 8 to 12 feet from the wall you want to dress, and angle it up about 30 degrees so the flakes drift across the full height of the surface. Smooth, light-colored siding shows the animation best; dark brick will swallow it a bit, so test at dusk before you commit to a spot. Most snowfall units include a motion setting — use a slow drift rather than a frantic fall, because slower reads more elegant from the street.
Style it by pairing the snowfall with one evergreen wreath lit by a small warm spotlight. The contrast between real greenery and digital snow is lovely. Weather-wise, LED snowfall units handle cold and light rain well if they're outdoor-rated — look for a sealed housing and keep the power connection off the ground. I always recommend a timer so it runs 5 p.m. to midnight and never sits on all night.
Suggested budget range: $30 – $60.
3. Moving Santa and Sleigh Scene
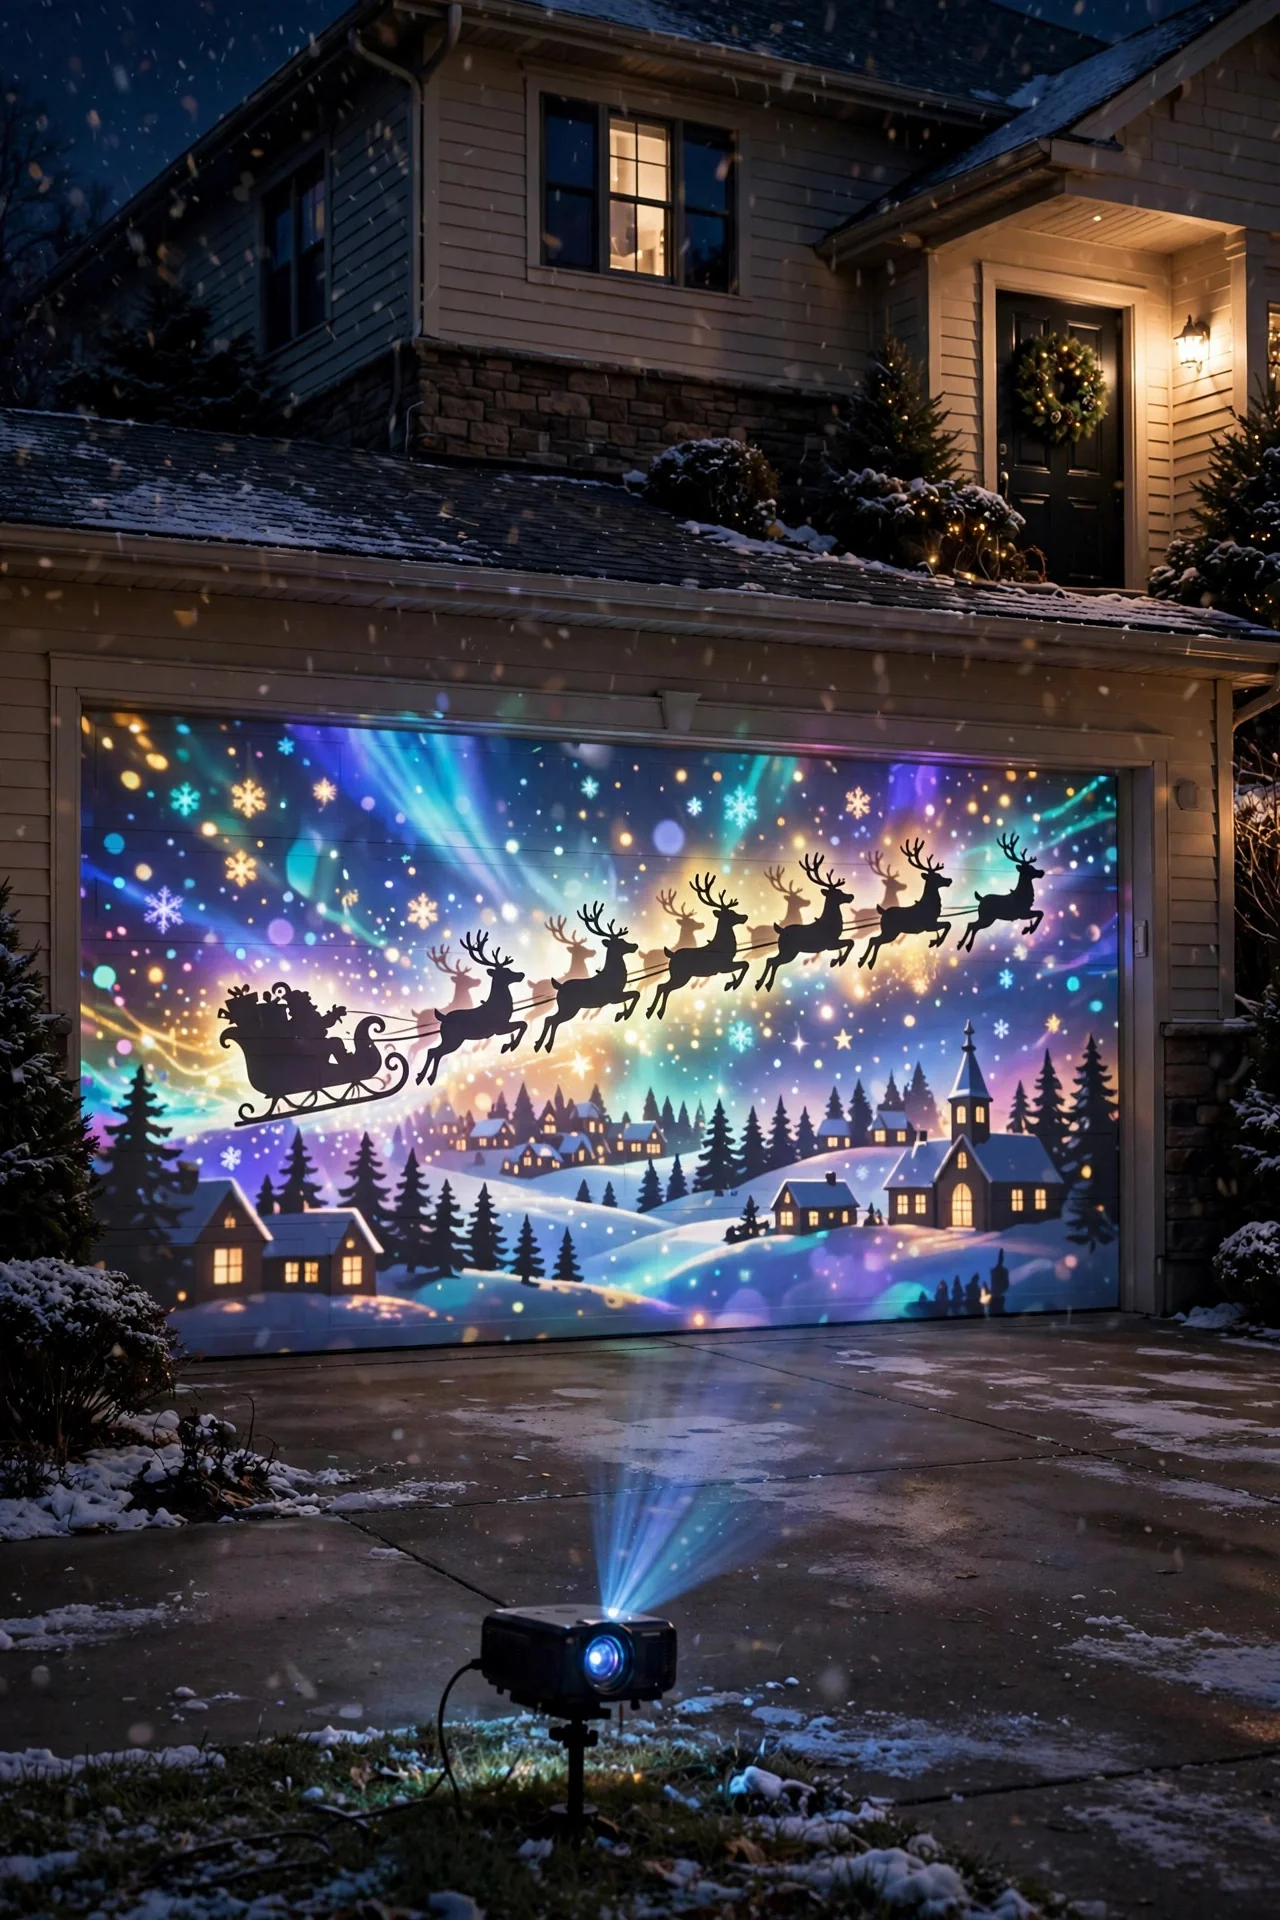
Slide-style LED projectors can throw animated holiday vignettes — Santa's sleigh gliding across the sky, waving snowmen, twinkling reindeer — across any flat surface. This is the one my grandkids ask for by name, because unlike static dots, it gives drivers-slowly-past something to actually watch.
You'll want the projector 10 to 20 feet back so the scene scales large enough to read from the street — about 15 feet gives you a 10-foot-tall scene on a typical two-story wall. Aim for a big, unbroken surface: the side of the garage or a tall gable wall works best. Keep the projector's lens clean, because even a smudge shows up as a dark blob when the image is magnified that much.
A styling tip from my own setup: run the Santa scene only on weekend evenings with a plug-in timer, and switch back to dots on weeknights. It keeps the novelty alive and trims your electric bill. For safety, these LED units are much safer around eyes than lasers, but the same rule applies — aim at your own surfaces, and make sure the power cord isn't a trip hazard across the walkway.
Suggested budget range: $35 – $70.
4. White Sparkle Wash on Evergreens
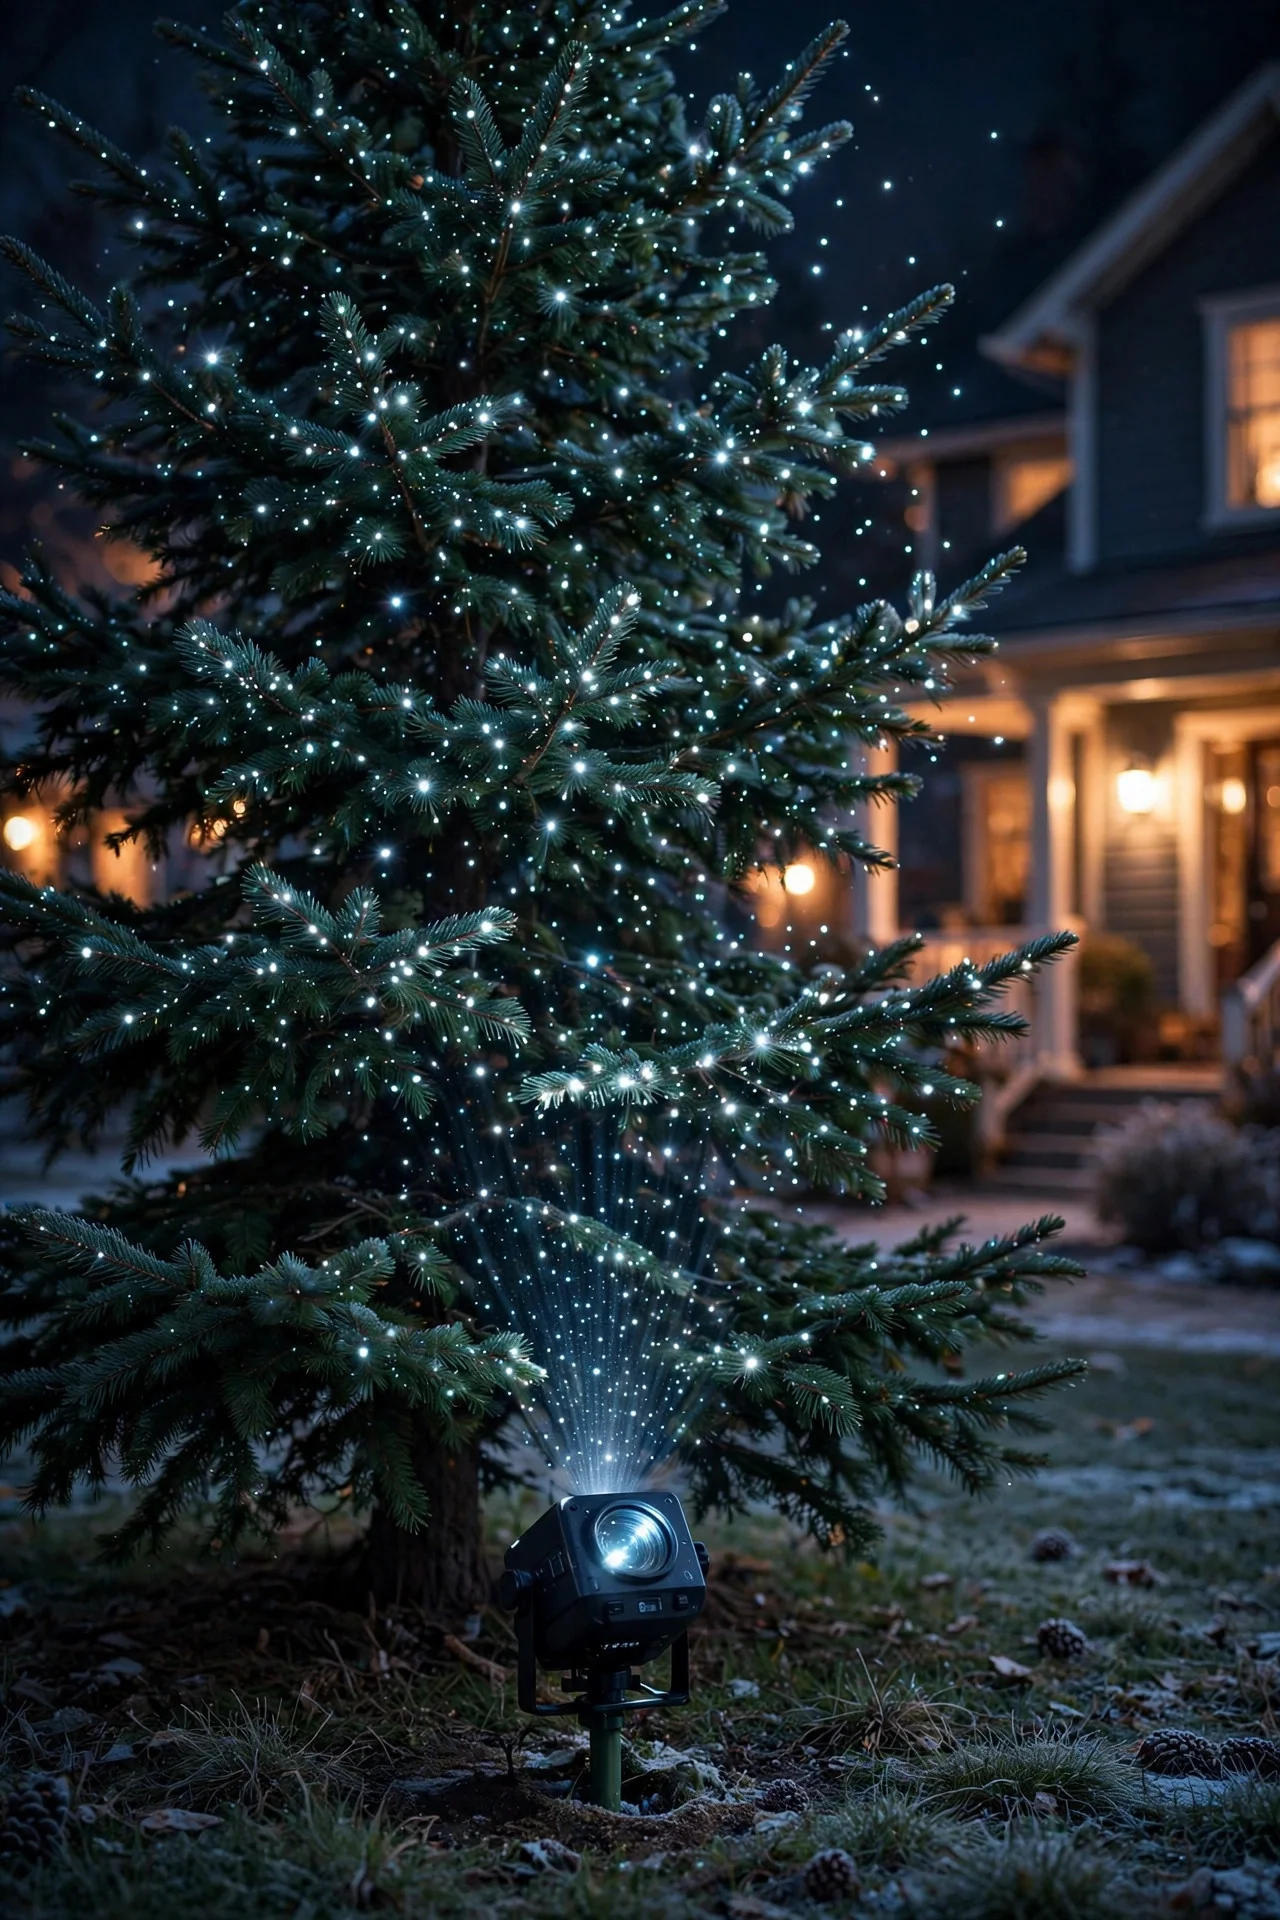
Don't aim every projector at the house — your trees are fair game too. A white sparkle or twinkle projection sprayed across an evergreen looks like thousands of tiny fireflies landed in the branches, and it's the easiest way to make big, tall trees look decorated without touching them.
Stake the projector 10 to 14 feet from the tree's base and tilt it upward so the pattern climbs through the branches. In my experience, a slightly wider spread setting works better here than a tight beam — it fills the tree instead of hitting one patch. If the tree is very dense, pull back another few feet; the sparkles need gaps between branches to reach the inner foliage.
I pair this with warm white uplighting at the tree's base — you can see how layering a real light source under a projected one adds depth I can't get from either alone. A few more projector ideas for lighting trees show up in my fall porch lighting post too, since the placement logic is similar. ([See my fall porch lighting ideas.](https://exteriorhouselighting.com/fall-porch-lighting-ideas/)) One safety reminder: push the stake into soil or mulch, never into a tree root ball, and keep the cord routed away from lawnmowers and foot traffic.
Suggested budget range: $25 – $55.
5. Projecting Onto the Garage Door
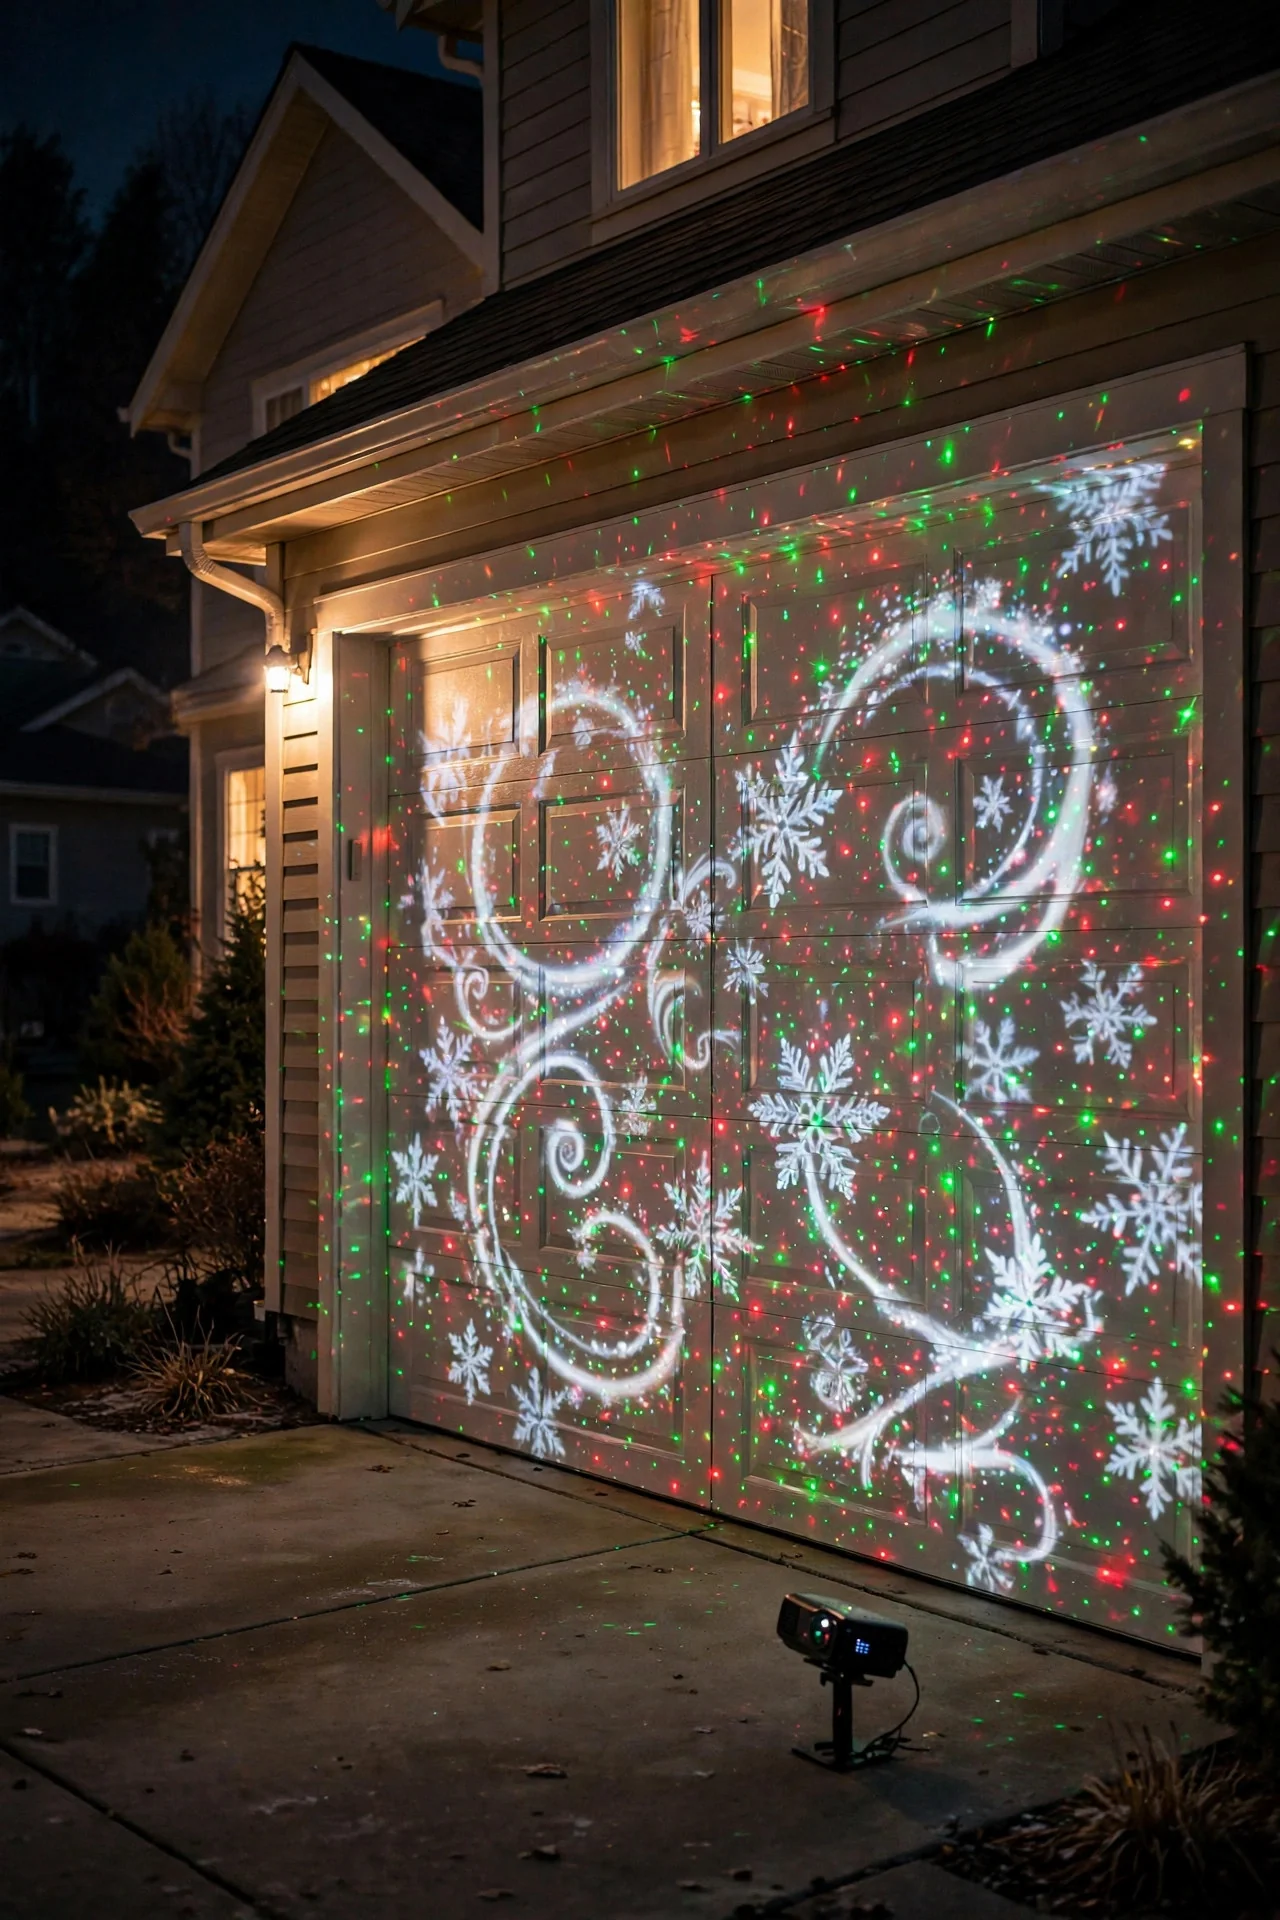
Your garage door is the biggest blank canvas on most homes, and it's perfect for projection because it's flat, light-colored, and completely free of windows. A motion scene or dot pattern here reads like a giant screen — honest, my neighbors thought I'd hung a massive light-up banner.
Set the projector on the driveway edge about 12 feet back, aimed squarely at the door. Because the door is vertical, you can keep the angle low and still cover it fully, which also keeps the light off your windows — and that's important, since you never want projection light flooding your own or a neighbor's windows. If you have a two-car garage, one projector centered covers both doors.
Style this one boldly: pick a single color family (all red dots, or an all-white snowfall) instead of mixing effects on the same surface. One clean look beats a busy one at this scale. My [Christmas decor ideas](https://exteriorhouselighting.com/christmas-decor-ideas/) post covers how to echo that color choice in your wreath and porch planters so the whole front ties together. Secure the stake well — driveways get plowed or swept, and you don't want the unit sliding into the tire path.
Suggested budget range: $20 – $50.
6. Layered Christmas Light Projector Ideas: Dots Plus a Motion Scene
Here's where projectors get genuinely impressive: run two of them at once, with one throwing static laser dots across the whole facade and a second casting a moving snowfall or scene over part of it. The dots provide the all-over glow, the motion provides the interest — it's the projection equivalent of my layering philosophy.
Place the dot projector 12 to 15 feet out, centered, for even coverage. Then place the motion projector 10 to 18 feet back and aim it at one zone only — the gable, the porch wall, or one side of the house. Off-center the two stakes by at least 6 feet so they don't physically block each other's beams. Run them on the same outdoor timer so they start and stop together.
Styling matters here: keep the color palettes related (red/green dots plus a white snowfall, or blue dots plus a blue-toned winter scene). Clashing palettes from two units look chaotic instead of curated. Safety-wise, double units means double the electrical check — both must be outdoor-rated, both on GFCI outlets, and use outdoor-rated extension cords kept off the walkway. Total draw is still tiny, usually under 30 watts combined.
Suggested budget range: $60 – $120.
7. Pathway Wash From the Yard's Edge
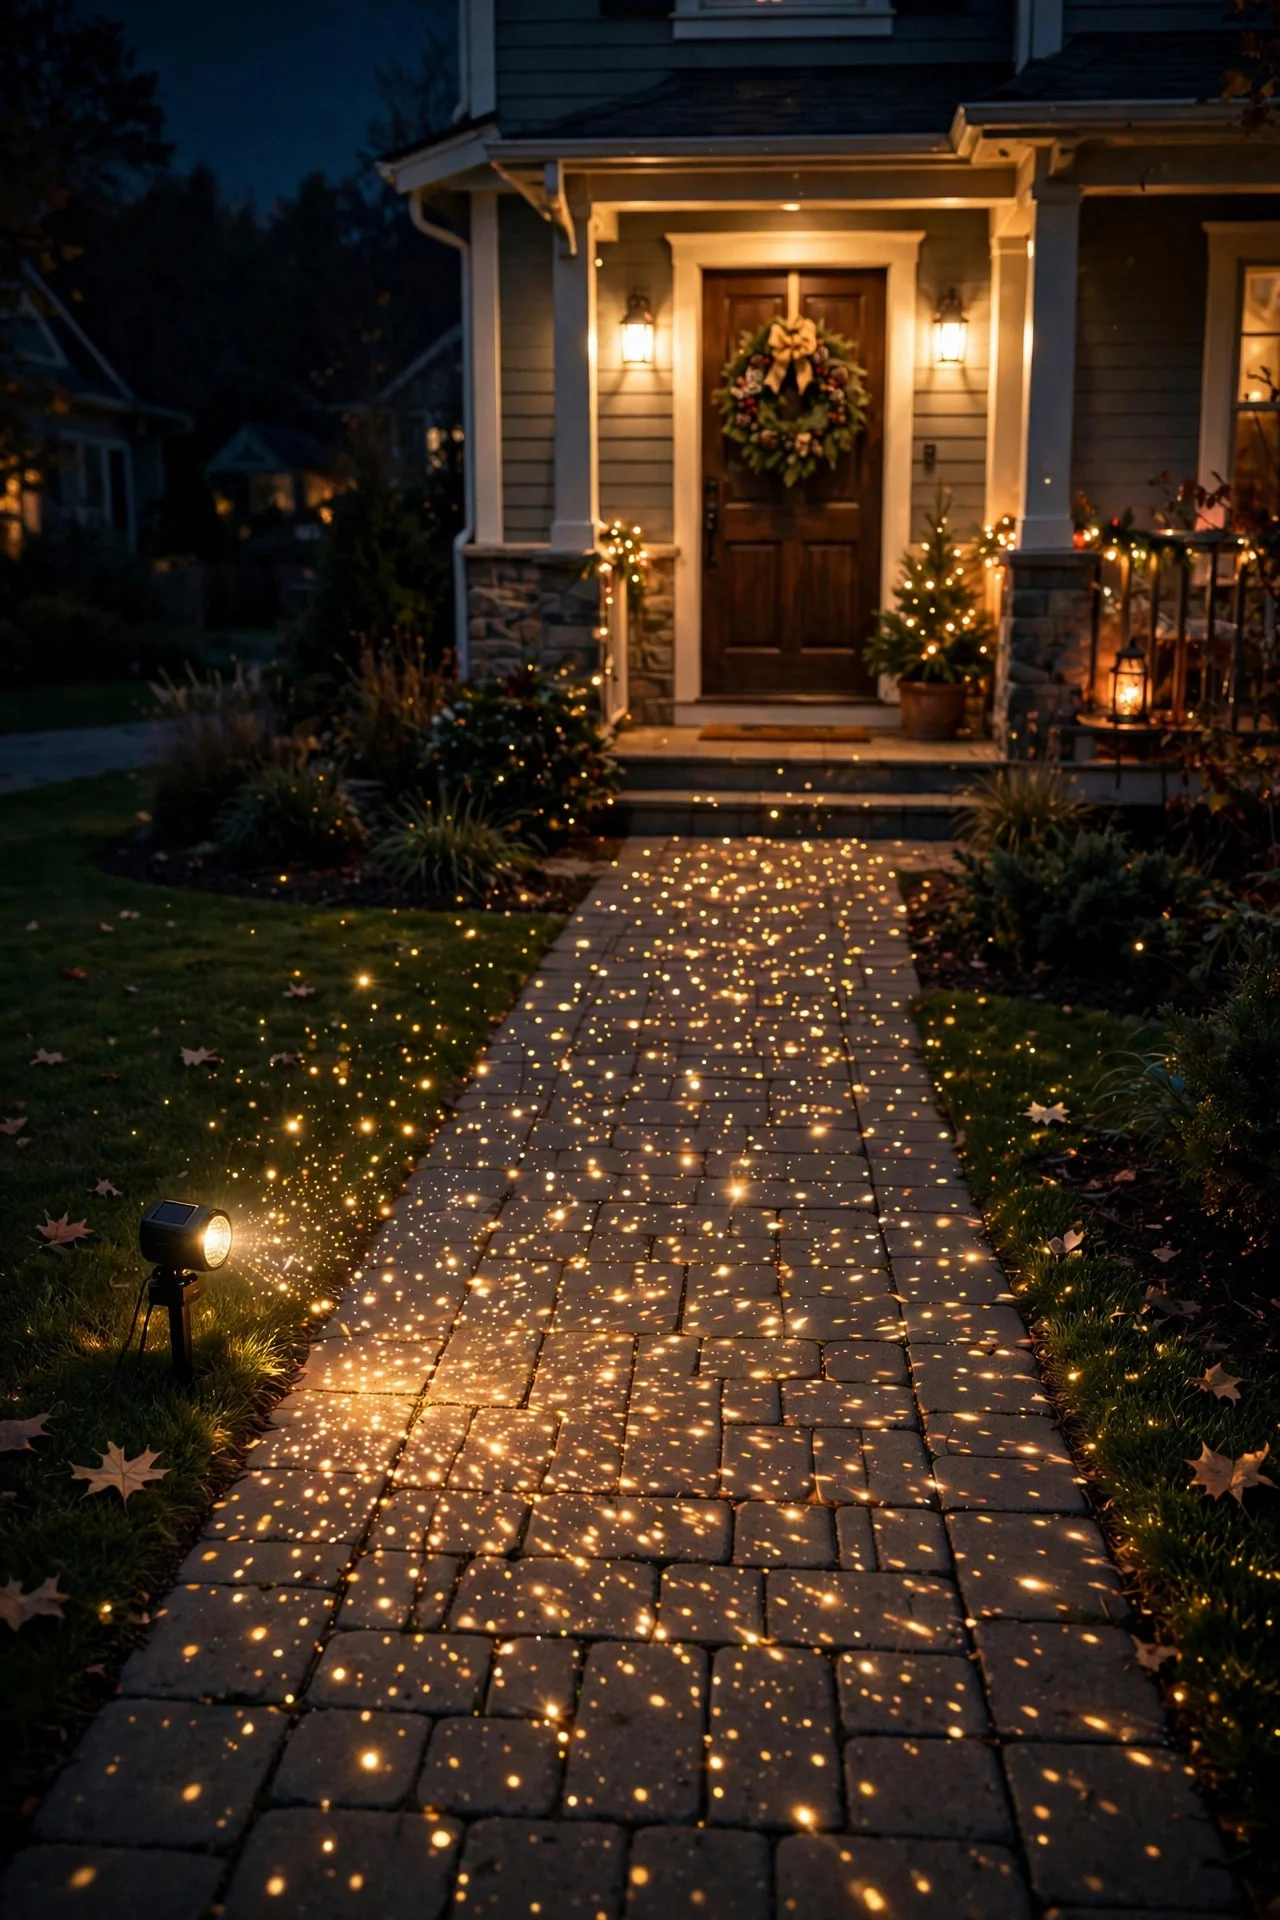
Instead of lining your walkway with stakes you have to plant one by one, let a projector do it. A wide-angle dot or sparkle projection angled down along the path edges guides guests to your door with a soft, even glow — and you never step over cords in the dark.
Stake the unit 6 to 10 feet from the walkway, angled down at about 45 degrees so the pattern pools along the path's edge rather than shooting into the sky. In my experience this works best with warm or gold-toned dots rather than red and green — it feels like candlelight without the flames. Keep the beam tight so it stays on your side of the property line; a wide spray can land on the sidewalk or the street, which is both wasteful and bad neighbor etiquette.
Pair the projection with your existing porch light for depth — the real light defines the door, the projection defines the journey. For safety, keep cords flat along the lawn edge and cover any driveway crossings with a cord ramp. This is one of those outdoor lighting hacks that costs almost nothing and saves you an hour of stake-hammering every year. ([More ideas like this here.](https://exteriorhouselighting.com/outdoor-lighting-hacks/))
Suggested budget range: $20 – $45.
8. Gable Accent Projection
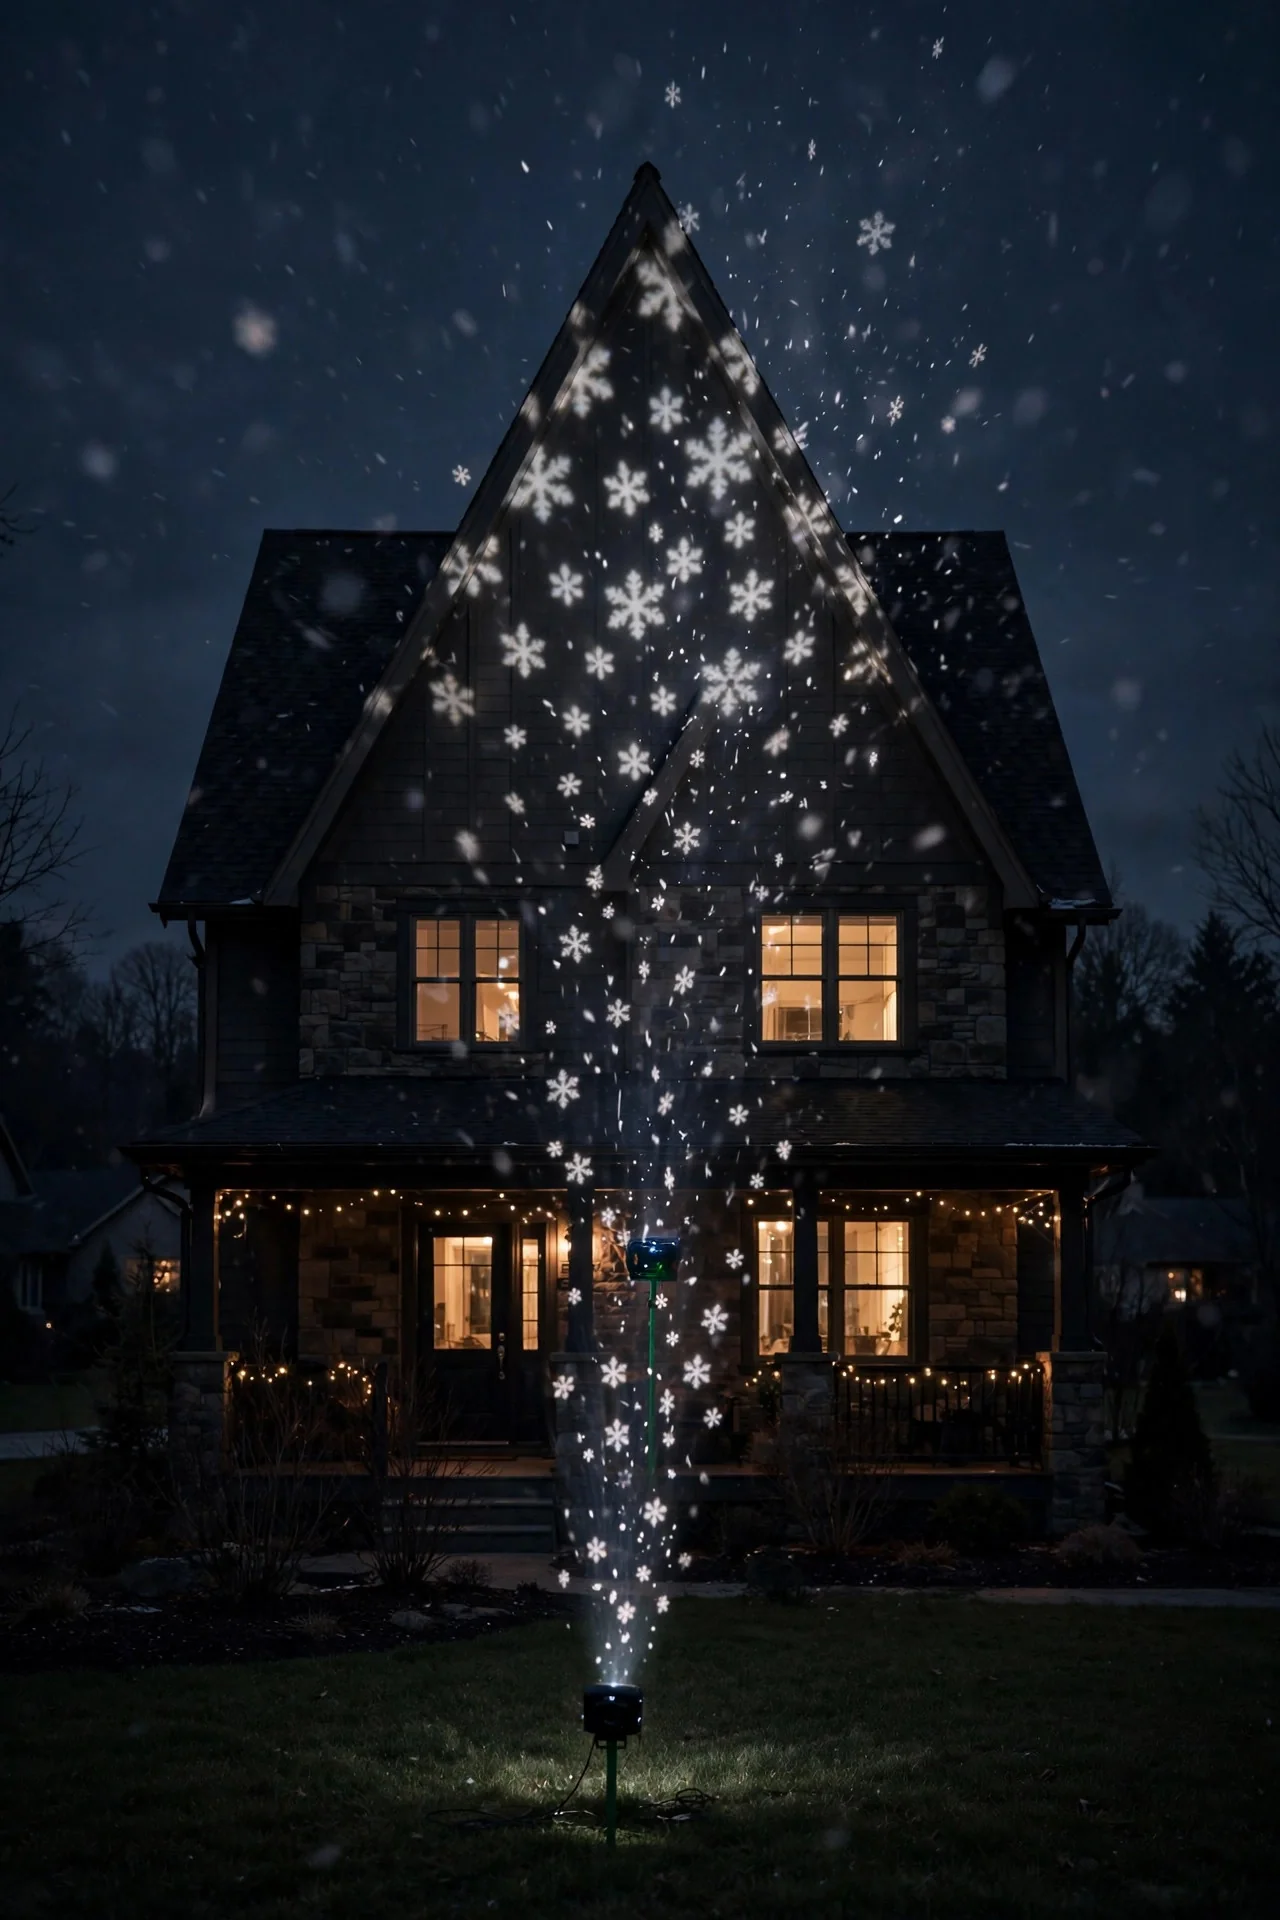
If a full-facade wash feels like too much, aim small: light just the gable — that triangular wall peak above the garage or front door — with a single tight projection. It draws the eye up to your home's best architectural feature without flooding every window with light.
Place the projector 15 to 20 feet back and tilt it up sharply, about 45 to 60 degrees, so the pattern lands only on the gable. Most units have a zoom or focus dial — tighten it so the image fits the triangle rather than spilling over the eaves. A snowfall or gentle swirl effect looks especially classy here; save the Santas for bigger surfaces.
I love pairing a gable accent with a simple evergreen wreath at the front door and nothing else — restraint reads as elegance. Check from the street at dusk and adjust before you call it done, because gables are easy to miss-aim from ground level. Safety note: the steeper angle means a more powerful-looking beam, so double-check it isn't catching a second-story window or arcing toward a neighbor's house.
Suggested budget range: $25 – $50.
9. Color-Changing Holiday Scenes
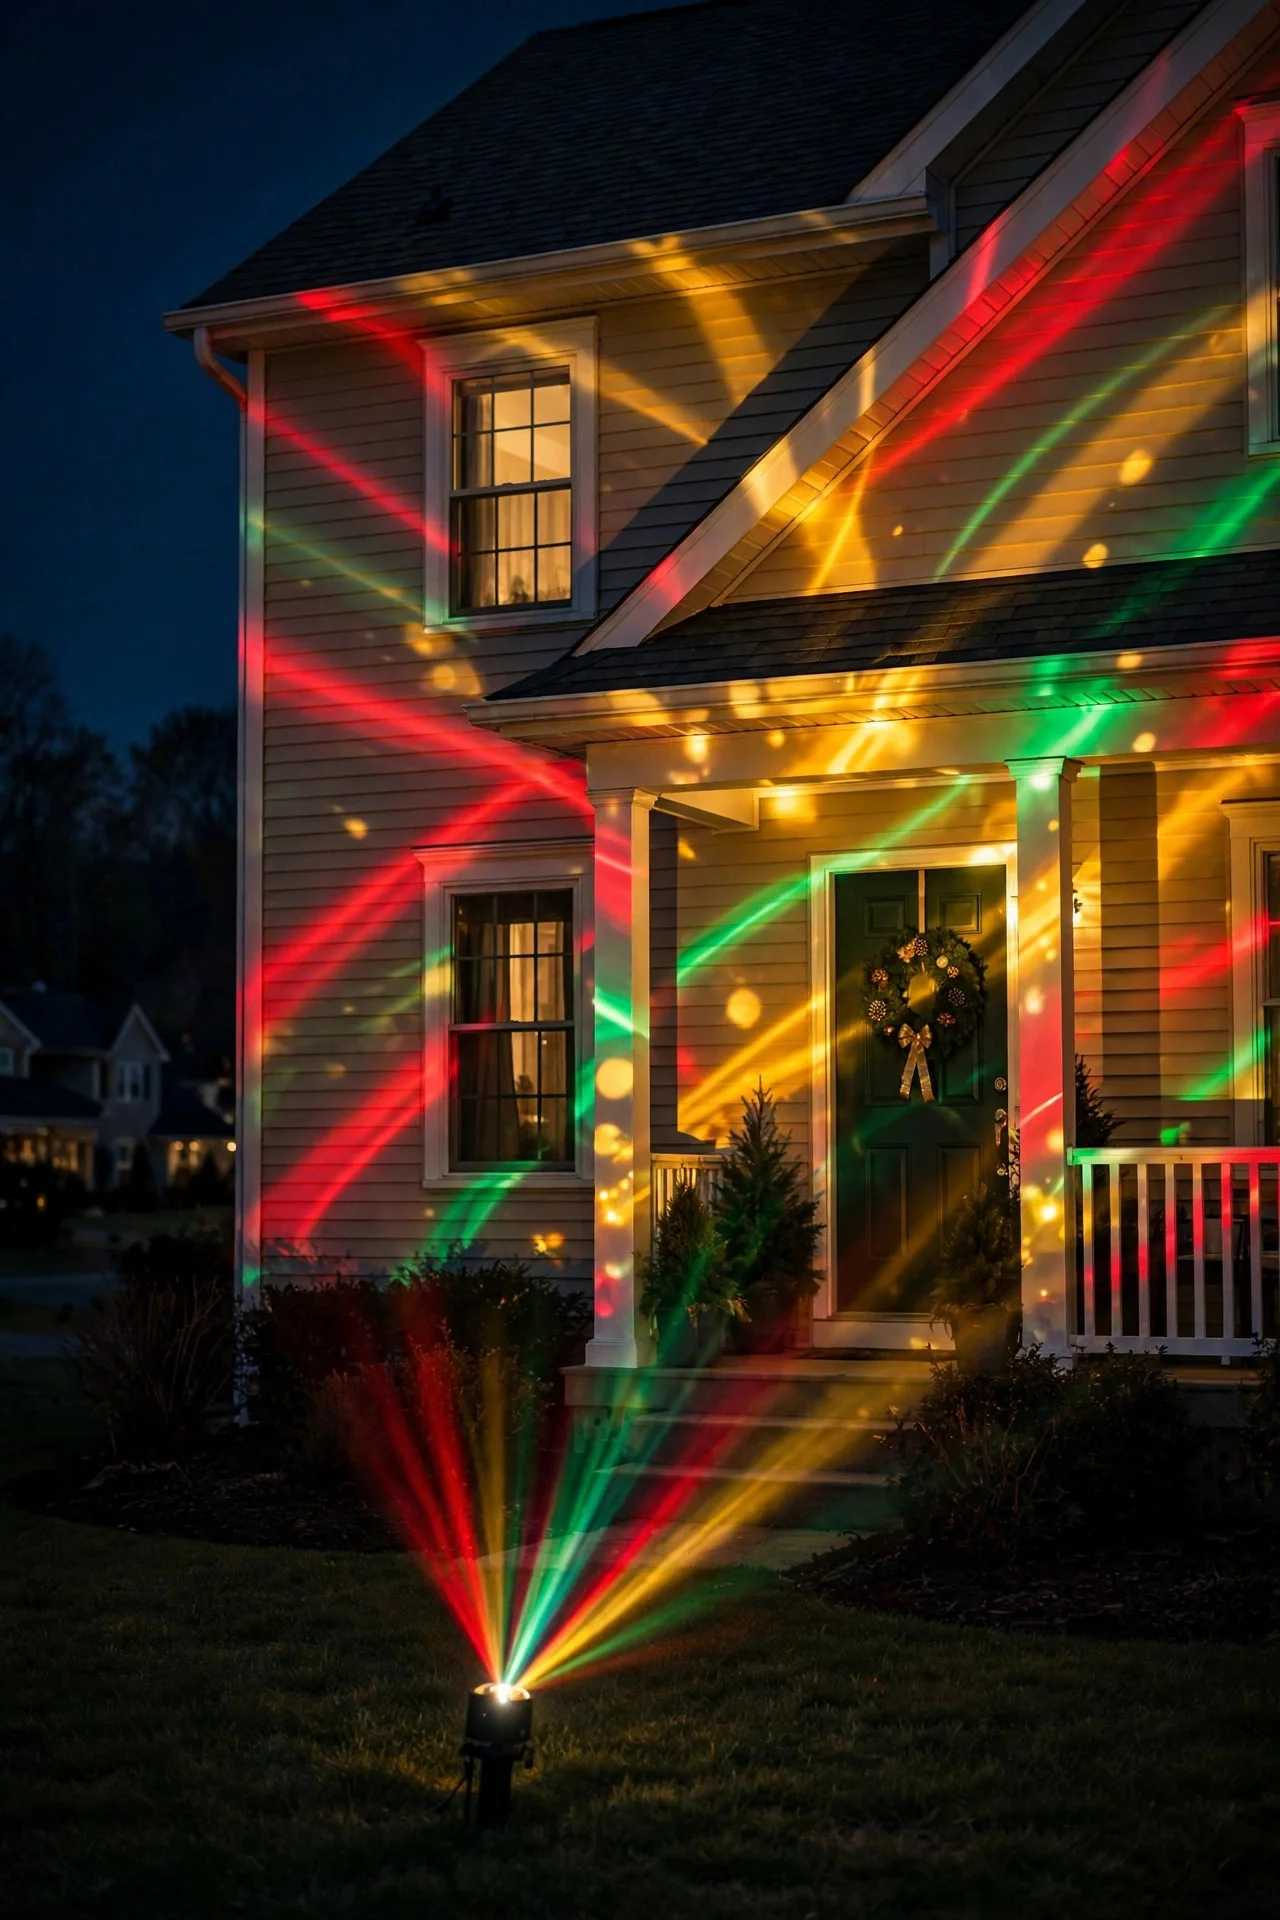
Many modern LED projectors cycle through holiday palettes — red and green for early December, then gold and white near Christmas, or a slow rotating mix. It's like getting several decorations in one box, and it keeps the display feeling fresh through the whole season.
Set up at your standard distance, 10 to 15 feet, and let the unit run its cycle on a timer. I recommend keeping the cycle slow — most units let you choose — because rapid color flashing can annoy neighbors and even bother drivers. Check your town's rules too; a few HOAs restrict flashing or color-changing displays, and a gentle rotation usually passes while strobe-style doesn't.
Style tip: because the house color keeps changing, keep your physical decor neutral — white wreaths, warm white porch lights, natural greenery. They complement every phase of the cycle. For electrical safety, outdoor rating and GFCI still apply, and I'd plug color-changing units into a timer so you're not running the cycle at 3 a.m. when nobody's watching.
Suggested budget range: $35 – $75.
10. Halloween-to-Christmas Dual-Season Projectors
Here's a budget-friendly trick: many slide projectors come with swappable holiday discs — ghosts and pumpkins for October, snowflakes and Santas for December. Buy once, swap a disc, and the same unit works both seasons.
Place it once at your proven spot (10 to 15 feet out is standard), note the position, then bring it in after Halloween and remount it in the same stake hole for Christmas. Mark the angle with a bit of garden tape on the stake so re-aiming takes seconds. Store the spare discs in a labeled zip bag with the projector so you're never hunting through the junk drawer on December 1st.
Styling-wise, this rewards a little planning: pick one projector design you genuinely like looking at, because you'll see it twice a year. For safety, inspect the cord and stake each season — autumn ground freeze can crack housings, so give the unit a once-over before it goes back out. Keep it on a timer both seasons to control run hours and energy use.
Suggested budget range: $30 – $60.
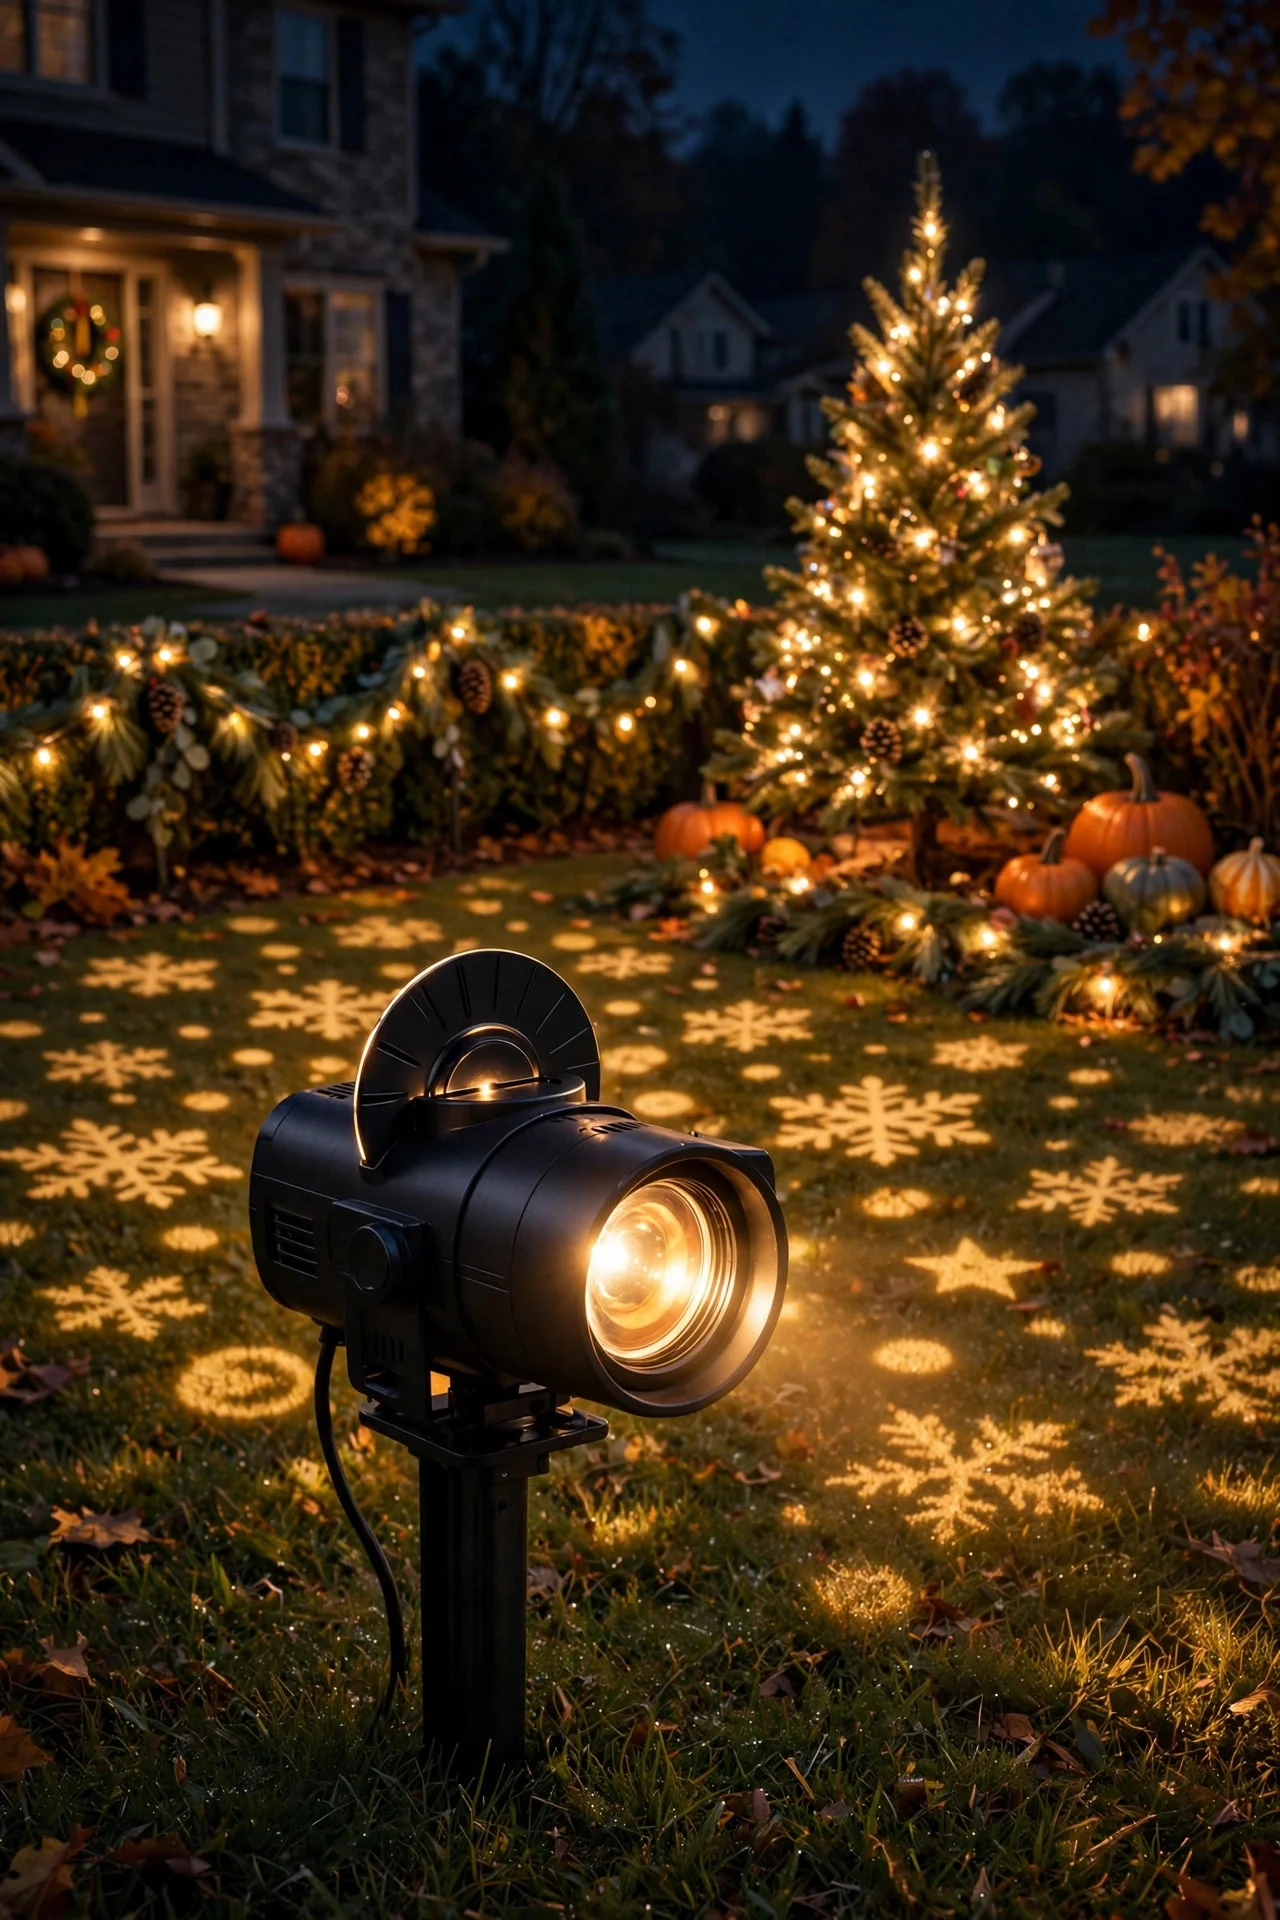
11. Music-Sync Projection Basics
Some projectors flash or pulse along with music picked up by a built-in microphone — point them at your yard, play holiday tunes from a Bluetooth speaker, and the light dances to the beat. It won't rival a professional light show, but it's a delightful trick for parties and caroling nights.
Place the projector 10 to 15 feet out as usual, and put your speaker within 10 feet of the projector so its mic picks up the music cleanly. Test the sync at the volume you'd actually play — whisper-quiet music won't register, and blasting speakers at 10 p.m. is poor neighbor etiquette. I run ours only during gatherings, never as an all-night setting.
Keep the music-sense mode as an occasional feature, not the default: most units let you switch back to steady projection with a remote. For styling, this pairs beautifully with real string lights on the porch — the steady glow anchors the dancing projection. ([Here's my take on outdoor lighting combos.](https://exteriorhouselighting.com/outdoor-lighting-hacks/)) Electrical basics stay the same: outdoor-rated, GFCI outlet, cords out of walkways.
Suggested budget range: $40 – $80.
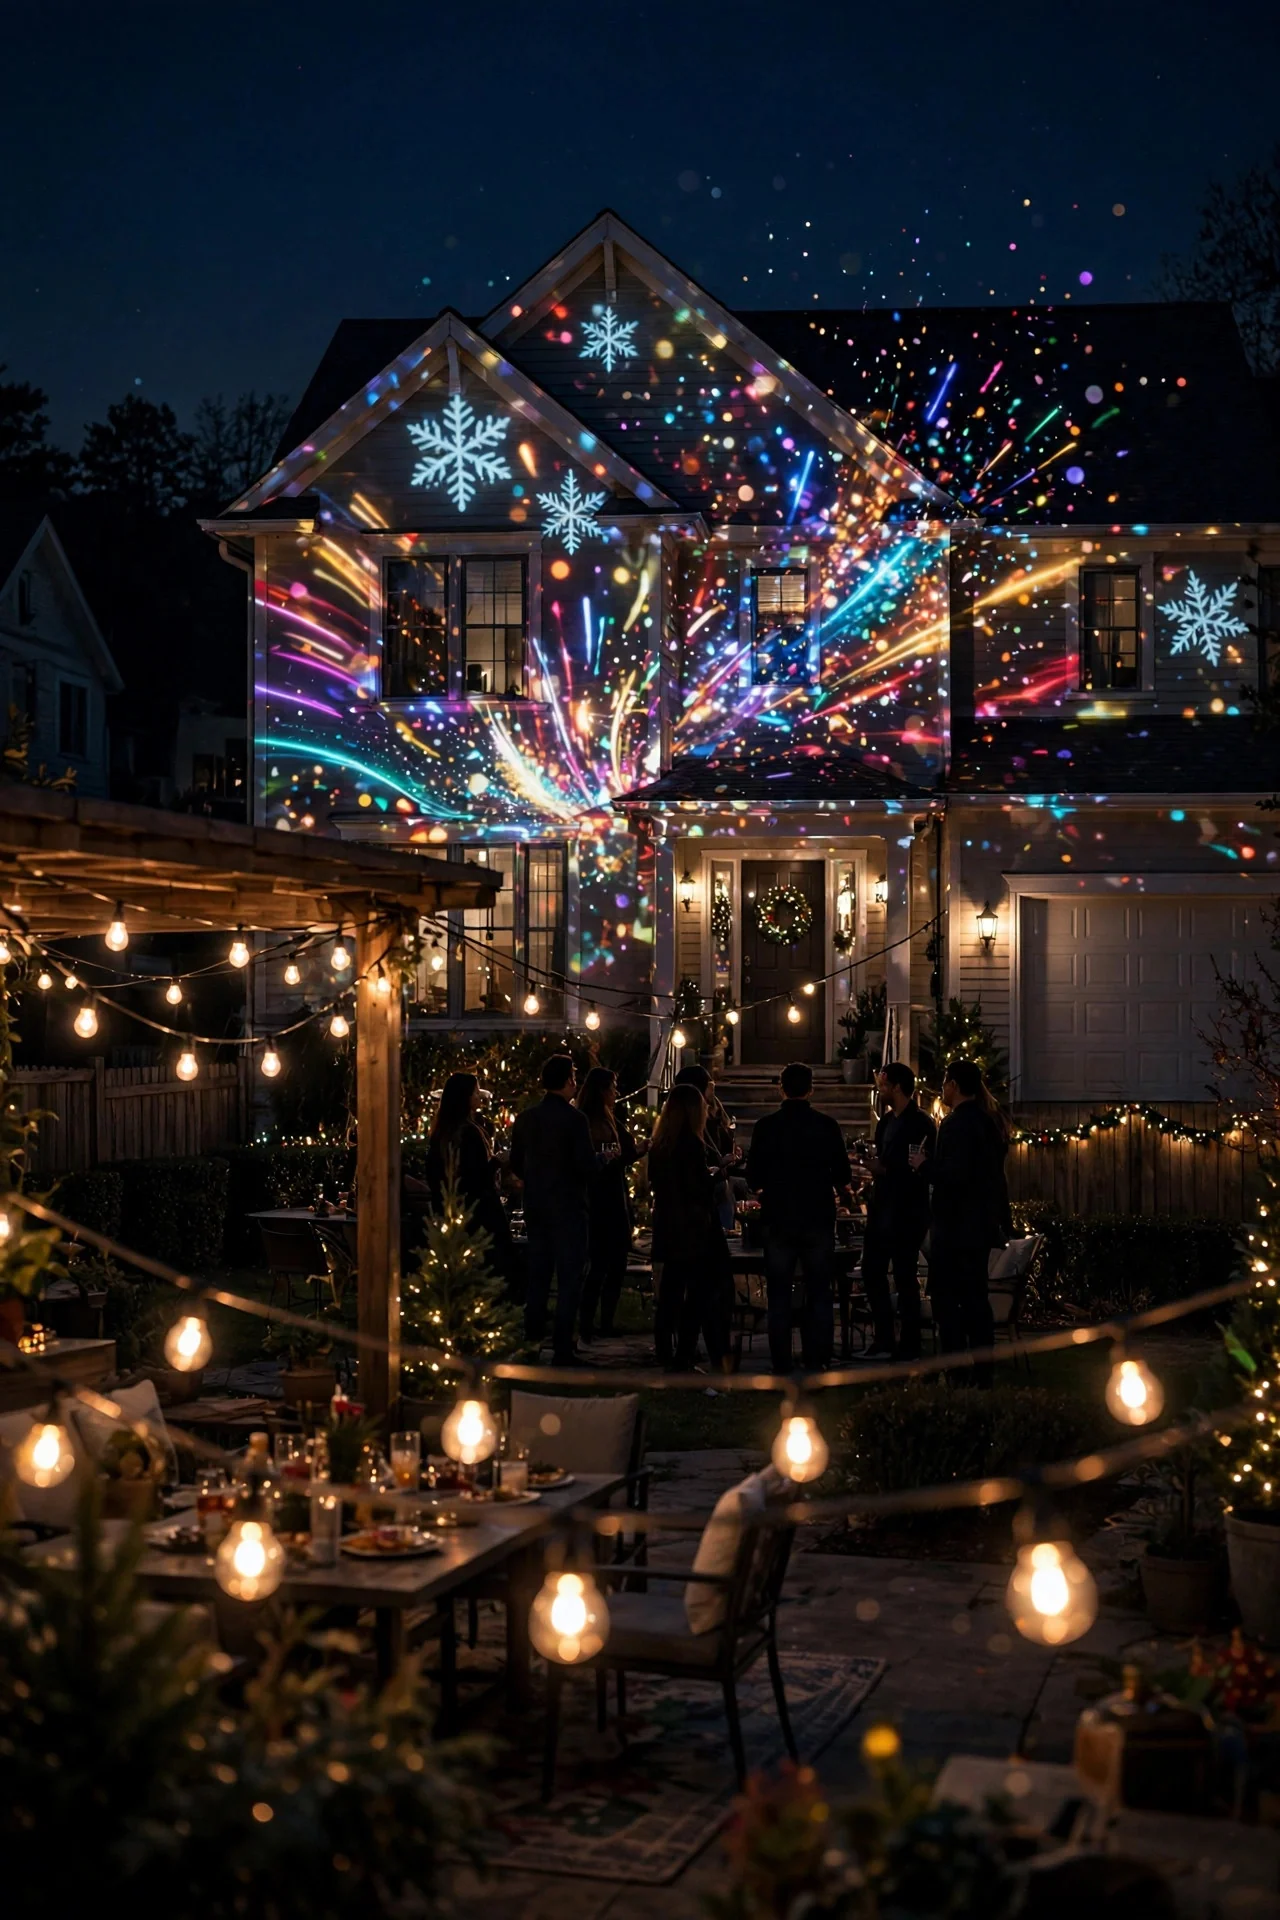
12. Combining Projector Magic With Real String Lights
This is my signature move and honestly my favorite of all these christmas light projector ideas: the projector covers the big surfaces, and real warm-white string lights define the edges — porch railing, a front tree trunk, the mailbox post. The physical lights give your eye something to rest on; the projection gives it something to marvel at.
Set your projector first (10 to 15 feet out), then add string lights only where they frame the scene — drape them along the porch rail or wrap one tree trunk in loose spirals, 6 inches apart. Leave the big wall areas to the projector; doubling up on the same surface muddies the effect. Warm white strings (2700K feel) are the safest pairing because they complement red, green, blue, and white projections equally.
For safety, string lights near the house must be outdoor-rated too, and never use incandescent bulbs near flammable garlands — LED only there. Plug everything into a timered GFCI outlet or power strip rated for outdoor use, and keep connections off the ground. In my experience, this combo looks twice as expensive as it costs.
Suggested budget range: $50 – $110.
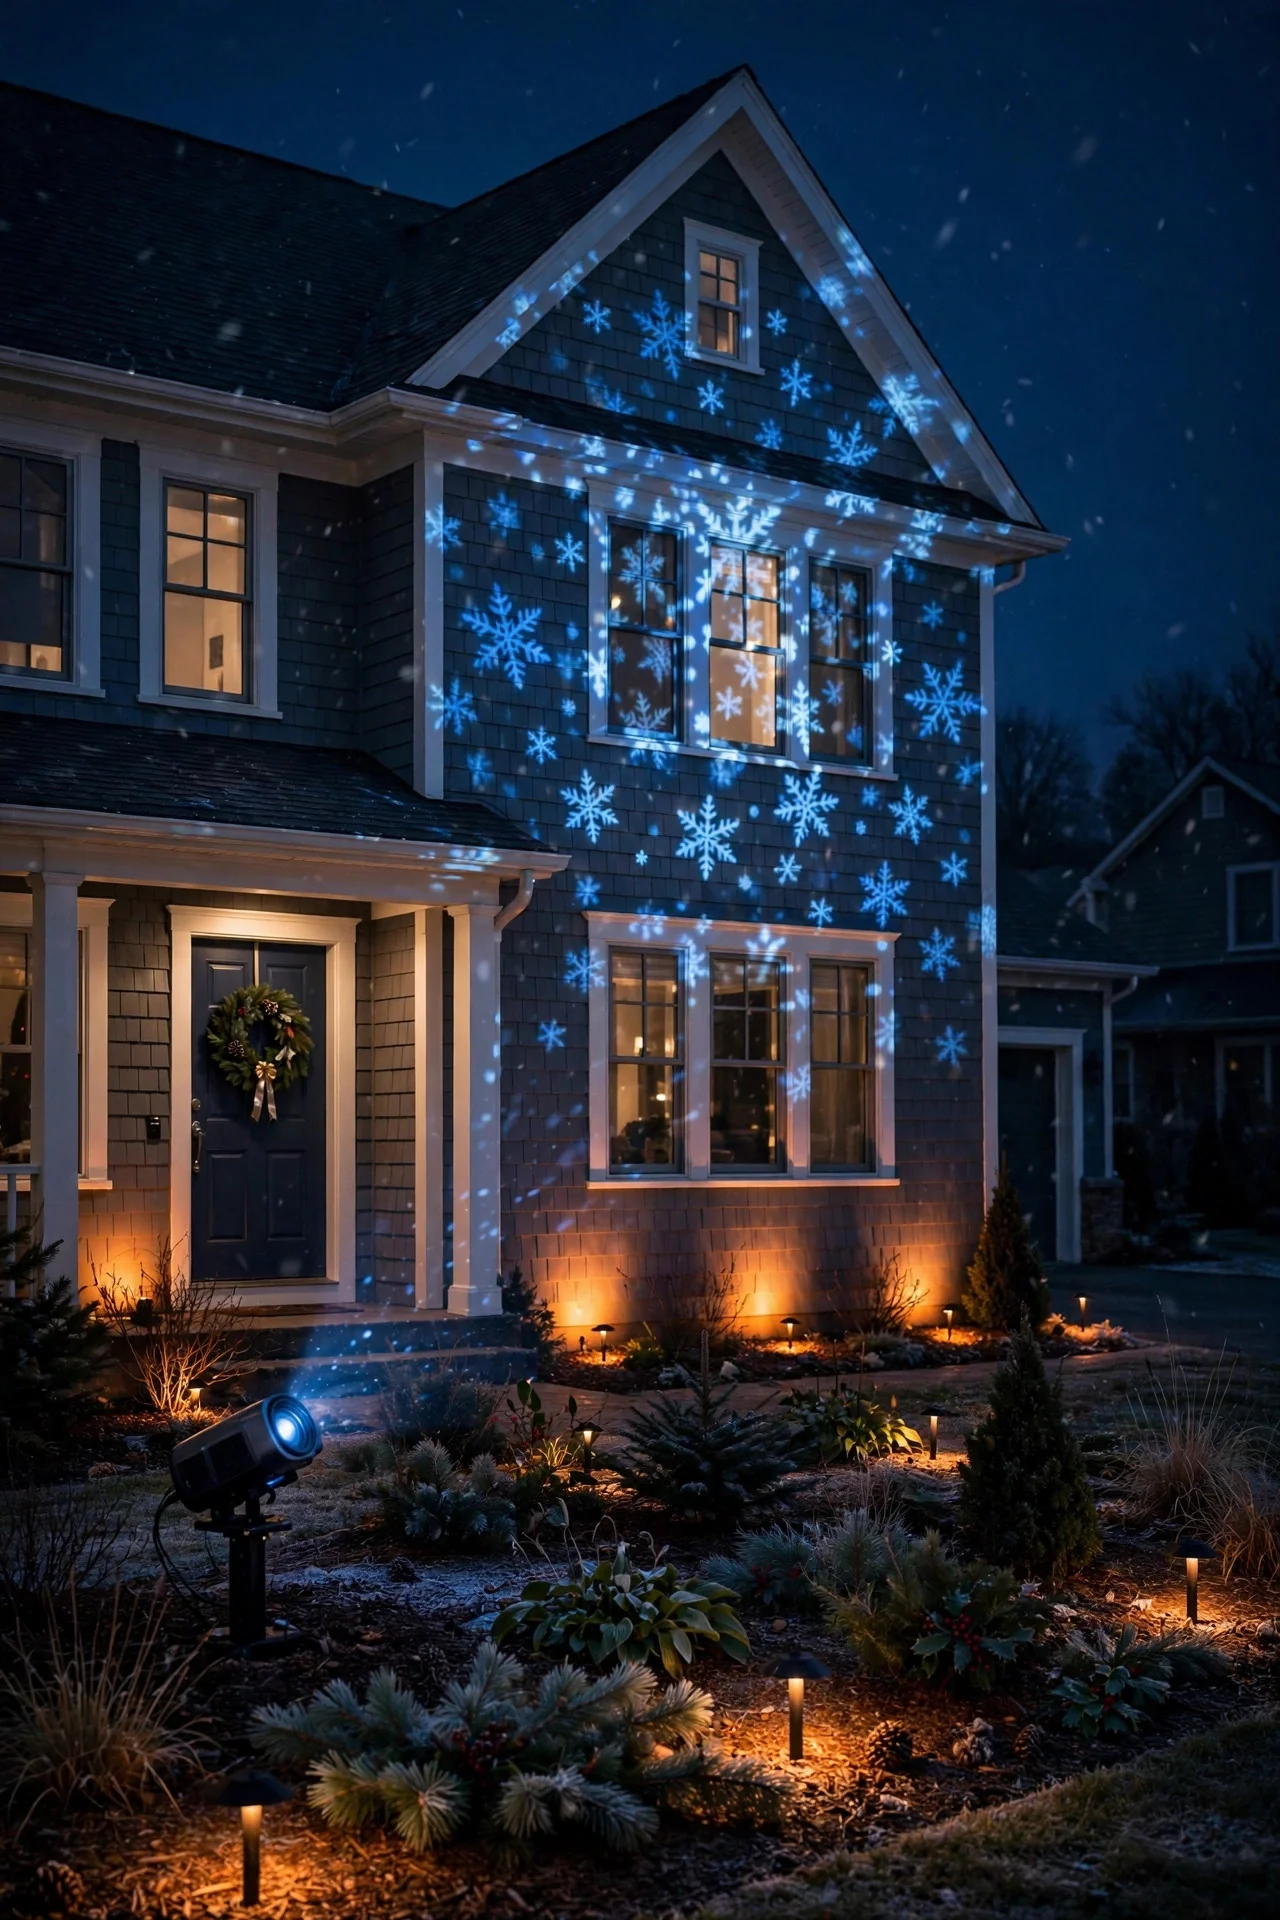
13. Uplighting Plus Projection Combo
Landscape uplights at the base of your house do something projectors can't: they wash the architecture itself — columns, stonework, textured siding — in warm light. Pair warm uplights along the foundation with a cool projection (blue dots, white snowfall) overhead, and the contrast is genuinely striking.
Place two or three stake-style uplights 2 to 3 feet from the foundation, aimed up at the wall. Then stake your projector 10 to 15 feet out in the yard, aimed at the upper facade or gable. The warm glow fills the lower half of the house; the projection fills the upper half — clean, deliberate layers. I use warm 2700K-style uplights and a blue or white projection for a frosty, high-end look.
Safety notes: uplights and projectors both need GFCI outlets, so plan your cord runs before you buy — a single outdoor-rated power strip at a covered spot keeps everything tidy. Angle uplights away from windows, and aim the projector so it never grazes the glass. In my experience this combo photographs beautifully, so if you share holiday photos, this is the setup.
Suggested budget range: $60 – $130.
14. Projecting on Fences
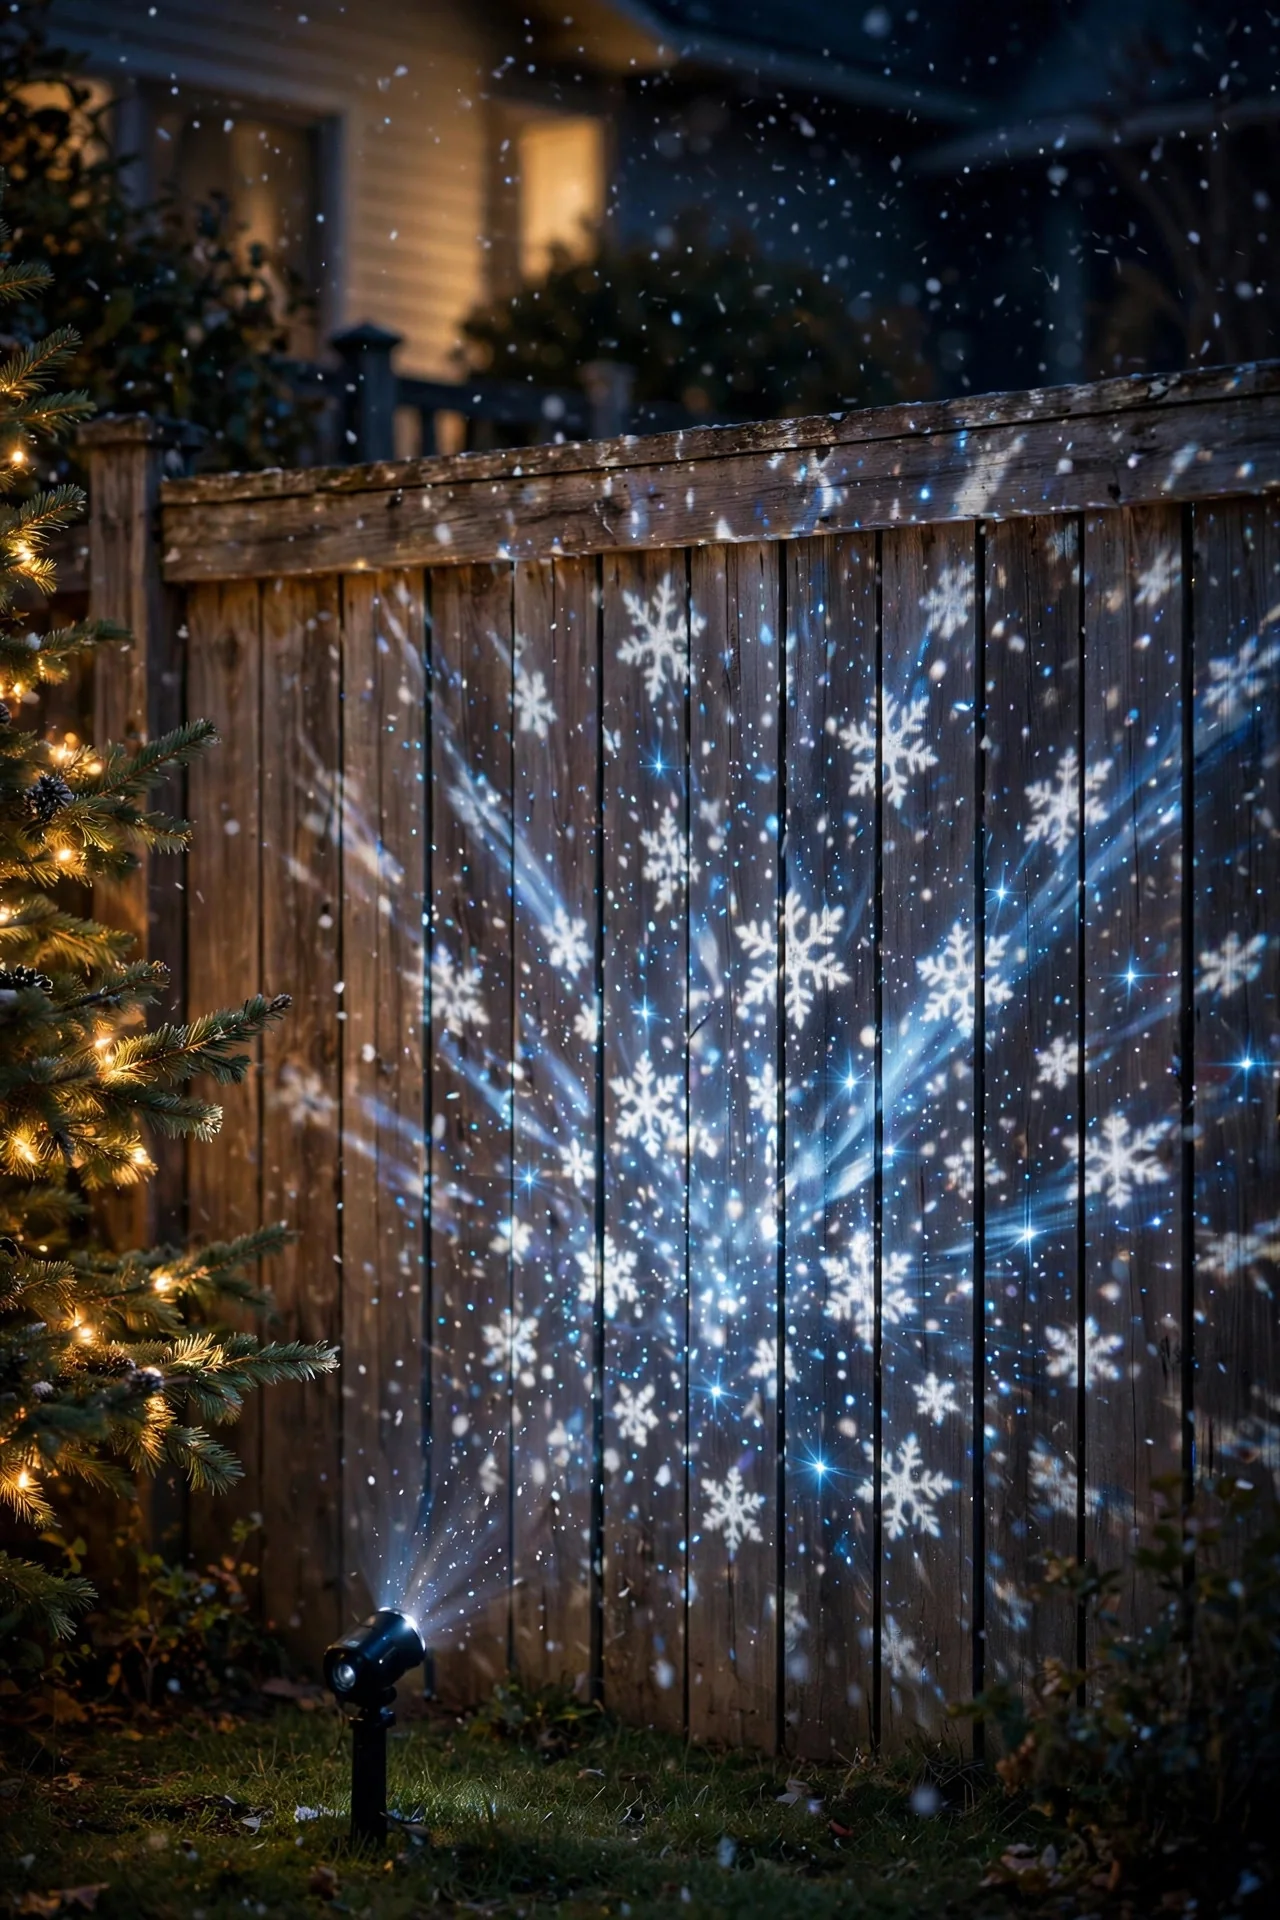
Side fences and rear fences are often completely ignored at the holidays — but they're big flat surfaces you own. A snowfall or dot projection on a wooden fence turns an overlooked boundary into a glowing backdrop, and it's visible from inside the house too, which I love.
Stake the projector 8 to 12 feet from the fence, aimed squarely at it. Wooden fences show projection beautifully; chain-link won't work at all, and dark-stained wood dims the effect, so test first. Because you're often closer to property lines here, be extra careful with angle — keep the beam low and entirely on your fence, and never let it spill into a neighbor's windows or yard.
Style it from the inside: this looks loveliest viewed from your kitchen or family room window, so choose an effect you enjoy watching while you cook or wrap gifts. For safety, route cords well inside your yard and away from gates that swing. A timer keeps it running only during evening hours when you're actually home to enjoy it.
Suggested budget range: $20 – $45.
15. Window-Frame Projection From Inside
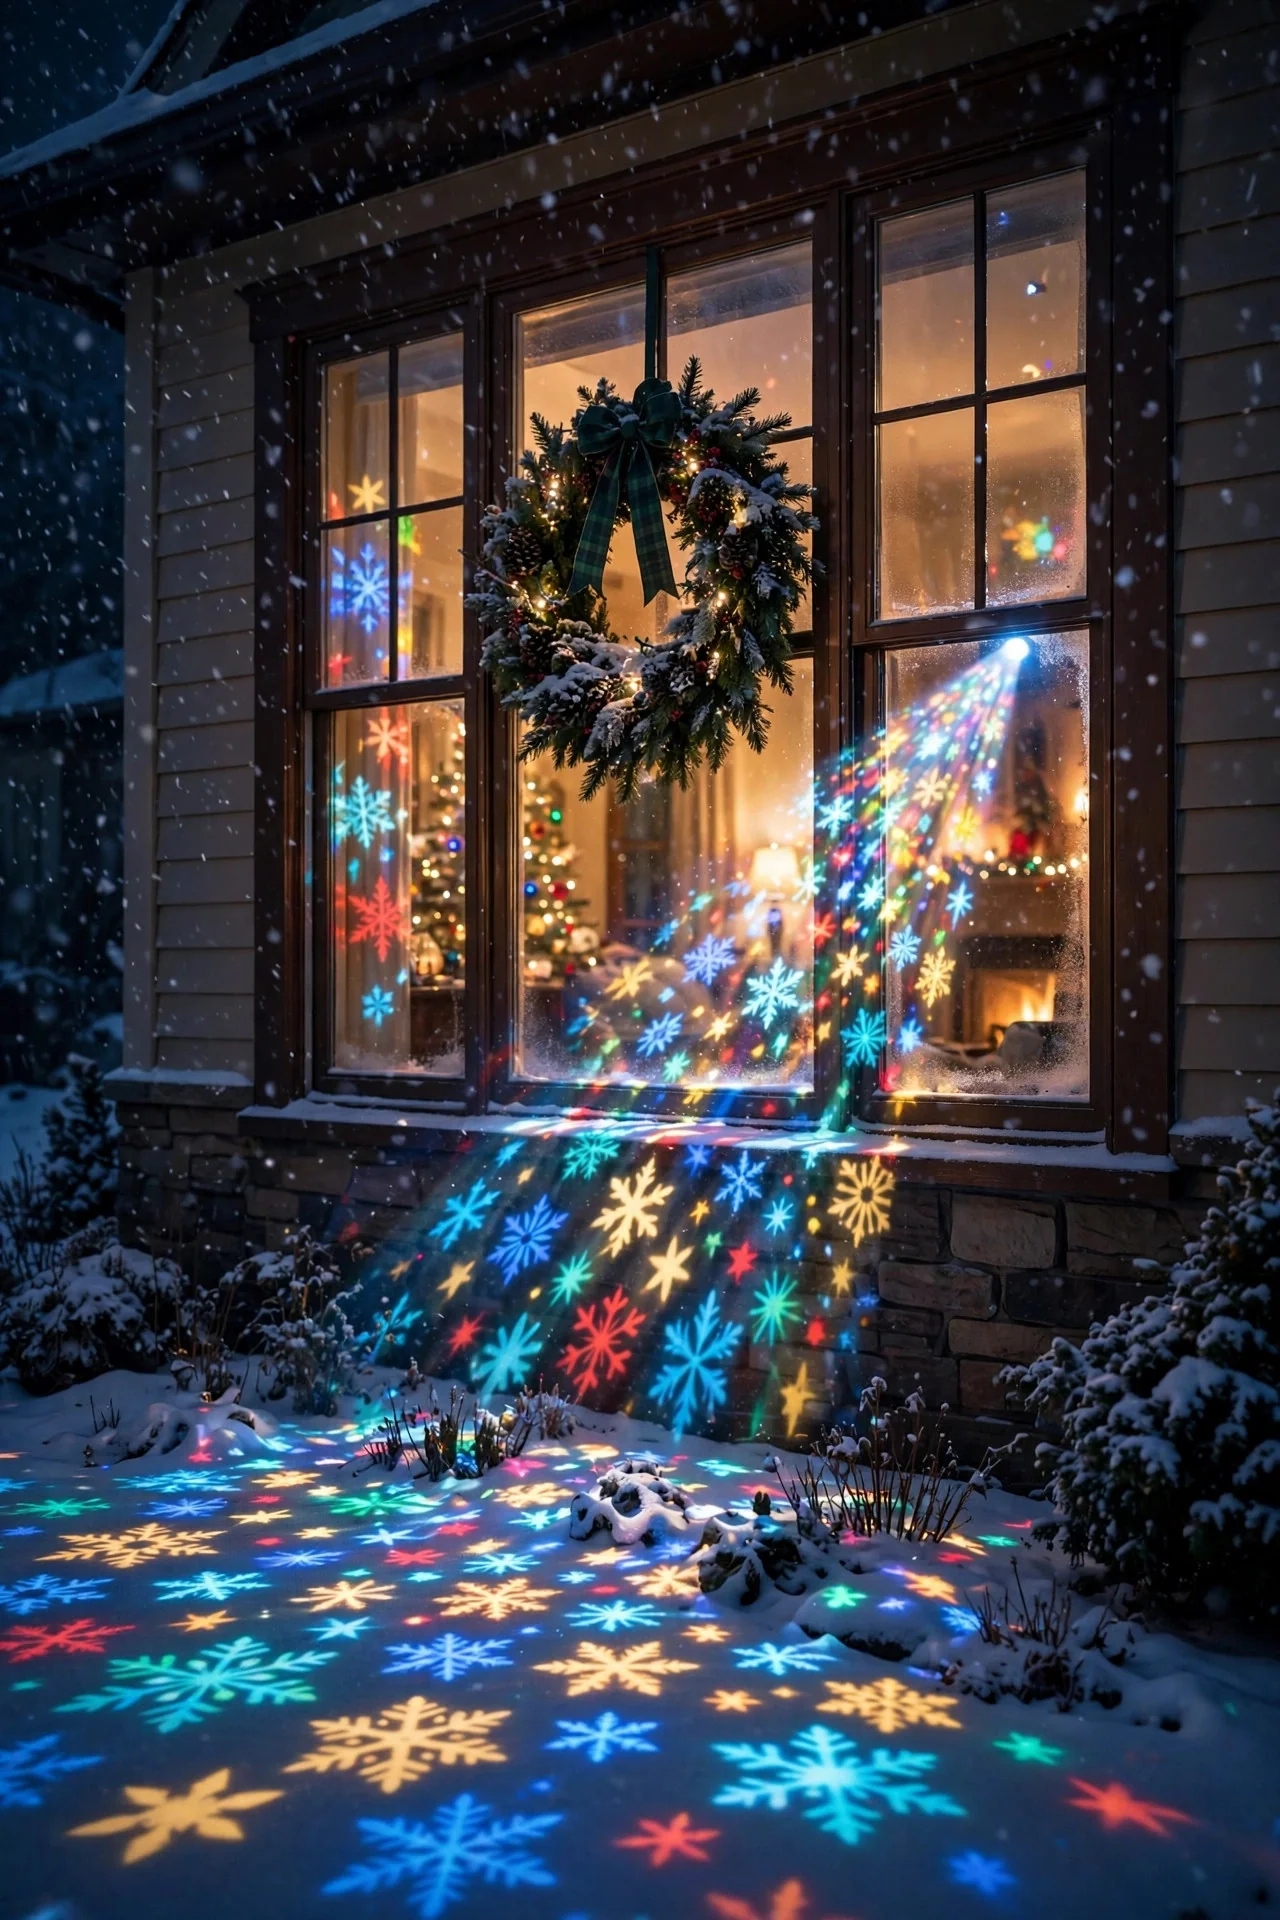
Here's one for the truly ladder-averse: place a small projector *inside* the house, in front of a large window, projecting outward onto the lawn or a front tree. You decorate the outside without setting foot outside — genius on freezing nights, honestly.
Set the unit on a stable table 3 to 5 feet behind a big front window, aimed through the glass. Turn off the room's lights so the projection reads clearly, and choose a window without heavy curtains or blinds blocking the lens. Snowfall and gentle swirls work best through glass; fine laser dots can double up with window reflections and look blurry, so stick with LED motion scenes for this trick.
A couple of cautions: the glass must be clean, and you'll lose some brightness through it, so bring the target surface closer if you can — a front lawn tree 20 feet from the window works well. Never aim an indoor laser projector out a window, full stop — glass can reflect the beam unpredictably. LED units only for this one. Pair it with your warm porch light for a finished look from the street.
Suggested budget range: $25 – $60.
Frequently Asked Questions
Are laser light projectors safe?
The low-power laser projectors sold for holiday decorating are Class IIIa devices — safe when used as directed, but they do demand respect. Always aim them at your own house or yard, never at windows, the sky, aircraft flight paths, or neighboring properties. Never look directly into the lens, and keep children from handling the unit. LED-based motion projectors don't use lasers at all, which makes them the gentler choice if eye safety worries you.
How far from the house should a projector be?
Most holiday projectors work best 10 to 15 feet from the surface you're lighting. Closer than that and the pattern stays small and harsh; farther than 20 feet and it spreads too thin and dims. For a two-story facade, 12 to 15 feet is the sweet spot for most units. Check your projector's manual for its coverage rating, then test at dusk before committing to a stake position.
Do projectors work in rain and snow?
Outdoor-rated projectors (look for an IP65 rating) are built for rain and snow, and honestly a light snowfall looks magical falling through a projection. Heavy downpours can blur the image and standing water can threaten the power connection, so keep connections elevated and protected with an outdoor cord box. Bring units in during severe storms, and always plug into a GFCI-protected outlet.
Do light projectors really cost less than string lights?
Usually, yes — especially once you count your time. A single $20 to $40 projector can cover what would take hundreds of feet of string lights, clips, and a full ladder afternoon. Projectors also sip electricity, often under 15 watts, versus hundreds of watts for big incandescent displays. LED string lights close the gap on energy, but projectors still win on setup time — about 10 minutes versus an entire weekend.
Conclusion
Out of all these christmas light projector ideas, my advice stays simple: start with one projector, one surface, and one timer. Master that single stake-in-the-ground display this season, and next year you can layer a second unit, add real string lights to the porch, or try a motion scene. The magic of this whole approach is that the ladder stays in the garage — and the holiday glow happens on your schedule, not the weather's.
If you're craving more ways to dress your home's exterior, browse my other lighting ideas for inspiration — from porch setups to full outdoor displays, there's a look for every style and budget.