Your porch light has two jobs, and most fixtures only manage one of them well. It should roll out a soft, warm welcome when your sister walks up the steps with a casserole, and it should mean business when a stranger drifts toward your packages at 2 a.m. After a few seasons of swapping fixtures on my own porch, I have landed on a simple truth: the best motion sensor porch light ideas treat welcome and warning as two separate settings, not one blinding compromise. In this list I will show you how to pair gentle dual-brightness fixtures for guests with honest deterrent light for security, how to aim and tune sensors so they notice people instead of passing cars, and how to keep the whole setup kind to your neighbors. Every idea comes with placement measurements, sensor settings that actually work in real yards, and a realistic budget, so you can pick the two or three that fit your porch and finish the job in a single weekend.
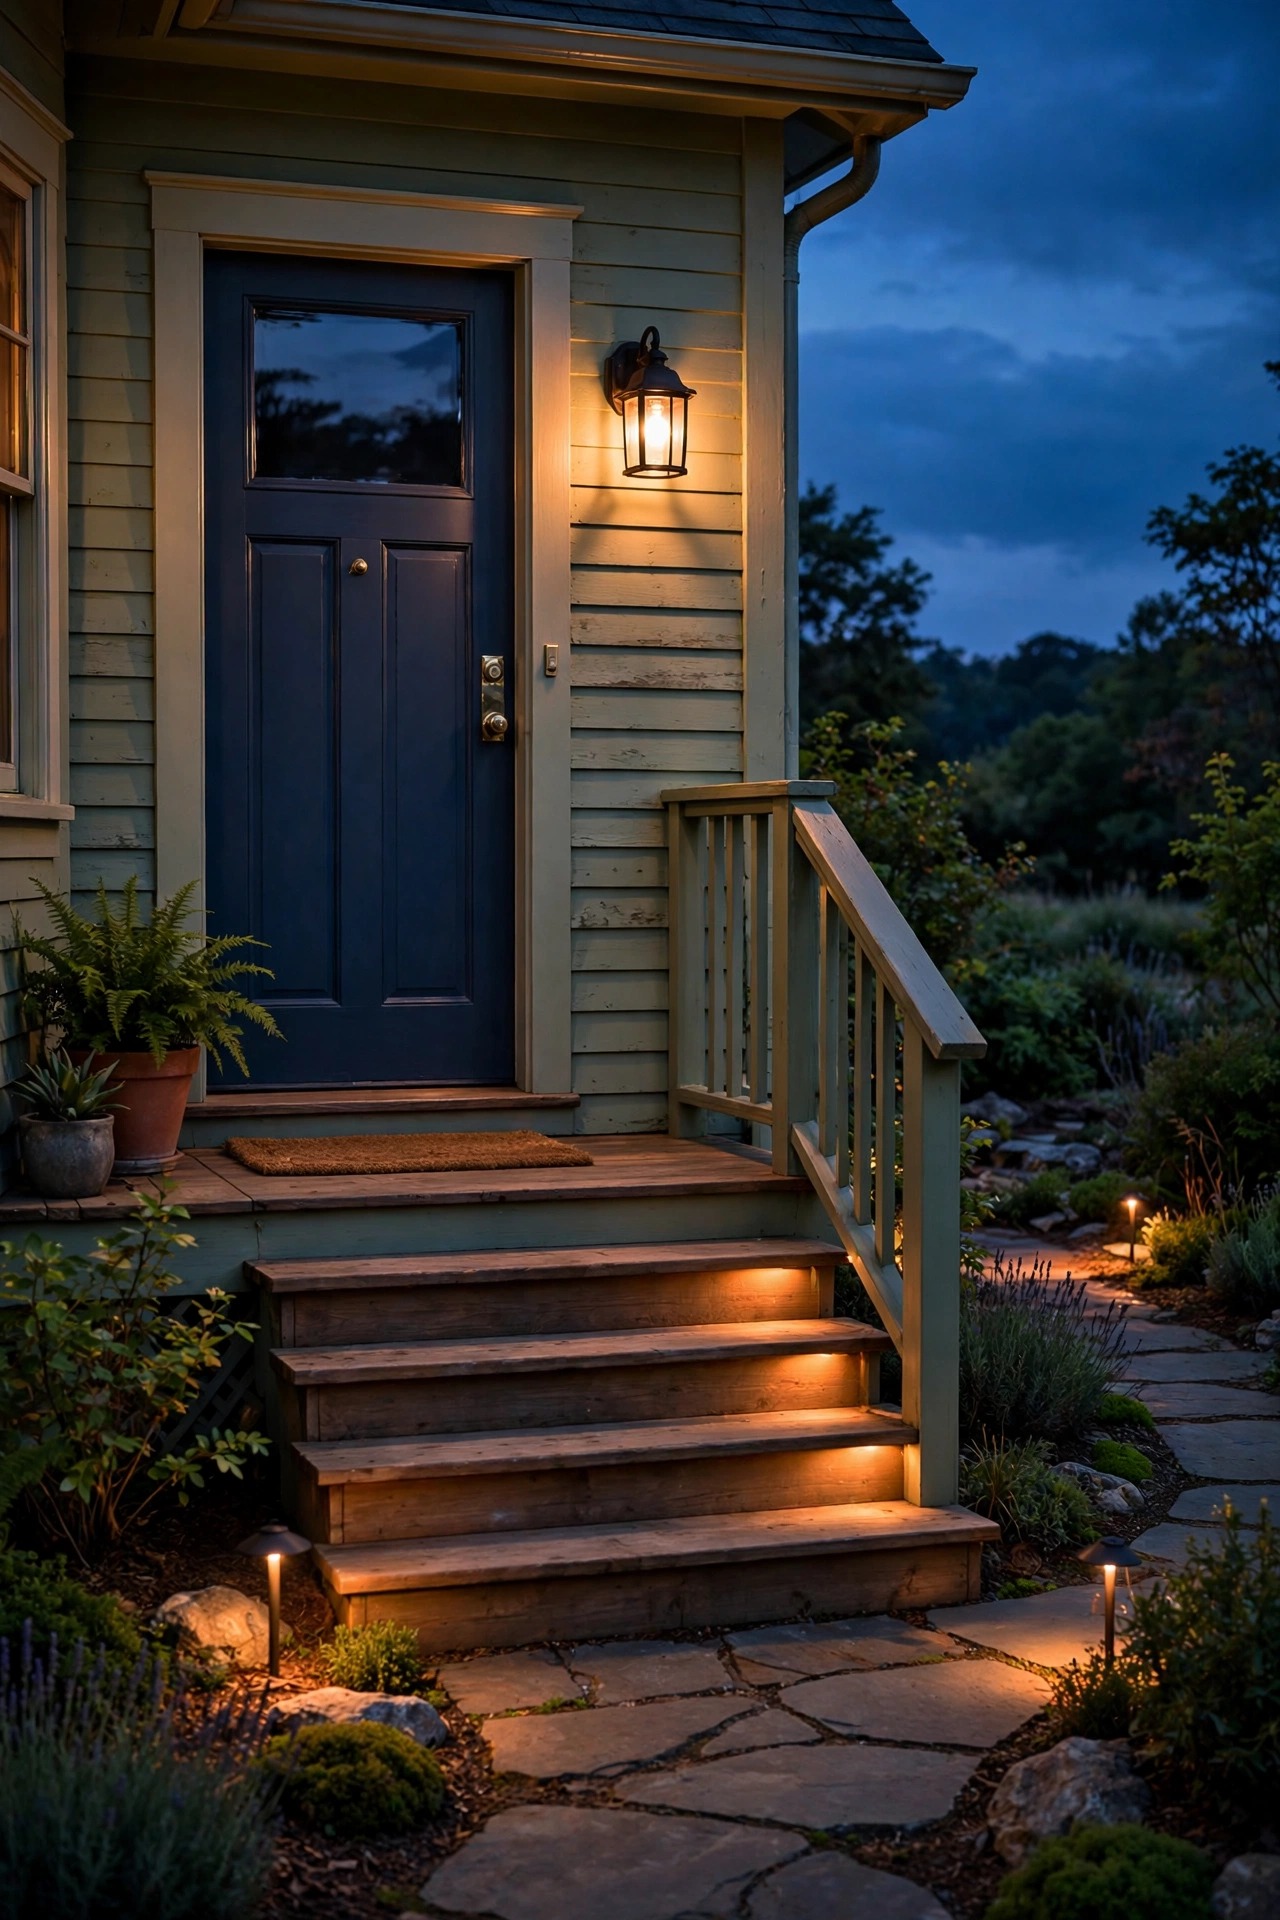
1. Lay Out Your Motion Sensor Porch Light Ideas in Two Modes First
Before you buy a single fixture, decide which lights on your porch are greeters and which are guards, because they want completely different settings. Greeter lights live at the door and along the steps: they idle at a low, candle-like glow of 100 to 200 lumens and rise to a friendly 400 to 600 lumens when someone approaches. Guard lights live at the porch corners, the driveway edge, and the dark side yard: they stay off or nearly off, then jump to 1,200 lumens or more so nobody mistakes the message. Sketch the porch on paper and mark the walk path a guest actually takes, from sidewalk to doorbell, then place a sensor zone over that path and a second zone over the areas nobody should cross at night. This one planning pass keeps you from buying three identical floods when what you really needed was one soft lantern, one honest flood, and a sensor that knows the difference between your teenager coming home late and a stranger testing the gate.
Suggested budget range: $0 – $25.
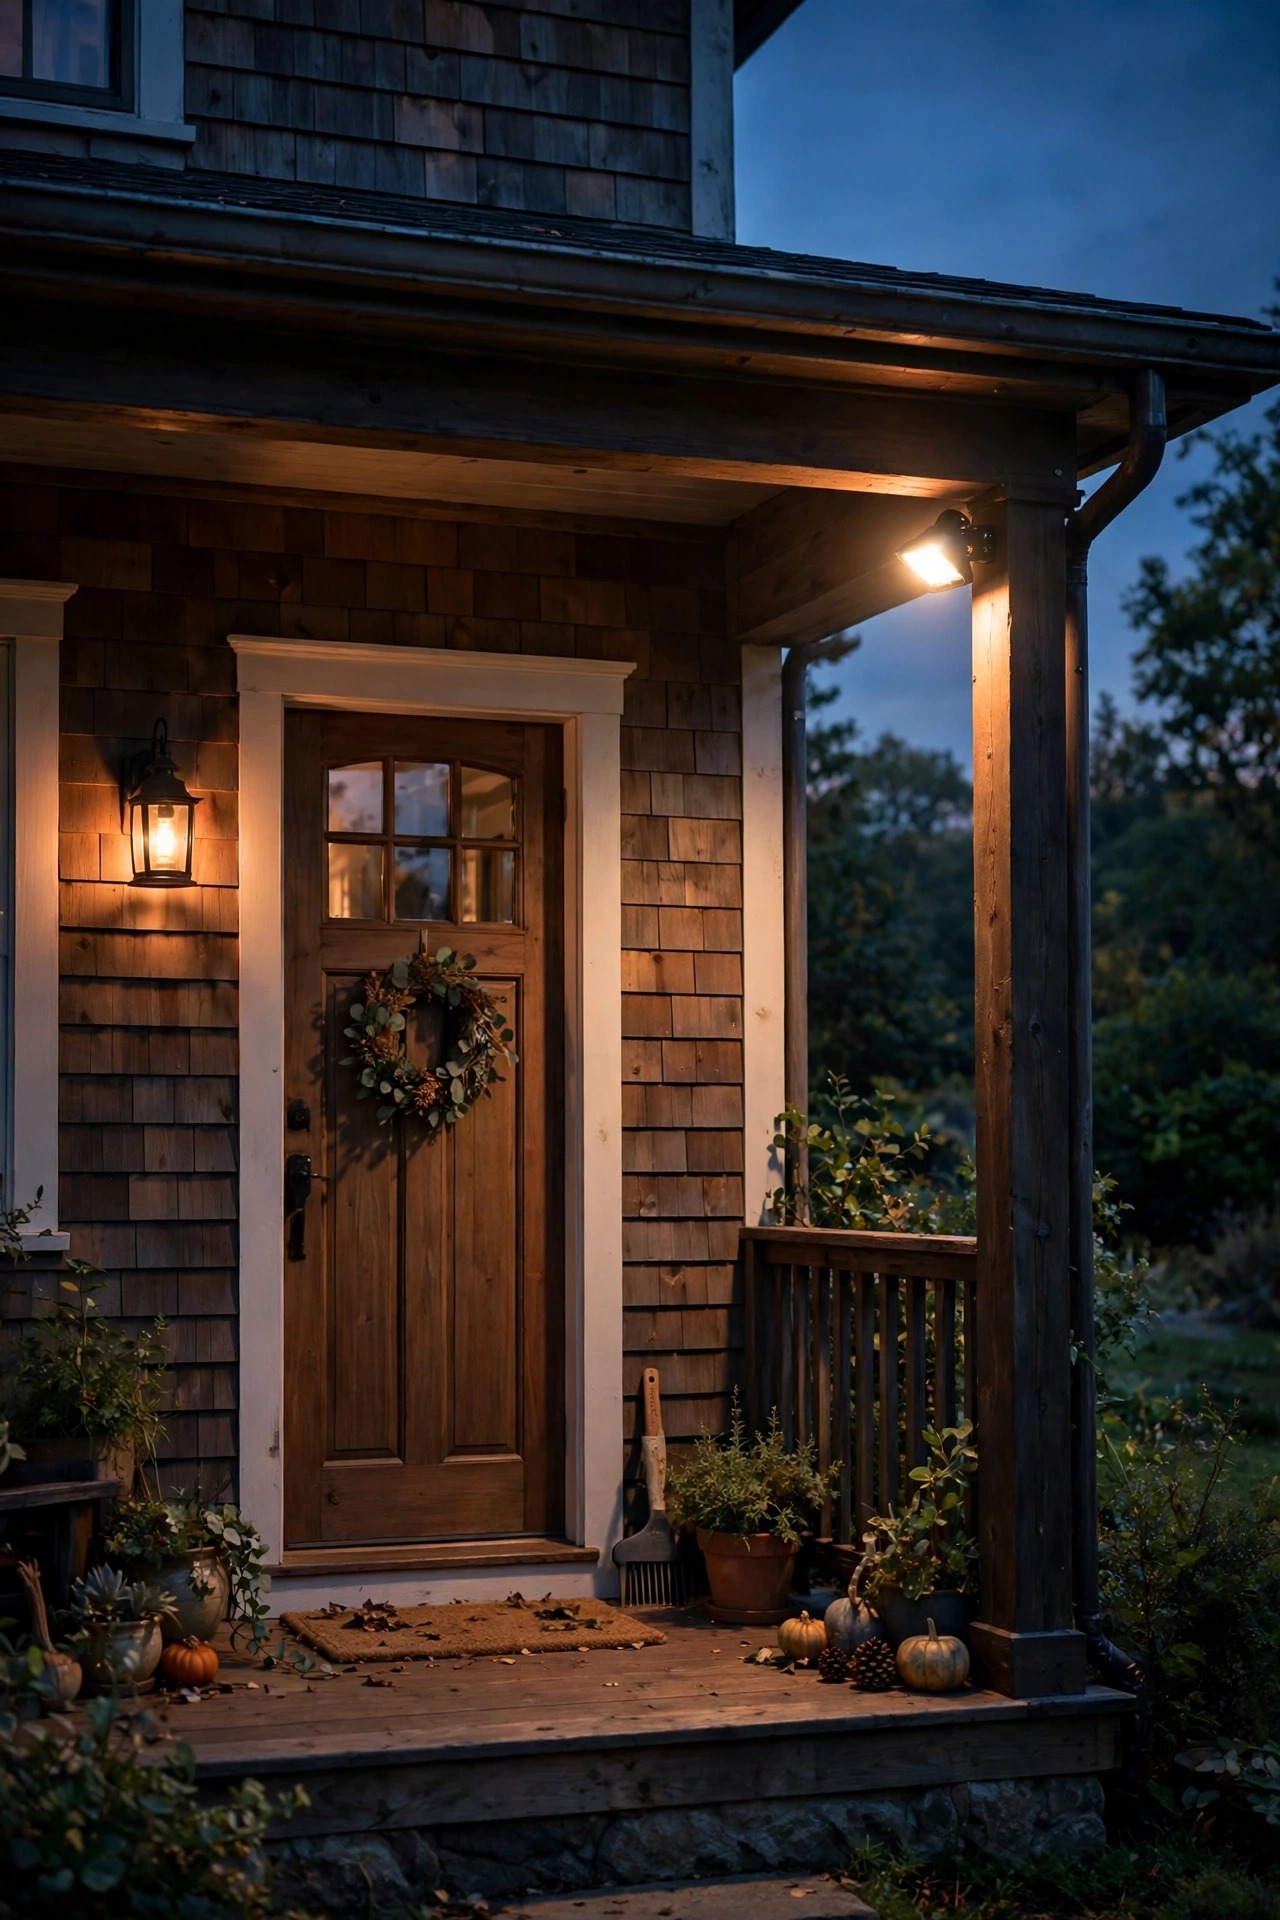
2. Choose a Dual-Brightness Lantern That Idles Soft and Answers Bright
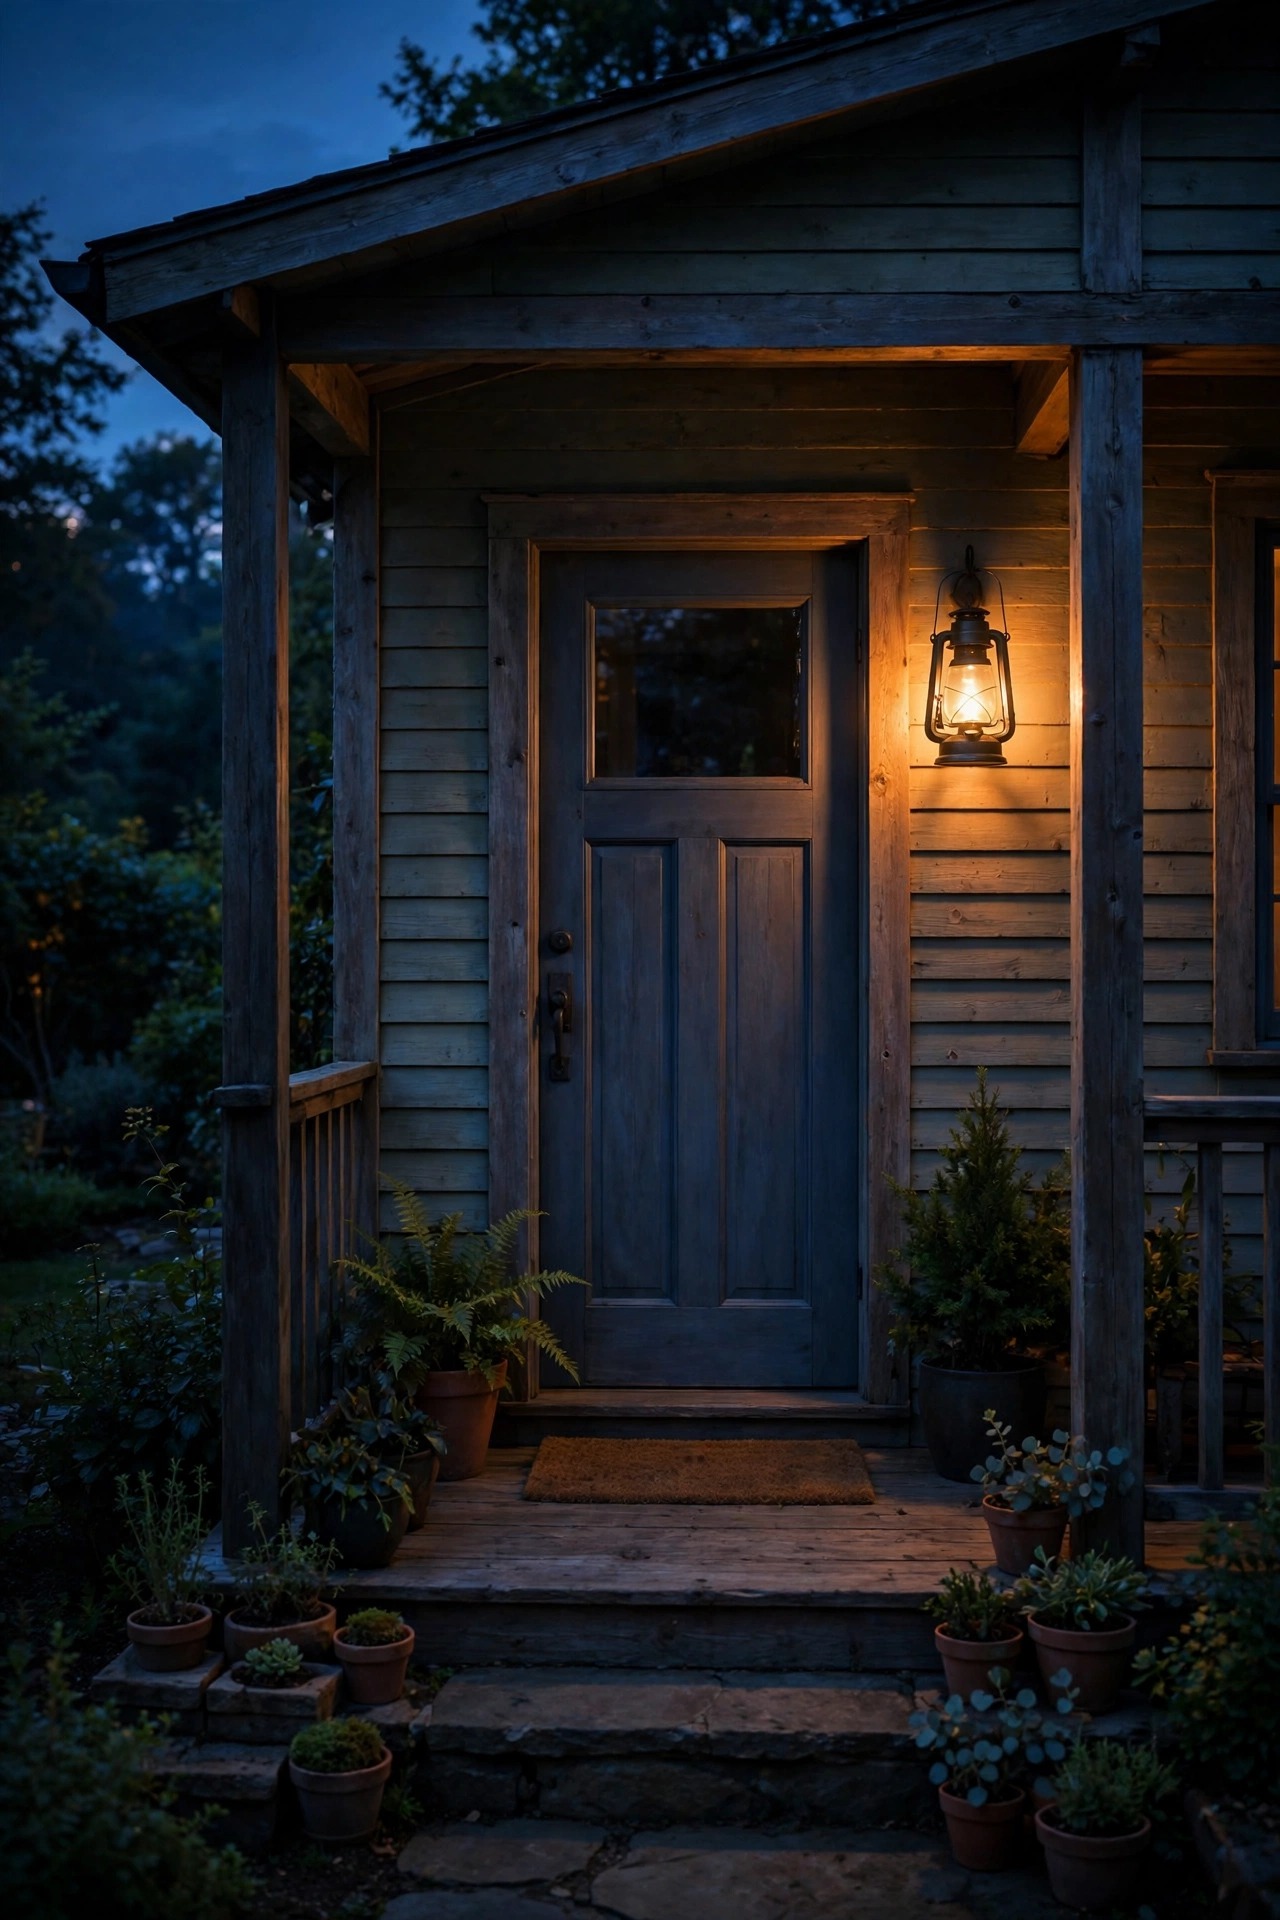
A dual-brightness fixture is the hardest-working greeter you can buy, and honestly it is the one change that made my porch feel finished. All evening it holds a low glow, around 10 to 20 percent output, just enough to show guests the steps and make the house look lived in. When the sensor wakes, it rises smoothly to full brightness for one to five minutes, lights the keyhole and the doormat, then settles back down instead of snapping off and leaving your visitor in the dark. Look for a dusk-to-dawn photocell paired with the motion sensor, an adjustable on-time, and a warm LED around 2700K so the bright mode still feels like your home and not a parking lot. Mount it 6 to 7 feet high beside the door, on the handle side if you can, so the light falls across faces and keys instead of glaring from behind the storm door.
Suggested budget range: $45 – $110.
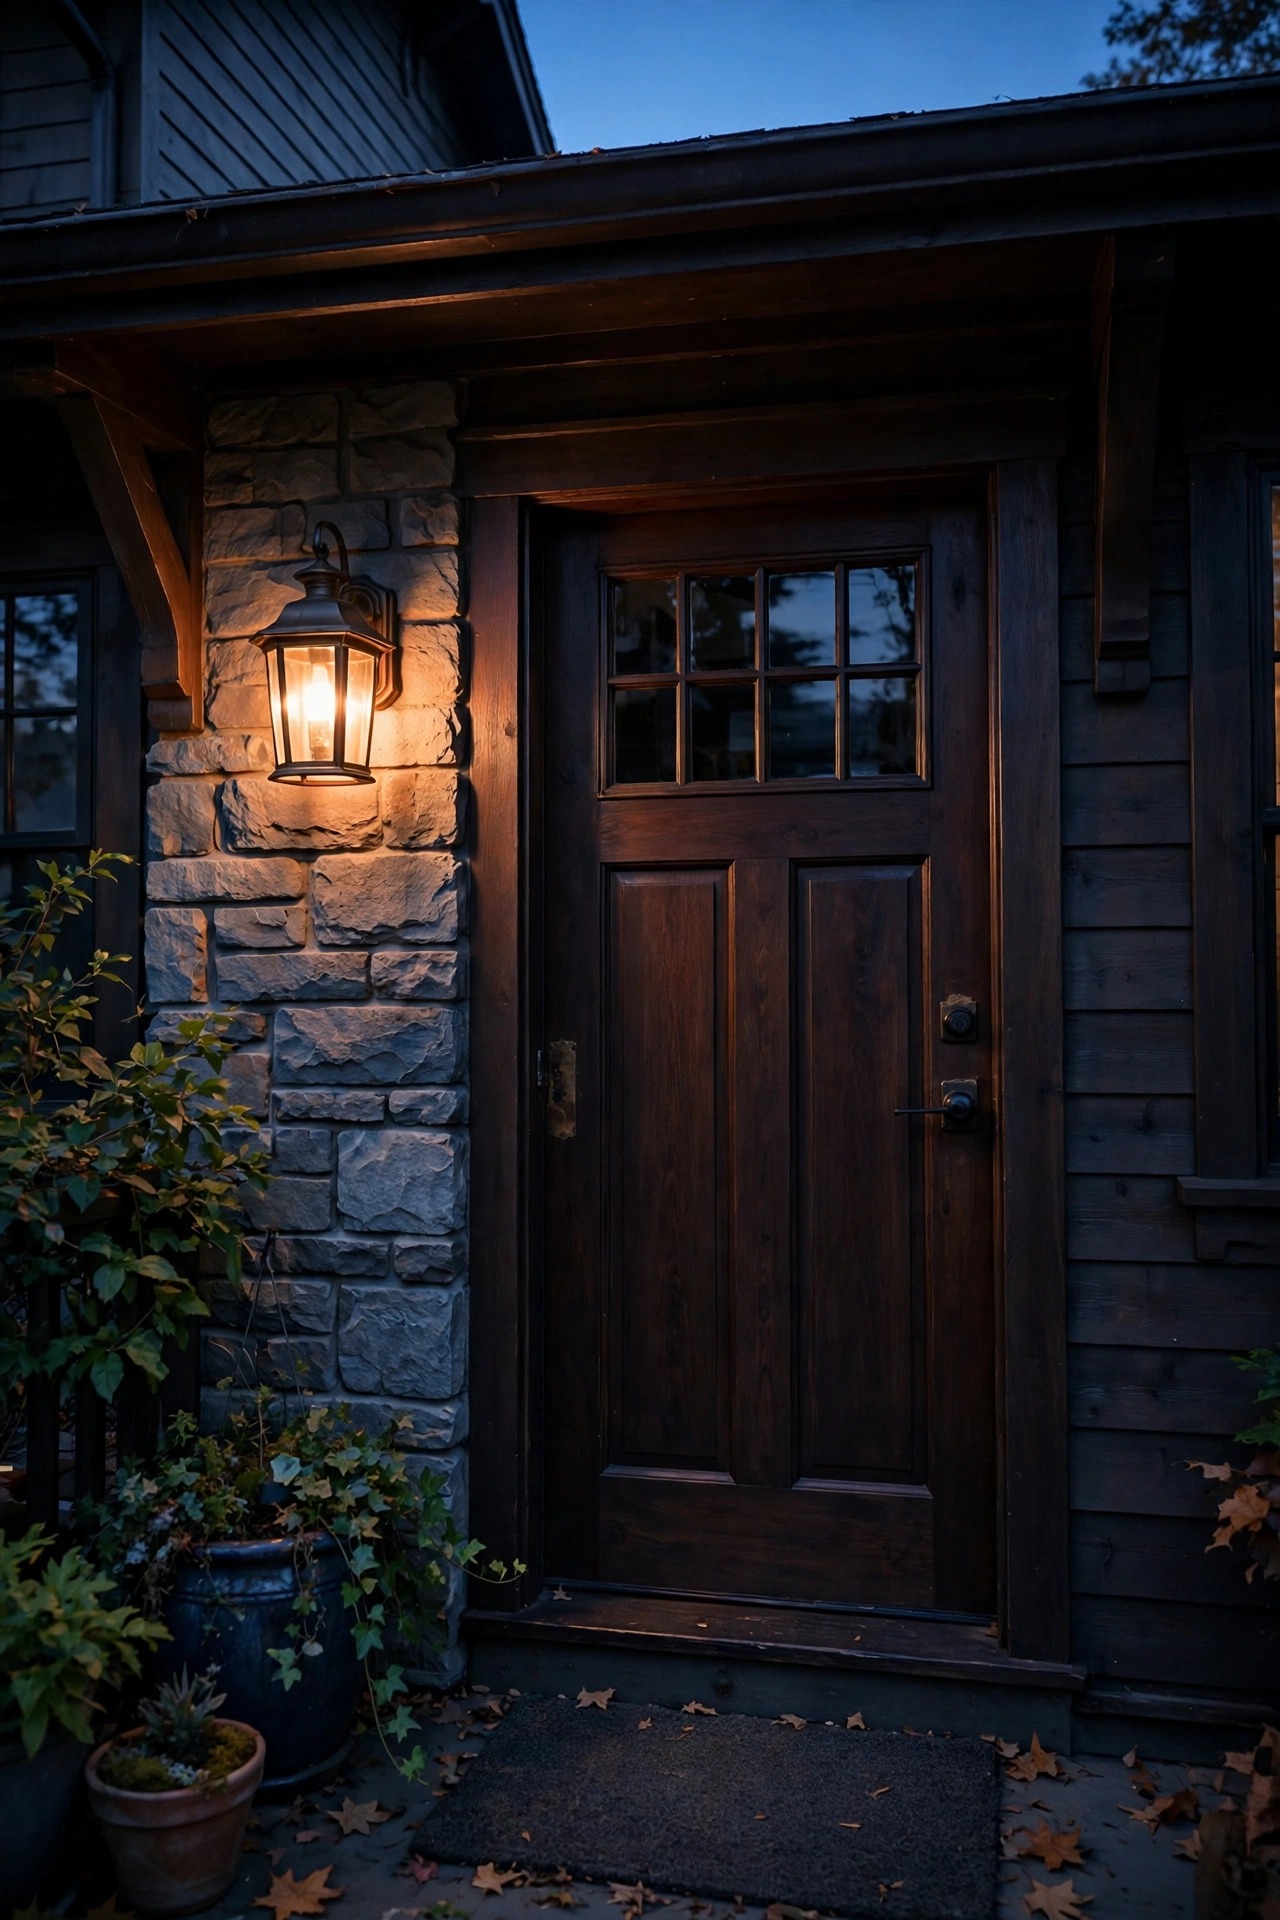
3. Add a Wide-Angle Corner Flood for the Warning Side
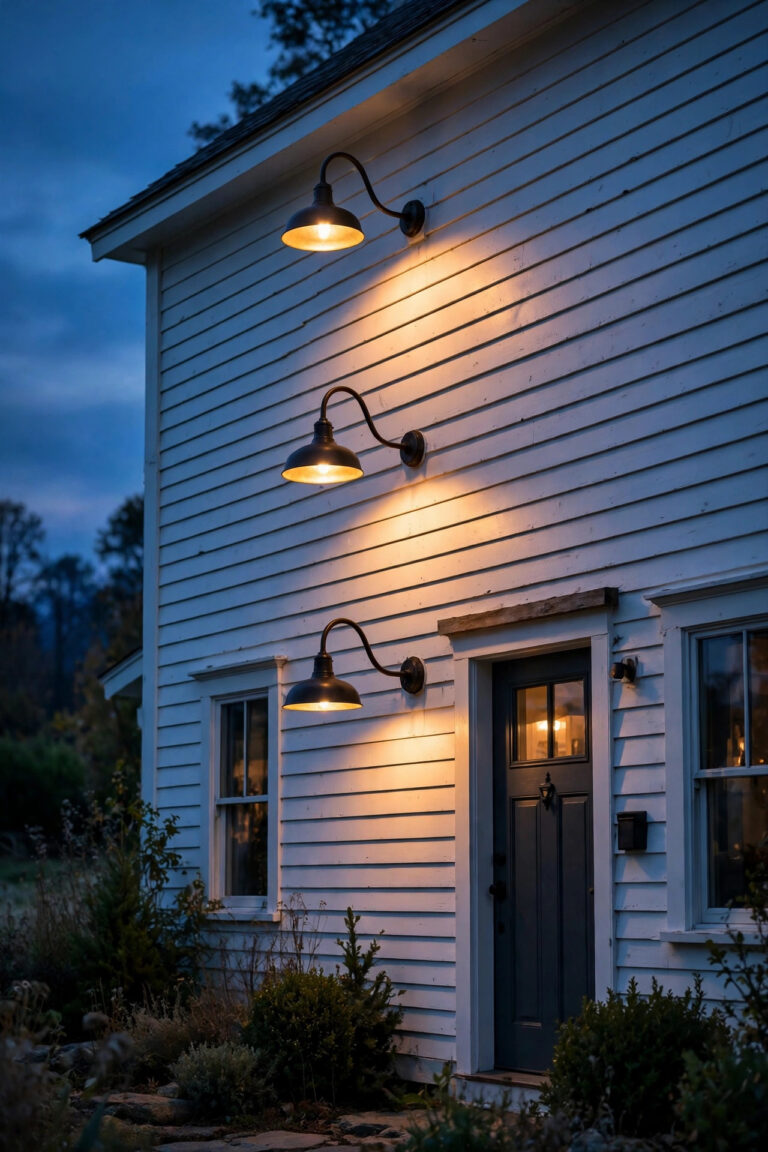
The guard light earns its keep at the corner of the porch or the garage wall where the driveway meets the house, the spot a prowler crosses first and a guest rarely does. Choose a twin-head LED flood with a sensor that sweeps 180 to 240 degrees, set the detection range to 25 to 40 feet, and aim the heads down at about 30 degrees so the beam pools on your gravel and concrete instead of sailing into the street. Brightness here can be honest: 1,200 to 2,000 lumens reads as a clear warning without turning your yard into a stadium. Keep this fixture on its own switch or smart control, separate from the door lantern, so a pizza delivery triggers the friendly light while only real trespassing territory fires the flood. In my experience, pairing one obvious flood with one soft lantern stops the midnight false-alarm fatigue, because each light only answers the visitors it was hired for.
Suggested budget range: $35 – $85.

4. Flank the Door With Downward-Aimed Sconces
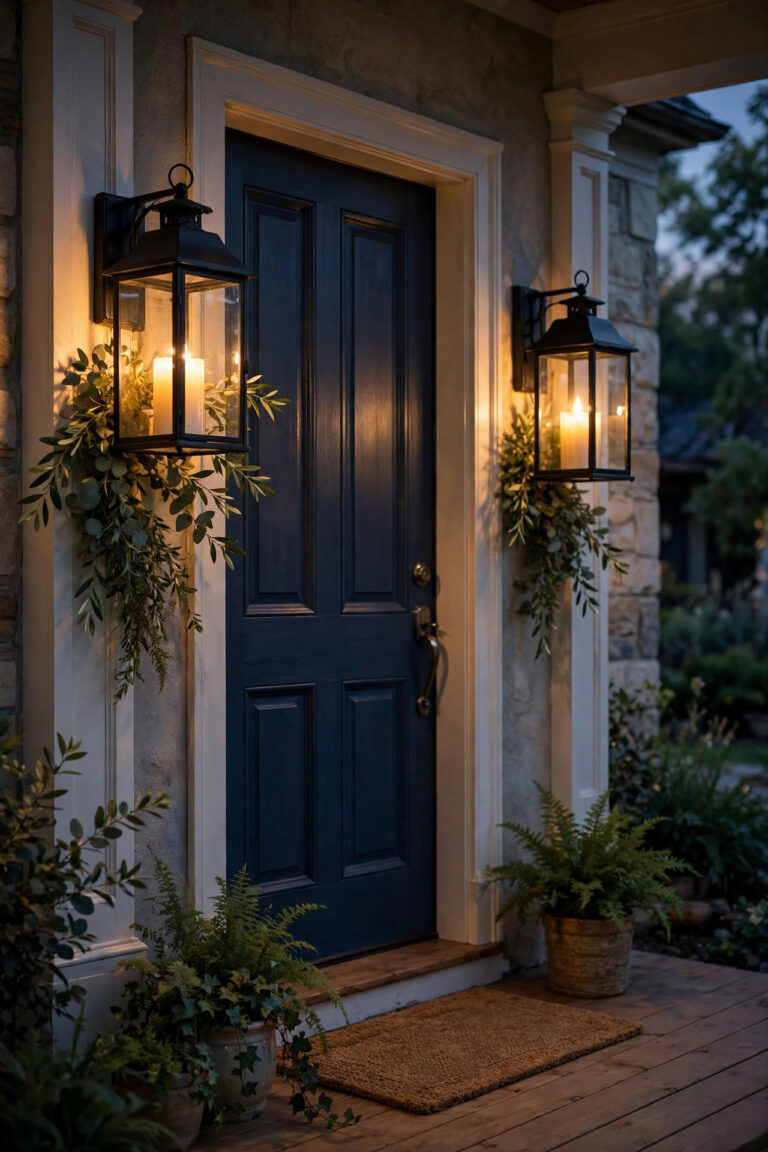
Two matching sconces, one on each side of the door, give you the most flattering welcome light there is, and adding motion sensing to the pair is easier than most people think. Either choose sconces with built-in sensors or wire standard fixtures through a separate sensor switch, then aim or shade them so the light washes down the siding and across the threshold rather than shining straight out into your guests eyes. Downward light shows the steps, the mat, and the house numbers, and it never blinds the friend standing on your porch holding a pie. Keep each sconce modest, 300 to 500 lumens at full brightness, because two of them together are plenty at close range. Set the sensor to the shorter range, 10 to 15 feet, so the pair wakes when someone is truly at the door. This is the arrangement I recommend to anyone whose porch felt harsh before: same brightness on paper, half the glare in person.
Suggested budget range: $60 – $160.
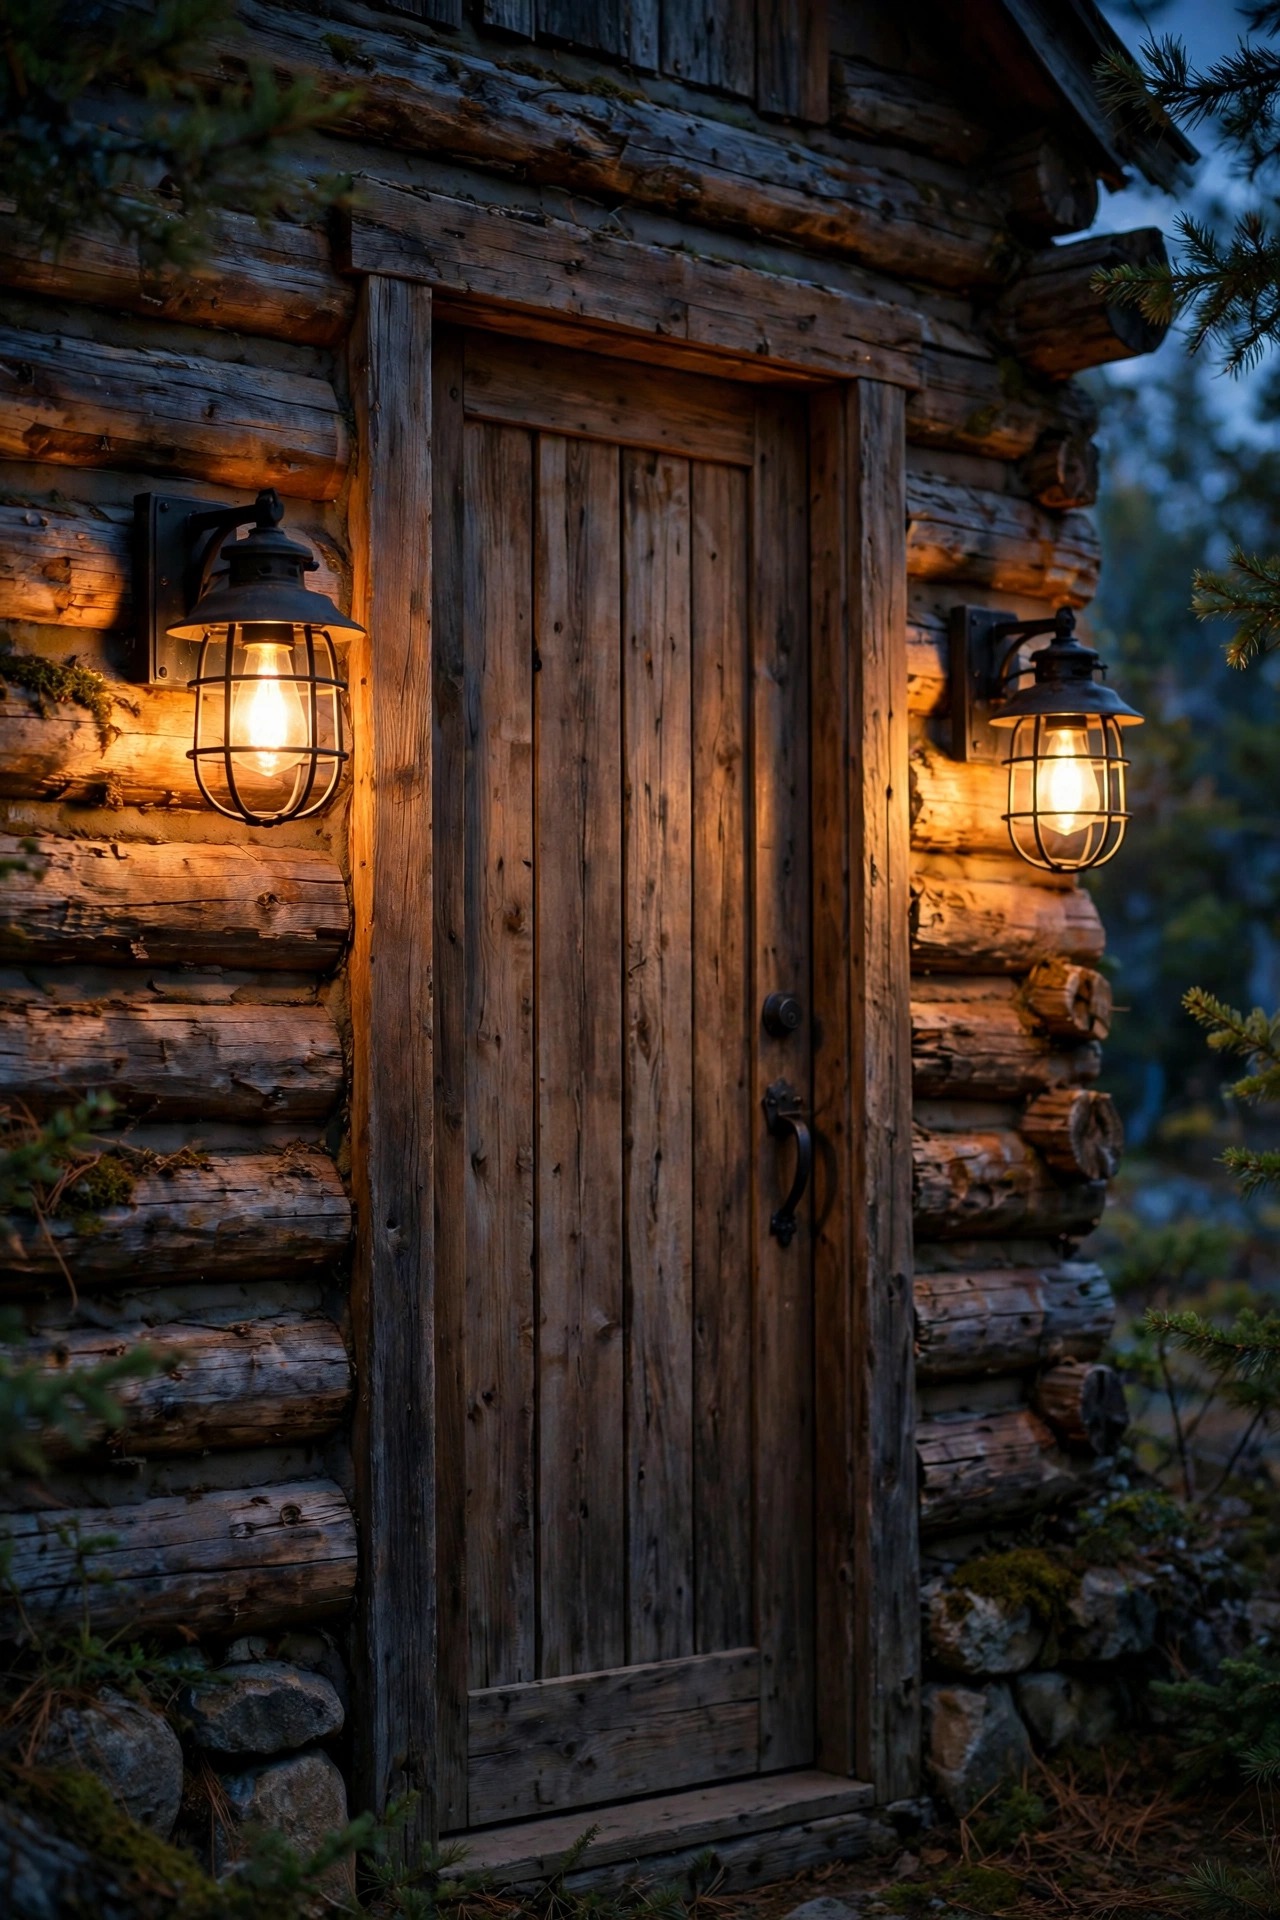
5. Aim the Sensor at Guests, Not the Street
Half of all motion light complaints are really aiming complaints, and the fix costs nothing but ten minutes on a ladder. A sensor sees heat moving across its zones, so mount it 6 to 10 feet high and tilt it so its view crosses the walkway at an angle instead of pointing straight down the path or straight out at the road. Walkers crossing the beams sideways trigger it reliably, while cars rolling past on the street stay outside the zone or move along it too evenly to register. Use the masking tabs or a small strip of electrical tape over the lens segments that face the street, the neighbors driveway, and any heat vent or dryer exhaust. Then do the honest test: stroll up the walk at a normal pace, drive past the house, and let the dog out, and adjust the tilt until only the stroll lights the porch. Ten patient minutes here save a season of 3 a.m. false alarms.
Suggested budget range: $0 – $15.
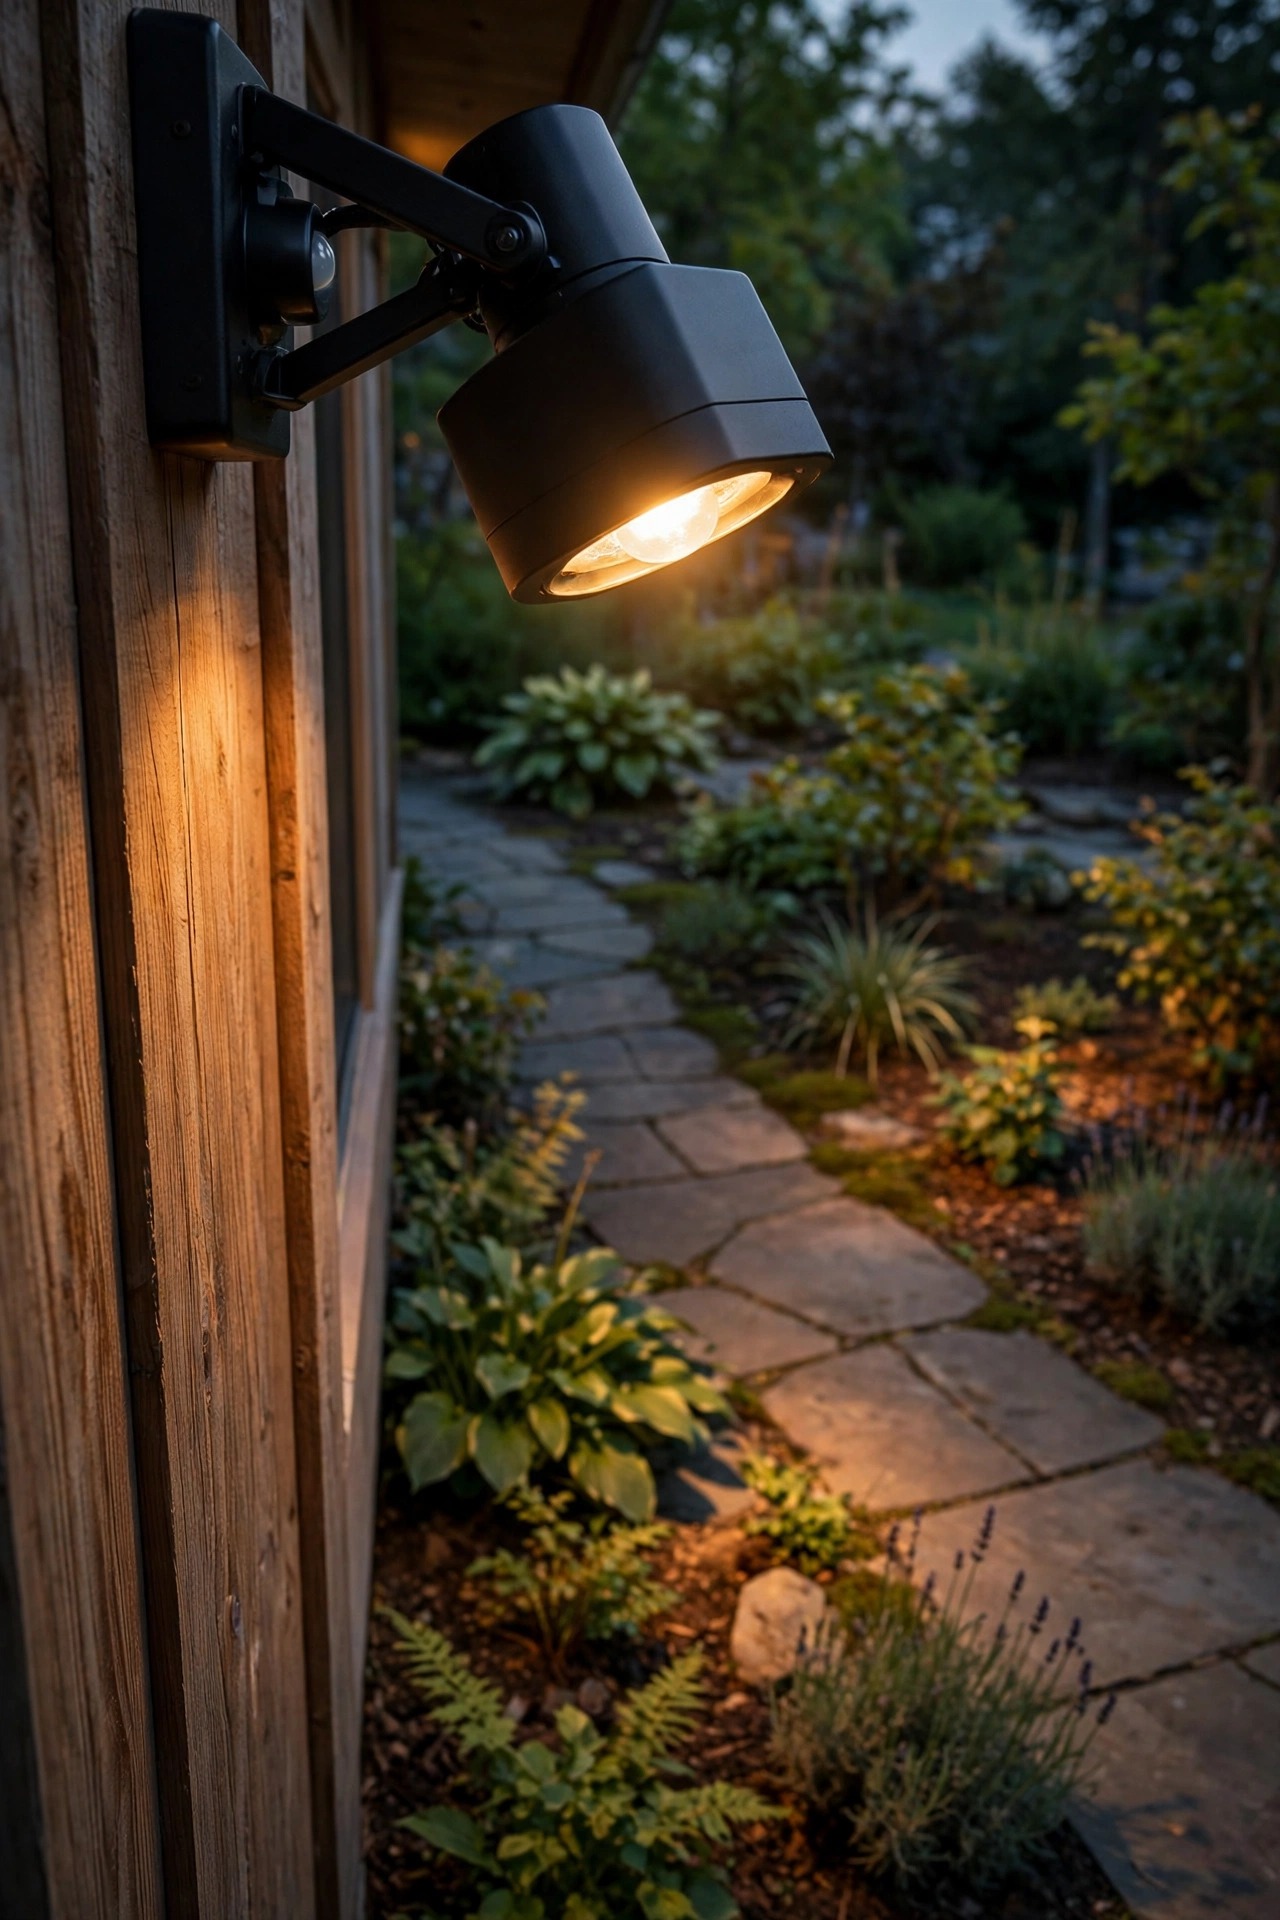
6. Split the Job: A Hidden Sensor Running a Pretty Fixture
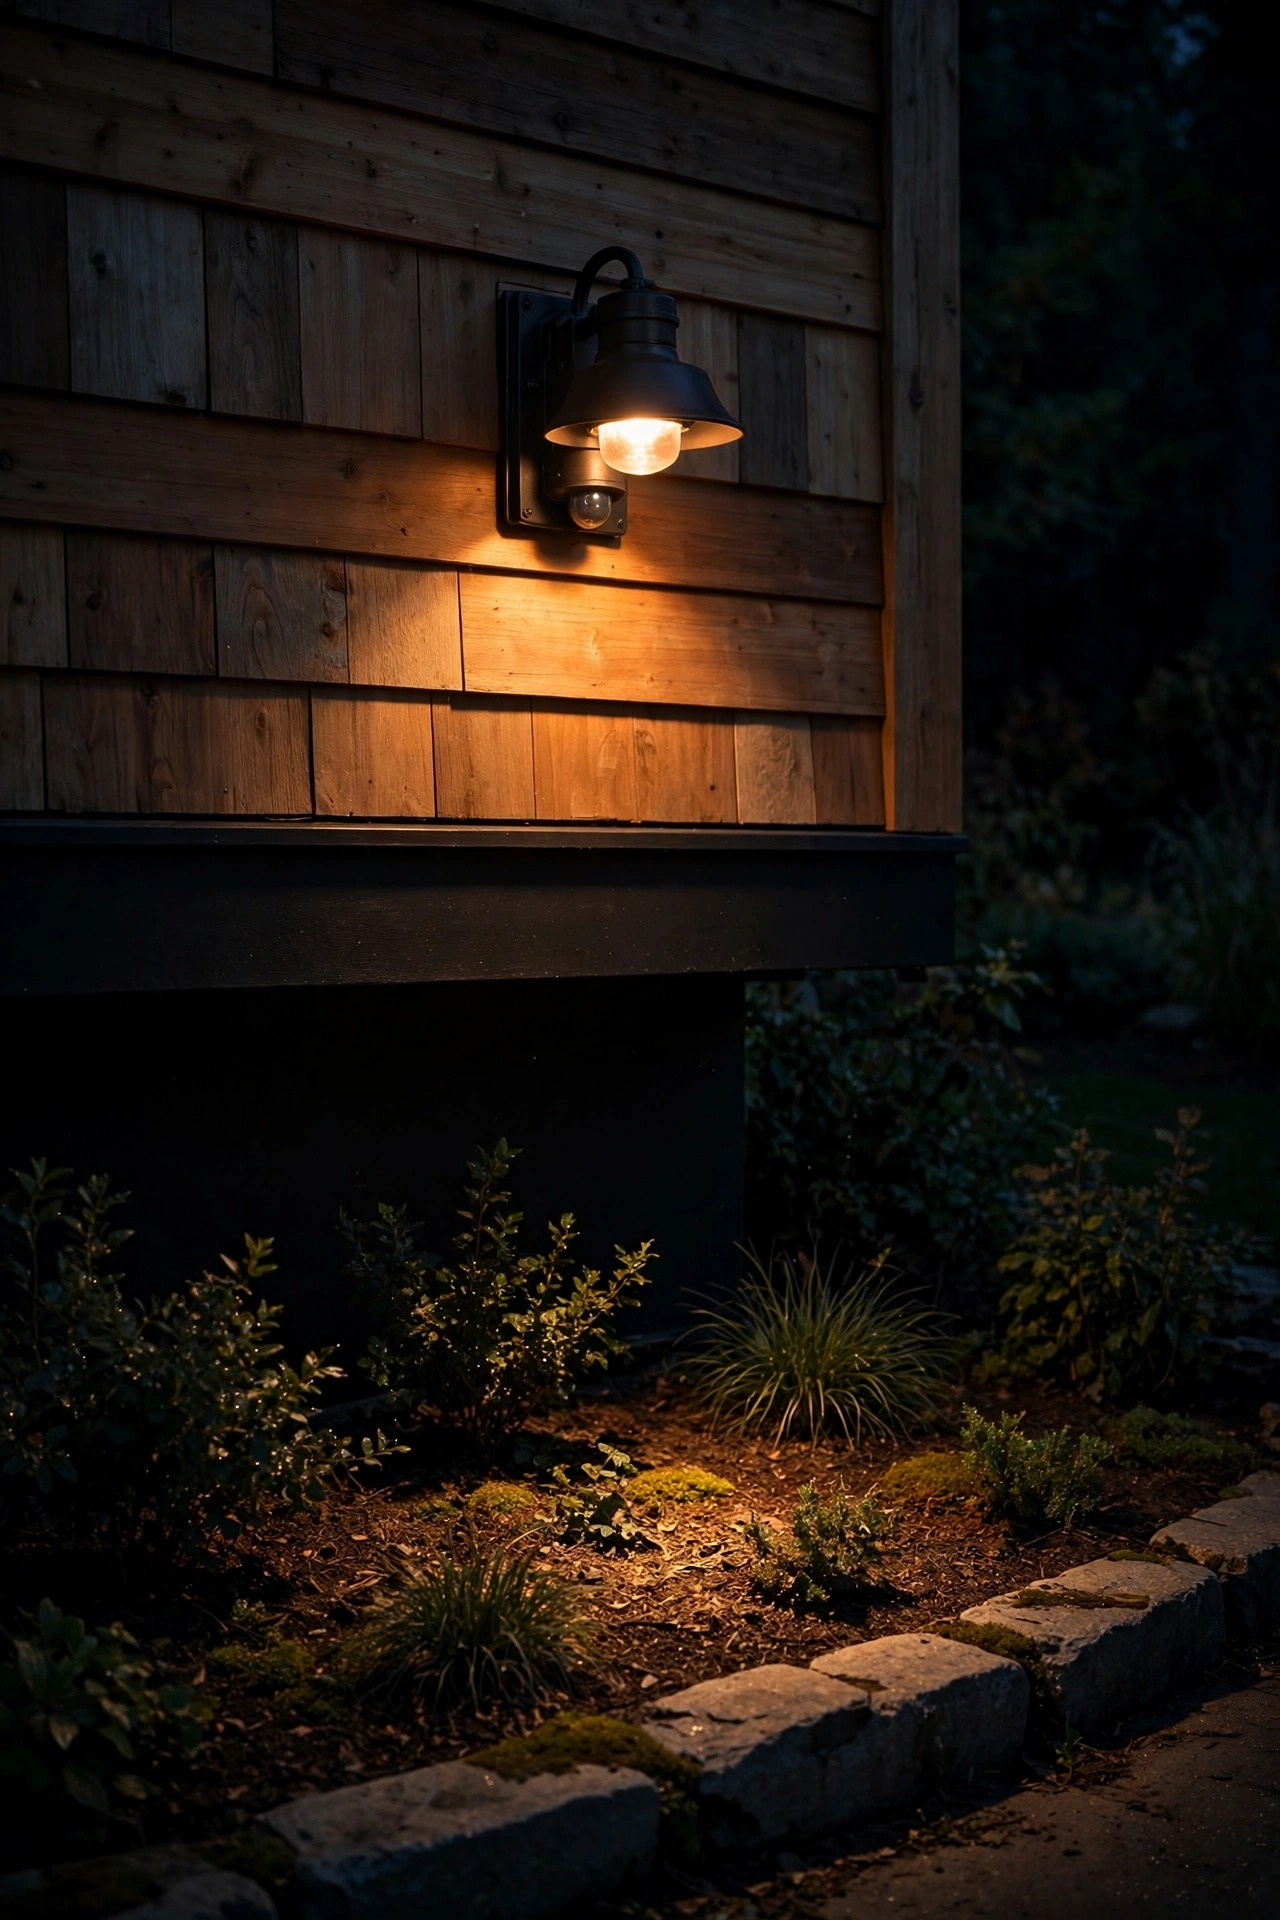
Sometimes the fixture you love has no sensor, and the sensor fixtures all look like hardware-store specials. The grown-up solution is to separate the two jobs: mount a standalone outdoor motion sensor under the porch eave or on the side wall where it can see the whole approach, and let it switch whatever beautiful lantern or pendant you actually want beside the door. The sensor hides in the shadow line, the fixture stays the star, and you gain placement freedom the built-in units never offer, because the eye can sit 8 feet up in the corner while the light hangs exactly where it looks best. Match the sensor rating to the fixture load, keep everything on outdoor-rated boxes and gaskets, and if the wiring run feels beyond your comfort, an electrician can land this in under an hour. I always recommend this route for historic-style porches where a plastic sensor bubble would spoil the whole front of the house.
Suggested budget range: $55 – $140.
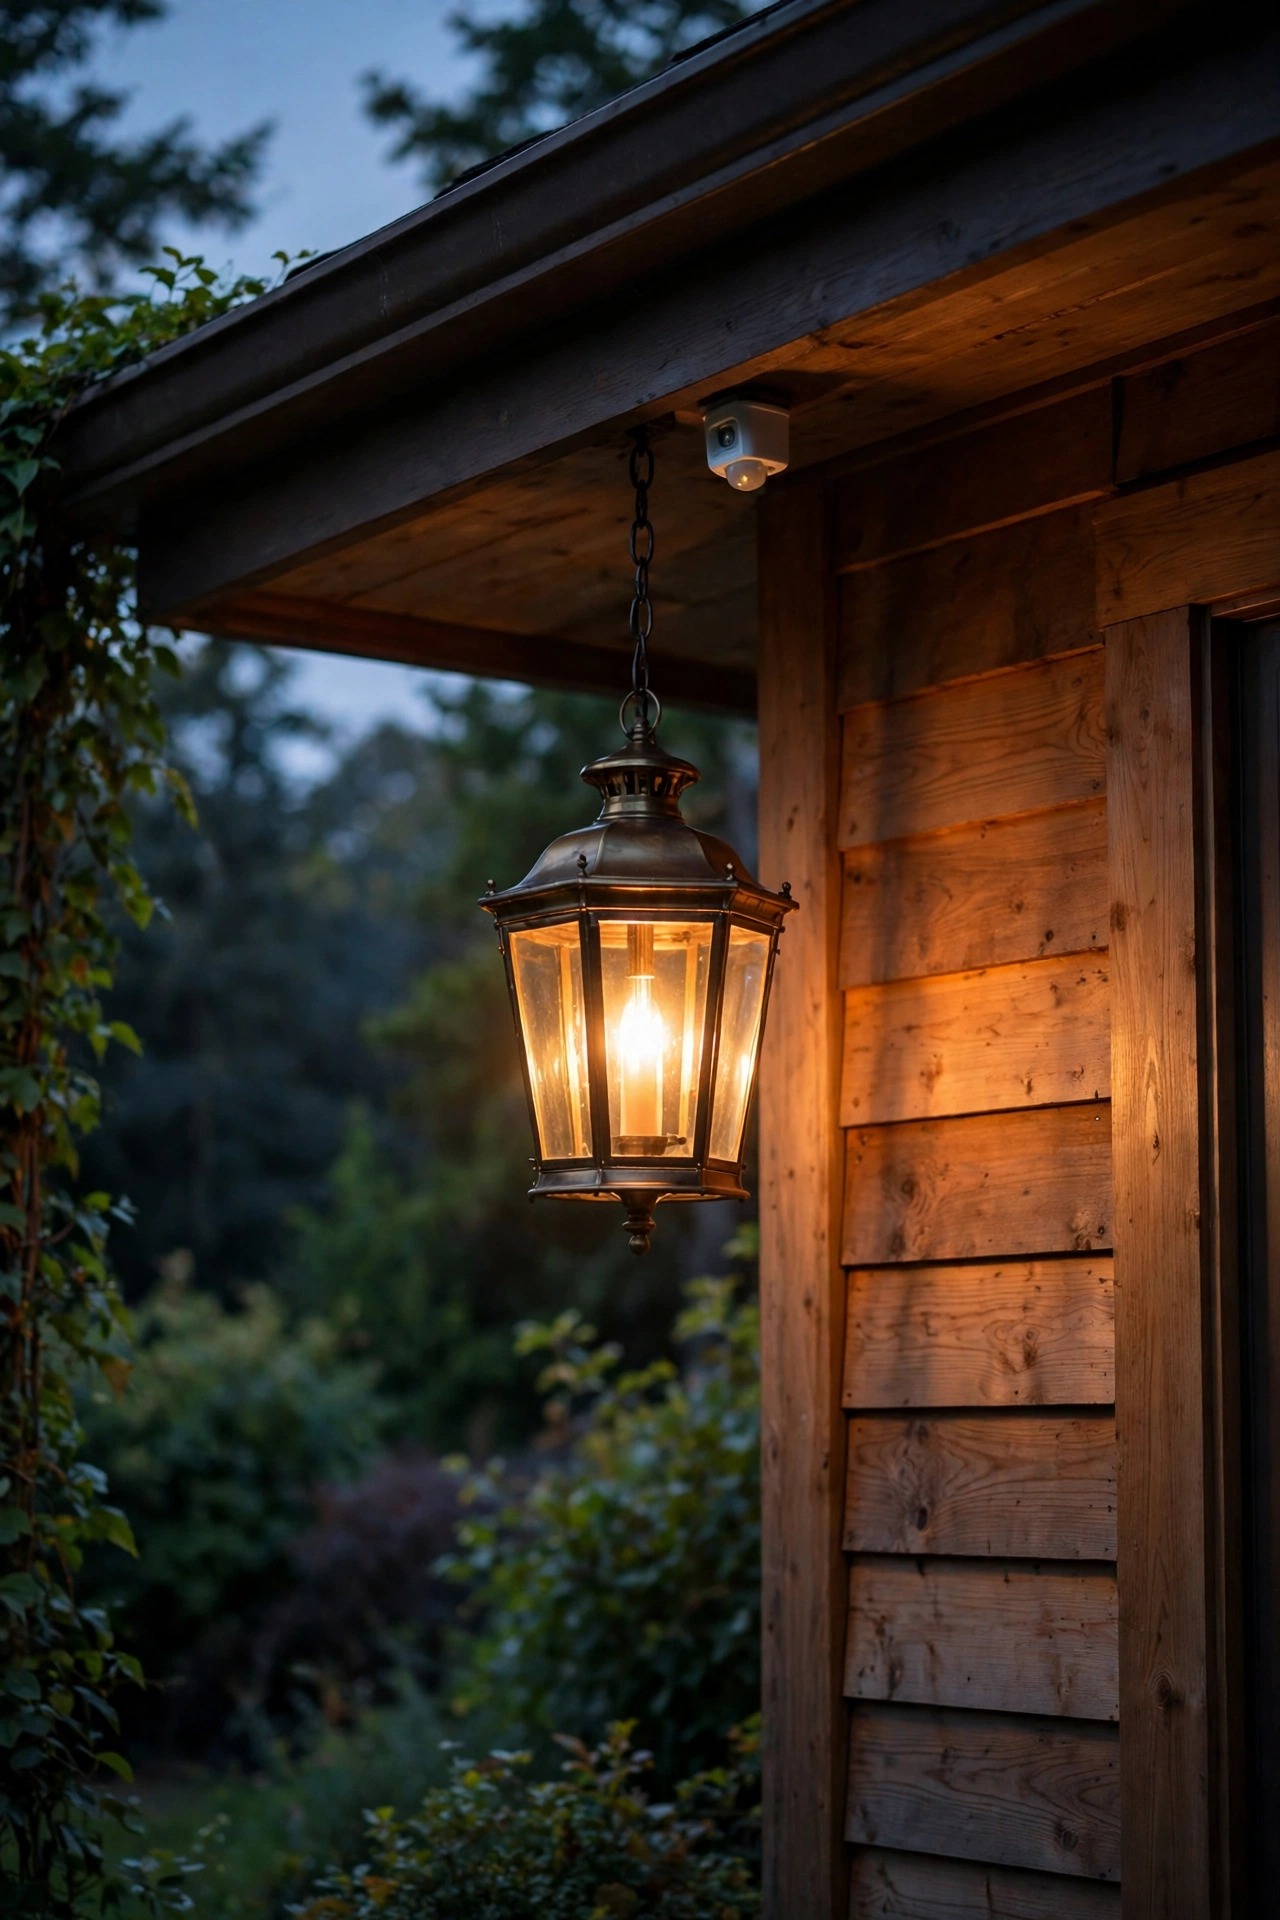
7. Go Solar Where the Porch Has No Wiring
No junction box by the door used to mean no motion light, but modern solar fixtures have closed that gap nicely for renters and old houses alike. A solar porch light with a separate or top-mounted panel charges all day and answers motion with a respectable 400 to 800 lumens, plenty for steps and keyholes. The honest rules: the panel needs five to six hours of direct sun, so a north-facing or deeply roofed porch may need the remote-panel version with a few feet of cable to a sunny spot on the railing or trim. Expect the brightest output in summer and shorter run times in December, and bring the expectations down a notch for shady lots. Mount it with screws into trim rather than adhesive pads if your winters are rough, since cold glue gives up by February. For a porch with zero wiring, this is the fastest friendly light you will ever install: twenty minutes, no electrician, no holes in the budget.
Suggested budget range: $25 – $60.
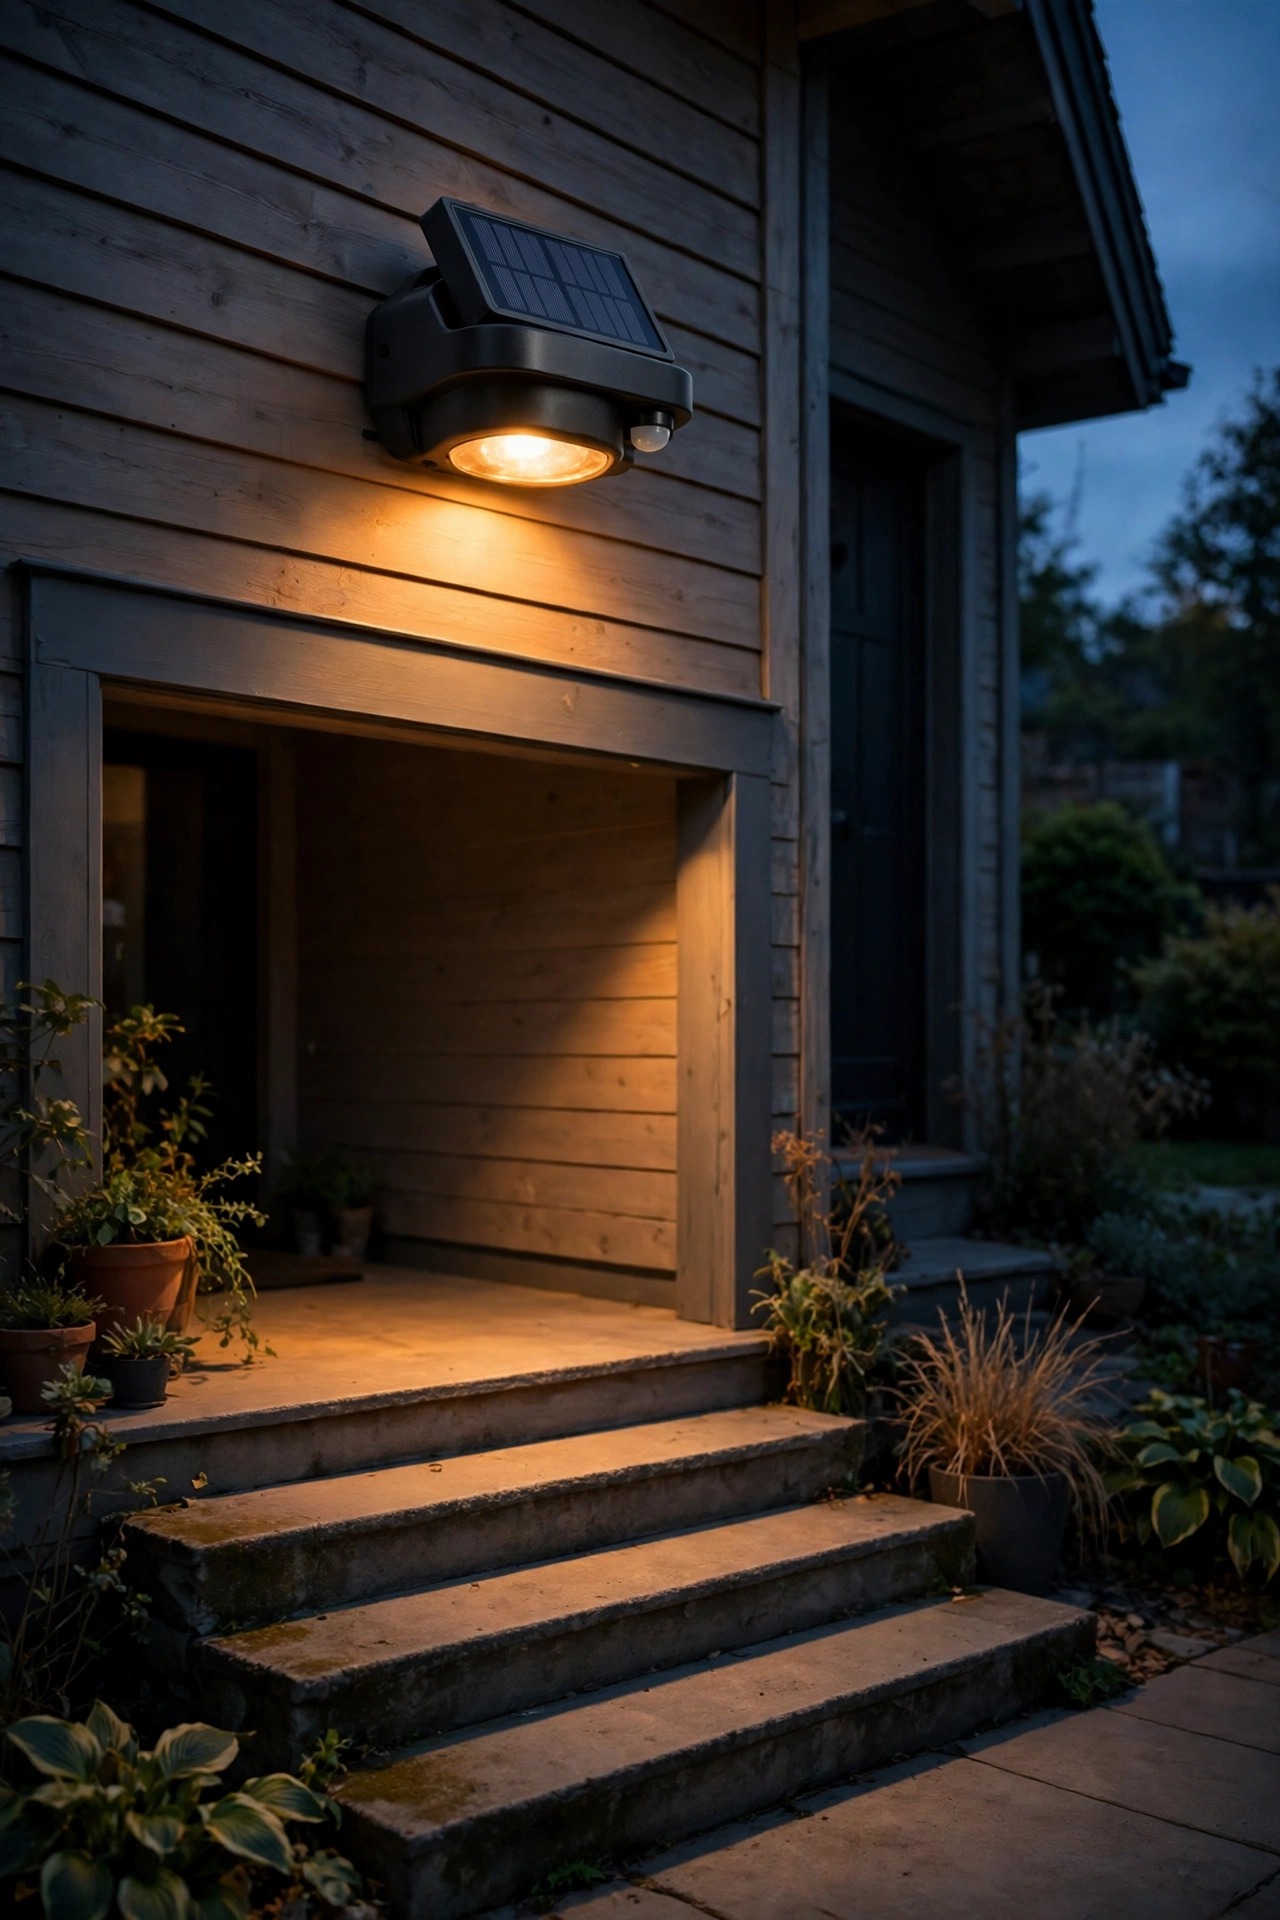
8. Pair Step Lights With the Porch Sensor Zone
Guests rarely fall on the porch itself; they fall on the two dark steps before it. Tying low step lights into the same motion zone as your porch lantern turns the whole arrival into one smooth event: the sensor catches your guest at the walk, the step lights wake first, and the door lantern rises as they reach the top. You can build this with sensor-controlled low-voltage step lights on the same circuit, or with standalone solar step lights whose sensors overlap the main zone so something always notices first. Keep step lights low and shielded, 50 to 100 lumens each, aimed at the tread in front of them rather than up into eyes. Space them on every step or every other step on wide stairs, and favor the side where the handrail lives, since that is where feet and hands both travel. It is a small, cheap layer, but it is the one guests actually thank you for on the way out the door.
Suggested budget range: $30 – $90.
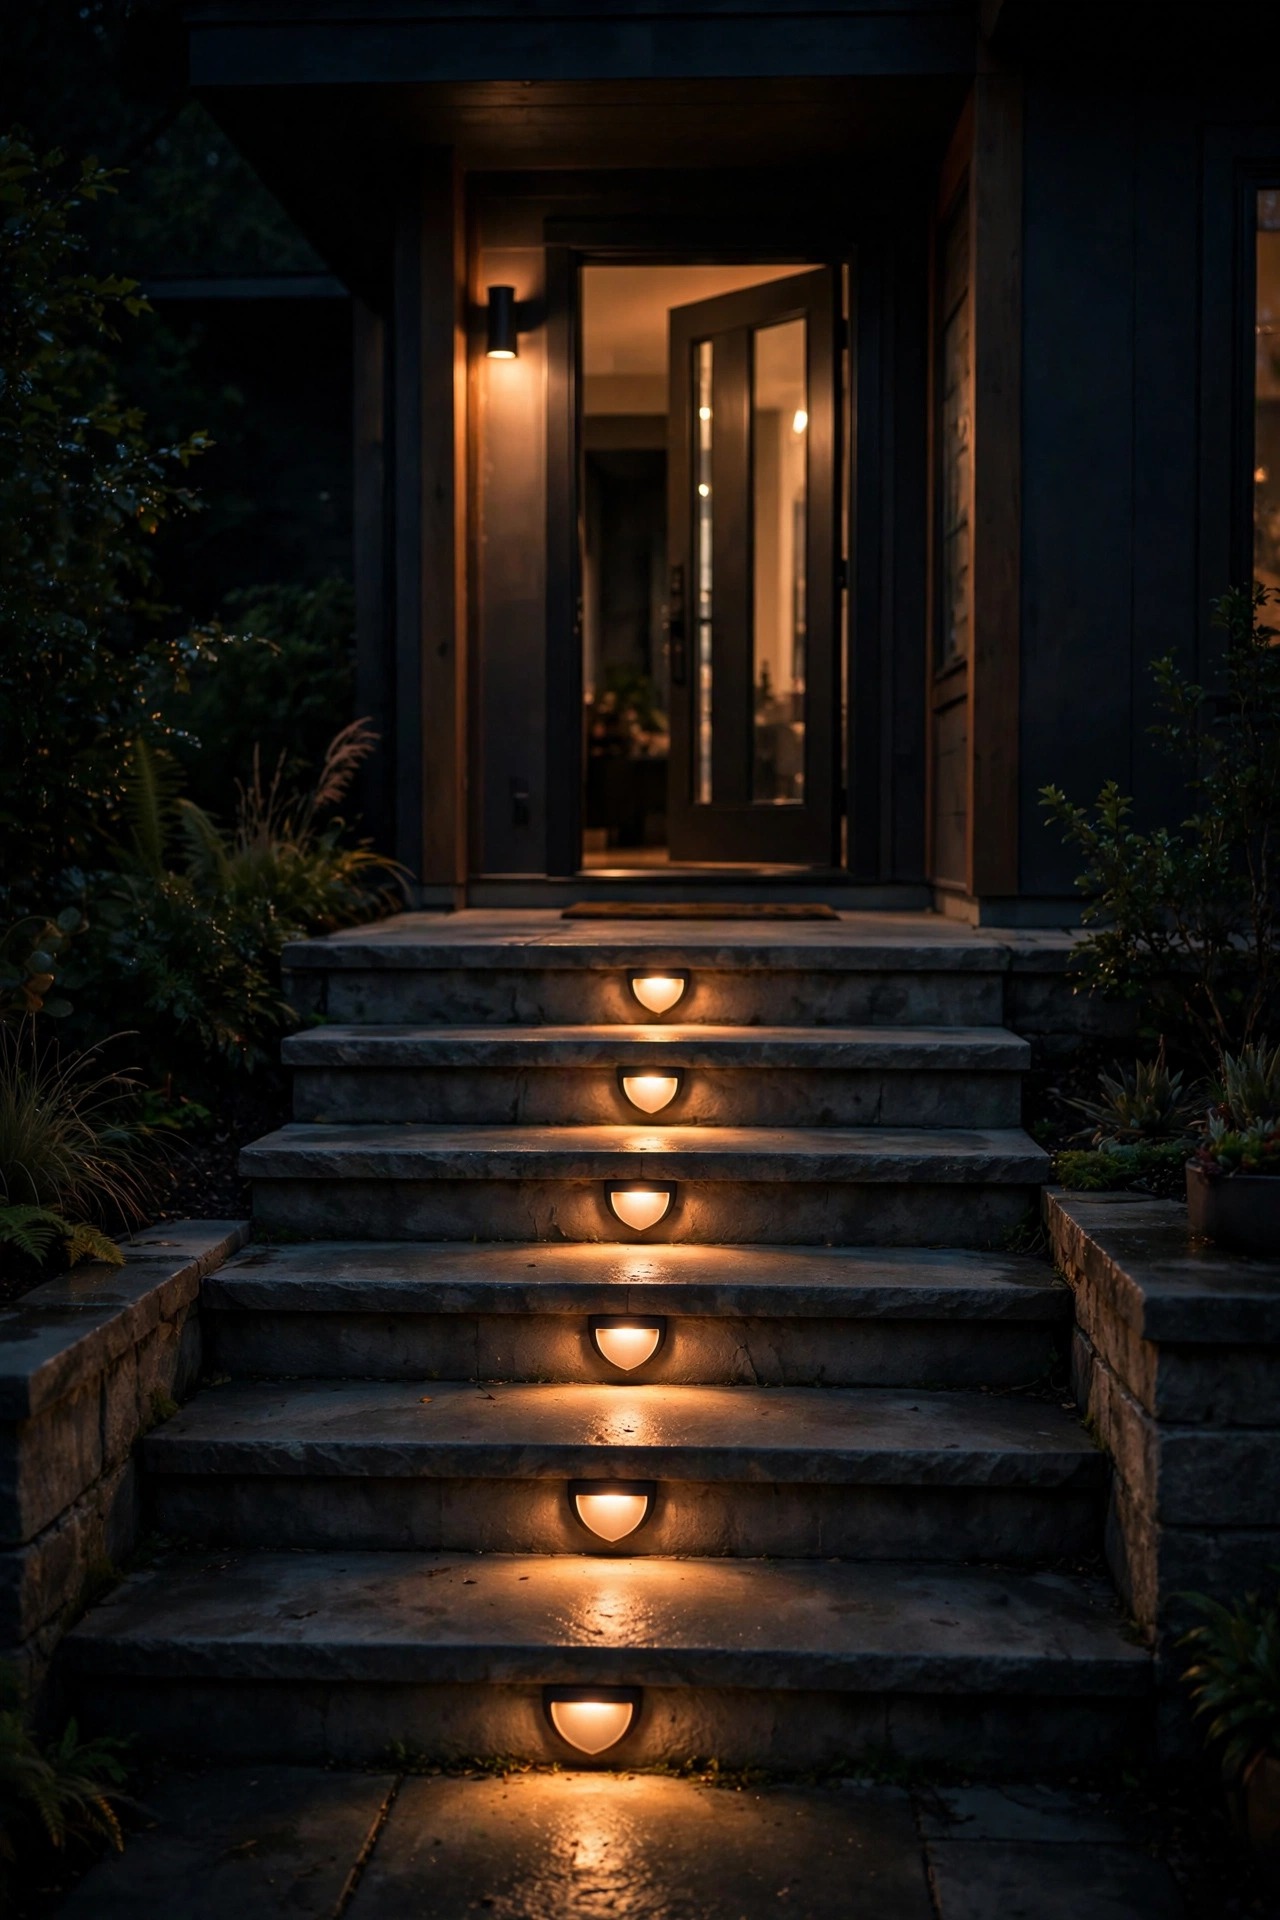
9. Let Motion Sensor Porch Light Ideas Ride on a Dusk-to-Dawn Base
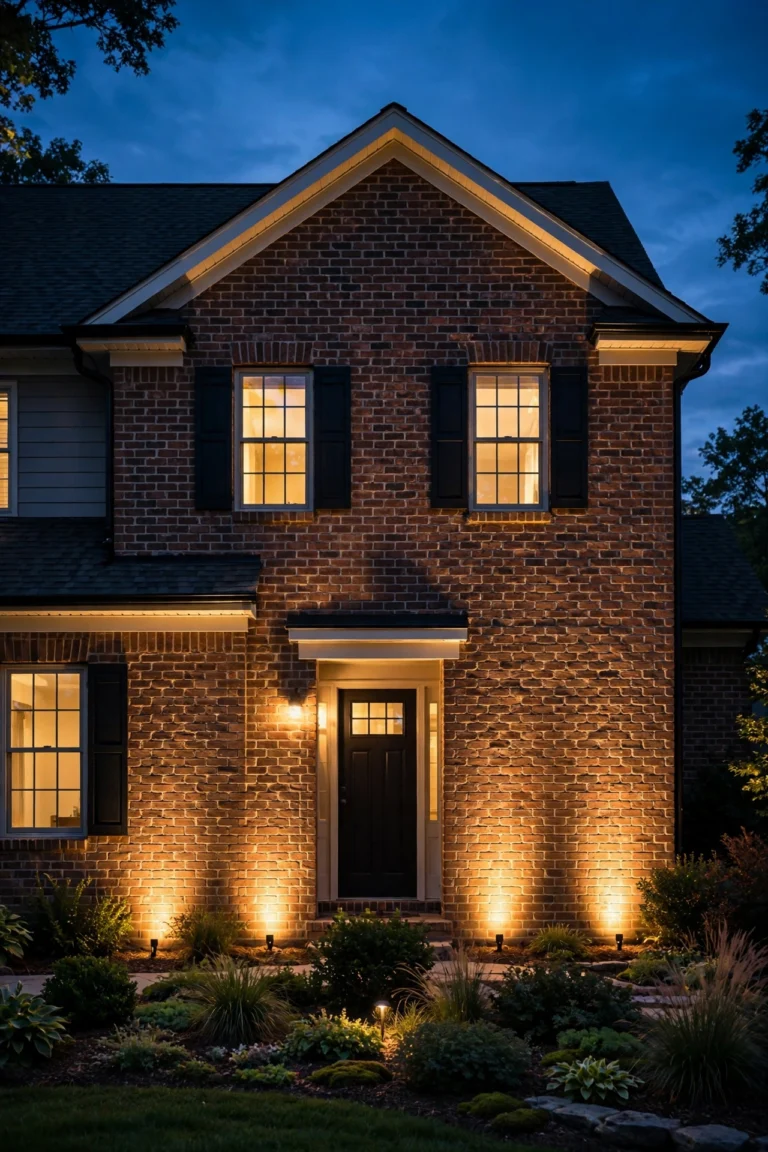
My favorite setups never go fully dark, and once you try a dusk-to-dawn base layer you will understand why. A photocell keeps one modest fixture glowing from sunset to sunrise at low output, which does three quiet jobs: it tells the street the house is occupied, it gives guests a lit landmark the second they turn into the driveway, and it means the motion boost starts from warm instead of from black, which feels far less startling. Layer the sensor fixtures on top of that base, set to jump two or three brightness levels when they detect someone. Modern LED running costs make the always-on base almost free, often under a dollar a month for a 3 to 5 watt bulb. Keep the base fixture warm and shaded, a lantern or frosted sconce at the door, and let the brighter floods stay motion-only so the warning side keeps its punch. If you read my broader motion sensor outdoor lights guide, this layered approach is the same layering philosophy I use across the whole yard, just tuned for the porch.
Suggested budget range: $20 – $70.
10. Save the Narrow Beam for the Gate and Side Door
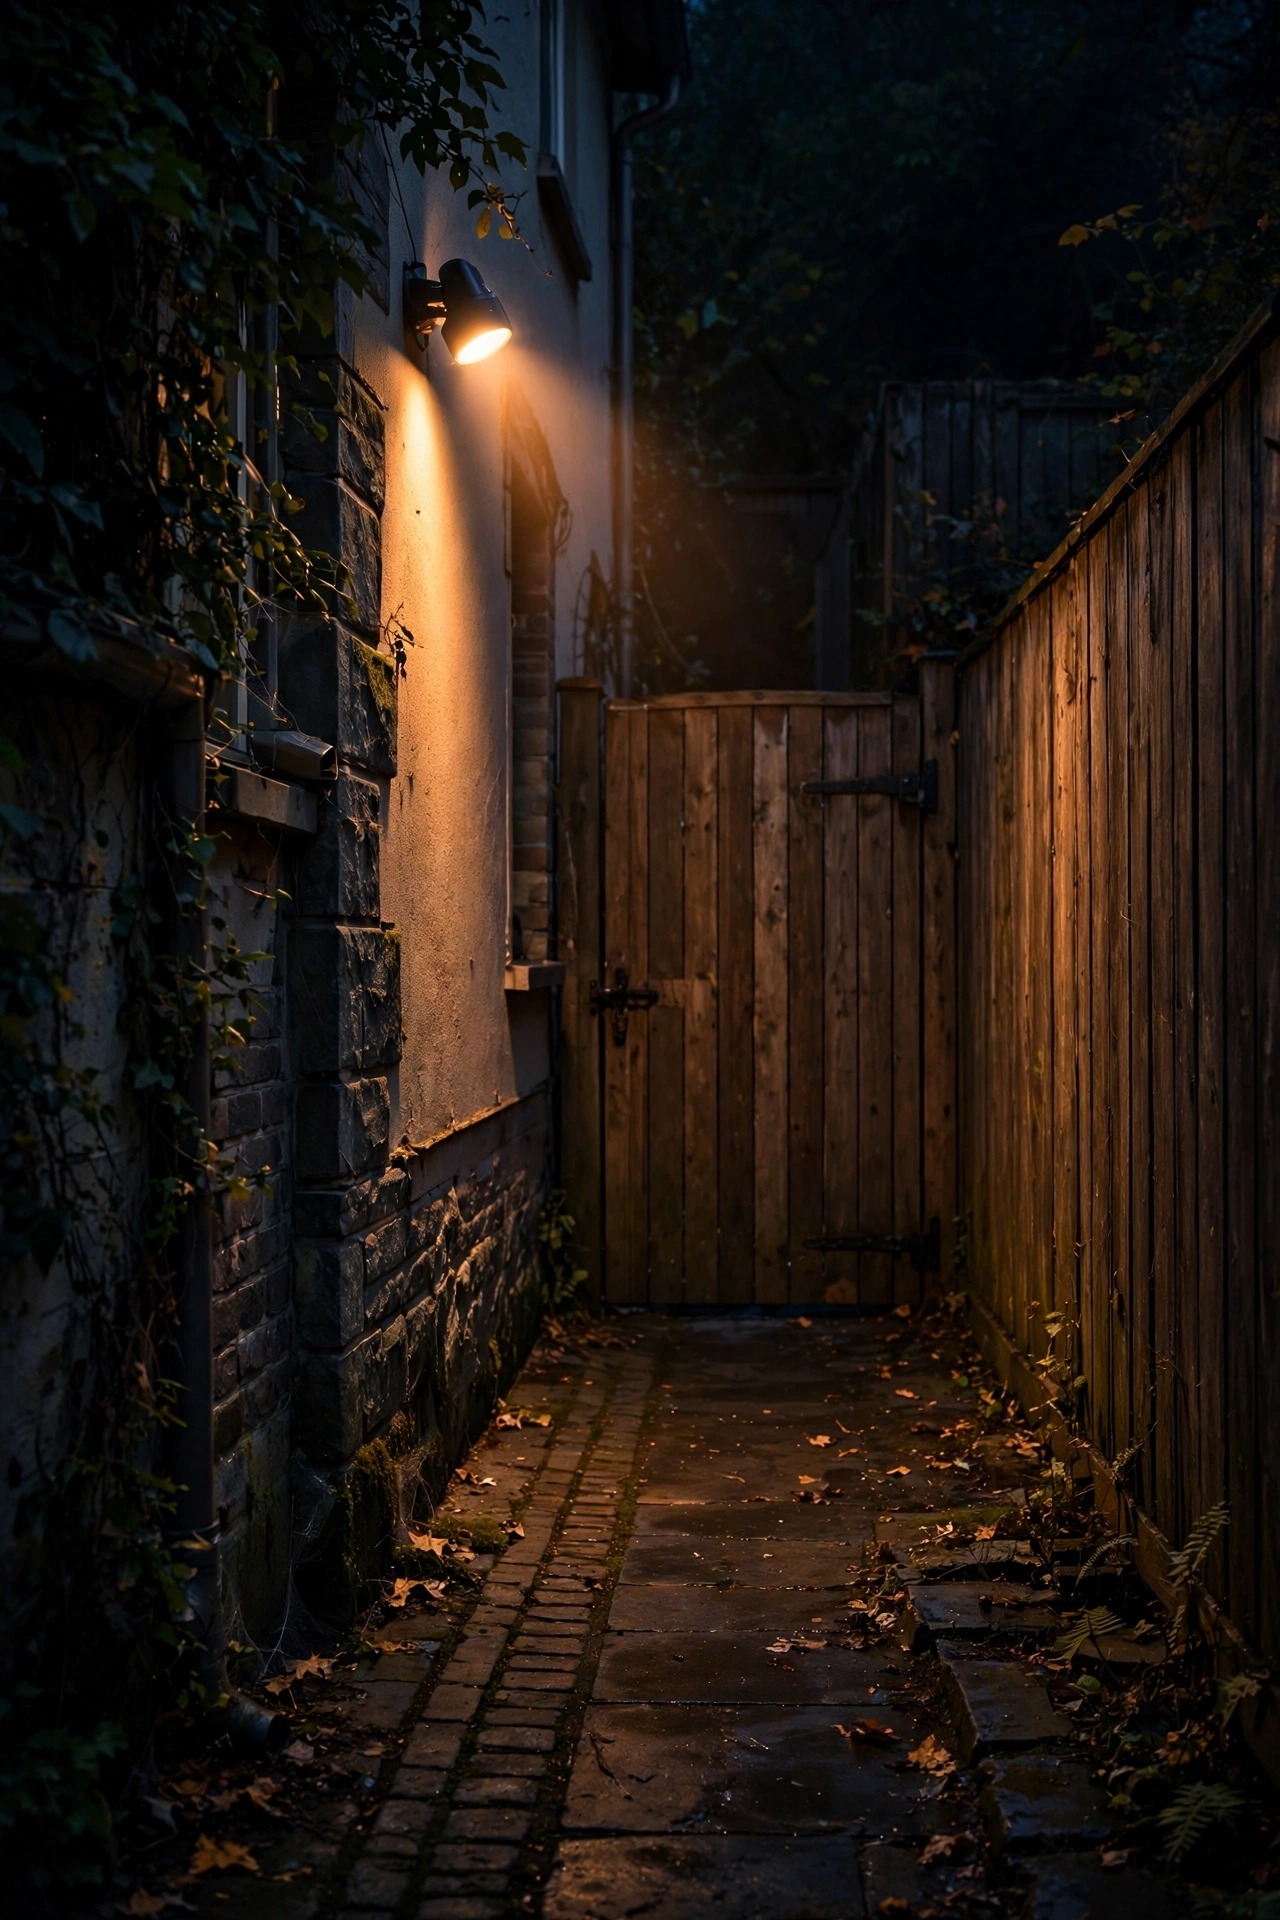
Not every entry deserves the welcome treatment, and the side gate, the basement door, and the dark passage between houses are exactly where a narrow, businesslike beam belongs. A spotlight-style sensor fixture with a 90 to 120 degree view and a focused throw lights that corridor the moment someone steps into it, and its tight pattern keeps the light off your bedroom windows and the neighbors fence. Set the range a little shorter than the flood, 15 to 25 feet, and the on-time a little longer, three to five minutes, because anyone back there at night is either family taking out the bins or someone who should feel thoroughly noticed. There is no need for warmth theater here, but stay at 3000K rather than blue-white so family members are not blinded on bin duty. This is the fixture guests will never see and the one that quietly does the most guarding, so spend your money on a metal housing and a real IP65 rating instead of charm.
Suggested budget range: $30 – $75.
11. Tune Sensitivity So Pets Pass and People Trigger
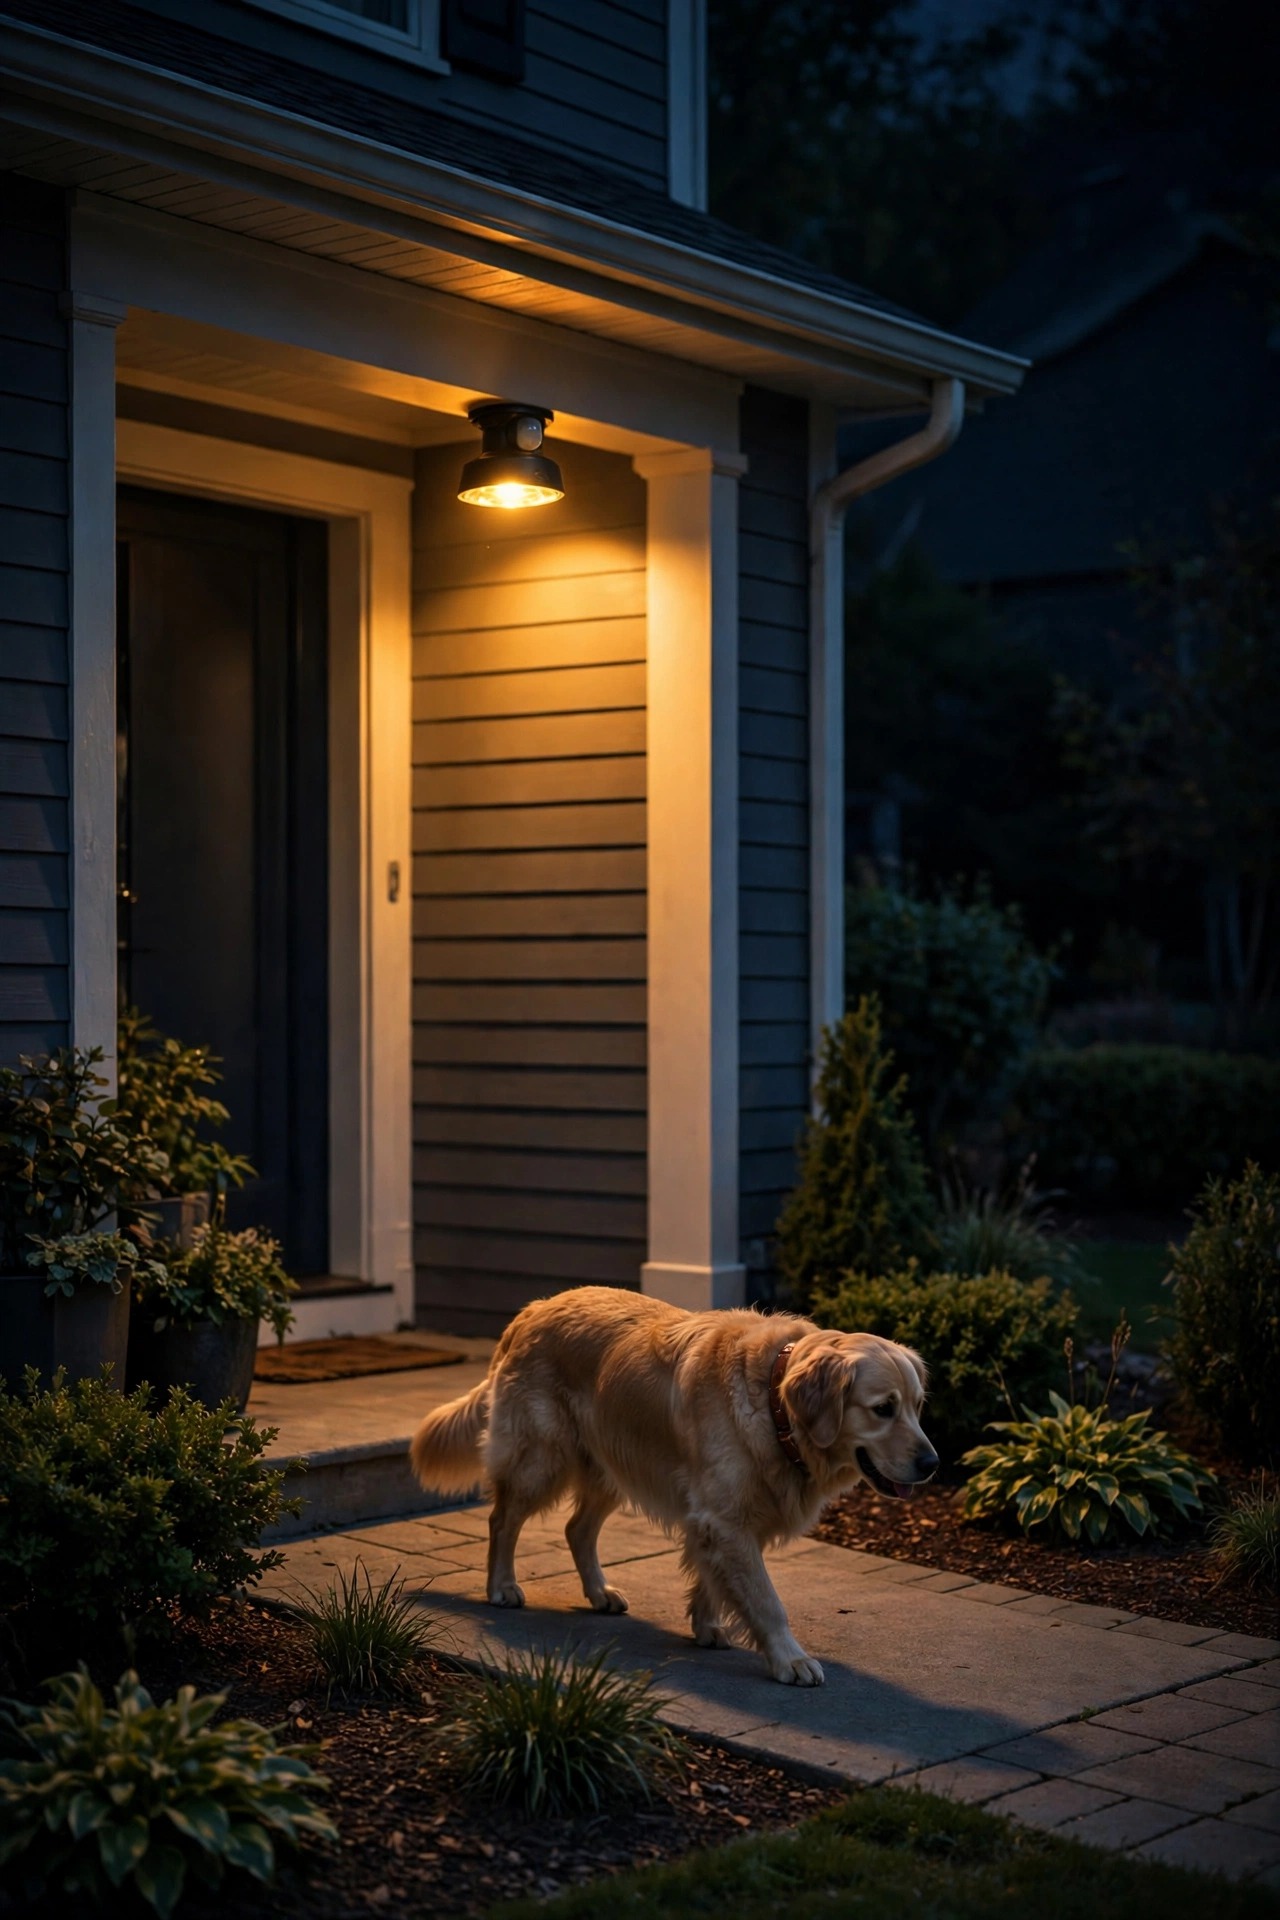
A sensor that fires for every cat will train you to ignore it within a month, so spend an evening with the two dials most owners never touch. The sensitivity control sets how large and warm a moving thing must be: start at the middle, then walk your dog across the yard at the far edge of the zone and turn the dial down until the light ignores him, then walk yourself through and confirm it still catches you every time. The range control sets how far out the watch begins; for most porches, 15 to 25 feet covers the walk without borrowing the sidewalk. Pets under about 40 pounds pass under a sensor mounted 7 to 8 feet high when it is tilted correctly, because the lower zones are the short-range ones. Recheck your settings once in summer and once in winter, since warm bodies against cold night air read stronger and can stretch the range just enough to start catching the street again.
Suggested budget range: $0 – $20.
12. Keep the Welcome Warm and the Warning Honest
Color temperature is the difference between a light that says come in and one that says stay back, and you can use it deliberately. For every fixture a guest will stand under, choose 2700K to 3000K, the warm range that flatters faces, food, and front doors, and avoid mixing temperatures within sight of each other, since a warm lantern beside a blue-white flood makes both look wrong. For guard fixtures at the corner, gate, and driveway, you may climb to 3500K or 4000K for a crisper, more alert feel, but I honestly never go beyond that outdoors at home: the harsher 5000K daylight bulbs scatter more glare into eyes and windows for very little real security gain. Brightness does the warning work, not blueness. When you shop, check that dual-mode fixtures hold the same warm color in both modes, because a lantern that idles amber and then jumps to stark white will startle every guest you were trying to welcome in the first place.
Suggested budget range: $15 – $50.

13. Add Phone Alerts for the Quiet Kind of Warning
Sometimes the best warning is not a brighter light but a silent tap on your phone. An app-connected sensor fixture or smart sensor bulb still lights the porch for guests exactly like a normal unit, but it also sends an alert when the side gate zone triggers at 3 a.m., and it keeps a simple log so you can see whether last nights event was a person, a pattern, or just the fox. This is where a look at general smart outdoor lighting ideas helps you decide how deep into apps and automations you want to go. Use alerts only for the guard zones, never the front door, or delivery drivers will train you to mute the app within a week. These fixtures also solve the vacation problem neatly: schedules can fake your evening routine, and a light that brightens when the porch camera zone wakes looks convincingly lived in. Keep the porch Wi-Fi signal in mind, since a weak connection at the far corner is the usual reason alerts arrive late.
Suggested budget range: $50 – $130.

14. Shield the Beam So Neighbors Get Sleep, Not Spotlights
A motion light that blasts the bedroom window across the street is not security; it is a feud with a fuse already lit. The fixes are simple and mostly free. Choose fixtures with hoods, visors, or full-cutoff designs that throw light down and out at a shallow angle rather than straight ahead, and tilt floods down until the top of the beam lands inside your own yard when you stand at the property line and check. Keep on-times short for the fixtures nearest the street, one to two minutes, so a passing cat does not hold the neighborhood hostage. Shielded light is also better light: with the glare cut, your eyes adjust to the yard instead of squinting at the bulb, and faces under the porch read clearly instead of silhouetting. If your town has a lighting ordinance, this setup passes it without trying. And honestly, the best security light is the one your neighbors quietly appreciate, because they become extra eyes instead of people hoping your bulb burns out soon.
Suggested budget range: $10 – $45.
15. Finish With a Full Walk Test of Your Motion Sensor Porch Light Ideas
Every porch is a little different, so the last step of any setup is an honest walk test after dark, clipboard optional but flashlight firmly off. Start at the sidewalk and walk your guests route at a normal pace, noting where the first light wakes, whether the steps read clearly, and whether anything glares at eye level near the door. Then play the stranger: cross the driveway corner, drift toward the gate, and stand still in the shadows for twenty seconds to see what the sensors make of a person trying not to be noticed. Adjust tilts, ranges, and on-times as you go, then live with it for three nights before you call it done, because wind, heat shimmer off summer pavement, and one enthusiastic spider can all argue with your first settings. When the porch greets your people softly and questions everyone else promptly, you have the balance this whole list was chasing. For more ways to layer the rest of your entry, browse my favorite front porch lighting ideas next.
Suggested budget range: $0 – $10.

Frequently Asked Questions
How far should a porch motion sensor reach?
For the door and steps, 10 to 25 feet is the sweet spot: enough to greet a guest at the walk, not so much that you adopt the sidewalk. Guard fixtures at the driveway corner can reach 25 to 40 feet. Height matters more than raw range, so mount sensors 6 to 10 feet up and tilt them across the approach path for the most reliable triggers.
What brightness is right for a welcoming porch light?
A dual-brightness fixture idling at 100 to 200 lumens and rising to 400 to 600 lumens handles guests beautifully at the door. Reserve 1,200 lumens and up for floods and side passages where the job is deterrence. Your eyes judge contrast, not totals, so a modest warm light against a dark yard looks far brighter than the box suggests.
Can I add motion sensing without rewiring my porch?
Yes. Solar motion fixtures mount with a few screws and need only sun on the panel, battery-powered sensor lights suit covered porches and renters, and a smart bulb with a built-in sensor can turn an existing fixture into a motion light in minutes. Wired dual-brightness lanterns are the most seamless, but the no-wire options cover steps, gates, and dark corners very well.
Why does my porch light keep turning on with nobody there?
The usual suspects are a sensor aimed at the street, heat sources like dryer vents inside its view, insects or webs on the lens, and sensitivity set high enough to read pets and swaying branches on warm nights. Clean the lens, mask the lens segments facing the road, drop the sensitivity one notch, and shorten the range. If it still fires randomly after those fixes, the sensor itself may be aging out.
Conclusion
A great porch light has manners and a spine. Build yours in layers: a warm dual-brightness greeter at the door, honest guard light at the corners and gate, and sensors aimed and tuned so each one answers only its own visitors. That balance is what the best motion sensor porch light ideas all share, and it takes a weekend at most. Start with the walk test, fix the aiming, and let your porch welcome loudly and warn quietly from tonight on.