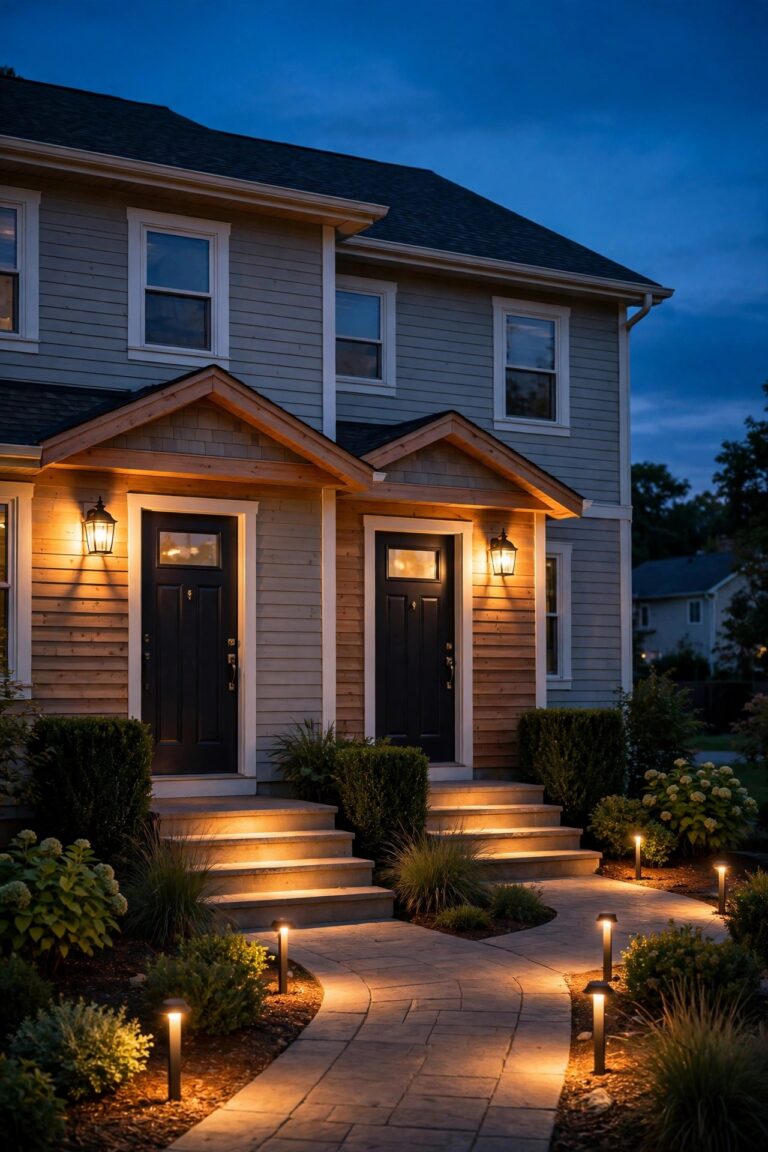
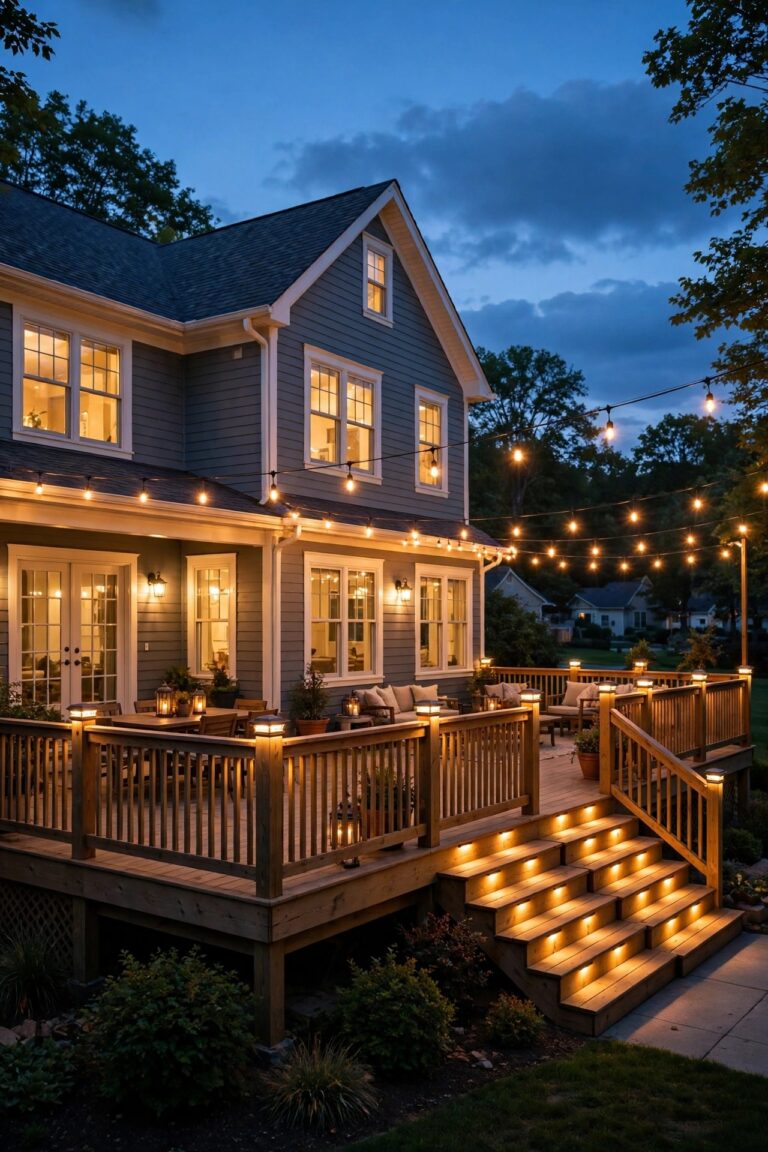
For the first month in our house, the driveway light had exactly two settings: blind and bonkers. It missed the pizza driver completely, then fired proudly at 2 a.m. for a raccoon. If that sounds familiar, the fix is almost never a new fixture. Motion sensor driveway lights live or die on placement, plus a handful of settings most of us never touch once the ladder comes down. In this guide I will walk you through how these sensors actually see, where to mount one for your driveway shape, and the range, sensitivity, duration and alert settings I have landed on after years of tweaking my own setup. By the end, you will have a light that greets every arrival and politely ignores the street.
The Short Answer
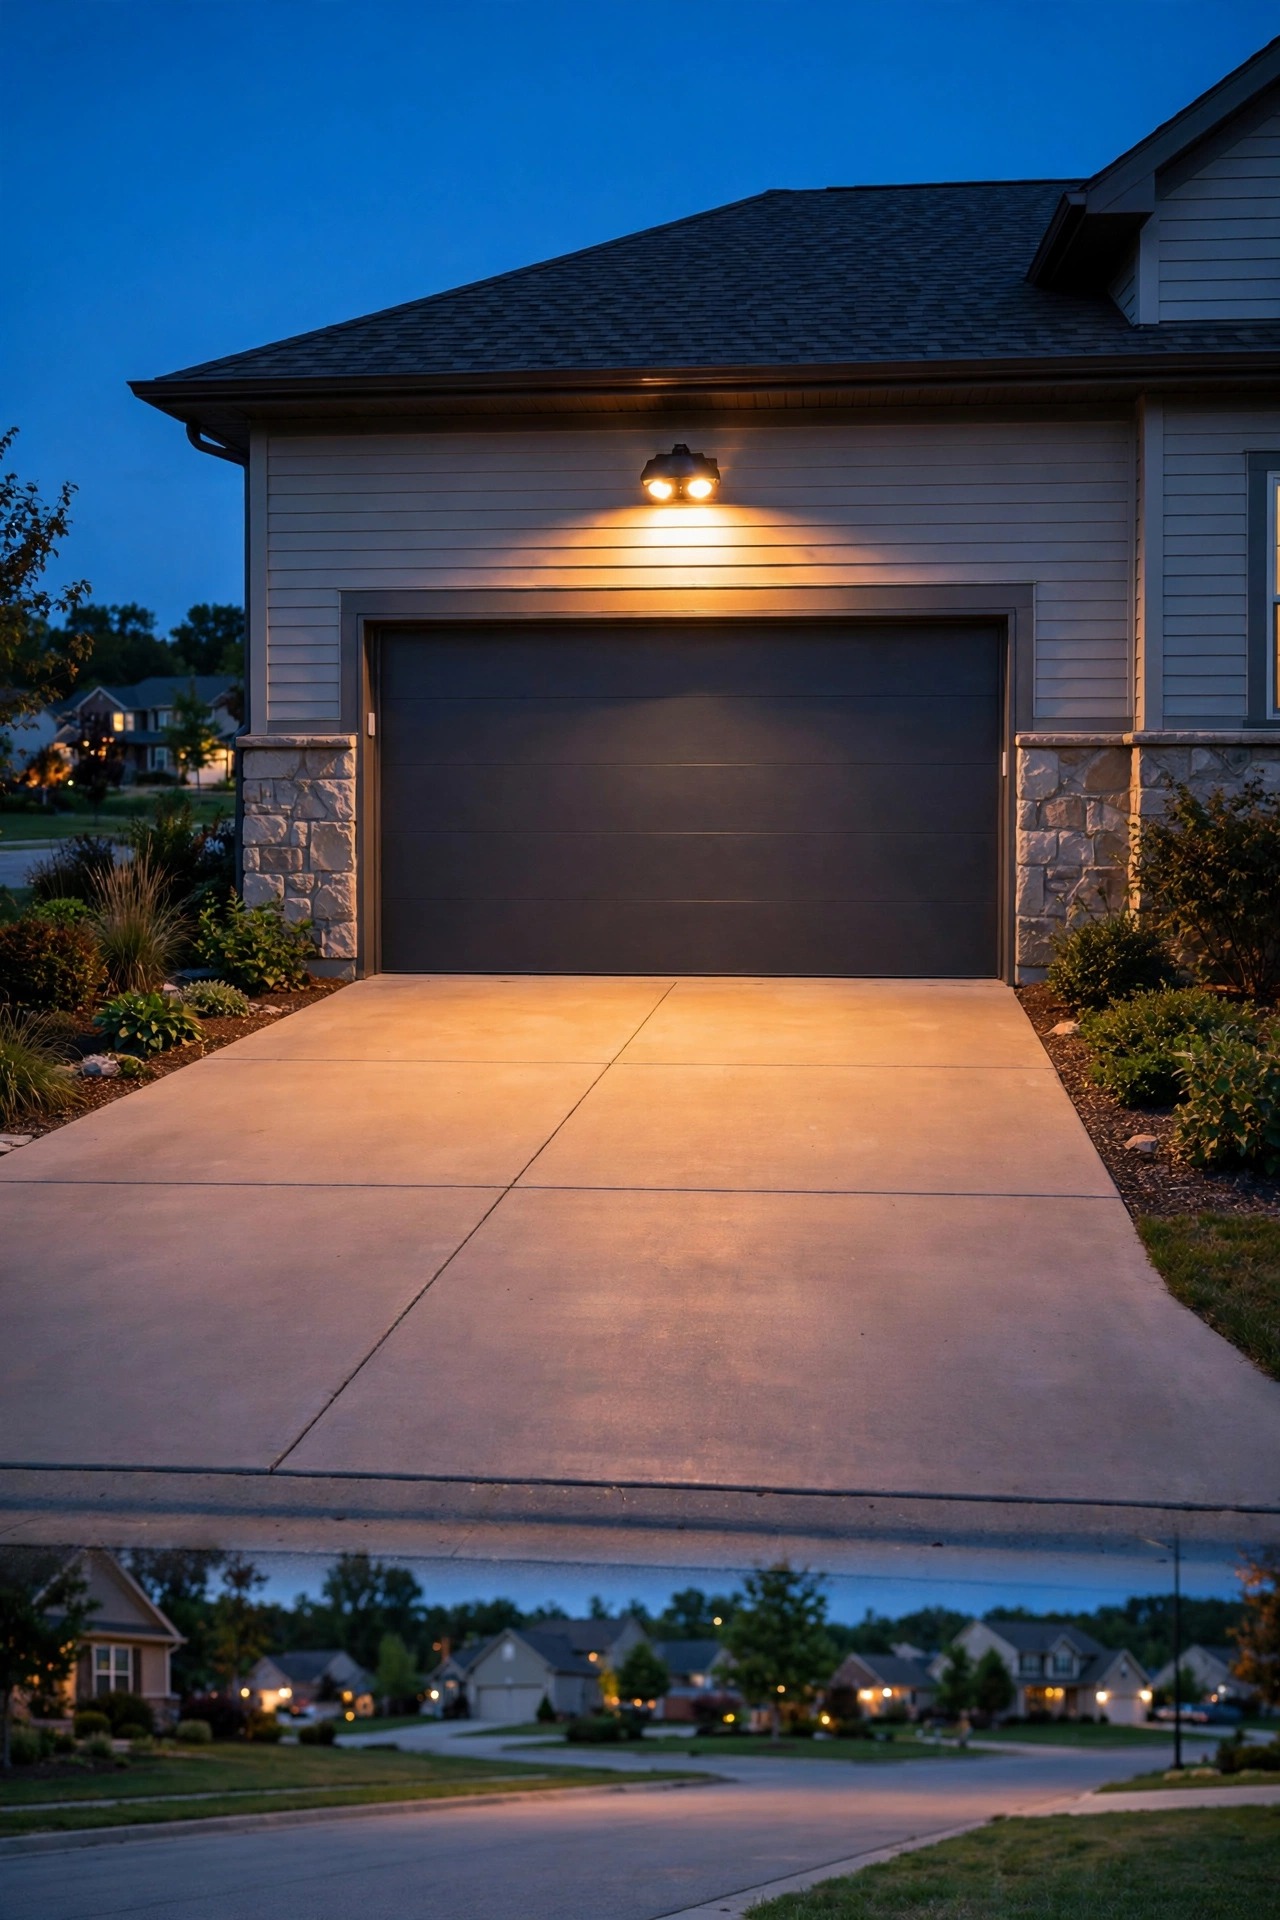
Mount the sensor 7 to 10 feet up, and aim it so people and cars cross its field of view instead of heading straight at it. Set the range to reach the end of your driveway and no farther, keep sensitivity in the middle, and let the light run 1 to 3 minutes per trigger. Add a plug-in indoor chime or a phone notification if you want a heads-up inside the house. Then do one slow test walk at dusk and adjust the aim in small tilts. That is genuinely 90 percent of the whole job.
How Motion Sensor Driveway Lights Actually See
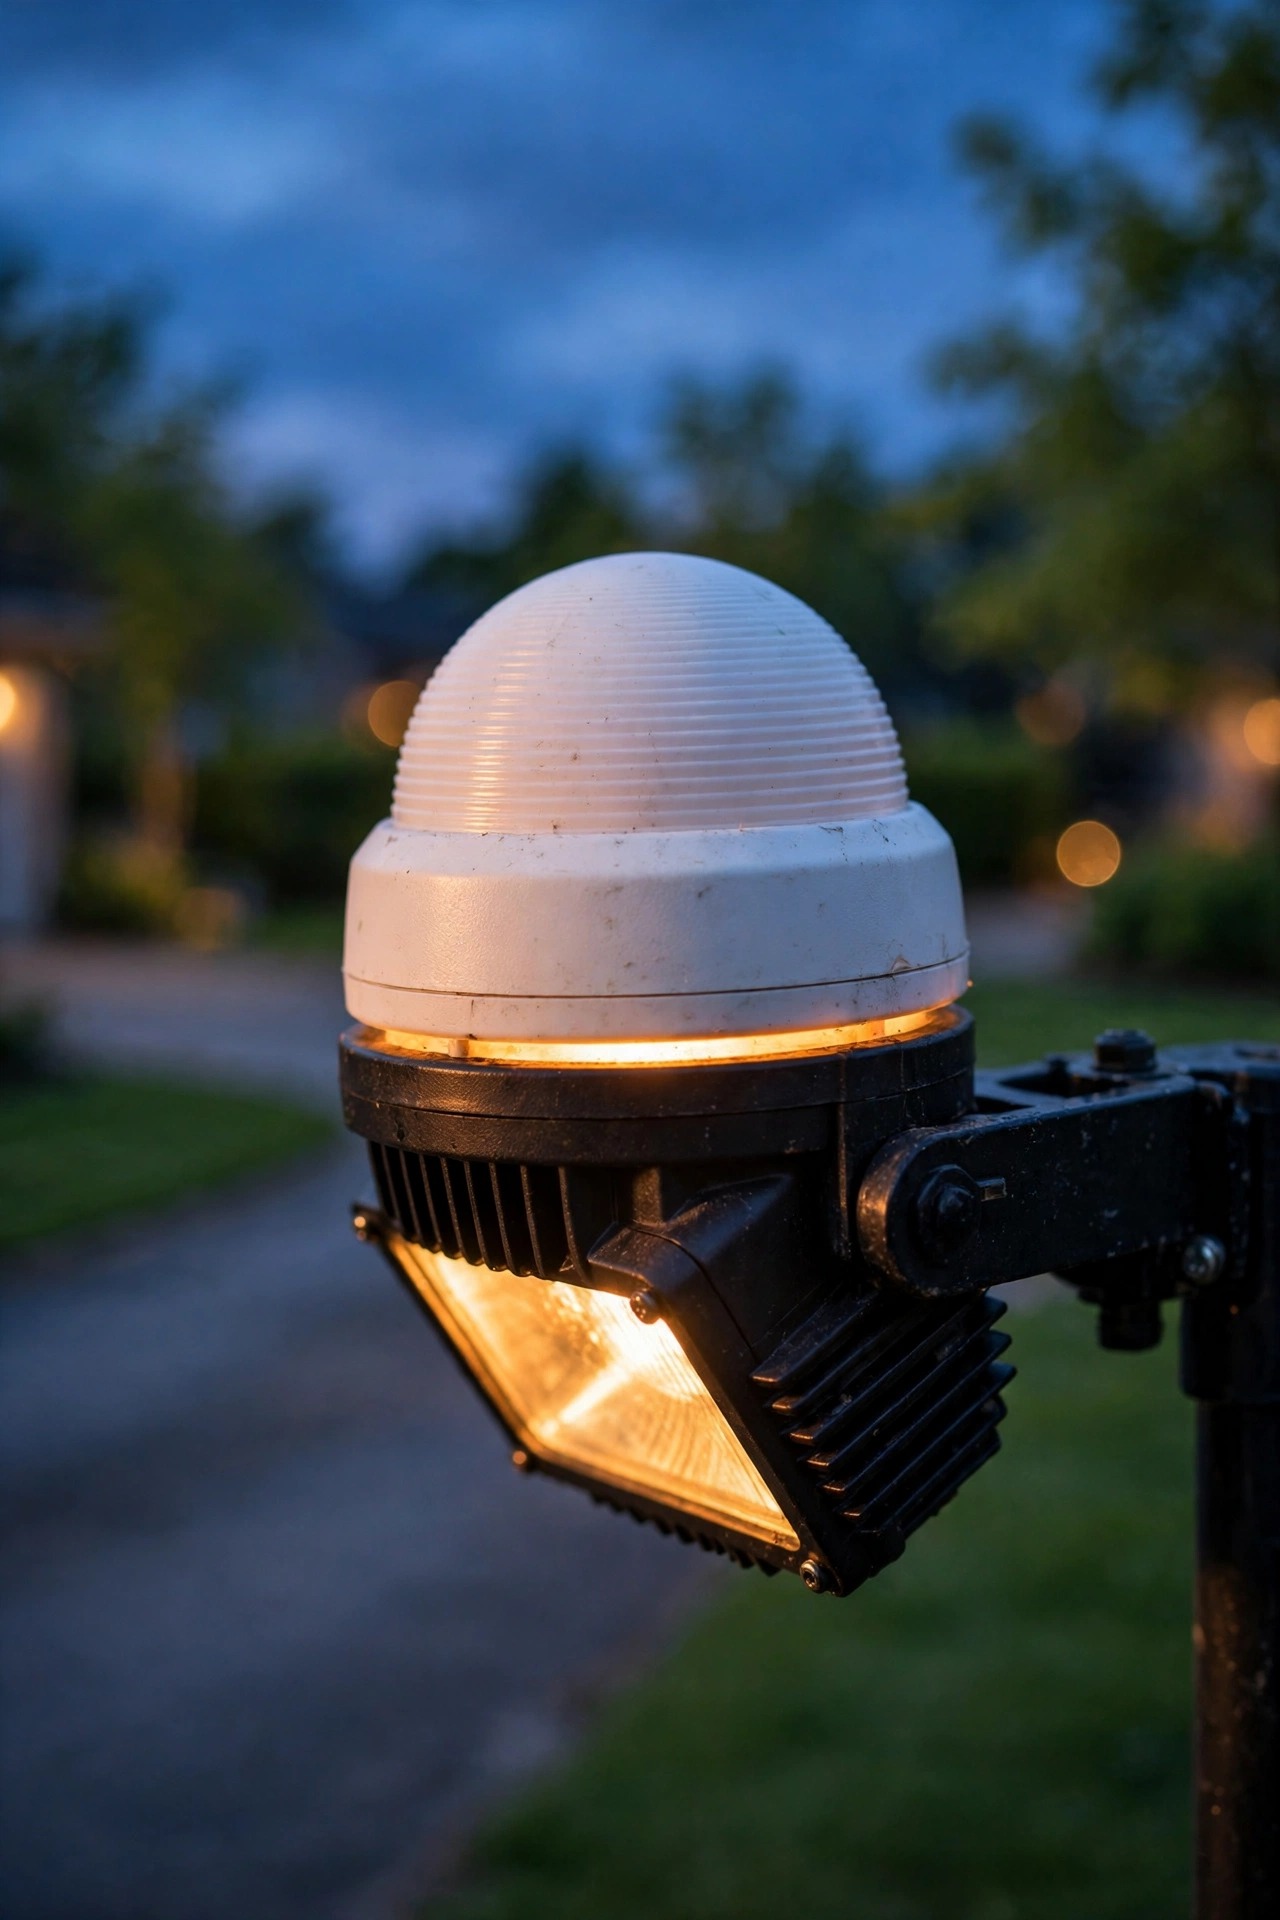
Here is the thing nobody tells you at the hardware store: a PIR (passive infrared) sensor does not see motion at all. It sees heat. The little white dome is a lens split into segments, and the sensor watches for a warm shape — you, a deer, a sun-warmed car hood — moving from one segment to the next. That one fact explains almost every weird behavior your light has.
Crossing traffic trips it fast. When you walk across the sensor's view, you pass through segment after segment, and the light fires within a step or two. Head-on traffic is its blind spot. Walk straight toward the sensor and you can get surprisingly close — sometimes within 10 to 15 feet — before you cross enough segments to trigger it. This is why a sensor aimed straight down a long driveway always feels a beat late.
Temperature matters too. On a hot summer night, when the air is close to body temperature, there is less heat contrast and the range shrinks. On a crisp fall evening the same sensor seems to reach forever. Neither is a malfunction; it is physics, and it is why I re-check my settings twice a year. If you want the deeper science of sensors for the whole yard, my guide to motion sensor outdoor lights covers every type. For the driveway, just remember: heat, crossing, segments. Placement flows from that.
Mounting Height and Aim, by Driveway Shape
Seven to ten feet up is the sweet spot for most homes, and there are honest reasons on both sides. Mount lower than about 6 feet and every cat in the neighborhood becomes a triggering event, plus the sensor's throw gets short and steep. Go above 12 feet and you create a dead cone underneath the fixture that a person can stroll through unseen. The header above a garage door, or the eave just beside it, is where most of my favorites end up living.
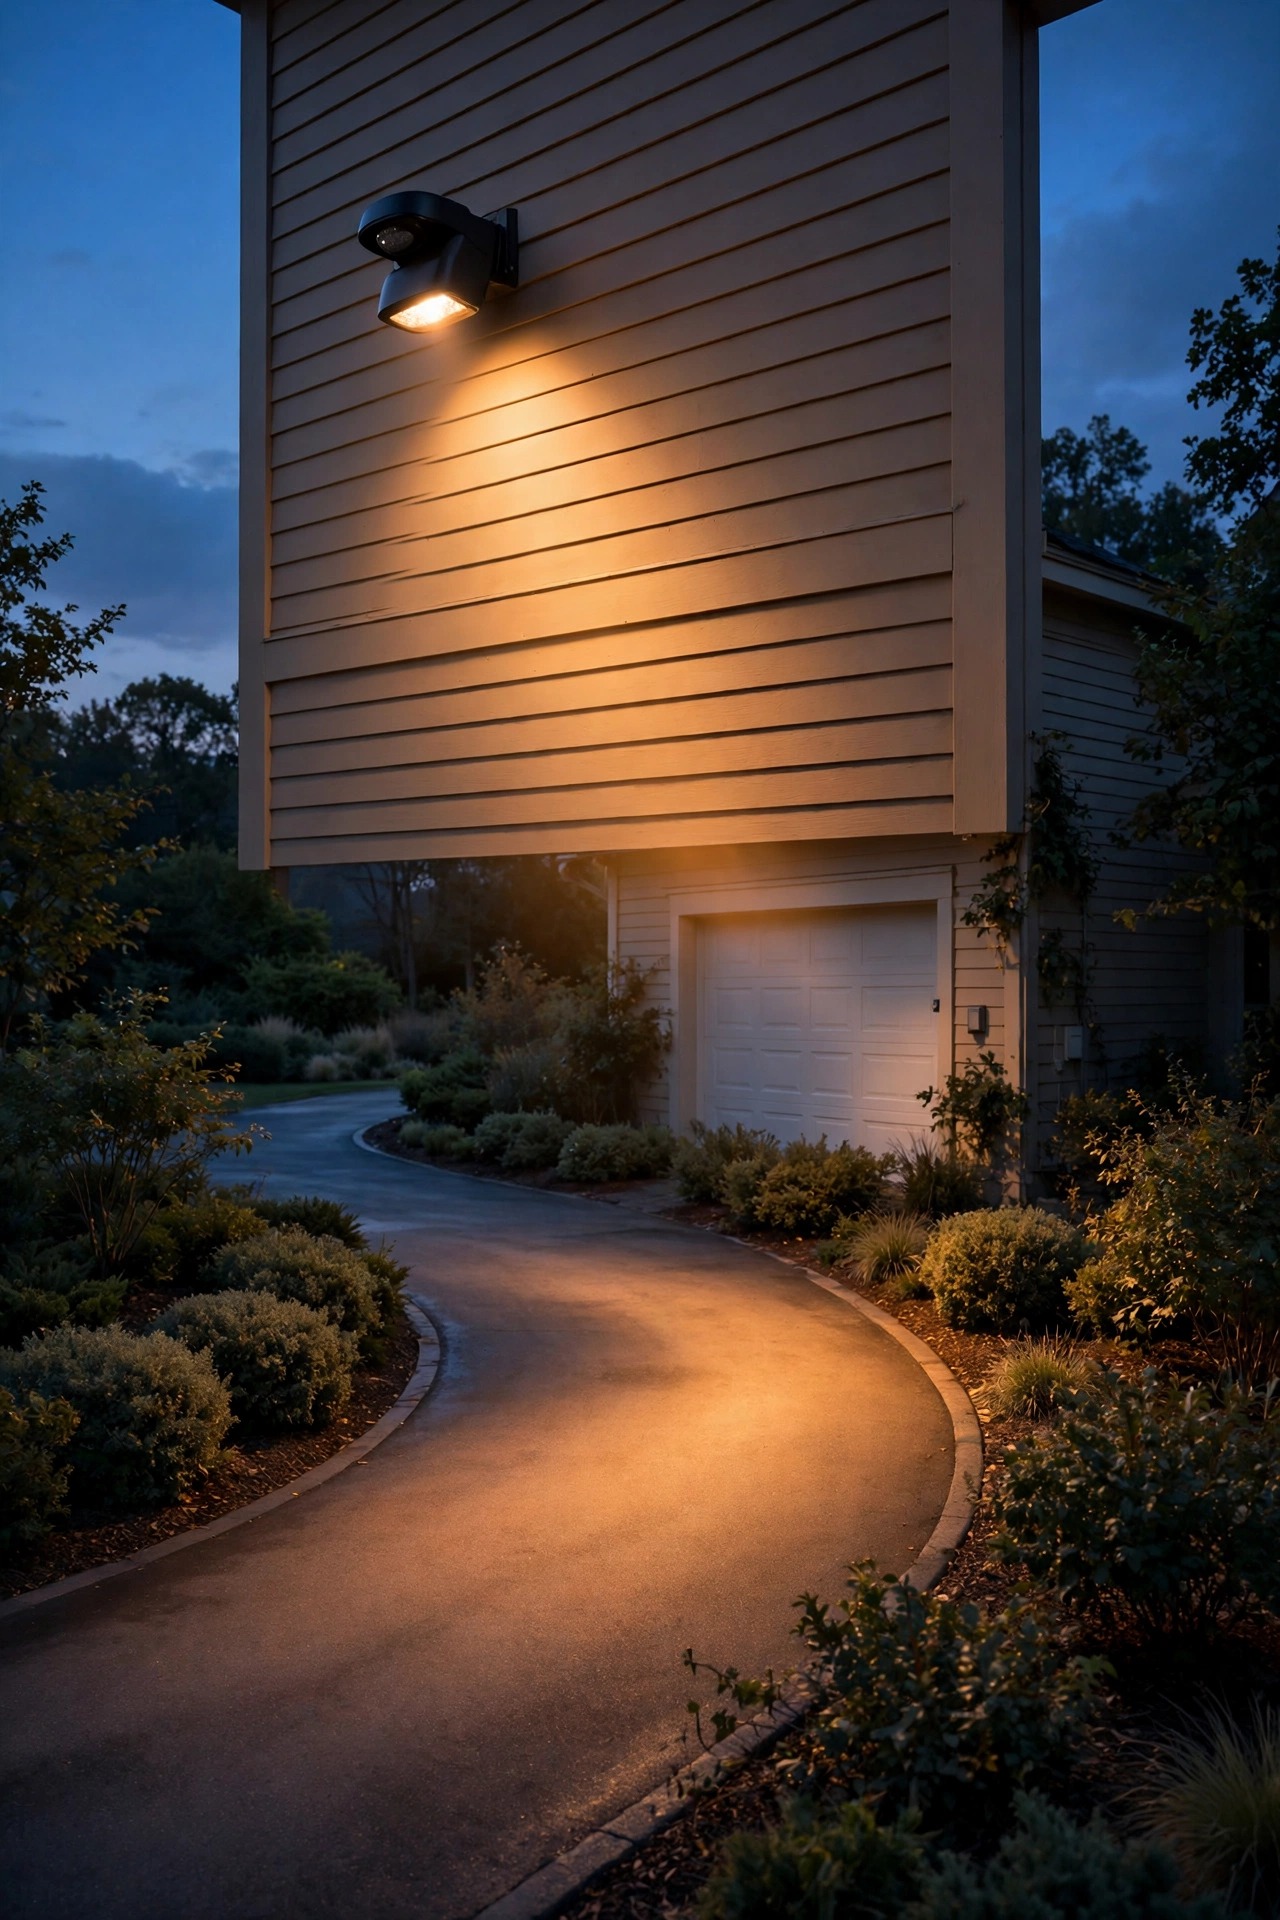
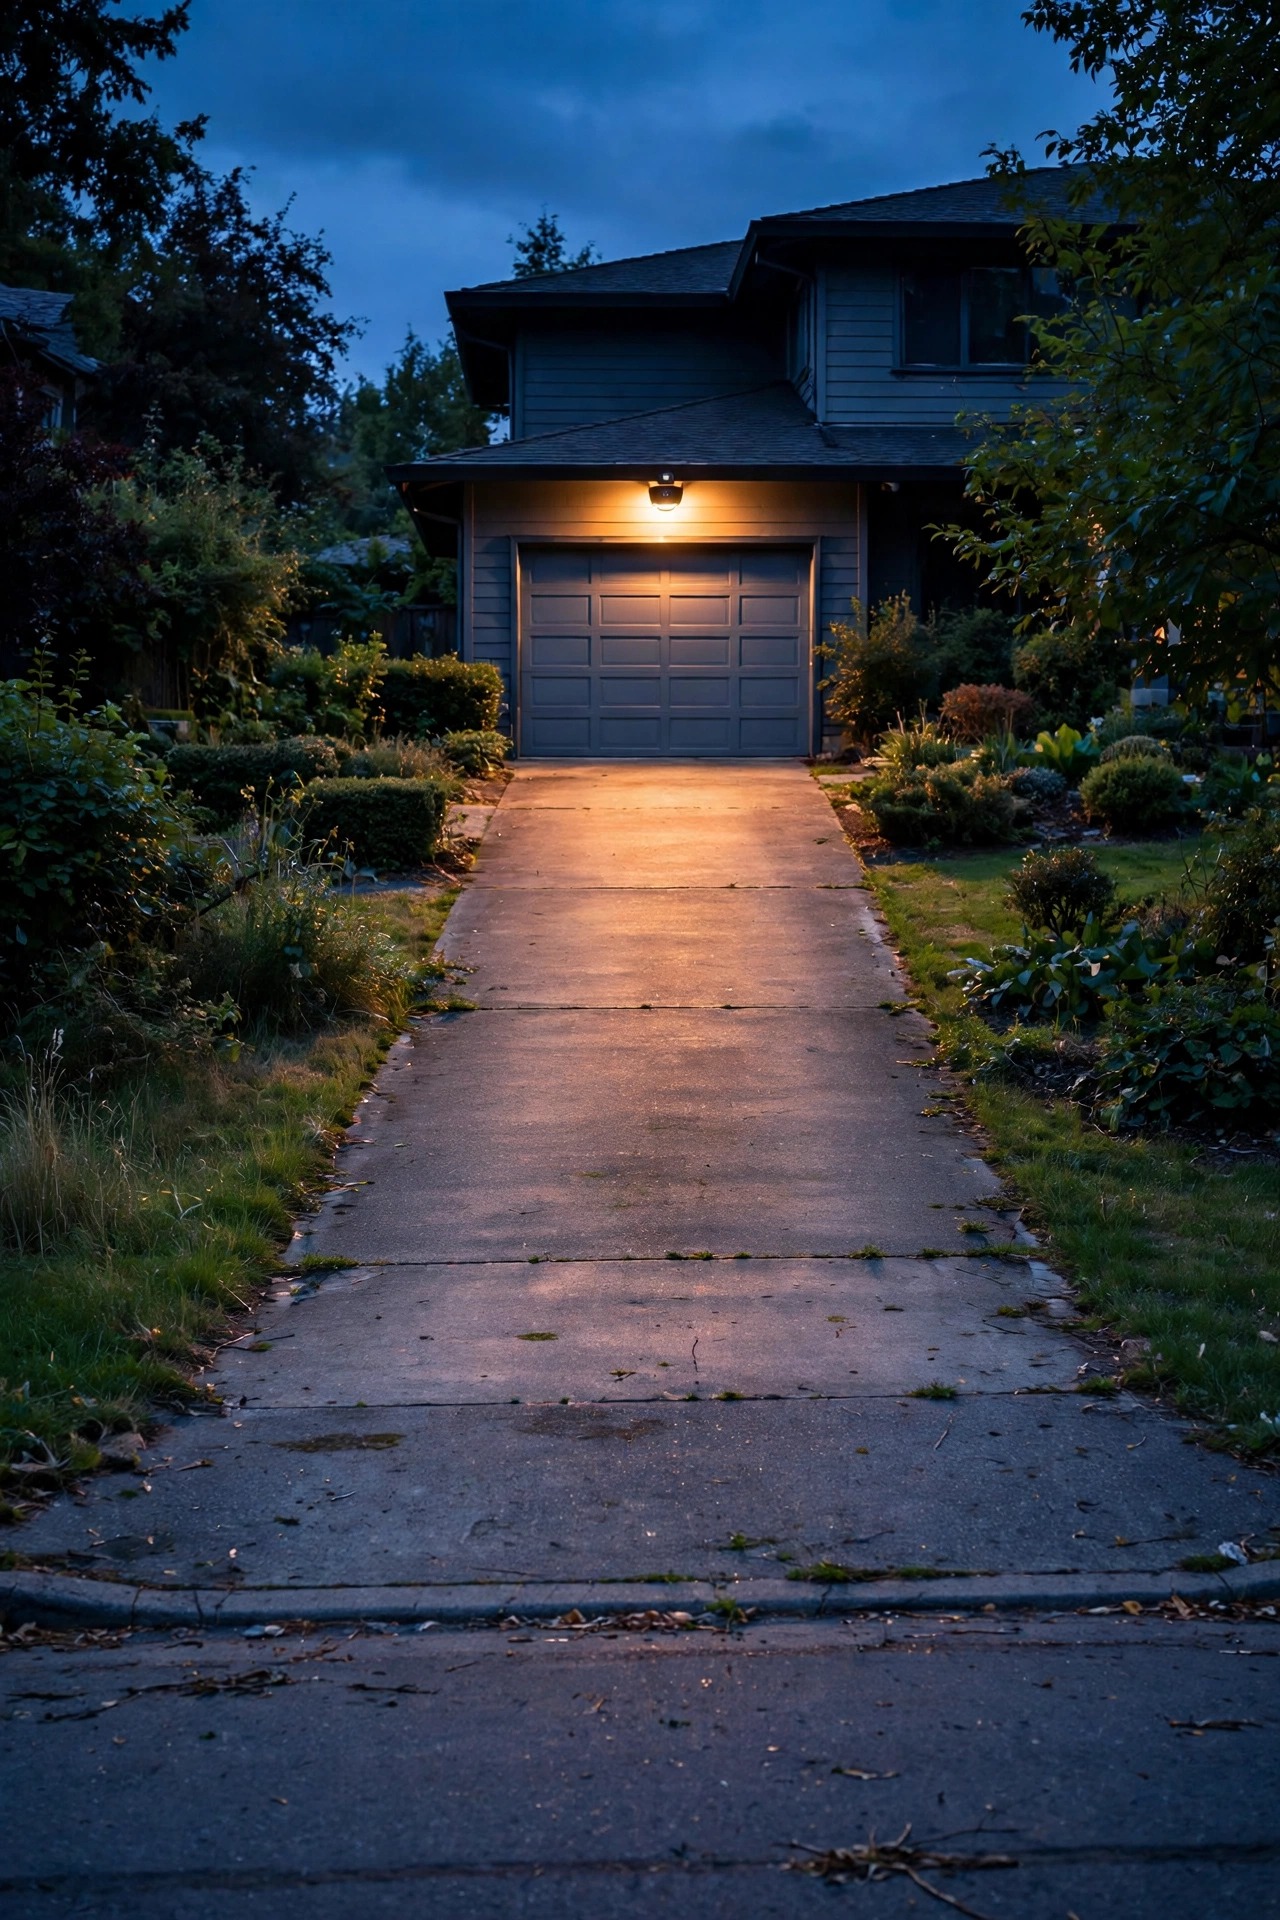
Aim is where the magic is. For a straight, standard driveway, do not point the sensor down its length like a runway. Angle it so its field cuts across the driveway's width, roughly at the apron or a car-length in from the street. Anything entering has to cross the field, which is exactly what PIR loves. A light head and a separate sensor you can tilt independently are worth their weight in gold here.
Long driveways need a different trick: put the alert near the house end, angled across, and let a second low layer of light handle the far stretch — layering the glow itself is covered in my favorite driveway lighting ideas. For curved drives, aim across the bend, where every car must pass sideways through the field. On a sloped driveway, tilt the sensor so its field runs parallel to the slope rather than into the sky or the pavement. Small tilts, then test. Always test.
Range and Sensitivity: The Two Dials That Matter
These two settings get confused constantly, so let me separate them the way I finally learned to. Range decides how far out the sensor bothers to look. Sensitivity decides how big and warm a thing has to be before the sensor cares. A light that fires for cars on the street usually has a range problem. A light that fires for moths, leaves in a warm breeze and things nobody can see usually has a sensitivity problem.
Start simpler than you think: range at about two-thirds of its maximum, sensitivity right in the middle. Then walk the boundary. I pace the edge of my driveway at a normal evening stroll speed — not sneaking, not marching — and I want the light to fire when I step onto the apron, not when I am still on the sidewalk. Nudge the range up one notch at a time until it does, then stop. Every extra foot of range beyond your property line is a foot of street, sidewalk and neighbor's yard you have invited into the conversation.
Many sensors also include little masking strips or a shutter you can slide to blind one side of the lens. Use them. Blinding the half of the field that faces the road is the single most effective tweak in this entire guide, and it takes about ninety seconds.
Duration, Daylight and Dual-Brightness Settings
Duration is how long the light stays on after the last detected movement, and for a driveway, shorter is kinder than most people expect. One to three minutes covers an arrival, a trunk unload and a walk to the door. The 10- and 15-minute settings mostly serve to annoy the neighbors and train everyone to ignore the light — and a light everyone ignores is not much of a security feature. If your fixture retriggers while someone is still moving in the field, it will simply stay on, so you lose nothing by going short.
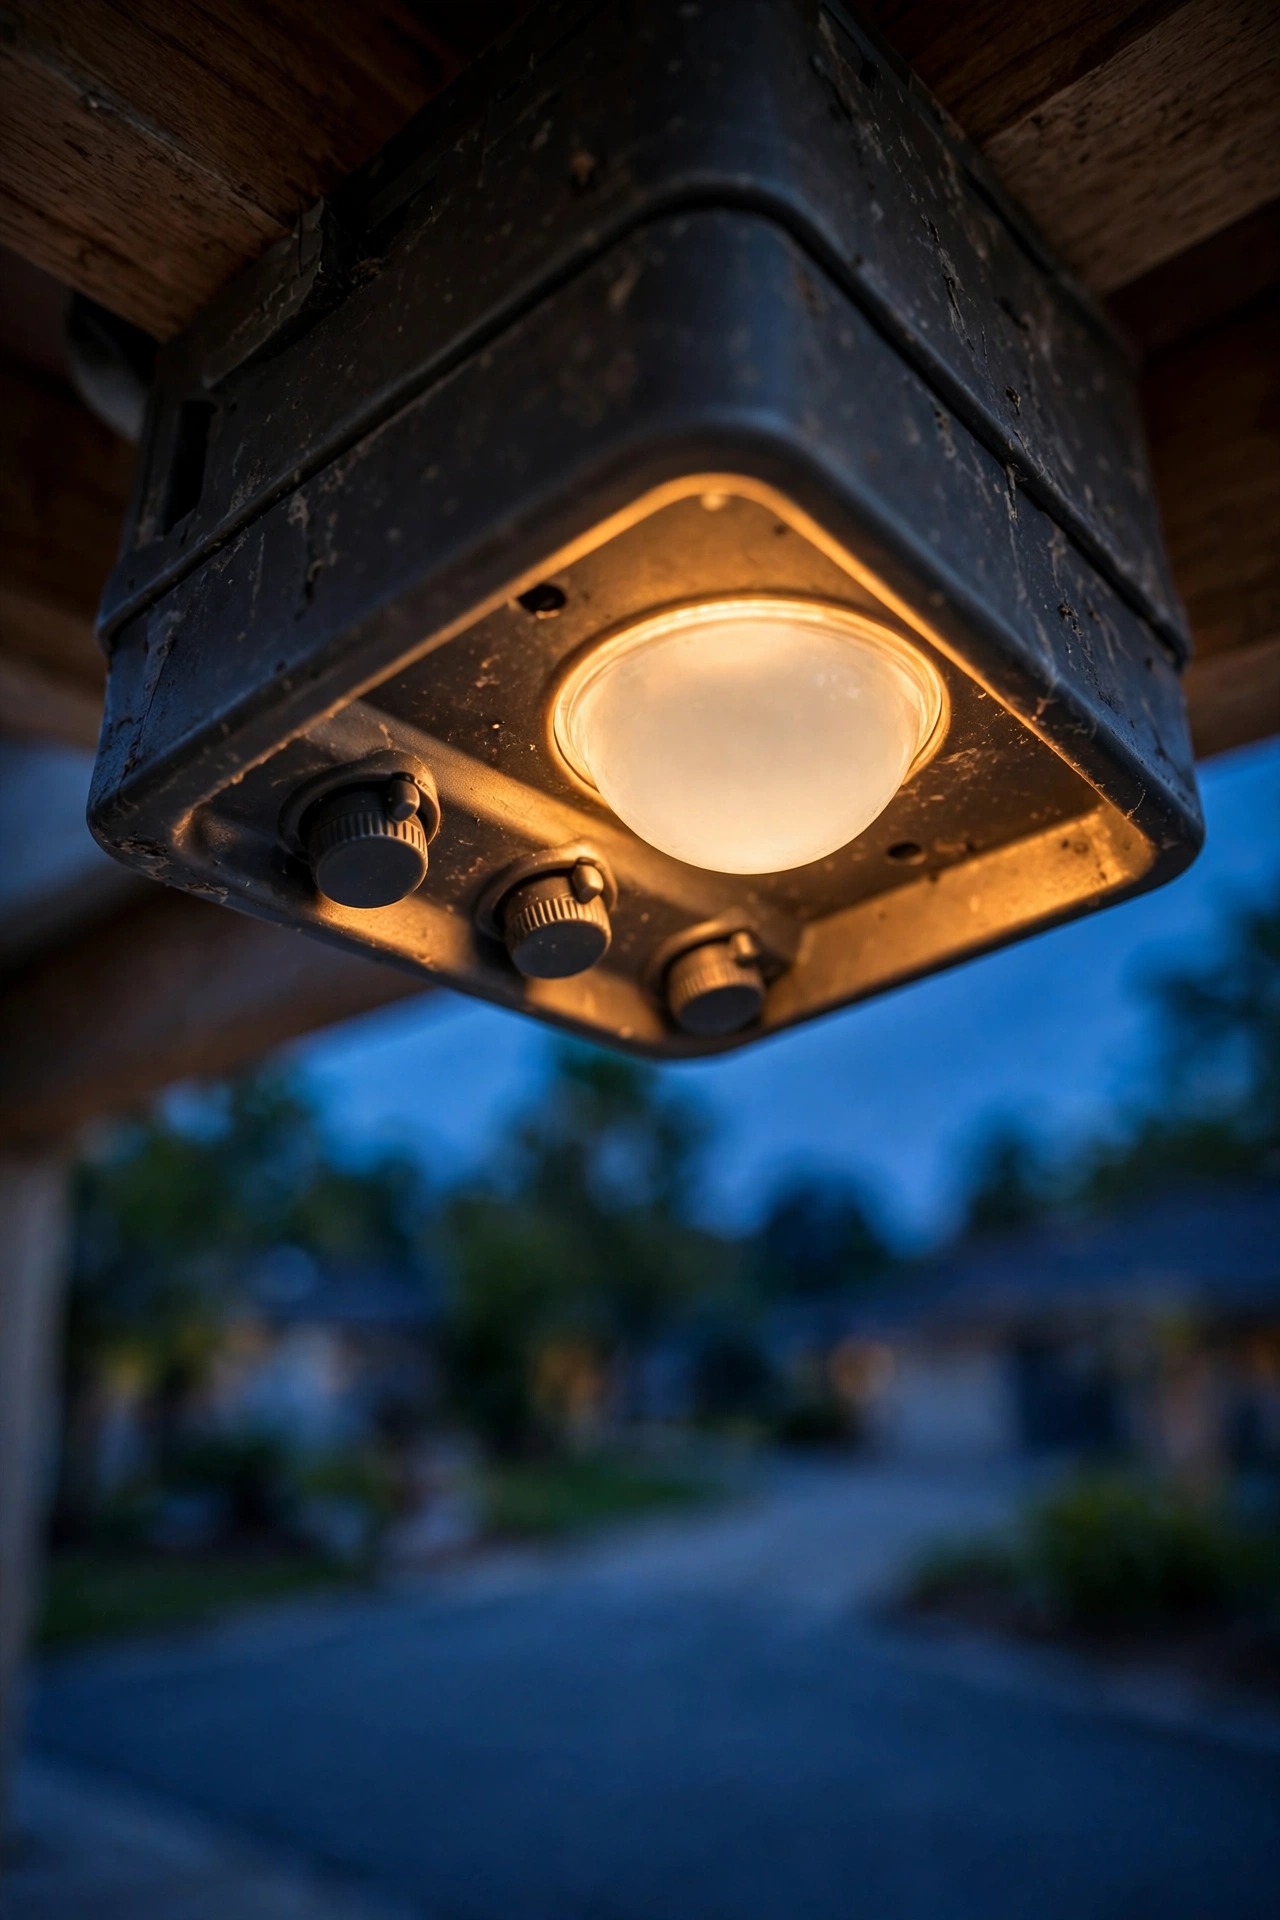
The daylight sensor — sometimes labeled lux — tells the fixture to sleep while the sun is up. Set it so the light wakes around dusk, not at noon on a cloudy day. Most dials run from a moon icon to a sun icon; a touch past the middle toward moon works for me. Too far toward sun and the light wastes its evenings flashing at 4 p.m. shadows.
My favorite modern feature is dual brightness. The fixture idles at a soft 20 to 30 percent glow all evening — pretty, welcoming, cheap to run — then snaps to full brightness the moment the sensor trips, and relaxes back down after. It gives you the curb appeal of always-on lighting with the attention-grabbing punch of a motion light, and it is noticeably gentler on the house across the street. If your fixture offers it, turn it on and never look back.

Alert Options: From a Simple Chime to Your Phone
A light that flashes outside only helps if someone notices, which is why driveway alerts exist on a friendly little ladder of options. At the bottom rung is the light itself — plenty for many homes, especially with dual brightness, because a sudden bright wash is hard to sleep through in a front bedroom.
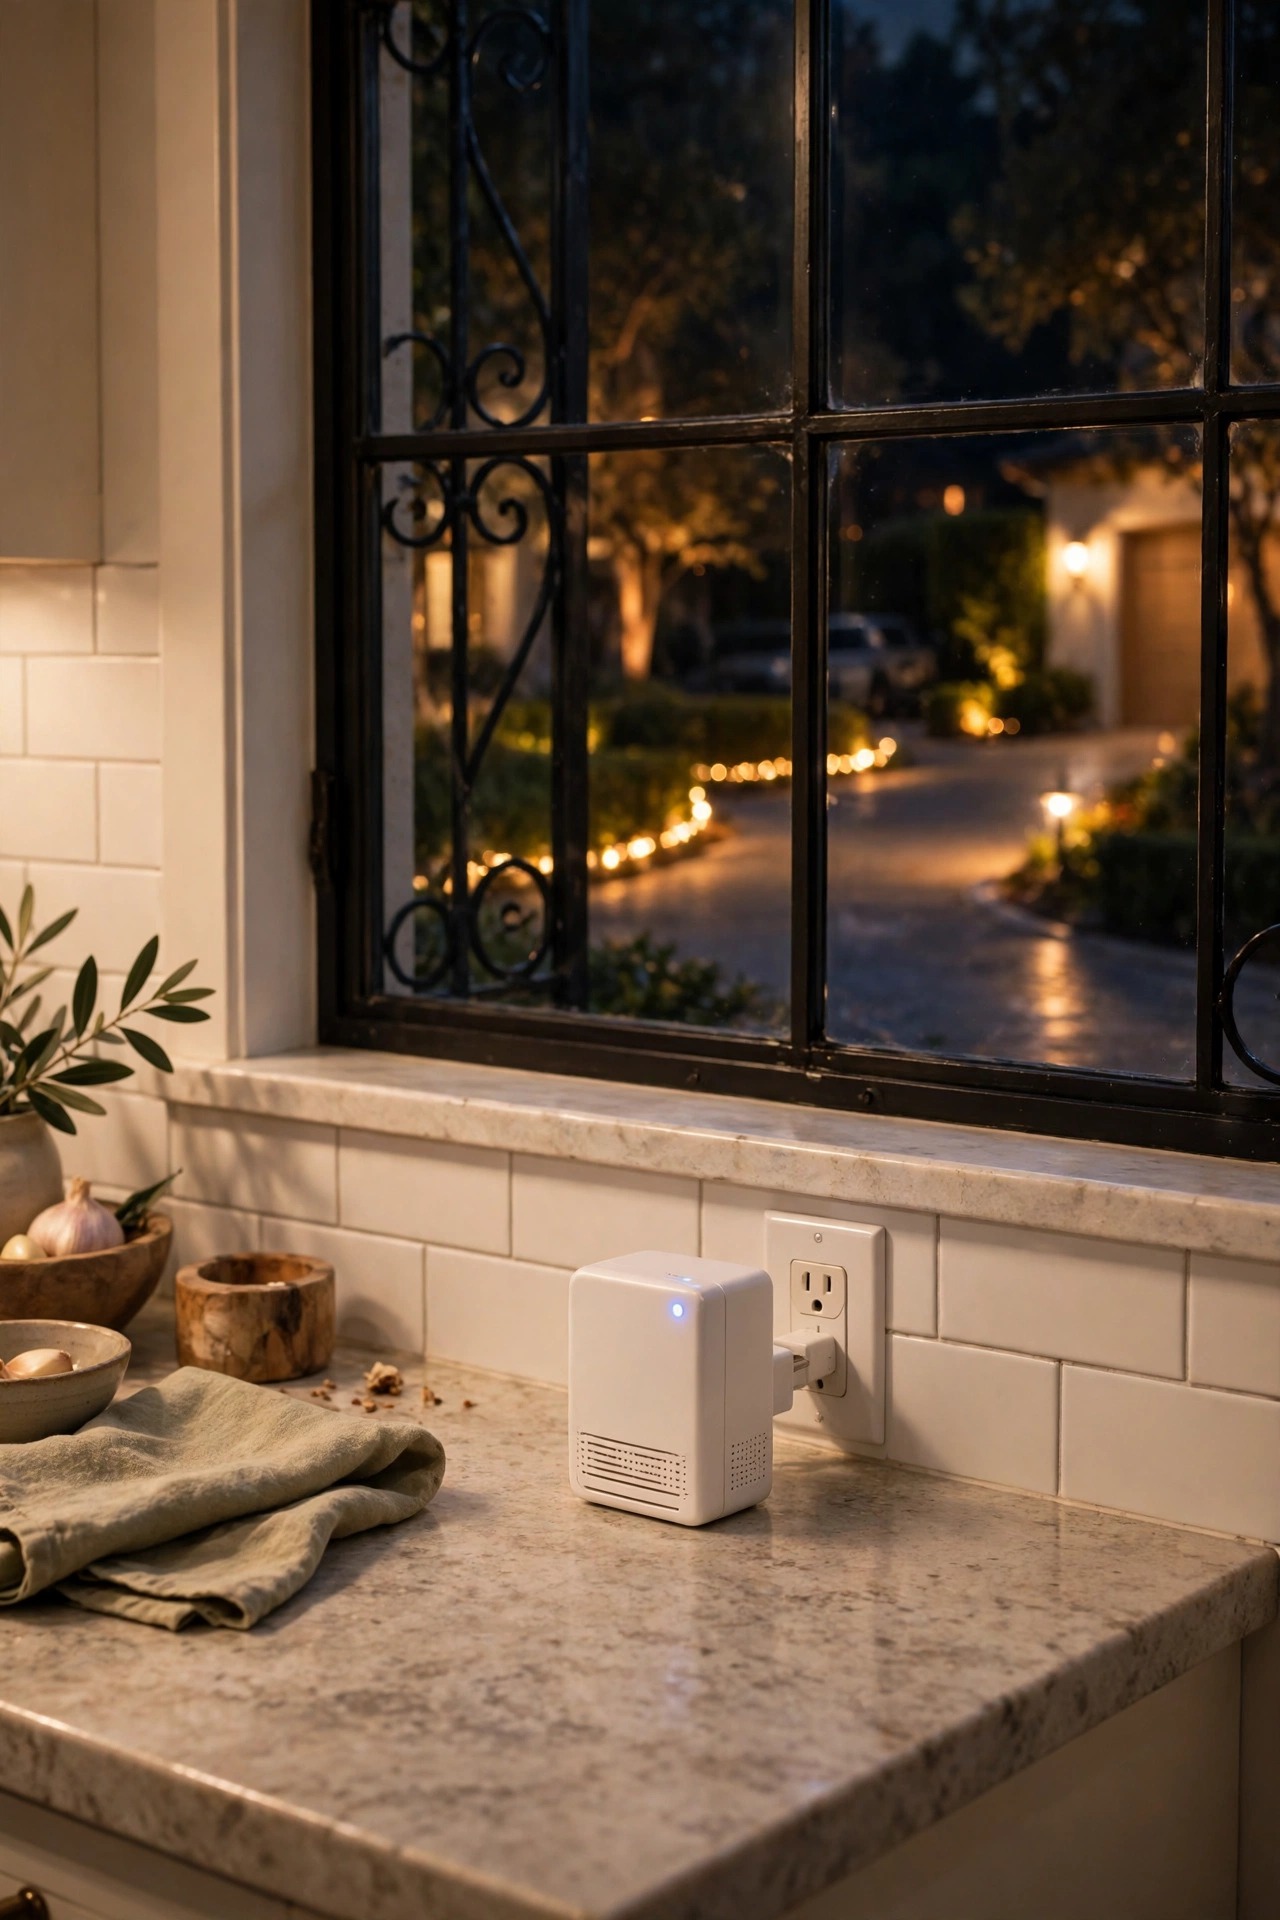
The next rung is my personal favorite for most houses: a wireless driveway alarm. A battery sensor at the drive talks to a small receiver that plugs into any indoor outlet, and the receiver chimes when something crosses the beam. You can set different chime tones for different zones, turn the volume down at night, or move the receiver to the kitchen when you are expecting a delivery. No wiring, no phone, no account, and it keeps working when the Wi-Fi sulks.
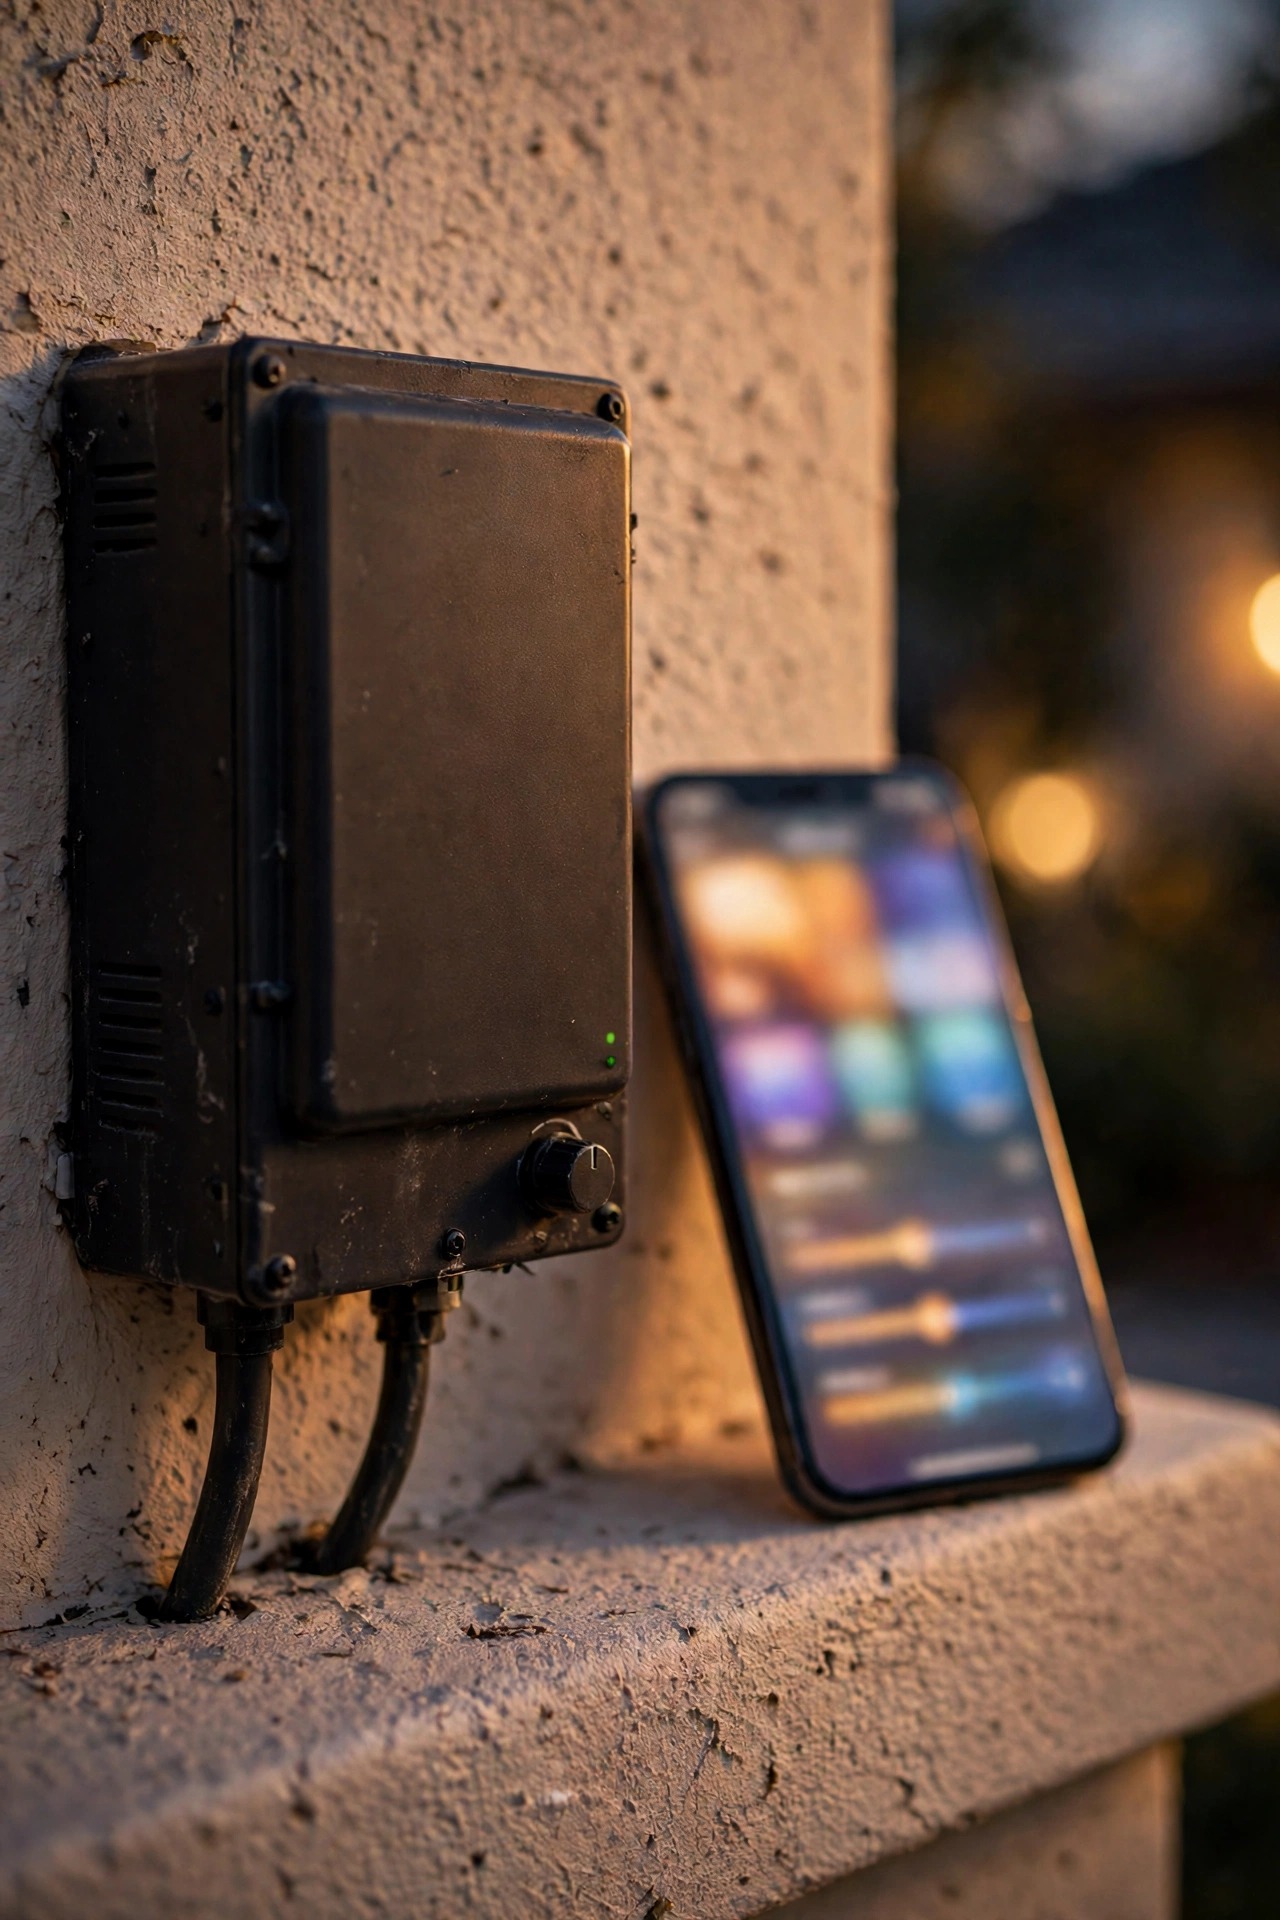
At the top rung, connected fixtures and smart bulbs can send a notification to your phone through their companion app when motion is detected, and some can flash an indoor bulb as a visual alert too. Lovely when it behaves — but notifications need discipline. Set the alert schedule so the driveway only pings you after dark or when you are away, or you will train yourself to ignore the one alert that matters. Whichever rung you choose, alert on the driveway zone only. A system that announces every squirrel on the patio teaches the whole household to tune it out within a week.
When It Will Not Stop: False Triggers and Fixes
Let me save you the ladder trips by going through the usual suspects in the order I check them. Street traffic first: if passing cars trip the light, the field reaches the road. Shorten the range a notch, mask the road-facing half of the lens, or re-aim so the field runs parallel to your property line instead of reaching across the sidewalk. Headlights alone do not trip a PIR sensor — it reads heat, not light — but a warm engine and exhaust crossing the edge of the field absolutely do.
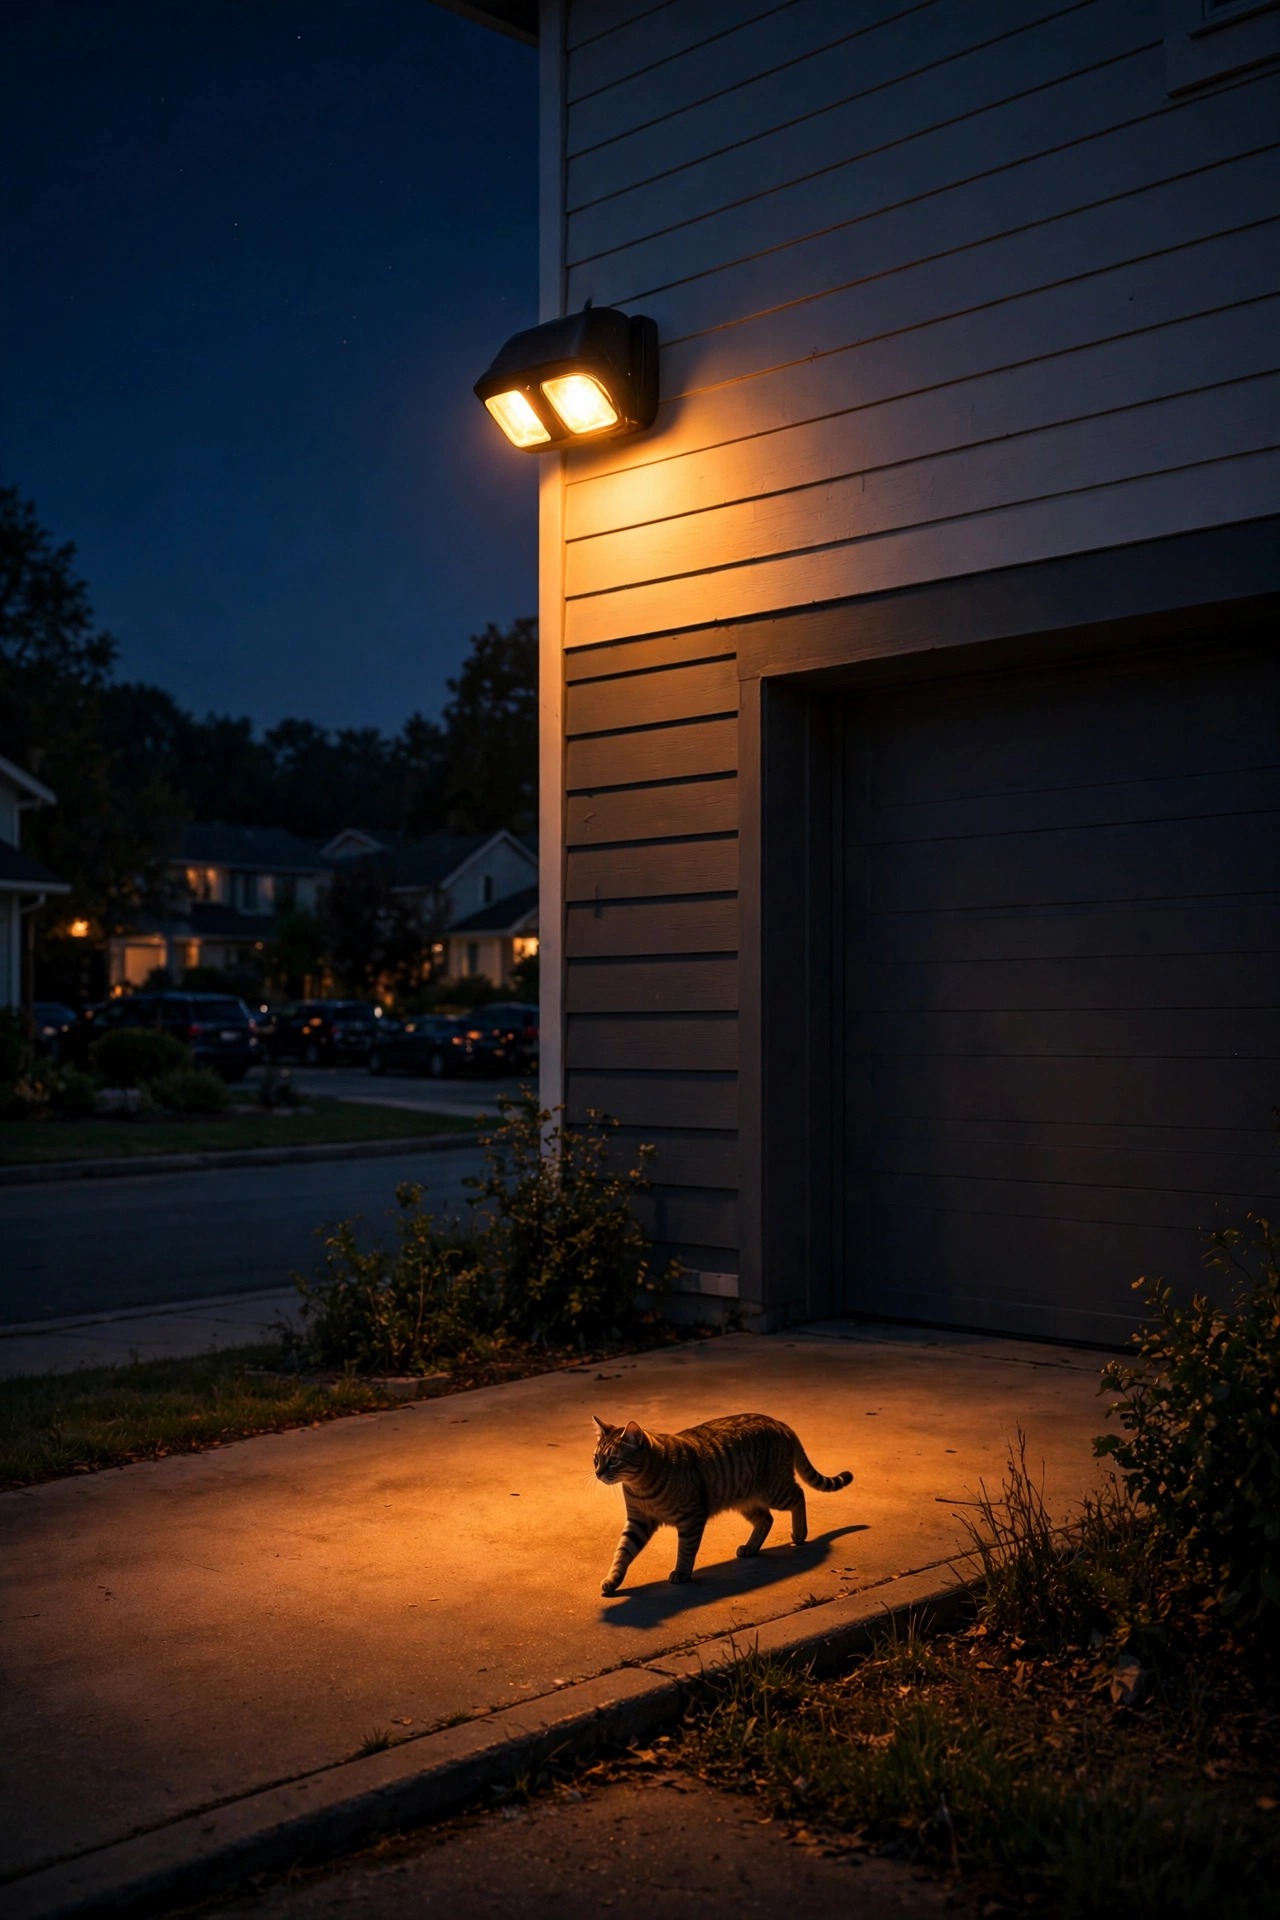
Animals are a height and sensitivity story. Raise the sensor toward the top of that 7-to-10-foot window, aim it slightly more level so its lower field edge lifts off the ground, and drop sensitivity one notch. Masking the lowest lens segments helps enormously, because cats and raccoons live in the bottom of the picture.
Then the sneaky ones. A dryer vent or HVAC exhaust puffing warm air across the field will trigger a sensitive sensor all winter. Sun-warmed branches swaying after a hot day can do it, and spiders adore building webs right across the lens, then strolling through their own tripwire at 3 a.m. Trim the branch, relocate or shield the vent's path, and wipe the lens. If your light instead gets stuck on and will not reset, I keep a separate set of fixes for a motion light that stays on — that one is usually a sensor or wiring issue, not an aim issue.
Power Choices and Weatherproofing That Last
Hardwired fixtures are the reliability champions. They never need a battery swap, they shrug off cold snaps, and the sensor can run a genuinely bright light head. If you are adding a brand-new mounting point, have it put on a GFCI-protected circuit and inside a proper weatherproof junction box — that part is worth an electrician if you are not confident, full stop.
Battery and solar models earn their place where wiring is miserable: a detached garage, a long fence line, a rental. The honest trade-offs are brightness and winter. Small solar fixtures dim as the panel gets dusty or the days get short, so place the panel where it truly sees southern sky, not under the eave shadow that looks fine in July and swallows the sun by November. For battery units, cold-rated lithium cells hold up far better through a freeze than standard alkalines.
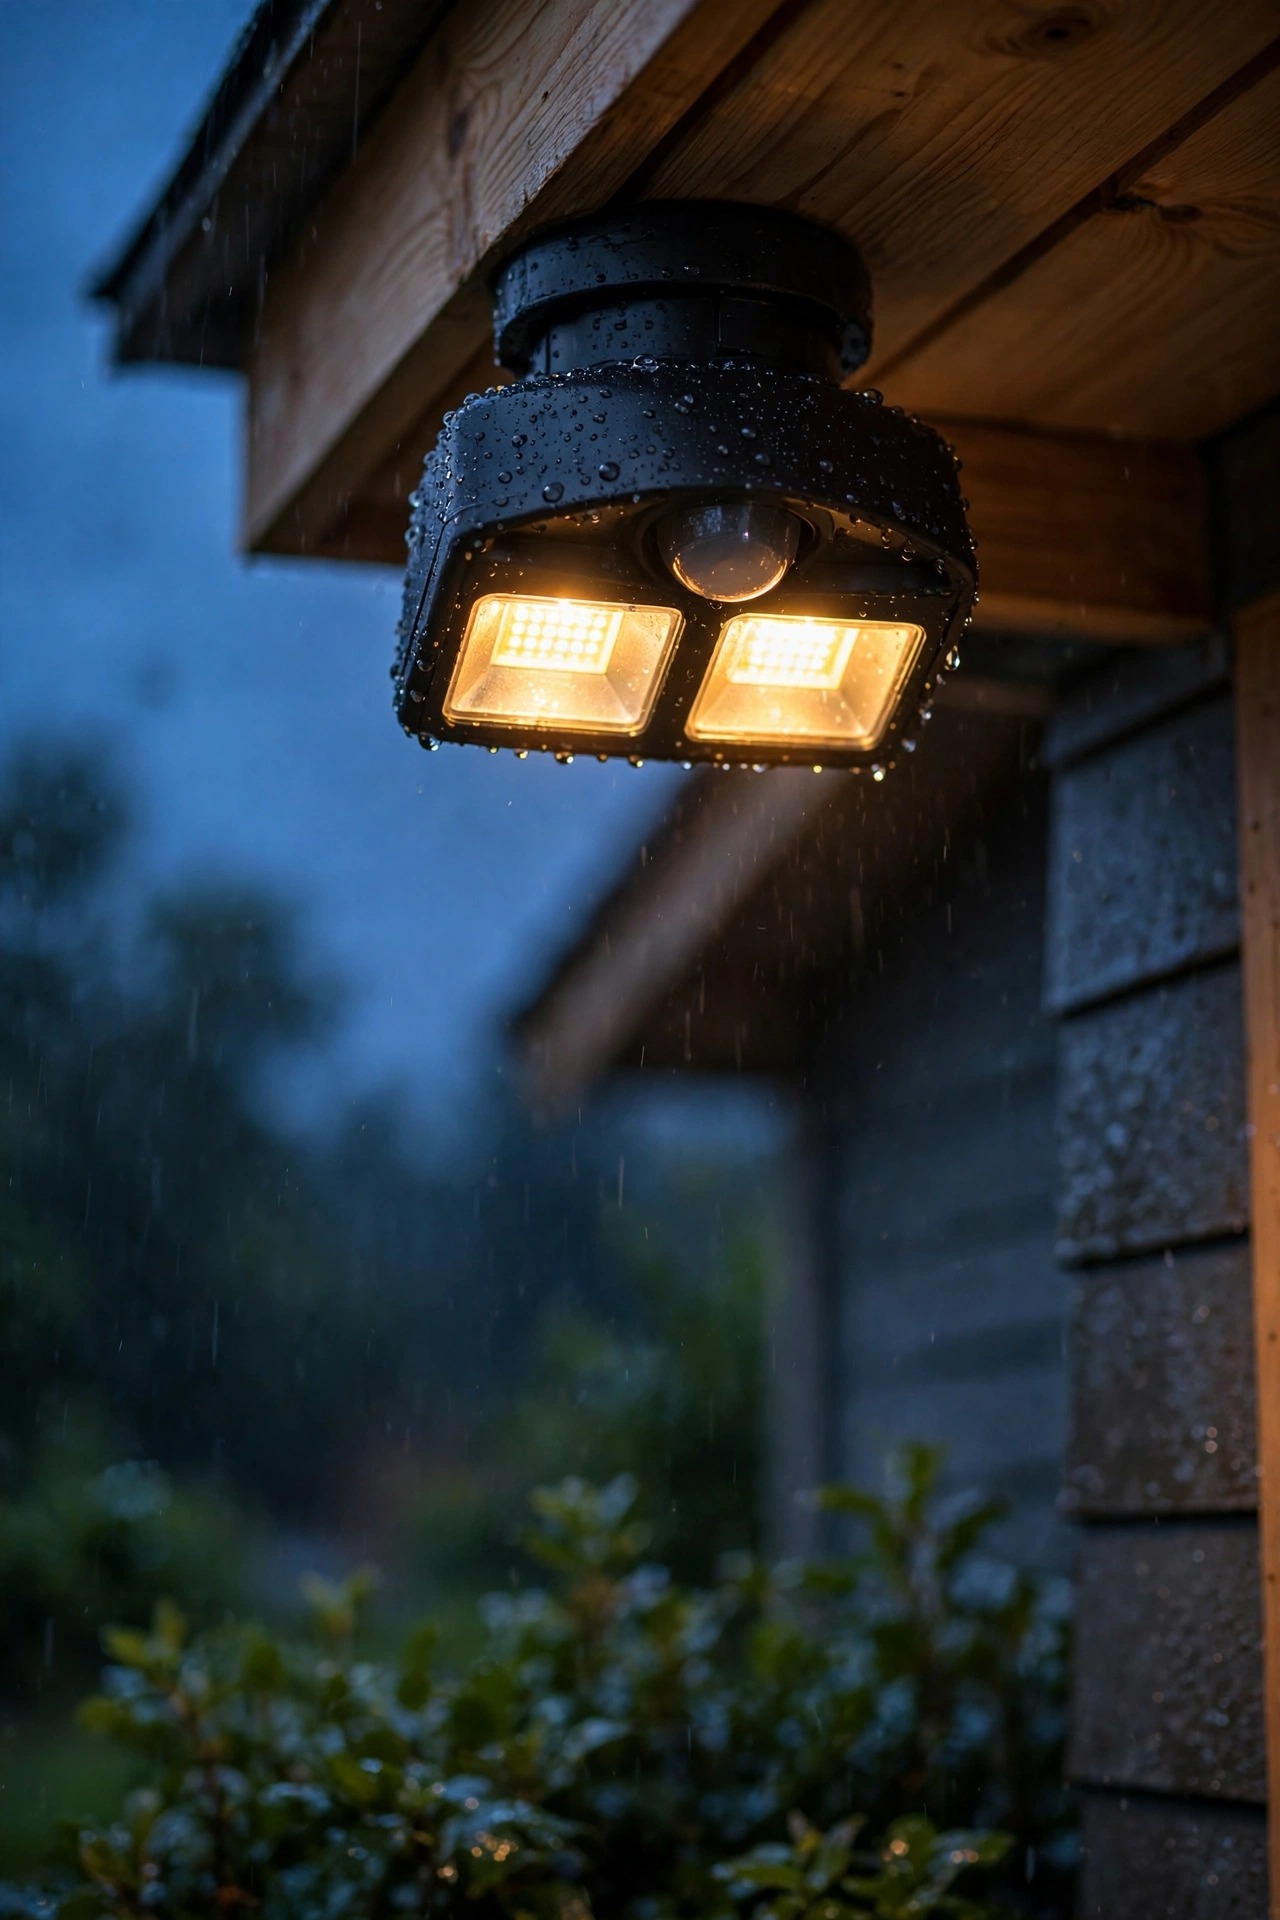
Whatever the power source, read the IP rating before you buy. IP44 means splash-resistant — fine under a deep eave. A fixture hanging out in open weather wants IP65, which shrugs off rain jets from any direction. At install time, leave a small drip loop in any exposed cable so water runs off instead of into the box, use the gasket that comes in the box (it is not a spare part, whatever my past self believed), and aim the sensor a few degrees downward so rain sheds off the lens instead of pooling on it.
What It Costs in 2026
Driveway motion lighting is mercifully cheap for how much peace of mind it buys. A basic hardwired motion floodlight with a decent sensor runs $25 to $60. Step up to a model with dual brightness, an adjustable sensor head and better range control and you are at $50 to $120 — the tier I recommend for most homes, because the settings are the whole point.
A standalone wireless driveway alert — one outdoor sensor plus the plug-in indoor chime receiver — costs $40 to $130 depending on range, and extra sensors for a second zone run $25 to $45 each. Connected fixtures that send phone notifications sit at $80 to $200. If you need a new junction box and circuit where none exists, an electrician will typically add $150 to $350 to the project; swapping an existing fixture is free if you are handy, or an hour of labor if you are not.
Running costs are nearly a rounding error. A 25-watt LED head triggered for, say, 15 total minutes a night uses under 0.2 kilowatt-hours a month — a few cents. Even in dual-brightness mode idling at low glow for six hours an evening, expect roughly $0.50 to $1.00 a month. Battery-powered sensors cost $8 to $15 a year in replacement cells. Honestly, the coffee you drink while doing the test walk may be the biggest line item.

The Dusk Test Walk: Tuning Motion Sensor Driveway Lights in 20 Minutes
Every setting above is a guess until you walk it. Here is the routine I run at dusk, coffee in hand, whenever I install or adjust a fixture. It takes about 20 minutes and it is the difference between settings that look right on paper and settings that work.
1. Put the fixture in test mode if it has one, or set the duration to its shortest — you want the light to fire and reset quickly so each pass tells you something.
2. Walk the driveway edges at your normal pace, not a burglar creep and not a march. Cross the field at the apron, at the midpoint and at the garage door.
3. Walk straight toward the sensor from the street, the way a visitor would. Note where it finally catches you — that is your head-on dead zone, and if it is more than about 15 feet, adjust the aim sideways.
4. Drive in at real arrival speed, and also drive past on the street. The first must trigger; the second must not.
5. Stand where the neighbors stand. If the light blasts their porch or bedroom window, tilt the head down or narrow the field before anything else.
6. Make one adjustment at a time — a tilt of a few degrees, one notch of range — and re-walk just that boundary.
7. Finally, set your real duration and daylight threshold, and check once more after full dark.
That is it. Resist the urge to keep fiddling for a week; note any oddball triggers in your phone for a few nights instead, because patterns (the 11 p.m. raccoon commute, the Tuesday truck) are obvious in a list and invisible in the moment.
Seasonal Tweaks and Two-Minute Maintenance
A motion sensor is a little outdoor instrument, and it drifts out of tune with the seasons in ways you can predict. Remember the heat-contrast trick from earlier: in high summer the sensor loses range, so you may need sensitivity up one notch in July; in the first cold snap it gains range, and that is when street traffic suddenly starts triggering it — sensitivity back down. I make these two tiny adjustments with the equinoxes and it has honestly ended 90 percent of my false alarms.
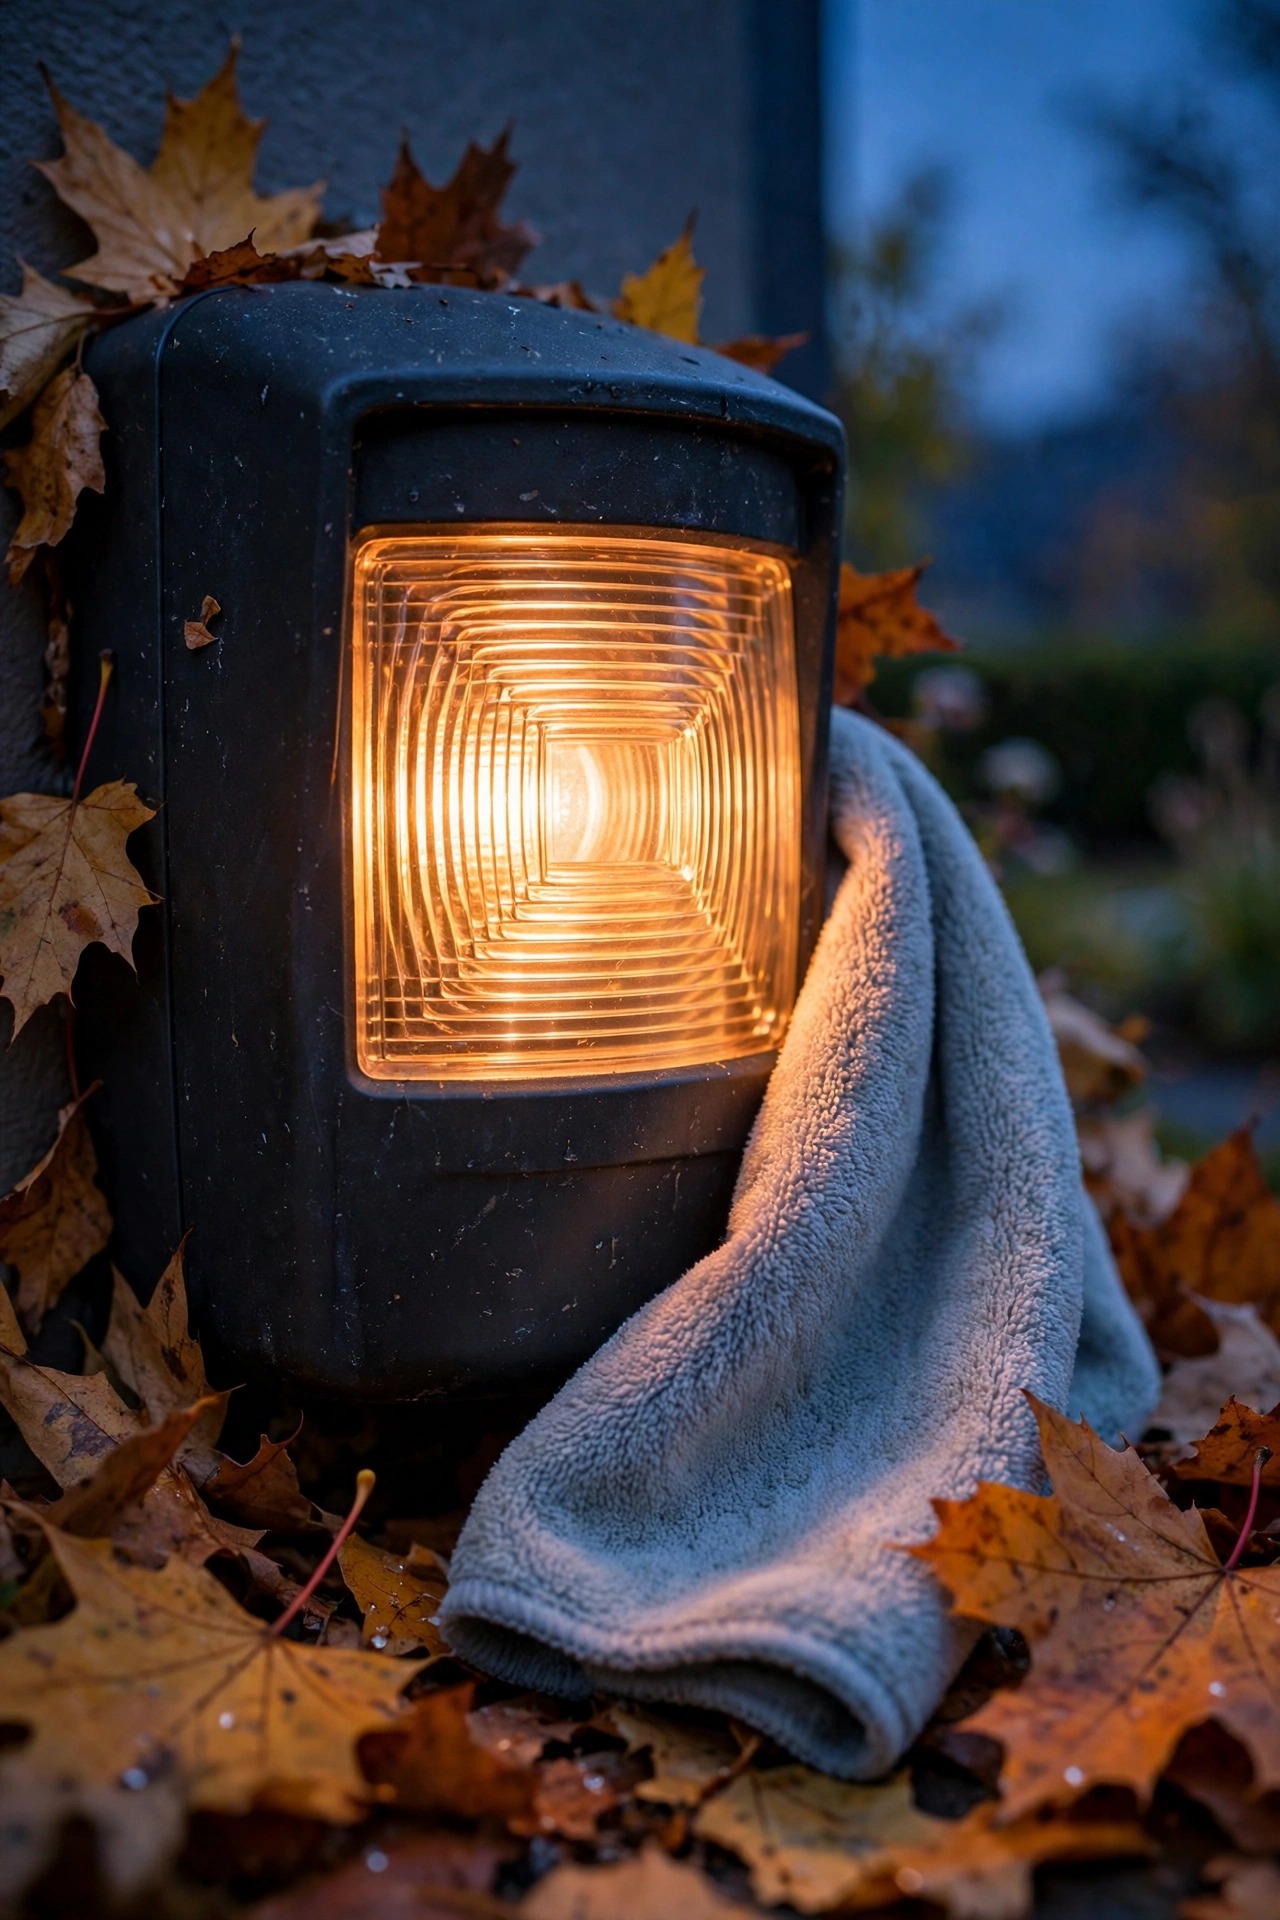
Once a month, give the lens a wipe with a soft cloth — dust, pollen and one determined spider can muffle it badly — and glance at the aim after any serious storm, because wind works on a tilted sensor head the way it works on a loose sign. Clear leaves and snow off solar panels the same day you notice them, and if your alert sensor is battery-powered, swap in fresh cells every fall before the cold arrives, not after the first dead night in December.
Finally, re-walk your boundaries when the yard changes. A new shrub, a taller hedge, a parked trailer — each one redraws the sensor's world, and a two-minute evening stroll finds the new blind spots long before a guest does.
Frequently Asked Questions
How far should motion sensor driveway lights detect?
For most homes, 30 to 50 feet of real detection is the useful range — enough to catch a car turning in, without swallowing the street. Box ratings of 60 or 70 feet describe ideal conditions: a cool night, a warm body crossing squarely. Set the range to end at your property line, even if the dial goes farther, and confirm it with a test walk rather than trusting the number on the box.
Why does my driveway light turn on when cars pass on the street?
Because the top or edge of its field reaches the road, and a warm engine block crossing that edge looks exactly like an arrival to the sensor. Shorten the range one notch, mask the road-facing side of the lens, or re-aim the field so it runs along your driveway instead of reaching out from it. One of those three fixes it nearly every time; the full checklist is in the false-triggers section above.
Can I hear an alert inside the house without using my phone?
Yes — a wireless driveway alarm pairs an outdoor sensor with a small receiver that plugs into any indoor outlet and chimes when the beam is crossed. Different zones can get different tones, the volume adjusts, and none of it depends on Wi-Fi or an account. It is the option I recommend most for anyone who wants a simple, reliable heads-up.
Do motion sensor lights use a lot of electricity?
No — honestly, pennies. An LED motion light is off nearly all the time; even triggering 15 minutes a night, a typical 25-watt fixture uses well under a quarter of a kilowatt-hour a month. Dual-brightness models idling at a soft glow all evening cost a little more, roughly a dollar a month or less, which most of us consider money well spent.
Conclusion
If you take one idea from this whole guide, make it this: motion sensor driveway lights are an aim-and-settings project wearing the disguise of a shopping project. Mount 7 to 10 feet up, aim across the traffic instead of along it, keep range honest and sensitivity middling, and spend 20 minutes walking the boundaries at dusk. Do that, and the light stops being a neighborhood nuisance and becomes what it was always supposed to be — a quiet little greeter that wakes up exactly when it should. Browse the rest of the site for the pretty layer that goes with it, and enjoy your next evening arrival.