Introduction
In my experience, the driveway is the most overlooked part of a home's exterior lighting. We polish the front porch and fuss over the landscaping, then leave the long stretch of concrete guests actually walk and drive on dark. I learned that the hard way when a delivery driver nearly rolled off the edge of ours one dark winter night.
The good news? Driveway lighting ideas run the whole spectrum, from a few inexpensive solar markers you can install in an afternoon to a grand, gated entrance that makes the whole street slow down. When I started planning mine, I broke it into layers: marking the edges for cars, lighting the path for walkers, then adding the pretty stuff — uplighting trees, washing the retaining wall, and flanking the entrance with glowing pillars.
In this list of 21 driveway lighting ideas, I'll walk you through every layer with practical details: fixture spacing, bulb types and color temperatures, solar versus wired systems, weatherproofing, and typical costs. Whether your driveway is a short suburban pad or a long country lane, you'll find something here that fits your budget and your courage for DIY. Let's light it up.
1. Low-Voltage Stake Path Lights
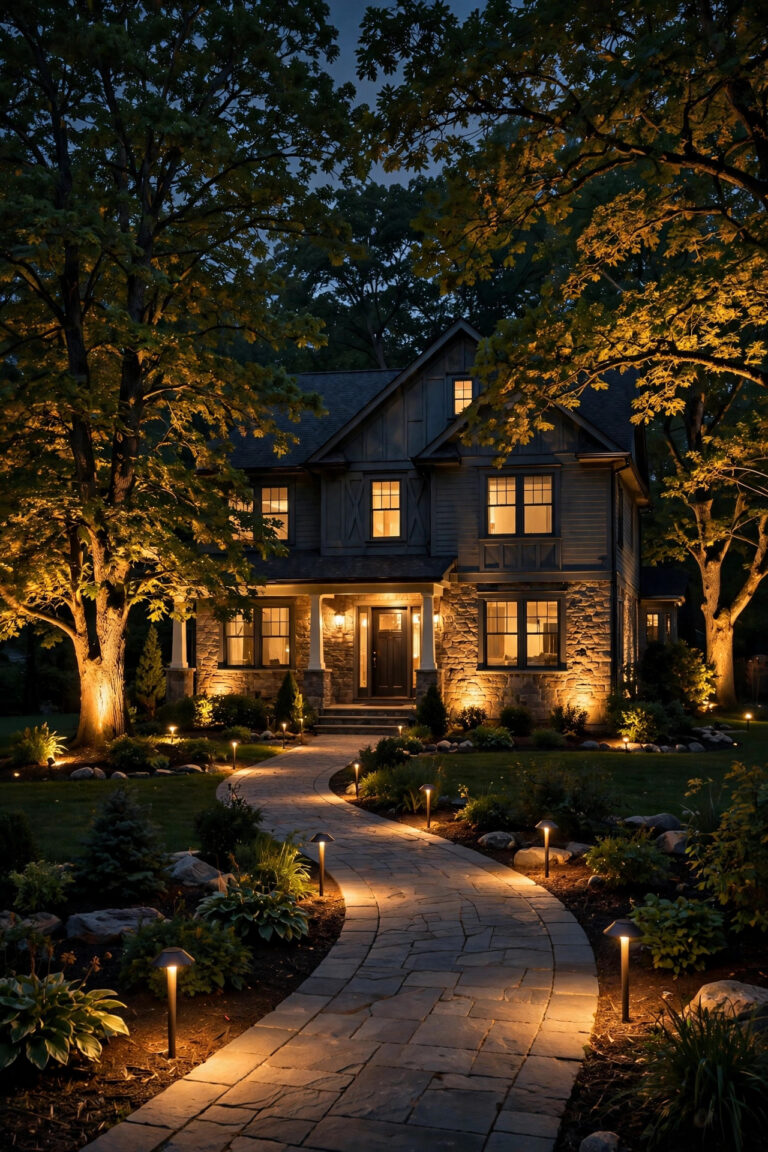
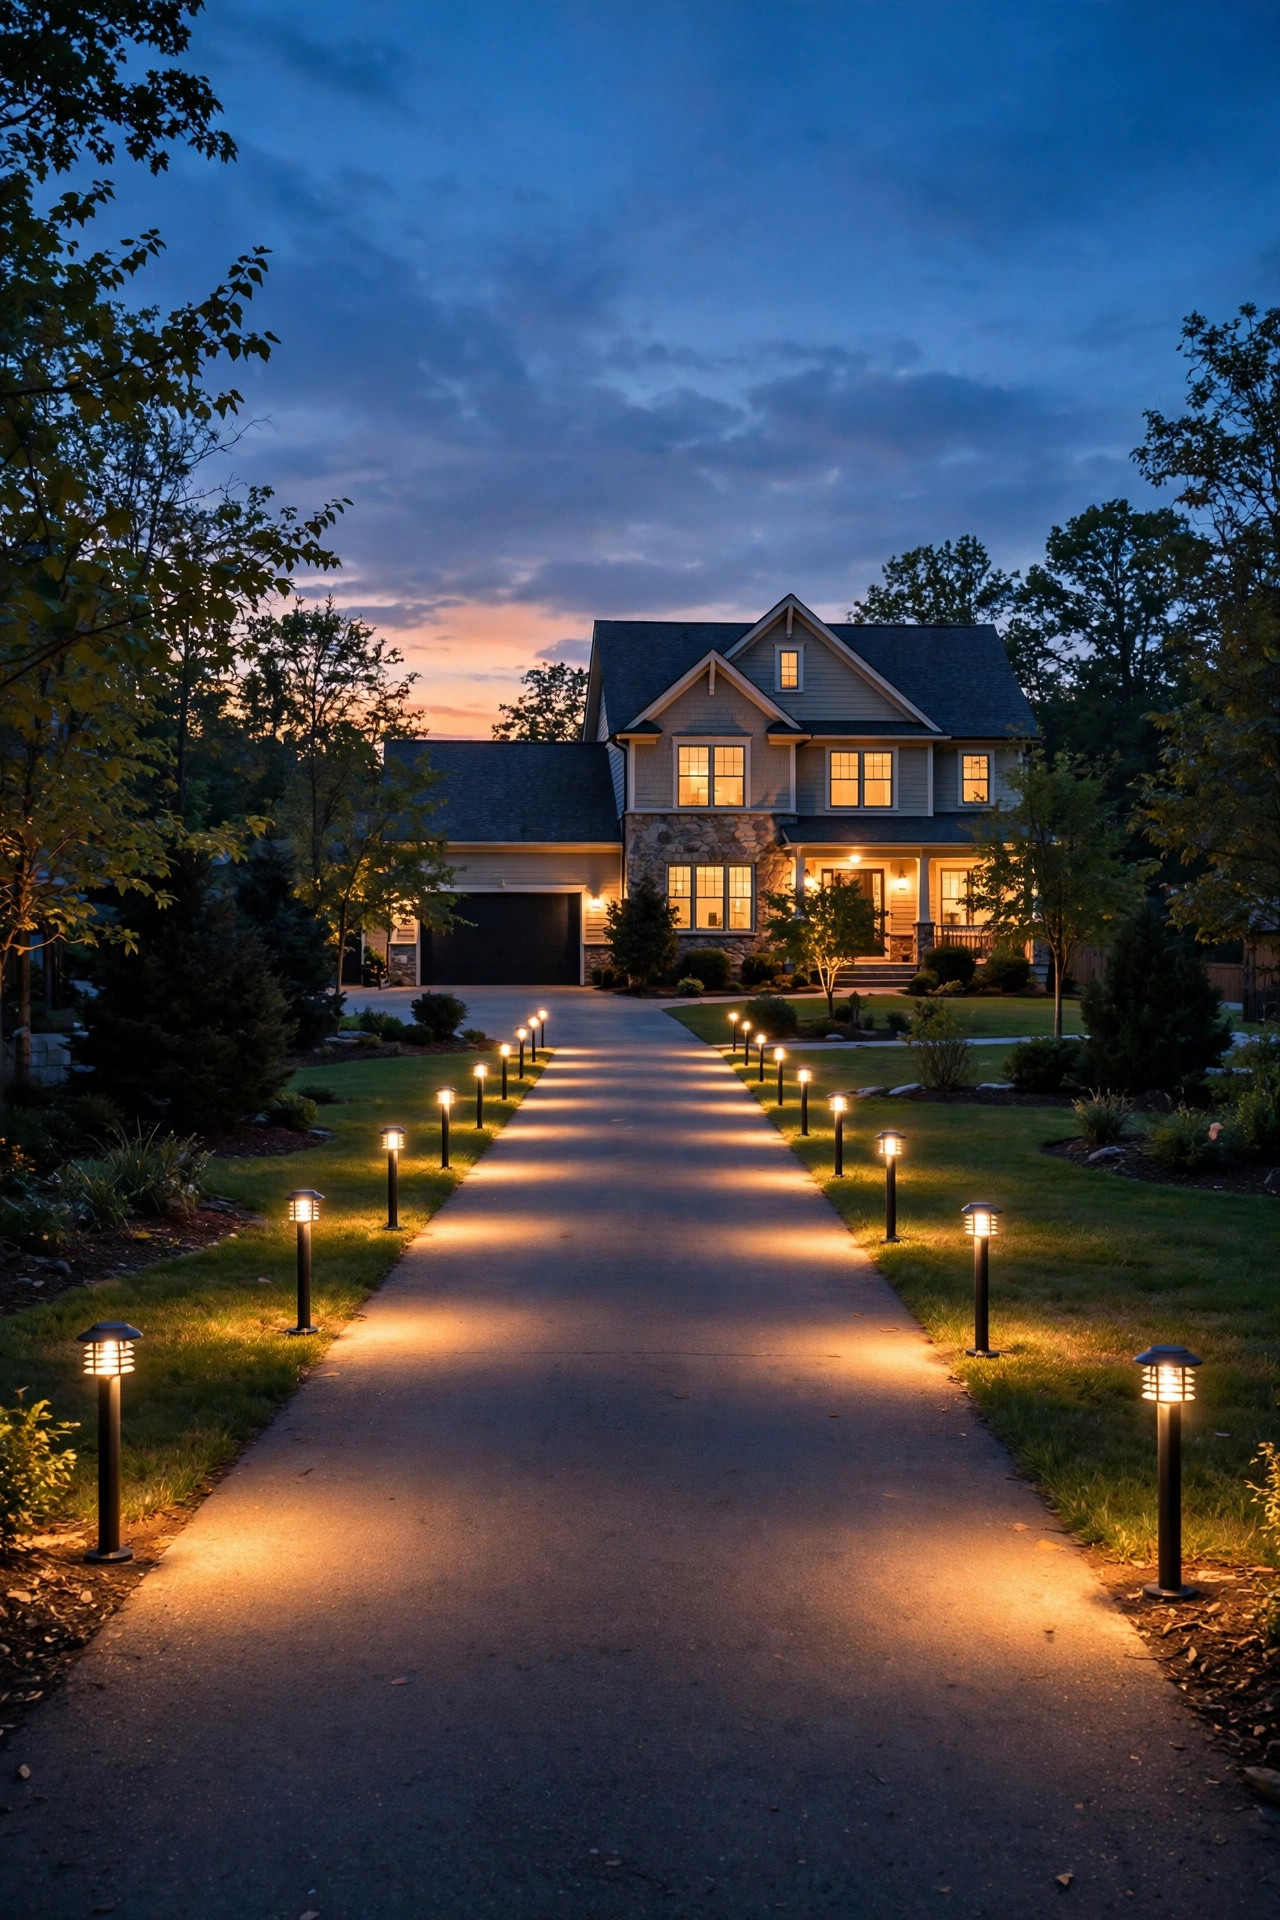
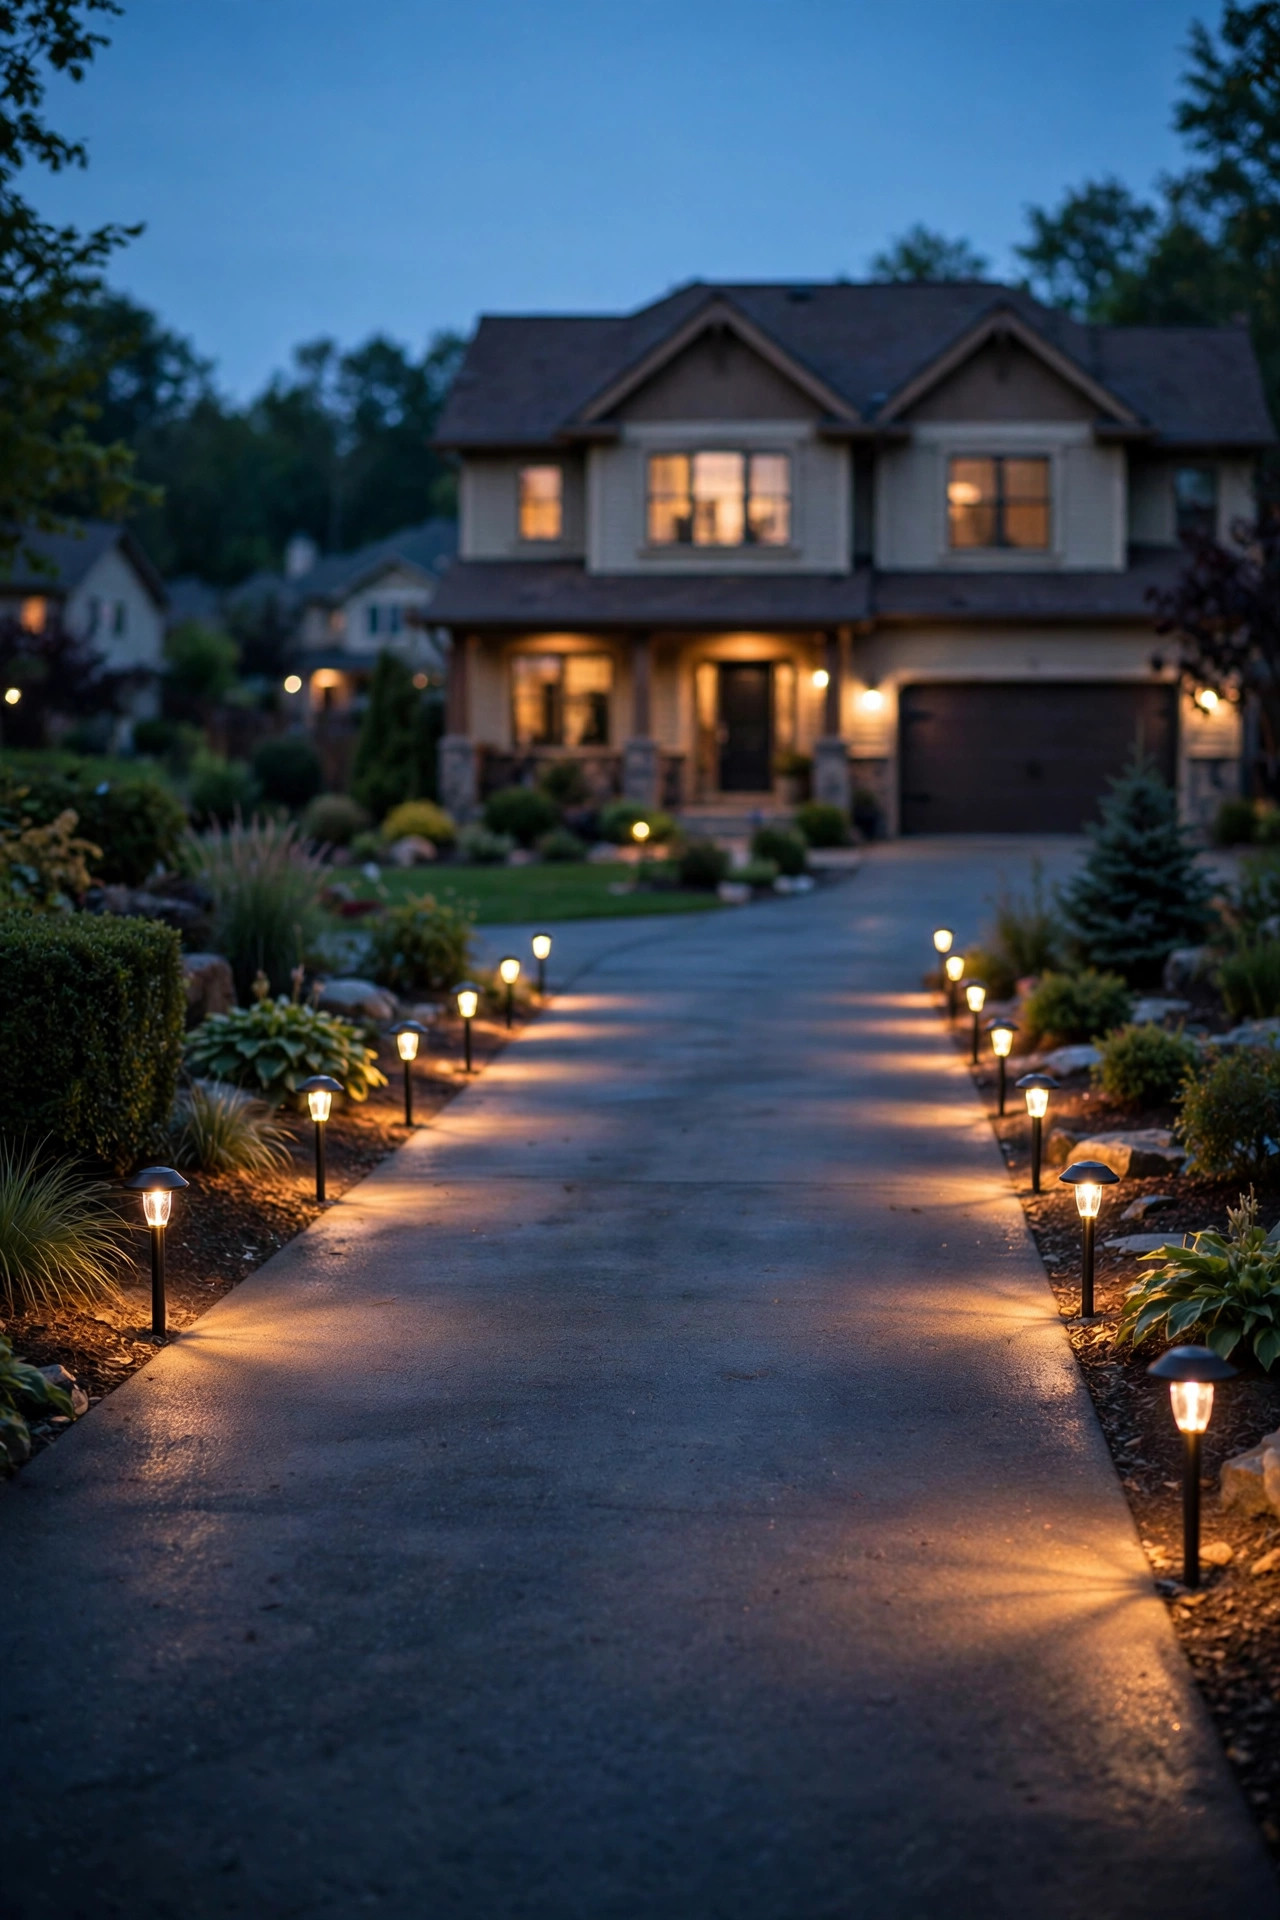
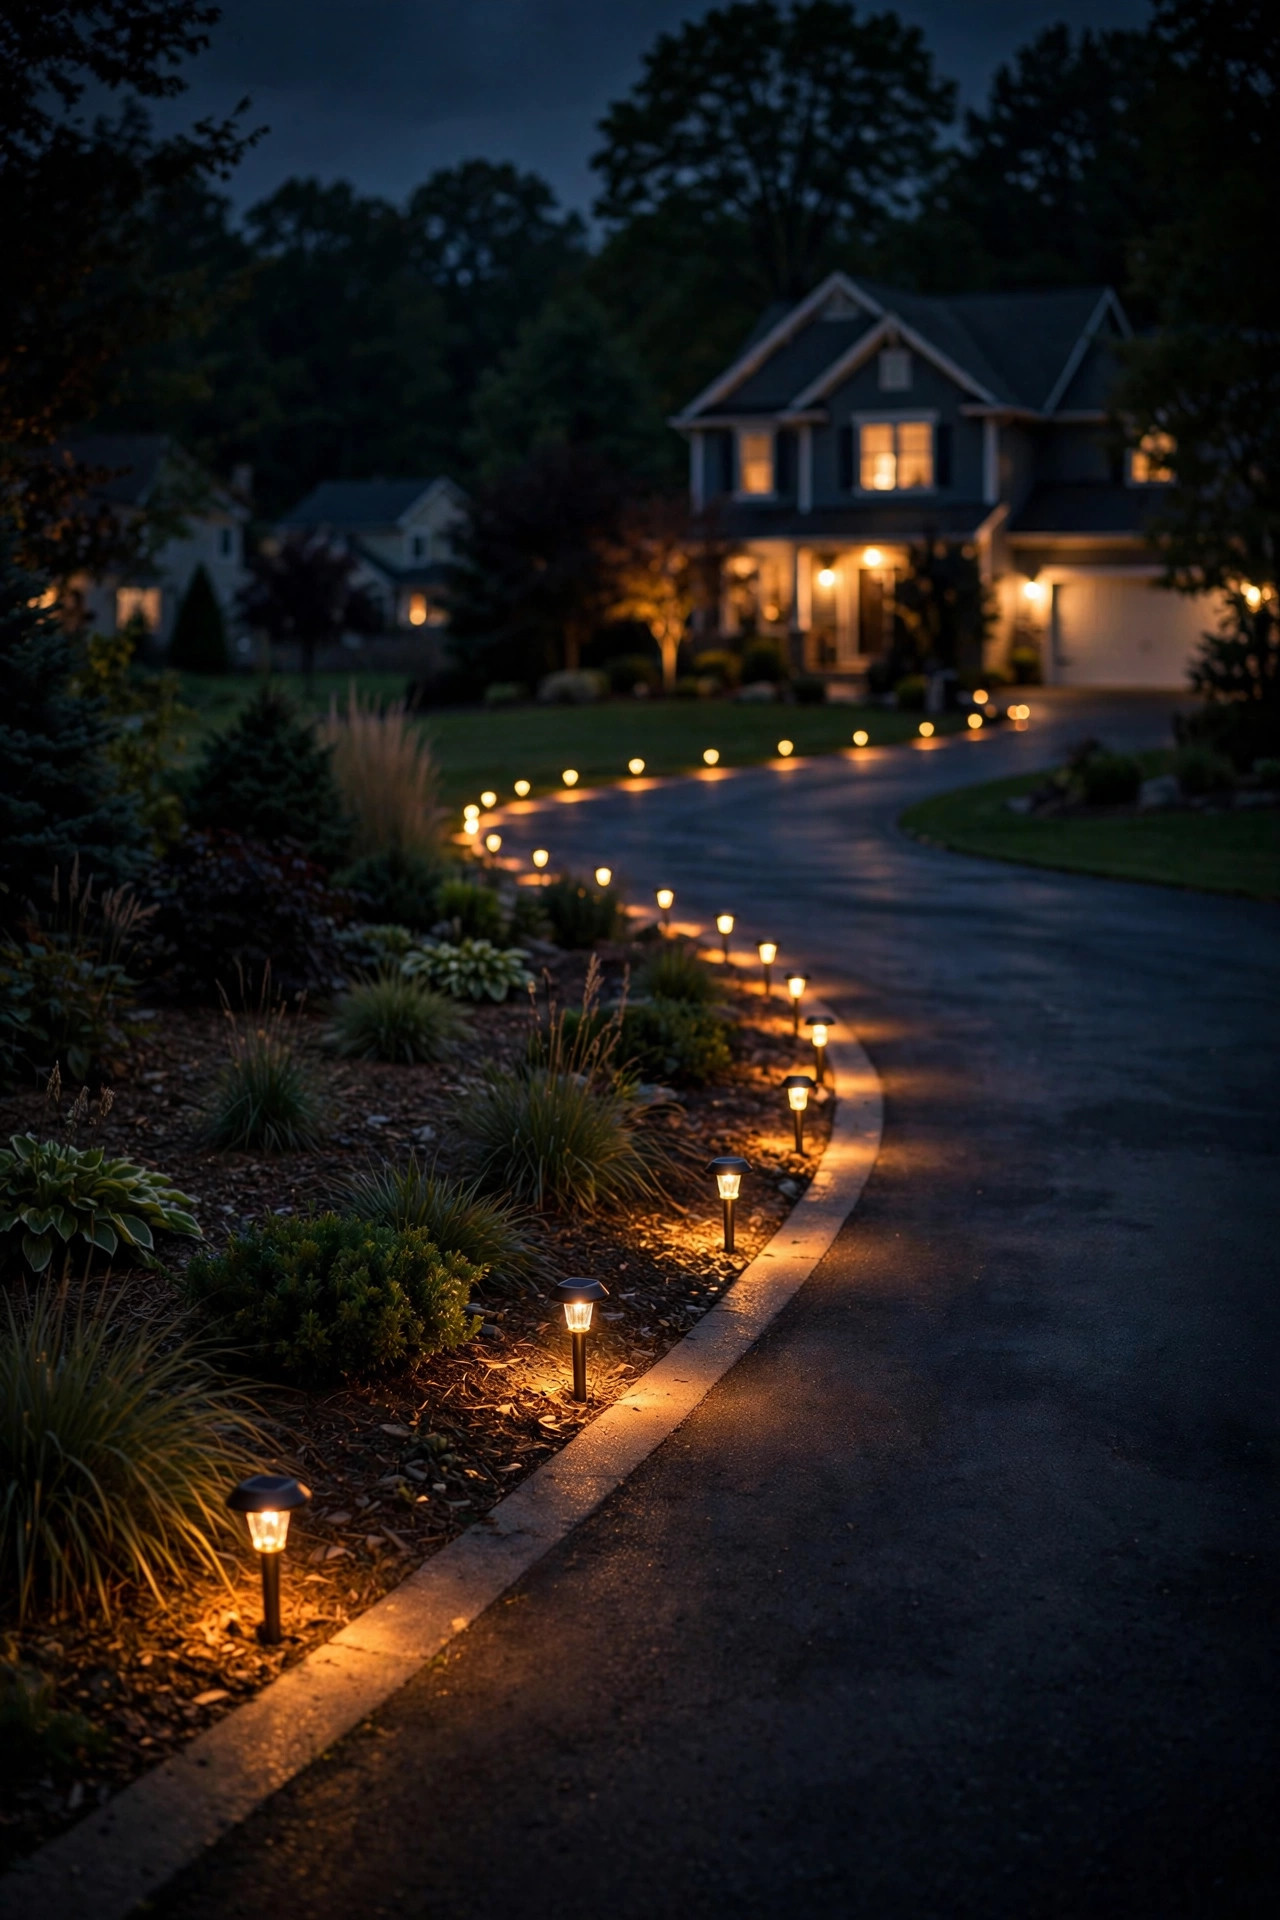
In my experience, classic stake path lights are the friendliest first step into driveway lighting, and they're the ones I recommend to friends who are nervous about anything electrical. These are the small hat-topped fixtures on a stake you push into the ground, wired together with low-voltage (12-volt) cable running back to a plug-in transformer.
For spacing, plan on one light every 6 to 8 feet along each edge of the driveway, staggered rather than lined up in perfect pairs — staggering looks more natural and lights more pavement. Run the cable in a shallow trench about 6 inches deep, or simply tuck it under the mulch if your driveway has planting beds along the sides. Choose fixtures with replaceable LED bulbs at 2700K to 3000K for that warm, welcoming glow, and look for an IP65 or higher weather rating so rain and sprinkler spray are no problem. Run them through a transformer with a built-in timer or photocell for automatic dusk-to-dawn operation. One safety note: stick with LED lamps only near mulch or bark beds, since LEDs run far cooler than old halogen lamps, and keep any plug-in transformer in a weatherproof outlet box with a bubble cover.
Suggested budget range: $80 – $250.
2. In-Ground Well Lights to Uplight Trees
If you have trees or large shrubs flanking your driveway, well lights are pure magic. These are round, ground-level fixtures that sit flush with the grass or mulch, shining straight up into the canopy. The first night mine clicked on, the trees looked like sculptures.
Choose drive-over or walk-over rated housings if any fixture sits where a car could roll — most quality well lights are rated to handle vehicle weight, but check the spec. Aim for LED modules around 2700K and 6 to 12 watts; too bright and the tree looks like a sports stadium, too dim and it disappears. Angle-adjustable fixtures let you tilt the beam to catch the trunk and the underside of the branches. Space them 10 to 15 feet apart along a tree line, and keep each light 2 to 3 feet from the trunk so the beam spreads through the branches. Wiring is low-voltage, the same 12-volt system as path lights, so you can often add these to an existing transformer. Use direct-burial connectors sealed with silicone-filled wire nuts, and look for IP67 housings since these sit at grade where water pools.
Suggested budget range: $120 – $400.

3. Bollard Lights for a Modern Edge
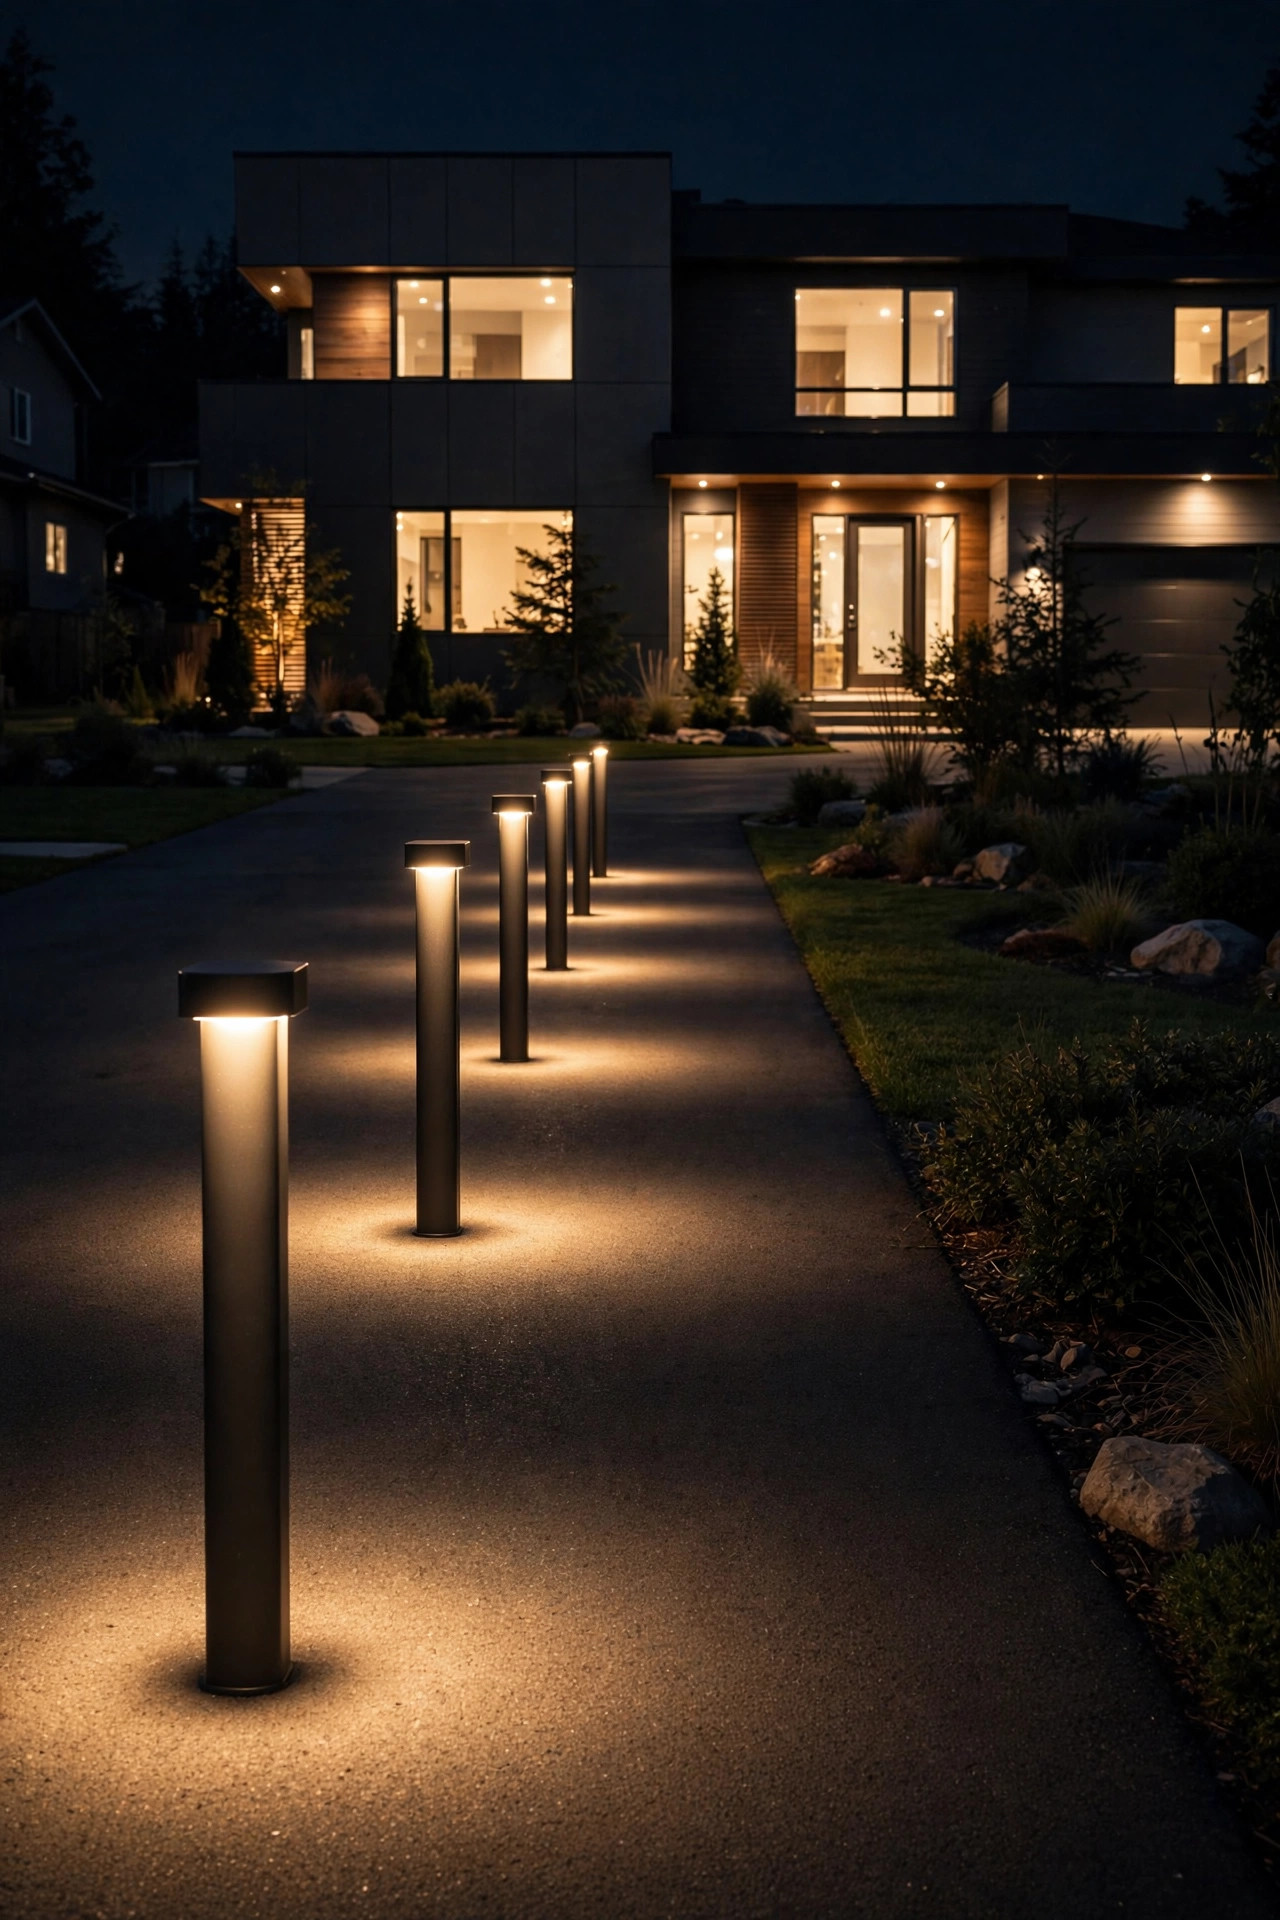
Bollards are short posts — usually 2 to 3 feet tall — with a light source inside, and they give a driveway a crisp, architectural feel that stake lights can't quite match.
Space bollards 8 to 12 feet apart along the driveway edge, keeping them at least 2 feet back from the pavement so a car door or mirror can't clip them. Most are 12-volt with built-in 3000K LED modules — bright enough to read the driveway edge clearly. For a softer look, choose louvered or shielded tops that push light downward and outward instead of glaring into drivers' eyes; glare control matters a lot here because the lights sit right at eye level when you're pulling in. Anchor each bollard on a small concrete footing or a heavy ground stake so lawn mowers and snow shovels don't knock them over. If your winters bring plows, keep bollards on the lawn side, well clear of where snow piles up. Wire runs can share a transformer with other low-voltage fixtures as long as you don't exceed its wattage rating.
Suggested budget range: $150 – $500.
4. Solar Driveway Markers and Studs
For the budget-conscious or the wiring-shy, solar driveway markers are the easiest win on this list. These are small, low-profile studs or flush pucks that charge by day and glow at night, marking the driveway's edges with little dots of light. I used a set along a curved section of my in-laws' driveway where trenching wire would have been a nightmare, and they genuinely made nighttime driving easier — you can read the curve from 50 feet away.
No wiring means installation is just: clear a spot, push or screw the marker down, and walk away. Place them every 4 to 6 feet along curves (tighter on sharp bends) and every 6 to 8 feet on straight runs. Choose amber or warm-white LEDs for a softer, more residential look; blue reads more commercial. Look for an IP68 rating and cast-aluminum housings if cars will roll over them — cheap plastic ones crack under tires within a season. One honest caveat: solar markers are dimmer and shorter-lived than wired fixtures, and they need full sun to charge — keep them clear of overhanging branches. They're a marking tool, not a lighting tool, and they work best paired with one of the brighter options on this list.
Suggested budget range: $25 – $100.
5. Motion-Sensor Floodlights at the Garage
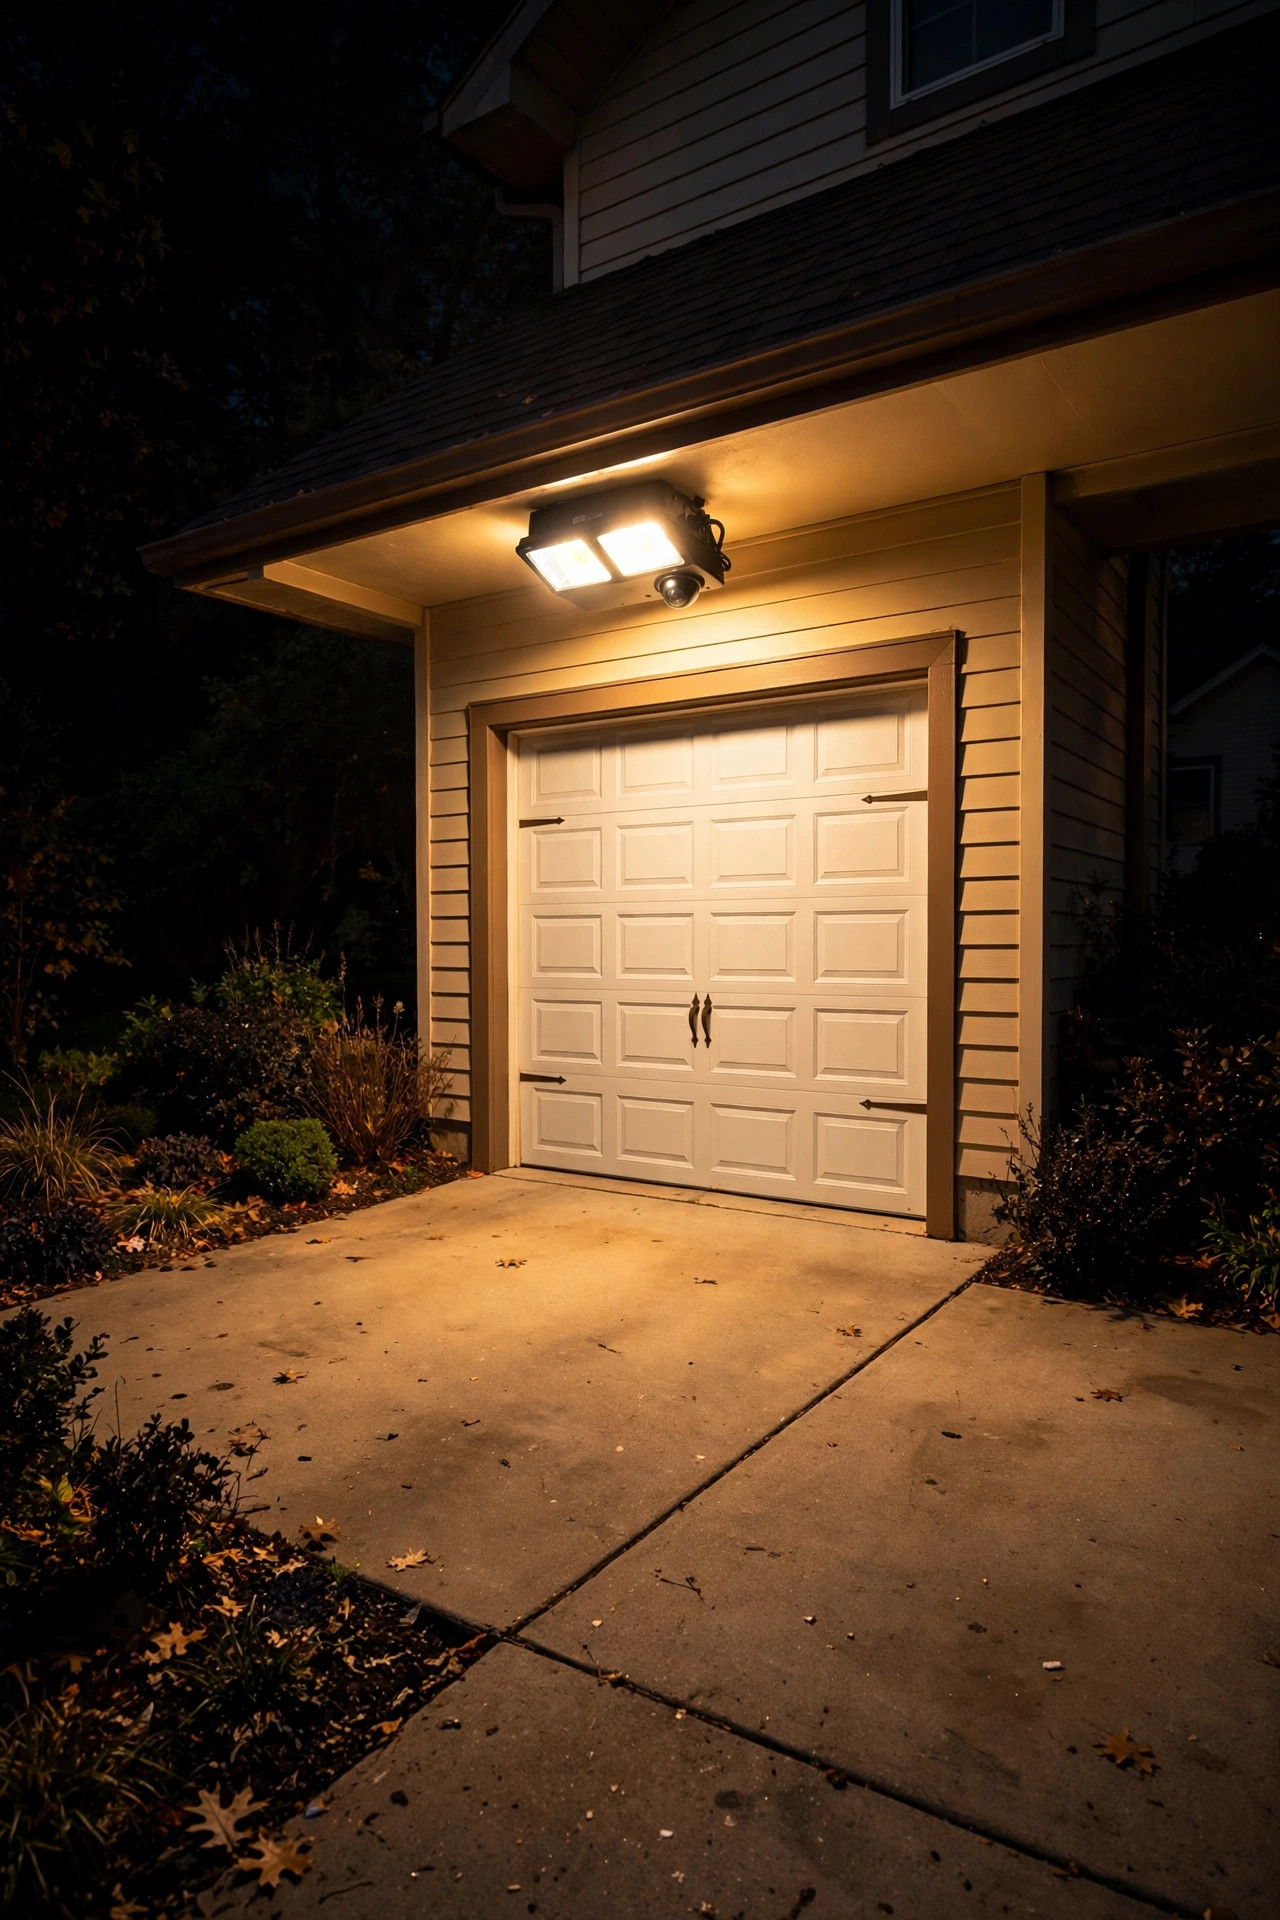
Every driveway needs at least one workhorse light, and for me that's a motion-sensor floodlight aimed at the garage apron and parking pad. It's not the prettiest fixture on this list, but nothing beats stepping out of your car into a bright, welcoming pool of light on a dark night — and it doubles as a simple security upgrade.
Mount the fixture 8 to 12 feet high — on the garage wall, a gable, or a sturdy post — and angle it downward so it washes the parking area without shining into neighbors' windows or oncoming traffic. Choose adjustable LED heads around 3000K — safer-feeling than harsh daylight white without being dim. Set the motion sensor's range to cover your parking area but not the street, or passing cars will trigger it all night, and dial the timer to shut off after 5 to 10 minutes. Electrical safety matters here: floodlights are usually hardwired at 120 volts, so this is a job for a licensed electrician unless you're comfortable working in a junction box — and the fixture must be rated for wet locations. Pair it with a photocell so it only arms after dark.
Suggested budget range: $40 – $180.
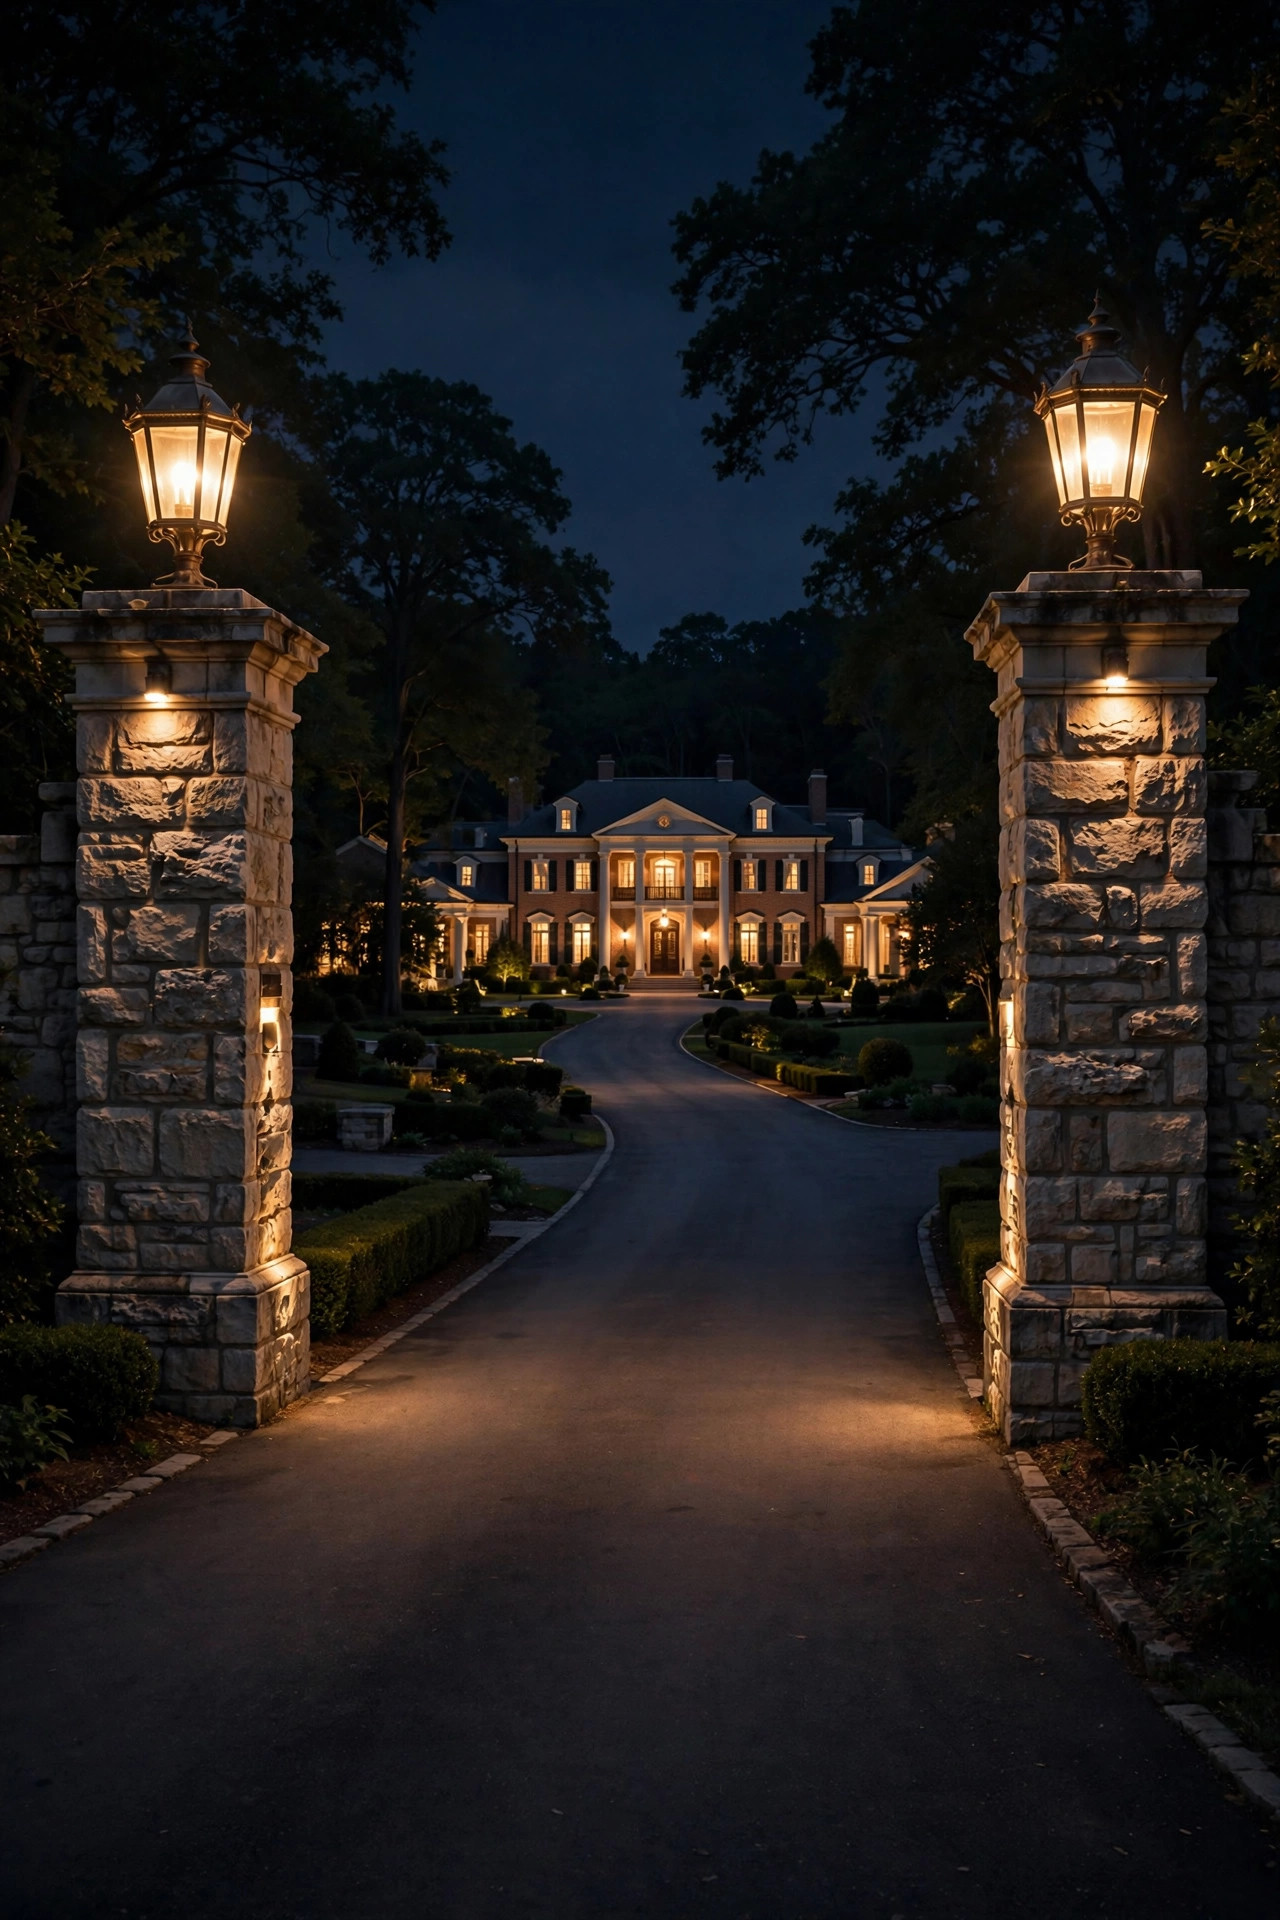
6. Lighted Driveway Entrance Pillars
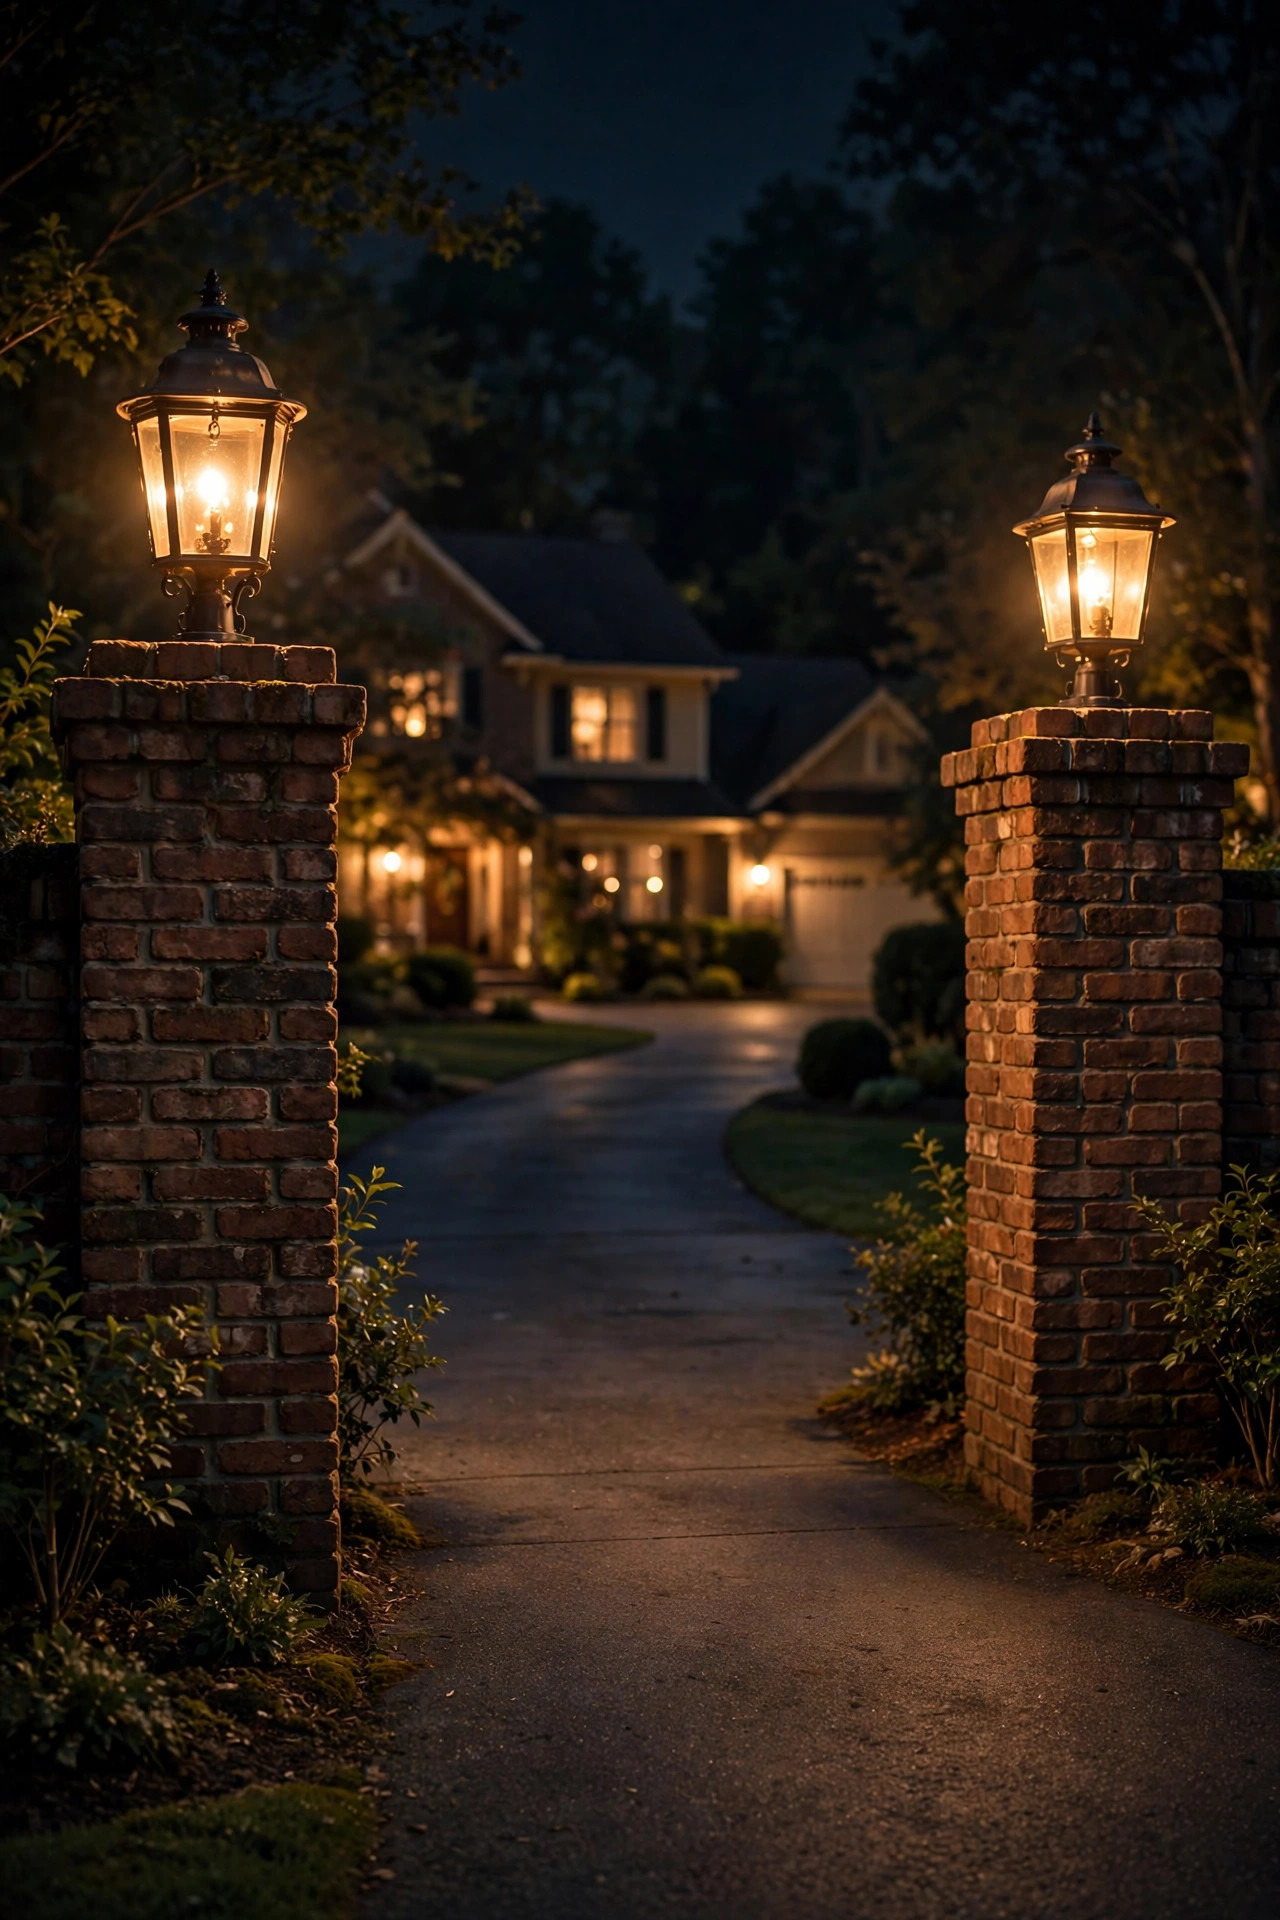
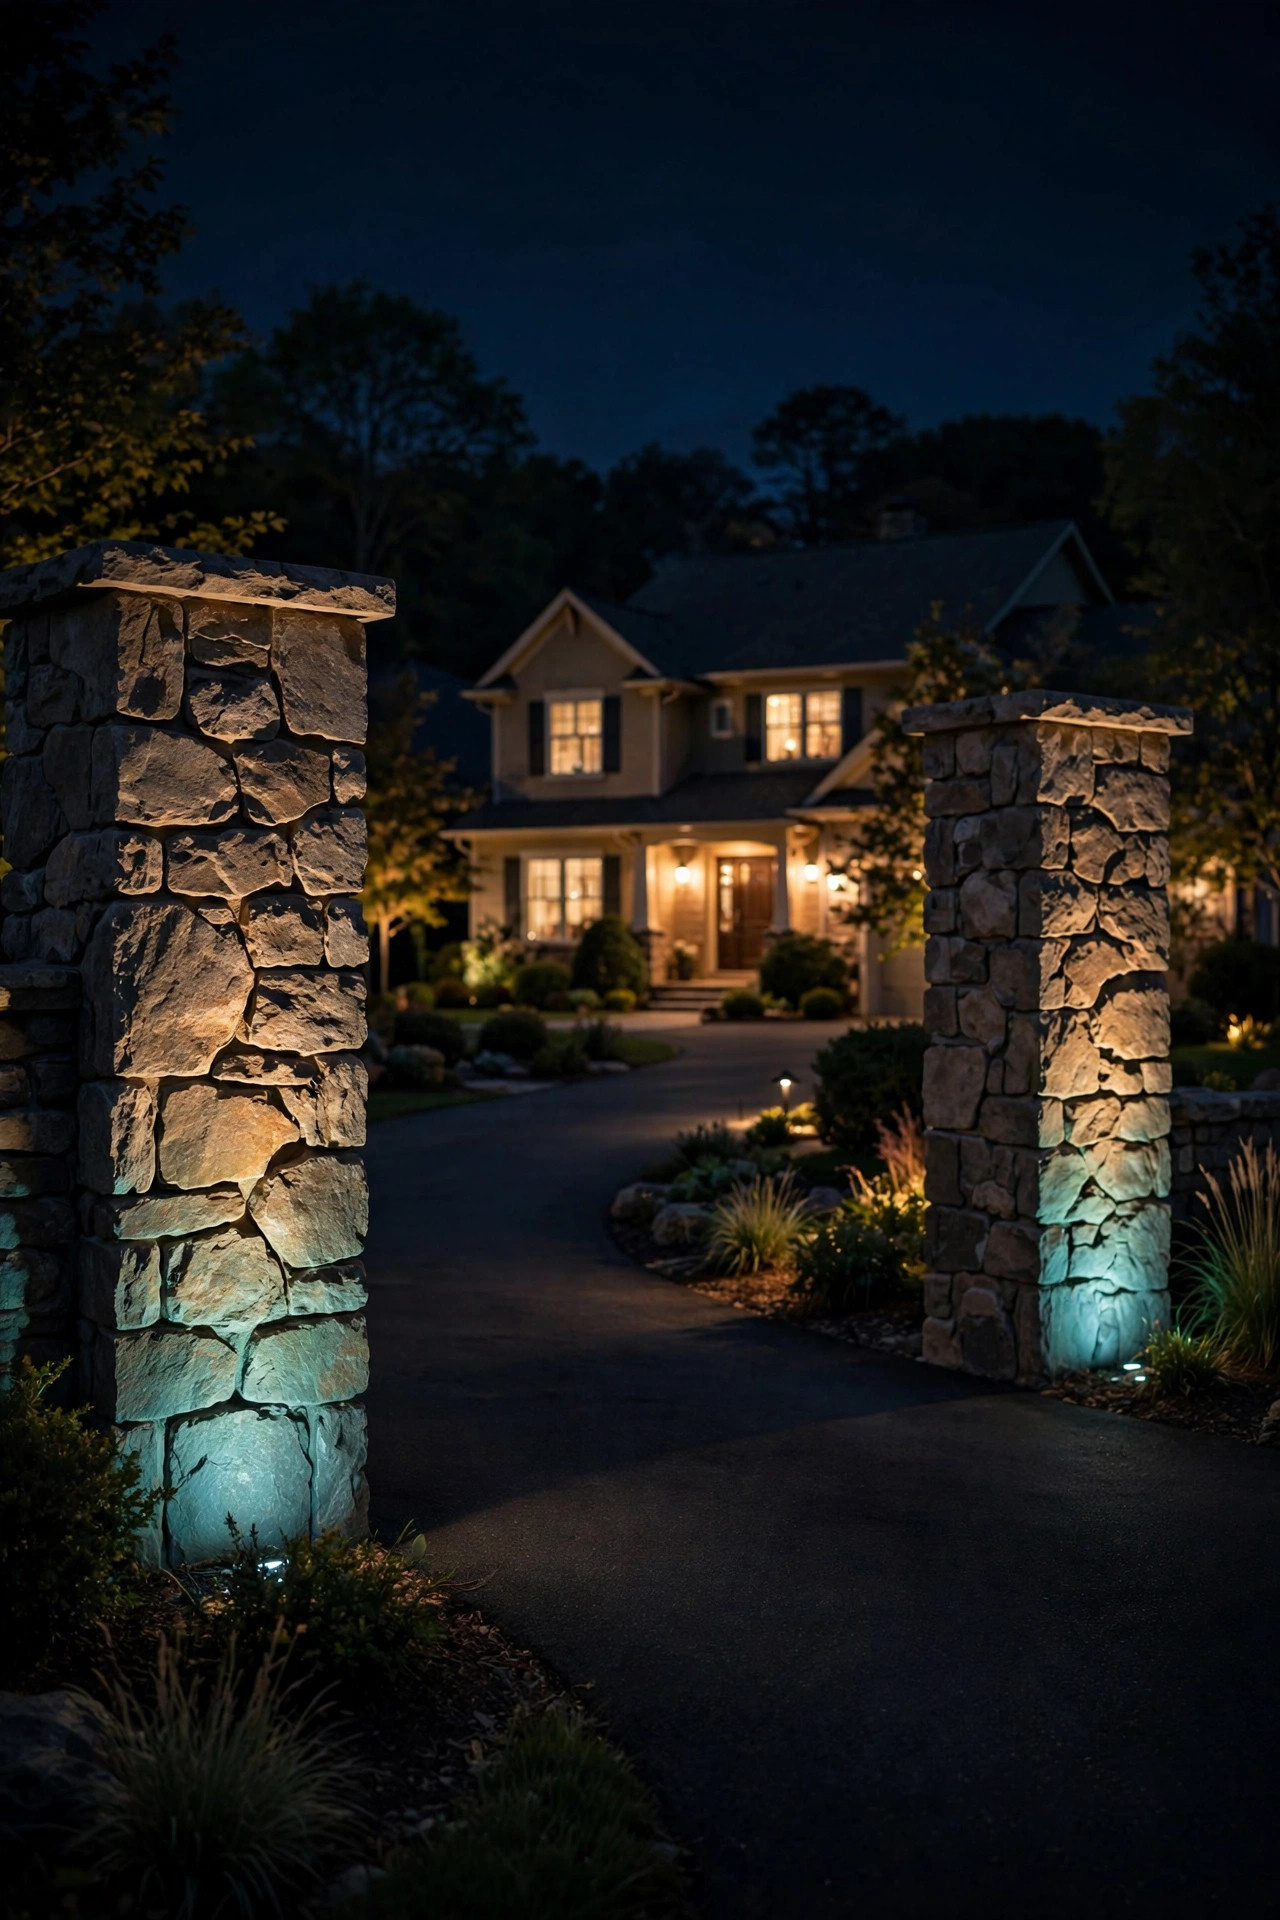
Nothing says "grand entrance" like a pair of pillars flanking the end of your driveway, each topped with a glowing lantern or post cap light. In my experience, this is the single most transformative driveway project — it frames the whole property and gives guests an unmistakable arrival point.
Build pillars 3 to 4 feet tall (plus cap) just outside the driveway edges, leaving at least 12 feet clear between them. Top each with a pier-mount lantern or an LED post cap light at 2700K for warmth. The electrical runs through the hollow column to a junction box at the base, so plan your conduit before you build — running wire after the fact is miserable. Low-voltage lanterns are the DIY-friendly choice; 120-volt hardwired lanterns look identical but need an electrician and a permit in most places. Make sure every fixture is rated for wet locations and that wire connections inside the column are in a proper weatherproof box. I also love adding a subtle downlight under each cap so the pillar face itself glows softly — it turns the whole entrance into a lantern.
Suggested budget range: $200 – $1,200.
7. Retaining Wall Cap Lighting
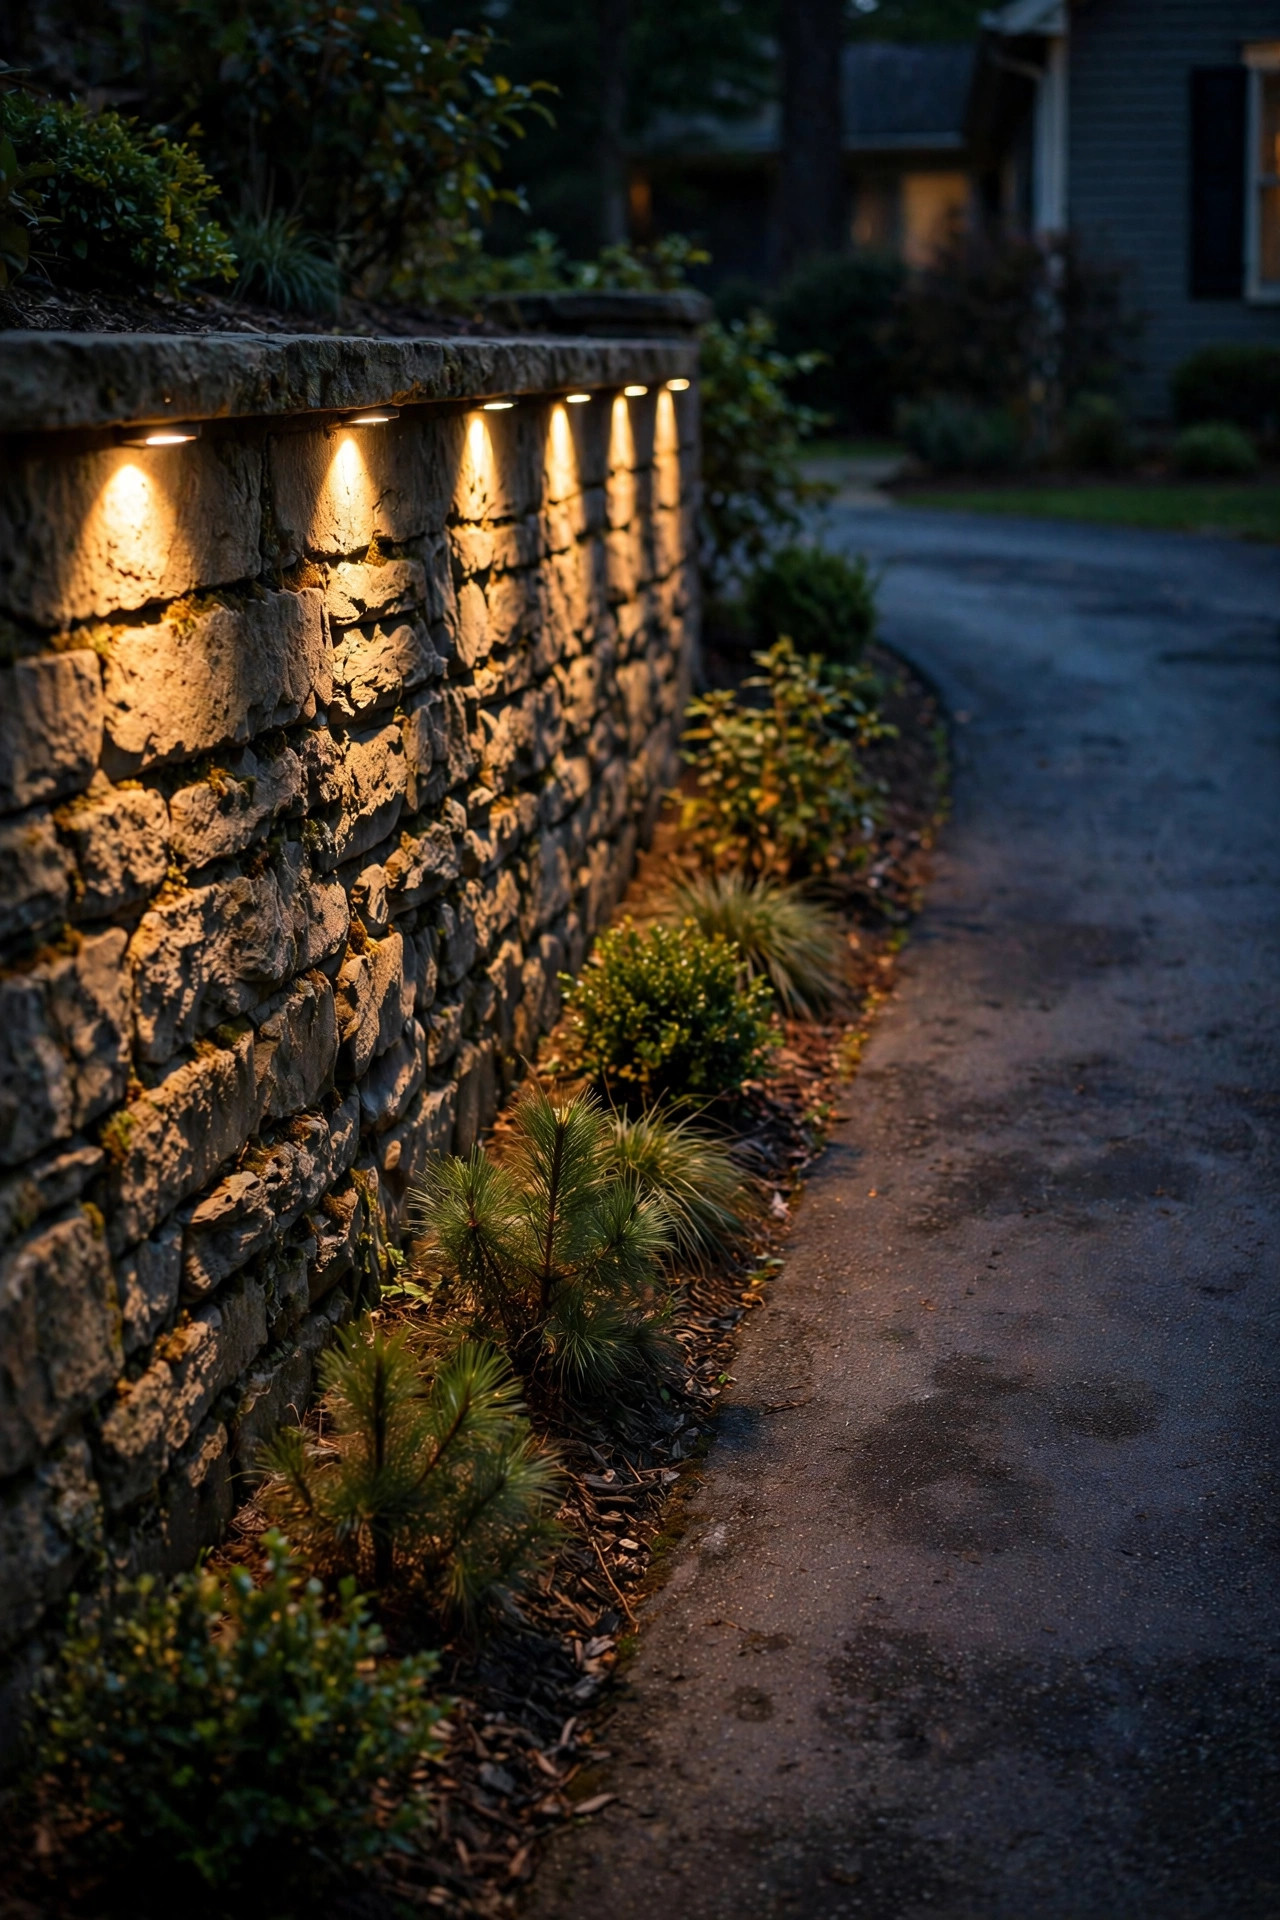
If your driveway runs alongside a retaining wall, the top of that wall is a ready-made lighting shelf just begging to be used. Cap lights — small fixtures that sit on top of the wall and cast light both up and down — turn a plain block wall into a warm, glowing ribbon that guides you home.
For segmental block walls, use hardscape lights designed to mount under the cap stone, installed as the wall is built or retrofitted by lifting the cap course. For poured concrete or stone walls, surface-mounted mini downlights along the top edge work beautifully. Space fixtures 4 to 6 feet apart and stick with warm 2700K LEDs so the wall glows amber rather than glaring white. These are almost always low-voltage, so they tie neatly into an existing 12-volt transformer — just confirm the transformer's wattage budget before adding a run. Keep the light aimed down the wall face rather than outward across the driveway to avoid glare in drivers' eyes. Because these sit on masonry, drainage is your friend: choose IP65 or better fixtures and make sure water can't pool inside the housing.
Suggested budget range: $100 – $450.
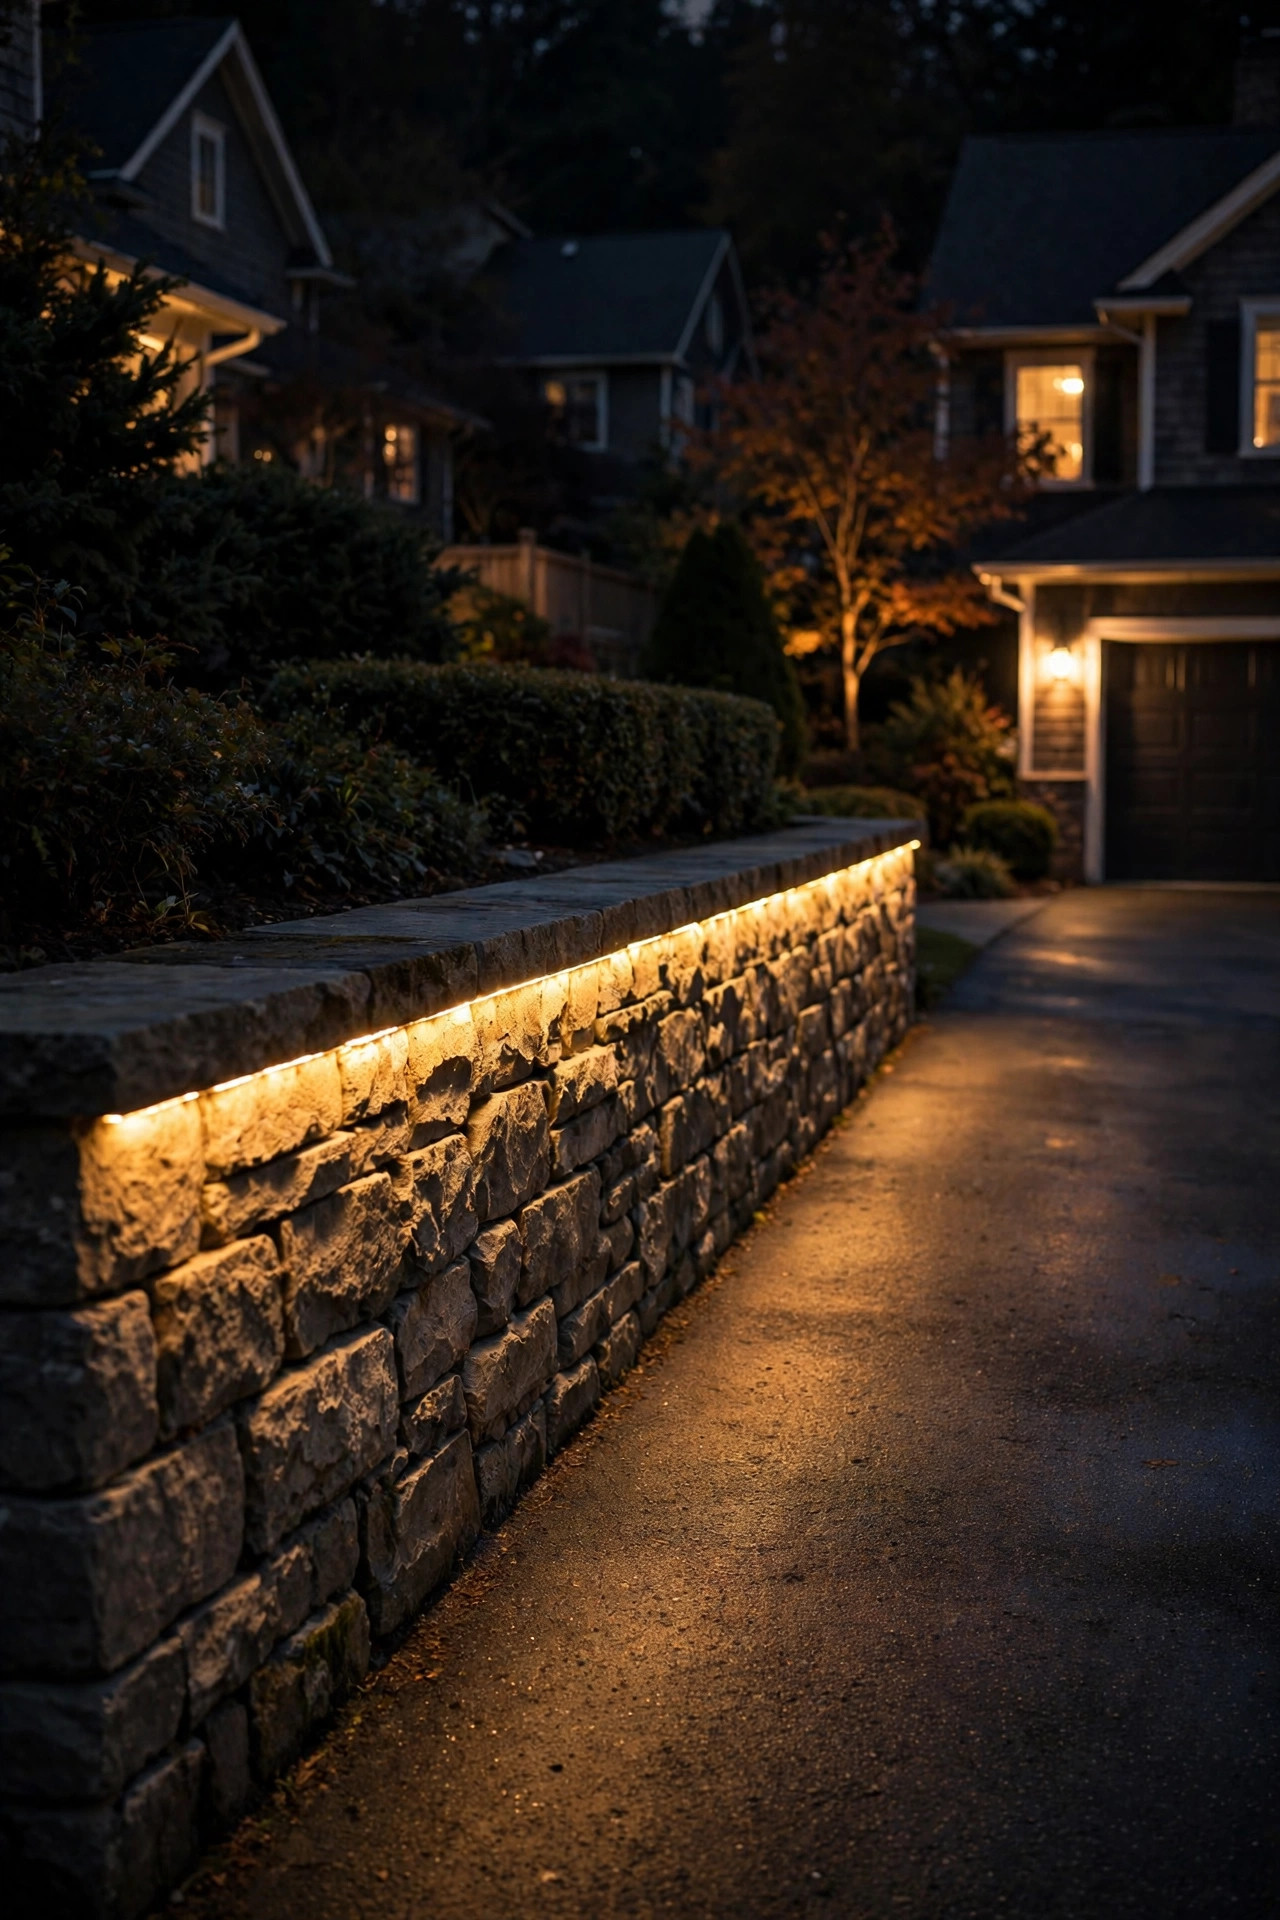
8. LED Strip Lighting Under Wall Edges and Curbs
For a sleek, modern look, nothing beats a hidden strip of LED tape tucked under the lip of a retaining wall, a curb, or a raised planter edge along the driveway. The effect is a floating ribbon of light from a completely invisible source. It's dramatic after dark and surprisingly simple to install.
Use outdoor-rated (IP67) LED strip in warm white 2700K to 3000K, mounted in an aluminum channel with a diffuser so you get a smooth line instead of visible dots. Mount the channel recessed under the overhang, at least an inch back from the edge, so the strip never takes a direct hit from a tire or a shoe. Power it with a 12-volt or 24-volt LED driver sized at least 20 percent above your strip's total wattage, and mount the driver in a weatherproof box or inside the garage — drivers are the weak link outdoors, so protect them. Run the low-voltage feed wire through conduit wherever it crosses soil. A dimmer or smart plug on the driver lets you dial the brightness down for a subtle glow or up for a real statement.
Suggested budget range: $60 – $300.
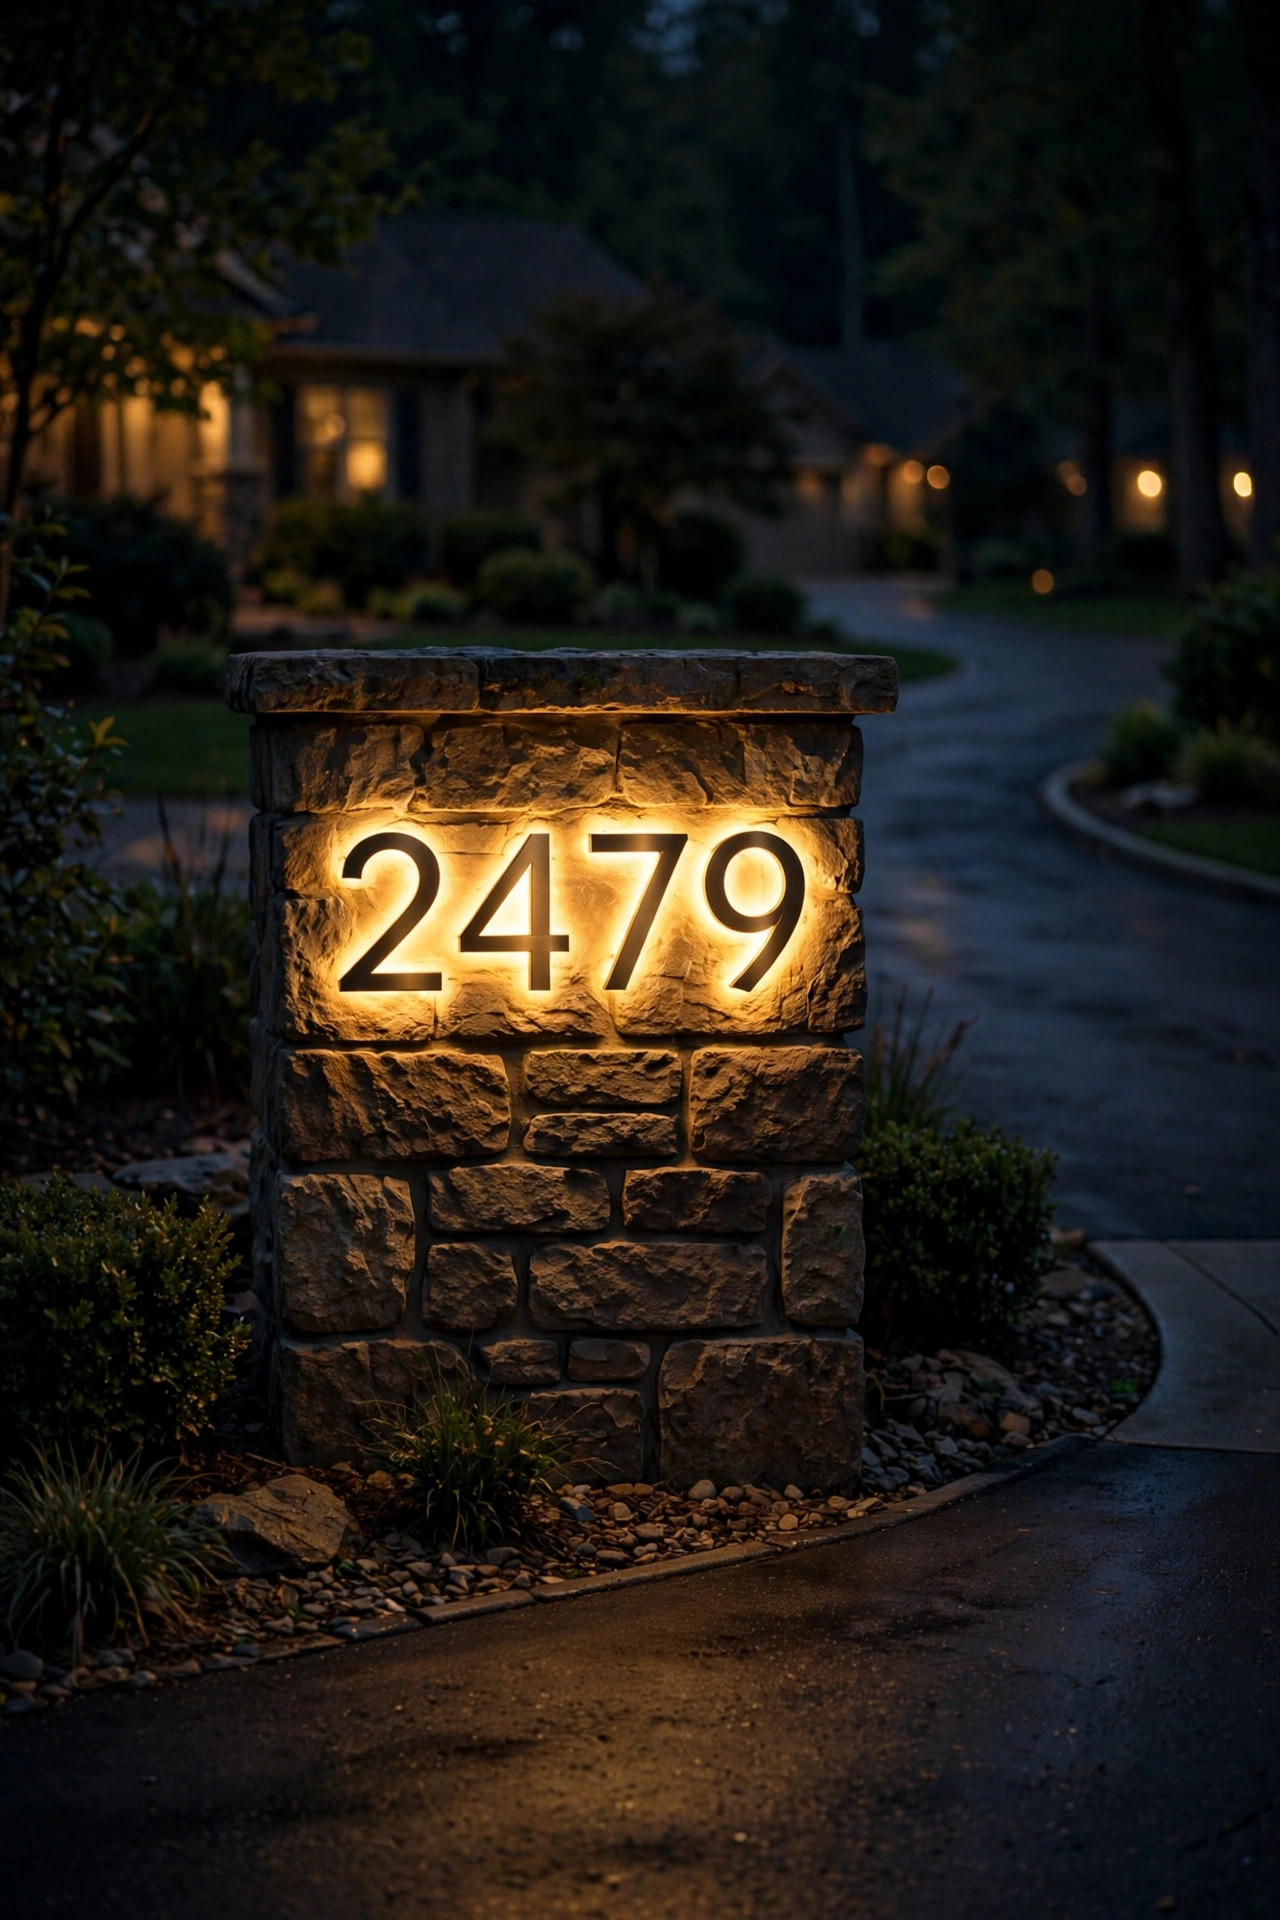
9. Lighted Address Numbers at the Curb
A backlit or spotlighted address number at the end of the driveway is practical, pretty, and — ask any delivery driver — deeply appreciated.
You have a few good approaches. The simplest is a small 2700K LED spotlight aimed at reflective numbers on a mailbox post or pillar — just bright enough to read from the street. Step up to backlit LED house numbers, where the digits themselves glow, mounted on an entrance pillar or a low monument sign at the driveway mouth. If you go solar, give the little panel a full-sun position and keep it wiped clean; a dusty panel is the number-one reason solar numbers go dark. For wired numbers, a low-voltage run from your existing transformer is usually enough since these draw only a few watts. Mount numbers at least 4 inches tall and high-contrast against their background — building codes in many areas require numbers visible from the street at night, so check your local rules. Keep the light shielded so it illuminates the numbers without glaring at passing drivers.
Suggested budget range: $30 – $200.
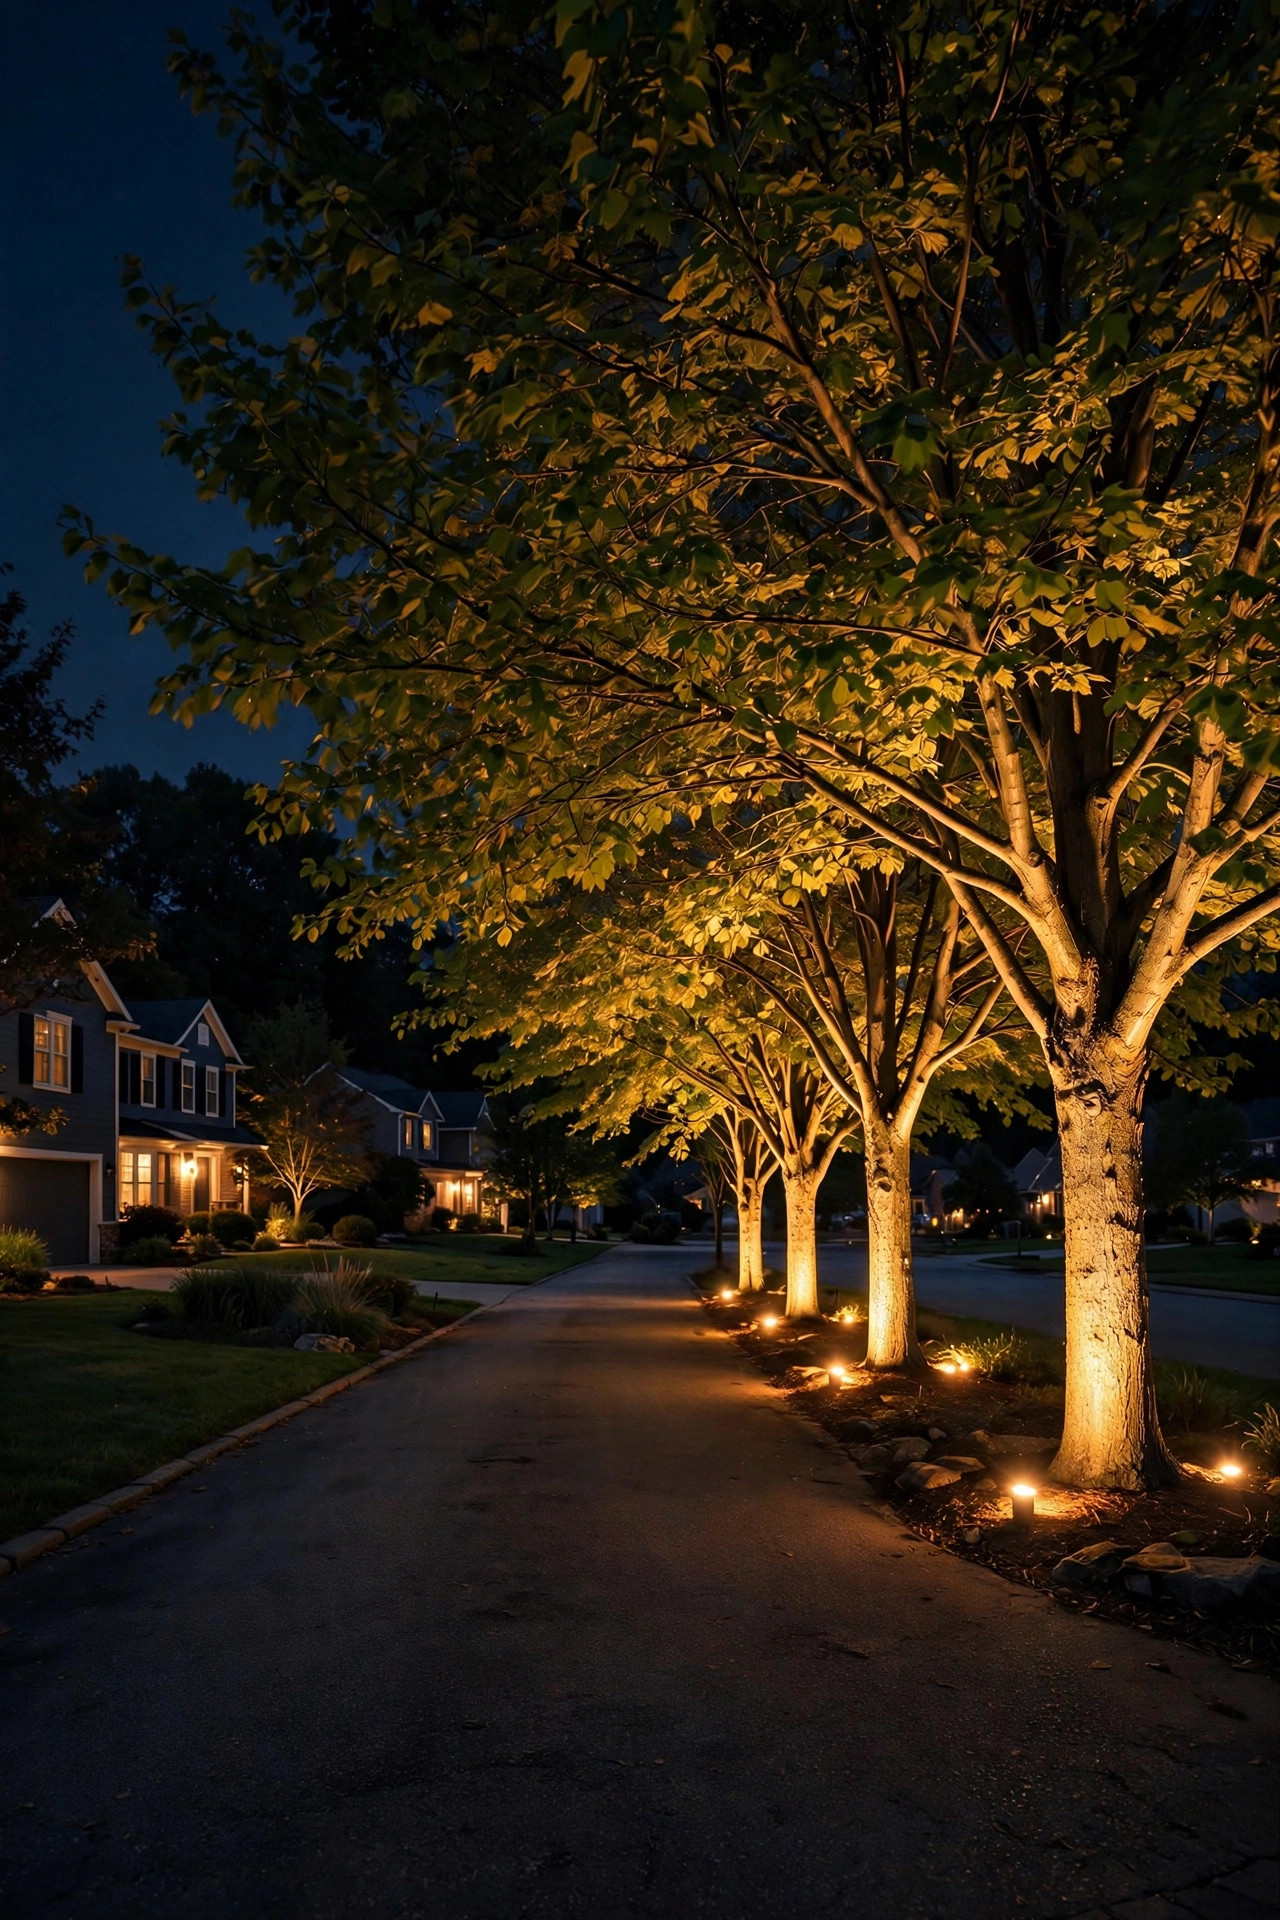
10. Tree and Shrub Uplighting Along the Drive
Beyond the well lights in idea #2, dedicated uplights aimed at specimen trees and large shrubs turn a dark driveway corridor into a gallery. A single beautifully lit tree can carry the whole nighttime look of your frontage.
Use adjustable low-voltage spotlights staked at the base of the plant, 2 to 4 feet out from the trunk or foliage, aimed up through the branches. LED spotlights in the 35- to 75-watt-equivalent range at 2700K give you that golden, moonlit-through-leaves effect; cool white will make your garden look like a parking lot, so skip it. For multi-trunk trees, two fixtures from opposite sides fill the canopy without hot spots. Bury the cable 6 inches deep and use waterproof connectors — uplights sit in planting beds where irrigation soaks everything. One safety note I always share: keep fixtures a few inches clear of mulch and use LED-only lamps near bark and dry leaves, since LEDs stay cool to the touch while old halogens could smolder. Put the whole run on a timer or photocell so the show starts at dusk automatically.
Suggested budget range: $90 – $350.
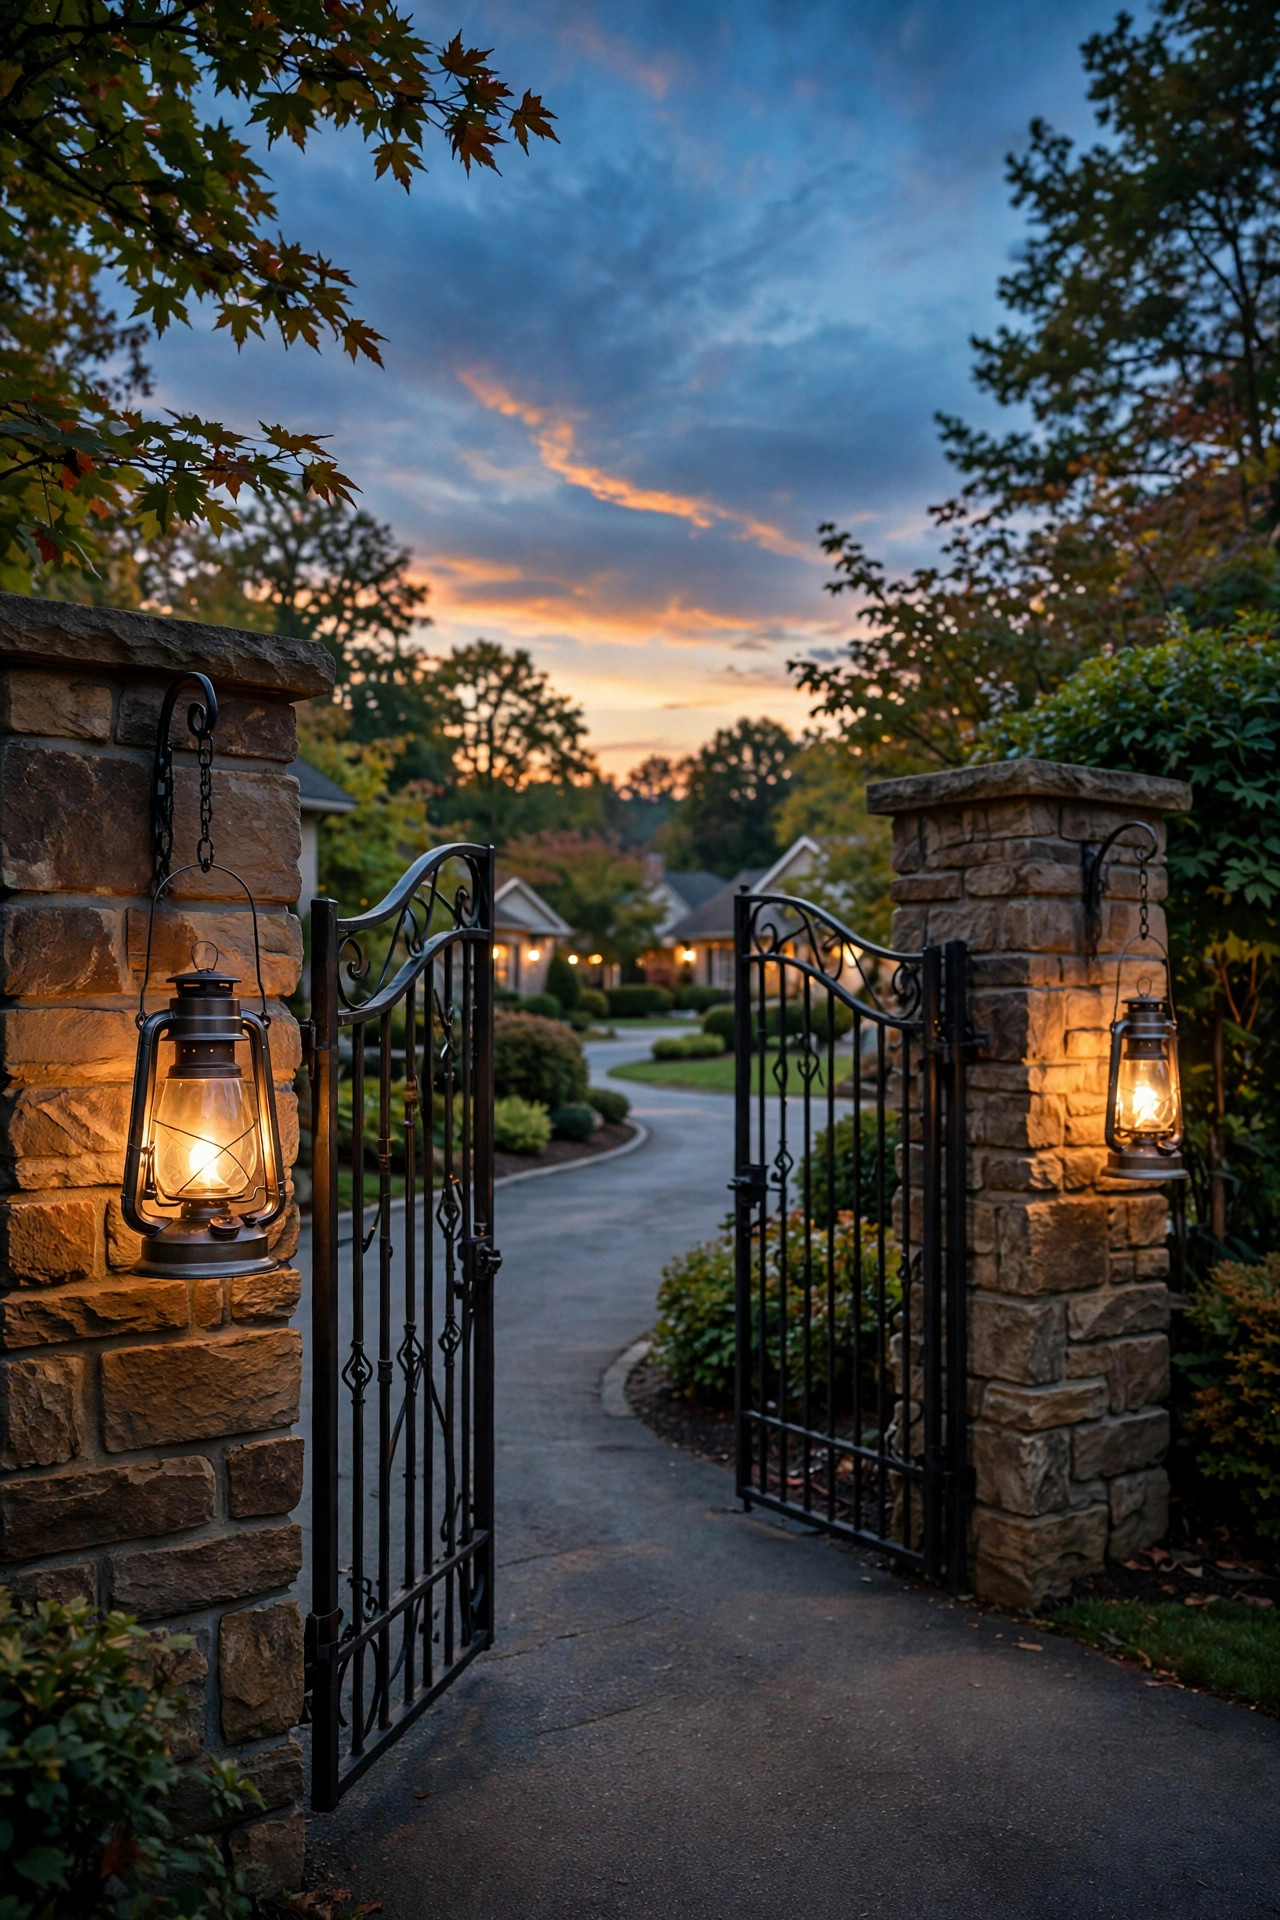
11. Hanging Lanterns on a Driveway Gate
If your driveway has a gate — or even just gate posts — a pair of hanging lanterns is instant storybook charm.
Choose lanterns sized to the gate: for a standard 4-foot post, a lantern 10 to 14 inches tall looks balanced; go bigger for grand double gates. Solar lanterns are the easy route, but wired low-voltage lanterns with LED filament bulbs give a steadier glow that never fades by 2 a.m. If you want real flame-look charm without the worry, LED candles inside glass lanterns are lovely and completely safe. Hang the lantern so the light center sits 5 to 6 feet off the ground, visible to arriving cars but out of reach of curious hands. Make sure any wired connection is weatherproof and that the bracket is rated for the lantern's weight — a glass lantern full of rainwater is heavier than you think. For gates that swing, mount lanterns on the fixed posts, never on the moving gate itself, or the wiring will fatigue and fail.
Suggested budget range: $50 – $300.
12. Garage-Mounted Carriage Sconces
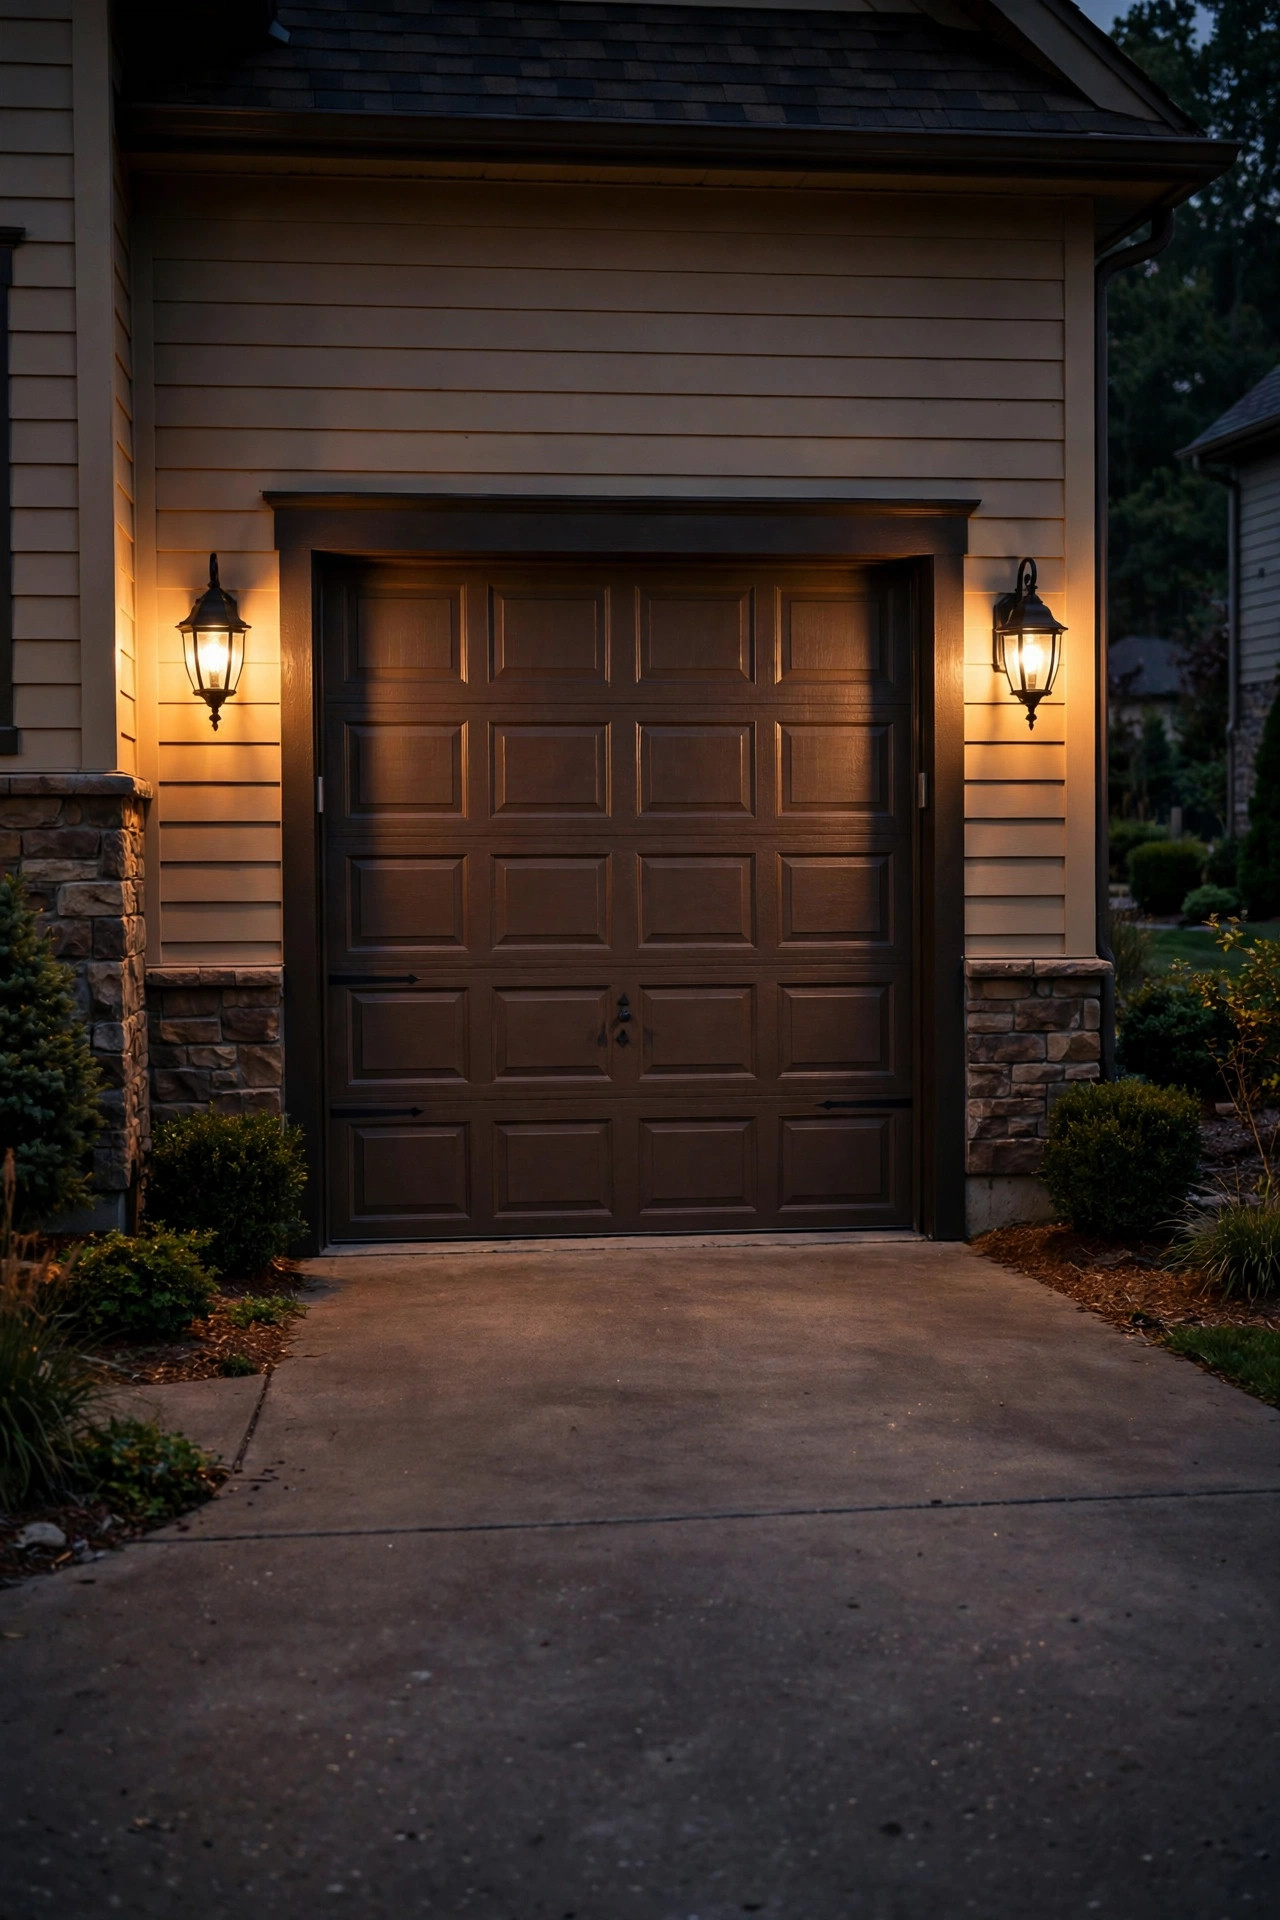
Flanking the garage doors with a pair of carriage-style sconces does double duty: it dresses up the biggest blank wall on most houses and throws useful light across the driveway's parking end.
Size matters here — a sconce that's too small looks lost beside a 9-foot garage door. For a single-car door, choose fixtures 12 to 18 inches tall; for double doors, flank the pair with fixtures at least a third of the door's height and consider a third sconce between doors. Mount them 6 to 8 feet off the ground so the light spreads across the apron without blinding drivers. Warm 2700K LED bulbs in clear or seeded glass give that classic carriage glow; frosted glass softens the light if the fixture sits near a bedroom window. These are typically hardwired at 120 volts, so unless there's an existing junction box, budget for an electrician and choose fixtures rated for wet locations. If you're comparing bulb types and fixtures, my guide to low voltage path lights covers the same LED basics that apply to sconce bulbs, too. Dusk-to-dawn photocell bulbs are a simple no-wiring upgrade if your sconces are on a manual switch.
Suggested budget range: $80 – $400.
13. String Lights in Overhanging Trees
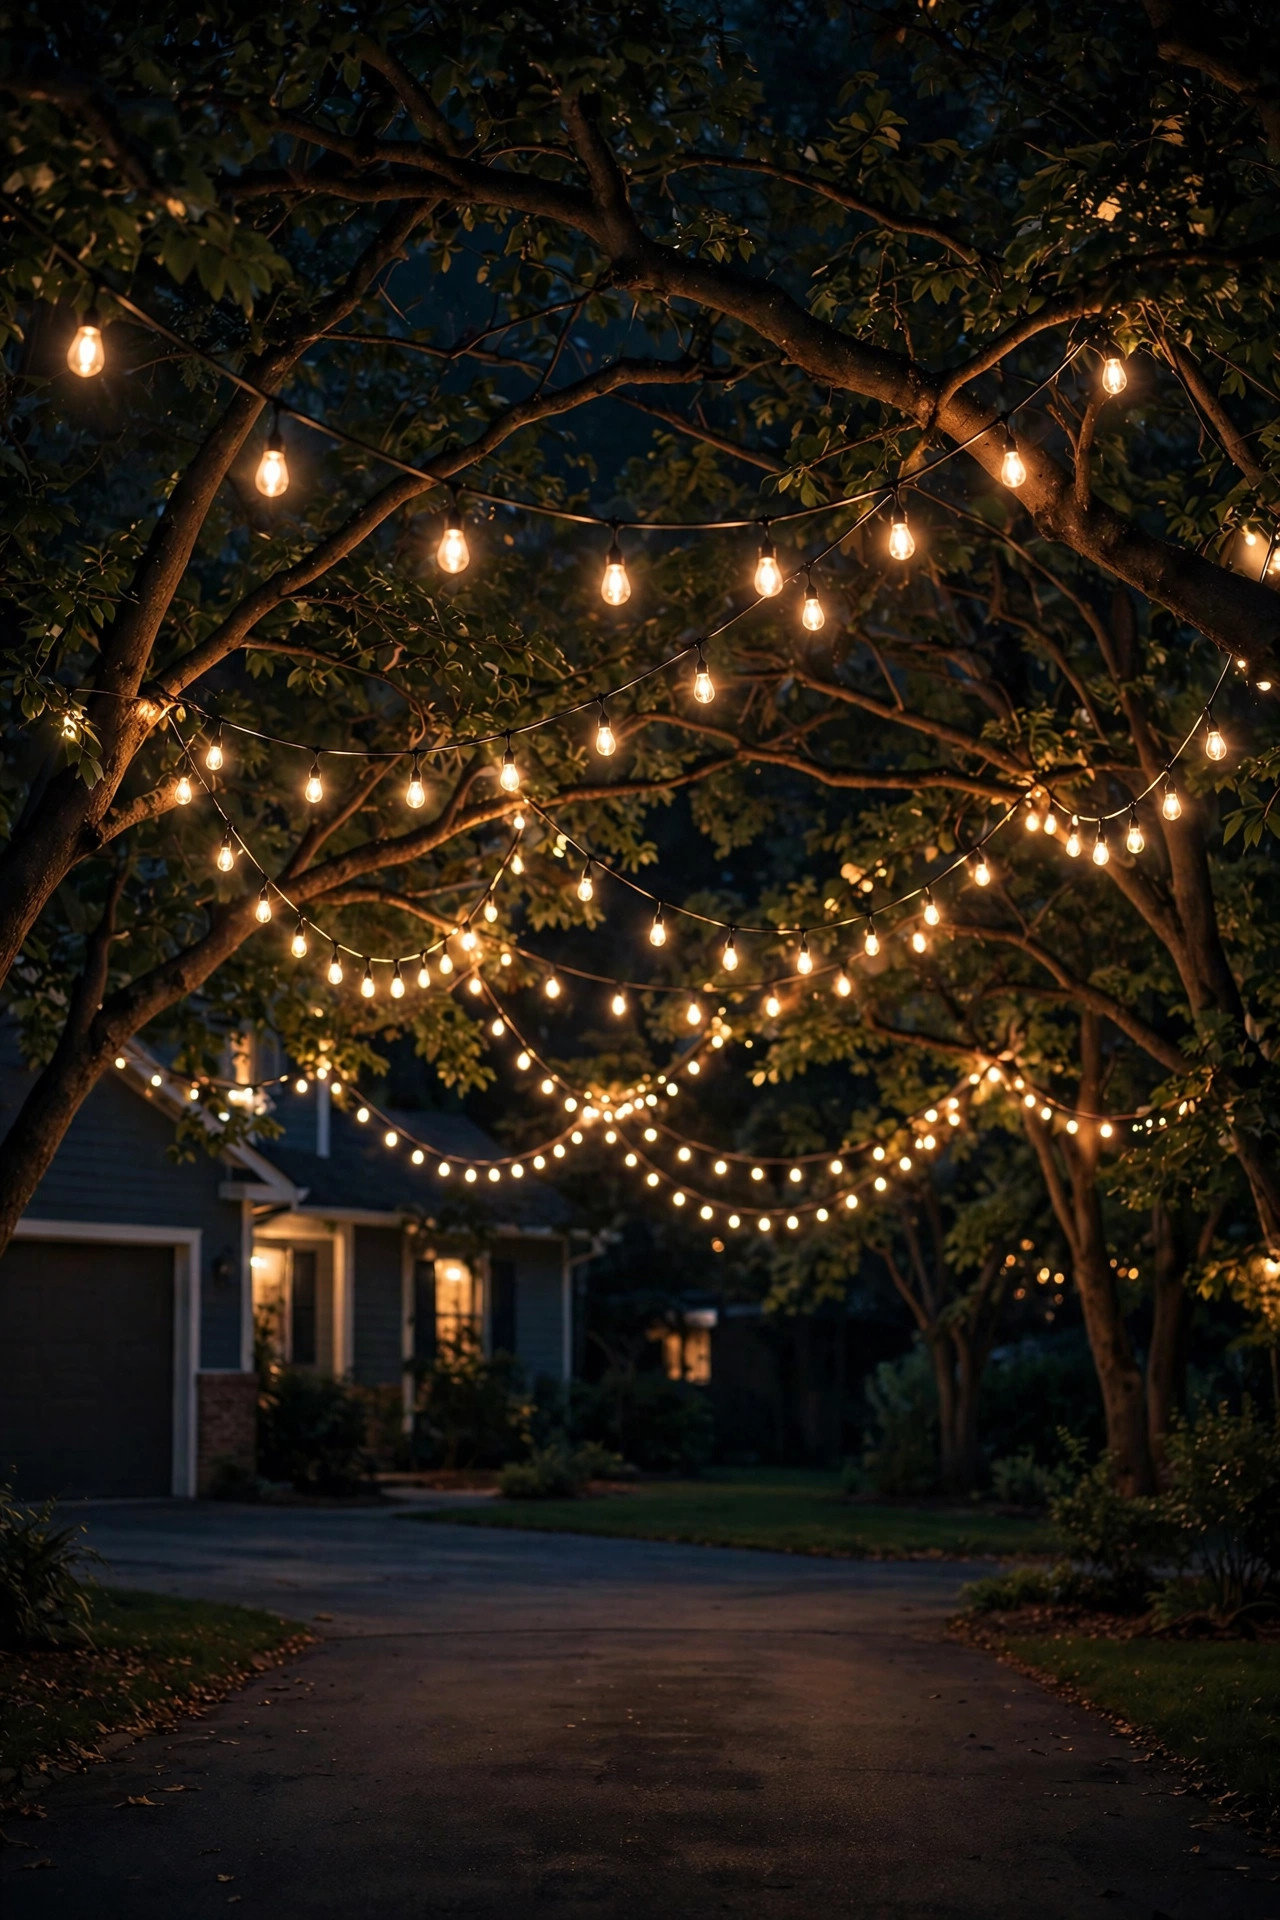
There's something about string lights draped through the trees over a driveway that makes an ordinary evening feel like a celebration — and it's one of the cheapest ideas on this list.
Use commercial-grade, outdoor-rated string lights with shatterproof LED bulbs; the thin "fairy light" strands look delicate but fail fast outdoors, so save those for the porch. Drape strands in loose swags between branches rather than wrapping trunks tightly, which can girdle bark as the tree grows. Keep the lowest strand at least 10 feet above the driveway surface so delivery trucks clear it easily. For long spans, support the wire with a thin steel cable (catenary wire) so the lights don't sag onto the pavement over time. Plug into a weatherproof outlet with a timer, and keep total wattage well under the circuit's rating — LEDs make this easy, since a 50-foot strand often draws under 25 watts. One honest note: strings are a styling layer, not a safety layer, so pair them with ground-level lights that actually mark the driveway edges.
Suggested budget range: $40 – $200.
14. Step and Stair Lights on Sloped Driveways
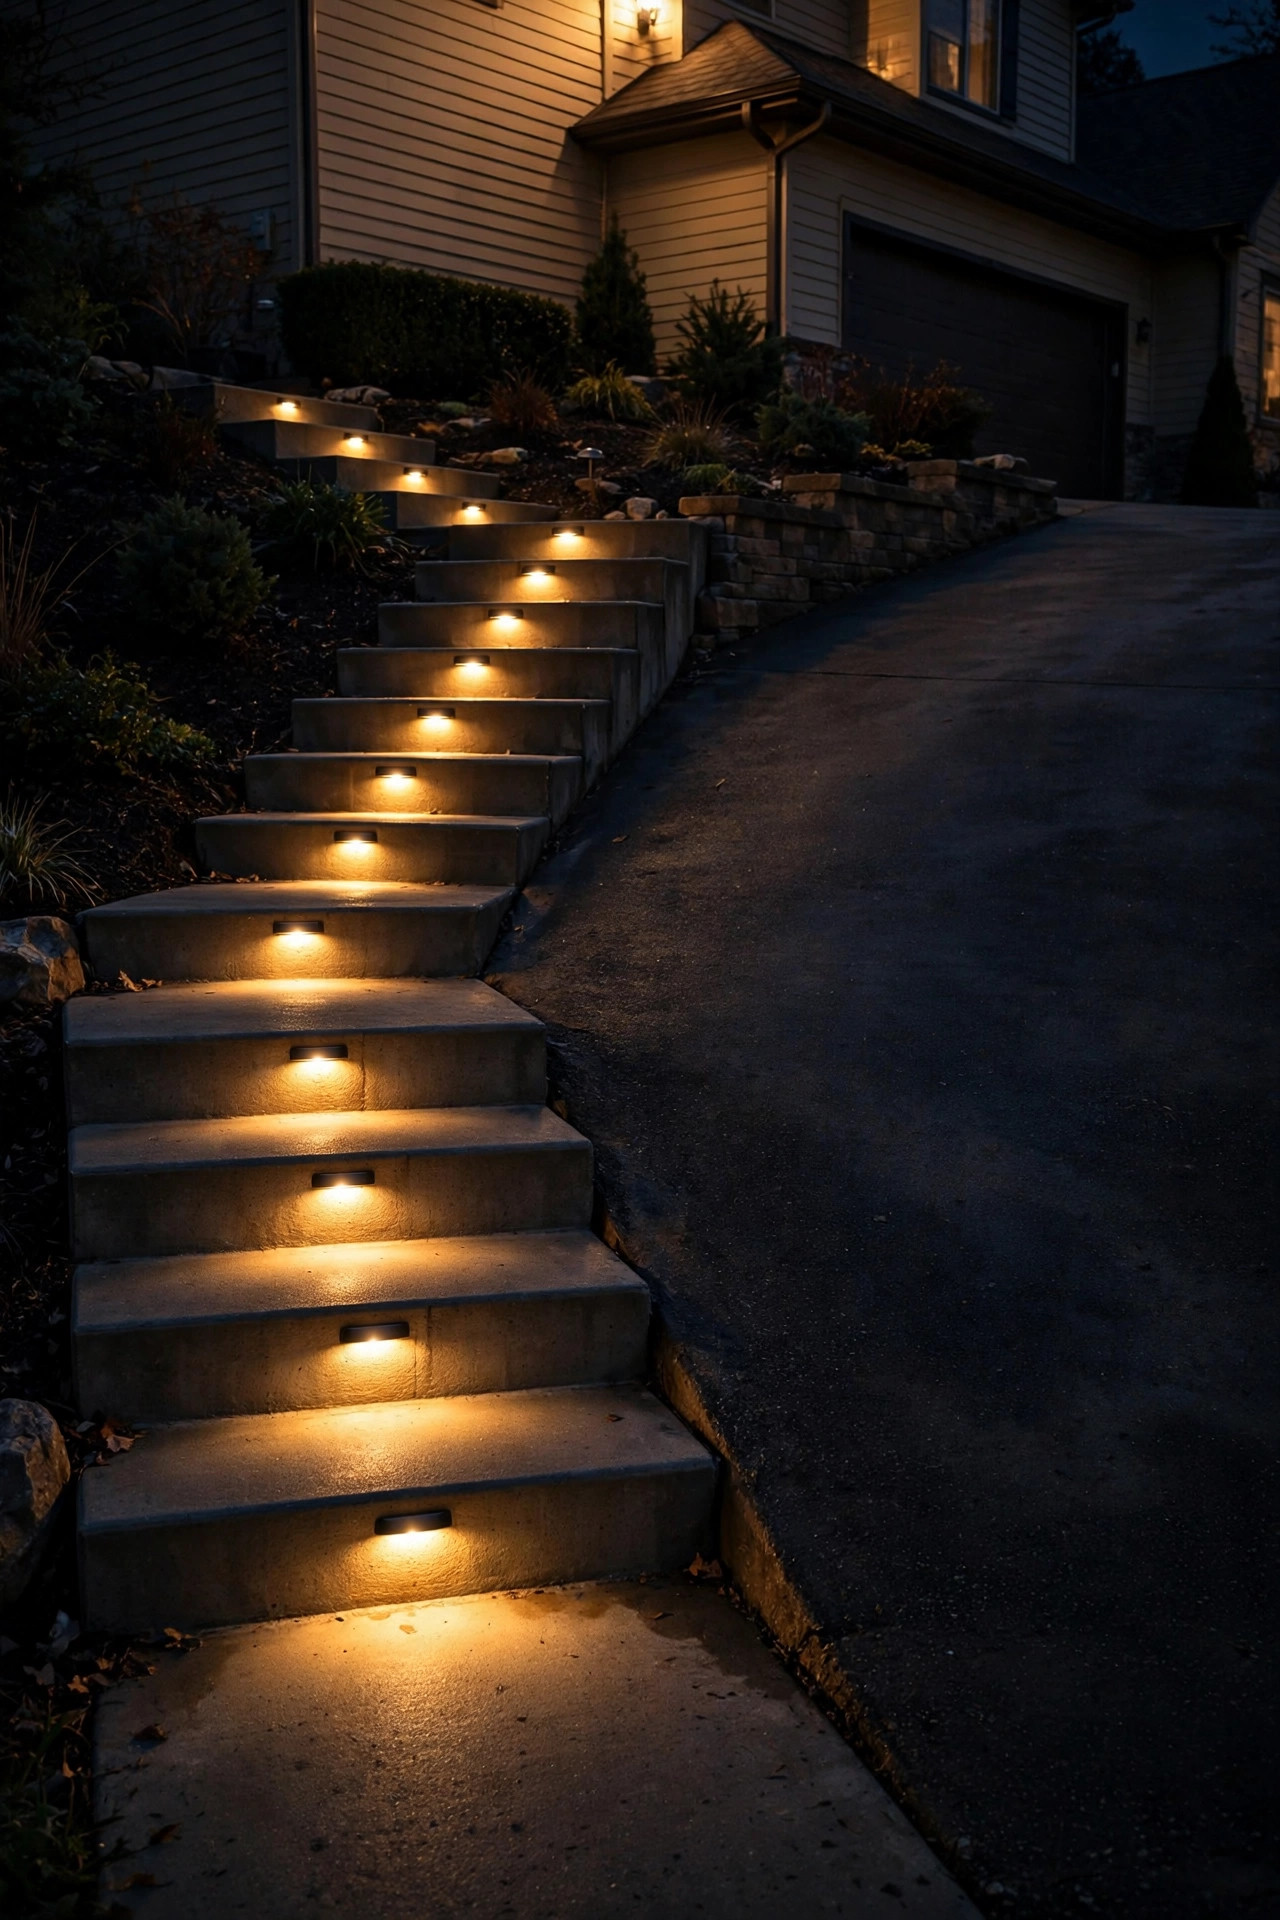
Sloped driveways, driveway stairs, and the steps up to a side entry are trip hazards after dark, and step lights are the purpose-built fix. These small fixtures were the most appreciated lights we ever installed — my mother-in-law finally felt safe on our sloped drive at night.
Recessed step lights mount flush in the riser or the wall beside the steps, casting a soft wash across each tread; surface-mounted versions work where you can't cut into masonry. Space one fixture per 3 to 4 steps, or one per step for steep or irregular stairs. Warm 2700K to 3000K LEDs at low wattage are plenty — you want definition, not dazzle. Low-voltage models wire into your existing 12-volt system, which keeps installation simple. Look for IP65 or better ratings and fixtures with a hooded or louvered face so the bulb never shines directly into someone's eyes on the way up. Put them on the same dusk-to-dawn timer as your other driveway lights so the whole route lights as one.
Suggested budget range: $70 – $300.
15. Smart Lights With Timers and App Control
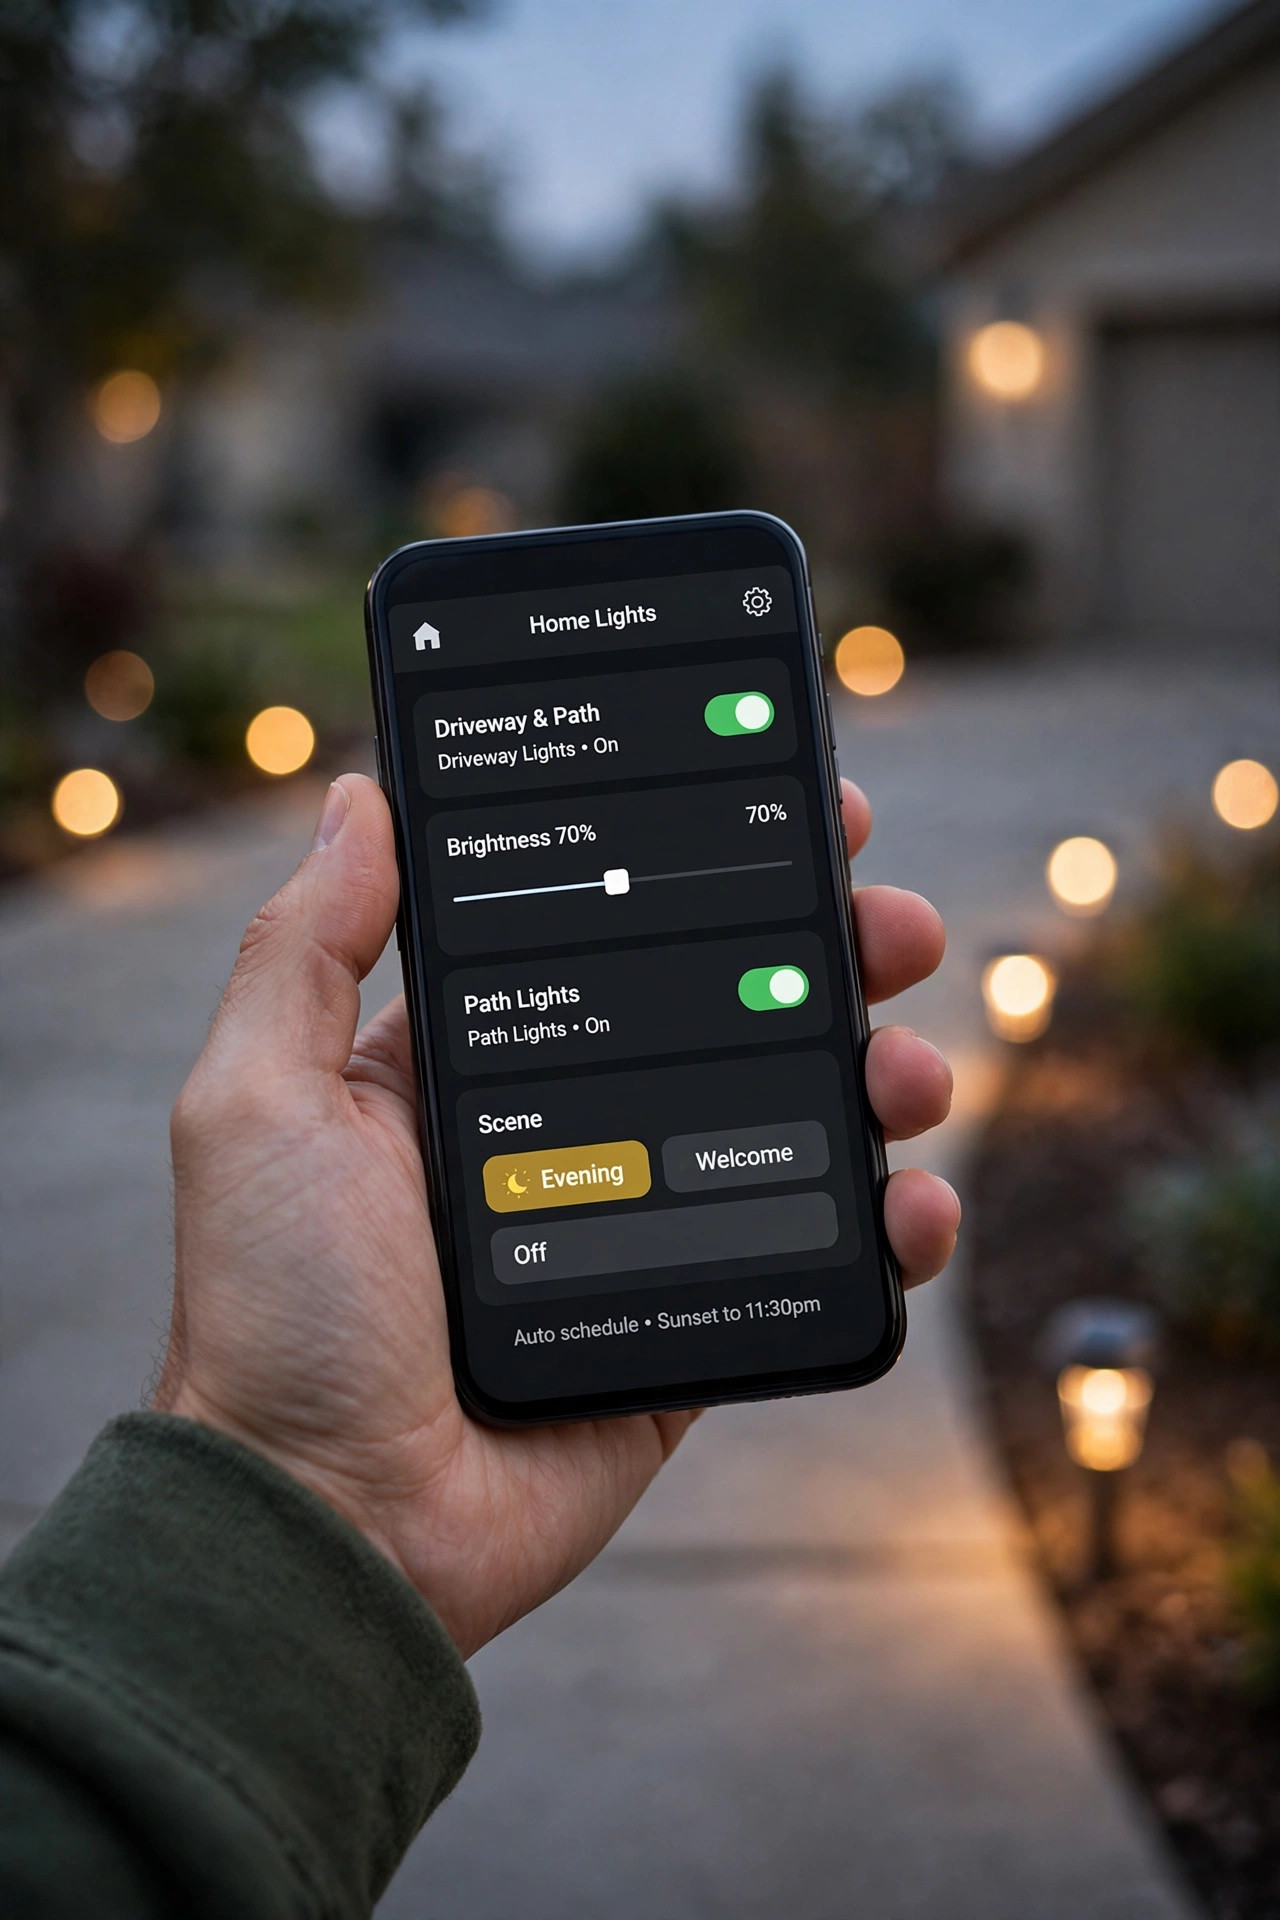
Once you've got a few driveway lights in place, smart controls tie them all together. Smart plugs, smart transformers, and app-controlled bulbs let you schedule dusk-to-dawn lighting, dim everything for late night, and flash the driveway lights when the pizza arrives.
The simplest entry is a smart plug on your low-voltage transformer with an astronomic timer — on at sunset, off at sunrise, adjusted automatically through the year. Smart low-voltage transformers go further, letting you zone the driveway separately from the backyard and dim each zone from your phone. For individual fixtures, smart LED bulbs in standard sockets work in sconces and post lights — just confirm they're rated for enclosed outdoor fixtures if yours are sealed. Keep the smart hub or bridge indoors within range. One practical note: if the internet goes out, most smart plugs fail "off" rather than "on," so keep a manual override or a photocell backup for security-critical lights like the floodlight. And when you're weighing the power question for smart fixtures, my breakdown of LED versus solar for exterior lighting will help you decide which fixtures are worth wiring.
Suggested budget range: $30 – $250.
16. Column and Pillar Lantern Lights at the Entrance
A step up from simple gate posts, full-height entrance columns with built-in lantern lights create a genuinely grand arrival. Hollow fiberglass or PVC column wraps around a structural post give you a 5- to 6-foot pillar that looks like cut stone once painted.
Plan columns 18 to 24 inches square and 5 to 6 feet tall, set back at least 3 feet from the road edge and 12 to 14 feet apart for comfortable vehicle clearance. Top each with a pier-mount lantern, and consider adding a small recessed downlight in the column's cap overhang so the pillar face glows softly from top to bottom. Run conduit up through the hollow column during construction — a 12-volt low-voltage feed is the DIY-friendly choice, while 120-volt lanterns need an electrician and weatherproof junction boxes. Cap every column with a proper stone or composite cap to shed water, since water pooling on top is what kills these installations. Choose warm 2700K LED lamps and fixtures rated for wet locations, on a photocell or smart timer so the entrance greets you every evening without fail.
Suggested budget range: $300 – $1,500.
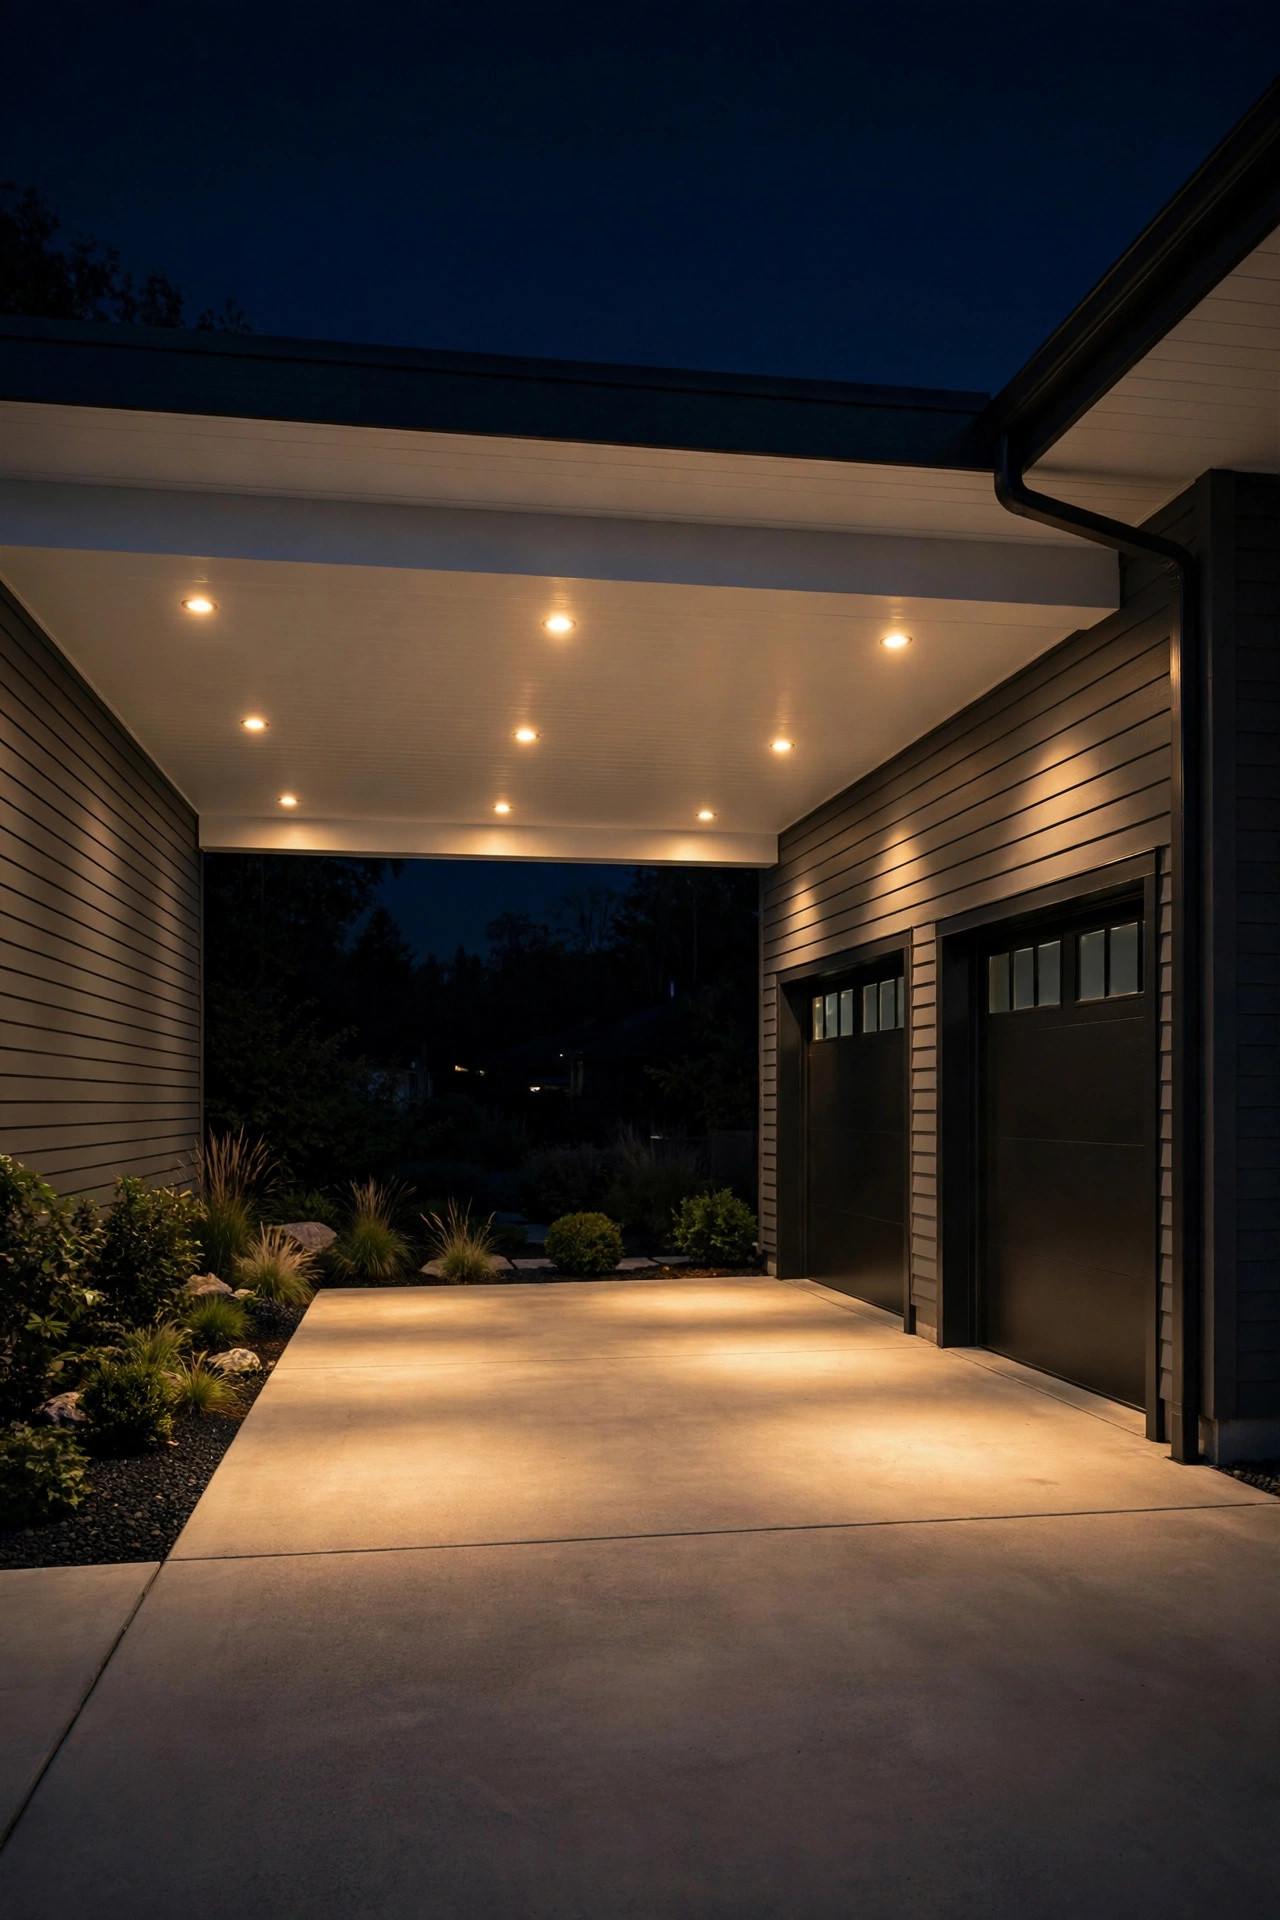
17. Soffit and Eave Downlights Over the Driveway
If your garage or house eave overhangs the driveway, soffit downlights are the most discreet powerful lighting you can add — the fixtures vanish into the ceiling while the driveway below glows.
Use recessed cans rated for damp or wet locations (soffits count as damp at minimum), fitted with warm 2700K to 3000K LED retrofit modules. Space them 6 to 8 feet apart along the overhang, set back from the edge so the light washes the driveway rather than spilling into the street. Aim for even coverage with no dark pockets — walk the driveway at night with a helper flipping switches to check. These are hardwired 120-volt fixtures, so this is electrician territory unless the cans already exist; the good news is that many garages already have a switched soffit light you can upgrade to two or three cans on the same circuit. Put them on a motion sensor or smart switch so they greet you when you pull in and don't burn all night.
Suggested budget range: $150 – $600.
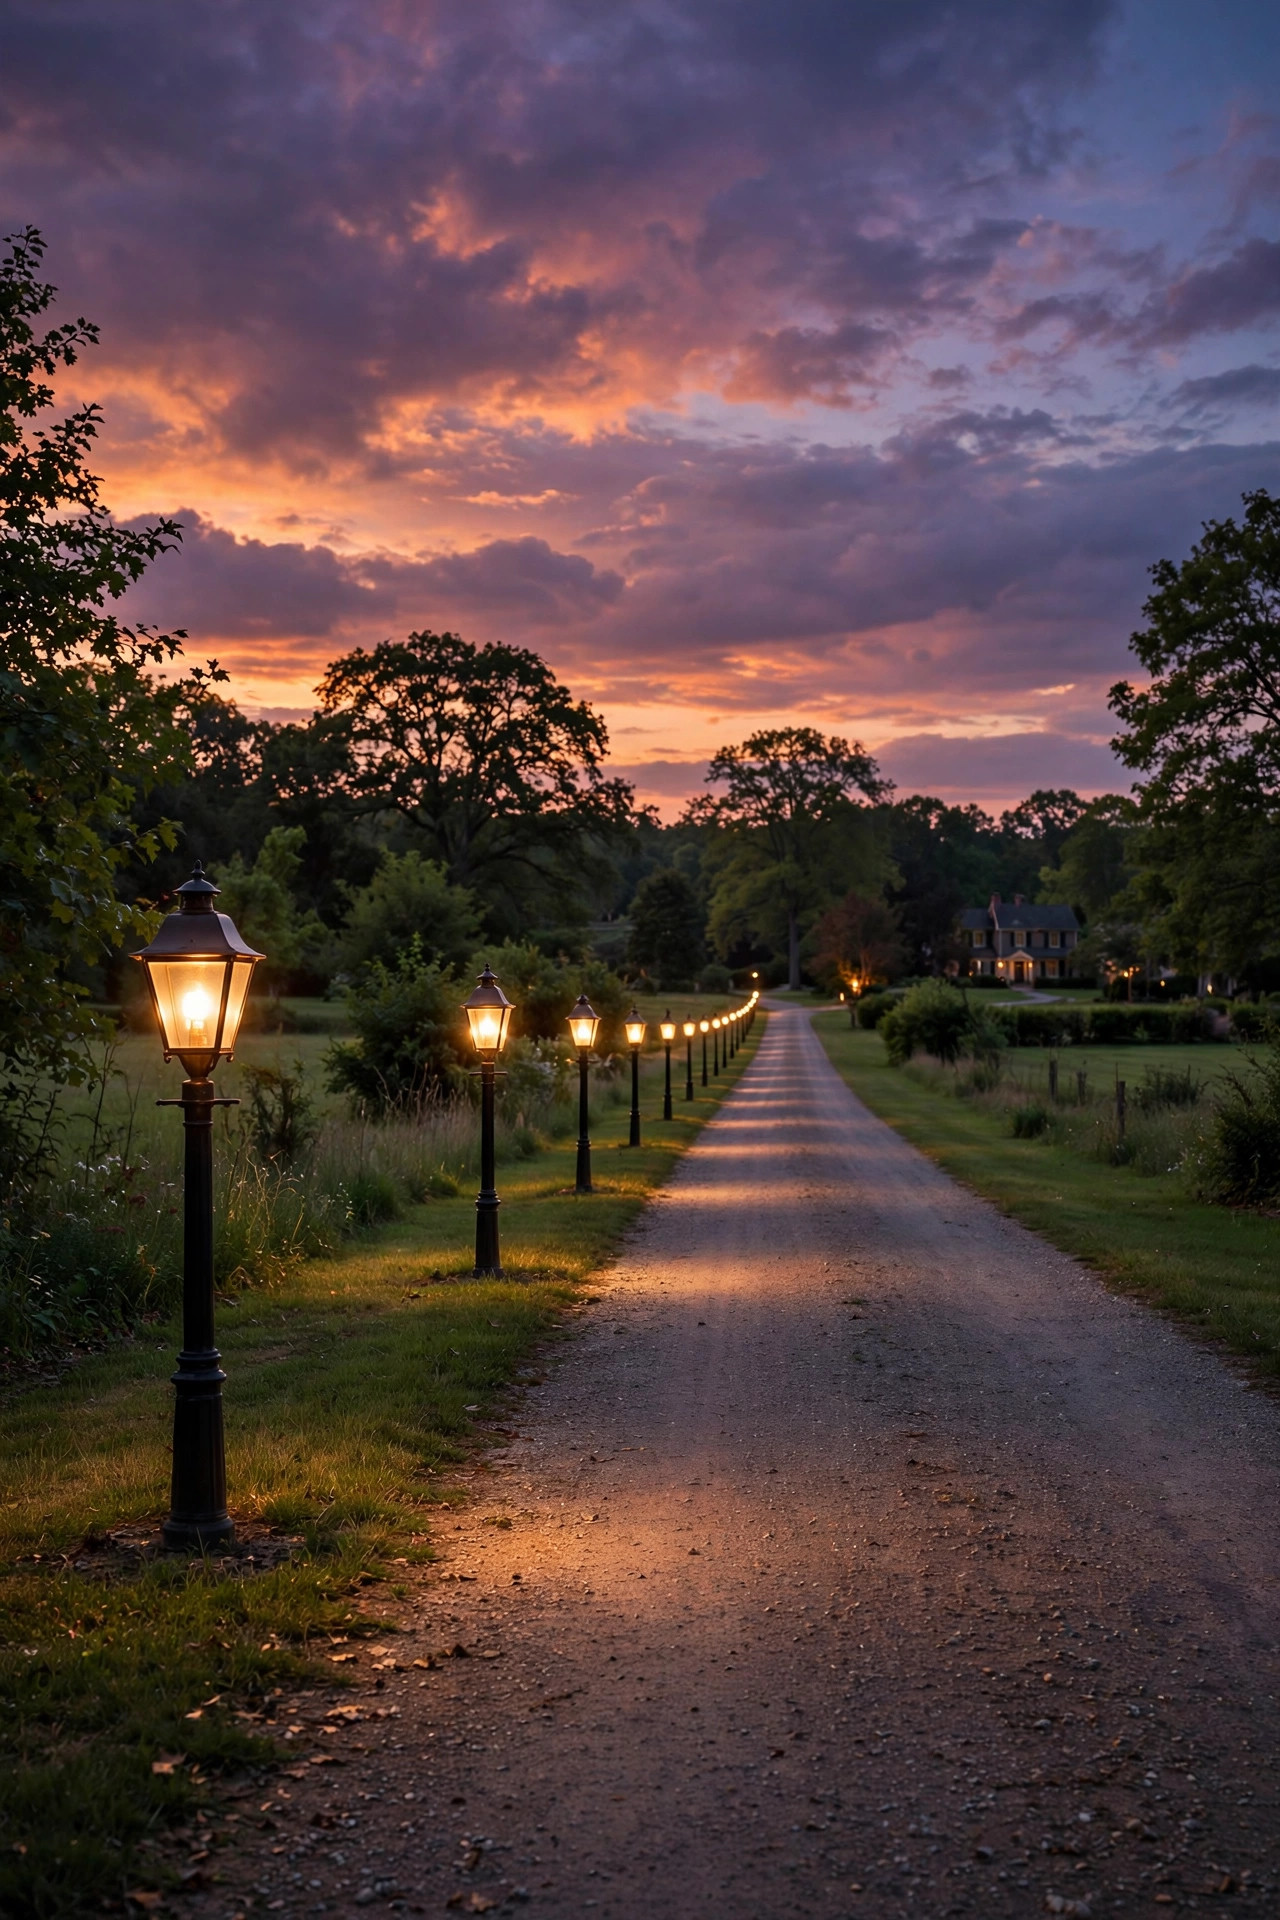
18. Decorative Lantern Posts Along a Long Driveway
For long driveways — the kind where the house is barely visible from the road — a procession of lantern posts turns the journey into an experience.
Space posts 20 to 30 feet apart, alternating sides or keeping to one side on narrow lanes, and keep them at least 3 feet back from the driving surface. Traditional post lanterns 6 to 8 feet tall suit most homes — choose a head style that echoes your front porch fixtures for a coordinated look. Low-voltage post lights are the practical choice — many are designed to mount on a standard 3-inch post with the wire running up inside. Warm 2700K LED bulbs, dusk-to-dawn photocells or a central timer, and wet-location ratings are the spec. Set each post on a concrete footing below the frost line in cold climates so they don't lean by spring. If trenching wire the full length feels daunting, do it in phases — posts first, wiring when you're ready — since the posts look good even before they're lit.
Suggested budget range: $250 – $1,000.
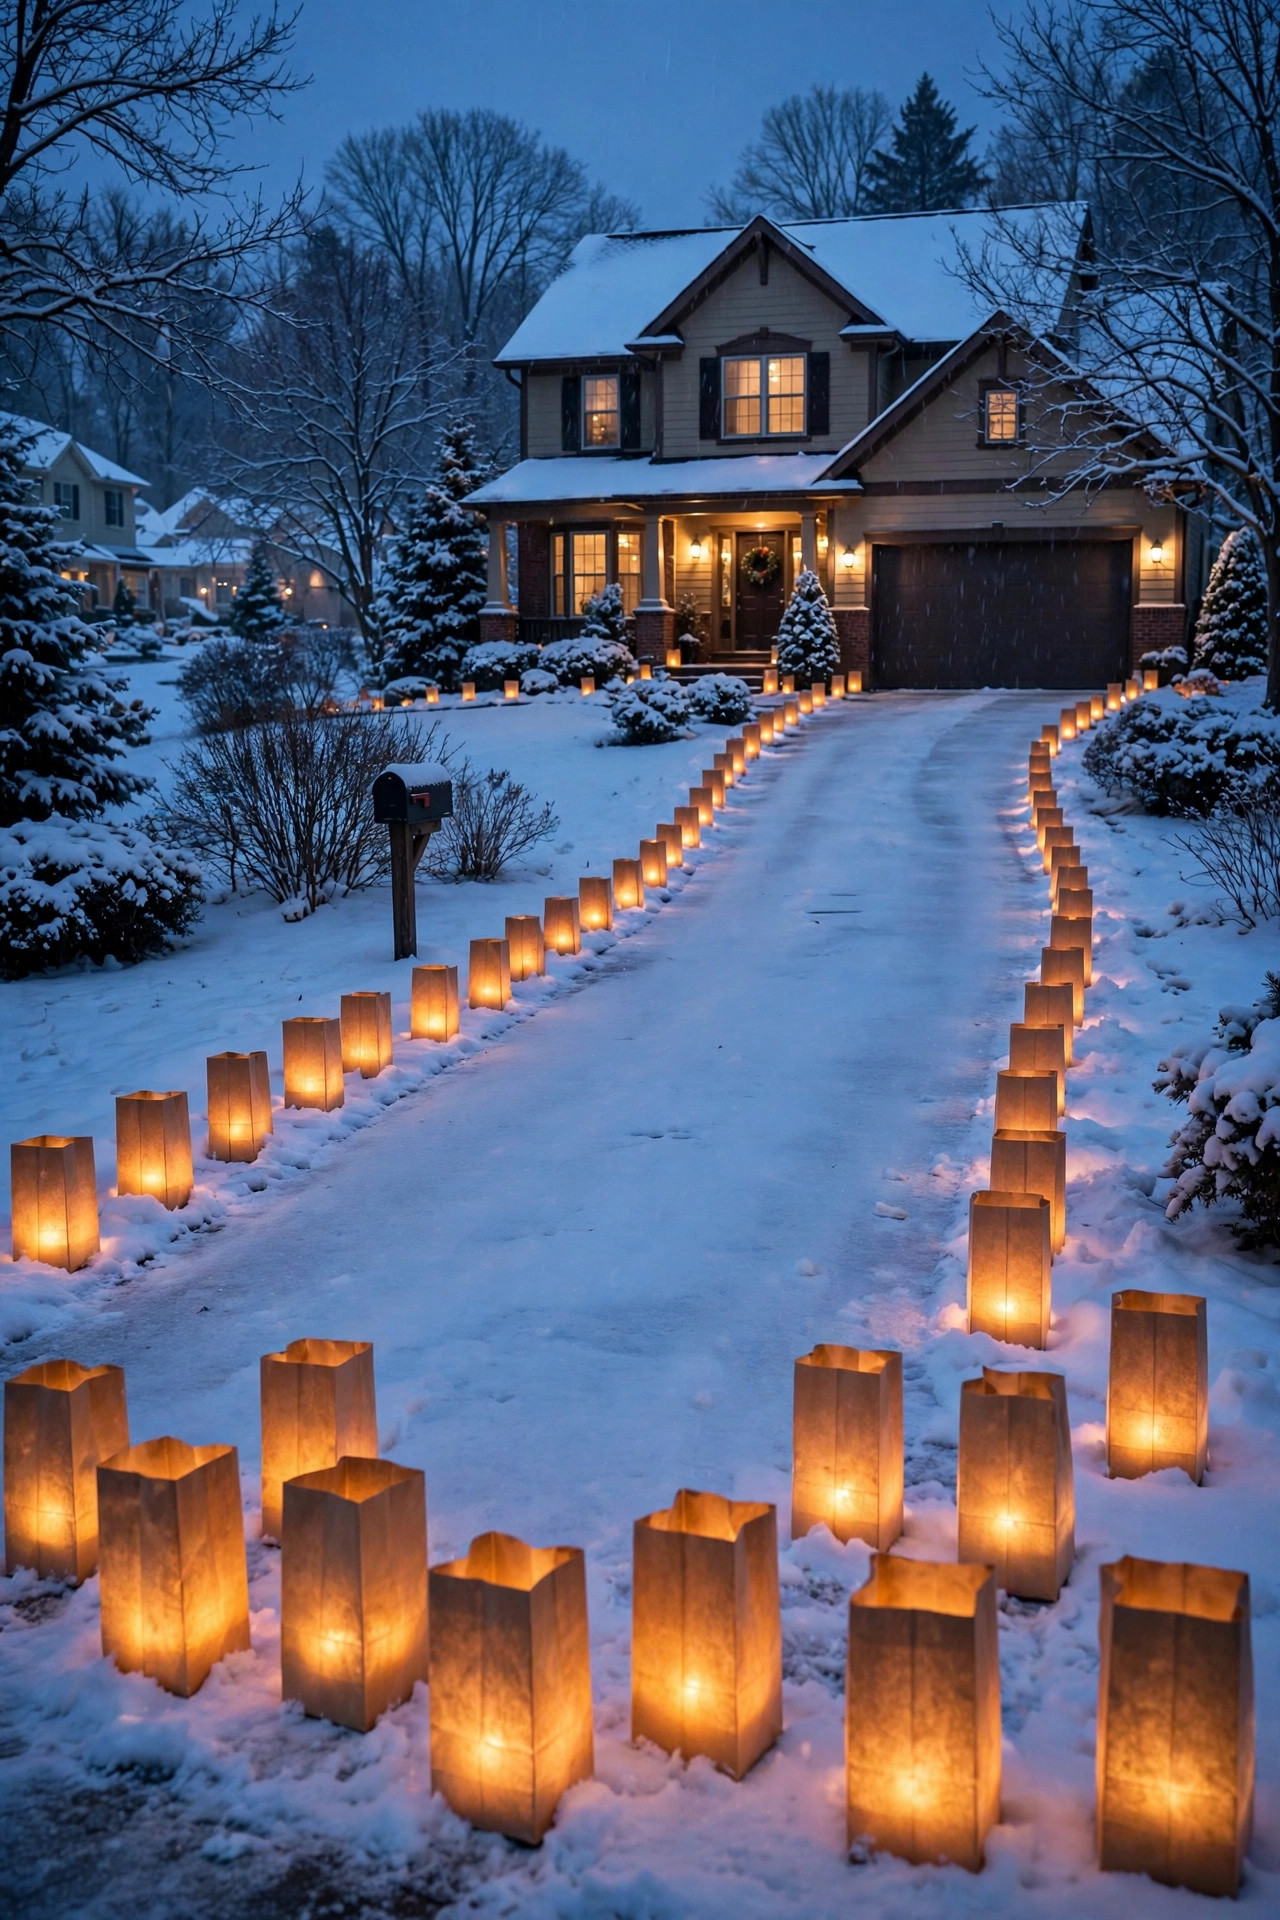
19. Seasonal and Holiday Lantern Clusters
Driveway lighting doesn't have to be a year-round commitment — some of my favorite looks are seasonal. Clusters of lanterns, luminarias, or lighted planters along the driveway edges turn holidays and parties into events, and because they're temporary, you can be as extravagant as you like.
For luminarias, use flame-resistant paper or reusable plastic bags weighted with sand, each holding an LED tea light or a small solar puck — LED-only, always, since real candles in paper bags near dry leaves are a fire waiting to happen. Space them 3 to 4 feet apart along both driveway edges for a continuous ribbon of light. For sturdier seasonal clusters, group lanterns of varying heights on the entrance pillars or flanking the garage — odd numbers (3, 5, 7) look best. Battery-operated LED candles with built-in timers (6 hours on, 18 off) mean you set them once and forget them for the season. Solar spotlights aimed at planters or wreaths add a festive wash without any wiring.
Suggested budget range: $30 – $150.
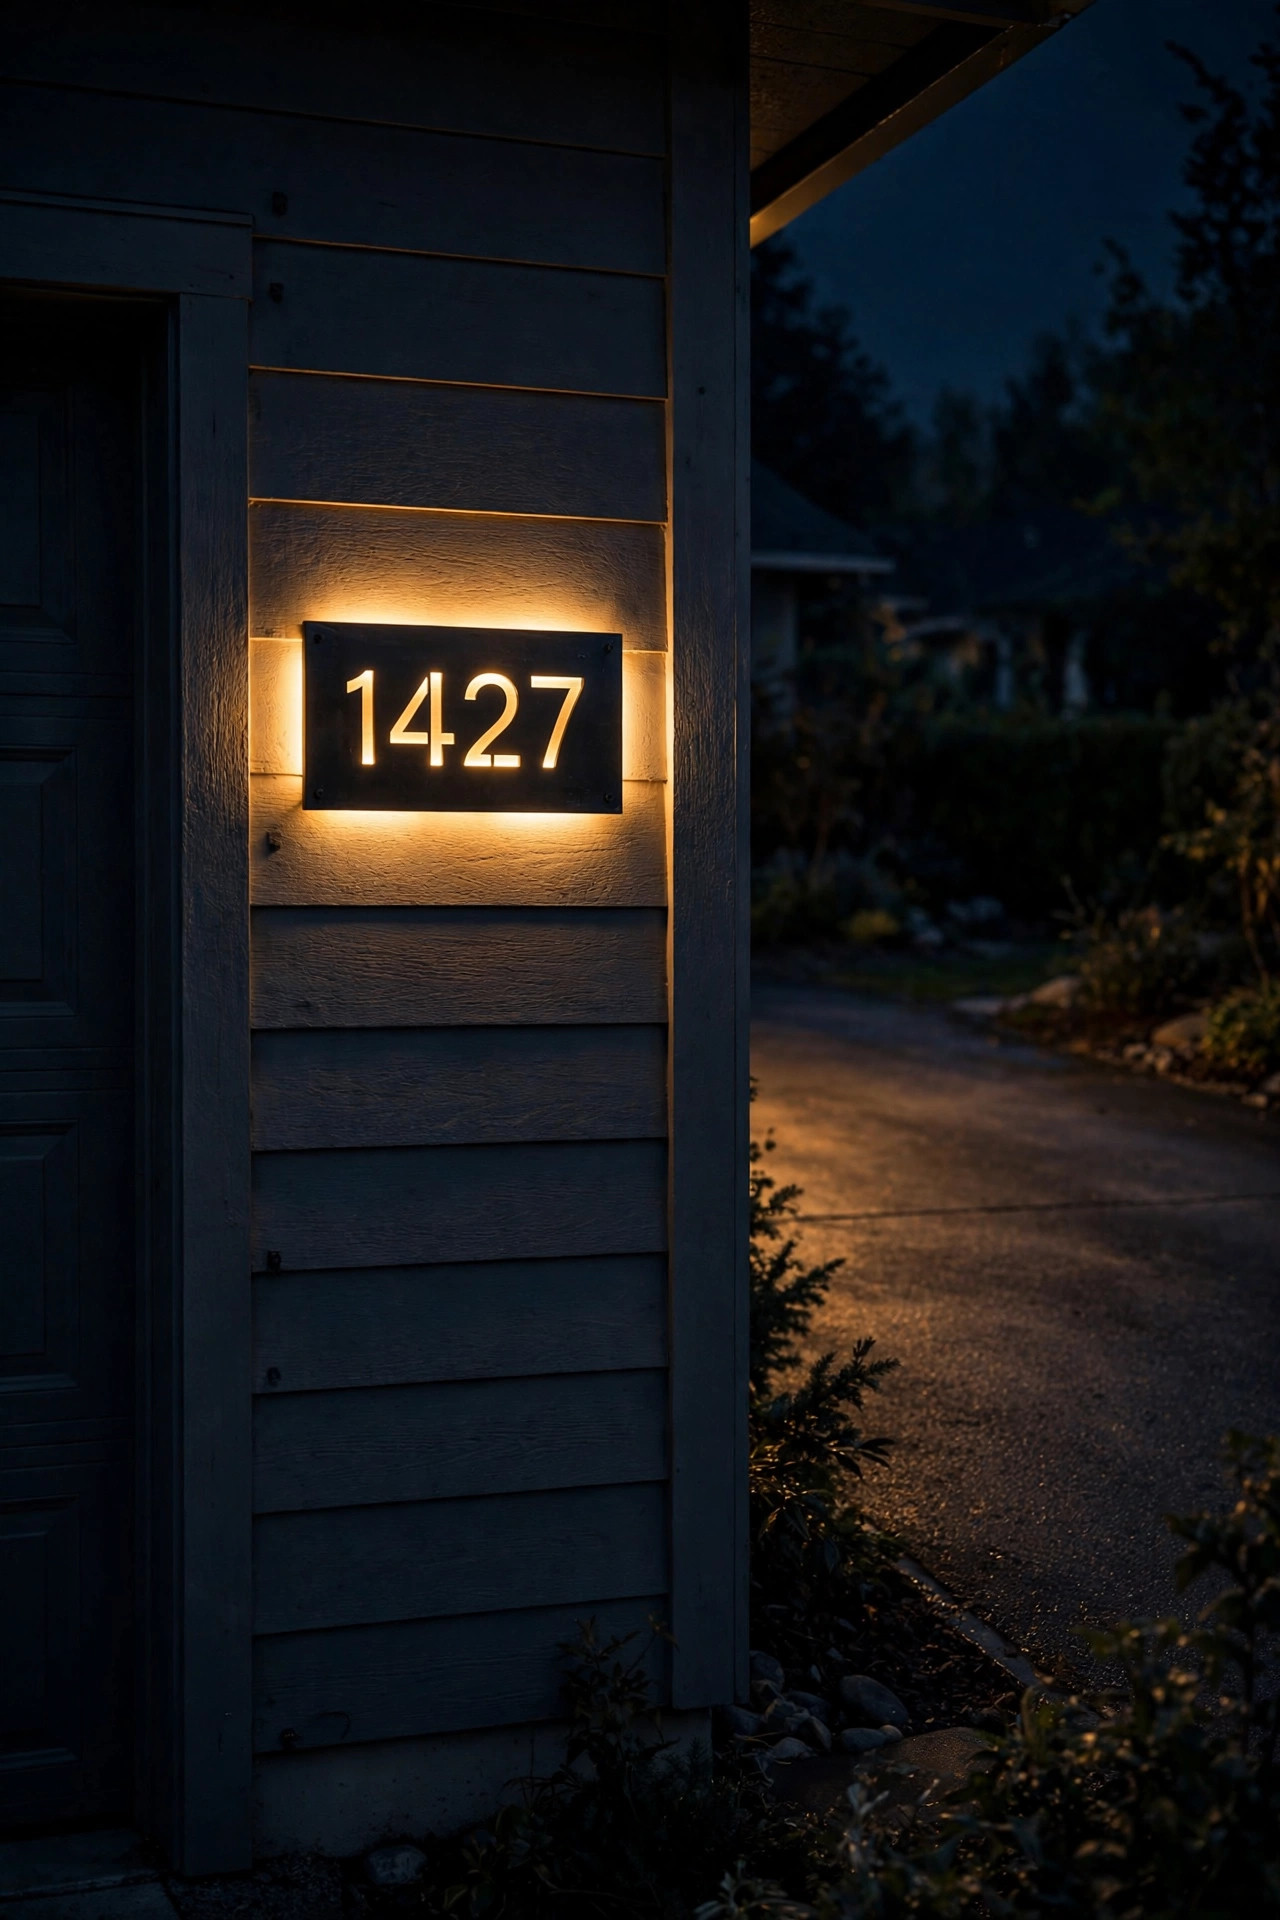
20. Backlit Address Plaque on the House or Garage
If a curbside number (idea #9) marks the street, a backlit address plaque on the house or garage marks the destination — and guests need both.
Choose a plaque sized to your facade — 12 to 18 inches wide suits most homes — with 4- to 6-inch numerals in a high-contrast finish. Backlit (halo-lit) plaques glow from behind the numbers for a refined look; front-lit versions use small integrated LEDs to wash the face. Low-voltage LED plaques wire into your 12-volt system with just a few watts of draw, making this an easy add-on to an existing transformer. Mount it 5 to 6 feet high beside the garage door or entry, visible from the driveway approach. Verify it's rated for wet locations and that the mounting seals against the wall so water can't creep behind it. Pair it with the sconces or downlights nearby on the same timer so the whole arrival zone lights as one scene.
Suggested budget range: $60 – $250.
21. Color-Changing Accent Lighting for Special Occasions
For the grand finale, color-changing smart accent lights let your driveway dress up for the occasion — warm amber for autumn evenings, icy blue for winter, team colors on game day. Run warm white 2700K every normal night and save the colors for celebrations.
Use smart RGBW spotlights or floodlights — the "W" matters, because dedicated white LEDs give you a clean warm white that RGB-only fixtures can't. Place 2 to 4 fixtures to wash key features: the entrance pillars, a specimen tree, or the house facade above the garage. Low-voltage smart spotlights tie into a 12-volt system with a smart transformer; 120-volt smart floods need an electrician but throw more light. Control everything from one app with scenes ("Everyday Warm," "Holiday," "Party") so switching moods takes one tap. Keep brightness moderate — colored light reads best as an accent, not a flood. And a neighborly note from my experience: aim colored beams at your own house and landscaping, never across the street or into neighboring windows, and dial them back to warm white by 10 p.m. on weeknights.
Suggested budget range: $100 – $400.
Frequently Asked Questions
What color temperature is best for driveway lighting?
In my experience, warm white between 2700K and 3000K is the sweet spot for driveways. It flatters landscaping, feels welcoming, and matches the warm glow of most porch and interior lights. Cooler temperatures (4000K and up) look harsh and commercial outdoors — save daylight-white for task areas like a workshop.
Is solar or wired better for driveway lights?
It depends on the job. Solar is unbeatable for easy, wire-free marking — driveway studs, small path markers, and seasonal accents — but solar fixtures are dimmer, run fewer hours per night, and need full sun to charge. Low-voltage wired (12-volt) systems cost more upfront and need trenching, but they give you brighter, all-night, reliable light with timers and dimming. My rule: solar for accents and markers, wired for anything you depend on for safety. If you want the full comparison, my fall pathway lighting ideas post shows how I mix both in one landscape.
How much does it cost to light a driveway?
A simple DIY setup — a dozen solar markers or a starter set of low-voltage stake lights — runs $25 to $250. A mid-range project with bollards or well lights, a transformer, and a timer typically lands between $300 and $800. A grand entrance with masonry pillars, wired lanterns, and professional installation can reach $1,500 to $3,000 or more. Most homeowners spend $200 to $600 total, especially when they DIY the low-voltage work and hire an electrician only for 120-volt fixtures.
Can I install driveway lighting myself?
Low-voltage (12-volt) and solar lighting are very DIY-friendly — if you can dig a shallow trench and connect color-coded wires with waterproof connectors, you can do it in a weekend. In my experience, the transformer-and-timer setup is the only part that needs care: don't exceed the transformer's wattage, use outdoor-rated cable, and keep connections dry. Anything hardwired at 120 volts — floodlights, soffit cans, hardwired sconces — should be installed or at least inspected by a licensed electrician, and most areas require a permit for new 120-volt outdoor circuits.
Conclusion
If there's one principle behind all 21 of these driveway lighting ideas, it's this: layer your light. Mark the edges so cars stay on the pavement, light the walking route so people feel safe, and then add the beautiful stuff — the uplights, the pillars, the little glows that make your home feel like itself after dark. you don't need the grandest option on this list to transform your driveway; even a simple row of warm stake lights changes how your whole house feels at night.
Start with one layer this weekend — maybe the solar markers or a starter low-voltage kit — and build from there. Your driveway is the first thing guests experience and the last thing you see coming home, so it deserves better than darkness. If you're hungry for more inspiration, browse my other outdoor lighting ideas on the site — from pathway guides to porch makeovers, there's a project for every corner of your home waiting to glow.