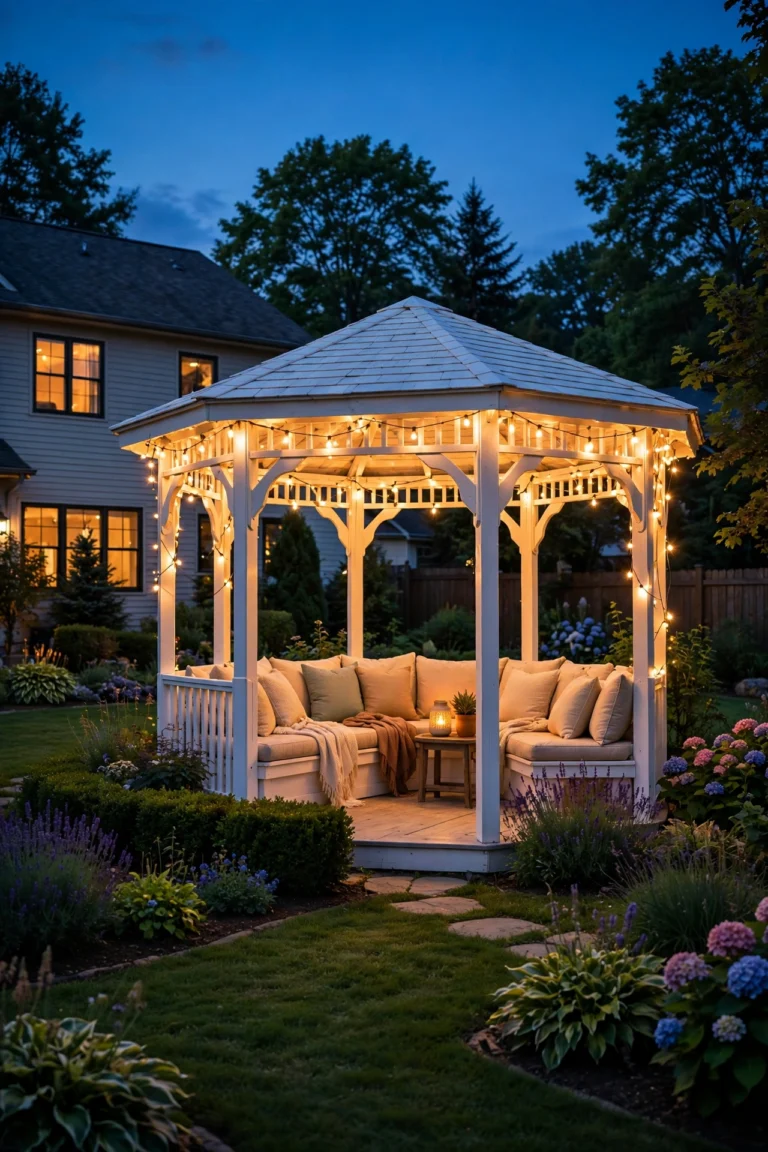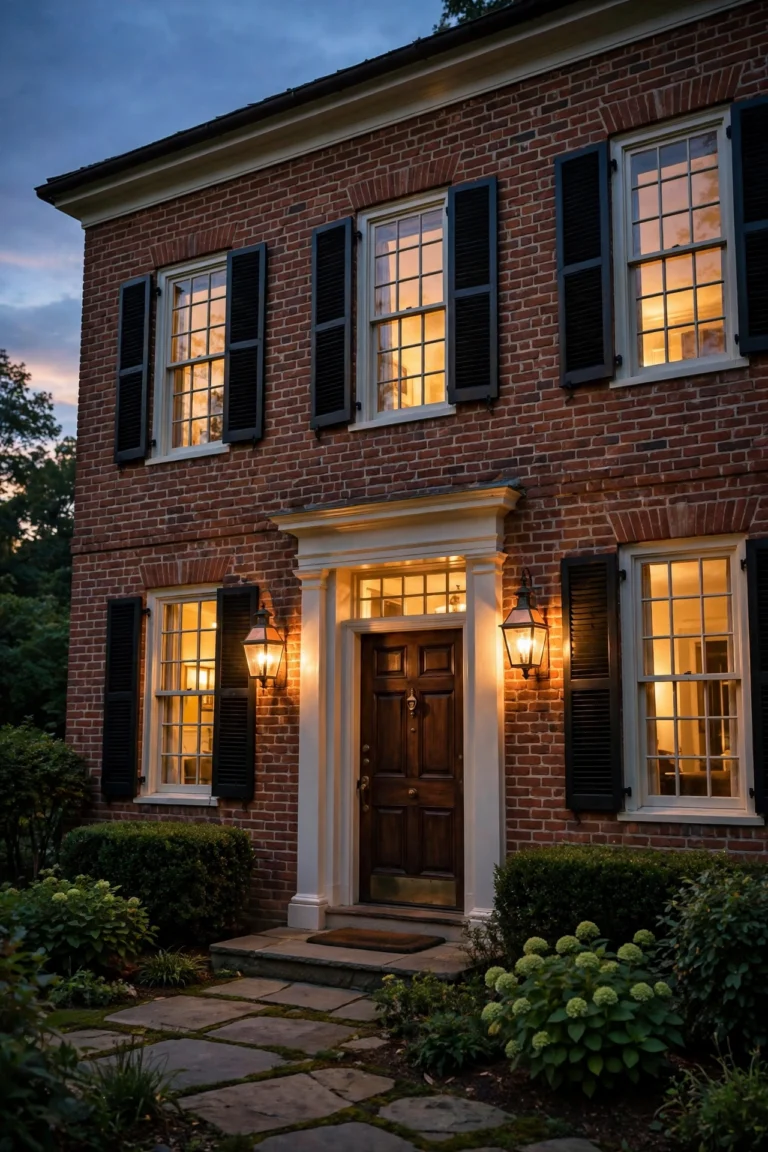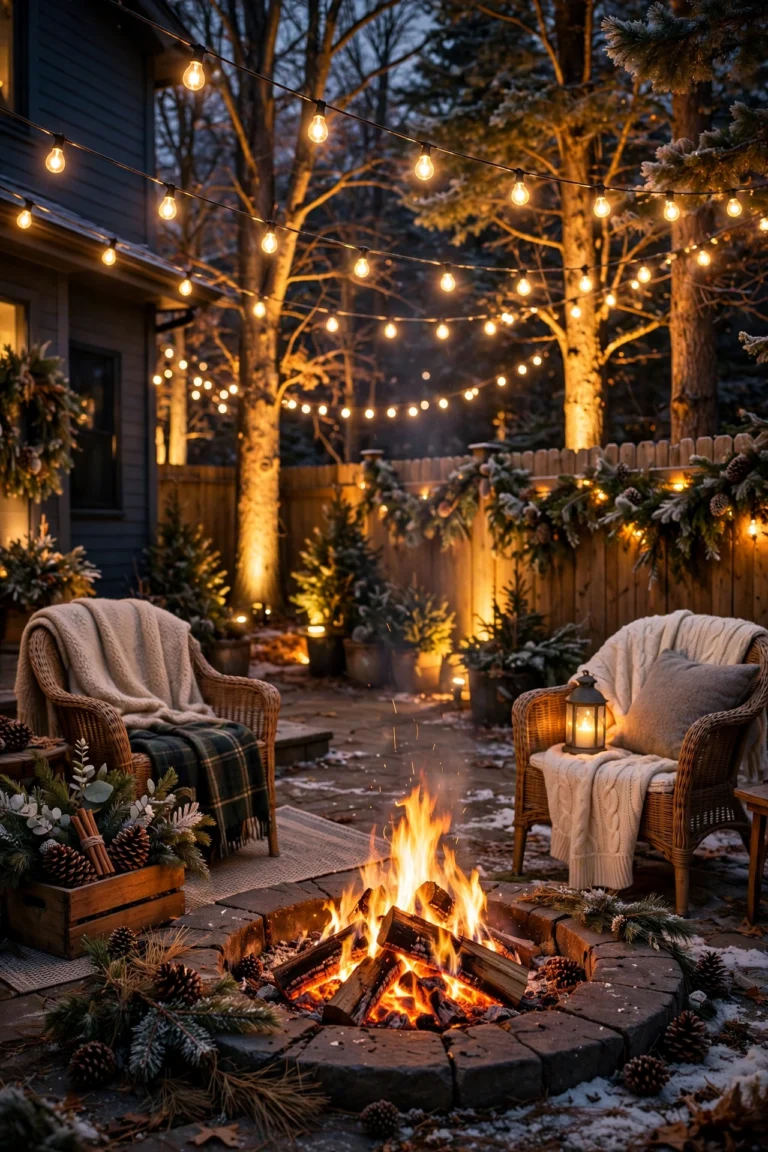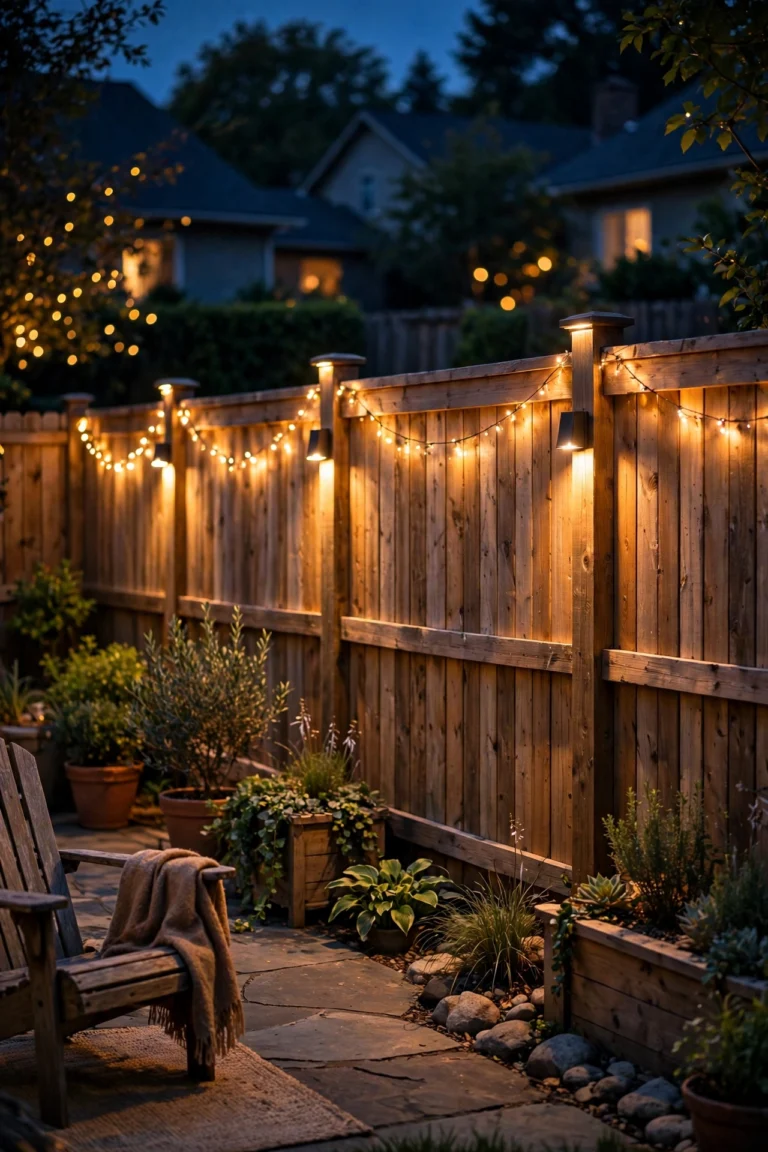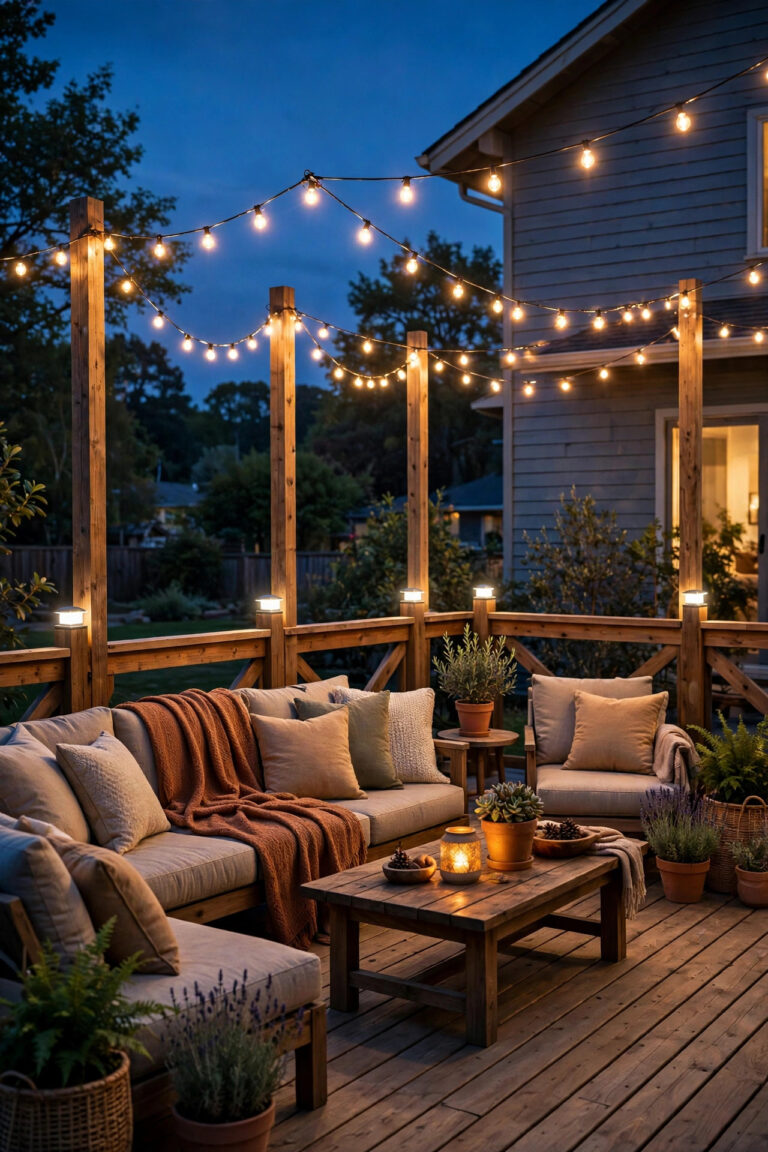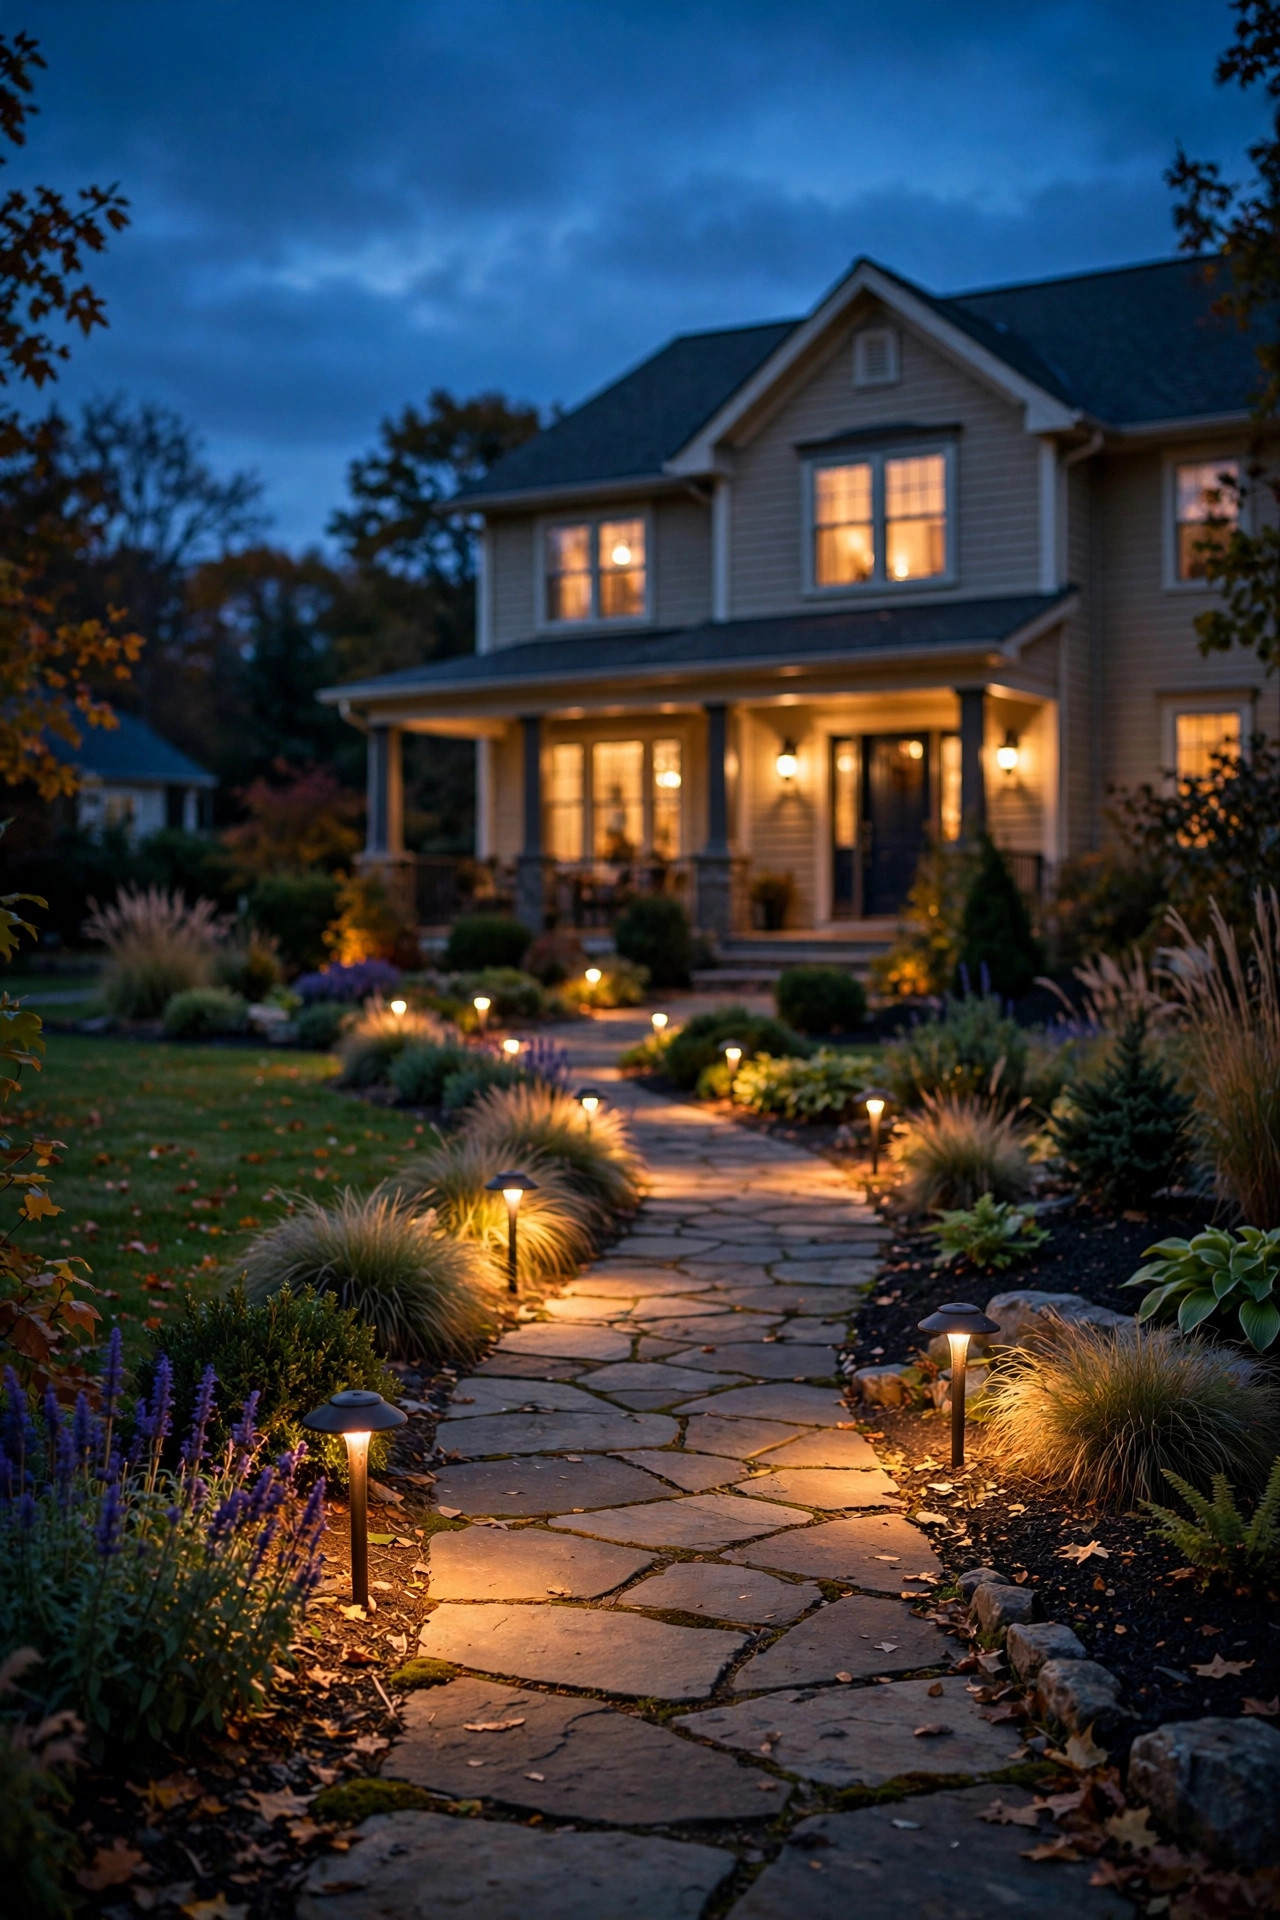
There's something about a glowing path that makes a house feel like home — even before guests reach the front door. In my experience, walkway lighting ideas don't have to be complicated or expensive to change how your home feels after dark. A few well-placed lights can take a plain concrete walk from "trip hazard" to "come on in, we're glad you're here."
I believe in layering light the way you'd layer decor inside: a base layer that keeps feet safe, an accent layer for edges and plants, and a sparkle layer for personality. When those three work together, you get a walkway that's welcoming, safe, and honestly gorgeous.
In this post I'm sharing 23 of my favorite approaches — everything from classic low-voltage path lights to budget solar stakes, modern bollards, and a few creative tricks I've picked up over the years. Each idea includes spacing, bulb choices, and realistic budget ranges so you can plan with confidence. Let's light that path.
1. Classic Low-Voltage Mushroom Path Lights
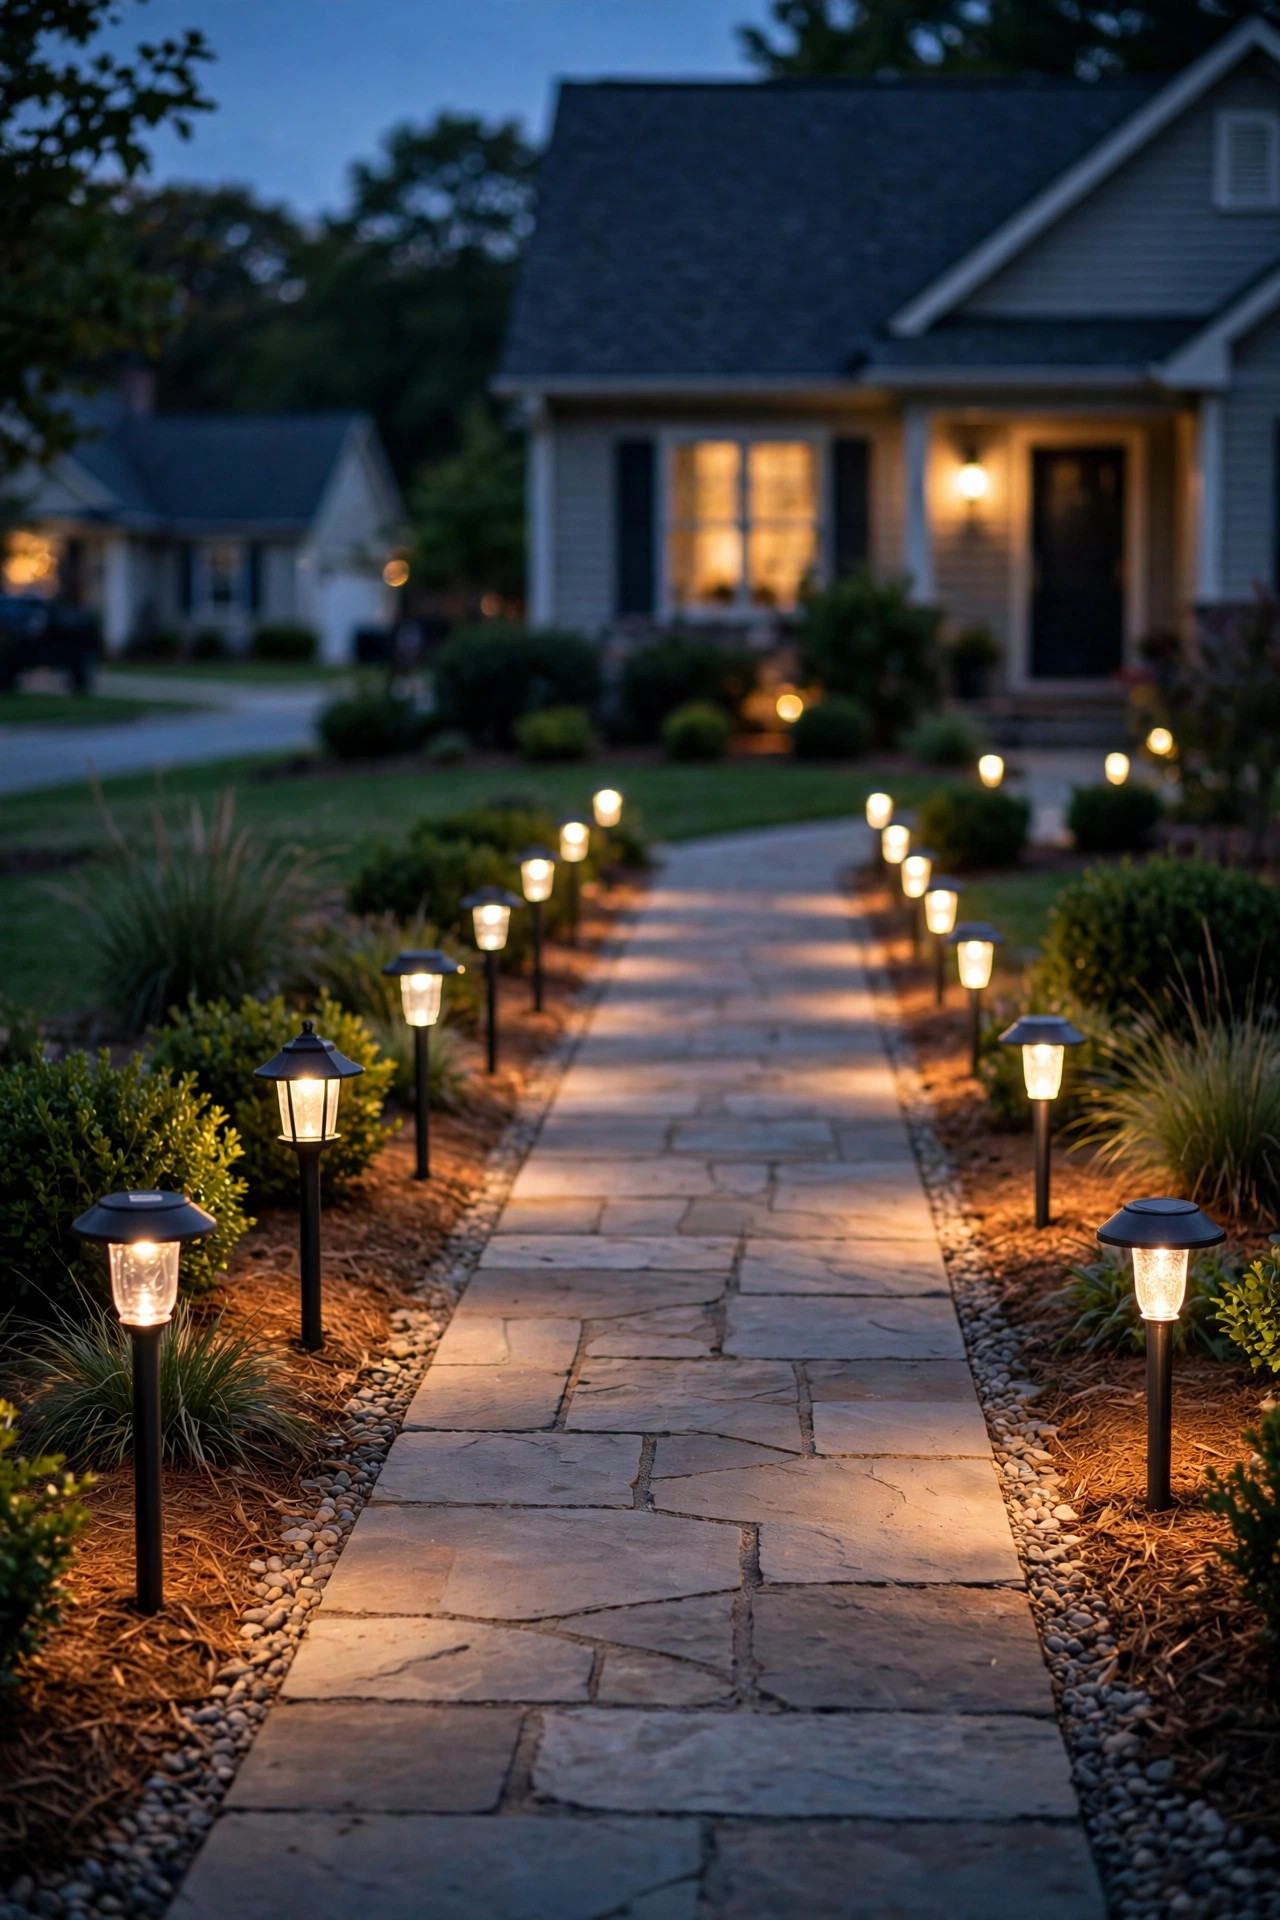
If there's one timeless walkway lighting idea, this is it: the classic mushroom-top path light. These fixtures sit on a 12–18 inch stake, cast a soft pool of light downward over the path, and look right at home in practically any yard. I always recommend starting here if you're new to landscape lighting because they're forgiving and versatile.
Space them 6 to 8 feet apart, or stagger them on alternating sides every 8 to 10 feet — staggering covers the path with fewer fixtures and looks more natural. Keep each fixture 12 to 18 inches back from the path's edge so mowers and feet stay clear. Choose warm white LEDs around 2700K; anything cooler reads harsh and blue against a home at night. A low-voltage transformer with a built-in dusk-to-dawn timer means your lights come on automatically every evening with zero fuss.
Safety-wise, low-voltage 12V systems are DIY-friendly and safe to bury cable a few inches deep. Just use outdoor-rated cable, keep connections in waterproof junction boxes, and confirm your transformer is rated for outdoor use.
Suggested budget range: $120 – $400.
2. Solar Stake Lights for a No-Wiring Glow
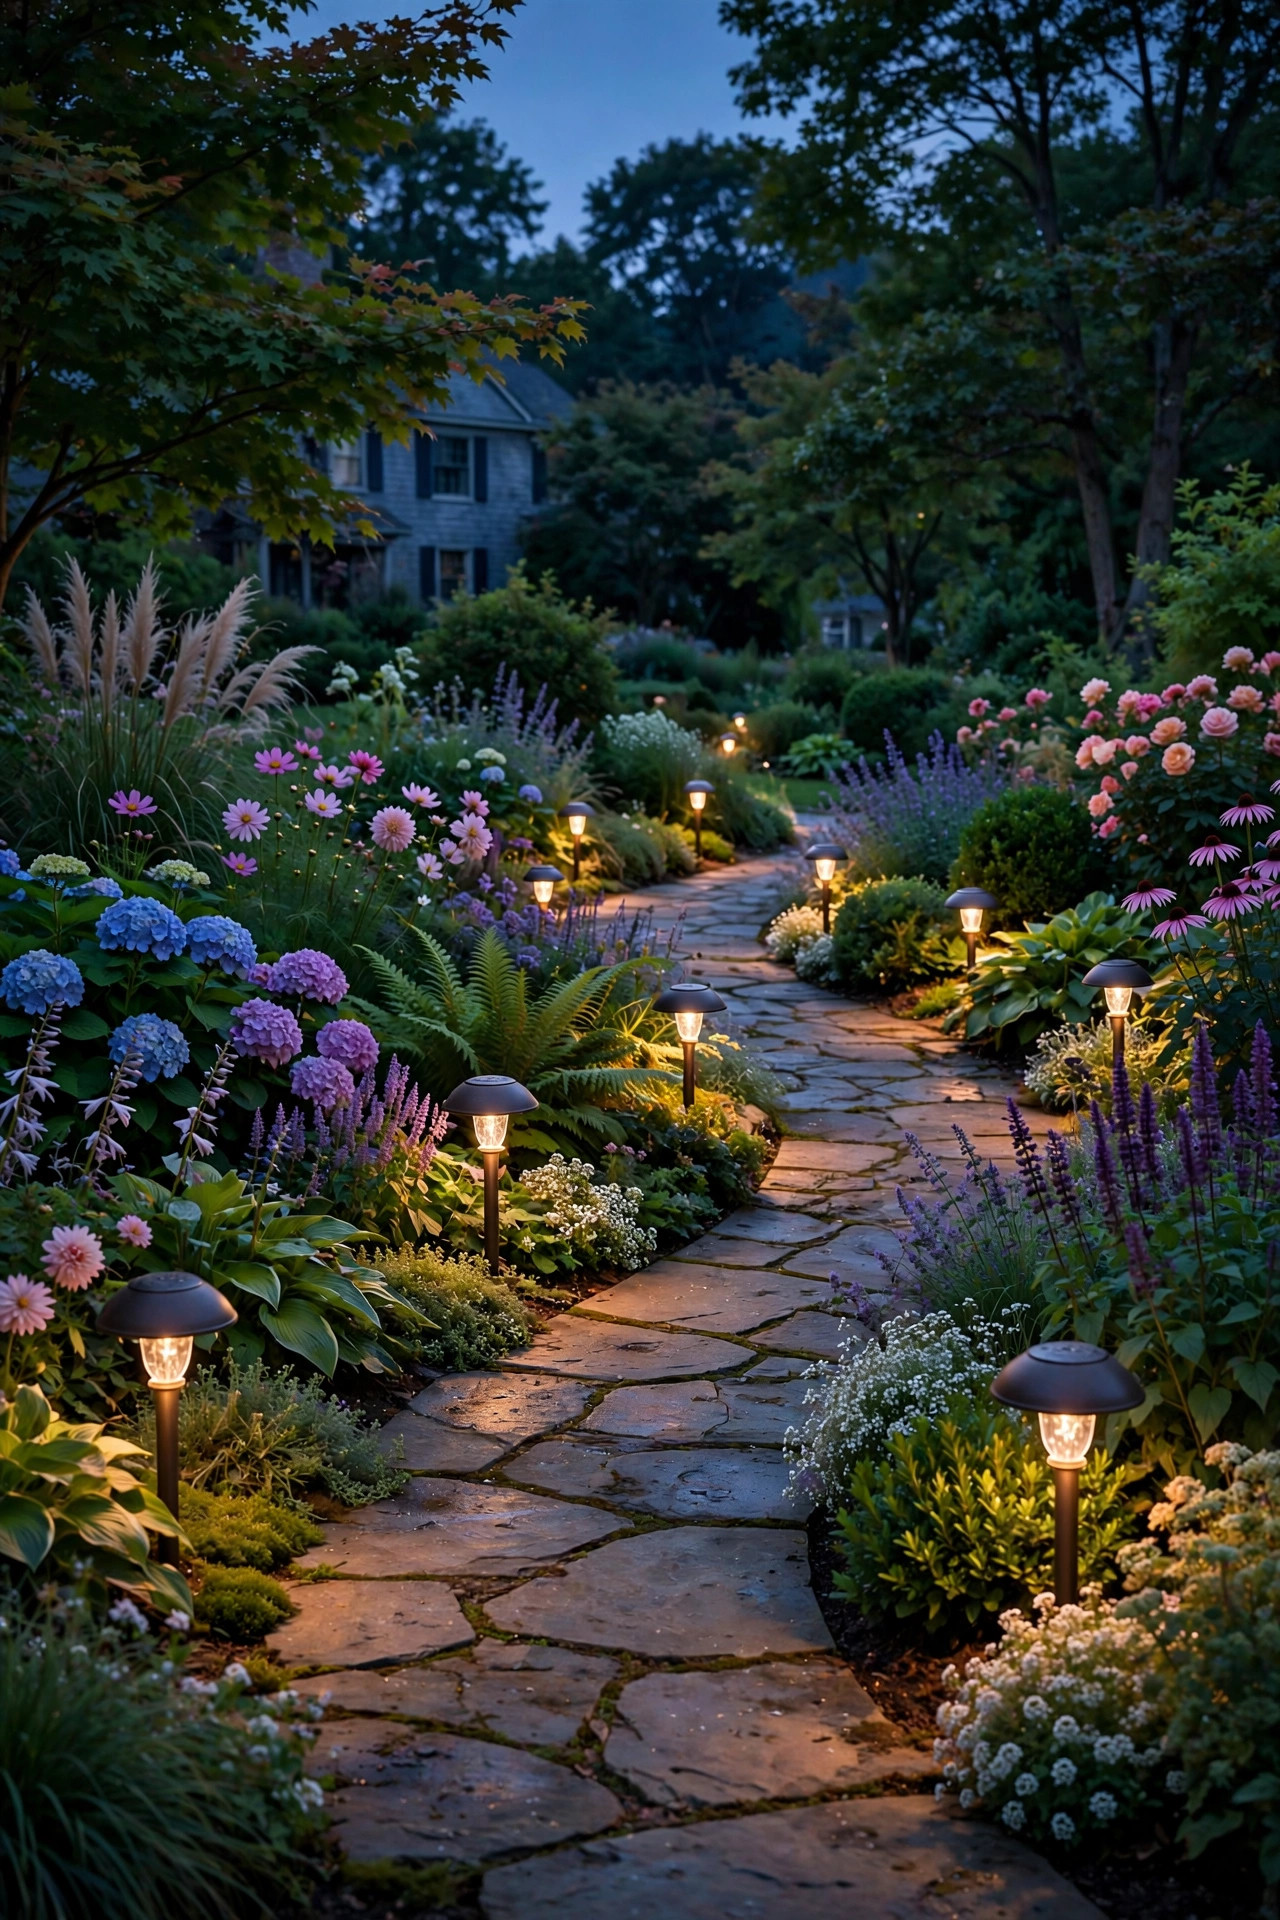
When you don't want to dig a trench or call an electrician, solar stake path lights are the easiest entry point into walkway lighting ideas — honestly, you can have them in the ground in an afternoon. The secret is buying fewer, better ones: look for at least 100–200 lumens per fixture and a detachable solar panel that charges in partial shade.
Placement matters more than quantity. Push stakes into soil (not gravel, which wobbles) about 12 inches from the walk's edge, spacing them 6 to 8 feet apart. For the best charge, the panel needs direct sun for at least 6 hours — watch where your roof or fence shadows fall across the day before you commit. Most solar path lights run 6 to 10 hours on a full charge, though cheaper ones fade by midnight; integrated warm-white LEDs at 2700K–3000K give the coziest glow.
Style tip: group fixtures in odd numbers near corners and curves where the eye naturally travels. And remember these are accent-level light — great for atmosphere, not for illuminating a tricky step.
Suggested budget range: $30 – $120.
3. Sleek Bollard Lights for Modern Entries
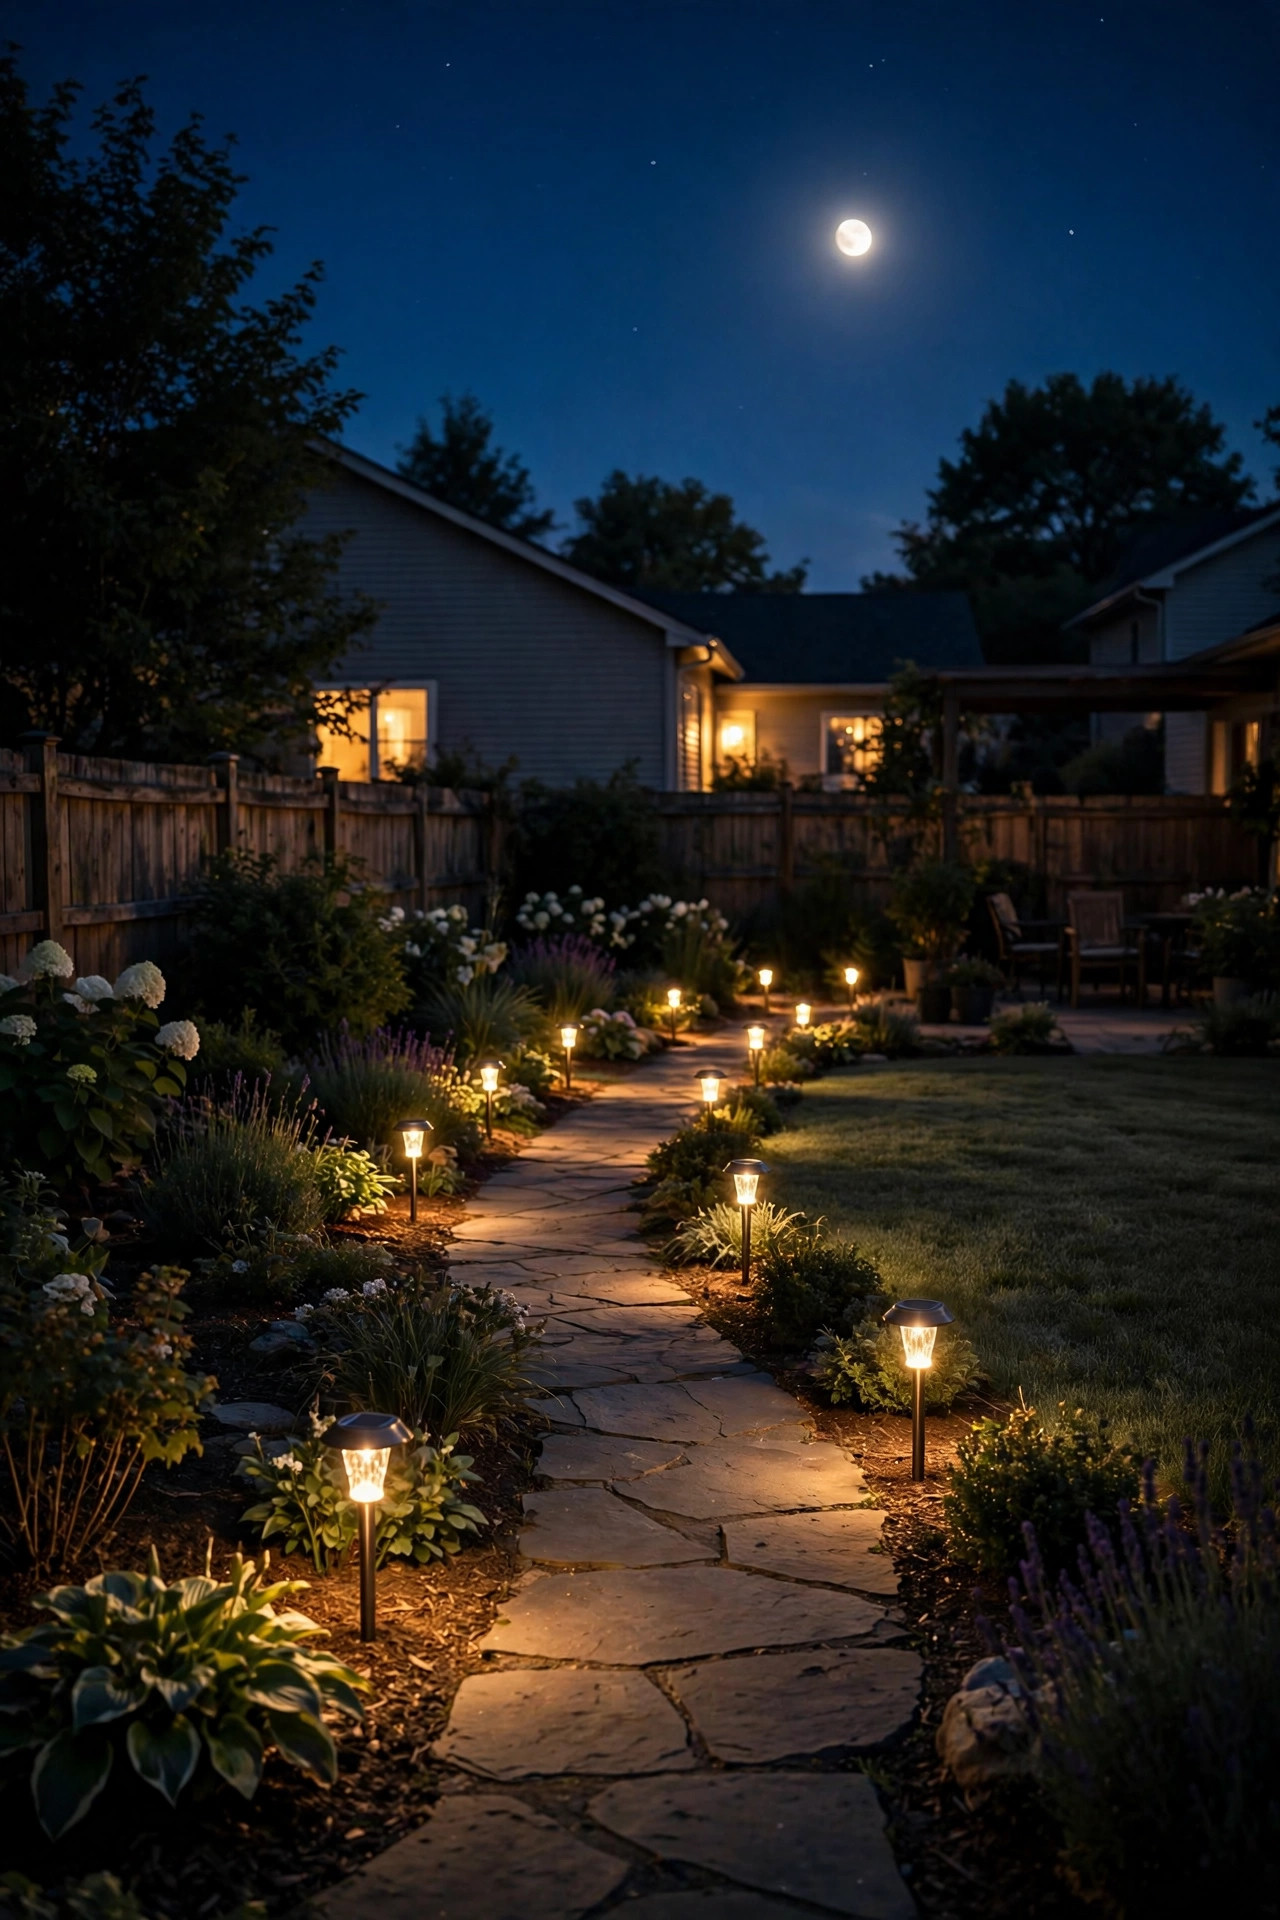
If your home leans modern or contemporary, bollards are the walkway lighting idea that feels made for it. These are waist-high posts — typically 24 to 40 inches tall — that throw an even, glare-free cone of light downward and outward. I love how they make a simple straight path look like a boutique hotel entrance.
Space bollards 8 to 12 feet apart on one side of the walkway, or flank the entrance pair-style with two bollards marking the start of the path. Matte black or dark bronze finishes blend into landscaping by day and look crisp at night. Choose fixtures with a shielded top so no light escapes upward — better path coverage, happier neighbors. Most bollards are low-voltage wired (12V), which keeps installation DIY-able with a plug-in transformer.
Because bollards stand taller than standard path lights, keep them at least 18 inches off the path edge so they don't become a shin hazard. LED-only here — never put anything flammable like candle inserts inside a bollard, and confirm every fixture carries an outdoor wet-location rating.
Suggested budget range: $200 – $800.
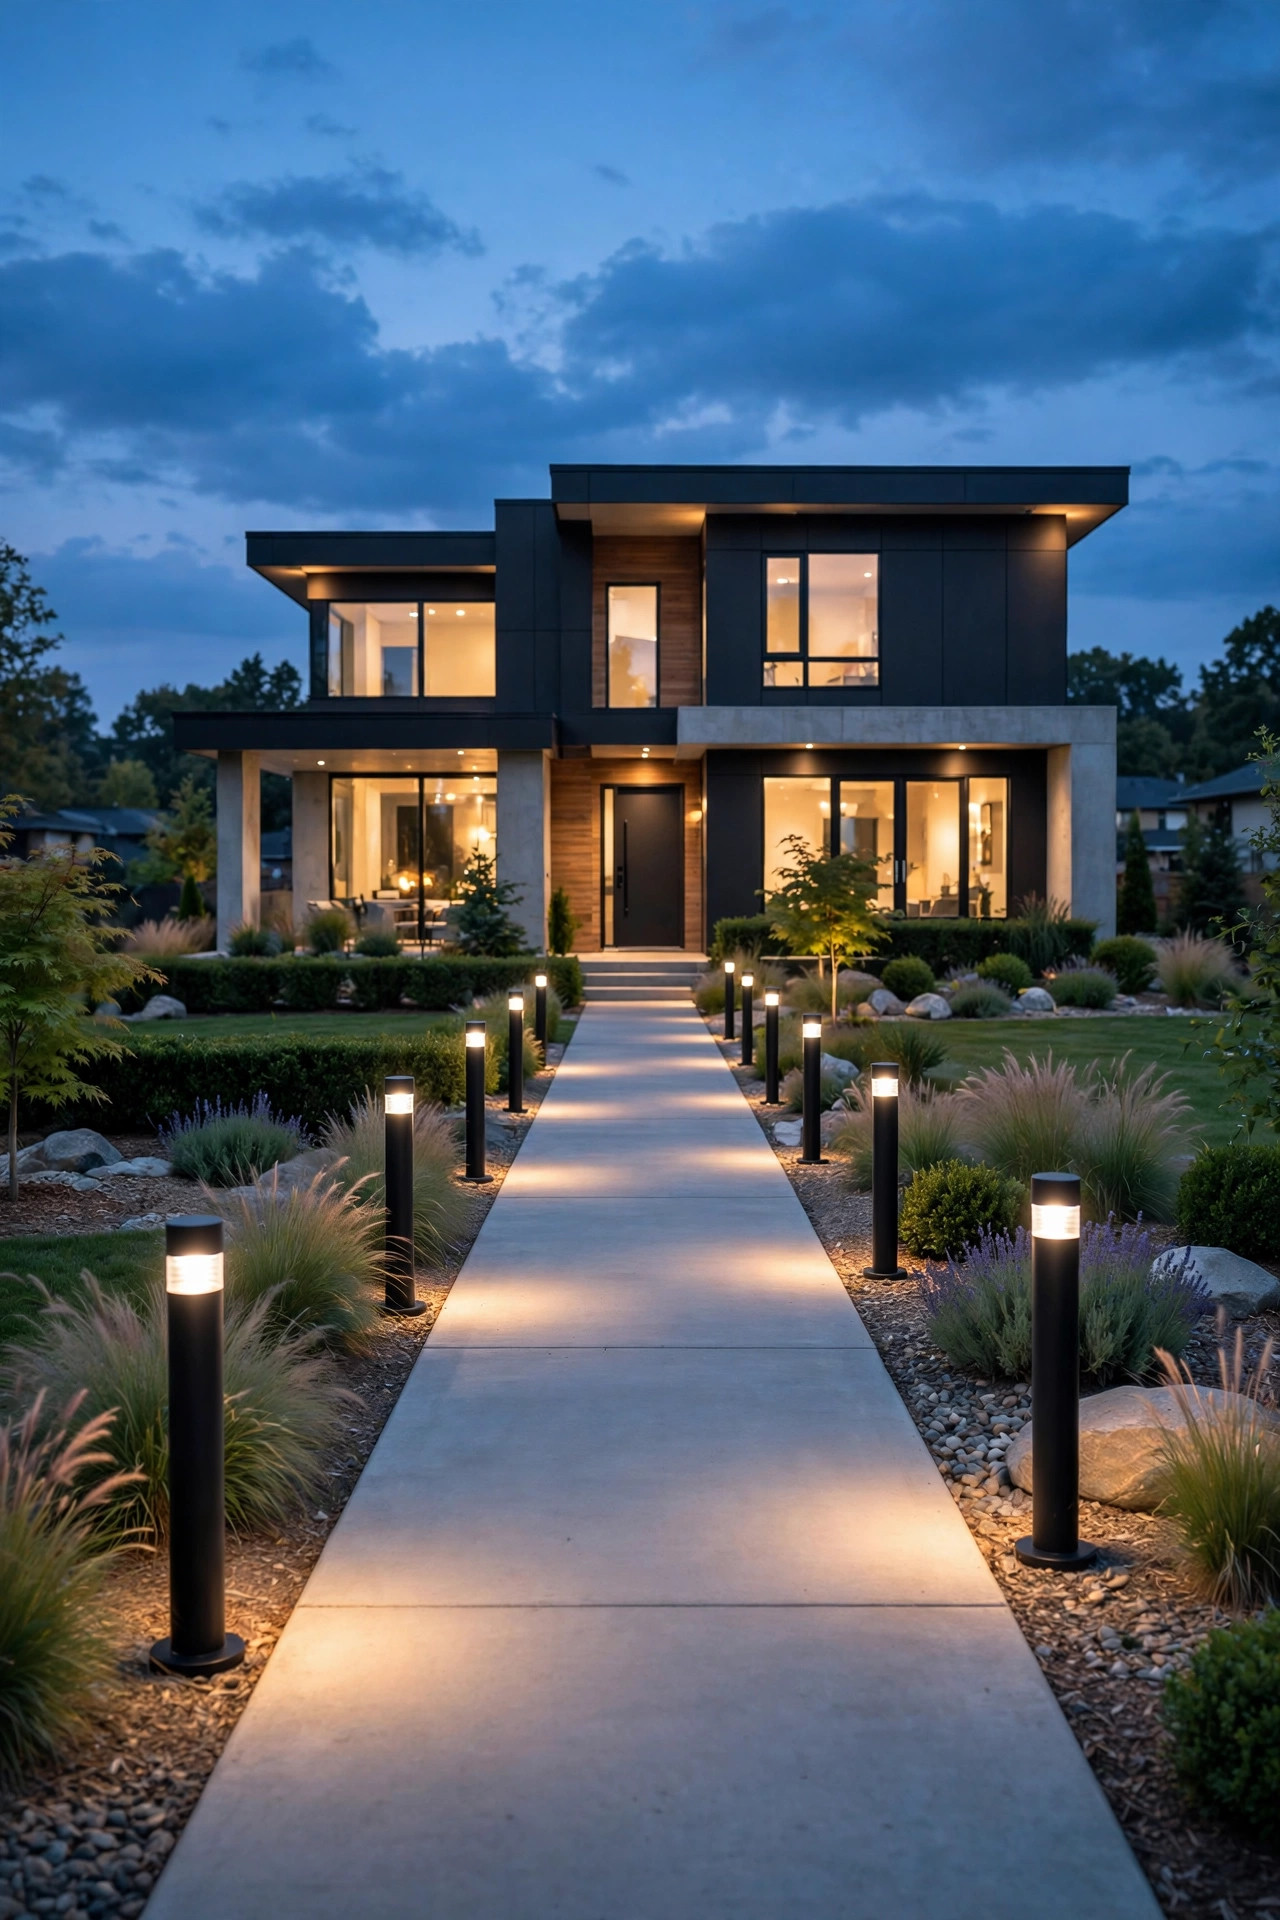
4. Paver-Embedded Lights for a Seamless Look
For a walkway that looks like it glows from within, recessed paver lights are pure magic. These are small, flush-mounted fixtures that sit level with the walking surface — no trip points, nothing sticking up for the mower to hit. In my experience, they're the best walkway lighting idea for homes with brick, stone, or concrete paver paths.
Installation takes more work: each light replaces one paver and needs a shallow channel cut for the cable. Space them every 3 to 4 feet along the outer edges of the path, not down the middle — edge placement outlines the walk beautifully without glaring into walkers' eyes. Choose warm white LEDs (2700K) with a frosted lens to soften hotspots.
Weatherproofing is non-negotiable for in-ground fixtures: look for an IP67 rating (dust-tight and submersible), make sure weep holes can drain, and bed each fixture in a little gravel so standing water doesn't pool around the housing. This is one project where I'd seriously consider a pro for the electrical run if you're not comfortable with low-voltage wiring.
Suggested budget range: $250 – $900.
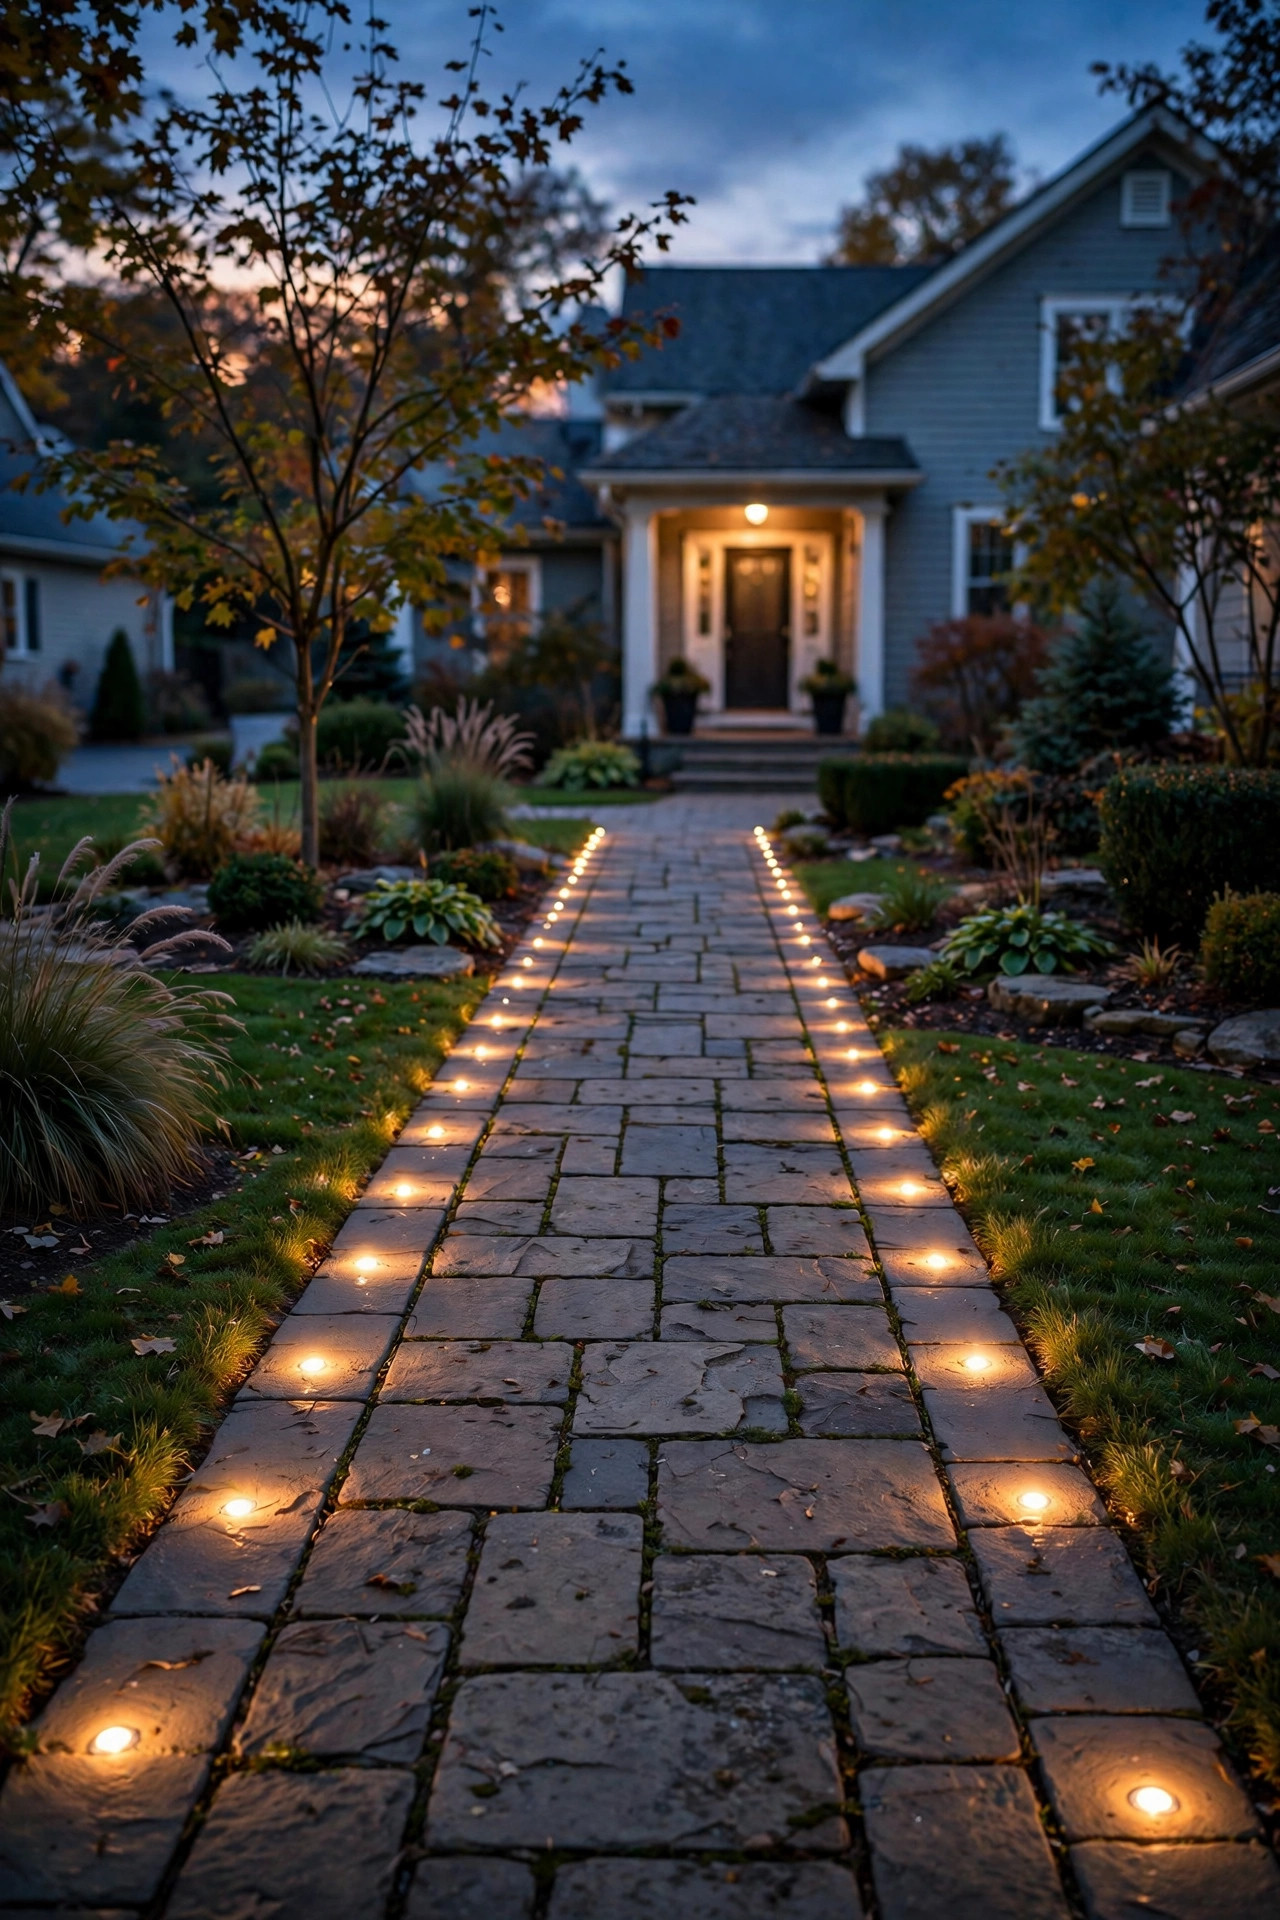
5. Step and Tread Lights on Raised Walkways
If your walkway includes steps or a sloped section, light the treads themselves — it's the single most impactful safety upgrade you can make. Recessed tread lights mount into the riser, casting a soft wash across the tread below so every step edge is visible.
Mount fixtures centered on each riser, about 2 to 4 inches above the tread below. A single fixture handles steps up to 4 feet wide; wider stairs need two spaced evenly. Warm white 2700K LEDs at 50–100 lumens per step are plenty — you're defining edges, not flooding the staircase. Low-voltage wired fixtures are the standard here and wire into the same transformer as your path lights.
This is an area where code and common sense meet: poorly lit steps are one of the most common causes of evening falls. Put step lights on the same dusk-to-dawn timer as the rest of your walkway so the whole path comes alive together. If your steps are wooden, use LED-only fixtures rated for the application — hot bulbs against wood are a fire risk — and choose sealed, weather-rated housings.
Suggested budget range: $80 – $350.
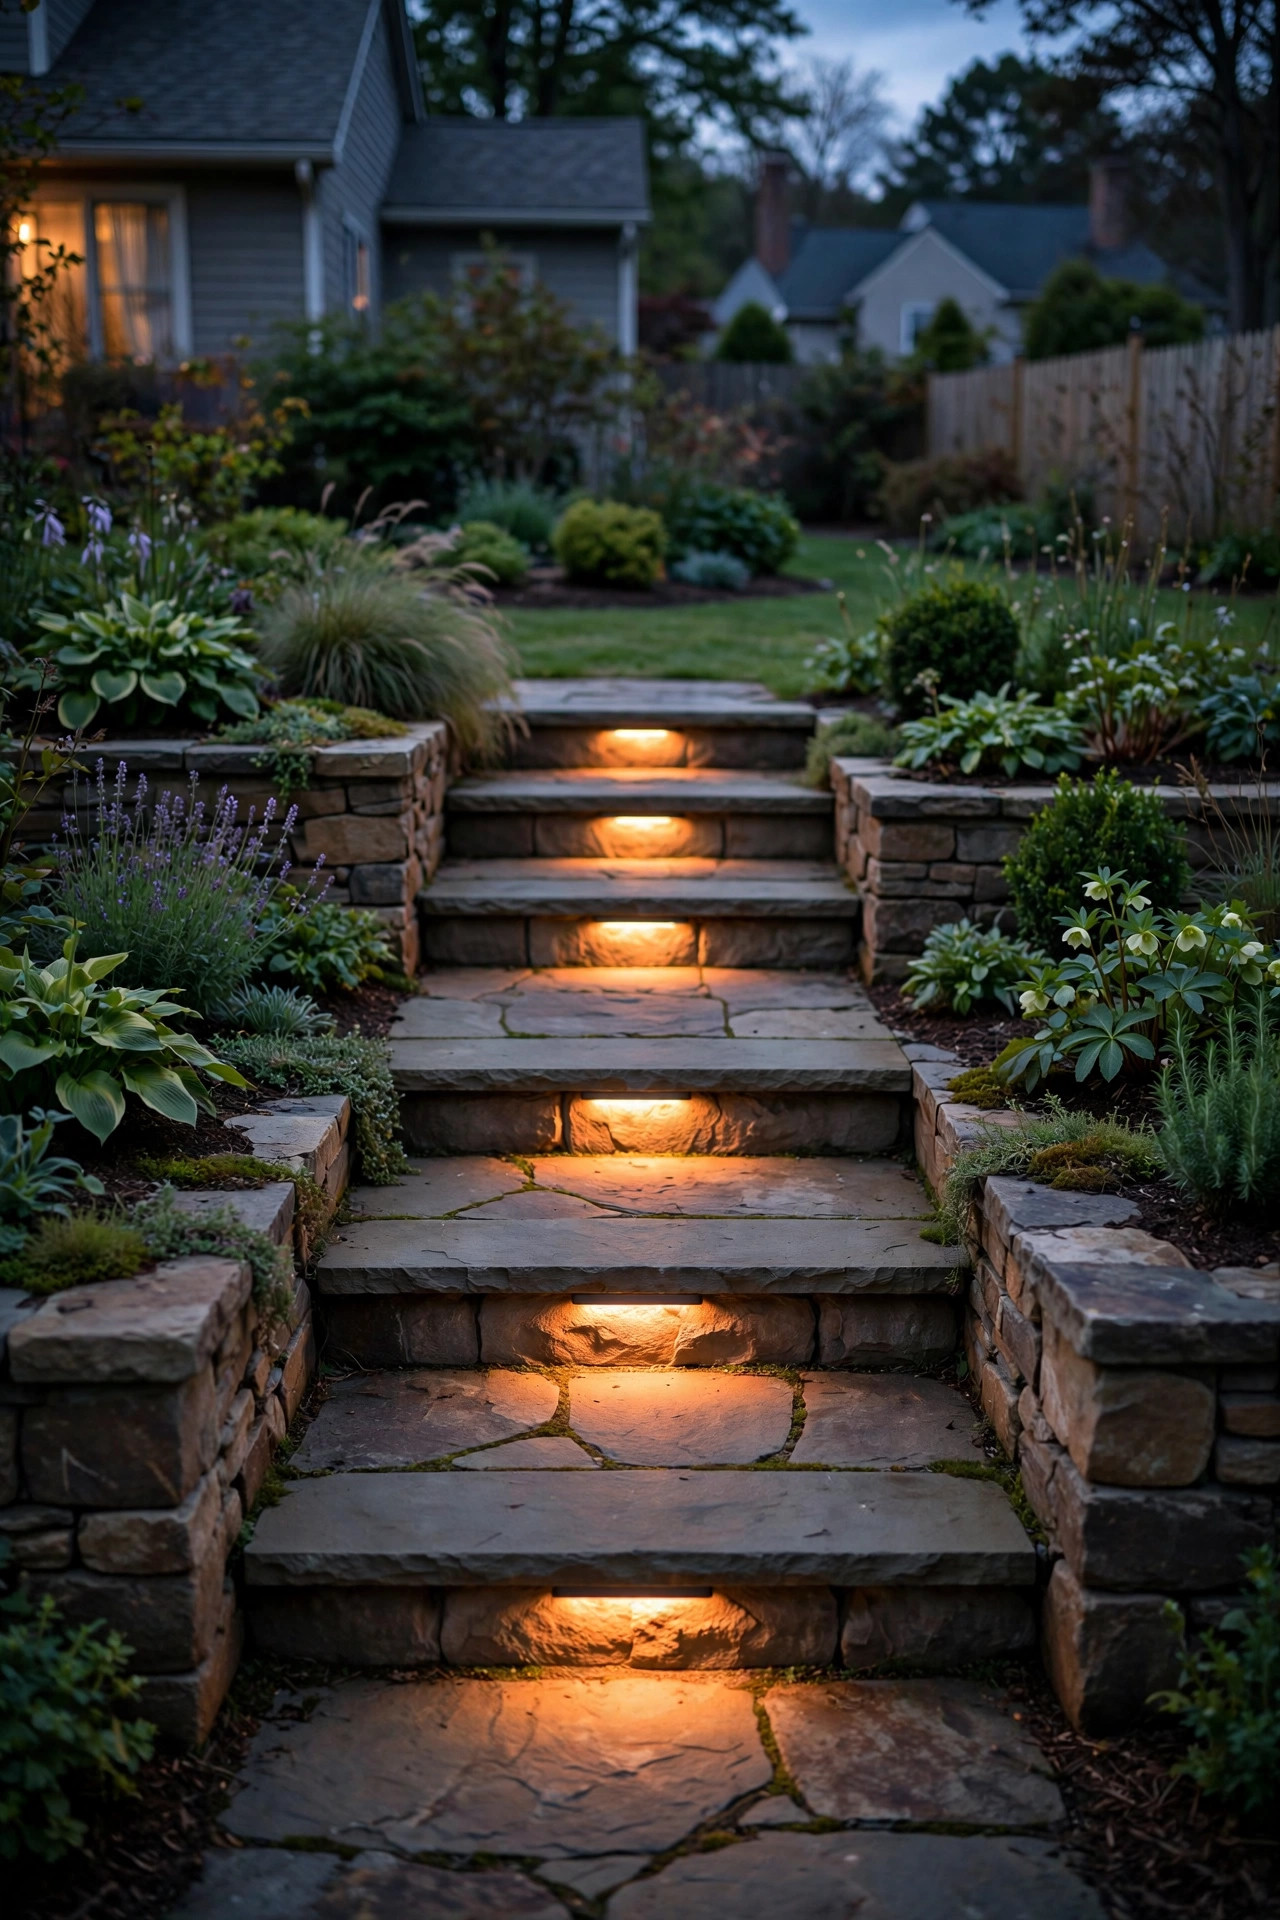
6. Lantern-Style Post Lamps at the Path Entrance
A pair of lantern-style post lamps flanking the start of your walkway is like a warm handshake — it tells guests exactly where to go. I adore this look on traditional, farmhouse, and cottage homes. The posts (usually 6 to 7 feet tall) give you ambient light over a wide area while the lanterns add that classic charm.
Place the two posts symmetrically, 4 to 6 feet apart, straddling the walkway's beginning. If your path starts at the curb, check local setback rules first. Hardwired 120V post lamps need an electrician and a proper burial-depth conduit, but solar and low-voltage post-top lanterns are DIY options that look just as good. Use LED bulbs or integrated LEDs at 2700K, and pick lanterns with a clear bottom panel so light spills onto the path below as well as upward.
For wiring safety: anything 120V outdoors must be on a GFCI-protected circuit with an outdoor-rated junction box. LED-only bulbs in enclosed lantern heads — incandescent bulbs get dangerously hot in a sealed glass box, especially near anything flammable.
Suggested budget range: $150 – $600.
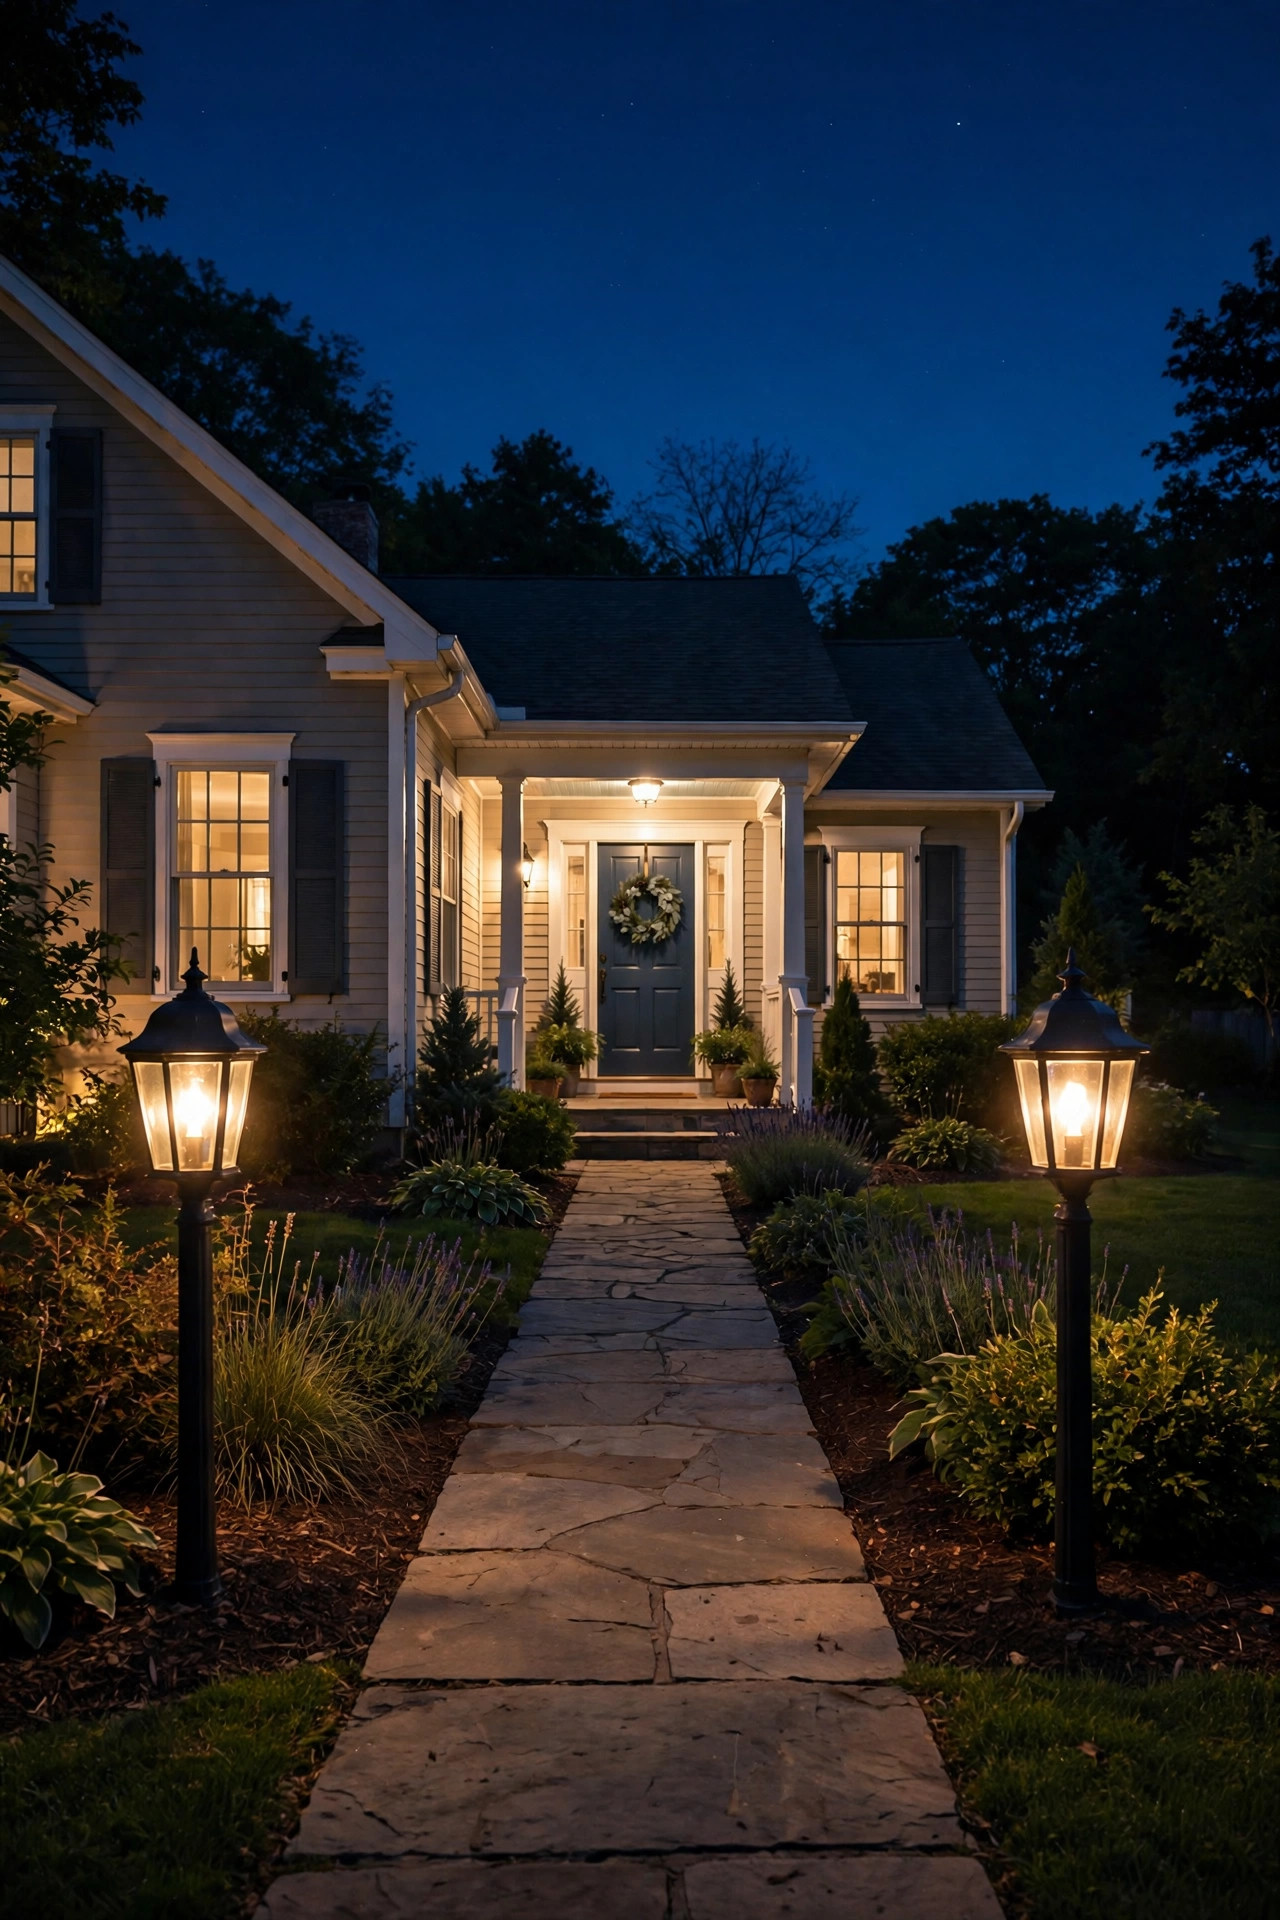
7. Moonlighting From Trees That Flank the Path
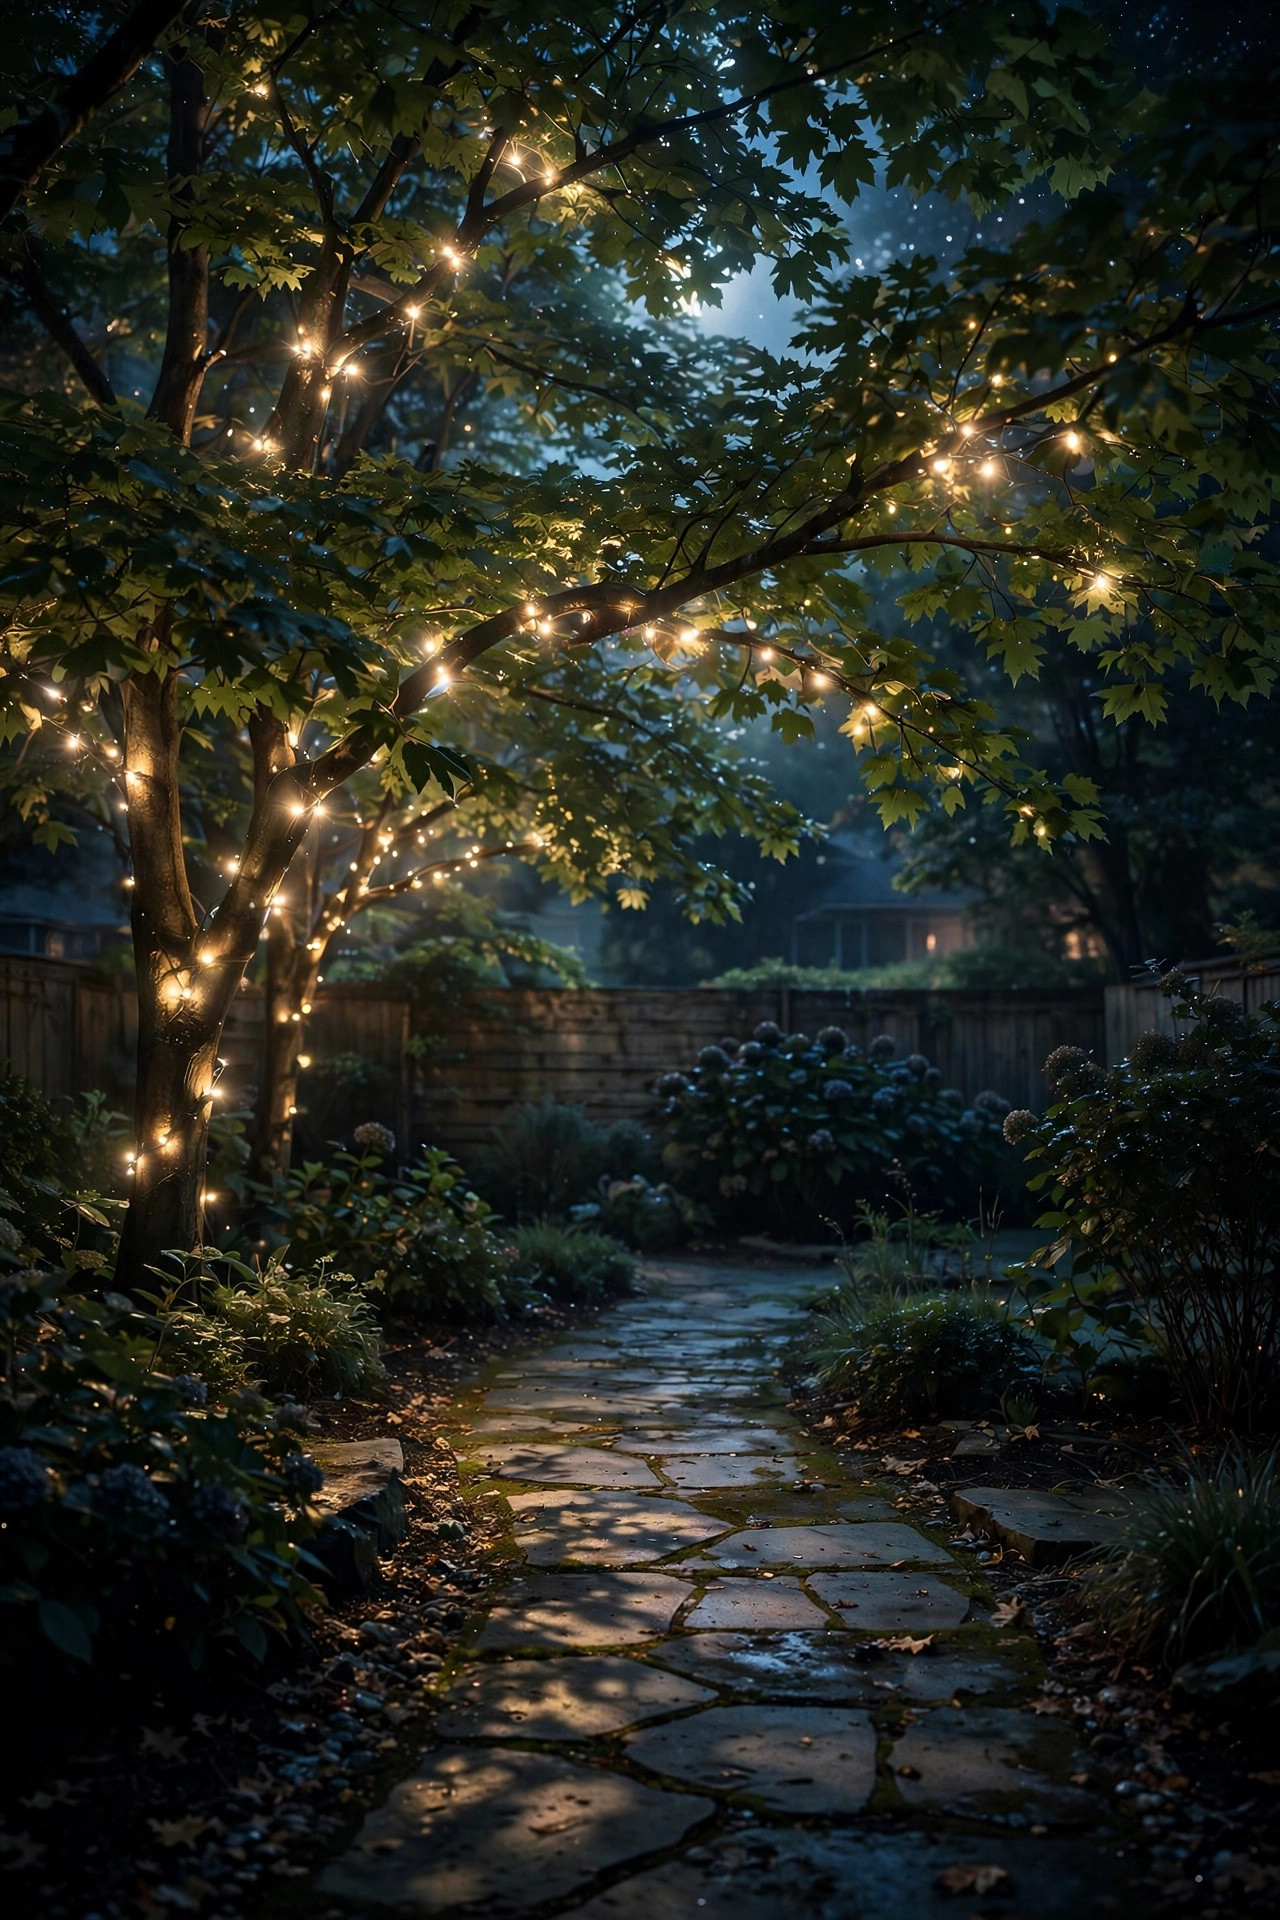
Moonlighting — mounting lights high in trees so they filter down through branches — is my favorite "pro secret" for walkways with mature trees alongside. The dappled light looks like moonlight and gently illuminates the whole path from above with zero fixtures visible at ground level.
Mount a low-voltage downlight 15 to 25 feet up in the tree trunk or a sturdy limb, angled so light filters through the canopy onto the walk below. One well-placed fixture can cover 15 to 20 feet of path. Use warm white LEDs at 3000K (slightly cooler reads more like real moonlight) and a fixture with a narrow-to-medium beam angle (30–40 degrees). Secure the fixture with tree-friendly straps — never deep screws — and leave slack in the cable for growth.
Electrical safety matters at height: run the low-voltage cable down the back of the trunk, protect it where it meets the ground, and use a transformer on a timer so these run only when you want them. This is also a lovely layer to combine with ground-level path lights for depth.
Suggested budget range: $150 – $500.
8. Staggered Alternating Path Lights
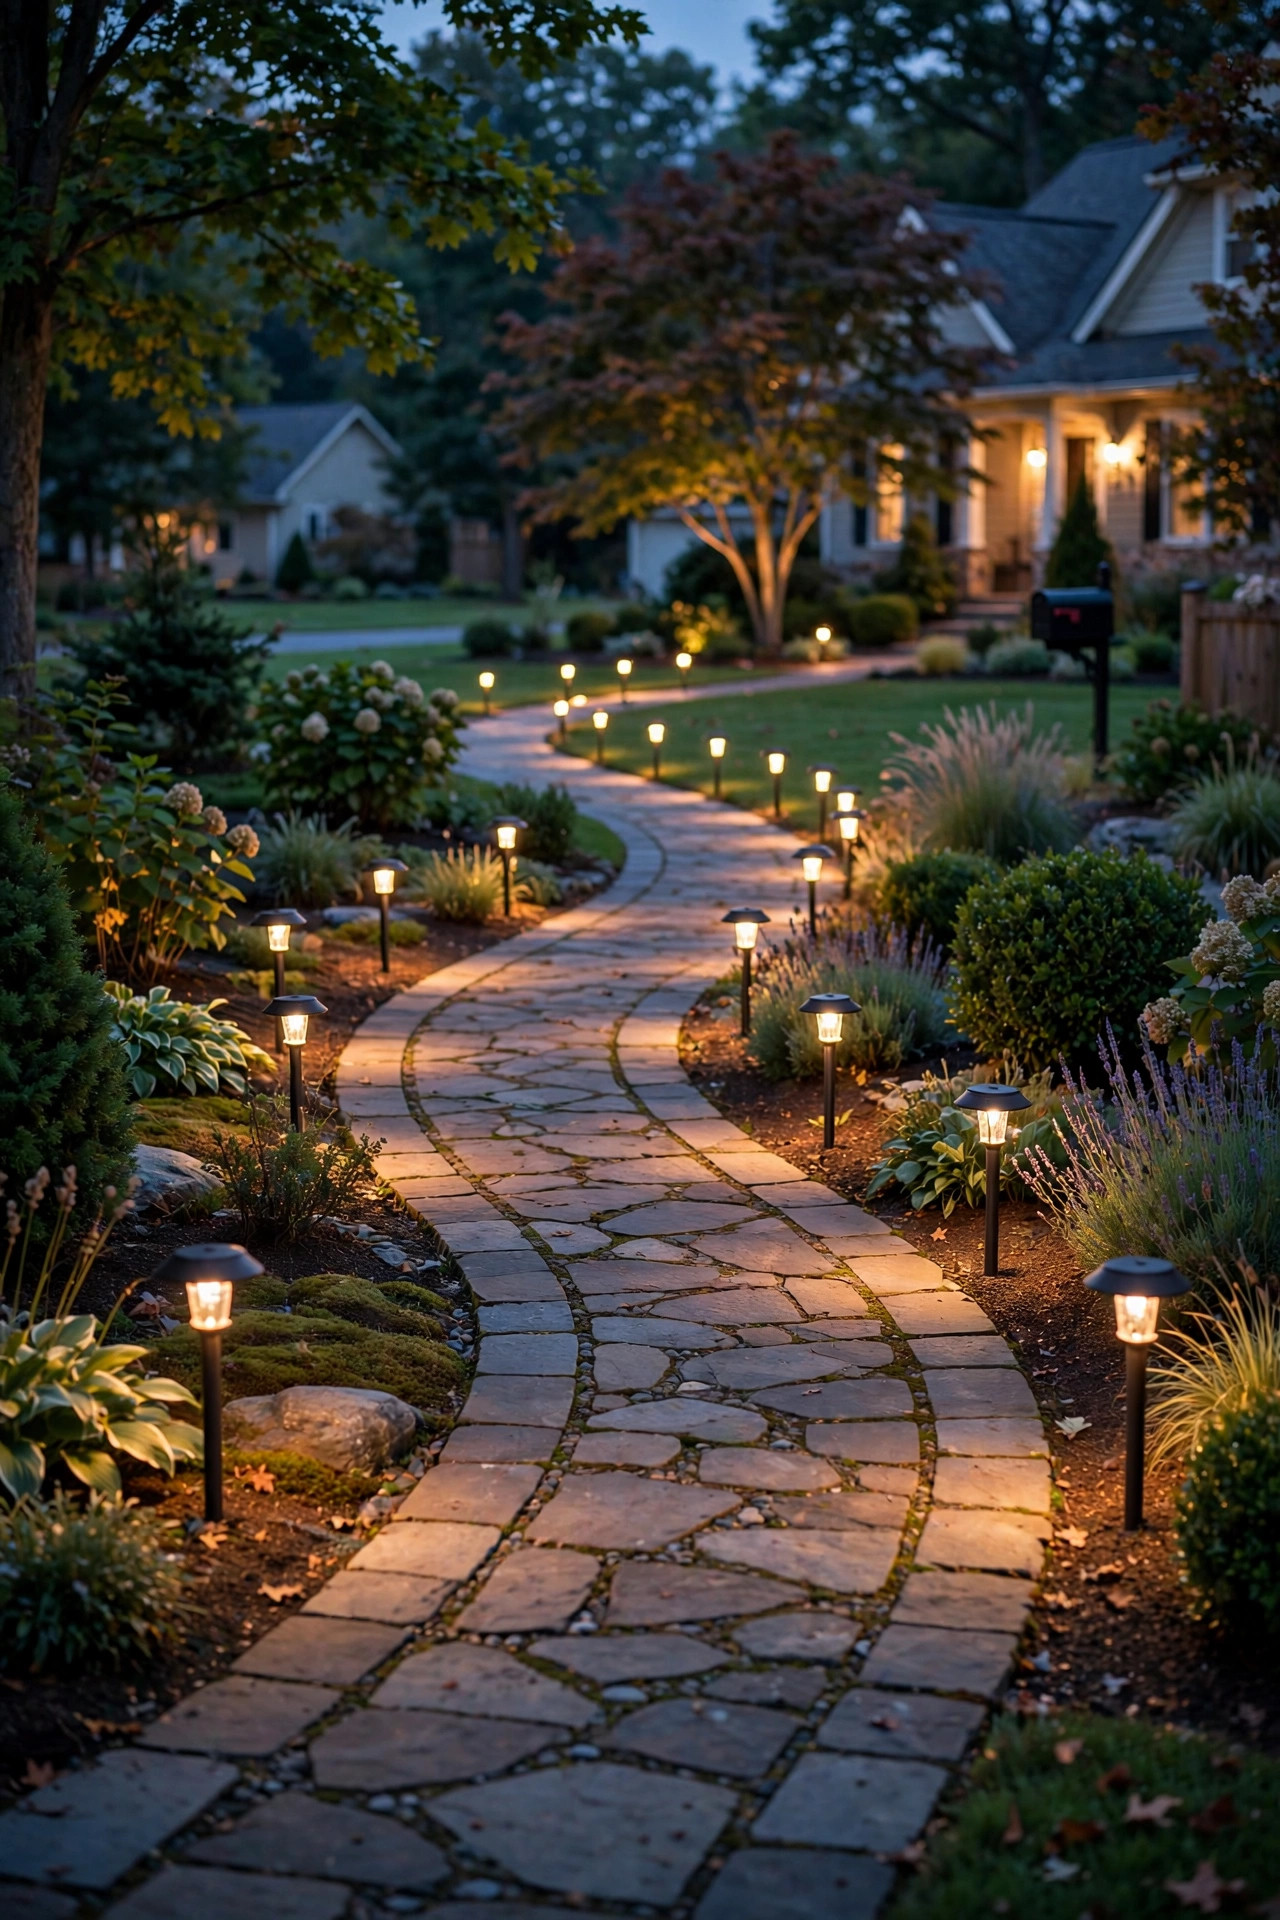
One of the simplest upgrades to basic path lighting: stagger your fixtures on alternating sides of the walkway instead of lining one side. This walkway lighting idea uses fewer fixtures while covering more of the path, and the zigzag rhythm looks more natural and interesting than a straight runway row.
Here's the math: place the first fixture 12 to 18 inches off the path edge on the left, walk 8 to 10 feet down, then place the next on the right, and keep alternating. The overlapping pools of light meet in the middle of the path so there are no dark gaps. This works with low-voltage mushroom lights, pagoda-style fixtures, or even solar stakes — the pattern matters more than the product.
At curves, cluster two fixtures closer together on the outside of the bend (about 5 feet apart) to define the turn clearly. Walk the path at night during your first test evening and adjust anything glaring into your eyes or leaving a dark patch.
Suggested budget range: $100 – $350.
9. Motion-Sensor Path Lights Near Side Gates and Dark Corners
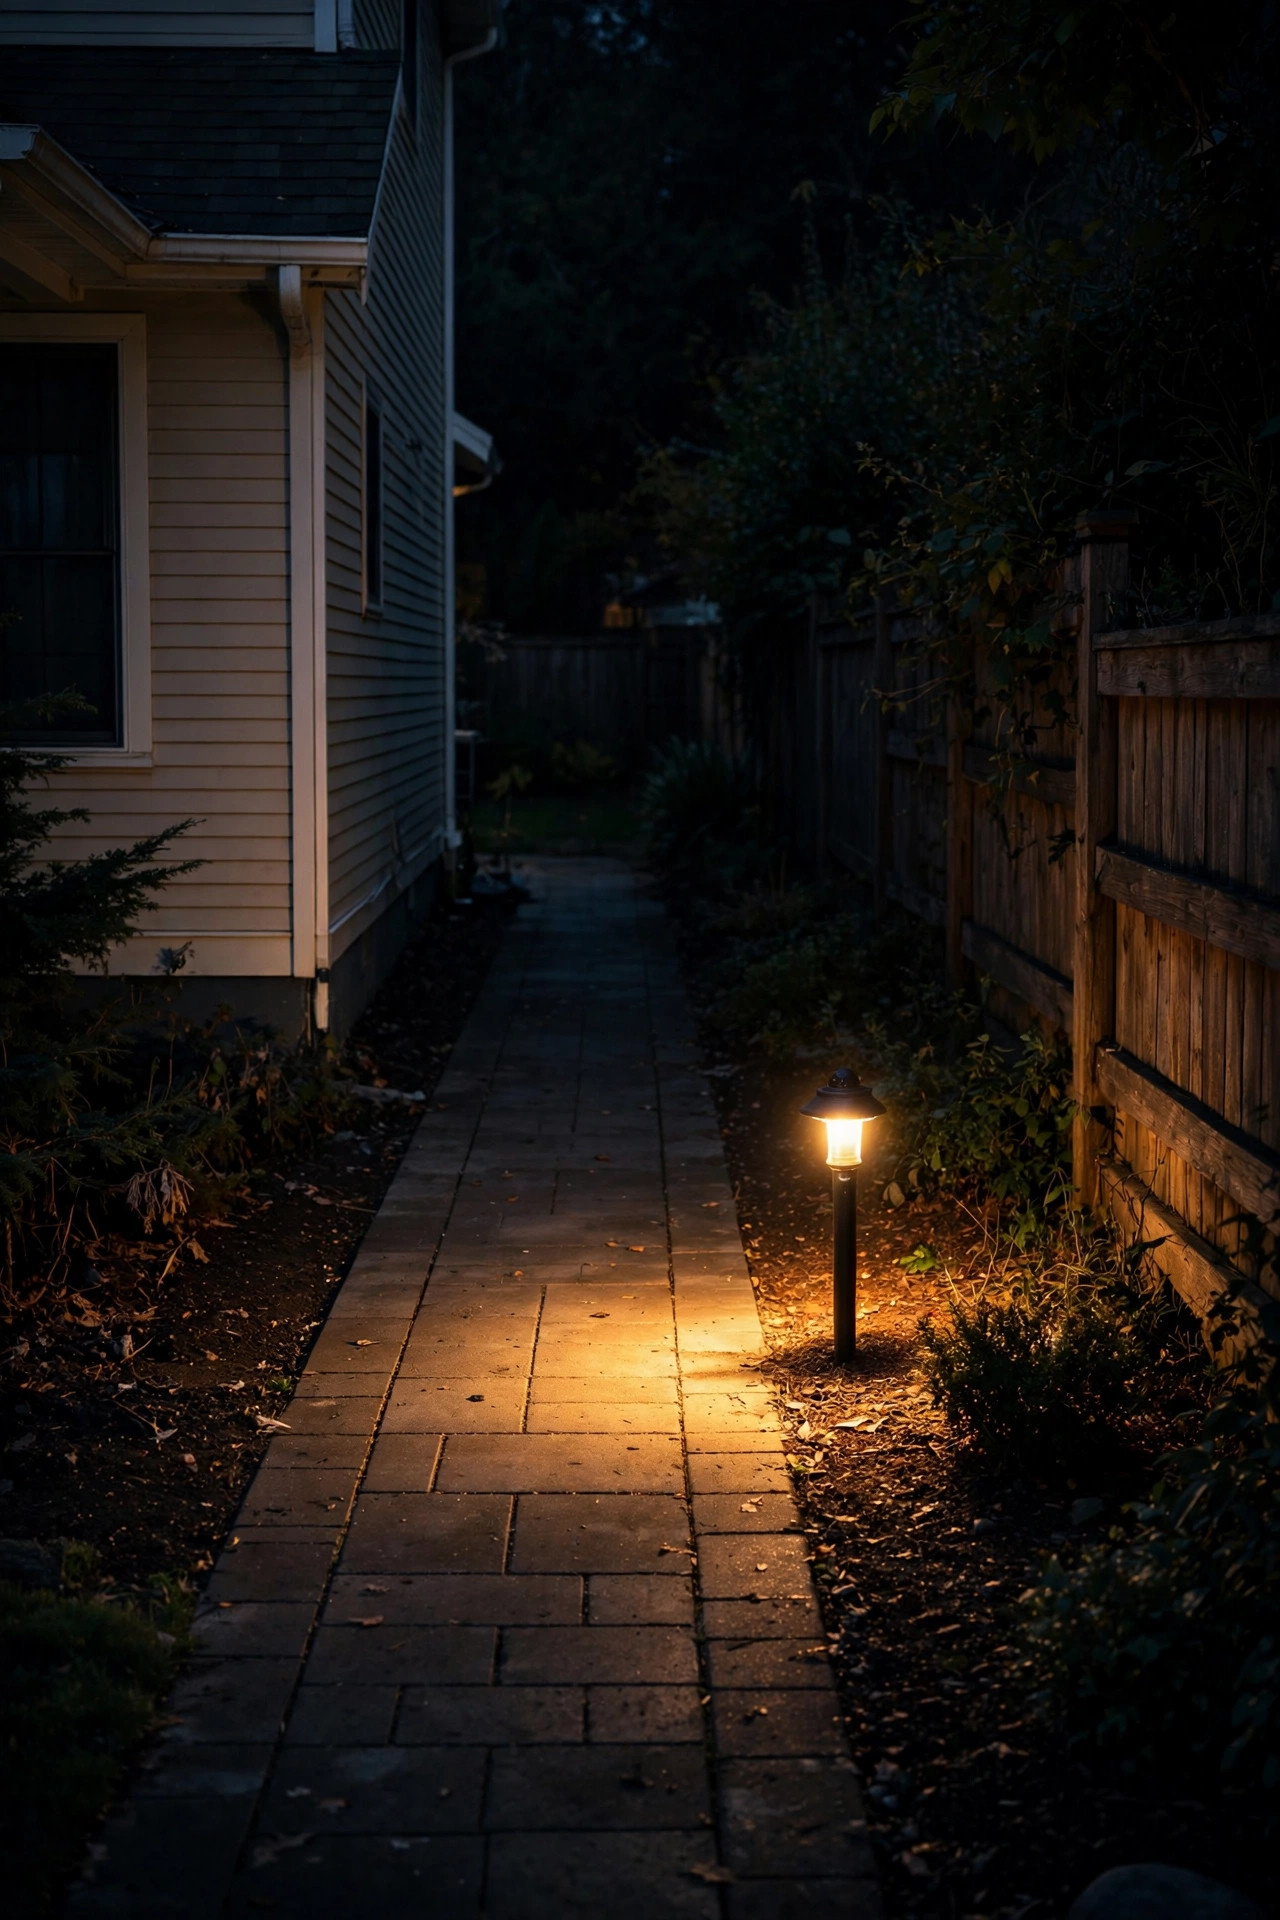
Not every stretch of walkway needs to glow all night — dark corners and side-gate paths are perfect candidates for motion-sensor lighting. These fixtures stay off (or on a very dim standby) until someone walks by, then ramp up to full brightness for 30 seconds to a few minutes.
Place motion-sensor fixtures where security matters most: the side gate, the stretch of path behind a fence, or the walk from the driveway to a side door. Mount the sensor 6 to 10 feet high aimed along the path (not straight across it, which triggers on every passing car). Solar motion lights are the easy no-wiring option; low-voltage versions wire into your main system for consistent brightness.
I love these as a complement to your main walkway lighting ideas rather than a replacement — steady path lights for the front walk, motion-activated backup for the side yard. Sensitivity and timer dials on the fixture let you dial back false triggers from pets or swaying branches.
Suggested budget range: $40 – $150.
10. String Lights on Shepherd's Hooks Along the Path
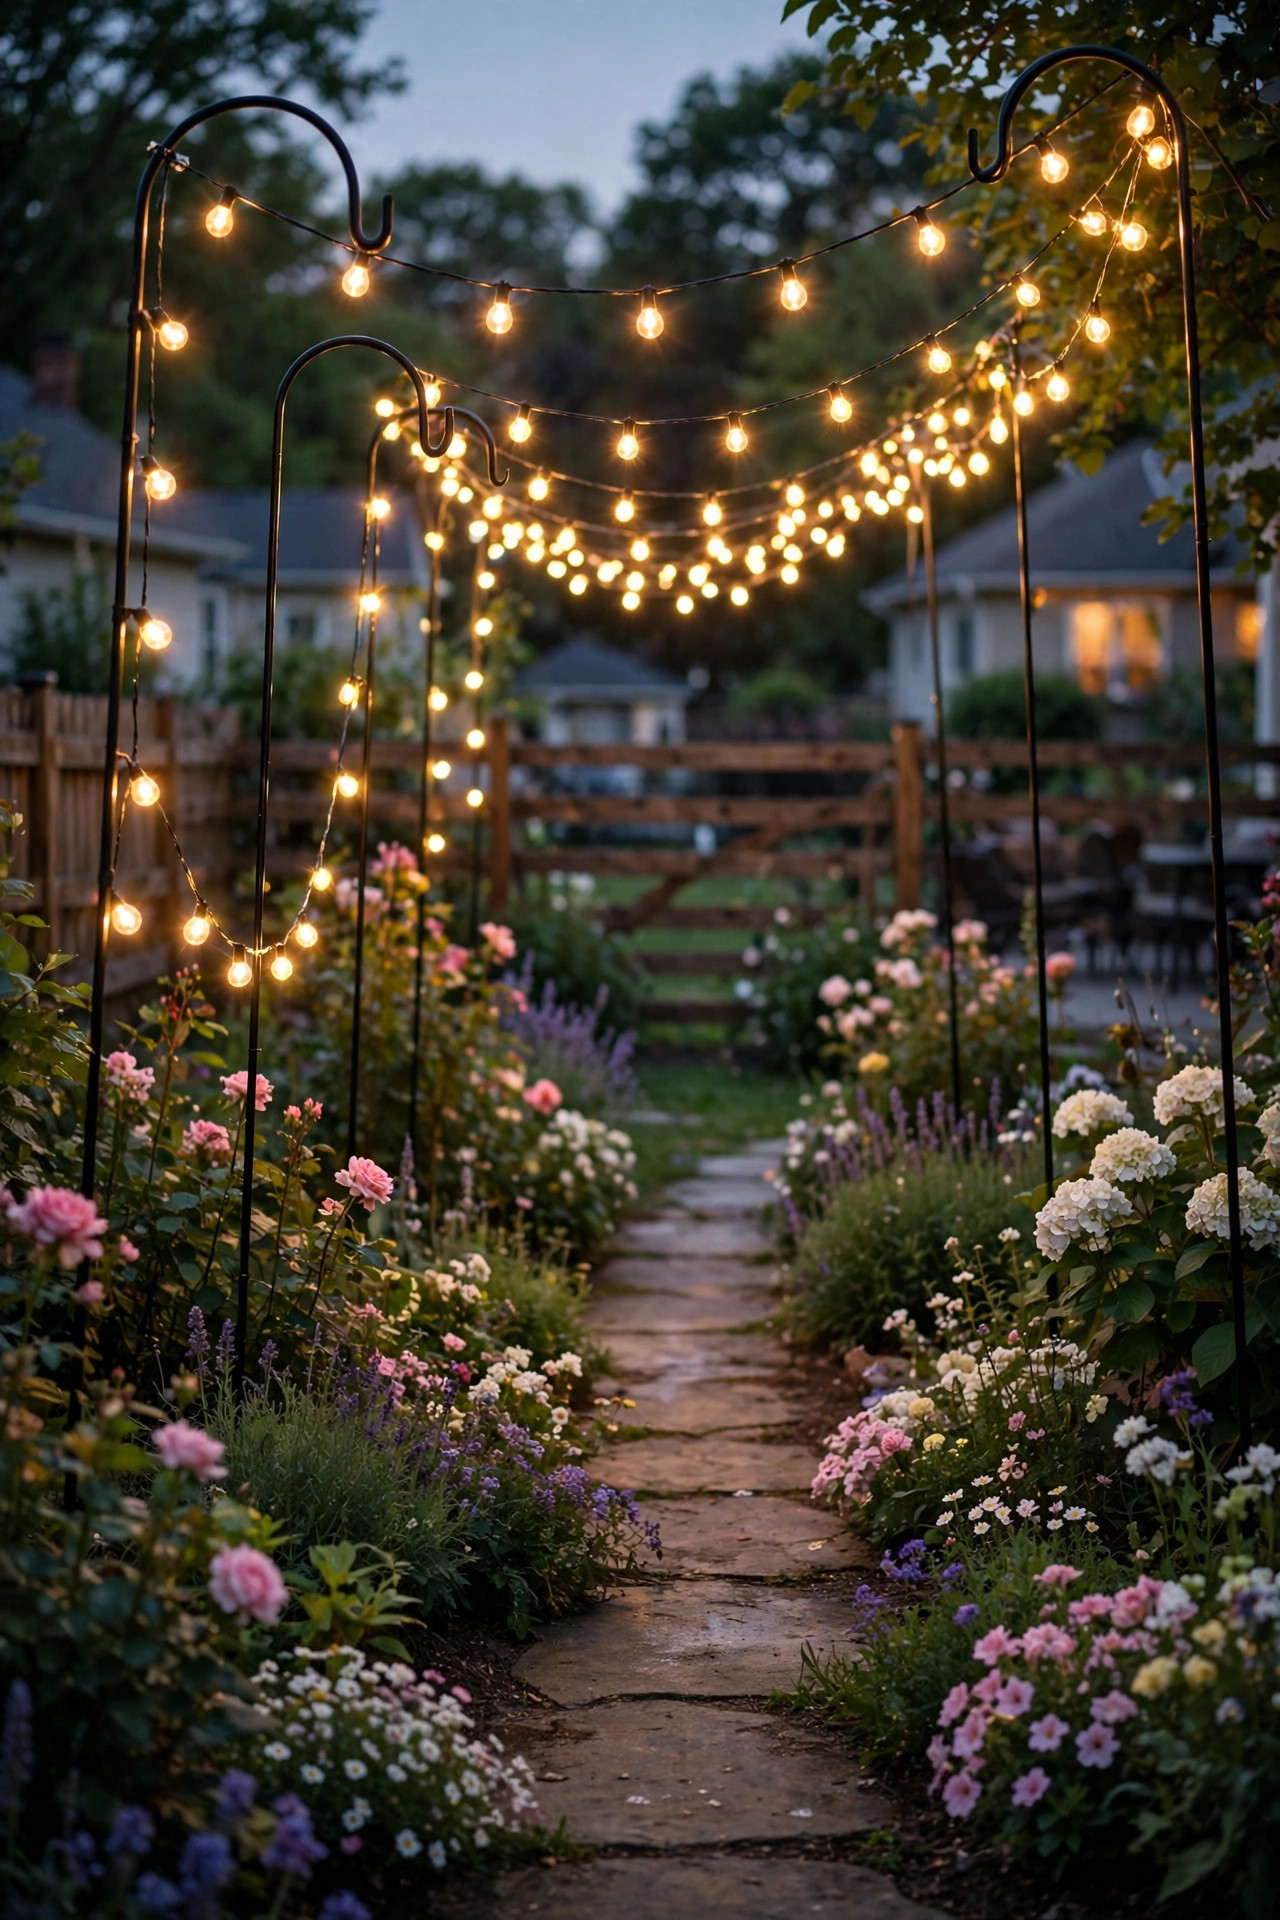
Here's a walkway lighting idea with instant charm: line your path with shepherd's hooks (those curved garden stakes, about 30 to 36 inches tall) and drape outdoor string lights between them. It creates a glowing, festive corridor that feels like a garden party every single night.
Space the hooks 8 to 10 feet apart on one side of the walk — or both sides for a fuller look — and run one or two strands of warm-white LED string lights along the top, letting them swag gently between hooks. Push each hook deep into soil and anchor firmly; sagging hooks lean within a season. Use only outdoor-rated strings (look for the UL "suitable for wet locations" mark), LED bulbs to keep heat and energy use low, and plug everything into an outdoor-rated smart plug or timer for automatic evenings.
This look shines brightest for summer and fall entertaining, and it's wonderfully renter-friendly since nothing is permanent. Style tip: choose copper-wire fairy-light strings for a delicate look, or larger globe bulbs for a bolder glow. Either way, 2700K warmth keeps it cozy rather than carnival.
Suggested budget range: $50 – $200.
11. In-Ground Well Lights Uplighting Path Edges
Well lights sit completely flush with the ground and throw light upward — use them to graze the edges of your walkway or uplight the shrubs flanking it. The effect is dramatic: your path's borders become glowing frames, and nearby plants cast gorgeous shadows.
Install well lights 18 to 24 inches back from the path's edge, spaced 6 to 8 feet apart, aimed at shrubs, ornamental grasses, or a low retaining wall. Because they're in the ground, mowers glide right over them. Choose LED well lights with an adjustable glare guard so the beam stays off walkers' eyes. A 35–40 degree beam and 200–300 lumens per fixture is a good starting point.
These must be true in-ground rated fixtures: IP67, with drainage below the housing (a bed of gravel works) so the fixture doesn't sit in a puddle. Low-voltage versions are the standard and wire into your landscape transformer. I like pairing well lights with a few traditional path lights so the path itself is lit from above while the edges glow from below — layers, remember?
Suggested budget range: $180 – $600.
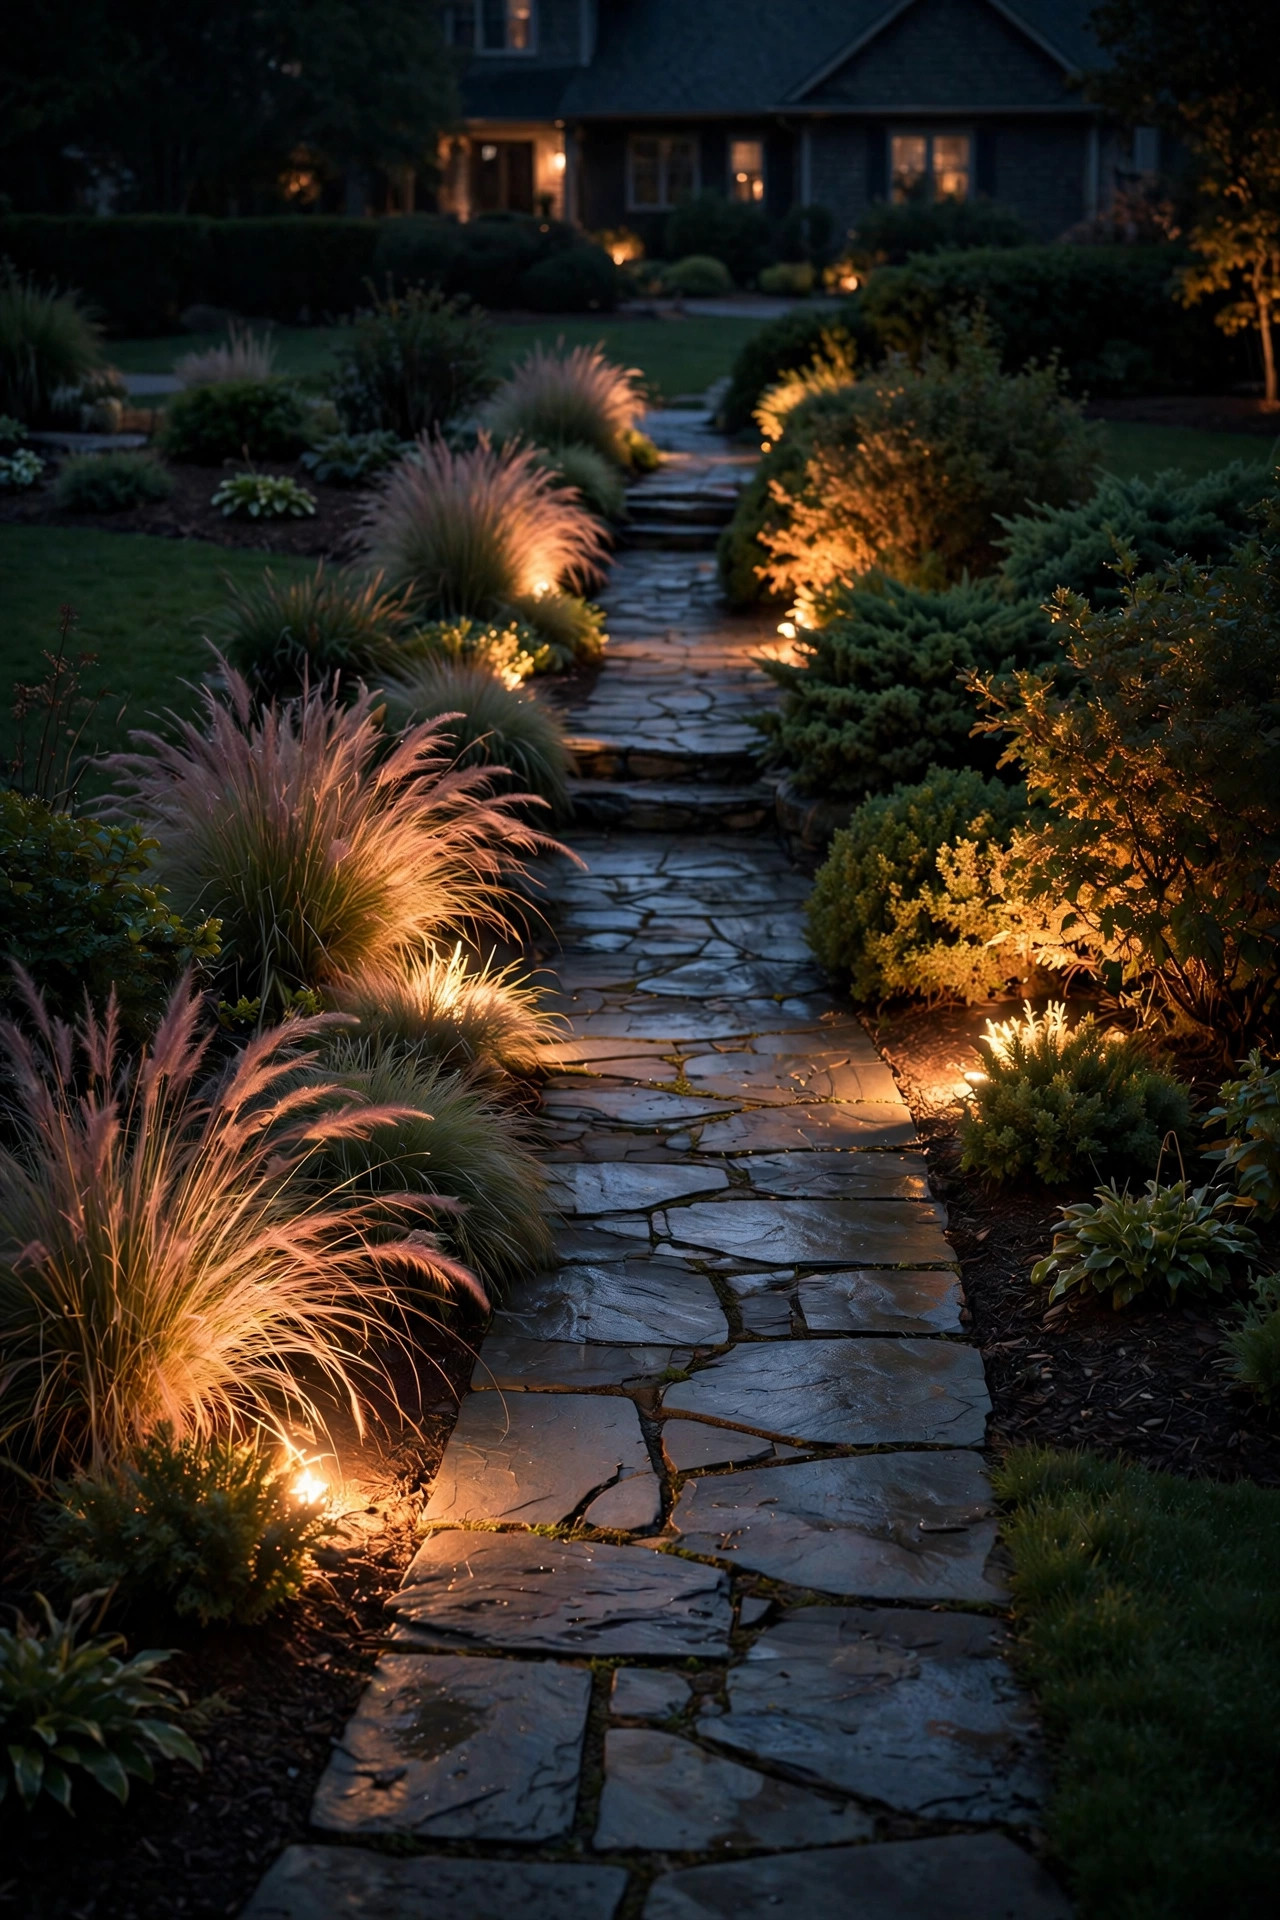
12. Candle-Lantern Clusters for Party Nights
For evenings when guests are coming over, nothing beats clusters of lanterns with LED candles along the path. This is my go-to temporary walkway lighting idea for dinner parties and holidays — it takes twenty minutes to set up and looks like you hired an event stylist.
Group lanterns in clusters of three at varying heights: a tall lantern (18–24 inches) flanked by two shorter ones (8–12 inches), set 12 to 18 inches off the path edge. Place clusters at the path entrance, at each corner, and beside the front door — four to six clusters will carry a whole front walk. Use LED flameless candles only — cool to the touch, convincingly flickering, and most have 6-hour timers that shut themselves off.
The safety rule is absolute here: never use real candles outdoors along a walkway. A gust of wind can tip a lantern, and dry leaves plus an open flame is a bad combination. LED-only, every time. Battery-operated flameless candles last months, and rechargeable ones are the most economical choice.
Suggested budget range: $30 – $100.
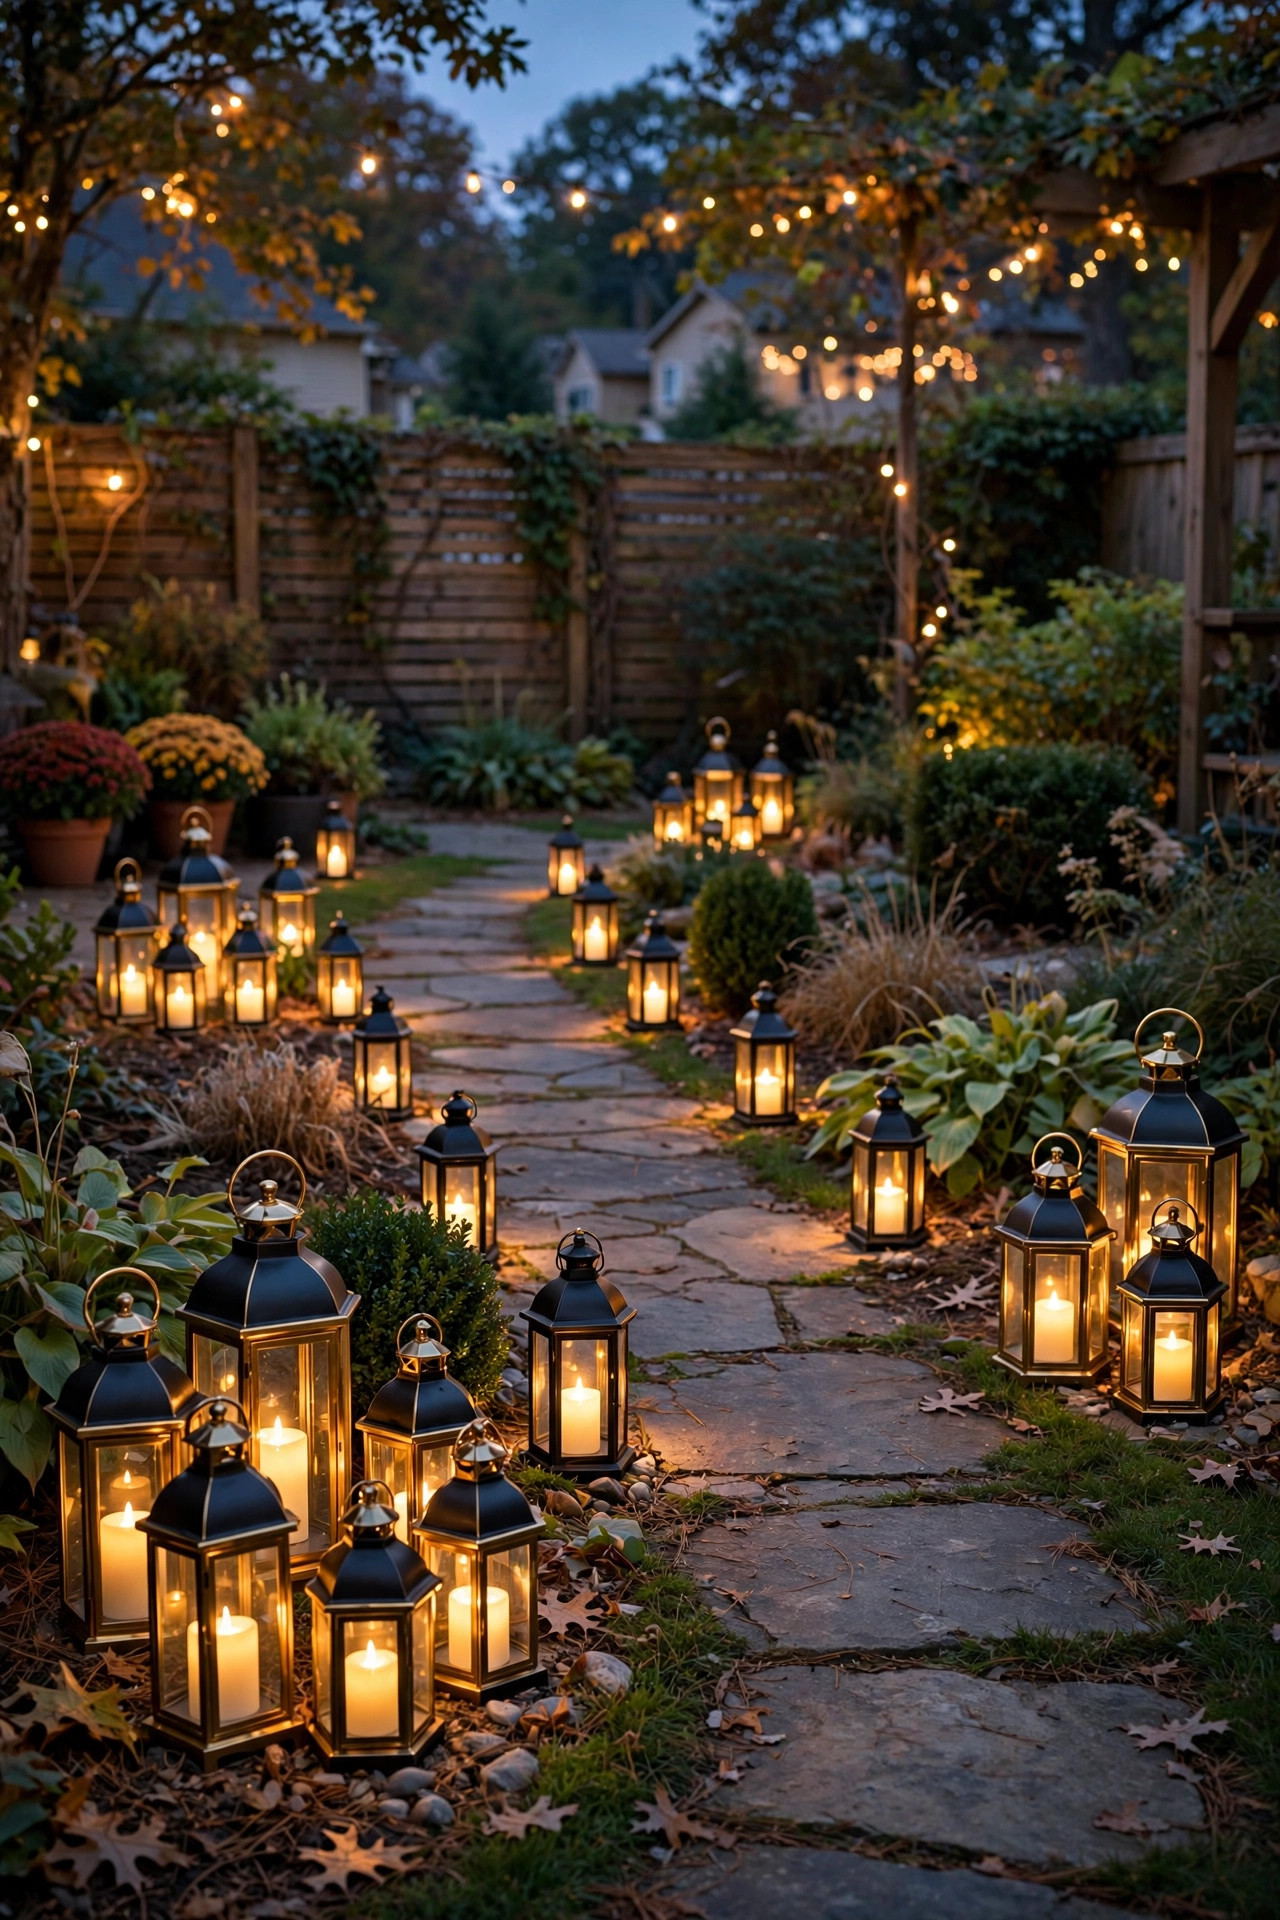
13. Color-Changing Smart Path Lights
If you like to switch things up, color-changing smart path lights bring the fun. These low-voltage or solar fixtures connect to an app where you can set warm white for everyday evenings, then shift to festive colors for holidays — orange and purple for Halloween, red and green for December, pastels for spring.
Placement follows the same rules as standard path lights: 6 to 8 feet apart, 12 to 18 inches off the path edge. You'll need a hub or Wi-Fi signal strong enough to reach the front yard, so test the connection at the farthest fixture before finalizing placement. For everyday use, I recommend defaulting to 2700K warm white; save the colors for occasions so your home doesn't read as a nightclub to the neighbors.
Smart fixtures cost more per unit, so a good strategy is mixing: smart lights at the entrance and key corners where color has the most impact, standard warm-white fixtures along the rest of the path. Put the smart zone on its own transformer tap or solar set so scheduling is simple.
Suggested budget range: $150 – $500.
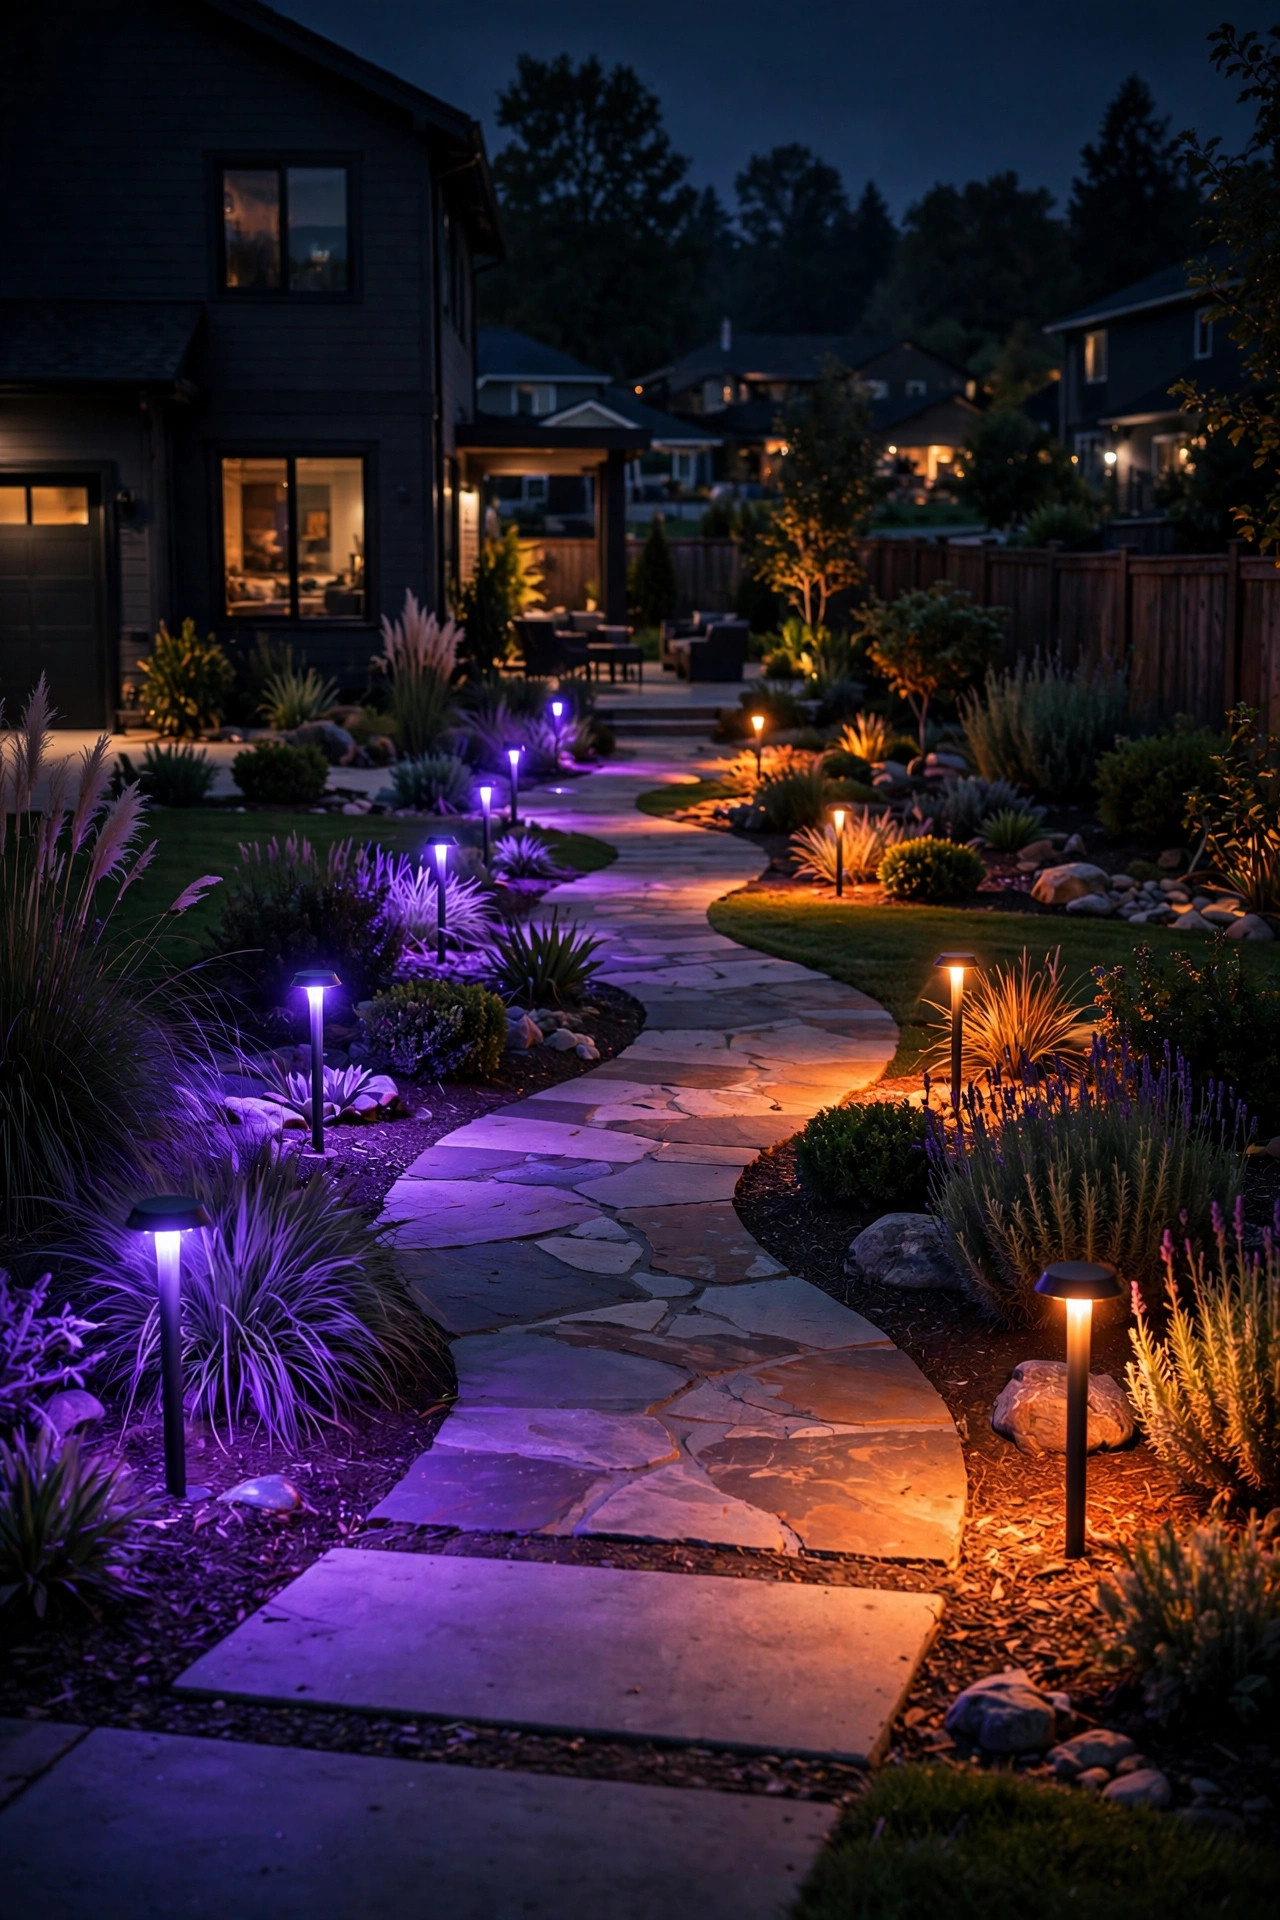
14. Dusk-to-Dawn Photocell Fixtures (Set and Forget)
For pure convenience, photocell fixtures that turn themselves on at dusk and off at dawn are hard to beat — and one of the most practical choices for busy households. No timers to reset after a power outage, no apps to update; the built-in light sensor handles everything.
Photocell path lights come in solar and low-voltage versions. With solar models, look for a dedicated dusk-to-dawn mode (some cheaper models just run a fixed 6–8 hours and die at 2 a.m.). With low-voltage fixtures, buy a transformer with a built-in photocell or add an inline photocell sensor to your existing system — one sensor can control the whole walkway. Position sensors where they'll see real ambient light — a photocell under a porch overhang may stay on all day.
One caution: dusk-to-dawn lighting contributes to light pollution, so aim fixtures downward, choose warm 2700K, and keep lumens modest — 100 to 200 per fixture is plenty for a path. Your neighbors and the night sky will thank you.
Suggested budget range: $60 – $250.
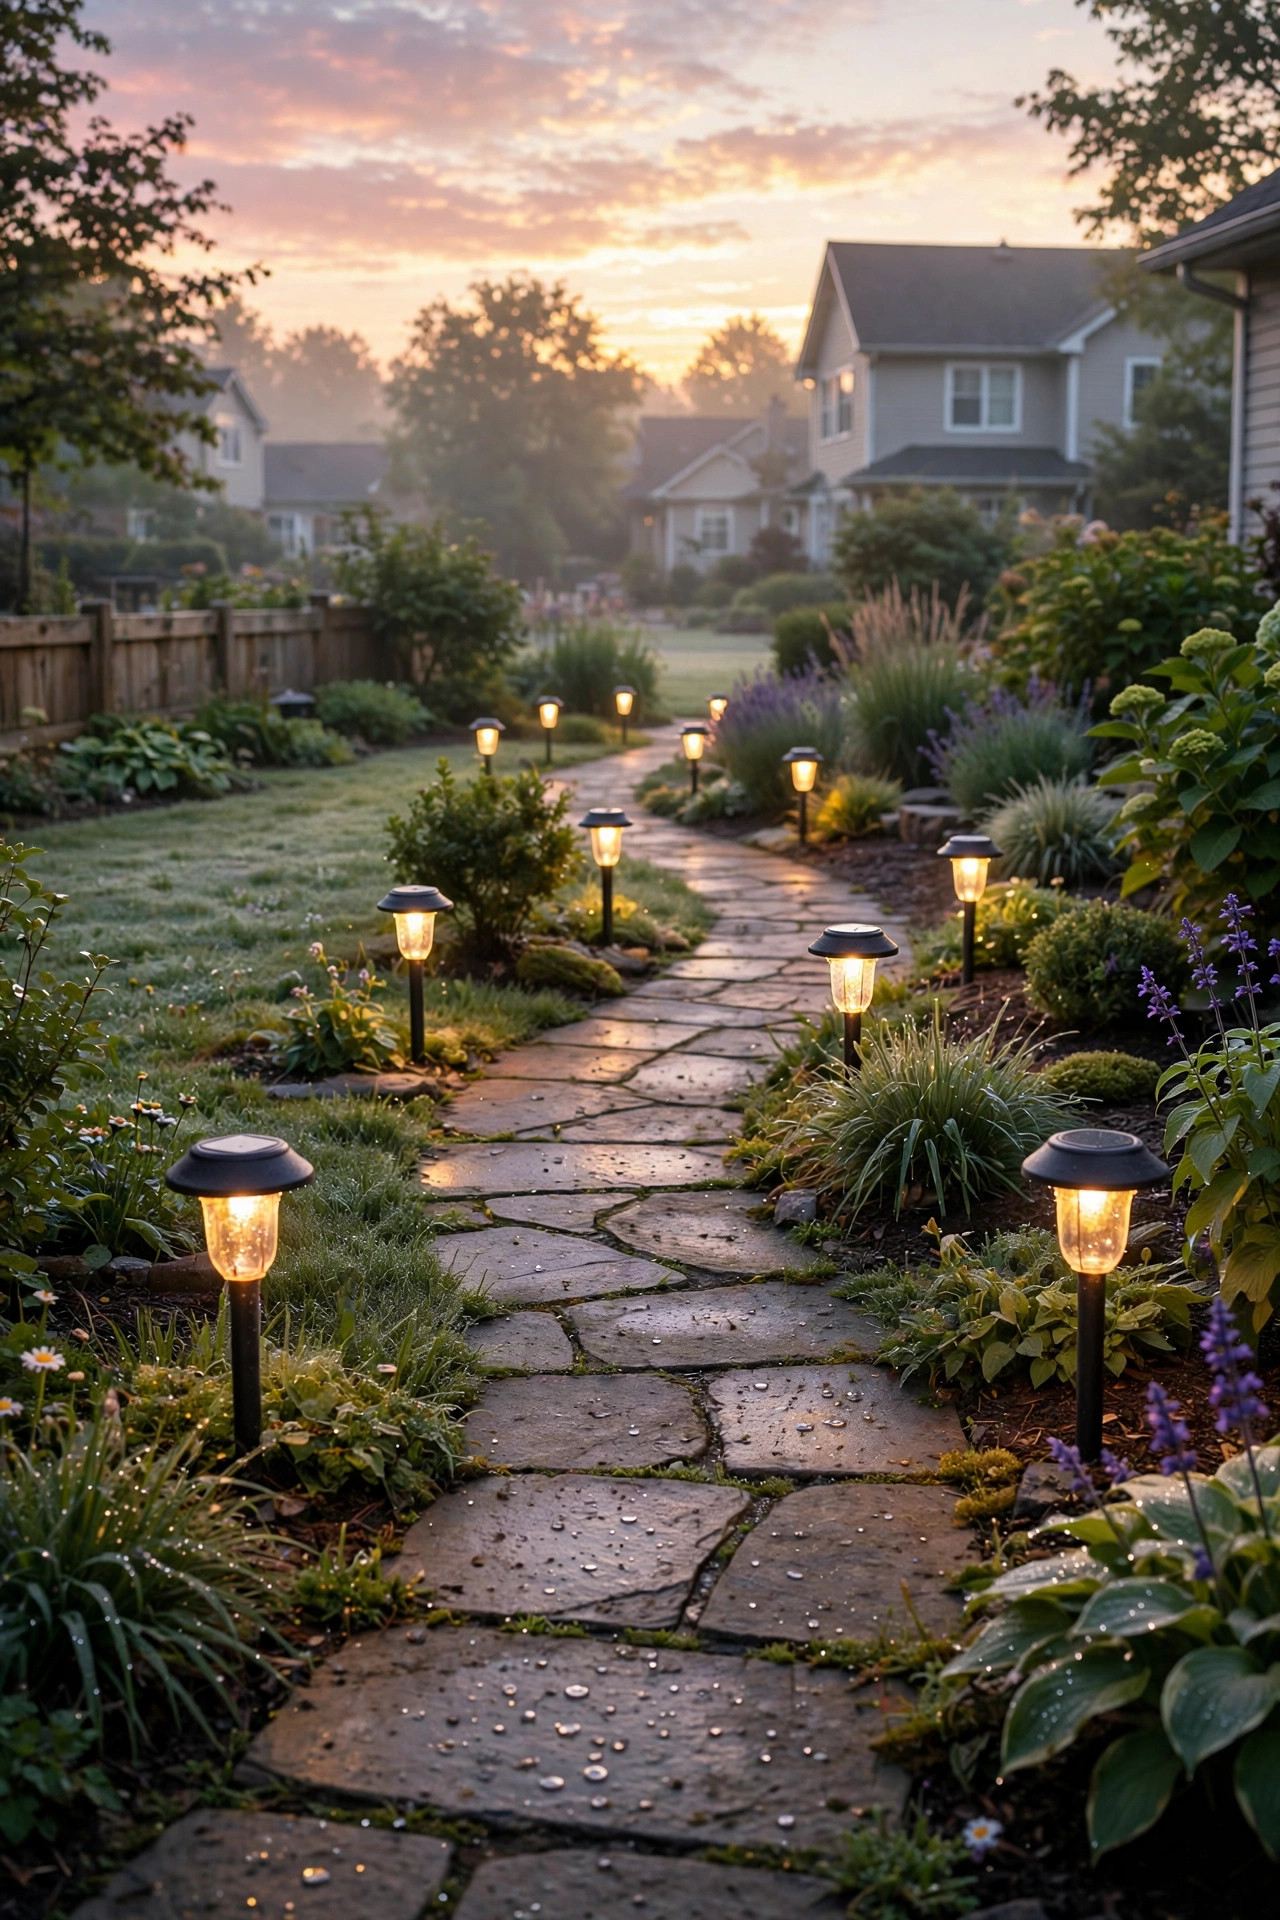
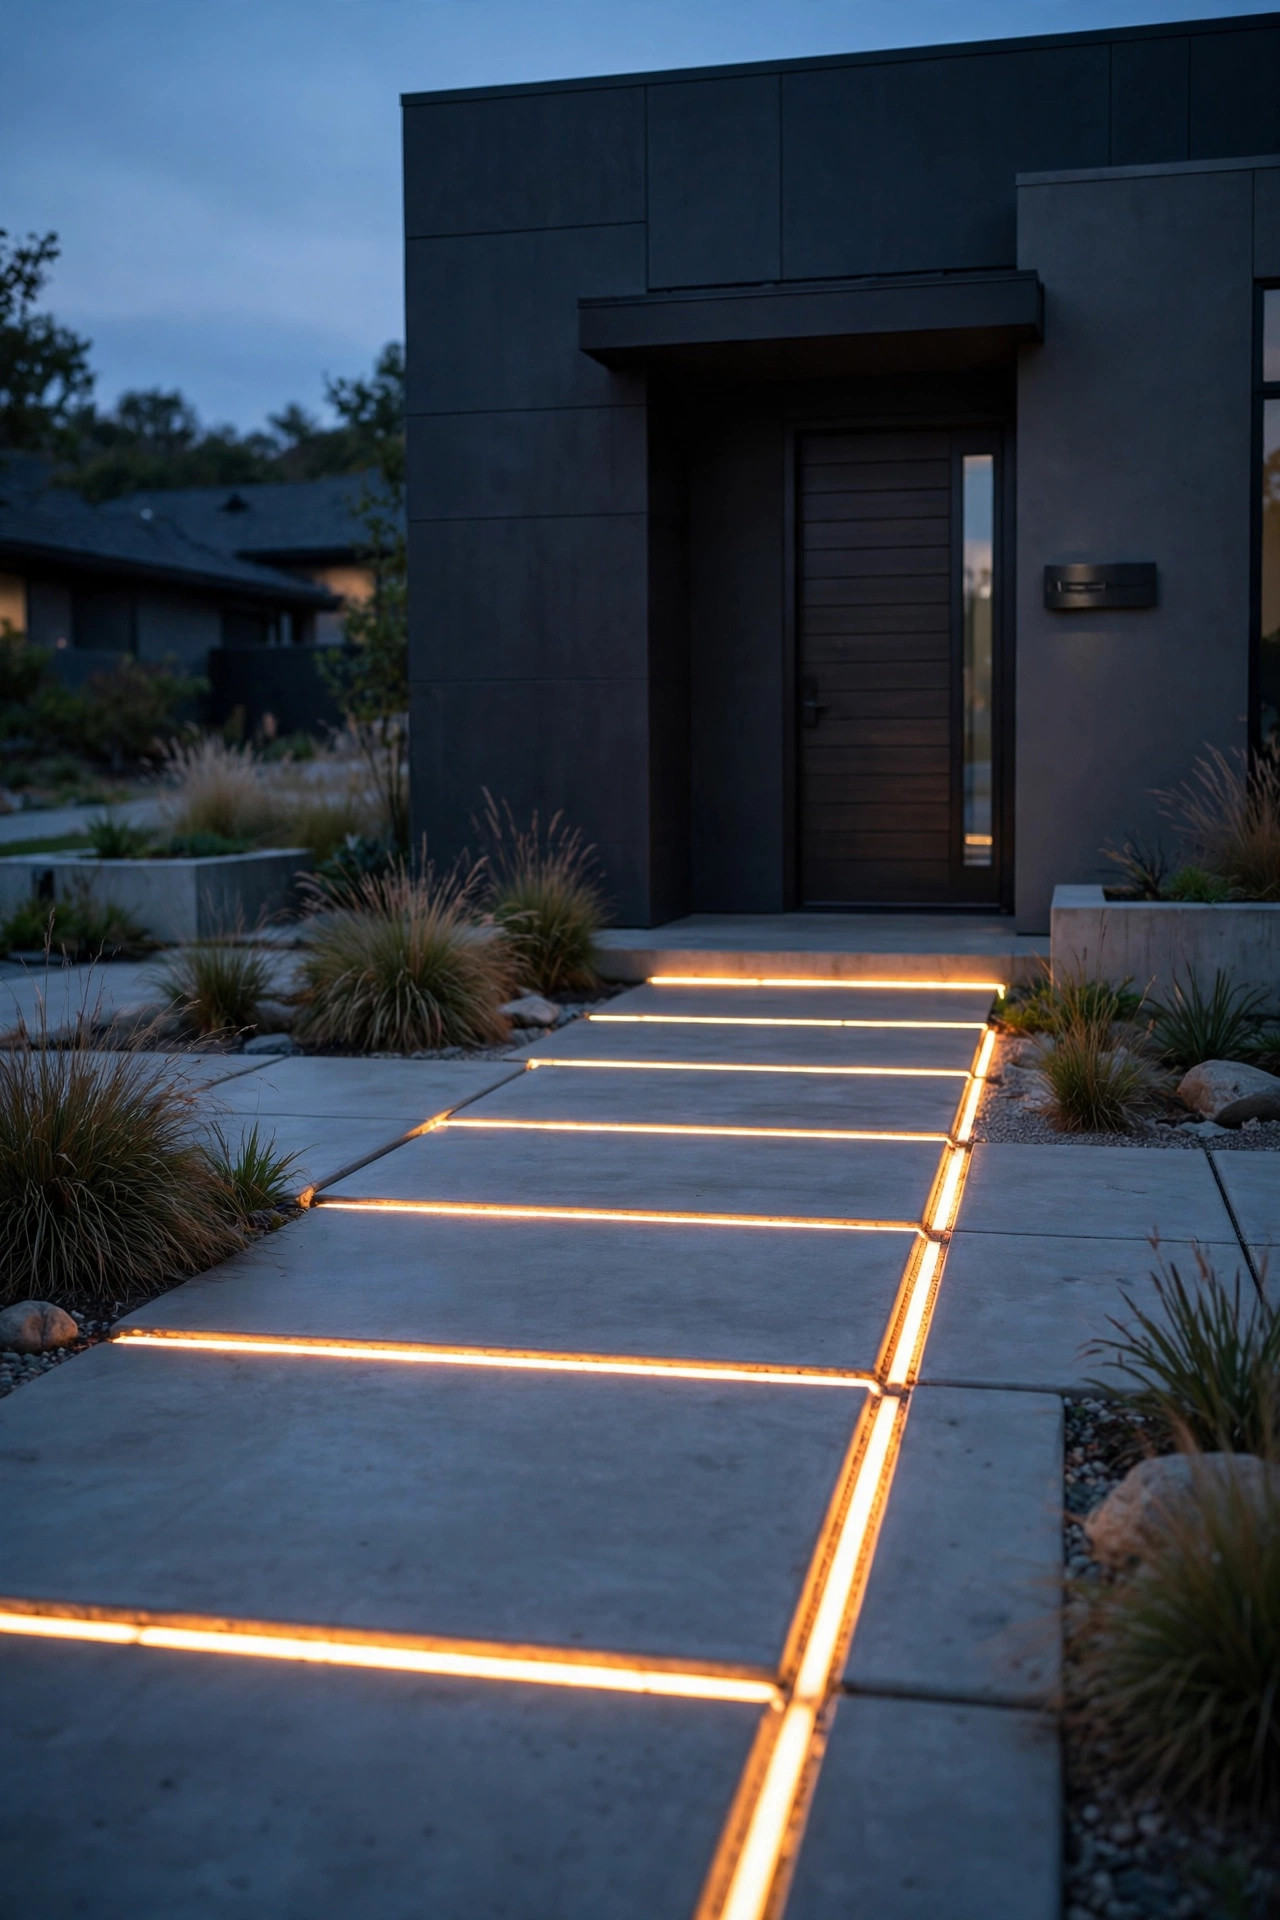
15. LED Strip Lights Set Into Modern Concrete Joints
For homes with poured concrete walkways, recessed LED strip lighting is the ultimate modern choice. Thin strips of LEDs sit flush in saw-cut grooves or expansion joints along the path's edges, creating clean, continuous lines of light that look straight out of a design magazine.
This works best in new construction or a full walkway replacement, when grooves can be cut before the concrete cures. Space the strips along both outer edges of the path, about 2 to 3 inches in from the edge. Use IP67-rated outdoor LED strips in a warm 2700K–3000K, embedded in a waterproof channel with a diffused lens so you see a smooth line, not individual dots. Low-voltage 12V or 24V strips are standard; a weatherproof driver mounted nearby powers the run.
Because the strips are flush, there's nothing to trip on and nothing for a snow shovel to catch. The downside: failed sections are harder to replace than stake lights, so buy quality strips and keep a spare length. A dimmable driver lets you tune the brightness to a gentle glow.
Suggested budget range: $200 – $700.
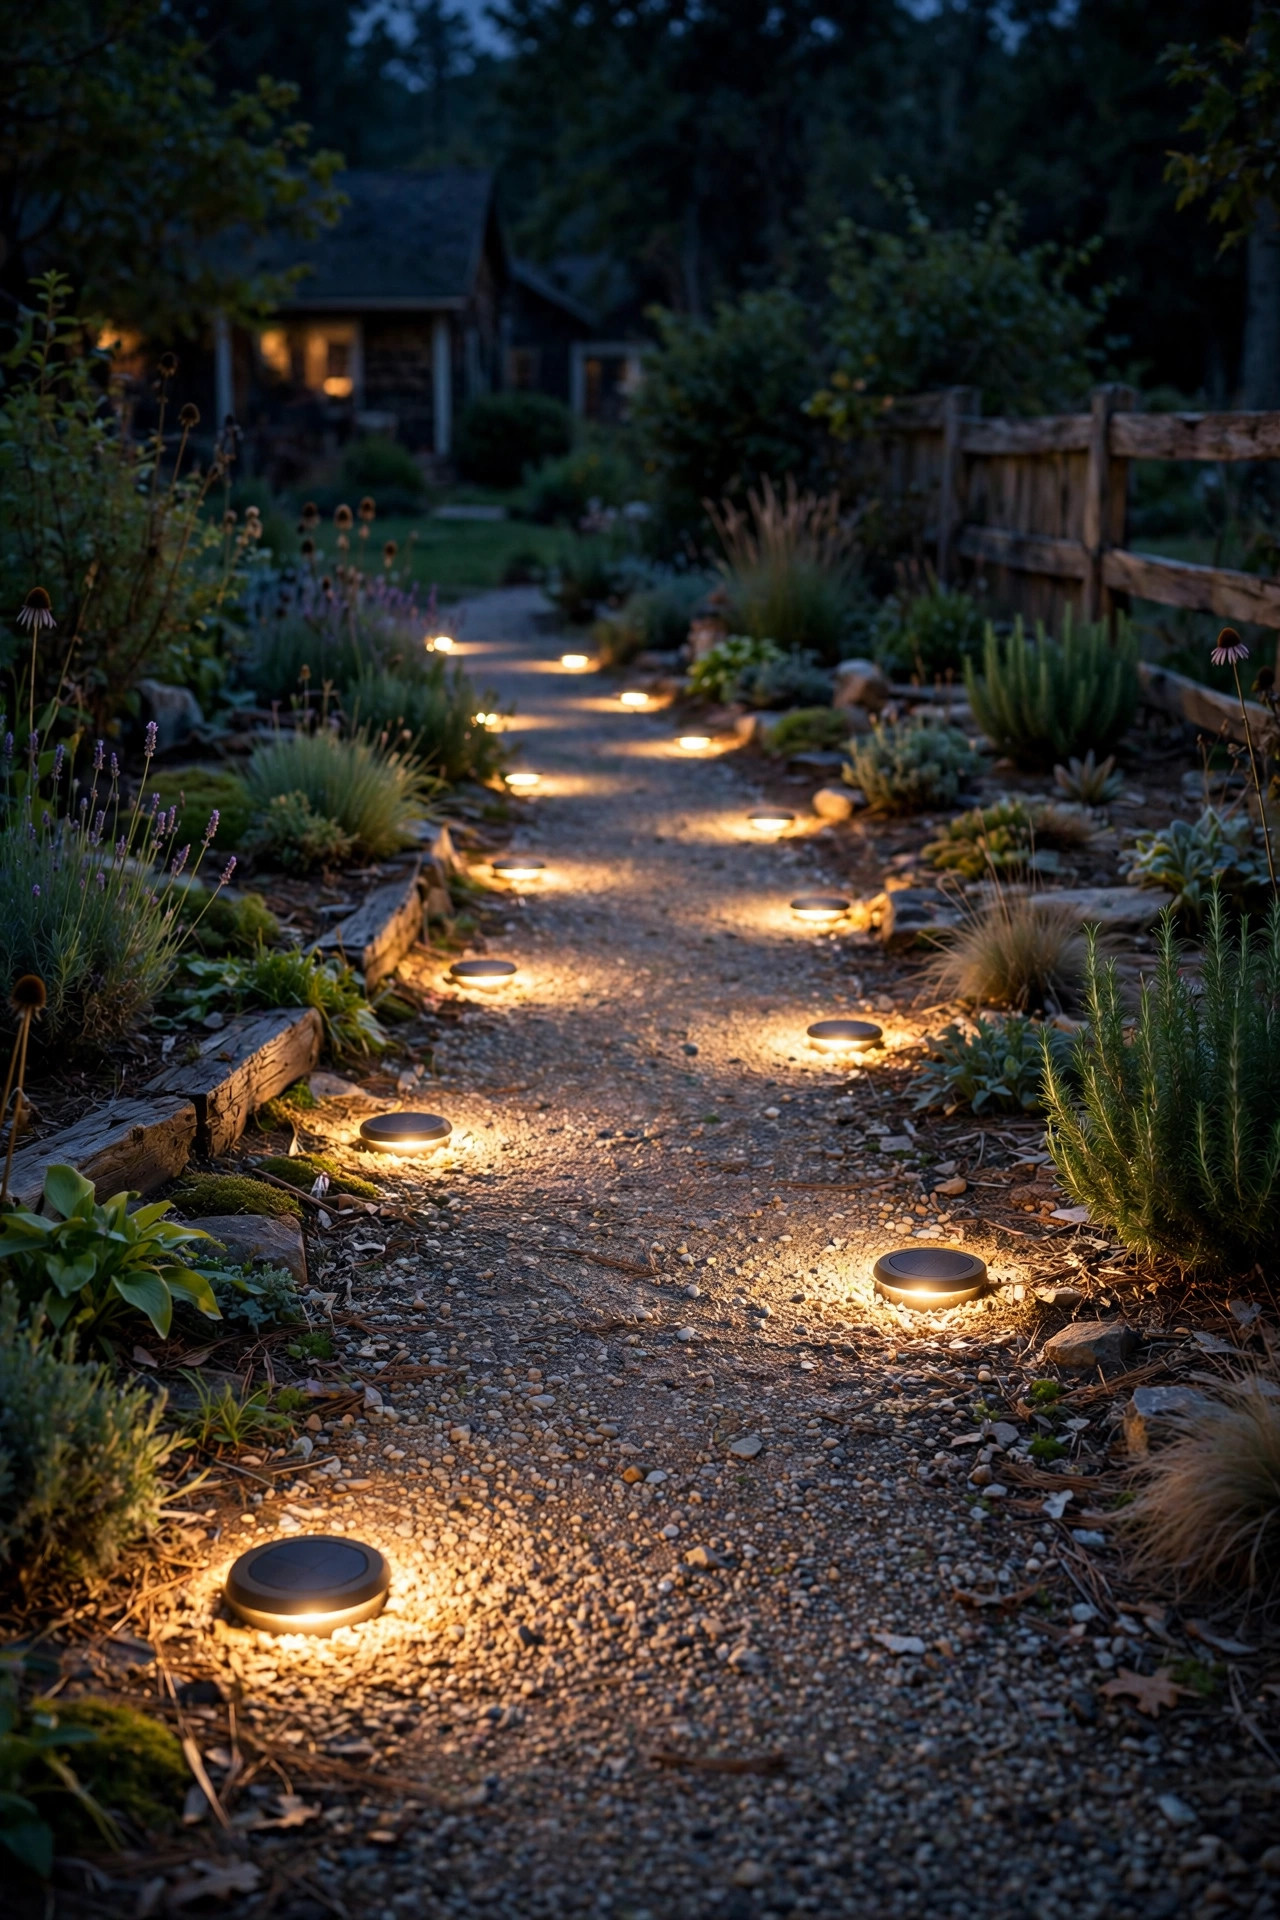
16. Solar Disk Lights for Gravel and Loose-Surface Paths
Gravel, mulch, and crushed-stone walkways have a problem: stakes wobble and standard path lights sink. Enter solar disk lights — flat, puck-shaped fixtures that sit directly on the surface and glow upward and outward. They're the simplest walkway lighting idea for informal garden paths.
Set the disks right on the gravel, one every 4 to 6 feet, staggered slightly on alternating sides. Each one is its own solar panel, so make sure every disk gets several hours of direct sun — under a tree canopy they'll underperform. They're accent lights (10–20 lumens each) — think trail markers, not path illuminators; pair with a lantern at each end for full coverage.
I love these on woodland paths and cottage gardens where the look is intentionally rustic. The flat profile means no trip hazard and no mowing interference. Look for stainless steel or heavy-duty plastic housings with a real weather rating, not decorative-only models. And here's a bonus: when the rechargeable batteries eventually fade (usually after 2–3 seasons), many models accept standard replacements.
Suggested budget range: $25 – $80.
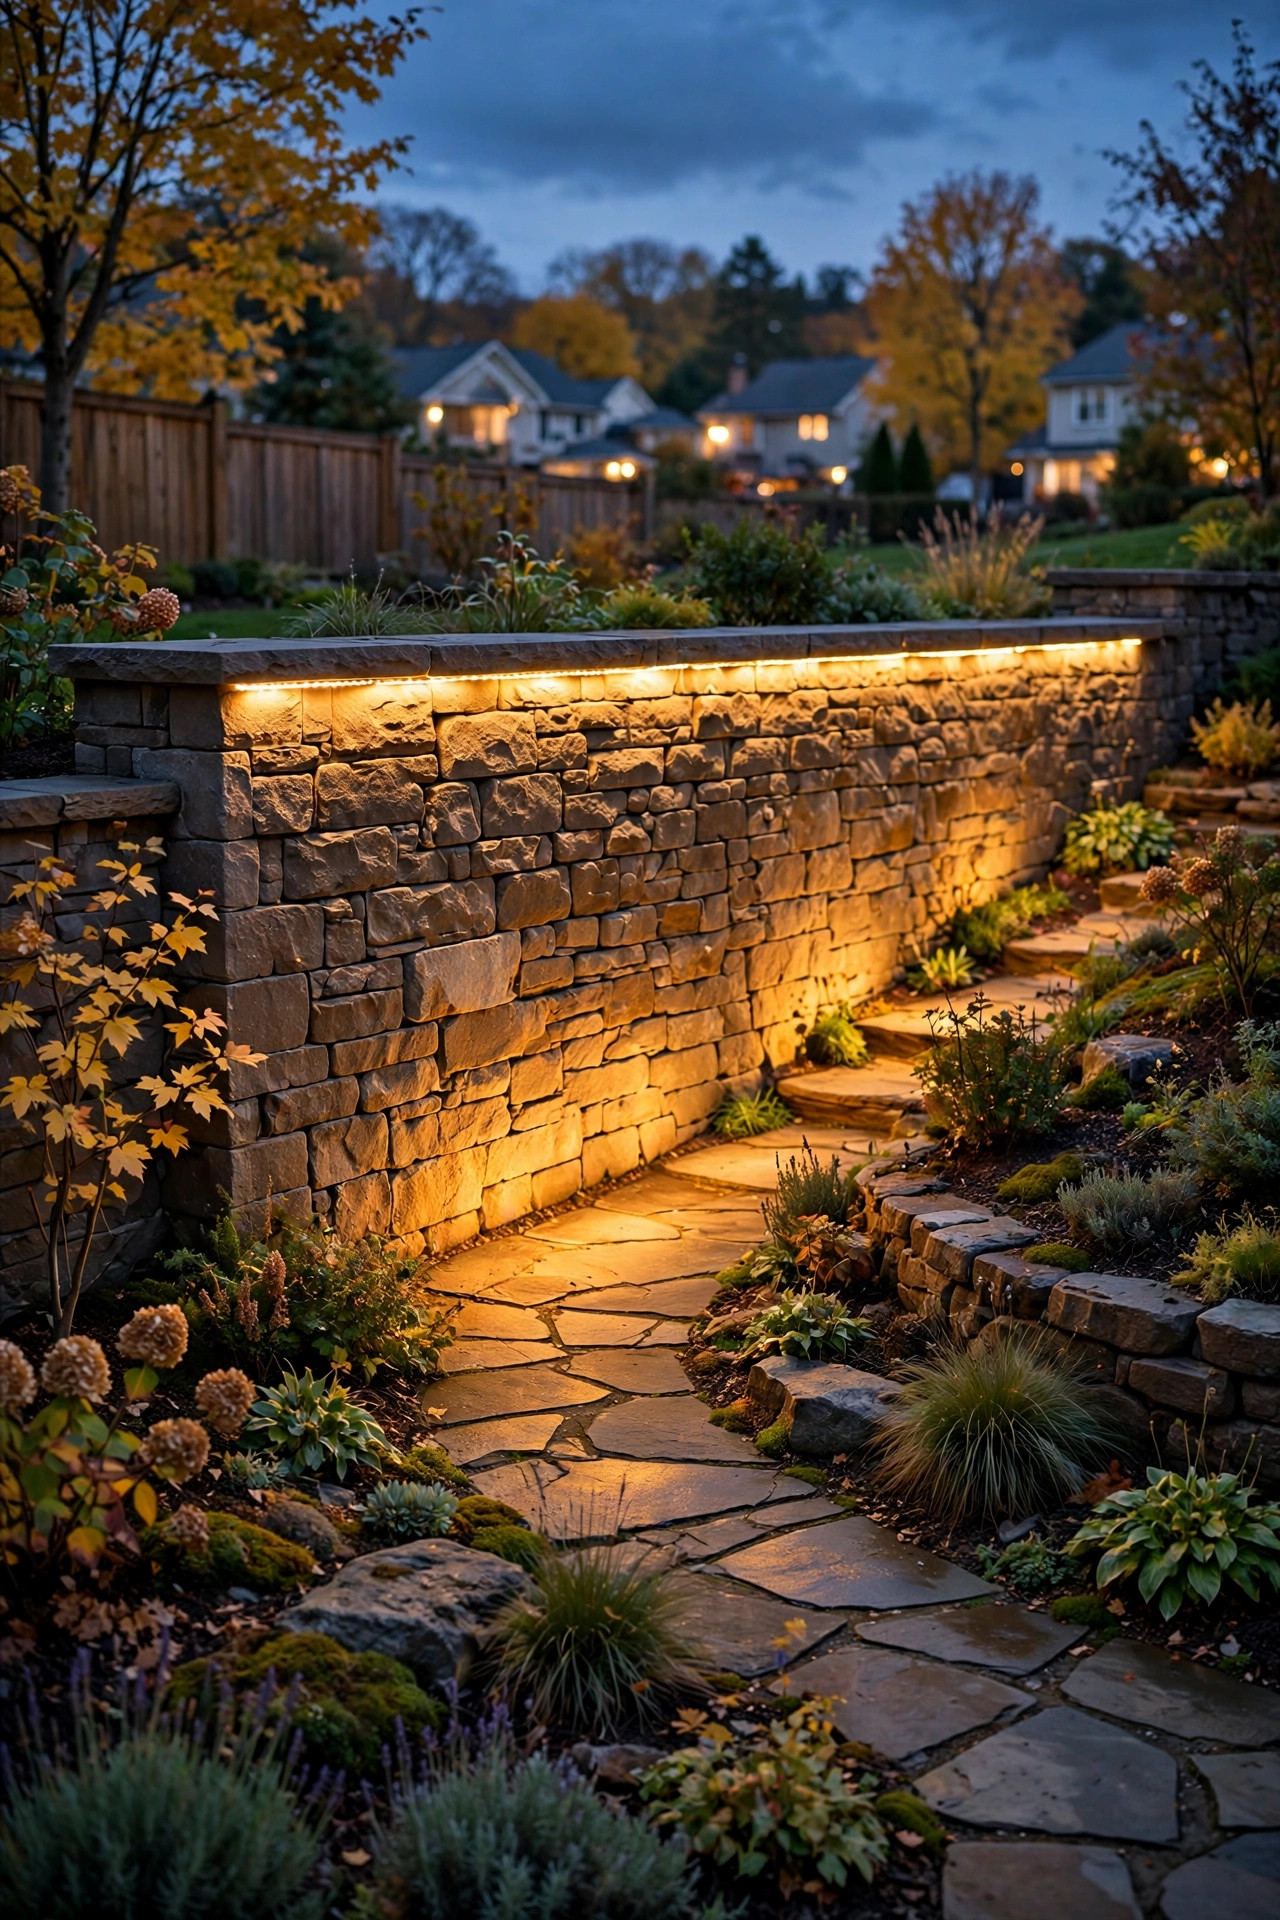
17. Rope Light Tucked Under Wall Caps and Handrails
If your walkway runs alongside a low retaining wall, a raised bed, or a handrail, tucking LED rope light underneath the cap or rail gives you a floating, architectural glow. This walkway lighting idea hides the source entirely — all you see is a clean wash of light spilling onto the path.
Run an outdoor-rated LED rope or silicone-tube strip along the underside of the wall cap, recessed back 1 to 2 inches so the strip itself isn't visible from above or the side. Mount it with weatherproof clips every 12 to 18 inches, and plug it into an outdoor-rated timer or smart plug. Warm white 2700K is the sweet spot; the indirect bounce off the concrete or stone softens everything.
Because the light source is hidden, it's glare-free for walkers — a huge plus for aging-in-place homes. Choose LED-only rope with an IP65+ wet-location rating; never use incandescent rope outdoors — it runs hot and isn't weather-sealed. For handrails on wooden steps, staple or clip the strip to the underside, keeping it clear of any flammable surfaces per the manufacturer's spacing guidance.
Suggested budget range: $40 – $150.
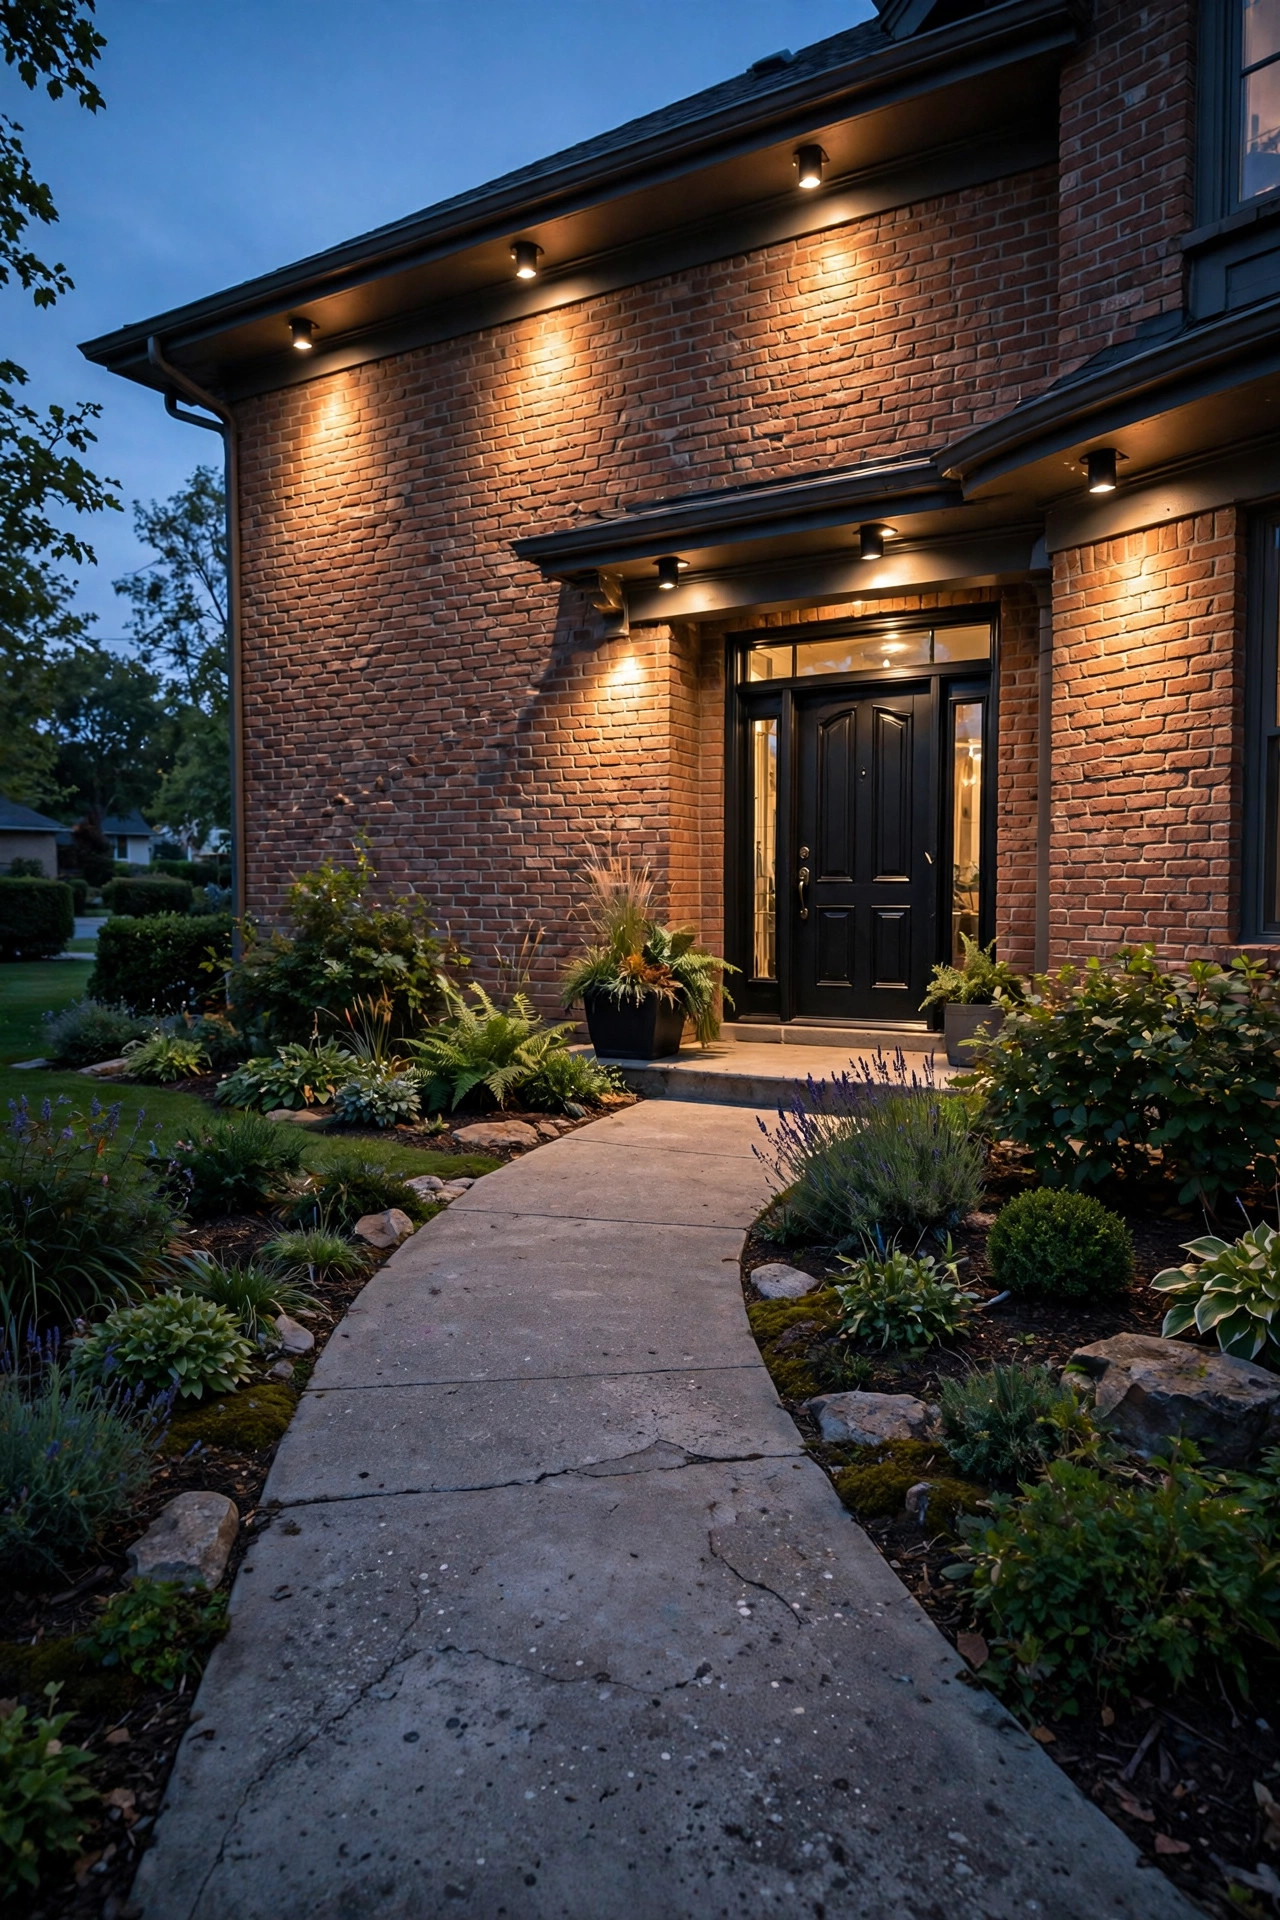
18. Flanking Wall Washers at the Front Entry
Sometimes the best walkway lighting idea isn't on the path at all — it's on the walls beside it. A pair of downlight wall washers mounted on the house or porch columns floods the walkway's final stretch with soft, even light while highlighting your home's facade.
Mount the fixtures 8 to 12 feet high on the wall, 6 to 10 feet apart, aimed straight down. The light grazes the wall and spills generously onto the path below. This works beautifully on brick, stone, and textured siding, where the grazing light adds drama. Use low-voltage LED spot or wall-wash fixtures (300–500 lumens each) in 2700K, ideally with an adjustable head for fine-tuning the angle.
Pair wall washers with a few low path lights and you've got a fully layered entrance — if you want to understand how the two systems compare, my breakdown of solar vs. wired outdoor lighting walks through cost, brightness, and maintenance honestly. One electrical note: if you mount 120V fixtures, they must be outdoor-rated, GFCI-protected, and installed in a weatherproof box.
Suggested budget range: $120 – $400.
19. Vintage-Style Copper Fixtures With Natural Patina
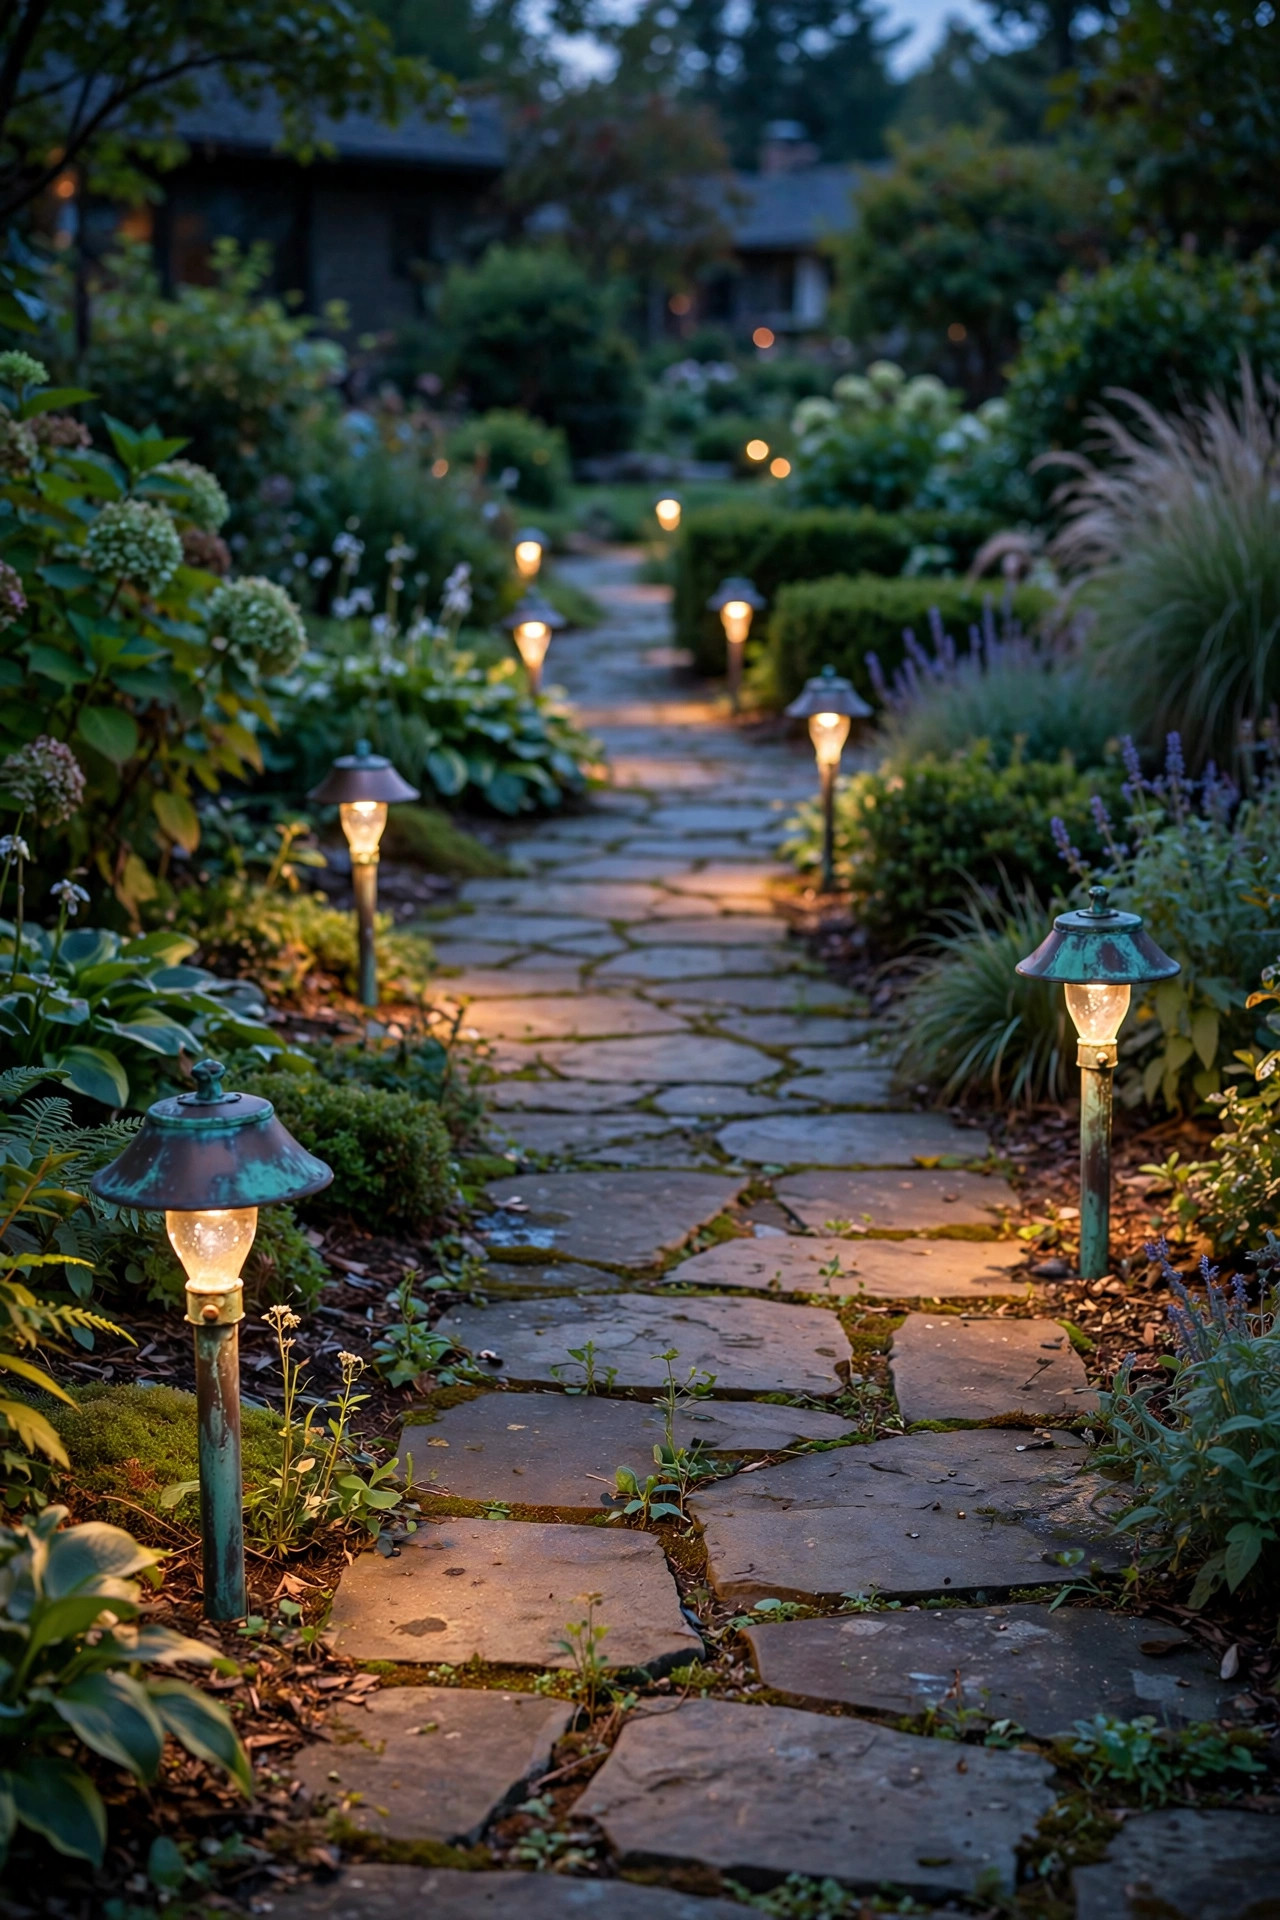
If you love a look that gets better with age, copper path fixtures are for you. Raw copper starts out shiny and slowly develops that gorgeous green-blue patina over a few years — no paint to chip, no finish to touch up. It's the choice for people who'd rather buy once and never think about it again.
Copper fixtures come in mushroom, pagoda, and lantern styles, sized like standard low-voltage path lights: 12–18 inches tall on stakes. Placement rules are the same — 6 to 8 feet apart, 12 to 18 inches off the path edge — and they wire into a standard 12V system. To speed up the patina, some homeowners mist the copper with a vinegar-salt solution; to keep it shiny, you'd need to seal it, but honestly the aging is the point.
LED bulbs are the natural pairing: they run cool, last years, and won't tarnish the fixture from the inside the way hot incandescents can. Copper costs more up front, but a 20+ year lifespan makes it one of the most economical choices over time.
Suggested budget range: $300 – $900.
20. Recessed Lights in Wooden Boardwalk Paths
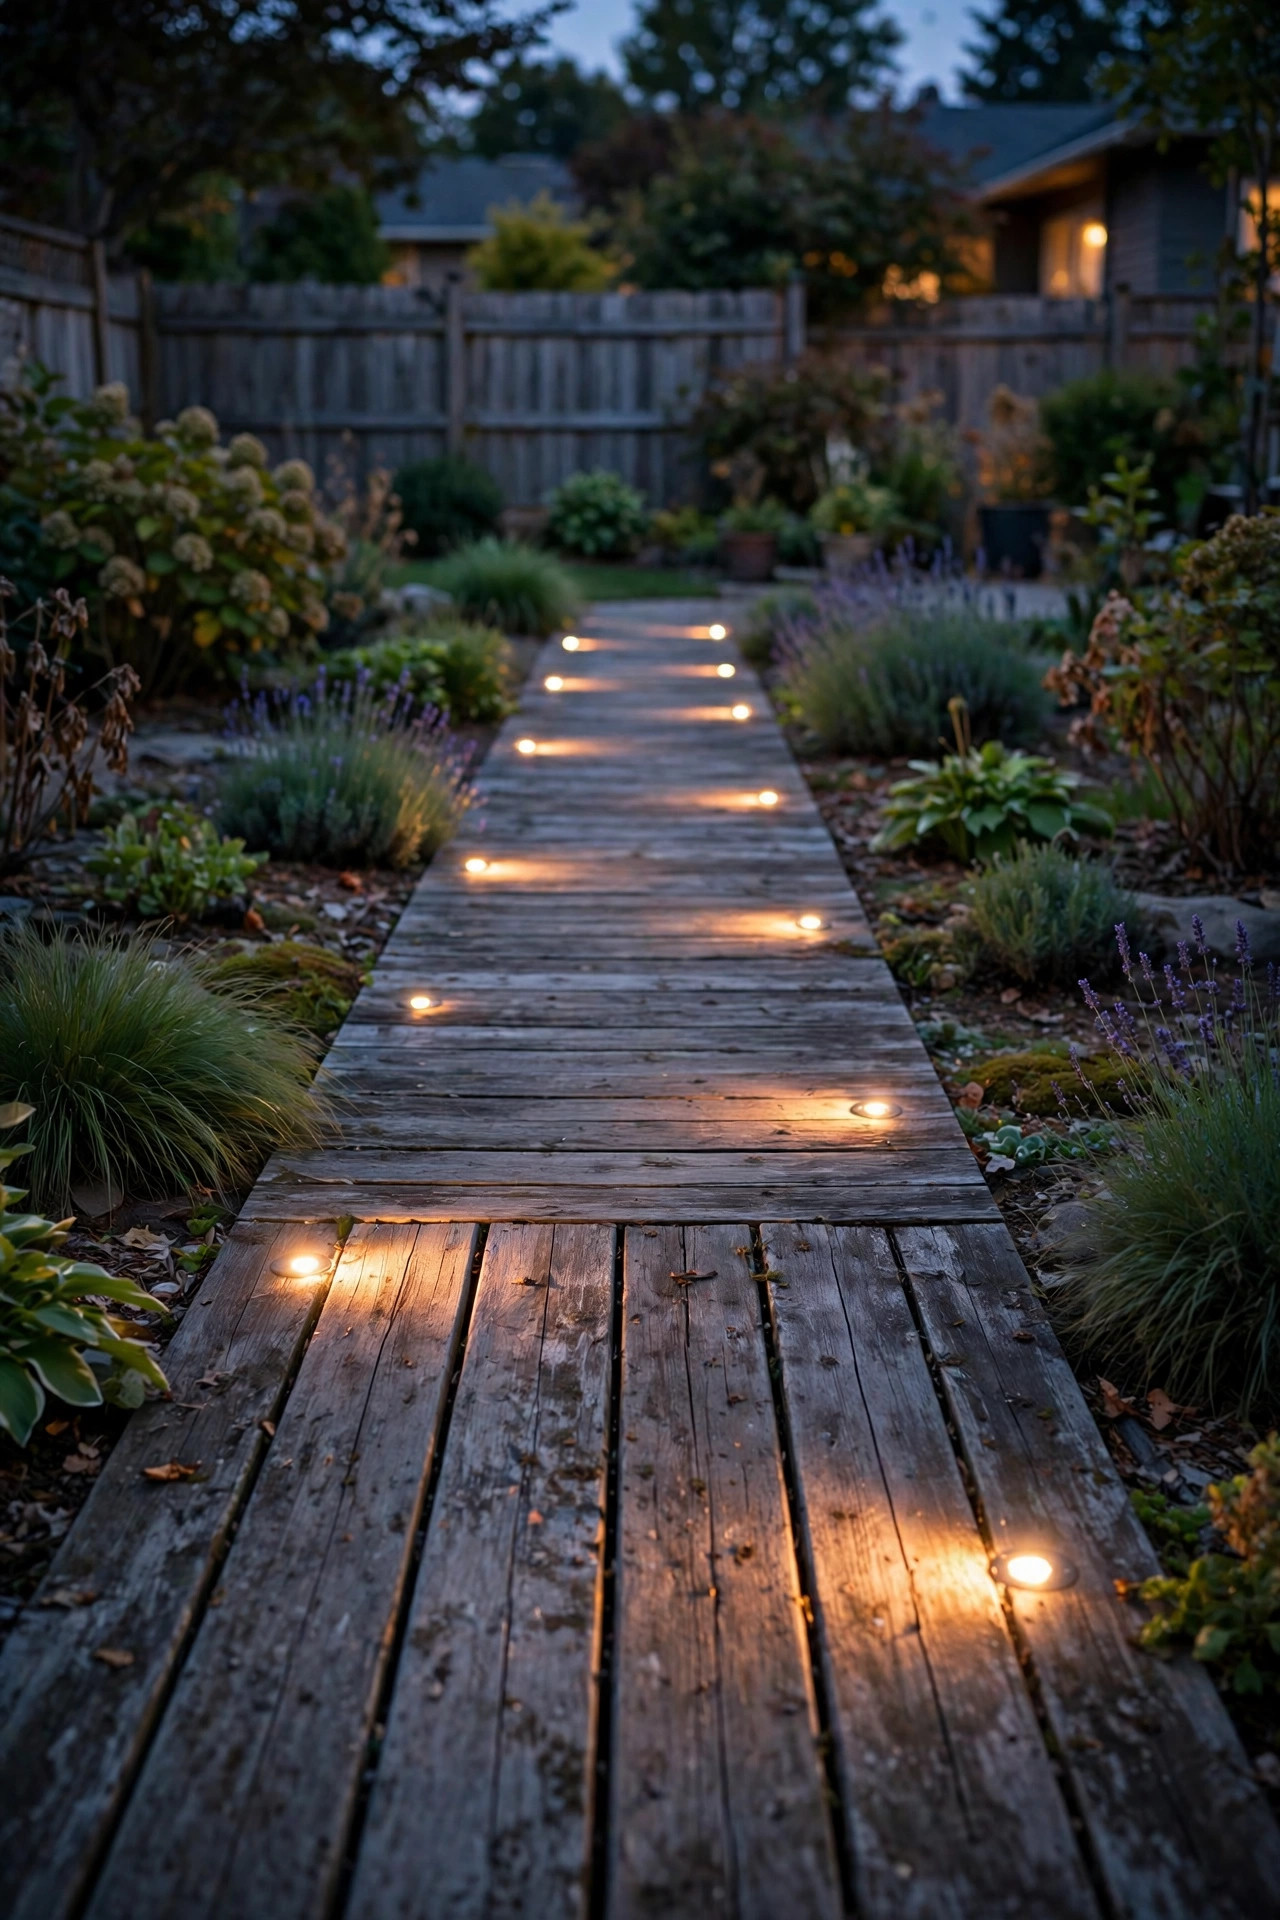
Wooden boardwalk-style walkways — common in coastal yards, over garden beds, or across damp spots — look stunning with recessed deck-style lights set into the boards. Small, round or square fixtures sit flush with the walking surface and dot the path with warm pools of light.
Drill or route a hole to fit each fixture (most are 1.5 to 3 inches in diameter), and space them every 3 to 5 feet down the center or edges of the boardwalk. Wire them as low-voltage 12V fixtures daisy-chained under the boards to a weatherproof transformer. Choose LED fixtures rated for deck and walkway use, warm 2700K, with a diffused lens to avoid harsh spots.
Safety first on wood: LED-only, always — a halogen deck light against dry wood is a genuine fire risk. Confirm fixtures carry a wet-location rating and that connections underneath are in waterproof junction boxes. Keep every lens truly flush — even a quarter-inch lip on a boardwalk becomes a toe-catcher. overhead if you want extra ambiance on summer nights.
Suggested budget range: $100 – $350.
21. LED Tiki Torches for a Tropical Path
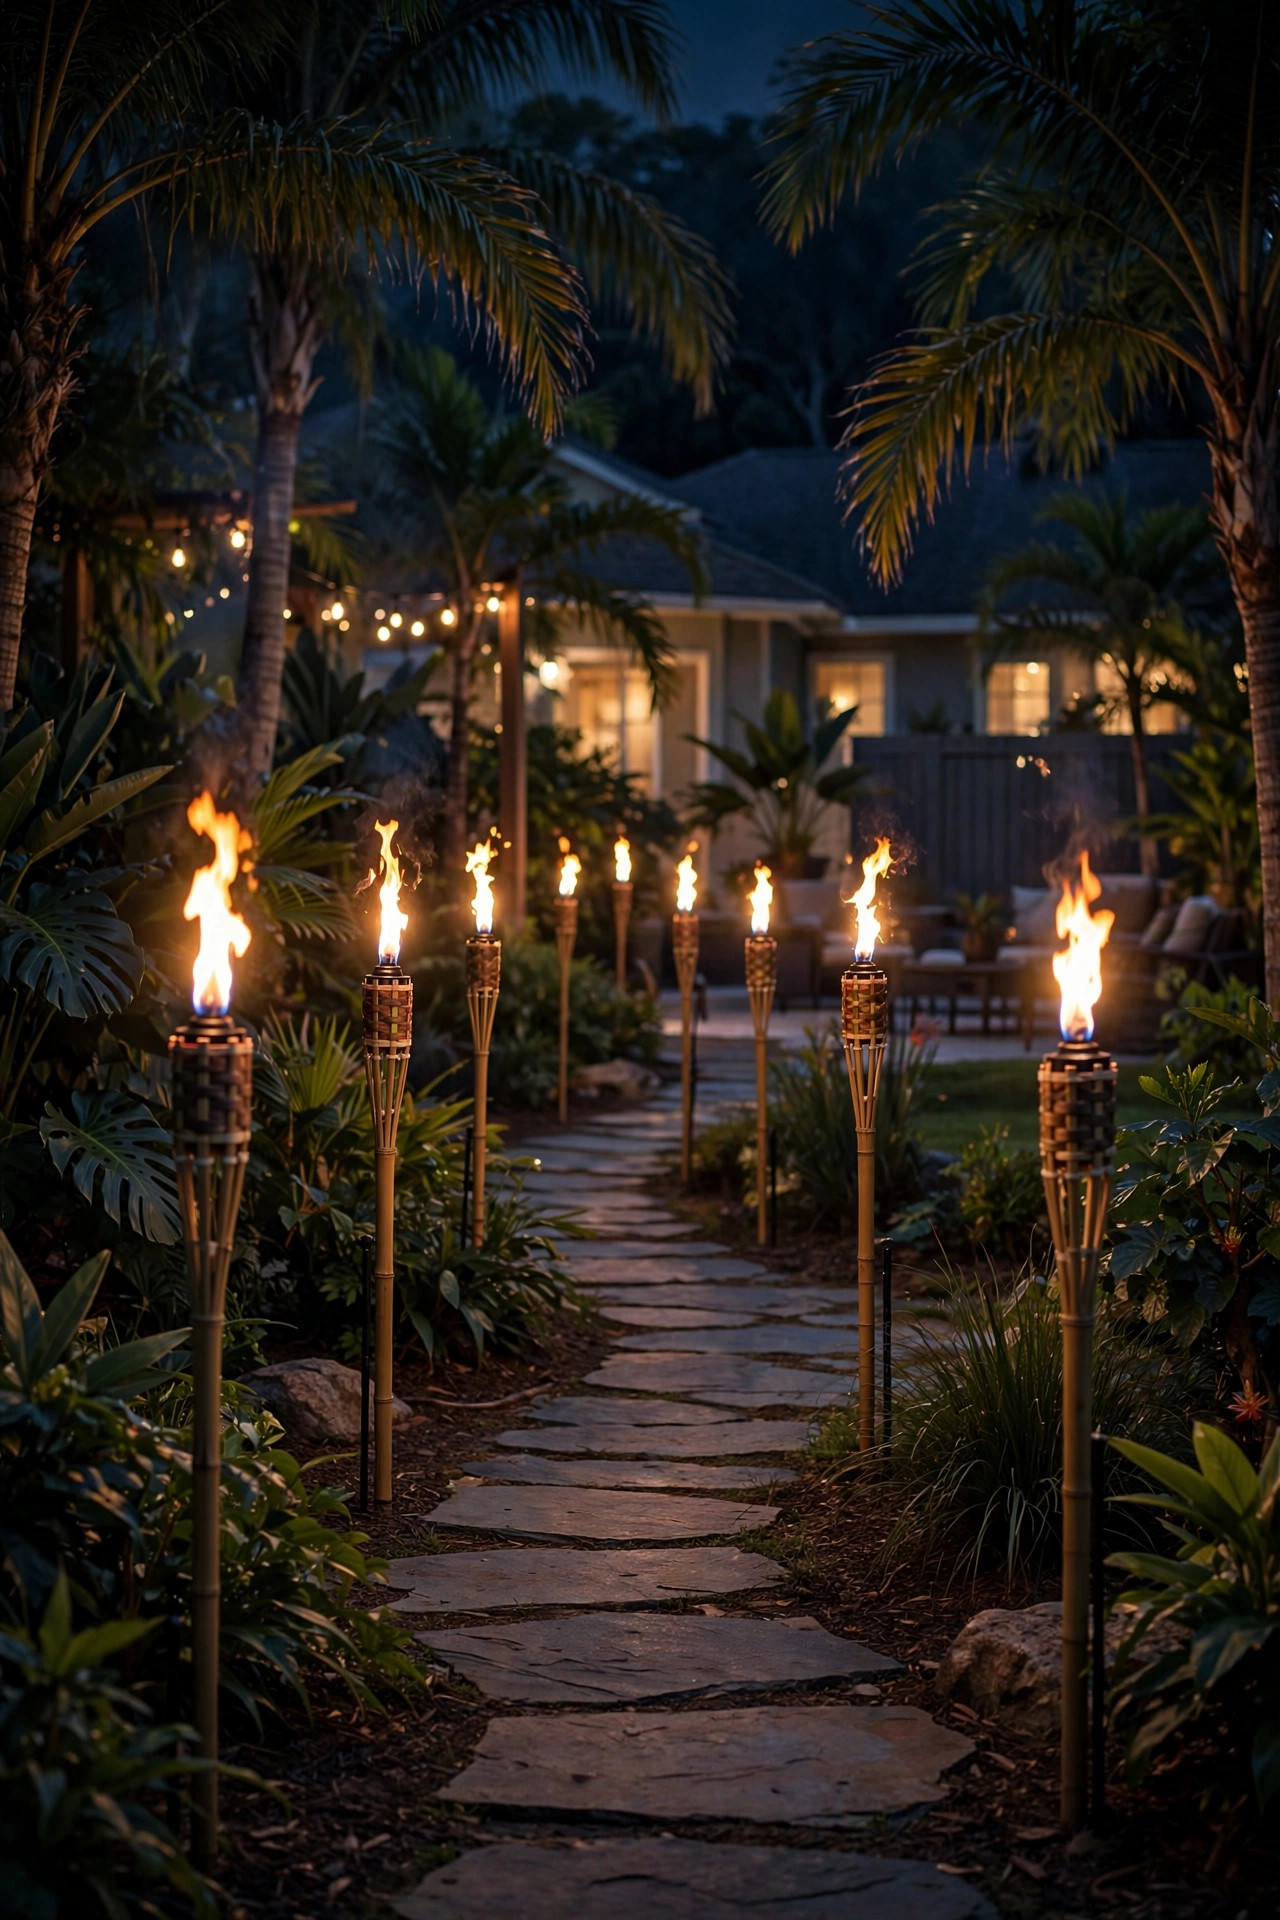
Tiki torches bring instant vacation energy to a walkway — and the modern versions use LED flame-effect bulbs instead of open flames, so you get the vibe with none of the fire risk. I love these for tropical or coastal yards, poolside paths, and summer parties.
Place torches 6 to 8 feet apart on alternating sides of the path, keeping each torch at least 3 feet from plants, mulch, and structures. Solar LED tiki torches are the easy option — the "flame" is a flickering LED bulb under a realistic-looking torch head, and they charge by day like any solar light. Low-voltage wired versions exist too and stay brighter longer into the night.
The critical safety note: choose LED-only flame effects, never real-flame torches along a walkway. Open flames near foot traffic, kids, and dry landscaping are asking for trouble — and many HOAs ban open flames outright. LED versions are cool to the touch, weather-resistant, and most have automatic dusk sensors. When fall arrives, swap them out for autumn pathway accents to keep the seasonal glow going.
Suggested budget range: $40 – $150.
22. Under-Nosing Lights on Wide Entry Steps
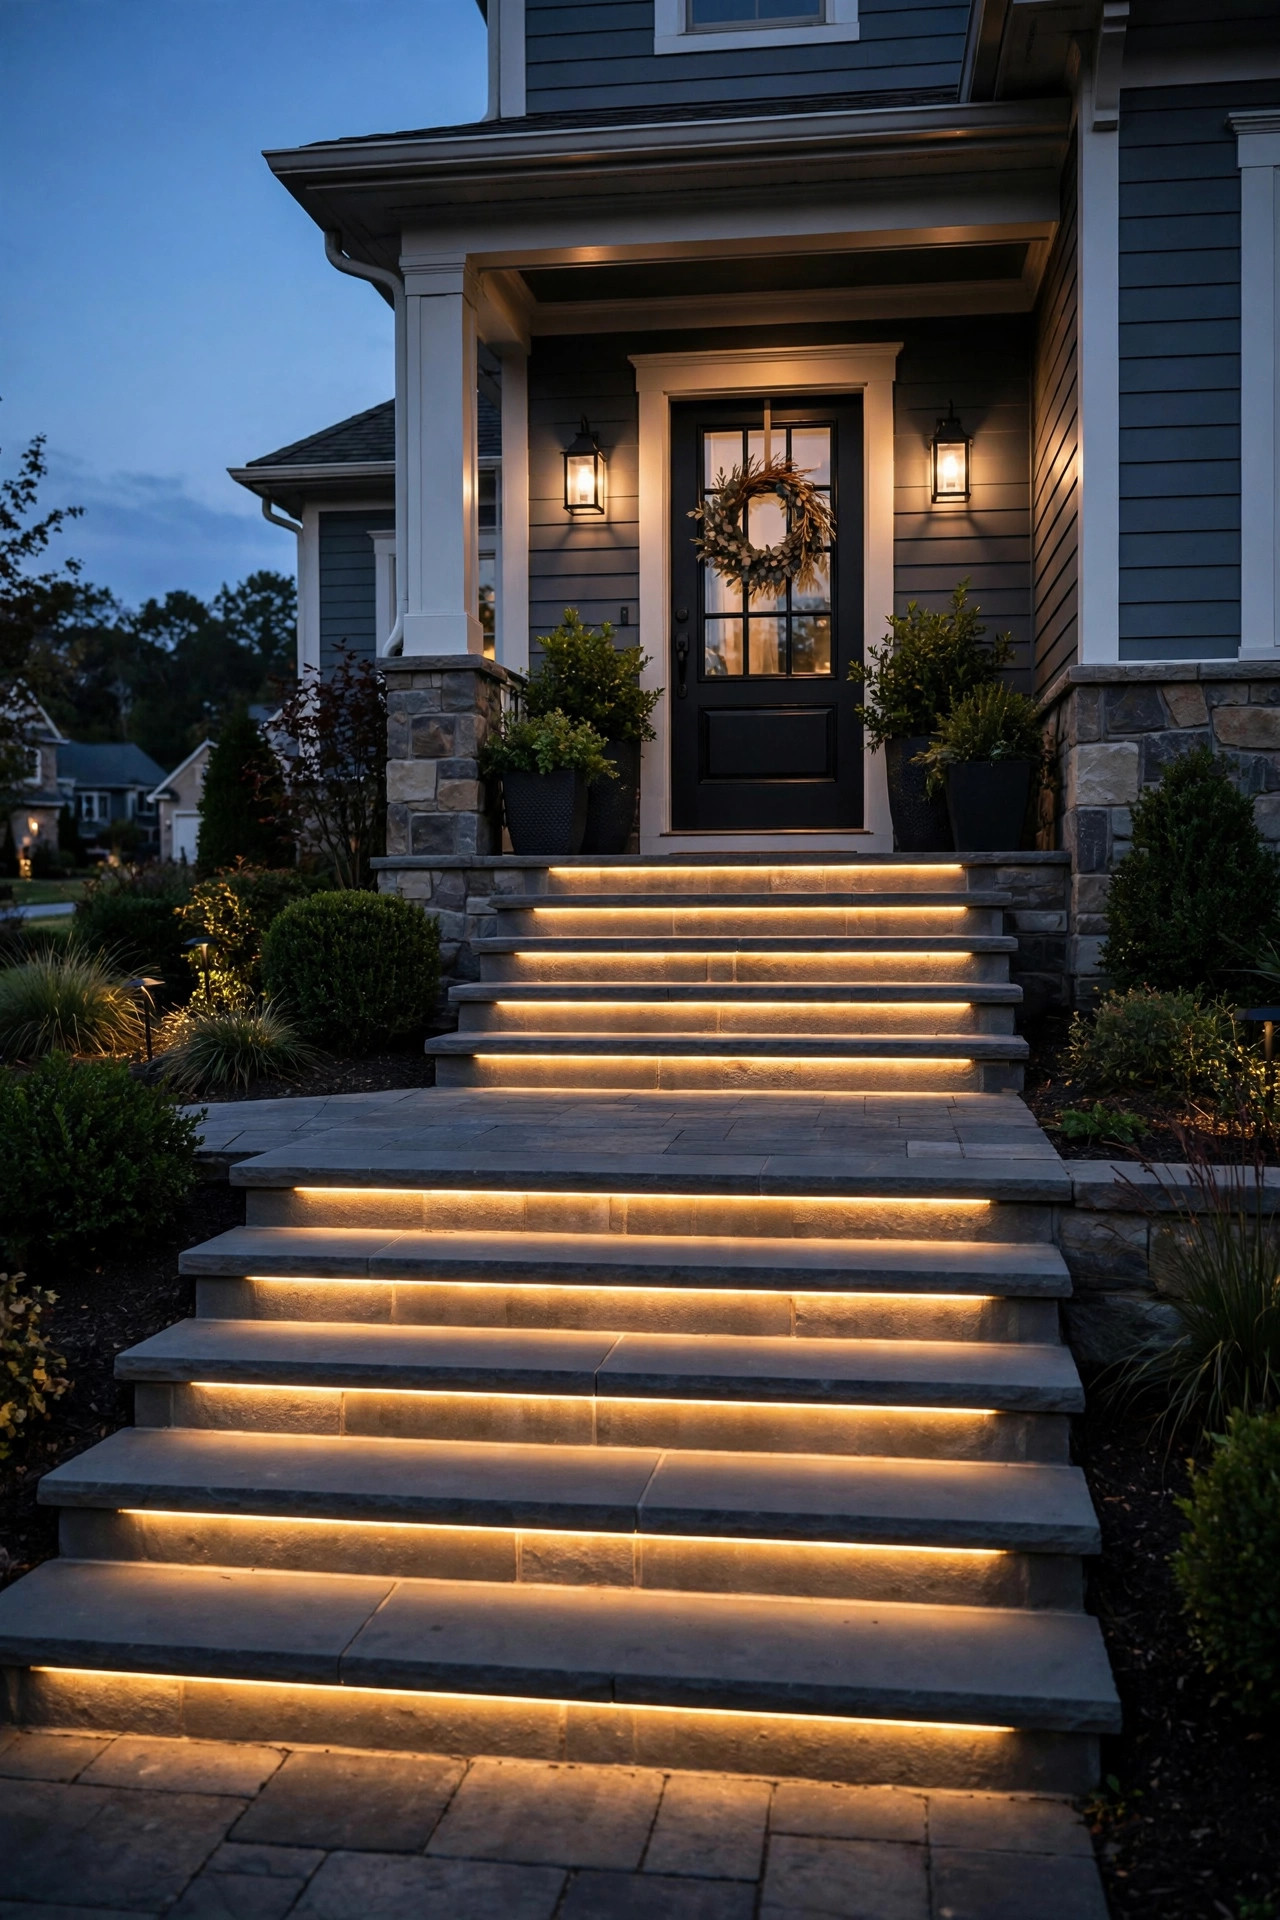
For wide entry steps — think the grand stairs leading from your driveway walkway up to the porch — lights tucked under each step nosing (the lip that overhangs the riser) create a sleek, floating-step effect while clearly defining every edge. It's one of my favorite walkway lighting ideas for homes with statement staircases.
Mount a low-voltage LED strip or a row of small puck fixtures under the nosing of each step, recessed far enough back that the light source is invisible from above — only the wash of light on the tread below shows. One continuous strip per step works for stairs up to 6 feet wide; wider stairs can use two parallel runs. Warm 2700K keeps it elegant rather than commercial.
Wire the runs to your landscape transformer on a dusk-to-dawn timer so the stairs light automatically with the rest of the path. As with all wood applications: LED-only fixtures with a wet-location rating, connections in waterproof boxes, and keep the strip's heat dissipation clear of any insulation or flammable material per the manufacturer's guidance. At night, aim for gentle definition, not a runway.
Suggested budget range: $80 – $300.
23. The Budget Refresh: Swap Bulbs, Repaint, Reposition
Here's my favorite low-cost walkway lighting idea: refresh what you already have. In my experience, most tired-looking path lighting isn't broken — it's just running cool-white or greenish old bulbs with weather-worn fixtures. A one-afternoon refresh can make a 10-year-old system look brand new.
Start by swapping every bulb to warm-white LEDs at 2700K — the single biggest visual upgrade, costing $2 to $5 per bulb. Next, reposition fixtures: pull any that have drifted, re-space to 6–8 feet apart, and re-stagger alternating sides if they're all on one side. Then clean: scrub solar panels with soapy water (a dirty panel can cut charging in half), and wipe down low-voltage lenses. Finally, repaint faded metal fixtures with outdoor metal spray paint in matte black or bronze — $8 a can, one can usually covers four to six path lights.
End with a night walk to check for dark gaps and glare, and replace failing solar batteries (often standard rechargeable AAs). Honestly? This refresh rivals a brand-new install at a fraction of the cost.
Suggested budget range: $20 – $80.
Frequently Asked Questions
What color temperature is best for walkway lighting?
For most walkway lighting ideas, 2700K warm white is the gold standard. It's the color of candlelight and traditional porch bulbs — welcoming, flattering to plants and stone, and easy on the eyes. 3000K works too, especially in modern designs, but I'd avoid anything above 3500K outdoors; cooler light looks harsh, washes out warm-toned landscaping, and can annoy neighbors. If you're refreshing an existing system, a simple bulb swap to 2700K LEDs is the fastest way to make it look intentional.
Are solar walkway lights or wired lights better?
It depends on your priorities. Solar walkway lights win on cost and ease — no wiring, no transformer, no electrician — and quality models with 100+ lumens per fixture work well as accent lighting. Wired low-voltage (12V) systems win on brightness, reliability, and control: they run all night at full power, work on cloudy days, and integrate with timers and smart systems. In my experience, solar is perfect for decorative or secondary paths, while a wired system is worth it for your main entrance walk where safety matters most. Many homeowners mix both.
How much does it cost to light a walkway?
A typical front walkway runs 30 to 60 feet, and cost depends on the approach. Budget solar stakes cost $30–$120 for the whole path. A DIY low-voltage system with 8–12 fixtures typically runs $150–$400 including the transformer and cable. Hired installation for a wired system usually adds $300–$800 in labor depending on complexity. Running costs are tiny with LEDs — a full low-voltage walkway often costs under $1 a month in electricity. Start with a budget refresh or solar if money is tight, and upgrade to wired later.
Can I install walkway lighting myself?
Absolutely — low-voltage (12V) and solar systems are very DIY-friendly. You'll stake fixtures, lay cable in shallow trenches or under mulch, and plug in a transformer. Most homeowners finish a front walk in a weekend. The line I always draw: anything 120V hardwired (post lamps, hardwired wall fixtures, new circuits) needs a licensed electrician and proper permits — outdoor 120V must be GFCI-protected with weatherproof boxes. When in doubt about the electrical, call a pro; the consultation is cheap insurance.
Conclusion
The walkway lighting ideas in this post all share one principle: light the path for feet first, then layer in the beauty. Start with reliable, warm-white light along the ground — spaced 6 to 8 feet apart, 2700K, on a dusk-to-dawn timer — and everything else is a styling choice built on that solid base.
I've lit paths on every budget, from a $25 set of solar disks to full low-voltage systems, and I promise the difference isn't about spending more — it's about placing light thoughtfully and keeping it warm. Take one idea from this list this weekend and try it; your front walk will thank you every evening.
When you're ready for more, browse the rest of the lighting ideas on the site — there's a whole world of porch, patio, and landscape inspiration waiting.