Every March, there comes a morning when the light changes, the robins come back, and I look at my patio through fresh eyes and think: oh, honey, we have work to do. The string lights are sagging, two path lights are dead, and everything is wearing a film of winter grime. That is exactly why I keep a running list of spring patio lighting refresh ideas — the small, satisfying fixes that take a tired patio and make it feel brand new again without a renovation budget.
I always think in layers: a warm canopy of light overhead, a welcoming glow at eye level, and gentle pools of light at your feet so nobody trips on the step they forgot was there. Nail those three layers and even a basic patio feels styled. Below I will walk you through all seventeen of my go-to refreshes, from a ten-minute lens scrub to a whole new string light layout. Most take an afternoon, nearly all of them are renter-friendly, and every single one pays for itself the first evening you sit outside with a glass of something cold and realize the yard woke up before the flowers did.
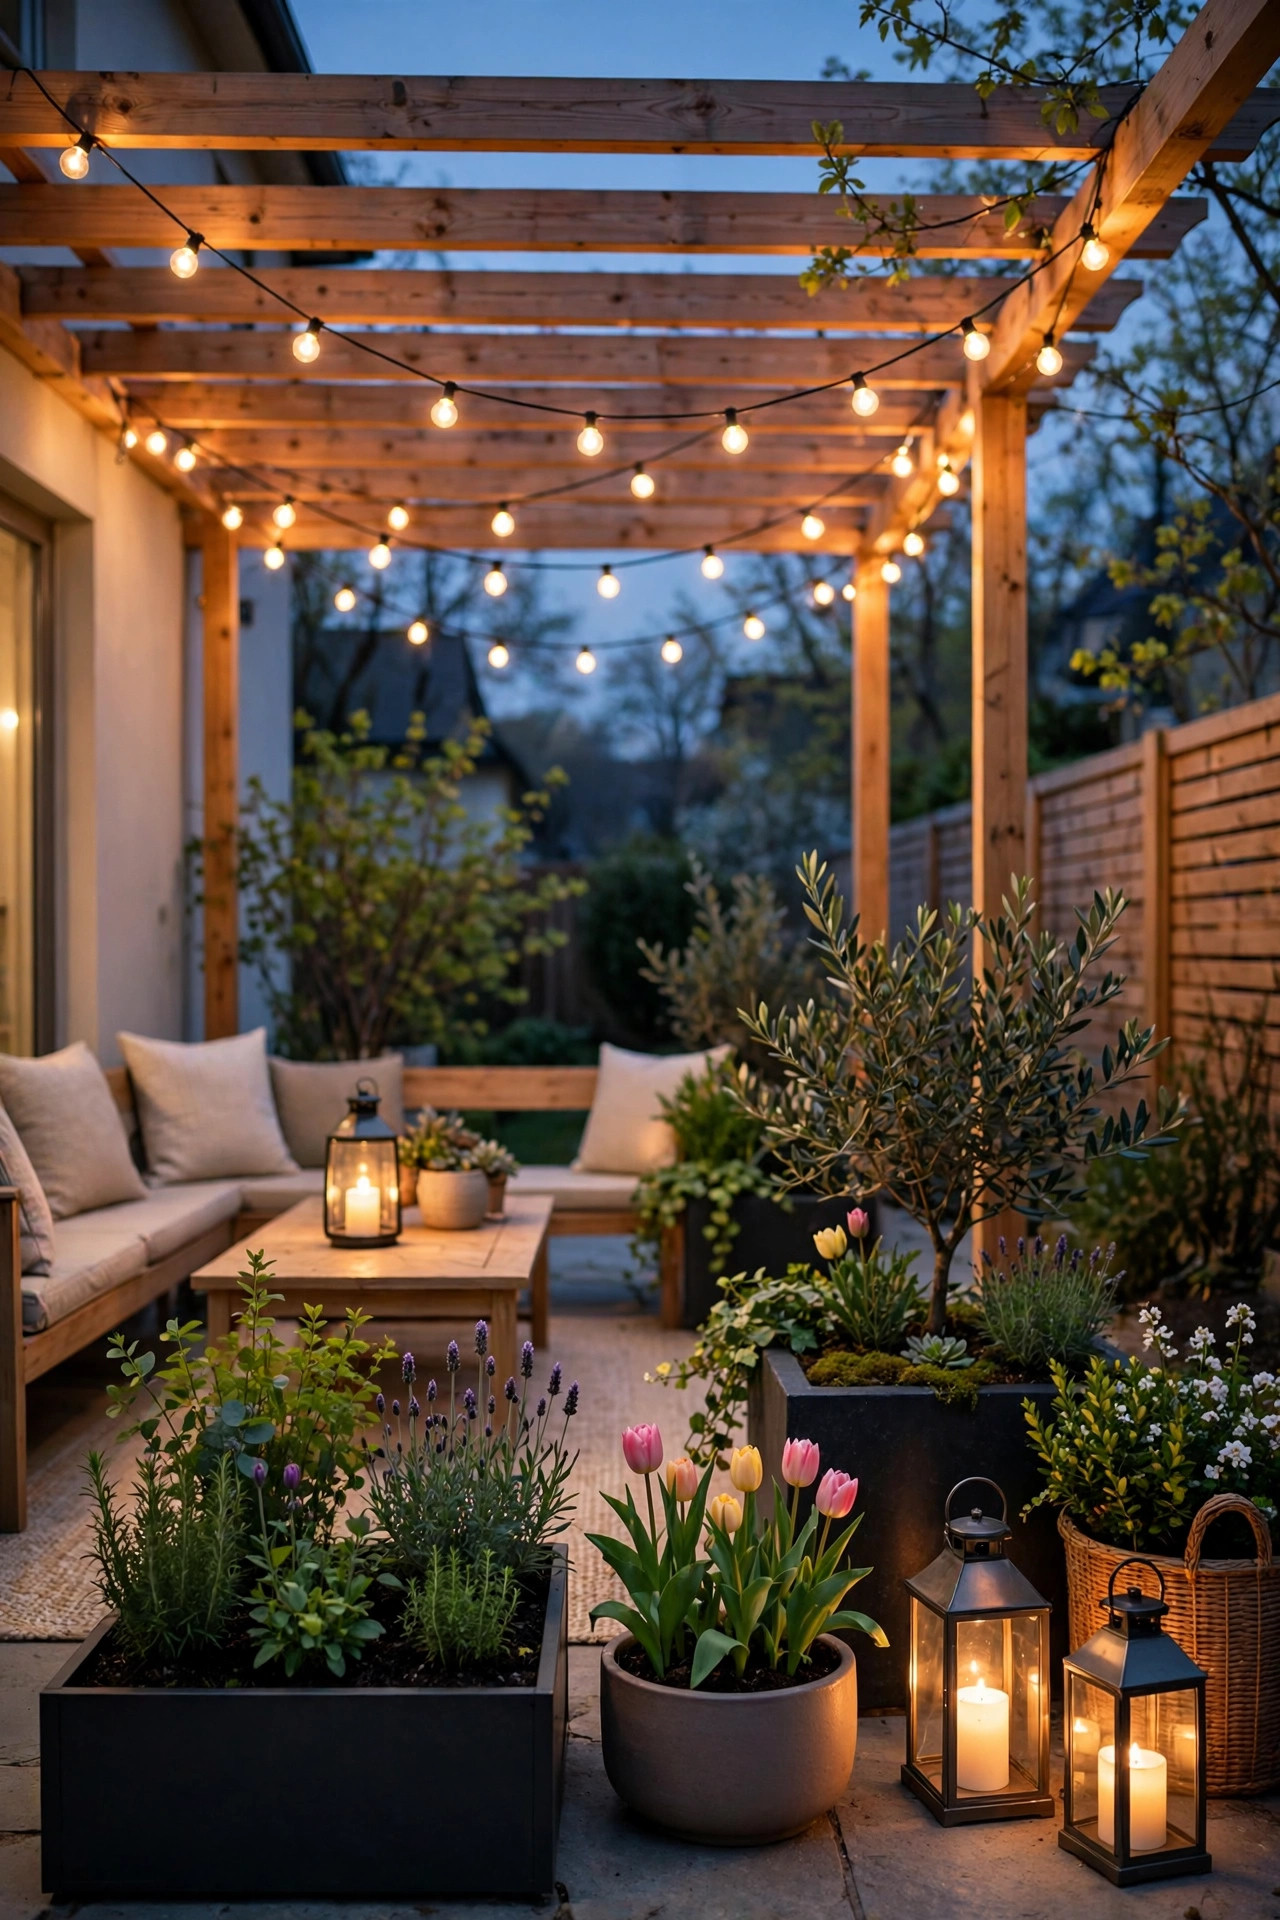
1. The Deep Clean: Where Spring Patio Lighting Refresh Ideas Begin
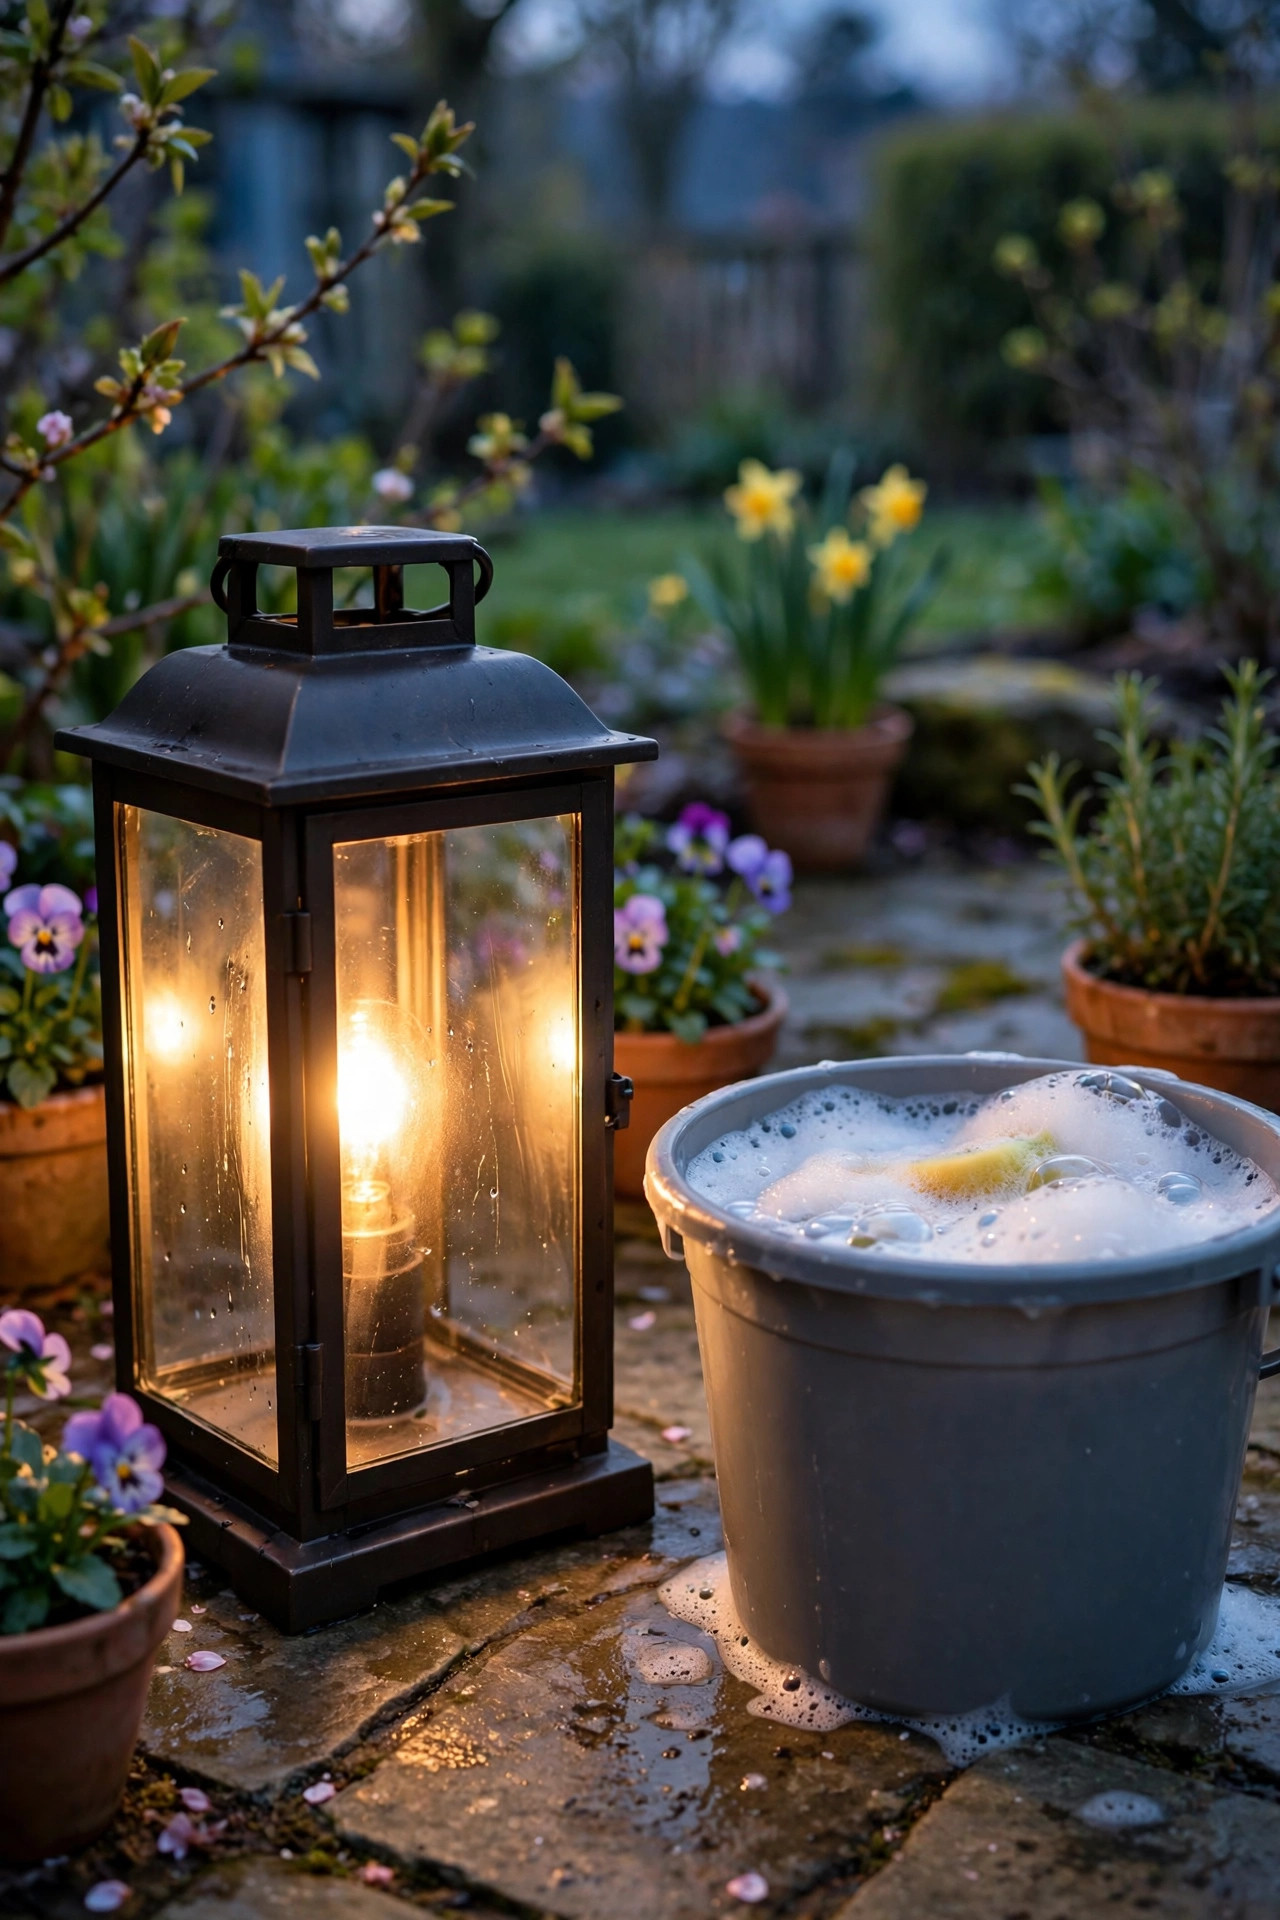
Winter is rough on outdoor fixtures. It leaves road grime, soot, cobwebs, and a cloudy film on every lens, and a dirty lens can steal a surprising amount of your light before it ever reaches the patio. My first refresh is always a bucket of warm water with a splash of dish soap, a microfiber cloth, and a soft toothbrush for the grooves. Kill the power at the switch first — water and electricity are not friends — then remove each lens or shade, wash, rinse, and dry it completely before it goes back on. While fixtures are open, check the gaskets and seals; cracked rubber lets in the moisture that fogs lenses from the inside. Clear out any insect nests (there is always one, honestly), wipe the solar panels on stake lights with a damp cloth so they can actually charge, and straighten anything the frost heaved out of line. For the full list of little jobs that keep a system shining for years, I work through my own outdoor lighting maintenance checklist every March. You will be amazed how much brighter the patio feels before you have bought a single thing.
Suggested budget range: $10 – $25.
2. Replace Dead Bulbs and Pick One Color Temperature
Once everything is clean, look at the light itself. Over winter, bulbs die one at a time and we replace them with whatever is rattling around in the junk drawer, so by spring half the patio glows warm amber and the other half glows dentist-office blue. Pick one color temperature — I use 2700K warm white everywhere outdoors — and replace every mismatched or dead bulb in a single pass so the whole yard speaks the same language. While you are at it, upgrade any stragglers to LED: a 60-watt-equivalent LED sips about 9 watts, shrugs off chilly spring nights, and lasts for years instead of months. Check the lumens while you shop: sconces and lanterns want roughly 300 to 800 lumens, string light bulbs sit around 50 to 100 each, and anything hanging over the dining table should be soft enough to flatter faces, not interrogate them. Keep one spare of each bulb type in a labeled box in the garage; future you will be so grateful in June. This single swap is the cheapest transformation on the whole list, and honestly? It is the one guests notice most, even if they cannot say why the patio suddenly feels expensive.
Suggested budget range: $15 – $40.

3. Rehang String Lights With a Fresh Swag
If your string lights spent the winter drooping in sad, straight lines, spring is the moment to rehang them with intention. Take everything down, untangle it on the lawn, and test each strand on the ground first — so much easier than troubleshooting from the top of a ladder. Then rehang in gentle swags: a dip of about 6 to 10 inches per span looks relaxed and deliberate. Cross two strands in an X over the seating area for a canopy effect, or zigzag from the house out to a pole or a sturdy tree. Commercial-grade strands with suspended sockets handle the weather and heavier bulbs best; keep the connections up off the ground and always plug into a GFCI-protected outlet. If you have nothing to anchor to, purpose-built poles solve it beautifully — my roundup of backyard string light ideas shows several layouts that work over patios exactly like ours. Use guide wire or cup hooks rather than staples, which nick the cord insulation. A fresh hang at dusk, swags even and bulbs glowing, makes the whole patio feel newly built.
Suggested budget range: $20 – $60.

4. Add Solar Path Stakes Along the Walkway
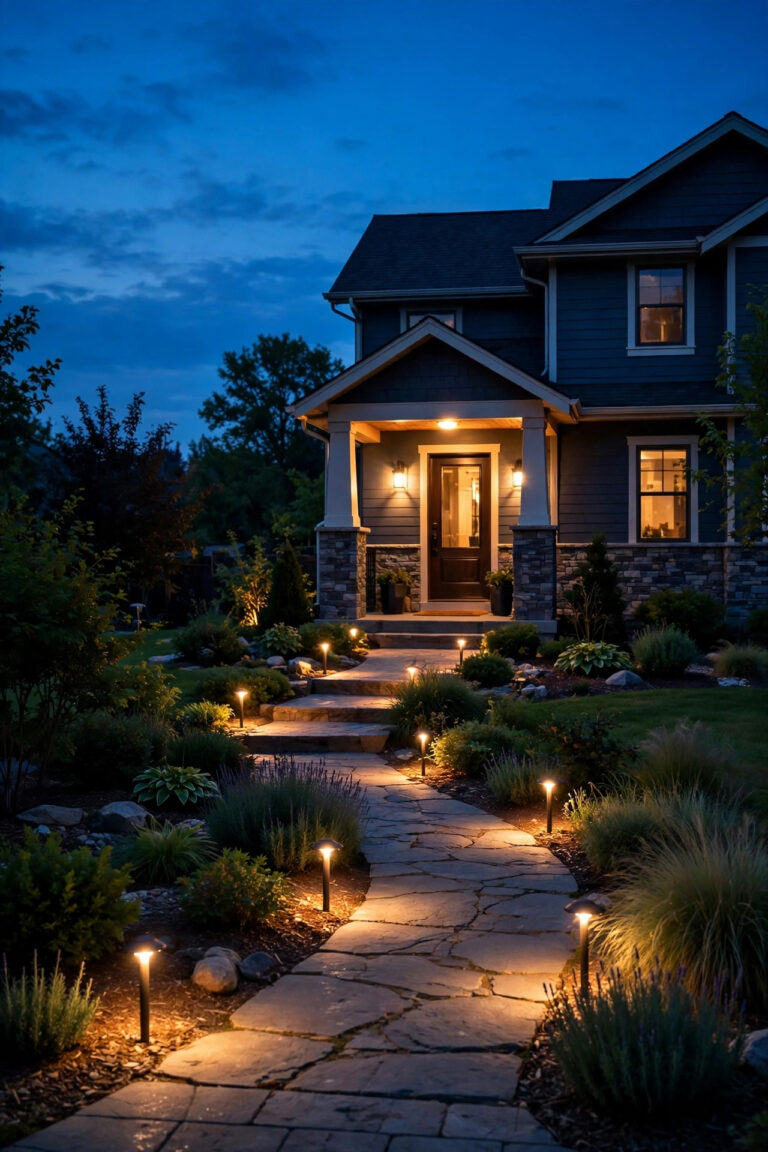
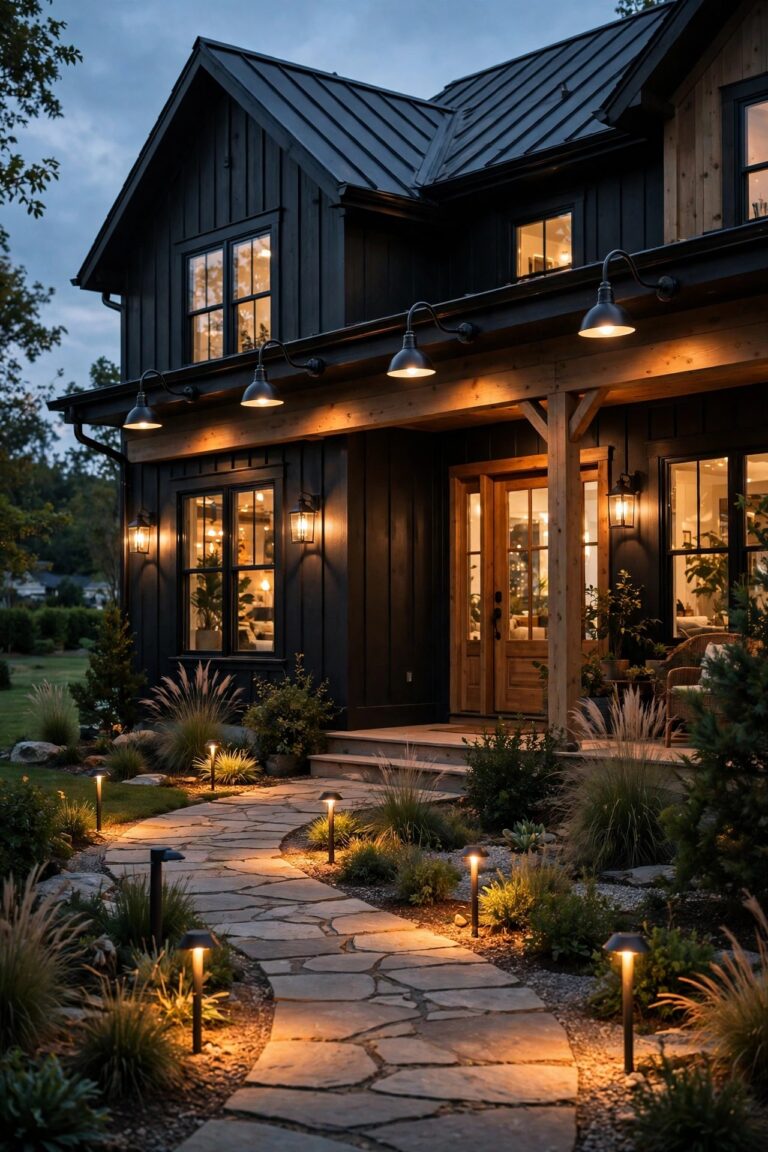
Nothing undoes a pretty patio faster than guests picking their way across a pitch-black walkway with their phone flashlights on. A row of solar path stakes fixes the ground layer of your lighting in about fifteen minutes, no wiring, no electrician, no trenching. Push them into softened spring soil every 6 to 8 feet along the path, alternating sides so the light pools overlap in a gentle zigzag instead of a runway. Choose warm white stakes rated around 2700K to 3000K so they match the rest of your refresh, and look for ones with replaceable rechargeable batteries — they will last you several seasons instead of one. Give the solar panels a full day of sun before judging them; spring light is weaker than July light, so place stakes where they get at least six hours of direct sun and are not shaded by the shrubs that are about to leaf out. In my experience, a dozen mid-priced stakes beat two dozen bargain ones: brighter, steadier, and still glowing at midnight. It is the fastest safety upgrade on this list, and the walkway suddenly looks like it belongs to a much fancier house.
Suggested budget range: $25 – $80.

5. Reposition Uplights for New Spring Growth
Here is the refresh nobody thinks of: your plants moved, but your lights did not. Shrubs leaf out, perennials come back bushier, and that little tree has quietly grown two feet since you aimed an uplight at it last year. Walk the yard at dusk and look for lights buried under foliage, beams hitting the underside of one giant leaf, or trunks lit from an awkward new angle. Most uplights just need to slide back to sit 12 to 18 inches from the trunk or clump, tilted to roughly a 30 to 45 degree angle so the beam grazes up through the branches instead of blasting straight up. Wipe the lenses while you are down there, snip any roots or mulch volcanoes covering the fixture, and check that the low-voltage cable is still buried — frost and eager spring digging have a way of exposing it. This costs nothing but twenty minutes on your knees, and it brings back that sculptural, moonlit look you installed the lights for in the first place. Honestly, half of a spring refresh is just putting everything back where it actually works.
Suggested budget range: $0 – $30.
6. Swap Heavy Winter Lanterns for Fresh Spring Ones
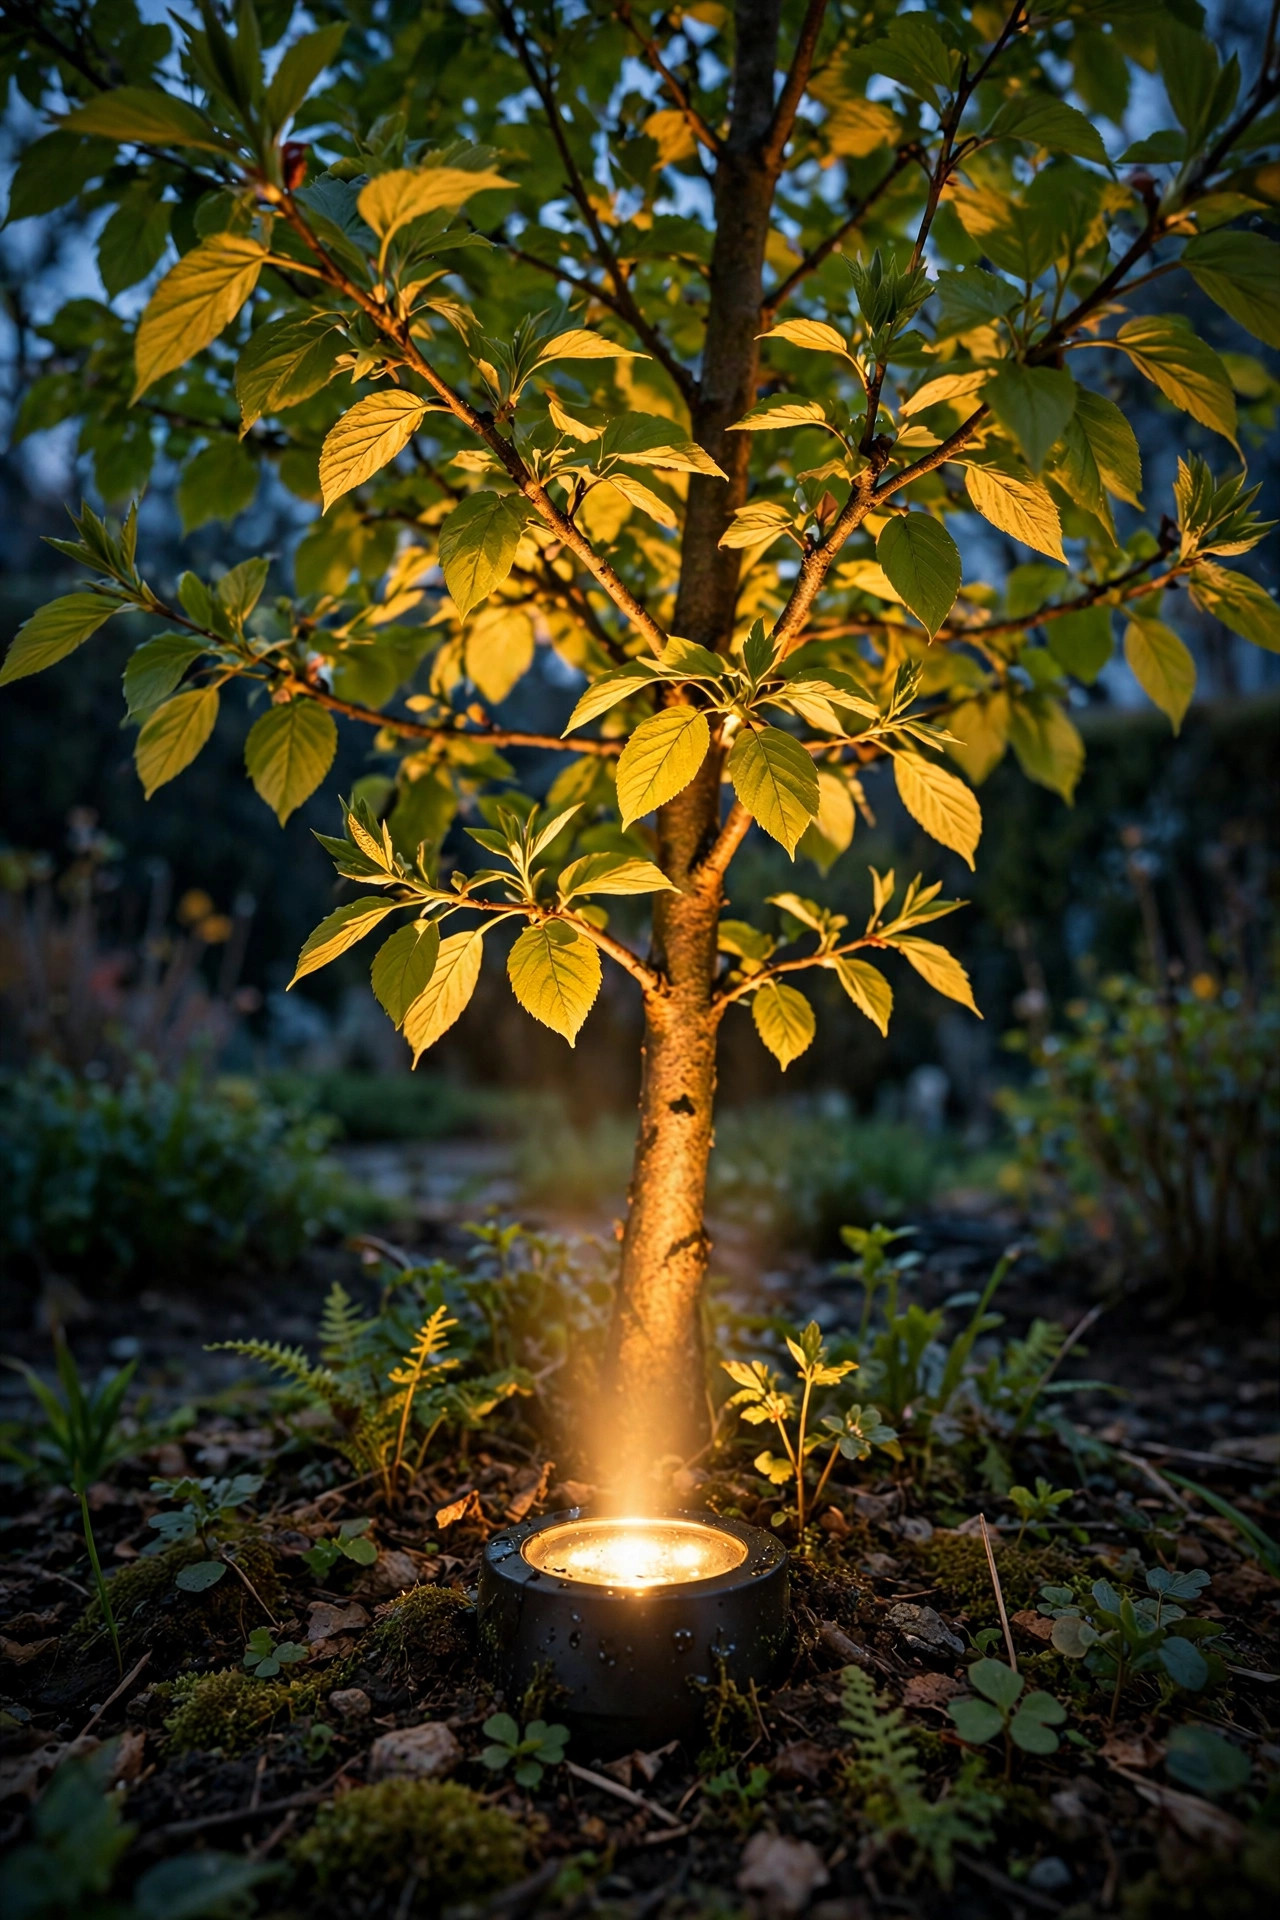
All winter my patio table carried big, dark, rustic lanterns — perfect with plaid blankets and cocoa, a little gloomy next to the first tulips. Spring calls for a lighter hand: swap in lanterns with more glass and less metal, natural finishes like brushed nickel, white-painted wood, or woven rattan-look frames that let the glow spill out. Keep the rule of three I use everywhere: one tall lantern around 18 inches, one medium, one small, clustered off-center on the table or grouped on the steps where guests arrive. Drop in flameless candles with fresh batteries and set their built-in timers so the cluster wakes up at dusk on its own. If your old lanterns are metal, a ten-minute wipe-down and a coat of clear protective spray buys them another season — check for rust at the seams and sand any rough spots before they stain the table. The shape of the lantern changes the whole mood of the patio more than people expect: same candle, same table, completely different season. It is a small swap that makes returning guests ask what you redecorated.
Suggested budget range: $20 – $70.
7. Put the Canopy on a Smart Plug and Dimmer
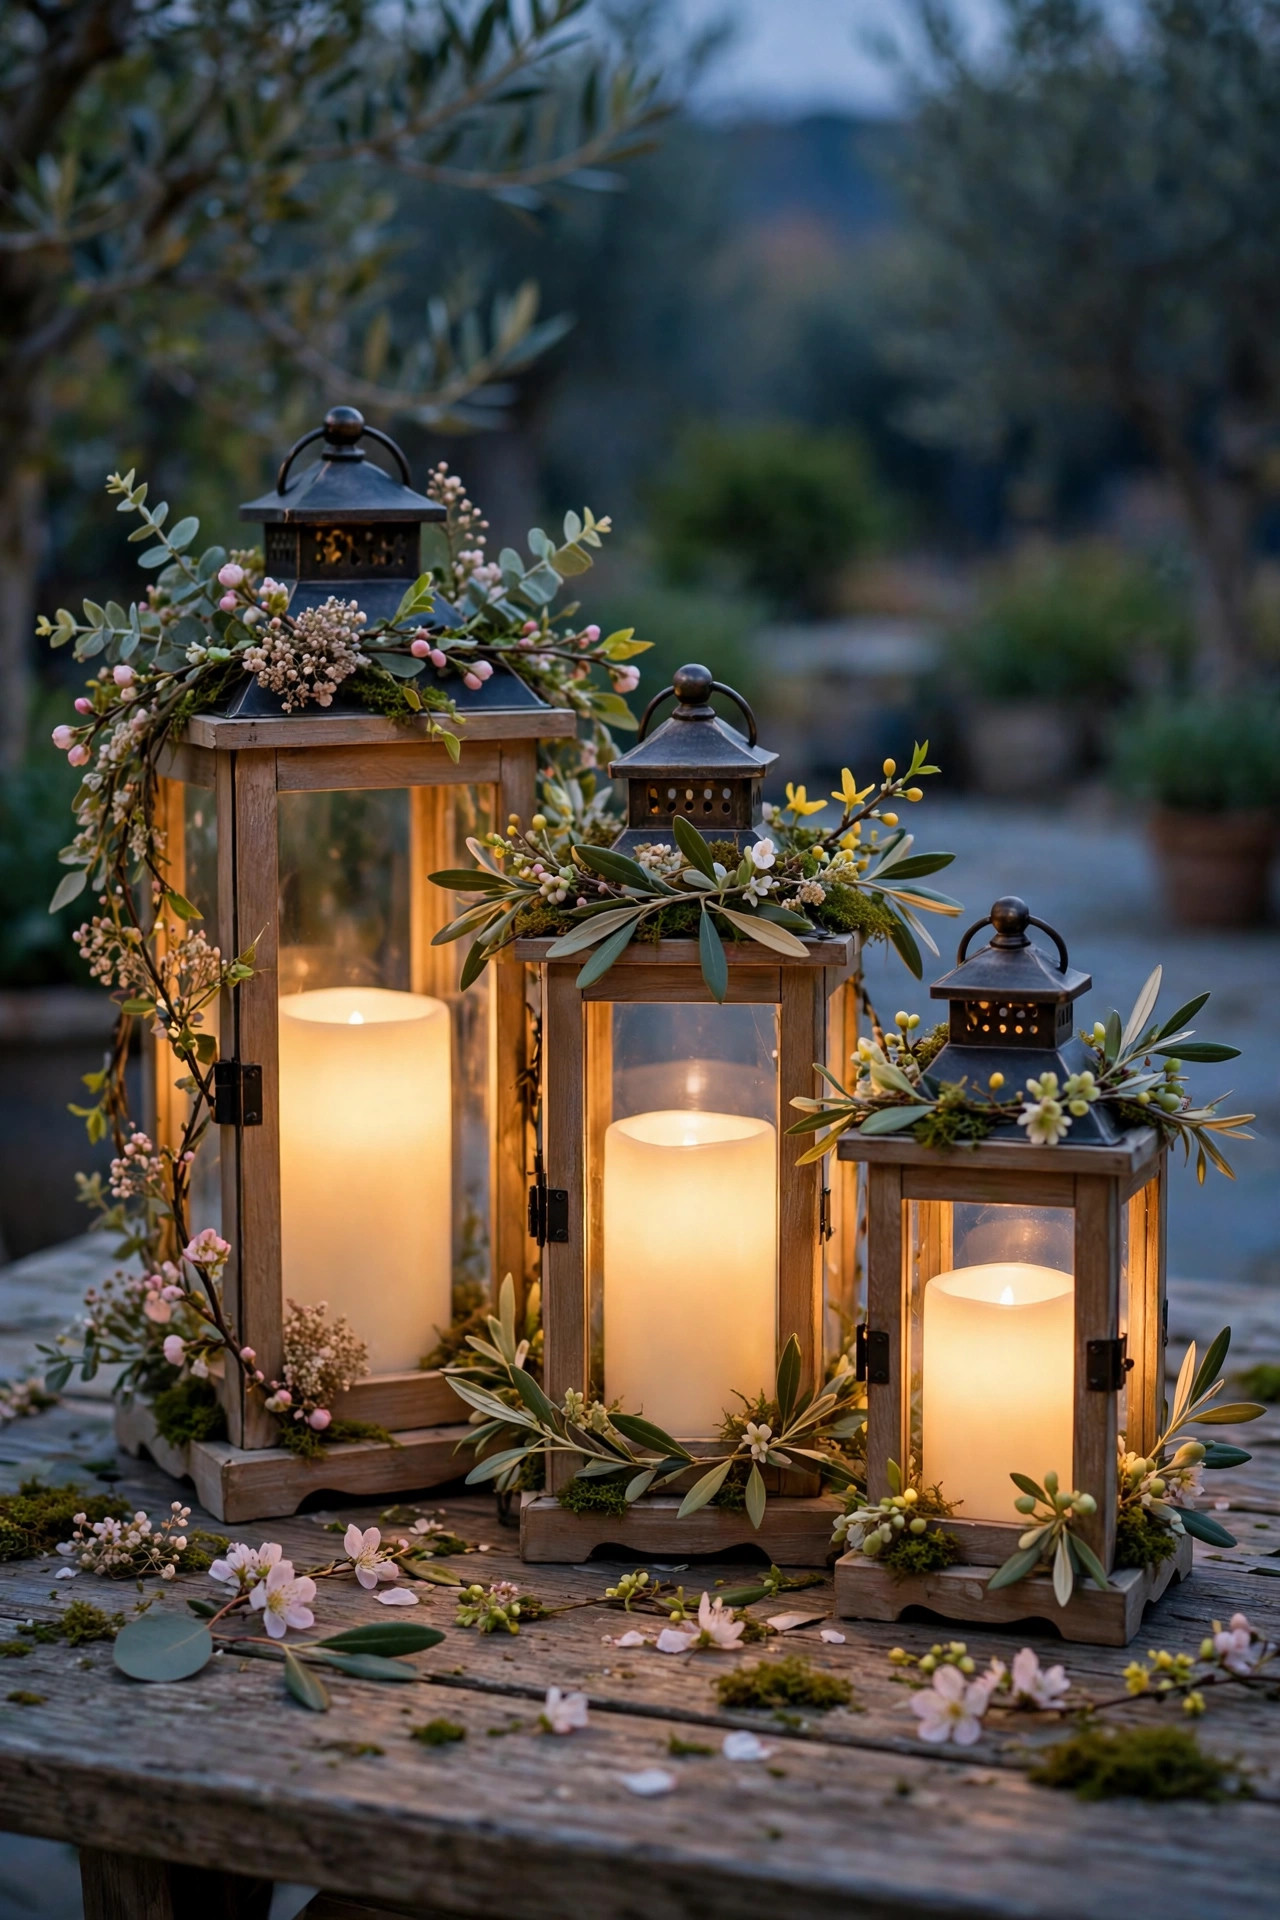
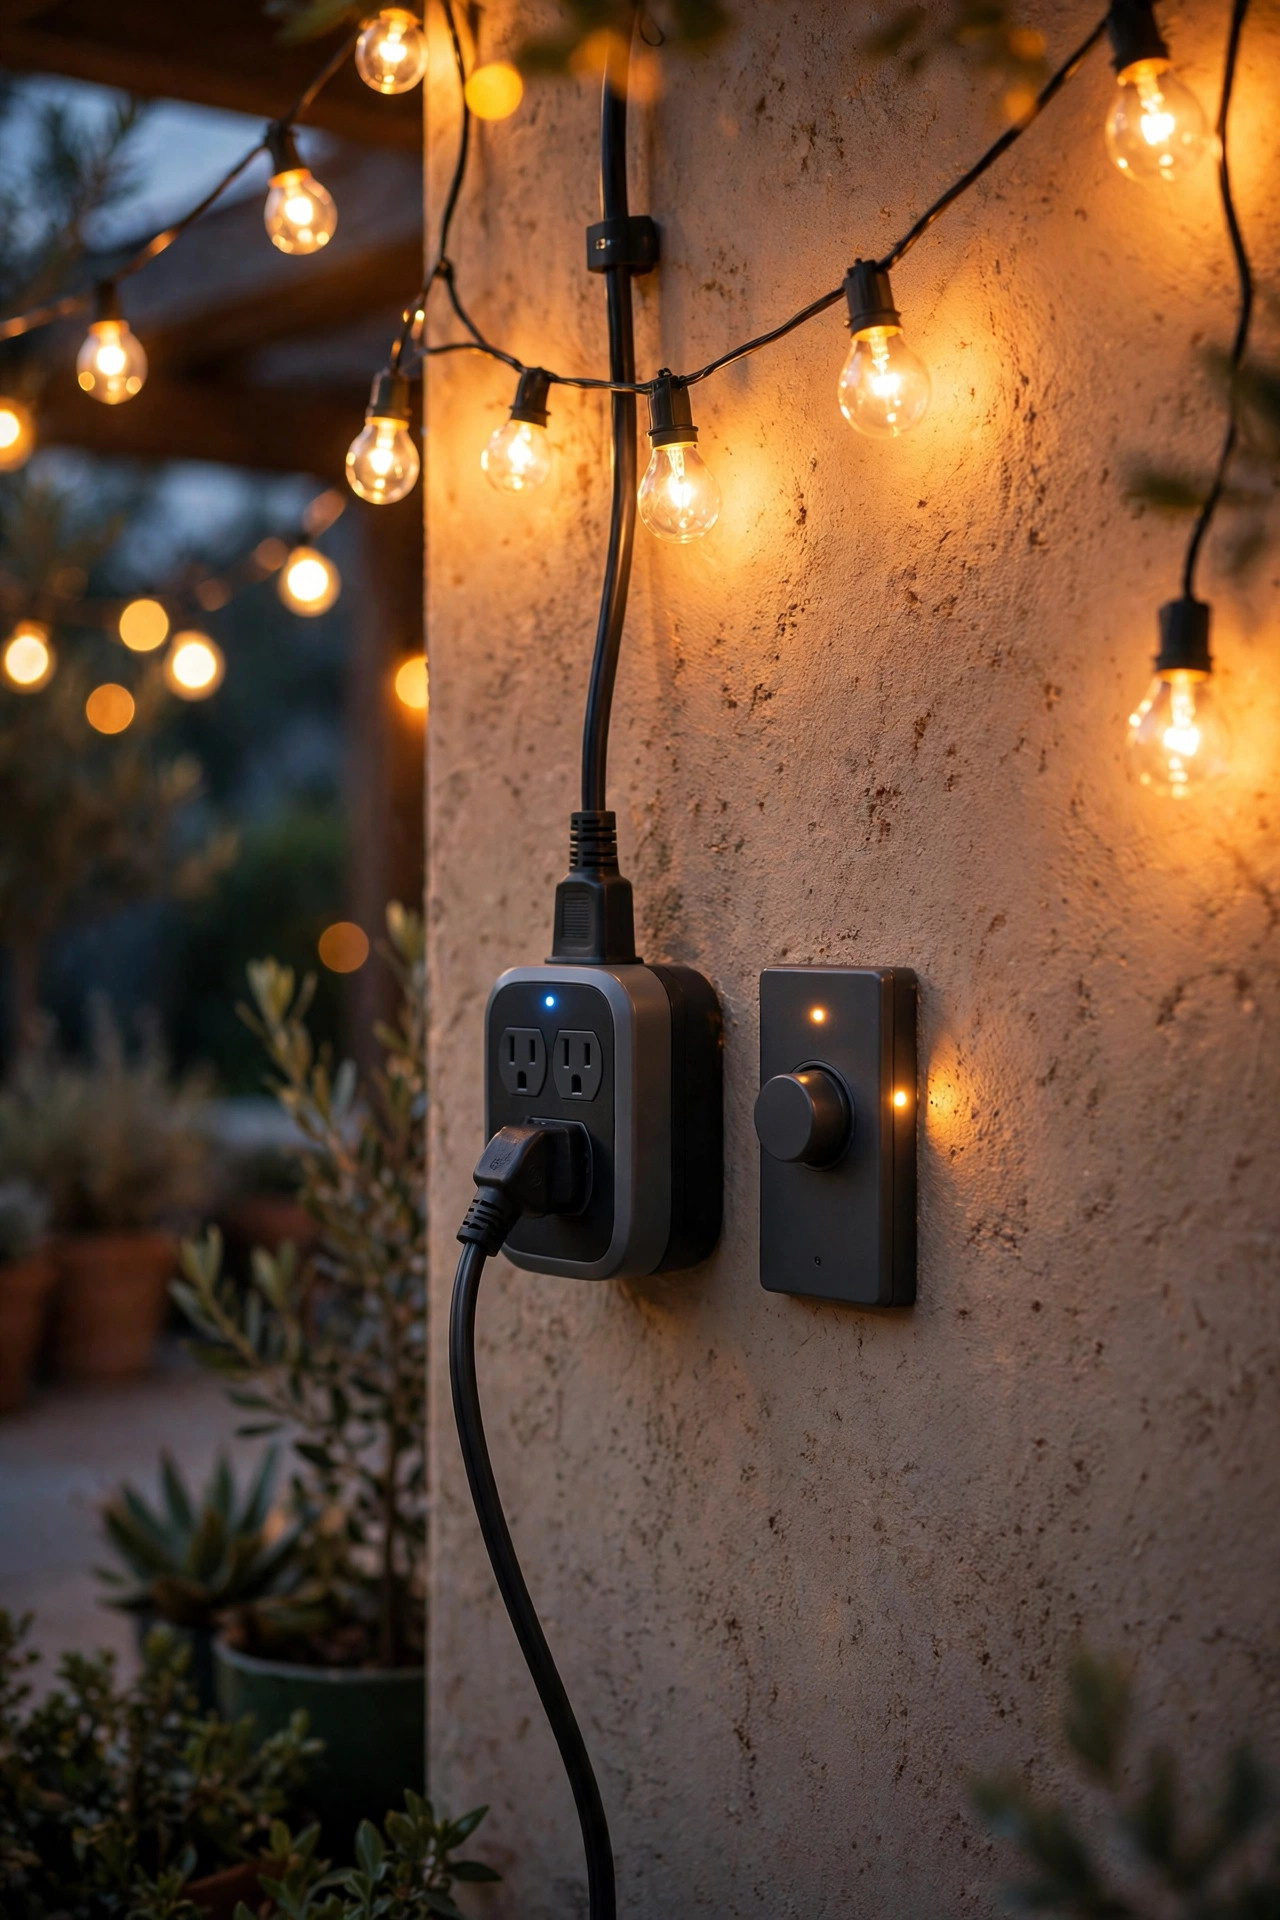
The single upgrade that makes me feel like I have staff: waking up the whole patio from my phone. Most plug-in string lights and lantern strands can run through an outdoor-rated smart plug, and many strand setups pair happily with a plug-in dimmer made for LED string lights — just check the dimmer is rated for your total wattage and LED-compatible, because the wrong pairing buzzes and flickers. Set a schedule once: on at sunset, dim to about 70 percent after nine, off at eleven. A dimmed canopy is the difference between a patio that feels like a café and one that feels like a parking lot, and it stretches bulb life, too. Group the plug with your path and porch lights in one app scene called something like Spring Evening, and one tap handles the whole yard. Keep the physical switch accessible for guests and babysitters, and keep the plug itself sheltered under an eave or in a weatherproof in-use cover. Honestly, once you have lived with lights that handle themselves, you will never go back to the nightly outlet crawl.
Suggested budget range: $15 – $45.
8. Weave Fairy Lights Through Budding Shrubs and Planters
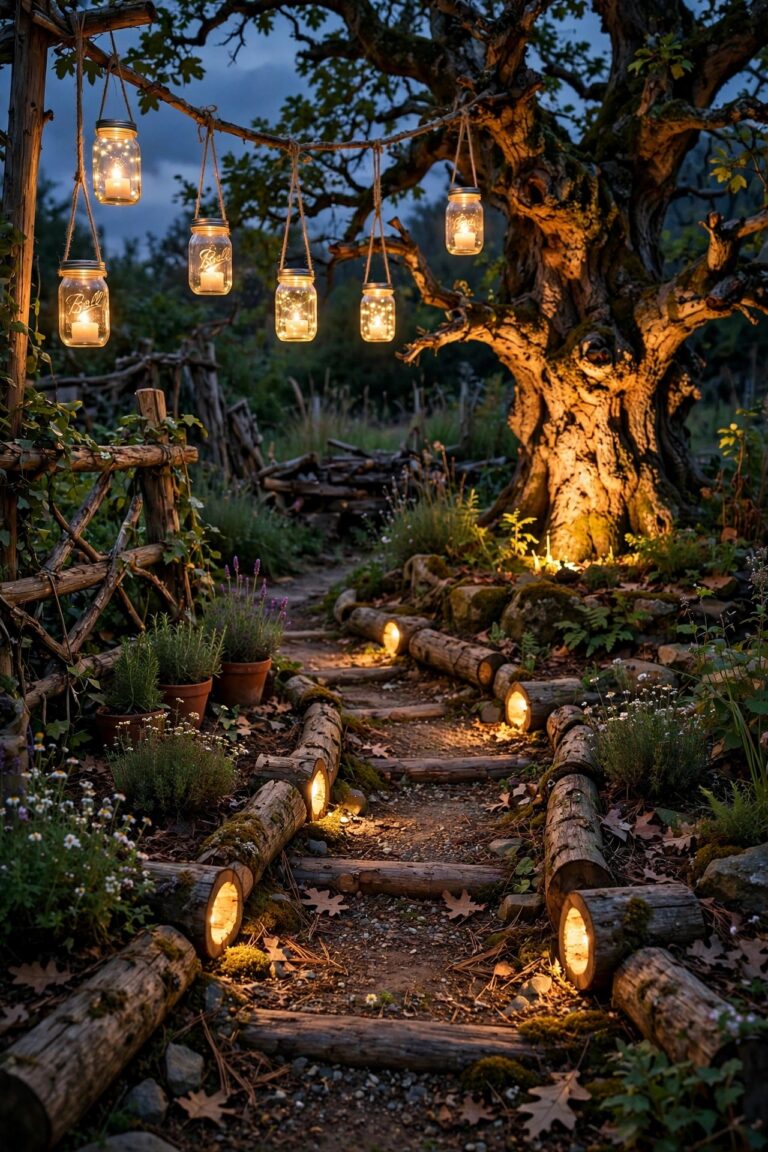
There is a two-week window every spring when the shrubs are half leaf, half bare branch, and a strand of copper-wire fairy lights woven through them looks like pure magic. The wire nearly disappears in daylight, and at night the tiny warm points of light float in the new growth. Use solar or battery strands so you are not running cords across the beds, and weave loosely — a gentle spiral around the outer branches rather than a tight wrap, so the plant can grow without strangling itself. Remember to take them off by early summer; fairy light wire left on growing shrubs all season is a pain to remove and hard on the plant. The same trick works beautifully in patio planters: a short battery strand tucked among pansies, herbs, or a small ornamental grass makes each pot glow like a little lantern. Keep the battery pack tucked under the rim where rain cannot pool on it. This is the cheapest idea on the whole list per unit of charm, and it is always the thing my neighbors stop to ask about on evening walks.
Suggested budget range: $10 – $35.

9. Tuck LED Strip Light Under Benches and Railings
Indirect light is the grown-up secret of every great patio: you see the glow, never the source. A waterproof LED strip tucked under a built-in bench, a deck railing, or the lip of a low wall washes the floor with soft light and makes the whole seating area feel custom-built. Choose warm white at 2700K, an outdoor IP65 rating or better, and a strip you can cut to length at the marked points. Mount it facing down or back so the diodes themselves stay hidden, run the low-voltage cable neatly along the underside, and put it on the same timer or smart plug as your canopy so the layers wake together. Peel-and-stick backing will not survive a season outdoors on its own, so add the little mounting clips every couple of feet — learn from my first attempt, which sagged into a sad glowing hammock by May. The effect is subtle in the best way: guests can see their drinks, their feet, and each other, and nobody is staring into a bulb. It also makes a small patio feel noticeably bigger after dark.
Suggested budget range: $25 – $90.

10. Add Step Lights Before the First Barefoot Evening
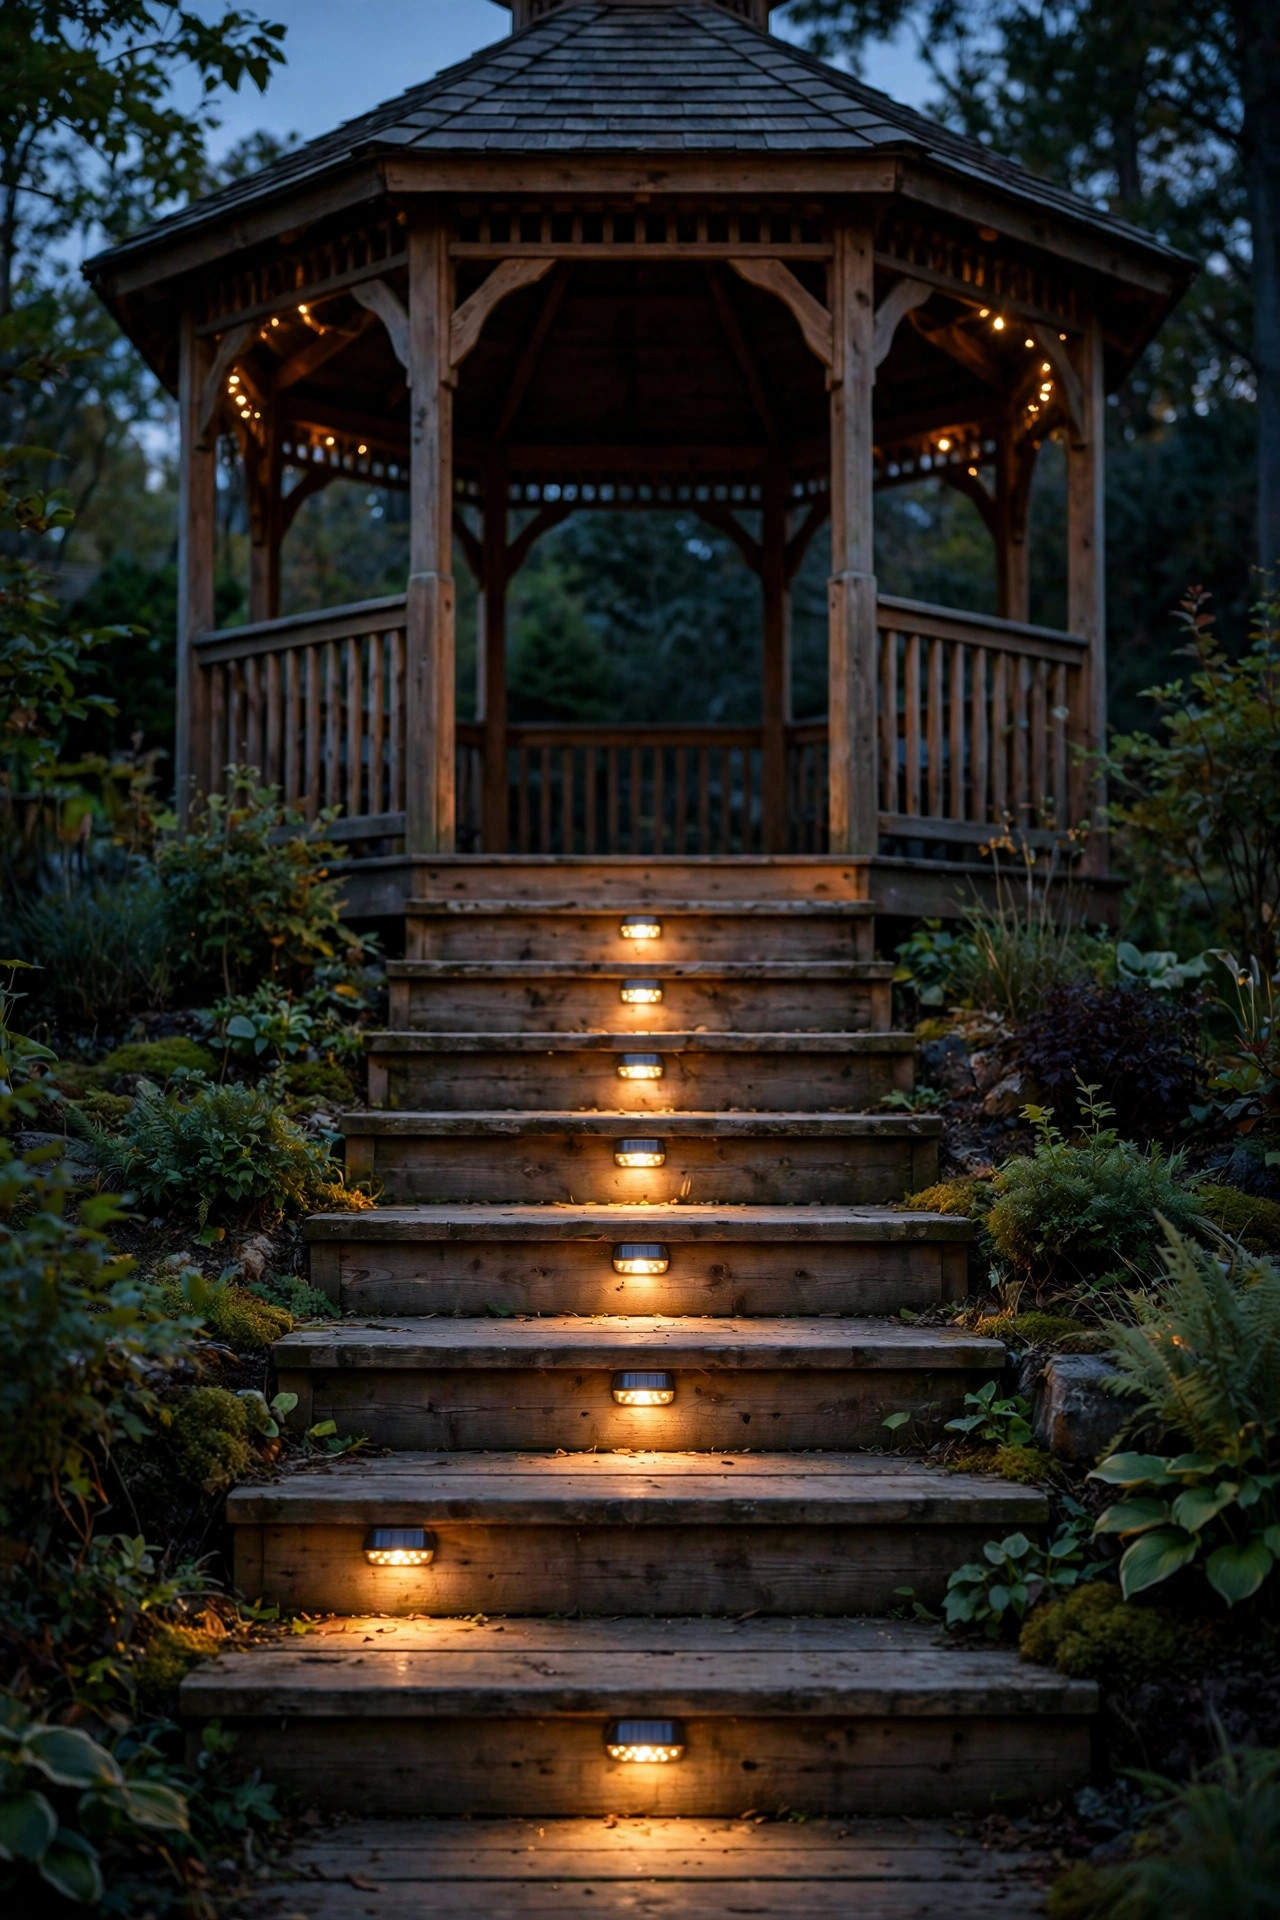
Spring's first warm weekend always sends somebody down the patio steps in the dark carrying two drinks and a plate of burgers. Step lights are the unglamorous refresh I insist on before any party. Solar step lights stick or screw onto each riser and need no wiring at all; low-voltage versions wire into an existing landscape system if you have one. Aim for one light per step or every other step, mounted low so the tread itself is lit and nobody is blinded looking down. Warm white, again — bright blue-white step lights make a lovely patio feel like a hospital stairwell. If your steps are wood or composite, solar models with adhesive pads avoid drilling; on masonry, a dab of outdoor construction adhesive holds them through the season. Test them from the top of the stairs at night, not the bottom, because that is the view that matters. This is twenty minutes of work that quietly prevents the one memory you do not want from your first cookout of the year. Safety that looks like ambience is my favorite kind of safety.
Suggested budget range: $30 – $120.
11. Light the Garden Beds So Early Blooms Glow
Your spring beds are doing something gorgeous right now — tulips, daffodils, hyacinths all showing off for about three weeks — and after dark they simply vanish. A few small lights change that completely. I use small adjustable spotlights or sturdy stake lights tucked at the front edge of the bed, aimed back and slightly up so the blooms are lit like stage actors, with the fixtures hidden behind the foliage in front. Keep beams soft and low: a gentle wash beats a harsh spotlight, and warm white keeps colors true. It takes hardly any lights — three to five per bed — because flowers reflect light beautifully. If you want more bed and border inspiration, my collection of garden lighting ideas is full of layouts that carry beds from the first daffodils through fall mums. Do this refresh on a dry evening, kneeling pad recommended, and adjust each light after full dark with a glass of lemonade in hand. Waking up the beds is what turns a lit patio into a lit garden, and spring is when the garden earns it.
Suggested budget range: $20 – $75.

12. Hang a Pendant or Chandelier Over the Dining Table
If you eat outside even twice a month, give the table its own light the way you would indoors. An outdoor-rated pendant hung from a pergola beam, a shepherd's hook arm, or even a sturdy tree branch turns dinner into an occasion. No hardwiring required: battery-operated puck lights tucked into a thrifted chandelier frame or a woven hanging basket make a gorgeous DIY fixture, and solar pendants with a remote panel work wherever the sun reaches. Hang the fixture so the bottom sits about 30 to 36 inches above the tabletop — low enough to feel intimate, high enough that nobody bonks it passing the potato salad. Warm white, always, and dimmable if you can manage it, because a pendant that cannot soften will fight with your candles. In my experience this is the idea that gets photographed most at spring gatherings; everyone looks wonderful under it, and the rest of the patio can stay simple. Anchor it properly against spring winds, though — a swinging chandelier over the coleslaw is nobody's idea of ambience.
Suggested budget range: $40 – $150.

13. Cluster Flameless Candles for a Wind-Proof Table Glow
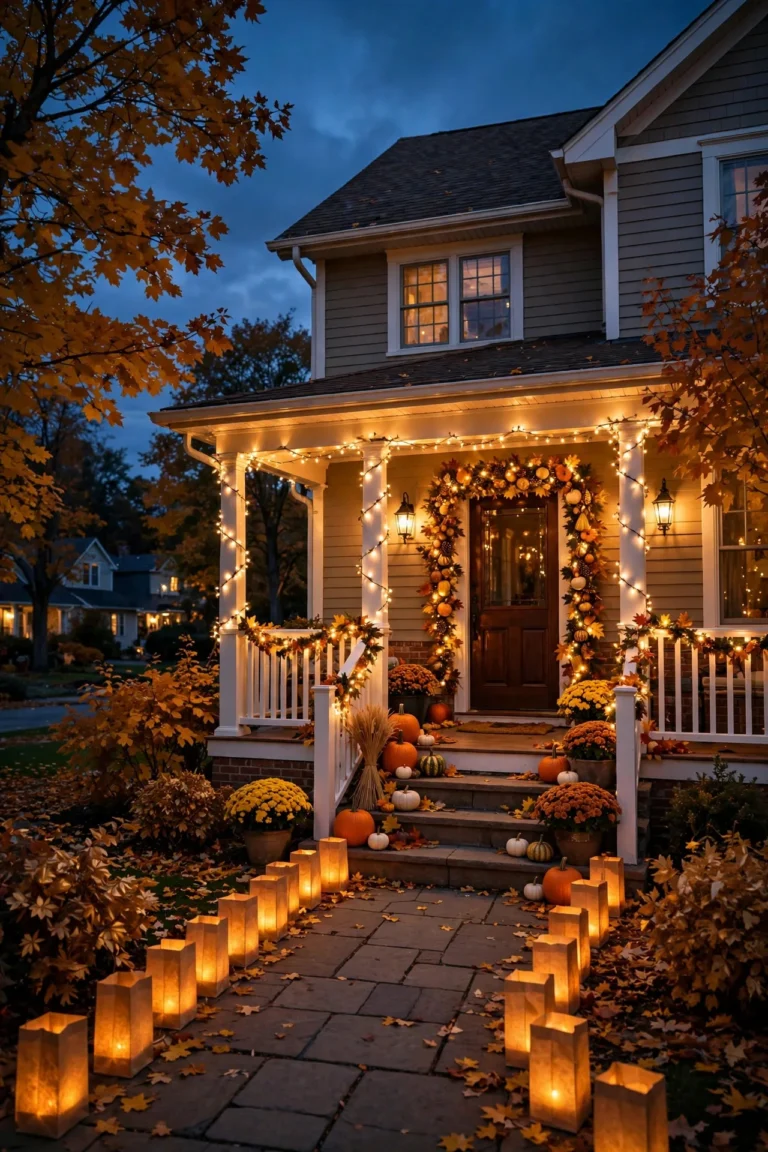
Real candles on a spring patio have one great enemy: the breeze that arrives exactly when the burgers do. Flameless candles have gotten so good — flicker patterns, warm tones, real wax shells — that I have retired open flames from the table entirely. Refresh yours now: wipe off the winter dust, replace the batteries, and re-group them in odd numbers on a tray or in a low bowl with a little greenery or a handful of river stones. The built-in five-hour timers mean they switch on at dusk and off at bedtime without you thinking about it, which over a season feels like a tiny butler. Mix heights for the lantern effect without the lanterns, and keep a few spare sets for the steps, the mantel, or the outdoor bar cart. Never use real candles inside paper or fabric lanterns or near dried arrangements — flameless gives you the same flicker with zero fire risk near the good napkins. This is a ten-minute refresh, start to finish, and the table glows every single night afterward, whether company is coming or not.
Suggested budget range: $15 – $50.

14. Reset Your Timers for the Longer Evenings
A timer set in December is a liar by April. If your lights are still switching on at five in the afternoon and quitting at nine, they are missing the whole golden spring evening. Reset everything now: photocell and dusk-to-dawn settings handle the shifting sunset automatically, but plain timers need a manual update — I set mine to come on about fifteen minutes before sunset and run four to six hours. Better yet, an astronomical timer does the math for you all year, adjusting to your location and the date; it is the set-and-forget option I recommend to anyone who asks. Daylight saving catches more people than any other lighting mistake, so this is also the moment to check that every clock in the system actually agrees. Spread your start times by a minute or two across different lights so the yard does not snap on like a stadium. It costs nothing, takes ten minutes with a coffee in hand, and suddenly your patio is lit for the hours you are actually awake to enjoy it.
Suggested budget range: $15 – $60.

15. Give the Prettiest Tree Its Own Uplight
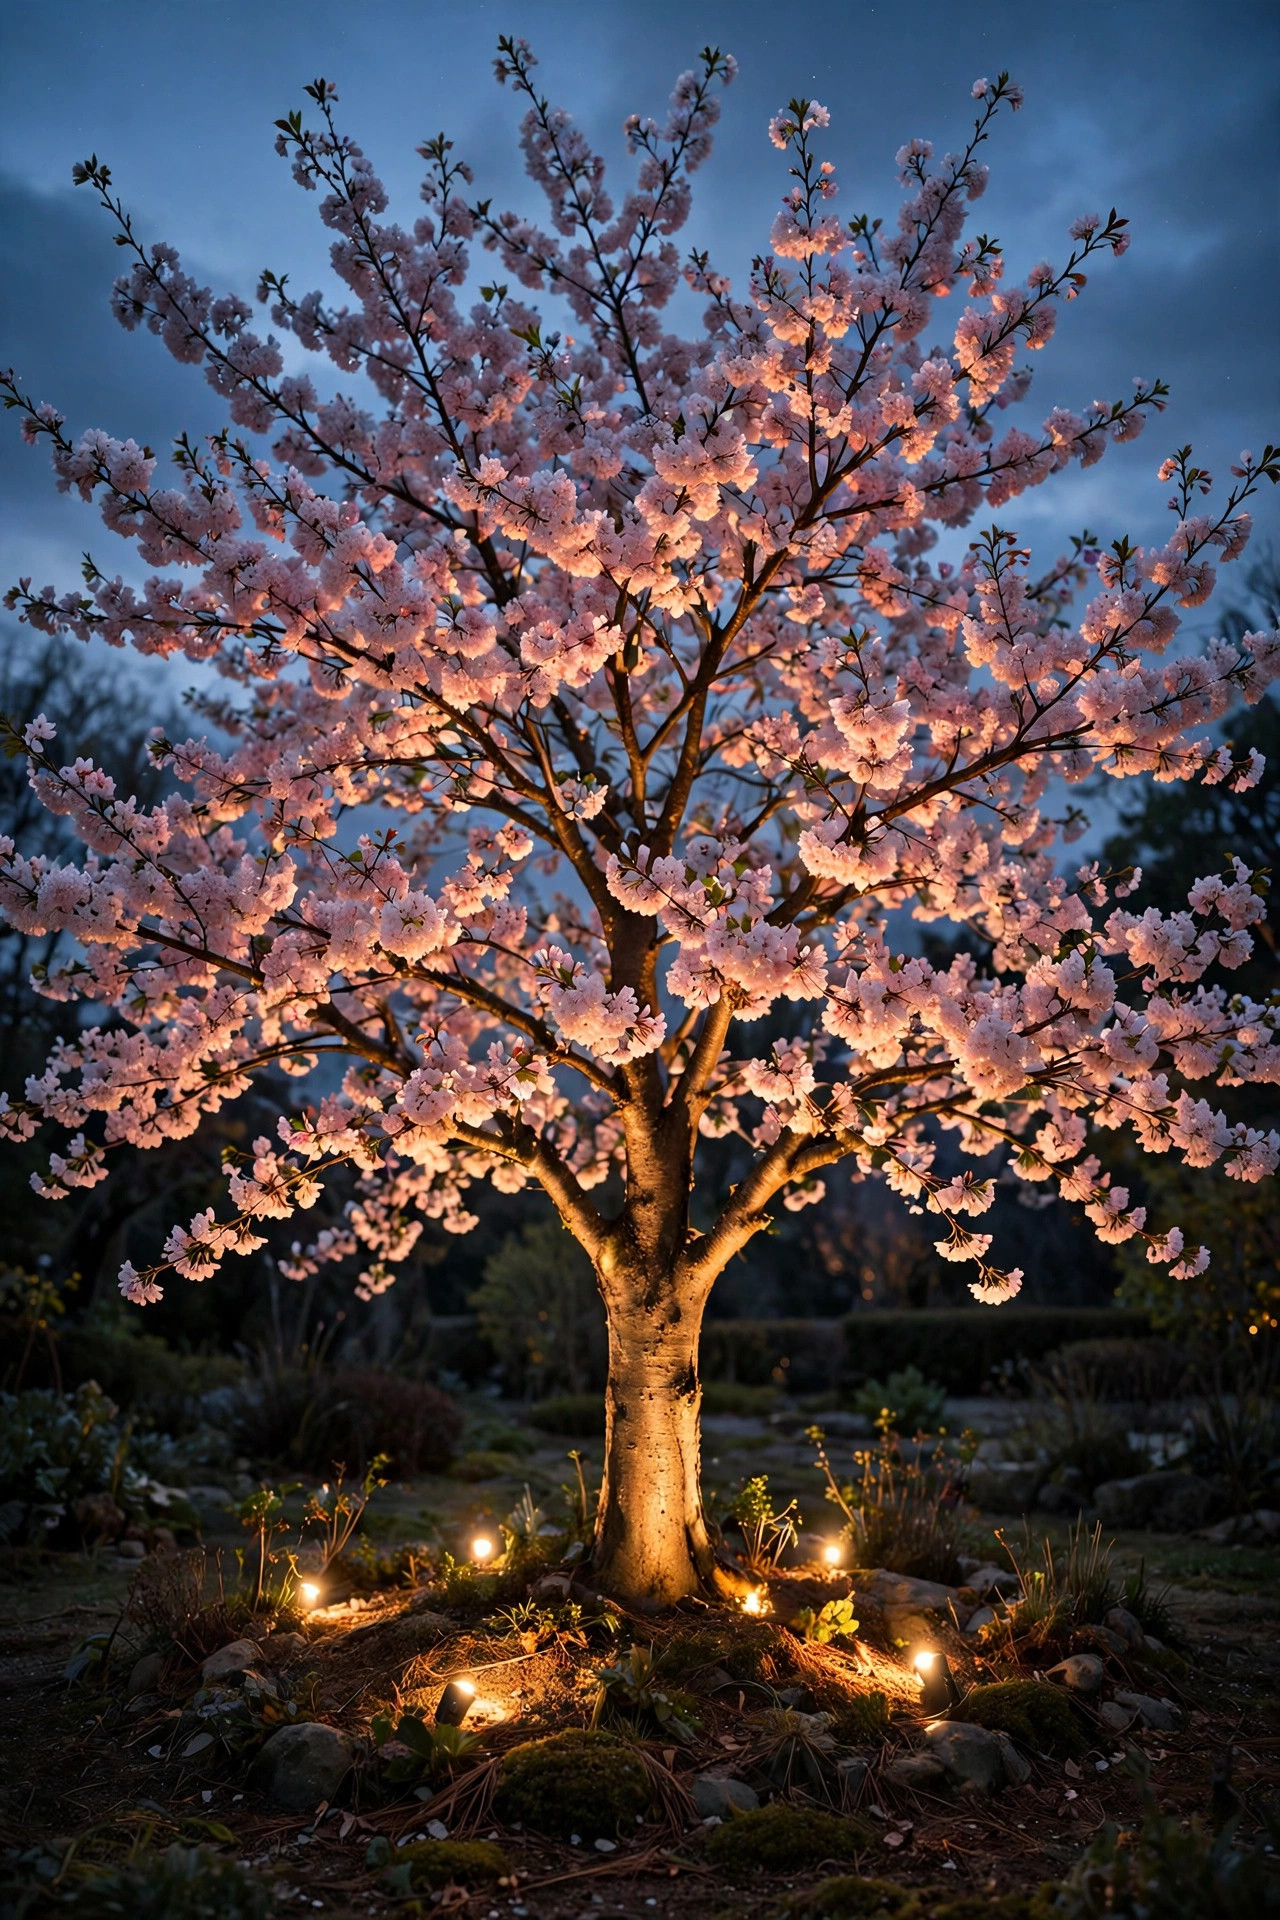
Every yard has one tree that earns the spotlight in spring — the dogwood, the redbud, the little Japanese maple leafing out red. A single well-placed uplight at its base turns it into the patio's evening centerpiece and gives the whole space a focal point to organize around. Set the fixture 12 to 18 inches from the trunk, angle it up about 30 degrees, and choose a beam spread that matches the canopy: narrow for a columnar tree, wide for a spreading one. Around 300 to 600 lumens of warm white is plenty for a small ornamental tree; you want a gentle graze that shows off bark and blossom, not a searchlight. If the tree is still bare, the branch structure itself is the show, and it only gets better as leaves fill in. Low-voltage fixtures make this a shovel-and-an-hour job, and solar uplights have improved enough to work for smaller trees with good sun. In my experience, one dramatic tree beats six dim shrubs every single time.
Suggested budget range: $25 – $90.
16. Keep Warm White Daily, Add Color for Spring Parties
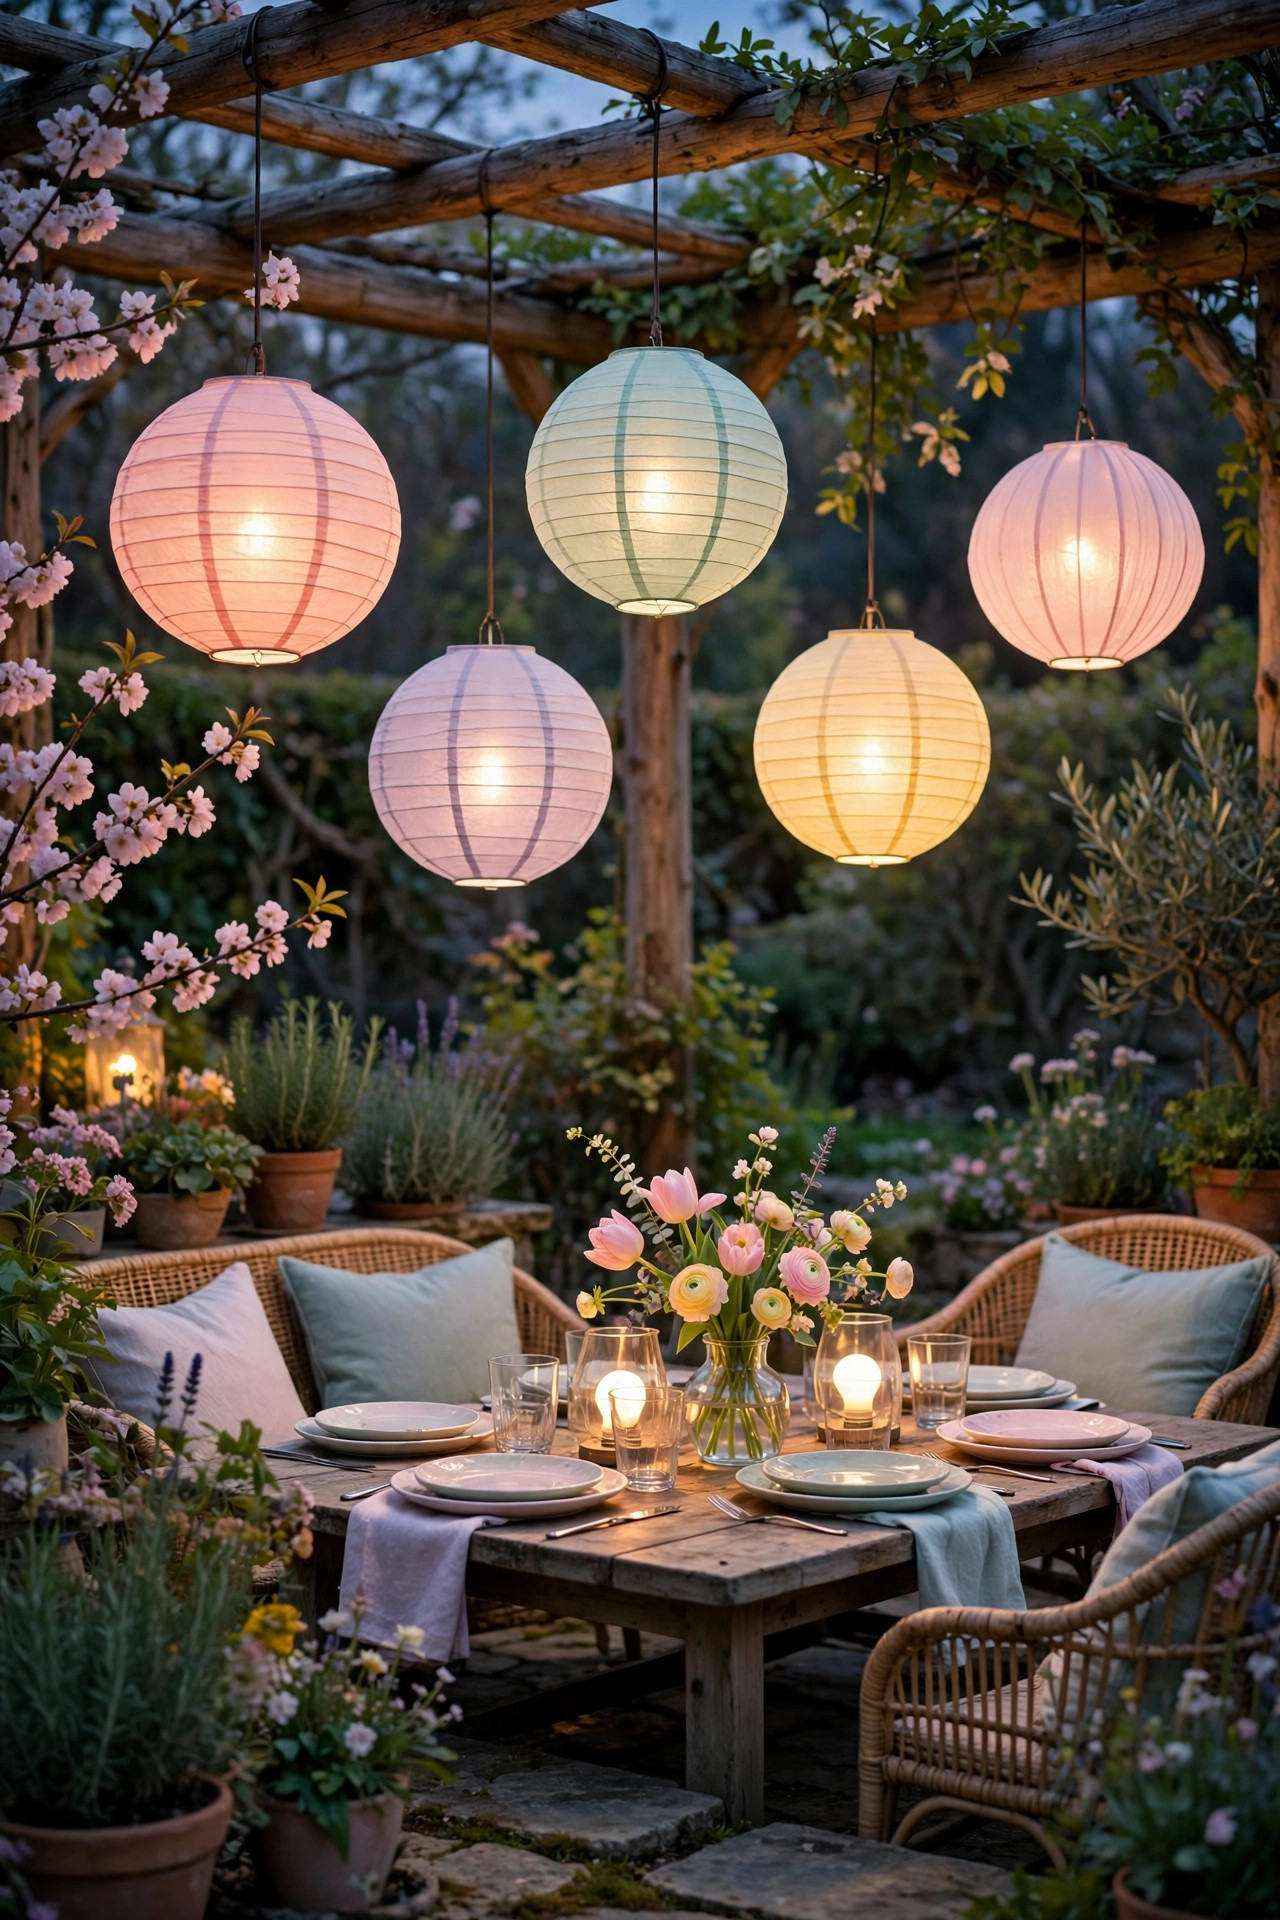
My everyday rule is strict warm white — but I make one playful exception, and spring parties are it. Swap the bulbs in a couple of fixtures, or add two or three color-capable smart bulbs to the sconces and lanterns, and you have instant party lighting: soft blush and sage for an Easter brunch, gentle pastels for a garden baby shower, full rainbow for a birthday. Because the bulbs live in an app, the party palette takes two minutes and snaps right back to 2700K warm white when the guests go home. Keep colors out of the path and step lights — guests still need to see where they are walking — and keep brightness modest, since colored light reads brighter than it is. The trick is restraint: color as an accent in two or three spots, layered over your warm base lighting, looks designed; color everywhere looks like a carnival ride. Store the party settings as a saved scene so next spring's first gathering is one tap away. Honestly, this little refresh is pure fun, and the kids will think you hired a lighting designer.
Suggested budget range: $30 – $100.
17. The Final Walkthrough: The Last of My Spring Patio Lighting Refresh Ideas
The last refresh is a ritual, and it is my favorite: wait for full dark, pour something nice, and walk the whole yard slowly with fresh eyes. Start at the street and look back at the house the way a guest would. Check the three layers one by one — canopy glowing overhead, warmth at eye level, safe pools of light at your feet. Note every dark corner, every bulb that glares instead of glows, every fixture the shrubs have swallowed. Squint a little: the spots that stay bright are your glare problems. Take photos, because your eyes adjust and lie to you, while the camera tells the truth. Then make one short list — adjust, add, or remove — and you are done; most years my list is three items long. This walkthrough is where all the other spring patio lighting refresh ideas come together into a patio that feels finished rather than fiddled with. Do it once in March and once more in May when the growth changes everything, and your yard will look cared-for all season, because it is.
Suggested budget range: $0 – $40.

Frequently Asked Questions
What color temperature is best for patio lighting in spring?
Warm white, around 2700K to 3000K, flatters spring greenery, skin tones, and food, and it blends with candlelight and firelight. I standardize every bulb on the patio at 2700K so nothing clashes. Save cooler temperatures for task spots like a grill station, if anywhere.
How do I know which outdoor lights are still safe to use after winter?
Inspect cords for cracks or chew marks, look for water or condensation inside lenses, and check that seals and gaskets are intact. Plug everything into a GFCI-protected outlet. If a fixture is rusted through, flickers after a bulb swap, or has brittle wiring, retire it — outdoor-rated replacements are inexpensive and far safer.
Are solar lights bright enough for a patio refresh?
For path stakes, step lights, and accents, absolutely — modern solar lights with replaceable batteries give a warm, steady glow all evening. For the main canopy over a dining table, plug-in or low-voltage lighting is still brighter and more reliable, so I use solar as a layer, not the whole plan.
How much does a spring patio lighting refresh usually cost?
Most of my refresh is free: cleaning, repositioning, and resetting timers cost nothing but an afternoon. A typical spend lands between $50 and $250 spread across a few bulbs, solar stakes, and one fun upgrade. Start with the free fixes and you may find you need far less than you think.
Conclusion
A patio does not need a renovation to feel new — it needs attention, in layers. Clean what winter dulled, fix what flickers, and let your spring patio lighting refresh ideas build from the ground up: safe paths, warm faces, a glowing canopy. Pick three ideas from this list, do them this weekend, and watch the yard wake up. Then come browse the rest of the lighting ideas here and plan your next layer — I will be out on my own patio doing exactly the same thing.