Intro
There's a moment every November when the sun gives up early — that 4:45 p.m. darkness — and I realize my house has three weeks to say *welcome home* before Thanksgiving guests arrive. Good thanksgiving outdoor lighting doesn't shout the way Christmas displays do; it wraps your home in the warmest possible hug, amber and golden, so the turkey isn't the only thing glowing on the big day.
In my experience, the secret to beautiful holiday lighting is layering. One bright spotlight looks like a security system. But soft layers — a lit path guiding guests up the walk, a warm glow framing the front door, gentle accent light on your fall planters — build into that cozy "come on in, the cider's hot" feeling. Think of it like your tablescape: no single candle does the job, but ten together? Magic.
In this post I've gathered my 15 favorite thanksgiving outdoor lighting ideas, all warm-toned and harvest-seasoned. (Many pair beautifully with my fall porch lighting ideas if you want a full seasonal makeover.) Each idea is doable in an afternoon or two before Turkey Day, and none need an electrician. Let's make your home the one that glows.

1. Line the Walkway with Flickering Luminaries
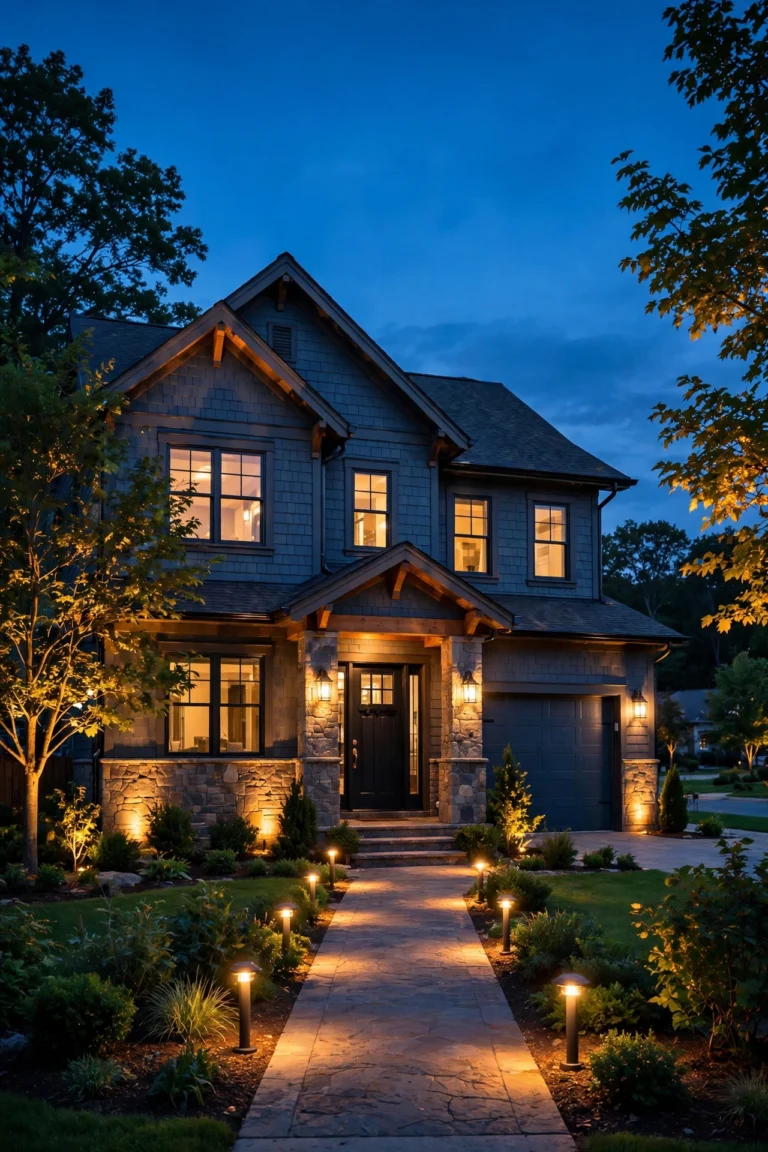
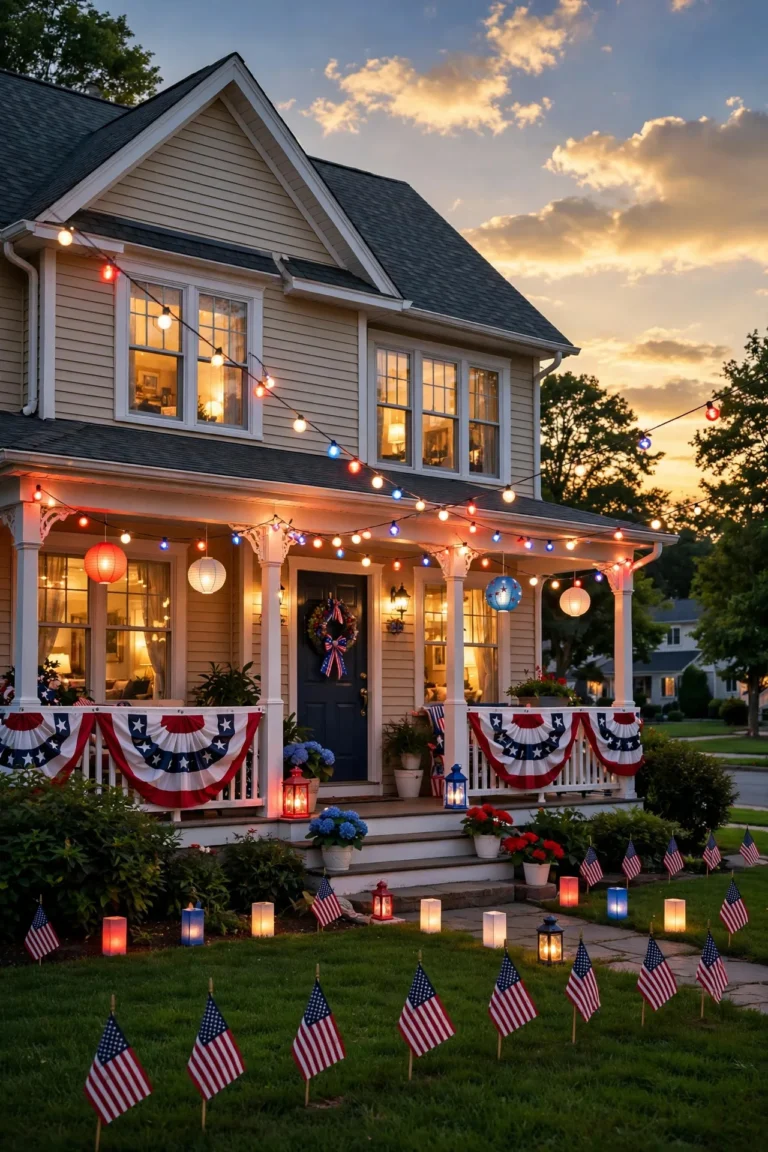
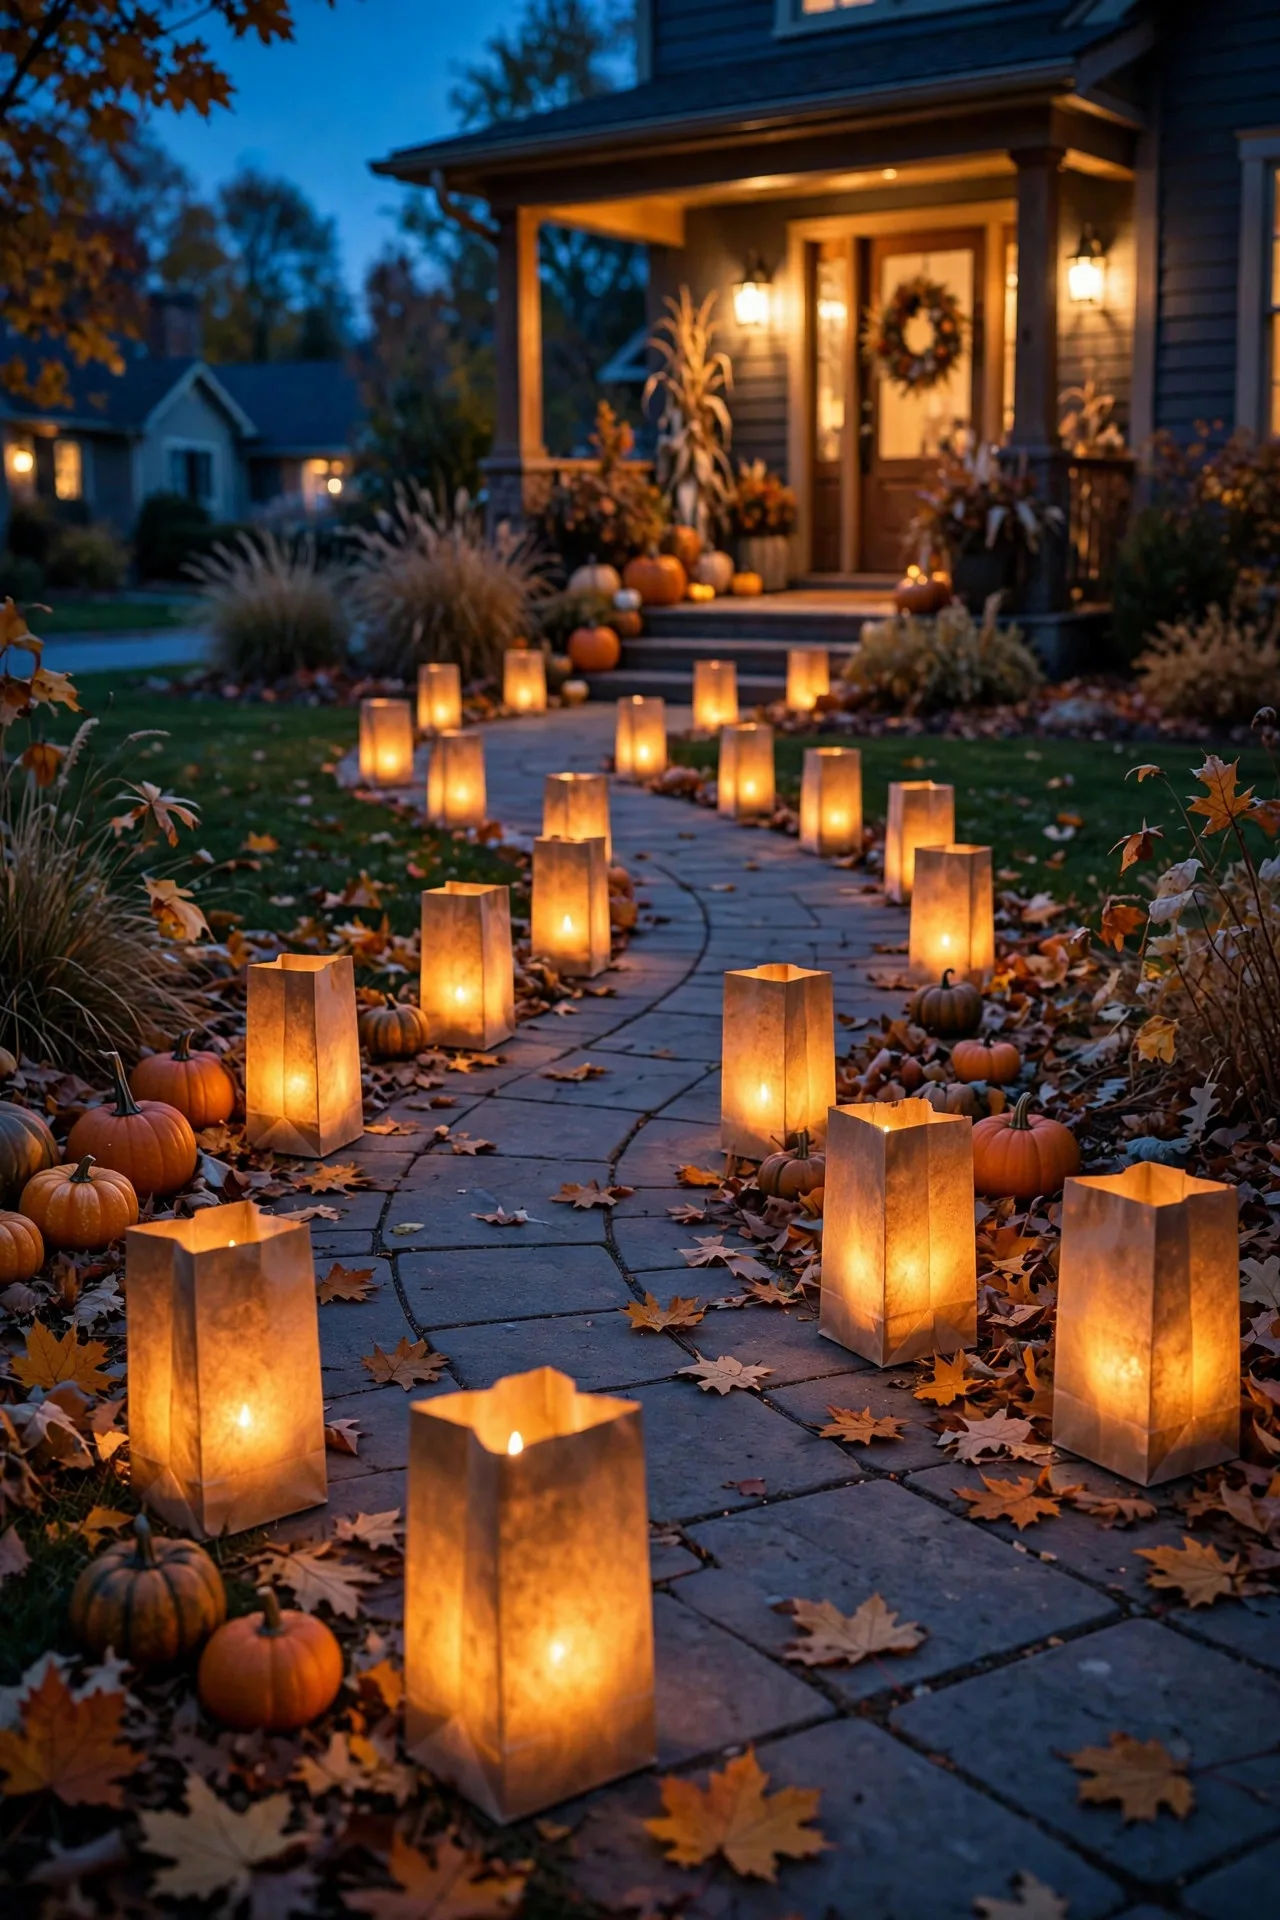
Nothing says "we're so glad you're here" like a path of glowing luminaries leading to your door. This is my number-one move when I have one weekend before guests arrive. Use real paper bag luminaries (sand or kitty litter anchoring a votive inside) or, my preference for weather safety, LED tea lights tucked inside — you get the exact same warm flicker with zero fire worry.
Space them 3 to 4 feet apart on alternating sides of the walk so the path zigs gently with light. Honestly? Double them up at the curve of the walkway or beside steps where guests need to see their footing. After Thanksgiving, these transition beautifully into the Christmas season — just swap orange tones for plain white. If your region gets November wind, the weighted LED bag versions hold up far better than the flimsy paper kind. A single bag of sand weighs enough that even a surprise gust won't send your display tumbling.
Suggested budget range: $15 – $45.
2. Wrap the Front Porch Posts in Warm Fairy Lights
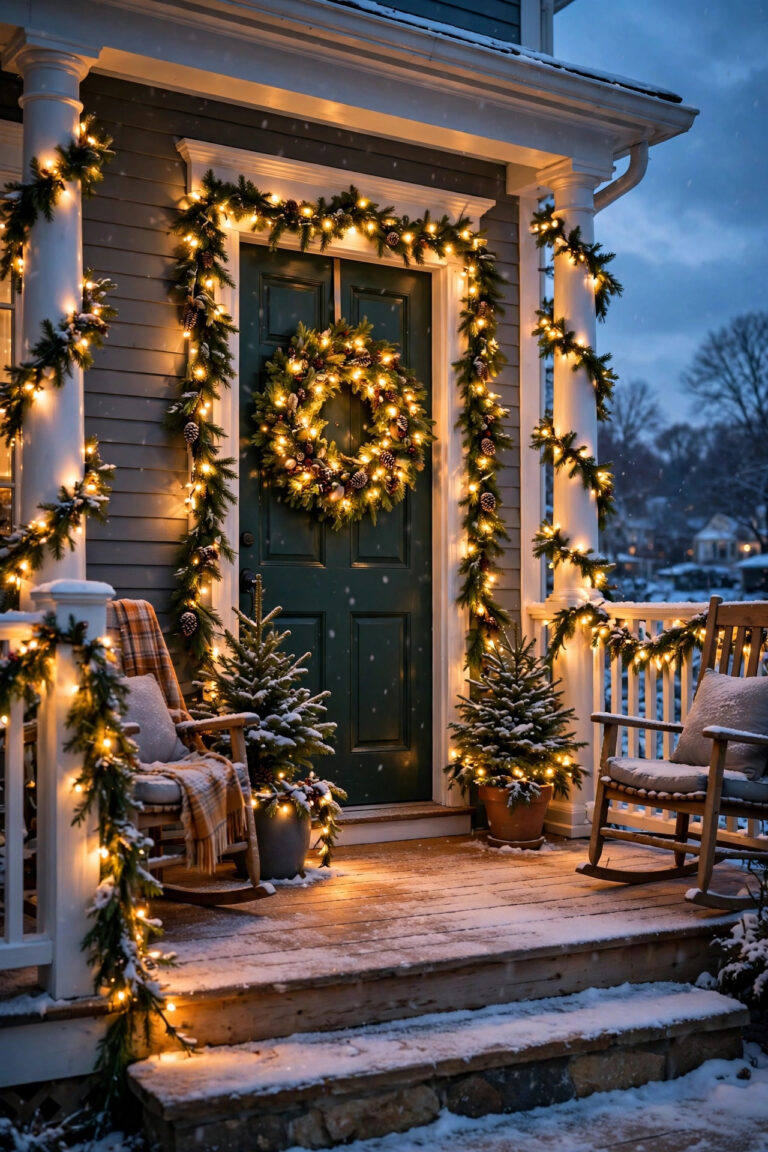
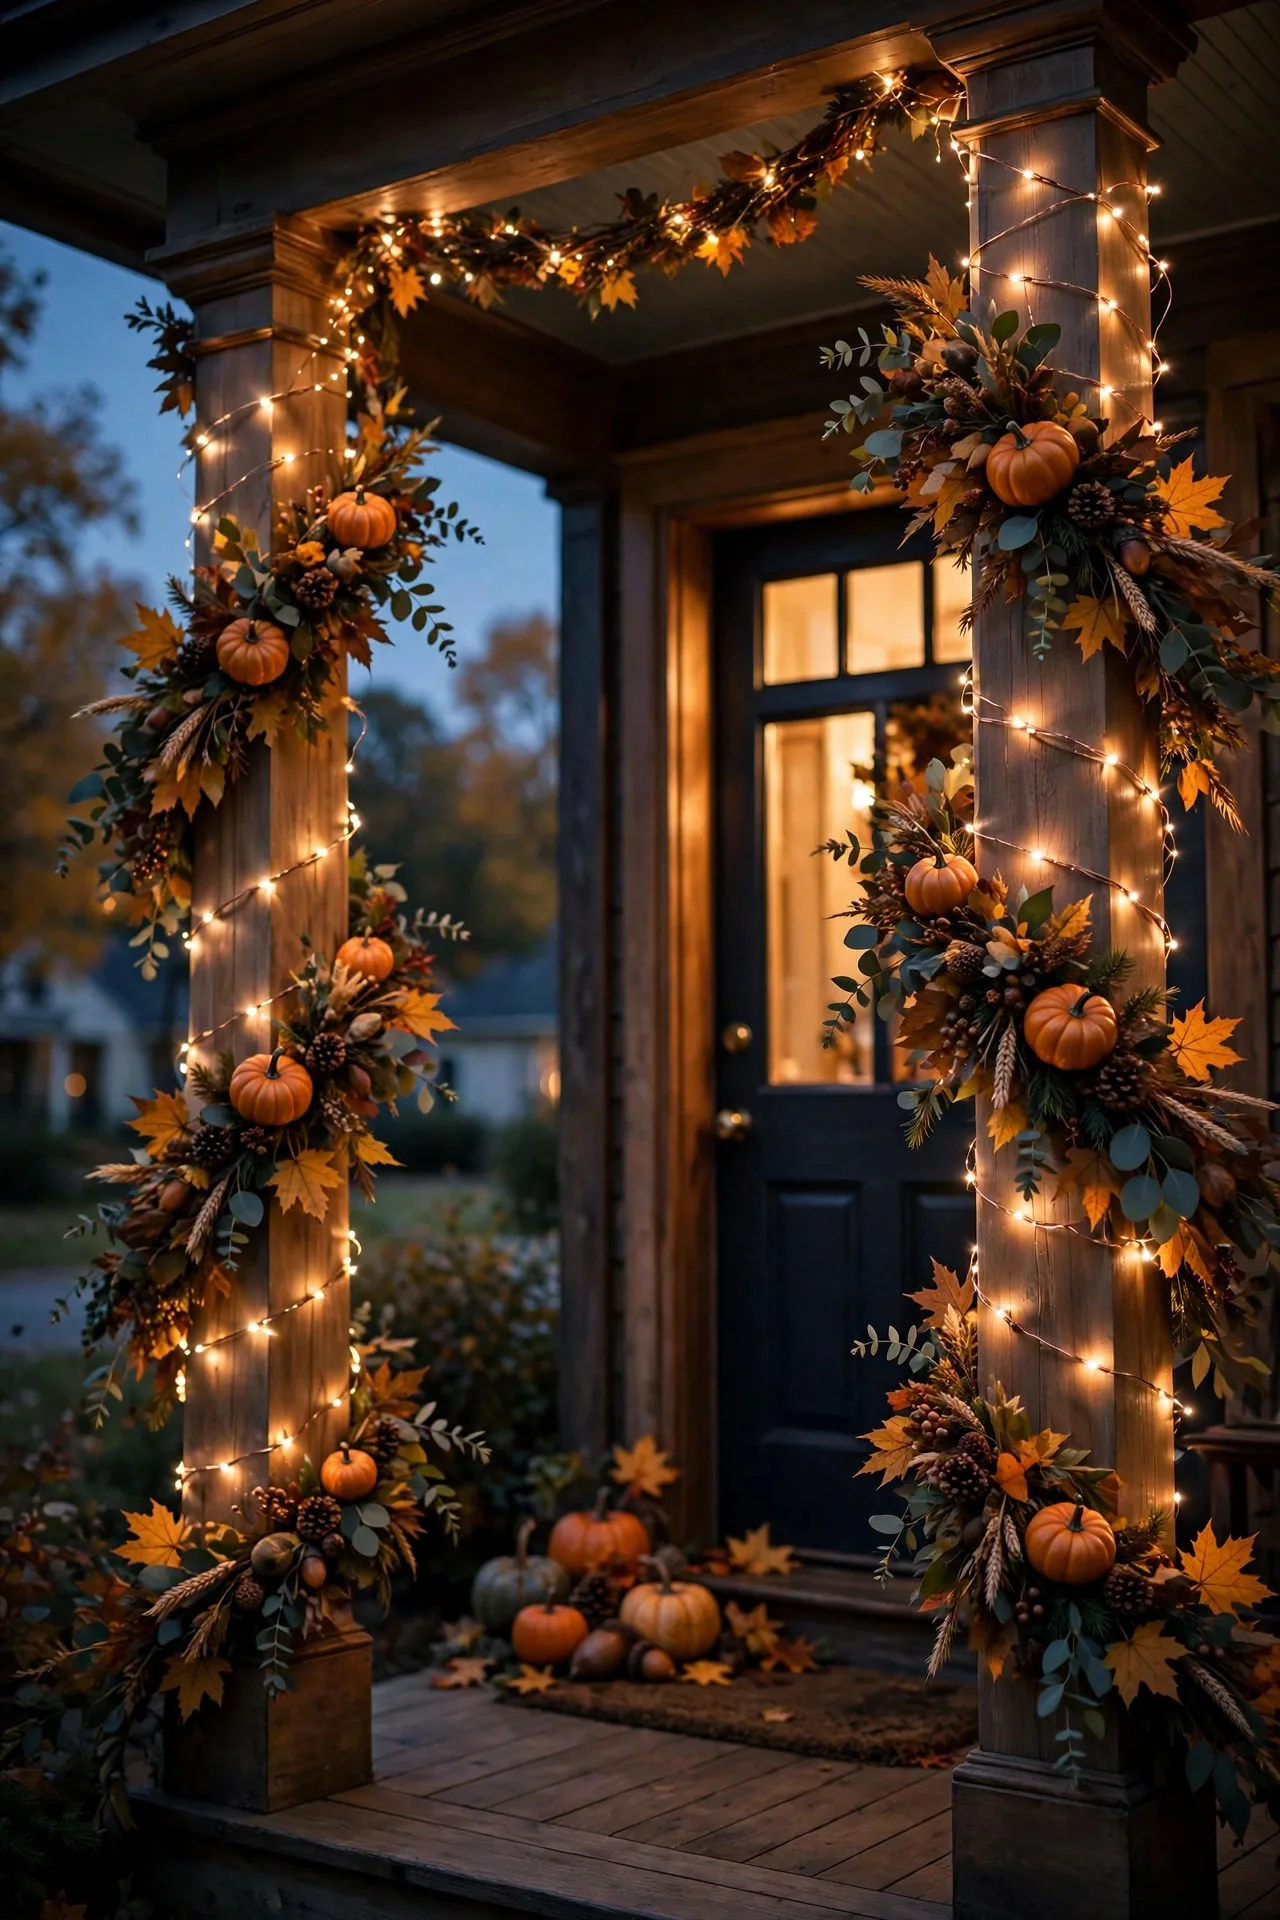
Porch posts are the perfect vertical canvas for holiday glow. I always recommend copper-wire fairy lights with warm white micro-LEDs — the tiny bulbs nestle into greenery without looking chunky. Wind them loosely from base to top, keeping loops about 6 inches apart so the glow reads as a gentle shimmer rather than a wrapped Christmas tree.
For a richer look, add a pre-lit fall garland spiraling in the opposite direction, studded with mini pumpkins and eucalyptus. The mix of fairy light sparkle and foliage texture is, in my opinion, the single most expensive-looking trick you can pull off in November. Put the strands on an outdoor photocell timer that kicks on around dusk, and remember everything on the porch must be outdoor-rated — IP44 or higher — since November weather is unpredictable. For brick or stone posts, wrap with wide ribbon first so the wire doesn't snag on rough surfaces.
Suggested budget range: $25 – $60.
3. Cluster LED Candles in the Front Windows
Your windows are free stage lighting — guests driving up see them before anything else. I set groups of three flameless LED candles of varying heights in each front-facing window, all on built-in timers that flip on at dusk and off around 10 p.m. From the street, the staggered heights create a gorgeous layered glow.
Keep every candle in the same warm color temperature (2700K is my sweet spot) so the house looks unified rather than patchwork. If you have wide front windows, corral the group on a low wooden tray and tuck faux fall leaves around the base for a finished look. This takes about ten minutes per window and photographs beautifully for your holiday cards. One caution: skip real flame entirely here — curtains and warm bulbs are a bad combination. If you have pets that sit in the windowsill, secure the candles with a little museum putty.
Suggested budget range: $20 – $50.

4. Light Up Your Fall Planters with Fairy Light Stakes
Those mums and ornamental cabbages in your porch planters go dark the moment the sun sets — unless you give them their own little spotlight. I push solar fairy light stakes (a starburst of 10 to 12 warm LED twigs on a 2-foot stake) straight into the soil of each planter. They charge by day and auto-glow by night.
Because they're solar, there's zero wiring to hide and no outlet math to do. In my experience, two stakes per large planter and one per small one gives full, even glow. Look for stakes with a replaceable rechargeable battery so the set lasts multiple seasons. They also add a subtle sparkle that reads like falling leaves catching light — very autumn. Give the panels a quick wipe in late October; dust on the panel is the number-one reason these underperform. A five-second wipe with a damp cloth keeps them at full brightness.
Suggested budget range: $20 – $40.

5. Hang Lanterns from Shepherd's Hooks Along the Driveway
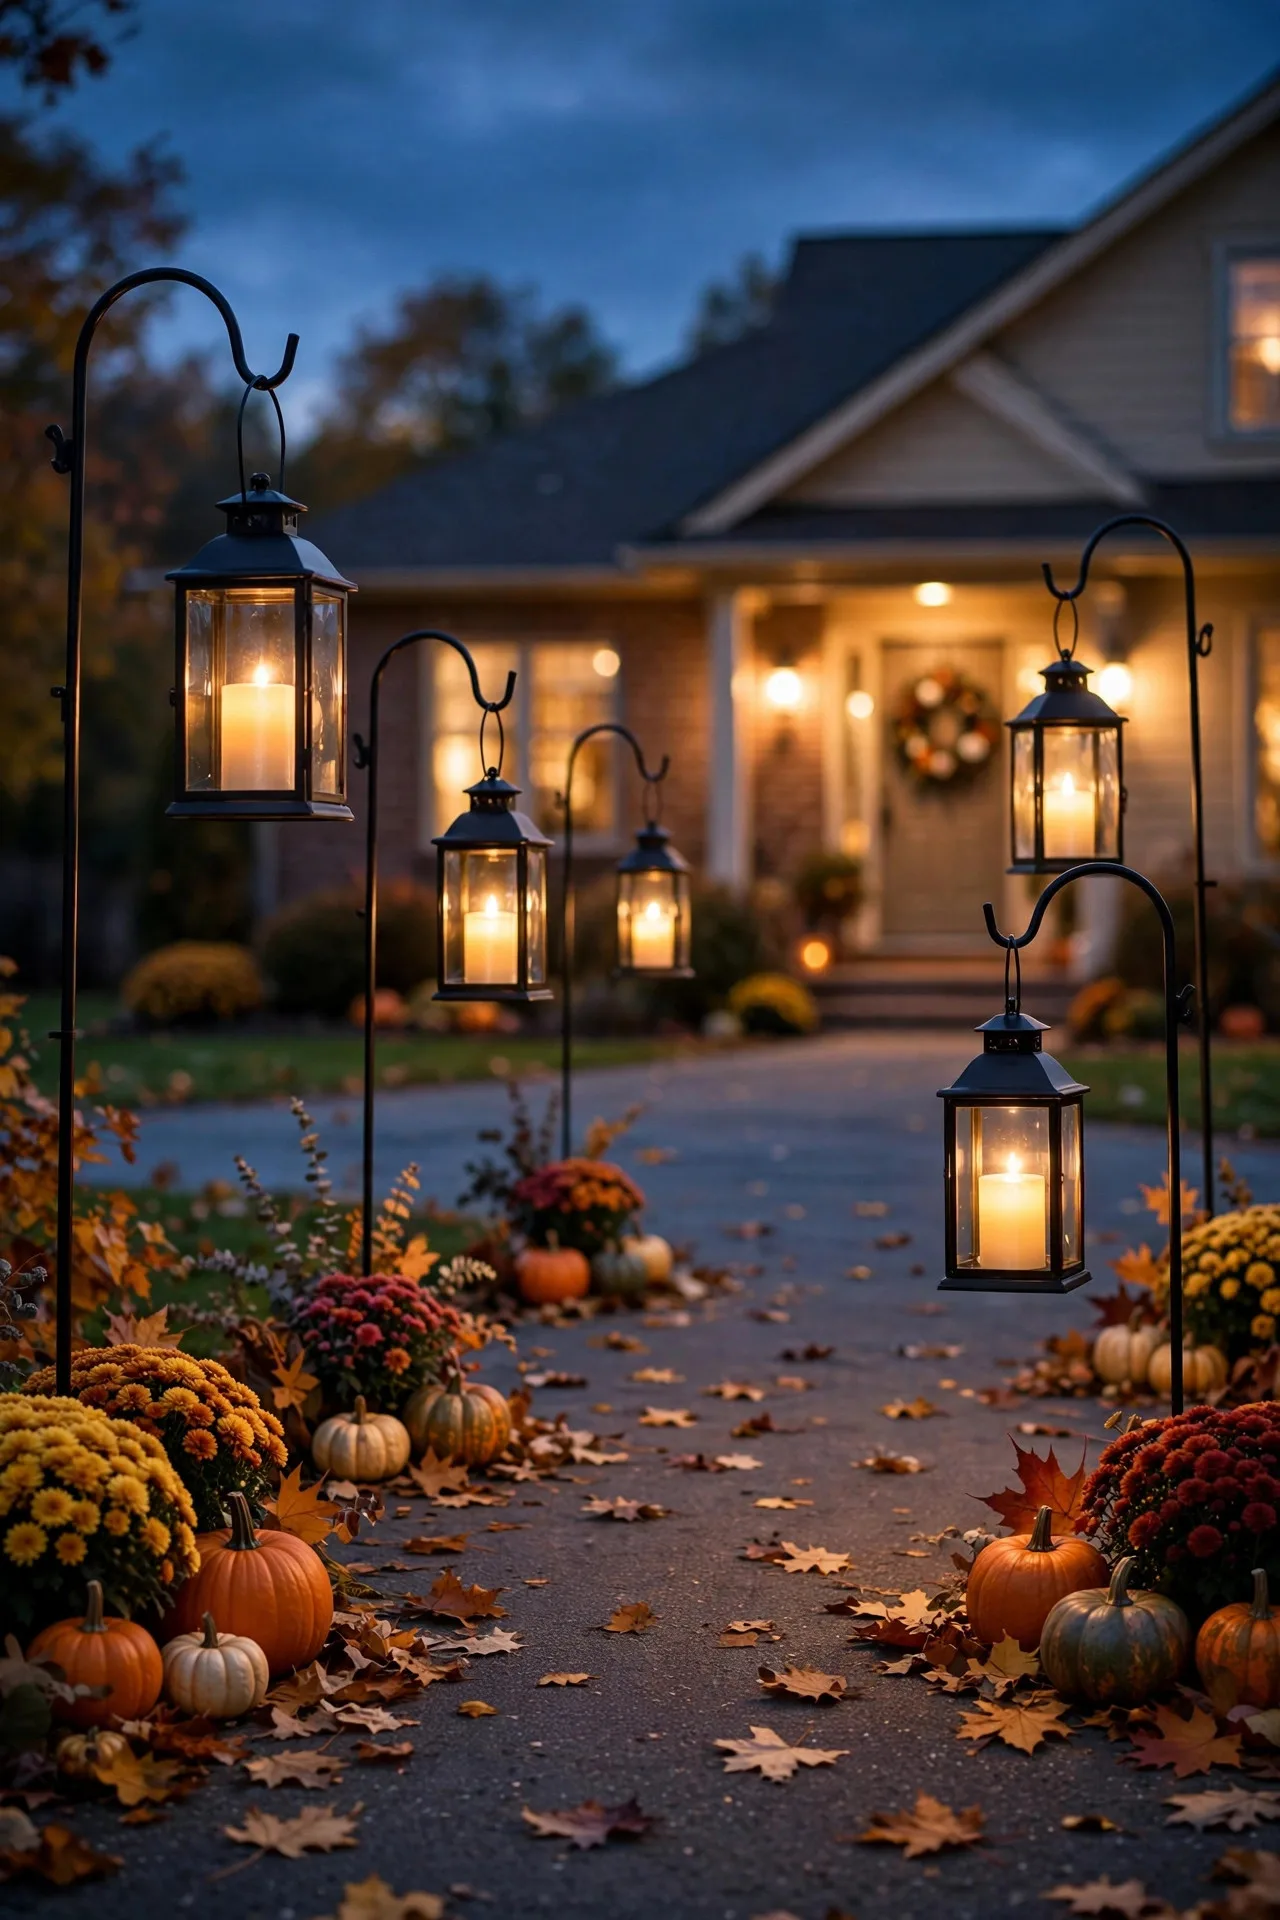
For homes with a longer driveway or lawn path, shepherd's hooks with hanging lanterns are incredibly charming. I use two hooks about 8 feet apart on alternating sides of the drive, each holding a glass lantern fitted with a warm LED pillar candle or a small string of lights coiled inside.
Stagger the hook heights — one set at 4 feet, the next at 5 — so the glow has rhythm instead of marching in formation. Weight the lantern bases with a little sand if your area gets gusty November wind, and choose hooks with a double-prong base for stability in soft ground. When Thanksgiving's over, these same hooks carry wreaths or solar lanterns right through December. It's one of my favorite pieces of display infrastructure because you buy it once and style it year-round. In spring I hang bird feeders from the same hooks, so they earn their keep every season.
Suggested budget range: $30 – $75.
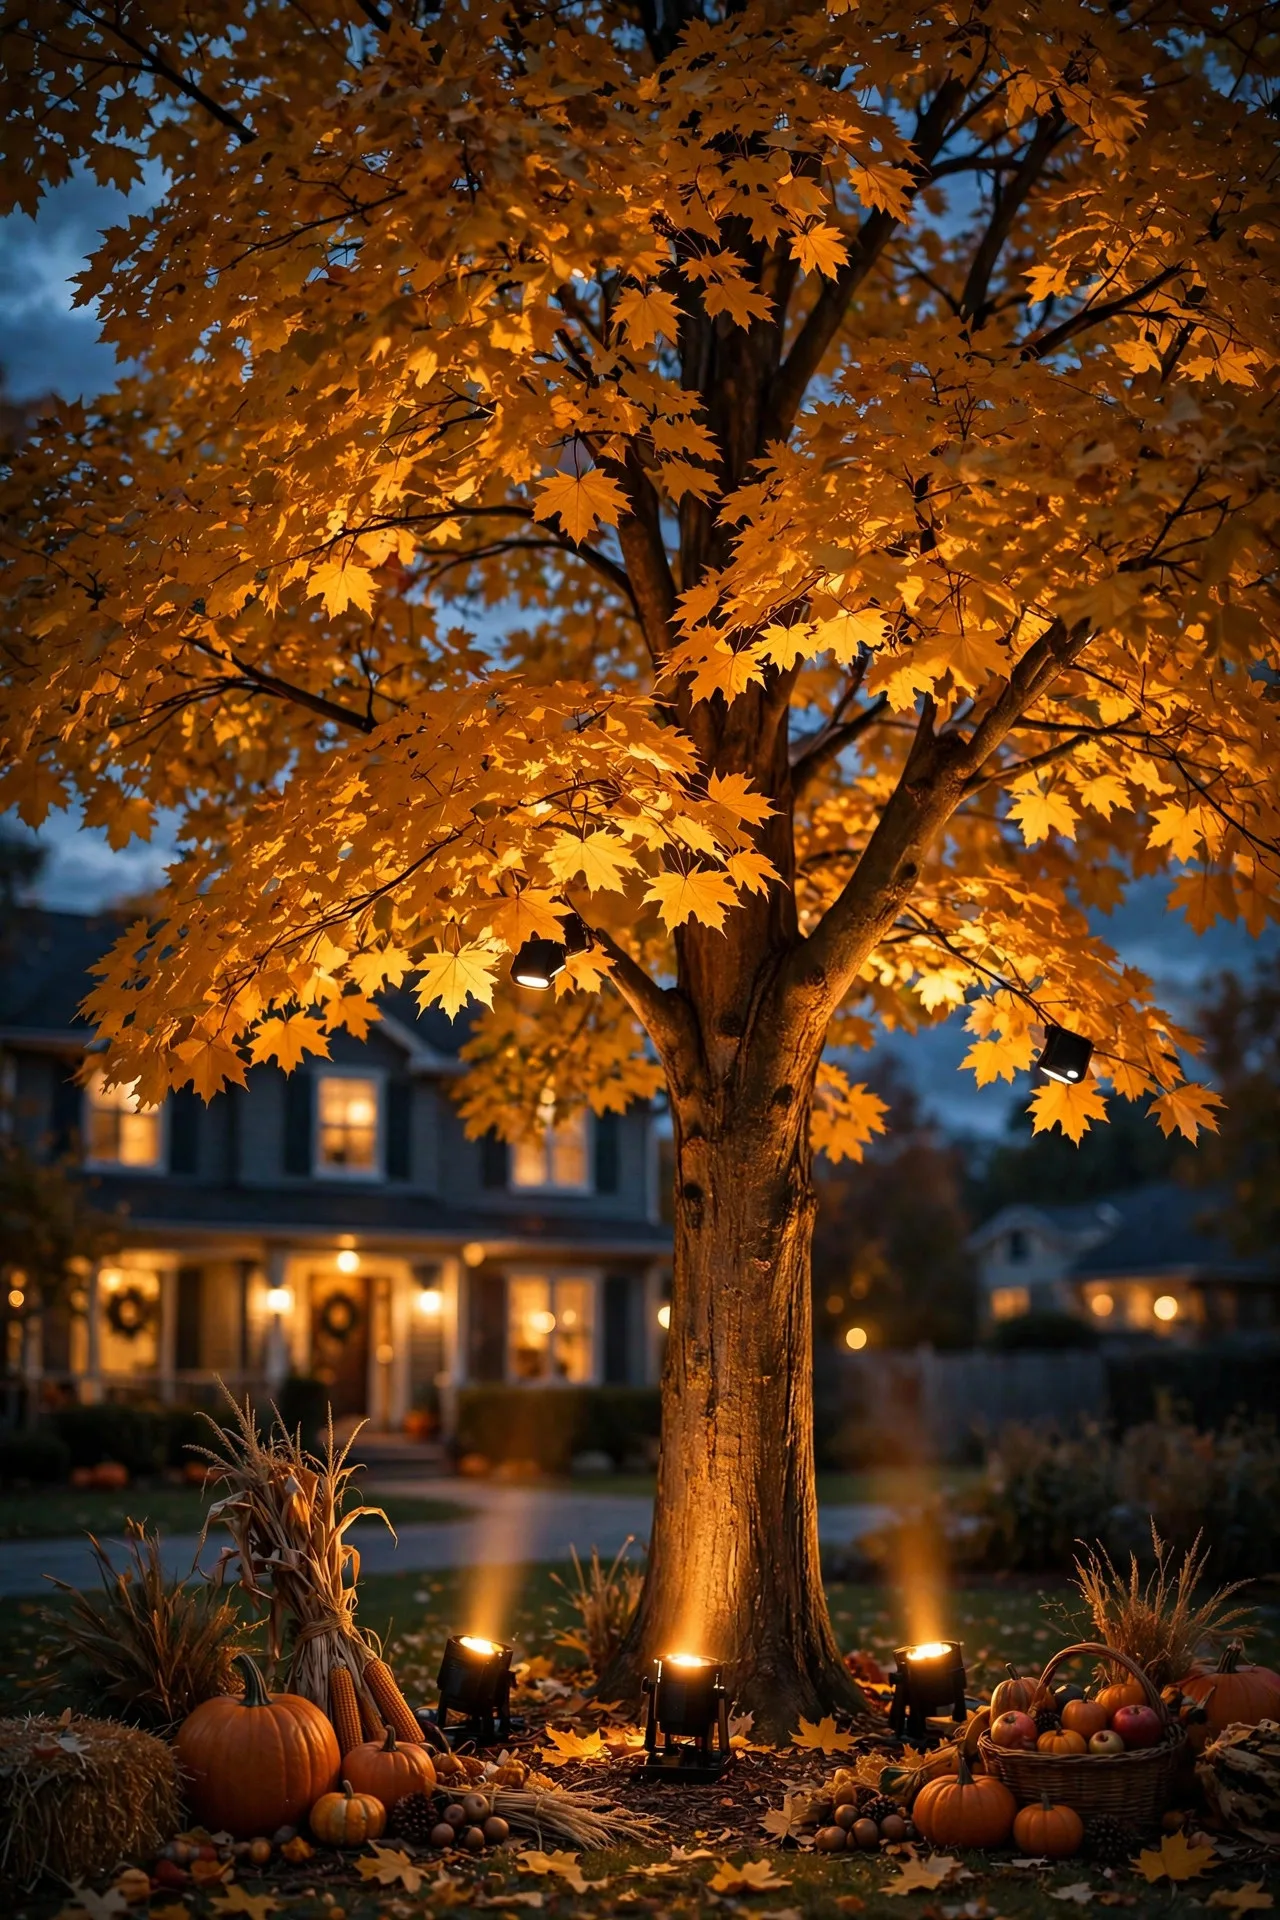
6. Create Dramatic Thanksgiving Outdoor Lighting with Tree Uplights
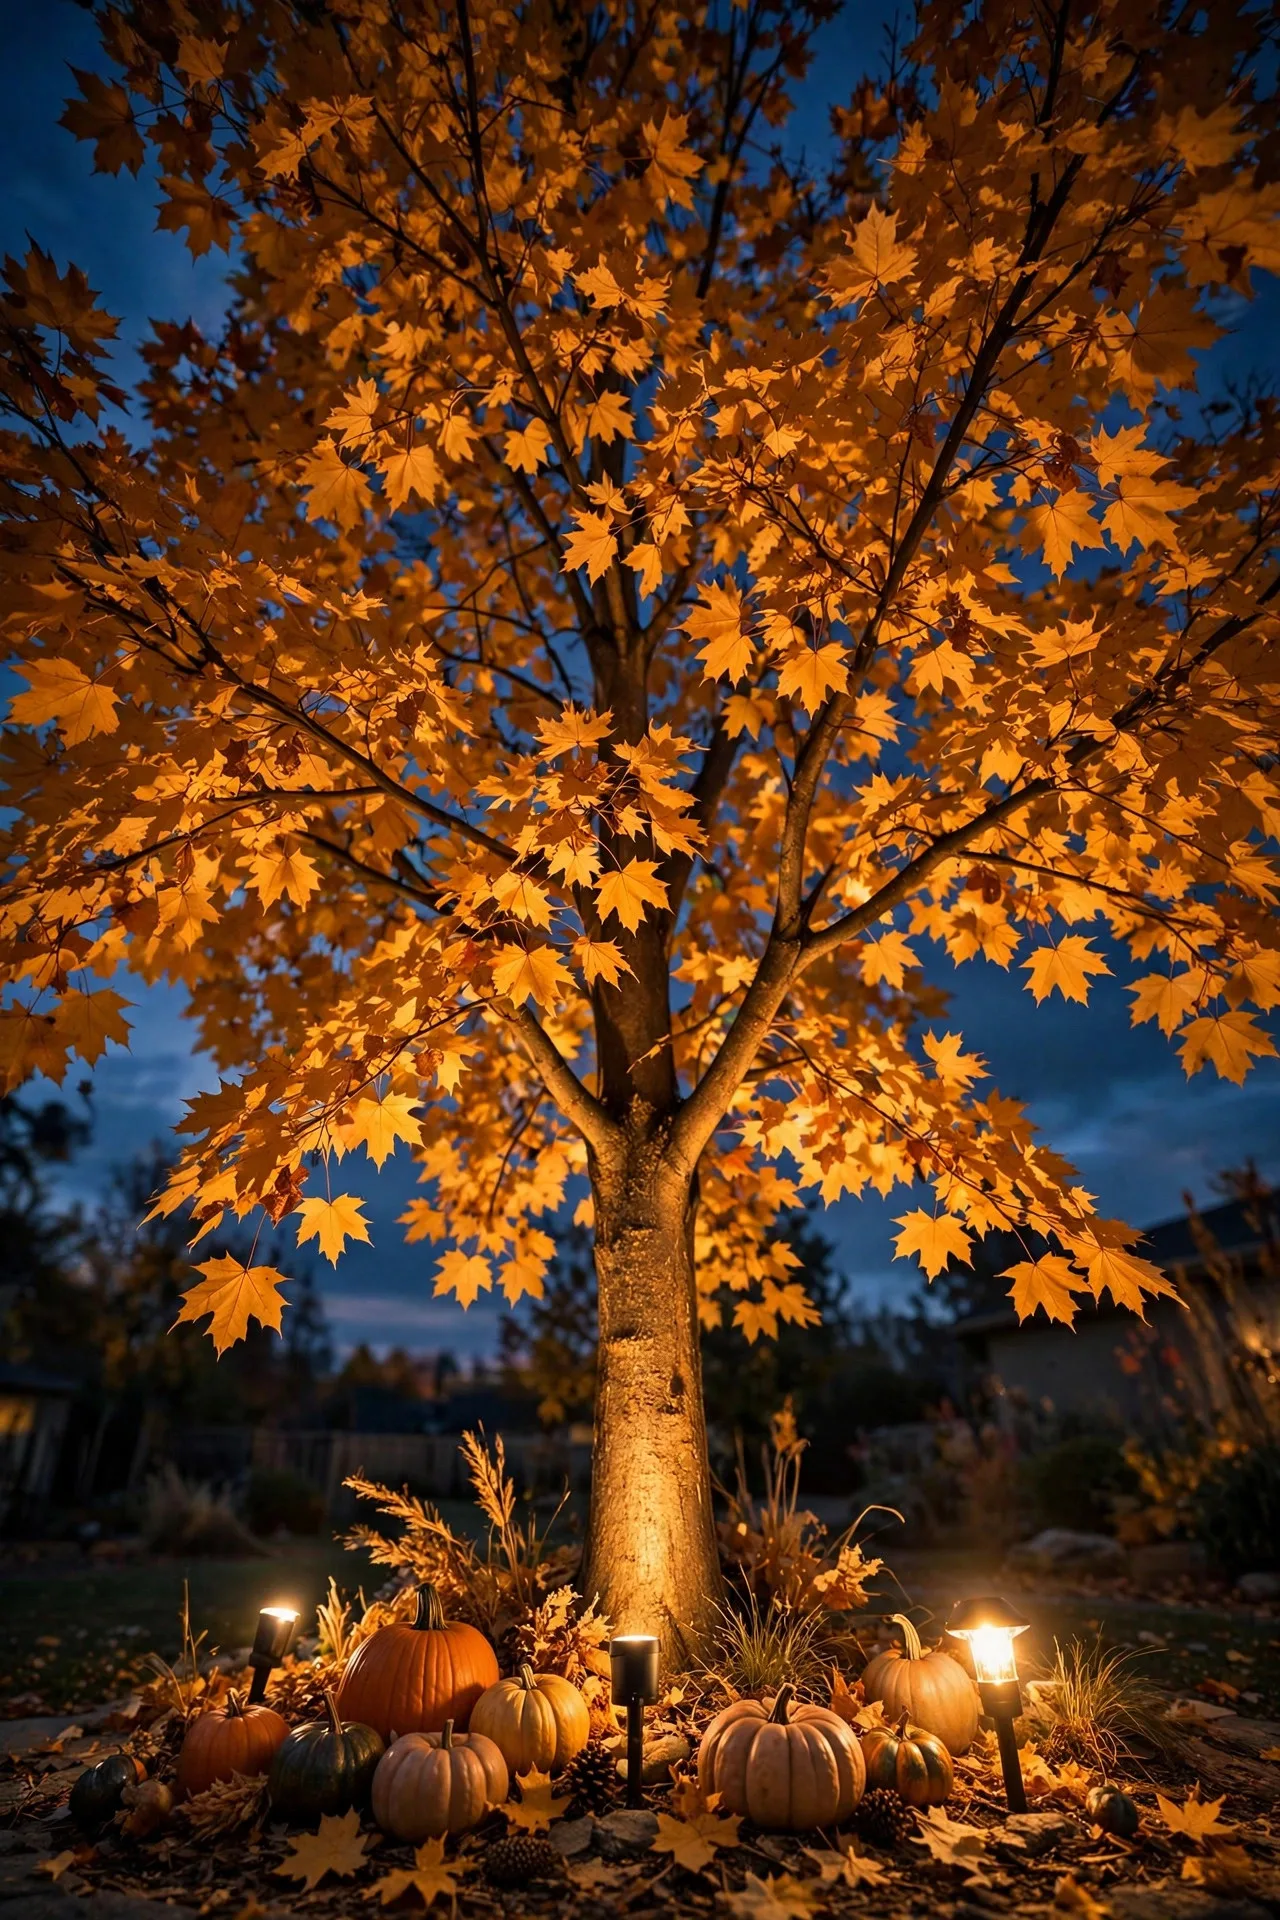
Uplighting your bare or amber-leaved trees creates a dramatic backdrop that makes the whole yard feel bigger and warmer. I place weatherproof LED spotlights (warm white, 2700–3000K) at the base of each tree, about 12 inches from the trunk, tilted upward at roughly 45 degrees so the light washes the canopy instead of blasting one hot spot.
Two lights on a big tree — one on each side — kill the harsh shadow a single spotlight throws. Avoid cool white or blue here; warm tones against fall foliage create that honeyed harvest glow. Use low-voltage landscape lights plugged into an outdoor-rated transformer on a GFCI outlet, which keeps everything safe and lets you expand the system later. Point the heads away from neighbors' windows — nobody wants your tree light in their bedroom. Re-aim the heads once the leaves drop so the light still lands on branches, not the sky.
Suggested budget range: $60 – $150.
7. Frame the Front Door with a Prelit Harvest Garland
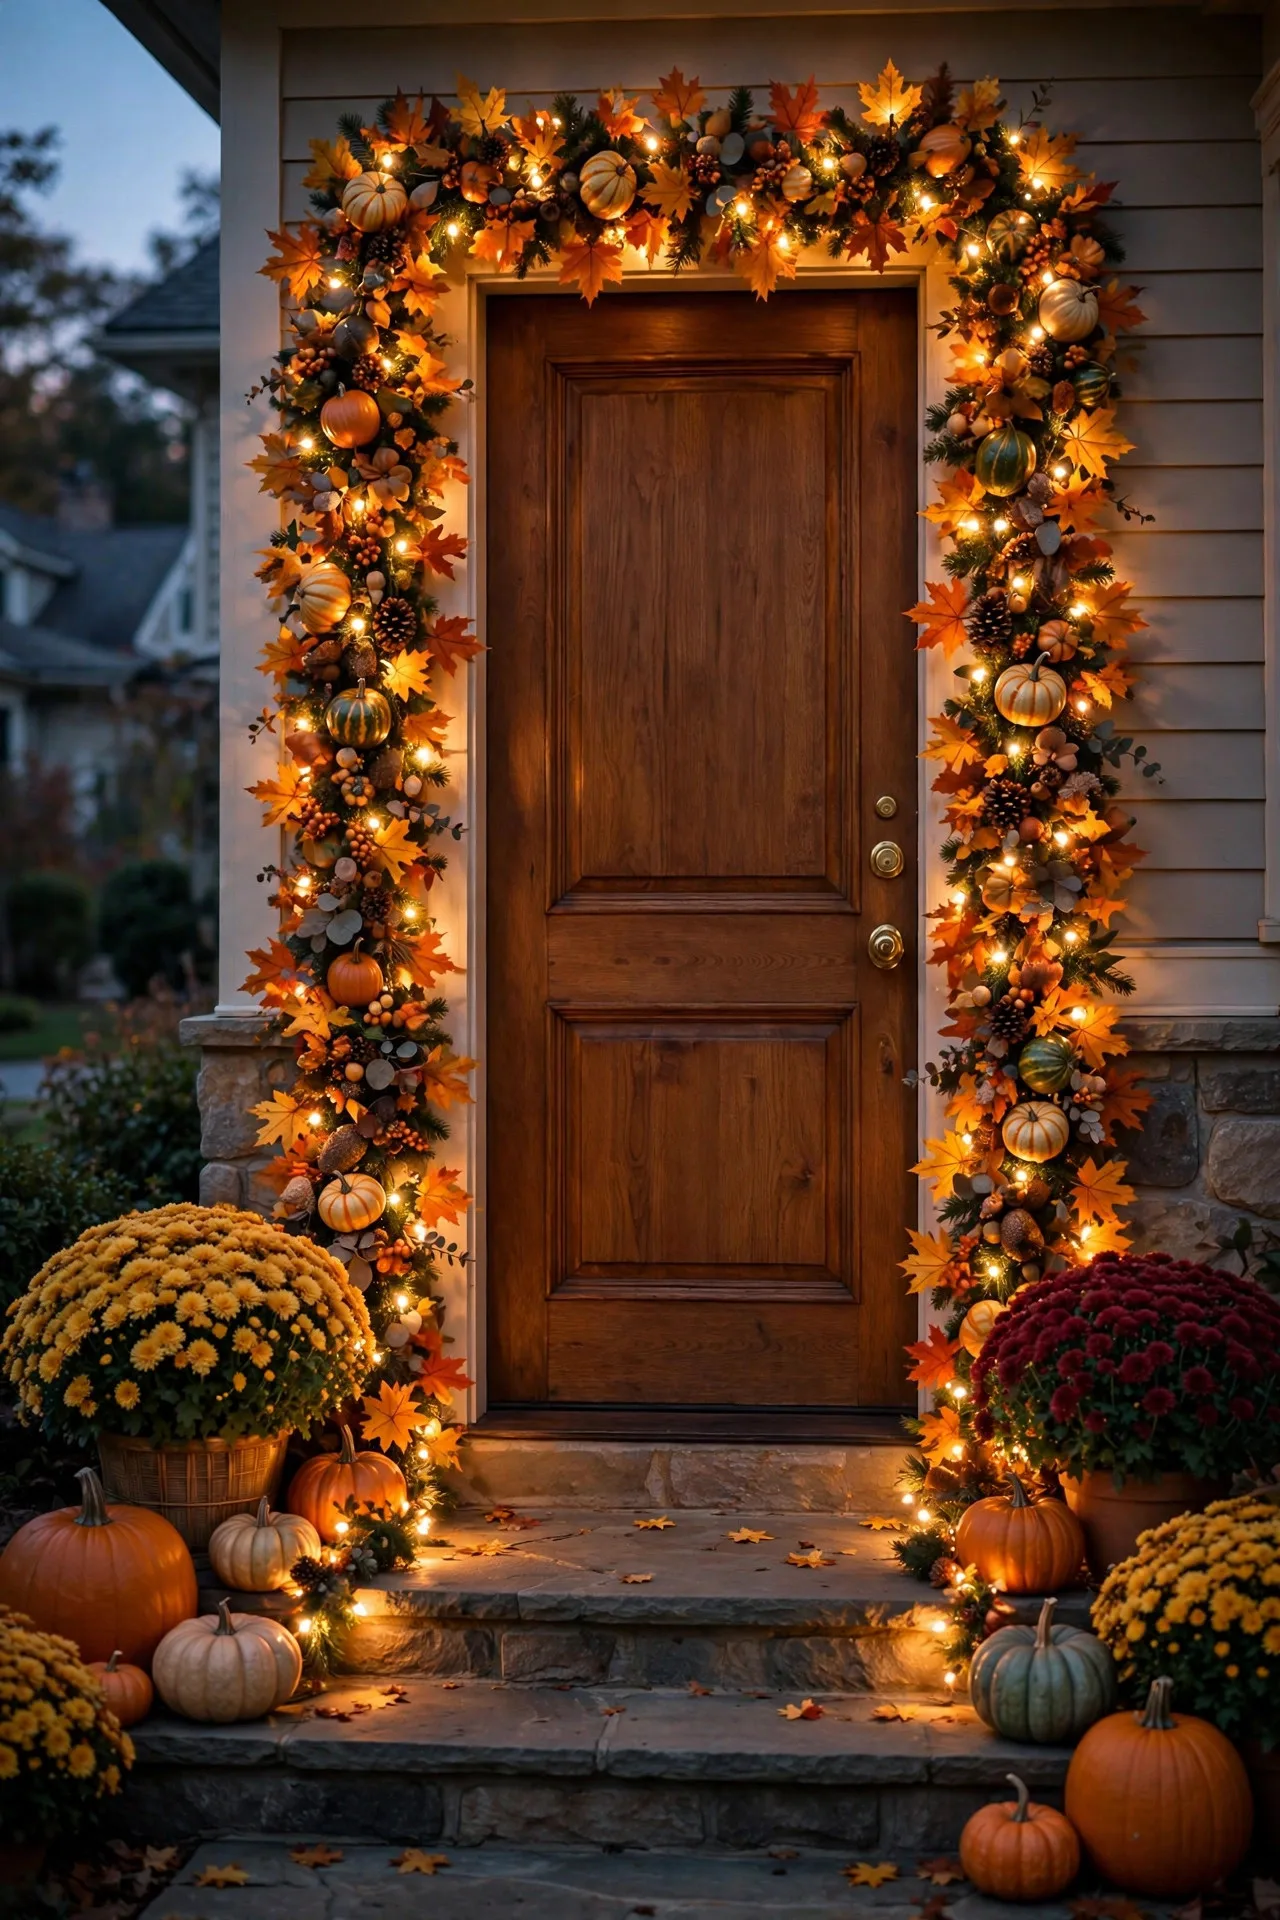
Your front door is the handshake of your home, so make it glow. I hang a prelit harvest garland — the ones with warm white lights already woven through faux maple leaves, mini gourds, and pinecones — around the entire door frame. Start the strand at the bottom of one side, work up, across, and down the other.
If the garland's built-in lights aren't quite bright enough on their own, tuck a second short strand of warm fairy lights into the foliage — no one will ever know, but everyone will notice the difference. Secure the garland with removable outdoor hooks rated for brick or painted trim, and keep real dried elements at least a foot from any incandescent bulbs. LED-only near anything flammable is my hard rule. Fluff the garland as you hang it; a flat garland looks tired before the first guest arrives. A well-fluffed garland can easily look twice as full as it did in the box.
Suggested budget range: $35 – $80.
8. Build a Lantern Centerpiece on the Porch Steps
Wide porch steps are wasted space until you turn them into a glowing vignette. I group lanterns of different heights — say, 14, 18, and 24 inches — on one side of the steps, filling each with a flameless candle cluster or a tangle of warm fairy lights. Then I nestle mini pumpkins, gourds, and a few faux leaves around the bases.
Odd numbers of lanterns always look more natural than even, and the varying heights create the layering effect I talked about earlier. Use weighted or heavier metal lanterns if your steps catch wind, and stick with LED candles inside — the flicker modes on good flameless candles are honestly indistinguishable from real flame now. After the holiday, pull the gourds and tuck in evergreen sprigs for a seamless December transition. Cluster the lanterns on one side of the steps only, keeping the main walking path completely clear.
Suggested budget range: $40 – $90.

9. Thanksgiving Outdoor Lighting for the Patio: String Cafe Lights
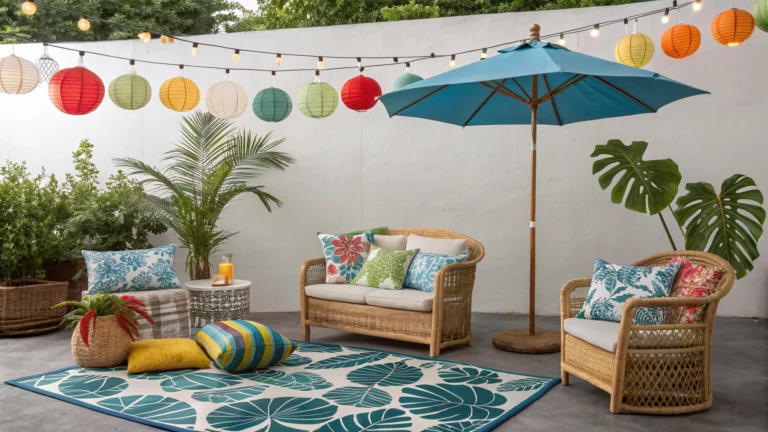
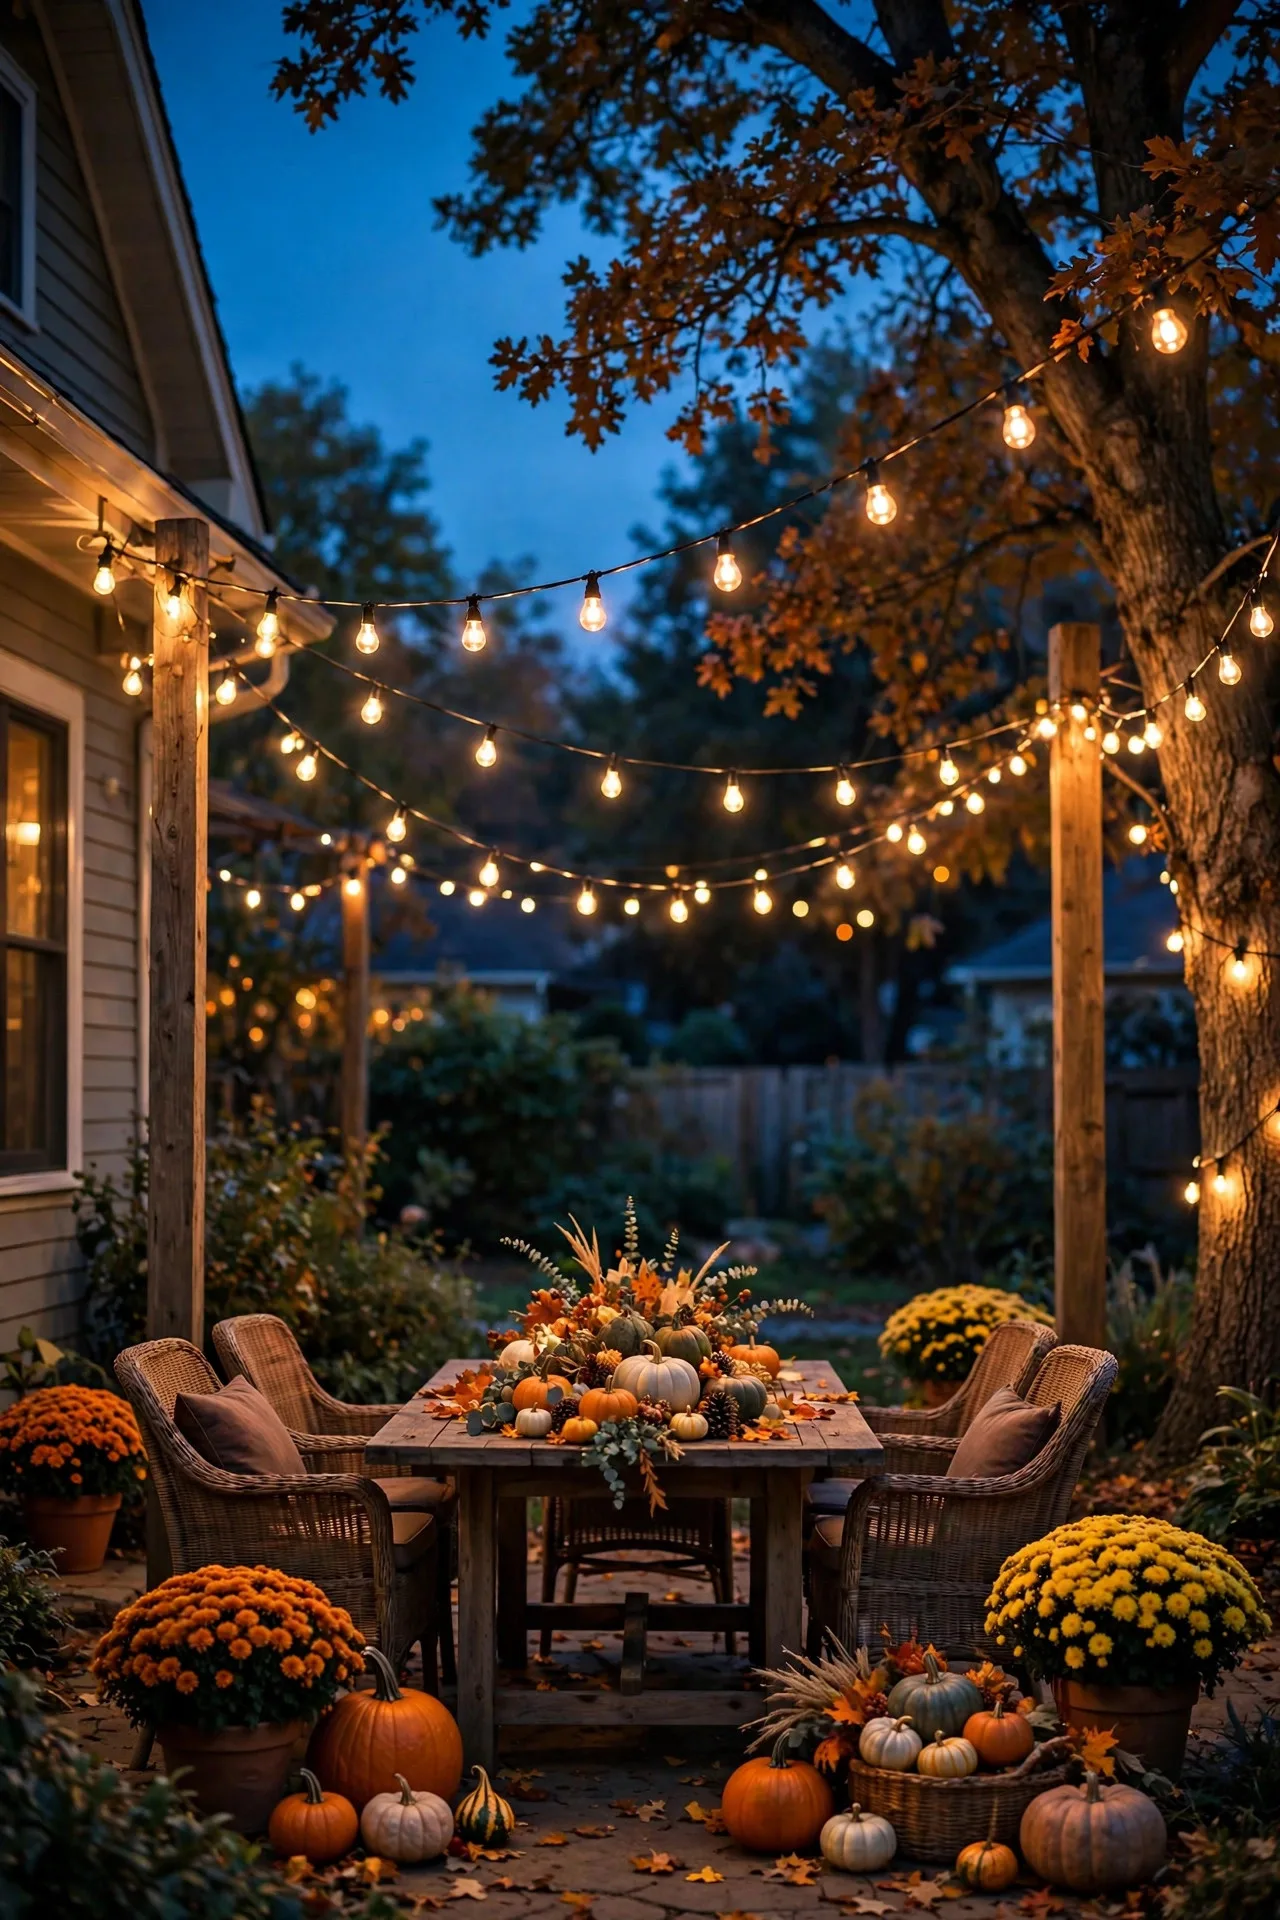
Thanksgiving morning coffee on a crisp patio is one of my favorite rituals, and cafe lights make it magical even in the dark evenings. String warm white cafe lights in loose swags between posts, the house, and any sturdy tree — about 15 to 20 feet per span, letting the wire dip 2 to 3 feet in the middle for that relaxed bistro feel.
Use commercial-grade outdoor string lights with shatterproof LED bulbs; they'll survive November cold snaps and wind far better than the thin indoor-grade kind. Plug them into a timer so they're glowing when guests step out for air between dinner and pie. And here's a trick: leave them up through December. Warm cafe lights work just as well under a Christmas wreath — and if you're already thinking ahead to the holidays, my outdoor Christmas light ideas will take you from turkey to tree.
Suggested budget range: $45 – $110.
10. Add Amber Spotlights to Highlight Fall Foliage
There's a narrow window in November when the leaves are at their most golden, and a little spotlighting makes them unforgettable. I use amber-tinted LED spotlights (or warm white lights with an amber lens cover) aimed at your most colorful maple or oak, placed 6 to 8 feet from the trunk and angled up into the canopy.
Amber light on amber leaves creates a saturated, almost cinematic glow — warm white is pretty, but amber is *Thanksgiving*. Set them on a timer for the evening hours only, roughly 5 p.m. to 10 p.m., so you're not lighting the neighborhood all night. One or two lights on the hero tree is plenty; more than that and the yard starts looking like a theme park. For homes without a big tree, the same trick works beautifully on a large rhododendron or foundation planting. Re-check the aim after the first windy week, since branches shift.
Suggested budget range: $30 – $70.
11. Place Flameless Candles in the Pumpkin Display
Real candles in pumpkins are classic, but the burned-out, soggy-wick version by 8 p.m. is not the look anyone wants. I carve my display pumpkins — or just cut a simple lid on real ones — and drop in flameless LED tea lights or a small string of orange-toned fairy lights instead. The glow through the carved faces is softer and lasts all evening.
For faux pumpkins, drill a small hole in the back for the light strand and stack two or three pumpkins of different sizes together; the layered glow is gorgeous. Group them near the front steps or along the porch edge in clusters of three to five. Safety note: even with LED, keep display pumpkins out of direct rain — wet electronics die fast, and nothing is sadder than a dark pumpkin on Thanksgiving night. Bring real carved pumpkins inside if a freeze is forecast.
Suggested budget range: $15 – $40.

12. Wrap Bushes and Shrubs in Net Lights
Net lights are the fastest way to light up big bushes — drape one over a shrub and you're done in thirty seconds. I always recommend warm white net lights in November; skip the multicolor and let the fall foliage be the color. Drape the net evenly over each bush, tucking the corners in so no loose wires snag anyone.
For a natural look, light every other bush along the foundation rather than all of them — the contrast between lit and dark greenery adds real depth. Connect the nets with a single outdoor extension cord on a timer, and keep all connections off the ground (even a brick works) so puddles can't reach them. After Thanksgiving, these same nets transition beautifully onto winter evergreens, which makes them one of the best value buys on this list. Label the nets by bush size when you store them, and next year setup takes minutes.
Suggested budget range: $25 – $55.

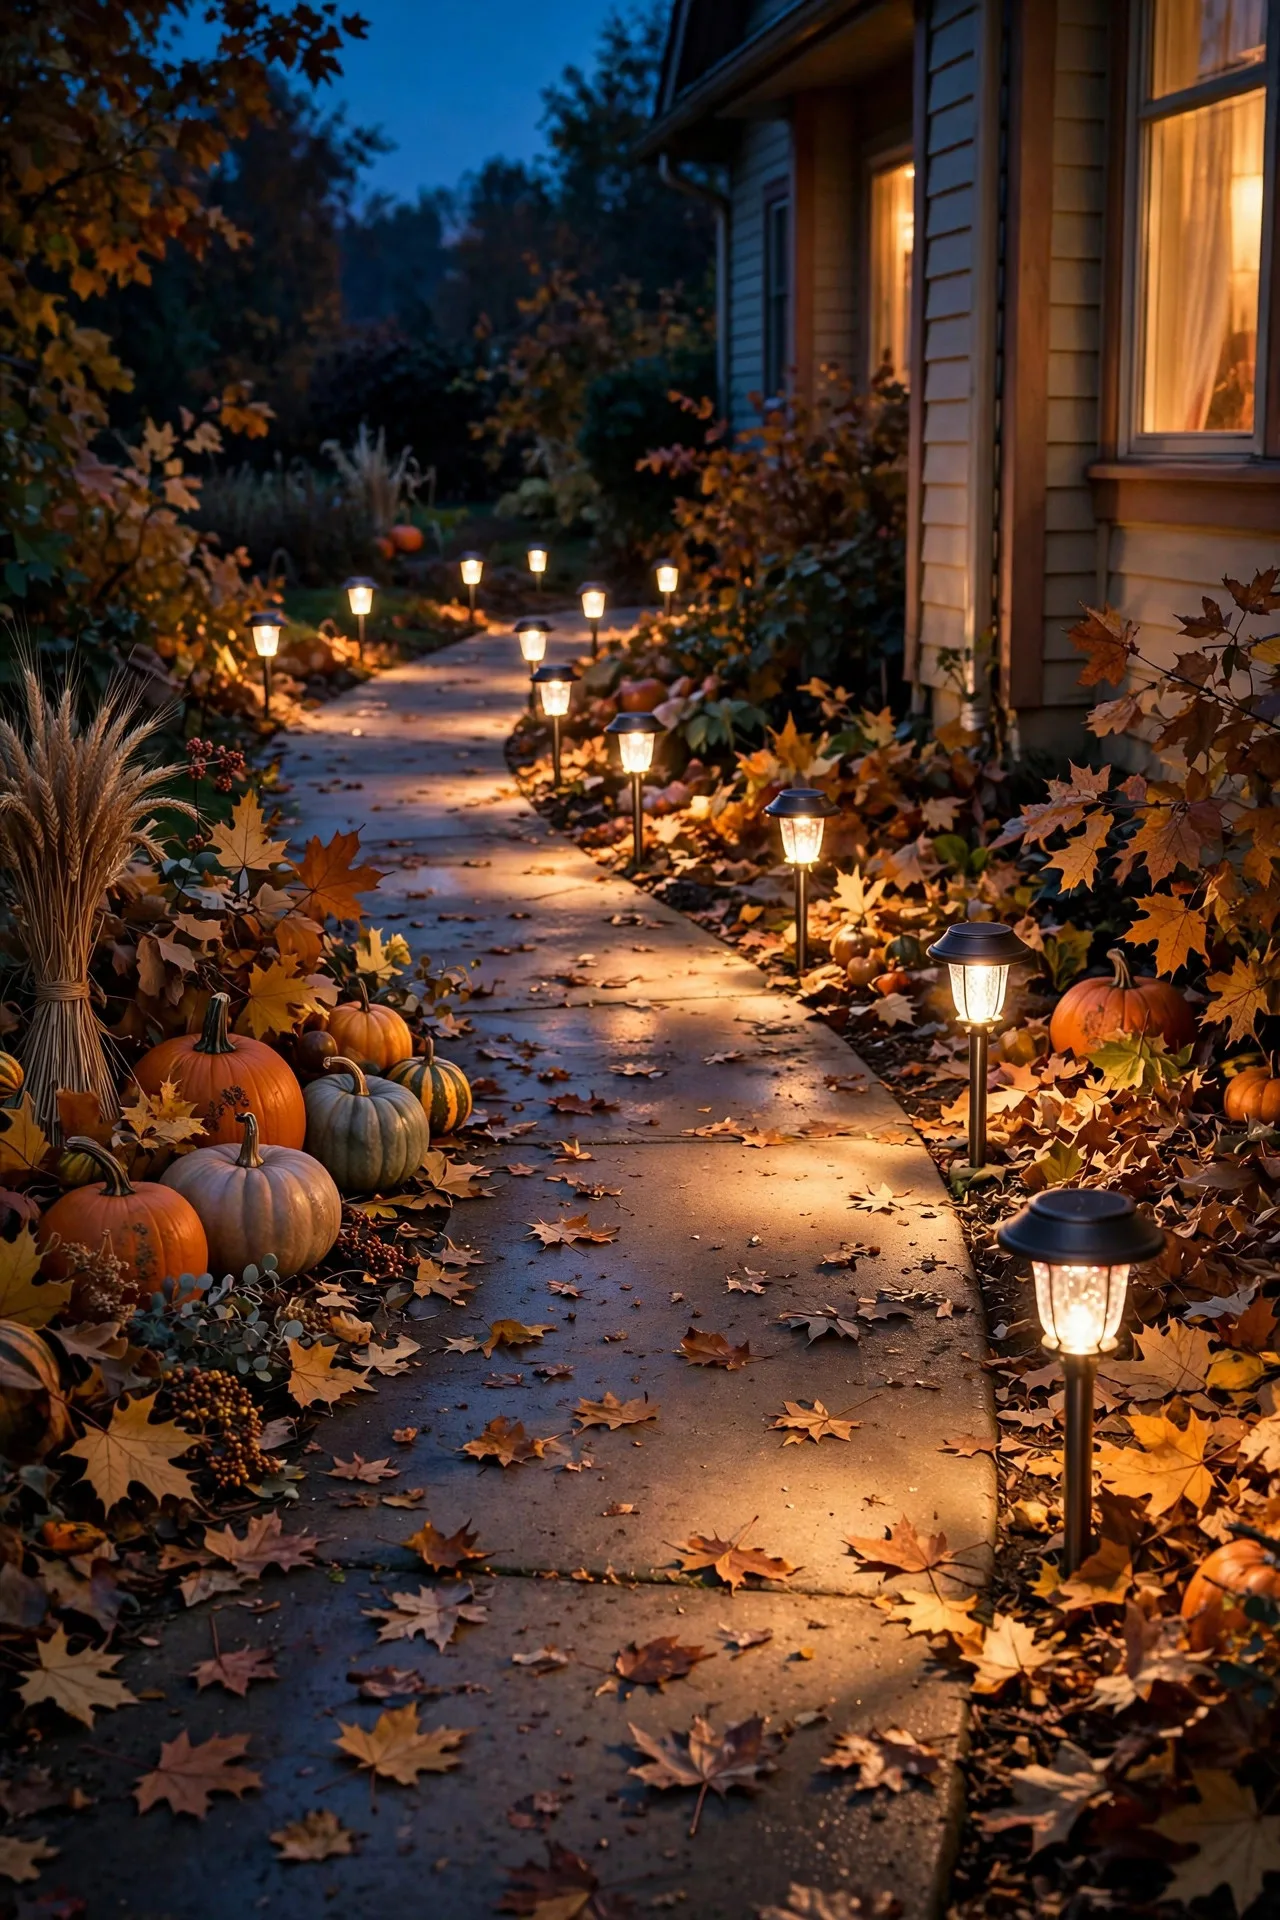
13. Install Solar Path Lights: Simple Thanksgiving Outdoor Lighting for Side Yards
The front gets all the attention, but guests coming from the garage or side yard need safe, welcoming light too. I line side paths with solar stake lights, spacing them 6 to 8 feet apart so the pools of light just barely overlap. Stick to warm white (2700K) — cool blue solar lights clash horribly with fall decor.
Place the solar panels where they'll get direct afternoon sun; a stake tucked under the eave will charge all day and die by 8 p.m. In my experience, metal-staked models hold up far better than plastic ones through freeze-thaw cycles. These are also the cheapest way to add real safety lighting without touching a single wire. As a bonus, they make your home look fully finished from every angle, not just the postcard view from the street. Replace the rechargeable batteries every two seasons to keep the glow strong into the evening.
Suggested budget range: $25 – $50.
14. Spotlight the Wreath with a Picture Light
A fall wreath on the door deserves its own spotlight — otherwise it vanishes into the dark after 5 p.m. I clip a small battery-operated LED picture light (the art-gallery style) to the top of the wreath frame, or mount a plug-in mini spotlight on the doorframe about 2 feet above the wreath, aimed downward.
Warm white light angled down over dried grasses, berries, and mini pumpkins makes the wreath look three-dimensional and expensive. A battery picture light is renter-friendly and installs in seconds with no wiring; the plug-in version is brighter and better for grander wreaths. Either way, put it on the same dusk timer as the rest of your display so everything wakes up together. This tiny upgrade gets more compliments than almost anything else I do — guests always ask about it. Keep a spare set of batteries nearby, since battery picture lights dim gradually rather than dying all at once.
Suggested budget range: $20 – $45.

15. Tie It All Together with a Timed Dusk-to-Bedtime System
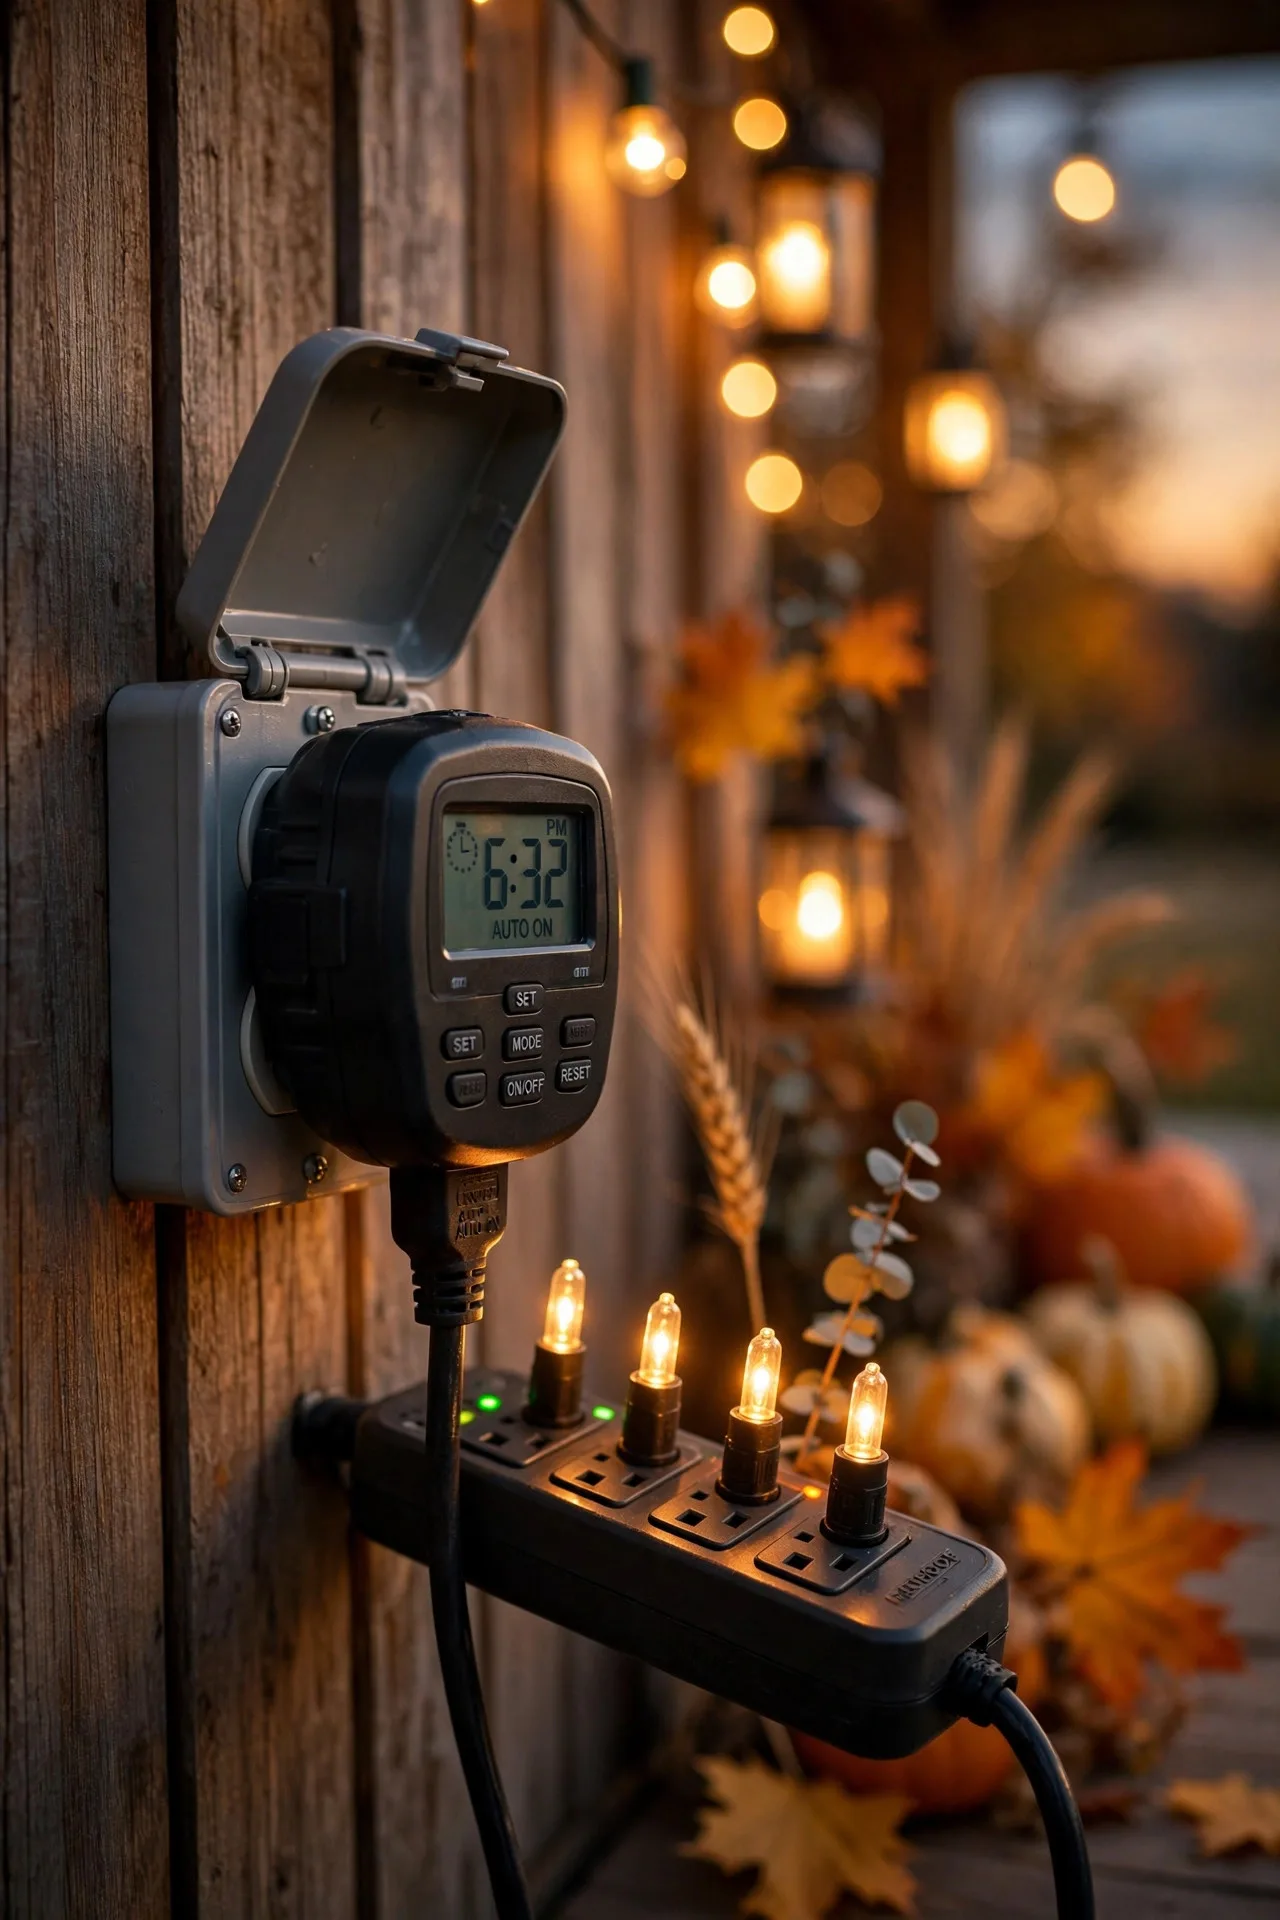
Here's the idea that makes the other fourteen actually work: put everything on one coordinated timer system. I run my displays off a combination of photocell timers (which sense dusk and flip on automatically) and simple plug-in digital timers, all set to shut off around 10 or 11 p.m. — welcoming for guests, kind to neighbors, and gentle on the electric bill.
Group your lights on two or three outdoor power strips, each with its own timer, so a single fuse doesn't take down the whole display if one strand gets wet. Smart plugs are my favorite upgrade here: you can turn the whole show on from your phone as you're driving home, or schedule scenes like "dinner mode" (everything on) and "bedtime" (just the path lights). Test the full system at dusk a few days before Thanksgiving so you're troubleshooting with tea, not guests. Honestly, once you've timed one holiday display, you'll never go back to flipping plugs by hand.
Suggested budget range: $30 – $80.
Frequently Asked Questions
When should I put up thanksgiving outdoor lighting?
I recommend starting the first or second week of November — early enough that you're done before the holiday rush, but late enough that the display still feels special. Most of the ideas here are harvest-season neutrals, so they carry you right through Thanksgiving without looking like you rushed Christmas. If you also decorate for Christmas, plan your Thanksgiving pieces to transition: warm white lights and lanterns stay up; you just swap the gourds for greenery.
What color temperature looks best for Thanksgiving lighting?
Warm white (2700–3000K) is the gold standard for thanksgiving outdoor lighting, with amber tones (2000–2200K) as a beautiful accent on foliage. These warm temperatures echo candlelight and fireplaces, which is exactly the feeling you want for a November evening. Avoid cool white (4000K+) and blue-toned lights — they read as security lighting and flatten the warmth of fall colors.
Are solar lights or plug-in lights better for fall displays?
It depends on the job. Solar lights are unbeatable for accents — planter stakes, small path lights, anything without an outlet nearby — because there's no wiring to deal with. But for main features like cafe strings, uplights, and anything you want guaranteed bright on a cloudy November day, plug-in low-voltage or mains lights on a timer are more reliable. I use a mix: solar for the flourishes, plug-in for the backbone.
How much does thanksgiving outdoor lighting cost overall?
A lovely, layered display runs between $150 and $400 in total if you're starting from scratch, based on my budget ranges above. The good news: almost everything here is reusable year after year — LED strands, lanterns, timers, and solar stakes don't expire in January. Buy the infrastructure (timers, extension cords, stakes) once, and future Thanksgivings cost you almost nothing beyond maybe a fresh garland.
Conclusion
A welcoming home on Thanksgiving night isn't about the biggest display on the block — it's about layers of warm light that guide your guests in and tell them they're loved. With thoughtful thanksgiving outdoor lighting, from a glowing walkway to a spotlit wreath, your home can deliver that feeling in amber and gold before anyone even reaches the door.
Start with one idea that fits your evening — maybe the luminaries this year, the cafe lights next — and build your display one cozy layer at a time. If you're looking for more inspiration, browse my other seasonal lighting ideas for the porch and holidays, and you'll have a glow worth gathering around all season long.