If your solar path lights used to glow until you went to bed and now they give up right after dinner, I have good news: the light itself is probably fine. What wears out is the rechargeable cell inside, and solar light replacement batteries are cheap, standard, and honestly one of the easiest fixes in the whole yard. The trouble is the buying part. Shelves and listings throw around NiCd, NiMH, 18650, 1.2 volts, 3.7 volts and mAh numbers like everyone keeps a battery chart in their head — I certainly did not when I started. So this guide slows it down. You will learn the four chemistries and which one your light wants, how sizes and capacities actually work, how to read the label on the cell you already own, the swap itself step by step, and how a smarter battery choice buys you real extra hours of light at night. No engineering degree, no guesswork — just the plain-English version I wish someone had handed me years ago.
The Short Answer
Most solar lights run on one standard rechargeable cell — usually an AA or AAA NiMH battery — and swapping in fresh solar light replacement batteries takes about five minutes and a few dollars. Match three things from the old cell: the size, the chemistry, and the voltage printed on its label. A higher mAh number means a longer runtime, as long as the little panel can actually fill it. Expect one to three years from a typical cell, and never toss a dead one in the trash — every chemistry here belongs at a battery recycling drop-off instead.
Solar Light Replacement Batteries: The Four Chemistries, Compared
Nearly every solar light ever screwed onto a fence post runs on one of four rechargeable chemistries, and knowing which one you have is the whole ballgame, because they are not interchangeable.
NiCd (nickel cadmium) is the old-timer. If your lights are more than about eight years old, or they were the cheapest set on the shelf, this is probably what is inside. NiCd tolerates heat and abuse, but it holds a modest charge, suffers from the famous memory effect when it is only partly drained day after day, and contains cadmium, which makes it the one chemistry here that counts as genuinely hazardous waste. The good news: most lights that shipped with NiCd happily accept a NiMH replacement in the same size, and that is an upgrade in every way.
NiMH (nickel metal hydride) is the modern default, and most solar light replacement batteries you will ever buy are this type. It runs at the same 1.2 volts as NiCd, shrugs off the partial charging that solar lights do all summer, and packs roughly double the capacity into the same AA or AAA shell. This is the cell inside the vast majority of path lights, stake lights and string lights sold today.
Lithium-ion, usually in the chunky 18650 size at 3.7 volts, powers brighter spotlights, flood lights and motion lights that need real punch. It stores far more energy, but it demands a light built for it — never drop a lithium cell into a light made for 1.2-volt cells.
LiFePO4 (lithium iron phosphate) is the premium cousin at 3.2 volts: tougher in summer heat, good for far more charge cycles, and increasingly common in better spotlights. Match the chemistry, size and voltage of the old cell and you cannot go far wrong.
Sizes and Capacities in Plain English
Battery sizes sound like alphabet soup until you realize most solar lights use just three shapes.
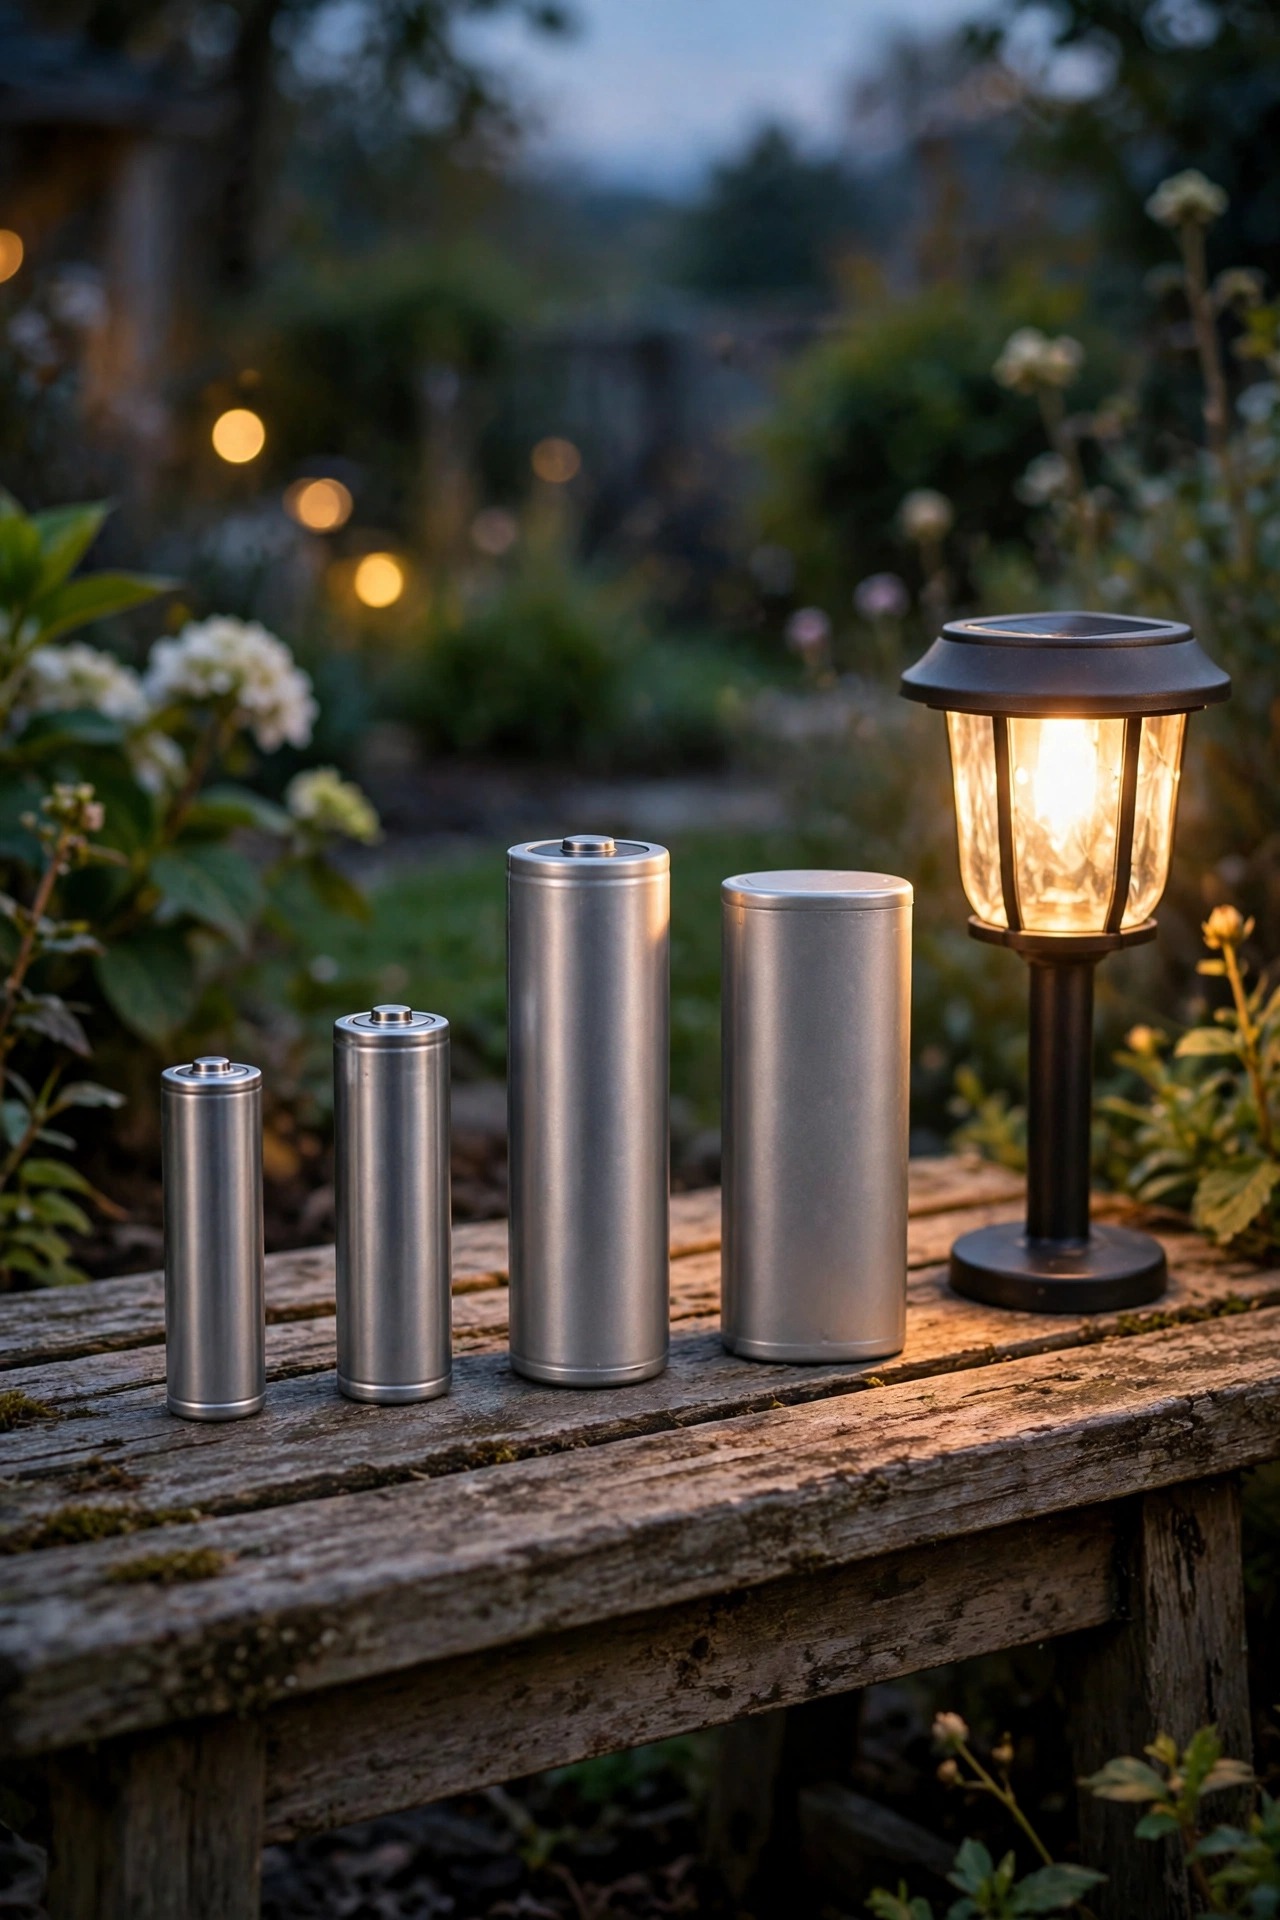
AAA is the slim one, found in small stakes, fairy-light strings and decorative pieces that sip power. AA is the workhorse — the standard cylinder in most path lights, usually one per light, sometimes two side by side. The 18650 is the fat lithium cylinder hiding inside spotlights and flood lights; its name is simply its dimensions, 18 mm across and 65 mm long. Its lookalike trap is the 14500: exactly AA-sized, but a 3.7-volt lithium cell. Size alone never tells you the voltage, which is why the label matters more than the silhouette. Some string lights and larger lanterns hide a sealed pack instead — two or three cells shrink-wrapped together with a little plug. Those are replaceable too; match the voltage printed on the pack and the connector shape and you are set.
Then there is the number that actually predicts your evening: milliamp-hours, written mAh. Think of it as the size of the fuel tank. A typical AA NiMH cell holds 600 to 2,000 mAh, an AAA about 300 to 900, and an 18650 anywhere from 1,200 to 3,500. A bigger tank means a longer glow — with one honest warning. Budget no-name cells are notorious for printing fantasy numbers, and a cell claiming 3,800 mAh in an 18650 body is almost certainly lying. A realistic rating from an honest maker beats an inflated one every single time, in my experience.

Solar Light Replacement Batteries: How to Read What Your Light Takes
The single most reliable spec sheet for your light is the battery already inside it, so before you buy anything, go and read it.
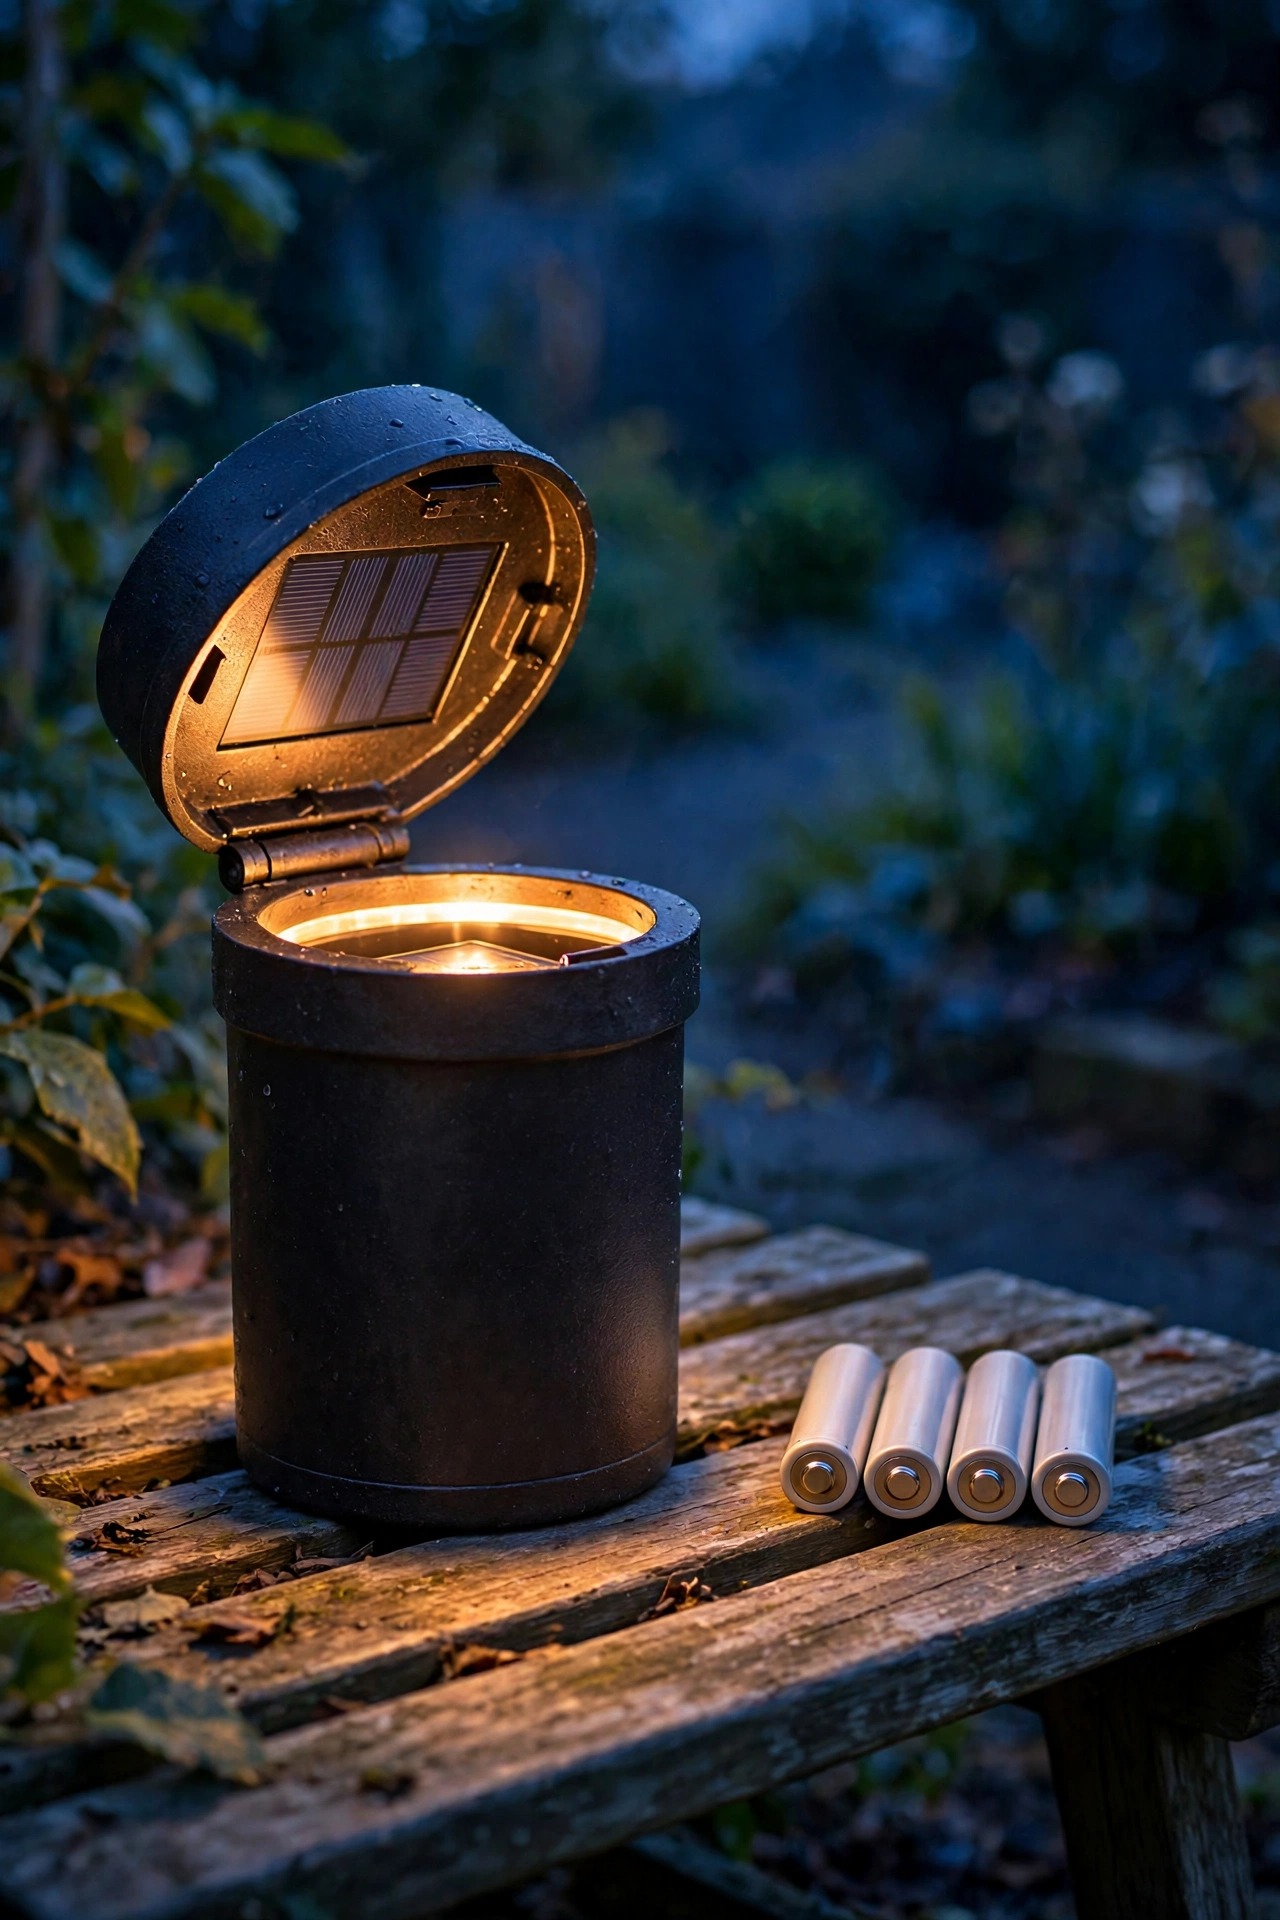
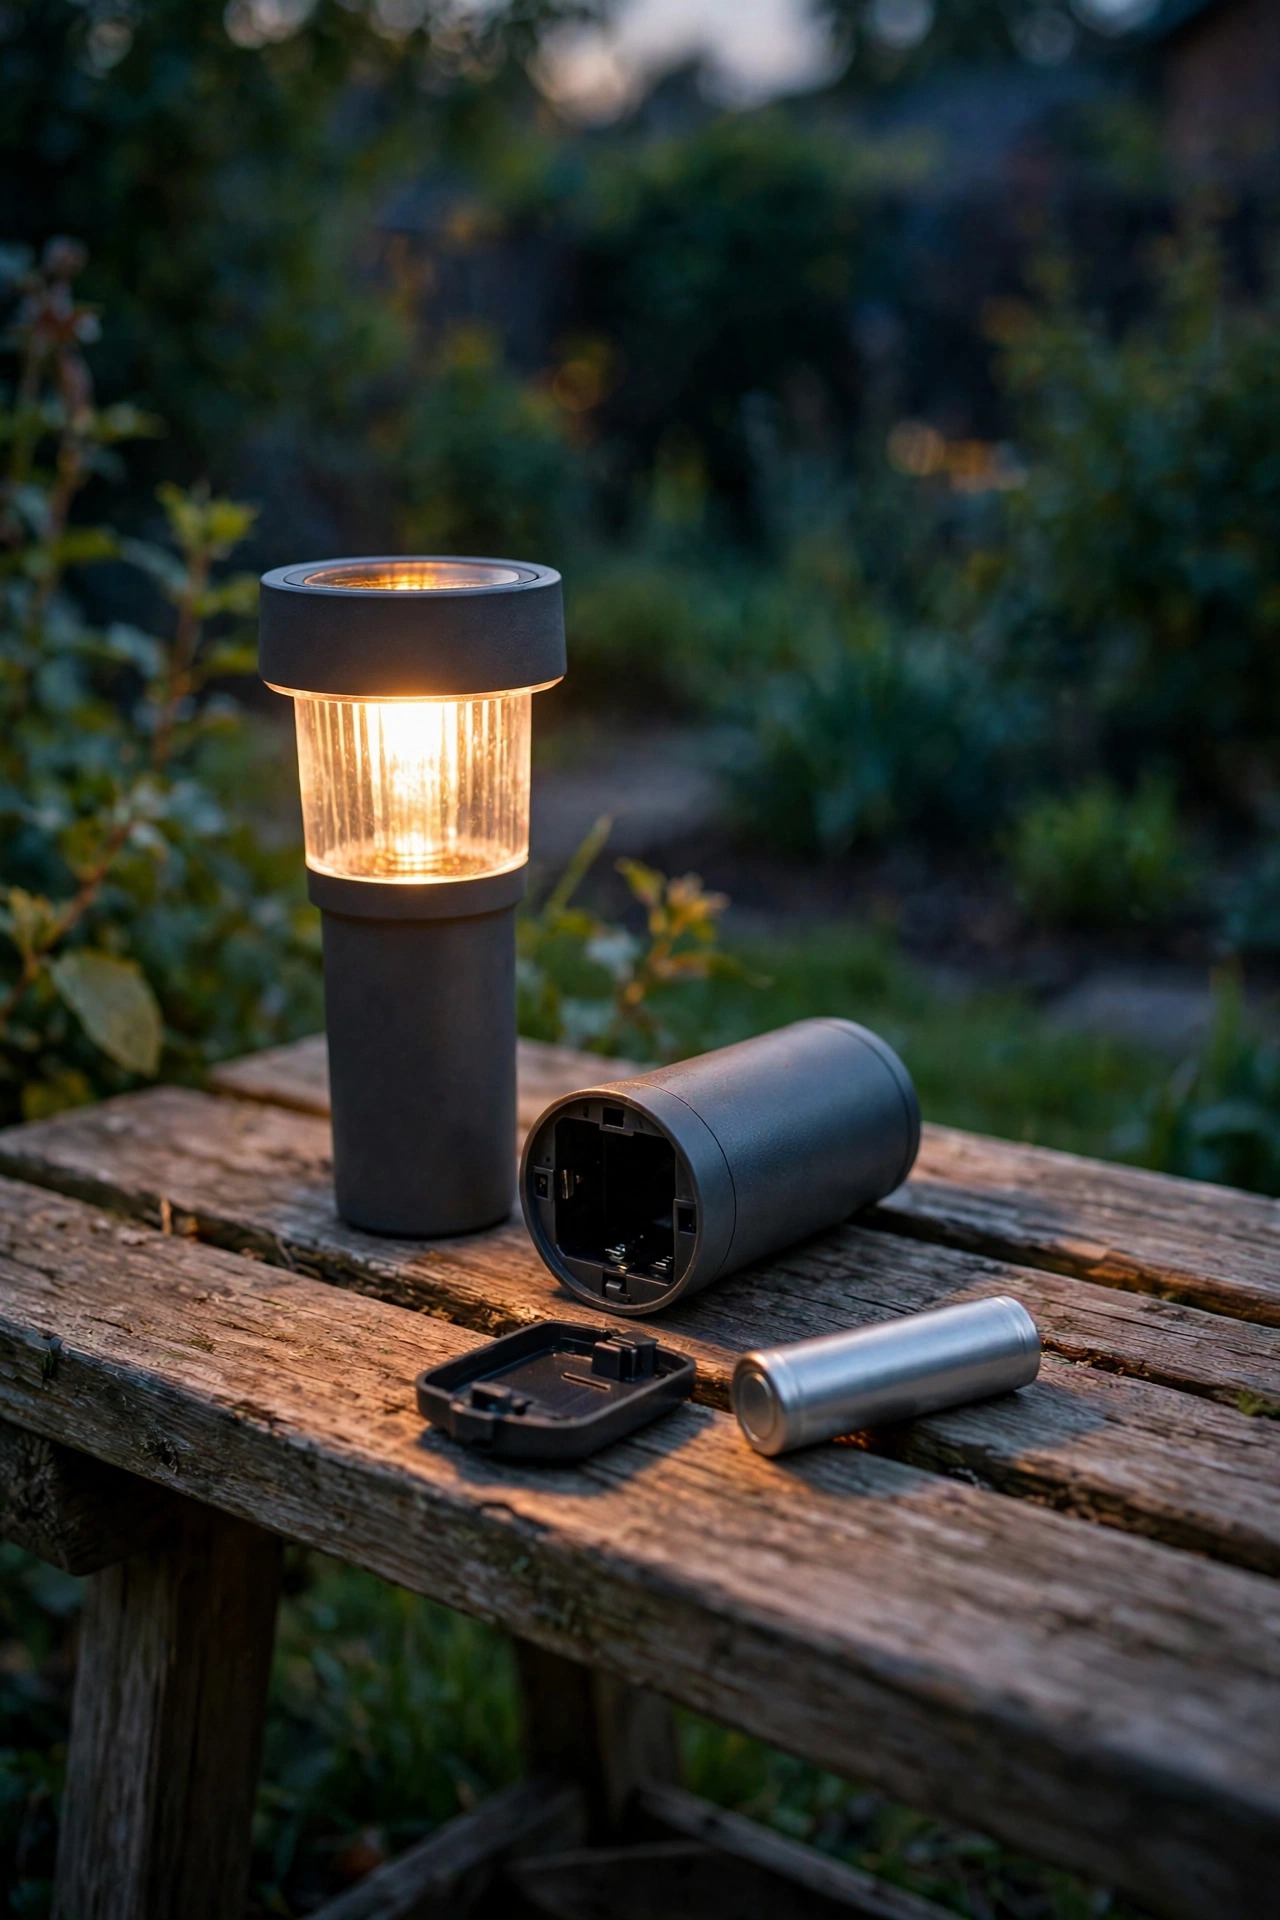
Most lights open in seconds: the top twists off, the stake pulls apart, or a little cover on the underside pops free. A few hide two small screws — keep them in a cup so they do not vanish into the mulch. Slide the cell out and read the wrapper. You are looking for four things: the chemistry letters (Ni-MH, Ni-Cd, Li-ion or LiFePO4), the voltage (1.2V, 3.2V or 3.7V), the capacity in mAh, and the size. Write all four down or snap a photo with your phone, because you will want them again in two years. If the print has faded, angle the cell under a lamp and it often reappears; if the wrapper is blank or shredded, measure instead. An AA is about 2 inches long and just over half an inch thick, an AAA is slimmer and a touch shorter, and an 18650 is noticeably fatter than both. Count the cells while you are in there, too — lights that run two AAs need both replaced together with a matched pair, or the weaker one drags the other down.
Voltage is the one line you never fudge. A light built for a 1.2-volt cell that gets fed 3.7 volts will cook its little circuit board, sometimes the first night. When in doubt, buy the exact chemistry and voltage that came out of the light, and let capacity be your only upgrade.

The Swap Itself, Step by Step
This is a five-minute job with zero drama, and it is the same routine for almost every light I own:
1. Work in daylight, and switch the light off if it has a switch. No switch? Cover the panel with a cloth so the light thinks it is noon.
2. Open the battery cover — twist the top, pull the sections apart, or back out the little screws into a cup.
3. Before you touch the old cell, note which end sits against the spring. Copy that orientation exactly with the new one.
4. Pop the old cell out. If the contacts look white or crusty, rub them clean with a dry cloth or a pencil eraser until the metal shines.
5. Seat the new cell firmly in the same orientation and give it a gentle press so both ends make honest contact.
6. Close everything up, set the light back in its spot in full sun, and switch it on.
7. Now the hard part: wait. Judge the result on the second or third night, after a full sunny day, not on night one — new cells arrive partly charged and almost always look disappointing at first.
I keep a step-by-step walkthrough with the sizes that trip people up in my guide to replacing solar light batteries, if you want company the first time through.
mAh Upgrades and the Runtime Math
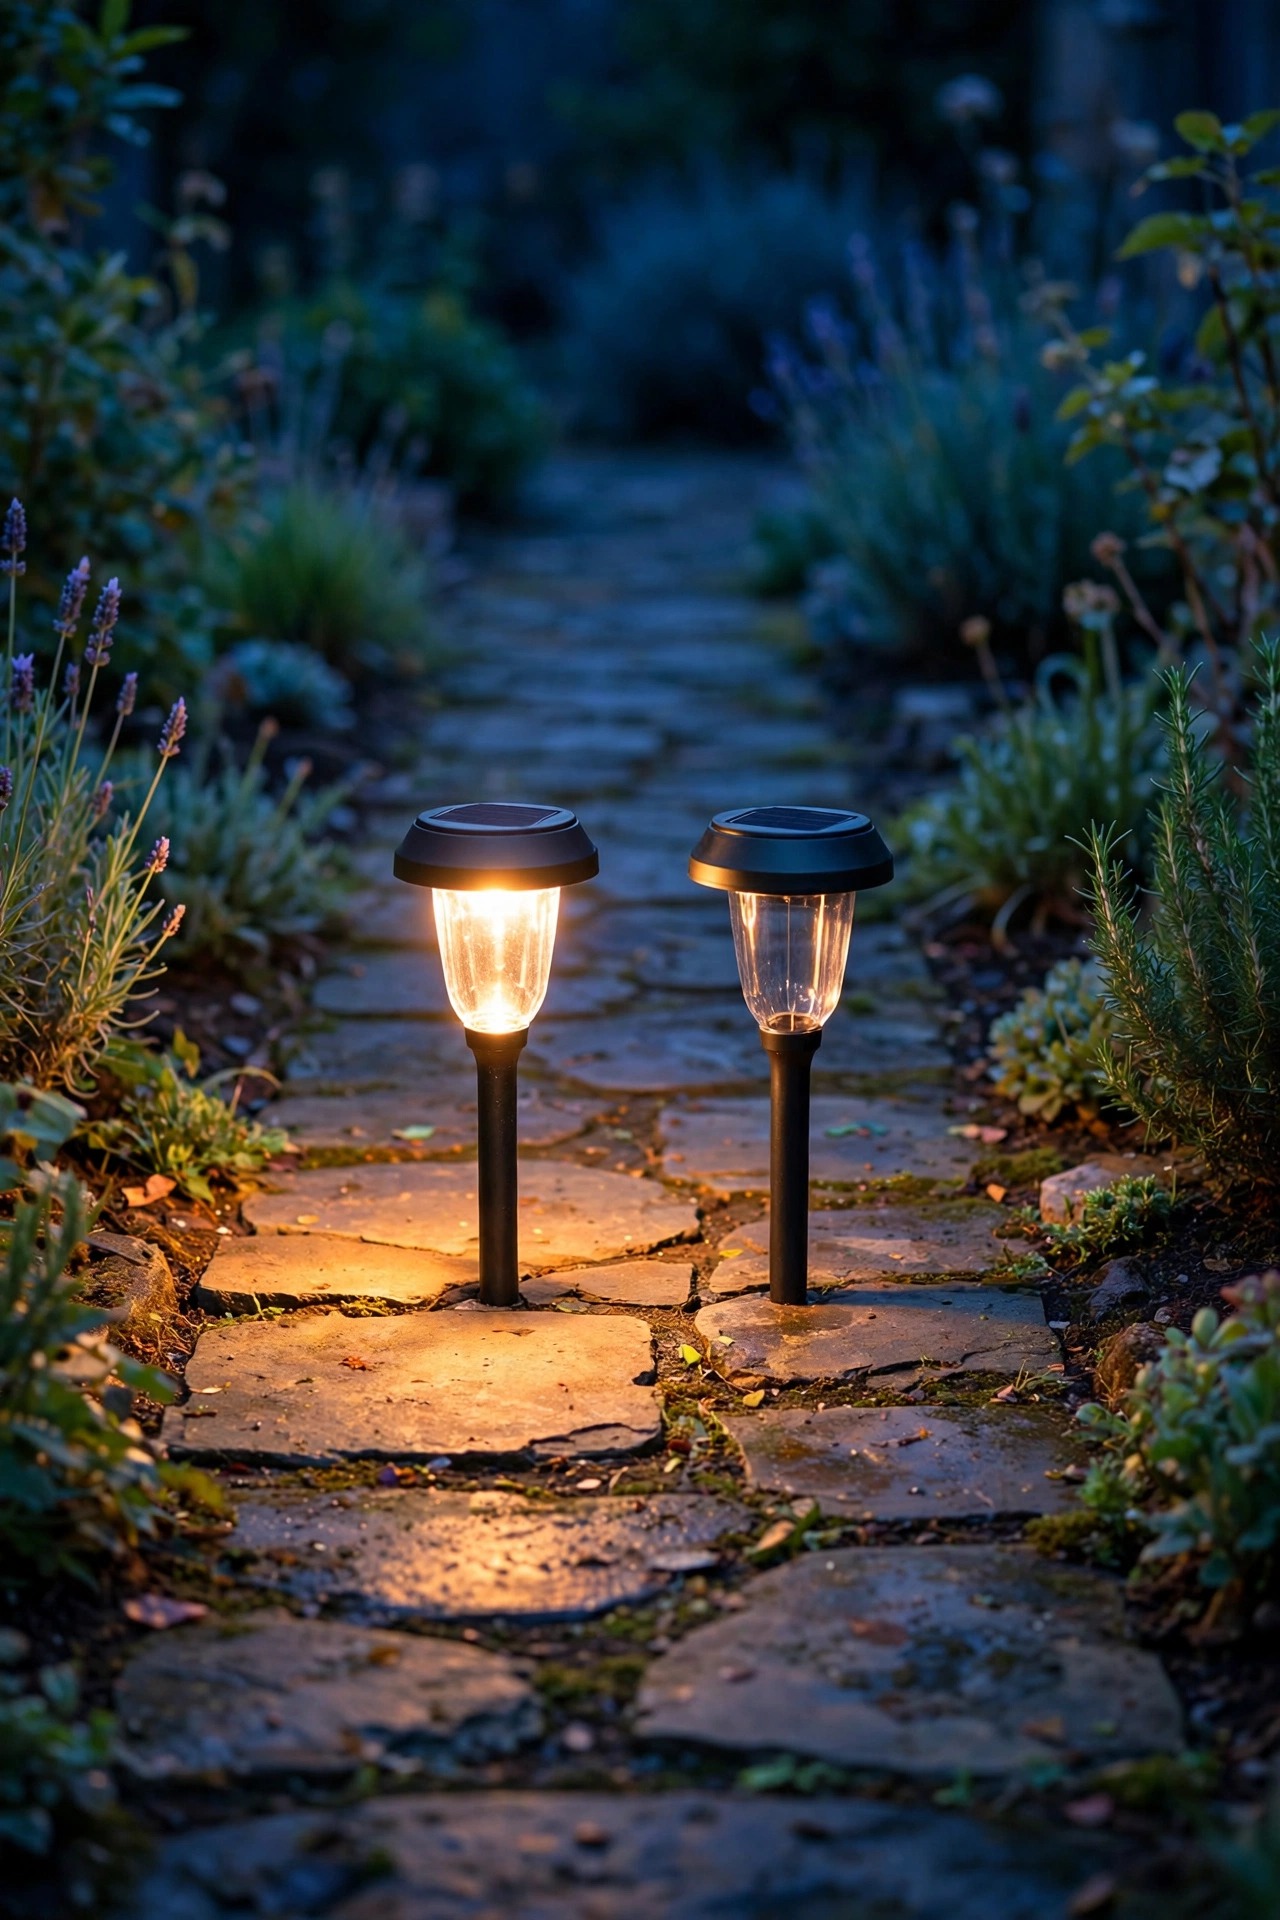
Here is the simple math that governs your evenings: runtime in hours is roughly the battery capacity in mAh divided by the current the LED draws in milliamps. A gentle path light might sip 15 milliamps, so an 800 mAh cell holds, in theory, fifty-plus hours of light. In practice the battery is rarely the limit in summer — the daily harvest is. That little panel on top might only gather 300 to 600 mAh on a good sunny day, and whatever it gathers is all you get to spend that night.
So what does upgrading from a 600 mAh cell to a 2,000 mAh one actually buy you? Real things, just not magic. The bigger tank carries you through two or three cloudy days in a row, because yesterday's surplus is still in storage. It keeps the light at full brightness deeper into the night instead of sagging at ten. And in a motion spotlight, a healthy 3,000 mAh 18650 instead of a tired 1,500 means more full-bright triggers before the reserve runs low. What it cannot do is manufacture sunshine: a giant cell behind a tiny shaded panel simply runs partly empty all year. My rule of thumb is to double the original capacity, not quintuple it. Spend the upgrade money on an honest, genuinely high-capacity cell, and put the light where the panel can actually fill it.
Charging and Conditioning New Cells
Replacement batteries do not arrive ready to party. Most ship at a partial storage charge, which is healthy for the cell but makes for a dim first night, so give every new battery a fair start.
You have two good options. The easy one is to install the cell, set the light somewhere genuinely sunny, switch it on, and let it charge for two full days before you judge anything — the second and third nights will tell the truth. The faster one, for NiMH and NiCd cells only, is to top the cell up first in a plug-in wall charger, so it goes in full and glows properly from night one. Lithium cells are the exception: let them charge inside the light they were made for, or in a charger built specifically for lithium, never in a NiMH charger.
As for conditioning, you can relax. The old NiCd ritual of draining a battery flat on purpose belongs to the NiCd era; NiMH does not need it and lithium positively dislikes it. A new cell settles in after two or three ordinary nights of charging by day and glowing by night. Two habits do help: keep the cells in each light a matched set of the same age and capacity, and store spares somewhere cool rather than in a baking garage — heat is the quiet killer of every chemistry on this page.

Disposal and Recycling: Dead Batteries Never Go in the Trash
When a cell truly dies — and after a couple of years, they do — it still matters where it goes next, because a dead battery in the kitchen trash is a small problem with a long tail.
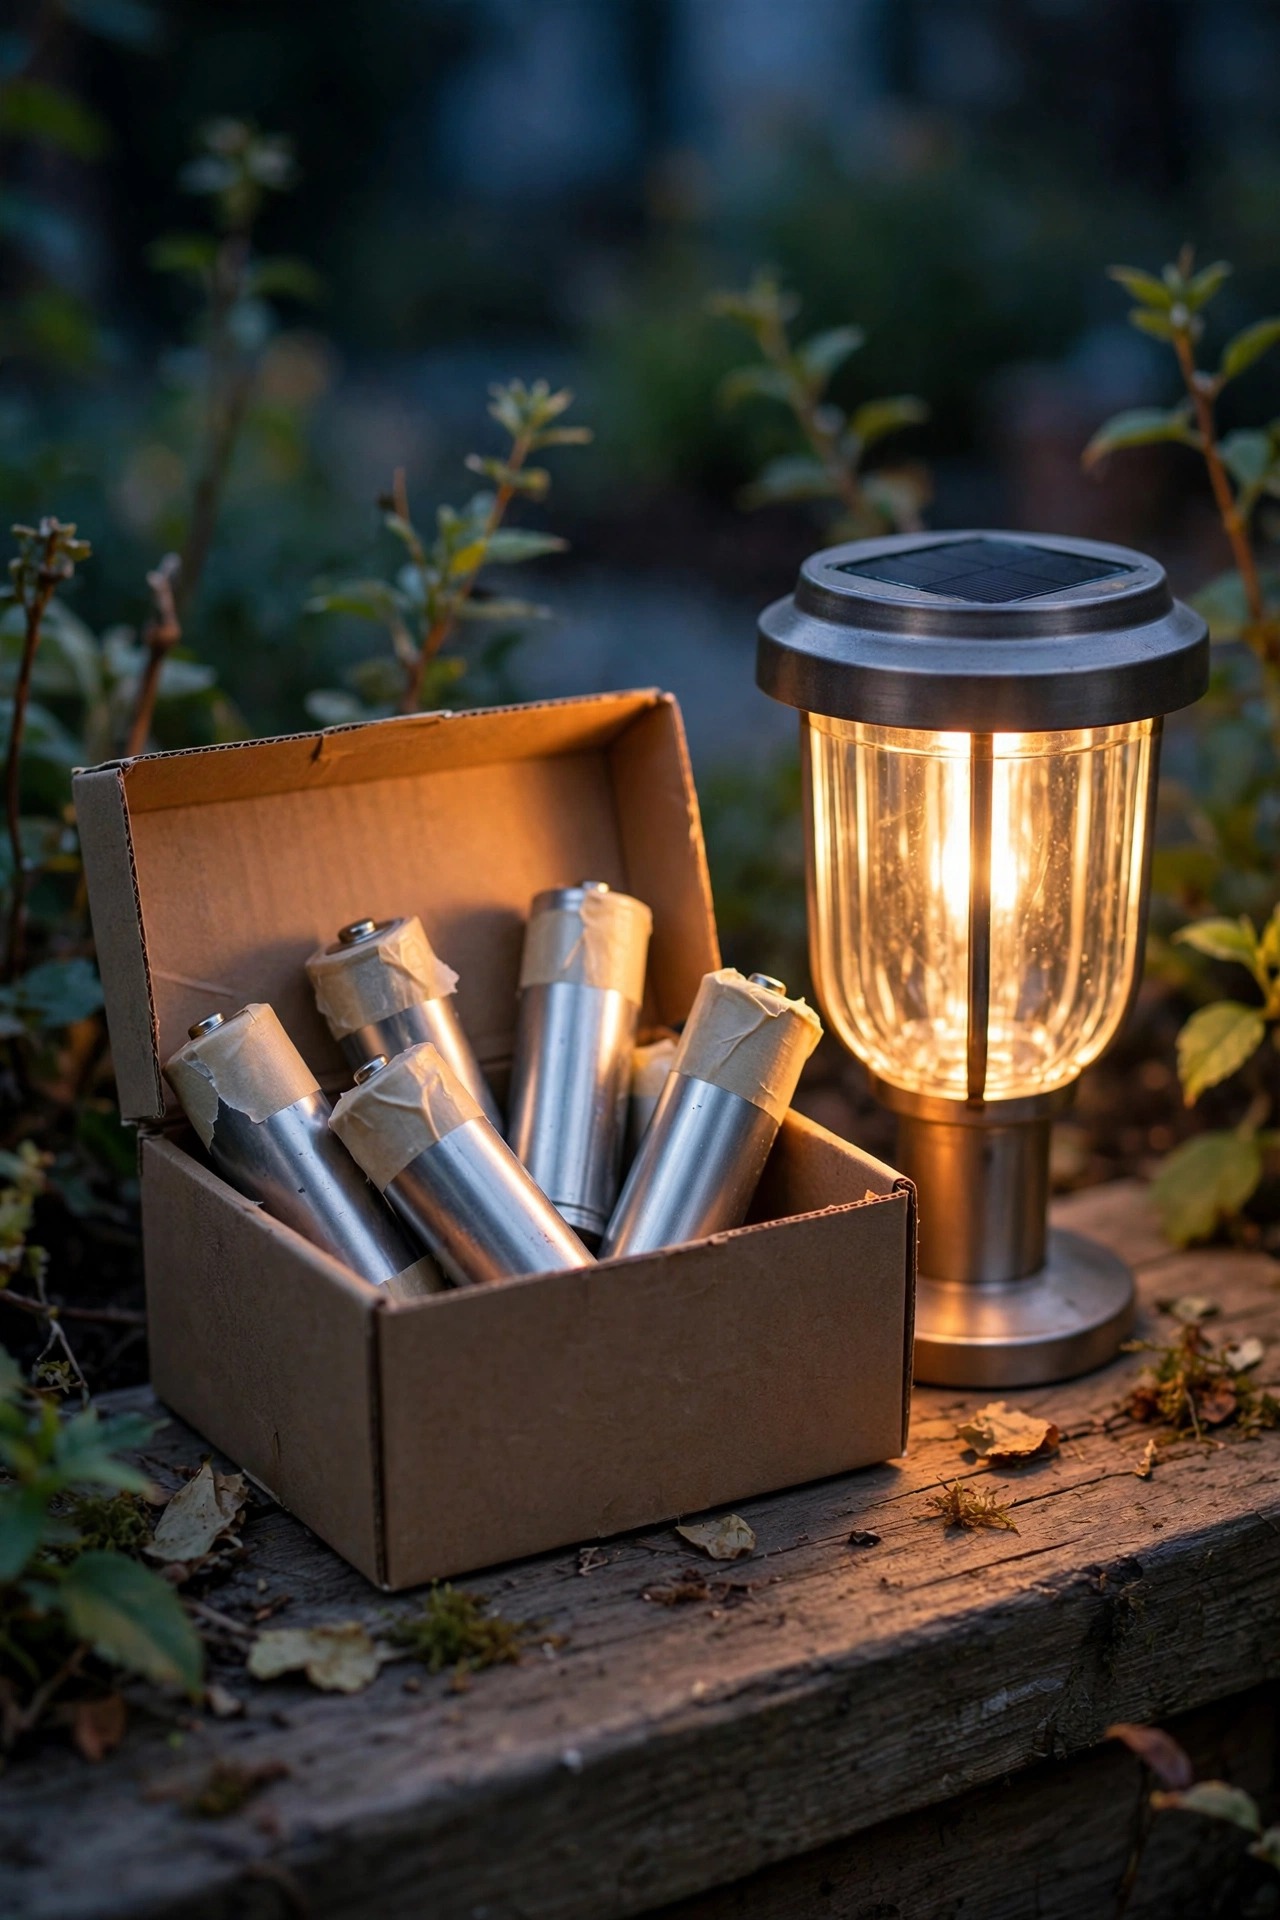
NiCd is the serious one: cadmium is a toxic heavy metal, and those cells are household hazardous waste, full stop. Lithium cells carry a different risk — crushed or punctured in a garbage truck or landfill, they can short out and start fires, which happens more often than most people realize. Even humble NiMH contains metals worth recovering instead of burying. The fix is painless. Big hardware stores keep a battery recycling bin near the door and take household rechargeables free; many towns run household hazardous waste days a few times a year; and mail-back recycling programs exist if you are rural. Tape over the terminals of lithium cells, or slip each one into its own little bag before drop-off, so the ends cannot touch and short in the bin. I keep a small box in the garage where dead cells collect, and it rides along on the next hardware store run. Rules vary a little by state and county, so check what your town prefers once and you are set for years.
When a New Battery Will Not Fix It
Sometimes you do everything right — right chemistry, right voltage, full sunny day — and the light still sulks. That is the light telling you the problem lives somewhere else.
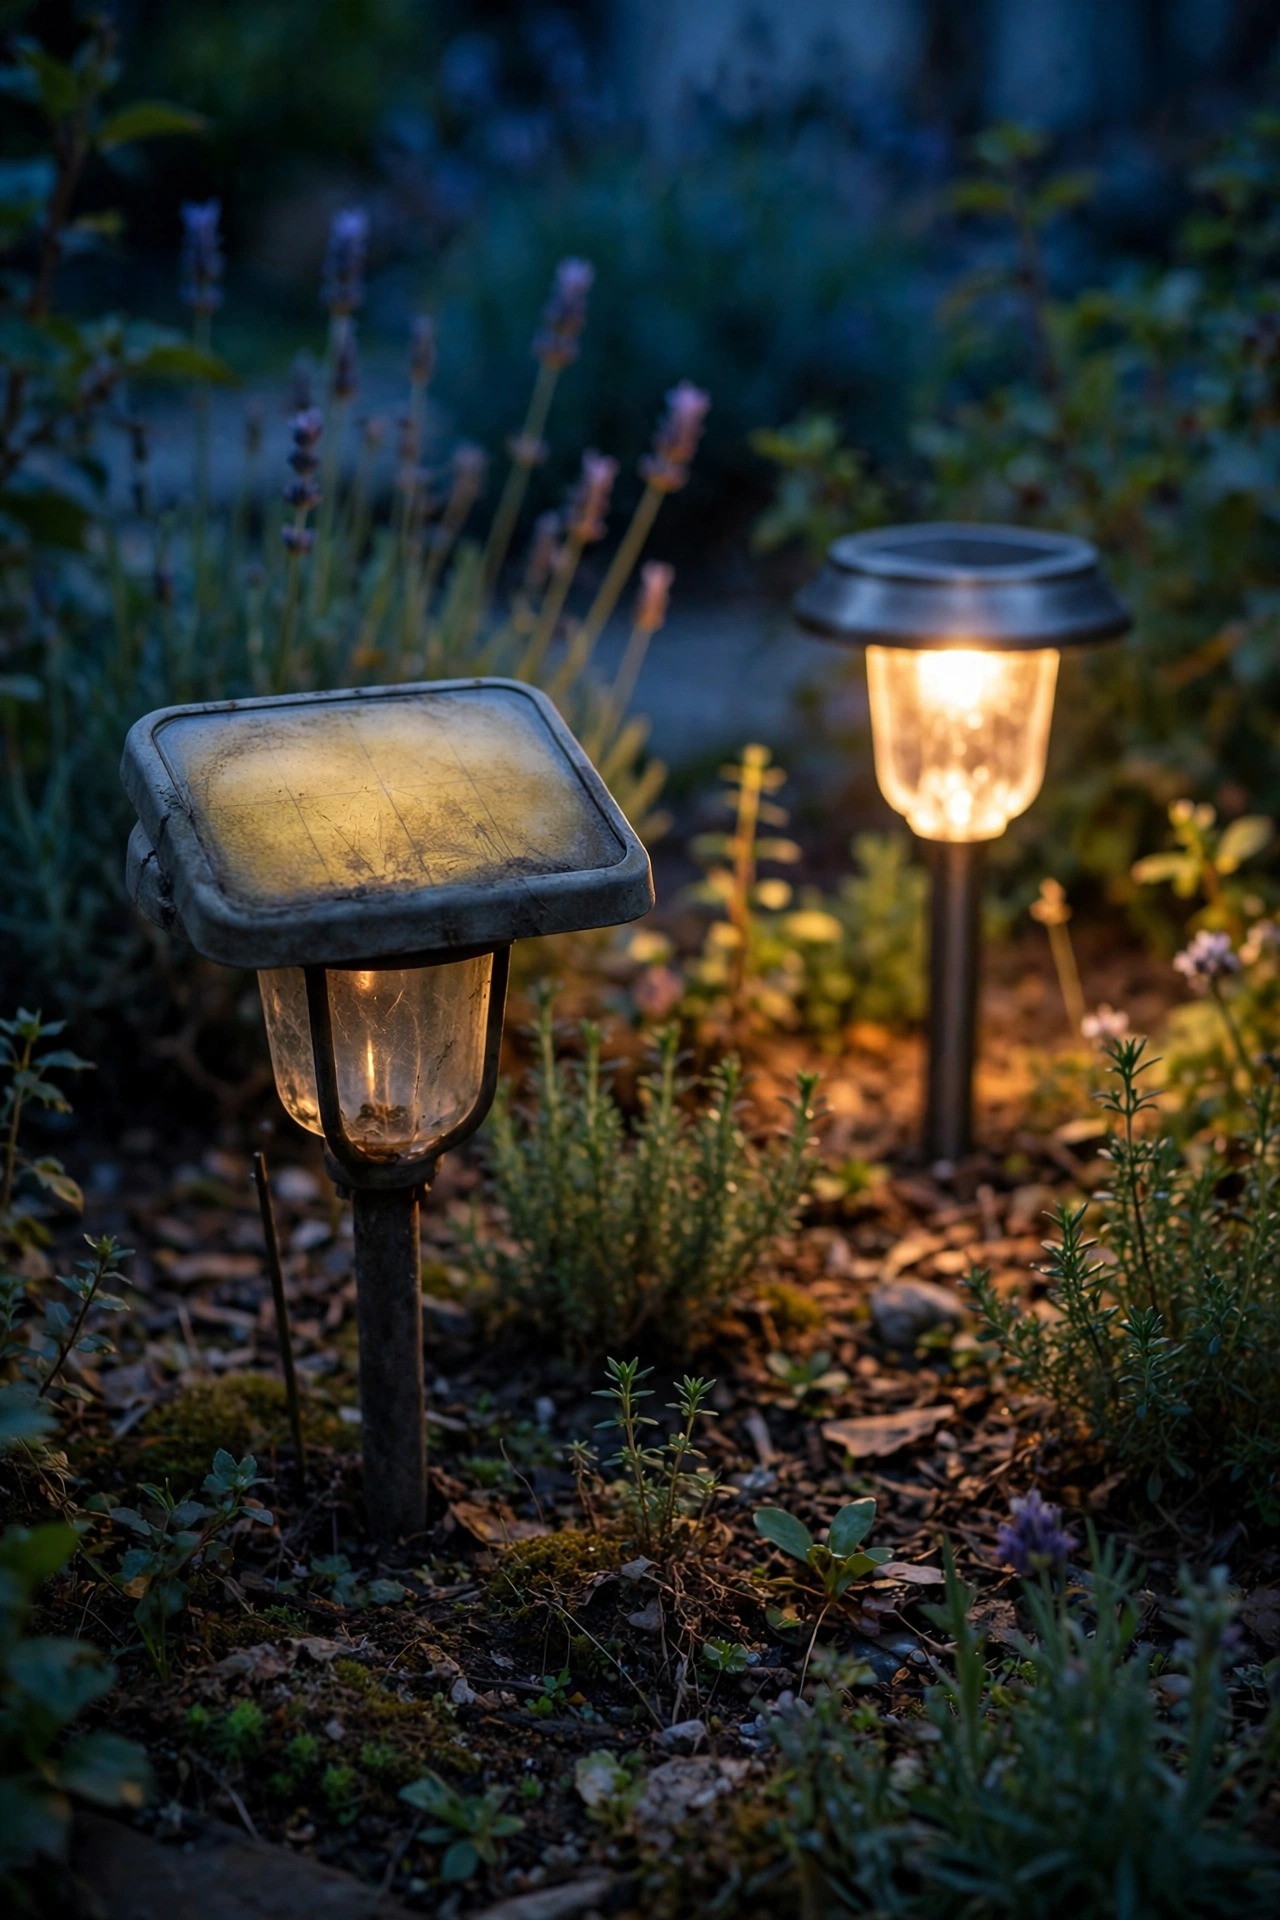
Prime suspect number one is the panel. The clear epoxy coating on bargain lights yellows and turns milky after a few summers, and a starved panel cannot fill any battery, however new. Suspect number two is shade that crept in: shrubs grow, trees leaf out, and last year's sunny spot is this year's shadow. Then come the mechanics — corrosion that has eaten through the little spring contacts instead of just dusting them, a dusk sensor that has failed so the light runs all day or never wakes at all, water fogging the inside of the lens, or, rarely, the LED board itself giving up.
Here is my three-minute test: borrow the known-good cell from a light that works and put it in the sick one. If the sick light springs back to life, your brand-new battery was a dud — it happens. If it stays dim with a proven cell, the light itself needs attention, and my solar lights not working fixes guide walks the stubborn cases in order. One comfort: a light that eats a second new battery within a year is almost never eating batteries. Something upstream is failing to fill them.
What It Costs in 2026
The happy headline: this is the cheapest revival in outdoor lighting. Single AA or AAA NiMH cells run about $2 to $5 each at retail, and four-packs at $8 to $16 bring the per-cell cost down to roughly $2 to $4. Premium high-capacity AA NiMH cells, the honest 2,000 mAh kind, cost about $4 to $7 each and are the ones I buy for my front walk. Lithium 18650 cells run $6 to $12 each, LiFePO4 cells about $7 to $14, and a sealed replacement pack for a string light lands around $8 to $15. A plug-in wall charger for pre-charging NiMH cells is a one-time $10 to $20 and earns its keep every spring.
Do the row math and it gets better. Refreshing eight tired path lights takes about $16 to $35 in cells, versus $30 to $80 for a whole new set — and your existing housings, which are usually the expensive part, stay out of the landfill. Budget-wise, plan on roughly one swap per light every two years and solar lighting stays nearly free to run. If you want the long view on what solar costs across its whole life, panels and replacements included, I worked it all through in my look at the long-term cost of solar lights.
Frequently Asked Questions
Can I replace a NiCd battery with a NiMH one?
Yes, in almost every case, and I recommend it. Both run at 1.2 volts and come in the same AA and AAA sizes, and the simple charge circuits in solar lights handle either. You get more capacity and no memory effect headaches. Just remember to recycle the old NiCd as hazardous waste. What you must never do is cross the voltage line — a 3.7-volt lithium cell is not a substitute for any 1.2-volt cell, whatever the shape suggests.
Can I use regular alkaline batteries in a pinch?
Please do not make a habit of it. Alkalines are 1.5-volt, single-use cells, and a solar light will spend all day trying to charge them, which can make them leak — and leaked alkaline eats battery contacts for breakfast. One emergency evening before guests arrive will not instantly ruin a light, but put the proper rechargeable back in the next day and clean the contacts if you see any residue.
Why is my light still dim with a brand-new battery?
Give it two or three genuinely sunny days before you worry — new cells ship partly charged and the first night lies. If it is still dim after that, work the list: wipe the panel clean, check that nothing new is shading it, and test with a known-good cell from a working light. A light that is bright with the borrowed cell had a dud replacement; a light that is dim with both has a panel, sensor or corrosion problem instead.
How often should solar light batteries be replaced?
Typically every one to three years, whenever the runtime has clearly shrunk — a light that once lasted until midnight quitting at nine is asking politely. Test before you toss, since shade and a dirty panel mimic a dying battery. Many decent lights run four to six years on two sets of cells before anything else wears out, so a couple of swaps across a light's life is normal, not a sign you bought badly.
Conclusion
Here is the part I love about all of this: the cheapest component in a solar light is the one that wears out first, and it takes five minutes to change. Learn to read the label on the old cell, match the size, chemistry and voltage, let capacity be your one upgrade, and solar light replacement batteries will rescue lights you were about to throw away — I have a whole row along my front walk on their third set of cells and their second lease on life. Start with the dimmest light you own, do one swap this weekend, and watch it out-glow its neighbors by Sunday night. Then browse the rest of my outdoor lighting ideas here for the next corner of the yard that deserves a little glow.