Here is the honest truth nobody prints on the box: solar lights in winter are fighting simple math. In December my yard gets barely five usable hours of weak, slanted sunlight, and then the night runs almost fifteen hours long. A path light that glowed past midnight in July is finished by eight in January, and it is not broken — it is underfed. I have spent six winters learning how to feed mine better, and the fixes cost far less than replacements: steeper panel angles for the low sun, a soft broom for the snow, fresh batteries before the deep cold, and honest job assignments for every fixture. In this list I will walk you through the 15 changes that keep my paths, porch, and driveway lit through the shortest days of the year — which lights deserve your effort, which ones should retire to the garage until March, and how many hours of glow you can honestly expect from each. Layer these the way I layer all my outdoor lighting, guidance first, welcome second, accents last, and winter stops being the season your solar lights go to die.
1. Tilt the Panels Steeper So Solar Lights in Winter Catch the Low Sun
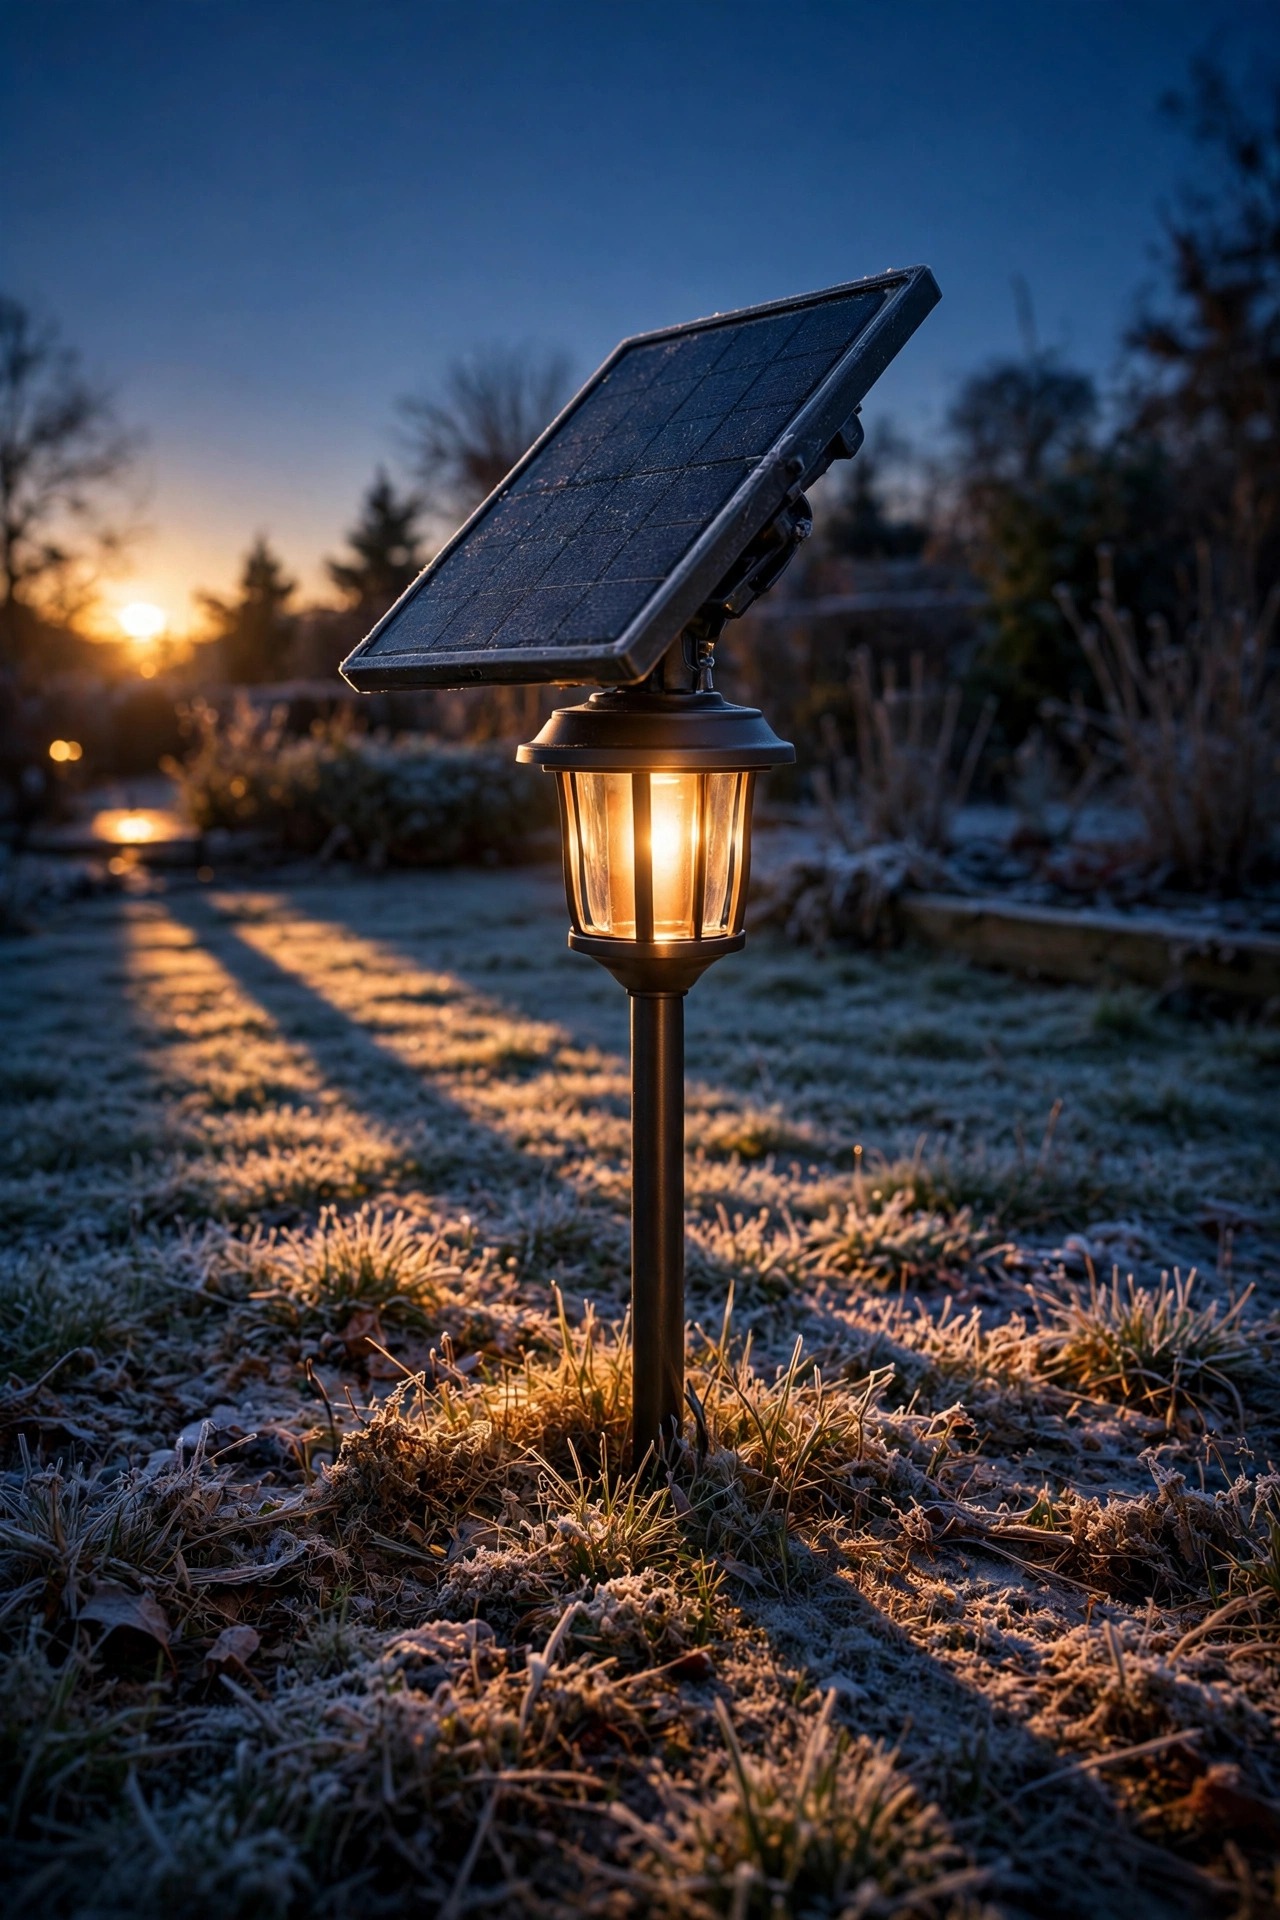
The winter sun does not just arrive late and leave early — it travels a completely different path. At noon in December it sits roughly 25 to 30 degrees lower in the sky than it does in June, which means a flat panel that drank in summer sun is now catching rays at a shallow, wasteful angle. My fix is embarrassingly simple: tilt every panel I can toward the south and steepen it to around 45 to 60 degrees from horizontal. Stake lights with adjustable heads get re-aimed in November. Fixed flat-top stakes get a small wedge of stone or a short paving block under the south edge of the panel, enough to tip the face toward the low sun. Lights with separate cabled panels are the easiest of all — I just re-pin the panel at a steeper angle on its stake or fence mount. The payoff is real: a well-tilted panel can harvest a third more energy on a clear December day than a flat one, and steep faces shed snow on their own. I always recommend doing the angle reset during your fall cleanup, before the ground freezes and stakes refuse to move.
Suggested budget range: $0 – $25.
2. Brush Snow Off the Panels the Morning After Every Storm
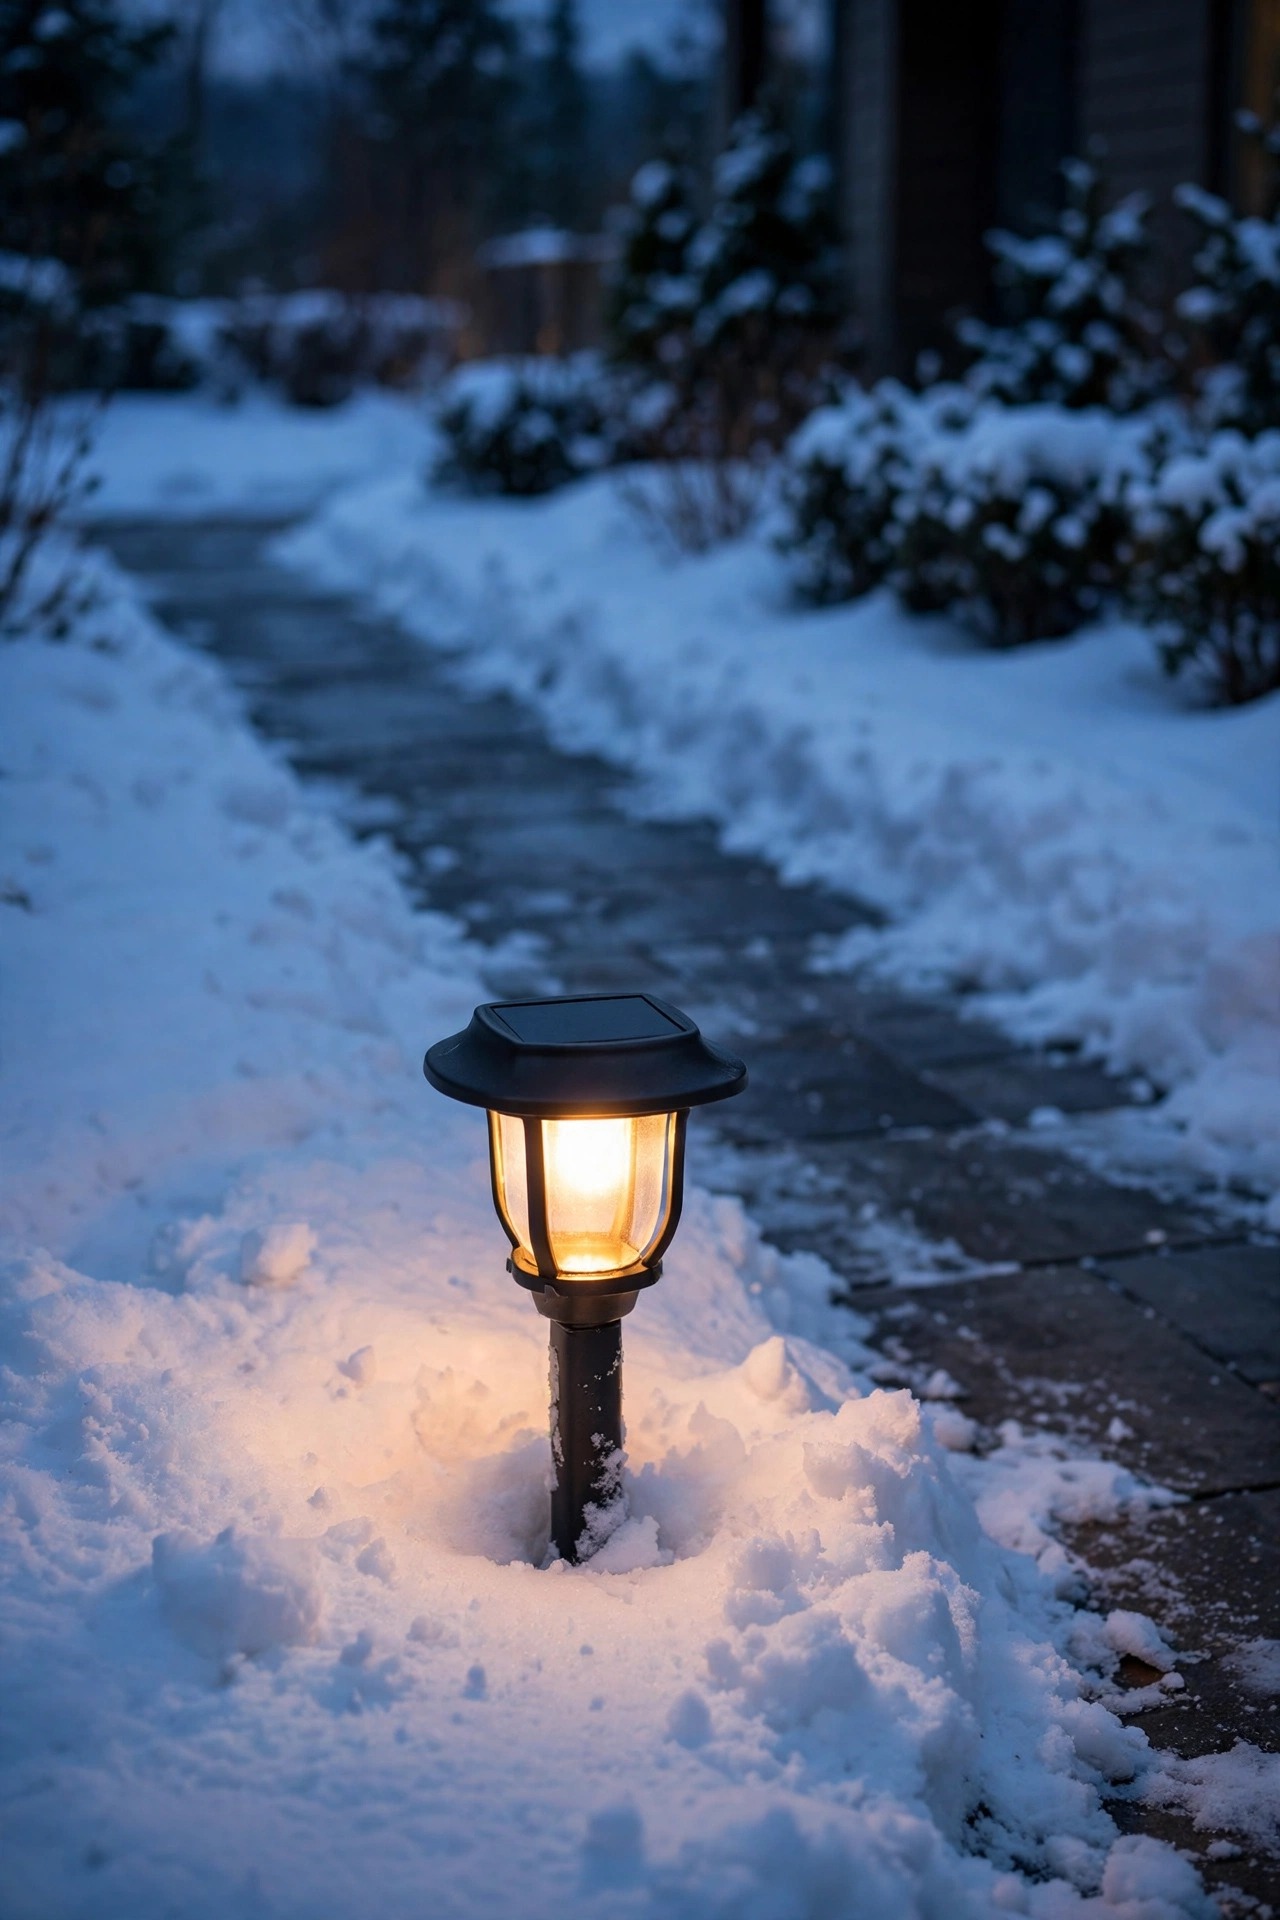
One inch of snow on a solar panel does not reduce charging — it ends it. Snow is nearly opaque to the panel underneath, and a light that misses two December days of charging in a row rarely catches up before the next storm. I keep a soft hand broom by the back door all winter, the kind with natural bristles, and I walk the paths after breakfast on storm mornings. Each panel gets two gentle sweeps. Never scrape with a shovel or an ice tool: frozen polycarbonate scratches easily, and every scratch is a permanent tax on charging for the life of the light. Watch for the sneakier problem too — the melt-freeze crust. A panel that partially melts at noon can refreeze into a sheet of clear ice by dark, and clear ice still blocks a surprising share of the light while looking clean from the kitchen window. A broom pass breaks it up while it is thin. In my experience this ten-minute habit is the single highest-value winter chore: my south path lights held a full evening of glow through a snowy January last year purely because their panels never sat buried for more than a day.
Suggested budget range: $5 – $15.
3. Move Your Keepers to the Sunniest South-Facing Spots
Winter rearranges the sunlight map of your yard. The fence shadow that covered a flower bed for an hour in July now covers it all day, and spots that were reliably sunny in summer can sit in building shade from November through February. Before the first hard freeze, I do a sun audit: I check the yard at 10 a.m., noon, and 2 p.m. on a clear day and note which areas actually receive direct sun. Then I move the lights that matter — the ones guarding steps, the driveway edge, the walk to the door — into those proven sunny pockets, ideally on the south side of the house, a fence, or a low hedge where nothing tall stands between the panel and the southern sky. The decorative extras can stay in the shadier beds; they were always part-timers. This is also why I favor stakes and movable fixtures for winter duty over anything permanently mounted in shade. A light relocated six feet can go from two hours of glow to six. Honestly, placement beats price every time: a modest light in full winter sun will outshine a premium one starving in shadow.
Suggested budget range: $0 – $20.

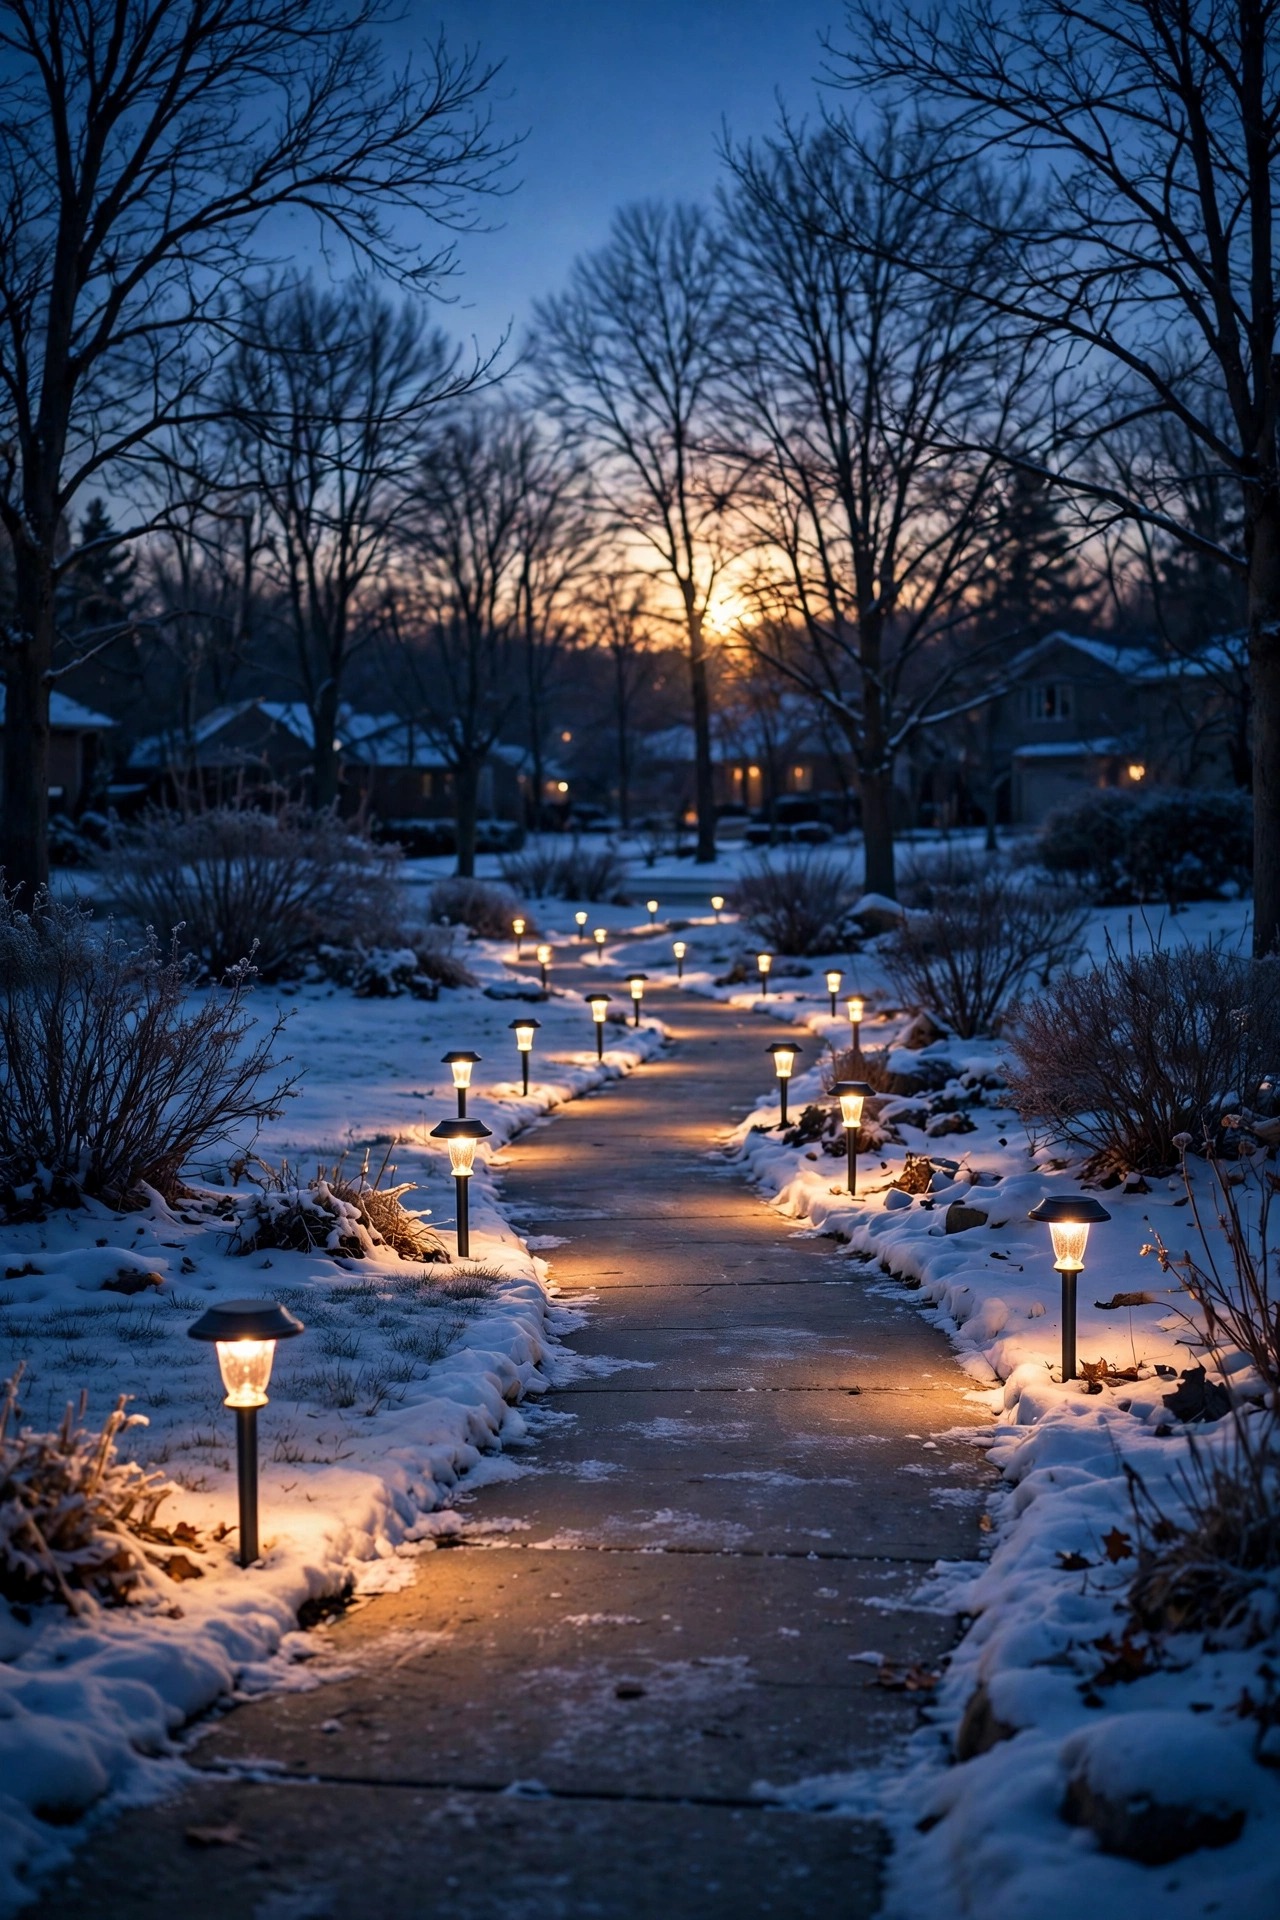
4. Start the Season With Fresh, High-Capacity Batteries
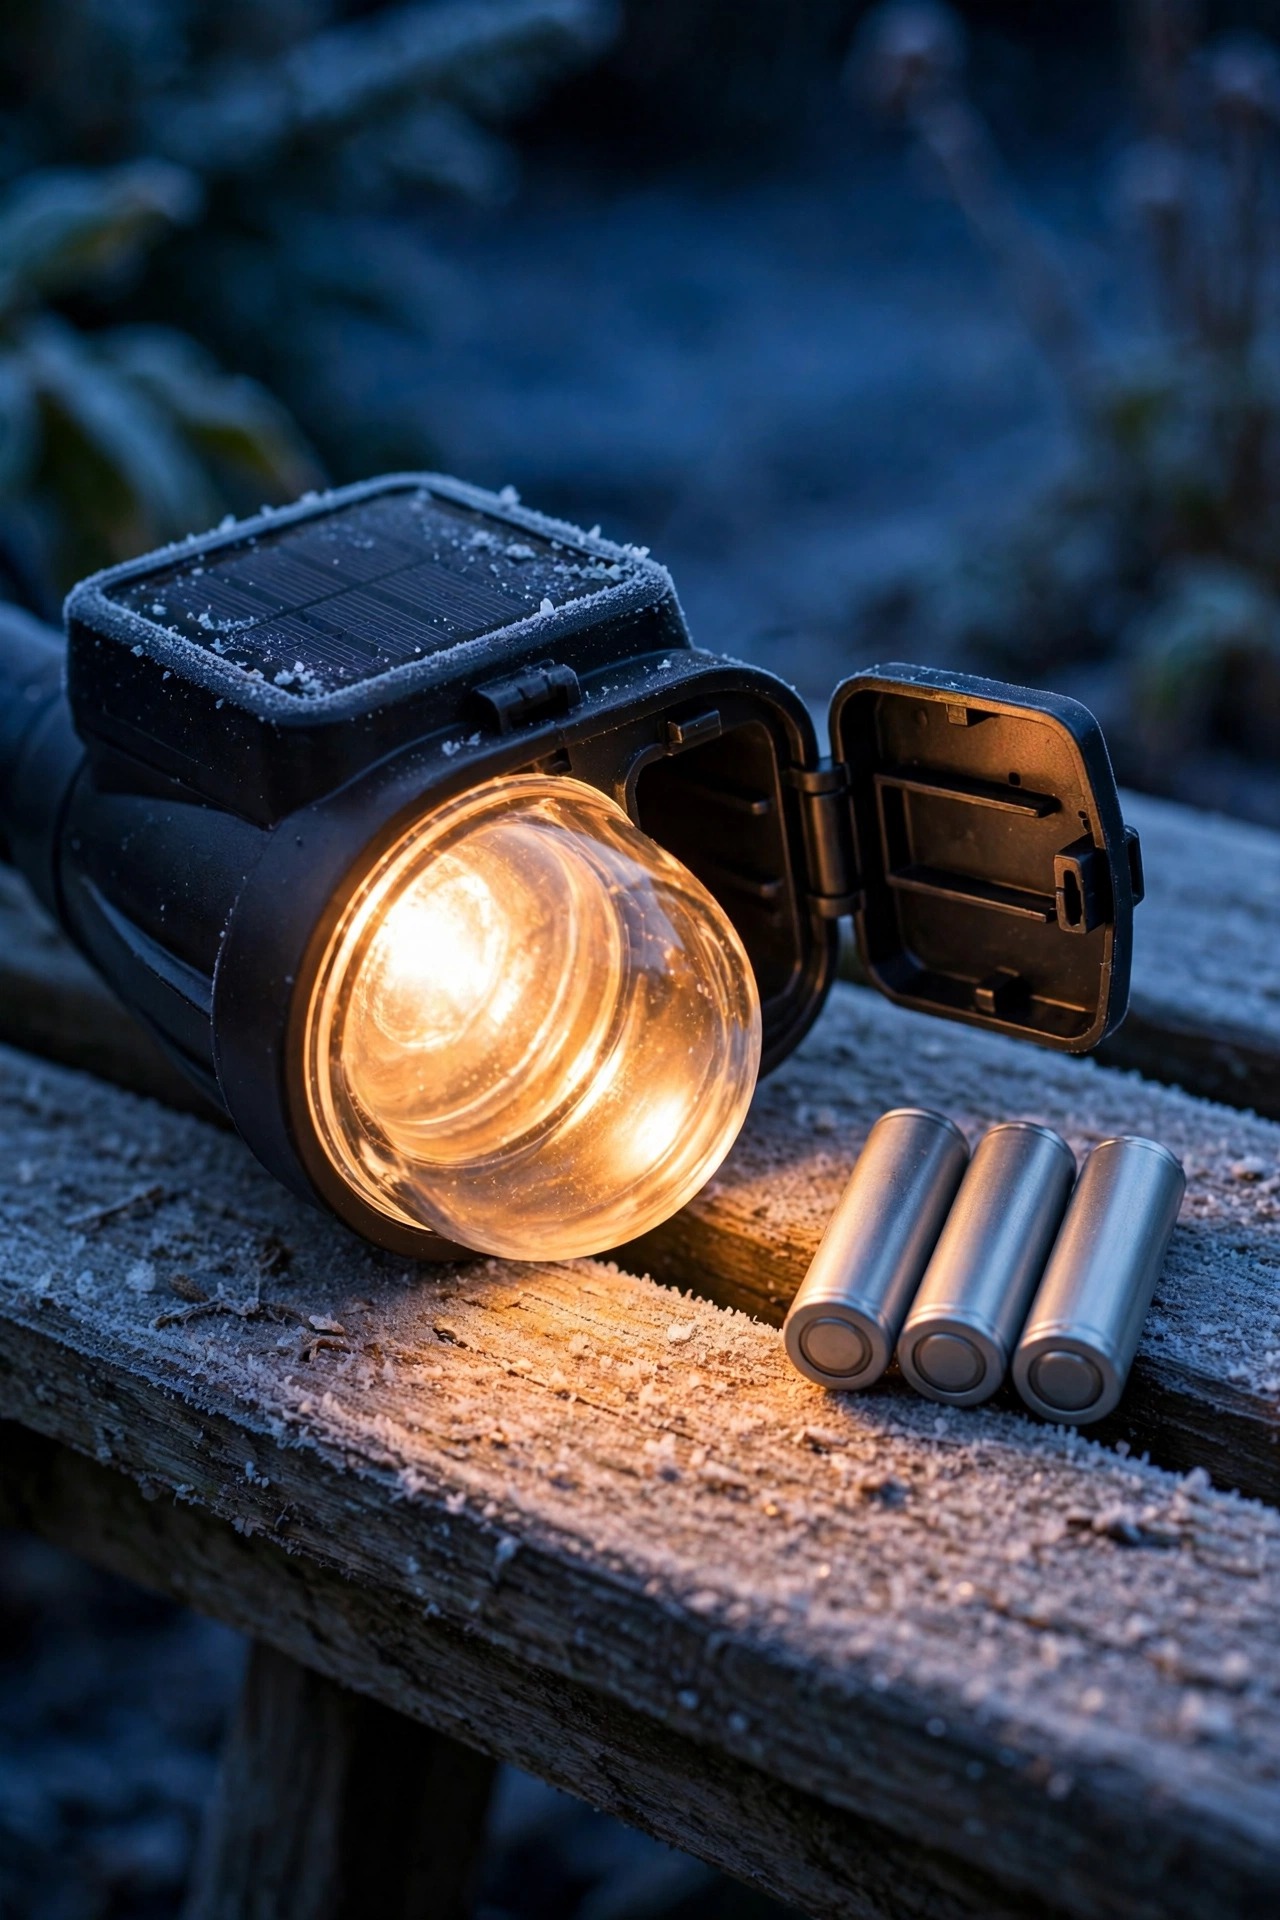
By the time winter arrives, the rechargeable cell inside a hard-working solar light has already survived a summer of daily charge cycles, and most budget lights ship with small 600 to 900 mAh batteries that fade fast. Asking a tired, undersized cell to store a short December day of weak sun is asking for a light that dies before dinner. Every November I swap in fresh NiMH cells rated 2,000 mAh or higher in every light I am counting on. The bigger cell cannot create energy the panel never harvested, but it stops wasting what little arrives, and it holds its charge far better through cold nights. When you open the battery door, check the contacts for white or green corrosion and clean them with a dry cloth — a fuzzy contact steals power as surely as a dead cell. I keep the sizing and testing routine in my guide to replacing solar light batteries, and it takes ten minutes a light. Keep the removed cells that still test decent as summer spares; winter simply demands your strongest bench.
Suggested budget range: $10 – $30.
5. Learn What Cold Does to a Battery and Plan Around It
Cold does not damage most solar light batteries, but it absolutely slows them down. As temperatures fall toward freezing, the chemistry inside a rechargeable cell gets sluggish, and a battery can deliver 20 to 50 percent less usable power on a bitter night than it does in July — then recover most of it when things warm up. Lithium cells sulk the most in deep cold; NiMH cells, the kind most solar lights use, handle freezing nights a little more gracefully, which is one more reason I choose them for winter swaps. You can work with the physics instead of against it. Lights tucked near the house foundation, a stone wall, or a paved driveway edge borrow a few degrees of stored warmth and stored reflected light, and mine consistently run an hour longer there than identical lights out in the open lawn. On genuinely arctic nights, portable lanterns and table lights come inside to a cool garage or mudroom rather than freezing on the patio — they rejoin the yard when the snap passes. The takeaway: a light that seems dead at 10 degrees may be perfectly healthy at 30, so never judge or toss a fixture mid-cold-snap.
Suggested budget range: $0 – $15.
6. Wash the Panels Every Few Weeks, Not Just in Spring
Winter panels get dirty in a way summer panels do not. Road salt mist from the street, woodsmoke film, dust trapped in meltwater, and plain hard-water spotting all build into a gray haze that quietly steals 15 to 30 percent of the light reaching the cells. In summer, rain rinses some of it away; in winter, frozen grime just sits there compounding. My routine is simple: on any mild afternoon above freezing, I walk the yard with a bucket of warm water, a drop of mild dish soap, and a microfiber cloth, and I wash every panel face I am relying on. Rinse with clean water and dry with a second cloth so mineral spots do not replace the dirt. Never use abrasive pads or glass cleaner with ammonia on plastic panels — both cloud the surface over time. While you are close, wipe the LED lens too; a fogged lens dims the light even when the battery is full. This pairs beautifully with the other tricks in my roundup of ways to make solar lights brighter, and of all of them, a clean panel is the one that pays you back the same evening.
Suggested budget range: $0 – $10.
7. Put Remote Panels Where the Sun Is and Lights Where You Need Them
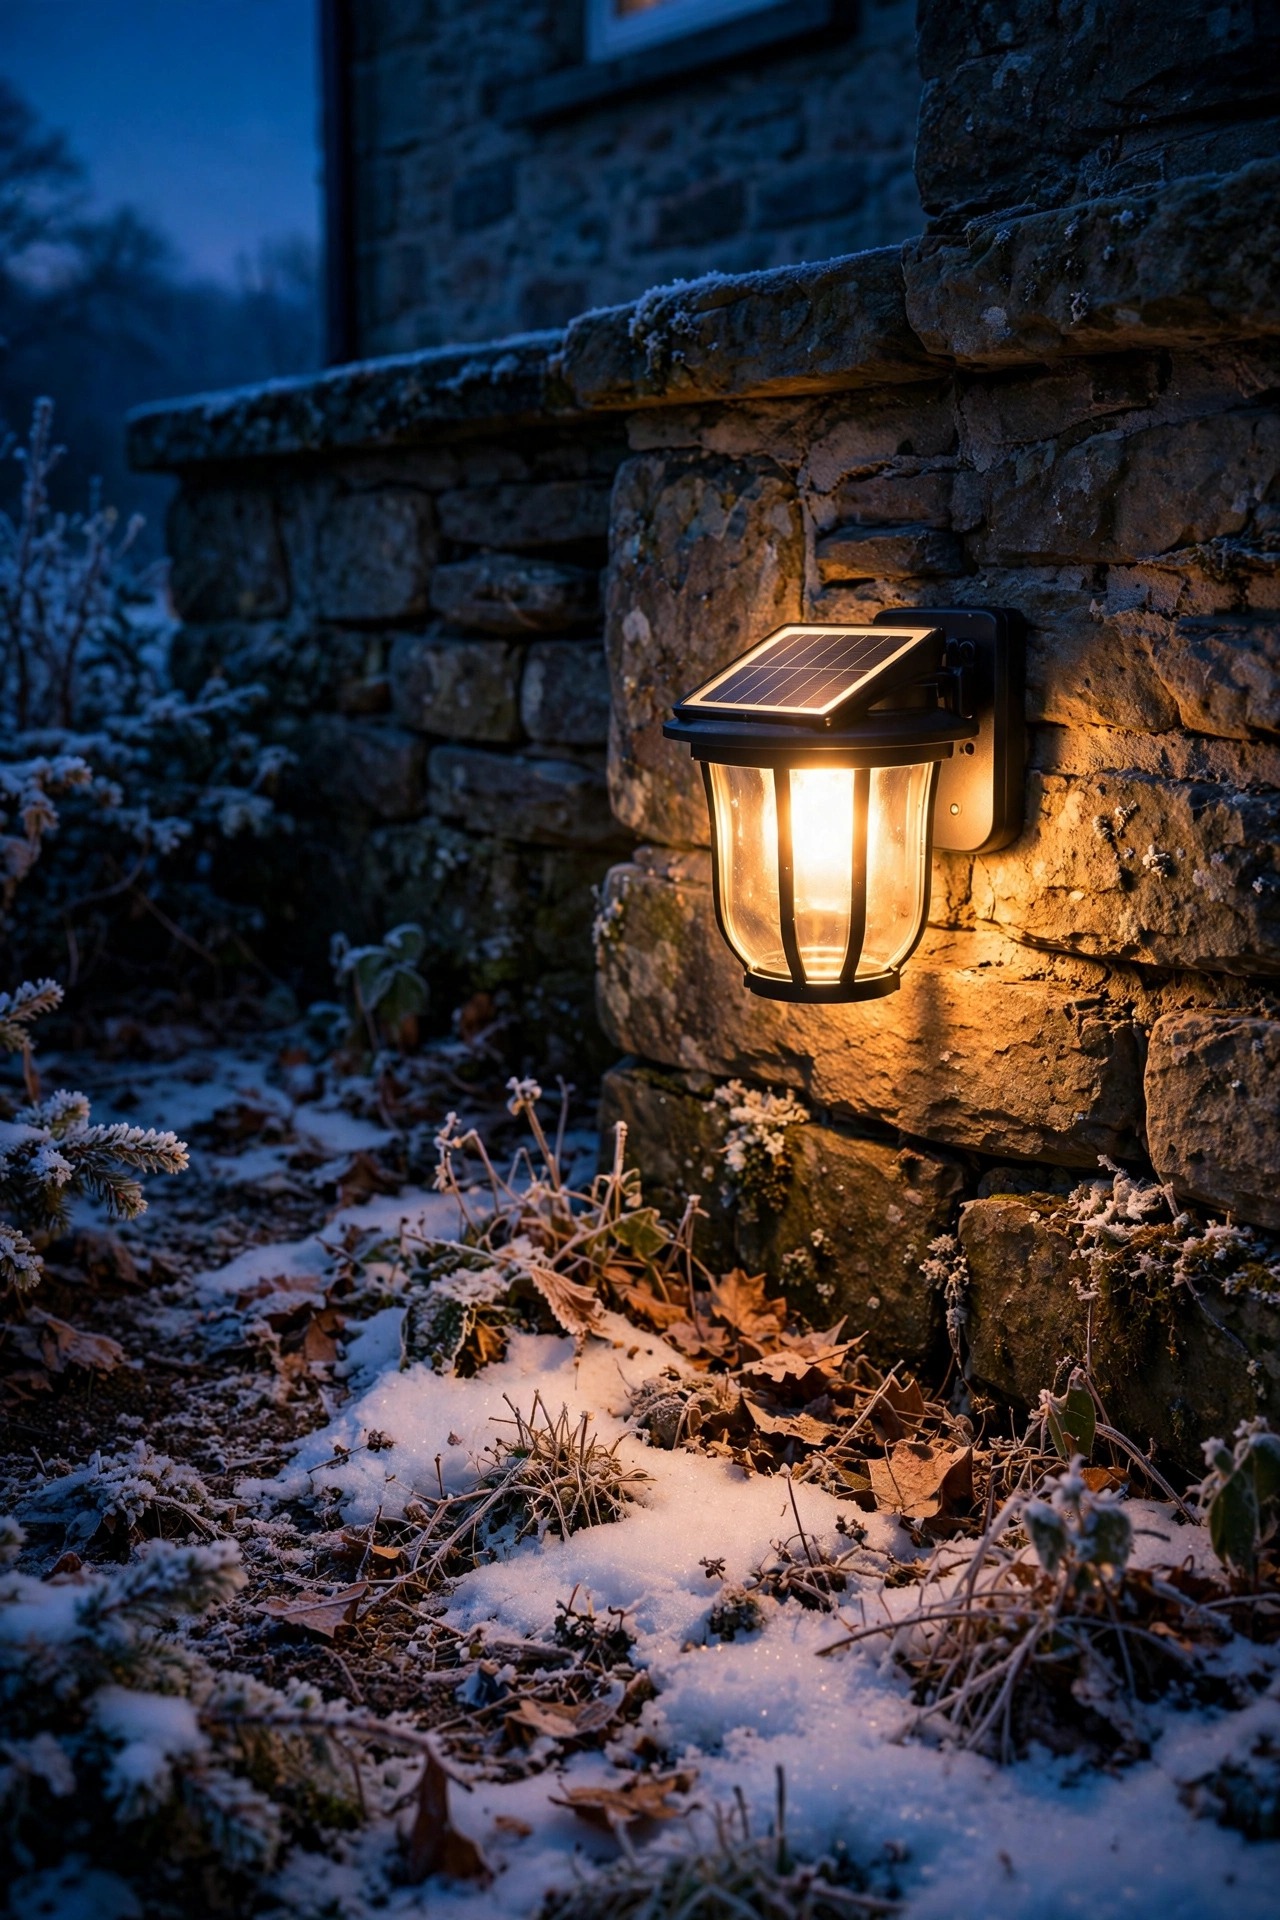
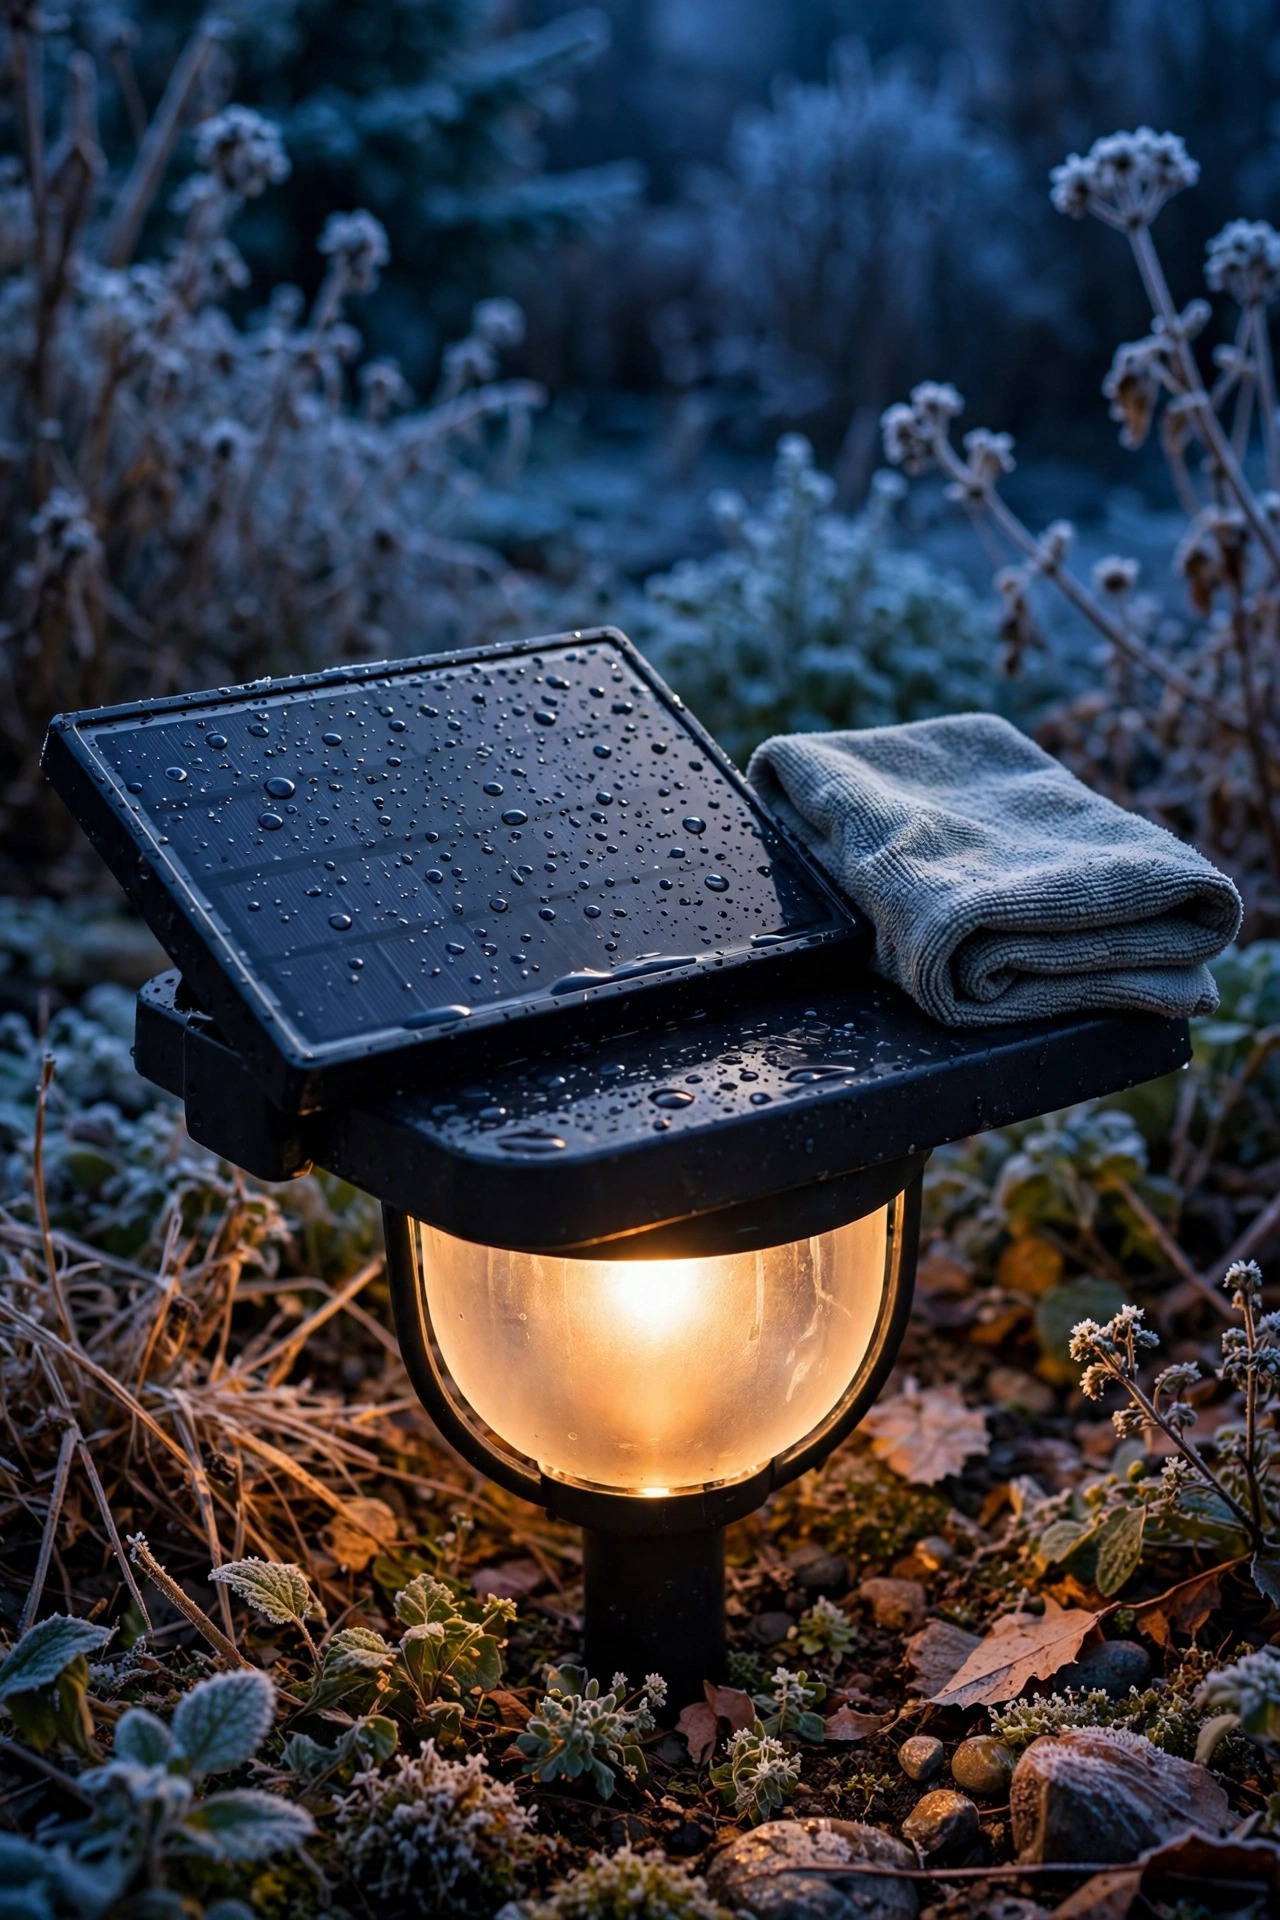
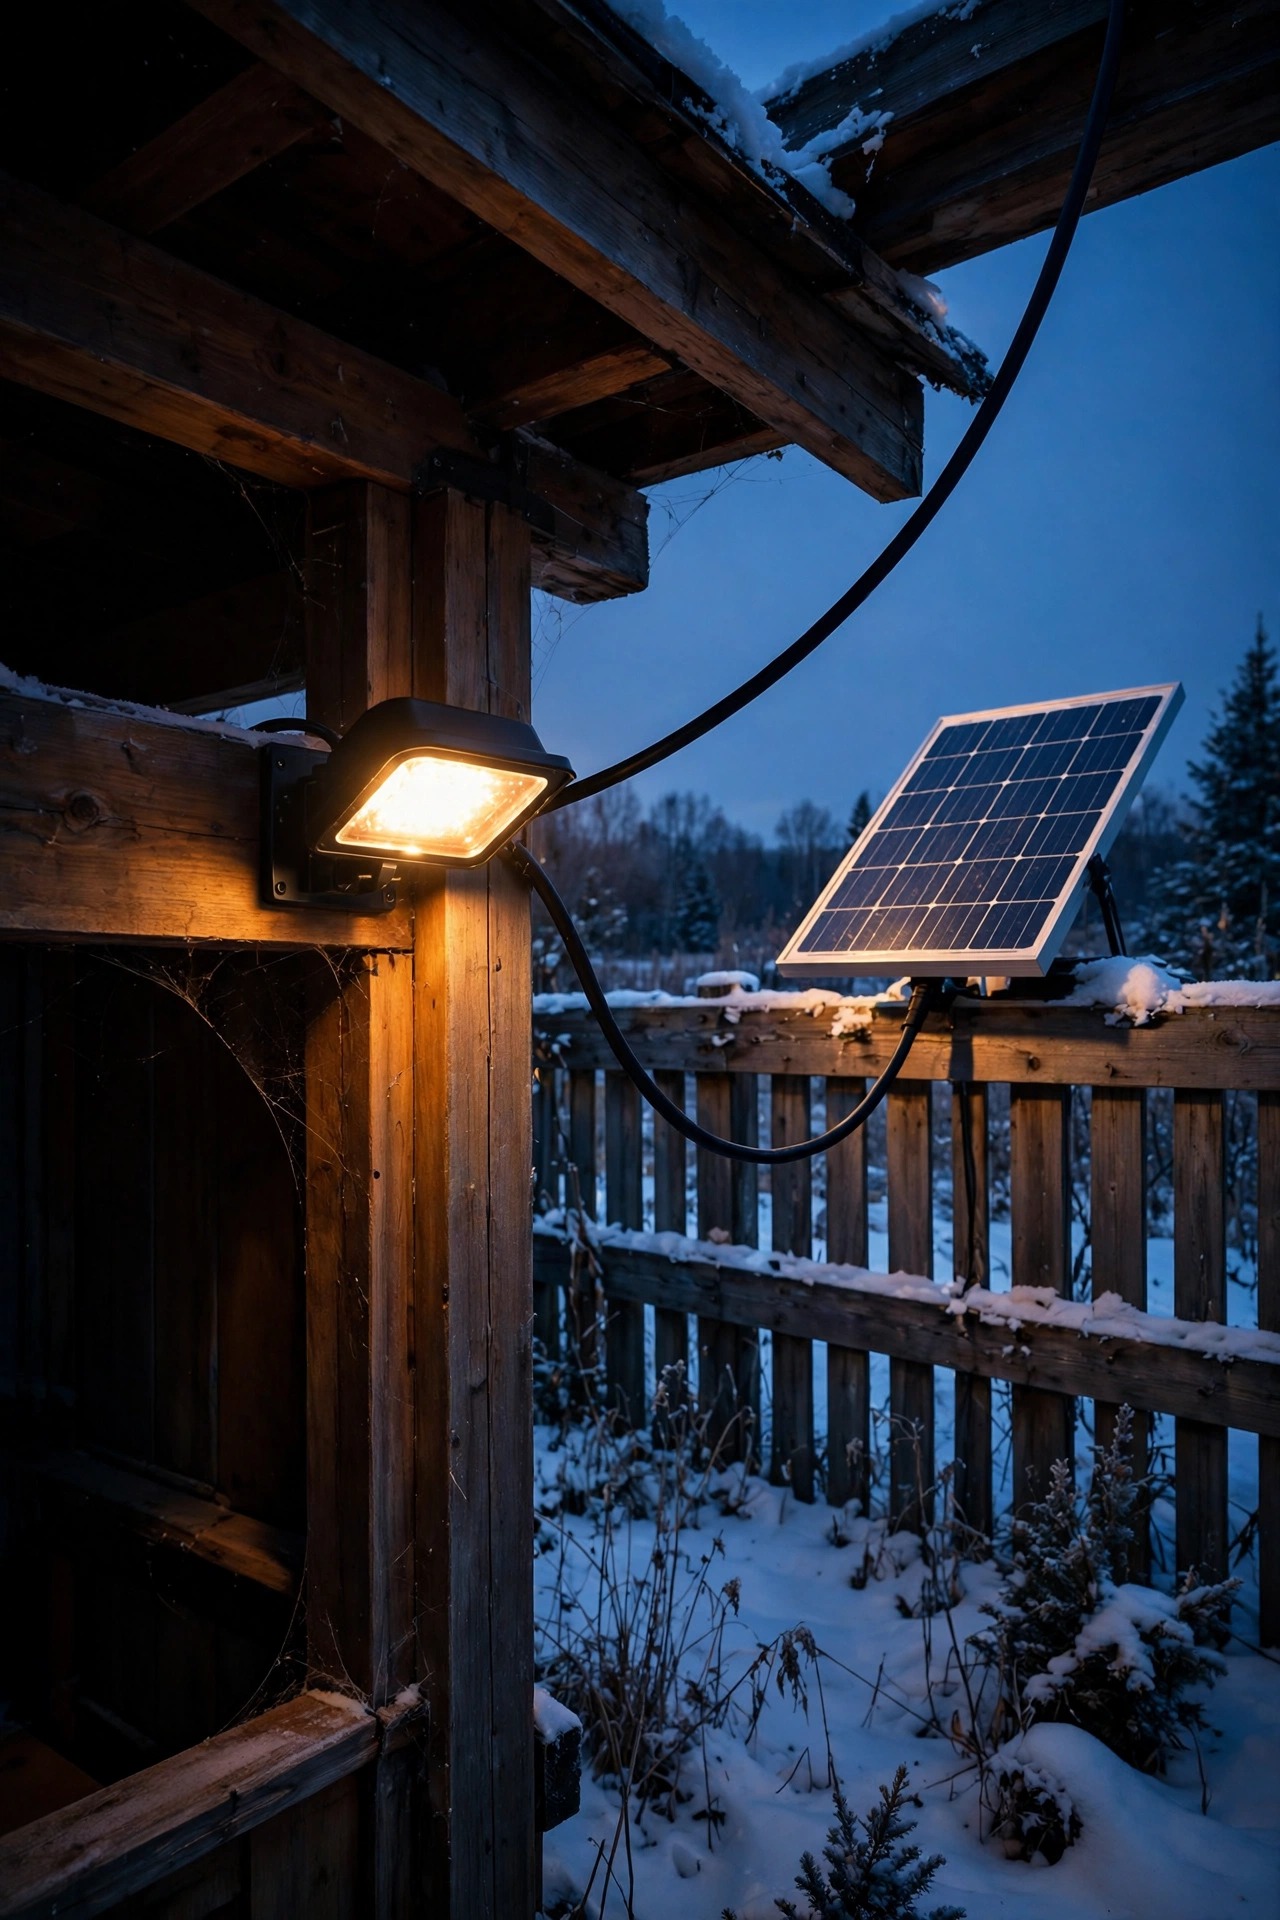
Some of the most useful light in a winter yard belongs in places the sun never visits: the north-side steps, the shaded gate, the covered porch corner. Stake lights cannot help there, because their panel and lamp share one body and one fate. The answer is a light with a separate panel on a cable, typically 9 to 16 feet of wire. The fixture mounts in the shade where you need the glow, and the panel travels — up onto a sunny fence rail, the south edge of the porch roof, or a stake in an open bed — where it can be tilted steeply and brushed off easily. I run two of these on my covered porch, and they are the most reliable solar lights I own in winter precisely because I control both ends of the system. When shopping, check that the panel is generously sized for the lamp it feeds and that the cable connections are weatherproofed; a corroded connector in February is miserable to troubleshoot with cold fingers. Route cables along edges and pin them down so snow shovels and boots never find them.
Suggested budget range: $25 – $70.
8. Run Fewer, Brighter Solar Lights in Winter Instead of Many Dim Ones
Twenty bargain stakes glowing for ninety minutes each is worse than six good lights glowing all evening — I have run both yards, and the math is not close. Short days reward consolidation. In November I pull my weakest fixtures, store them, and concentrate spending on a smaller winter team: lights with panels at least twice the size of the bargain standard, batteries of 2,000 mAh or more, and housings that seal properly. Each strong light gets the best placement, the steepest angle, and the freshest battery, so every joule of December sun lands where it counts. The retired spots in the beds do not go fully dark — snow cover and moonlight carry more ambient brightness than people expect, and a few low accents can run shorter shifts without apology. This approach also simplifies the chores: brushing snow and washing panels for eight lights takes minutes, while twenty-plus becomes a job you quietly stop doing. Honestly, winter is the season that exposes your collection. Let it. A tight team of lights you maintain beats a crowd you neglect, and spring is soon enough to spread back out.
Suggested budget range: $60 – $150.
9. Let Motion Mode Guard the Spots That Do Not Need All-Night Light
Not every light earns an all-night shift. The side gate, the woodpile corner, the stretch of driveway past the garage — these places need light for the ninety seconds you are actually there, and a motion-activated fixture spends its small winter budget exactly then and nowhere else. A motion light that triggers a dozen times a night can run for weeks on the same charge that a steady-burn light eats by Wednesday. Many better solar fixtures offer a dual mode I love for winter: a soft dim glow at dusk that jumps to full brightness when the sensor trips, then settles back down. That dim baseline costs little and keeps the fixture visible as a marker. Reserve steady, all-evening light for true guidance duty — the front walk, the porch steps, the icy patch by the mailbox — and let motion mode cover everything else. When you mount motion fixtures in winter, aim the sensor across the path of travel rather than straight down it, and keep it below eave height where blowing snow triggers fewer false alarms and wasted wake-ups.
Suggested budget range: $20 – $60.
10. Raise Path Lights Above the Coming Snow Line
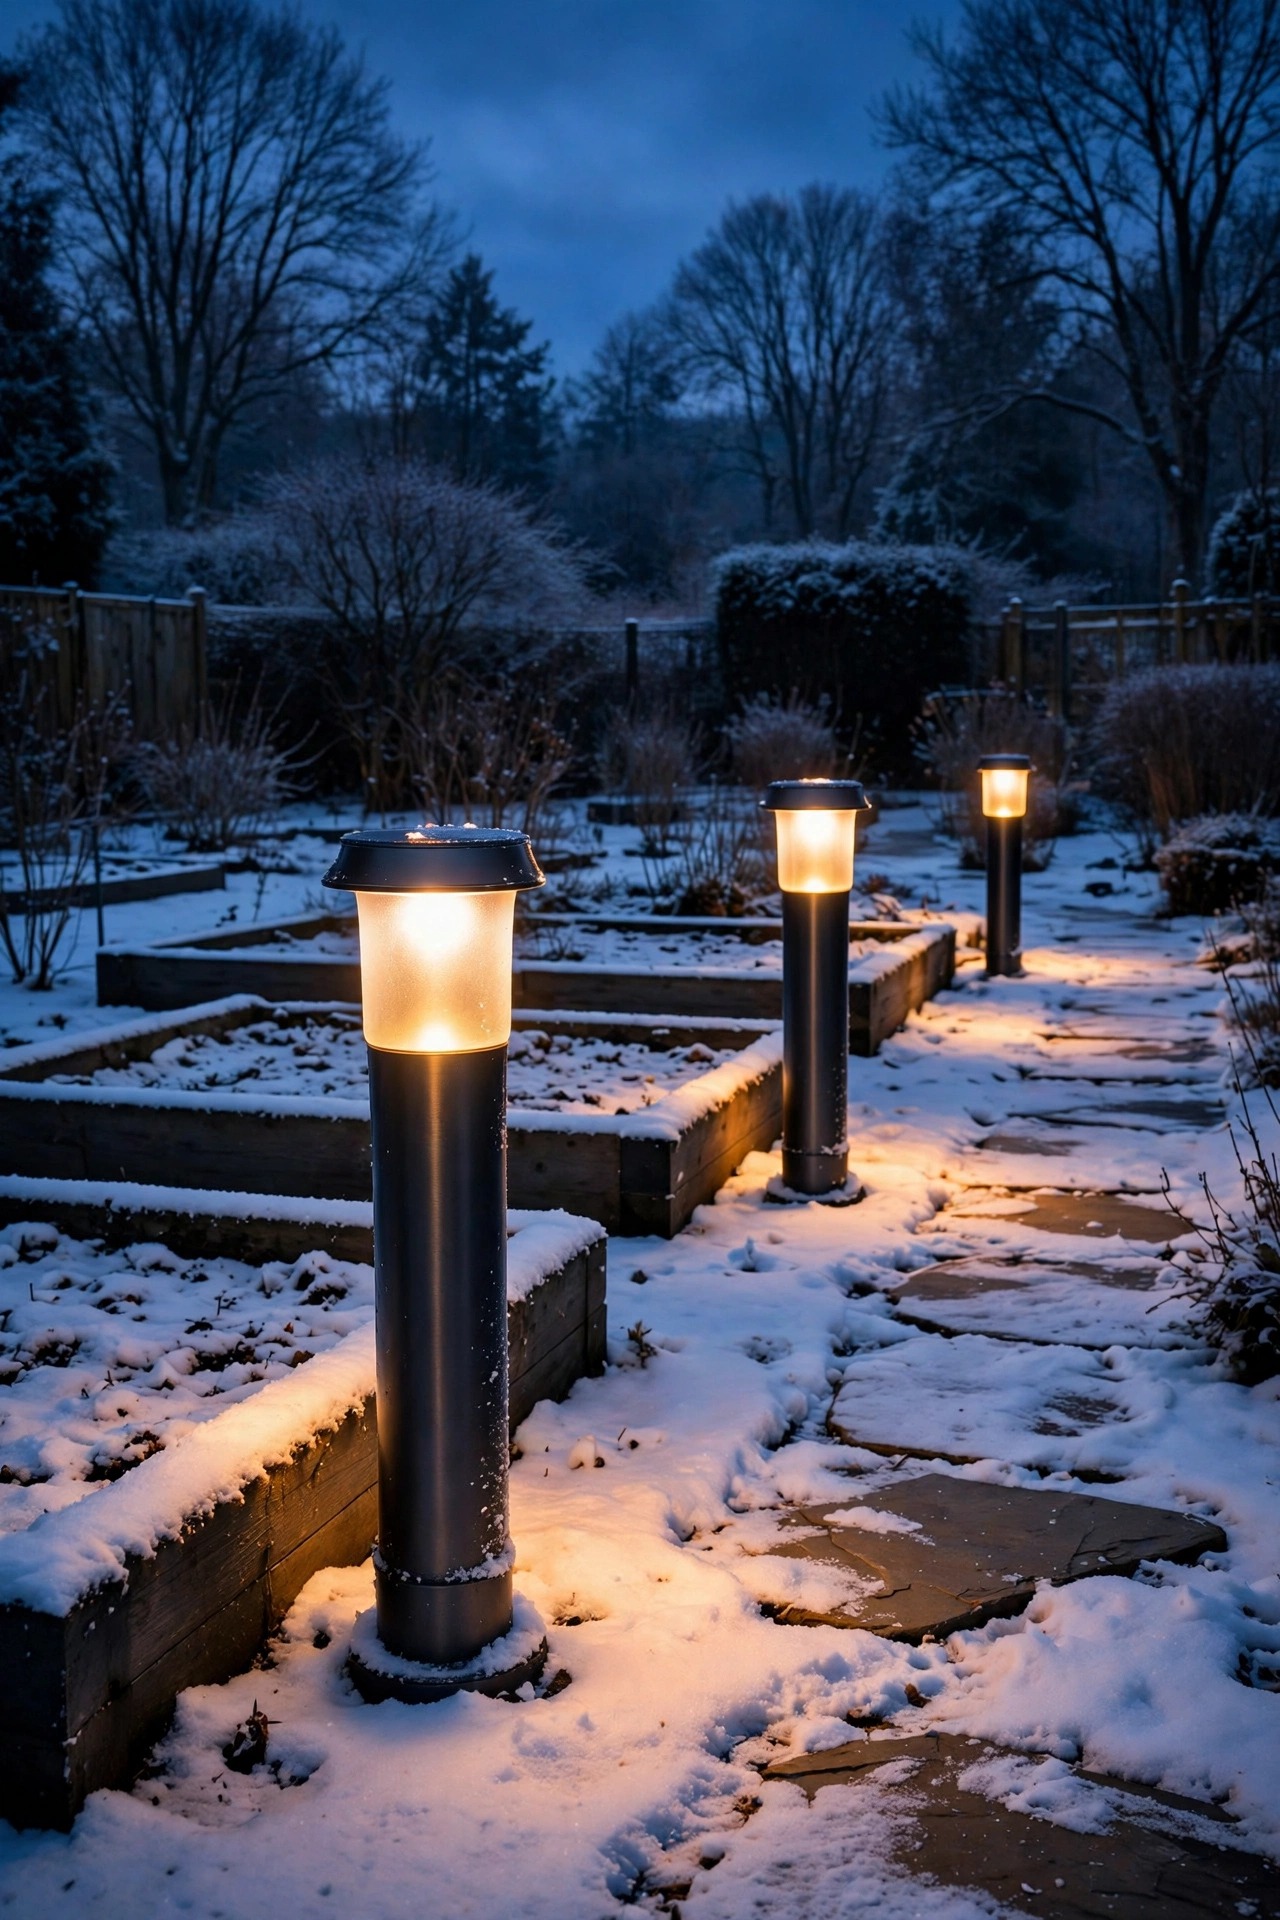
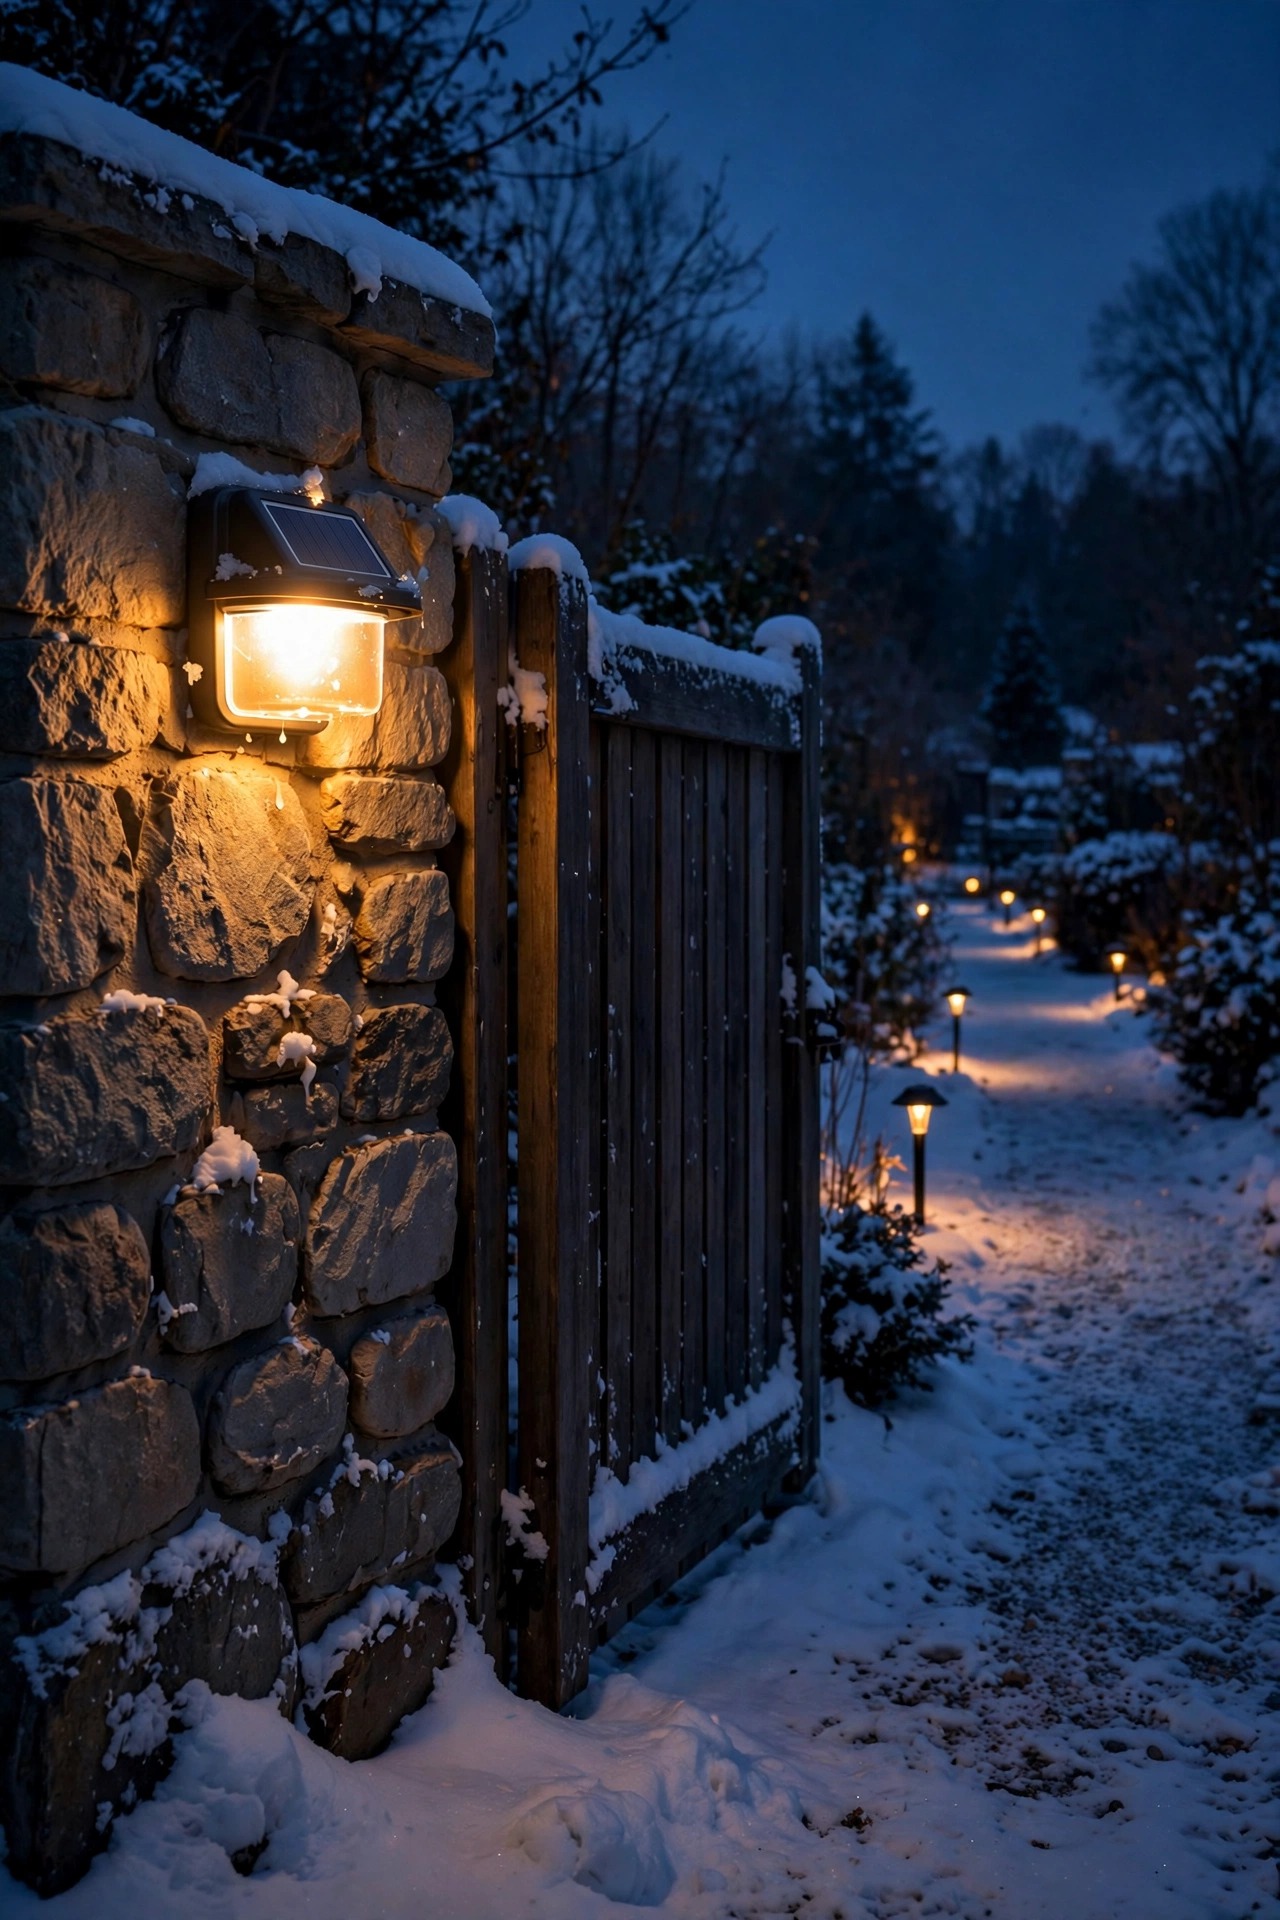
An eight-inch stake light is a lovely thing in October and a rumor by January. Snow does not have to fall in one storm to bury it — plow spray, shovel piles, and drifting add up week by week until the fixture is glowing bravely somewhere inside a snowbank, charging nothing and lighting less. For the runs I depend on all winter, I switch to taller fixtures: bollards and post-style lights standing 18 to 24 inches, tall enough to keep both panel and lens above ordinary accumulation. Where I keep stakes, I add extension risers or mount them on the uphill side of the path, away from where shoveled snow lands. Think about your own snow habits the way you think about sun: where do the piles actually go in your yard? Keep lights out of those drop zones entirely, or accept them as three-season fixtures and store them. A light at the right height also reads better in winter — its pool of light lands on the path surface where your feet need it instead of being swallowed at ground level by the nearest drift.
Suggested budget range: $30 – $90.

11. Retire the Delicate Ones Indoors and Store Them Properly
Some fixtures were never built for a freeze, and forcing them through one just shortens their lives. Thin glass globes, copper-wire fairy lights wound through shrubs, bargain stakes with snap lids, and anything with a cracked housing — these come in before the first hard freeze at my house. Stored badly, though, a winter indoors can drain a battery as surely as the cold, so I follow a short ritual. Clean each light, switch it off, and remove the battery if the compartment opens easily. Charge the light fully once in autumn sun before storing, and park everything in a cool, dry spot — a garage shelf beats a damp basement corner. Midway through winter, around the New Year, I pull the box out on a bright day, pop the batteries back in, and give the keepers a full outdoor charge before storing them again; rechargeable cells hate sitting empty for five straight months. Label sets with painter's tape so spring reassembly takes minutes. Retiring the fragile third of your collection also feeds idea eight: fewer, stronger lights outside, and the delicate ones live to sparkle again in May.
Suggested budget range: $0 – $15.
12. Keep a Spare Set Charging Indoors and Rotate Weekly
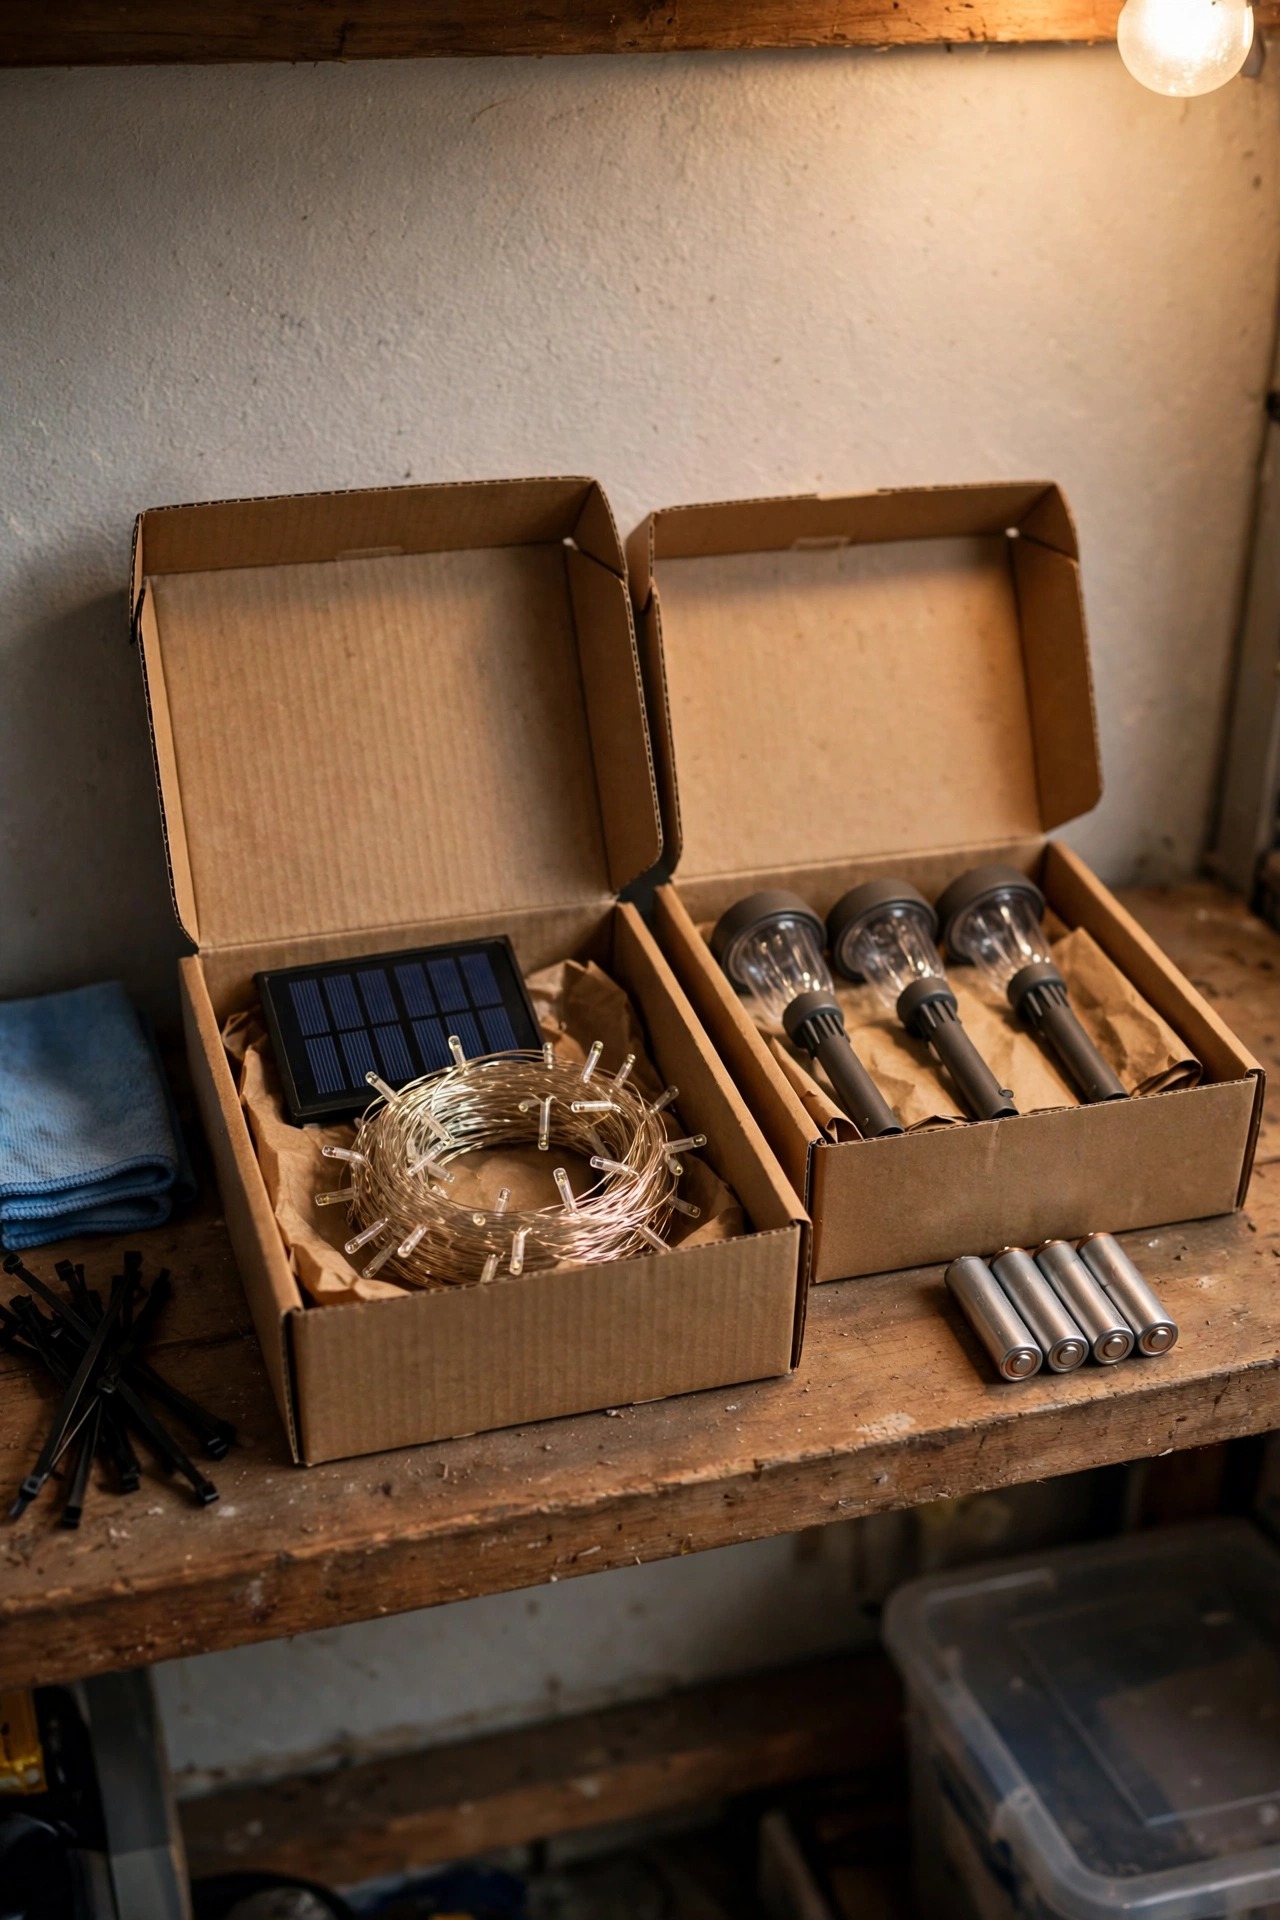
Here is a trick borrowed from flashlight people: two modest sets, rotated, outperform one expensive set standing in a dark yard. I keep a spare set of path lights and a couple of lanterns indoors through the darkest stretch, charging on a south-facing windowsill where December sun, weak as it is, arrives uninterrupted by snow, shade, or storm. Glass cuts some of the charging power — roughly a third — so indoor charging is slower, but it is dependable, and a battery warmer indoors delivers every milliamp it stored. On Sunday evenings I swap: the rested, fully charged set goes out, and the tired set comes in for its week at the window. Rotation also spreads the deep-discharge cycles that age batteries, so both sets last longer than a single set worked to exhaustion nightly. This works best with lights you can pull and reset in seconds — stakes, lanterns, and clamp lights — which is another reason my winter team leans portable. By the solstice, when nights peak at their longest, having a rested bench of charged lights feels like a small superpower.
Suggested budget range: $25 – $70.

13. Trim Back the Shadows That Only Exist in Winter
Winter shade has different authors than summer shade. The maple that shadowed your beds all July stands bare and harmless now, while the evergreen hedge, the neighbor's spruce, and the fence line cast their longest shadows of the year — a shadow in December stretches more than twice as long as the same object's shadow in June. Walk your yard at midday in early winter and you will find panels sitting in shade that simply did not exist when you placed them in September. Some fixes are quick: prune the low evergreen branches reaching over a panel, move a stake three feet sideways out of a fence shadow, or shift a remote panel to the sunny side of the trunk. Others involve your own habits — the snow pile you build at the end of the driveway can grow tall enough to shade the very lights meant to mark that driveway, so I push my piles to the north side where their shadows fall harmlessly away from panels. Ten minutes of shadow detective work in December protects every other tip on this list, because no battery or bulb upgrade survives a panel that never sees the sun.
Suggested budget range: $0 – $30.
14. Let the Snow Itself Help You Light the Way
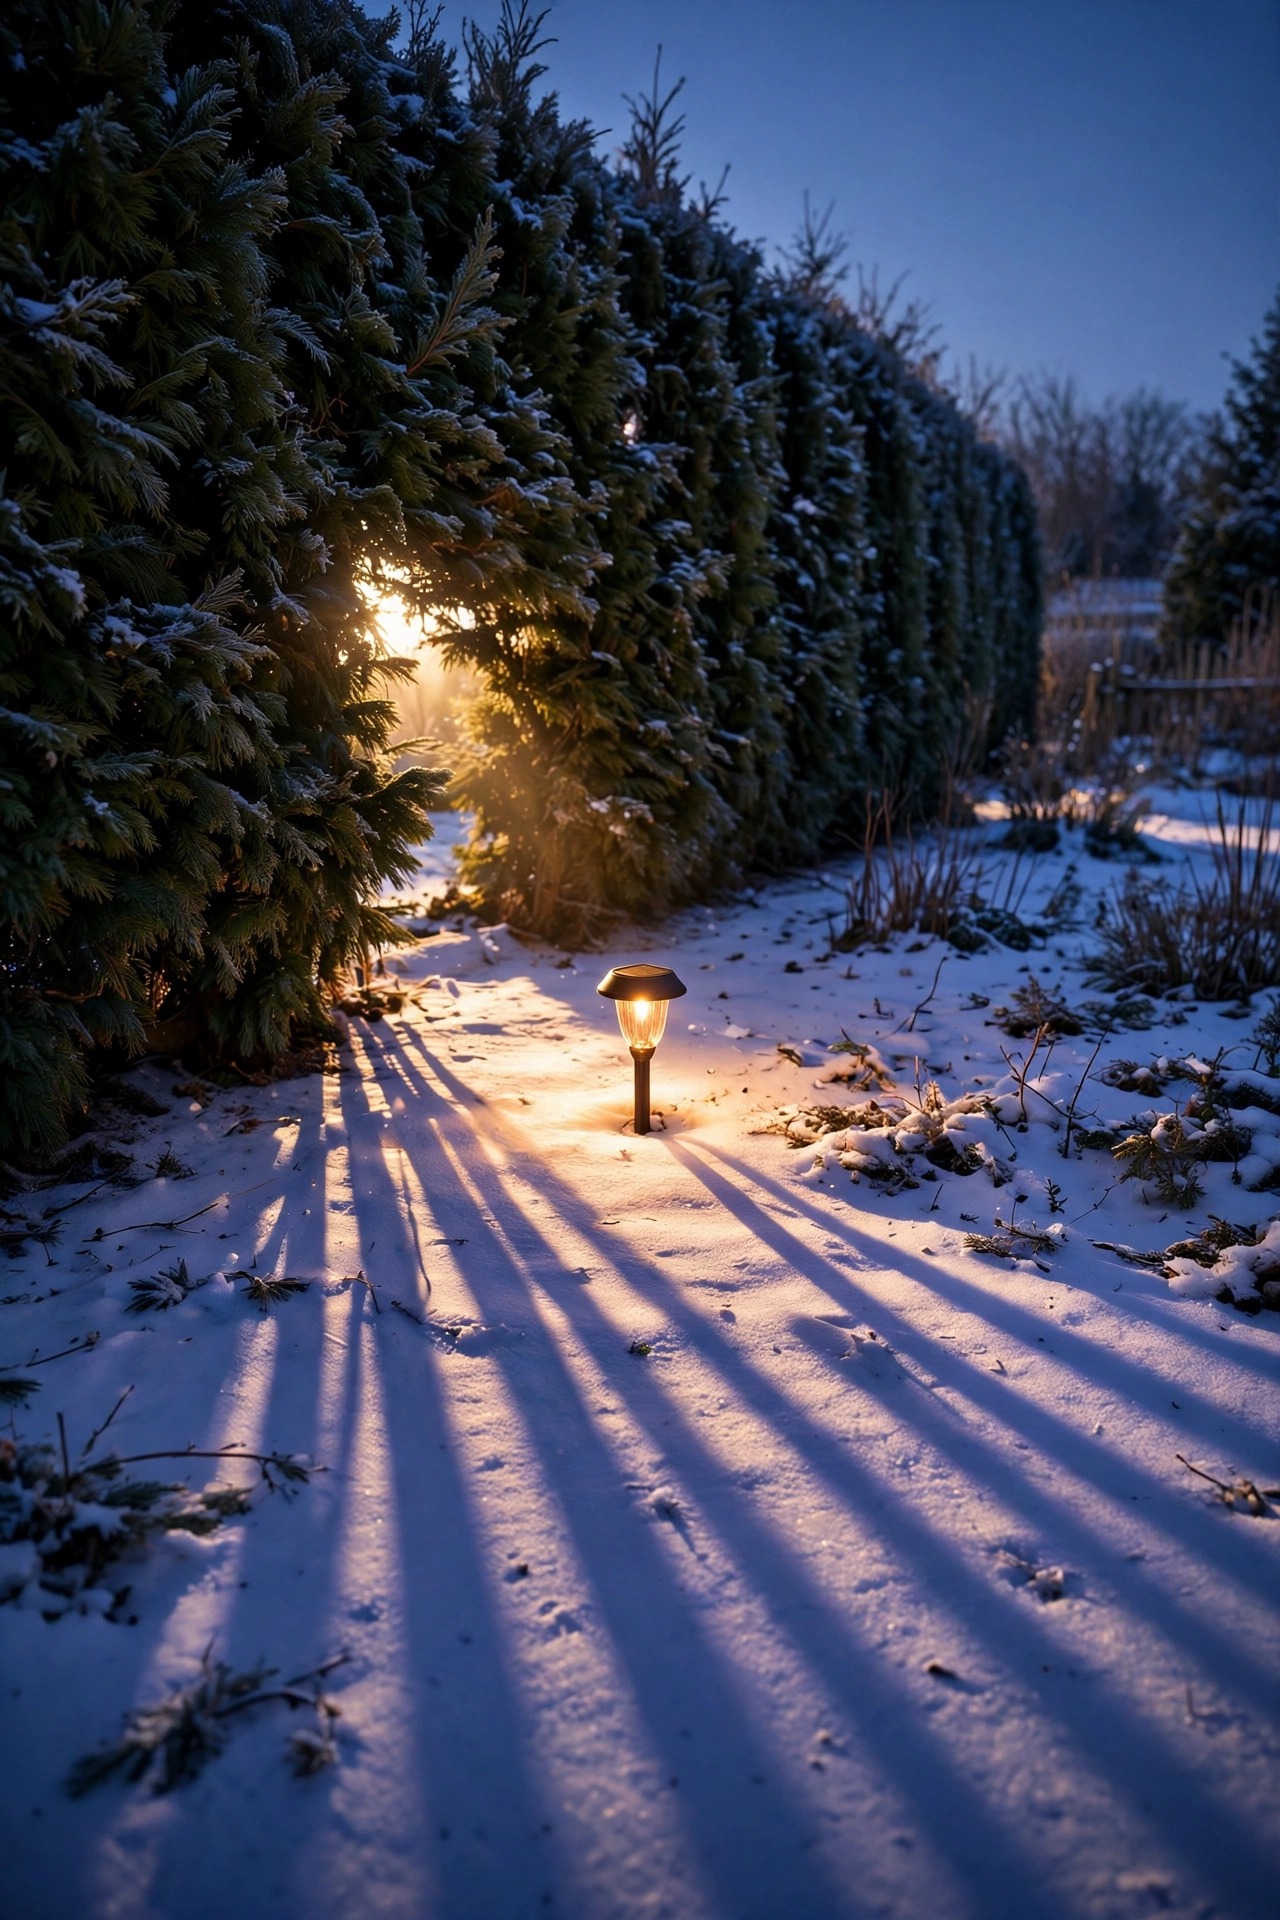
Snow is not only the enemy — it is also the best reflector your yard will ever have. Fresh snow bounces back a remarkable share of the light that hits it, so a modest fixture aimed across a snowy surface looks noticeably brighter than the same fixture over dark summer soil. I lean into this. Lights near pale surfaces — a light-colored fence, the house siding, a concrete walk kept swept — borrow that bounce and stretch their small winter budget further. It also means winter is the one season you can often run fewer lumens without feeling dim, which is permission to choose warmer, softer fixtures for ambiance zones. Mind the flip side on ice, though: a bright, cool-white, unshielded light reflecting off an icy patch throws real glare into your eyes exactly where footing is worst. I always recommend warm white, 2700 to 3000K, with shielded lenses that push light down onto the walking surface for steps and paths. Save sparkle for accents — string lights and lanterns against snow are pure magic and need very little power to read as festive on a dark December evening.
Suggested budget range: $15 – $50.
15. Audit Your Solar Lights in Winter and Give Every Light a Job It Can Finish
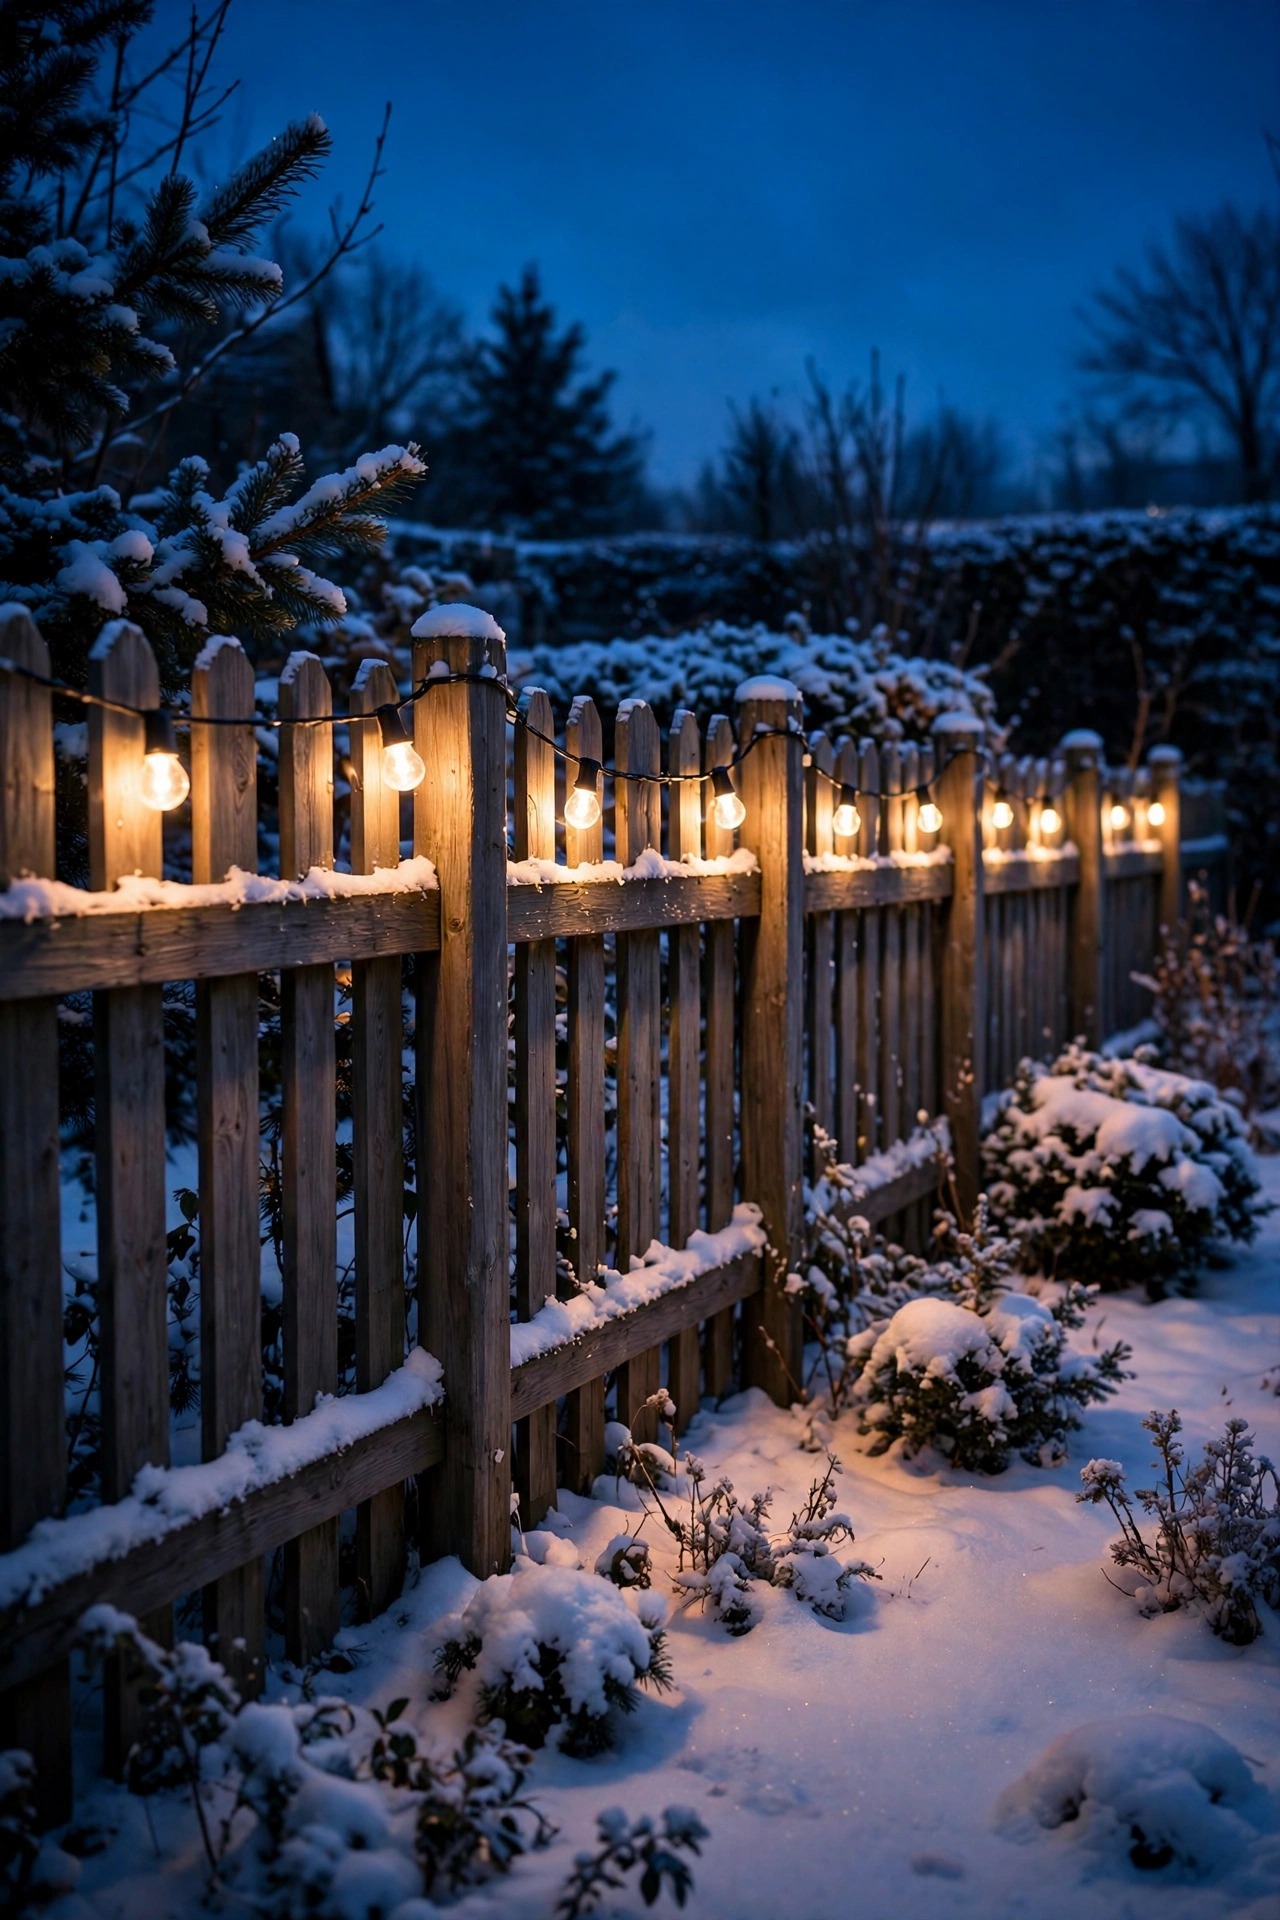
My last winter ritual happens in mid-January, on the clearest, coldest night I can get. I bundle up, walk the whole yard at nine o'clock with a notebook, and grade every light honestly: still glowing strong, glowing dim, or dark. Then I reassign jobs without sentimentality. Strong performers keep the safety posts — steps, walk, driveway edge. Dim-but-alive lights move to accent duty, where dying at nine is a shrug instead of a hazard. Dark lights come in for diagnosis before they get judged: most revive with the cleaning, battery, and connection checks in my list of solar light fixes that solve most winter failures, and the truly dead ones leave the collection so they stop embarrassing the rest. This audit is what turns a pile of fixtures into a system — every light doing a job matched to what solar lights in winter can honestly deliver, which is a beautiful, dependable five to eight hours from a good fixture rather than the dusk-to-dawn fantasy printed on the box. Accept the real number, plan around it, and your winter yard stays lit where it counts until the days turn again.
Suggested budget range: $0 – $20.
Frequently Asked Questions
Why do my solar lights only last two or three hours in winter?
It is arithmetic, not failure. A December day may deliver only four to six hours of weak, low-angle sun while the night asks for fourteen to fifteen hours of light, and cold batteries hand back less than they stored. Lights with small panels and small cells feel it first. Steeper panel angles, clean panels, fresh high-capacity batteries, and motion mode on secondary lights close most of the gap — a good fixture honestly managed gives five to eight hours, which covers the evening hours that matter.
Should I bring all my solar lights inside for the winter?
No — well-sealed lights with sound housings are built to stay out, and your safety lighting needs to stay on duty. Bring in the fragile categories: thin glass, fairy lights, cracked housings, and bargain stakes that bury under snow anyway. Store them clean, switched off, with batteries removed or given a full charge first, and top them up once mid-winter. Everything that stays out earns its place with fresh batteries, a steep panel angle, and a spot above the snow line.
Do solar lights charge at all on cloudy winter days?
Yes, just slowly. Panels still harvest diffuse light through cloud cover, typically a quarter to half of what a clear day delivers, and several gray days in a row will leave even good lights undercharged. That is exactly when panel hygiene matters most — a clean, steeply tilted panel squeezes real value out of a bright overcast, while a dirty flat one gets almost nothing. Expect shorter runtimes after cloudy stretches and let motion-mode lights carry the yard until the sun returns.
Can I charge solar lights indoors by a window instead?
You can, and I do it all winter with my rotating spare set. A bright south-facing window works, though ordinary glass trims the charging energy by roughly a third, so allow a full day or two at the sill for a proper charge. Set panels flat against the glass facing out, and remember the battery also performs better for having rested at room temperature. It will not rescue a worn-out battery, but for healthy lights it is a dependable way to bank a full charge the weather cannot steal.
Conclusion
Short days shrink the budget every solar light has to spend, but they do not sentence your yard to darkness. Tilt the panels toward the low sun, keep them brushed and washed, feed them fresh batteries, and give each fixture a job sized to an honest winter runtime — that is the whole system. Do those things and your solar lights in winter will hold the walk, the steps, and the porch with a warm, steady glow until the evenings start stretching out again. Browse the rest of my outdoor lighting ideas here on the site for more ways to layer light through every season, and I will see you out in the yard at dusk.