Every spring I drag my planters back onto the patio, and every year I relearn the same truth: a beautiful pot goes invisible the second the sun goes down. That's why patio lighting with planters has become my favorite trick — the plants give the light something soft and living to land on, and the light gives the plants a second shift after dark. A fern lit from below looks sculptural. A plain terracotta pot with fairy lights tucked into the foliage looks like something from a boutique hotel courtyard.
The secret, as always, is layering. One porch light flattens everything; three gentle layers — a glow inside the greenery, a wash across the leaves, a sparkle overhead — make the whole patio feel designed. Here I'm sharing 23 ways to pair lights and planters at every budget, from five-dollar solar stakes to statement uplighting. Most take under an hour, nearly all are renter-friendly, and every one works on a real patio. Let's make your pots earn their keep after dark.

1. Copper-Wire Fairy Lights Woven Through a Leafy Planter
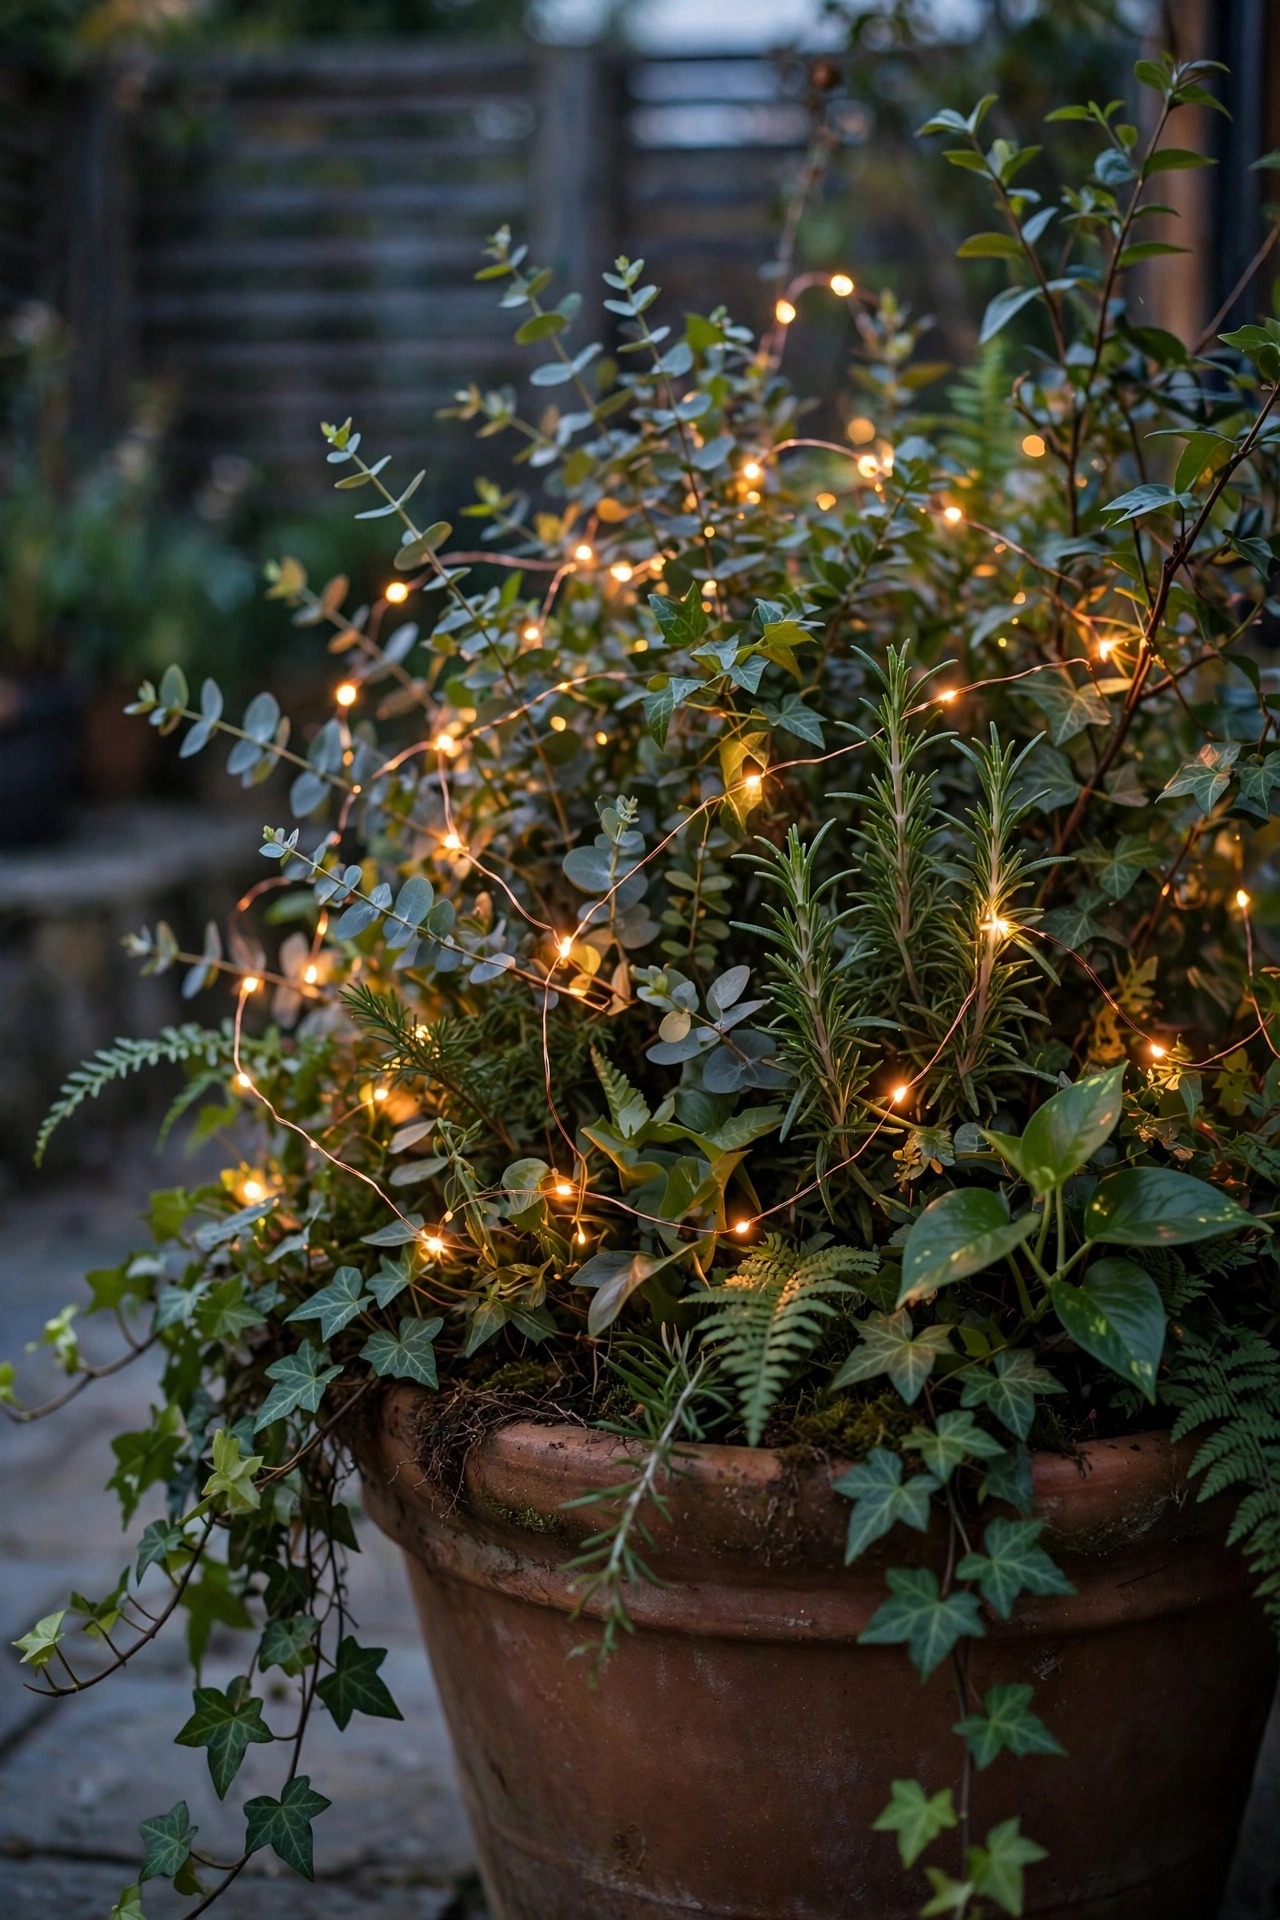
This is the idea I start everyone with, because it takes ten minutes and never fails. Take a 10- to 20-foot strand of battery-powered copper-wire fairy lights — the wire is so fine it disappears into the foliage — and weave it loosely through the plant, starting at the soil line and spiraling up through the stems. Ferns, trailing ivy, and bushy herbs like rosemary hide the wire beautifully. Tuck the battery pack just inside the pot rim, ideally in a small zip-top bag if your planter sits in the rain, and choose a strand with a built-in timer so it clicks on at dusk and off six hours later without you touching it. Warm white (around 2700K) is the only color I recommend here; cool white makes leaves look blue and tired. One strand per medium planter is plenty — you want the plant to look lit from within, not wrapped like a holiday gift. In my experience the batteries last three to four weeks of nightly use, so keep a spare set in the drawer by the back door.
Suggested budget range: $8 – $20.
2. Solar Stake Lights Tucked Between the Plants
If weaving wire sounds fiddly, solar stakes are the zero-effort version. These are short stake lights — 12 to 16 inches tall — with a small solar panel on top, and you simply push two or three into the soil of a large planter so the heads peek out just above the foliage. The trick is placement: angle them slightly outward so the light grazes the leaves instead of beaming straight up into your eyes, and keep the panels clear of overhanging leaves or they'll never fully charge. Group stakes in odd numbers, three per big pot, and mix heights if your planters are tiered. Honestly? Cheap solar stakes are hit-or-miss, so buy ones with replaceable rechargeable batteries and a stated runtime of at least eight hours. They won't light a dinner table, but as a soft halo inside a pot of ornamental grass they are genuinely lovely, and they cost less than the plant did. Wipe the little panels with a damp cloth once a month — a film of pollen can cut the charge noticeably by midsummer.
Suggested budget range: $12 – $30.

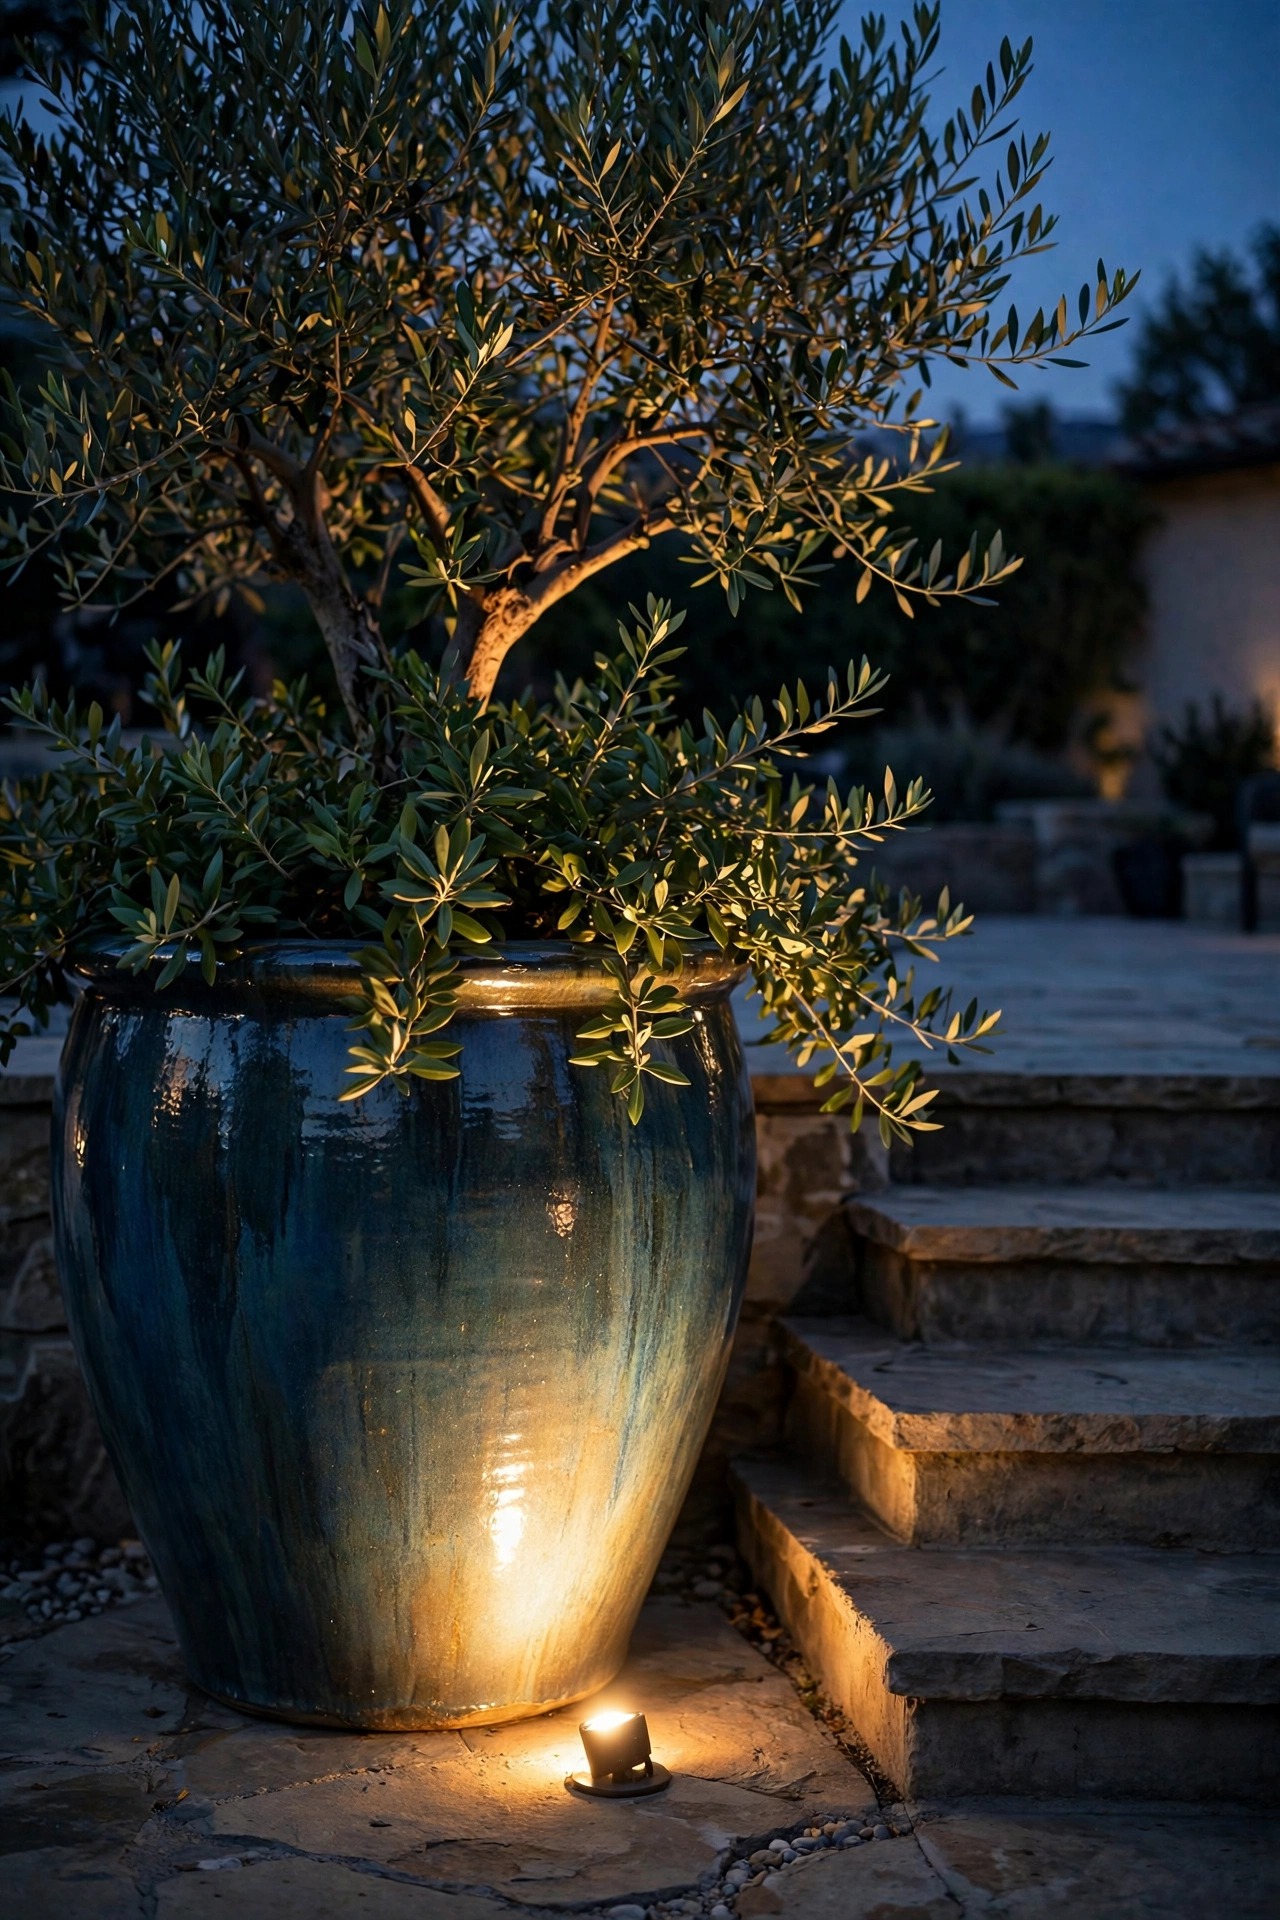
3. Patio Lighting With Planters at Ground Level: Uplights at the Base
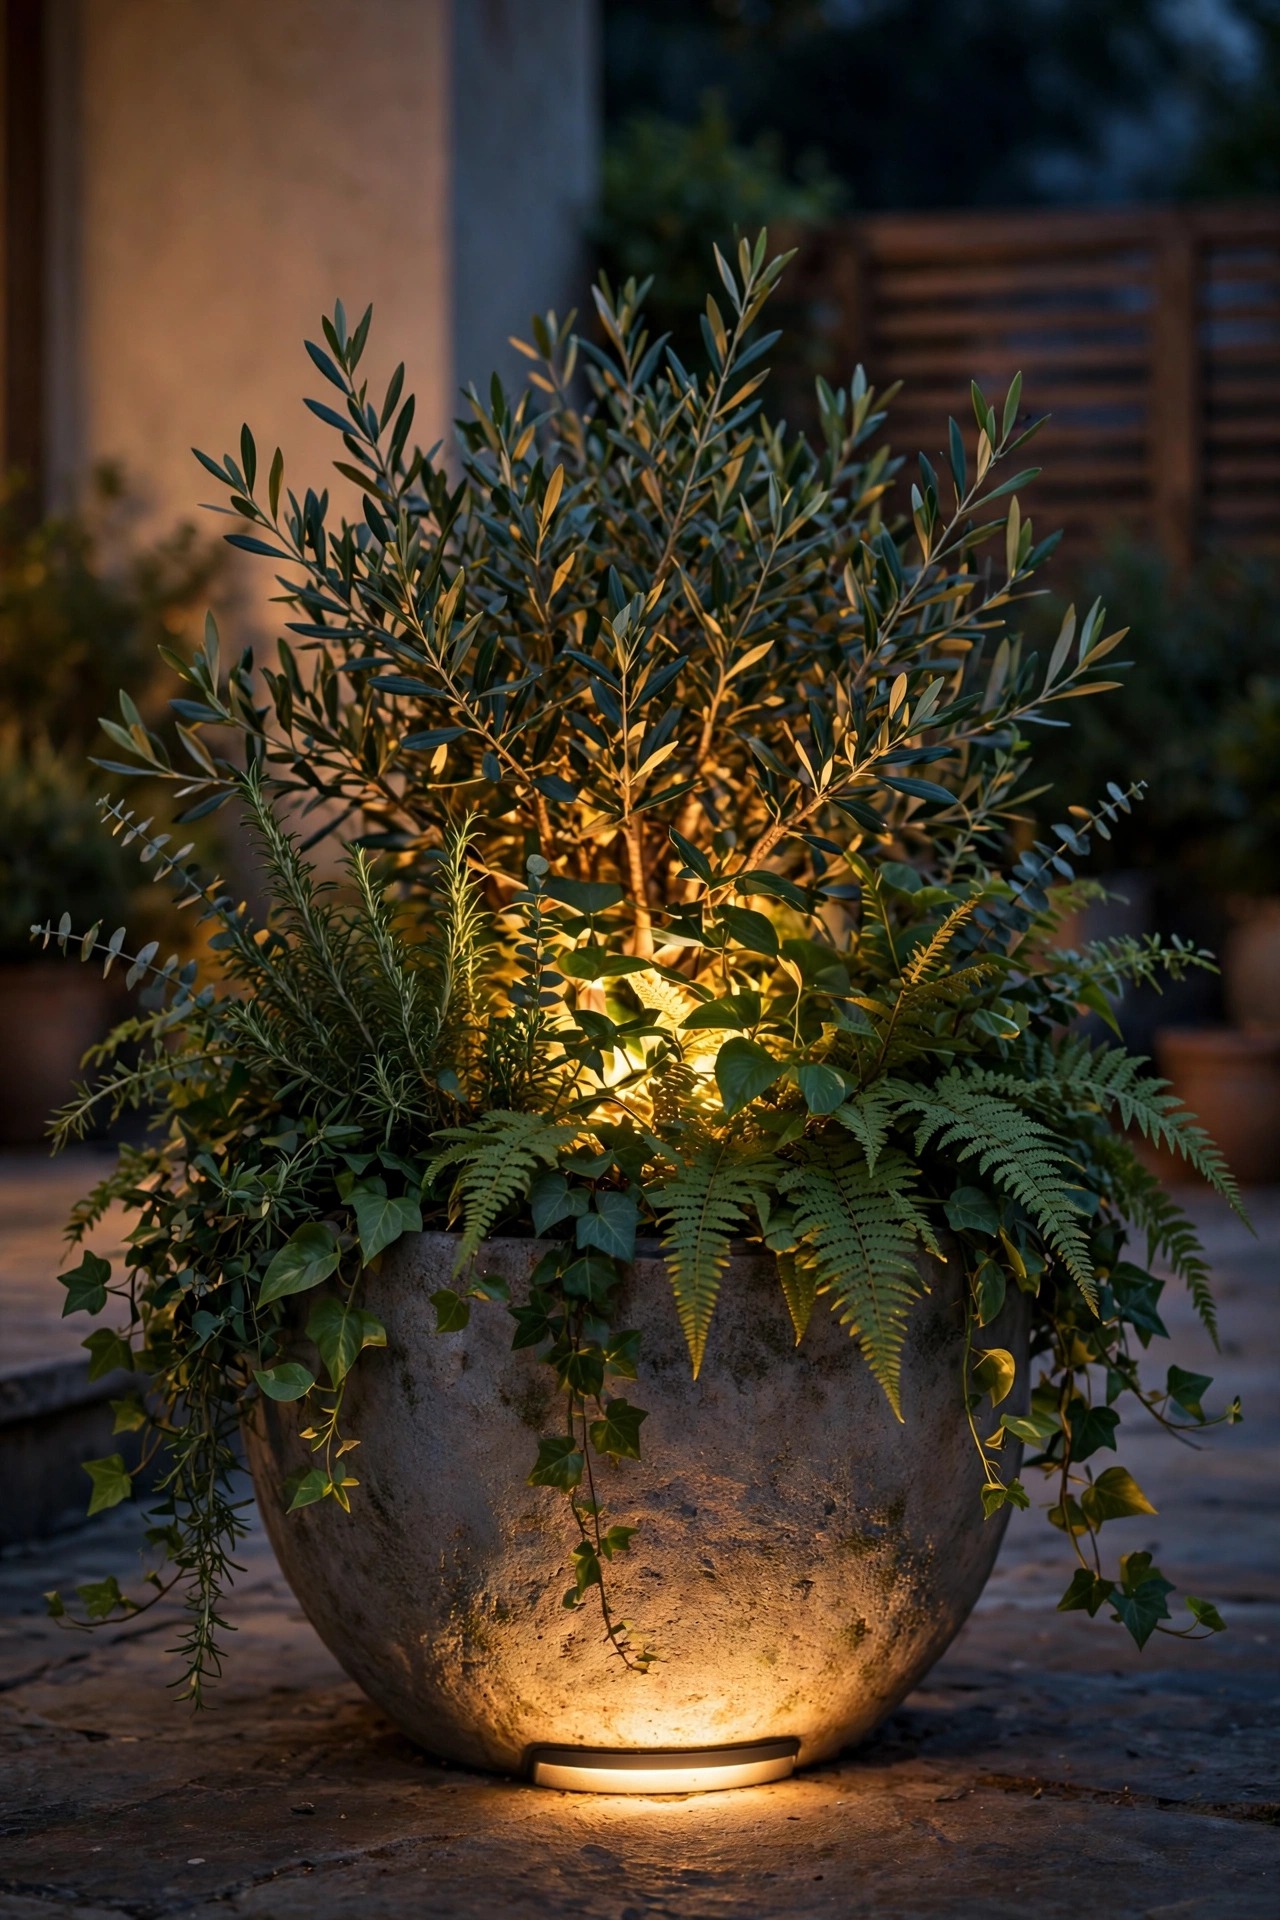
For a statement planter — the big glazed pot flanking your steps or framing the seating area — skip lights inside the pot and light the whole arrangement from below instead. A single low-voltage spotlight or a solar uplight placed on the ground 6 to 10 inches in front of the planter, aimed up at a 30- to 45-degree angle, turns the pot and plant into a glowing sculpture. The light catches the rim, rakes across the foliage, and throws soft leaf shadows on the wall behind. This is the same uplighting logic I use in my broader patio lighting ideas, just scaled down to one pot. Go warm, go dimmable if you can, and keep the beam narrow — a 36-degree spot is plenty. One warning: aim carefully so the beam doesn't spill into a neighbor's window or straight into seated guests' eyes. Two matching planters flanking a doorway, each with its own uplight, is the single most "designed" look on this whole list, and it takes maybe twenty minutes to set up.
Suggested budget range: $25 – $80.
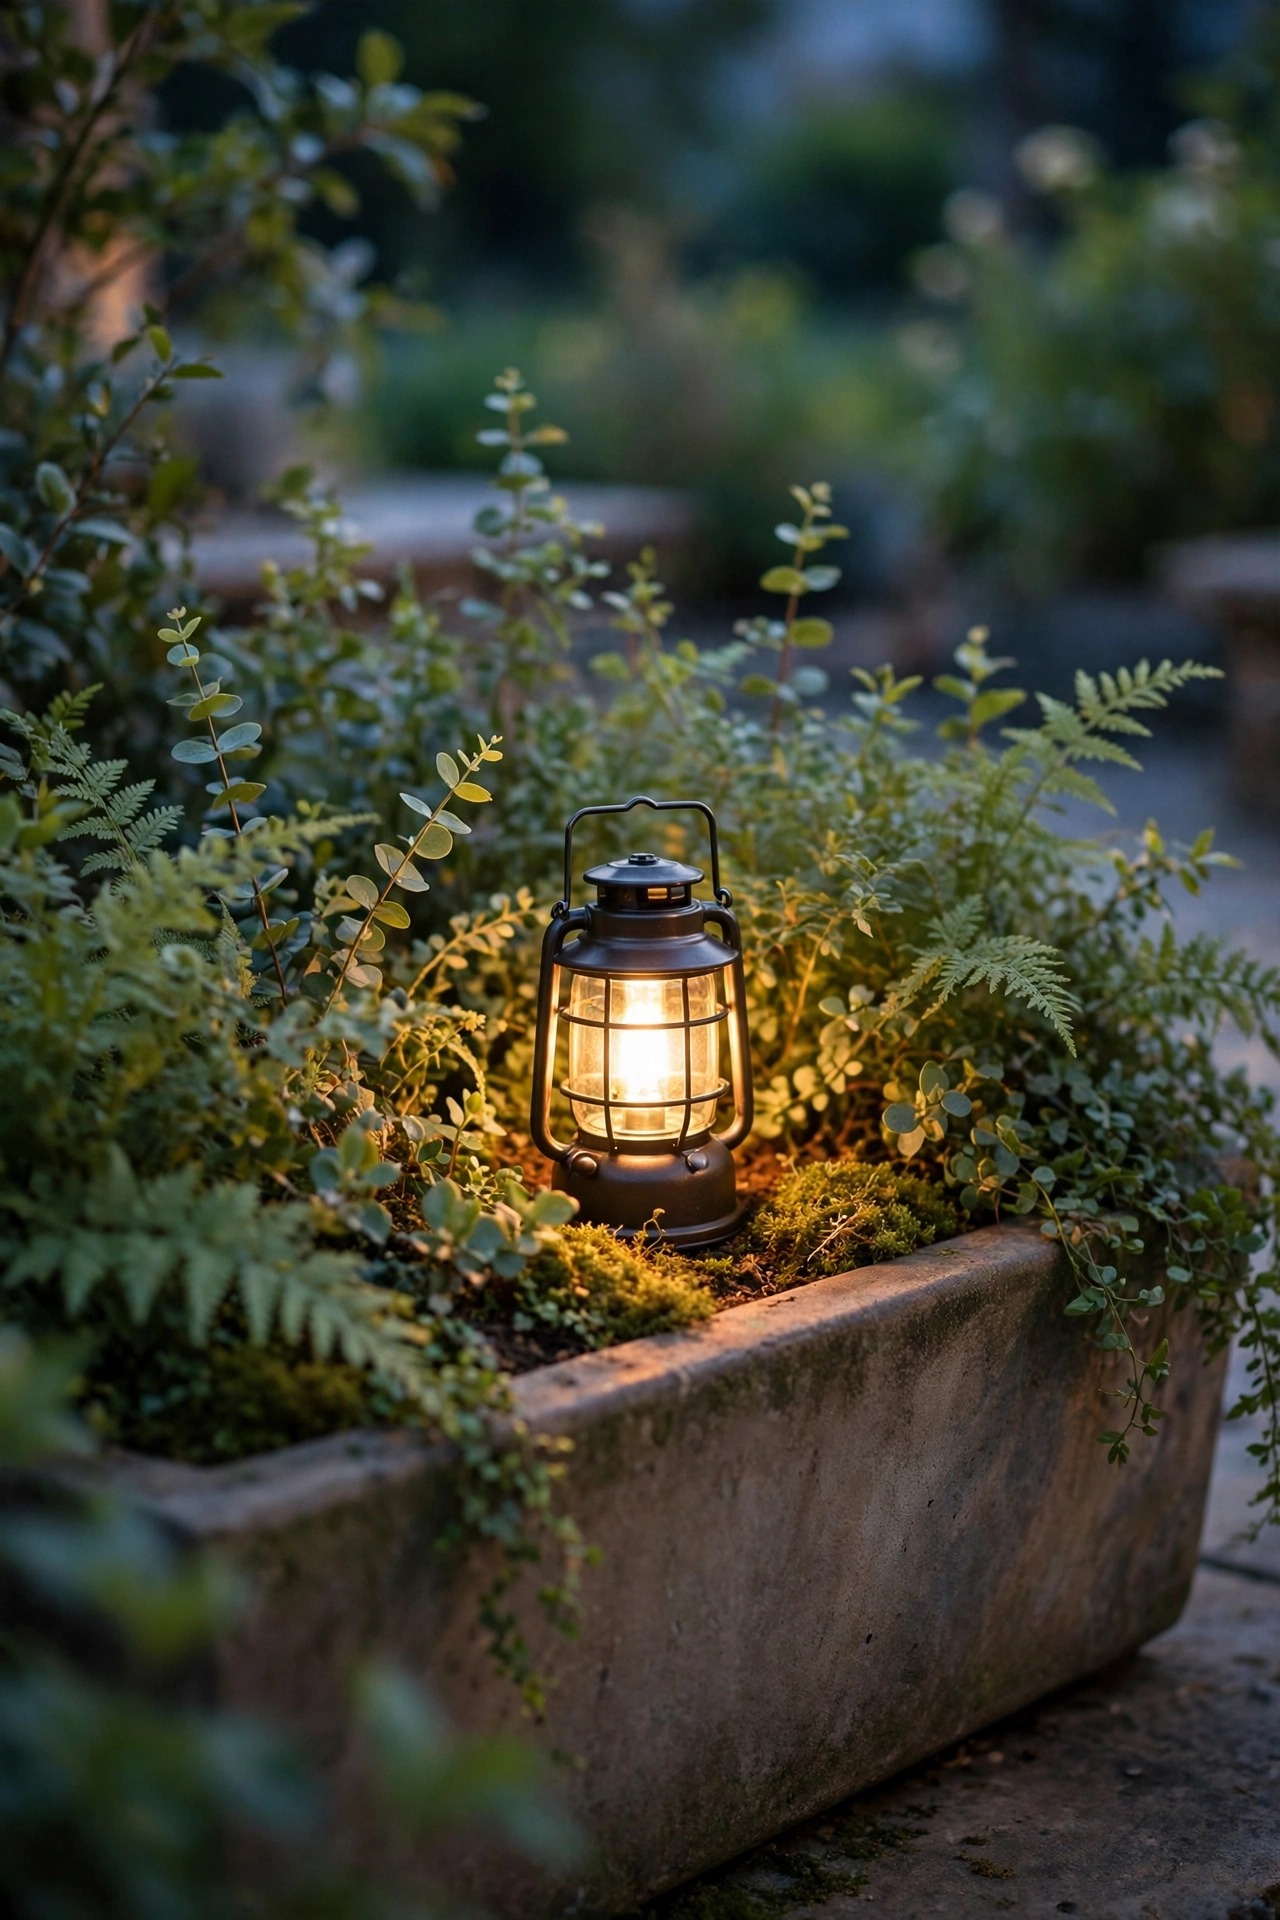
4. Battery Lanterns Nestled Down in the Greenery
There's something about a lantern half-hidden in a planter that feels like a secret. I use small weatherproof battery lanterns — 6 to 8 inches tall, frosted glass or metal with cut-out patterns — and settle them right into the soil of a wide planter so the foliage brushes the sides. The leaves filter the light and throw dappled patterns across the patio floor. Flameless LED candles inside lanterns work too, and they're the safest option of all since there's no real flame near dry leaves. Set lanterns on the timer setting if they have one, and elevate them on an upturned small pot if your plants are thirsty and the soil stays soggy — standing water and battery compartments are not friends. A pair of planters flanking the patio door, each with a lantern glowing inside, frames the whole space like a doorway in a garden restaurant. In my experience this looks best with airy plants — lavender, grasses, trailing thyme — rather than dense shrubs that swallow the light completely.
Suggested budget range: $18 – $45.
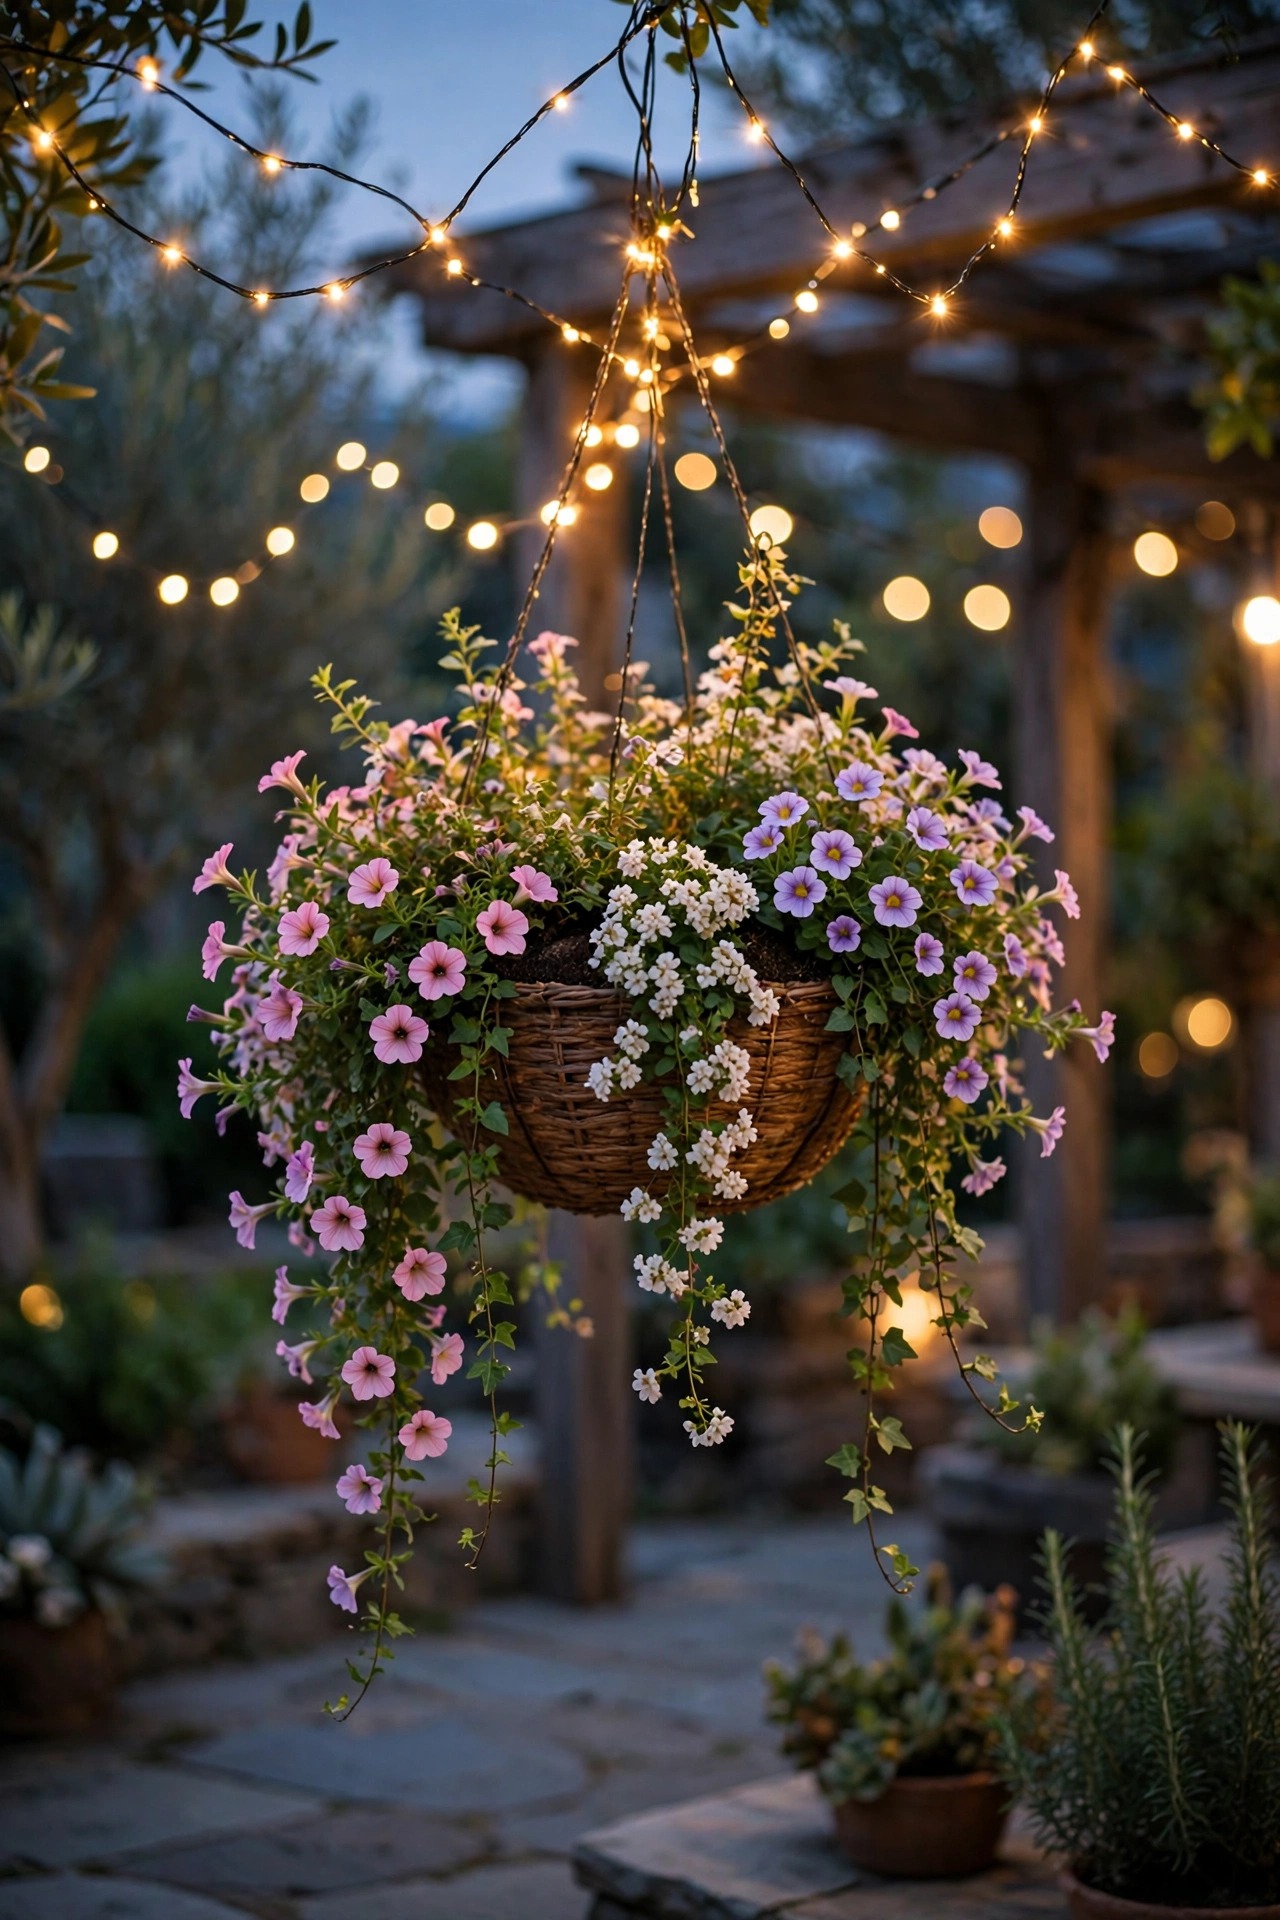
5. Hanging Baskets With Micro String Lights
Hanging baskets are usually an afterthought once the flowers fade, but a strand of micro LED string lights changes that completely. Use the thinnest wire strand you can find — the kind sold for mason jars and wreaths — and spiral it gently around the basket's chains, then let a few loops droop into the trailing plants. Petunias, trailing lobelia, and sweet potato vine all catch the light beautifully because their leaves sit at different depths. Keep the battery pack up inside the basket near the hanger where rain can't pool on it. Because the basket is at eye level or above, even a very dim strand reads clearly after dark, so this is an idea where less really is more. I'll often do just the two baskets flanking the patio door and leave the rest unlit — the contrast makes them pop. One practical note: water hanging baskets from below or take extra care around the battery pack, and never submerge the strand when you soak the basket on a hot week.
Suggested budget range: $10 – $25.
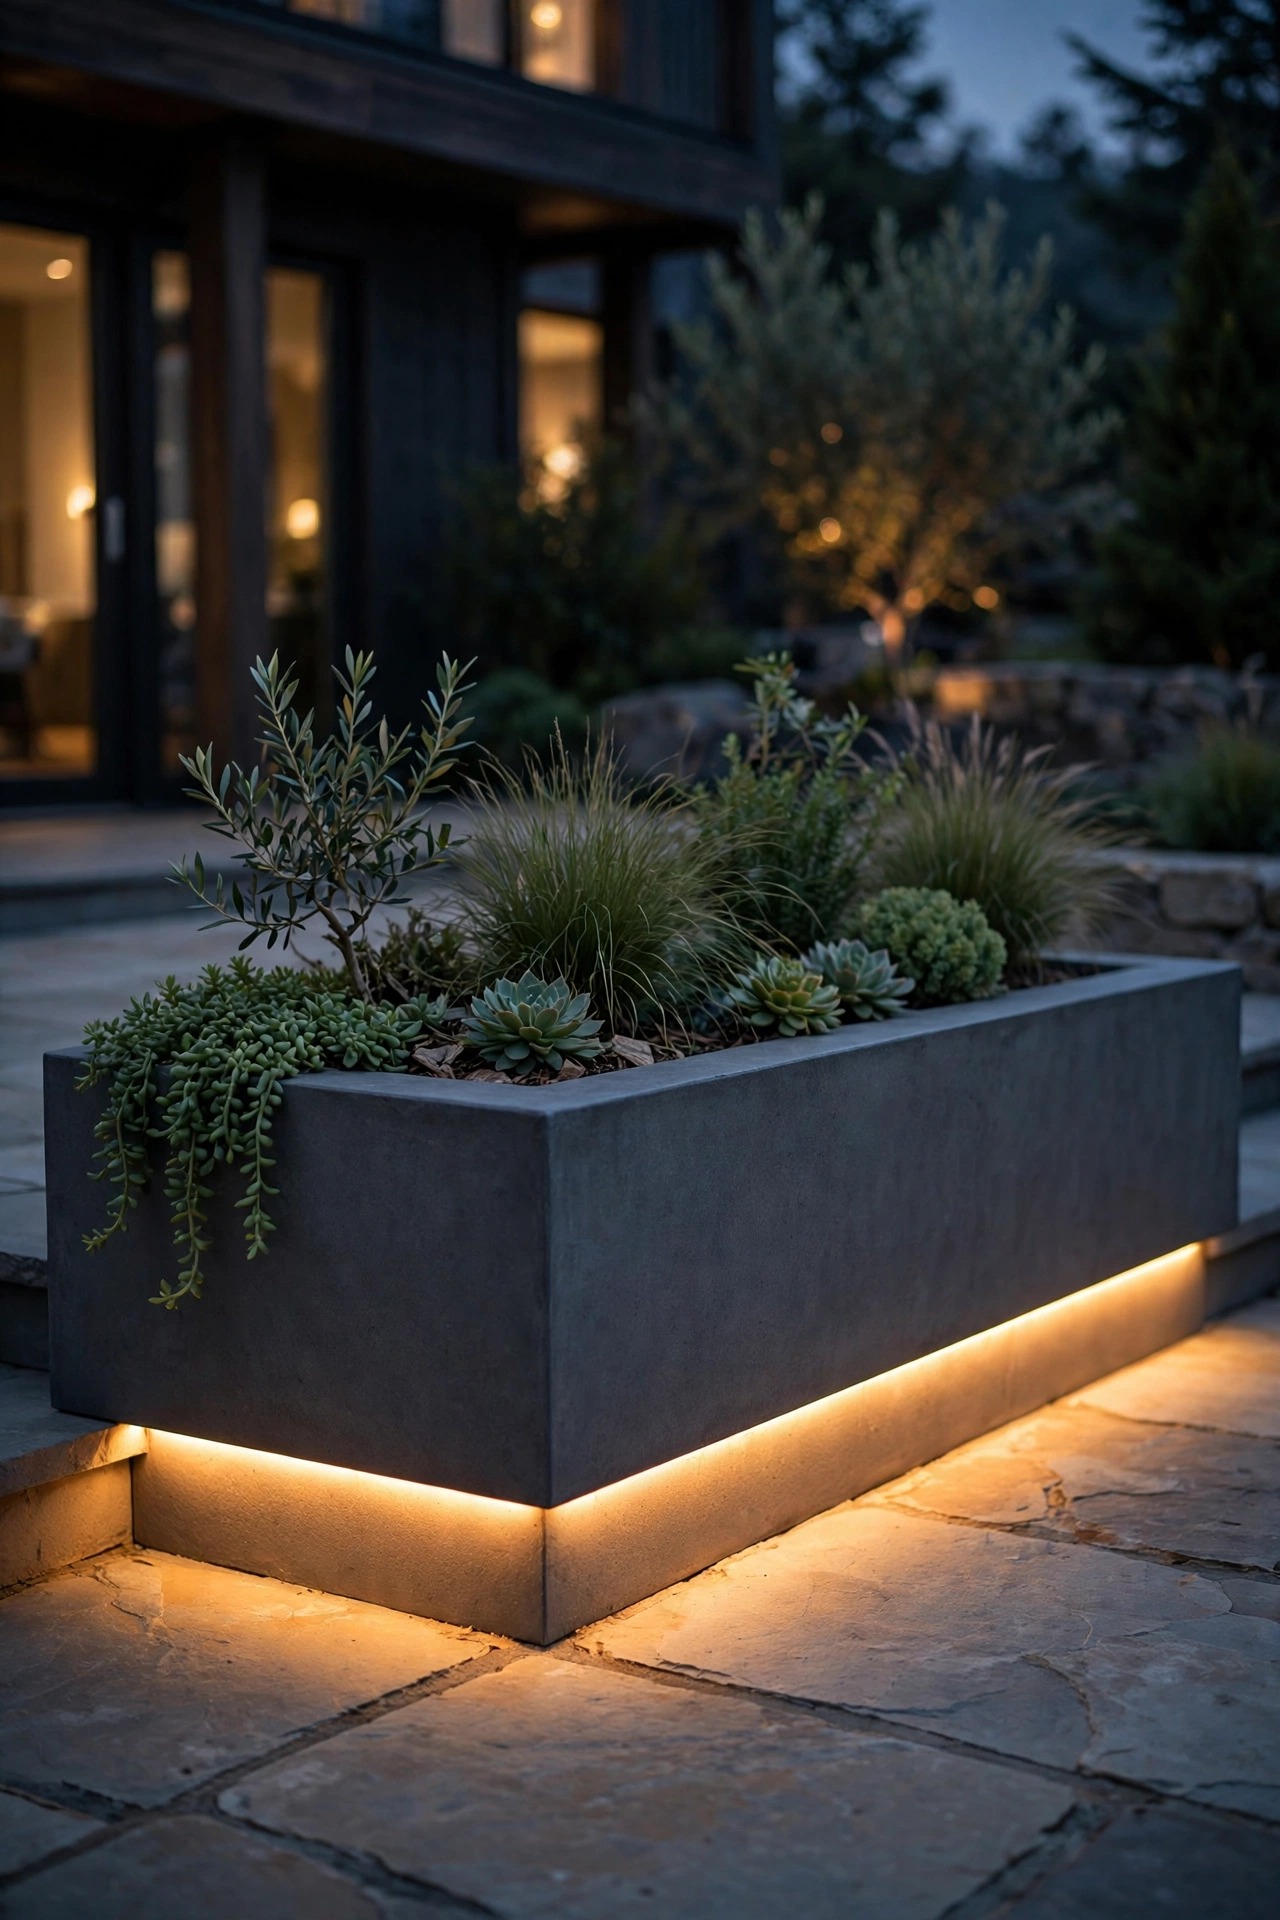
6. Planters With an LED Strip Hidden Under the Rim
This is the most modern look on the list, and it's easier than it sounds. Flexible LED strip lights — the outdoor-rated, waterproof kind — can be stuck or clipped along the underside of a wide planter rim, a raised planter box edge, or the lip of a built-in planter bed. The strip itself stays invisible; what you see is a clean line of glow washing down the pot's face and pooling on the patio floor, with the greenery lit from above at the same time. Use warm white strips (2700–3000K), cut them to length at the marked points, and hide the power cord down the back of the planter to a GFCI outlet. Battery-powered strips exist for spots with no outlet, though they dim sooner. I love this under a long rectangular herb planter along the patio edge — it defines the boundary of the space like a runway of light without a single visible fixture. Choose strips rated IP65 or higher for anything that lives outside year-round.
Suggested budget range: $20 – $55.
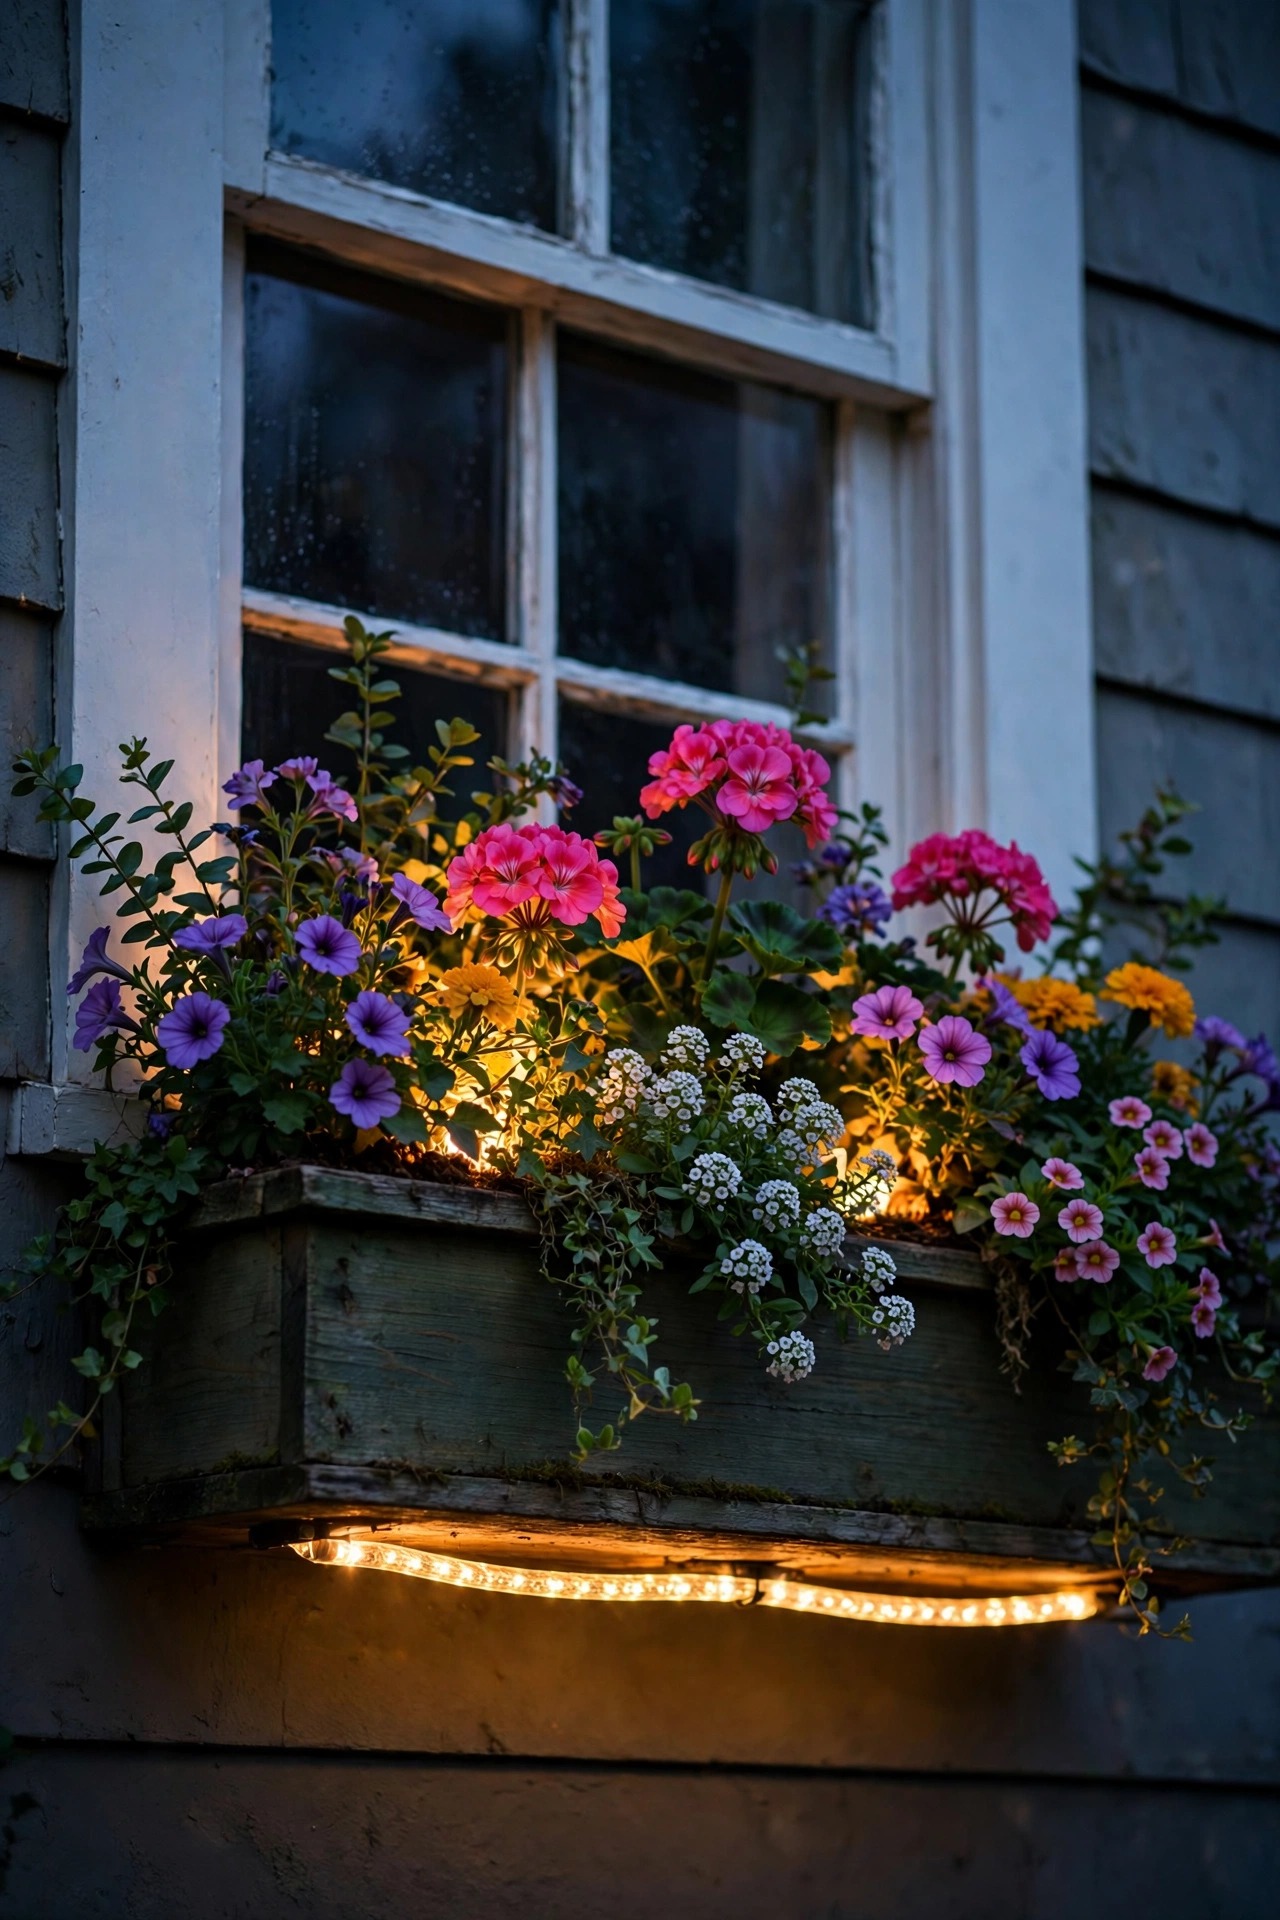
7. Window Boxes Lit From Below With a Rope Light
Window boxes count as planters in my book, and they respond beautifully to a rope light mounted underneath. A flexible LED rope light screwed or clipped to the wall just below the box throws light up through the flowers and across the siding, so the whole arrangement floats. Keep the rope 2 to 3 inches out from the wall so the glow spreads instead of striping. Geraniums, calibrachoa, and trailing verbena all glow from below because their blooms sit above the foliage. This works on a patio railing box too — run the rope along the underside of the rail and it lights both the box and the rail line in one move. Buy rope light rated for outdoor use and connect it to a timer outlet so it runs dusk to bedtime. In my experience this is one of the cheapest ways to make a plain house wall feel like a café terrace, and it photographs like a dream. Cut lengths carefully — rope light only trims at marked intervals, usually every 18 inches or so.
Suggested budget range: $15 – $40.
8. A Tiered Plant Stand Wrapped in One Long Strand
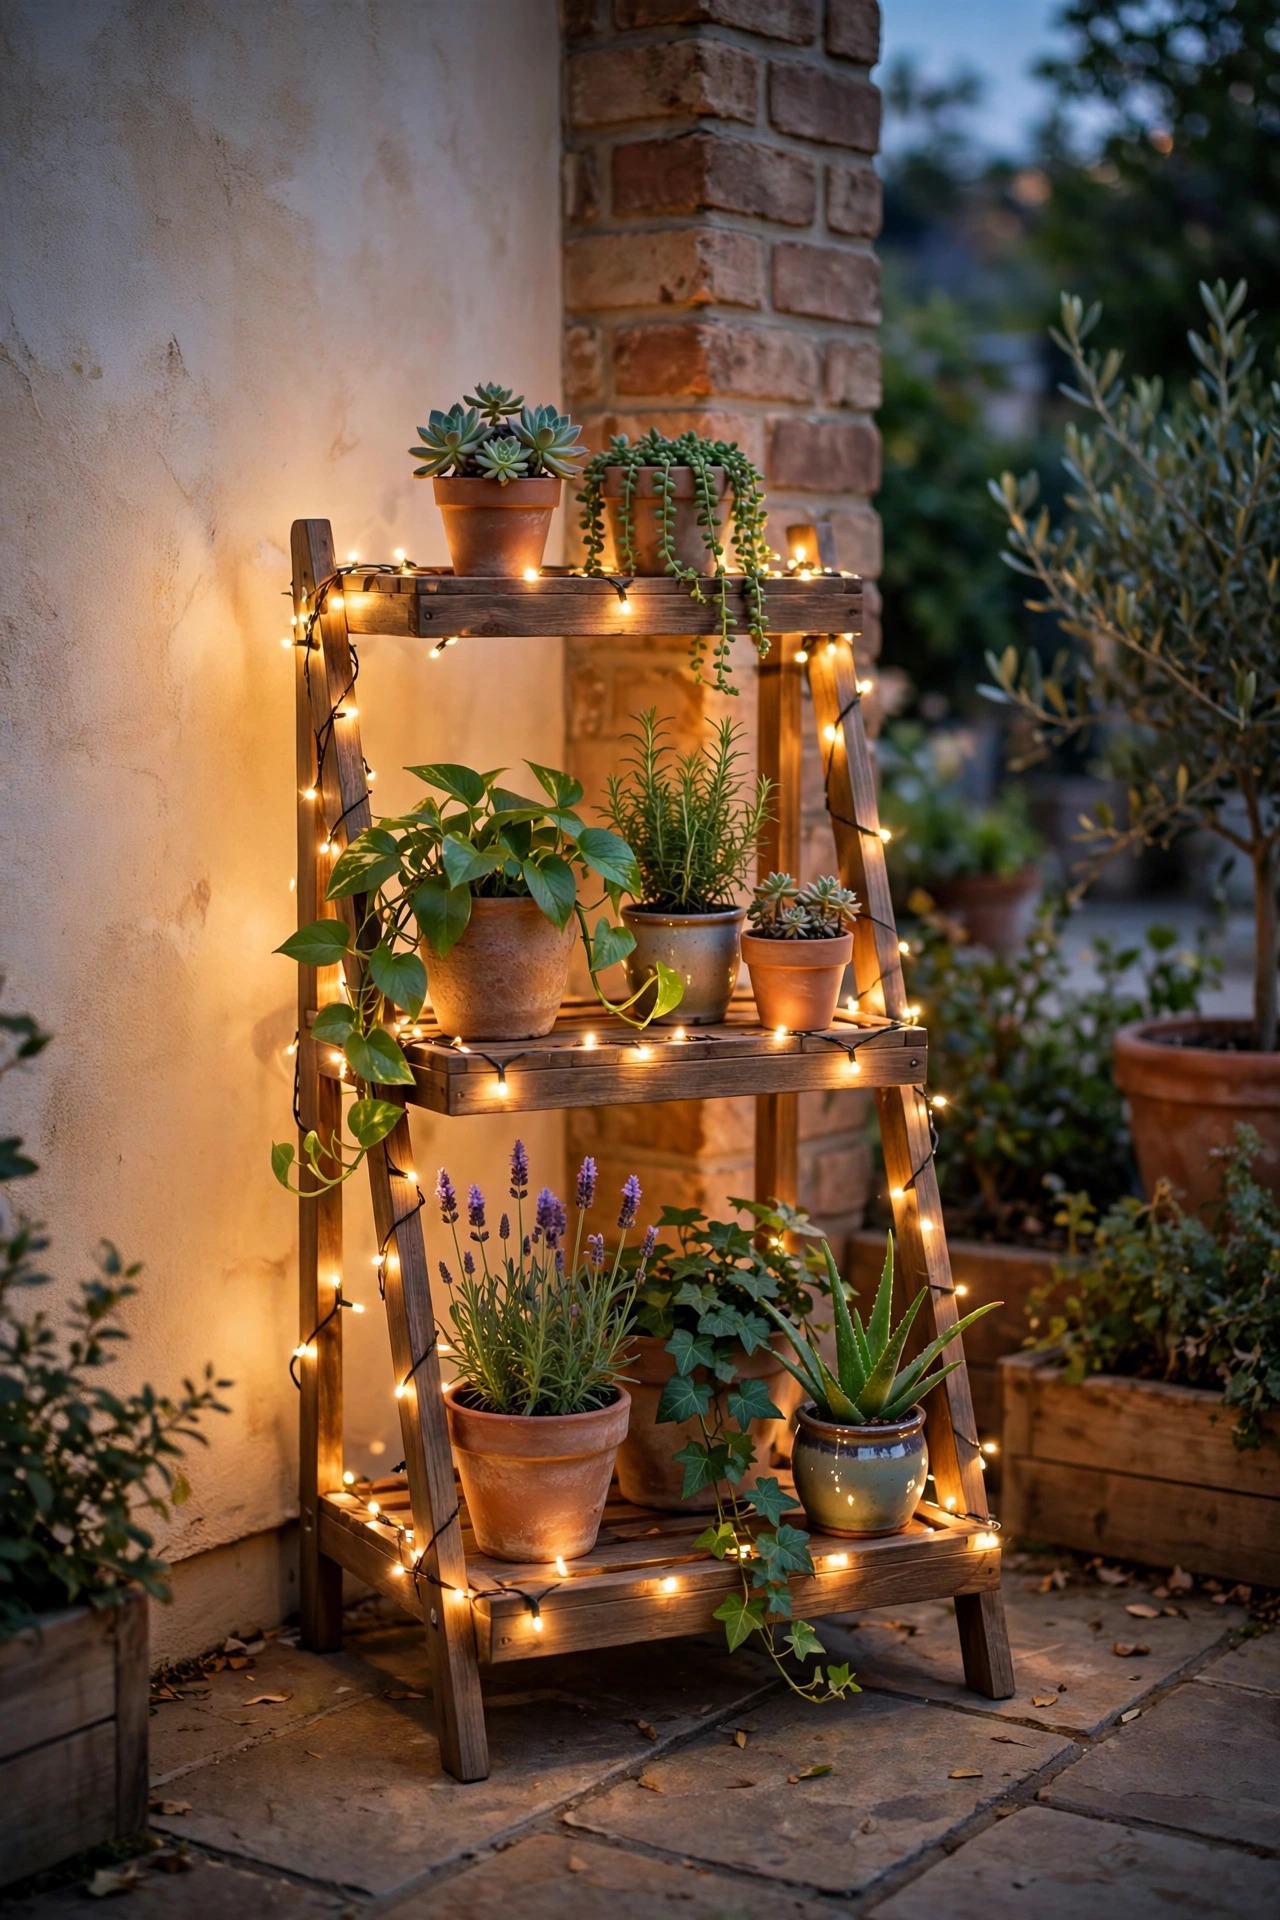
If you group small pots on a tiered stand — and you should, it saves so much floor space — one long fairy light strand can unite the whole display. Start at the top shelf, loop the strand loosely around the stand's frame, and let it meander down past each pot, pausing to circle one or two of the plants themselves. A 33-foot battery strand usually covers a three-tier stand with light to spare. The effect is a little tower of glow in the corner of the patio, and it draws the eye exactly the way a floor lamp does indoors. Mix your pot sizes and heights so the light has levels to play on, and put your trailing plants on the top tier so the vines fall through the lights. Group the stand where you can see it from inside the house, too — on a dark January evening that little lit corner is pure comfort. Just keep the strand clear of watering day splashes, or use a USB-powered strand plugged into a covered outlet instead.
Suggested budget range: $12 – $30.
9. Trellis Planters With Climbing Vine Lights
A planter with a built-in trellis gives you vertical greenery, and vertical greenery begs for vertical light. Weave a fairy light strand up the trellis in a loose zigzag, following the vines — jasmine, clematis, and climbing nasturtiums all work — and let the strand disappear and reappear behind the leaves. The lights sit at different heights, so instead of a flat glow you get depth, like fireflies that decided to stay put. Keep the weave loose: vines grow fast in June, and a tight strand will strangle stems by August. Clip the wire with the same soft plant ties you use for the vine itself. If your trellis planter frames a bench or the end of the patio, this single feature can carry the whole space after dark. Solar strands with the panel staked in the pot work here since the trellis top gets good sun, but I prefer battery strands for the timer function and stronger light. Either way, warm white only — your vines will thank you by looking alive instead of neon.
Suggested budget range: $15 – $45.

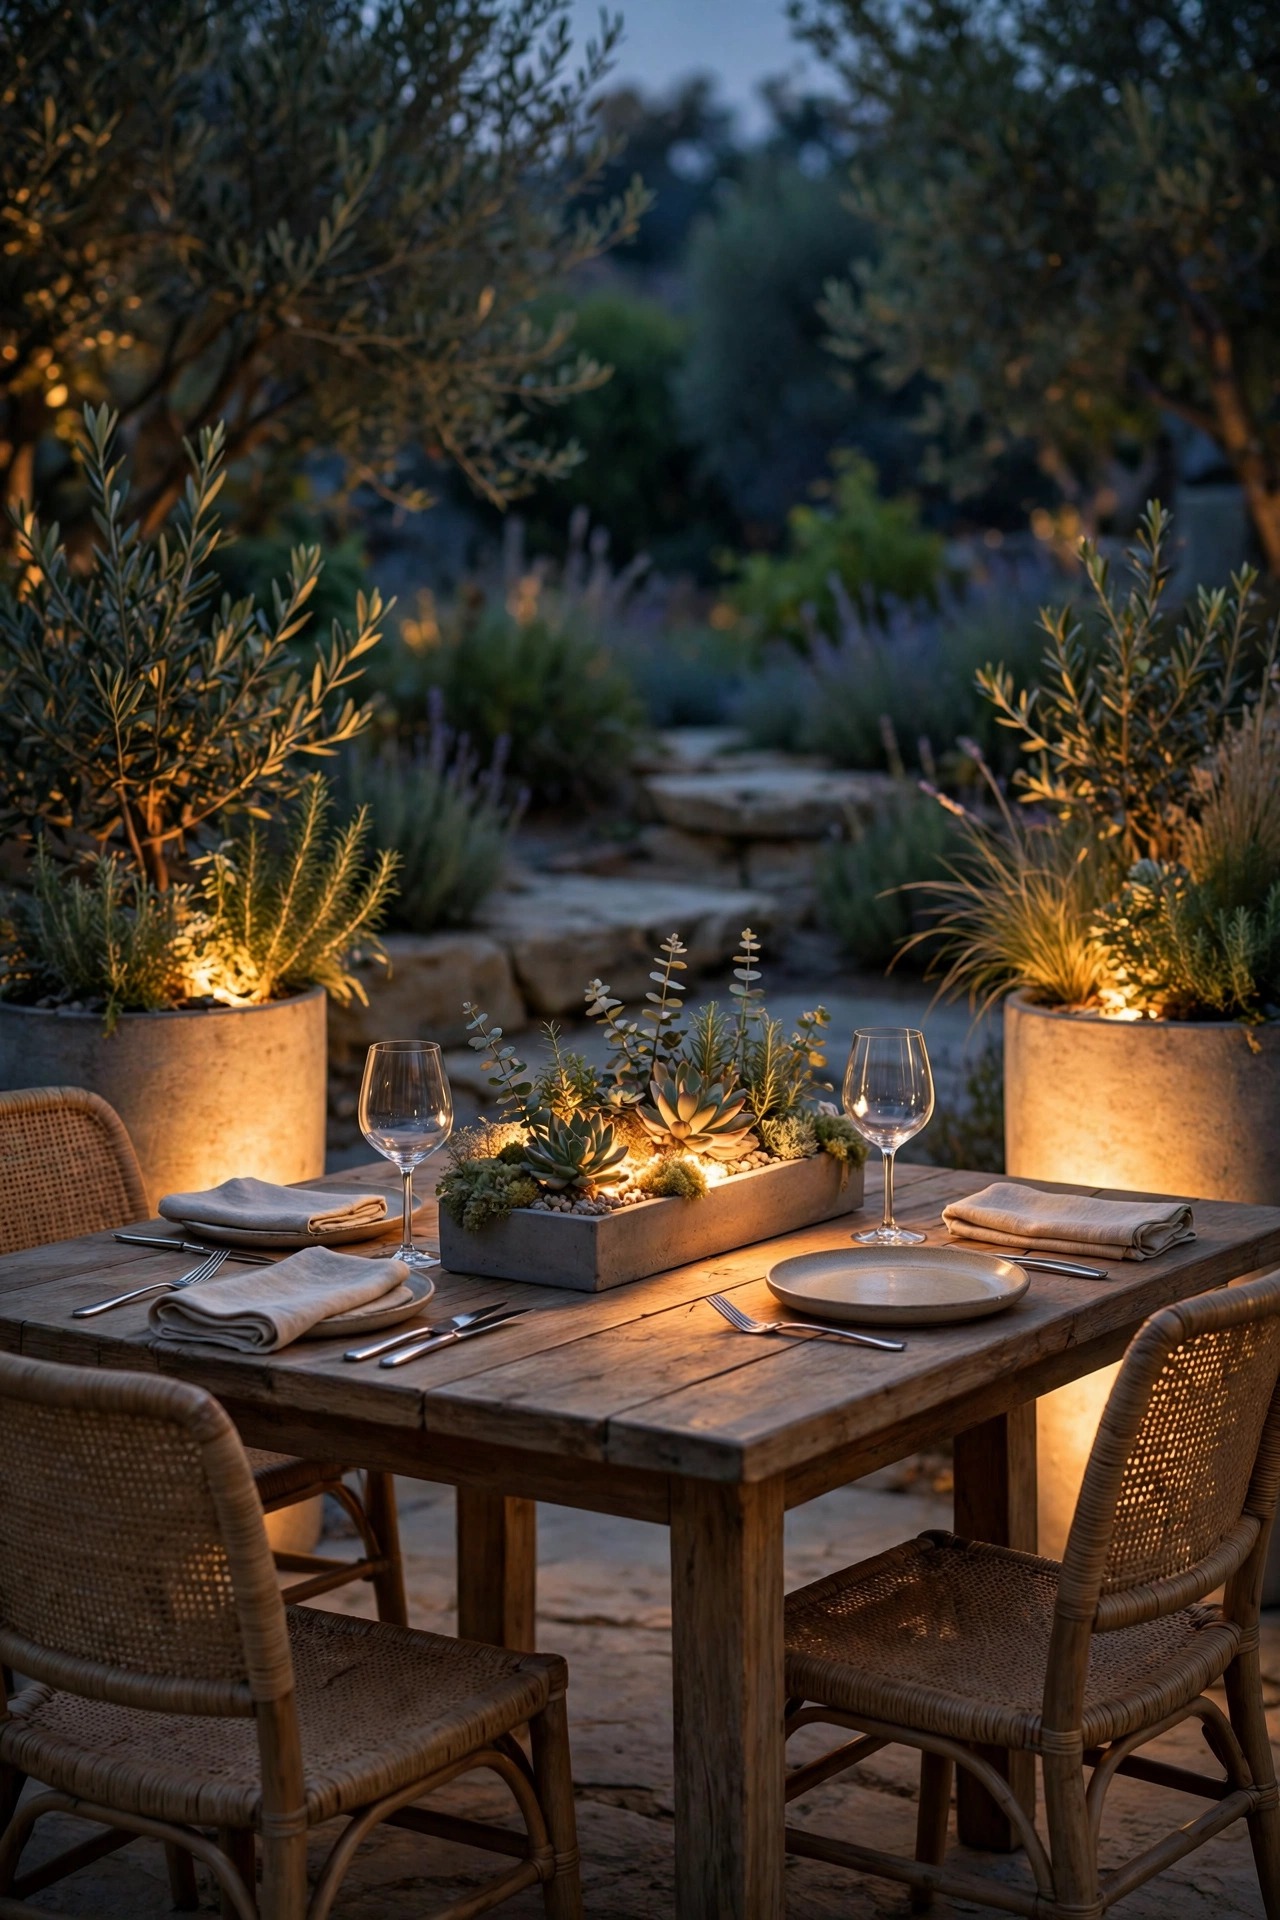
10. A Flameless Candle Cluster in a Low Centerpiece Planter
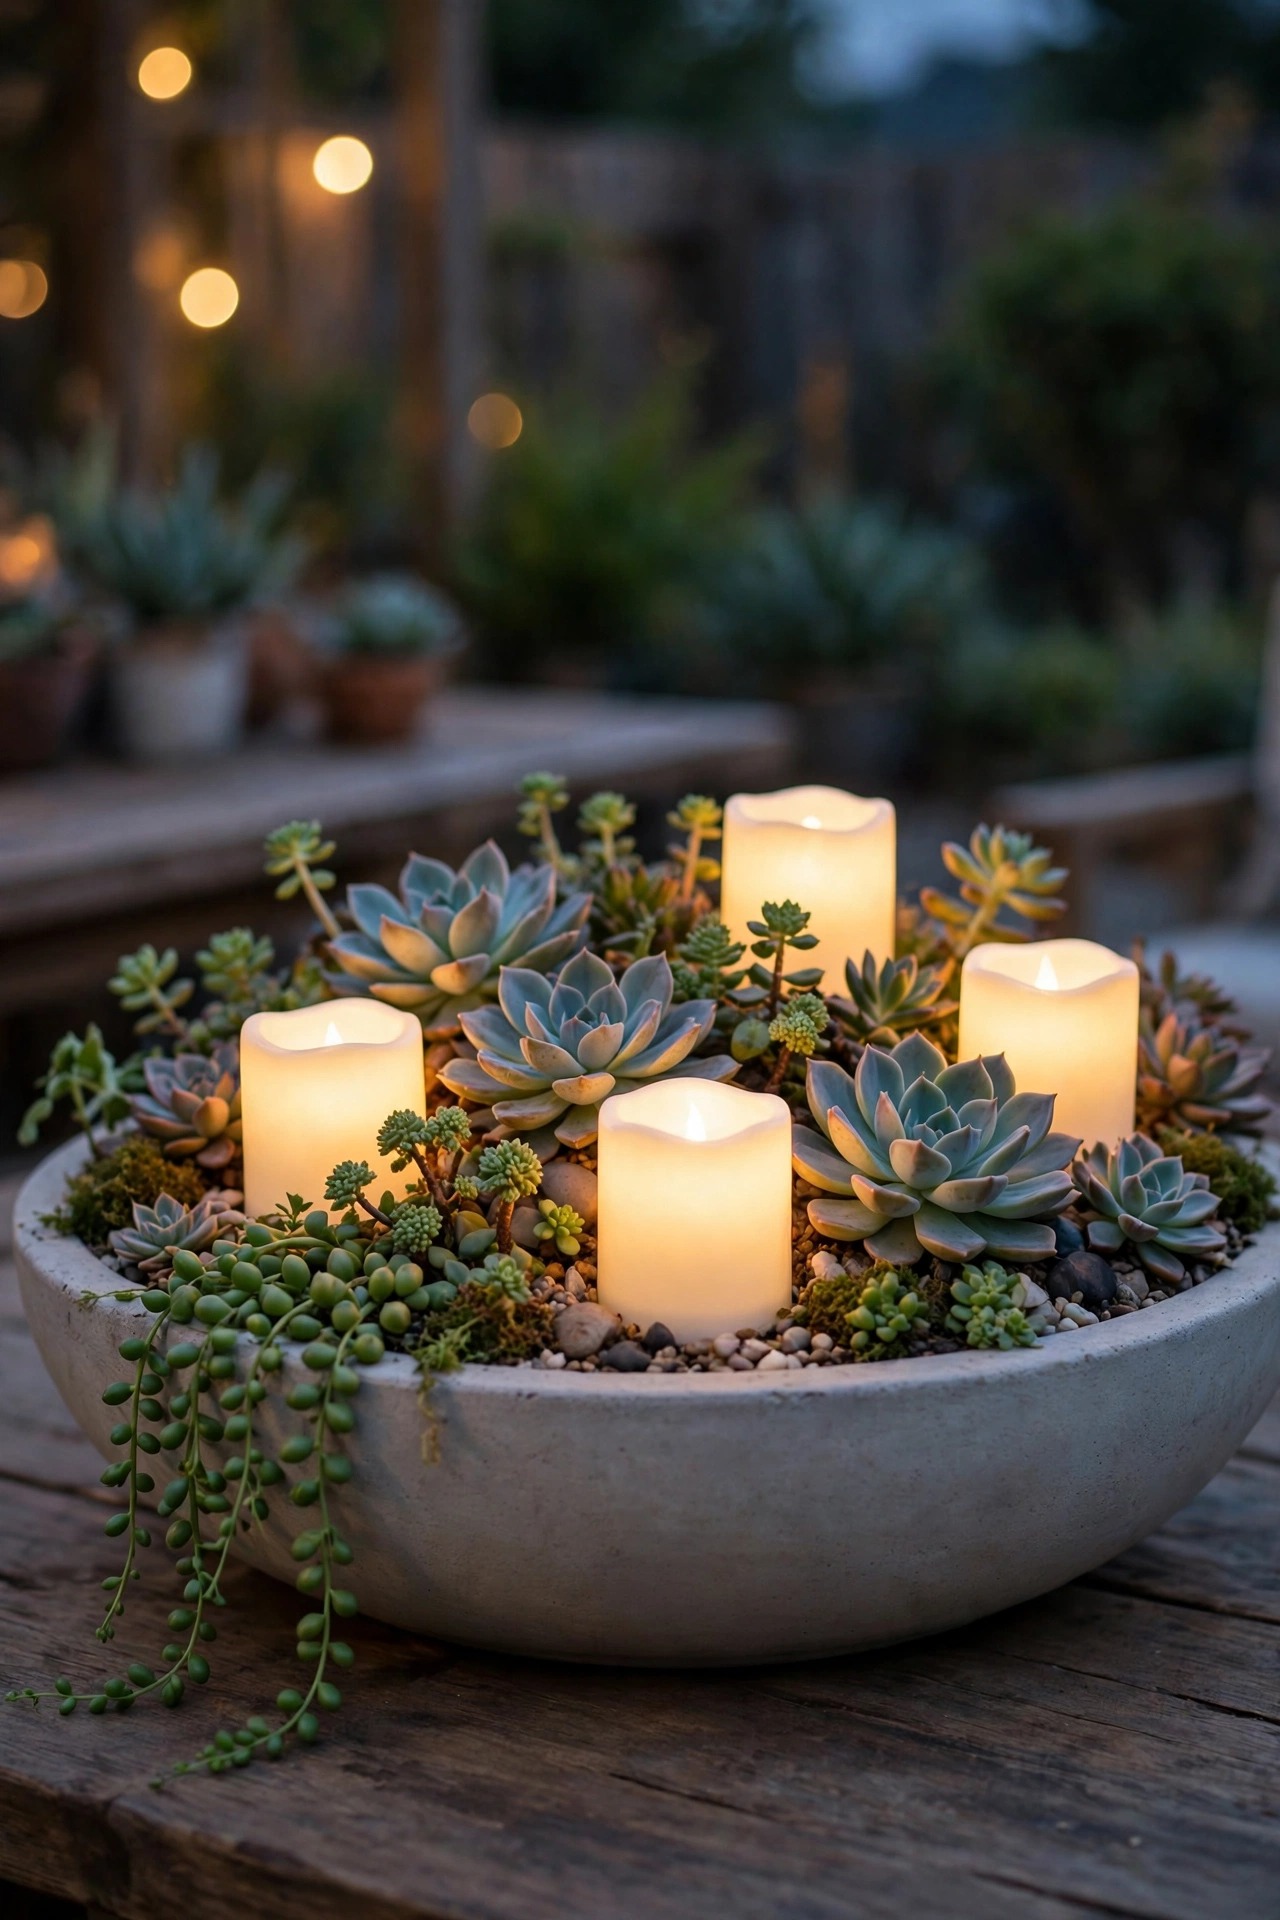
For the dining table, I plant a wide, low bowl with succulents or moss and nestle two or three flameless LED pillar candles in the center. It reads as a living centerpiece that also happens to light your dinner — and unlike real candles, the LED versions never drip wax onto the tablecloth or blow out when someone laughs too hard. Choose candles with a realistic flicker and a timer, in heights that vary by an inch or two. Because succulents need almost no water, the candles stay dry and happy for the whole season. On nights you're not eating outside, the same bowl moves to the coffee table or the step by the door and keeps working. I always recommend flameless over real flame anywhere near plant material — dried moss and leaves are genuinely flammable, and honestly the new LED candles are convincing enough that guests reach out to check. Group three bowls down a long table for a dinner party and skip every other light on the patio; it's that pretty.
Suggested budget range: $20 – $50.
11. Path-Edge Planters With Small Downlights
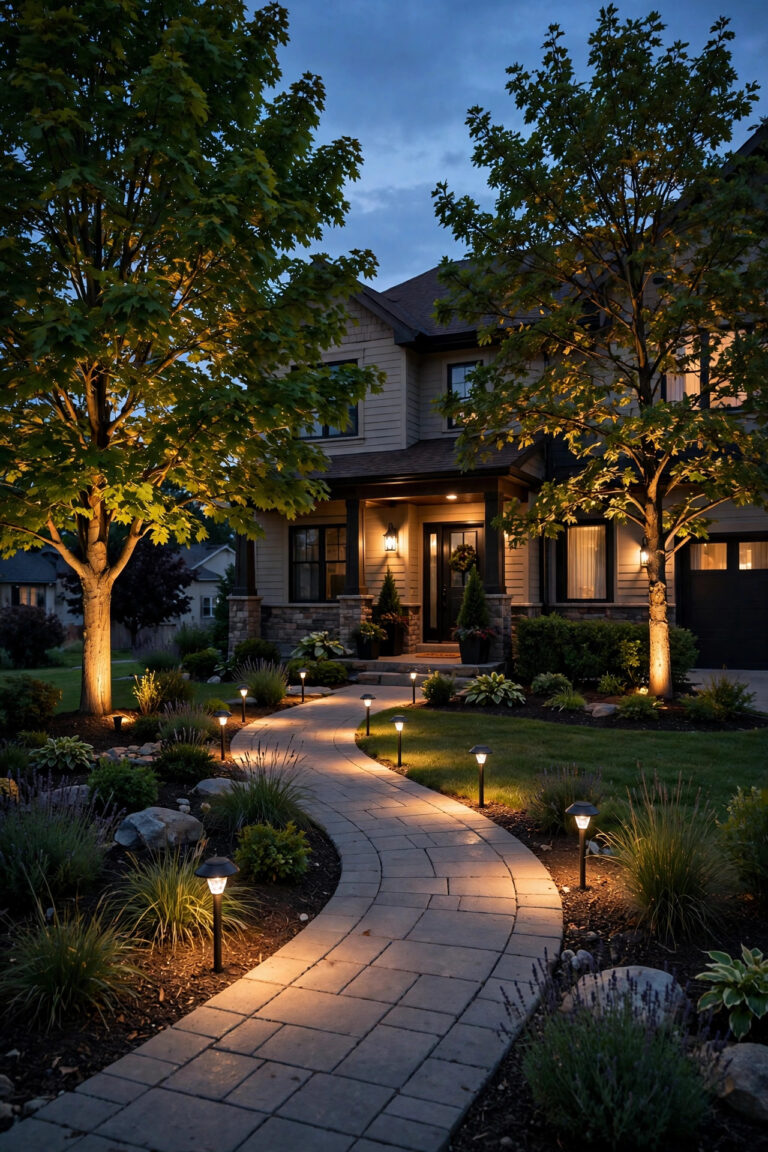
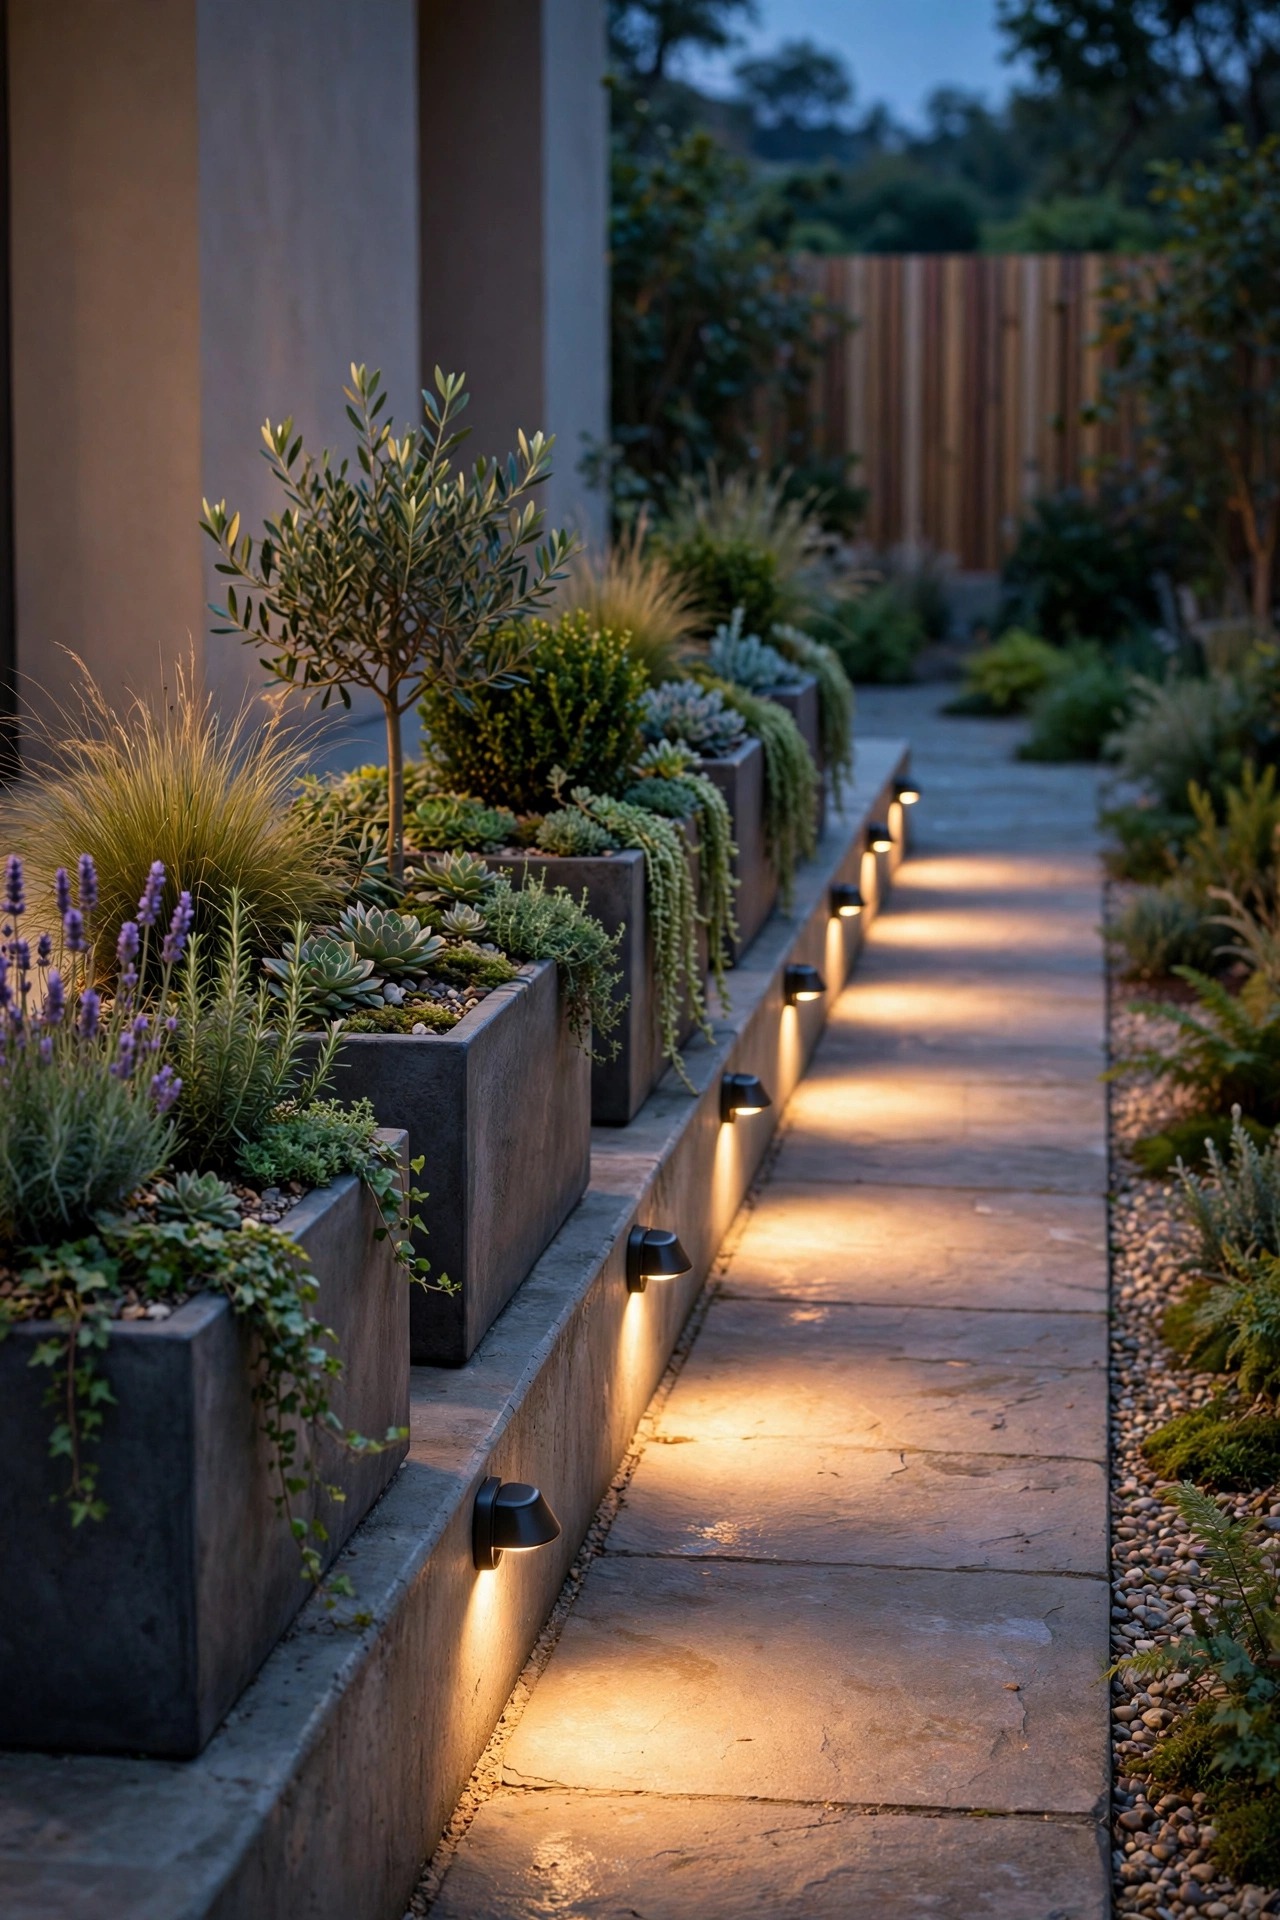
Where your patio meets a step or a garden path, a row of planters can double as your safety lighting. Mount small downlight fixtures — or use solar path lights with hooded heads — at the front edge of each planter so the light spills down onto the walking surface instead of shining in faces. This is borrowed straight from my favorite garden lighting ideas: light the ground people walk on, not the air. Space planters 4 to 6 feet apart along the edge, keep the light sources shielded, and choose plants that mound over the pot rim — creeping jenny and alyssum soften the fixture line beautifully. The planters mark the boundary so nobody trips on a pot in the dark, and the downlights mark the level change. It's practical, but it also looks intentional and tailored, like something a landscaper planned. Wired low-voltage downlights are the most reliable version; solar works if the spot gets six-plus hours of sun to charge.
Suggested budget range: $30 – $90.
12. Herb Planters With Mini Pin-Spot Lights
My herb planters sit by the kitchen door, and a tiny pin-spot light aimed into each one has saved more dinners than I can count — no more guessing which leaf is basil in the dark. You can buy small solar spotlights on short stakes, or wire one low-voltage pin light per planter on a shared run. Aim from the side at a low angle so the leaves cast shadows and you can actually see the plant's shape; light from directly above flattens everything. Basil, chives, and parsley have matte leaves that glow softly, while rosemary's needles sparkle a little, which I love. Bonus: the light discourages nobody but delights everybody, and it makes the whole patio smell like dinner when you brush past. Keep fixtures out of the direct watering stream and give solar panels a wipe when you deadhead. If your herbs live in one long trough, two lights angled from opposite ends give you even coverage with no dark middle.
Suggested budget range: $15 – $40.

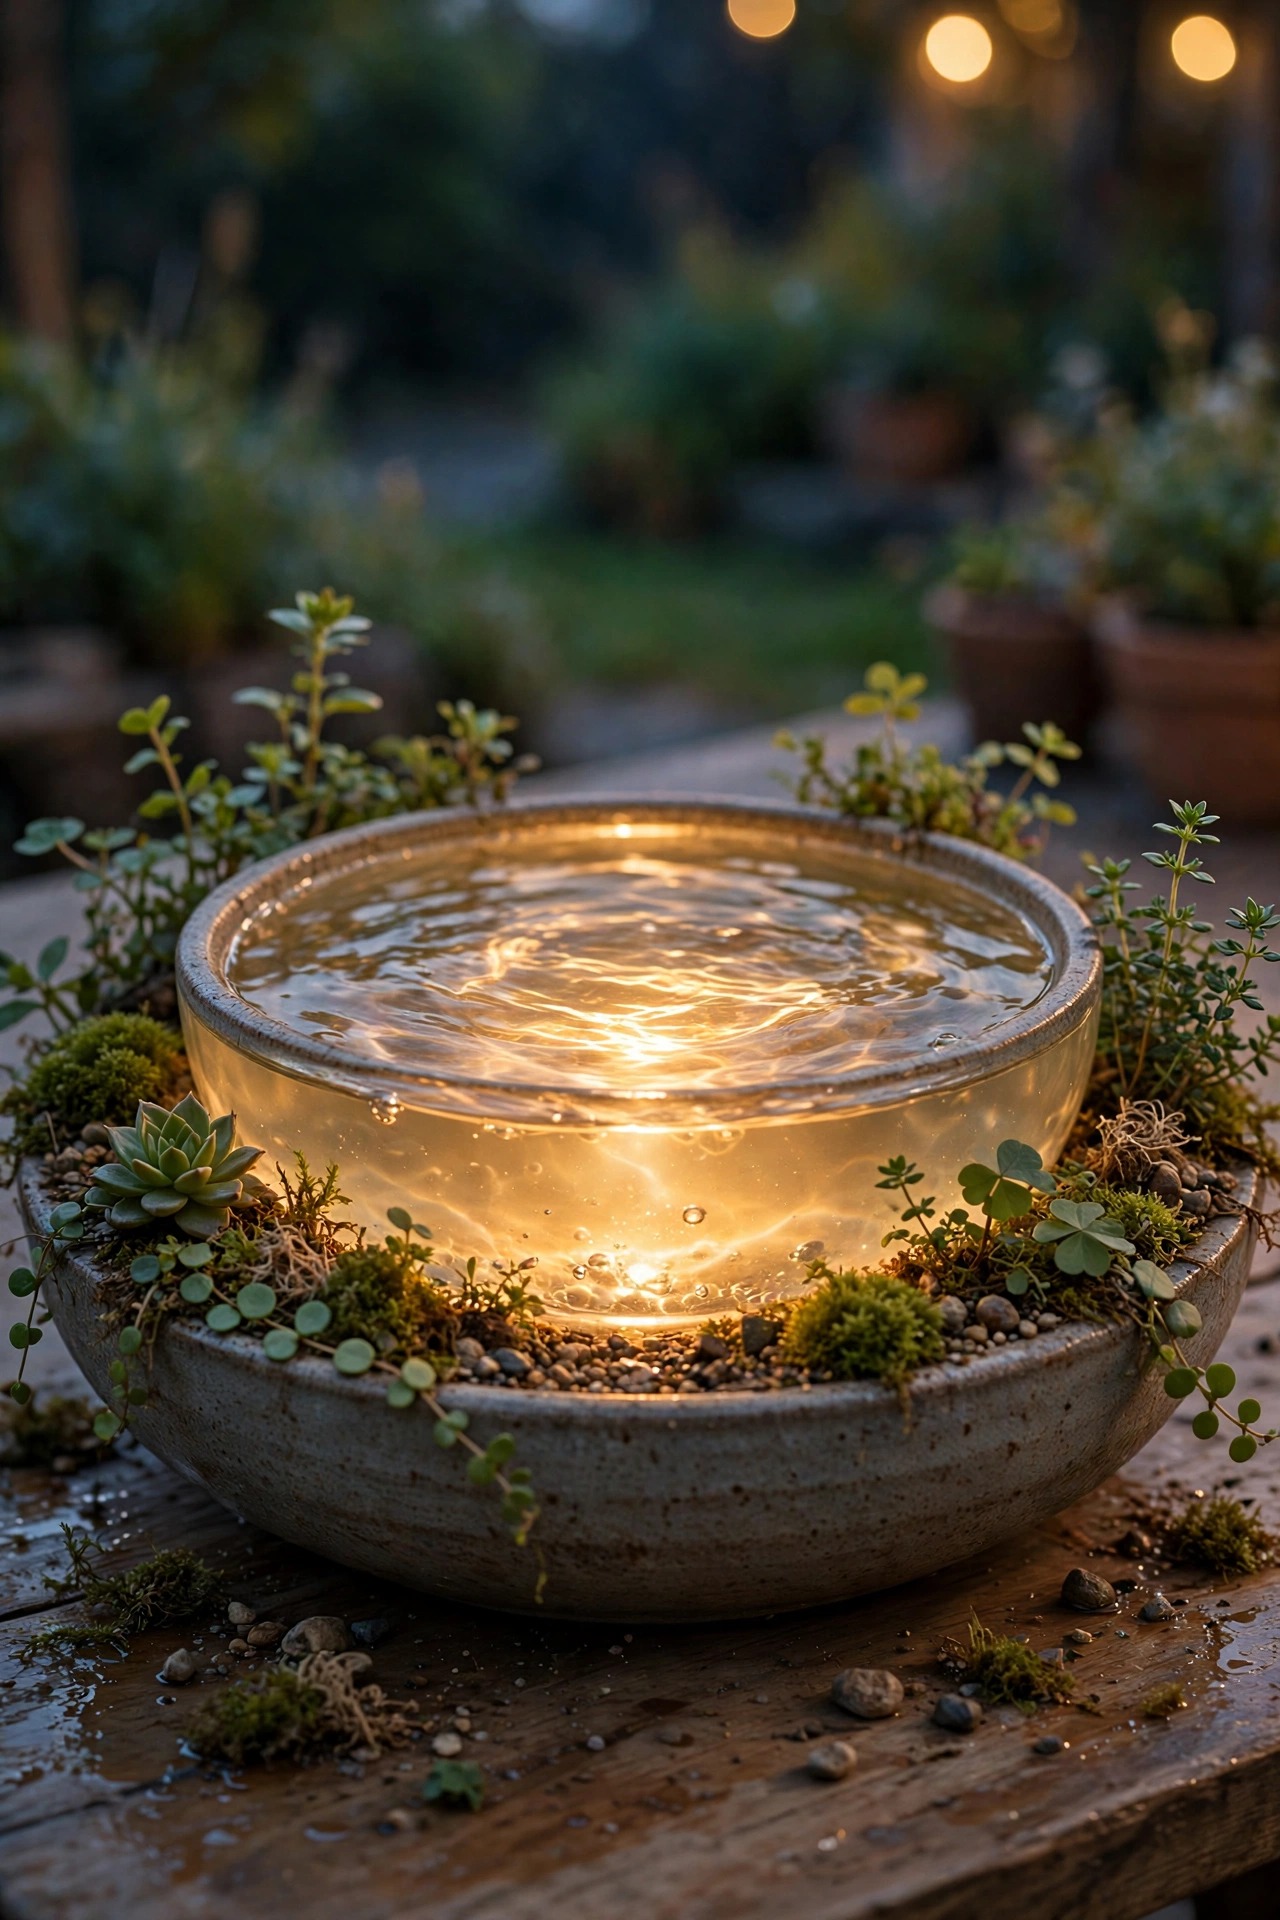
13. A Tabletop Water Planter With a Submersible LED
A wide ceramic bowl, a small solar or battery fountain pump, and one submersible LED puck light gives you moving, rippling light that no other idea on this list can match. The puck sits at the bottom of the bowl under the water, and every ripple bends the glow across the surrounding plants and table. Float a few small plants at the edge — water lettuce if your climate allows, or just set potted moisture-lovers around the bowl. Submersible LEDs are sealed units; check the rating (IP68 is true submersible) and use rechargeable ones so you're not fishing for batteries weekly. I keep mine on the patio coffee table where the reflection plays on the ceiling of our pergola. Honestly, the sound alone is worth it, and the light turns it into a tiny centerpiece garden. Keep the water topped up — pumps sulk when the level drops — and bring the puck in for winter if your bowls freeze, since ice can crack the seal.
Suggested budget range: $25 – $60.
14. Tall Grass Planters Backlit for Silhouettes
Ornamental grasses earn their keep after dark when you light them from behind. Place a low uplight or a simple solar spot at the base of the planter, on the side away from your seating, aimed up through the grass. The blades and seed heads turn into a glowing fountain of lines, and every breeze makes it shimmer. Fountain grass, muhly grass, and tall sedges are all stars here because their seed heads catch the light like fiber optics. This works best against a wall or fence that can catch the spill, and with the light source itself hidden behind the pot so you see effect, not hardware. One planter is striking; flanking a bench with two is theater. Keep the fixture a few inches from dry foliage in late fall when grasses go dormant and crispy — LED sources run cool, but distance is still smart. Cut the grasses back in early spring and check the light hasn't been swallowed by last year's growth before the new blades come up.
Suggested budget range: $18 – $45.

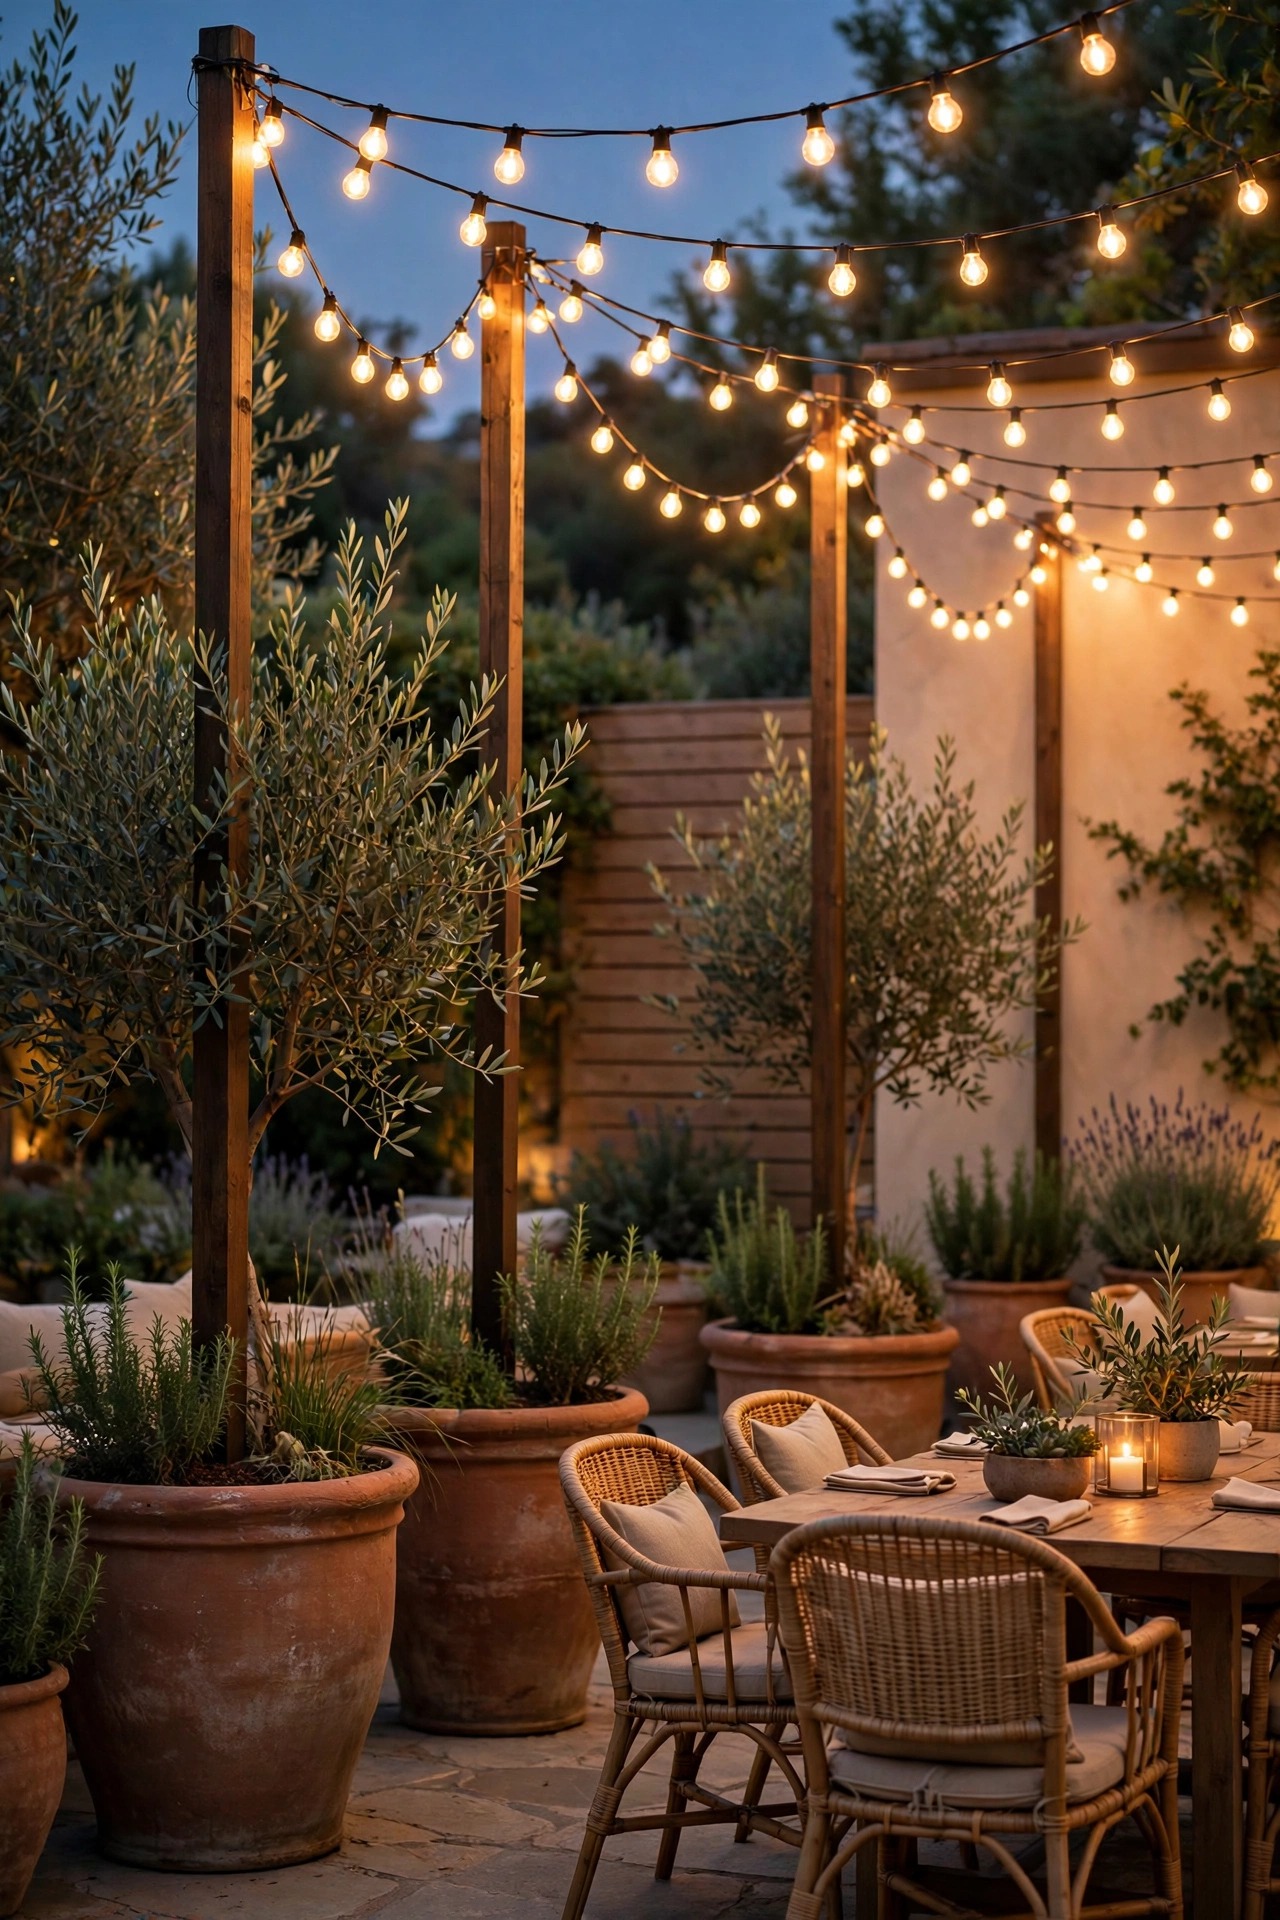
15. Planter Poles That Hold Your String Lights
Here's a two-for-one I use on every patio with no overhead structure: fill a large heavy planter with gravel or concrete, set a 8- to 9-foot pole in it, grow something cheerful around the base, and hang your string lights from the top. The planter is the anchor, the plants hide the ugly base, and the pole solves the "nothing to hang from" problem that stops so many string light plans. Use planters at least 20 inches wide for stability, and set poles at the corners of your seating area, roughly 10 to 15 feet apart. Swag the strands with a gentle dip — about a foot of sag per 10 feet looks relaxed, not sloppy. Trailing plants like sweet potato vine spill over the pot edge and soften the whole assembly. This is the setup I point people to when they rent: nothing attaches to the house, and it all moves with you. Add a solar stake light in each pole planter and the bases glow even when the strings are off.
Suggested budget range: $45 – $120.
16. Patio Lighting With Planters Around the Dining Table
When I set the outdoor table for guests, the planters do the lighting work so I can skip the overhead fixture entirely. The formula: one low centerpiece planter on the table with flameless candles or fairy lights in moss (idea 10 covers it), plus two floor planters flanking the dining area, each with a soft uplight or an internal fairy strand. That gives you light at foot level, table level, and just enough glow on faces — the same three layers restaurants use, honestly. Keep every source at or below seated eye level so nobody stares into a bulb between courses, and keep walkways to the kitchen door on their own solar stakes so trips with hot dishes stay safe. Warm light flatters food and people both; avoid anything over 3000K around a table. This arrangement has carried more of my dinner parties than any other idea here, because guests relax when the light feels like candlelight but nobody has to relight anything. It scales down fine to a bistro set for two.
Suggested budget range: $35 – $100.
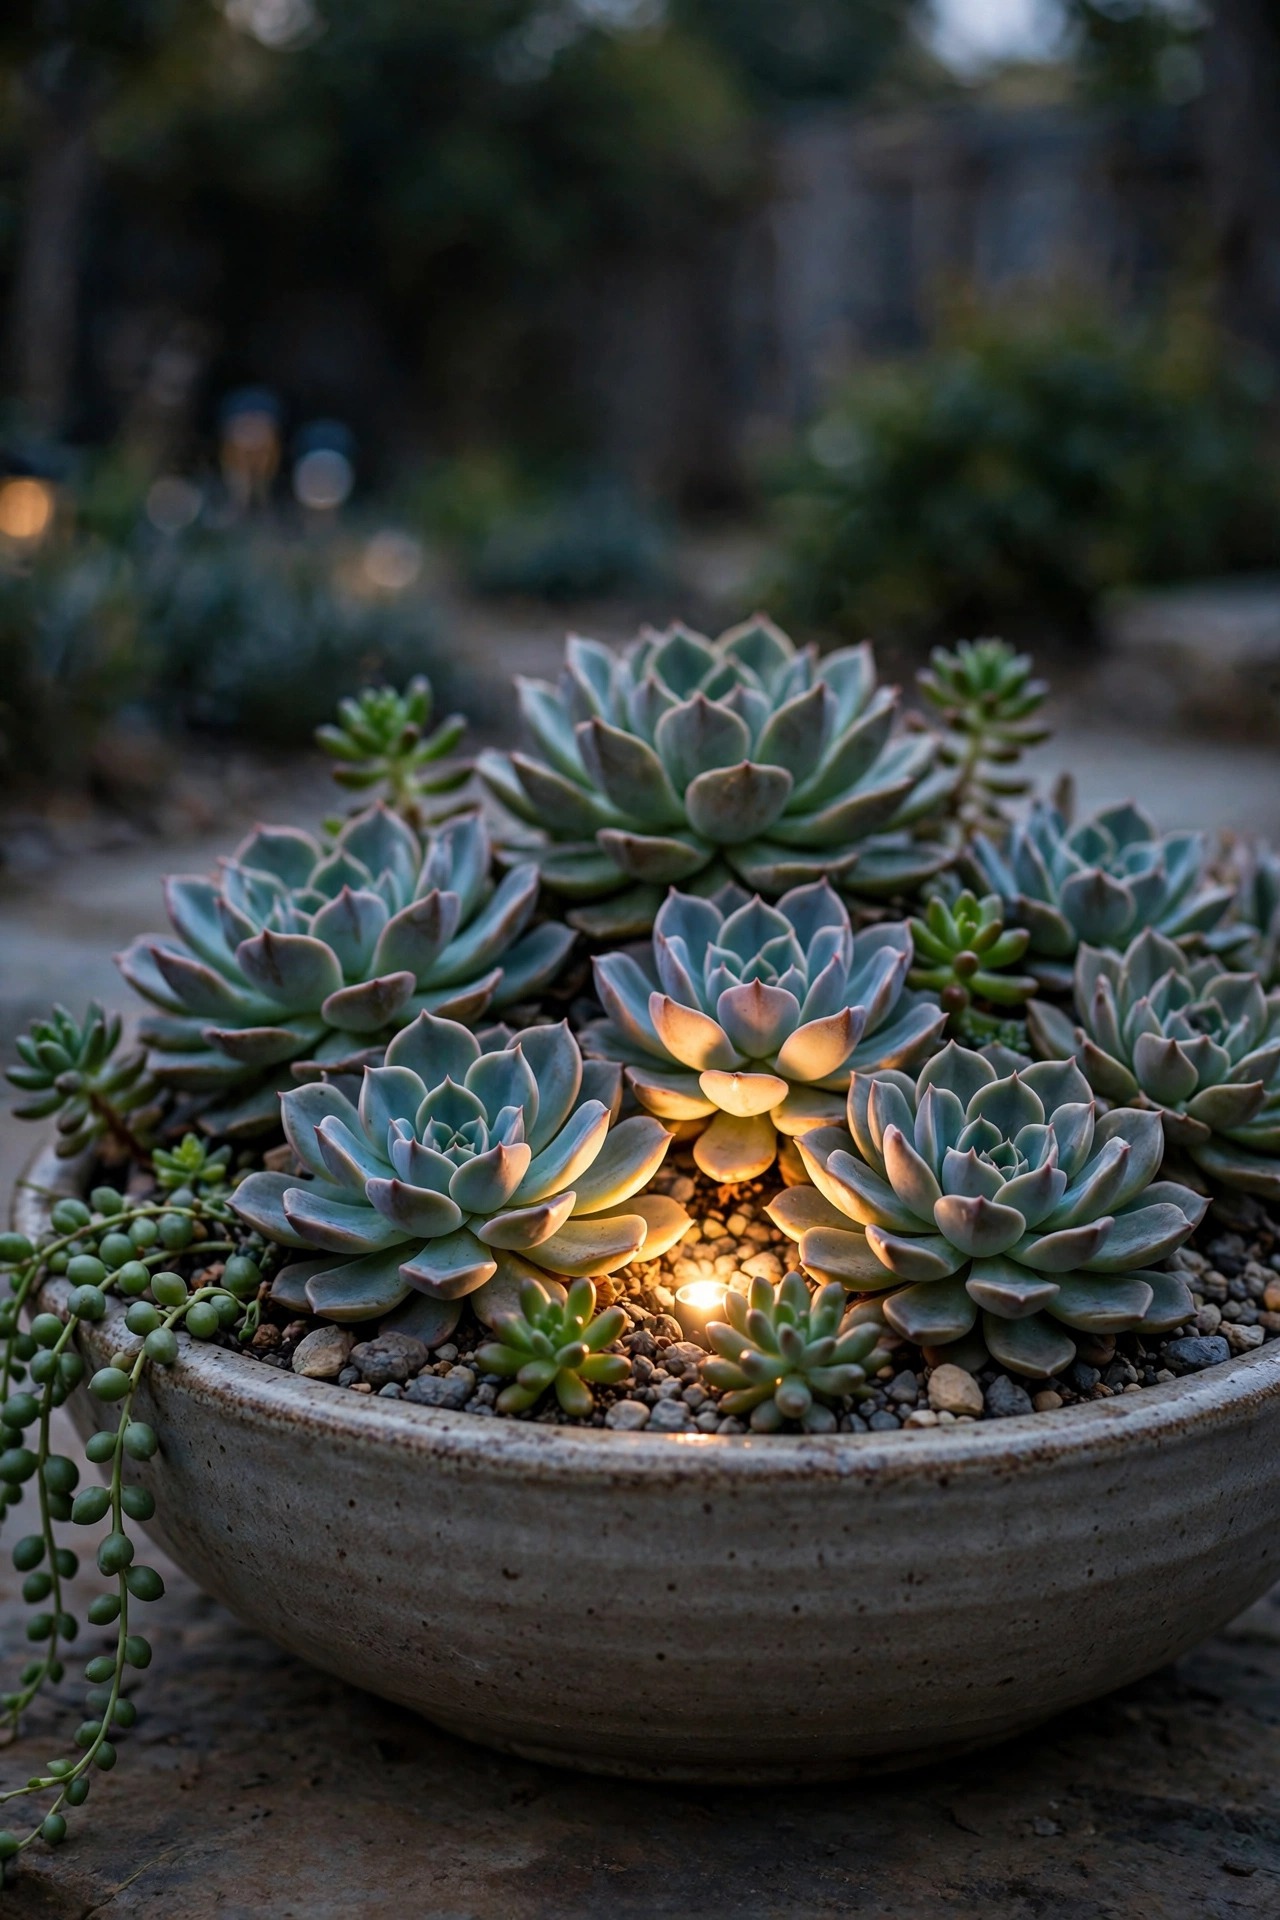
17. Succulent Planters With Tiny Uplights Between the Rosettes
Succulents look like little sculptures, so light them like sculptures. A mini solar uplight — the kind barely bigger than a matchbox — tucked between rosettes in a shallow bowl throws each plant's shadow across the gravel top dressing, and the whole bowl turns into a tiny landscape. Echeveria and hens-and-chicks have the symmetry for this; string of pearls drapes over the edge and catches sparkle if you add one fairy strand. Because succulent bowls need almost no water, fixtures stay dry and corrosion is a non-issue, which makes this the lowest-maintenance idea on the list. Keep the light low and close; a big bright fixture overwhelms small plants fast. I keep a succulent bowl on the side table by my reading chair, and it does double duty as a book light on low. Indoors for winter if your succulents are tender — the light comes with the bowl, so the show continues on the windowsill. Group three bowls of different sizes on a tray for a stronger effect.
Suggested budget range: $12 – $35.
18. Seasonal Planter Swaps That Change the Light's Color Story
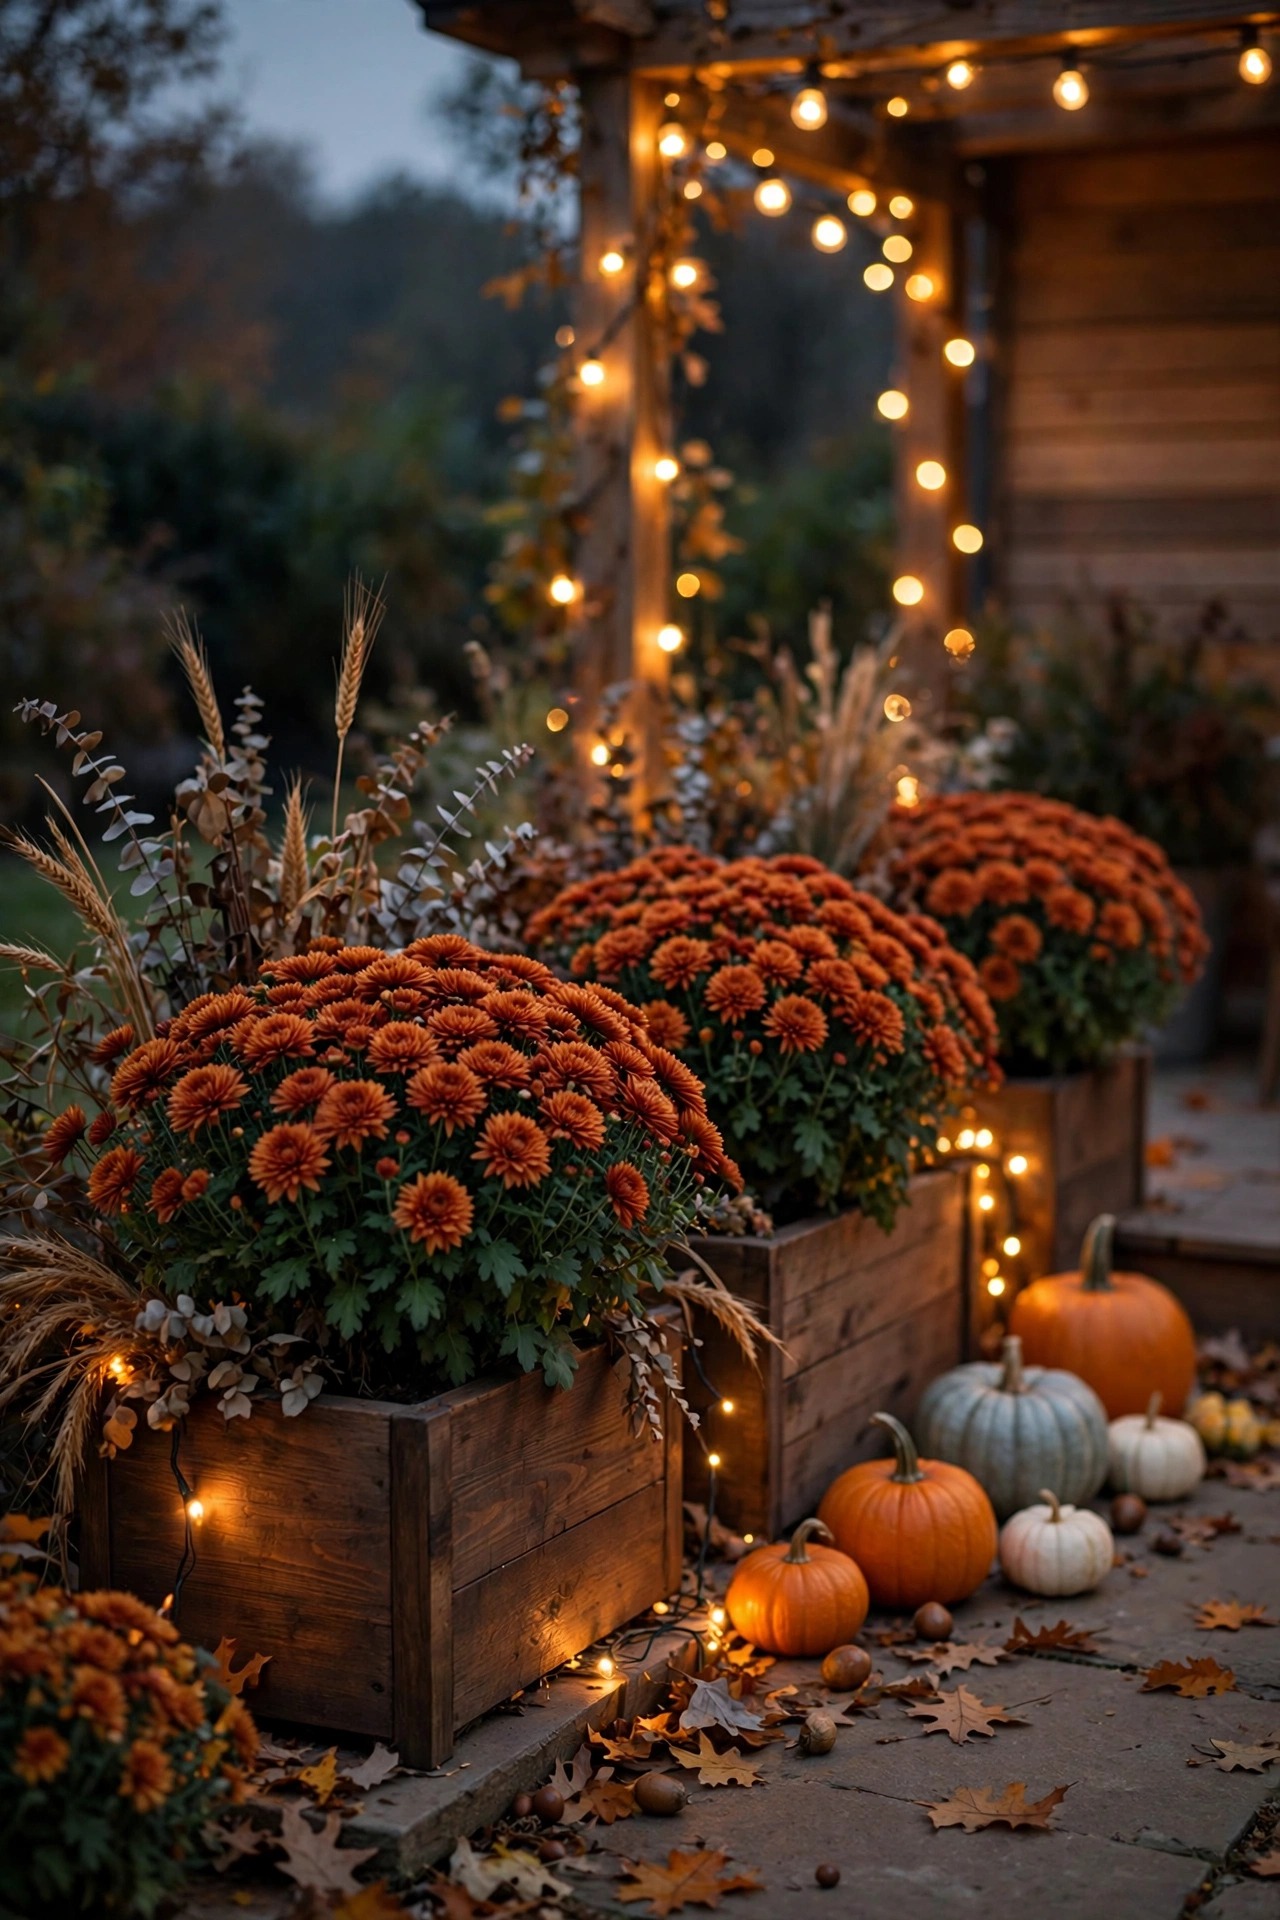
The plants change with the seasons, so let the light story change too — same fixtures, new mood. In spring I use clear warm fairy lights in planters of tulips and pansies. Summer gets flameless candles among the herbs. Fall is my favorite: amber-toned lights (or the same warm strands behind orange and rust mums) make the whole patio feel like firelight, and a couple of small pumpkins in the planters finish the scene. Winter, the evergreens take over — dwarf spruce and winterberry in the big pots, fairy lights in the branches, and suddenly the patio earns its keep in December too, especially if you borrow a few tricks from my favorite summer patio lighting ideas and run them in reverse with heavier layers. The hardware never changes; a ten-minute replant and a strand swap refreshes everything. Store off-season strands coiled in labeled bags inside the empty pots — future you will be so grateful.
Suggested budget range: $20 – $60.
19. Railing Planters With a Solar Glow Along the Top Rail
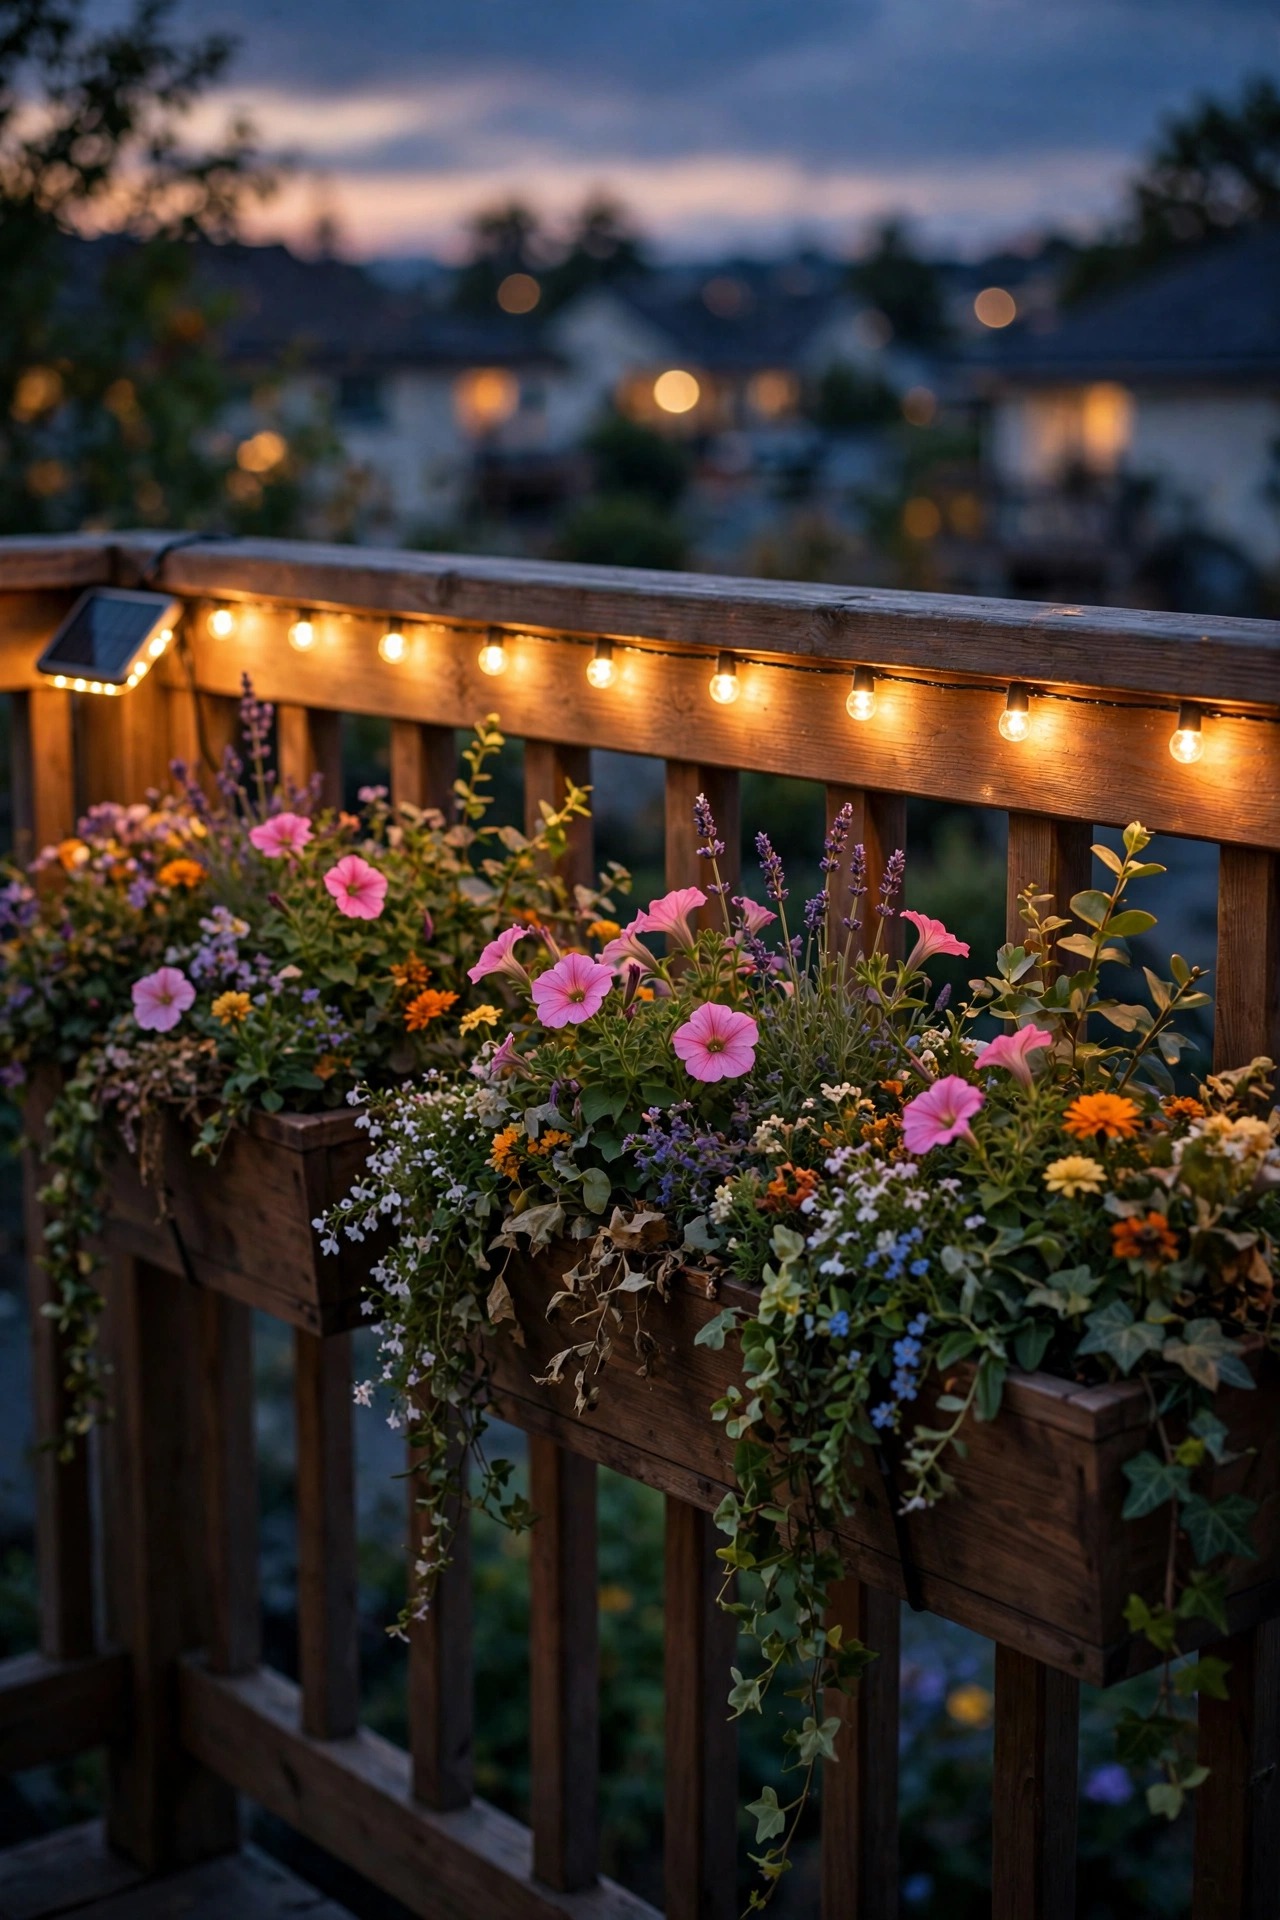
If your patio edges into a deck or has a railing, the planters that hang on that rail are prime lighting real estate. Slip a slim solar light strip or a row of small solar caps along the top rail behind the planter boxes, and you get a continuous ribbon of glow with flowers lit from behind. The blooms silhouette, the rail line defines the space, and the walking surface below stays softly lit for safety. Most railing planters sit in full sun all day, which makes solar genuinely reliable here — one of the few spots where I recommend it without a backup plan. Keep the light behind the plants, not in front, or you'll see hardware instead of glow. Geraniums and petunias have the bushy habit to hide a strip completely by July. In my experience this reads as the most "finished" detail on a small patio, because it draws a lit boundary that makes everything inside it feel like a room. Wipe solar panels when you water; it takes ten seconds.
Suggested budget range: $20 – $50.
20. One Oversized Planter as the Patio's Light Anchor
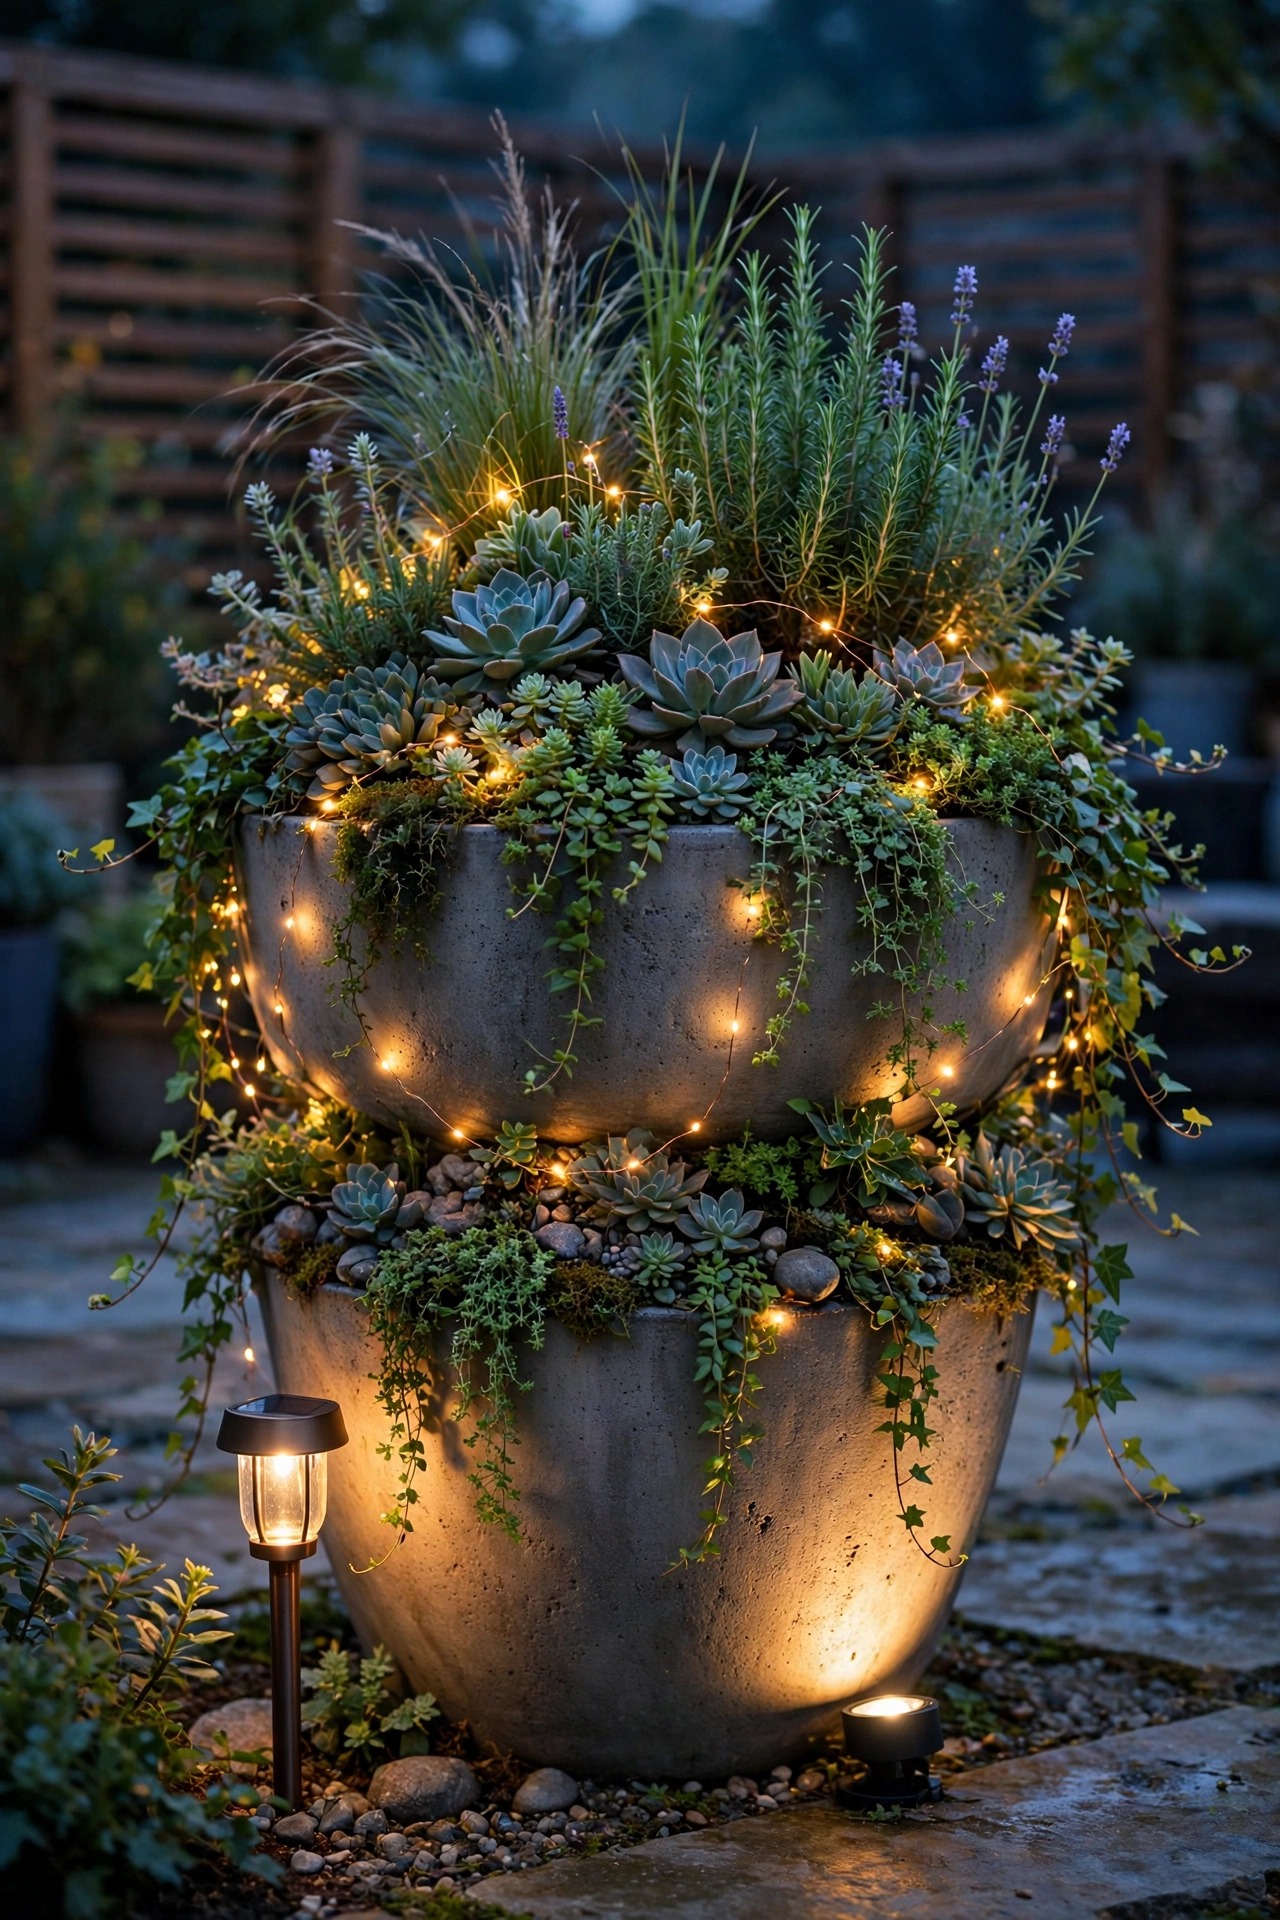
Sometimes the boldest move is one huge planter — 30 inches or more across — planted like a small garden and lit like a feature. Cluster three light sources inside it: a short uplight at the back, a fairy strand through the tallest plant, and a solar stake or two at the front edge. The planter becomes the patio's campfire, the thing chairs turn toward. Fill it in layers the way you'd plant any thriller-filler-spiller combo: something tall in the middle, something mounding, something trailing, and place lights where each layer changes height so the shadows stack up. This is where I'd spend real money on one gorgeous pot instead of scattering ten small ones, because a single strong feature beats a dozen timid ones every time. It also solves the small-patio problem — if you only have room for one planter, make it this one and let it carry the whole lighting plan. Anchor planters live happily beside a bench, at the corner of a rug, or flanking the grill station.
Suggested budget range: $60 – $180.
21. Color-Changing Smart Lights for Planters With a Party Mode
Most nights I preach warm white, but smart color-changing bulbs and solar lights earn a place in planters when you entertain. A smart uplight behind a big leafy planter, controlled from your phone, can wash the foliage amber for dinner, then shift to team colors or holiday red and green without you touching a ladder. Solar color stakes work too, though their colors run pastel. The rules still apply: keep the fixture hidden, light the plant rather than the air, and return to warm white for everyday use so the patio doesn't look like a arcade. Kids, honestly, lose their minds over a planter that turns purple for a birthday party. Set the smart lights on the same timer schedule as your warm lights so the whole patio wakes and sleeps together — a mishmash of timers looks accidental. One smart light in one feature planter is plenty of party; three is a light show, and your neighbors get a vote after 10 p.m.
Suggested budget range: $25 – $70.
22. A Circle of Planters Around the Fire Bowl
If your patio has a fire bowl or small fire pit, circle it with low planters and let each one carry a gentle light. The real flame does the center work; the planter lights — solar stakes or small flameless lanterns — mark the circle's edge so guests can see where the seating zone ends and the hot zone begins, which is a genuine safety feature with kids and dogs around. Keep all wiring, battery packs, and solar fixtures at least 2 feet from the bowl's edge, use LED-only sources this close to heat, and choose heat-tolerant plants for the inner row: sedum, lavender, and ornamental grasses handle radiant warmth better than thirsty annuals. The combination of real firelight flicker and steady planter glow is layered lighting at its best — one source moves, one doesn't, and your eyes read the whole scene as cozy. Set chairs just outside the planter circle and the layout plans itself. Sweep ash off solar panels the next morning; it cakes fast.
Suggested budget range: $30 – $85.

23. The Layered Finale: Three Heights of Lit Planters
Every good patio I've lit ends up at the same recipe, so here it is as one idea: combine lit planters at three heights. Something overhead — a hanging basket with micro lights or a planter pole with strings. Something at eye level — a trellis planter, a railing box, a tiered stand. And something low — uplighted statement pots and solar stakes at the patio's edge. Pick two ideas from each height in this list, keep every bulb warm white, and put them all on timers so the whole scene arrives at dusk like it was always there. That's the entire philosophy: light in layers, plants as the lampshades. Start with the low layer this weekend, add the eye-level layer next month, and the overhead when you're ready — the patio will look more finished at every step, and you'll never go back to a single porch light again. In my experience, this is the moment a patio stops being a slab behind the house and becomes the room everyone asks for.
Suggested budget range: $75 – $250.

Frequently Asked Questions
What color temperature looks best with plants and greenery?
Warm white, every time — 2700K is my default and 3000K is as cool as I'll go. Warm light makes green foliage look lush and deep, while cool "daylight" bulbs (4000K and up) turn leaves blue-gray and waxy-looking. If a fixture doesn't state its color temperature, choose the one labeled "warm white" and test one before buying a set.
Will lights inside a planter hurt my plants?
LED lights, no — they produce almost no heat, so fairy strands, solar stakes, and LED strips can live right in the foliage. The real risks are mechanical: a strand woven too tightly can girdle growing stems, and battery packs sitting in soggy soil can corrode. Keep weaves loose, elevate battery packs, and re-check fast-growing plants mid-season. Avoid old incandescent strings in planters entirely.
Are solar lights bright enough for planters, or do I need wired ones?
Solar is plenty for glow effects — fairy-style sparkle, silhouette backlighting, and halo stakes inside a pot. Where solar struggles is strong uplighting for a tall statement planter, especially in shade; there, a wired low-voltage spotlight wins easily. My rule: solar for accents inside the pot, wired for the big architectural moments, battery fairy lights for everything in between.
How do I keep planter lights on a schedule without outlets nearby?
Battery strands with built-in 6-hours-on timers are the simplest answer, and most solar lights switch themselves on at dusk automatically. For plug-in fixtures, a weatherproof outdoor timer at the GFCI outlet handles the whole run at once. I set everything to come on at dusk and off around 11 p.m. — enough for every dinner party, and the plants get their dark hours too.
Conclusion
If you take one thing from this list, let it be this: your planters are not just containers, they're the best lampshades on your patio. Start small — one fairy strand in your favorite pot this week — and notice how patio lighting with planters changes the whole room the moment it gets dark. Then layer up: an uplight here, a hanging basket there, and pretty soon the greenery is doing the decorating after dark too. Browse the rest of the site for more ways to light the spaces around your home, and I'll see you out on the patio at dusk.