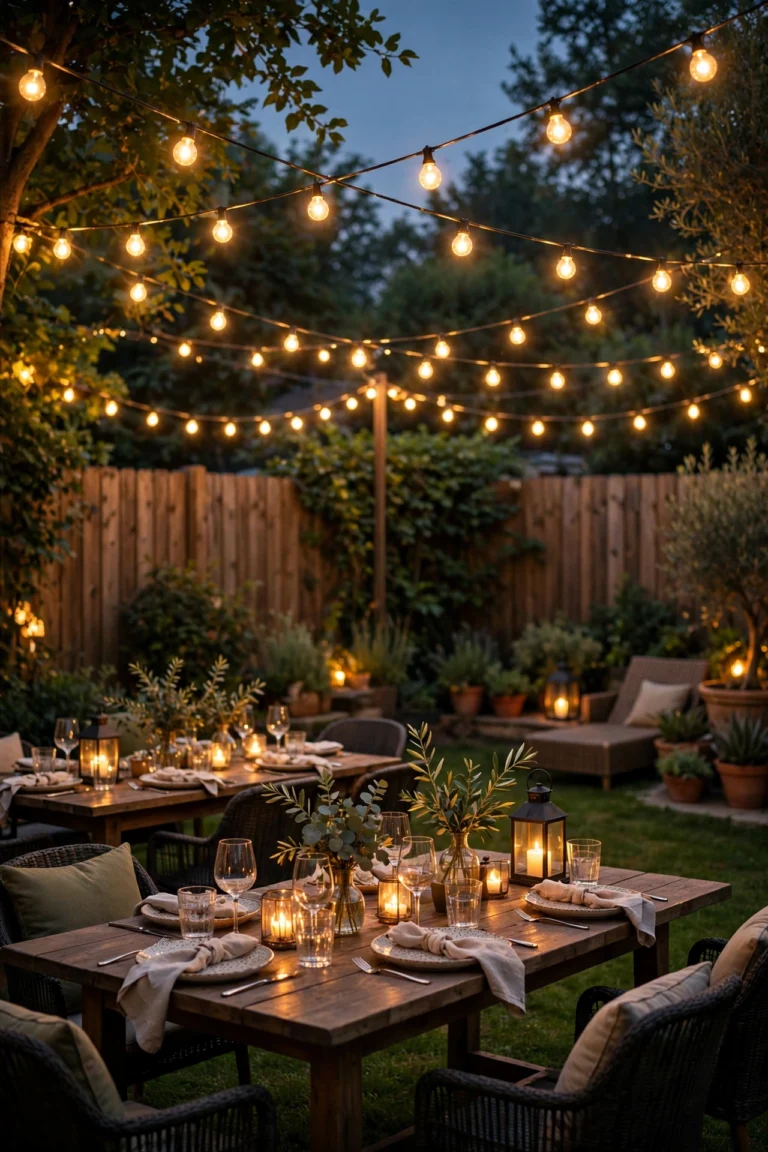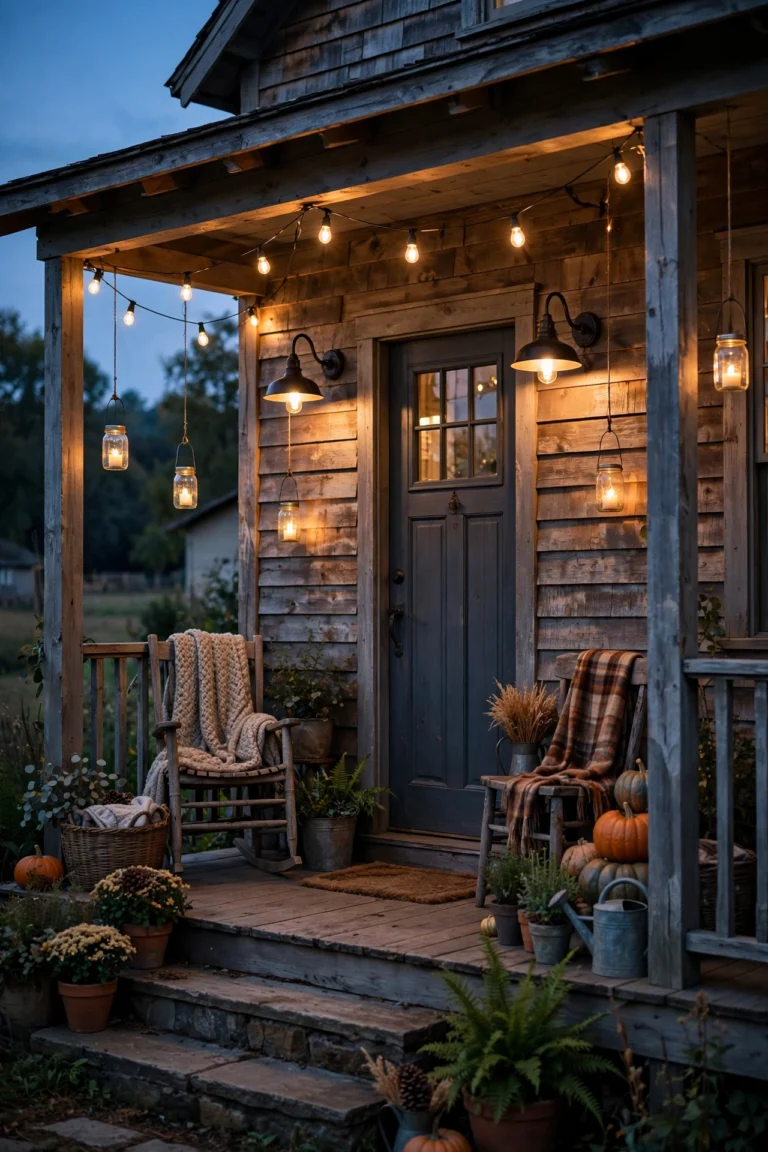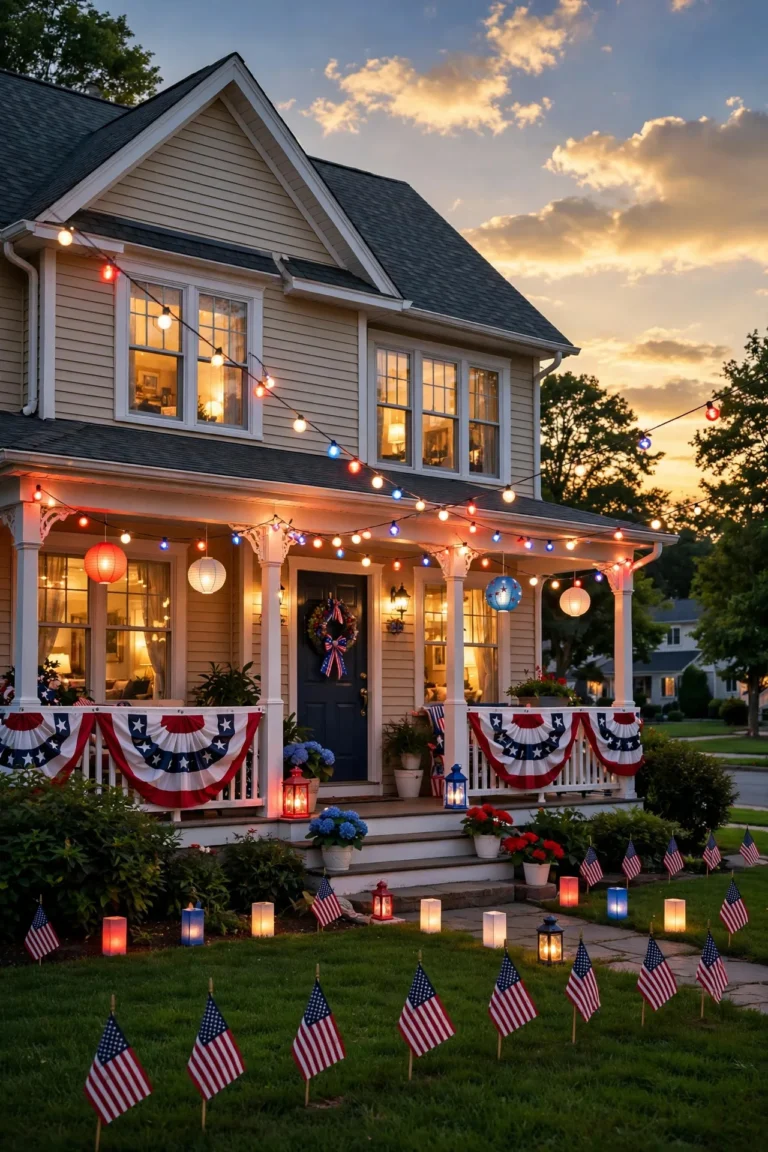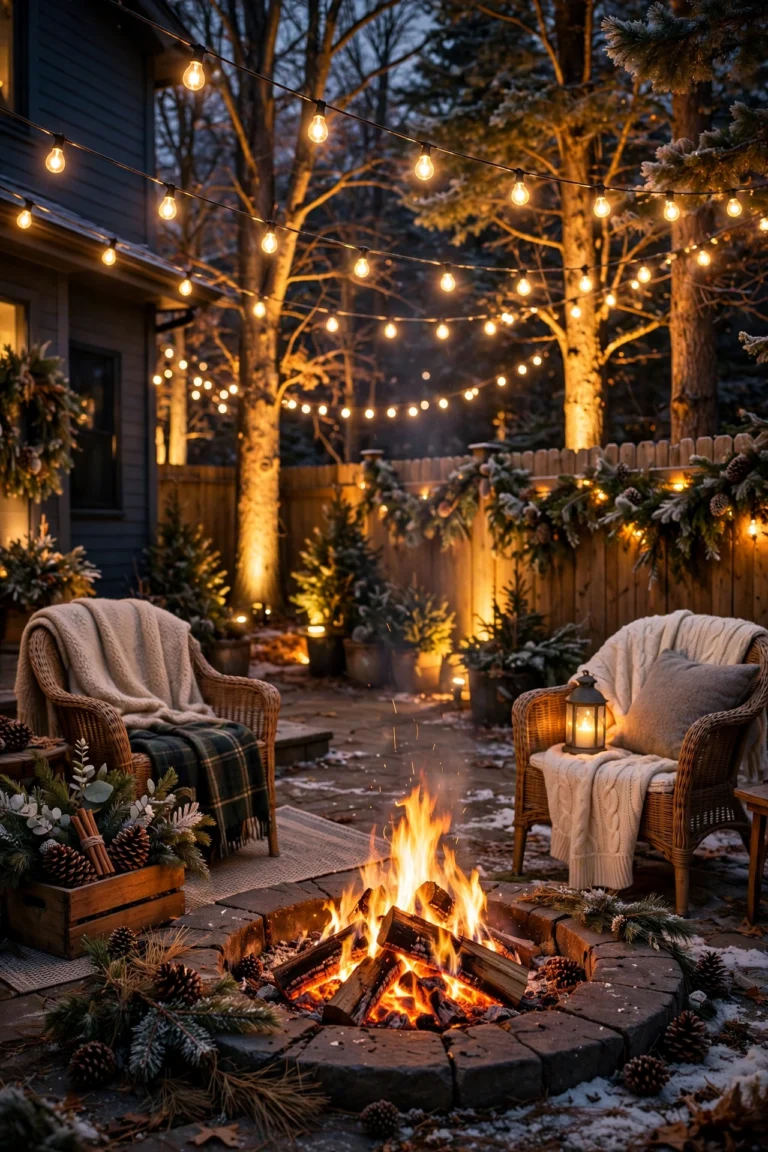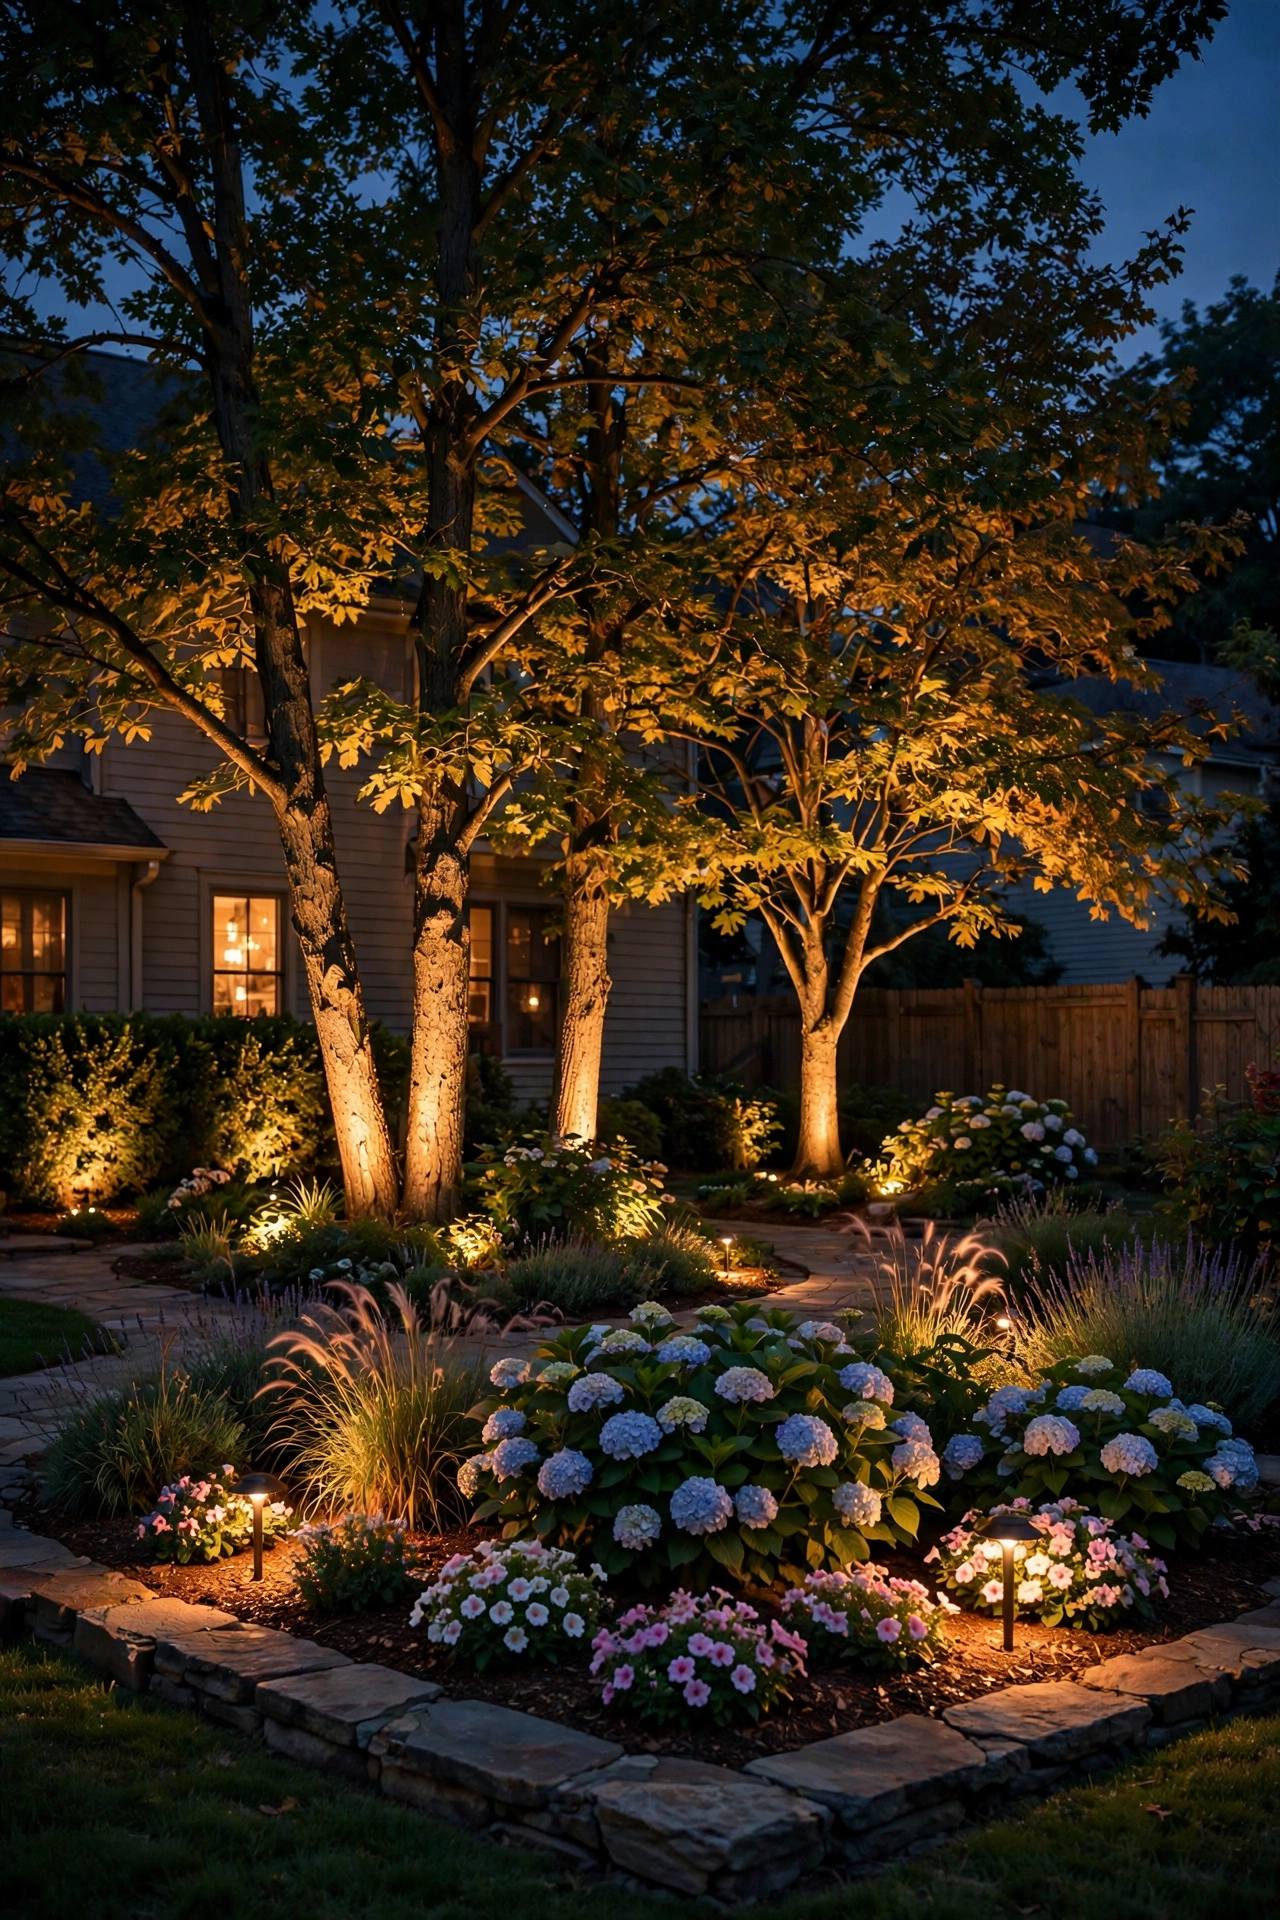
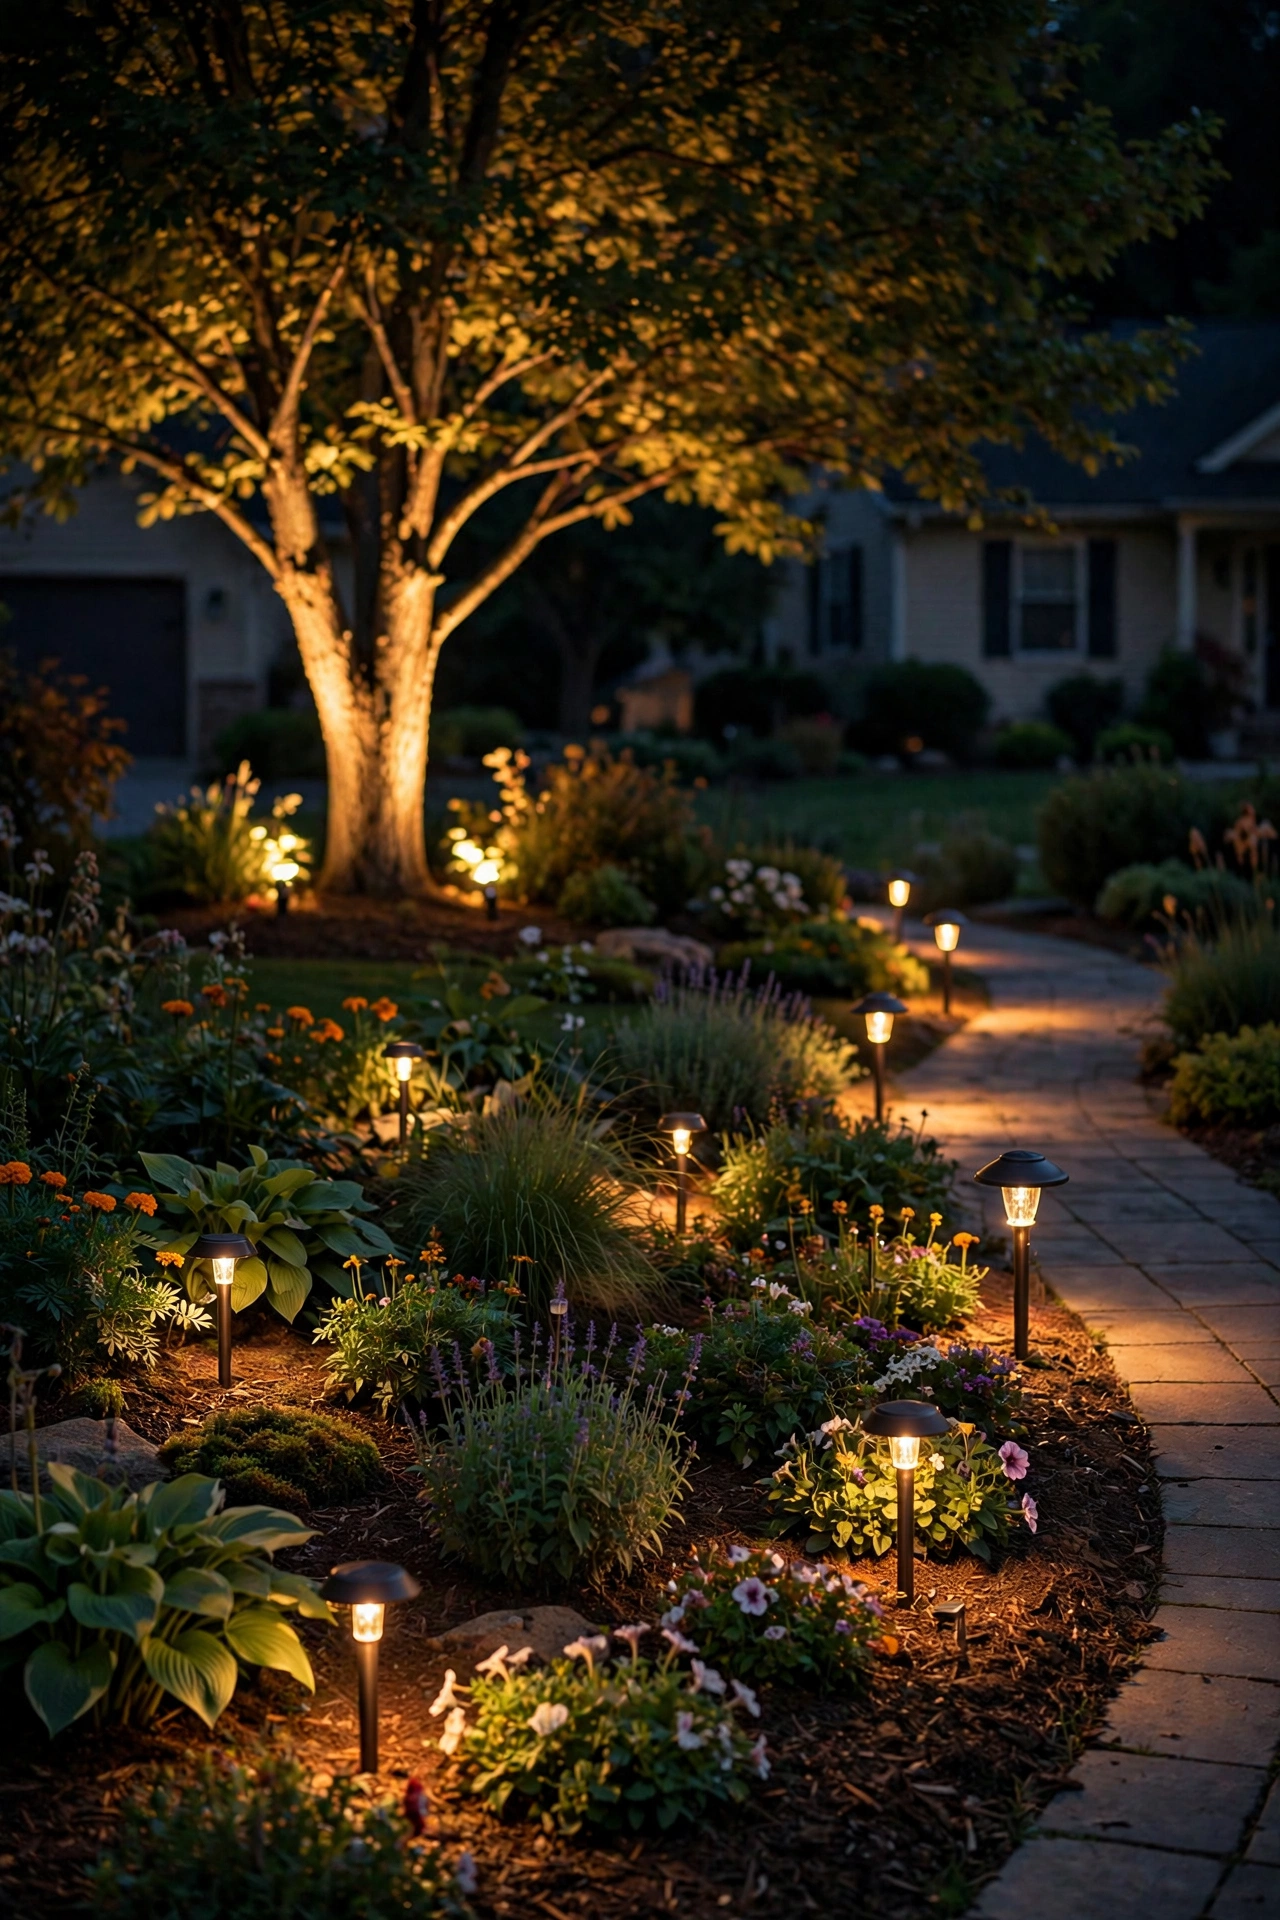
My garden is honestly two different places: the one I enjoy with my coffee in the morning, and the one that makes my neighbors slow down and stare after dark. The secret isn't expensive landscaping or rare plants — it's the lighting. The right garden lighting ideas can turn a few ordinary shrubs into a glowing, layered scene that feels straight out of a movie set.
I follow one philosophy above all: layering. Instead of one bright floodlight washing everything flat (please, don't do that to your plants), you build a scene with three layers — uplights for drama, accent lights for detail, and soft path or fill lights for safety and atmosphere. Each layer does a different job, and together they make your plants look richer, taller, and more alive at night than they ever do in daylight.
In this post, I'm sharing 21 garden lighting ideas I've either tried myself or helped friends set up over the years. Each one comes with real placement advice, plant-safe tips, and a realistic budget range so you know exactly what you're getting into. By the end, you'll know how to light your garden like a designer — without the designer invoice.
1. Uplight Your Showpiece Trees
Every garden has that one tree — the Japanese maple, the crepe myrtle, the old oak — that deserves its own spotlight. Uplighting is the single most dramatic thing you can do in a garden, and it's dead simple.
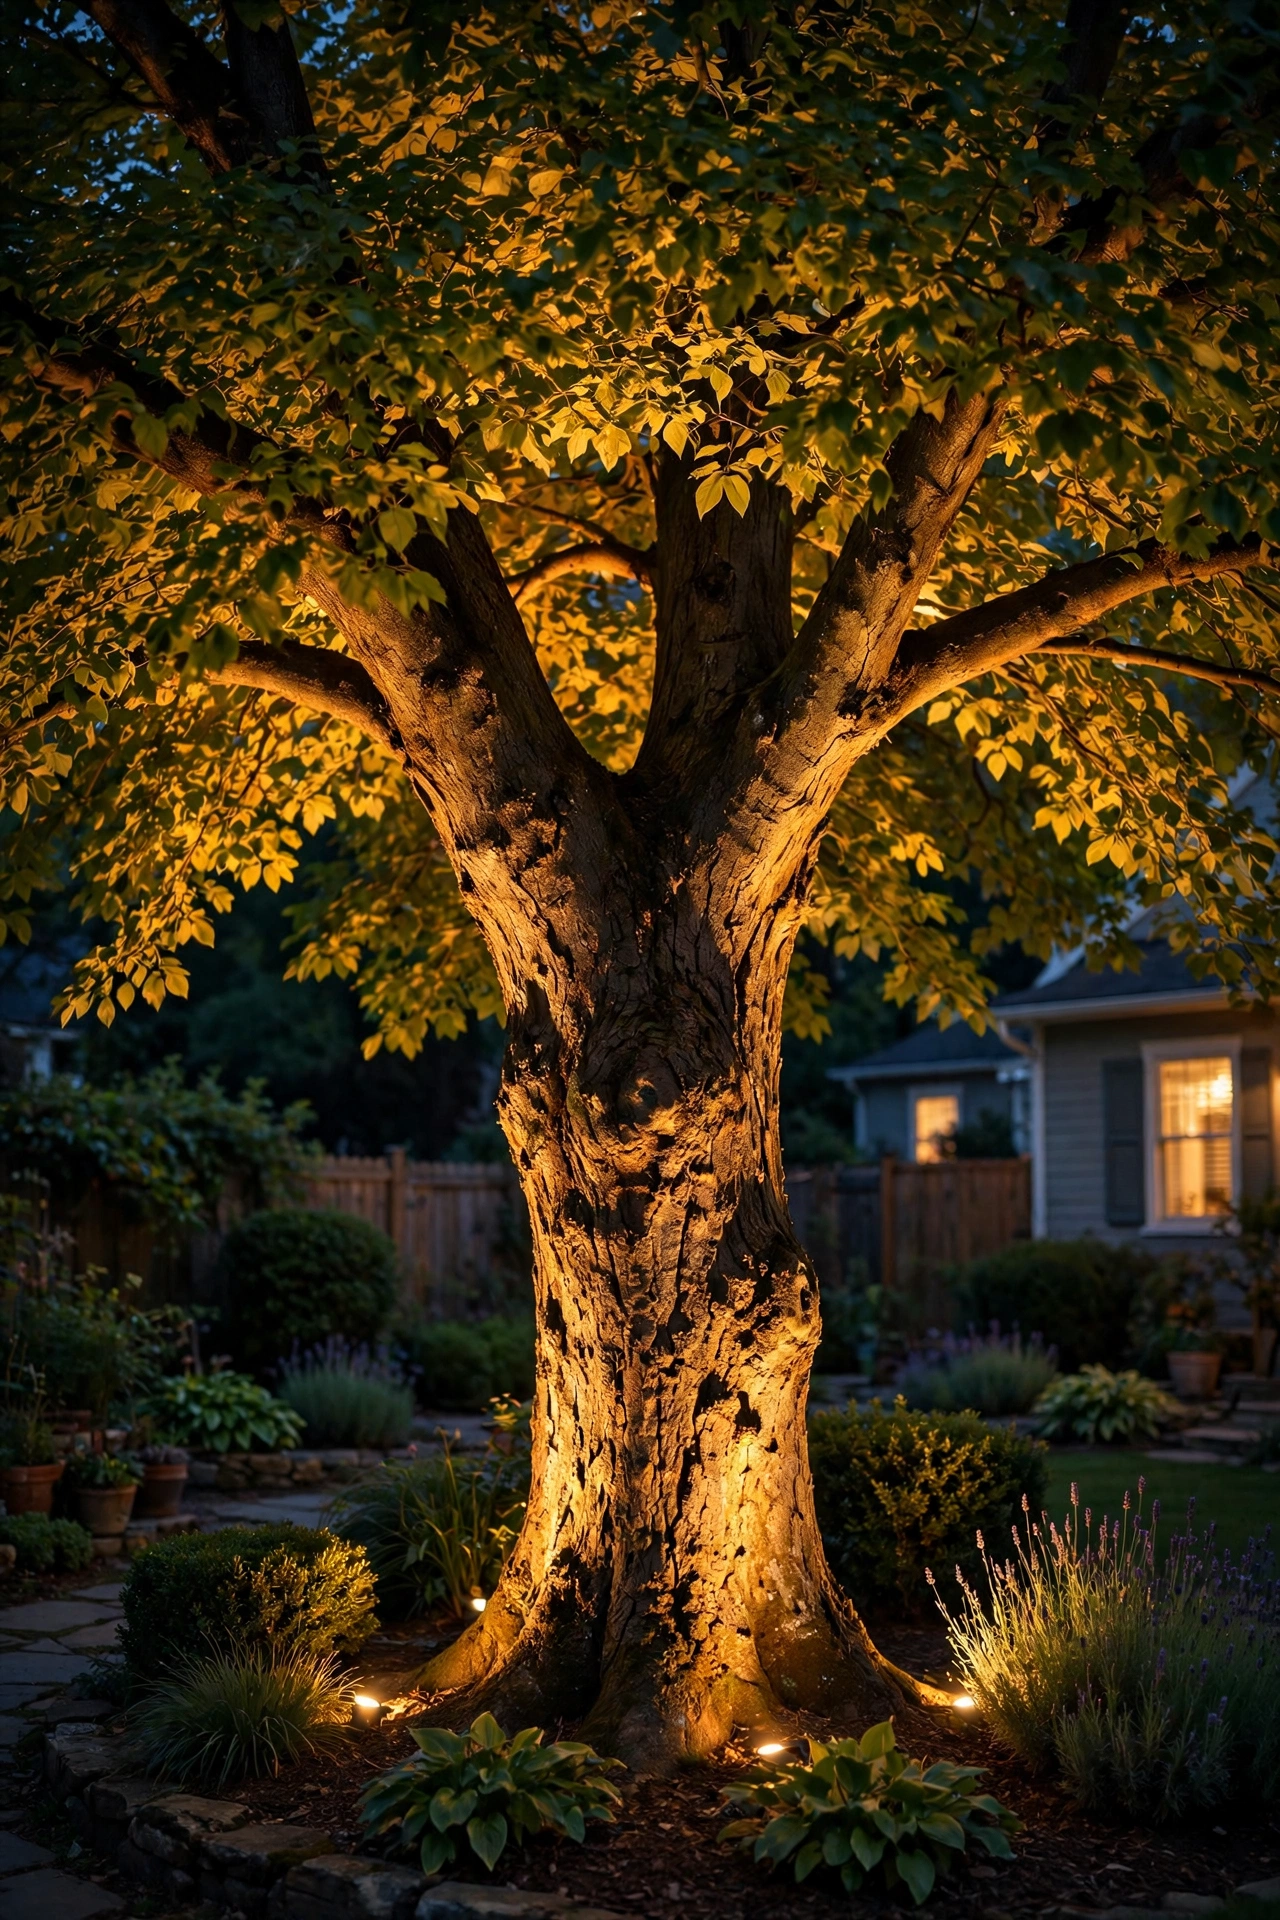
Place a well light or adjustable spotlight in the ground about 2 to 3 feet from the trunk, aimed up at a slight angle so the beam grazes the bark and catches the underside of the canopy. For a multi-trunk tree, use two fixtures on opposite sides to fill out the full shape — one fixture leaves a dark flat side that looks lopsided at night. Keep the fixture within the mulch bed so it disappears into the landscape during the day.
Go with warm white (2700K) for almost all trees — cool white makes bark look ghostly and unnatural. If your fixture has an adjustable head, tilt it slightly outward rather than straight up so the light spills through the lower branches instead of blasting one hot spot on the trunk. In my experience, one well-aimed uplight beats three poorly placed ones every single time.
Suggested budget range: $40 – $150.
2. Wash a Hedge Wall With Spotlights
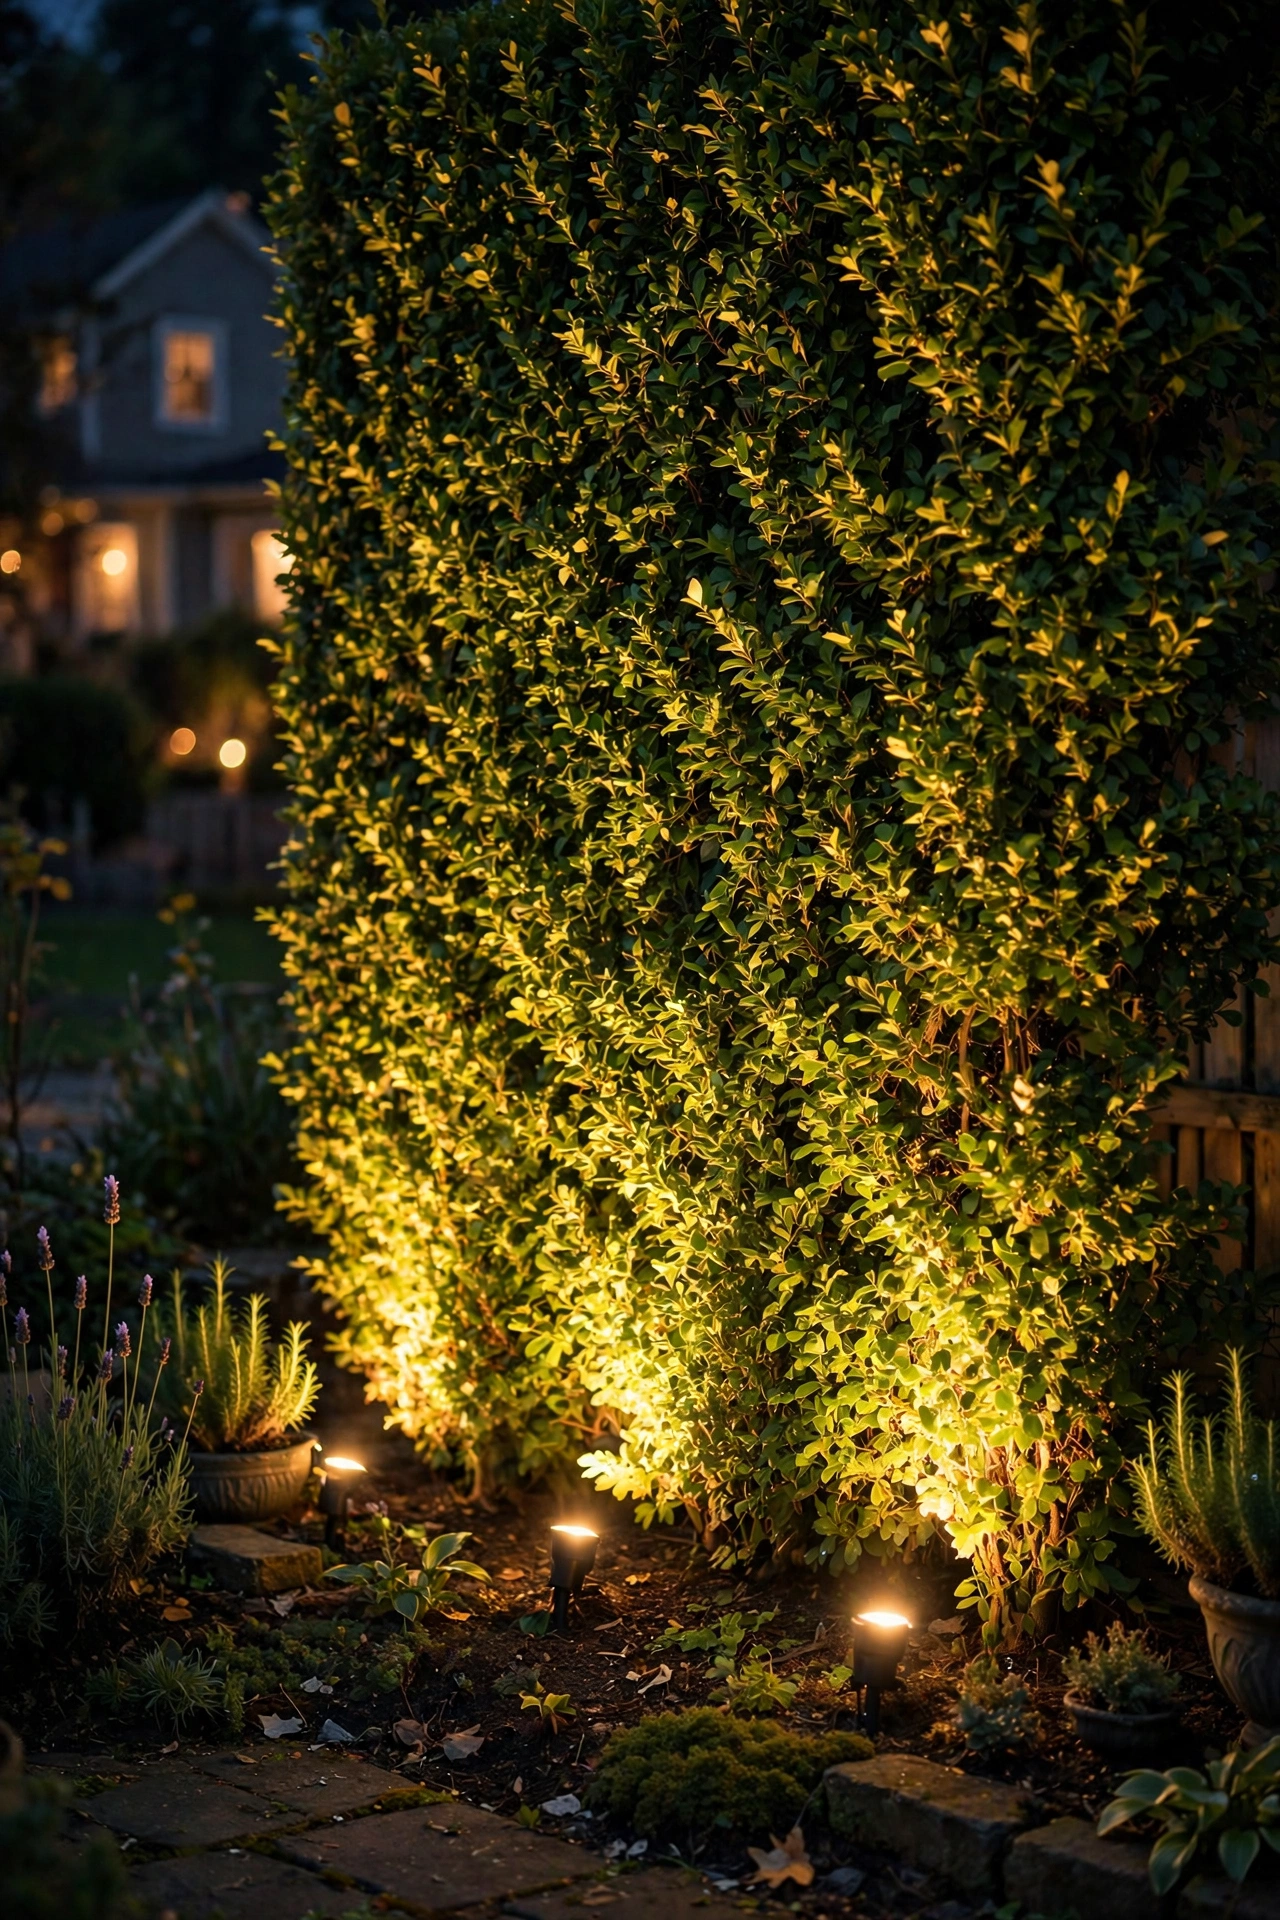
A tall hedge or row of arborvitae can look like a dark wall at night — or like a living curtain of light. A wall wash is one of the easiest wins in garden lighting because the plant itself does all the visual work.
Set spotlights 3 to 5 feet out from the base of the hedge, spaced about 8 to 10 feet apart, and aim each one slightly upward so the beams overlap. The overlap is key: when beams merge, you get a continuous glow instead of zebra stripes of light and dark. If your hedge is dense, pull the fixtures back a foot or two — too close and the top of the hedge goes dark.
This technique works best on sheared, formal hedges like boxwood or privet, where the even surface catches light beautifully. For looser, natural hedges, use fewer fixtures and let the shadows play — the contrast is half the charm. A timer that kicks on at dusk keeps the hedge glowing every evening without you lifting a finger.
Suggested budget range: $60 – $200.
3. Spotlight a Specimen Shrub
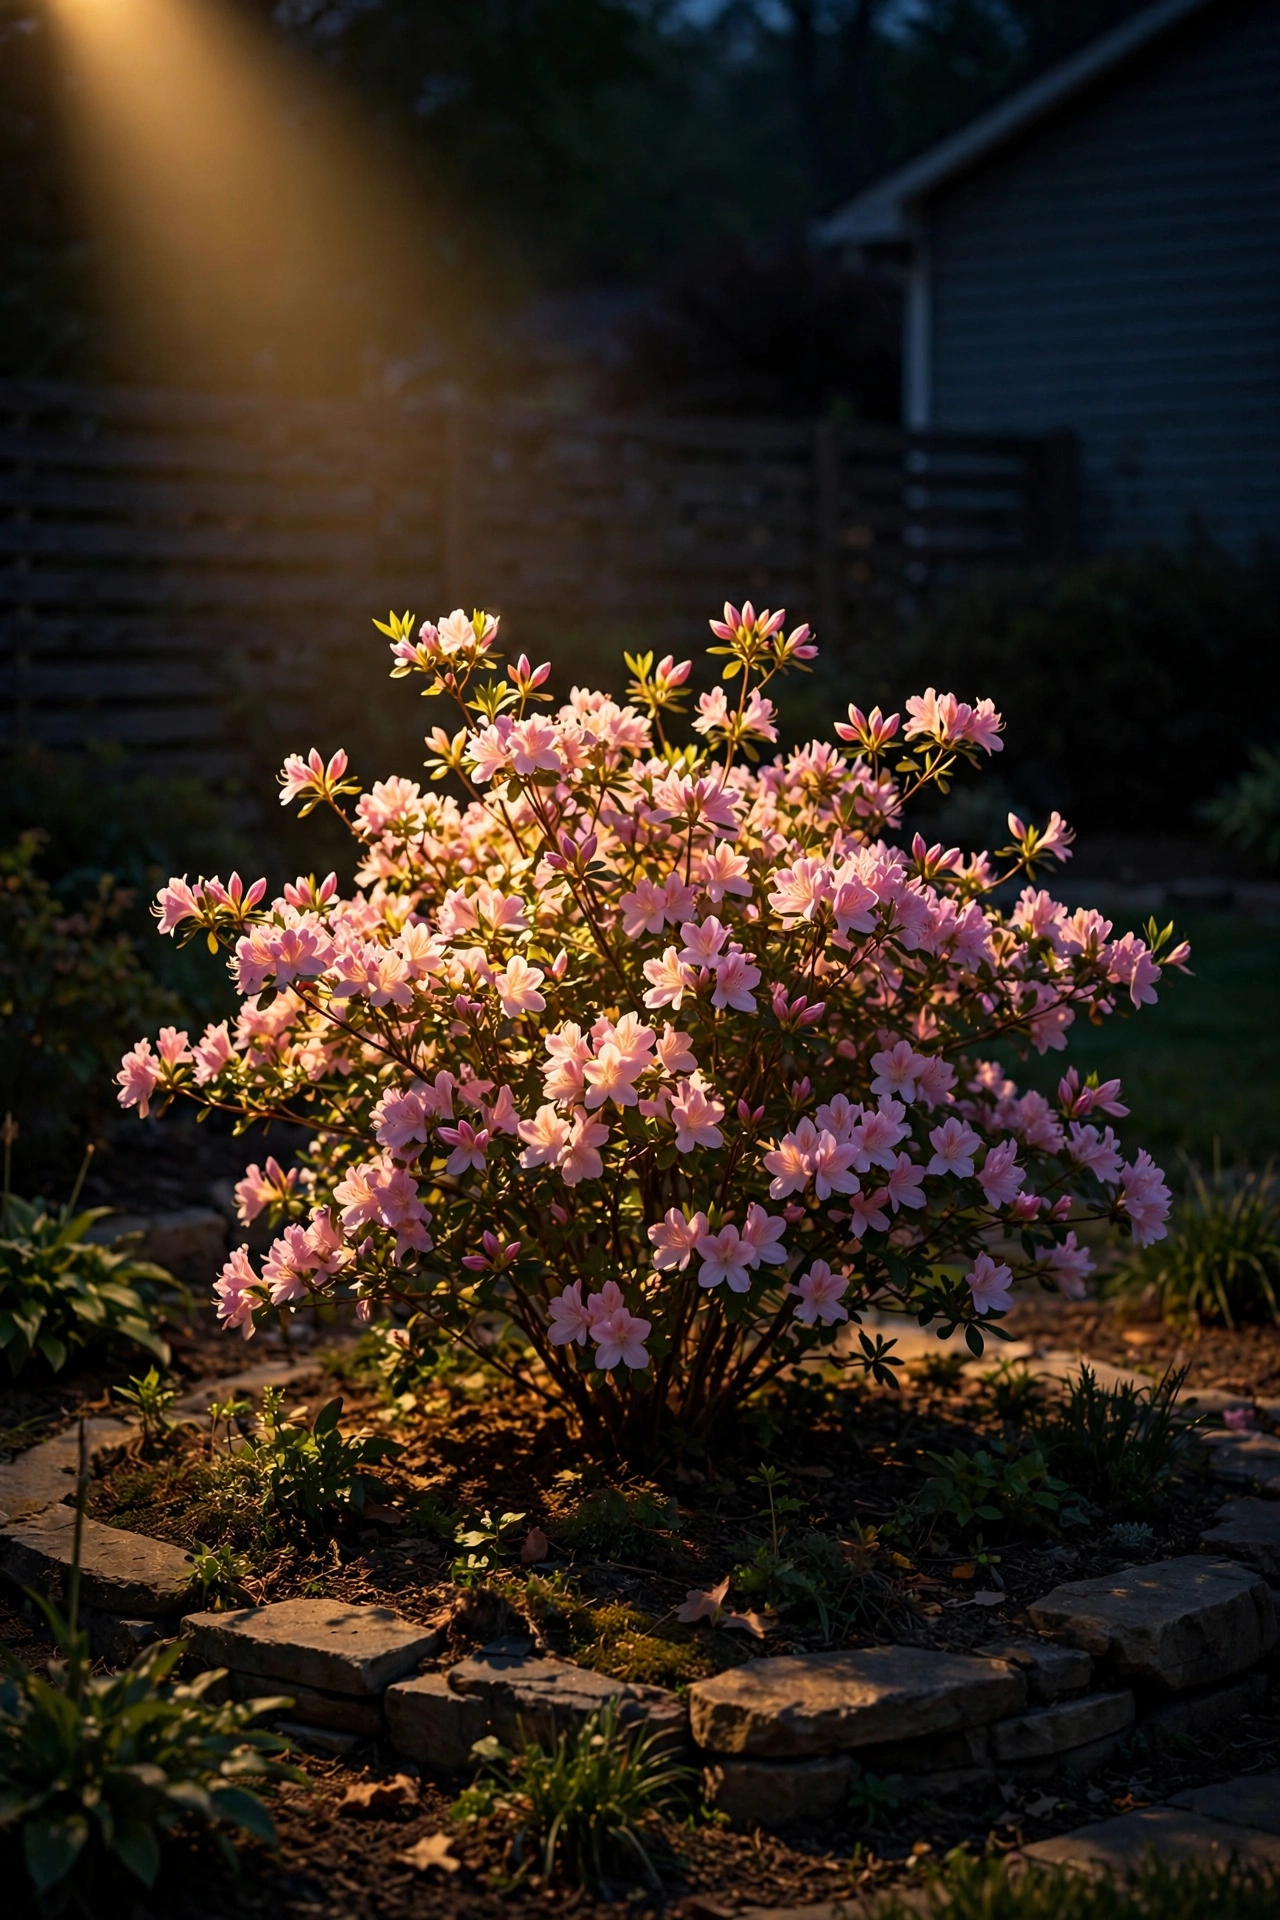
You know that hydrangea or rose bush you baby all season? Give it a starring role. A single spotlight on a specimen shrub turns a beloved plant into a nighttime focal point.
Position a small spotlight 2 to 4 feet from the plant, slightly off-center so you're not blasting it dead-on. Off-center light creates gentle shadows between branches that give the shrub depth and dimension. During bloom season, the flowers will practically glow — white and light-colored blooms reflect beautifully, while deep reds and purples get moodier and more dramatic.
Keep the fixture low and hidden behind a neighboring plant or a stone so the light source itself doesn't steal the show. If you're lighting flowering shrubs, this pairs perfectly with seasonal changes — your lighting stays put while the display changes from spring blooms to fall color. I like tying this look into seasonal planting plans like my spring front yard lighting ideas for extra curb appeal.
Suggested budget range: $35 – $120.
4. Illuminate Flower Beds With Stake Lights
Stake lights are the workhorses of garden lighting — affordable, movable, and perfect for flower beds where the planting changes every season. Honestly, if you only buy one type of fixture, make it this one.
Push the stakes into the soil along the back third of the bed so the light washes forward over the flowers toward the viewer. Space them 4 to 6 feet apart for an even glow; closer spacing in shade gardens where you want more punch. Tilt the heads slightly downward to reduce glare and keep the light where the flowers are.
The beauty of stake lights is flexibility. When you replant annuals in spring, you just move the stakes — no rewiring, no tools. Choose fixtures with a small hood or shroud so the bulb isn't visible from across the yard; a visible bare bulb kills the magic fast. For beds with dark mulch, lighter-colored fixtures disappear better during the day.
Suggested budget range: $50 – $180.
5. Try Moonlighting From a Tree Canopy
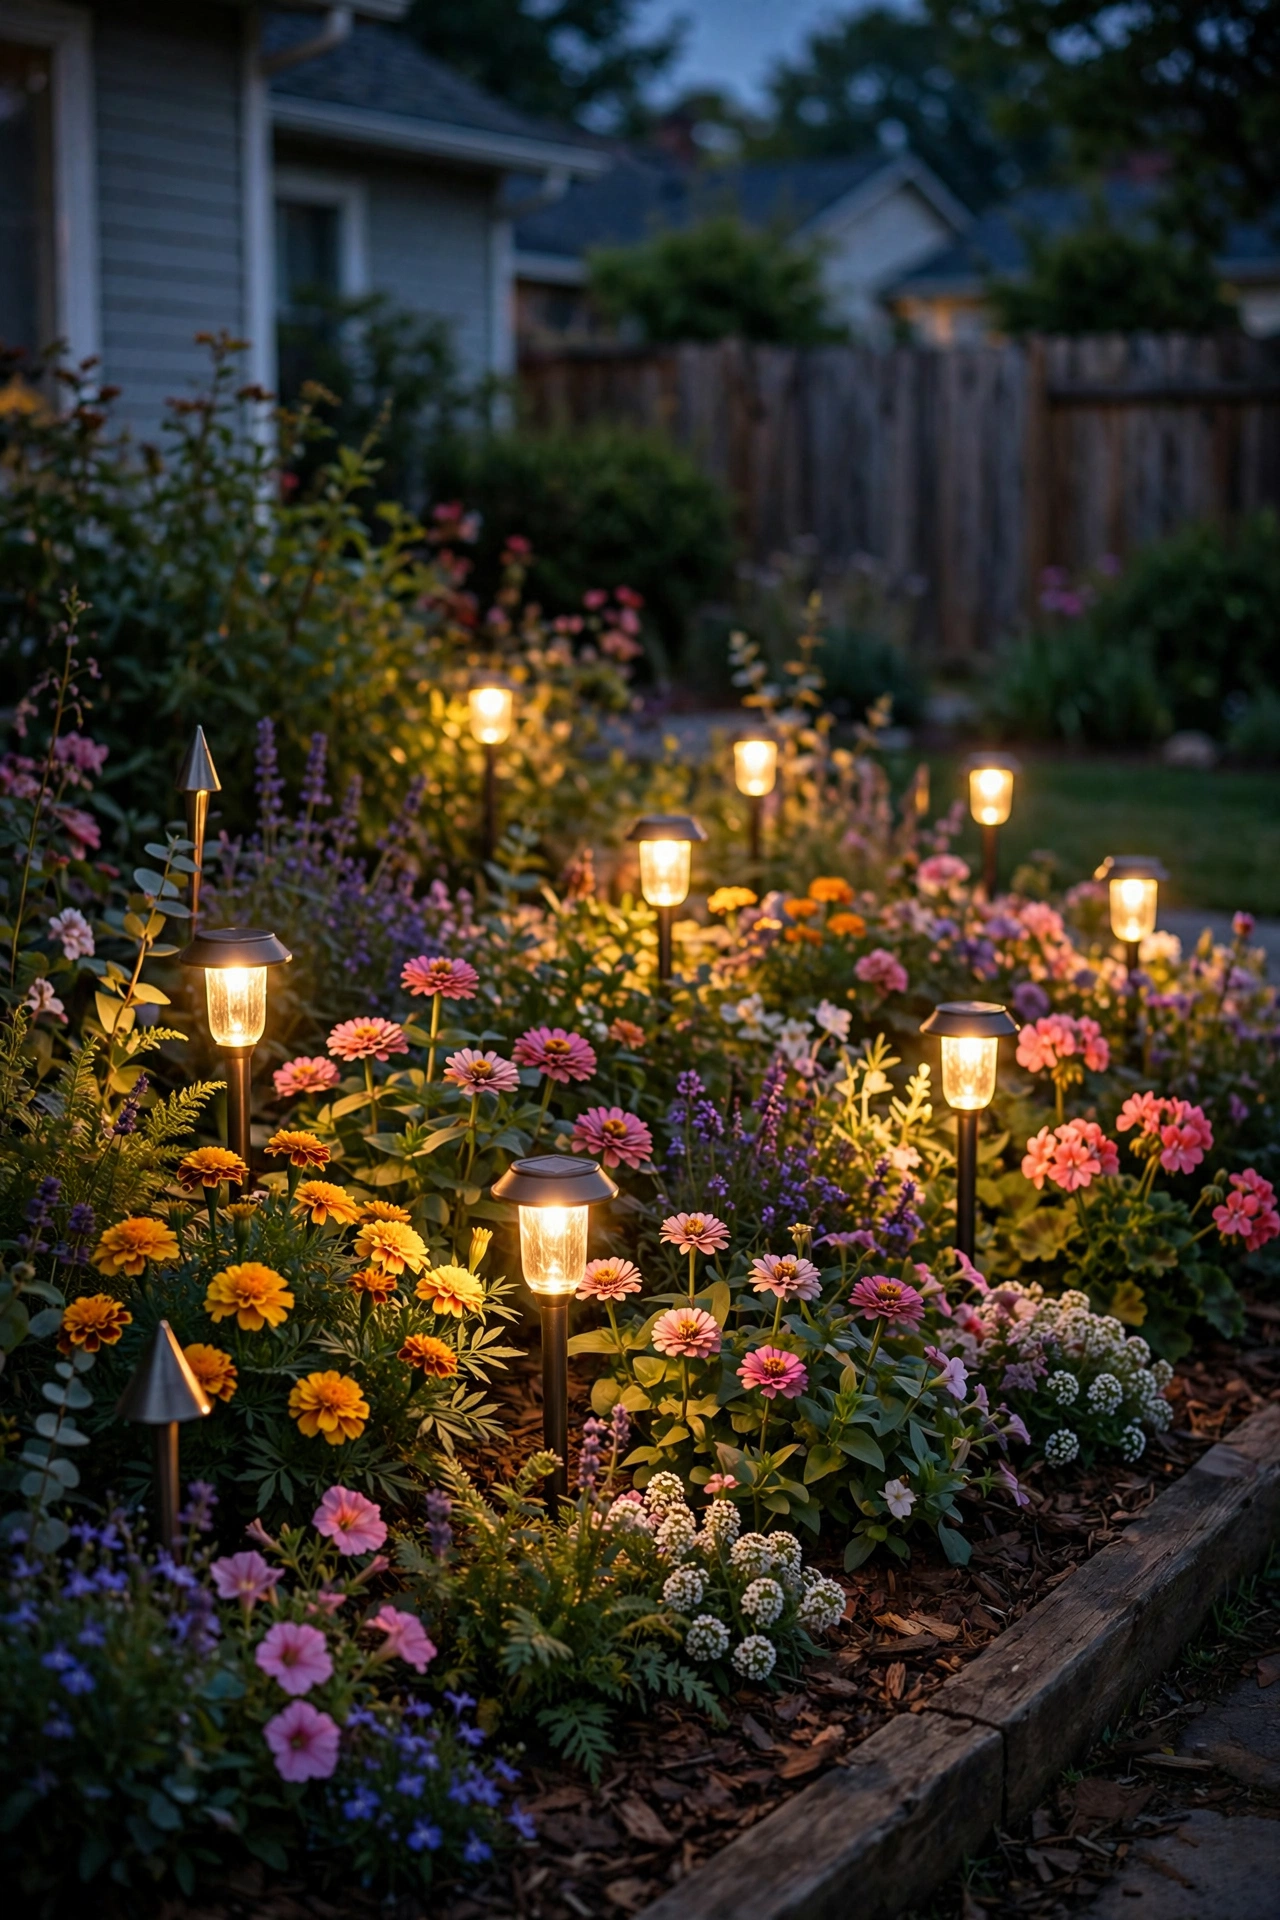
Moonlighting is the most romantic lighting technique I know: fixtures mounted high in a tree, aimed downward, so light filters through the leaves and casts dappled, moon-like shadows on the ground below.
Mount one or two weatherproof fixtures 15 to 20 feet up in a sturdy tree limb — use stainless mounting brackets, never nails, so you don't damage the tree. Aim them downward through the canopy at whatever's below: a patio, a lawn, a sitting area. The leaves break the beam into shifting patterns that move gently in the breeze, and it genuinely feels like a full-moon night.
This is one technique where cool-neutral light (around 3000K) actually works better than very warm, since it mimics real moonlight. Safety note: don't attempt this on a ladder alone. Have someone steady the ladder and secure the fixture properly — a 20-foot fall is not worth a pretty shadow pattern.
Suggested budget range: $80 – $300.
6. Edge Garden Walkways With Path Lights
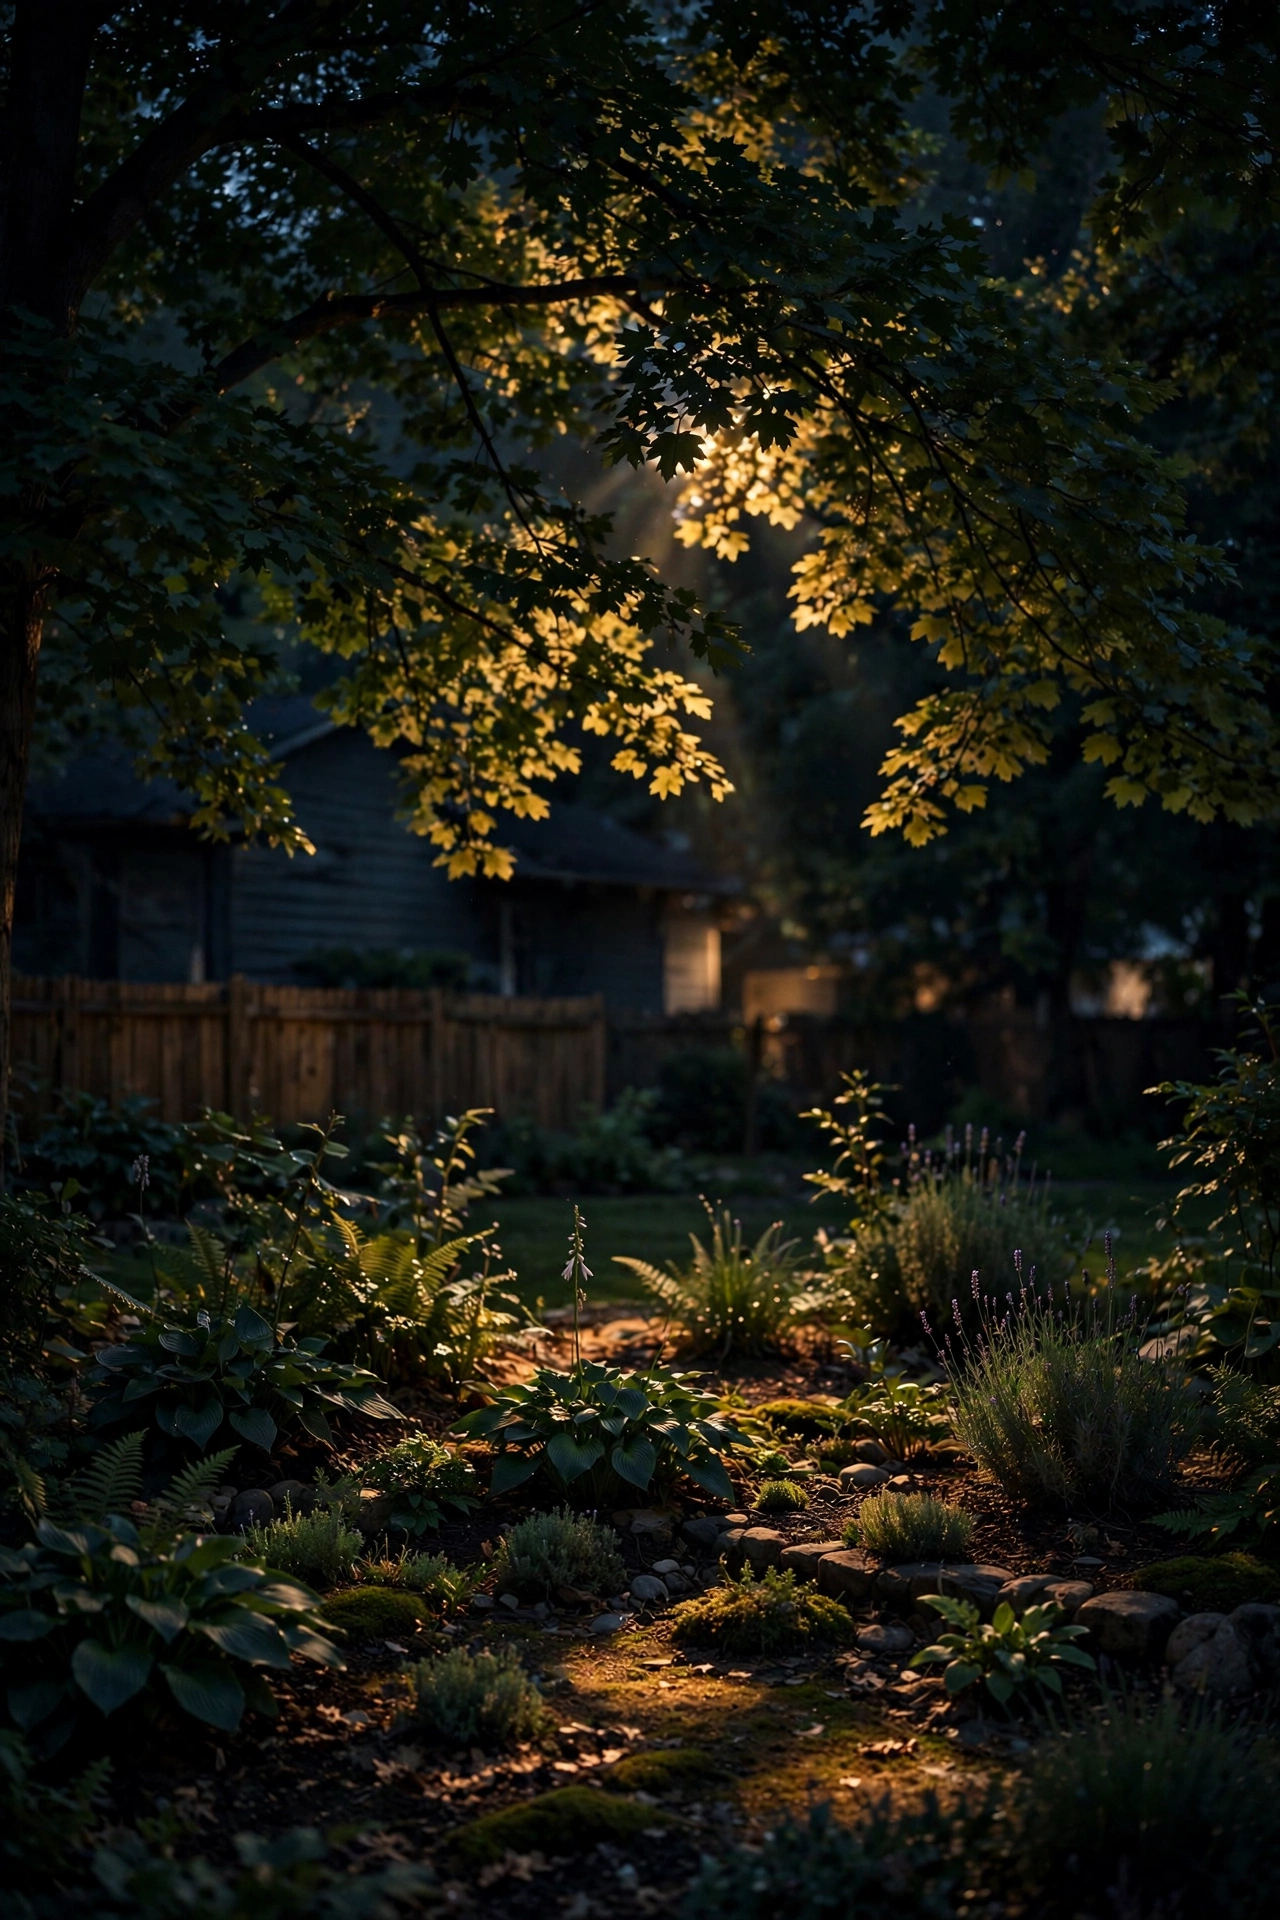
Path lights do double duty: they keep you from tripping over the stone edging, and they make every garden walk feel like an invitation. They're the one safety fixture that's also pure atmosphere.
Place fixtures 6 to 8 feet apart, alternating sides of the path rather than in rigid pairs — staggered placement feels natural and avoids the runway look. Set each light back 1 to 2 feet from the path edge so the pool of light overlaps the walkway itself. Keep the heads low, around 12 to 18 inches high; taller fixtures throw glare into people's eyes.
Choose path lights with a downward-directed shade. Upward-glowing caps look pretty in photos but they wash out your other garden lighting and attract every bug in the county. In my experience, matte-finish fixtures in dark bronze or black disappear into the bed during the day and let the light do all the talking at night.
Suggested budget range: $70 – $250.
7. Define Structured Beds With Bollard Lights
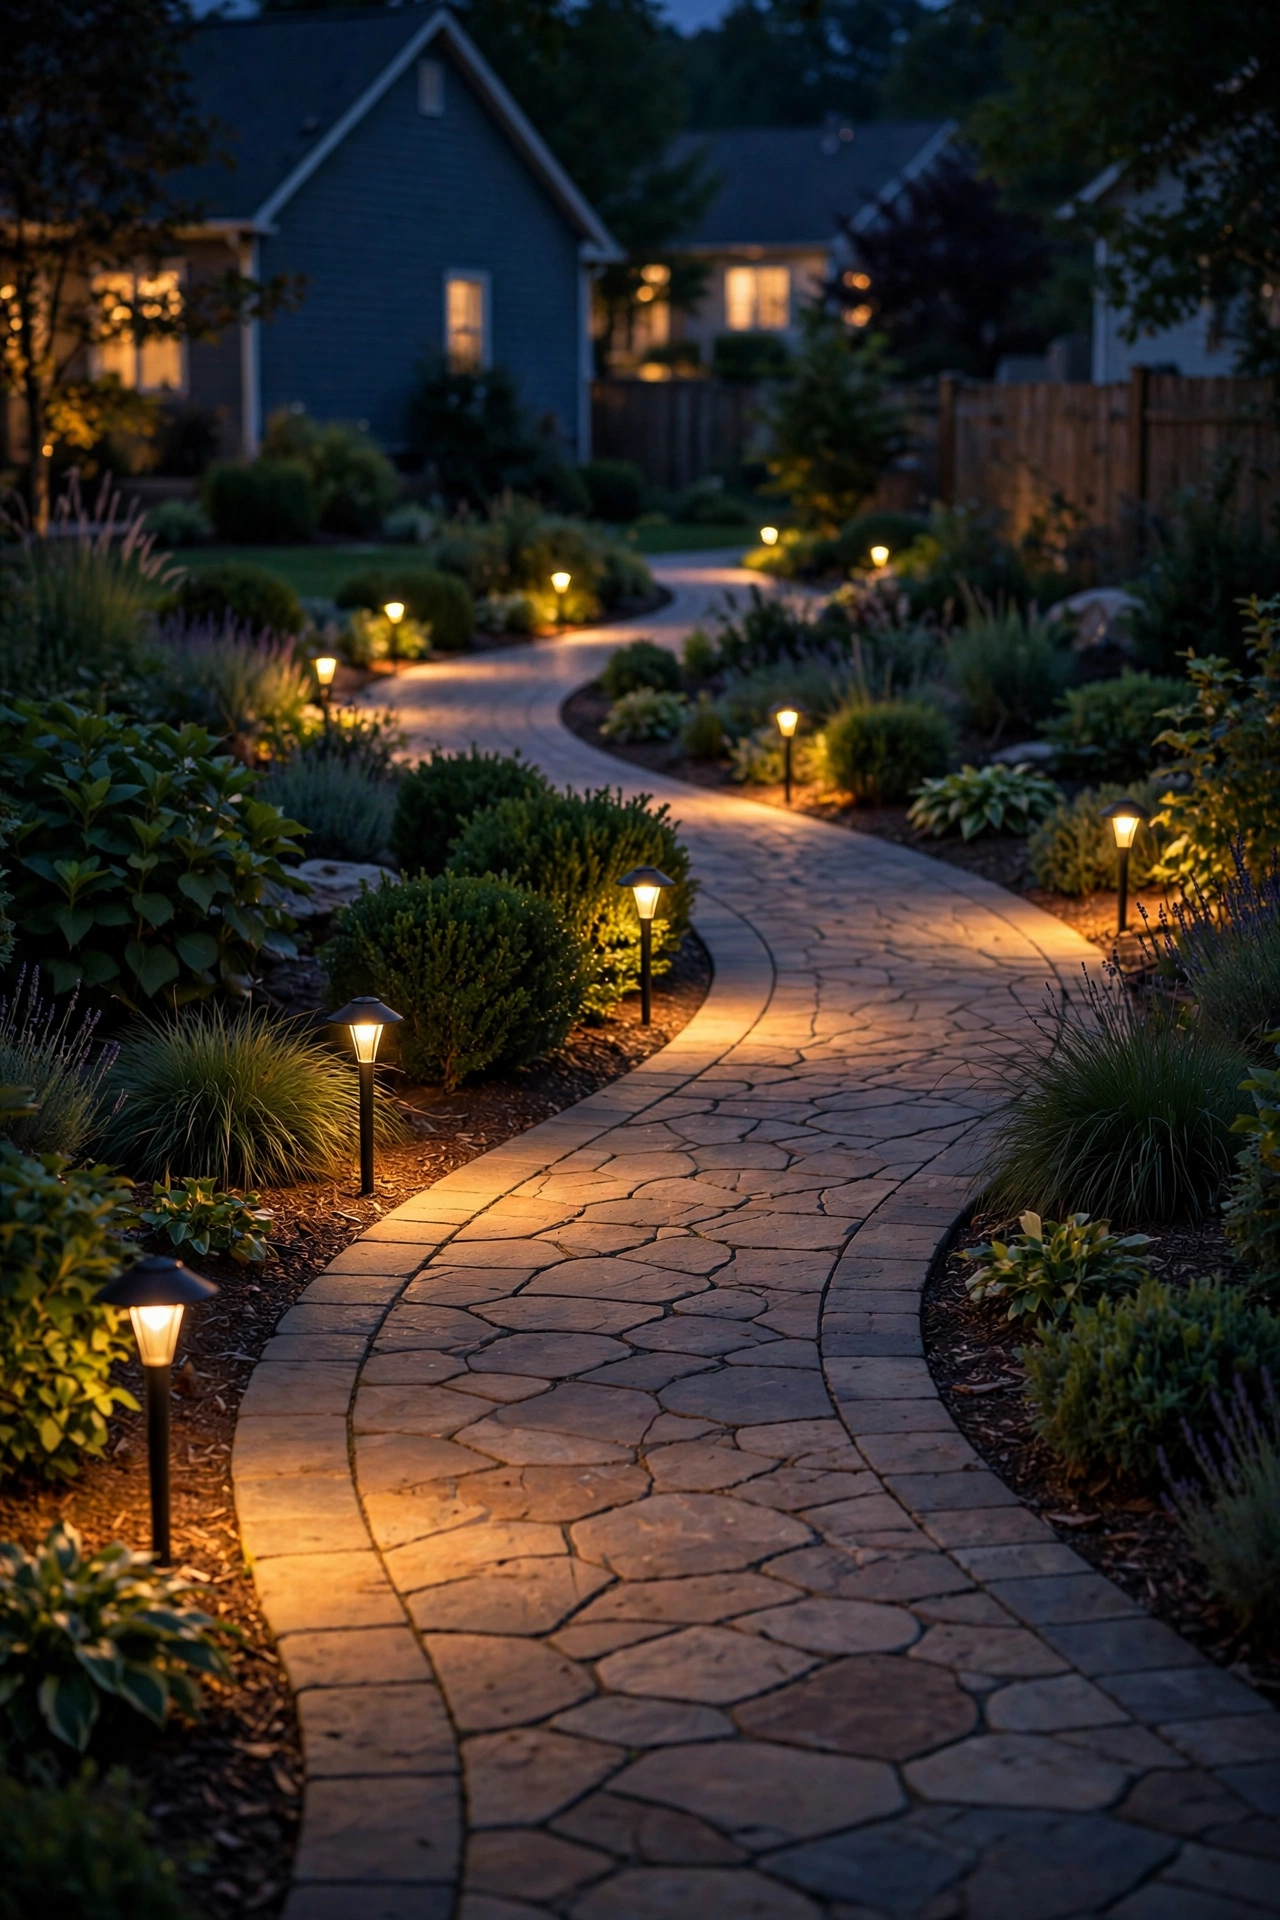
For formal, structured planting beds — straight lines, geometric shapes, manicured edges — bollard lights are the perfect architectural complement. They add height and rhythm where stake lights would look too casual.
Install bollards 2 to 3 feet tall, spaced 8 to 12 feet apart along the bed's edge or corners. Keep them slightly outside the mulch line so mulch and leaves don't creep over the lens. Their taller stature means the light spreads wider, so you need fewer of them than you'd think — start with the corners and key turns, then fill in.
One safety note: make sure bollards are on a sturdy base and positioned where a mower or trimmer won't clip them. A wobbly bollard knocked sideways by a string trimmer is a common garden tragedy. I anchor mine with a short stake beside the post for extra insurance.
Suggested budget range: $120 – $400.
8. Weave Fairy String Lights Through Ornamental Grasses
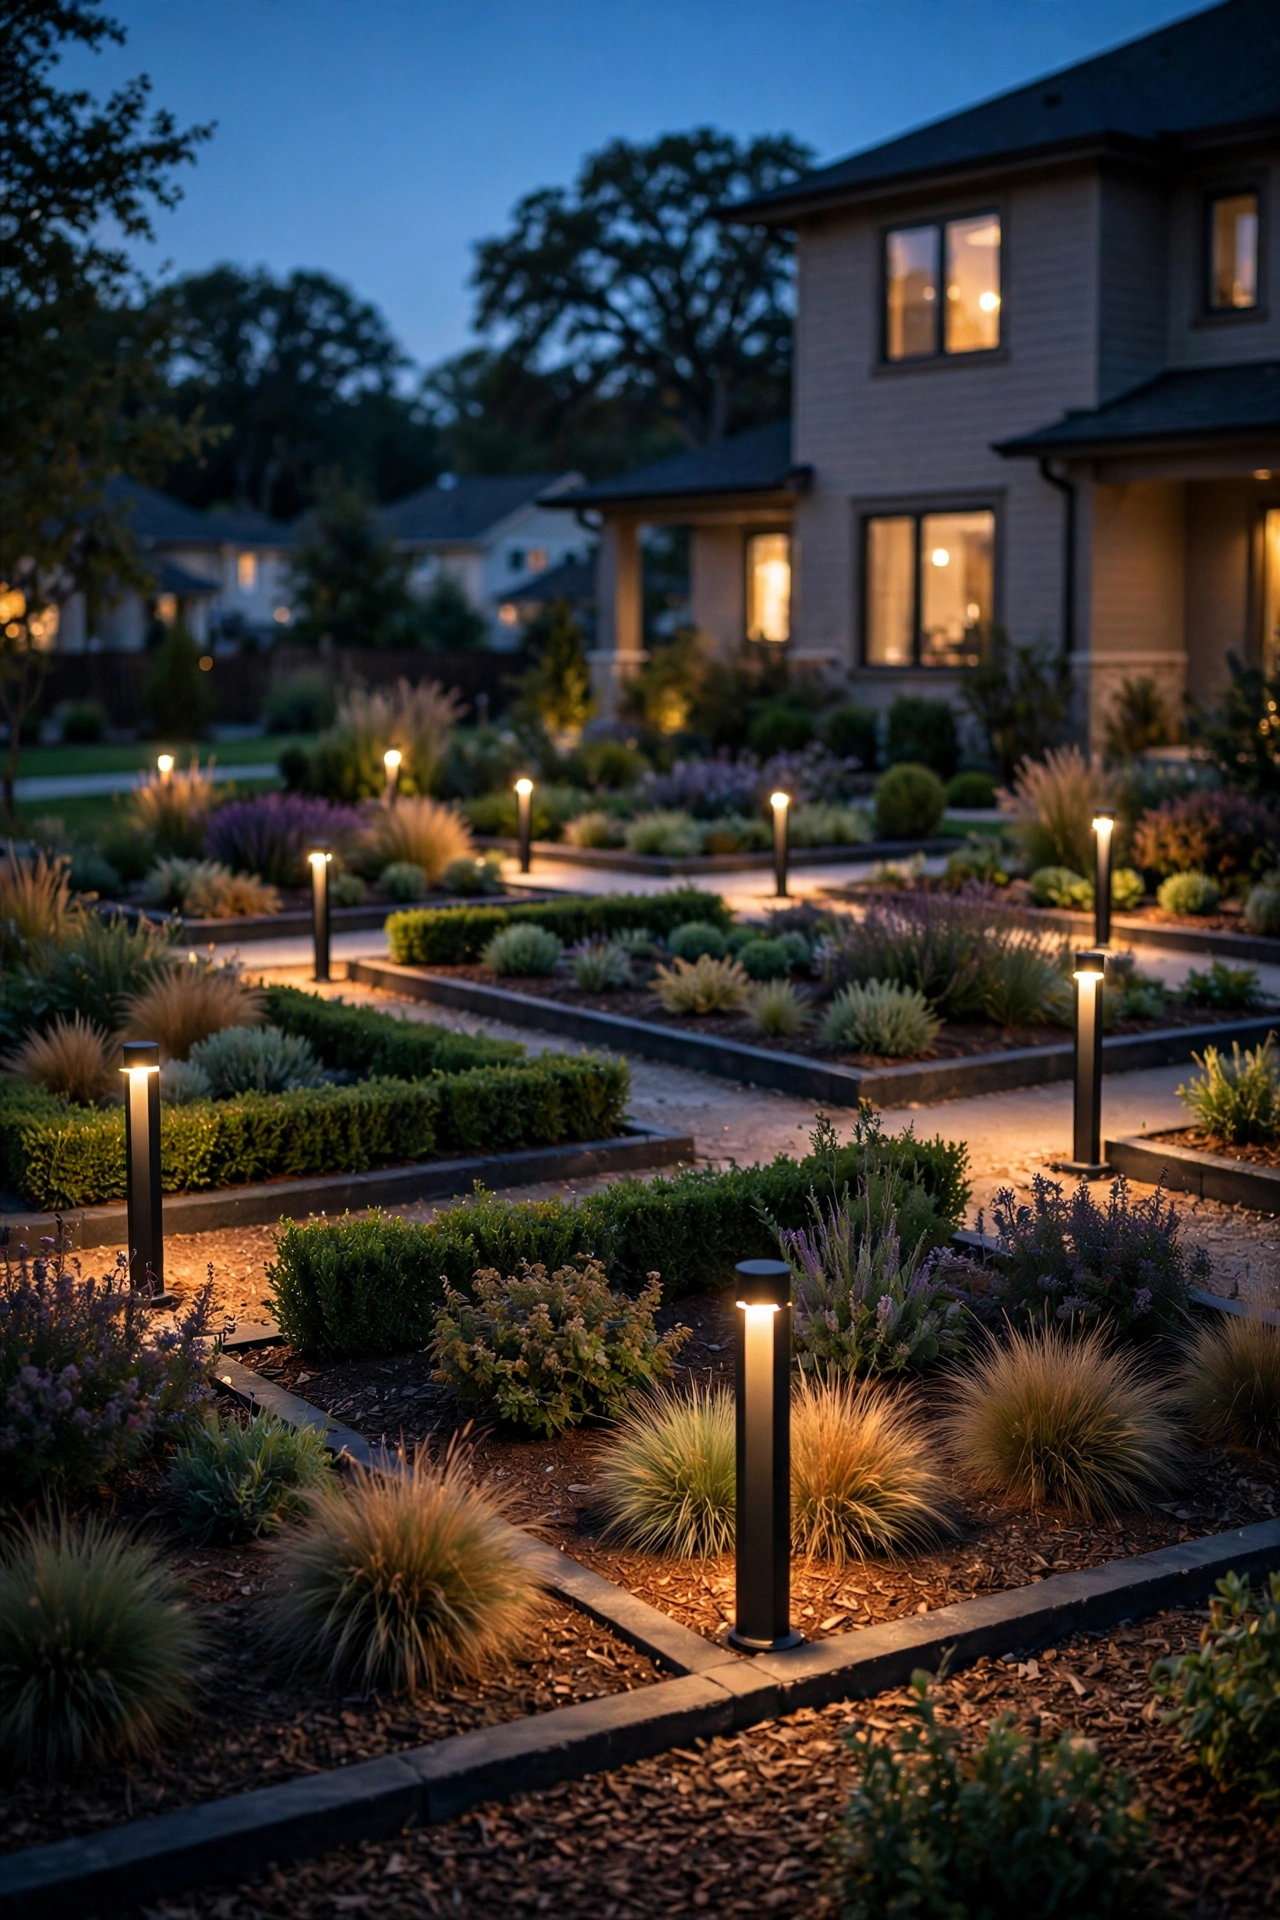
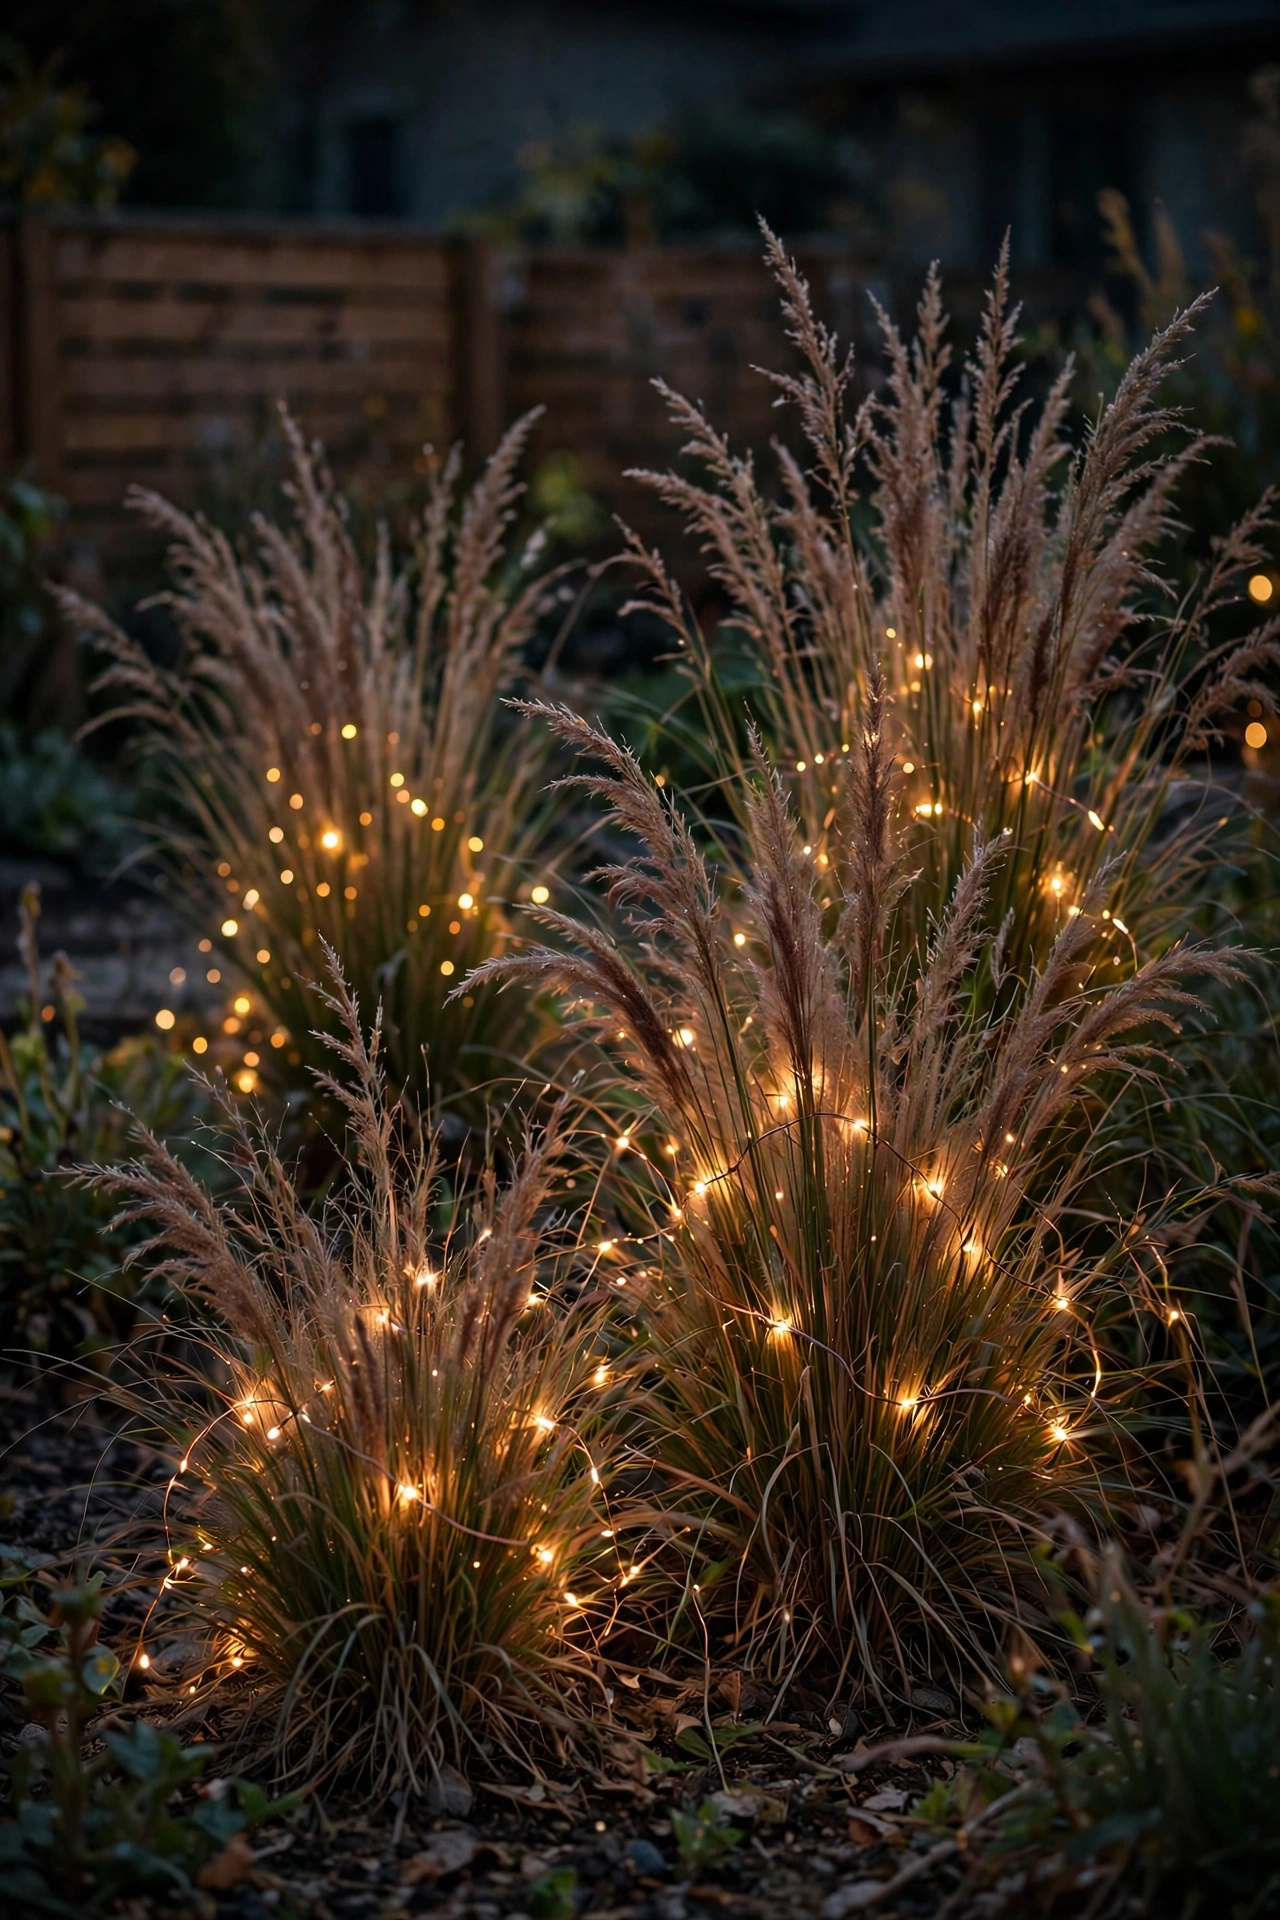
Ornamental grasses — pampas, maiden grass, feather reed — are basically built for fairy lights. Their feathery plumes catch tiny lights like nothing else, and the whole clump turns into a glowing fountain at night.
Drape a warm-white fairy light string loosely through and around each clump, tucking the wire into the middle of the grass so the tiny bulbs seem to float. One 30-foot string usually dresses 2 to 3 large clumps. Battery or solar strings work fine here since you only need a few hours of glow after dark.
Do this in late summer when the plumes are full — that's when the effect is honestly jaw-dropping. A word of caution: don't wrap the string tightly or hang anything heavy from the grass blades; you'll bend and break them. Gentle draping is all you need, and the wind moving through the lit grass adds its own magic.
Suggested budget range: $15 – $60.
9. Tuck Lanterns Among Flower Beds
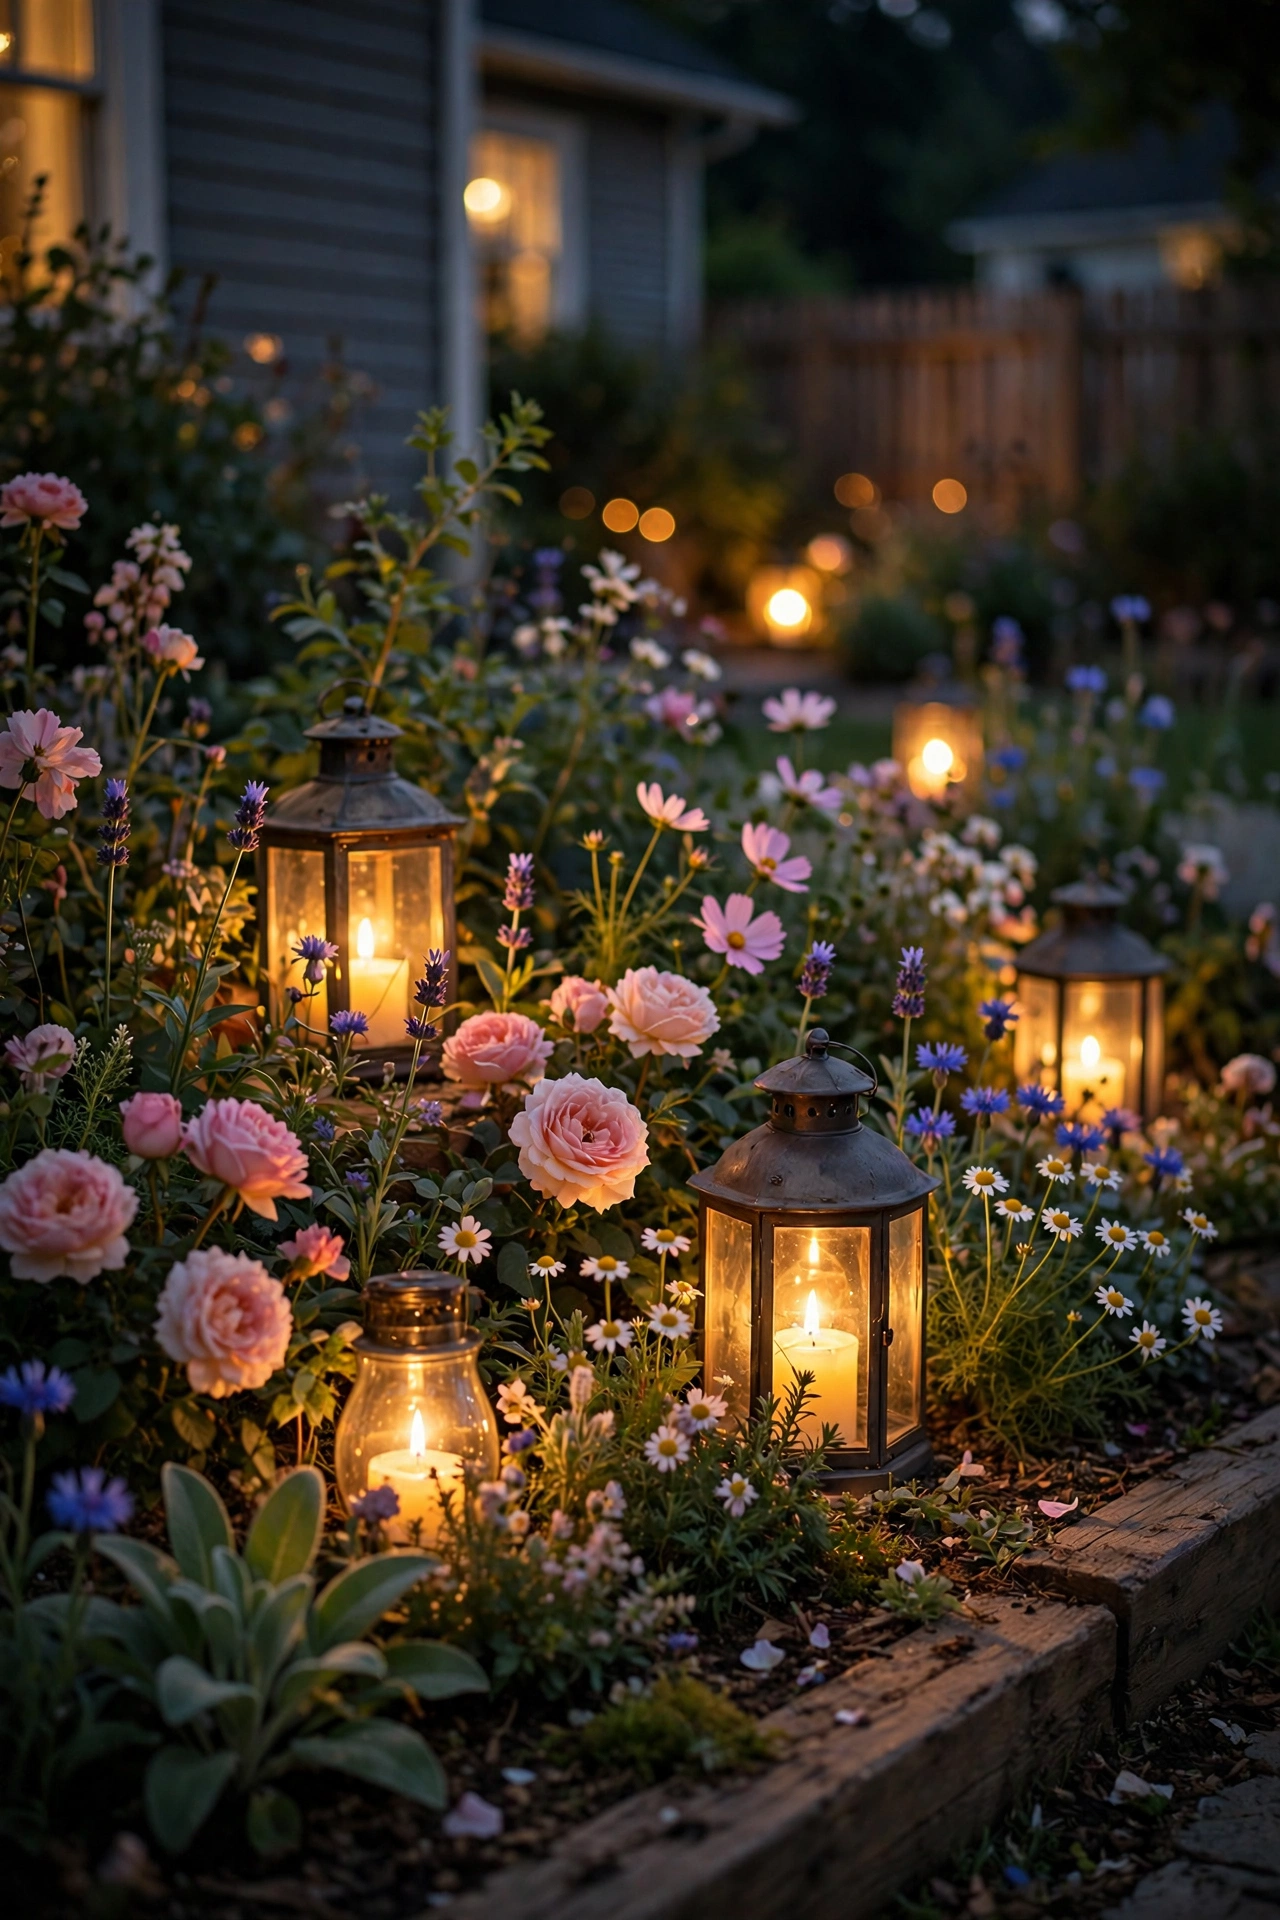
Lanterns bring something fixtures can't: a flicker. Real or LED candles inside a lantern give your flower beds a warm, old-world glow that feels like a secret garden.
Group lanterns in odd numbers — three or five — nestled into the bed at varying heights. Set a few directly on the mulch and raise others on short plant stands or stacked stones so the light reads at different levels. Flameless LED candles with a flicker mode are the safest choice, and the good ones are honestly hard to tell from real flame at a distance.
This look shines in cottage-style gardens with lots of mixed perennials, where the informal glow matches the planting. Bring metal lanterns inside over winter in snowy climates — freeze-thaw cycles will crack glass panels and rust cheap frames faster than you'd expect.
Suggested budget range: $30 – $120.
10. Light Raised Beds With Deck-Style Fixtures
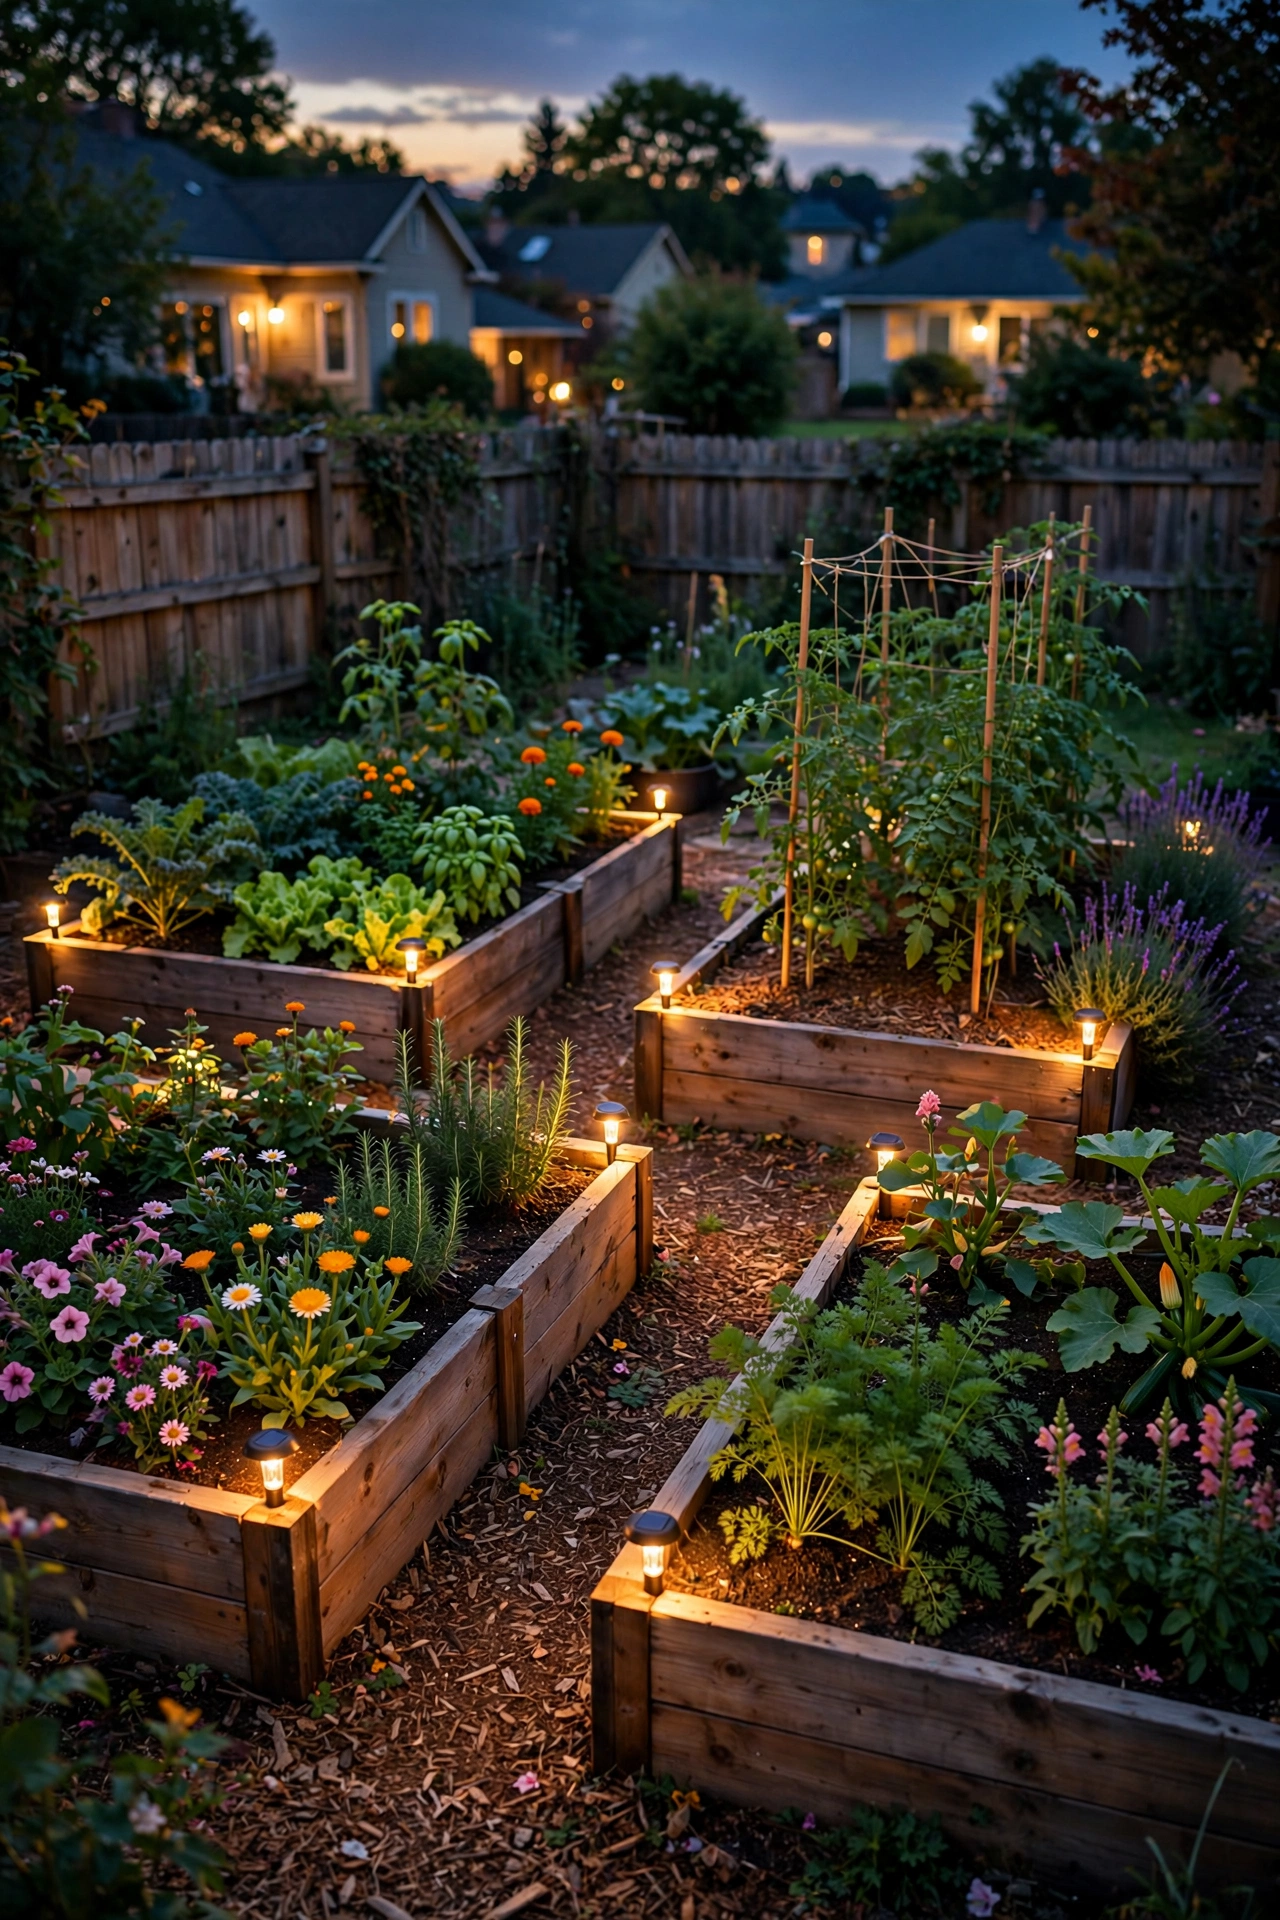
Raised beds aren't just for vegetables — they're some of the best garden lighting real estate you have. Small deck-style fixtures mounted on the bed's corners or rails light the planting from above and double as edge markers.
Mount compact downward-facing fixtures on two or three corners of each raised bed, aimed into the planting. This top-down light makes leafy greens and herbs look lush and vibrant after dark, and it makes evening harvesting genuinely practical. Solar puck lights work beautifully here since the bed gets full sun all day.
If you grow edibles, this is also a great moment to double-check your fixtures are rated for outdoor food-growing areas — avoid anything with exposed mercury bulbs near food plants. Low-voltage LED is the safe, cool-running choice. Honestly, lit raised beds at night have made me harvest herbs after dinner more times than I can count.
Suggested budget range: $40 – $140.
11. Hide In-Ground Well Lights in Mulch Beds
Well lights are the invisible ninjas of garden lighting: flush with the ground, hidden in mulch, throwing a dramatic column of light straight up through your plants.
Install the fixture so the lens sits exactly level with the mulch surface — too high and the fixture is visible; too low and mulch drifts over the lens and dims the beam. Place one well light per feature plant: a Japanese maple, a clump of ornamental grass, a sculptural agave. The upward beam catches the undersides of leaves, which is a view we never see in daylight, and it looks incredible.
Choose fixtures with adjustable heads so you can angle the beam slightly as plants grow and change shape. One maintenance tip: pull the fixtures up once a season and clear mulch and soil from the lens. In my experience, a dim well light is almost always just a dirty lens, not a dead bulb.
Suggested budget range: $60 – $220.

12. Add LED Strips Under Pergola Posts Near the Garden
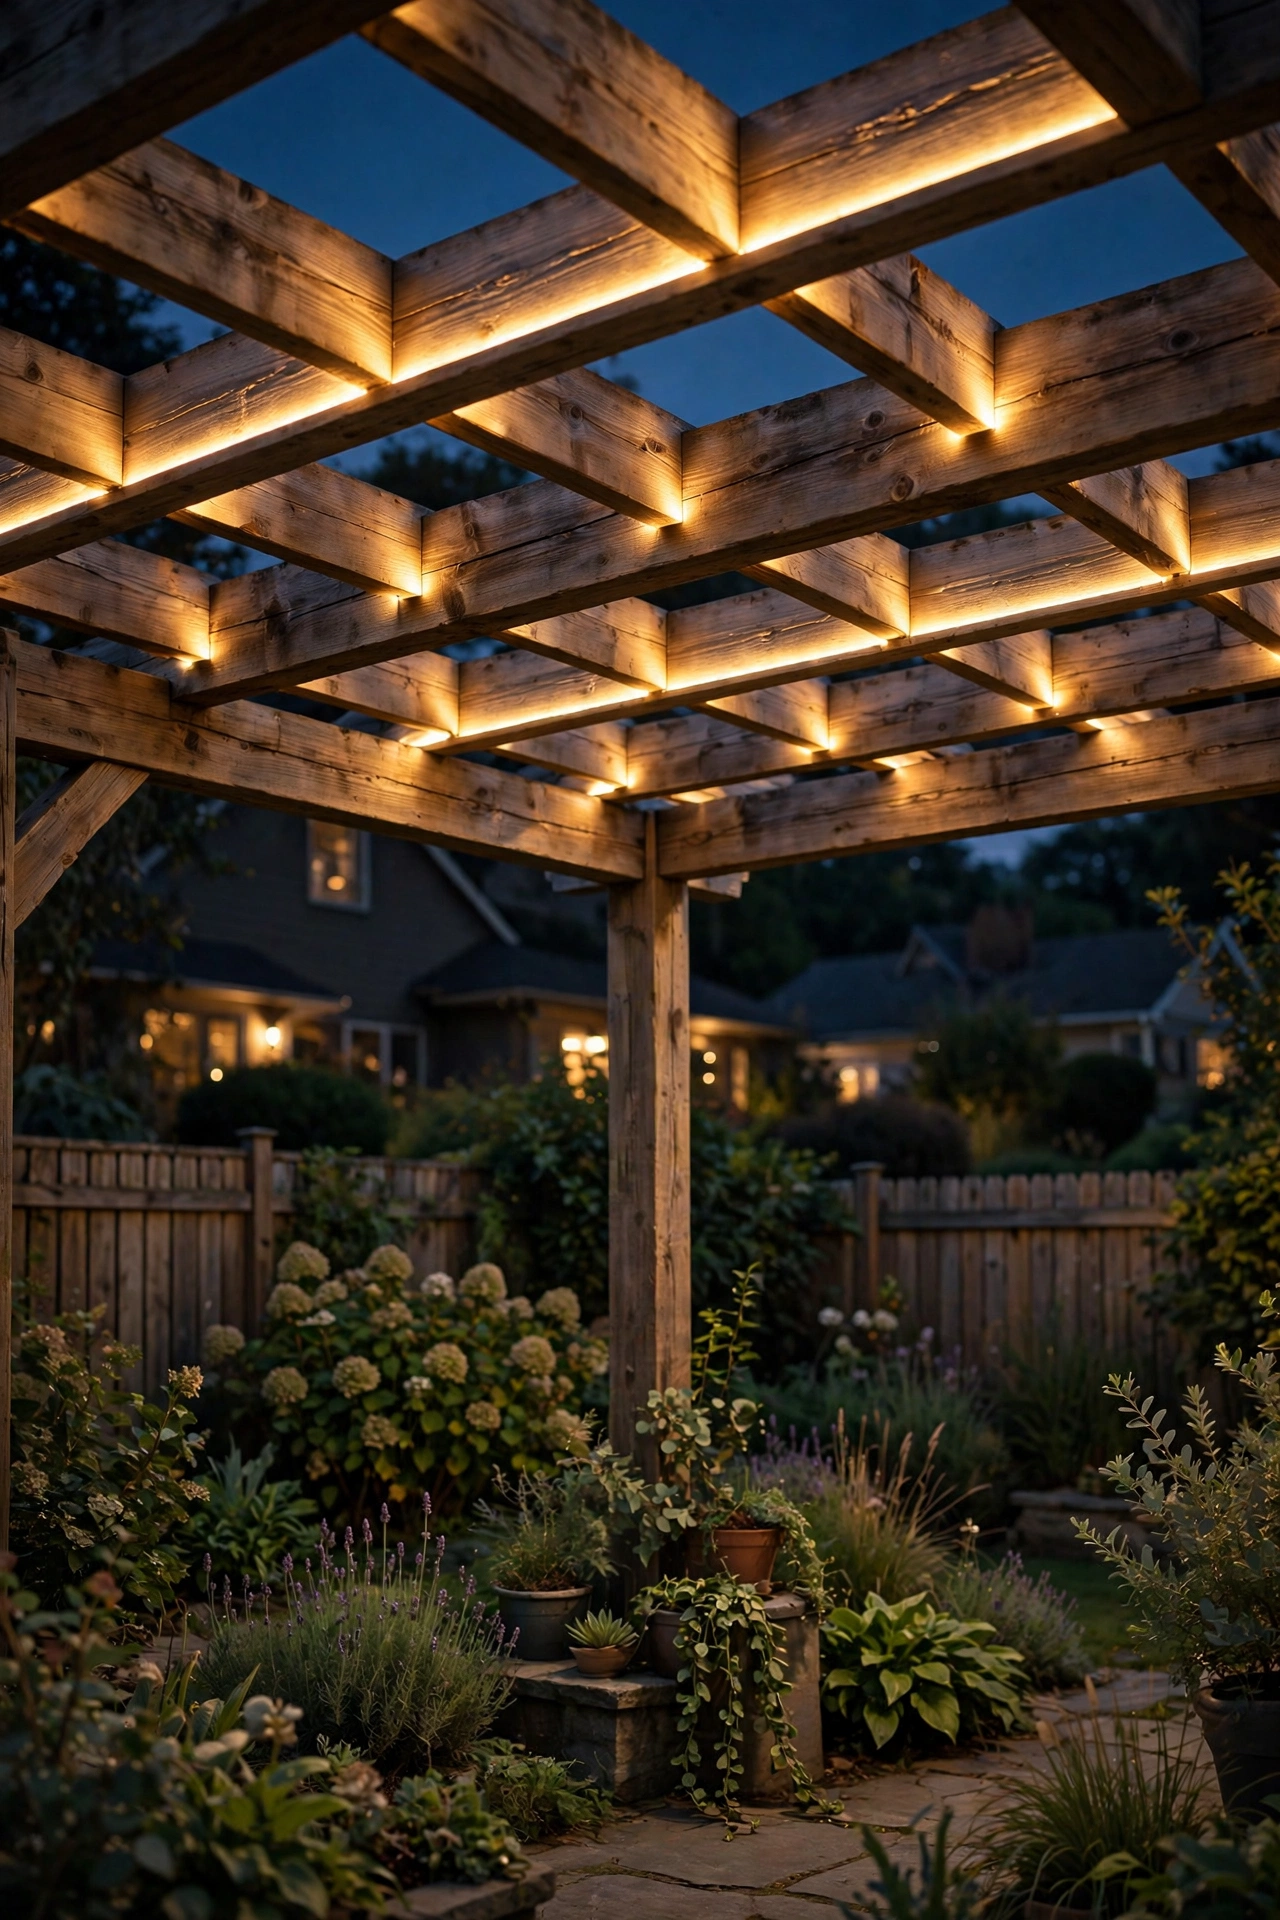
If your garden wraps around a pergola or patio structure, LED strips tucked under the beams or posts create a soft canopy of light that ties the garden and living space together.
Run weatherproof LED strips along the underside of pergola beams or down the inner faces of posts, facing inward so the light grazes the wood and spills gently onto nearby planting. The strips themselves stay hidden — all you see is the glow. Warm white (2700K) keeps the whole scene cozy; avoid RGB color modes here unless it's a party, since colored light makes plants look odd.
Use outdoor-rated strips with an IP65 rating or better, and tuck the connections into weatherproof junction boxes. One safety note: never run strips where they'll sit in standing water or get blasted by sprinklers daily — even "waterproof" ratings have limits. A dimmer on the strip lets you dial the mood from dinner-party bright to late-night soft.
Suggested budget range: $50 – $200.
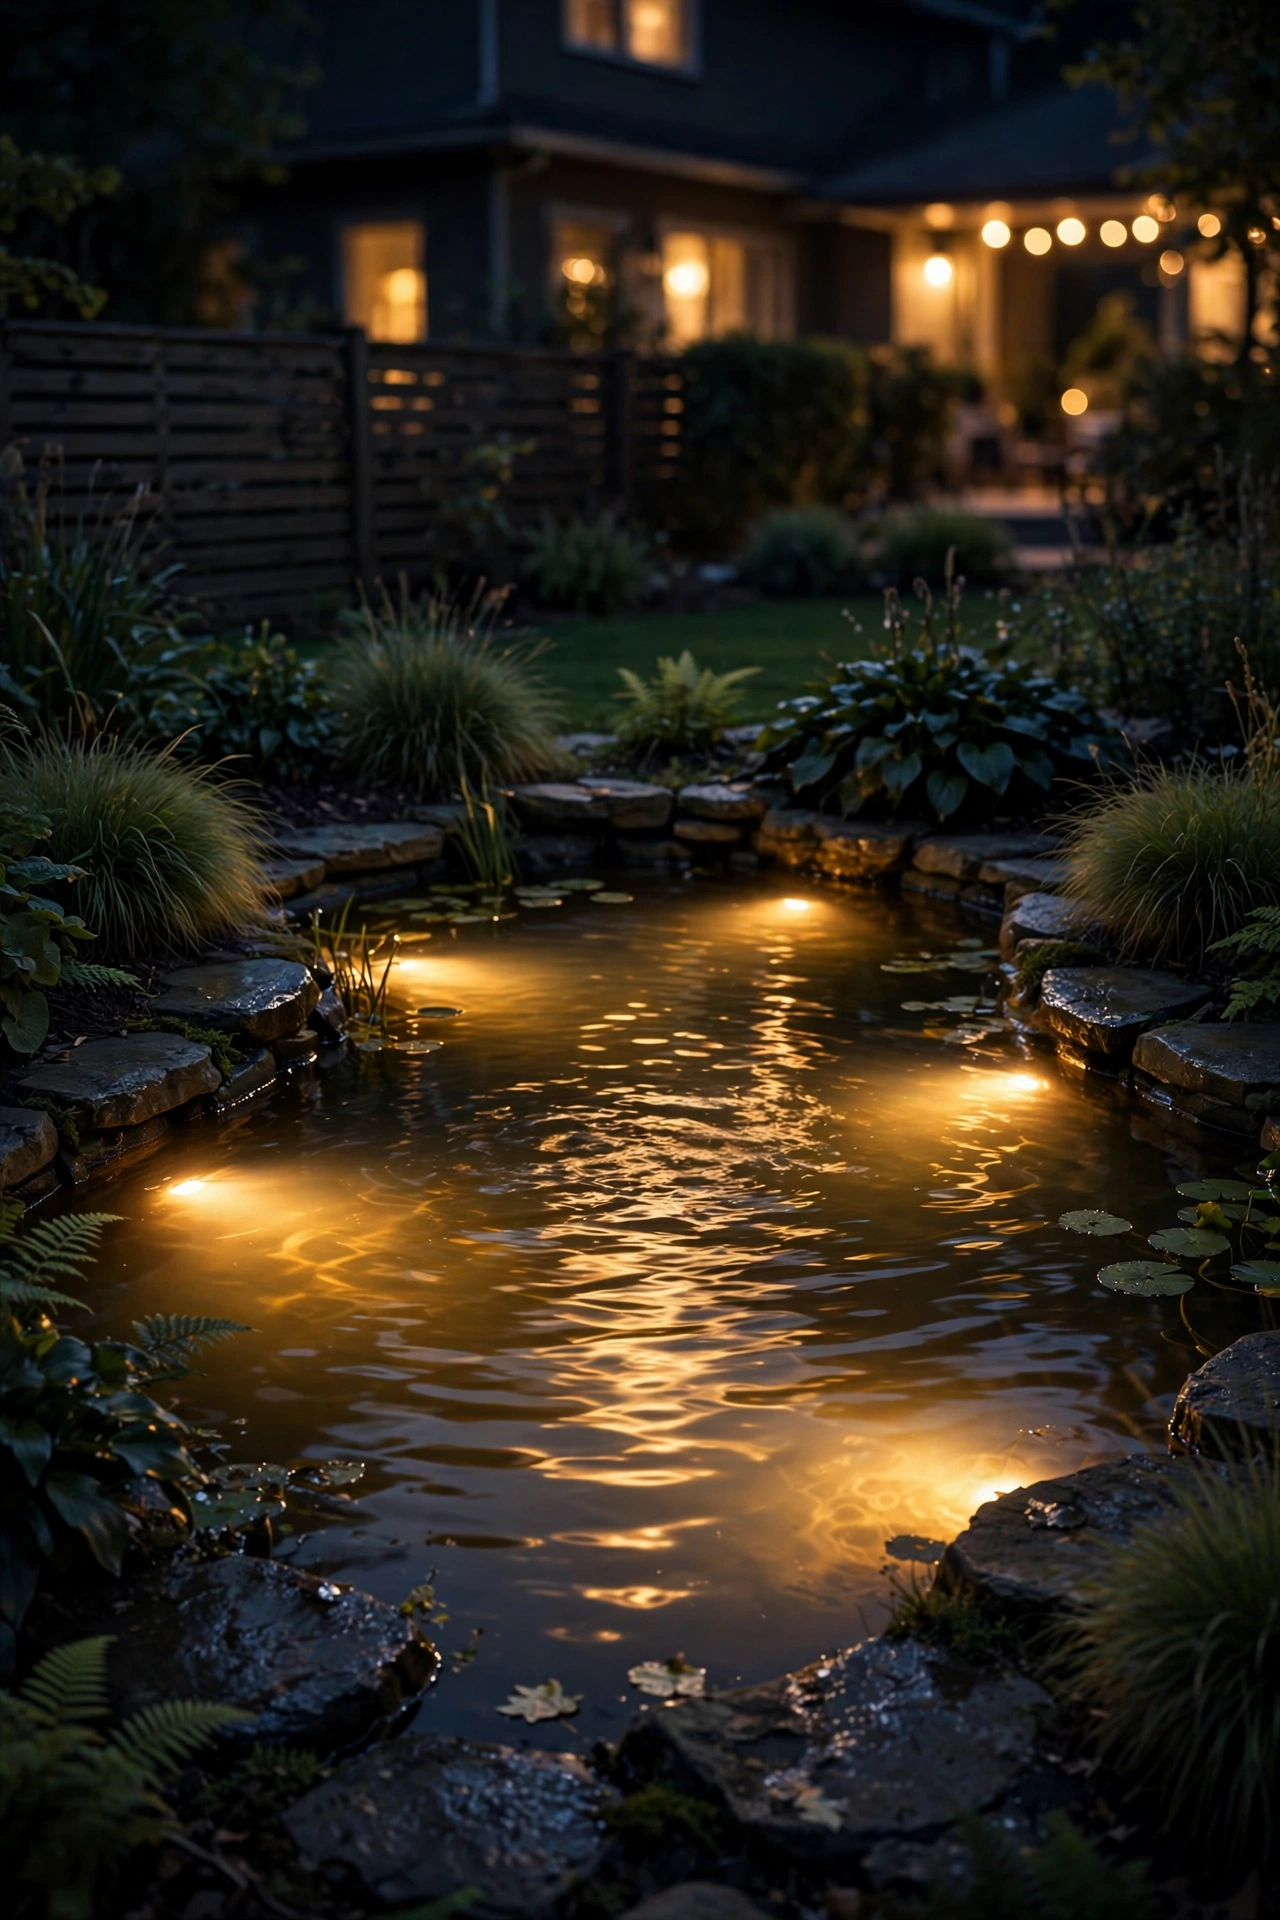
13. Light Your Water Feature From Within
A pond, fountain, or even a small bubbler is twice as magical at night — if you light it from the inside. Underwater lights turn moving water into liquid glass.
Submerge one or two low-voltage underwater fixtures near the base of the fountain or at the edge of the pond, aimed up through the water. The moving surface scatters the beam into dancing reflections on nearby plants and walls. For ponds with fish or plants, choose fixtures that run cool (LED only) and position them where fish can't rest directly against a warm housing.
Safety is non-negotiable here: use only fixtures rated for submersion (IP68) on a low-voltage (12V) transformer with a GFCI-protected circuit. Never run a standard landscape light underwater. Keep cords out of footpaths, and if your water feature is within reach of kids or pets, double-check every connection before the season starts.
Suggested budget range: $60 – $250.
14. String Lights Across a Garden Trellis
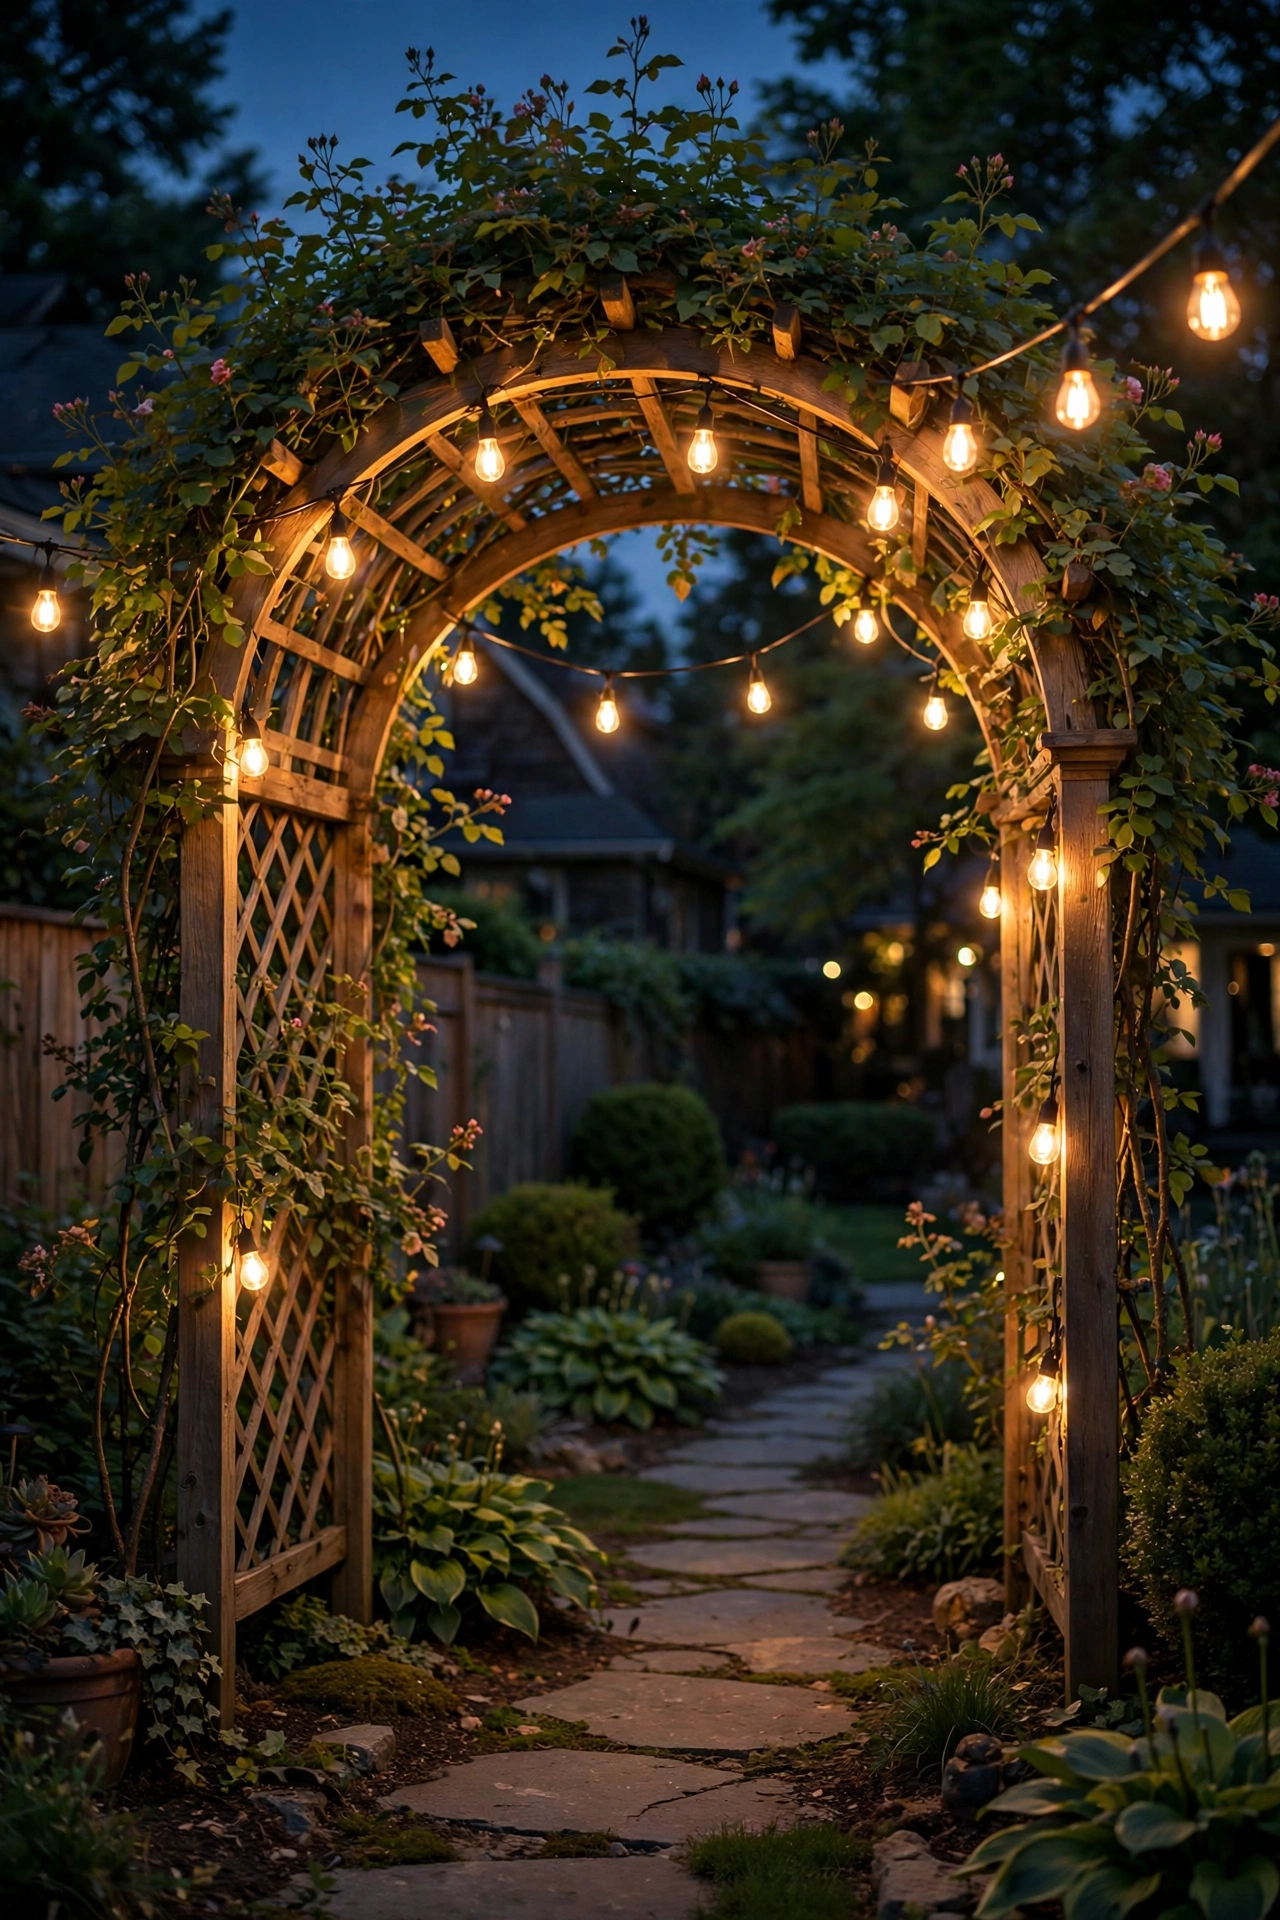
A trellis, arbor, or garden arch strung with lights becomes an instant landmark — the glowing doorway your garden has been missing.
Swag string lights in loose catenary curves across the top of the trellis rather than wrapping every rung; the draped curves look romantic and take a fraction of the time. Space the swags so the lowest point clears head height by at least a foot — nobody wants a face full of bulbs. Warm white bulbs on dark wire disappear during the day; white wire is only invisible against white structures.
Let climbing roses, jasmine, or clematis weave through the lights for the full fairy-tale effect. In my experience, this is the single most photographed spot in any garden that has one. Use outdoor-rated strings with shatterproof bulbs, and plug into a GFCI outlet with a timer so your glowing arch greets you every evening.
Suggested budget range: $35 – $150.
15. Create Drama With Backlighting Silhouettes
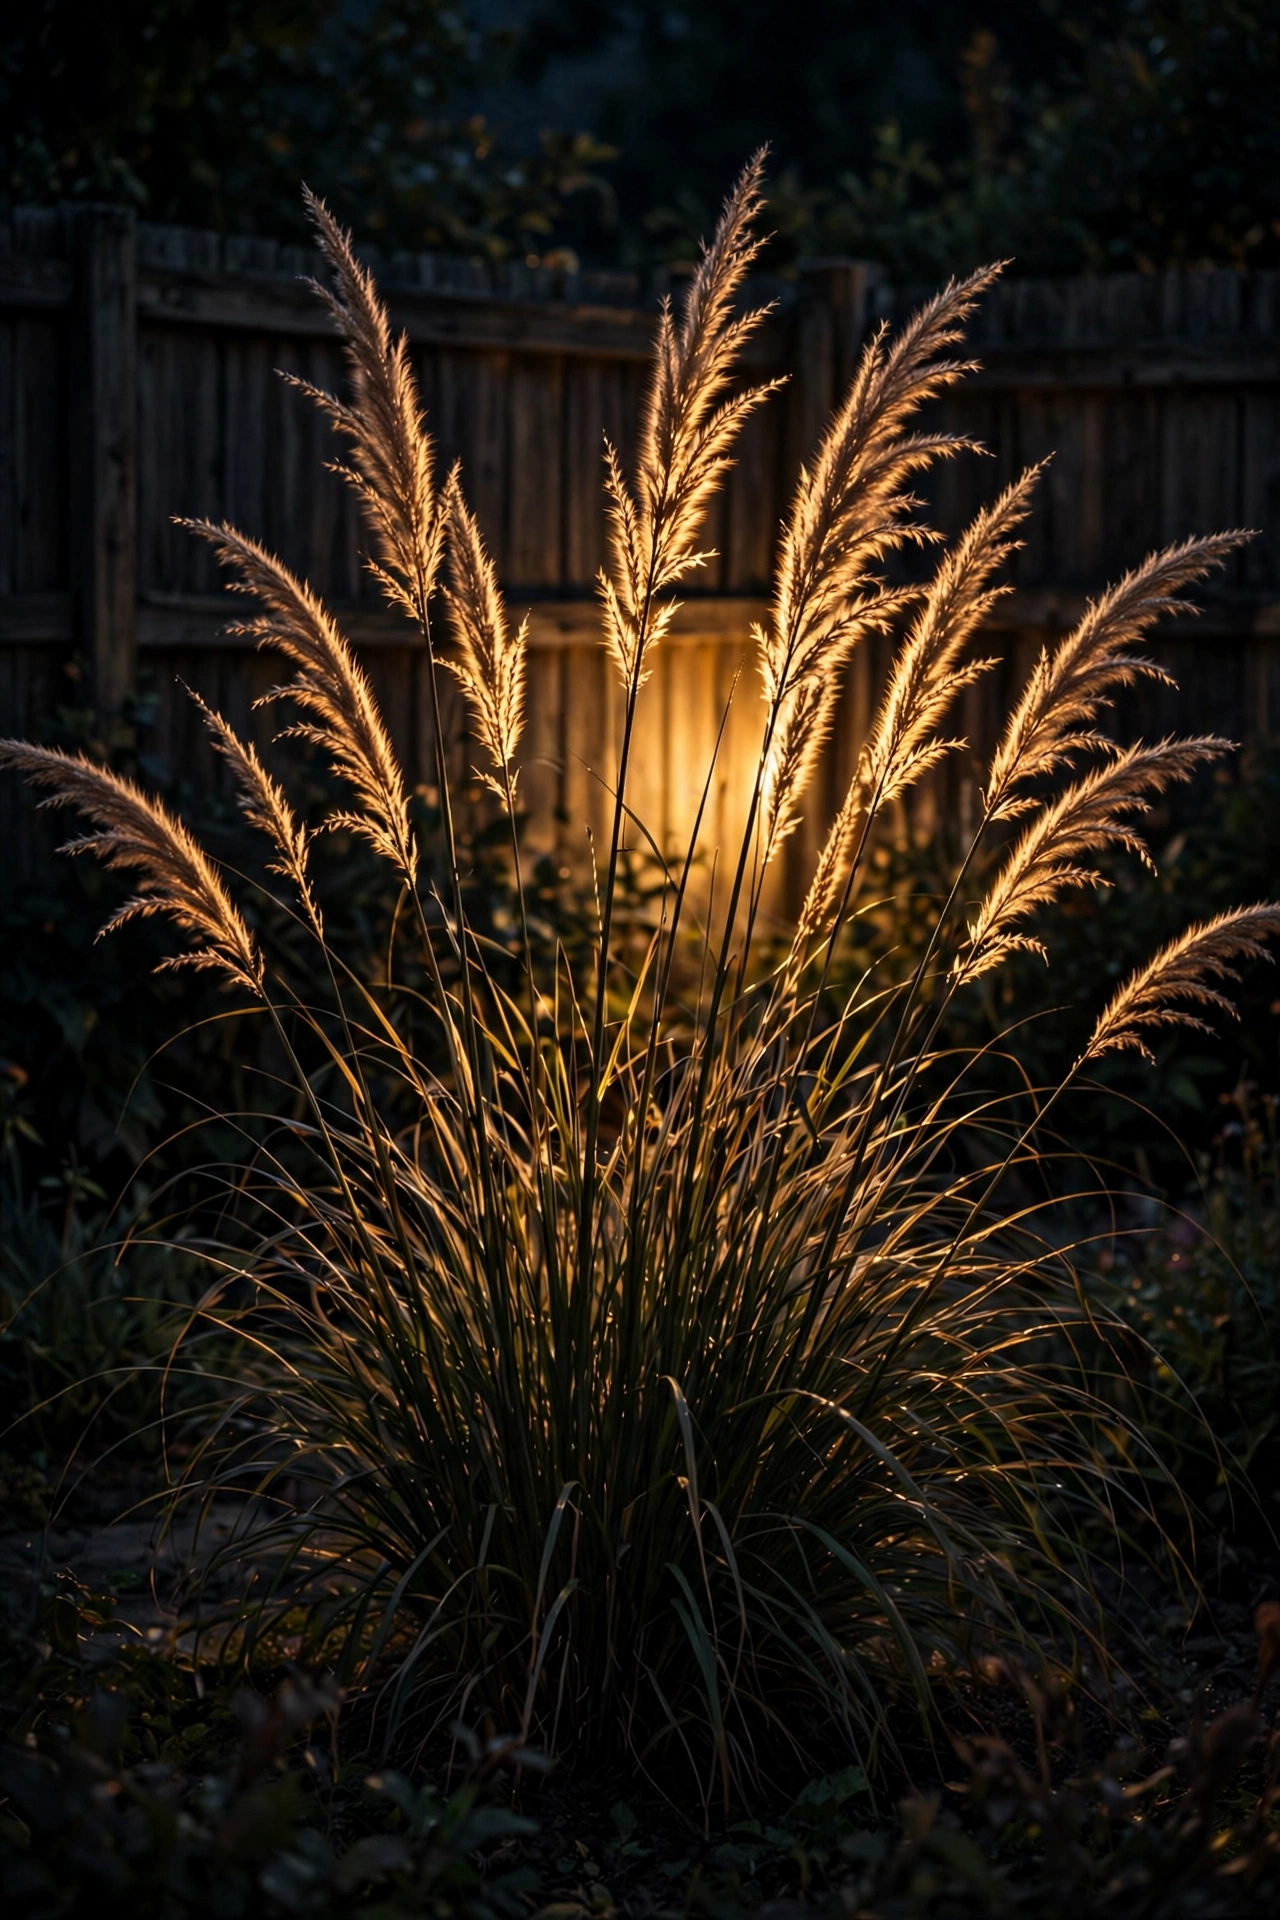
Backlighting — placing a light behind a plant so it glows as a silhouette — is the most artistic technique on this list. It's how you turn a spiky agave or feathery grass into a living sculpture.
Position a spotlight behind the plant, aimed toward the viewer, so the light rims the edges of the leaves and the plant reads as a dark shape against a glow. This works best against a dark background: a fence, a wall, dense shrubs. The plant itself stays mostly in shadow while its outline burns with light.
Choose plants with strong shapes: yucca, pampas grass, sculptural succulents, ornamental alliums. Avoid backlighting anything you want to actually see clearly — this is about drama, not visibility. Honestly, one well-backlit plant can carry an entire garden corner. Keep the fixture hidden behind the plant or a rock so the light seems to come from nowhere.
Suggested budget range: $35 – $130.
16. Wash a Fence or Wall Behind Your Plants
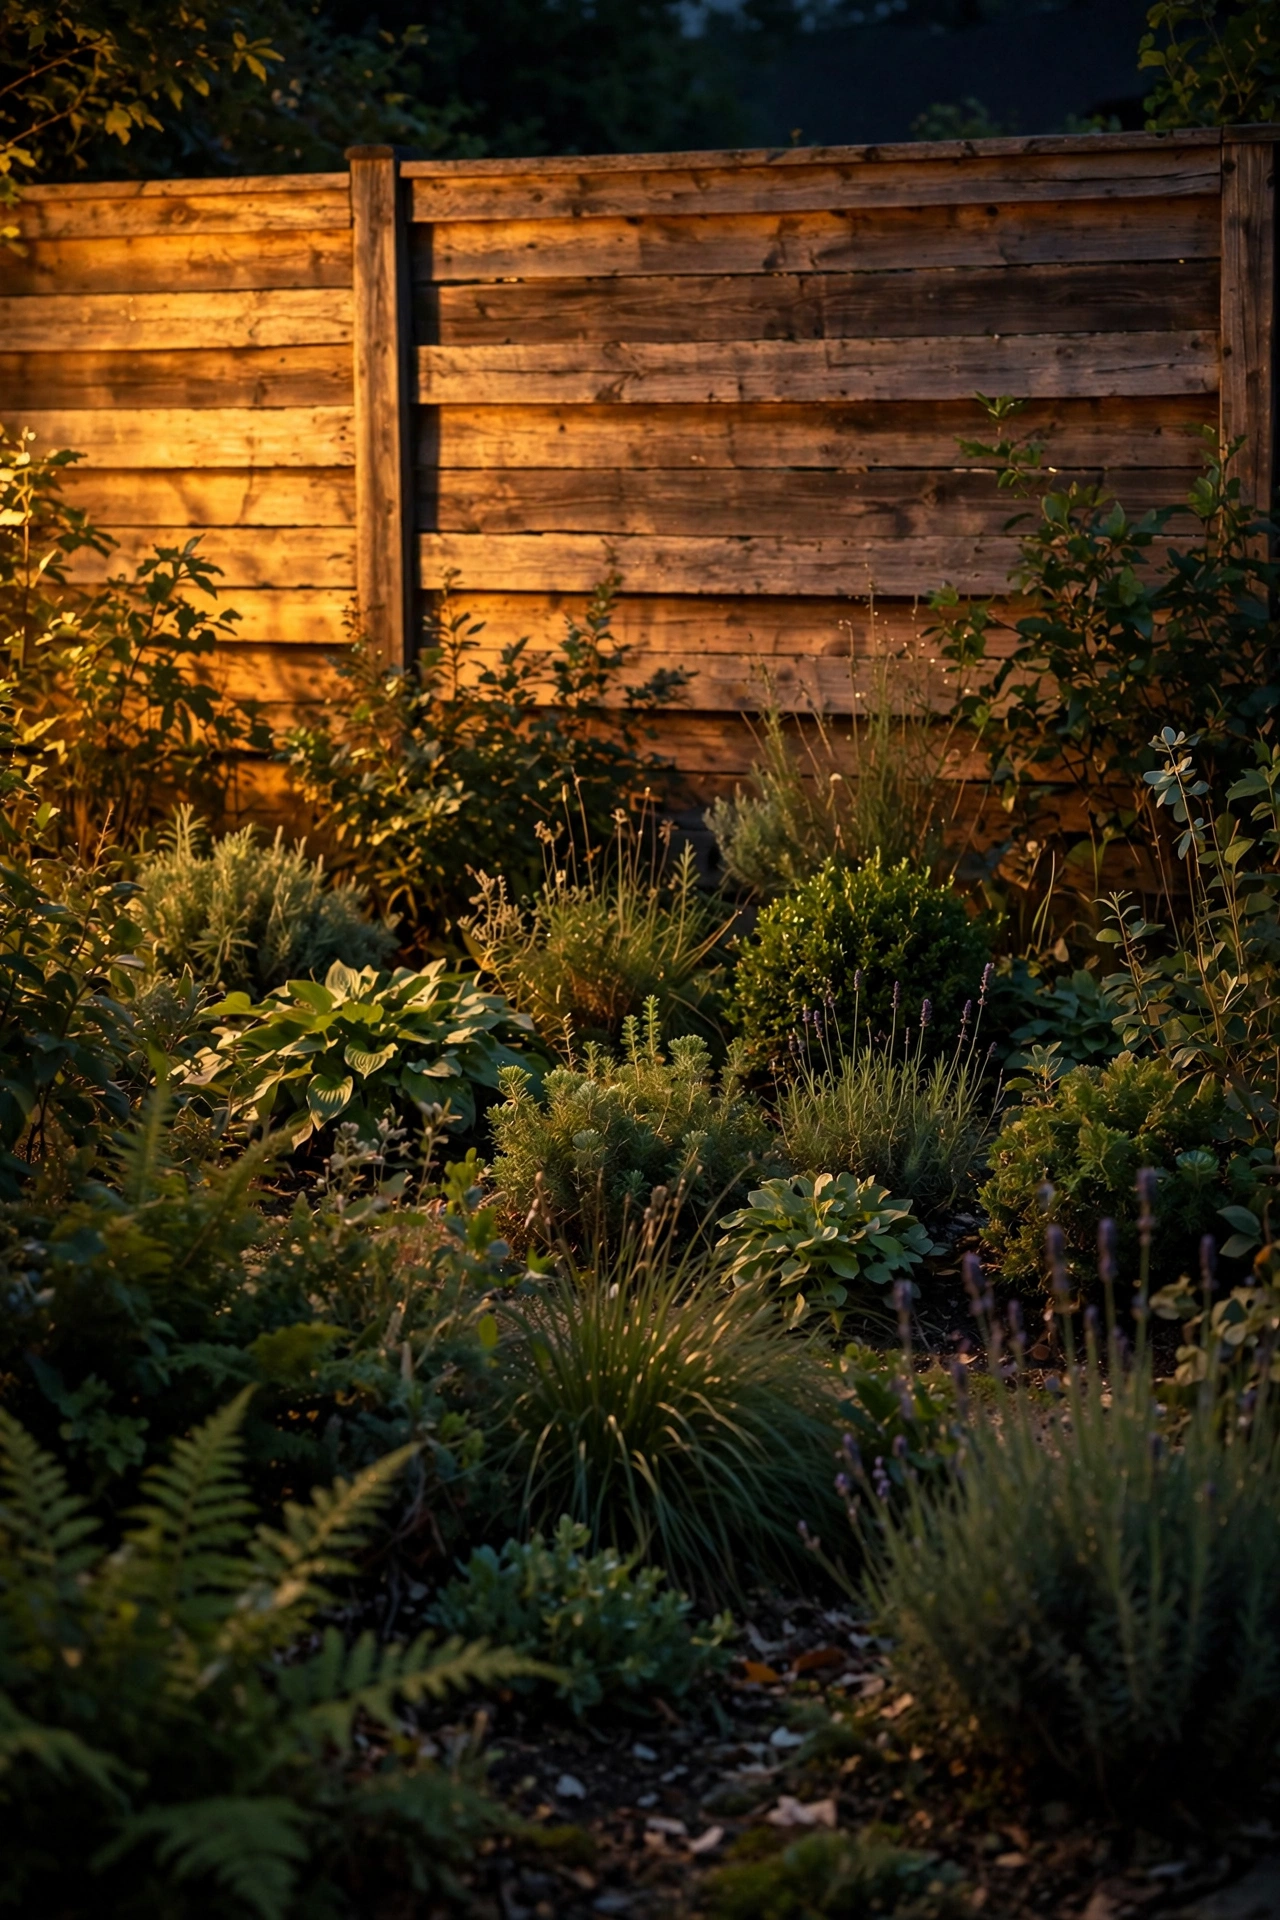
A fence or wall behind your planting is a blank canvas. Washing it with light turns it into a glowing backdrop that makes every plant in front of it pop.
Mount wash lights at the base of the fence, spaced 6 to 8 feet apart, aimed upward at a steep angle so the beam spreads evenly across the surface. For wood fences, warm light brings out the grain beautifully. For painted or stone walls, the texture becomes the star — light raking across brick or stonework is genuinely gorgeous.
The plants in front become silhouettes and mid-ground layers against the lit wall, which instantly adds depth to a shallow bed. This is also one of the best tricks for small gardens, where a glowing back wall makes the whole space feel twice as deep. If you're comparing fixture types for this kind of job, my breakdown of LED vs solar exterior lights will help you pick the right power source.
Suggested budget range: $70 – $260.
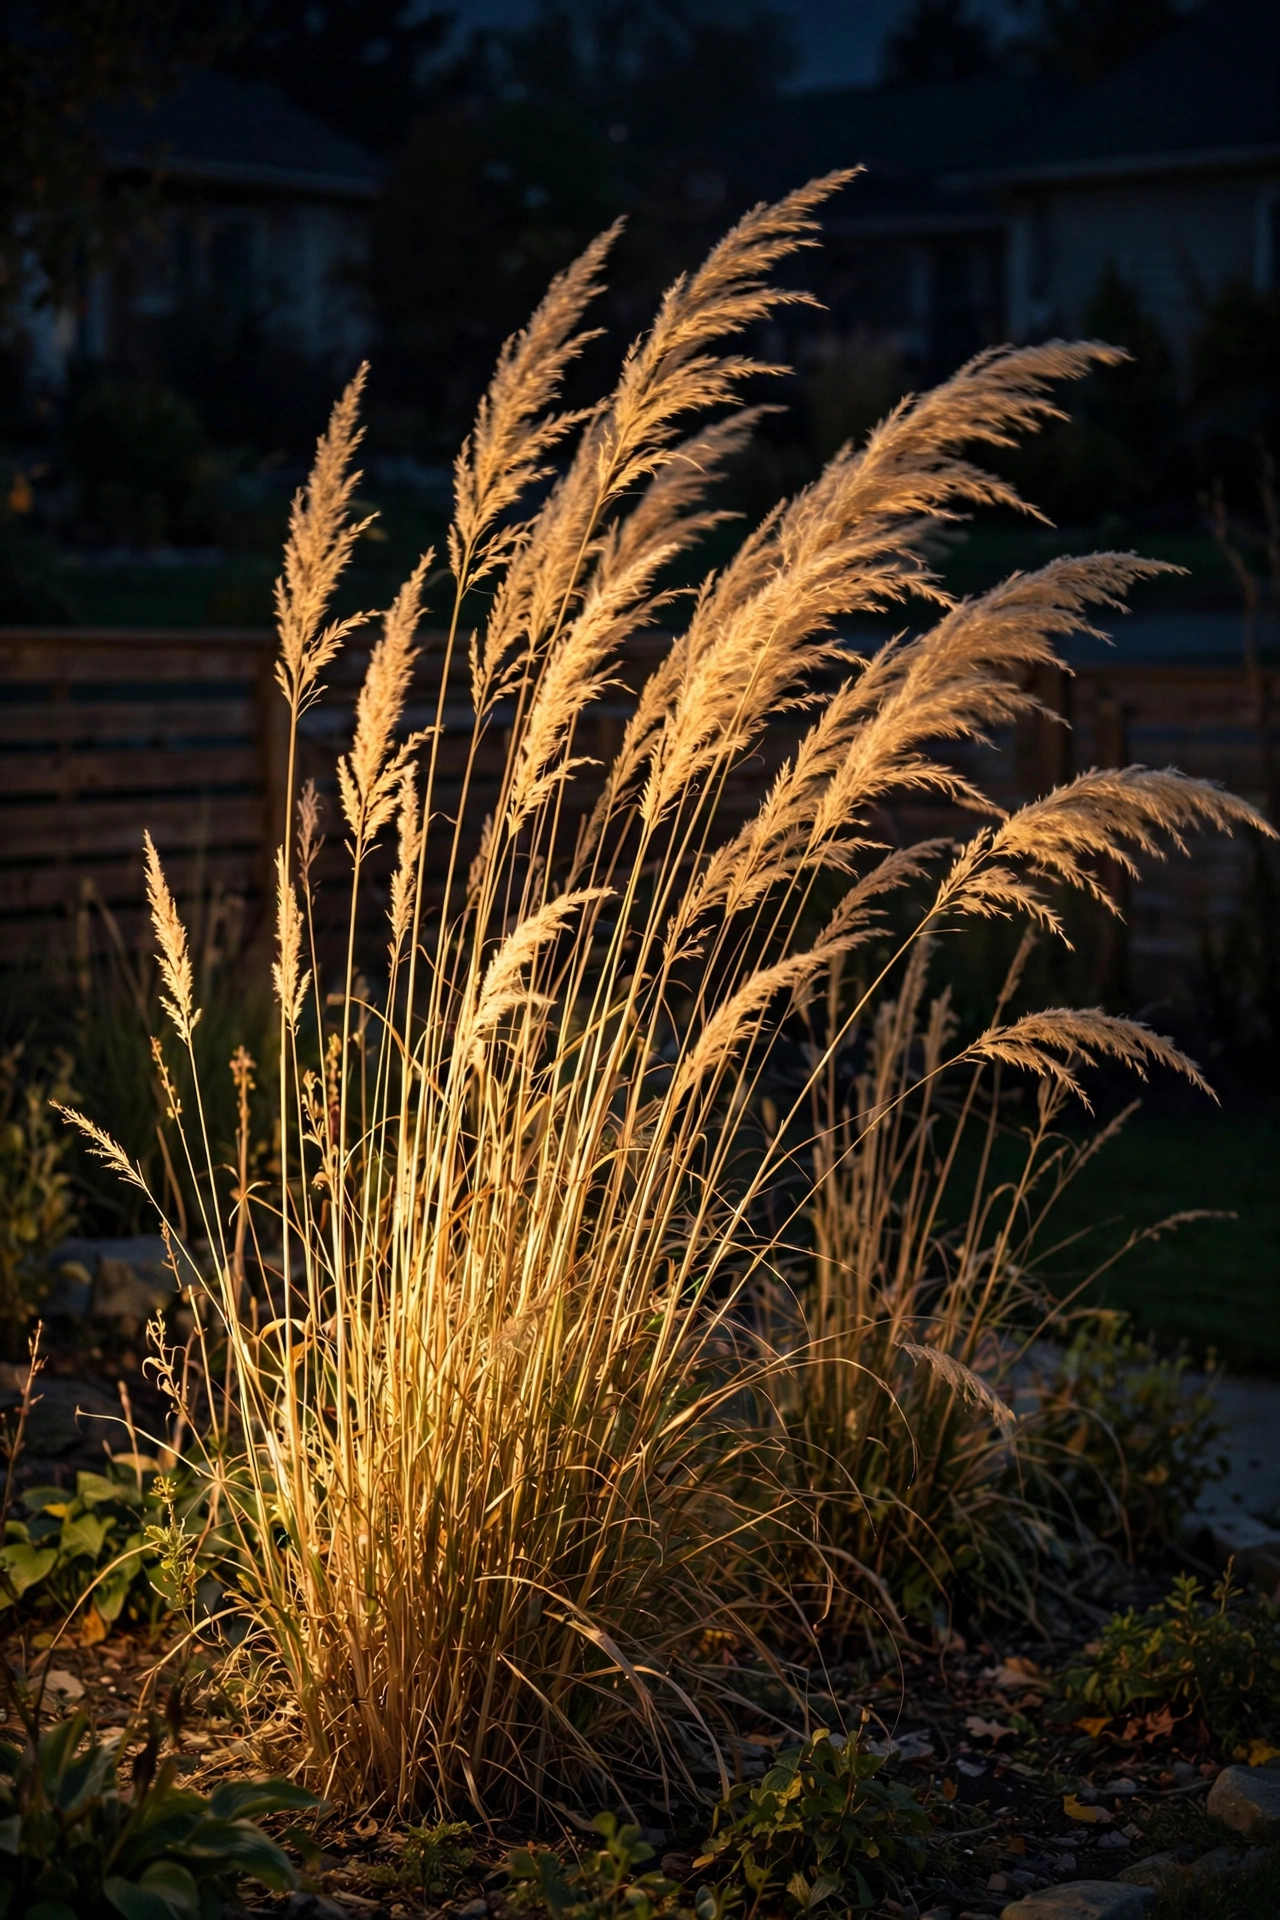
17. Spotlight Ornamental Grasses for Movement
Static lights on moving grasses create the best show in the garden: every breeze turns your lighting into animation.
Aim a spotlight from the front and slightly below a clump of maiden grass, fountain grass, or pampas. The low angle lights the full length of each blade, and the seed heads catch the beam like tiny torches. Position the fixture 3 to 4 feet in front of the clump so the whole plant is in the beam — too close and you only light the base.
This is where warm white absolutely wins. Cool light on grasses looks clinical; warm light makes them look like they're on fire in the best possible way. Two fixtures on a large clump, one from each front side, eliminate the flat single-source look. And here's my favorite part: no two nights look the same, because the wind choreographs the display.
Suggested budget range: $40 – $150.
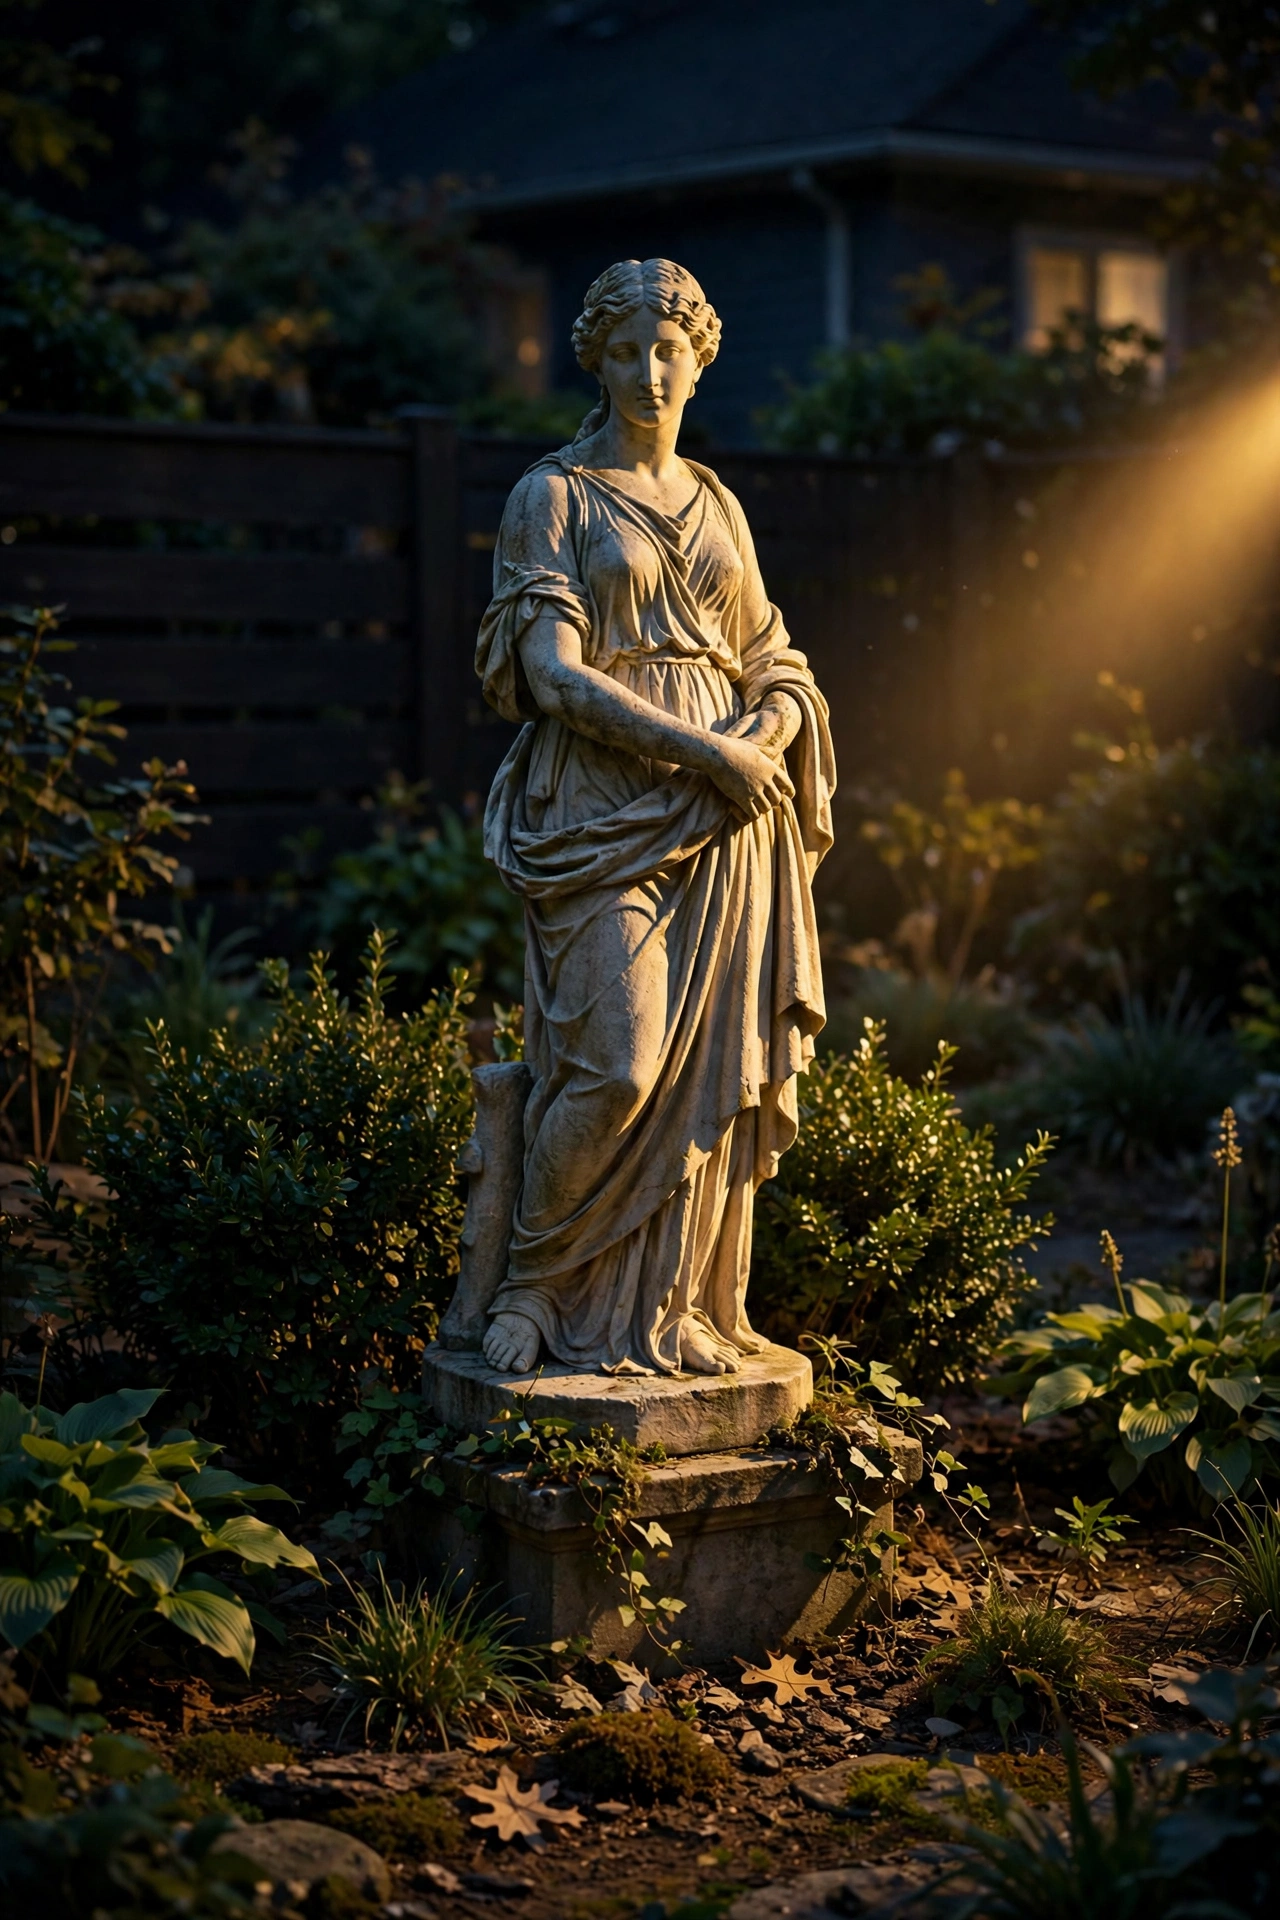
18. Accent Garden Sculptures and Art
That statue, birdbath, or metal sculpture tucked in the corner? At night it's invisible — unless you give it its own light. Accent lighting turns garden art into a focal point.
Use a small spotlight positioned low and to one side, aimed up at the piece. Side lighting reveals texture — the chisel marks on stone, the patina on bronze, the ripple on a ceramic glaze — in a way that flat front light never will. Keep the beam tight on the object with a narrow-beam fixture or an adjustable shroud so you're not lighting the whole bed by accident.
For reflective metal sculptures, angle the light so it grazes across the surface rather than hitting it straight on, which just creates a hot glare spot. Birdbaths are lovely lit from within the bowl with a small waterproof puck light — the water glows and the birds… well, the birds are asleep, but you'll enjoy it.
Suggested budget range: $30 – $140.
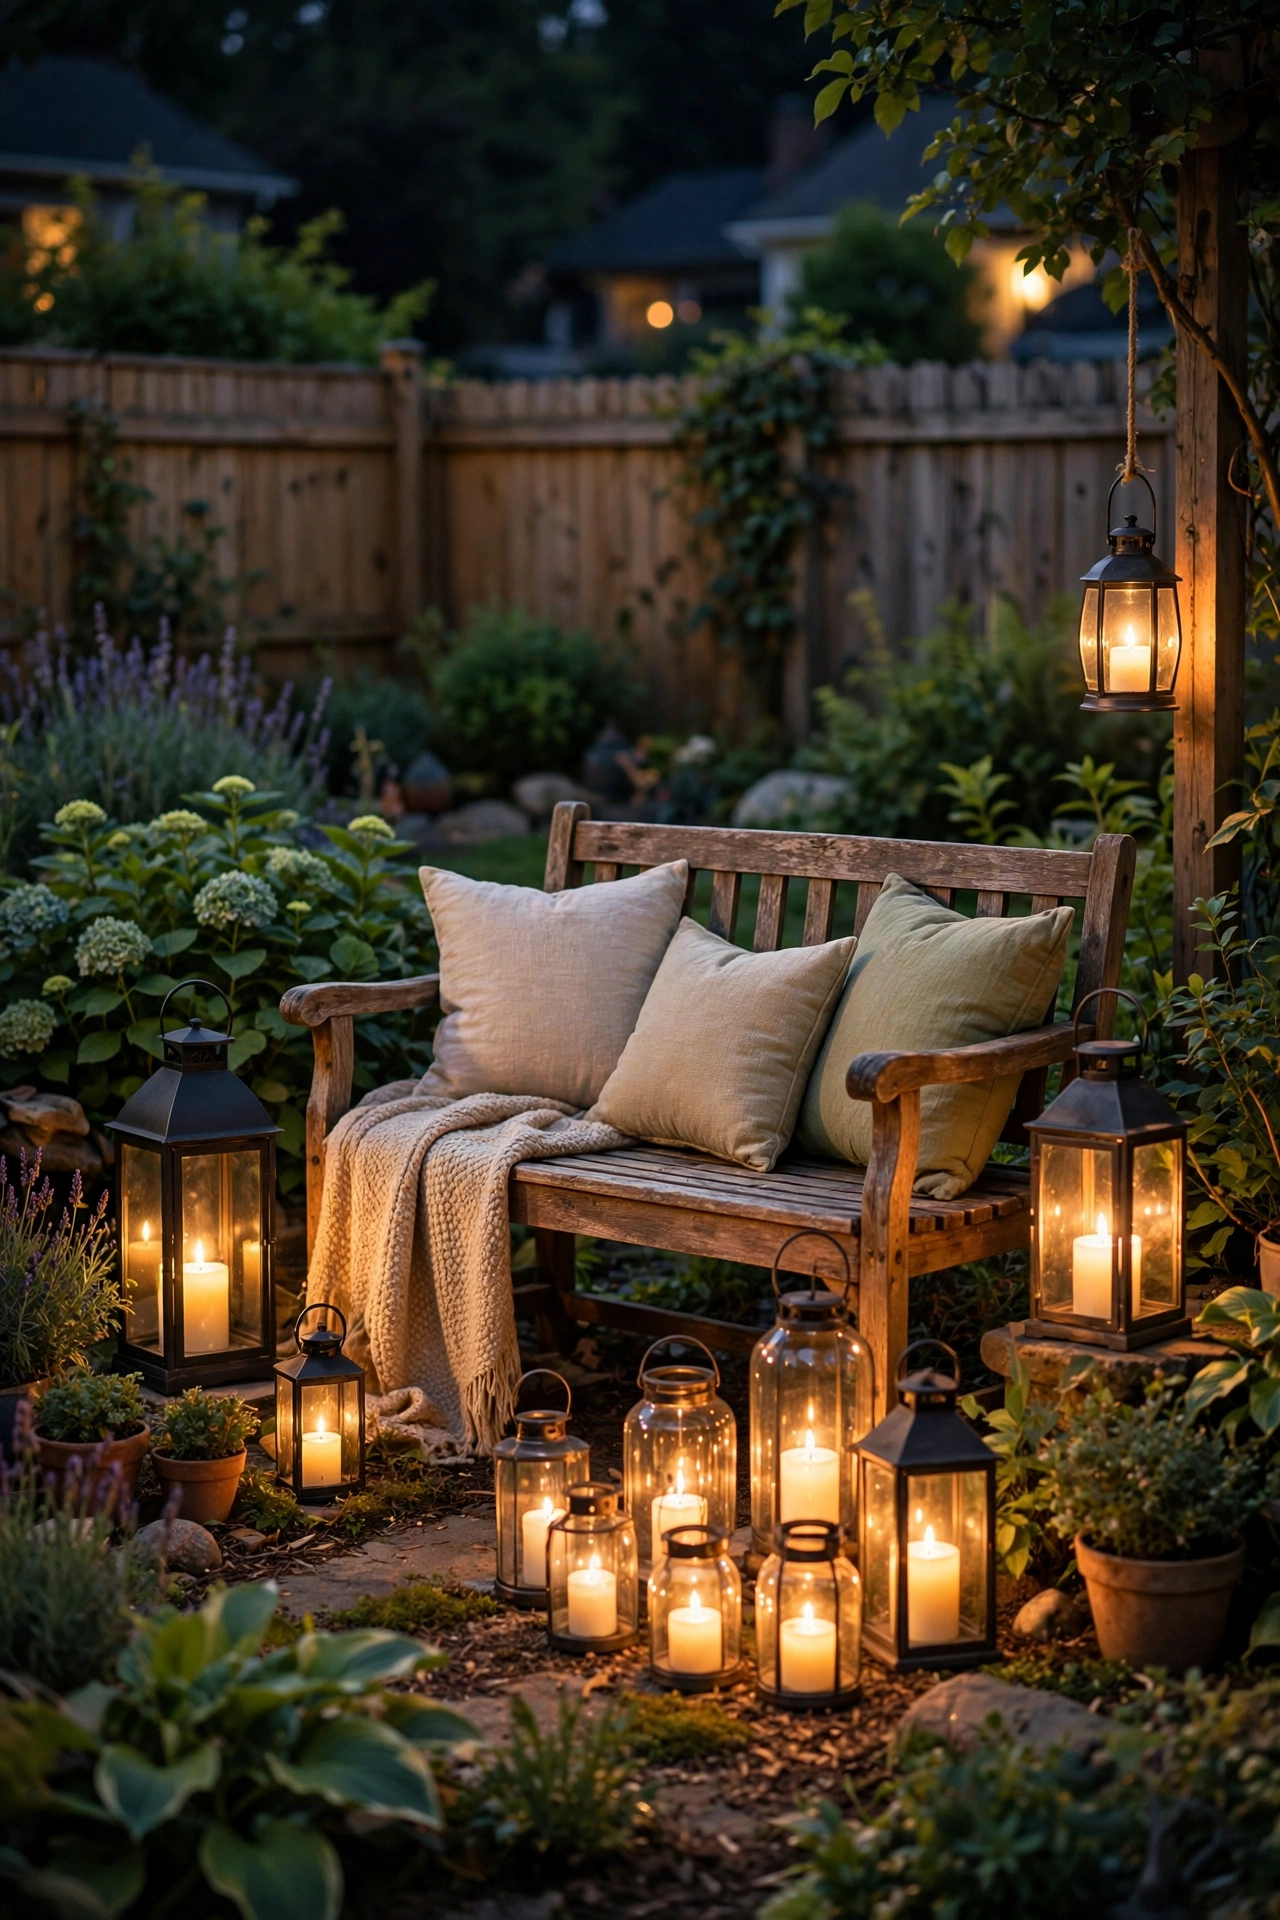
19. Cluster Lanterns Around Garden Seating
Your garden seating area deserves the same layered treatment as the plants. A cluster of lanterns around a bench or bistro set creates an intimate pool of light that says "stay a while."
Group three to seven lanterns of mixed heights around the seating: some on the ground, some on the table, one hanging from a nearby branch or shepherd's hook. Mixed heights are what make it feel designed rather than scattered. Flameless LED candles keep it safe around cushions and throws — real flames and fabric are a combination I never recommend.
This cluster becomes your garden's living room after dark. Keep the light warm and dim enough that you can still see the lit plants beyond — the view outward is half the pleasure. In my experience, the seating cluster gets more use than any other lit area because it's where people actually linger.
Suggested budget range: $40 – $160.
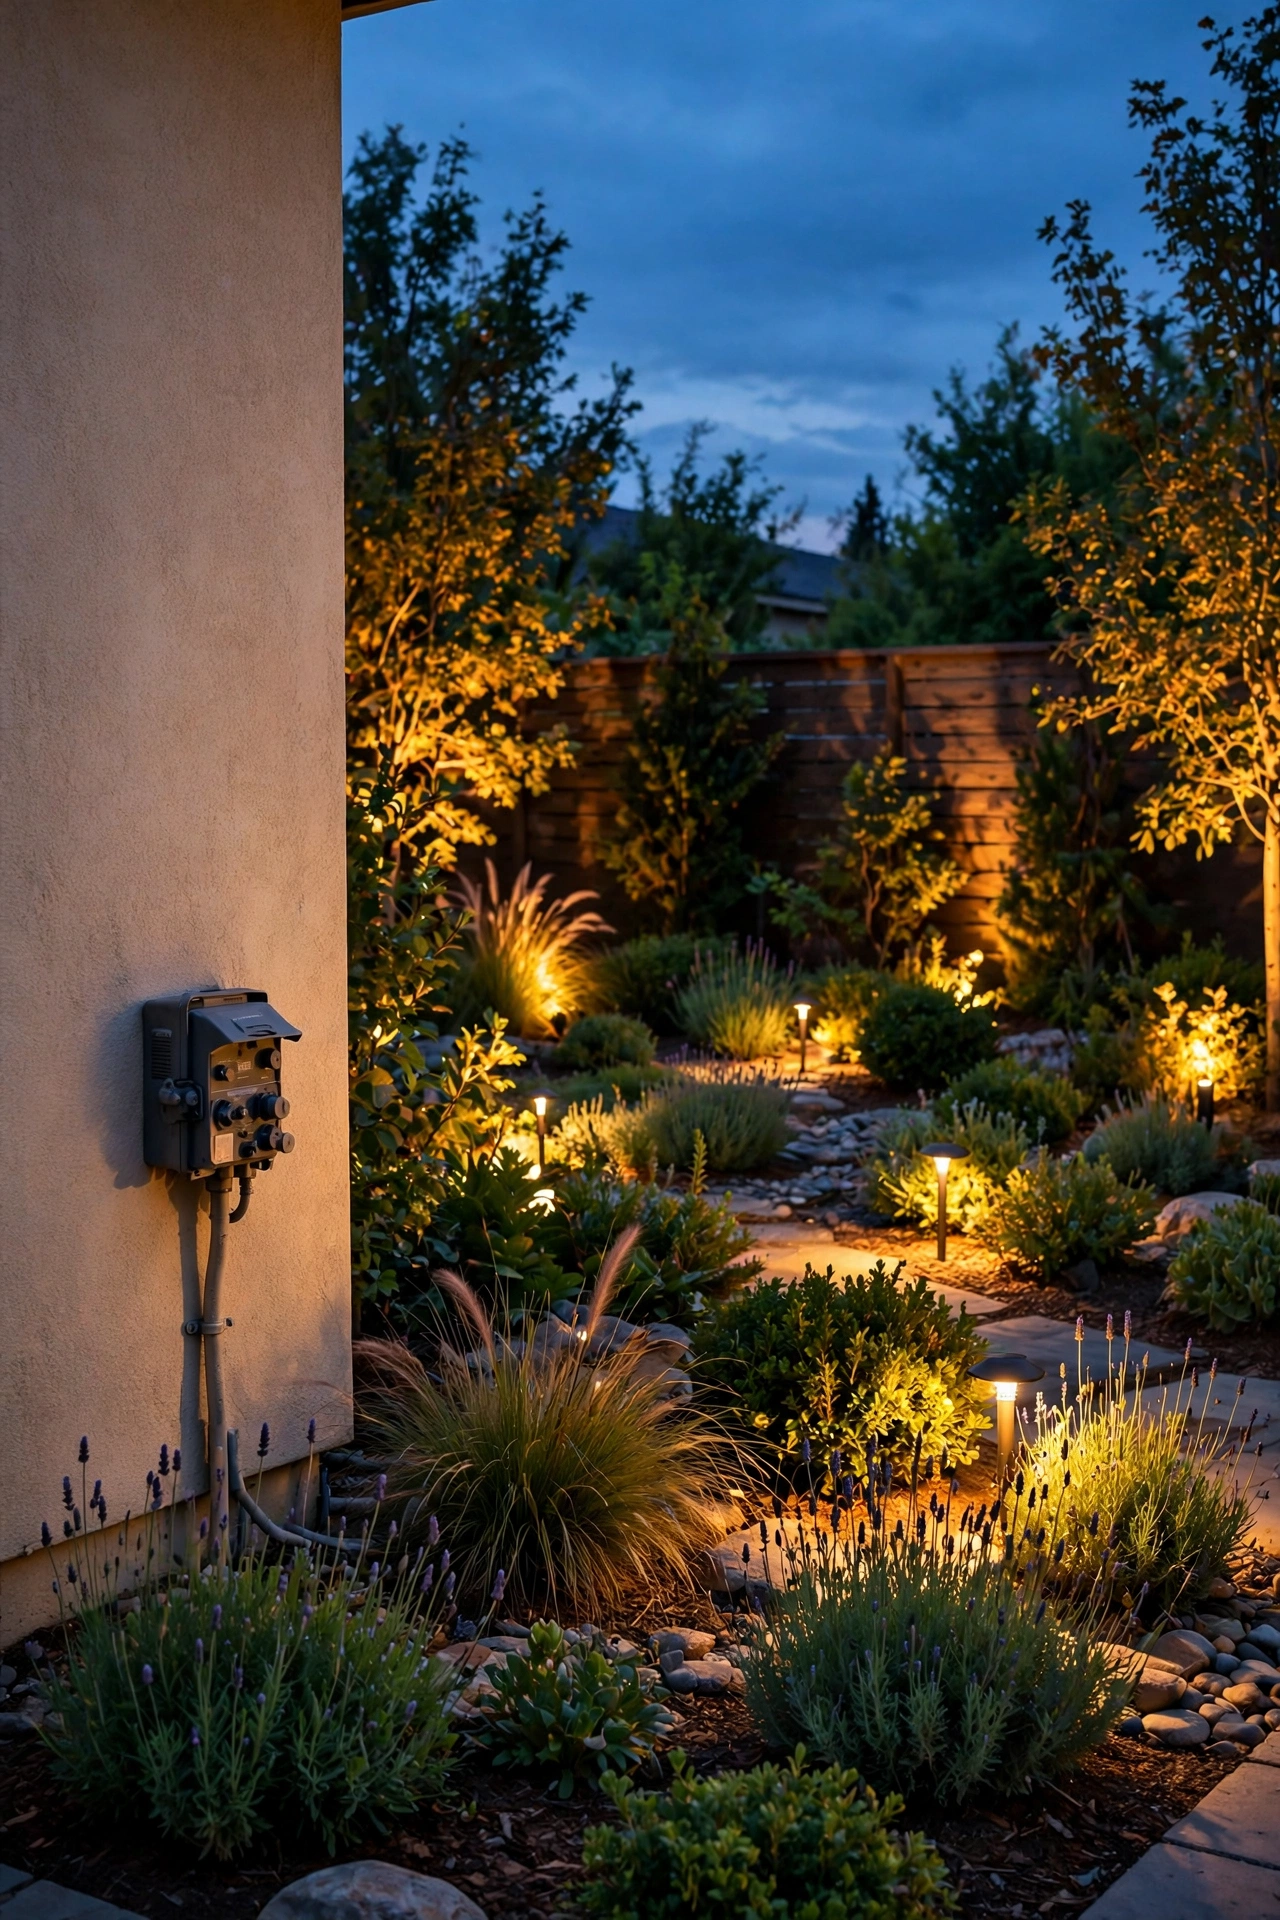
20. Zone Your Garden With Smart Timers
Here's the unglamorous idea that makes all the others work: smart timers and zoning. Without them, your beautiful lighting either runs all night (wasting energy) or never turns on because you forget.
Divide your garden into two or three zones on separate timers: entry and path lights on a dusk-to-midnight schedule, feature uplights on a shorter evening window, and maybe a late-night "moonlight only" scene. Smart plugs or a low-voltage transformer with built-in zones make this easy, and many let you adjust schedules from your phone.
Zoning also saves money: you're not lighting the back forty when everyone's inside by ten. Start with a simple dusk-to-dawn photocell timer if smart gear feels like overkill — the single biggest upgrade is just having the lights come on automatically. For a broader look at planning your whole exterior scheme, browse my outdoor lighting ideas to tie the garden into the rest of your home.
Suggested budget range: $25 – $120.
21. Layer Three Light Types in One Bed
If you take one idea from this entire list, make it this one: combine three light types in a single bed and watch it come alive. This is the layering philosophy in action, and it's what separates amateur lighting from the gardens that stop traffic.
Pick one bed — a foundation bed, a corner planting, your favorite perennial border — and give it an uplight on the anchor shrub, stake lights washing the mid-layer flowers, and a path light or two at the front edge. Three layers, three depths, one bed. The uplight gives drama, the stakes give detail, the path lights give safety and a finished edge.
Stand back and look: the bed now reads as a scene with foreground, middle, and background instead of a flat lit wall. Honestly, once you see the difference layering makes in one bed, you'll want to do it everywhere. Start with one bed, get it right, then repeat the formula around the garden.
Suggested budget range: $100 – $350.
Frequently Asked Questions
What is the best light color for garden plants?
Warm white (2700K to 3000K) is the best choice for almost all garden plants. It makes green foliage look lush and natural, flatters bark and stone, and creates the cozy atmosphere most people want. Cool white (4000K+) can make plants look bluish and clinical. The one exception is moonlighting from tree canopies, where a slightly cooler 3000K better mimics real moonlight. Avoid colored RGB modes as everyday garden lighting — they distort plant colors and get tiring fast.
Should I use solar or wired lights in garden beds?
It depends on the job. Solar stake and path lights are fine for low-stakes accent lighting in beds that get full sun, and they're great because you can move them as plantings change. But solar fixtures are dimmer and die by midnight on cloudy stretches. For anything important — uplighting showpiece trees, wall washes, water features — low-voltage wired (12V) is brighter, reliable, and worth the trenching effort. If you're on the fence, my full comparison of LED vs solar exterior lights breaks down the tradeoffs in detail.
How do I waterproof garden light fixtures?
Look for the IP rating on the fixture: IP65 handles rain and sprinklers, IP67 survives temporary puddling, and IP68 is required for anything submerged. Beyond the rating, make the connections properly — use waterproof wire connectors (the grease-filled kind) on every low-voltage splice, and keep connections above soil level in a small junction box or buried valve box, never just twisted and taped underground. Angle fixtures slightly so water sheds off the lens instead of pooling.
Will landscape lights harm my plants?
No — modern low-voltage LED landscape lights are plant-safe. LEDs run cool, so there's no heat damage to leaves or bark like old halogen fixtures caused. Keep fixtures a few inches from stems so growing plants don't engulf them, avoid nailing mounts into live trees (use straps or brackets instead), and don't leave lights blazing all night every night — a dusk-to-midnight schedule gives nocturnal pollinators and wildlife a break. Your plants will be just fine.
Conclusion
The best garden lighting ideas all come back to one principle: layering. One uplight on a tree, one wash across a hedge, one soft pool of light on the path — each layer simple on its own, but together they turn your garden into a place that feels alive after dark. You don't need a professional budget or a landscaping degree; you need warm light, thoughtful placement, and the patience to stand back and look at what you've made.
Start with one bed, one tree, or one walkway this weekend. Then, when you're ready to light the rest of your home's exterior, browse more lighting ideas on the site — your whole yard is waiting for its after-dark moment.