There's a reason pagoda path lights have been my favorite walkway upgrade for years: they do two jobs at once. Those stacked, tiered roofs throw light downward in soft, even pools — exactly where your feet need it — while the silhouette itself looks like a tiny temple lantern standing guard over the garden. The first time I lined our front walk with pagoda path lights, the whole entry went from "nice house" to "evening retreat," and honestly? Neighbors started slowing down on their walks. In this post I'm sharing 19 ways to use tiered path lights, from classic low-voltage rows to solar stakes you can push in this afternoon. Most of these work with the fixtures you can find at any home center this week, and I'll flag the renter-friendly, no-dig options as we go. You'll get real spacing numbers, bulb temperatures, and budgets for every idea, because a calm, layered glow is never an accident — it's a few good decisions stacked up, just like those little roofs.

1. Start With Classic Three-Tier Pagoda Path Lights Down the Front Walk
If you only copy one idea from this list, make it this one. A row of classic three-tier pagoda lights in cast aluminum is the look that started it all — each fixture stands about 14 to 18 inches tall, and those stacked roofs bounce the light down and out so you get a scalloped ribbon of light instead of harsh dots. I run mine on a 12-volt low-voltage system with 2700K LED bulbs in the 2 to 3 watt range, which reads warm and candle-like against concrete. Space them 6 to 8 feet apart and stagger them on alternating sides of the walk rather than lining them up like runway lights; the zigzag feels organic and lights the whole path width. Bury the cable about 6 inches deep along the bed edge, and size your transformer with 20 percent headroom so you can add fixtures later. If you're planning a wired setup, my notes on low-voltage path lights walk through transformer sizing in detail. Three tiers is the sweet spot for most homes — two can look stubby, four starts to feel fussy.
Suggested budget range: $220 – $380.
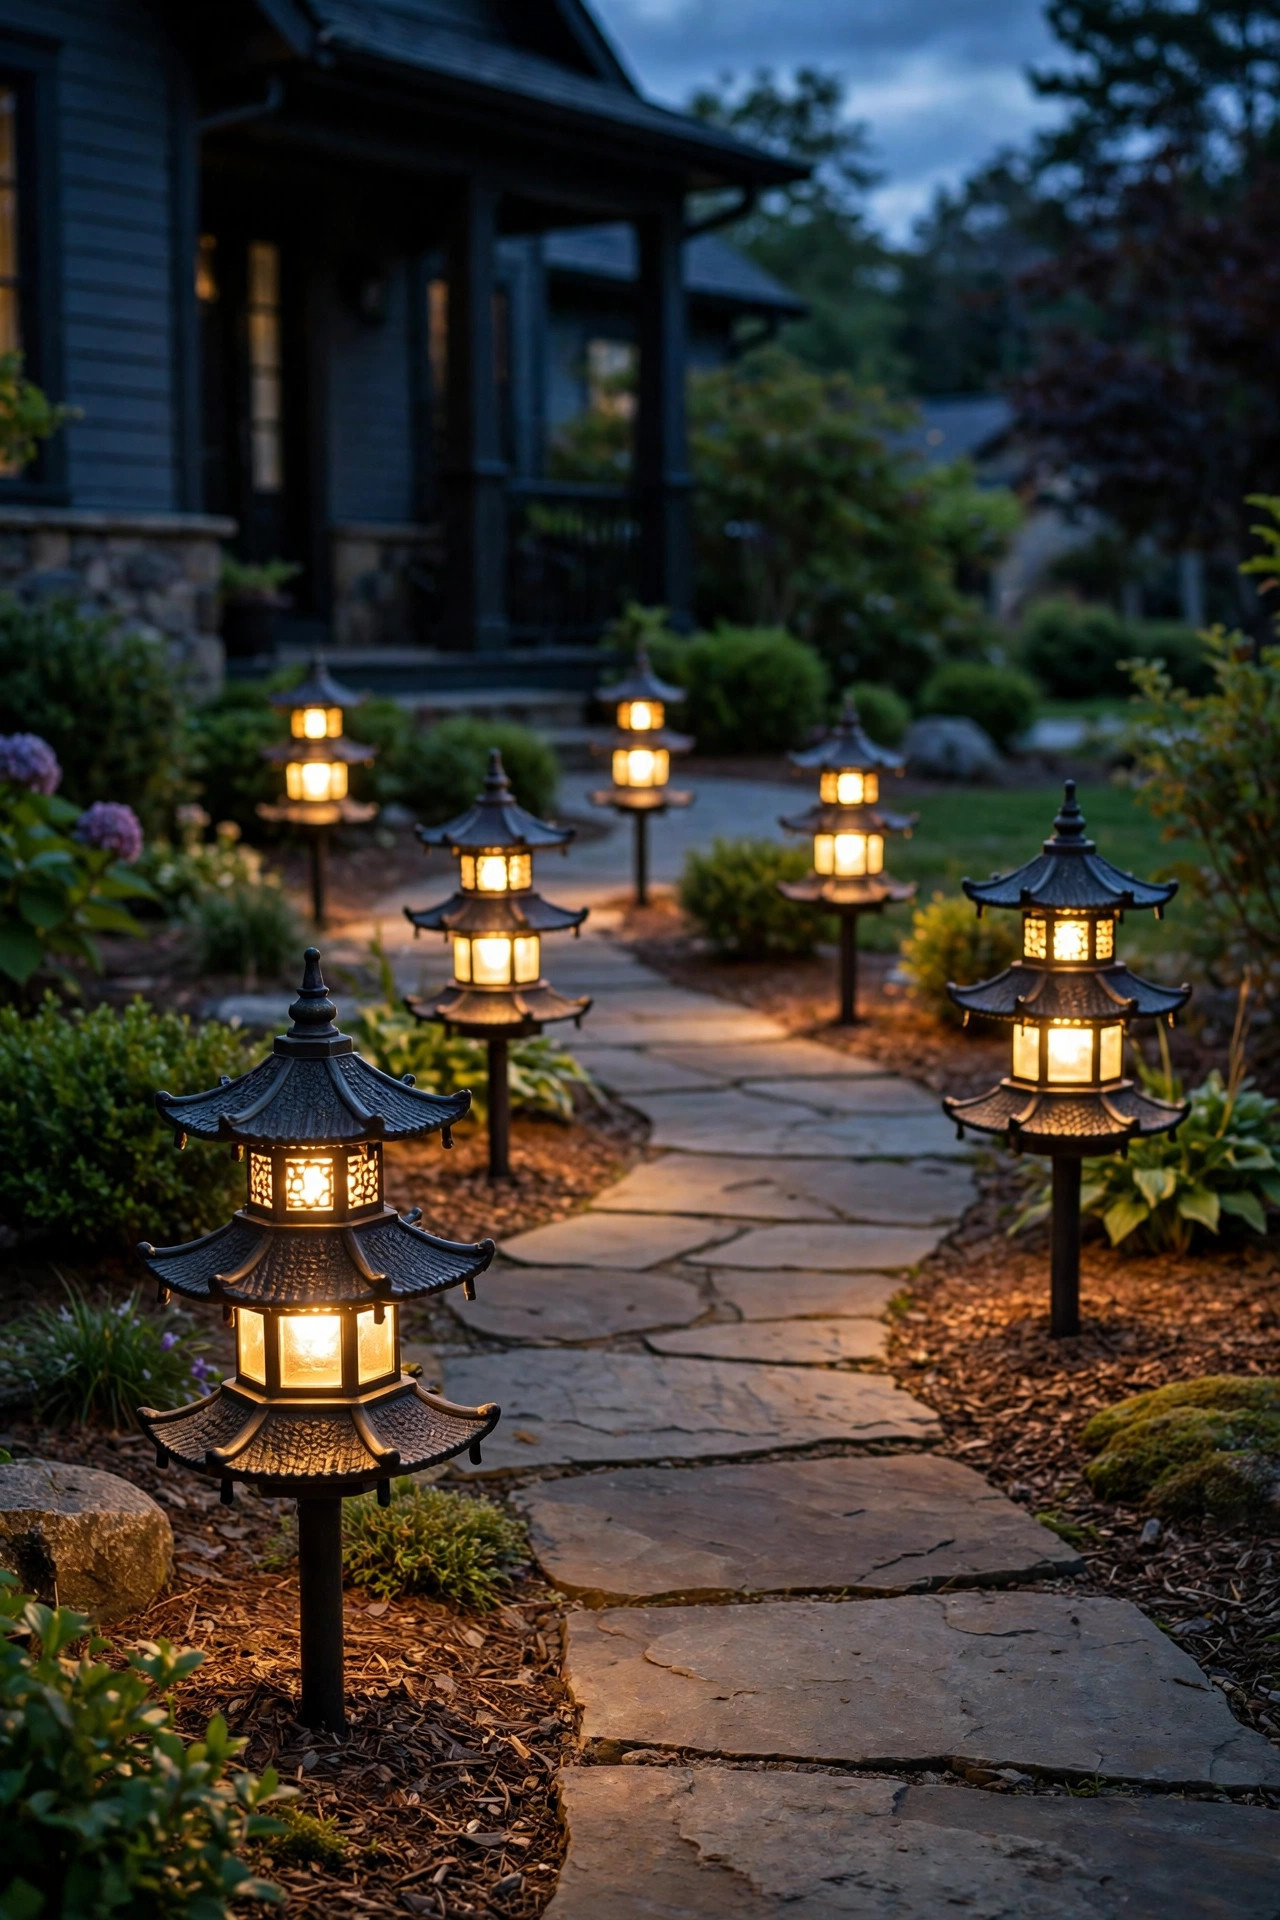
2. Go Wire-Free With Solar Pagoda Path Lights
No transformer, no trench, no electrician — solar pagoda path lights are the fastest way to test this style in your own yard. Modern solar versions copy the tiered roof faithfully, and the better ones use a separate, larger solar panel on top of the cap so they actually charge well. Push the stakes into soft soil along a sunny path, and by dusk you've got a gentle glow that runs 8 to 10 hours on a full charge. A few honest tips from my own beds: solar fixtures need 6-plus hours of direct sun, so they struggle under dense tree cover; wipe the panels monthly because pollen film quietly steals brightness; and expect a softer output than wired — think guidance light, not task light. I love these for renters, for a garden path far from any outlet, and for anyone who wants the pagoda look this weekend instead of next month. For a deeper comparison of output and runtime, the solar path lights guide on this site is the one I send friends to.
Suggested budget range: $45 – $90.
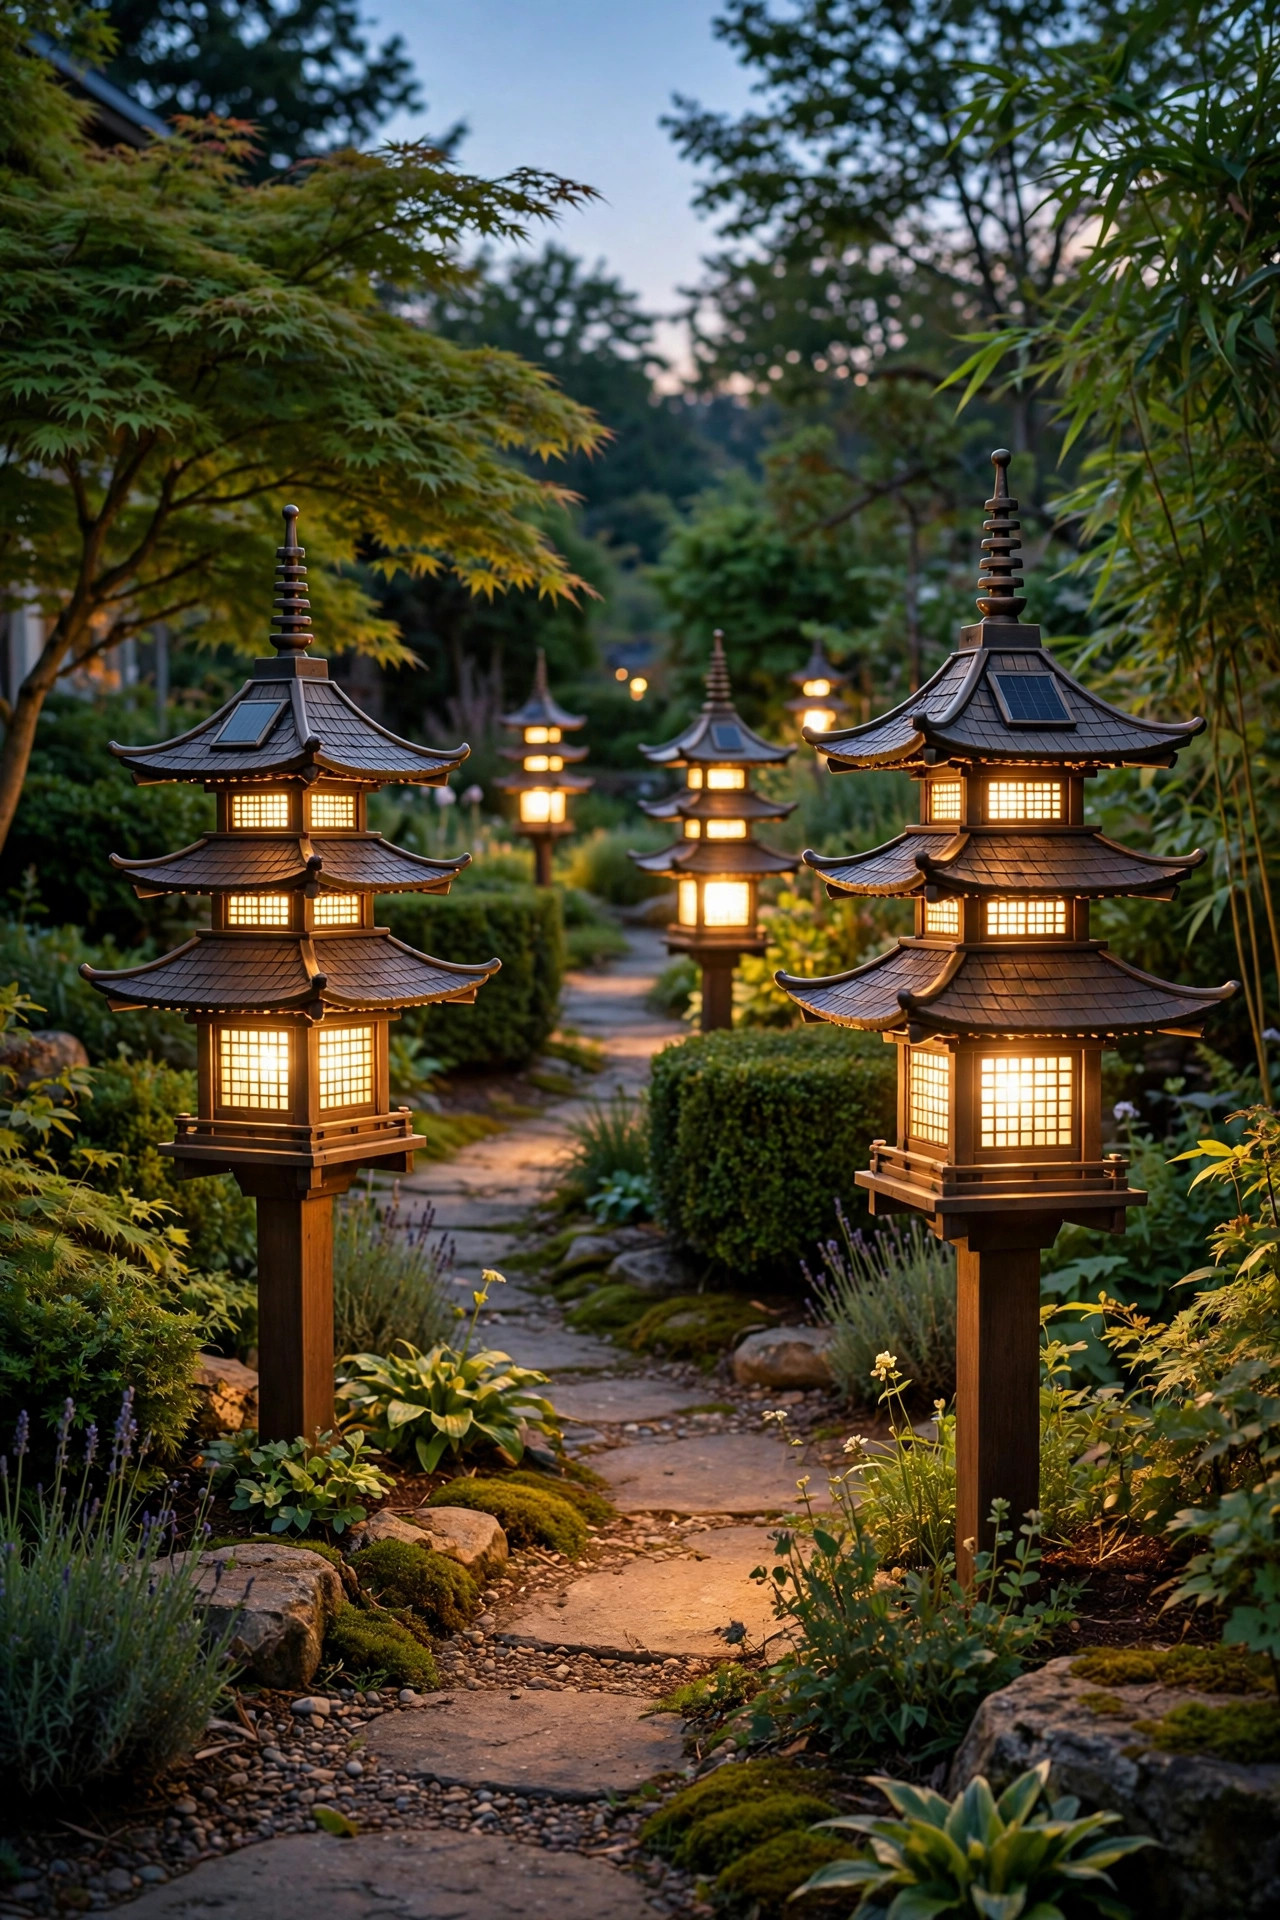
3. Choose Copper-Finish Pagoda Lights That Patina With the Garden
Copper and copper-finish pagoda lights are the ones that get better with age, and I can't say that about many fixtures. Fresh out of the box they're warm and bright; over a season or two the finish deepens, then softens into that gorgeous blue-green patina that looks like it grew there alongside your ferns and hostas. Solid copper costs more, but even copper-plated aluminum holds the look well if you skip the clear-coat versions — the coating eventually peels and takes the romance with it. Pair copper pagodas with natural stone, weathered wood, and deep green plantings for a garden that feels collected rather than decorated. One placement trick: put copper fixtures where you'll see them up close, like beside a bench or near the front steps, because the patina is a detail you appreciate at arm's length. Keep bulbs at 2700K to echo the metal's warmth, and give each fixture a quick rinse in spring to wash off winter grime without scrubbing the finish you're trying to grow.
Suggested budget range: $240 – $420.

4. Try Matte Black Tiered Lights for a Modern Zen Entry
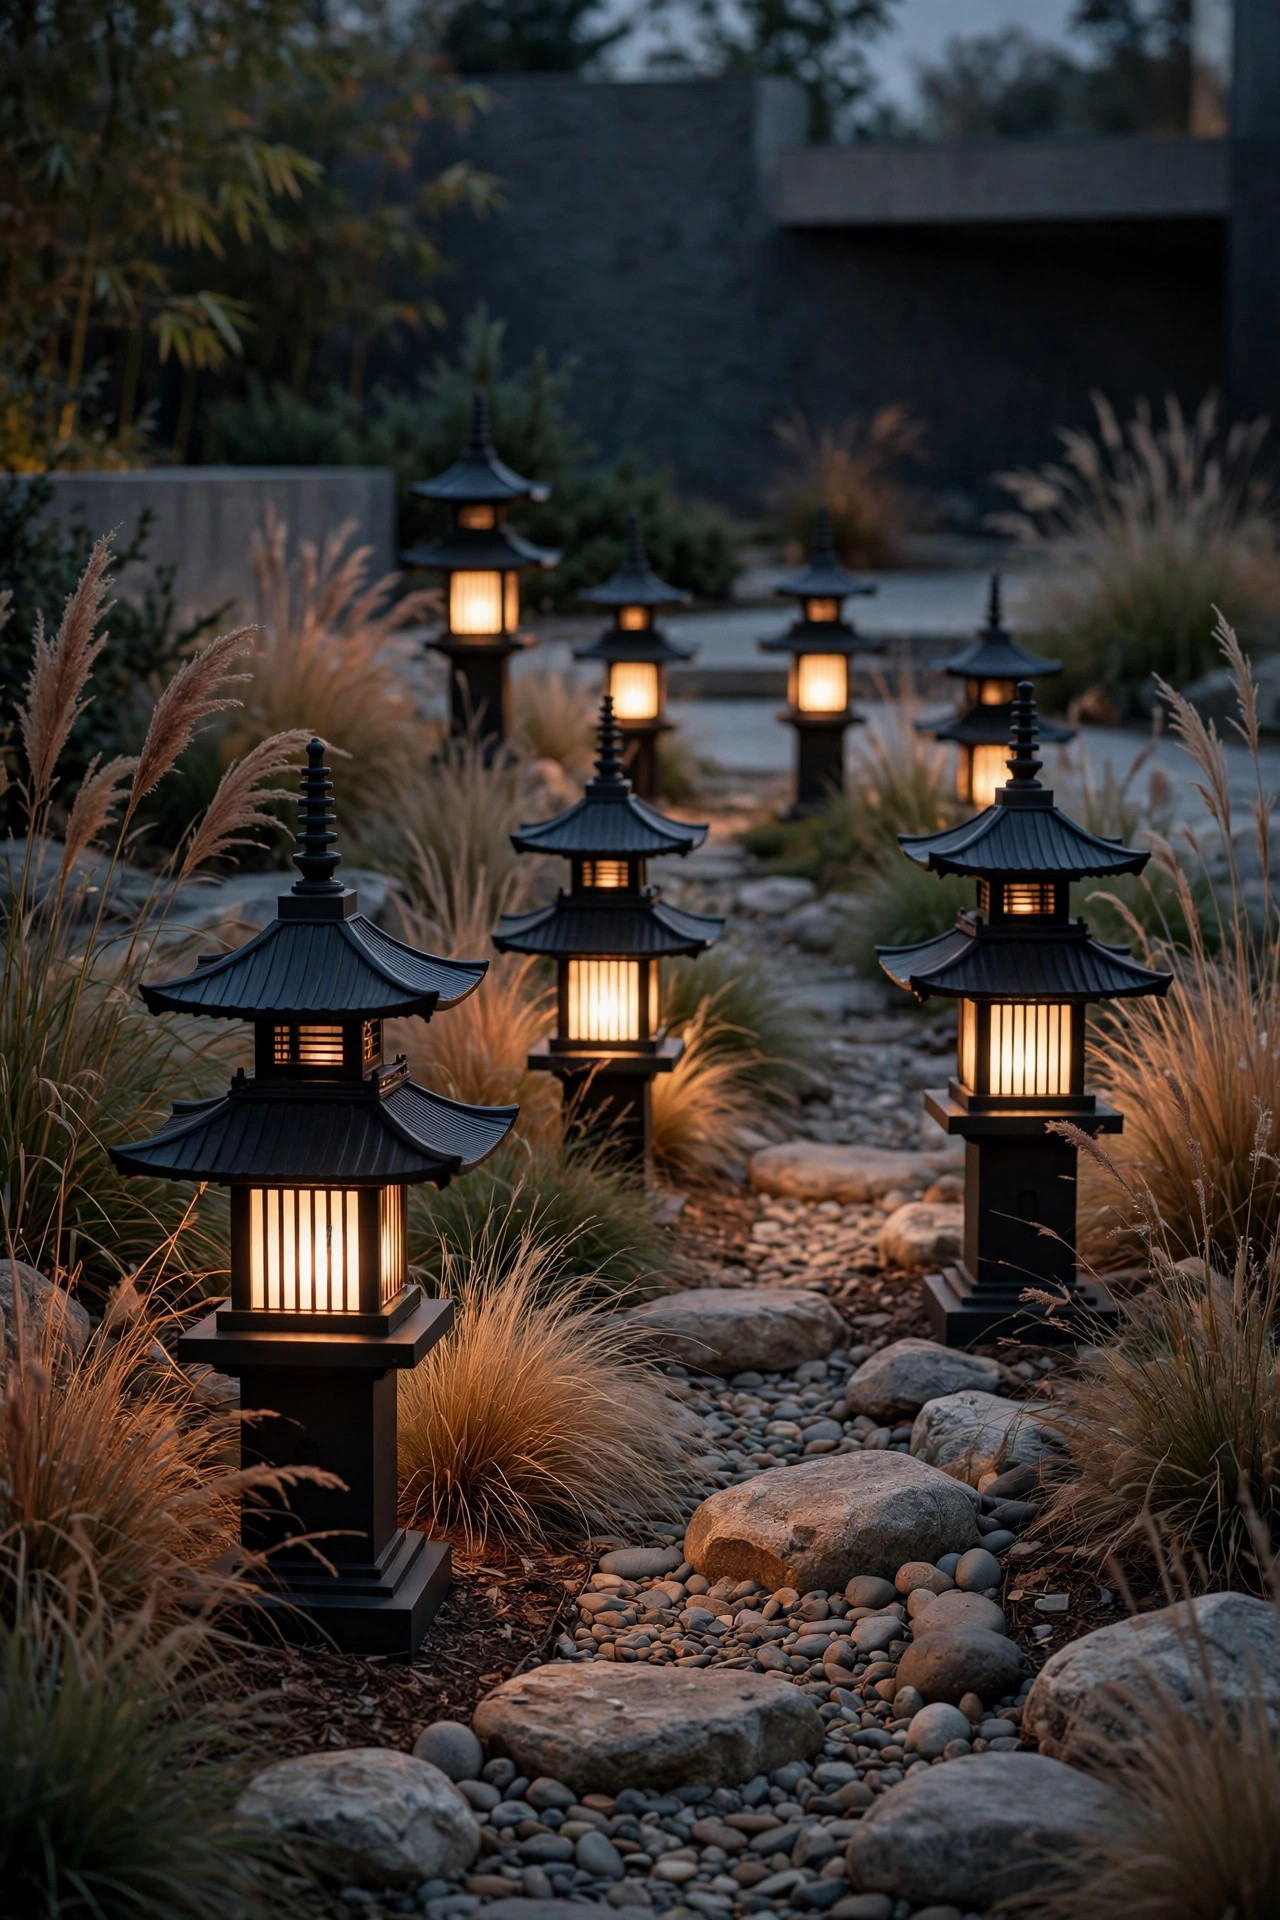
Asian-inspired doesn't have to mean traditional. Matte black pagoda lights with clean, squared tiers read almost architectural, and they're my go-to recommendation for newer homes with black window frames or a minimalist front door. The dark finish disappears into the planting bed by day — all you notice is the sculptural shape — then at night the warm light appears to float under each little roof. Keep the rest of the palette disciplined: ornamental grasses, a single Japanese maple, smooth river rock mulch, maybe one pale stone lantern as a focal point. Black fixtures also hide dirt and water spots better than any other finish I own, which matters more than people admit. Look for powder-coated aluminum with an IP65 rating so the finish survives sprinklers and freeze-thaw cycles. I'll set these slightly closer together, about 5 to 6 feet apart, because the modern look rewards a steady rhythm. If your home leans contemporary Craftsman or Scandinavian, this is the pagoda direction I'd start with.
Suggested budget range: $160 – $300.
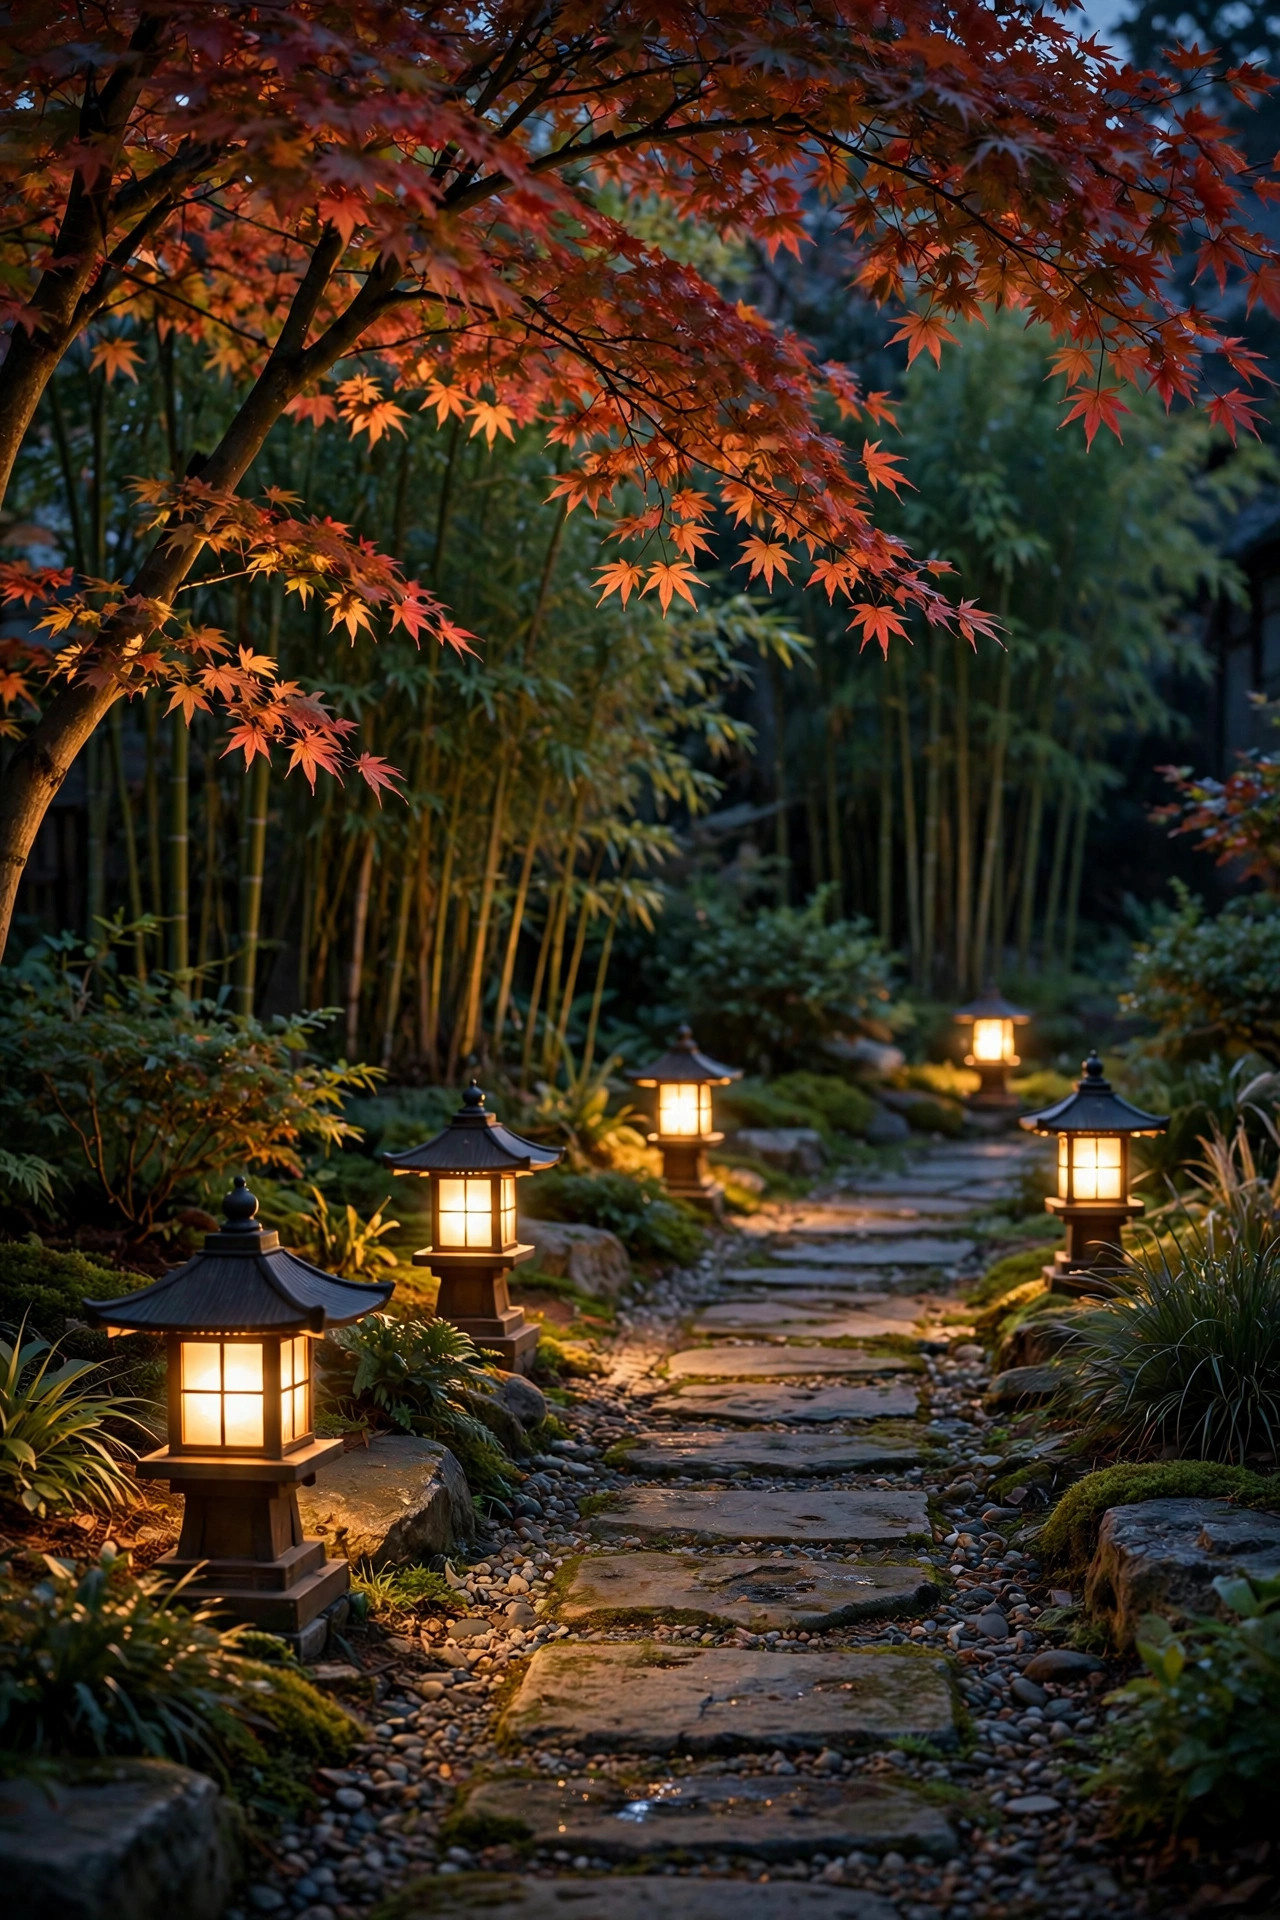
5. Flank Stone Steps With a Pair of Pagoda Lights
Steps are where path lighting stops being decoration and starts being safety, and a pagoda pair flanking the top and bottom step is the prettiest way I know to handle it. Place one fixture about 12 to 18 inches back from the first riser on each side, angled so the tiered shades throw light across the treads without shining into climbers' eyes — that downward shield is exactly what the pagoda shape is good at. On our side steps I used slightly taller 20-inch fixtures so the light clears the stone cheek walls. If your steps are wide, light both the top landing and the bottom; the middle usually borrows enough glow. Hardwired low-voltage is my pick here because steps are the one place you never want a dim, half-charged solar fixture on a cloudy week. Add a handrail light only if the steps are steep; most standard three-to-five-step entries are fine with the pagoda pair alone. Guests will thank you without ever knowing why they felt so sure-footed.
Suggested budget range: $90 – $160.

6. Line a Driveway Edge With Sturdy Pagoda Bollards
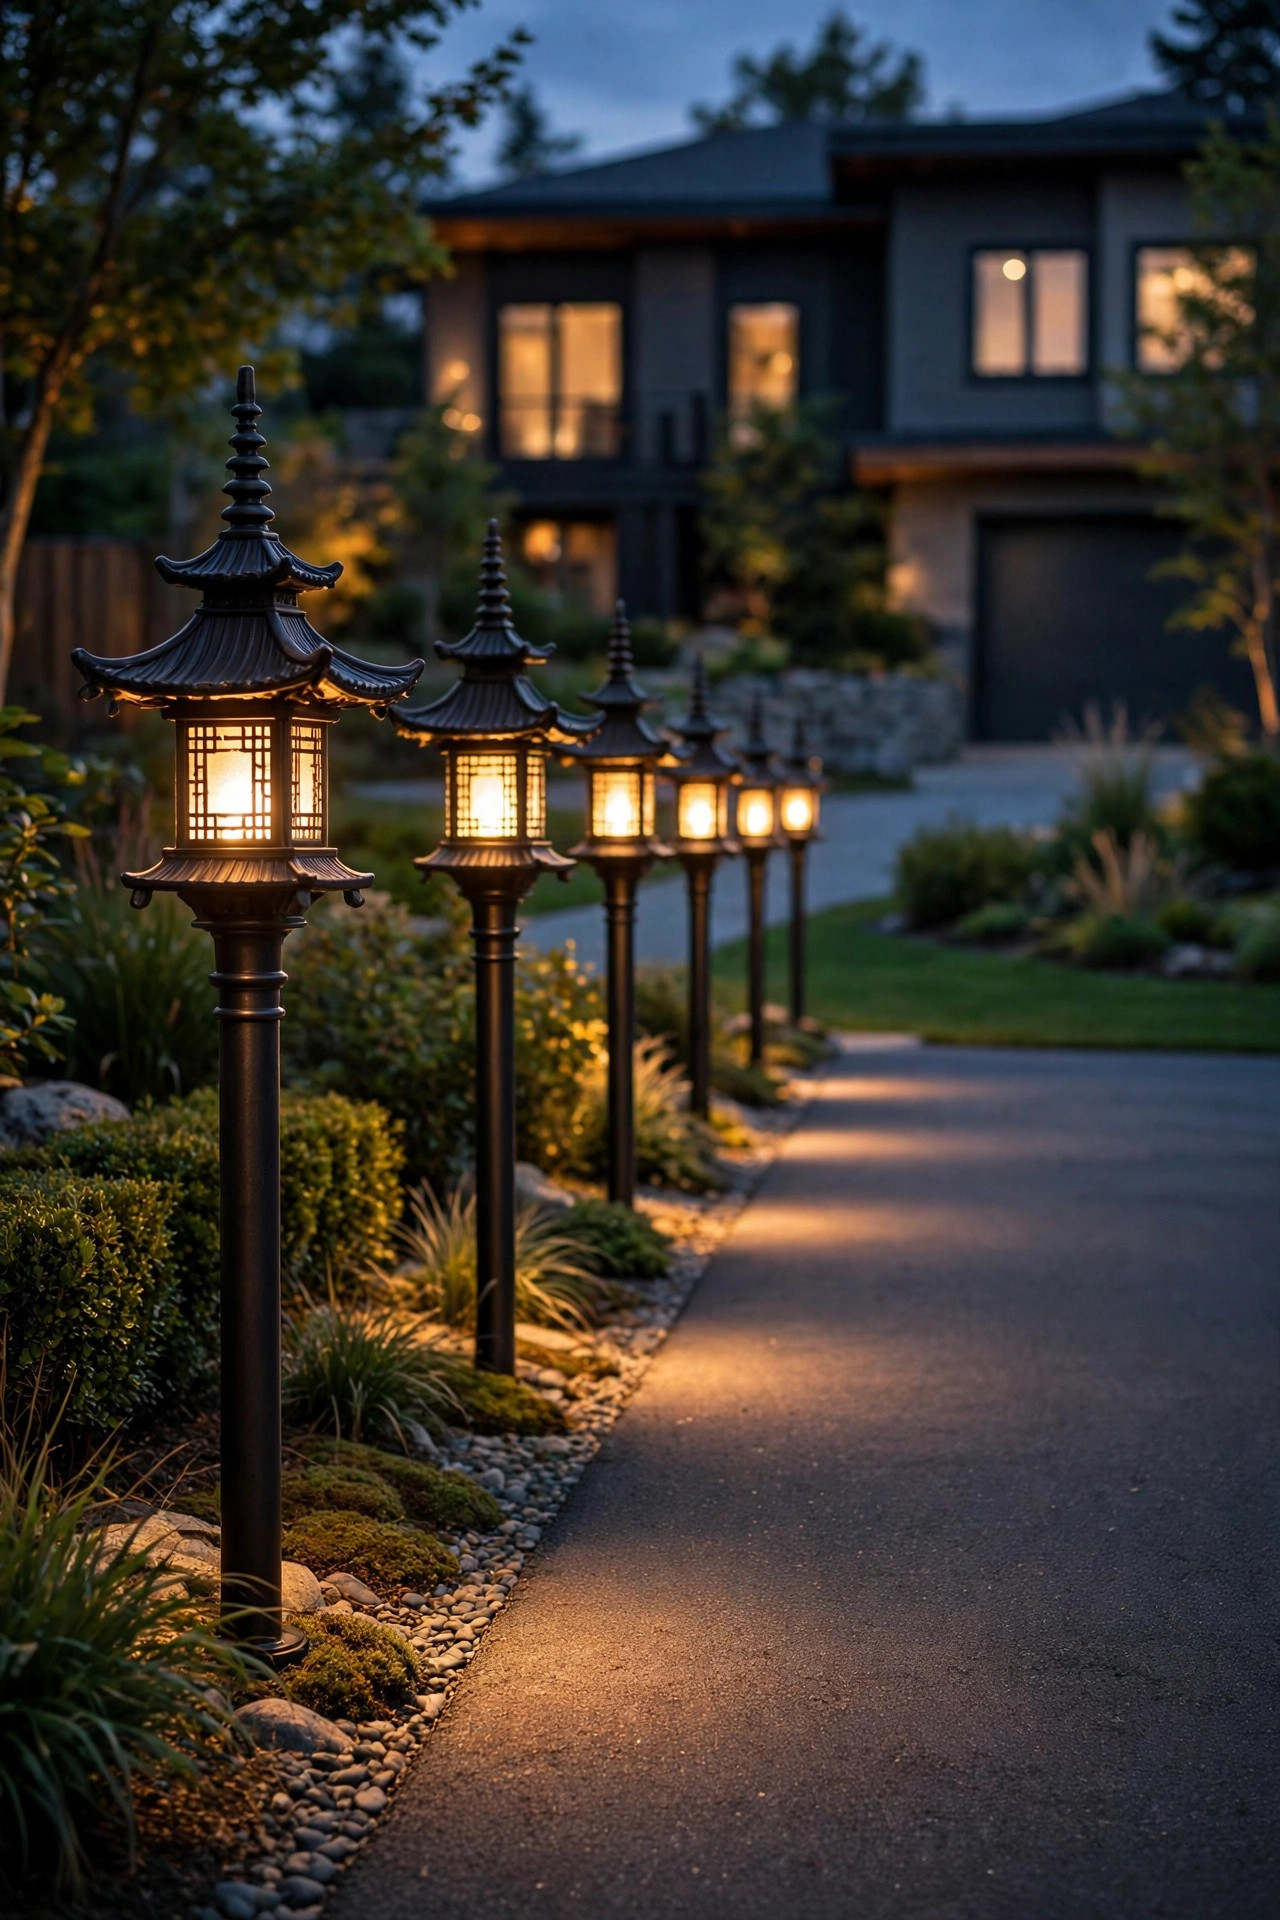
Driveways need light that drivers can read at a glance, and taller pagoda-style bollards — the chunkier cousins of path lights, usually 24 to 30 inches tall — do it beautifully. The tiered top keeps glare out of drivers' eyes while washing the pavement edge, so guests back out along a calm, visible line instead of guessing where the lawn starts. Set them back at least 18 inches from the pavement so mirrors and snowplows clear them, and space them 8 to 10 feet apart on the side where cars actually turn. Choose fixtures with metal stakes or, better, surface-mount bases you can bolt to a small concrete pad; driveway fixtures live a hard life and the flimsy plastic ground spikes always lose. I run these on their own timer zone so they come on at dusk and drop off at midnight, while the front walk stays lit later. In snowy climates, the taller height keeps the light visible above the first few inches of accumulation, which is exactly when you need the guidance most.
Suggested budget range: $200 – $360.
7. Tuck Pagoda Lights Into a Rock Garden or Dry Creek Bed
A rock garden is where pagoda lights look most at home — the tiered roofs echo the stacked stones, and the whole scene reads like a miniature landscape. Scatter three to five pagodas among boulders and a dry creek bed of river rock, keeping them slightly irregular instead of evenly spaced; nature doesn't do rulers. Tuck fixtures so their bases disappear behind a stone, with just the roofs and glow showing. Cool gray rock makes warm 2700K light look even richer, and a few mounded grasses or a dwarf pine complete the picture. If you're building the bed itself, my notes on front yard rock garden lighting cover fixture placement among stones in more depth. One practical warning: rock mulch holds heat and hides cable beautifully, but it also makes later repairs a treasure hunt — lay your low-voltage cable in a shallow sand channel under the rocks and sketch a quick map before you cover it. Future you will be grateful.
Suggested budget range: $120 – $240.

8. Ring a Pond or Water Feature With Tiered Reflections
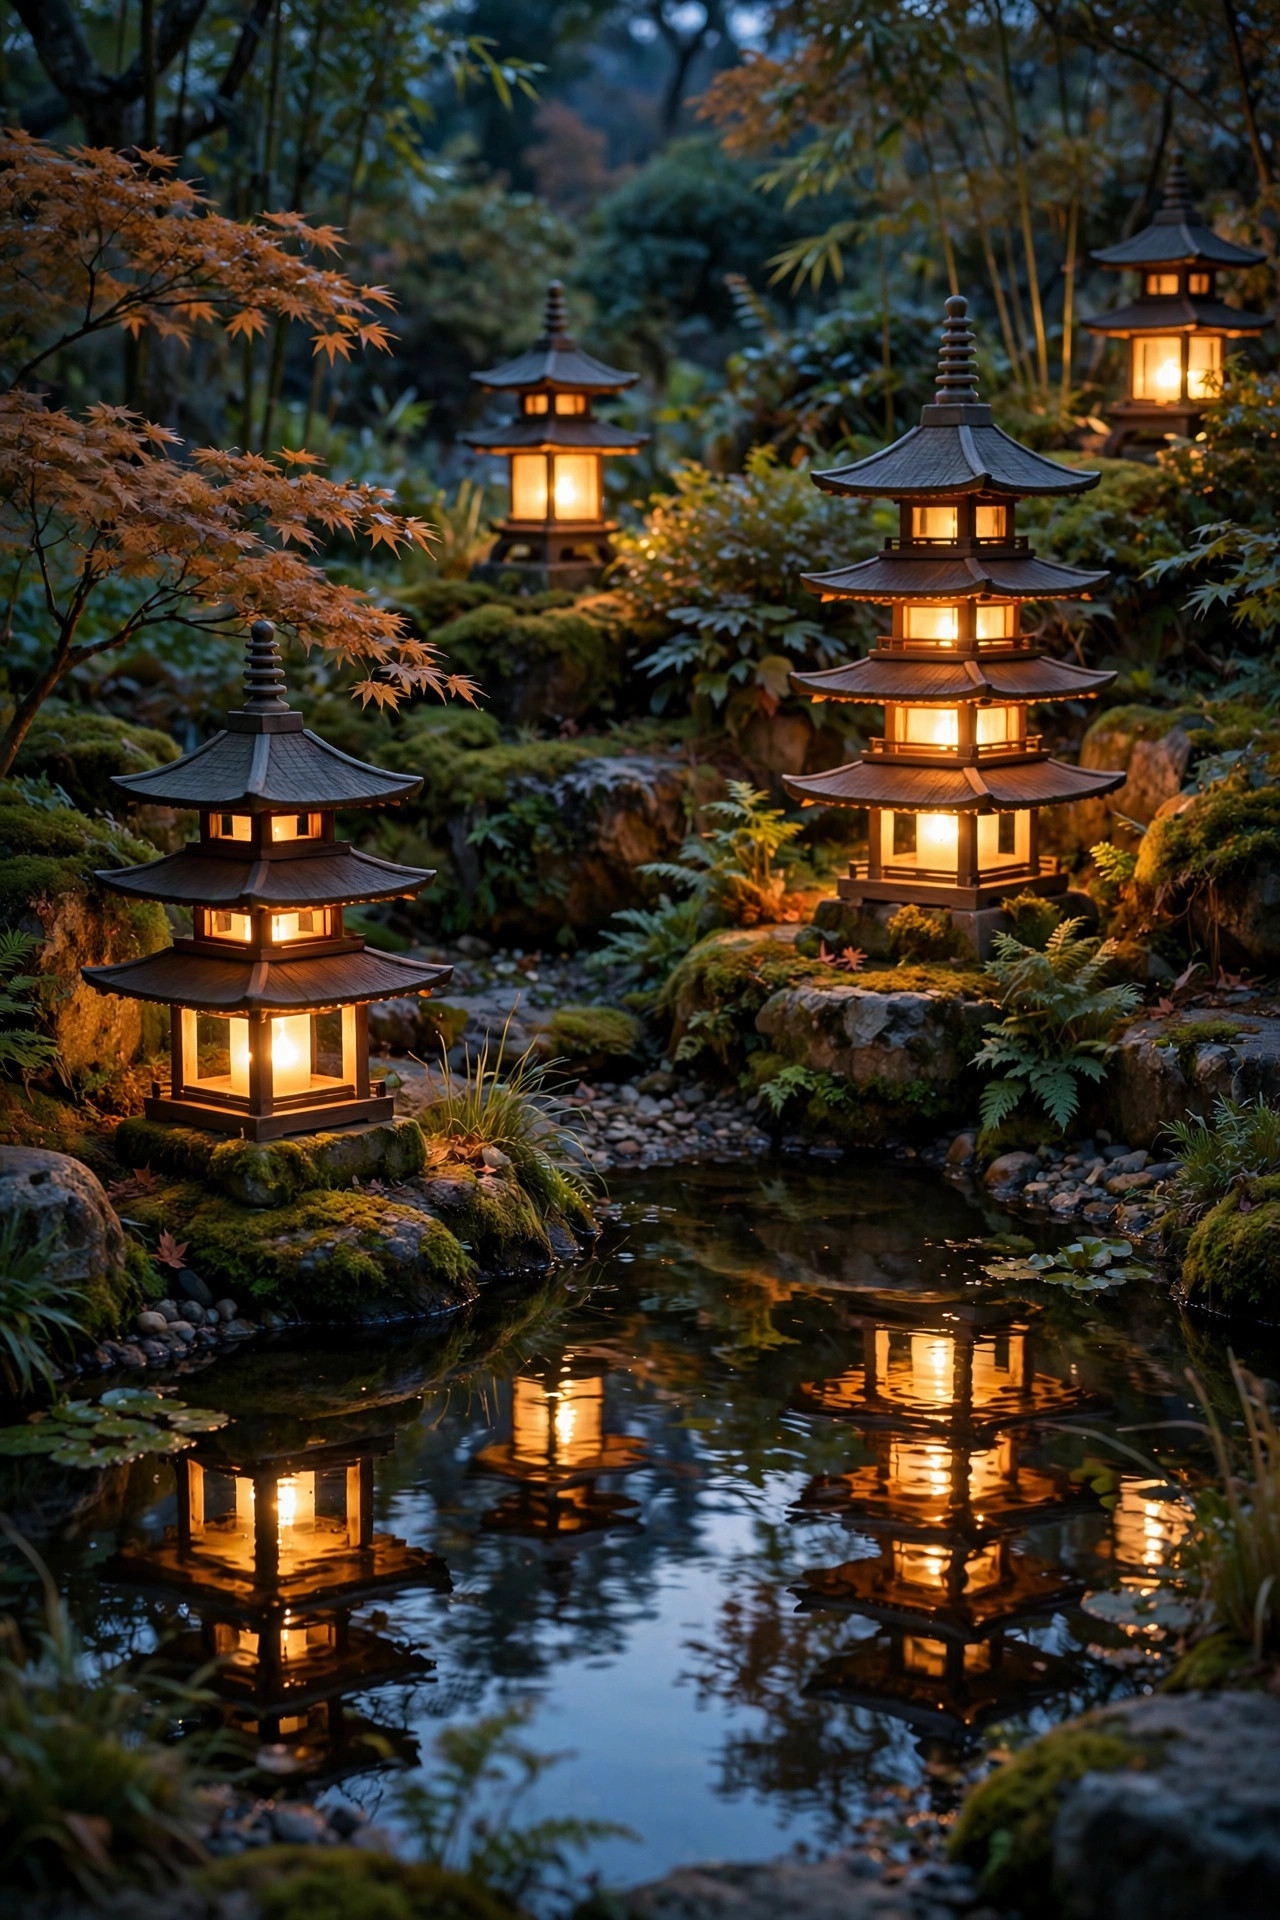
Water doubles every light you put near it, so a ring of pagoda lights around a small pond or fountain gives you twice the glow for the same wattage. The tiered roofs reflect as stacked, shimmering columns on the surface — honestly, it's the single most complimented spot in my garden after dark. Keep fixtures 12 to 24 inches back from the water's edge, far enough to stay out of the splash zone, and choose IP65 or better since pond edges stay damp. Low voltage is non-negotiable near water in my book, and any outlet feeding the transformer must be GFCI-protected. Aim for three to five pagodas rather than a full circle; leaving a dark stretch of shoreline keeps the scene natural and gives frogs and dragonflies their privacy. If fish live in the pond, keep the light on a timer that ends by 11 p.m. so they get a real night. A single pagoda beside a bubbling urn fountain on a patio achieves the same magic at apartment scale.
Suggested budget range: $140 – $260.
9. Pick Frosted Lenses for Soft Pools Instead of Bright Dots
The lens makes or breaks a pagoda light. Clear lenses throw a bright, ringed pattern that can look busy on pale concrete; frosted or opal lenses soften the output into the gentle pools of light that make this style so calming. When I switched our front walk from clear to frosted, the path instantly looked twice as expensive, and the glare complaints from my light-sensitive husband stopped entirely. Frosted lenses do cost you roughly 15 to 20 percent of raw brightness, so step up one bulb size — if a clear-lens fixture works with a 2-watt LED, plan on 3 watts behind frost. This is the version I'd choose along bedroom windows, near a porch where people sit, and anywhere the path passes close to seating. Check before you buy whether the lens is real glass or acrylic; glass frosts evenly, cleans easier, and won't yellow in the sun after two summers. If your existing fixtures have clear lenses you love otherwise, a ring of frosted replacement globes is a cheap Sunday upgrade.
Suggested budget range: $110 – $200.

10. Mix Tall and Short Pagodas for a Rhythmic, Layered Path
Uniform rows are tidy, but a mix of heights is what makes a path feel designed. I alternate taller pagodas, around 20 to 22 inches, with shorter 12-inch versions along the same walk, and the light lands at two levels — a higher wash over the planting bed and a low, intimate pool right on the path. The taller fixtures carry the eye down the walk; the short ones handle the footing. Keep the pattern simple, tall-short-short or tall-short, and repeat it consistently so it reads as rhythm rather than randomness. This trick is especially good on long, straight side-yard paths that would otherwise feel like a corridor. Buy both heights from the same fixture family so the tier shape and finish match exactly; mixing brands shows up as slightly different roof angles, and once you see it you can't unsee it. Order one of each first and live with them for a week at dusk before committing to the full run — height against your actual plantings is hard to judge from a product photo.
Suggested budget range: $180 – $340.

11. Follow a Curved Path With Closer, Staggered Spacing
Curves are where pagoda lights really earn their keep, because a bent path hides its own edges. On a curve, tighten spacing to 4 to 6 feet and place fixtures on the outside of the bend, where they silhouette the turn and light the inside edge by reflection off the paving. Stagger one fixture to the inside every third light to keep the walking line obvious. I always lay a curved run out with a garden hose first, set the fixtures at dusk while they're still on their stakes, and walk the path both directions before burying a single inch of cable — curves fool you from a standing start, and what looks even at noon looks drunk at night if the bend is tight. Solar pagodas work especially well here since you can nudge them an inch at a time while the design settles. Gravel and mulch paths forgive repositioning; in a lawn, use a thin edging spade to make a slit for the cable rather than digging a trench. The result should feel like the path is being gently handed to you, curve by curve.
Suggested budget range: $150 – $280.

12. Commit to Warm 2700K Bulbs for the Lantern Glow
Color temperature is the invisible decision that decides whether your pagodas feel like paper lanterns or office fluorescents. For the classic Asian-inspired glow, stay at 2700K, or 3000K at the absolute warmest-cool end. Above that, the tiered roofs start looking like security lights wearing a costume. The good news: most replaceable-bulb pagoda fixtures take standard LED bulbs, so if yours shipped with chilly 5000K lamps, a swap is a ten-minute, low-cost fix that changes everything. Match every bulb on the same run — one cool outlier in a warm row draws the eye like a wrong note. If you're mixing pagodas with other fixtures, match them too; your uplights, porch light, and path lights should all live in the same warm neighborhood. Integrated-LED fixtures can't be swapped, so check the Kelvin rating before buying, not after installing. In my experience, warm light also flatters brick, cedar, and stone, and it brings out the reds in Japanese maples instead of washing them gray. When in doubt, buy one bulb and test it at dusk.
Suggested budget range: $30 – $70.

13. Pair Pagoda Lights With Bamboo and Japanese Maple Plantings
Pagoda lights look intentional when the planting around them speaks the same language. A clumping bamboo behind a row of tiered lights gives you a soft, rustling backdrop, and the fixtures light the culms from below so the whole screen glows. Clumping varieties only, please — running bamboo will absolutely eat your yard and your neighbor's too. A Japanese maple is the other classic partner: place one pagoda 2 to 3 feet from the trunk so its light grazes the lower canopy, turning red or laceleaf foliage into a lantern of its own. Add low mounds of mondo grass or moss-like groundcover at the fixtures' feet to hide the stakes. Keep mulch, not turf, under the plantings so the light pools stay clean-edged. This pairing works in a corner bed as small as 6 by 8 feet — you don't need a full Japanese garden, just the suggestion of one. Water-efficient, shade-tolerant, and calm: it's the corner of my yard where I take my morning coffee.
Suggested budget range: $160 – $300.
14. Use Solar Pagoda Stakes to Edge Flower Beds
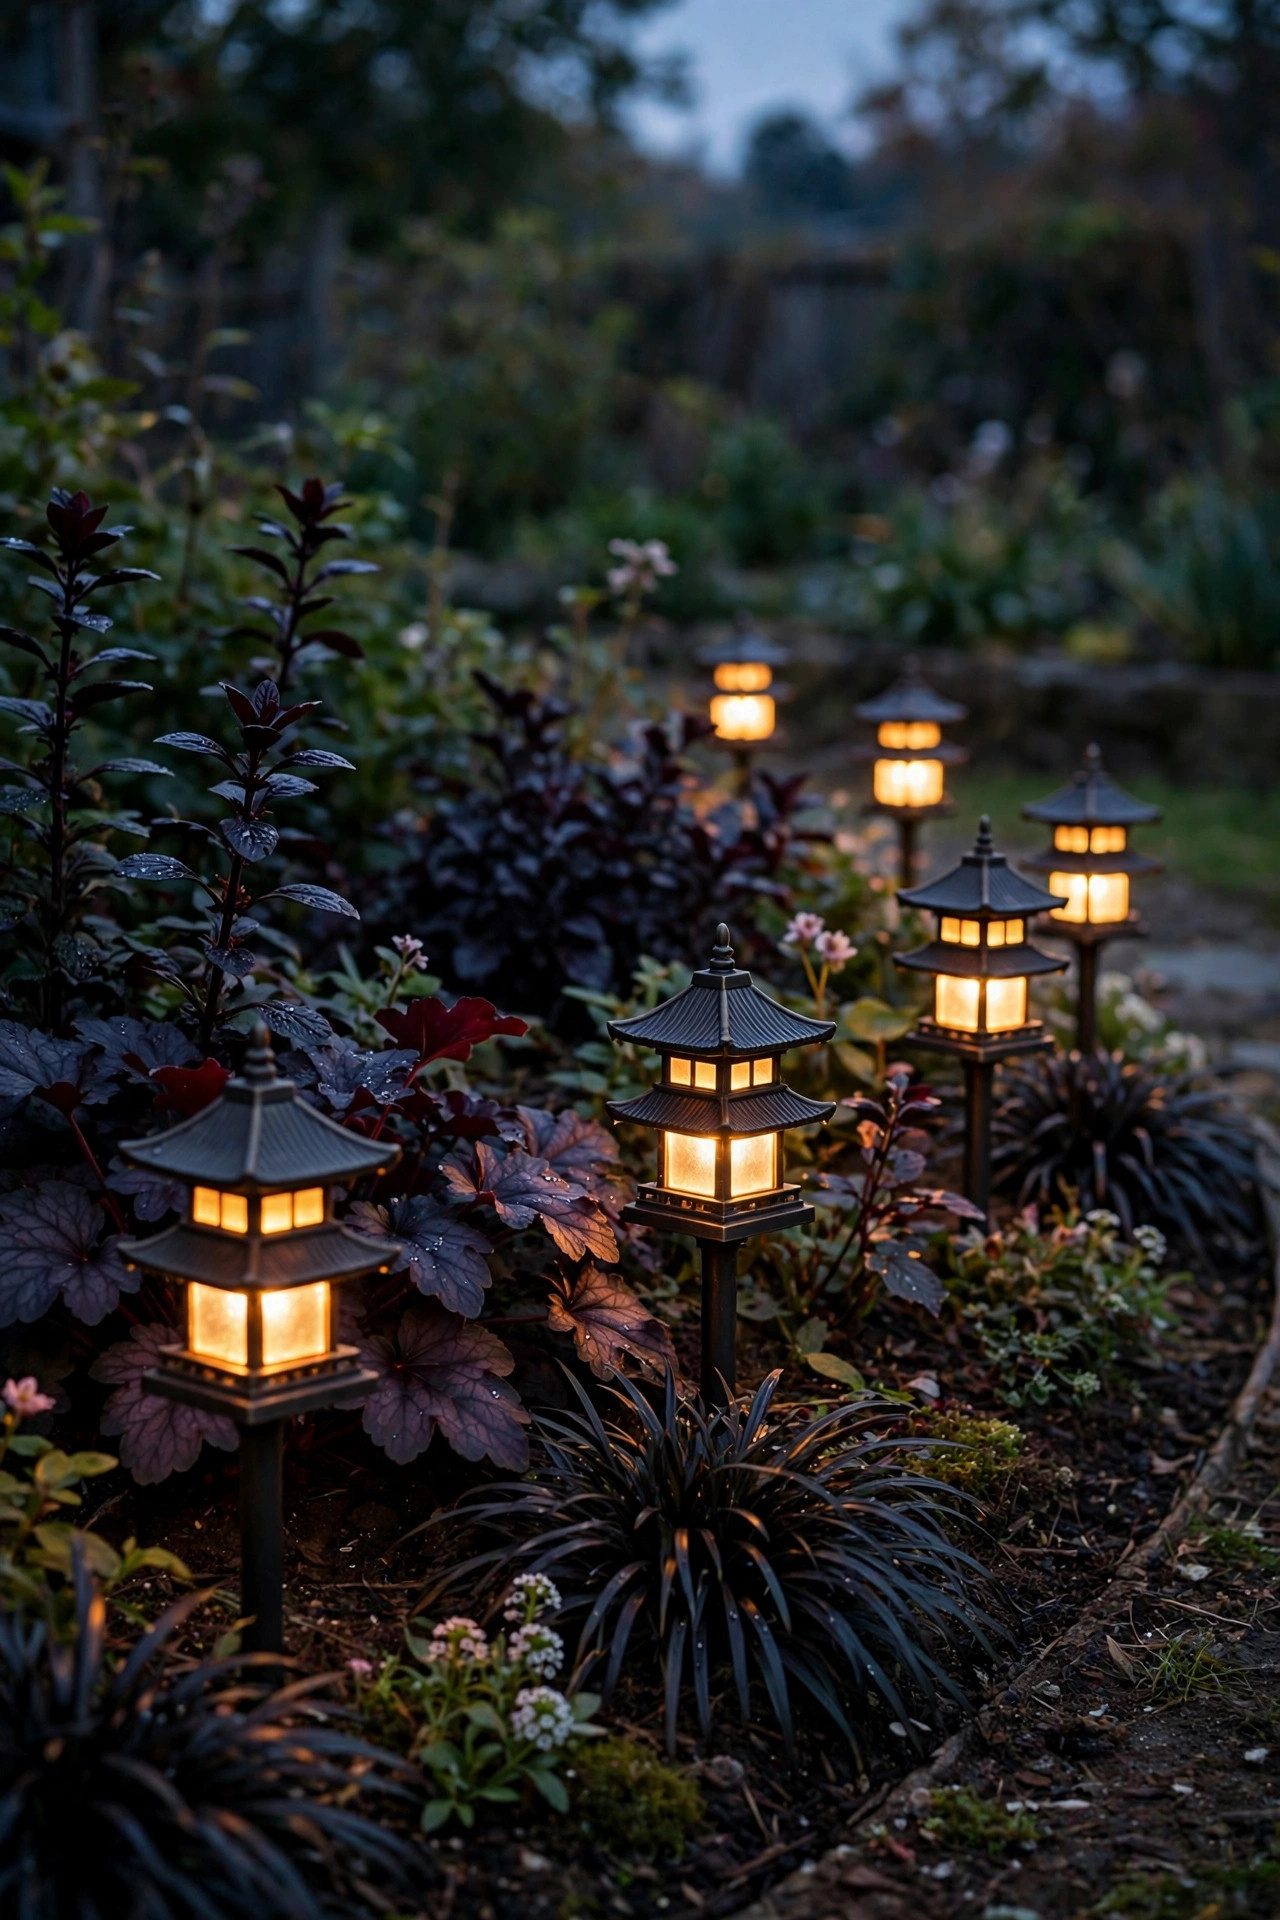
Not every pagoda needs a path. A line of small solar pagoda stakes along a flower bed edge gives you that tiered silhouette at ankle height, marking the border between lawn and garden so nobody's foot — or the mower — wanders in. The 8 to 12 inch mini versions are inexpensive enough to run in a long, generous row, spaced about 4 feet apart for a dotted effect or 3 feet for a near-continuous line. They look best in front of dark-foliage plants, where the warm light has something to play against. Because they're solar, they'll dim where perennials grow tall and shade the panels by midsummer; either choose lower plantings in front of them or plan a mid-season shuffle, which takes minutes since nothing is wired. I treat these as the jewelry of the garden — not the main lighting, just the sparkle. Replace the rechargeable batteries every year or two and the stakes themselves will serve for many seasons.
Suggested budget range: $40 – $85.
15. Light the Landing Zones Between Stepping Stones
Stepping-stone paths fail at night because your eye can't judge the gaps. One pagoda placed beside every second or third stone, always on the same side, fixes the rhythm: light, step, light, step. Aim the pools at the stones themselves rather than the grass between them, and you'll find your stride does the rest without thinking. This is a place to keep fixtures short — 12 inches or so — so they read as companions to the stones, not towers over them. If the path crosses a lawn, low-voltage wired pagodas earn their keep again, since a stone path usually gets daily use between house, garden, and garage. Leave the cable slack looped at each fixture so you can shift a stone later without surgery. For a softer look, let a low groundcover like creeping thyme grow up to the fixture bases; the light filtering through tiny leaves is pure storybook. Just keep foliage out of the lens itself, or your pools turn into shadows.
Suggested budget range: $100 – $190.

16. Set Pagoda Lanterns Along Deck and Patio Steps
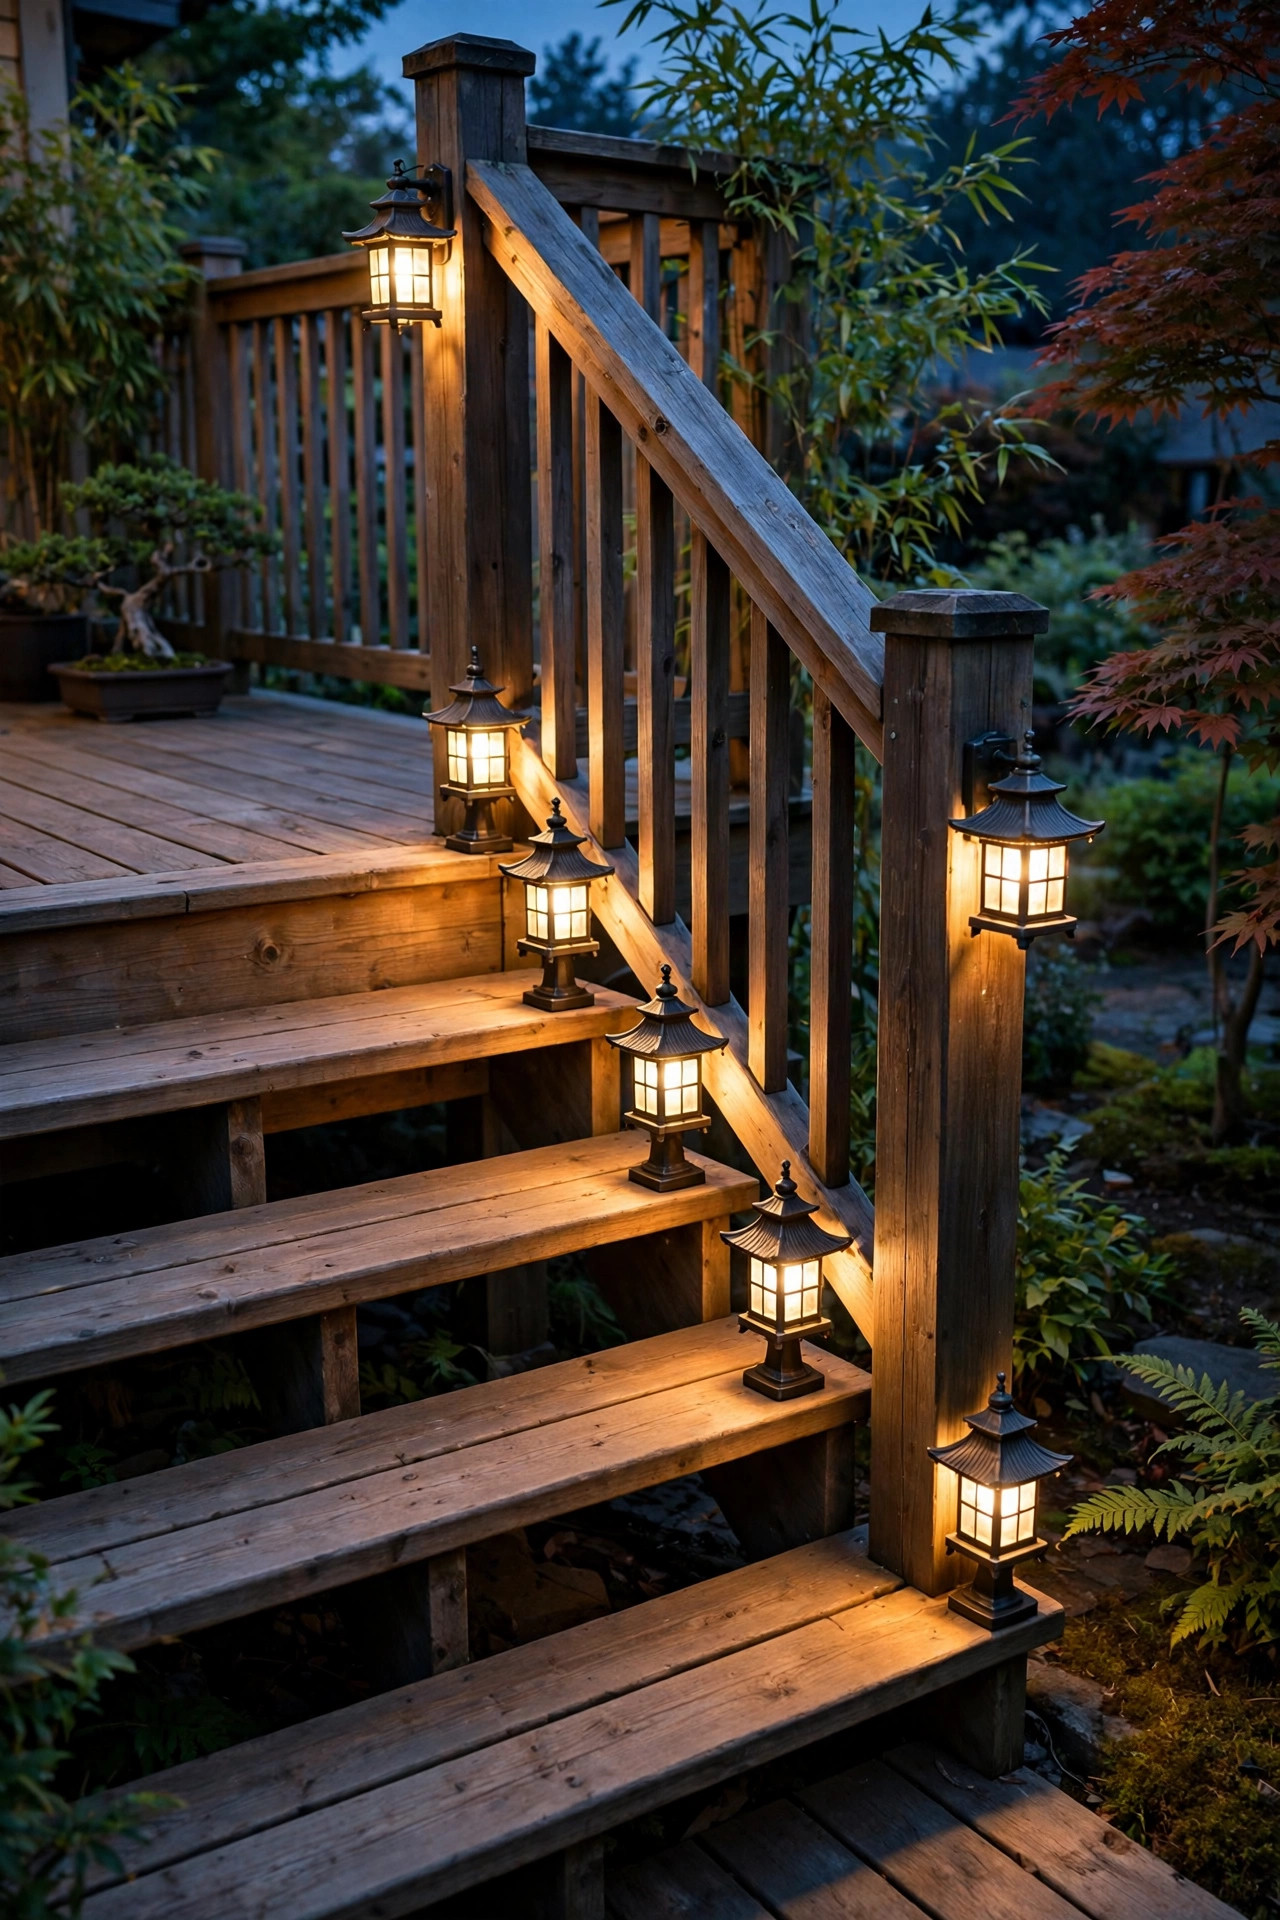
The deck steps between my patio and the lawn used to disappear after sunset; now a pair of pagoda lanterns sits on the wide bottom tread's corners, and the whole staircase reads like part of the furniture. Surface-mount pagodas — the kind with a flat base instead of a ground stake — screw neatly onto step corners, newel posts, or the wide cap of a low retaining wall beside the stairs. Keep them at the outside corners so the tiered shades light the treads without crowding foot space, and choose a finish that matches your deck hardware for a built-in look. Battery and solar versions make this a renter-friendly, no-wiring project, though hardwired is brighter if the steps get heavy use. Match the deck's other lighting temperature — 2700K again, always. One caution: on a wood deck, any fixture with a real flame is a hard no from me; modern LED pagodas give the lantern mood with zero fire risk near cushions and dry leaves. It's a small project that makes evening gatherings feel instantly more considered.
Suggested budget range: $85 – $170.
17. Add Motion-Sensor Pagodas to the Side Yard Path
The side yard is the path you use most and decorate least — trash bins, the gate, the hose bib run. Motion-sensor pagoda lights bring the pretty tiered shape to this workhorse path while only burning full brightness when someone's actually walking it. Most models idle at a soft 20 to 30 percent glow, which is plenty for orientation, then step up when they sense movement within about 10 to 15 feet. Solar motion pagodas are easy to find and install in minutes, and the sensor means their batteries aren't drained by dawn — a real fix for the usual solar complaint. Mount or stake them where the sensor's view isn't blocked by the AC unit or a leaning trash can; a blocked sensor is just a dim light with big dreams. I put two along our side path, one at each end, so the light wakes up from whichever direction I'm coming. Your dog, your teenager taking out recycling, and your future self carrying groceries will all approve.
Suggested budget range: $95 – $180.

18. Build a Quiet Gravel Courtyard With a Pagoda Border
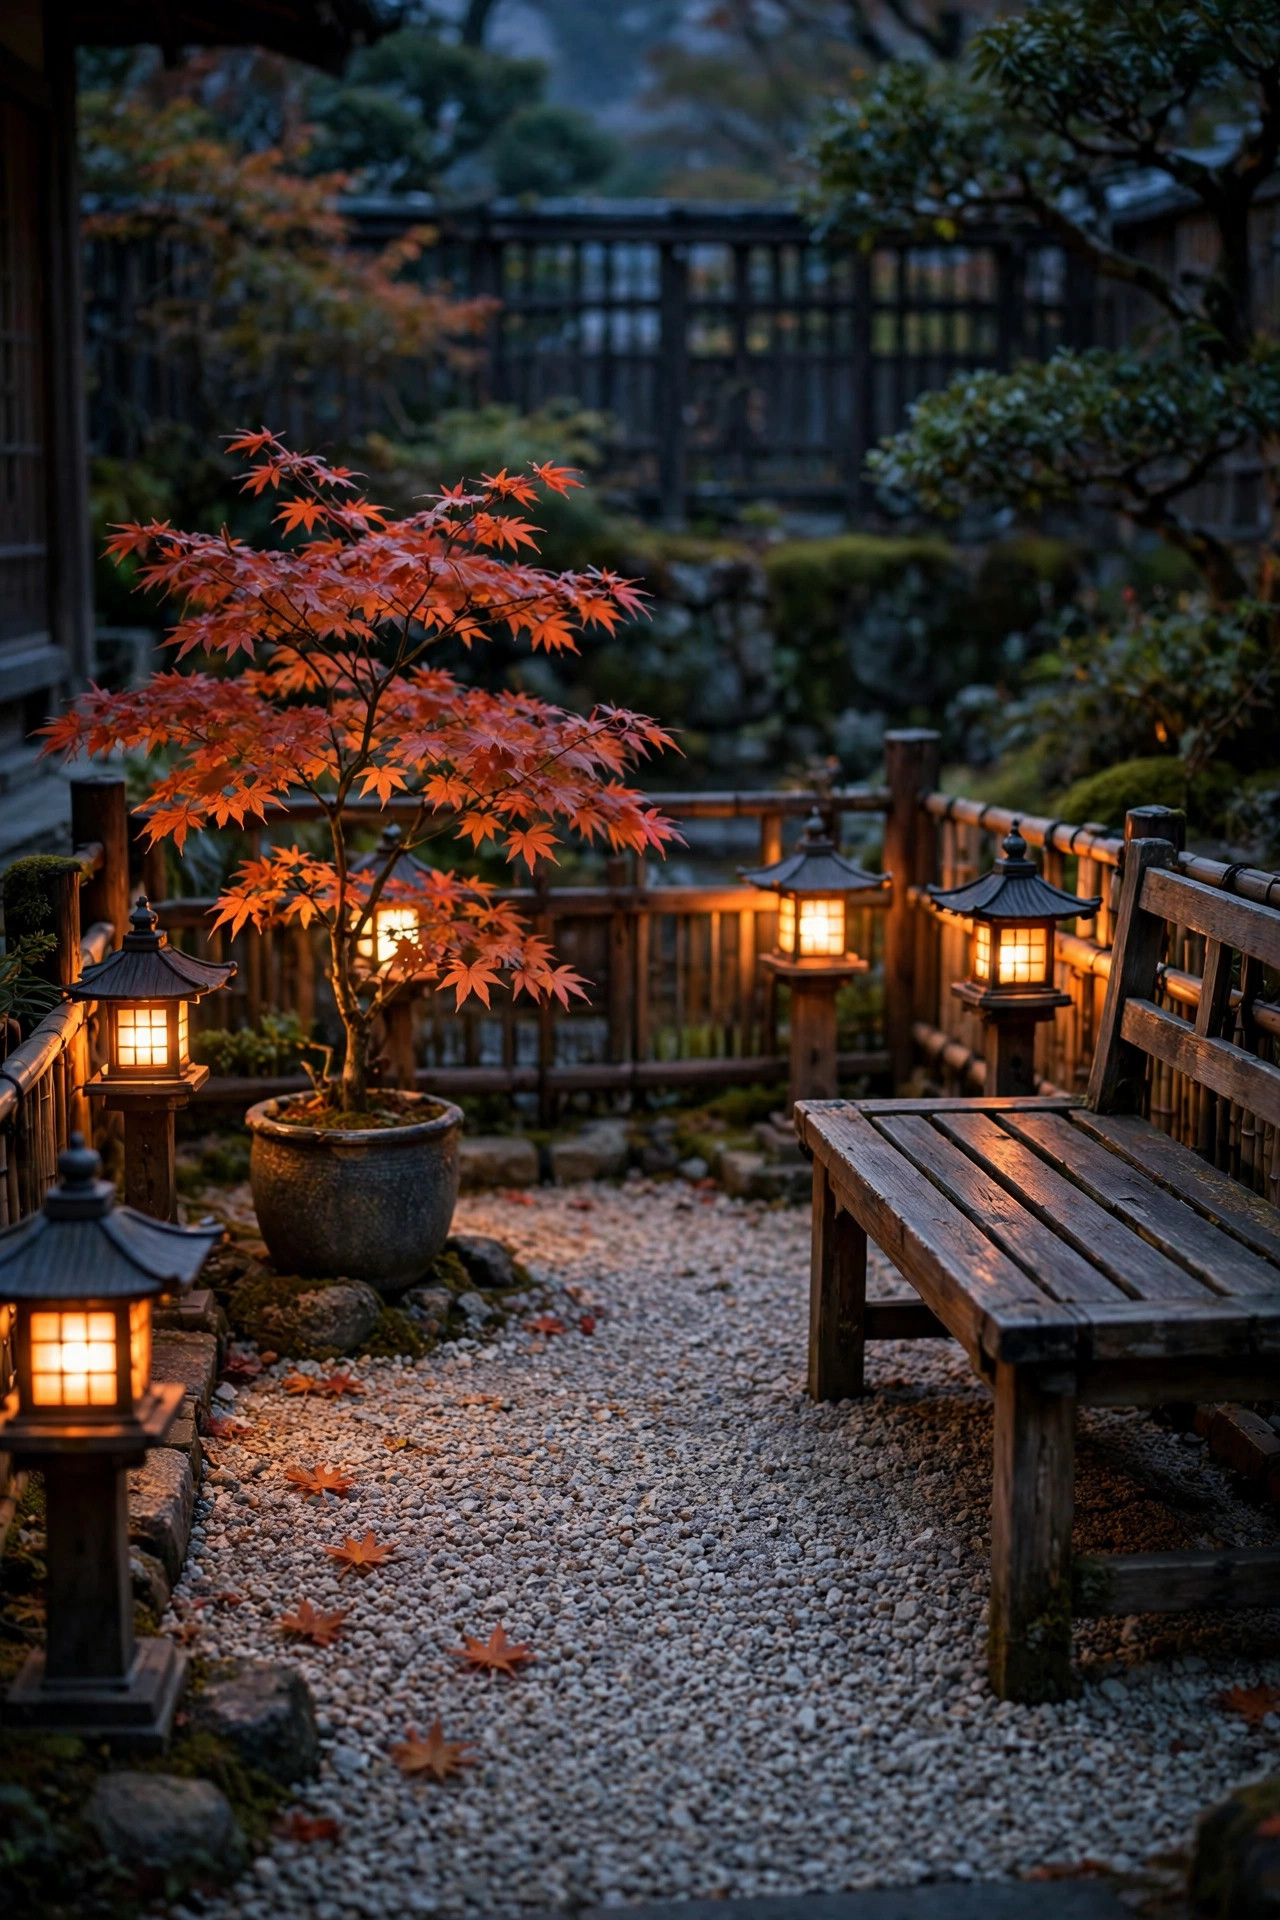
If you've ever wanted a corner of the yard that feels like a Kyoto side street, a small gravel courtyard bordered by pagoda lights is the most achievable version I know. Rake pale gravel into a 10 by 12 foot pad, edge it with steel or stone, and set pagodas every 5 to 6 feet around the inside of the border so their light skims low across the gravel — the raking lines catch the light and the whole surface shimmers. Add one bench, one sculptural stone, and a potted pine or maple, and stop there; restraint is the entire aesthetic. Gravel is forgiving for cable runs, too — just lift, lay, and rake over. Choose fixtures with a bronze or weathered finish rather than bright metal so the border stays quiet. This is the one spot where I'll sometimes choose the slightly dimmer fixture on purpose: a courtyard should glow, never glare. Evening tea out there, with the pagodas ticking on at dusk, has become my favorite ritual of the week.
Suggested budget range: $170 – $310.
19. Finish With the Layered Look: Pagoda Path Lights Plus One Focal Lantern
Every great lighting scheme I've ever made ends the same way: layers. Let pagoda path lights handle the ground plane — the walking line, the bed edges, the steps — then add exactly two more layers above them. A pair of soft uplights washing a tree or the house facade gives you the middle; one taller focal piece, a stone lantern or a statement pagoda on a pedestal near the entry, gives you the crown. The pagodas become the rhythm section that ties it together, and because their tiered roofs match the focal lantern's silhouette, the whole yard feels composed instead of collected-by-accident. Keep all three layers at 2700K, put the uplights and path lights on separate timer zones if you can, and resist adding a fourth thing — honestly, the discipline of stopping is what makes it look expensive. Walk it from the street at dusk and adjust one fixture at a time. When the path glows, the tree glows, and the lantern glows back, you're done.
Suggested budget range: $350 – $650.

Frequently Asked Questions
How far apart should I space pagoda path lights?
For most front walks, 6 to 8 feet apart with a staggered layout gives you overlapping pools of light with no dark gaps. Tighten to 4 to 6 feet on curves and near steps, and widen to 8 to 10 feet for driveway bollards. If your fixtures are especially bright (4 watts or more), you can stretch spacing a little — but walk the path at dusk before burying cable, because your eyes are the only calculator that matters here.
Are solar pagoda lights bright enough for a walkway?
For guidance, yes — good solar pagodas give you a soft, readable path line for 8 to 10 hours after a sunny day. For steps, entries, and any path someone uses with their arms full of groceries, I still recommend low-voltage wired fixtures, which are noticeably brighter and don't fade in winter. Many readers land on a mix: wired for the front walk and steps, solar for garden paths and bed edges. That hybrid is exactly what I run at home.
What color temperature looks best with tiered pagoda lights?
Warm white, 2700K, is the classic lantern glow and my recommendation for nearly every home. 3000K works if the rest of your exterior lighting already lives there. Anything 4000K and up fights the whole point of the style — the fixtures start reading as commercial site lighting. Whatever you choose, keep every fixture on the same run the same temperature.
How do I keep pagoda lights from leaning or tipping over?
Leaning almost always means a shallow or undersized stake. Push stakes at least 6 to 8 inches into firm soil, backfill and tamp around the base, and in loose or sandy soil upgrade to longer metal stakes or small buried concrete collars. Check the run each spring — frost heave nudges fixtures a little every winter, and a two-minute straightening pass keeps the whole path looking crisp.
Conclusion
The pagoda shape has lasted centuries because it works: a tiered roof that shelters the light, throws it gently downward, and looks beautiful doing it. Start with the classic staggered row of pagoda path lights on your front walk, keep everything at a warm 2700K, and layer in the solar, copper, or courtyard ideas as your garden asks for them. If you'd like more inspiration before you order a single fixture, browse the rest of the path and garden lighting ideas here on the site — your evening garden is closer than you think.