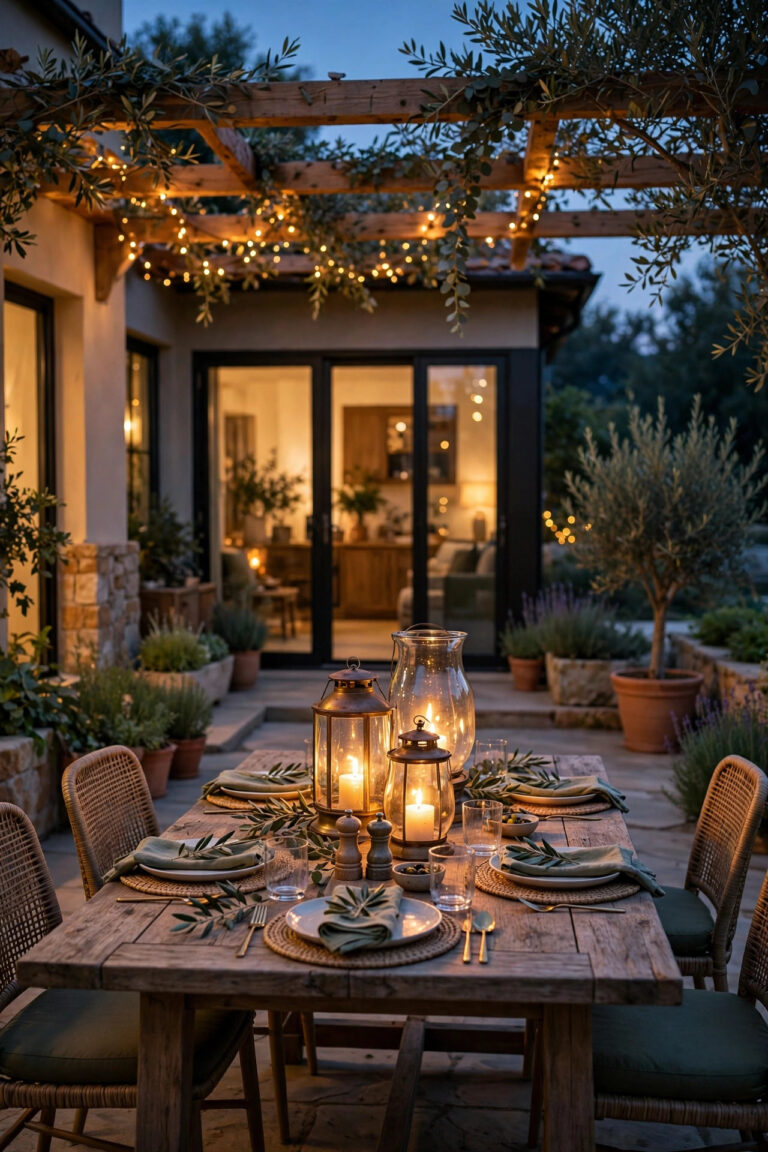
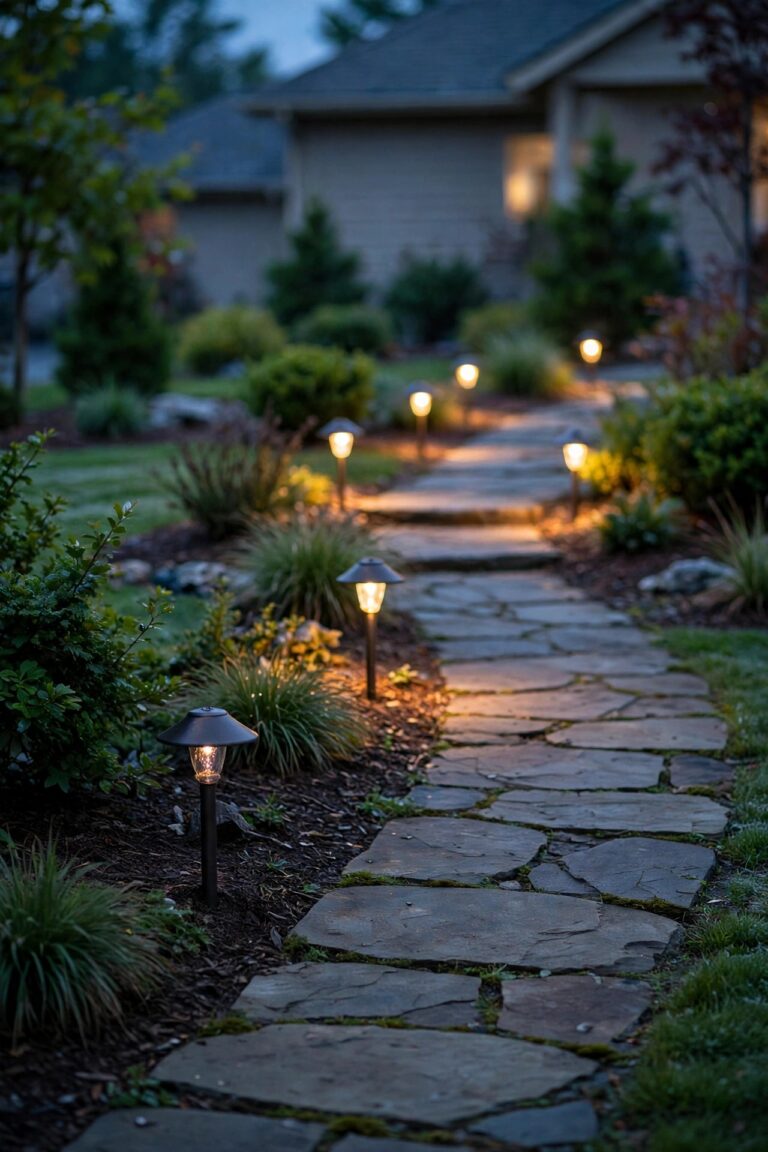
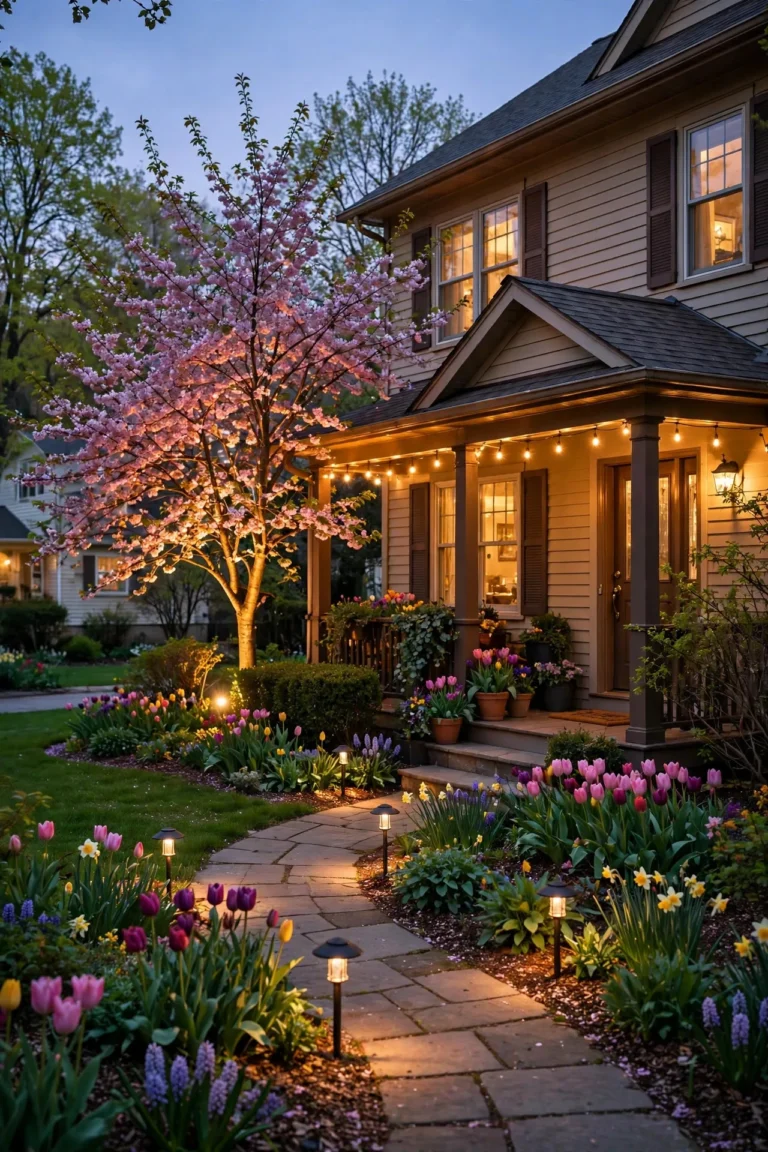
There's a moment just after sunset when a modern front yard either looks sharp or looks cluttered, and honestly, the path lights make all the difference. If you're hunting for modern path light ideas, you've probably noticed the same thing I have: the fixtures that work best are the ones you barely notice by day — clean-lined bollards, slim stakes, simple geometric shapes that let the light itself do the decorating. I learned this the hard way after years of ornate lantern-style stakes that fought with my home's straight lines at every turn. Modern fixtures follow a different philosophy: keep the hardware quiet, aim the light down where feet actually land, and let warm pools of light lead the way. Layering still matters — low markers along the walk, a few taller bollards at turns and steps, one soft accent for depth — but every piece stays calm and architectural. Below are the 17 setups I recommend most, from budget-friendly solar stakes to wired statement bollards, with honest spacing, brightness, and budget notes for each one.
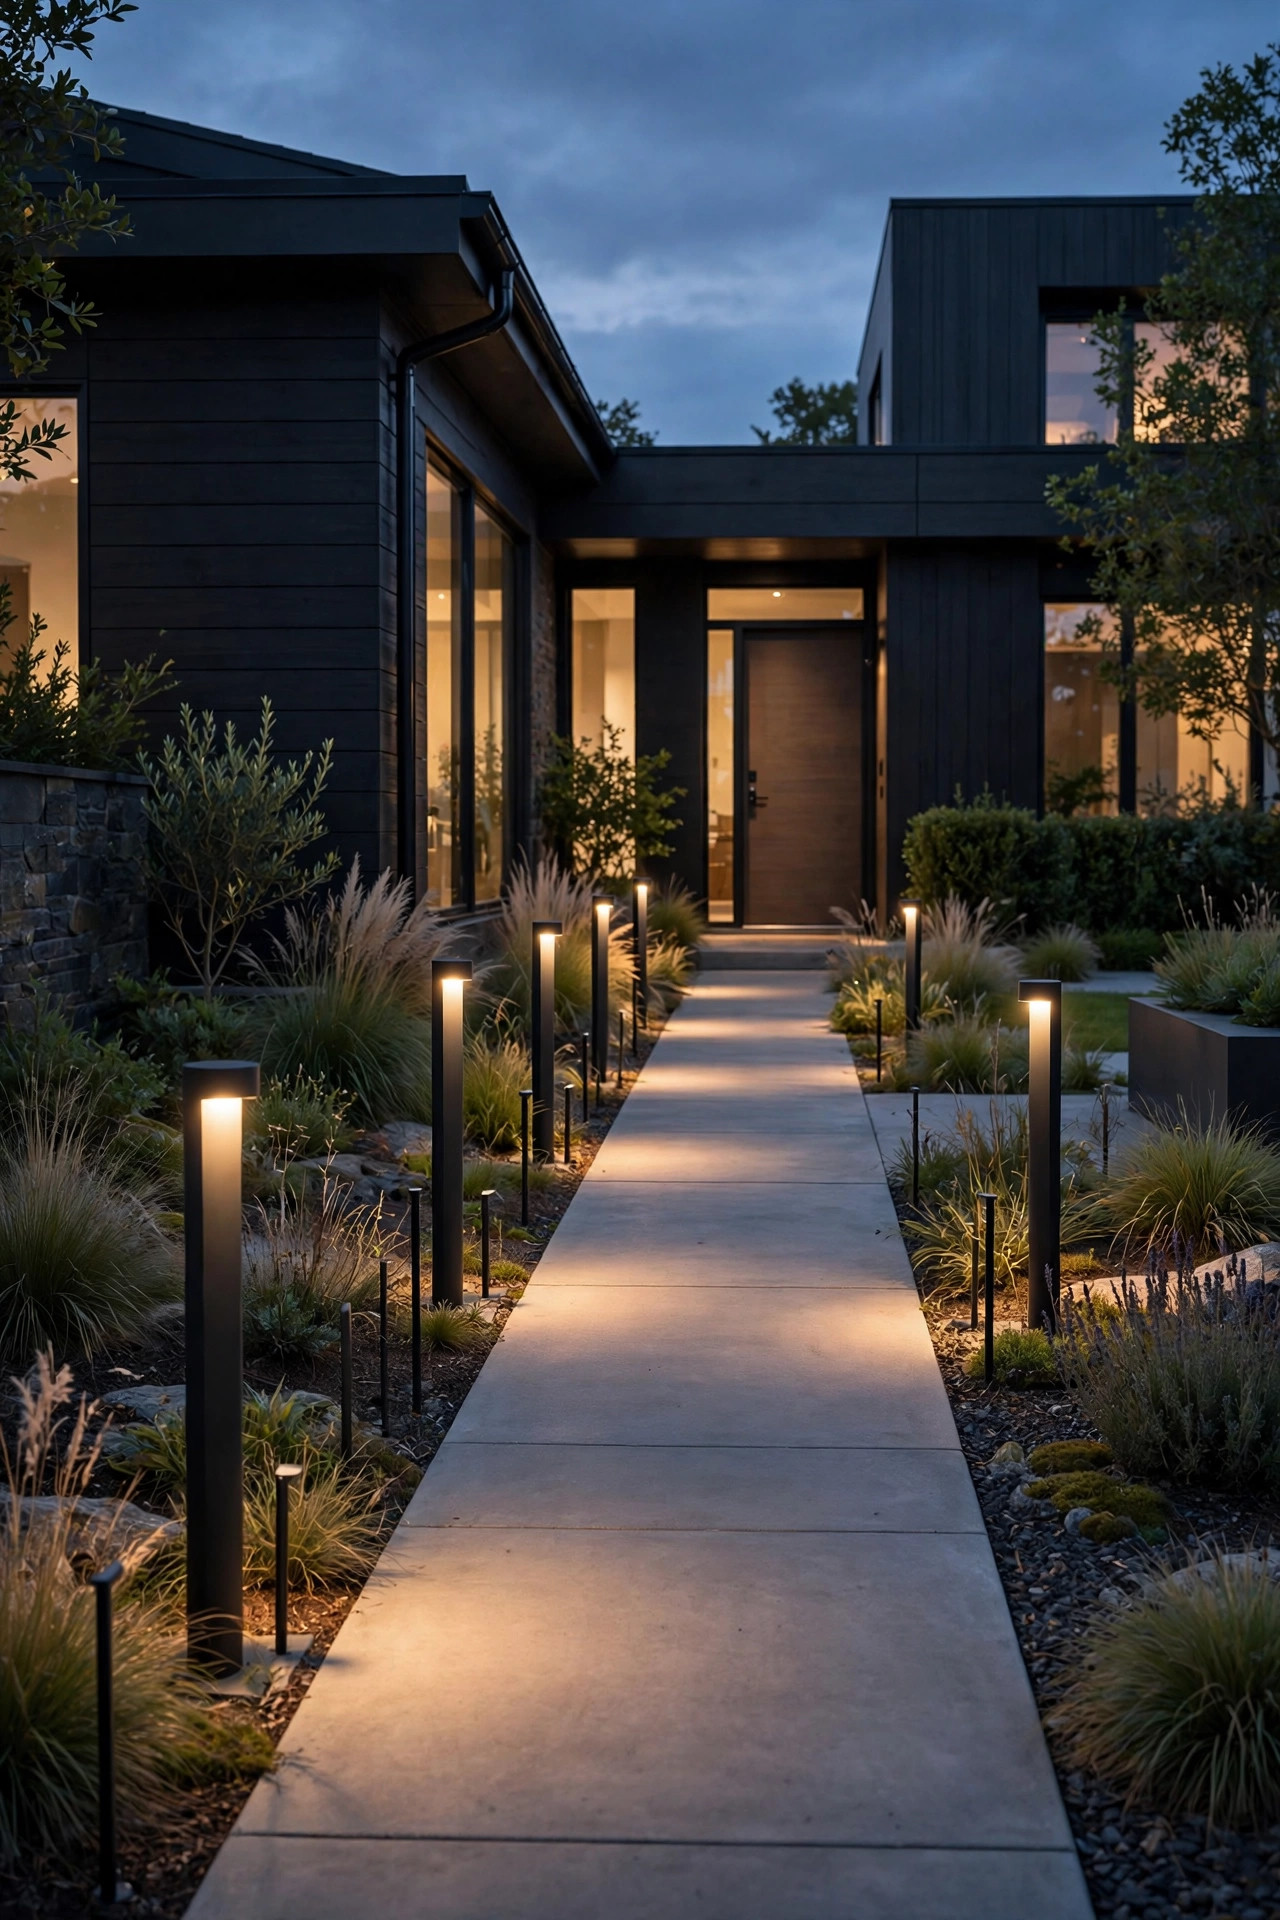
1. Short Matte-Black Bollards Along a Straight Front Walk
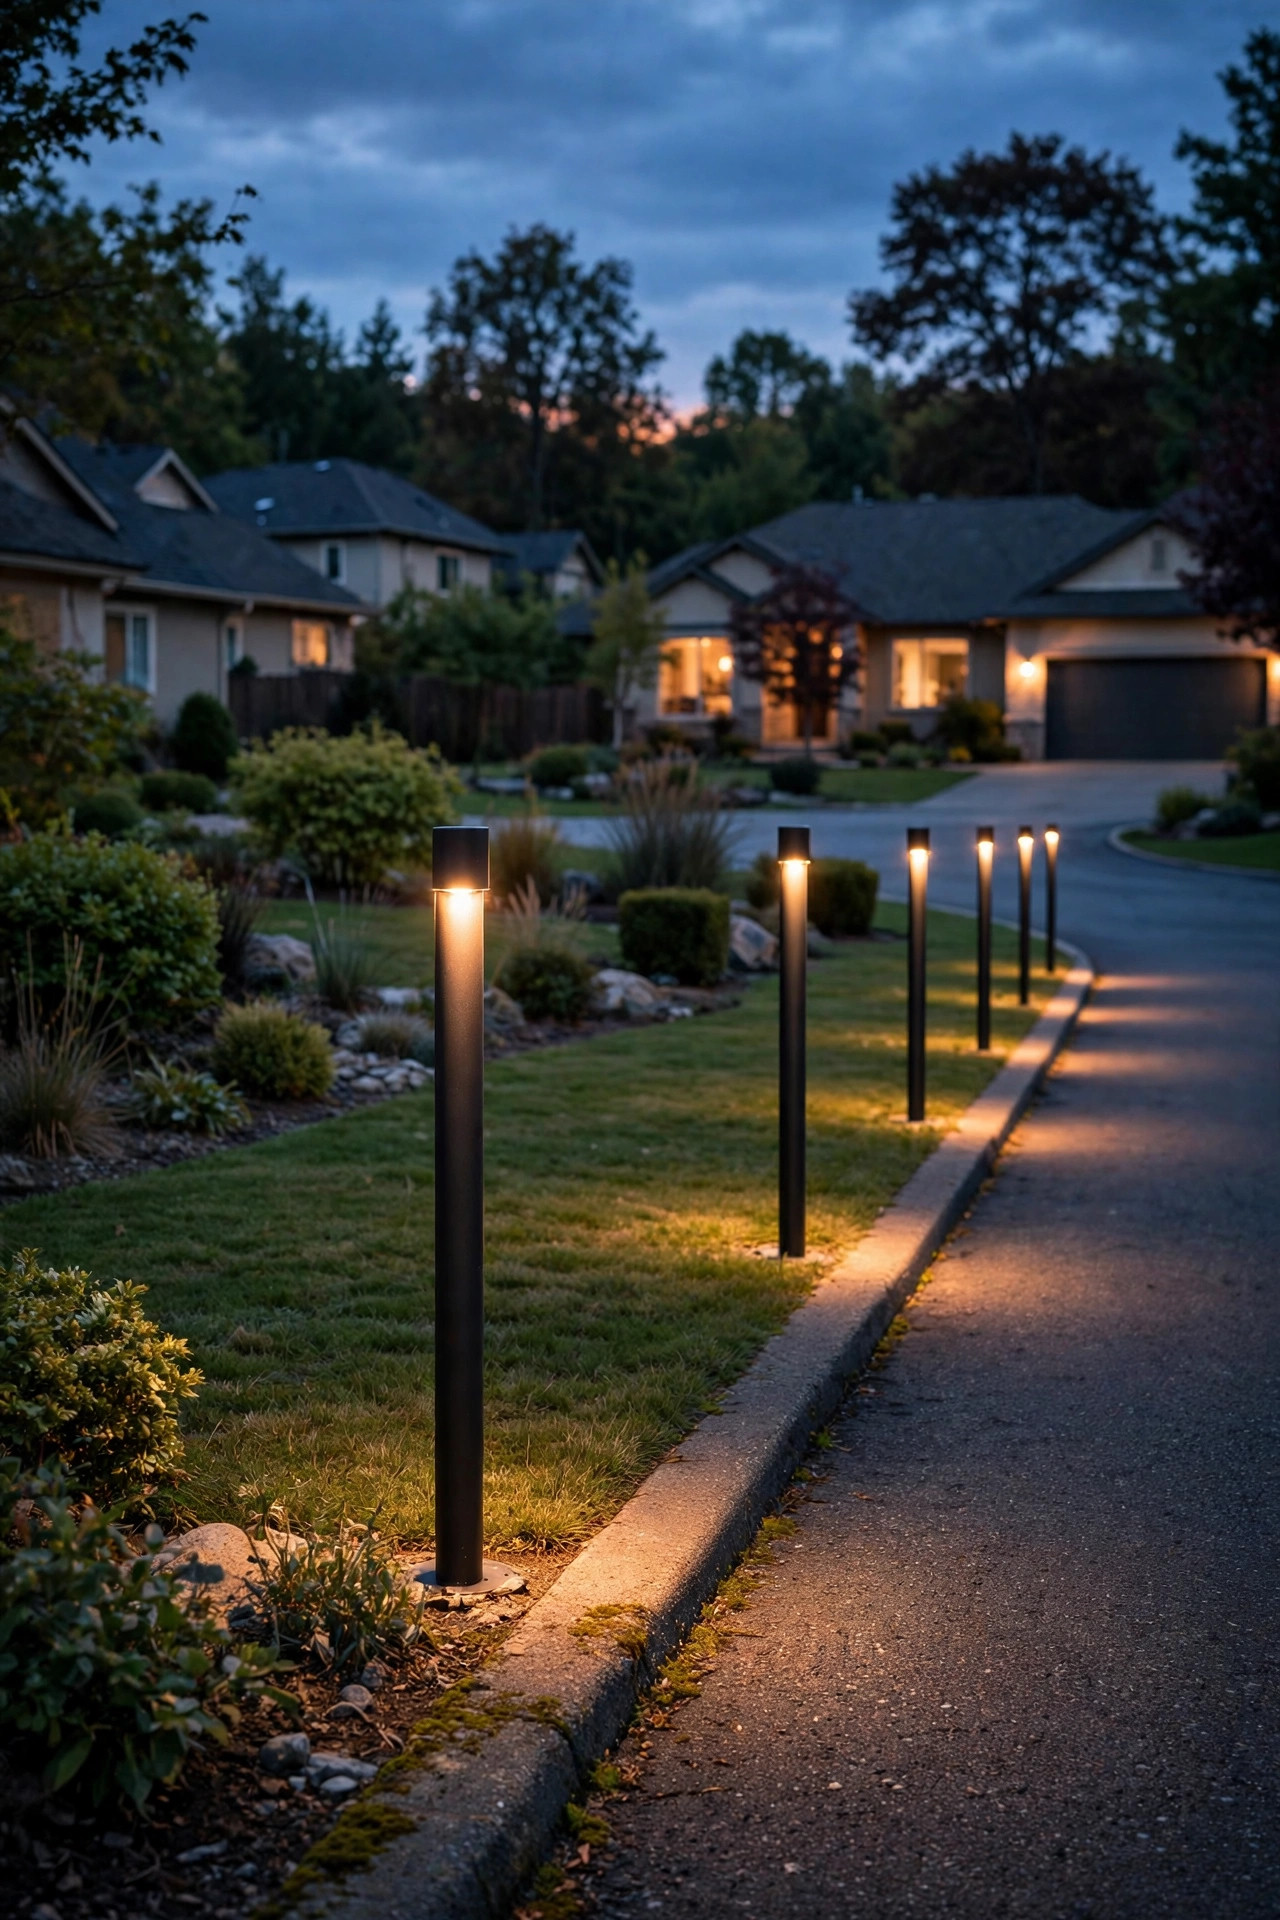
If I could pick only one fixture to define the whole style, it would be the short bollard: a simple square or cylindrical post, 12 to 18 inches tall, in a matte-black finish. Along a straight front walk, a row of these reads as architecture, not decoration. I space mine 6 to 8 feet apart on alternating sides — close enough that the pools of light nearly touch, far enough apart that the walk never looks like an airport runway. Choose fixtures with the LED tucked up under a top cap so the light washes downward and outward, never straight into your eyes. Aim for 100 to 200 lumens per bollard; anything stronger starts to glare off pale concrete. Powder-coated aluminum holds up best through wet winters, and an IP65 rating or higher shrugs off sprinklers and storms without complaint. Set each post back about 6 inches from the edge of the walk so mower wheels and snow shovels pass safely. In my experience, four to six bollards completely transform a plain concrete walk — guests follow the glow straight to the front door, and not a single harsh bulb shows.
Suggested budget range: $35 – $85 per bollard.

2. Tall Slim Bollards to Mark a Driveway Edge
Tall bollards, usually 24 to 36 inches, earn their keep along driveways, where short stakes vanish against headlight glare and tall edging plants. That extra height throws light across a wider area, so you can space them 10 to 12 feet apart and still mark both edges clearly for anyone backing out after dark. I always recommend a shielded or louvered face: the driveway side stays bright enough to read the pavement edge, while the street side stays dim and polite for passing drivers and neighbors. Keep bollards at least 18 inches back from the drive's edge so mirrors and snowplows clear them easily, and choose heavy-gauge aluminum or steel — a fixture at bumper height will eventually get tapped, I promise. Warm 2700K light flatters concrete and asphalt better than cool white, which can make a driveway feel like a parking garage. My full guide to driveway bollard lights covers heights, setbacks, and spacing in more detail if you're planning a long drive.
Suggested budget range: $60 – $140 per bollard.
3. Low Square Stakes Tucked Into Gravel and Stone Beds
Some of the sleekest modern paths I know aren't edged with fixtures standing on the path at all — the lights hide in the gravel or river-rock bed running alongside it. Low square stakes, just 6 to 10 inches tall with a flat top and a side-facing LED, disappear into stone by day and trace a crisp glowing line by night. Push the stake deep so only the head sits above the gravel, and angle the beam across the path rather than down at the stones, or you'll light the bed and leave the walk dark. Because these sit so low, spacing tightens up: every 4 to 5 feet keeps the light continuous instead of spotty. The look suits gravel paths, decomposed granite, and the dry creek beds so many modern landscapes use instead of lawn. One practical tip from my own yard: rake the stone back a few inches around each head every spring, because gravel migrates and slowly buries low fixtures. Die-cast metal heads survive that shifting stone far better than thin plastic ones.
Suggested budget range: $20 – $45 per stake.

4. Cylinder Bollards With Shielded, Downward Light
Round cylinder bollards are the soft-spoken cousins of the square post, and they're my pick for homes with curved architecture, round windows, or a softer modern style. The detail that matters is the shielded top: the LED hides under a cap or inside a recessed ring, so all the light falls in a clean circle at the base and none of it leaks upward into the sky or a bedroom window. That downward-only pattern is also why cylinders work so well near seating — you can carry on a conversation on the patio without squinting past a glowing post. Look for a cut-off design that spreads light about 3 to 4 feet in every direction, then space cylinders 7 to 9 feet apart along the path. Brushed aluminum and graphite finishes both look sharp; I steer clear of glossy black here, because a shiny cylinder shows every water spot and dusting of pollen. For a finishing touch, match the cylinder diameter to your other outdoor hardware — chunky 6-inch posts suit big homes, while slim 4-inch versions suit cottages and narrow walks.
Suggested budget range: $45 – $110 per bollard.

5. Flush In-Grade Lights Between Pavers
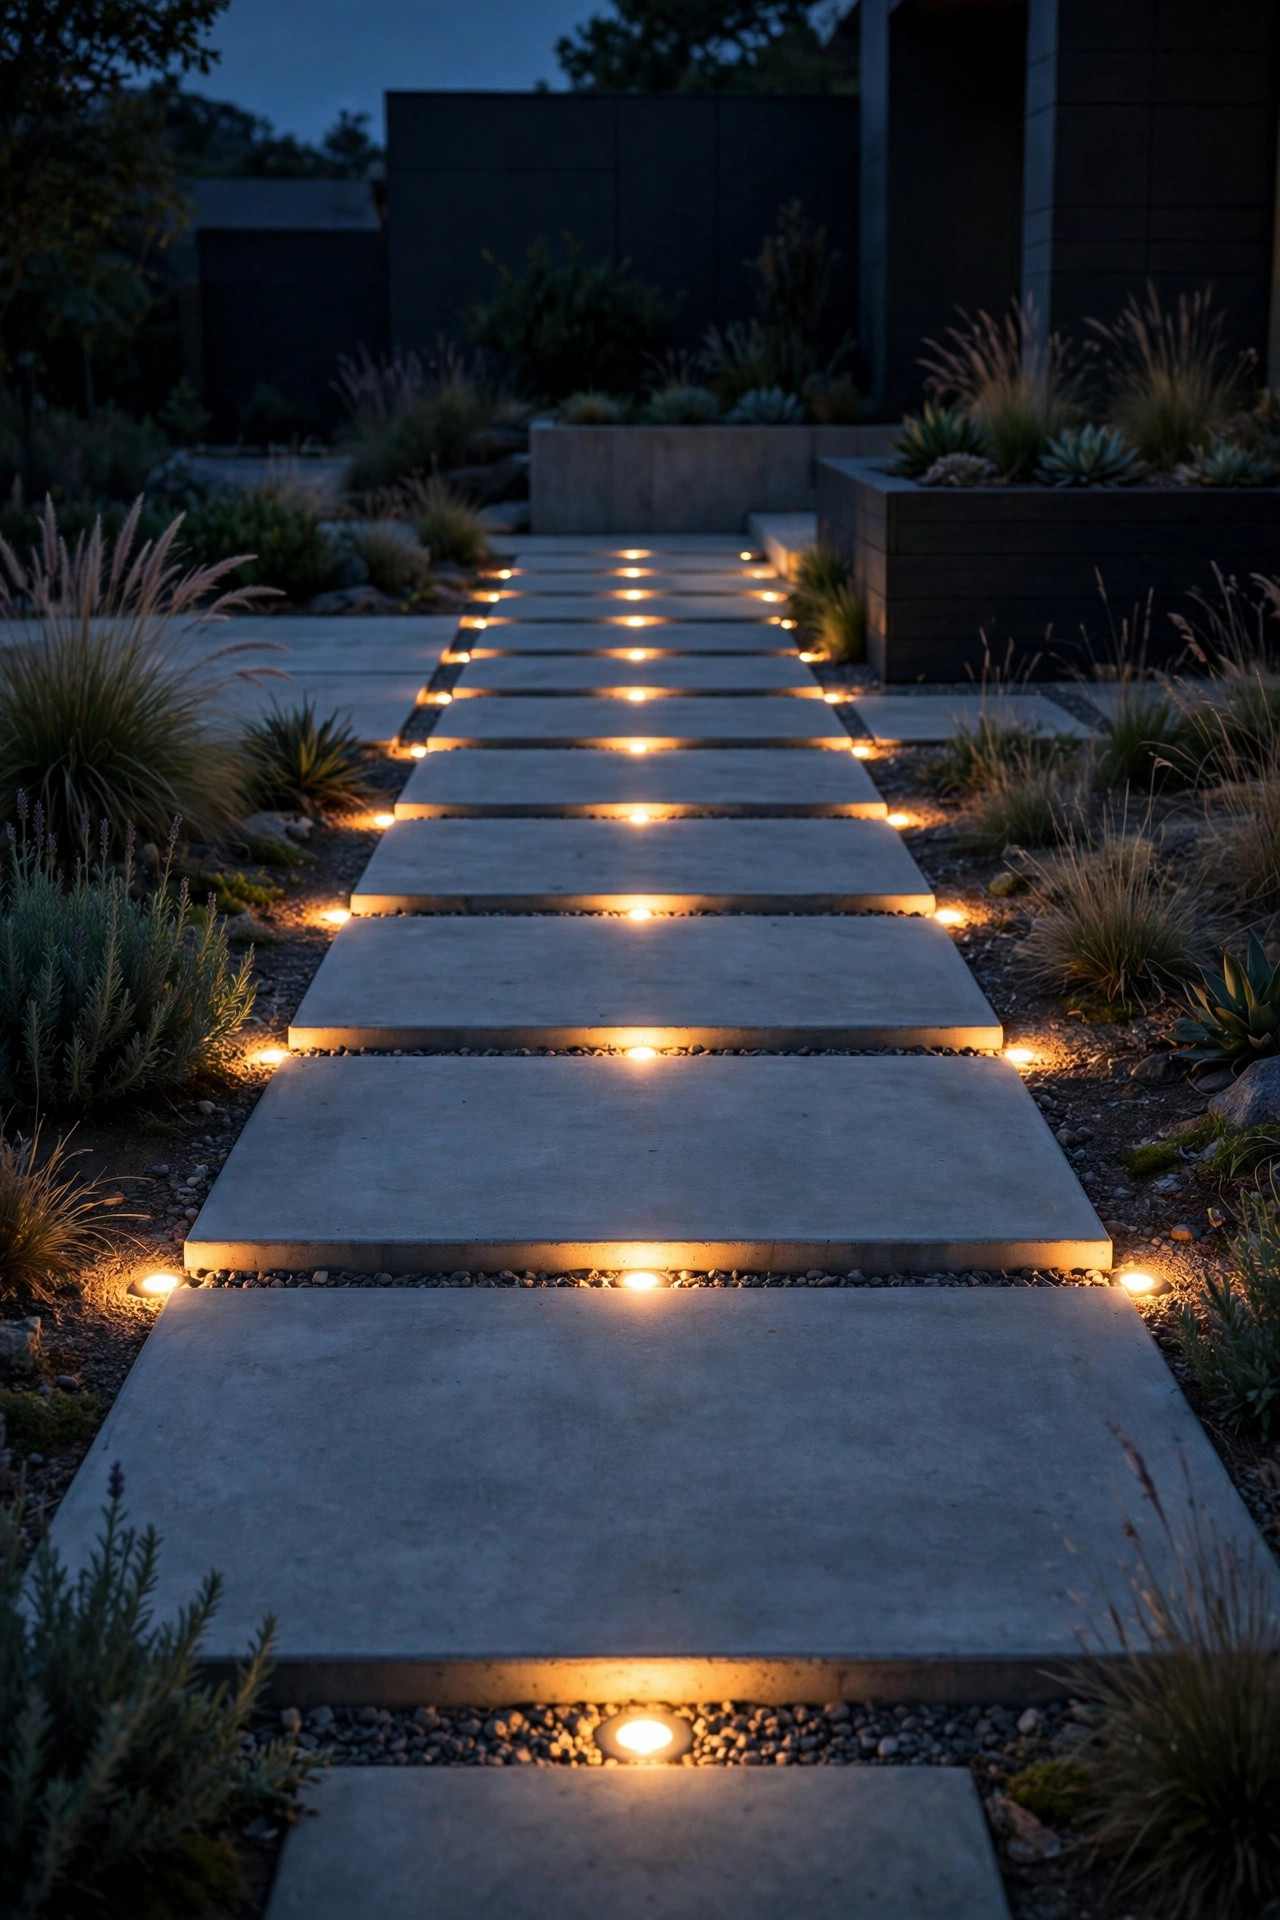
The most minimal path light of all is the one you never see standing up. In-grade fixtures sit completely flush — set into the soil between pavers, recessed into a step edge, or cored into stone — so by day there's nothing but a small metal or glass disc, and by night the path simply glows at ground level. These are wonderful on wide paver walks and modern stepping-stone paths where any standing fixture would break the clean lines. Buy fixtures rated IP68 and specifically listed as walk-over or drive-over if they'll sit in a traffic surface, because a cheap lens will crack under a loaded wheelbarrow, let alone a car tire. Most in-grade lights need a wired low-voltage connection and a proper drainage bed of gravel underneath, so I count this as a plan-it-during-installation idea rather than a weekend add-on. Keep the lens size small, 2 to 3 inches across, and space them every second or third paver joint. The effect is pure quiet luxury: light with no visible source at all.
Suggested budget range: $30 – $75 per fixture, plus wiring.
6. Modern Path Light Ideas Don't Get Easier Than Solar Stakes
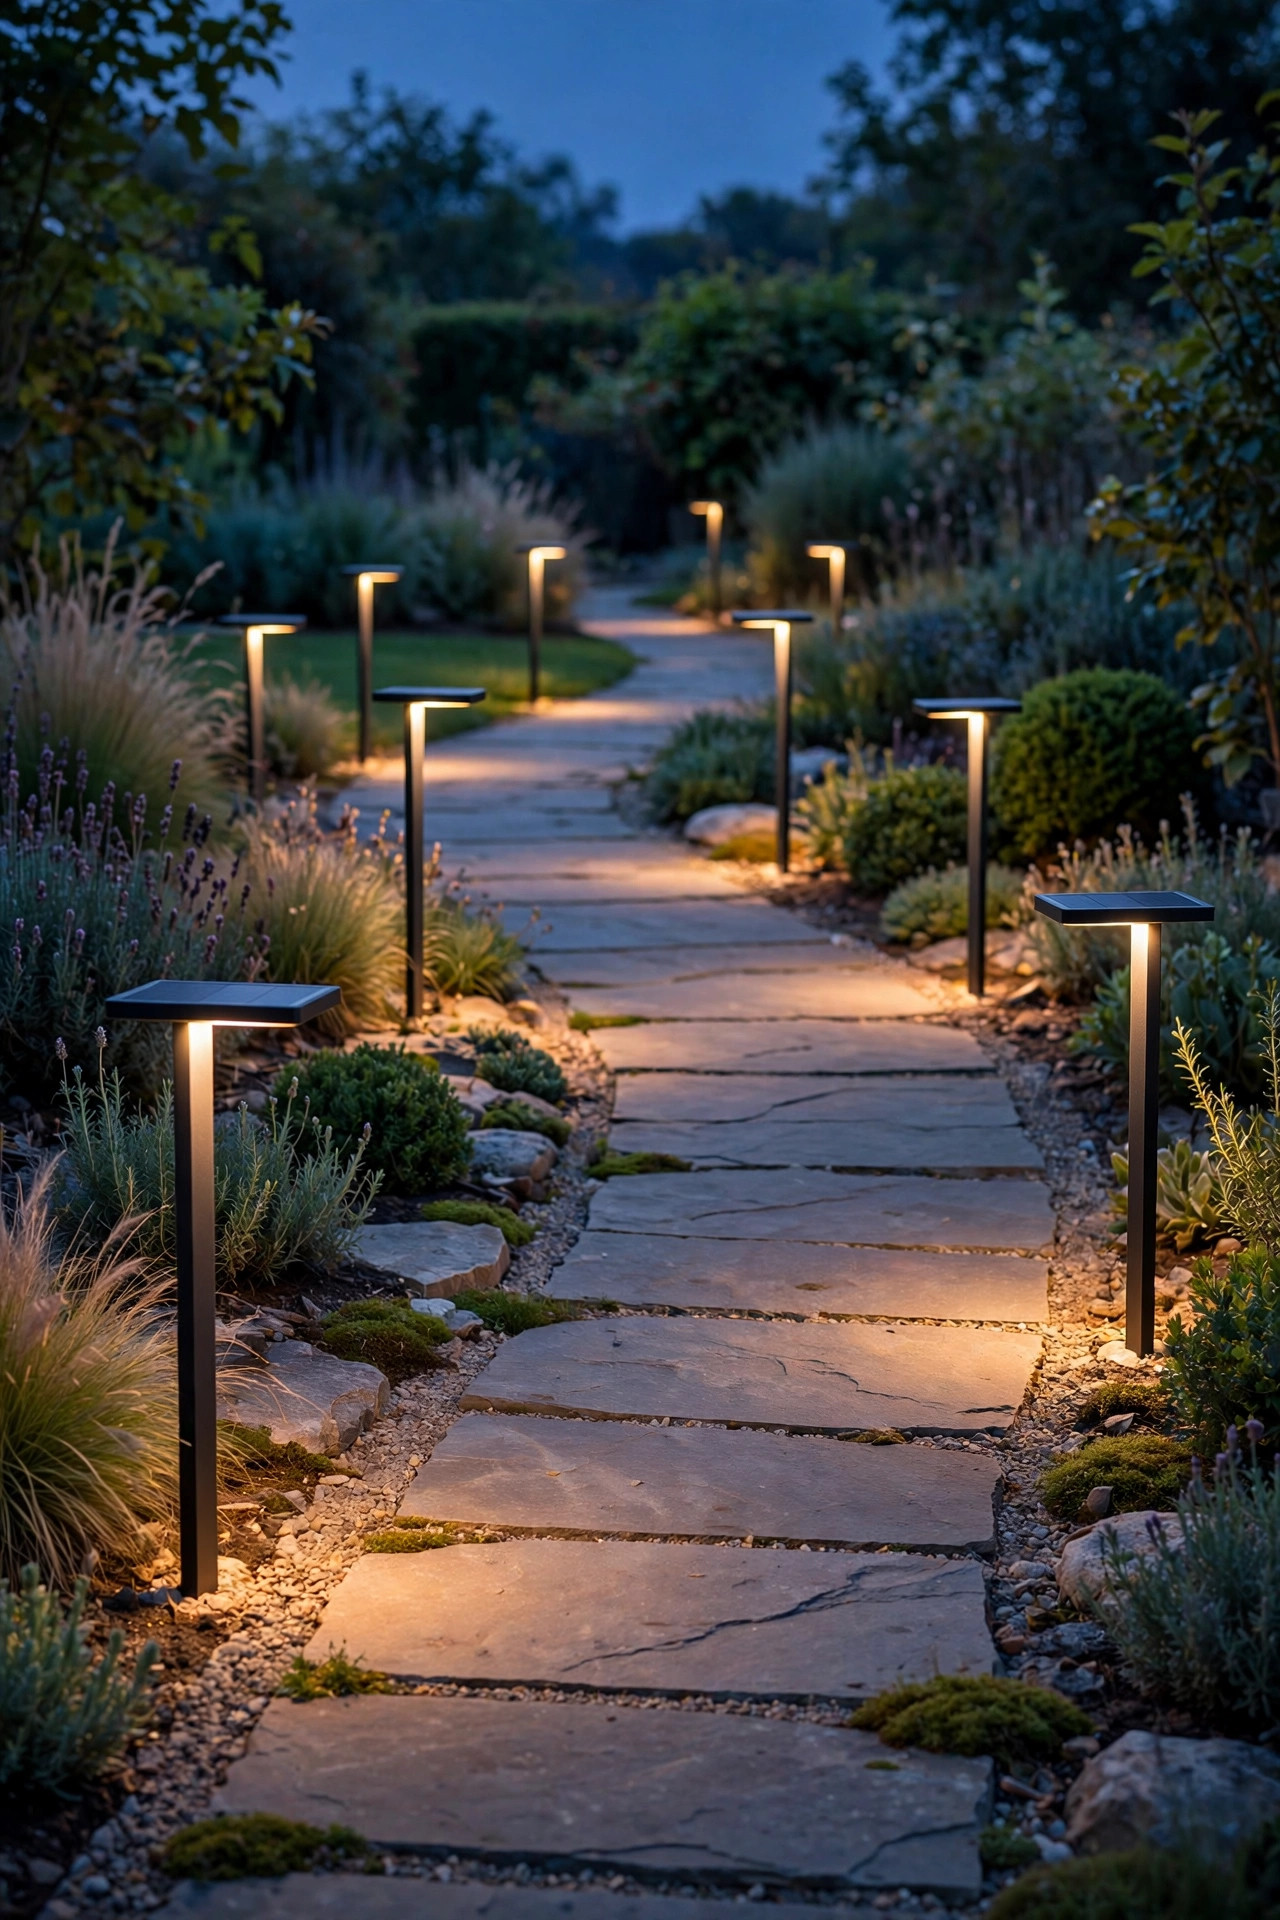
When friends ask where to start, I point them to slim solar stakes, because modern path light ideas really don't get lower-effort than this: no transformer, no cable trench, no electrician — just push the stake in and let the panel charge. The modern versions have come a long way from the dim plastic mushrooms of a decade ago. Look for a flat or flush-mounted panel on top, a metal body in black or brushed nickel, and a simple geometric head — a flat disc, a slim rectangle, a small cube. Brightness is the honest trade-off: good solar stakes give you 20 to 60 lumens, plenty to mark a path edge but not enough to light a dark stair, so pair them with one brighter fixture anywhere the footing changes. Give each panel six hours of direct sun, keep it wiped clean, and expect to replace rechargeable batteries every year or two. My solar path lights guide explains panel placement and realistic run times if you want the full picture before buying a set.
Suggested budget range: $25 – $60 for a set of 6 to 8.
7. Frosted-Lens Bollards for Soft, Glare-Free Pools
Not every modern path needs a crisp-edged beam. Bollards with frosted or opal lenses trade that sharp circle for a soft, even glow that feels calm and residential — perfect along a path that passes a patio, a bedroom window, or anywhere people linger. The frosting diffuses the LED, so the whole lower half of the post glows gently instead of throwing one bright hotspot. Because the light spreads in every direction, frosted bollards do double duty as ambient lighting for the planting beds beside the path. Space them a touch closer than shielded models, about 6 to 7 feet apart, since none of the light is being aimed. One caution from experience: frosted acrylic lenses yellow slowly under years of UV, so choose glass or UV-stabilized polycarbonate if the path gets full afternoon sun. These are also my top pick for homes with light-sensitive neighbors, because a frosted bollard is almost impossible to find harsh from across the street. Pair two at a gate or path entrance and they read like quiet lanterns — modern, but welcoming.
Suggested budget range: $40 – $95 per bollard.

8. Brushed Stainless Stakes for Coastal and Contemporary Homes
Finish matters more in modern design than anywhere else, and brushed stainless steel is the finish I reach for at coastal homes and crisp white contemporary houses where black can look heavy. A slim stainless stake — often just a narrow blade or small cylinder on a spike — reflects a little of the sky by day and disappears against pale stone and ornamental grasses. The practical case is just as strong: quality 316-grade stainless resists the salt air that pits painted aluminum within a few seasons near the ocean. Expect to wipe the heads down a few times a year, because water spots show on metal more than on matte black; a quick pass with a microfiber cloth after a storm keeps them looking new. Stainless pairs beautifully with concrete, pale gravel, and blue-green plantings like agave and blue fescue. If your home is inland and traditional, this finish can feel a little cold, in which case the warmer bronze tones in the next few ideas may suit you better — but on the right house, nothing looks cleaner.
Suggested budget range: $30 – $70 per stake.

9. Cube and Block Bollards for Geometric Gardens
If your landscaping runs on straight lines — squared hedges, rectangular beds, a grid of pavers — cube bollards will look like they were designed with the house. These are short blocks, typically 8 to 14 inches tall, with the light source hidden in a slot near the top so one face washes the path while the block itself stays dark and sculptural. By day they read as minimalist garden ornaments; set a pair flanking a path entrance and they work almost like gateposts. I like to echo the cube shape elsewhere, in a planter or a step edge, so the repetition looks intentional. Because the beam comes from one face, orientation matters: take an extra minute at dusk to rotate each block until the bright slot faces the walking surface, not the lawn. Concrete-look and stone-look finishes are showing up alongside the usual black metal, and they blend beautifully into hardscaped yards. Keep cubes on paths at least 3 feet wide — on a narrow walk, a chunky block can crowd the footing and catch ankles.
Suggested budget range: $50 – $120 per bollard.

10. Slim Blade Lights Along Stepping-Stone Paths
Stepping-stone paths are everywhere in modern yards, and they ruin the case for evenly spaced fixtures — the stones land where they land, and the lights should follow them. Slim blade lights, narrow vertical fins only an inch or two wide, are made for exactly this. Push one blade into the soil beside every second or third stone, angled so its wash rakes across the stone's surface and shows off the texture of the concrete or cut stone. That low raking light is also a genuine safety feature: it reveals the edge and height of each stone far better than a light shining straight down from above. Blades sit only 8 to 12 inches tall, so they never compete with the plantings around the path. Alternate sides as you go, following the natural zigzag of your stride, rather than forcing a straight row the stones don't follow. In my own side yard, five blades turned a mossy, ankle-threatening stone path into the prettiest walk on the property — and the whole project took one afternoon.
Suggested budget range: $22 – $50 per light.
11. Tiered-Length Bollards for Sloped and Terraced Paths
Sloped paths defeat one-size lighting: a bollard that's perfect on the flat stands knee-high at the bottom of a slope and buries itself at the top. The fix designers use is tiered lengths — mixing 12-inch, 18-inch, and 24-inch versions of the same fixture family so the tops step down the hill in a deliberate rhythm while every light source stays roughly the same height above the tread below it. Most good modern lines sell the same bollard in three heights for exactly this reason. Start at the top of the slope with the shortest post and lengthen as the ground falls away, checking from the bottom of the path at dusk until the row of glowing caps reads level. Pay extra attention at each landing and step: a fixture placed right where the grade changes does more for safety than three on the flat stretches. Terraced gardens get the same treatment, one or two bollards per level, always in the same finish so the tiers read as one system rather than a collection of leftovers.
Suggested budget range: $45 – $115 per bollard.

12. Smart Bollards With App Control and Schedules
Modern fixtures and modern controls belong together. Smart bollards — and smart versions of ordinary low-voltage systems, using a smart transformer — let you schedule the path to brighten at sunset, dim to 40 percent at 11 p.m., and switch off at dawn, all without touching a timer dial ever again. The feature I use most is zoning: the front walk on its own schedule, the side path on another, so I'm never lighting the whole yard to find the trash bins. Motion boost is the other winner — the path rests at a soft glow, then steps up to full brightness when someone actually walks it, which saves energy and startles nobody. A honest word of caution: put the system on your home's 2.4 GHz Wi-Fi band, keep the transformer or hub within decent range of the router, and choose a platform you'll still enjoy using in five years. Start with the controller before the fixtures, because one smart transformer can make an entire run of plain bollards behave like a smart system for a fraction of the per-fixture cost.
Suggested budget range: $80 – $180 per smart bollard, or $120 – $250 for a smart transformer.

13. Asymmetric Rows for Curved Paths
Curved paths are where rigid, both-sides-even spacing falls apart — and where a little asymmetry looks genuinely designed. Instead of mirroring fixtures across the walk, place bollards only on the outside of each curve, spaced 6 to 9 feet apart, and let the inside of the bend stay dark and soft. The eye reads the lit outside edge and follows the curve naturally, the same way headlights trace a bending road. At the tightest point of the curve, add one extra fixture; curves are where guests step off the path and into the flower bed, in my experience, always in their good shoes. Keep fixture height consistent along the whole curve, because a wandering height line makes the row look accidental rather than asymmetric. This approach uses about a third fewer fixtures than a mirrored layout, which quietly stretches the budget toward better quality. It also keeps light out of the planting beds on the inside of the bend, so low shrubs and groundcover stay moody and dark instead of lit up like a salad bar.
Suggested budget range: $35 – $90 per bollard.

14. Wired Low-Voltage Stakes for Even, Reliable Brightness
Solar is convenient, but when a path is shaded, long, or simply important — the main walk everyone uses in the dark — I still recommend wired low-voltage stakes. A 12-volt system fed from one transformer gives every fixture the same steady brightness from dusk to dawn, in January exactly as in June, with no batteries to fade. Modern stake designs in this category are slim and architectural: a narrow post, a small shielded head, nothing ornate. Plan on 50 to 100 lumens per stake and spacing of 5 to 7 feet for a front walk. The installation is a genuine afternoon project — bury the cable 6 inches deep along the path edge, connect each fixture, and set the transformer's timer or photocell once. My complete breakdown of low-voltage path lights covers transformer sizing and cable runs if you want to plan the whole system properly. The running cost surprises people: a dozen LED stakes together draw less power than one old porch bulb.
Suggested budget range: $25 – $55 per stake, plus $60 – $120 for a transformer.

15. Mini Bollards to Edge Garden Beds Beside the Path
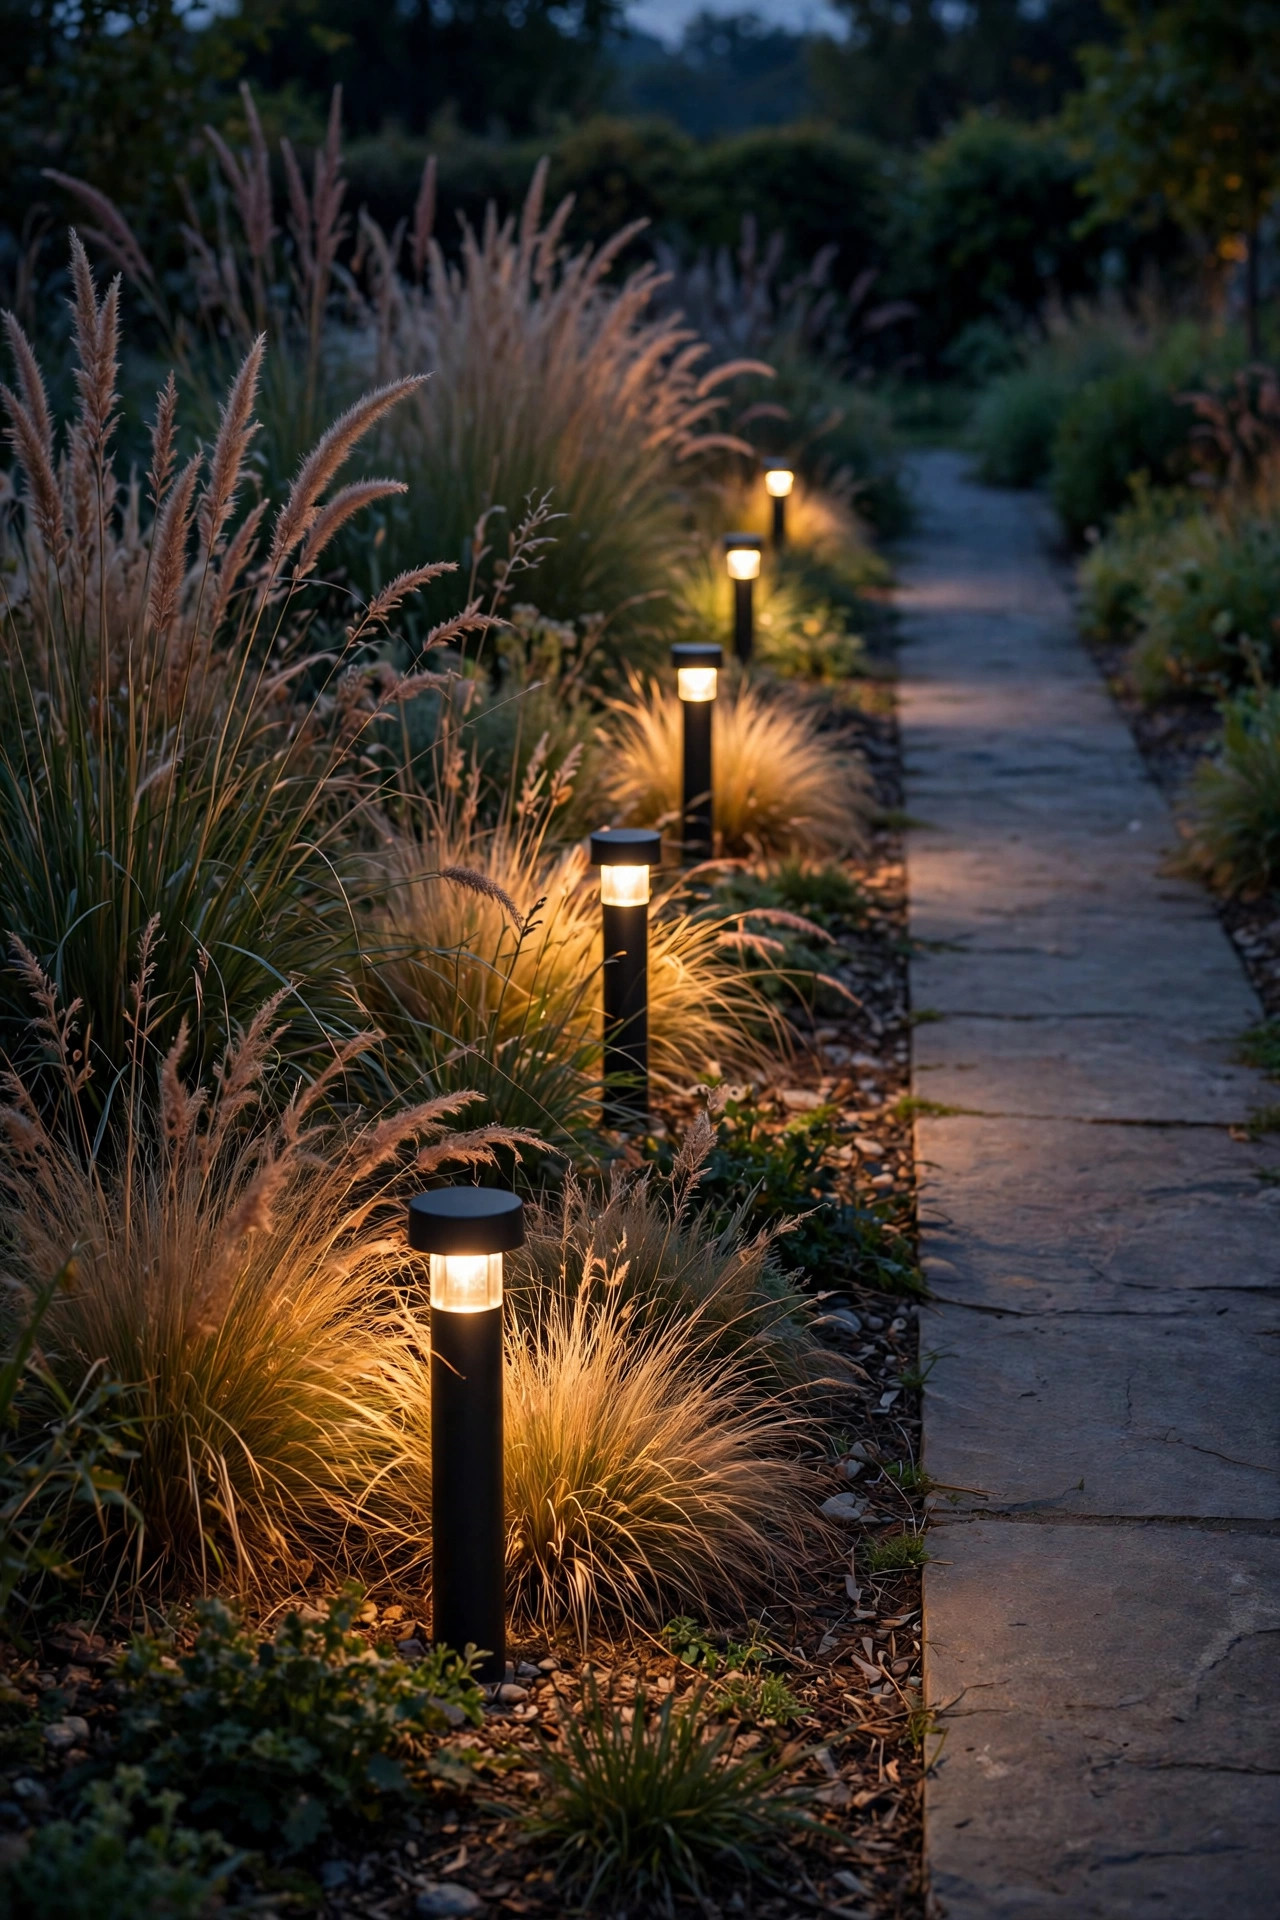
Not every path light has to light the path. Mini bollards — tiny versions of the real thing, 6 to 10 inches tall — placed just inside the garden bed beside a walk wash the plantings with light and outline the path by contrast, so the walk itself reads as a calm dark ribbon between glowing edges. It's the trick behind a lot of professionally lit modern yards, and it changes the whole feel of an evening stroll down the path. Space minis 3 to 4 feet apart inside the bed, far enough back that foliage doesn't swallow them by midsummer — I leave a hand's width of mulch visible around each one. Choose the same finish and family as your main path fixtures so the layers look related. Because minis sit low and mostly light leaves, keep their output gentle, around 30 to 80 lumens; the goal is definition, not a second lighting system competing with the first. They are especially pretty against ornamental grasses, whose seed heads catch the light and move with it in a breeze.
Suggested budget range: $18 – $40 per mini bollard.
16. Path Lights That Graze a Wall or Fence
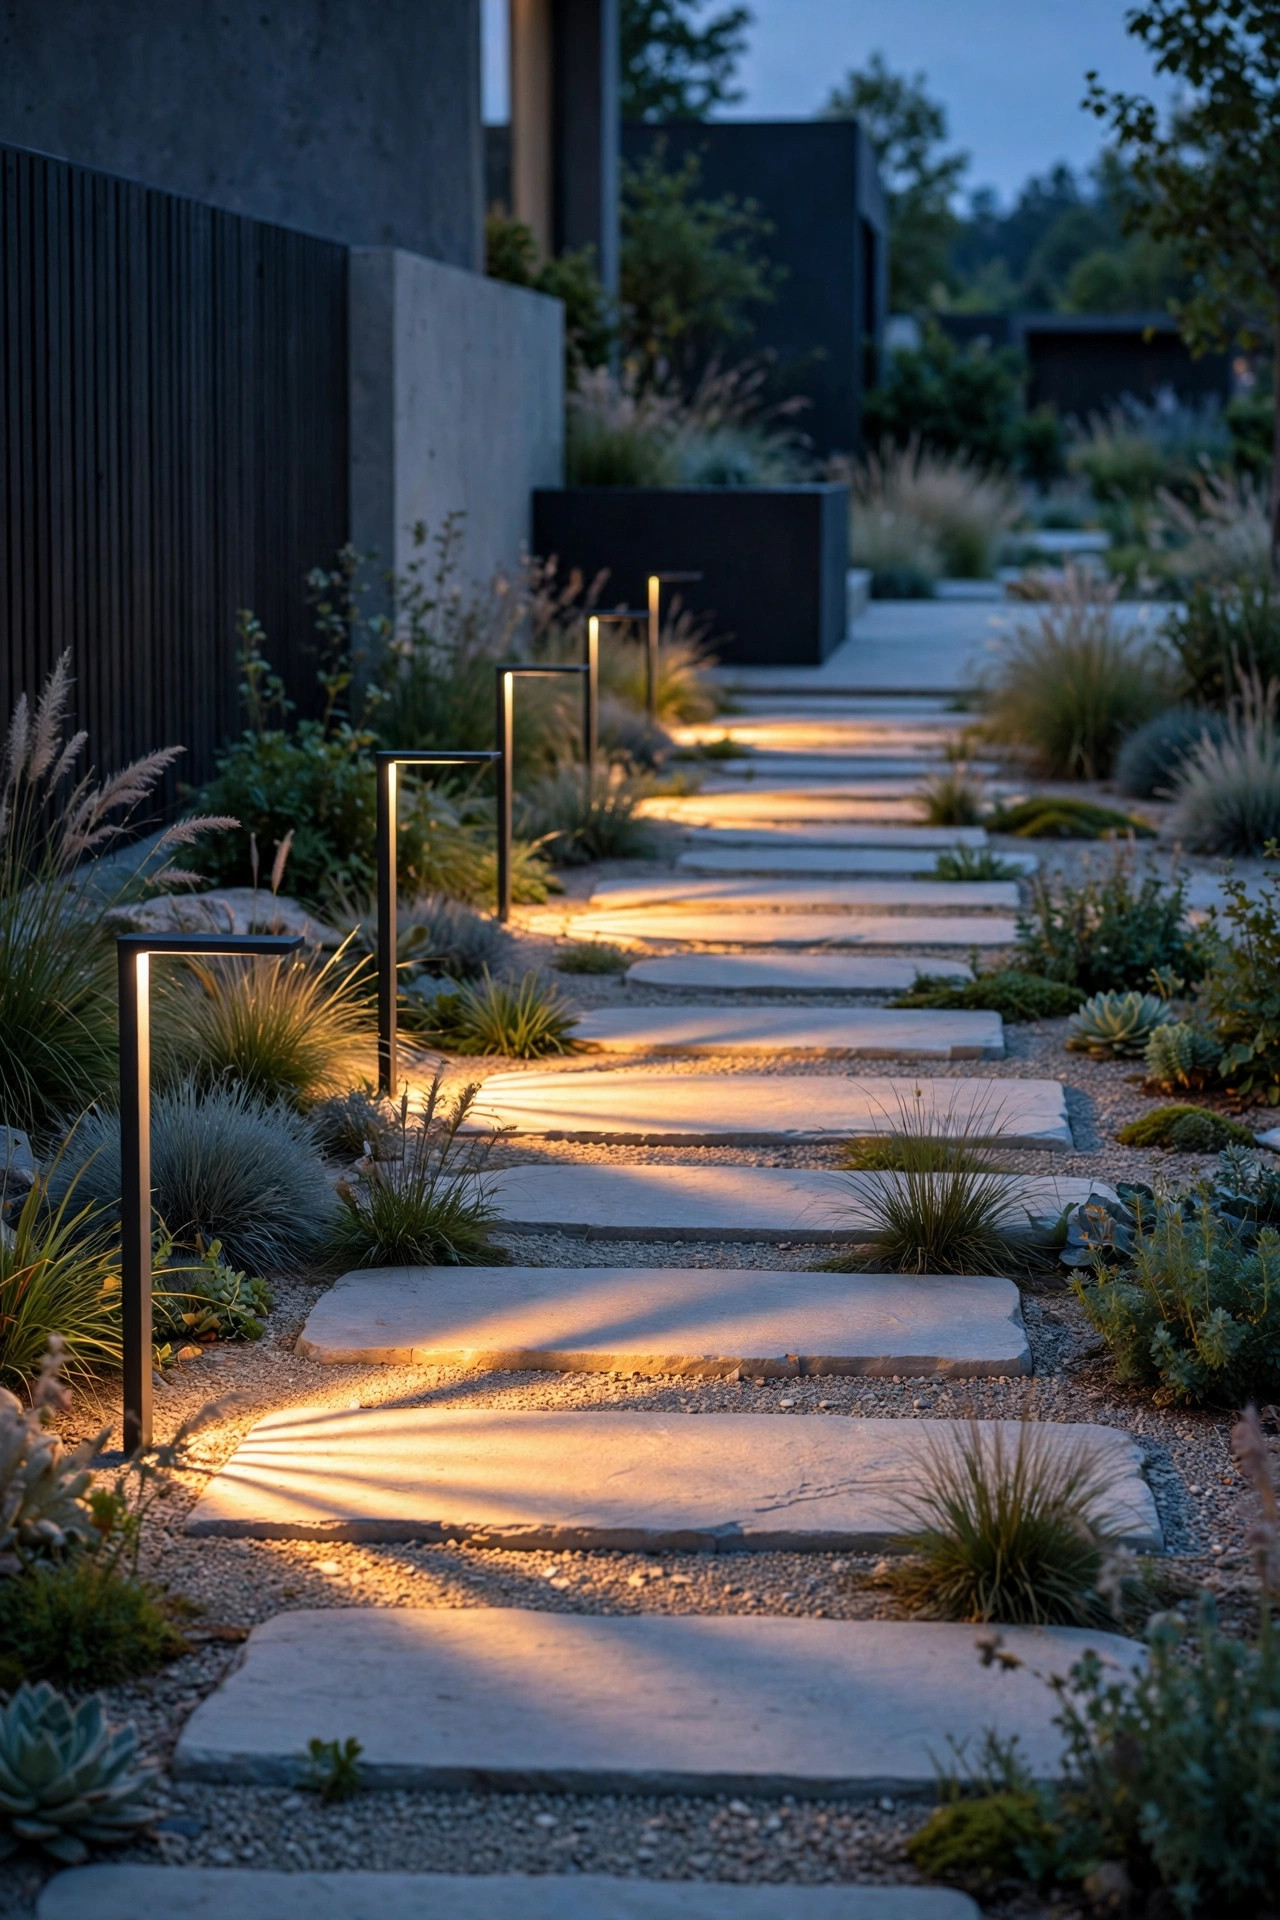
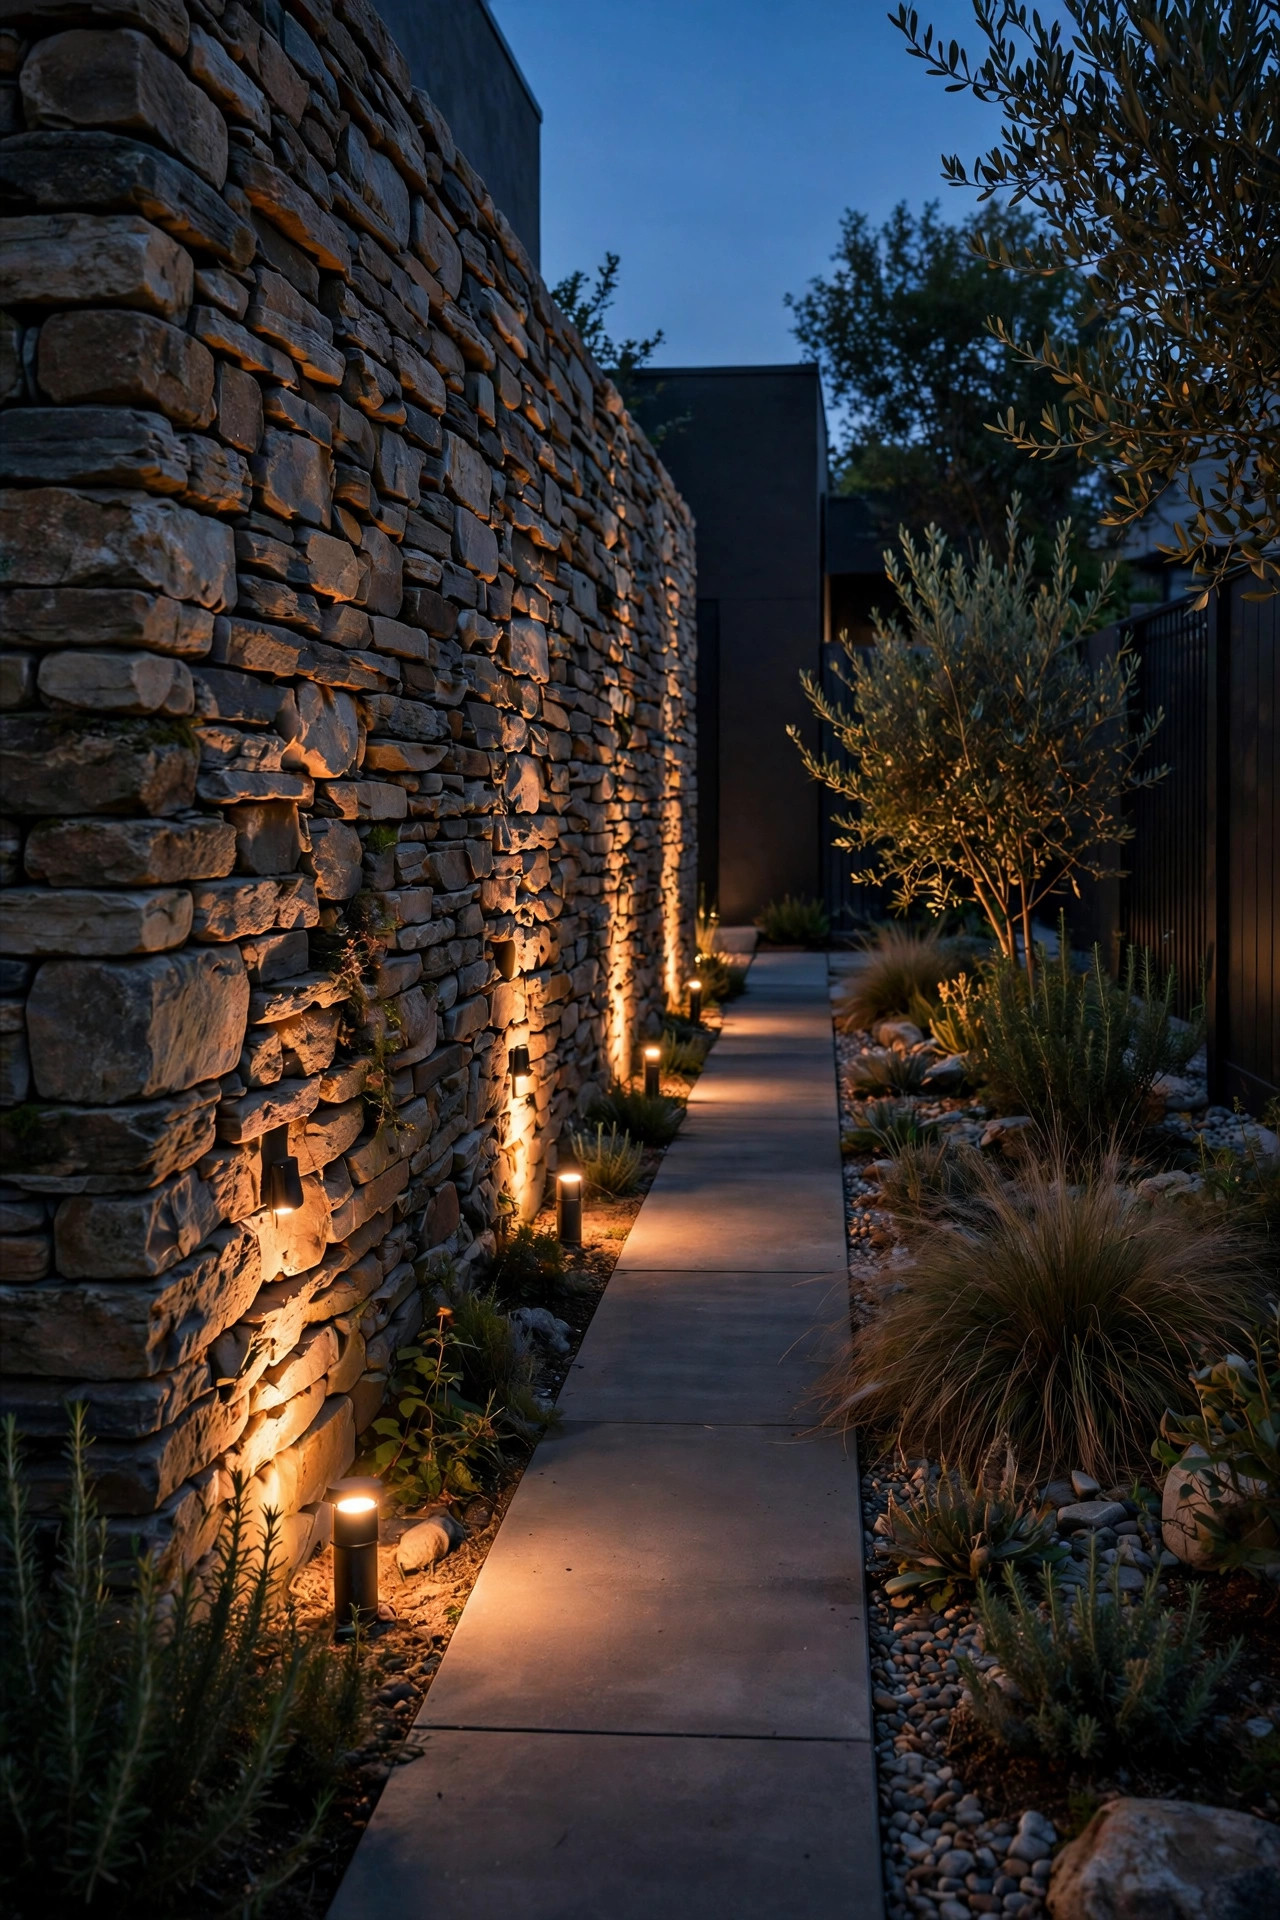
Where a path runs tight alongside a wall, fence, or hedge, a standard bollard wastes half its light on the greenery behind it. Fixtures made for this job — slim posts or low wall-wash stakes with a one-directional beam — throw everything forward across the path while grazing the surface beside it, and that graze is where the magic is: brick, stacked stone, and board-formed concrete all show gorgeous texture under a low raking light. On smooth stucco the same trick adds a soft gradient that makes a narrow side yard feel wider. Space these 5 to 7 feet apart and keep them within a foot of the wall so the graze stays strong. Side yards are the classic spot — the utilitarian path to the bins and the gate suddenly looks like a gallery corridor. One safety note: in a narrow passage, keep fixtures shorter than 12 inches and tight to the wall, so shoulders, hips, and carried laundry baskets pass without collisions in the dark.
Suggested budget range: $28 – $65 per light.
17. The Layered Plan: One Modern Path Light System, Mixed Heights
Every idea above works alone, but the yards that stop people on their evening walks layer three heights on purpose. Here's the recipe I give friends: tall bollards at the two or three decision points — the driveway apron, the gate, the bottom of the steps — mid-height fixtures along the main run of the walk, and minis or in-grade markers tracing the edges and beds. Keep one finish, one color temperature, and one fixture family across all three layers, and the yard reads as a single designed system instead of a sampler. Put each layer on its own zone or timer if you can, so late at night the path can rest at just the edge markers while the bollards sleep. Walk your own path at dusk before you finalize anything, phone flashlight off, and adjust spacing where your feet actually hesitate. That's the real test of any modern path light plan — not how it photographs, but how confidently it walks. Get the layers right and the simplest fixtures in the world will look expensive.
Suggested budget range: $300 – $900 for a typical front walk, all layers.

Frequently Asked Questions
How far apart should modern path lights be spaced?
For most front walks, 5 to 8 feet is the sweet spot. Use the closer end for low solar stakes and mini fixtures, and the wider end for taller bollards that throw a bigger pool of light. The real test is at dusk: stand at one end and look for dark gaps where the pools don't nearly meet, then nudge fixtures closer there. Steps, gates, and turns always deserve their own fixture regardless of the spacing pattern.
Are bollards or stake lights better for a modern look?
Both work — the modern look comes from clean lines and a single consistent finish, not the fixture type. Bollards read more architectural and suit straight walks, driveways, and contemporary homes. Slim stakes are easier to install, simpler to move when plantings change, and better along curves and beds. Many of the best-looking yards mix them: bollards on the main walk, stakes in the beds and side paths.
What color temperature looks best with modern path lights?
Warm white, 2700K to 3000K, is my recommendation almost every time. It flatters skin, stone, wood, and plantings, and it keeps a modern yard feeling calm rather than clinical. Cool 4000K-plus light can work on ultra-contemporary gray-and-white homes, but it turns most gardens blue and harsh. Whatever you choose, keep every fixture on the path the same temperature — a mix of warm and cool is the fastest way to make a system look accidental.
Solar or low-voltage wired: which is better for path lighting?
Solar wins on installation: no wiring, no transformer, and fixtures you can move in minutes — ideal for sunny paths and renters. Low-voltage wired wins on performance: identical brightness every night, all winter, even under trees, plus easy smart controls from one transformer. In my experience the happiest setups are honest about their sun. Bright open path? Solar is genuinely enough. Shaded or heavily used main walk? Wire it once and never think about it again.
Conclusion
The heart of every good set of modern path light ideas is restraint: quiet fixtures, one finish, warm light aimed down, and spacing that follows how people actually walk. Start with the main front walk, layer in a second height once you see it at dusk, and let the beds and curves come last. Browse the rest of the lighting ideas here whenever you're ready for the next layer — your yard after dark is about to become your favorite view of the house.