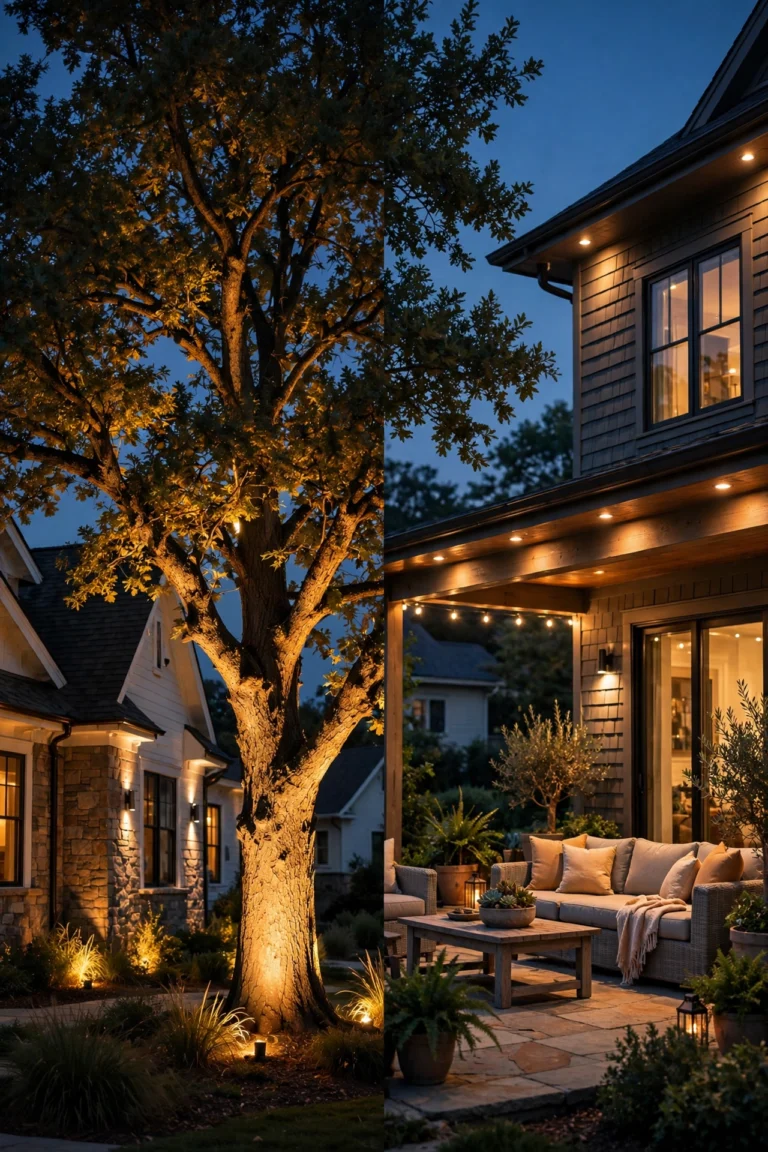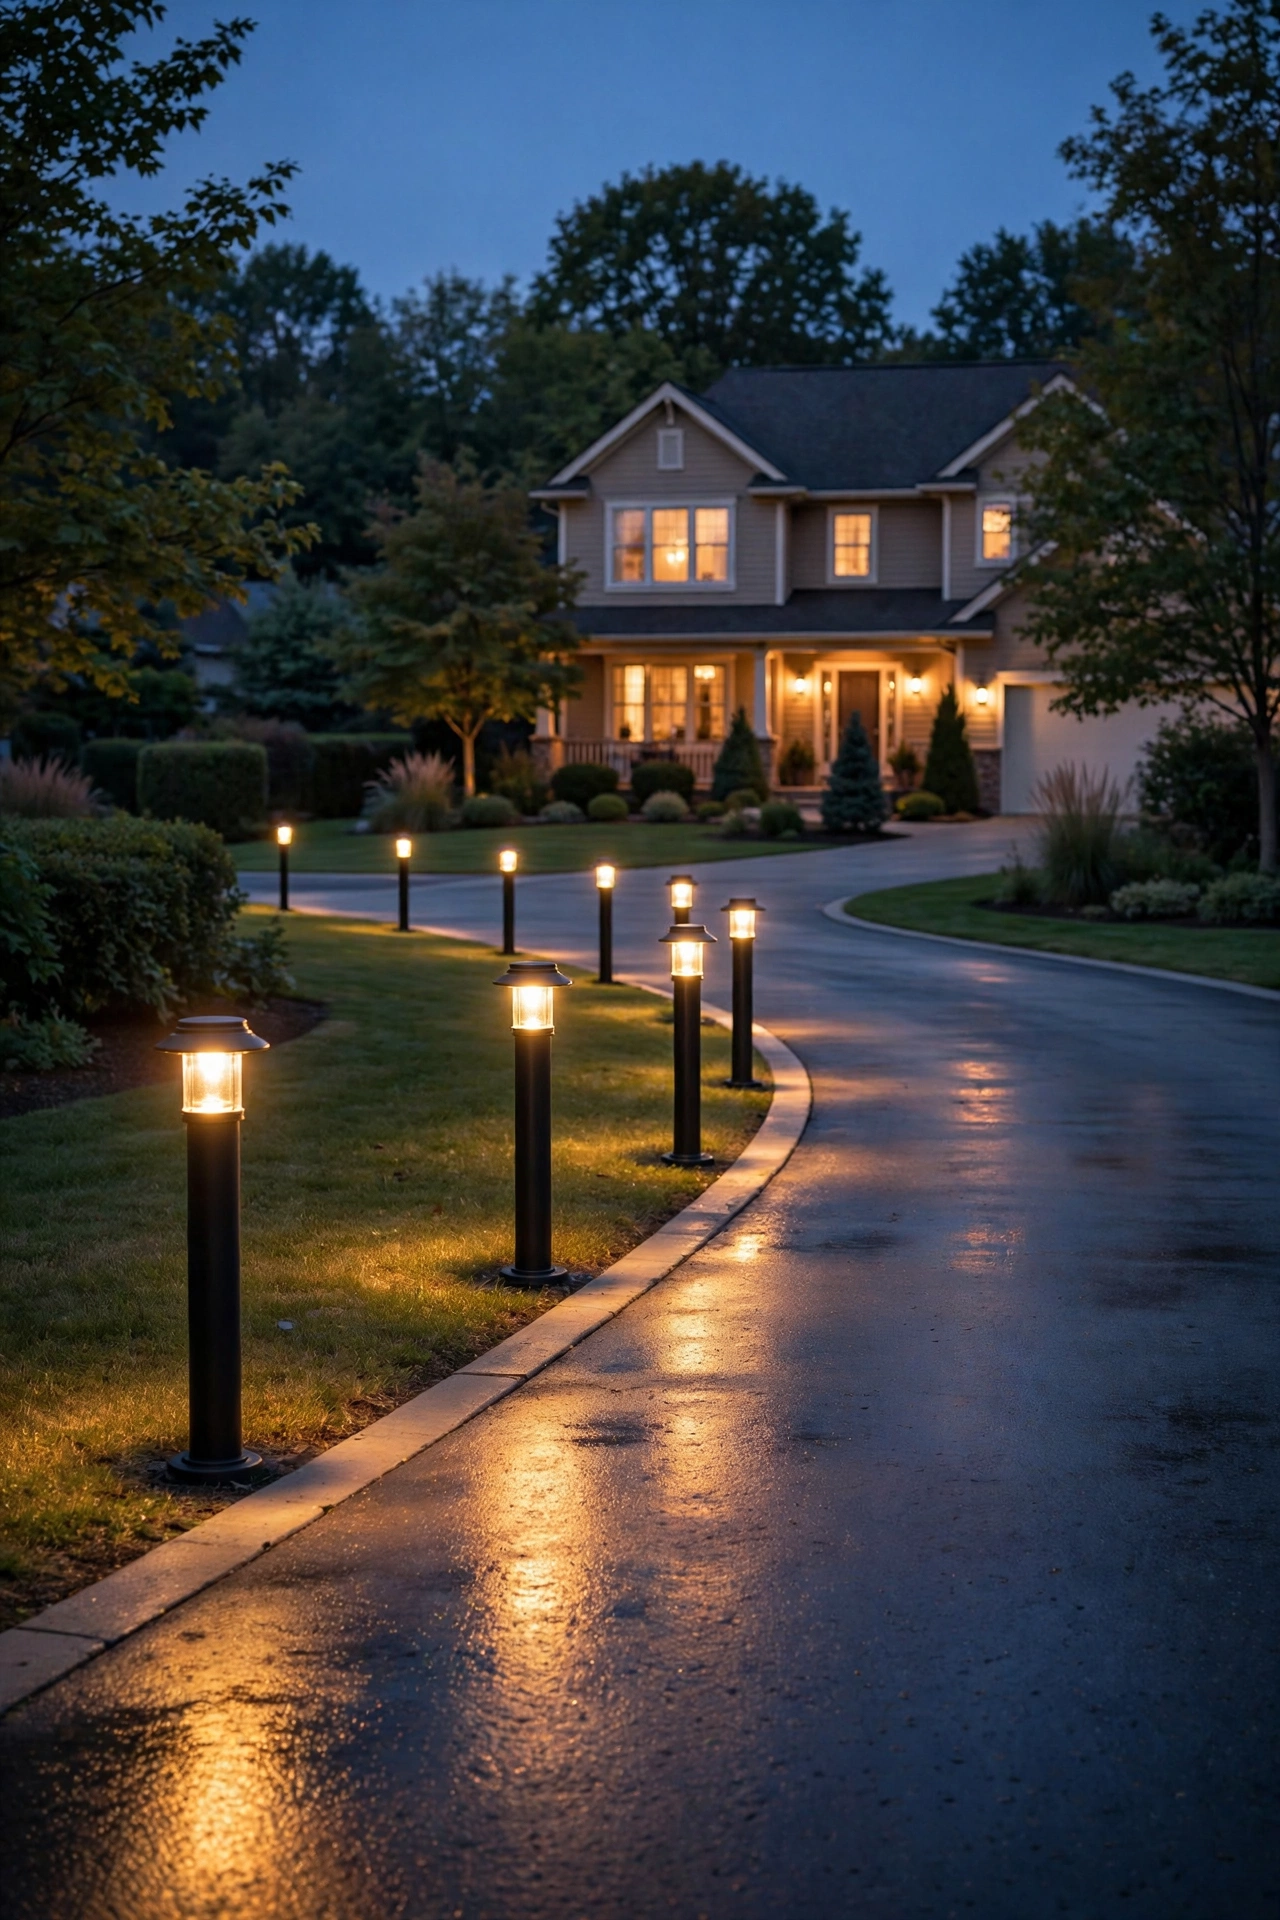
There's a moment at dusk when a house either glows or goes dark — and in my experience, the driveway makes that decision. I've walked past enough homes to know: a dark driveway feels unfinished, but a runway of warm bollard lights? That feels like arriving somewhere on purpose. That's exactly why driveway bollard lights are one of my favorite upgrades. They're not floodlights screaming security; they're quiet little columns of light that guide the eye, the feet, and the car straight to your front door.
Here's the philosophy I come back to every time: lighting works in layers. Bollards are your base layer — low, even, and rhythmic. Once that layer is right, everything else (porch sconces, landscape uplights, even December's Christmas lights) sits on top of it beautifully.
In this post, I'm walking you through 17 concrete driveway bollard light ideas — from no-wiring solar options you can install this weekend to hardwired showpieces that turn a driveway into an arrival. Each one includes real measurements, placement rules, wiring notes, and styling tips, plus an honest budget range so you can plan before you shop.
1. The Classic Runway: Matched Pairs on Both Edges
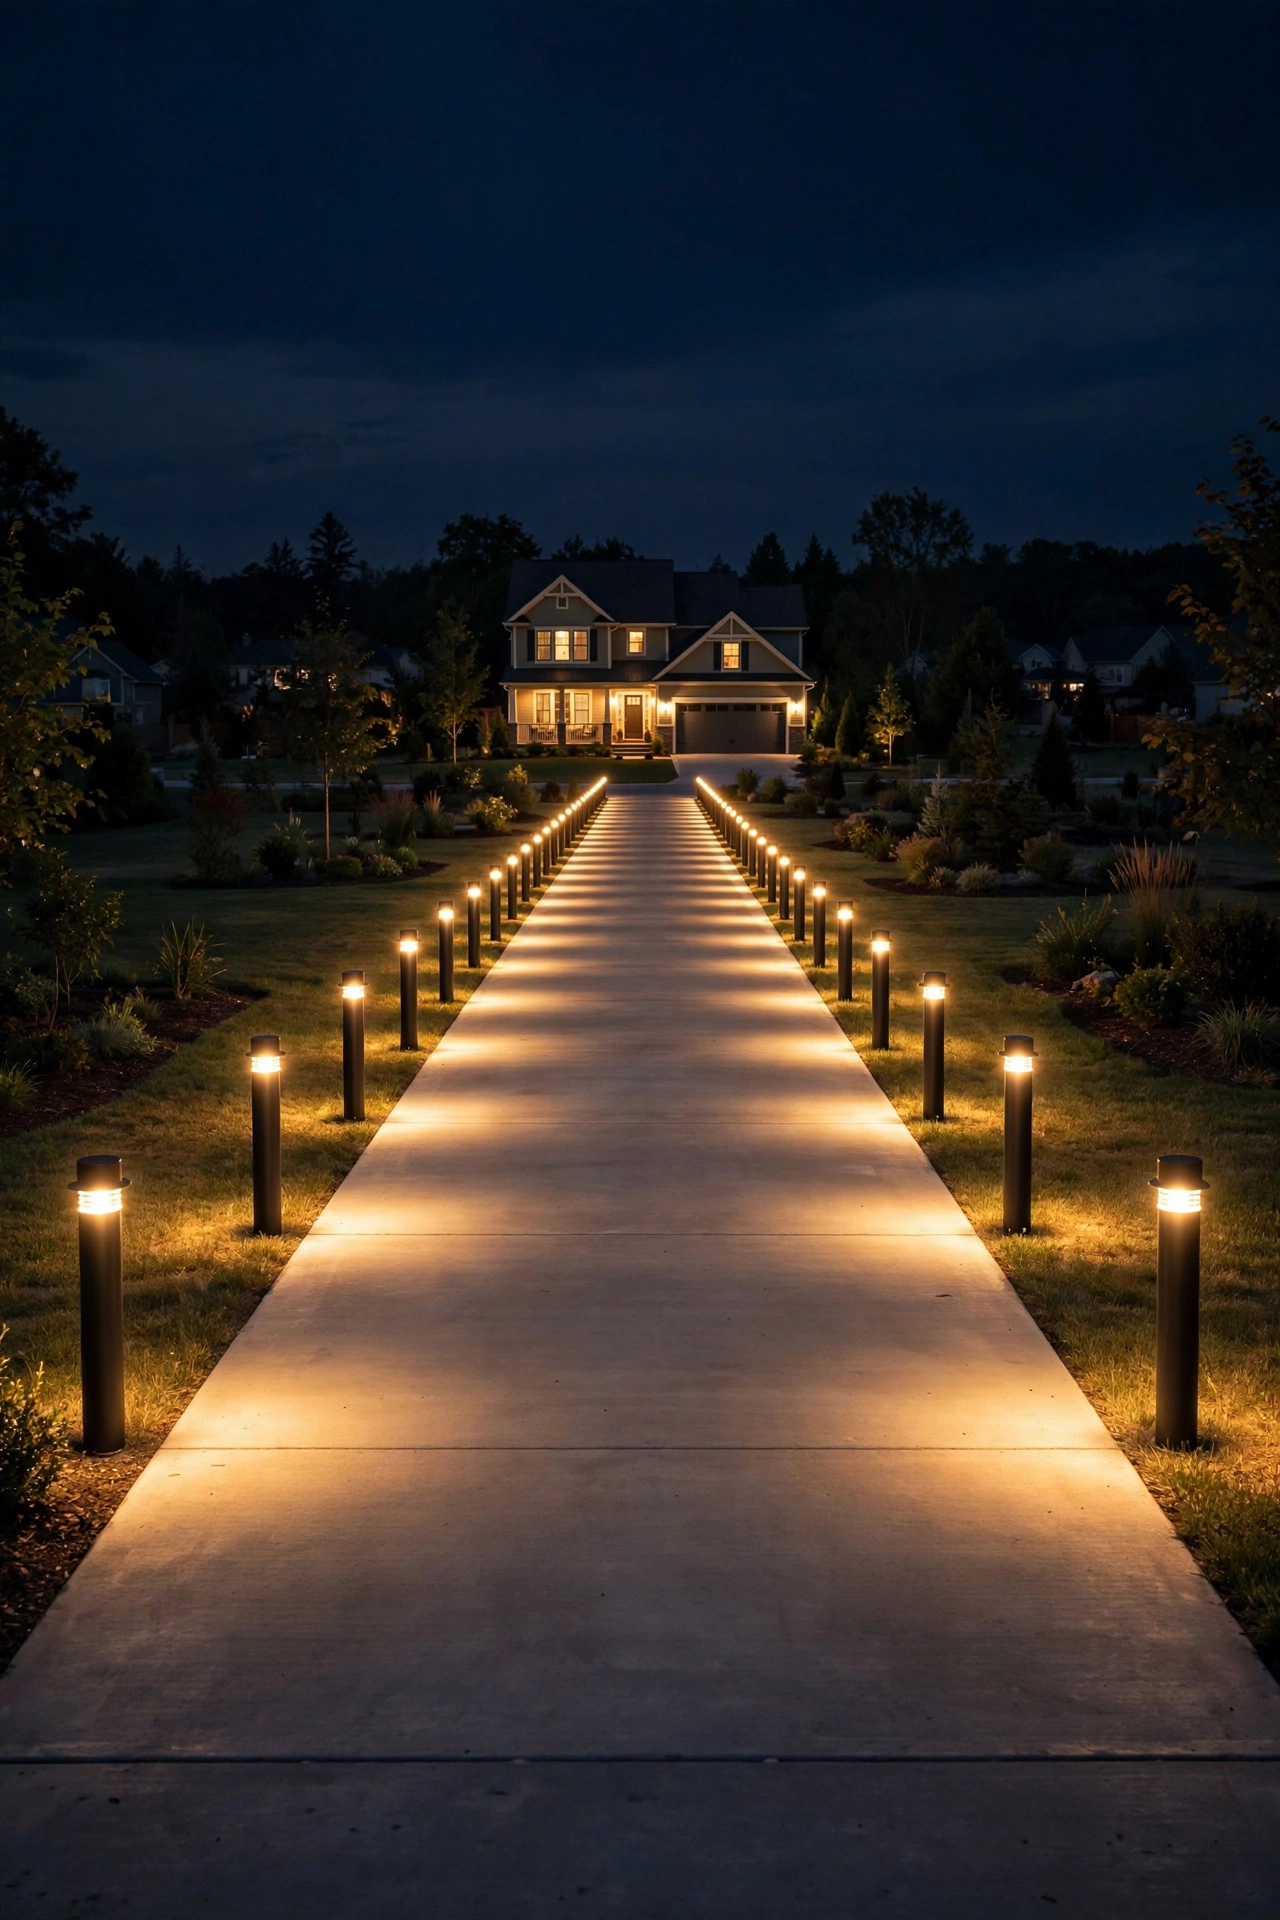
This is the look everyone pictures — a straight double row of identical bollards marching down both sides of the driveway like a runway. In my experience, it's the safest bet for resale value because it reads as intentional and balanced. Choose bollards 24 to 42 inches tall with downward or louvered heads so light pools on the pavement instead of shooting into drivers' eyes. Space them 8 to 10 feet apart on each side, and offset nothing — symmetry is the whole point here. Start the first pair 6 to 8 feet back from the street or sidewalk so you're not lighting the curb. For a 60-foot driveway, that's roughly seven pairs. Use warm white (2700–3000K) throughout; cooler temperatures on asphalt look clinical, honestly. Wired low-voltage (12V) gives the most even glow across a long run, but solar models work if your driveway gets 6+ hours of direct sun. Set them 18 to 24 inches off the driveway edge so car doors can't clip them, and check for buried utilities before you dig — most states have a free 811 call-before-you-dig line.
Suggested budget range: $350 – $1,400.
2. The Staggered Zigzag for a Relaxed Feel
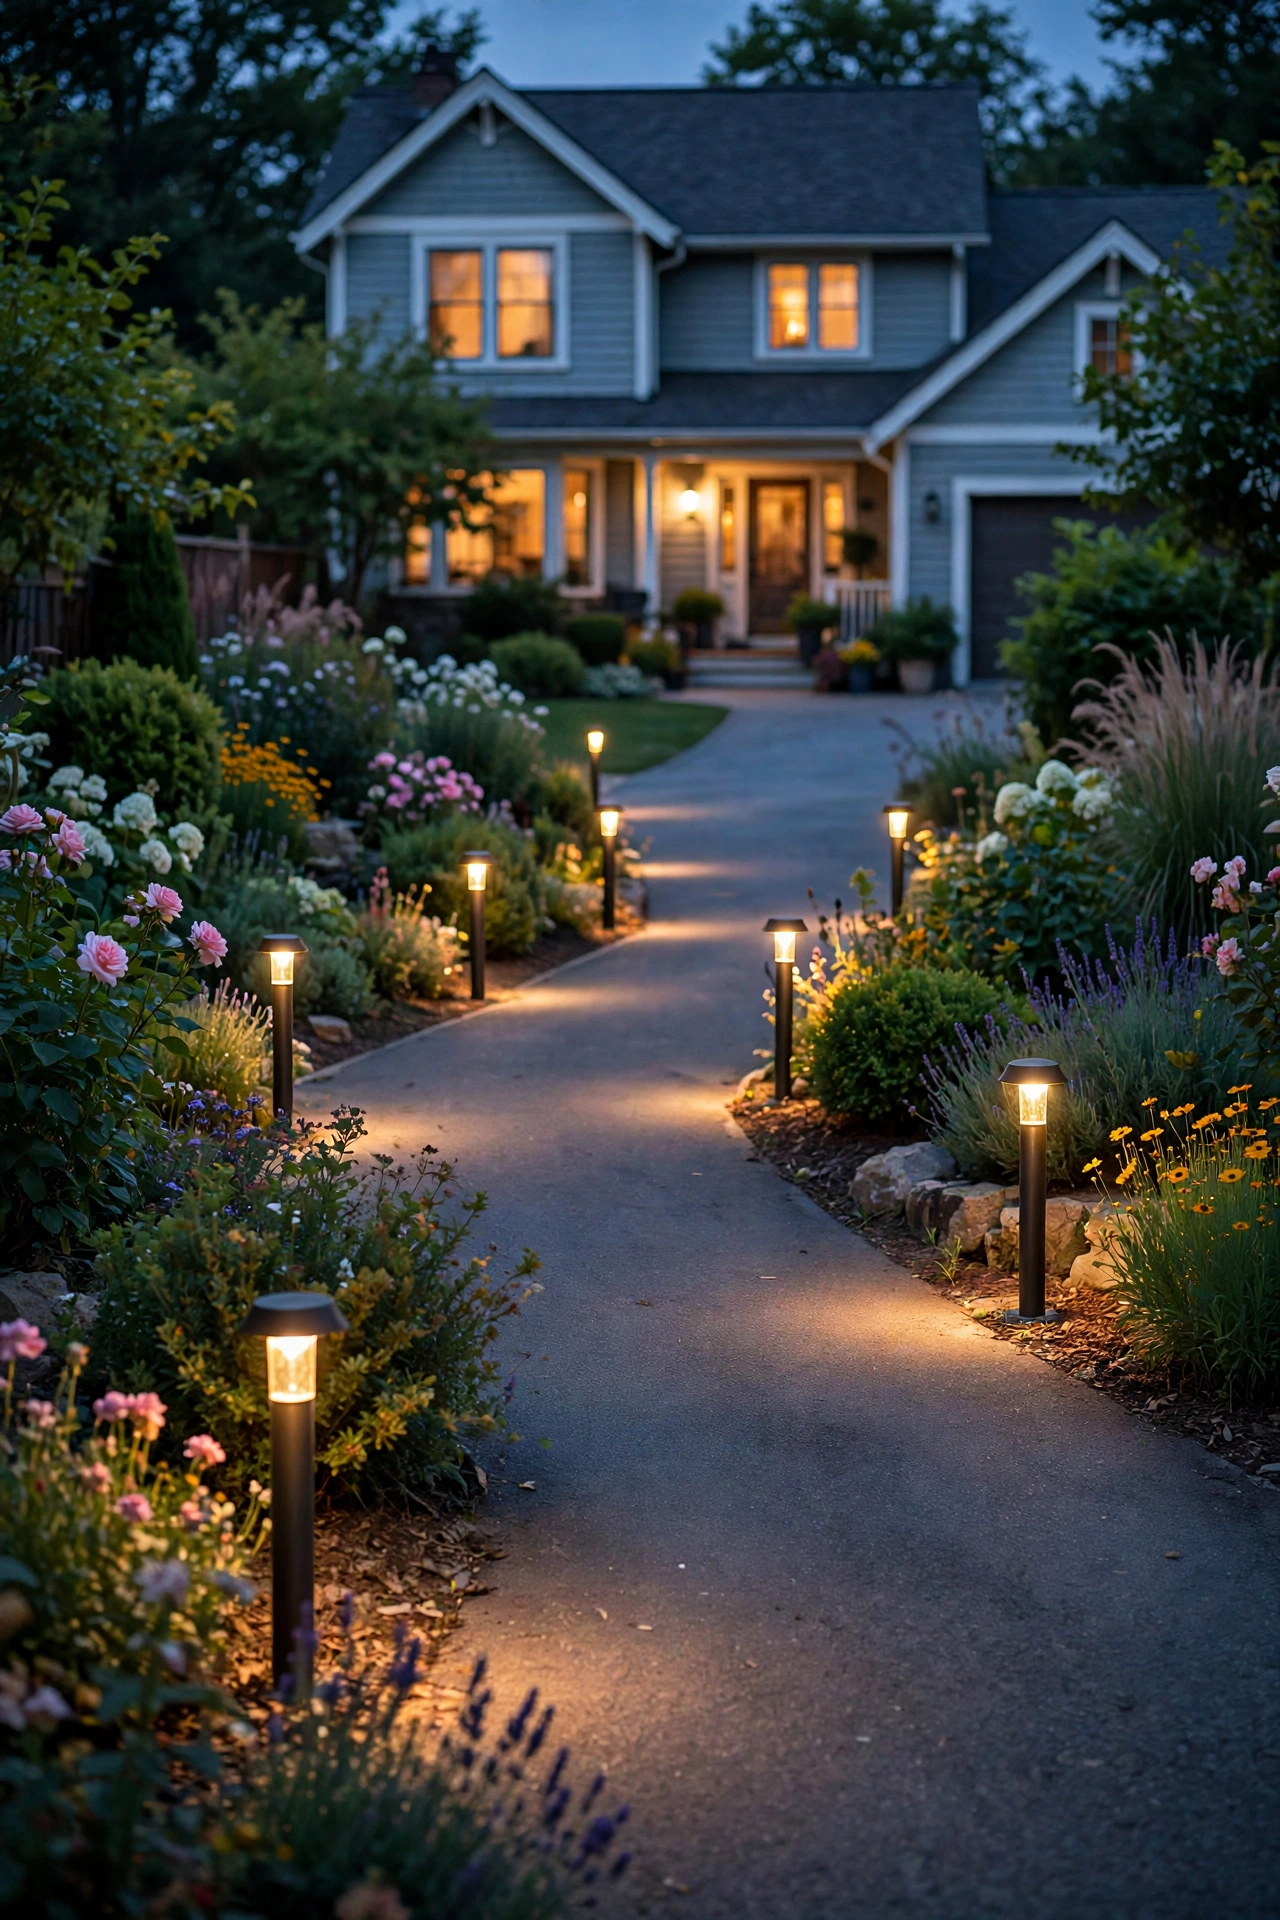
If perfect symmetry feels a little too formal for your house, try staggering the bollards — one on the left at 0 feet, one on the right at 10 feet, back to the left at 20, and so on. I always recommend this pattern for cottages, farmhouses, and ranch-style homes because it feels organic instead of ceremonial. You get the same guidance for drivers with roughly half the fixtures, which is kind to the budget too. Keep the same 8-to-10-foot spacing rhythm and 18-to-24-inch setback from the edge, and hold the heights identical — the zigzag only works when the lights themselves match. Downlight-only heads matter even more here, since a driver looking down a staggered row will catch every unshielded lens. This pattern is a natural fit for solar bollards, since each fixture stands alone with no wiring to route in a zigzag trench. Just be honest about your sun exposure: fixtures on the shaded side of a tree-lined drive may glow dimmer than their sunny neighbors. A warm 2700K color ties the staggered rhythm together and keeps the whole drive feeling like one continuous gesture.
Suggested budget range: $180 – $800.
3. Tall Statement Bollards at the Entrance Throat
Some driveways deserve an exclamation point. Flanking the first 10 to 15 feet of your driveway — what designers call the entrance throat — with taller bollards (48 to 60 inches) instantly signals "grand arrival." I love this for long driveways, gates, or homes set back from the street. Use just two to four of them, spaced 6 to 8 feet apart, positioned 2 feet off the pavement edge so they clear mirrors and open doors. The taller height puts the light source above a car's hood line, so make sure the heads are louvered or shielded downward to avoid glare for arriving drivers — a 360-degree bare bulb at eye height is genuinely uncomfortable. Match the fixture finish to your front-door hardware or entry sconces (matte black, oil-rubbed bronze, or brushed nickel are my go-tos) for a pulled-together look. These are usually hardwired or low-voltage wired since taller fixtures look best with consistent, full-brightness output all night. All wiring must be outdoor-rated, in conduit, and on a GFCI-protected circuit — this is a job for an electrician if you're not comfortable with outdoor wiring.
Suggested budget range: $500 – $2,000.
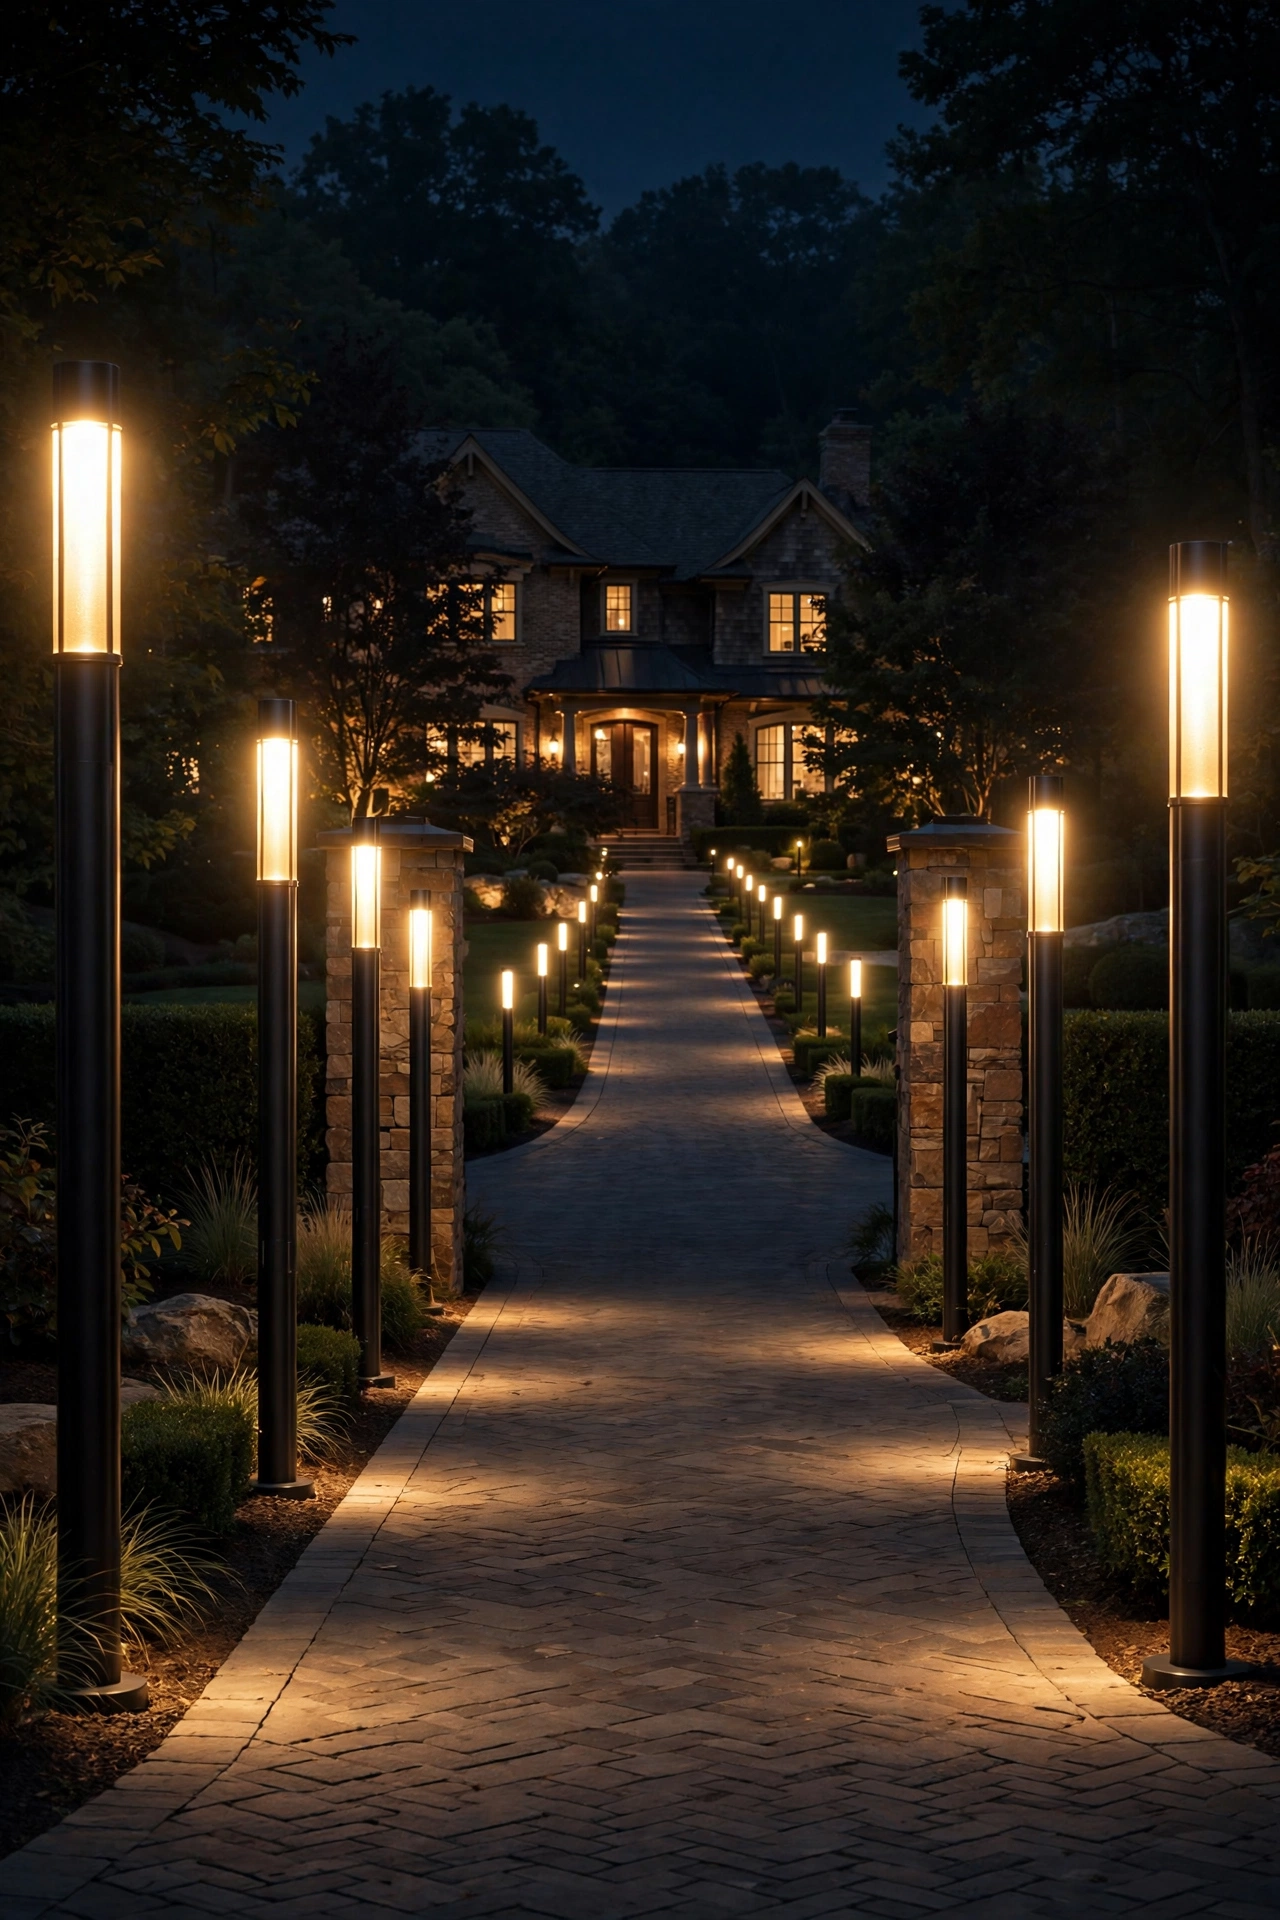
4. Short Low-Glare Dome Bollards
Not every driveway needs to make a statement — some just need to be safe. Short bollards, 12 to 18 inches tall with domed or mushroom-style caps, cast a soft pool of light right at the pavement's edge without throwing light anywhere near eye level. I always recommend these when the driveway runs close to bedroom windows, because they light the ground and almost nothing else. Space them a little tighter than tall bollards — 6 to 8 feet apart — since each one covers a smaller circle. Set them 12 to 18 inches off the edge; their low profile means car doors swing right over them, so keep that clearance generous on the driver's side. Dome bollards are widely available in solar versions, which suits their casual role: no wiring, no transformer, just push them into the ground. One caution: short fixtures are easy to bury in mulch or snow, so rake beds back and choose models with at least a small riser in snowy climates. Warm 2700K keeps them cozy rather than utilitarian.
Suggested budget range: $120 – $500.
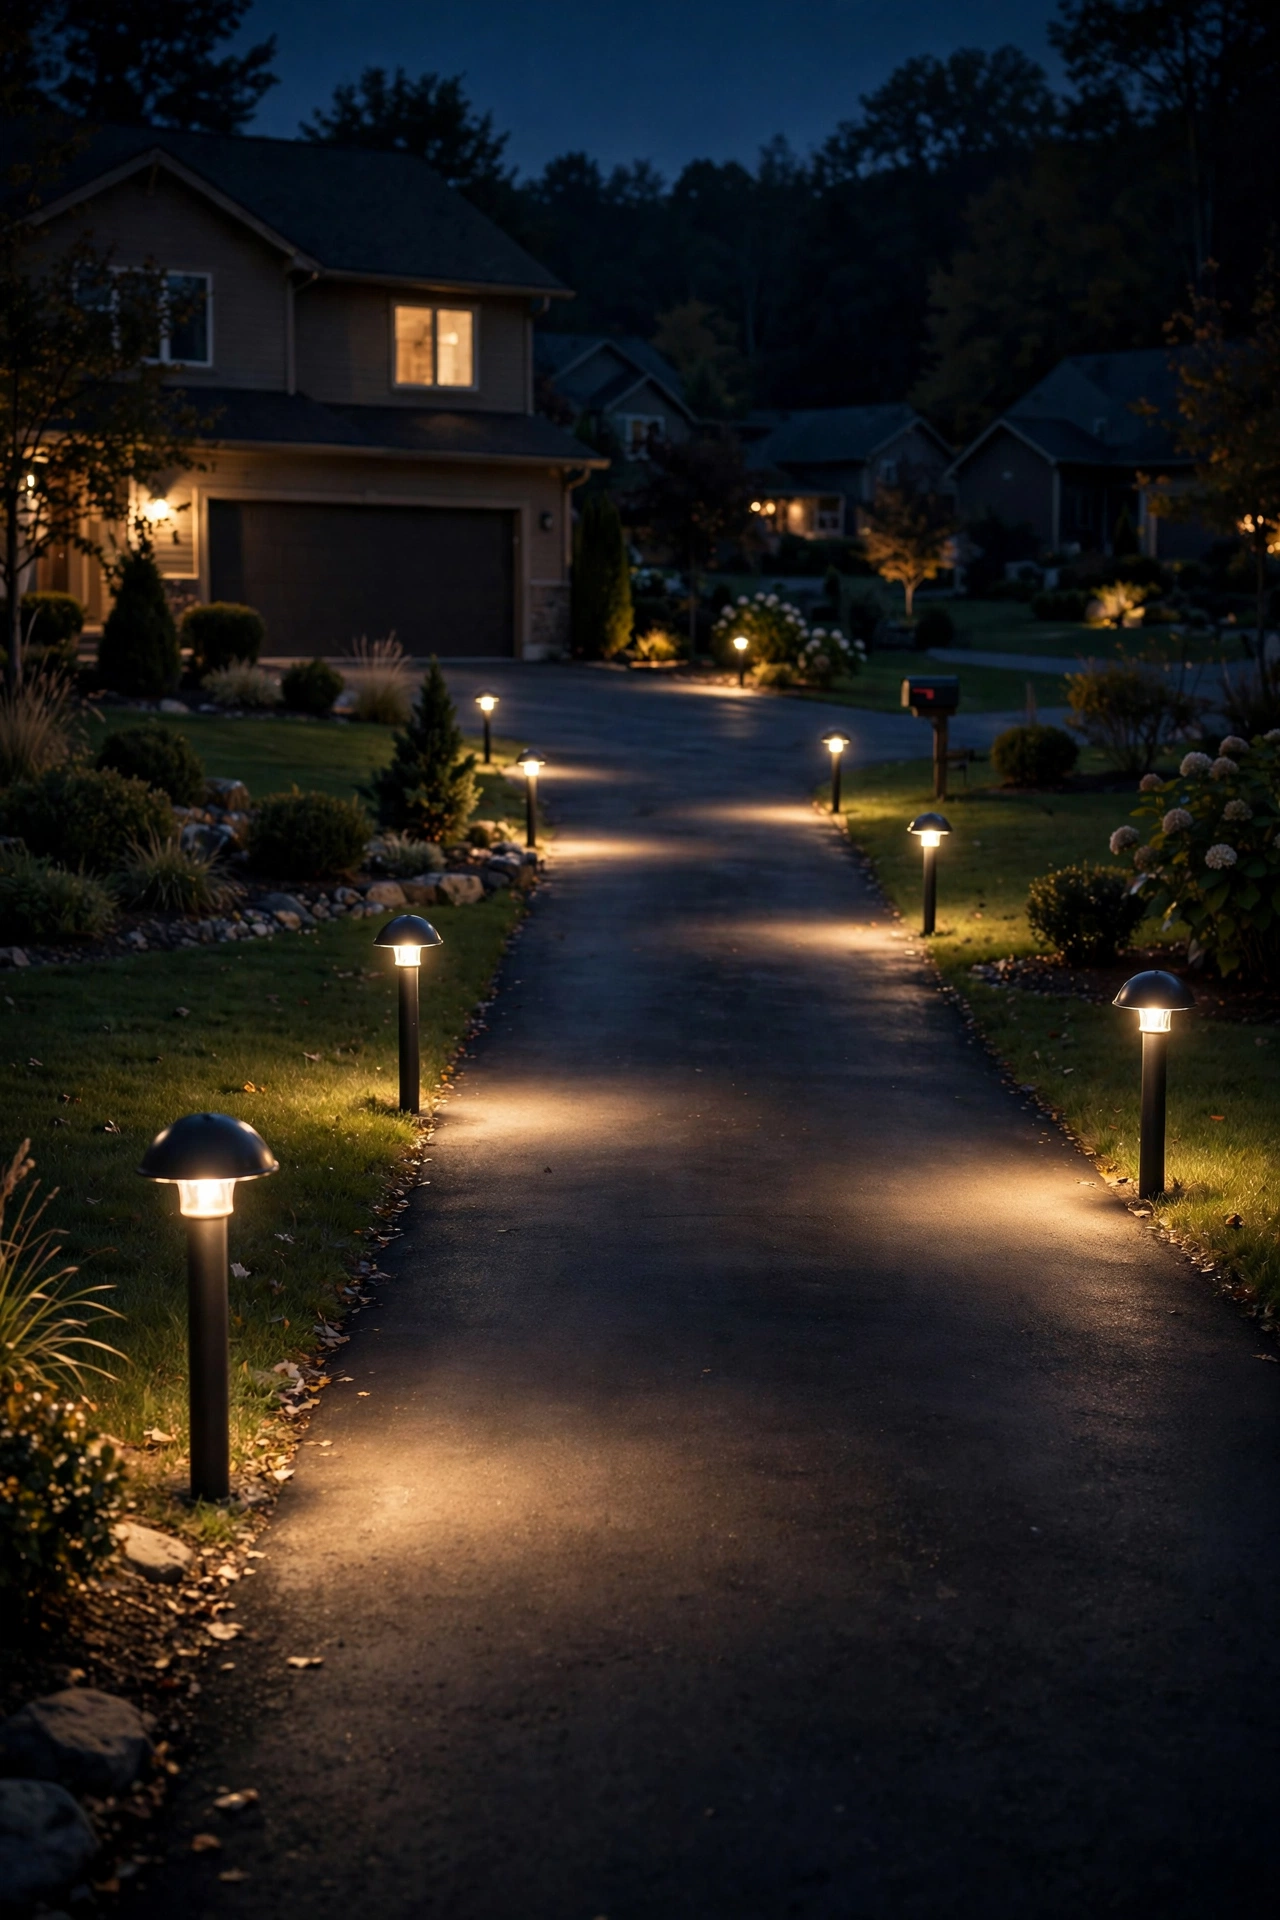
5. Solar Driveway Bollard Lights: The No-Wiring Weekend Install
Honestly? If the idea of trenching wire makes you want to call a contractor, start here. Modern solar bollards have come a long way — the good ones now hold a useful charge through an 8-hour night in summer. The rules are simple: each fixture needs 6 to 8 hours of direct sunlight, so map your shade before you buy. Place them 8 to 12 feet apart (solar output varies, so test placement for a week before committing). Installation is literally stake, charge, and walk away — no transformer, no conduit, no electrician. Choose models with a dusk-to-dawn sensor so they switch themselves on, and look for replaceable rechargeable batteries (usually AA or 18650 size) so the fixture isn't disposable in two years. The honest downside: winter nights, cloudy weeks, and shaded drives will dim them, and brightness won't match wired systems. That's fine for marking edges and adding ambiance — just don't rely on solar alone where you need real security-level light. Keep finishes consistent across the row; mixed solar fixtures look scrappy fast.
Suggested budget range: $100 – $600.
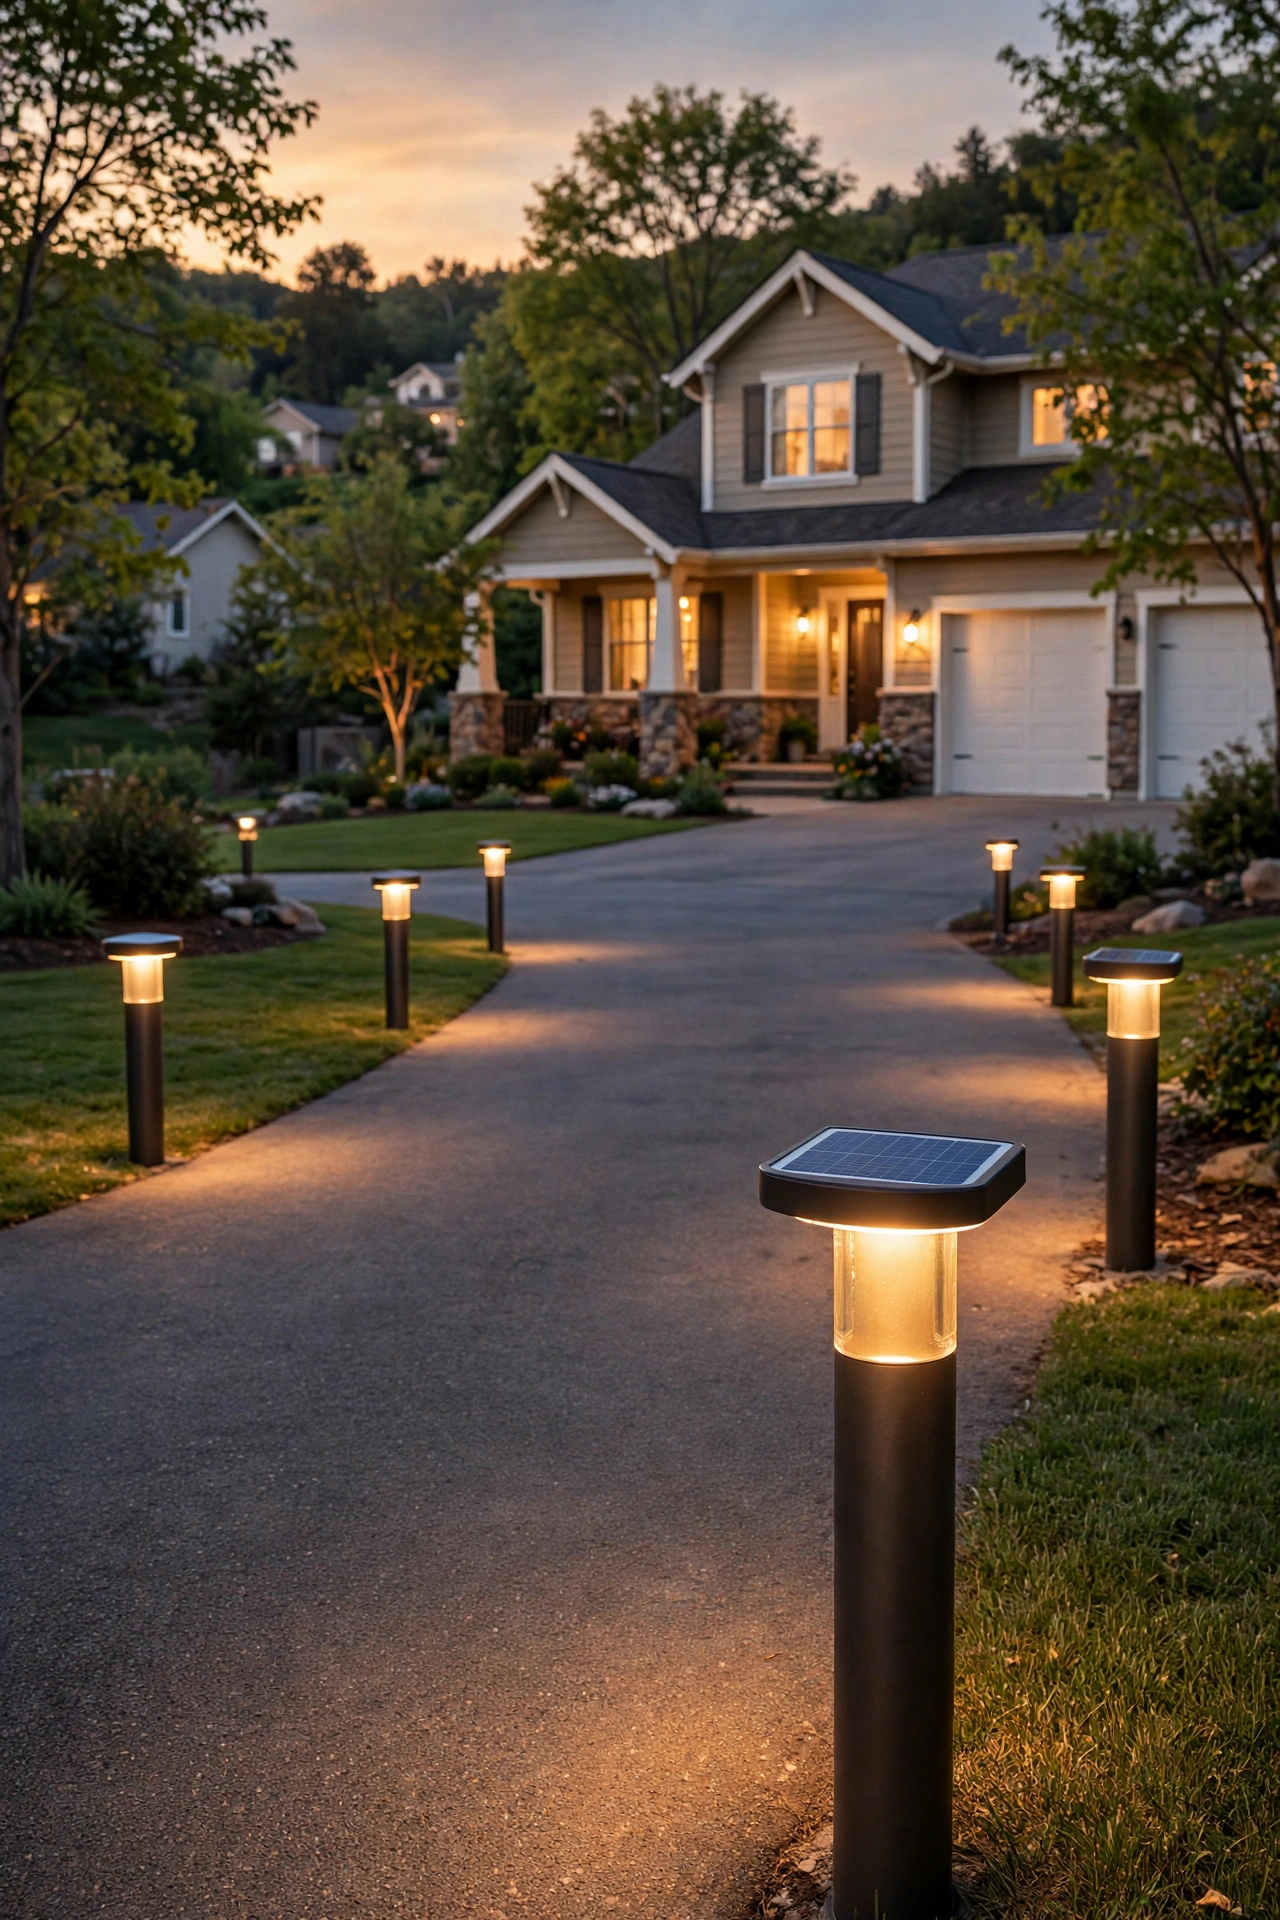
6. Low-Voltage Wired Driveway Bollard Lights on a Transformer
This is the sweet spot for most homeowners: a 12-volt low-voltage system on a plug-in transformer, and in my experience it's the best balance of brightness, safety, and DIY-friendliness. Low-voltage cable only needs to be buried about 6 inches deep (no conduit required in most codes, though I still recommend direct-burial rated cable), and the system is safe to install yourself. Size your transformer with 20 percent headroom — if your bollards total 80 watts, buy a 100-watt transformer. Run cable in a daisy chain along each side of the drive, keeping the run under 100 feet per line to avoid voltage drop dimming the far fixtures; for longer drives, run two lines from the transformer, one per side. Space fixtures 8 to 10 feet apart and set the transformer on an outdoor-rated timer or photocell so the whole row comes on at dusk. Every fixture and connection must be outdoor-rated, and the transformer plugs into a GFCI-protected outlet. The payoff is even, reliable, all-night brightness in any weather — the look that makes neighbors slow down.
Suggested budget range: $400 – $1,800.
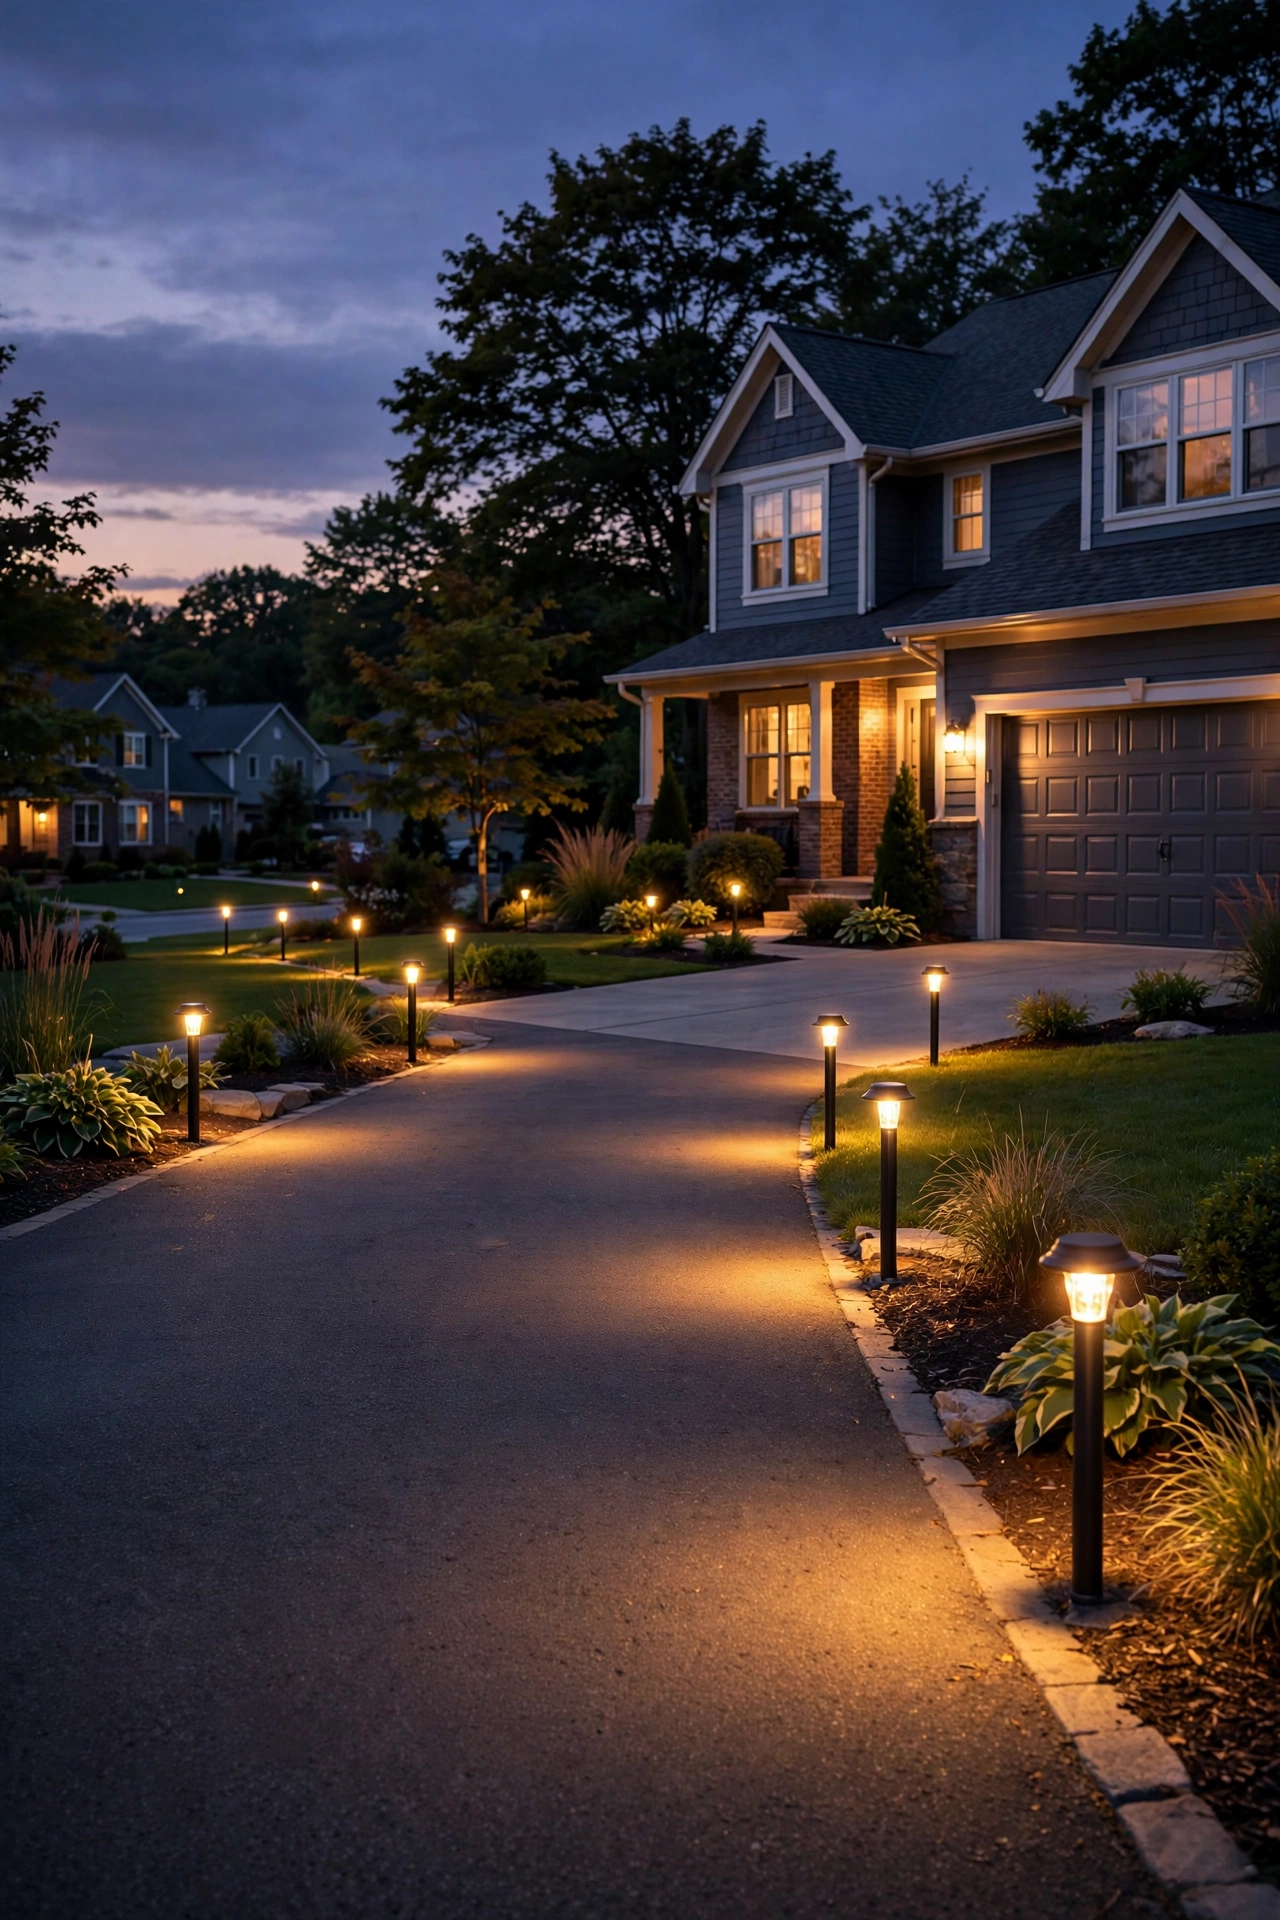
7. Hardwired 120-Volt Bollards for Maximum Brightness
When you want bollards that double as real security lighting — lighting up a 200-foot rural drive or a circular motor court — hardwired 120-volt line voltage is the answer. These are the brightest, most consistent option, and they're also the most regulated: cable goes 18 inches deep in conduit, connections happen in weatherproof boxes, and in most areas a licensed electrician must do the work and pull a permit. That's the safety note, and I don't soften it — line voltage outdoors is not a learn-as-you-go project. Spacing can stretch to 10 to 14 feet because each fixture throws more light, which actually saves money on fixture count over long runs. Choose full-cutoff heads that direct every lumen downward; at this brightness, anything shining sideways becomes glare for drivers and light trespass for neighbors. Tie the circuit to a photocell plus timer so you're not burning watts all night, and pick LED modules — an LED-only approach near mulch beds and dry landscaping is the safe choice since LEDs run cool. The result is a driveway that looks and feels professionally lit, because it is.
Suggested budget range: $1,500 – $5,000.
8. Motion-Sensor Bollards for Security That Stays Pretty
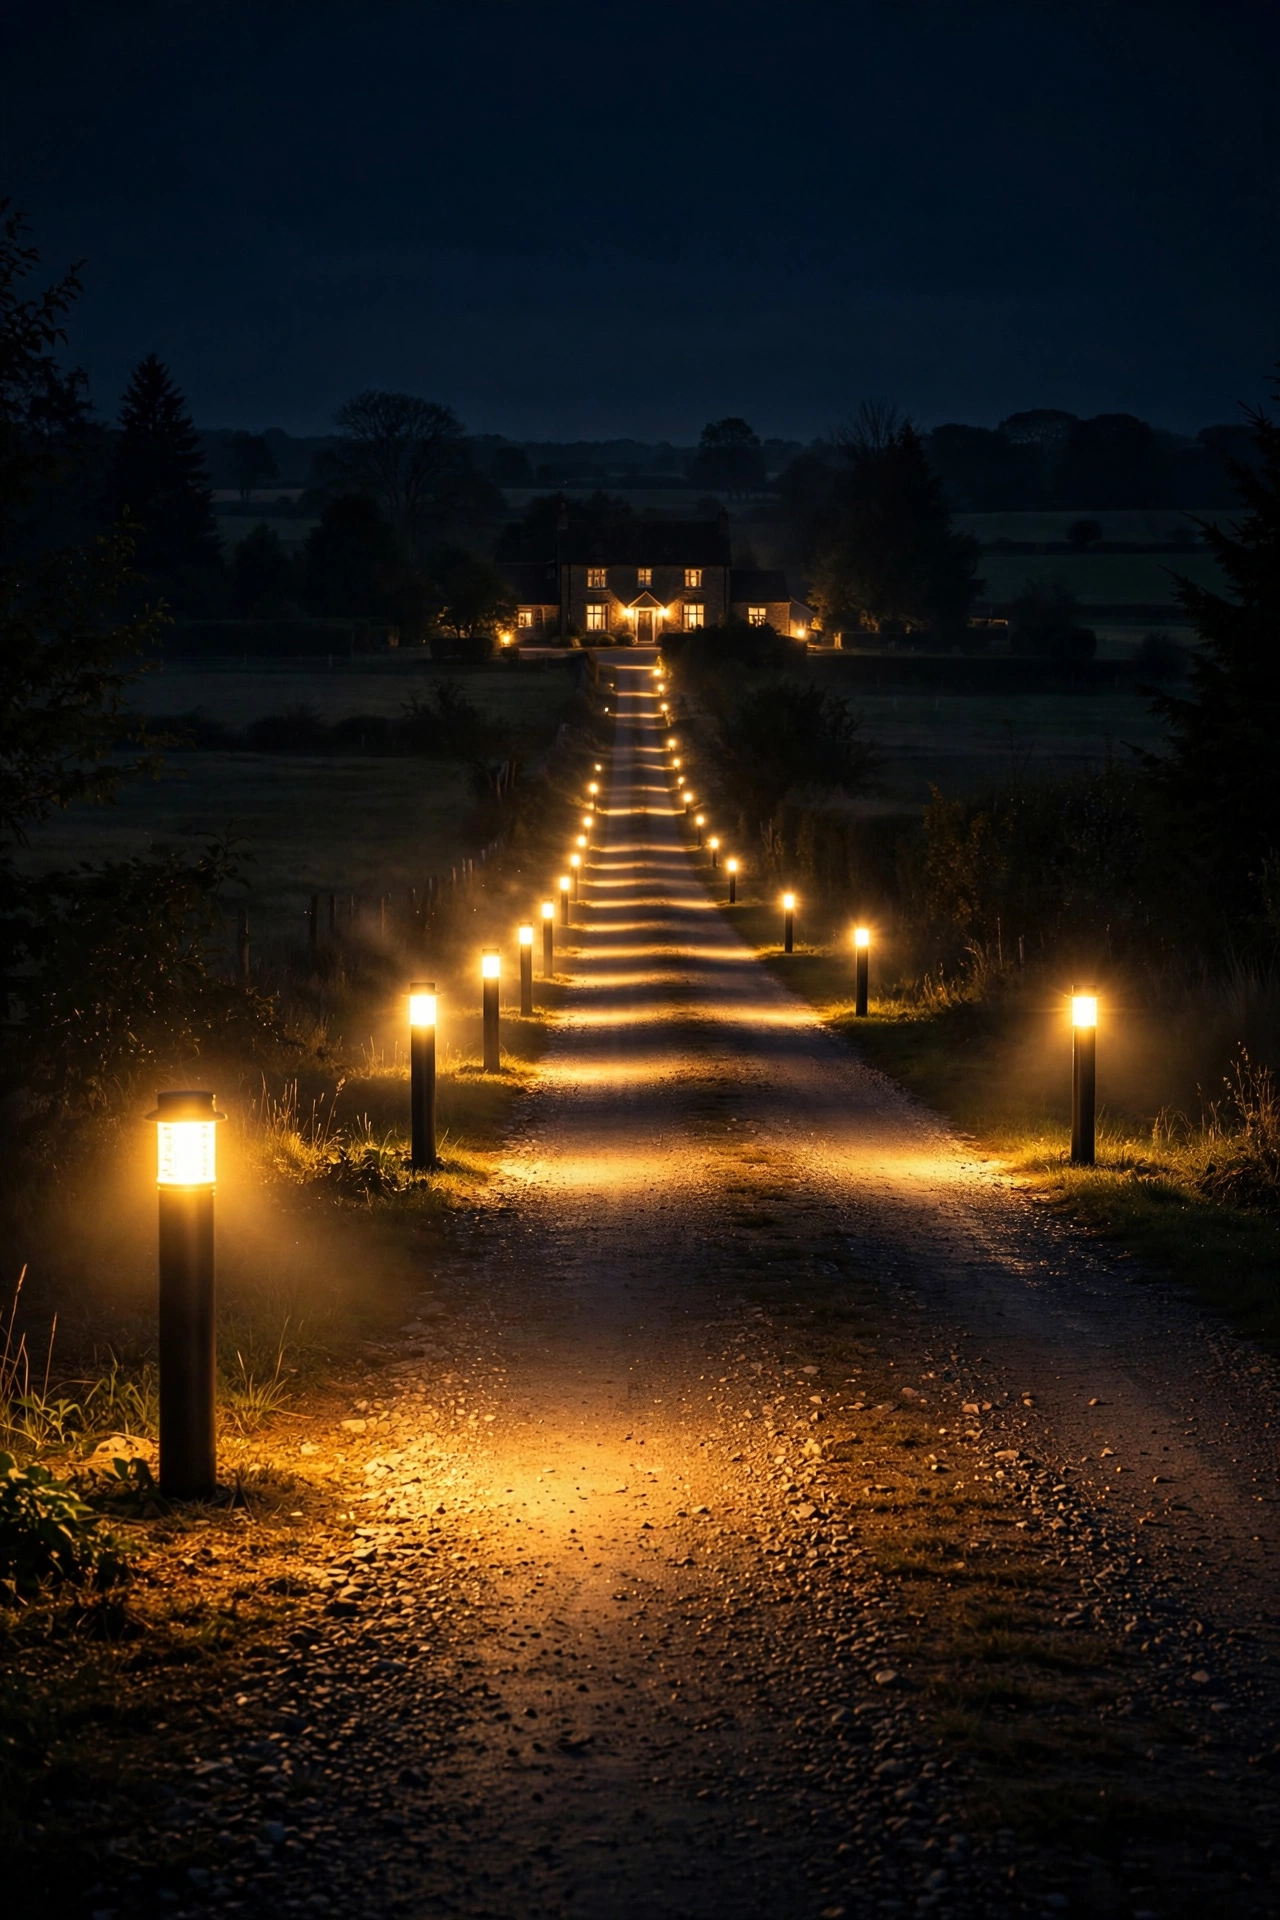
Here's the trick for security without the ugly floodlight: bollards with built-in motion sensors. They sit at a soft, low glow all evening — pretty for curb appeal — then ramp to full brightness when a car or person approaches. I love this for driveways that double as the path to the front door. Mount the sensor heads facing the driveway (not the street, or passing cars will trigger them all night) and set sensitivity to the middle range during your first week, adjusting from there. Most models let you set the bright-on time from 30 seconds to 5 minutes; 2 minutes is my sweet spot — long enough to park and unload groceries. Place them 10 to 12 feet apart so their detection zones overlap slightly. Solar motion bollards exist, but wired low-voltage versions are more reliable since the sensor and bright mode draw real power. One caution for households with pets or heavy wildlife: aim sensors slightly downward to catch legs and tires rather than treetops. Your neighbors will thank you for the restraint.
Suggested budget range: $250 – $1,200.
9. Smart Timer and App-Controlled Bollards
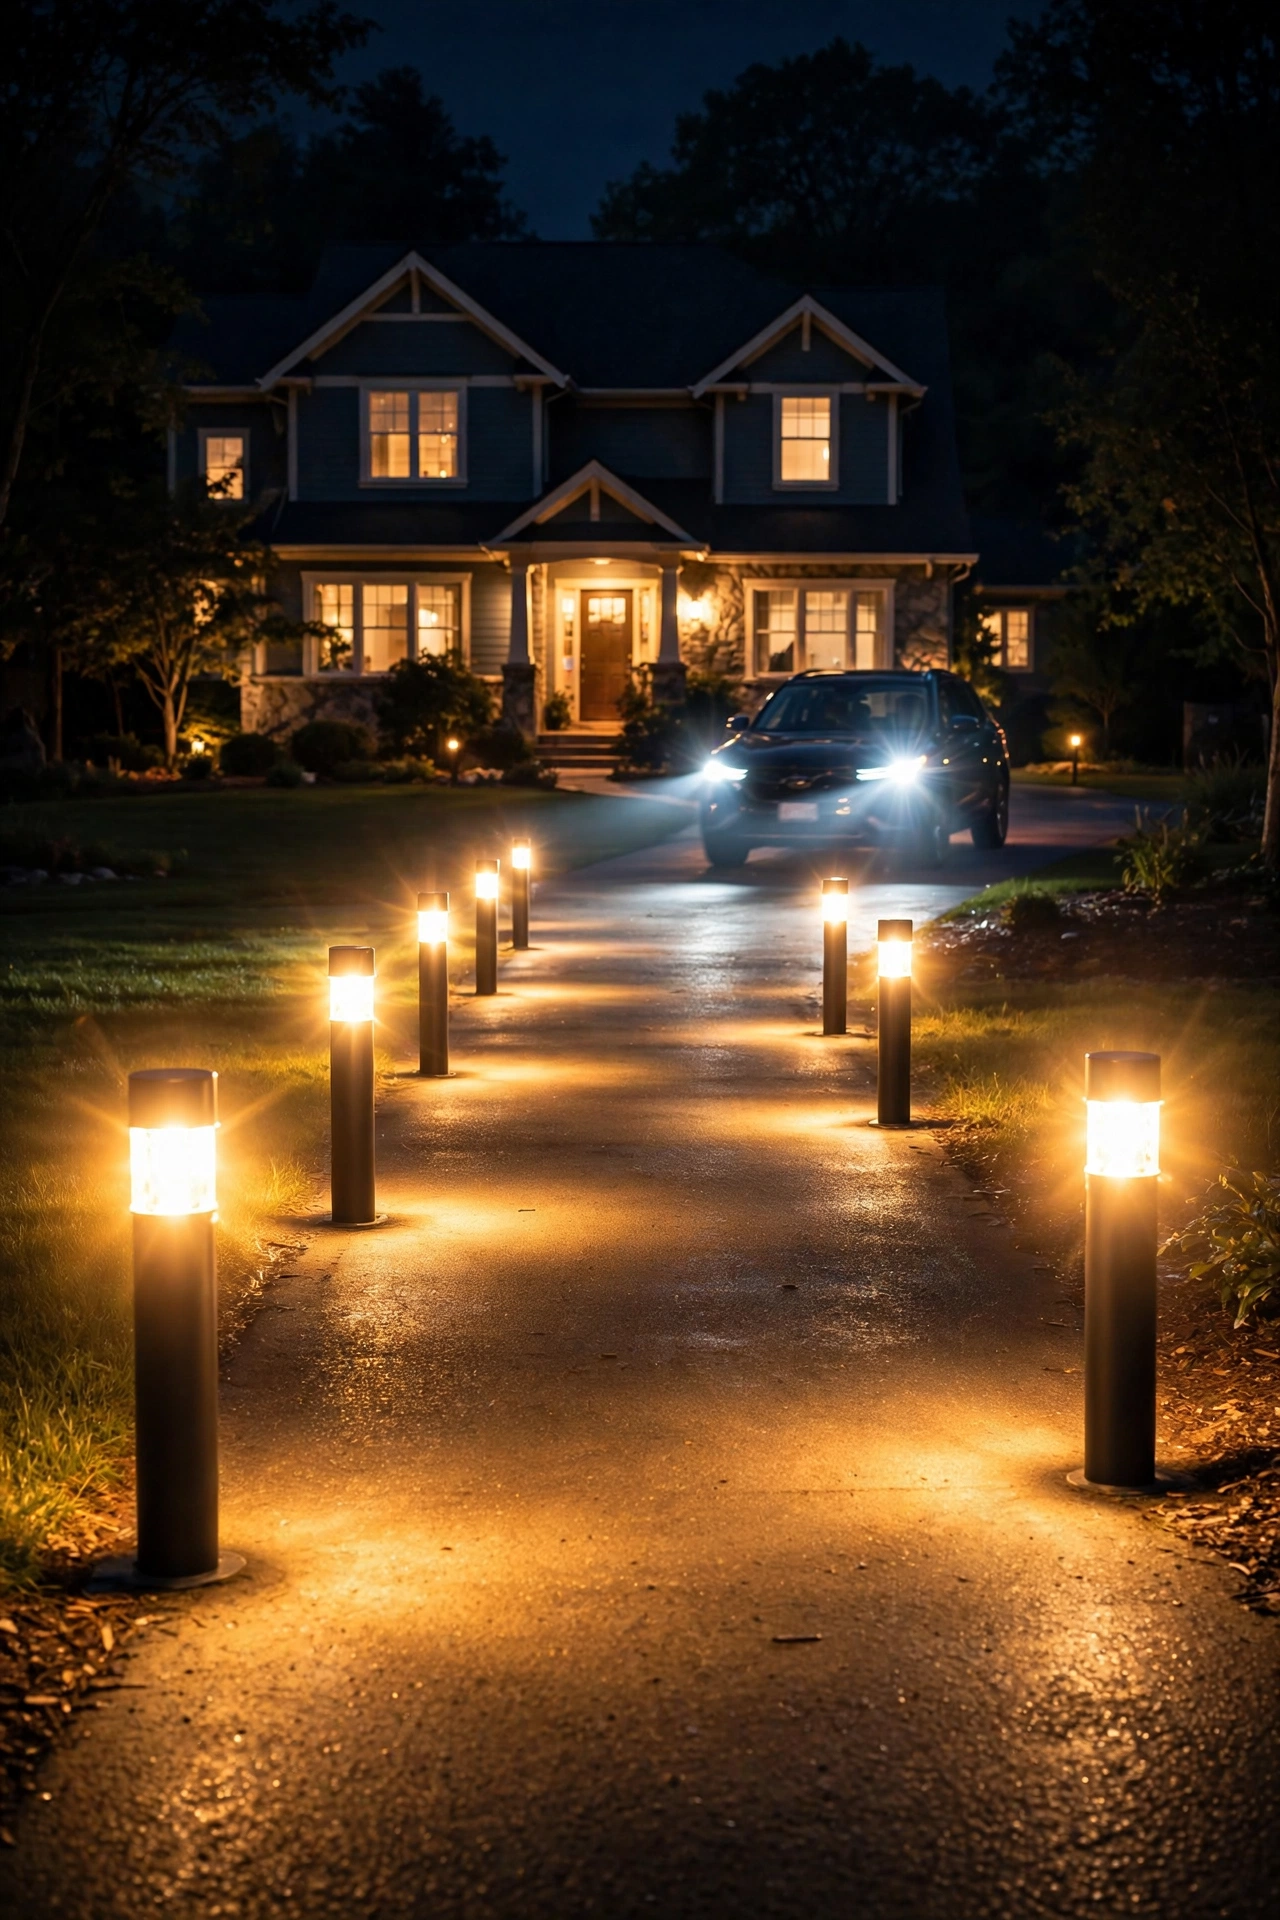
If you're the type who likes the porch lights on before you pull in, smart bollards are your move. These connect to your Wi-Fi or a smart hub and let you schedule on/off times, dim the whole row from your phone, and even change color temperature for holidays. The practical setup: an astronomical timer (built into most smart plugs and hubs) that tracks actual sunset times year-round, so your lights always come on at dusk without seasonal reprogramming. Group all driveway fixtures as one "scene" in the app so a single tap or voice command controls the row. The honest caveat is connectivity — outdoor Wi-Fi reaches about 30 to 50 feet reliably from most routers, so a long driveway may need a mesh node or a hub-based system (Zigbee or Z-Wave) rather than pure Wi-Fi bulbs. Keep a manual override (a physical switch or the transformer's timer) because apps fail, phones die, and guests shouldn't need your password to light the driveway. When it works, though, arriving home to a driveway that lit itself for you feels genuinely luxurious.
Suggested budget range: $300 – $1,500.
10. Bollards That Carry Your House Number
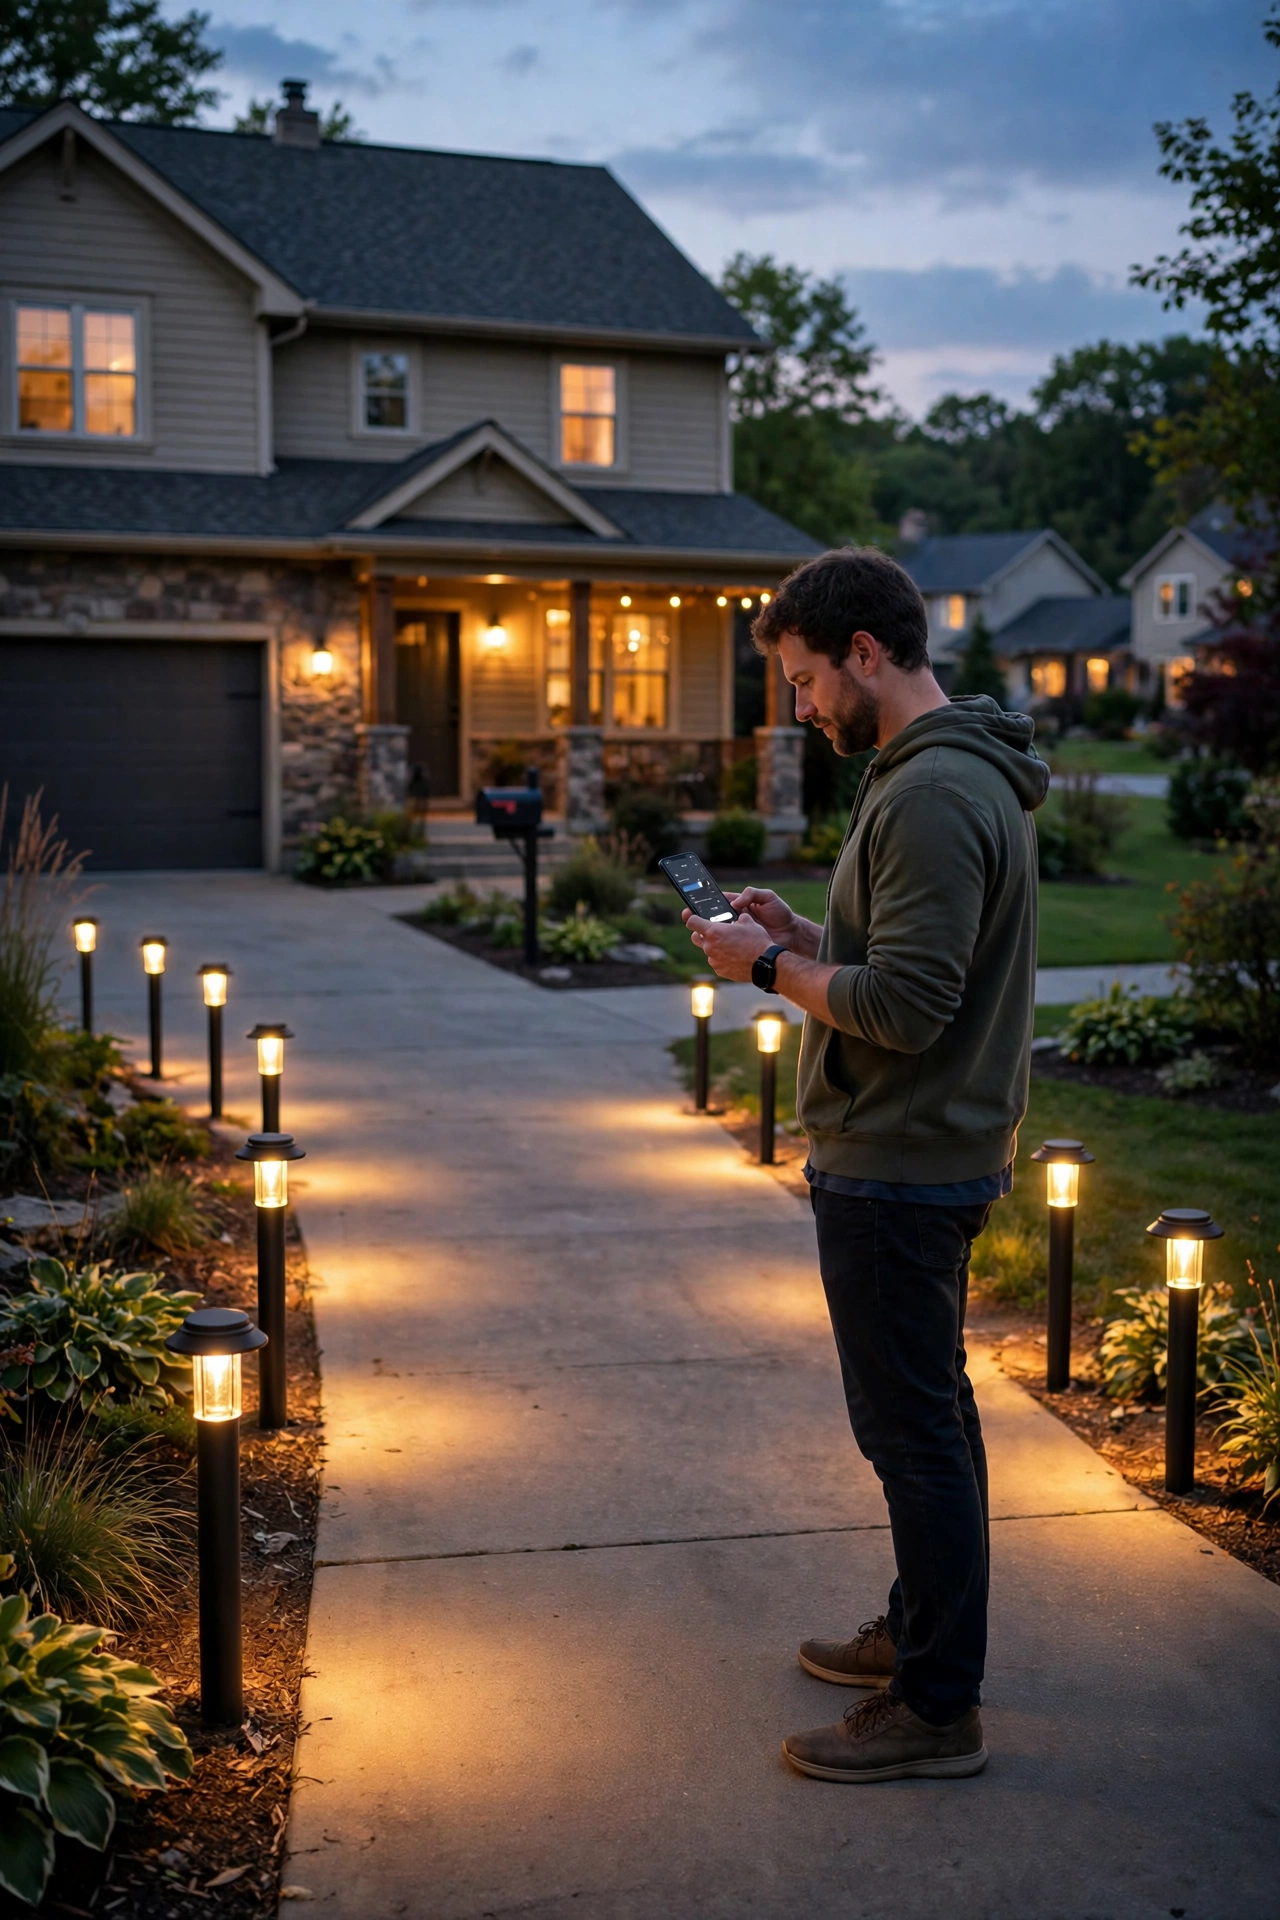
A lit house number is one of those small things guests and delivery drivers notice immediately. Bollards with an integrated illuminated house number panel — or a pair of bollards flanking a stone or wood address plaque — solve nighttime visibility in the prettiest way possible. Place the numbered bollard or plaque 10 to 15 feet from the street, on the driver's side of approaching traffic, so it's readable before the turn-in. The numbers themselves need to be at least 4 inches tall and backlit or edge-lit; reflective-only numbers don't count at night. If you're adding a plaque between two standard bollards, mount it on a low stone or cedar base 18 to 24 inches high so headlights catch it. Keep the number lighting on its own always-on setting (or the brightest part of your smart schedule) — this is one light that should never be dimmed for mood. It's a small project with an outsized payoff: no more missed deliveries, and emergency responders can find you faster. That's safety and style in one fixture.
Suggested budget range: $150 – $700.
11. Lantern-Top Bollards for Classic Charm
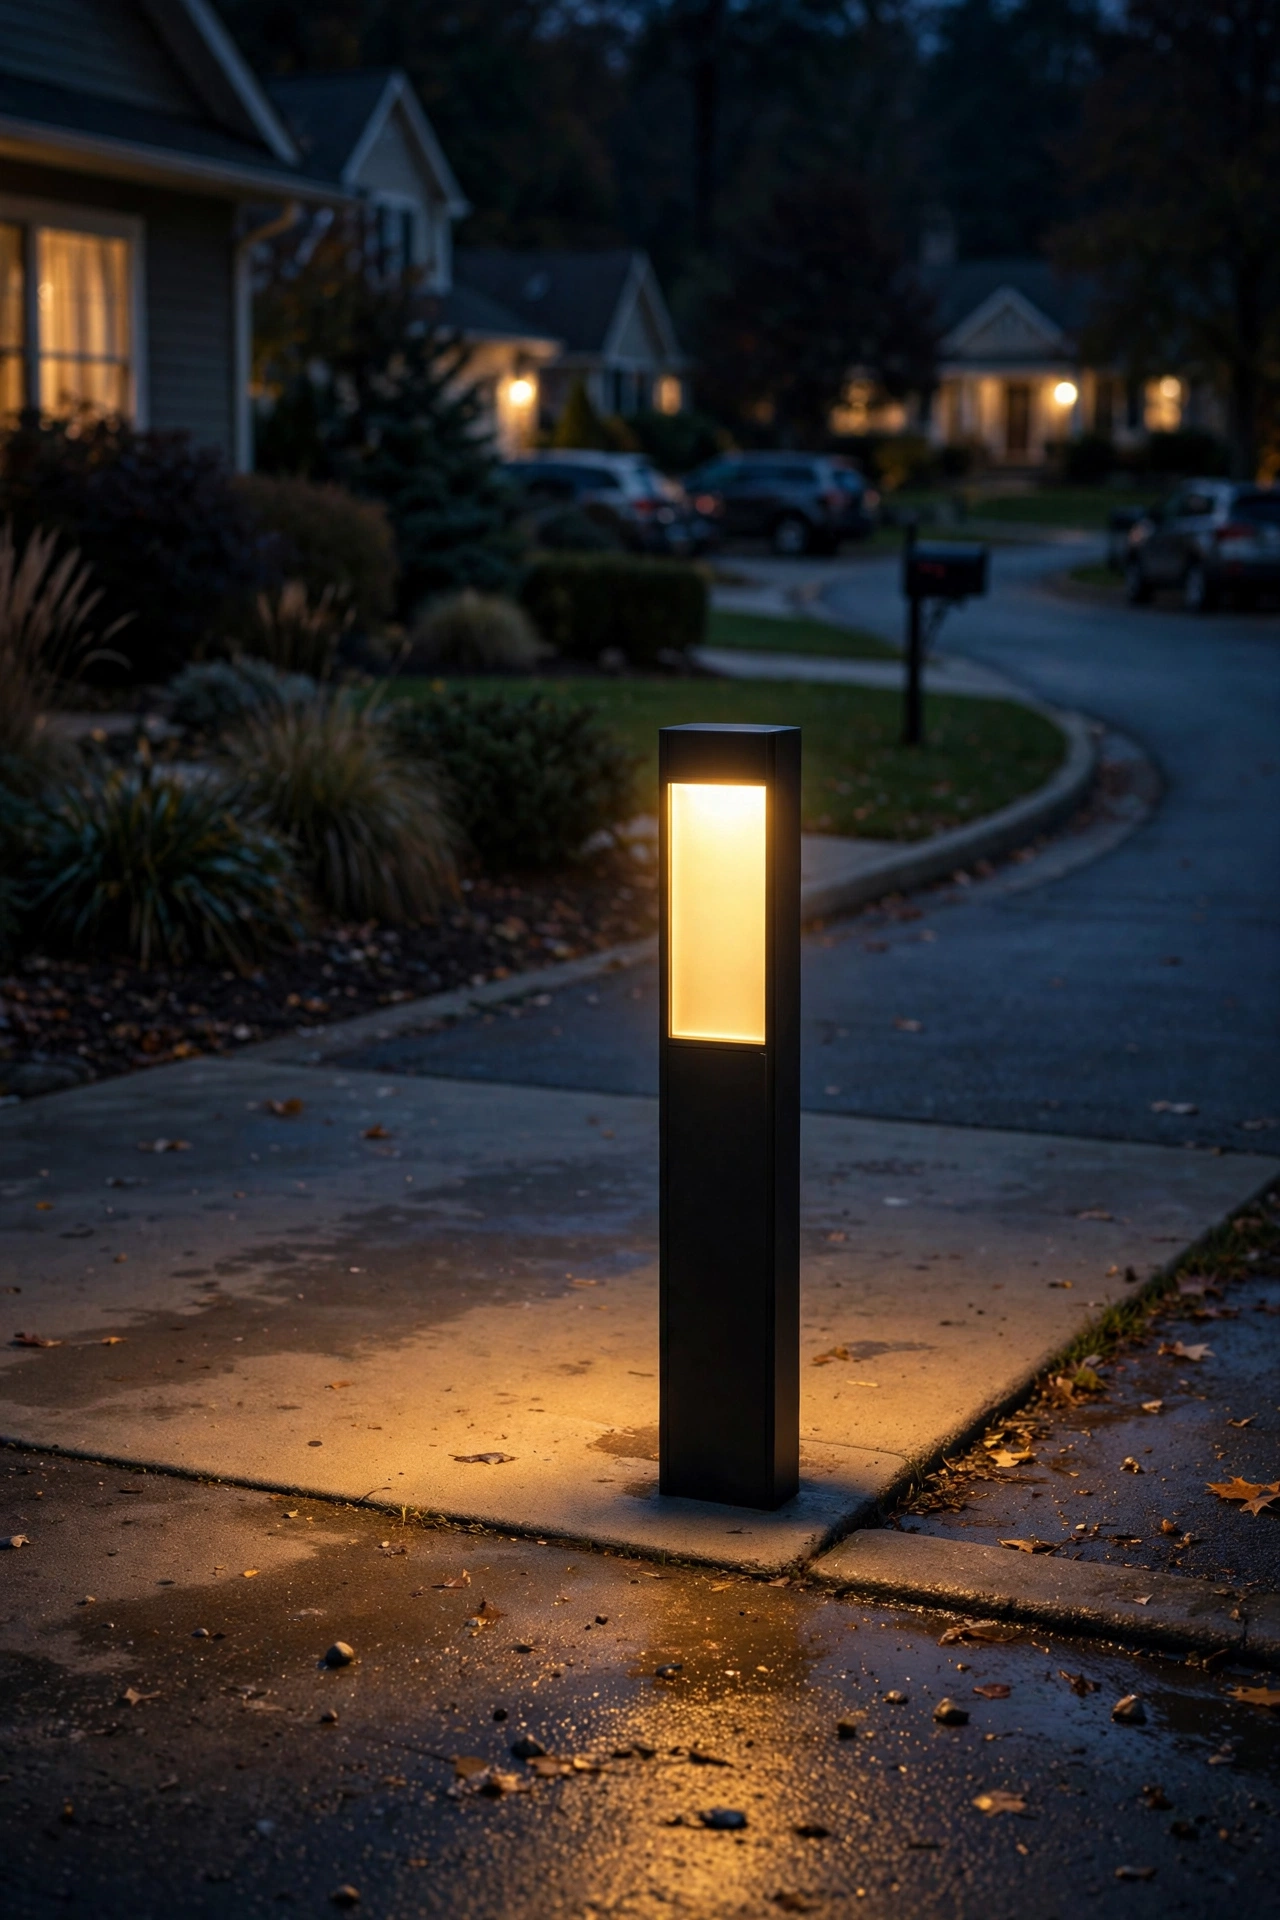
For colonial, craftsman, or traditional homes, a bollard topped with a little lantern head — clear glass panels, a cap, and a warm bulb inside — ties the driveway straight to the home's architecture. In my experience, this is where matching matters most: echo the style of your front-door lanterns, and the whole property reads as one design. Because the glass is transparent, choose frosted or seeded glass (or a warm LED filament-style bulb) to soften the light and hide the bulb from view — a bare bright bulb behind clear glass is all glare. Lantern heads catch wind and weather, so look for fixtures rated for your climate: powder-coated aluminum or solid brass housings hold up best, and all gaskets should be intact to keep water off the socket. Space them 8 to 10 feet apart like standard bollards, and set them back a full 24 inches from the edge — the wider lantern head is easier for a stray mirror to clip. A 2700K warm white bulb inside makes the glass glow amber and gorgeous.
Suggested budget range: $400 – $1,600.
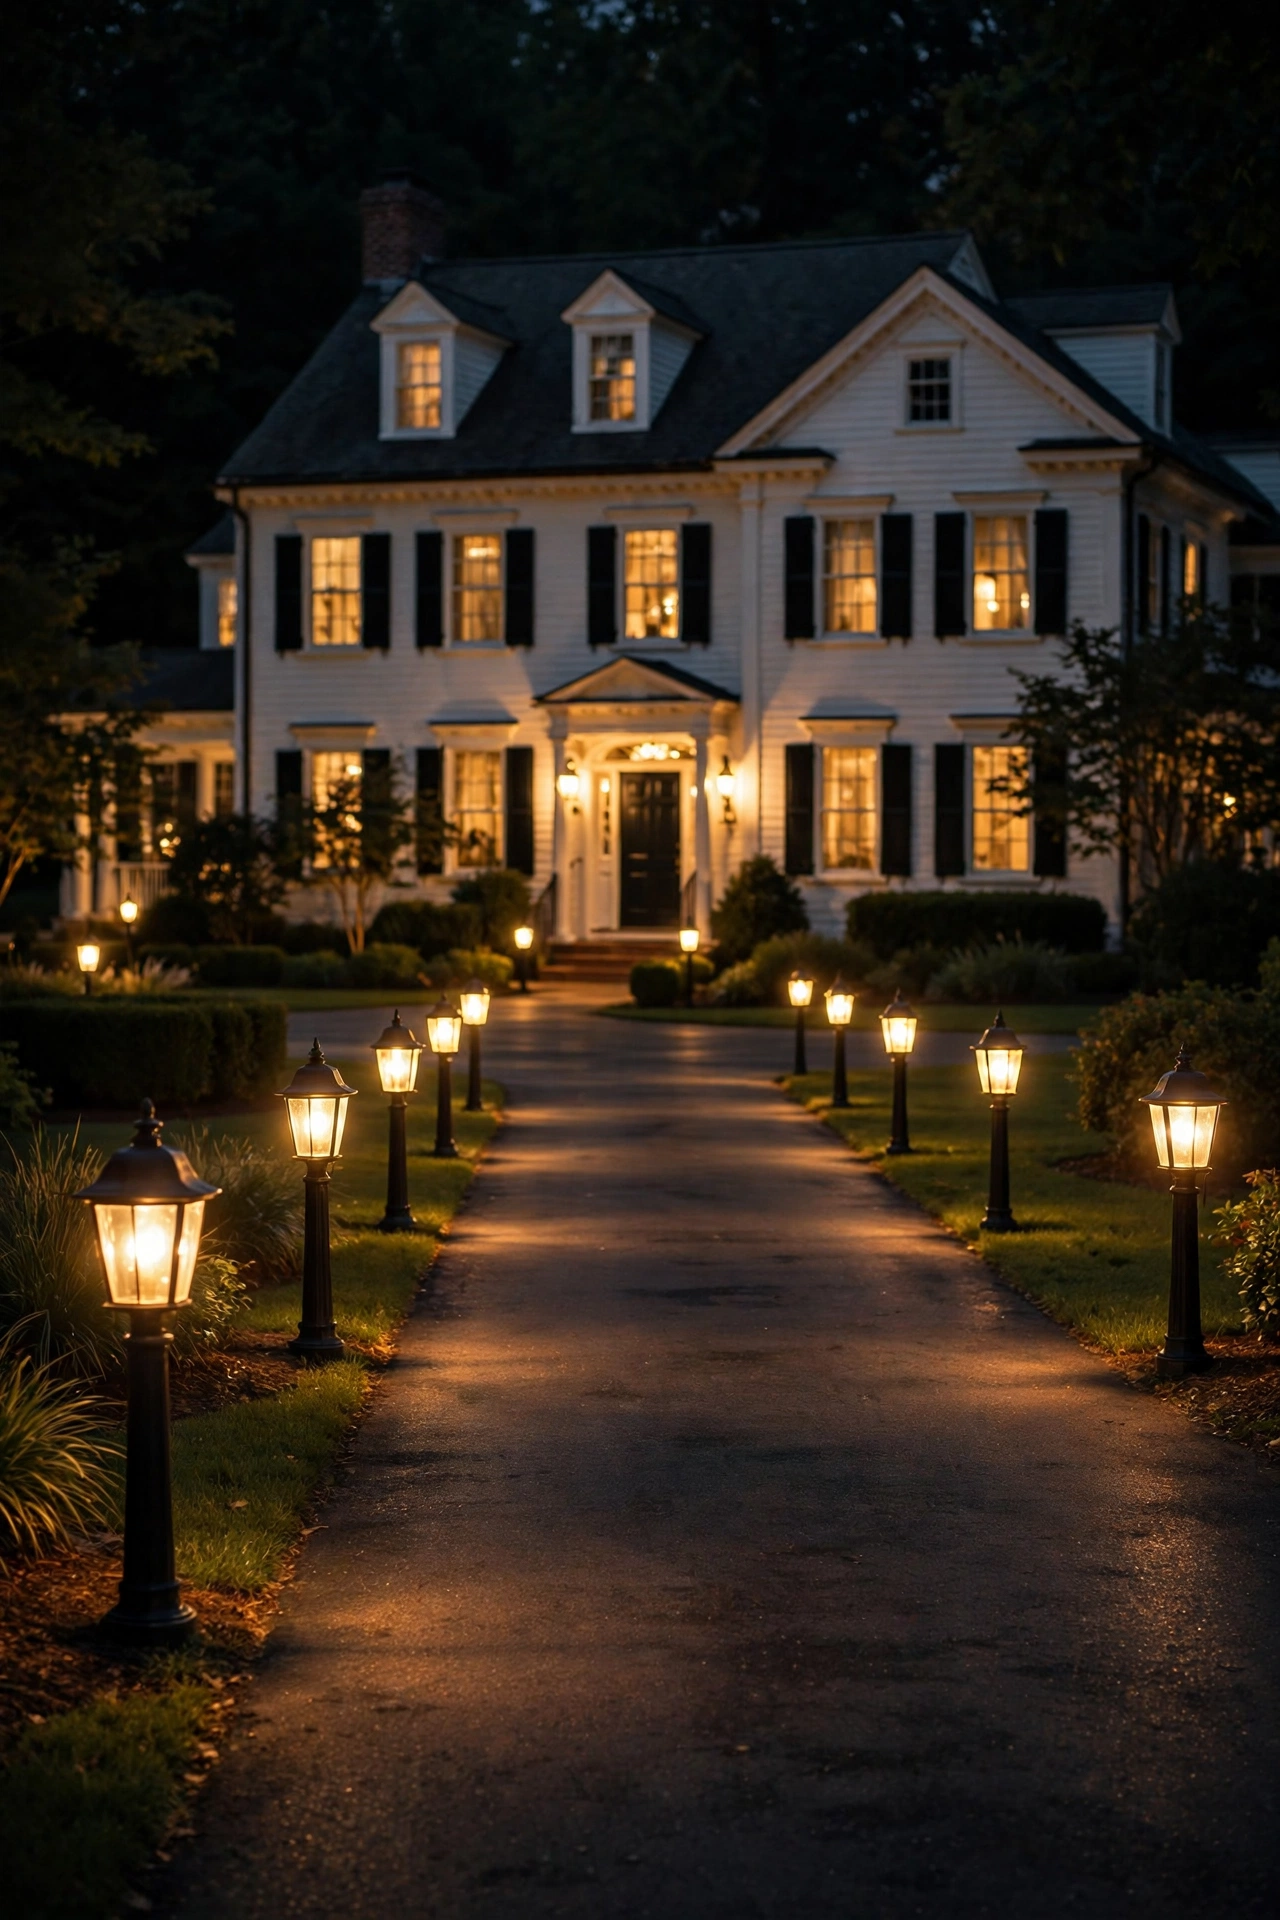
12. Slim Minimalist Driveway Bollard Lights for Modern Homes
Modern architecture wants its lighting to disappear into the design — and slim bollards do exactly that. Think 2-to-3-inch-wide rectangular or cylindrical posts in matte black or graphite, 24 to 36 inches tall, with a discreet slot or louver near the top that washes light down one or both sides. I always recommend these for contemporary homes, and here's the key detail: the fixture should match the home's trim or window frames, not contrast with them. Space them 6 to 8 feet apart — slim bollards throw a narrower pool of light, so they need tighter spacing to keep the rhythm unbroken. Because the look is so precise, go wired (low-voltage or line-voltage) rather than solar; nothing ruins minimalism like one dim fixture in the row. Bury the cable cleanly and keep the fixtures perfectly plumb — a leaning minimalist bollard is painfully obvious. Choose 3000K for a crisp but still welcoming tone; 2700K can look slightly yellow against cool gray modern exteriors. Less fixture, more discipline — that's the whole game here.
Suggested budget range: $500 – $2,200.
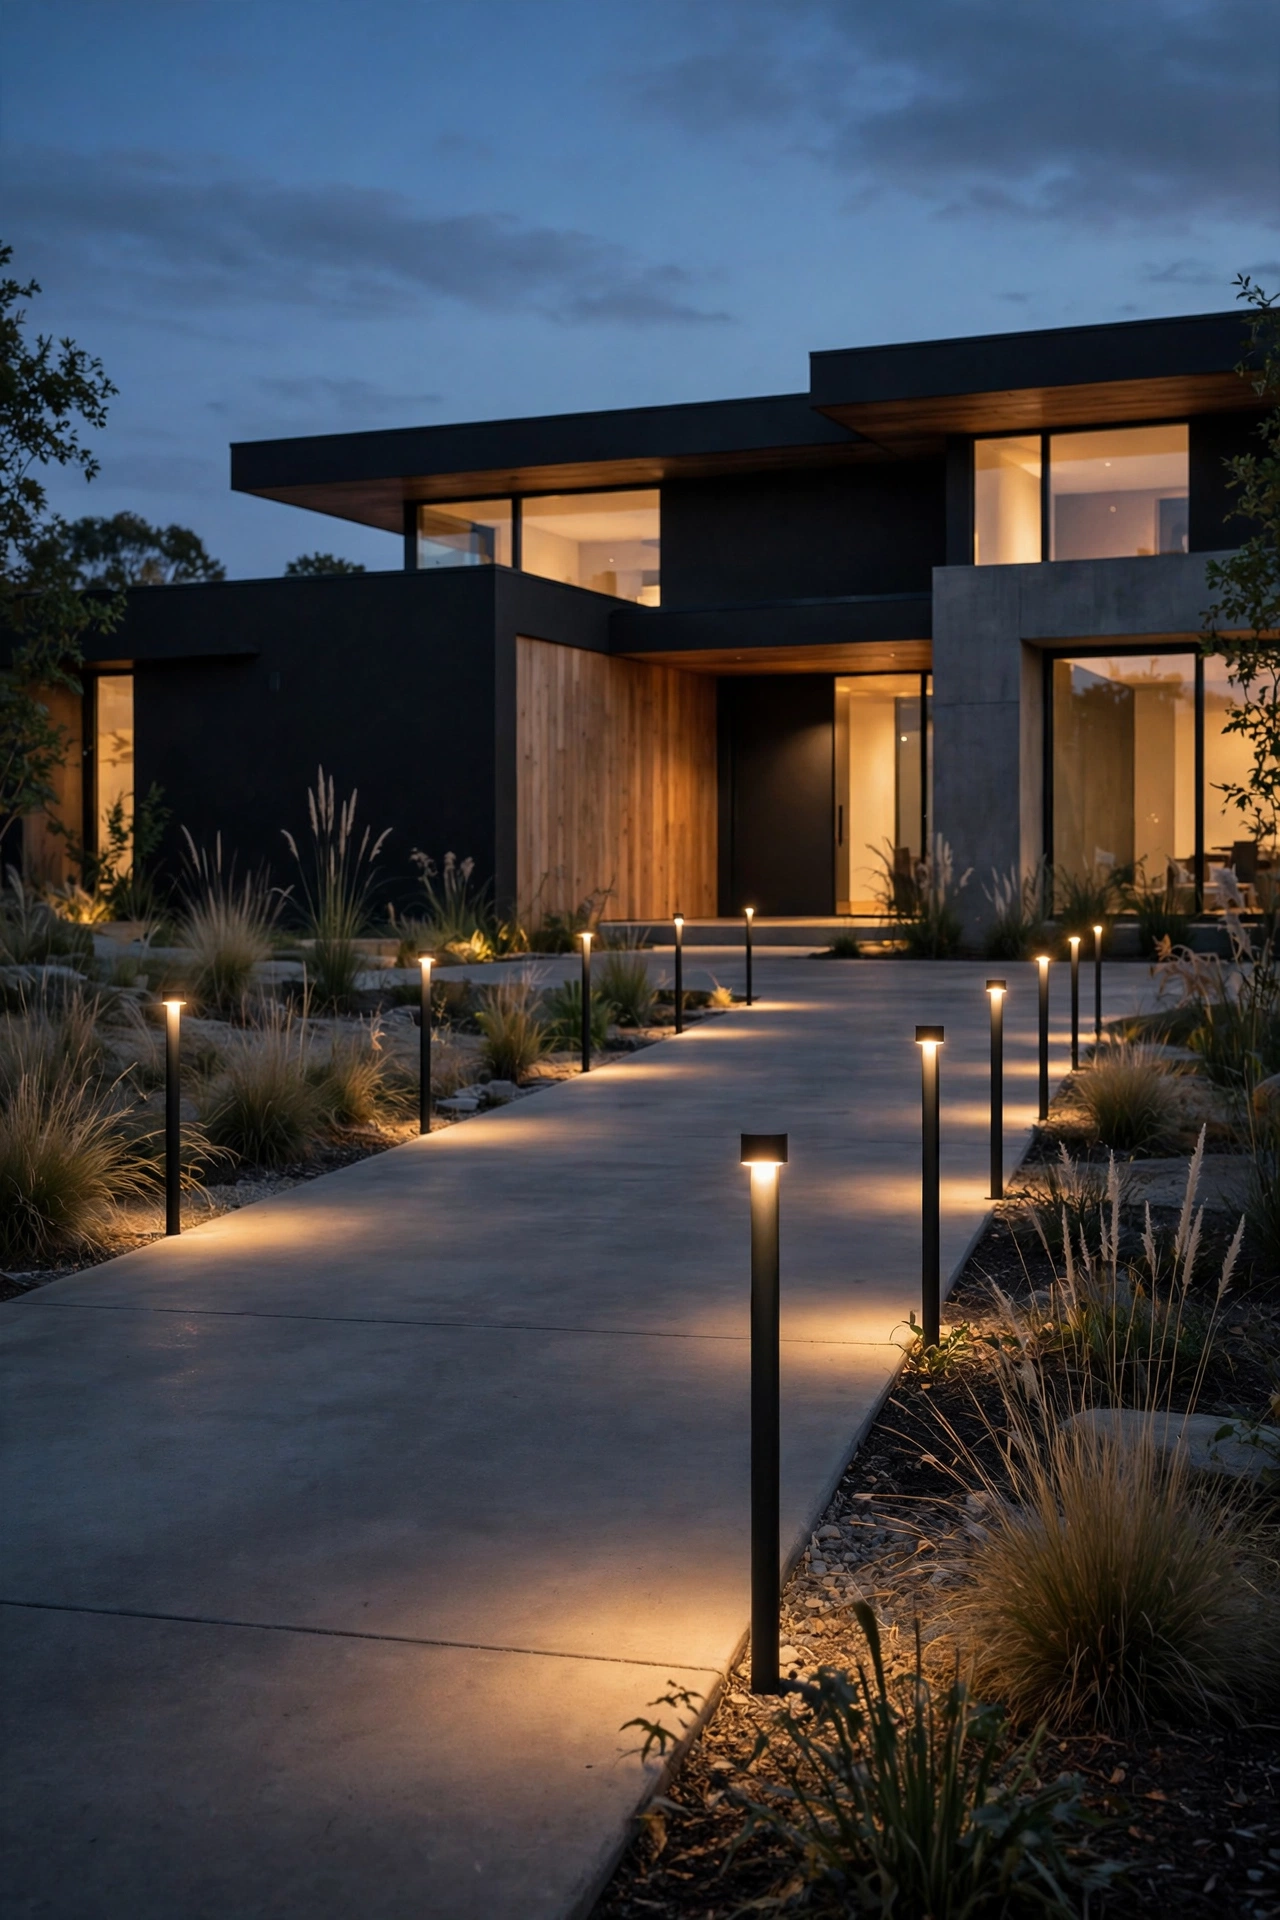
13. Marine-Grade Bollards for Coastal and Harsh Climates
Salt air eats cheap fixtures alive — I've seen bargain bollards turn chalky and corroded within two seasons near the coast. If you live within a few miles of salt water (or deal with harsh winters and road salt), marine-grade is non-negotiable. Look for 316 stainless steel or solid brass housings, sealed LED modules, and an IP65 rating or better, which means fully dust-tight and protected against water jets. Powder-coated finishes over marine-grade metal last longest; painted-over-steel will bubble and rust. The placement rules don't change — 8 to 10 feet apart, 18 to 24 inches off the edge — but rinse the fixtures with fresh water a few times a year to wash off salt film that dims the lens. Expect to pay roughly double the price of standard bollards, and honestly it's worth every penny when the alternative is replacing the whole row in three years. In snowy regions, choose models rated to at least -20°F and mount them on small concrete footings so freeze-thaw cycles don't heave them crooked. Buy once, cry once — this is the category where that saying earns its keep.
Suggested budget range: $800 – $3,000.
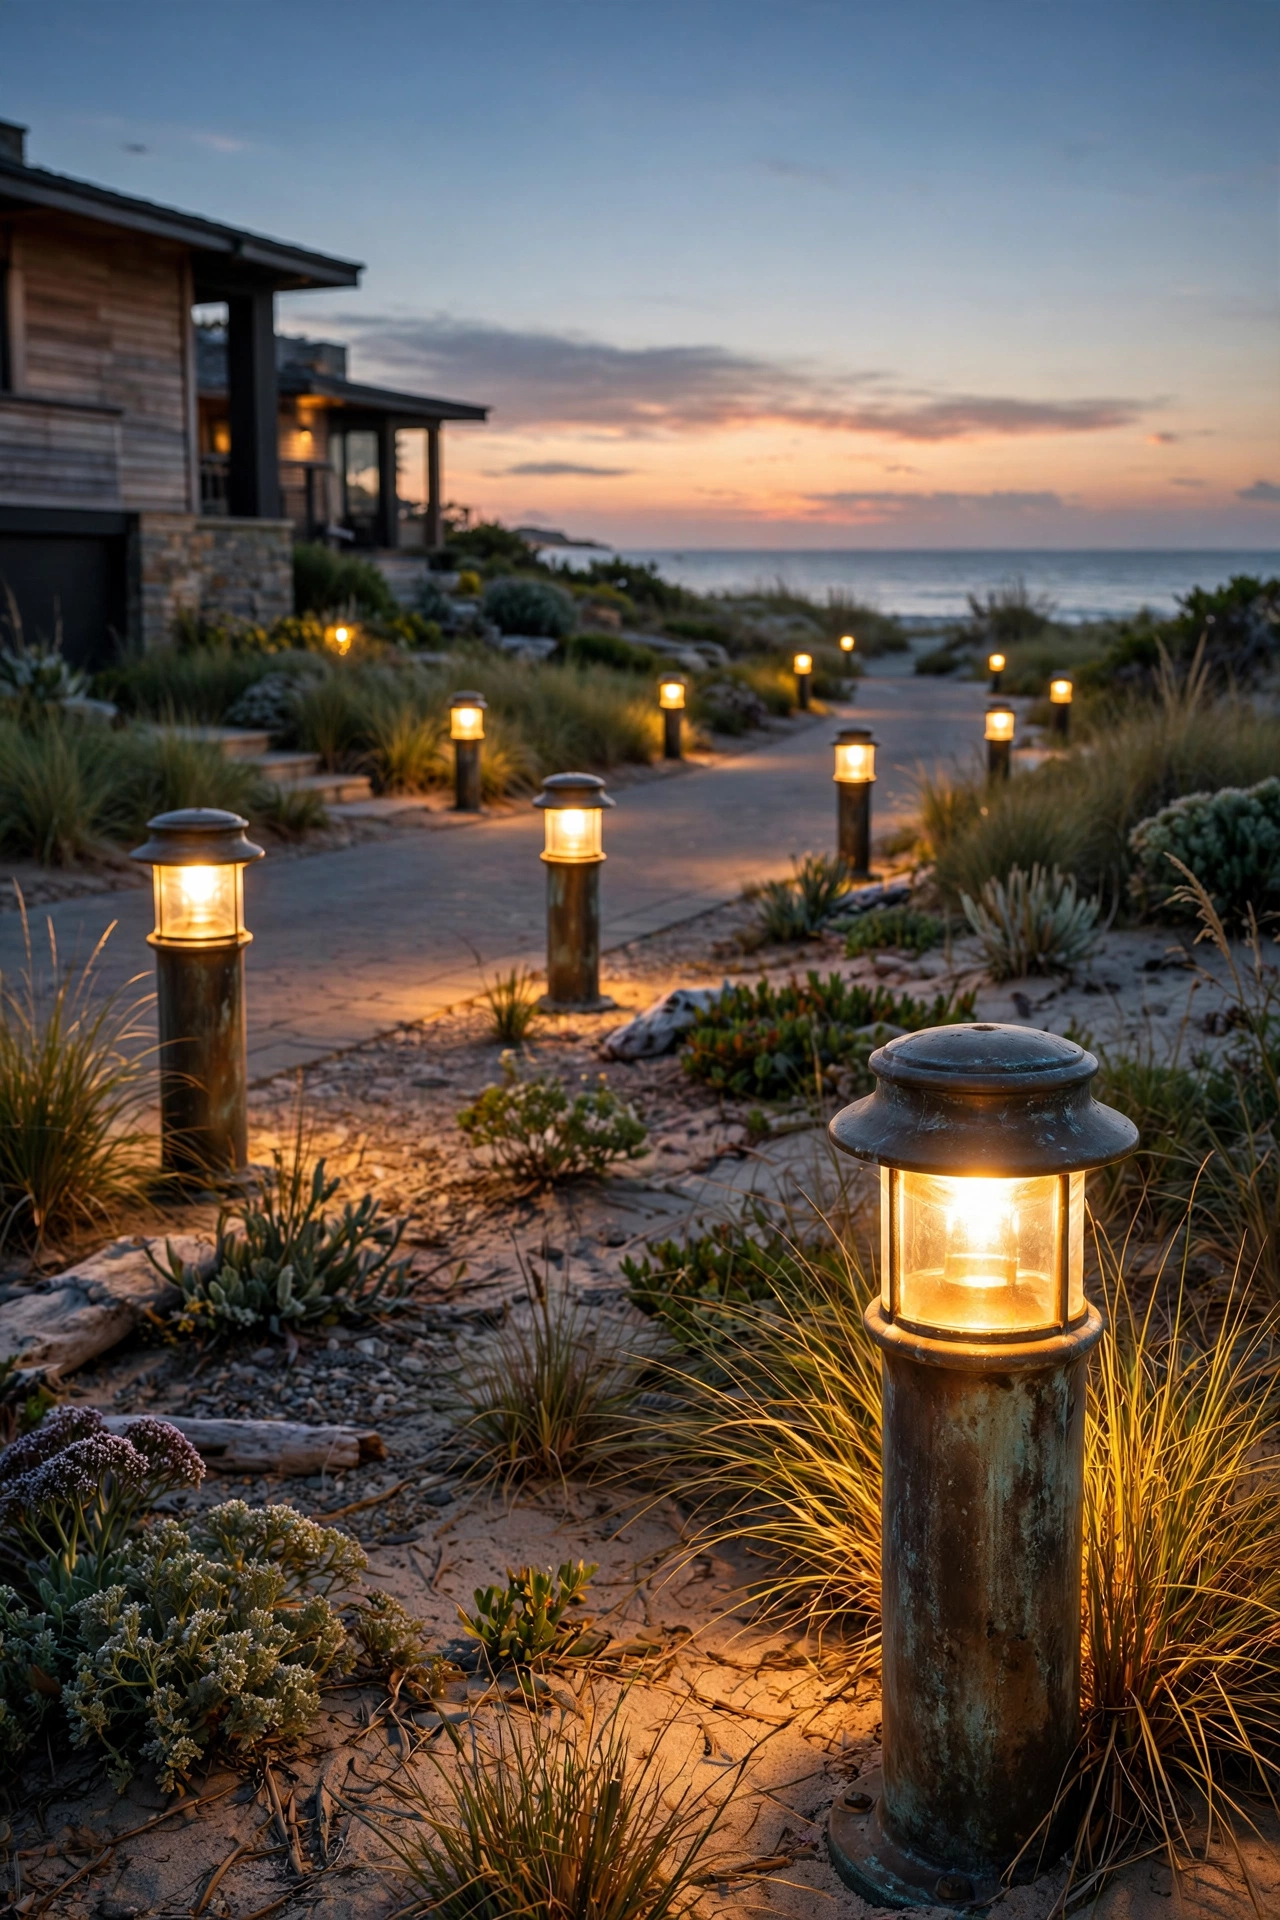
14. Follow the Curve: Bollards on a Sweeping Driveway
Curved driveways are where bollards earn their keep — they trace the arc so beautifully that the curve itself becomes the design feature. The technique: place fixtures on the outside of the curve 8 to 10 feet apart, and add one extra on the inside of tight bends so drivers can read the turn. Walk the curve at night with a flashlight first (honestly, do this) to find any dark pockets where the arc hides the pavement — that's where an extra bollard pays off. Keep every fixture the same height; varying heights on a curve looks accidental rather than artful. If your curve passes near trees, trim lower branches so the light pools aren't swallowed by canopy shadow — or accept the dappled effect, which can be lovely with downlight heads. For wiring, low-voltage cable follows curves easily in a shallow trench, but mark the trench line with landscape paint first so the arc stays smooth and even. Solar works too, as long as the curve isn't under constant tree shade. Done right, a lit curve at night looks like something from a movie — the driveway becomes the destination.
Suggested budget range: $350 – $1,500.
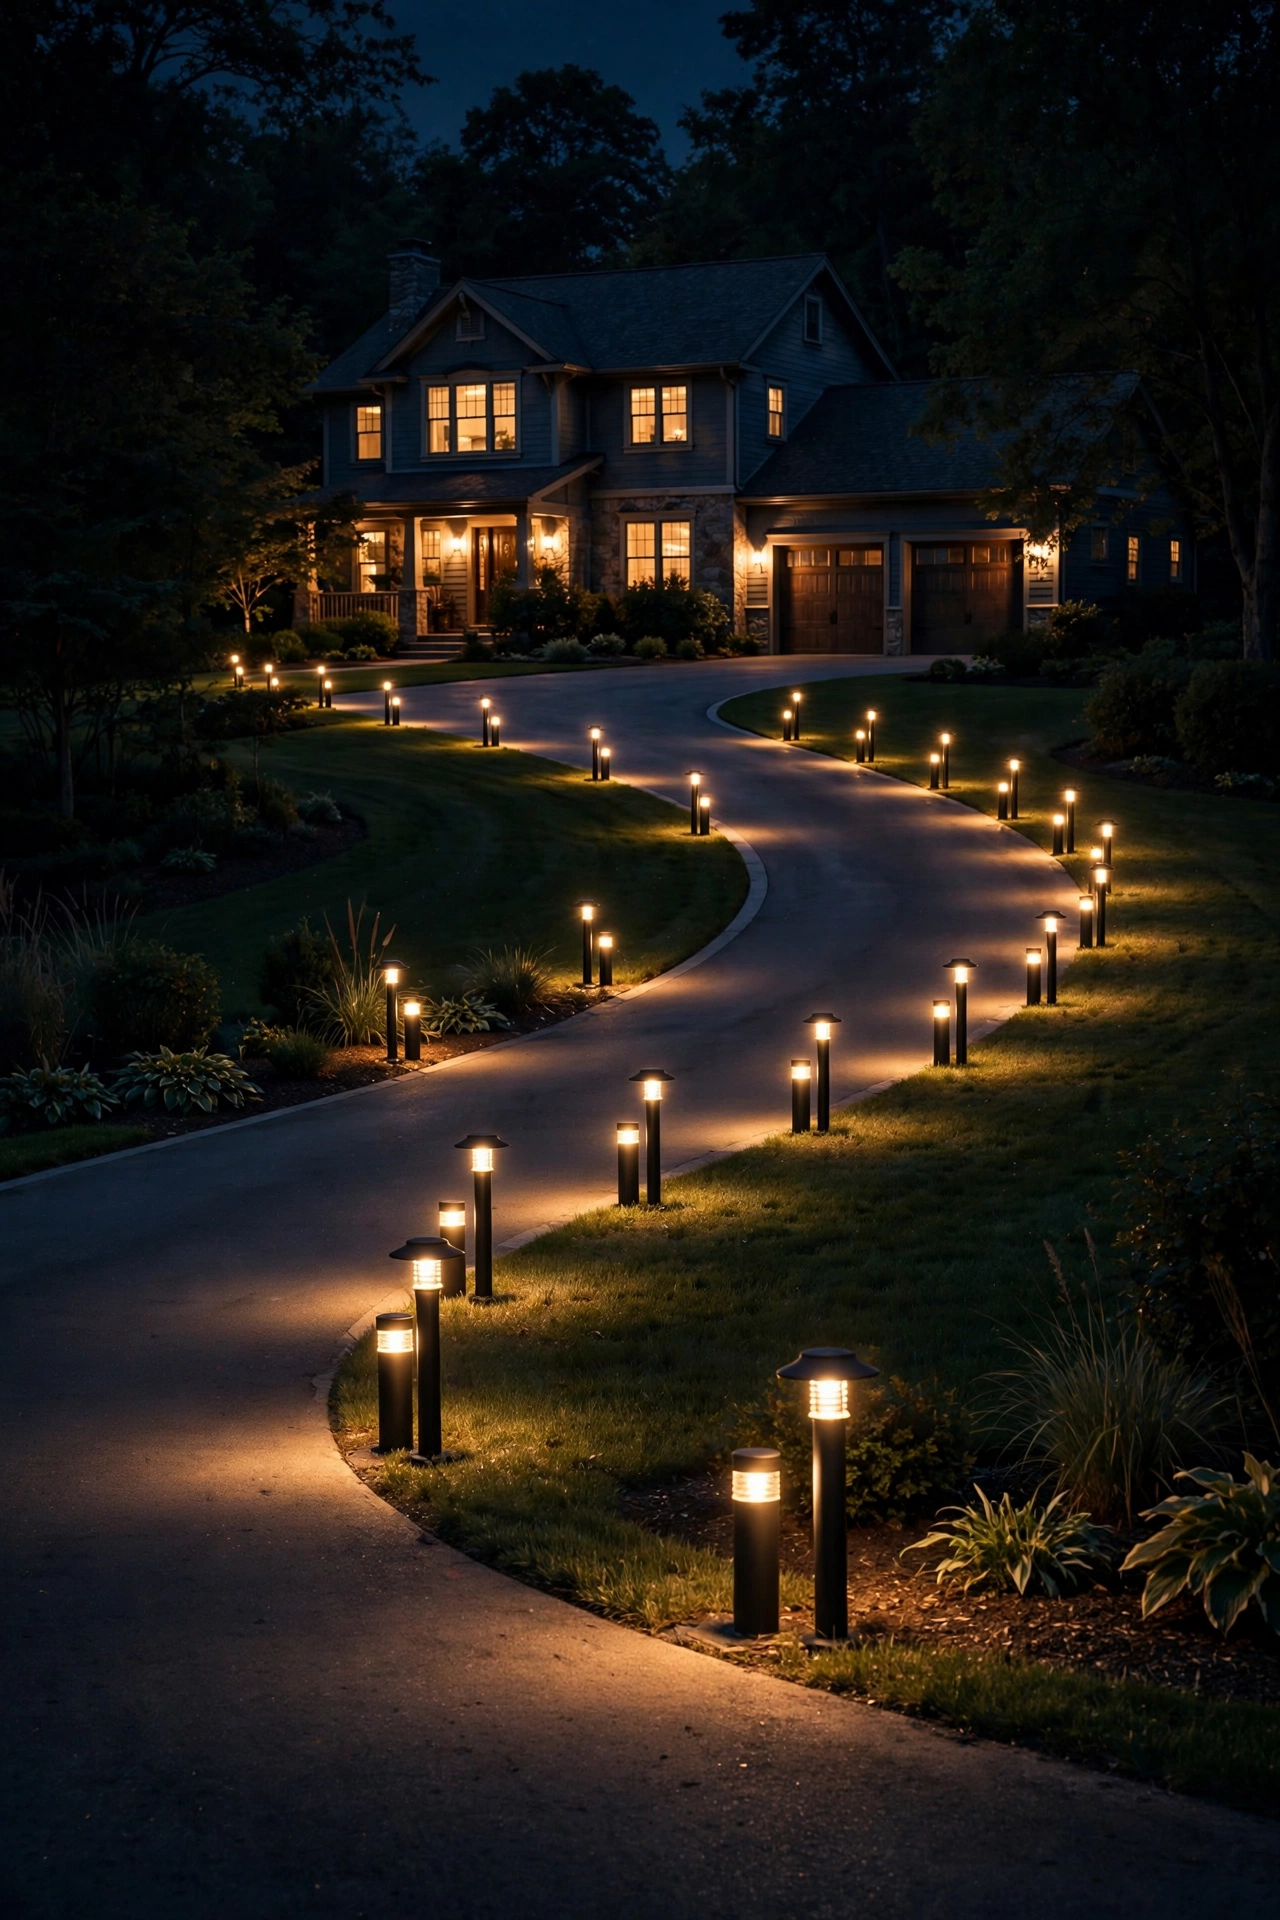
15. Gate and Pillar Bollards for a Formal Entrance
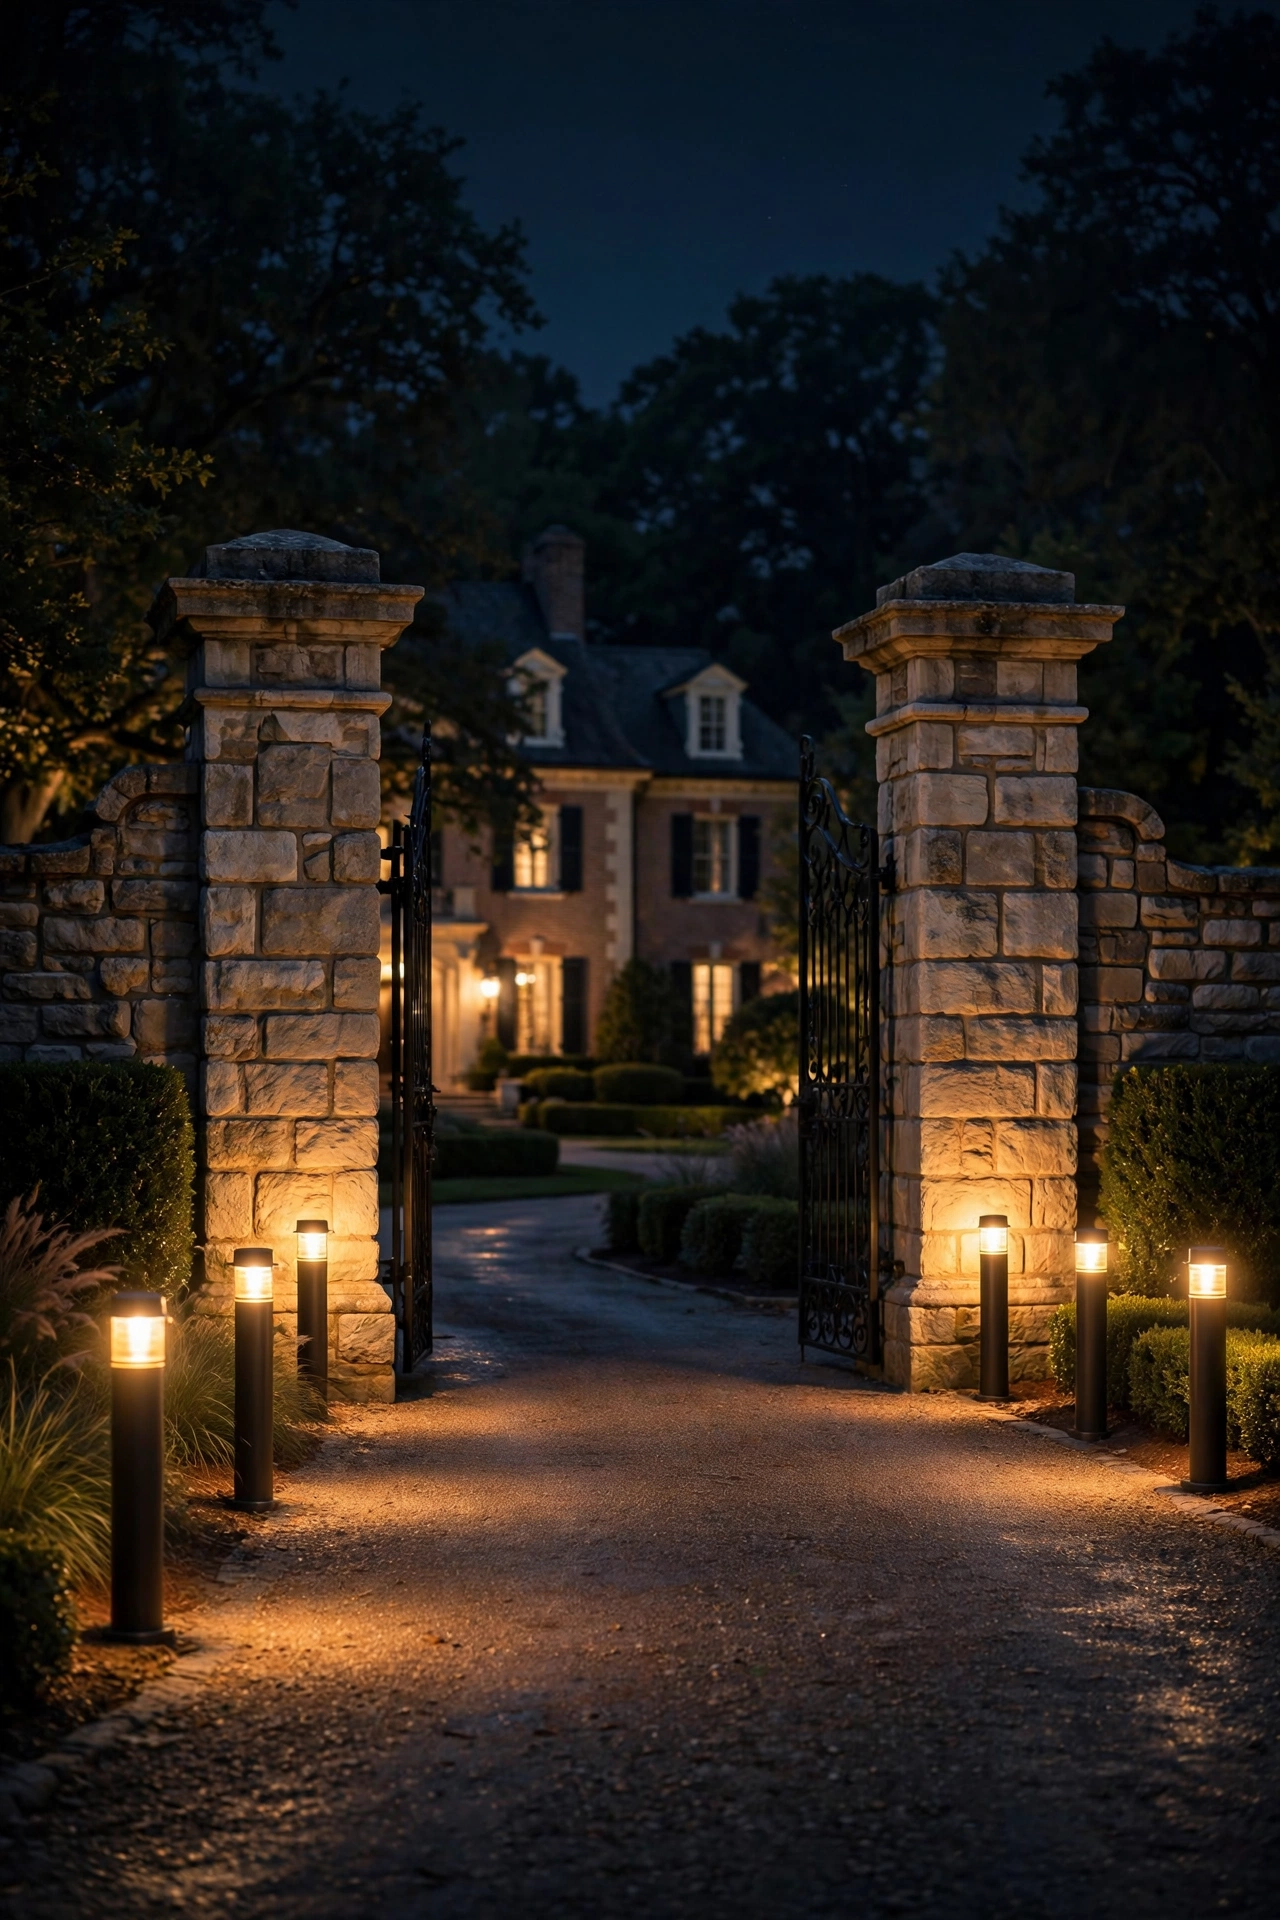
If your driveway has gate posts, stone pillars, or a walled entrance, the bollards' job is to frame that architecture — not compete with it. Place a matched pair of bollards just inside the pillars, 3 to 4 feet past them, so the light leads the eye through the gateway rather than washing the pillars themselves. (If you want the pillars lit too, add small uplights at their bases — that's the layering philosophy doing its work.) Scale matters here: bollards should be about one-third the height of the pillars, so 24-to-36-inch fixtures beside 6-foot stone piers. Match finishes to the gate hardware — black steel gates want black bollards, not bronze. For electric gates, keep bollard wiring in a separate trench from the gate's power and low-voltage control lines to avoid interference, and never mount a bollard where a swinging gate can reach it — measure the full swing arc before you dig. Timers or photocells are essential since gate entrances are the first thing visitors see; set them to come on at dusk like the rest of the property.
Suggested budget range: $400 – $1,800.
16. Layer It: Bollards Plus Uplights and Path Lights
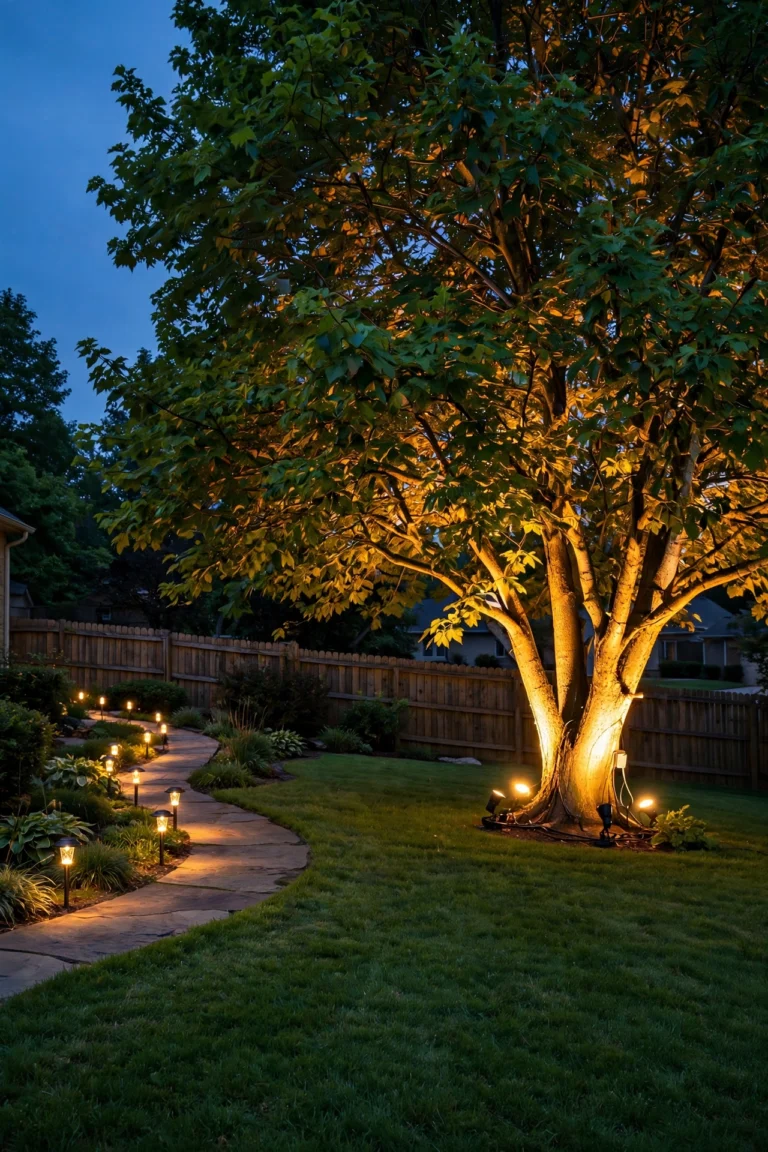
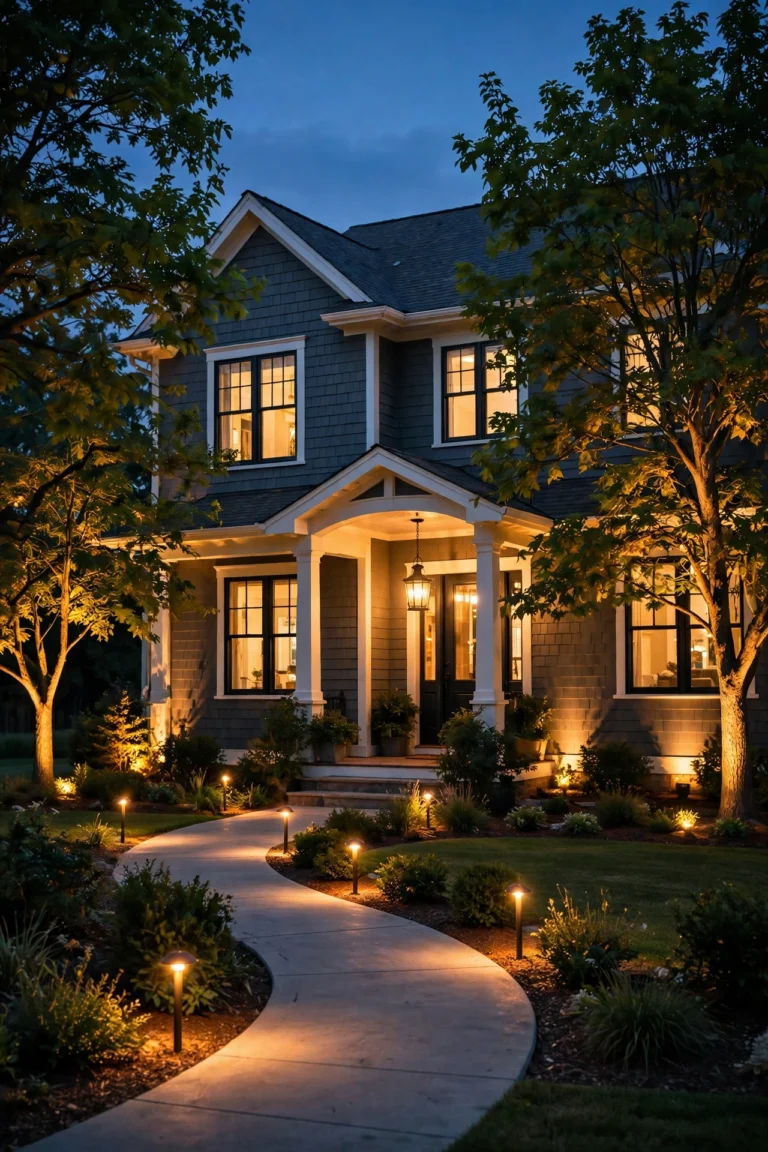
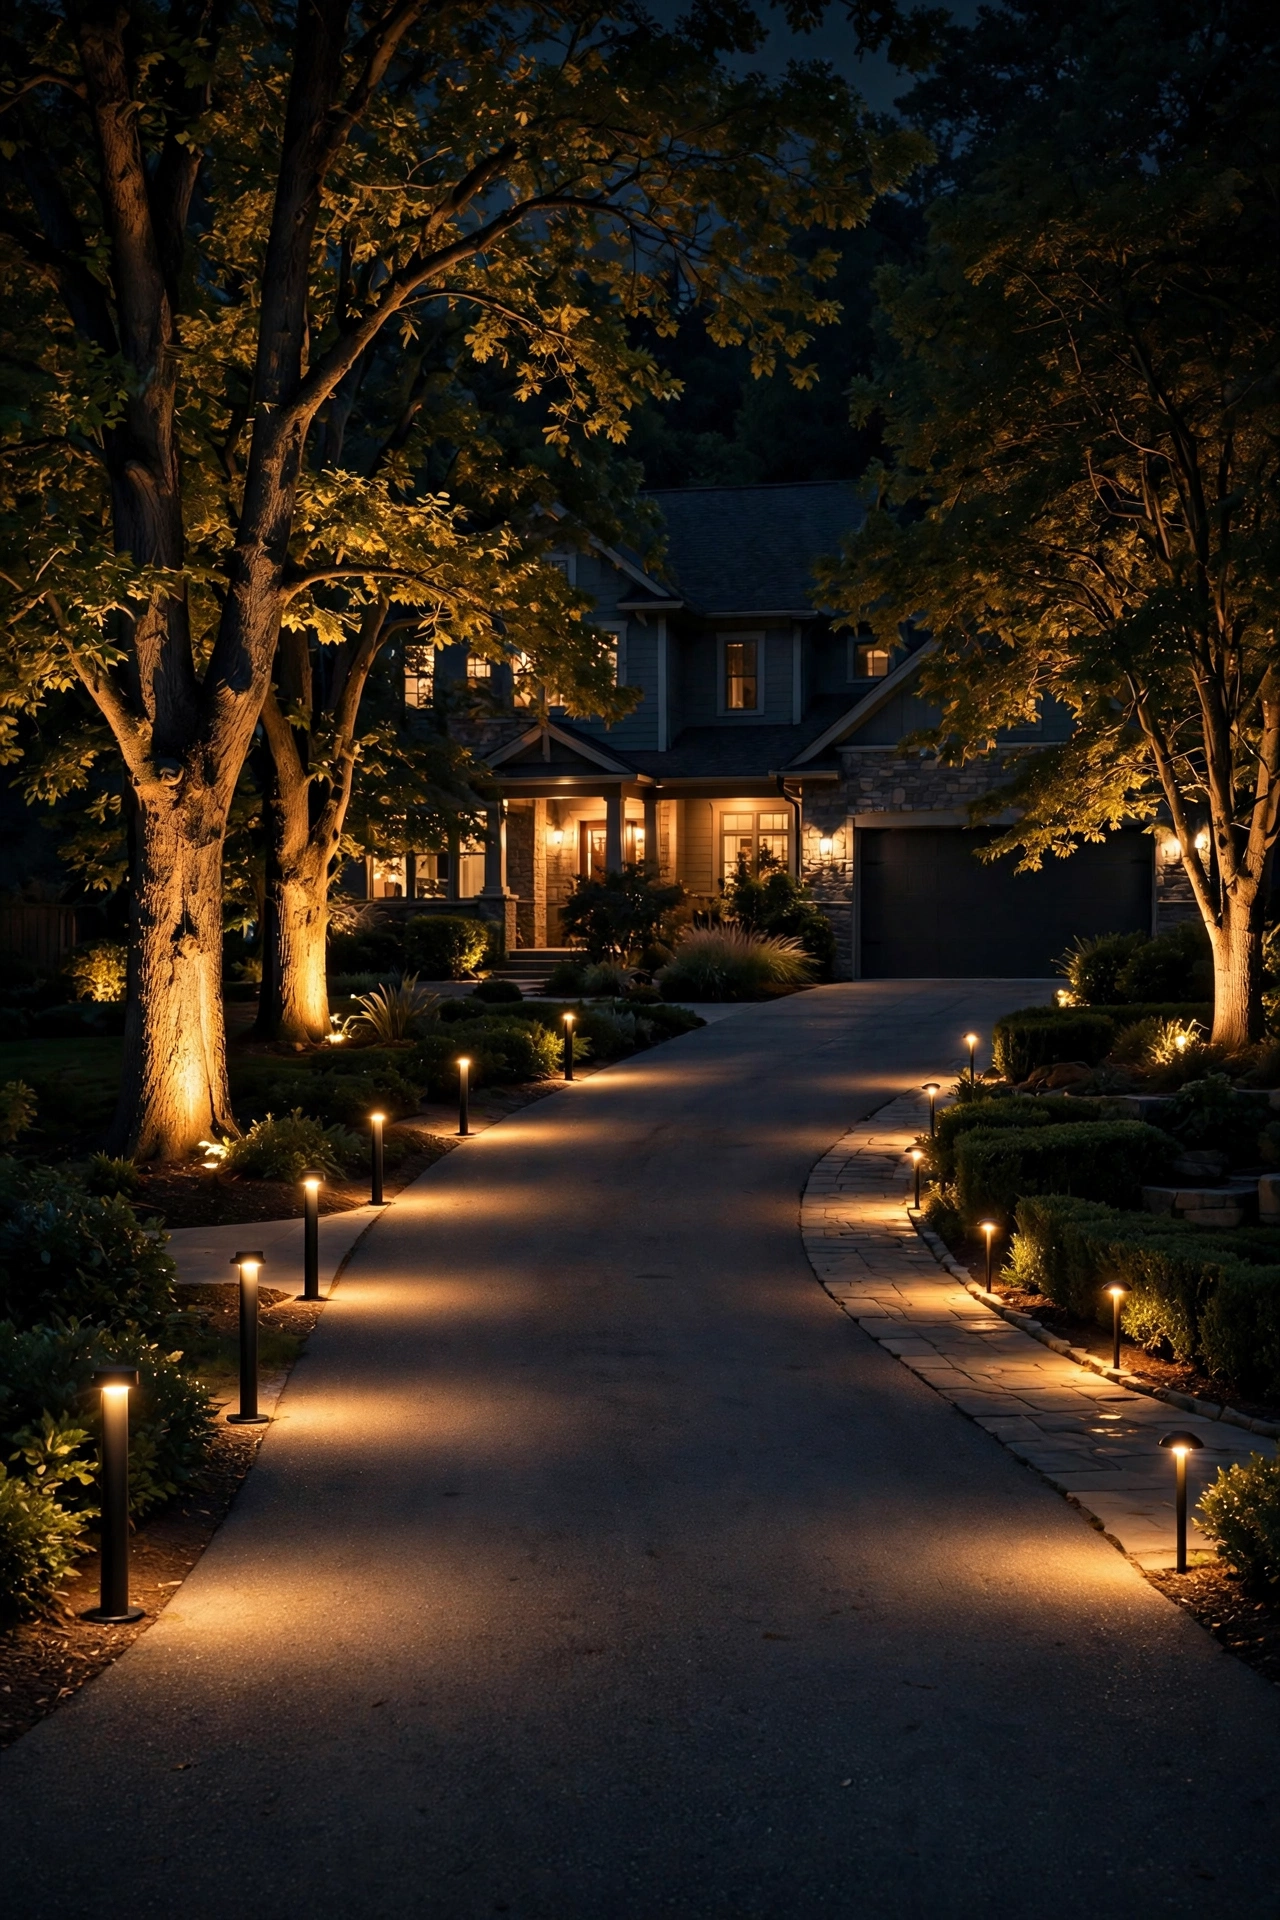
Here's where the layering philosophy really shines. Bollards alone give you the base — now add a second layer: small uplights washing the trees or facade beside the driveway, and a third layer of low path lights or step lights where the driveway meets the walkway. The rule I always recommend: keep all three layers the same color temperature (2700–3000K across the board) or the property will look patchy and amateur. Vary the brightness instead — bollards at full, uplights slightly dimmer, path accents lowest — so the eye travels from bright (driveway edges) to soft (planting beds). Put the whole system on one transformer and one timer so the layers always perform together; separate timers drifting apart is the most common way layered lighting falls apart. Electrically, this is still one low-voltage project — just size the transformer for the total wattage plus 20 percent headroom. Walk the property line at night when you're done and check for light trespass into neighbors' windows; shields and louvered heads fix most of it. This is the setup that makes people ask who your lighting designer was.
Suggested budget range: $800 – $3,500.
17. Dressed-Up Bollards for the Holidays and Seasons
Bollards make fantastic anchors for seasonal decorating because they're already evenly spaced and already lit. In fall, tuck small pumpkins, gourds, or a bundle of corn stalks at the base of every other bollard — the warm light underneath makes the whole arrangement glow. For winter, wrap each bollard loosely with a garland swag (never tight enough to trap heat) and top with a simple bow; since quality bollards are LED and run cool, LED-only fixtures near dried garlands and foliage are the safe choice — never wrap incandescent fixtures with anything flammable. Spring gets a small potted flower at alternating bases; summer, maybe nothing at all, letting the clean row speak for itself. The practical note: use removable ties, not staples or screws, so you don't damage powder-coated finishes, and keep all decor 6 inches clear of the light head so output isn't blocked. If your bollards are smart or on a timer, program a holiday scene — slightly brighter, on earlier — for December. It's the easiest seasonal refresh in your whole yard, because the infrastructure is already standing there waiting.
Suggested budget range: $50 – $300.

Frequently Asked Questions
How far apart should driveway bollard lights be spaced?
For most residential driveways, space bollards 8 to 10 feet apart along each side, set back 18 to 24 inches from the pavement edge. Short dome-style bollards (under 18 inches) do better at 6 to 8 feet apart since each covers a smaller area, while bright hardwired 120-volt fixtures can stretch to 10 to 14 feet. Whatever spacing you choose, keep it consistent — uneven gaps are the fastest way to make a lighting row look amateur. Walk the driveway at night with a flashlight before you commit to placement; you'll spot dark pockets and glare problems in five minutes.
Are solar or wired driveway bollard lights better, and what do they cost?
It depends on your driveway and your patience. Solar bollards need zero wiring and install in an afternoon, but they require 6 to 8 hours of direct sun and will dim on cloudy weeks and winter nights. Low-voltage wired systems (12V on a transformer) cost more upfront and need a shallow cable trench, but they deliver even, reliable, all-night brightness in any weather — and they're safe for DIY. If your driveway is shaded, long, or you want security-level light, go wired. If it's sunny, short, and you mainly want ambiance and edge-marking, solar is honestly fine.
On cost: a DIY solar row for a standard two-car driveway runs $100 to $600 in fixtures. A low-voltage wired system — the most popular choice — lands between $400 and $1,800 including the transformer, cable, and fixtures for a 60-foot driveway. Professionally installed hardwired 120-volt systems start around $1,500 and can reach $5,000 for long rural drives. Running costs are modest either way: a dozen LED bollards draw roughly 60 to 100 watts total, just a few dollars a month dusk-to-dawn. For more on the trade-offs, see my breakdown of solar exterior house lights.
What height should driveway bollard lights be?
The sweet spot for most driveways is 24 to 42 inches tall — high enough to clear car hoods and throw light across the pavement, low enough to stay out of drivers' eyes. Use shorter 12-to-18-inch dome bollards near bedroom windows or where you want minimal light spill, and reserve 48-to-60-inch statement bollards for the entrance area or flanking gate pillars. Whatever height you pick, make sure the heads are shielded, louvered, or downlight-only so the bulb isn't visible to approaching drivers. Glare is the number one complaint with bollard lighting, and it's almost always a height-and-shielding problem, not a brightness problem.
How do I stop bollard lights from causing glare?
Three fixes solve nearly every glare problem: choose fixtures with louvered, shielded, or downlight-only heads so no bare bulb is visible from a standing or seated eye level; keep color temperature warm (2700–3000K), since cool white feels harsher and glares more; and aim the light at the pavement, not across it — set fixtures back 18 to 24 inches from the edge and, on curves, favor the outside of the bend. If existing fixtures glare, retrofit shields or swap to frosted lenses before you replace the whole row. For broader outdoor lighting safety principles, my electrical safety tips post covers outdoor ratings, GFCI protection, and when to call an electrician.
Conclusion
At the end of the day, driveway bollard lights are one of those rare upgrades that deliver safety, beauty, and curb appeal in a single weekend project. Start with the layering mindset — bollards as your warm, even base layer — then choose the power source that fits your driveway, keep the spacing consistent, and match the style to your home's architecture. Whether you go solar or wired, staggered or symmetrical, the result is the same: a grand entrance that welcomes you home every single night. If this sparked ideas, browse more of my outdoor lighting guides for the next layer — your porch, your pathways, and your landscape are all waiting for their glow-up.