17 Fence Lighting Ideas for Privacy and Glow
There's a special kind of magic that happens when the sun goes down and your backyard fence starts to glow. I learned this the hard way, honestly — for years my fence was just a dark wall of wood after dark, and my yard felt smaller, a little less safe, and not at all inviting. Then one weekend I clipped a set of warm string lights along the top rail, and suddenly the whole space came alive.
That's the thing about fence lighting ideas: they do triple duty. A lit fence marks your property line clearly (privacy), deters anyone from wandering up to your yard uninvited (security), and turns a flat boundary into one of the prettiest features of your outdoor space (ambiance). It's one of the highest-impact, lowest-cost upgrades you can make outside.
My philosophy for any outdoor project is *layering* — no single light source should do all the work. Layer your fence lighting the same way you'd layer lamps indoors: soft overall glow, a few accent lights to highlight texture, and one or two task lights where you actually need to see. This post gives you 17 ideas that work on wooden, vinyl, metal, and chain-link fences, at every budget level. Mix two or three of them and you'll have a backyard that looks professionally designed.
1. Classic Solar Post Cap Lights
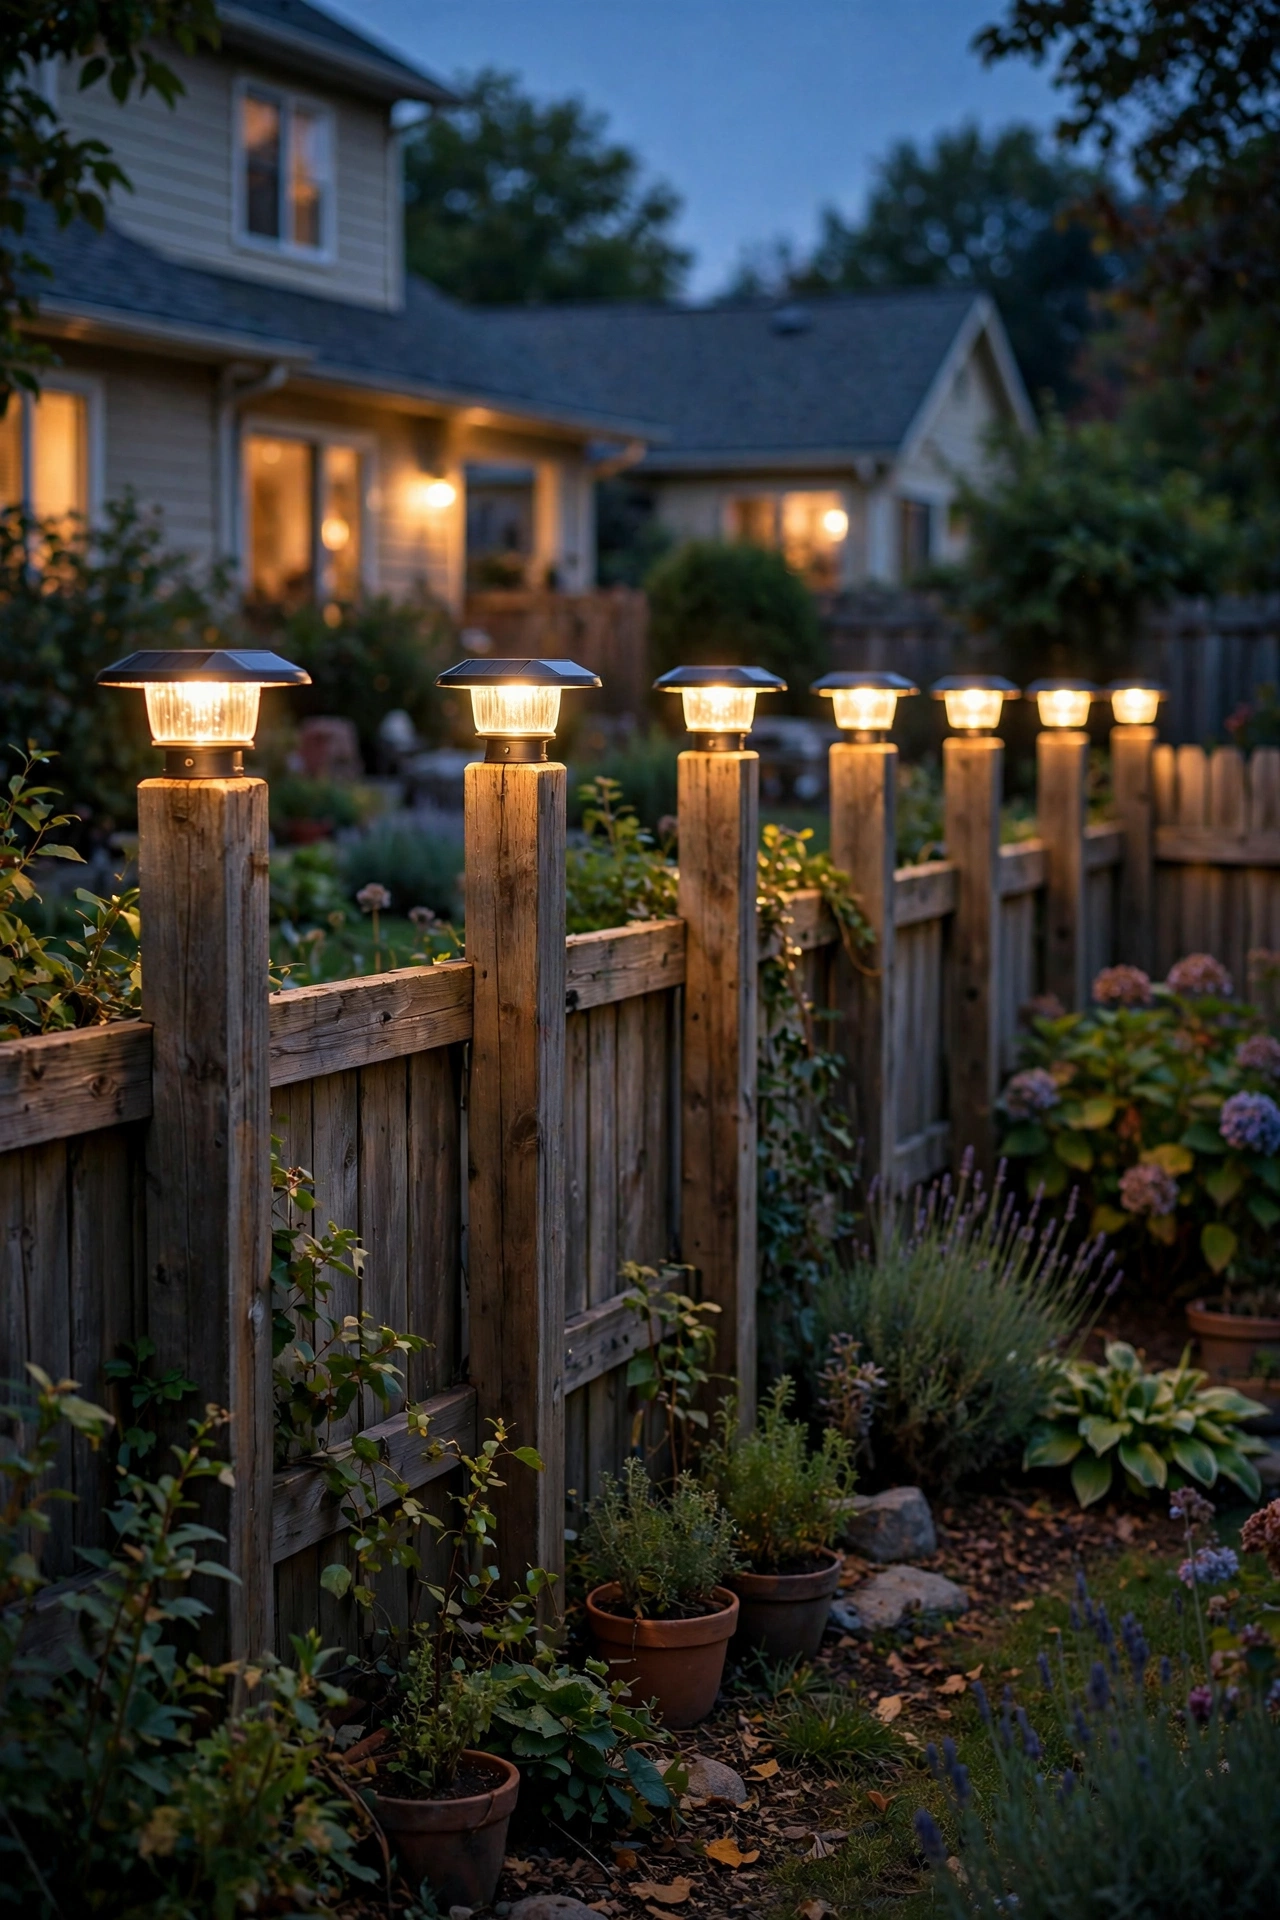
Let's start with the crowd favorite, because in my experience it's the easiest win on this entire list. Solar post cap lights sit right on top of each fence post, replacing your plain flat caps with ones that have a small solar panel and LED built in. During the day they charge; at night they cast a soft warm pool of light down around each post.
Installation is a genuine five-minute job per post: pop off the old cap, and either press-fit or screw the new one on depending on the fit. Measure your posts first — standard 4×4 posts (which are really 3.5 inches square) and 6×6 posts each have their own cap sizes, and a loose fit means your light becomes a lawn dart in the first windstorm.
Space them on every post for a picket-fence rhythm, or on every other post along a long privacy run for a calmer look — I prefer every post because the repetition is what makes it read as "designed." Stick to warm white (2700K–3000K); cool white caps look like a parking lot. One tip: give the solar panels a wipe-down every few months, because dust cuts charging noticeably, and if a panel sits in deep shade, that light just won't hold a charge.
Suggested budget range: $6 – $15 per cap.
2. Under-Cap-Rail Downlights
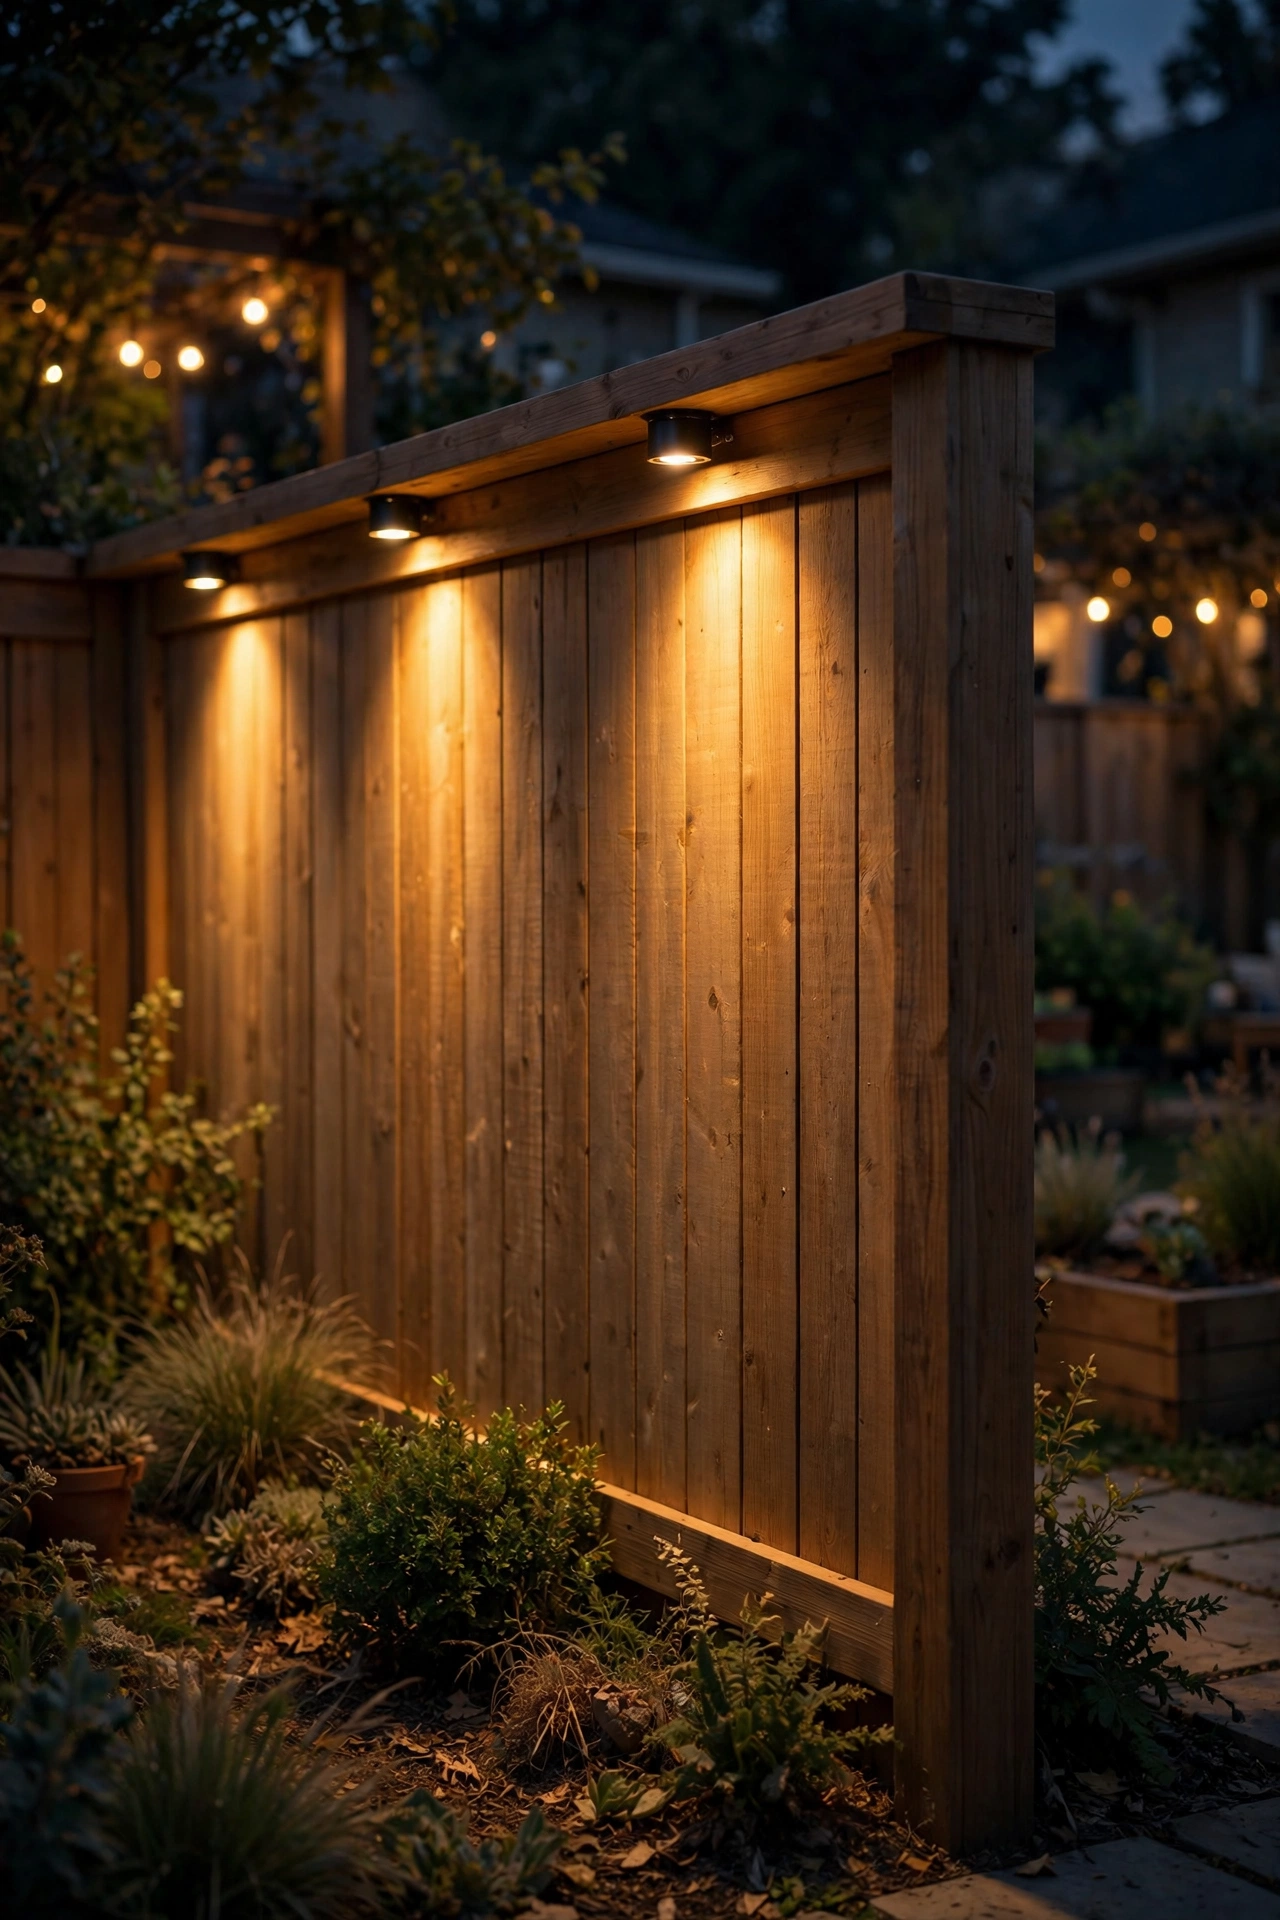
If you want your fence to look like it was designed by a lighting pro, downlights tucked under the top cap rail are the move. These small LED fixtures mount to the underside of the rail and wash light straight down the face of the fence, which makes the wood grain glow and creates the loveliest scalloped pattern along the run. It's a subtle, architectural effect — honestly, it looks expensive.
How-to: mount the fixtures centered under the cap rail every 6 to 8 feet. Most are low-voltage, so you'll run a slim wire along the back of the rail and bury it in a shallow trench or tuck it into the rail itself with cable clips. Height matters less than consistency — the uniform spacing is what sells the effect. Use a warm 2700K and keep the output modest; you're grazing the surface, not lighting a stadium.
This is a wired job, so plan your transformer near the fence and use outdoor-rated low-voltage cable. The payoff is light that never depends on a sunny day. Safety note: keep connections above soil level where possible and use waterproof wire nuts — fence bottoms get wet, and corrosion kills low-voltage systems faster than anything else.
Suggested budget range: $120 – $300 for a 40-foot run.
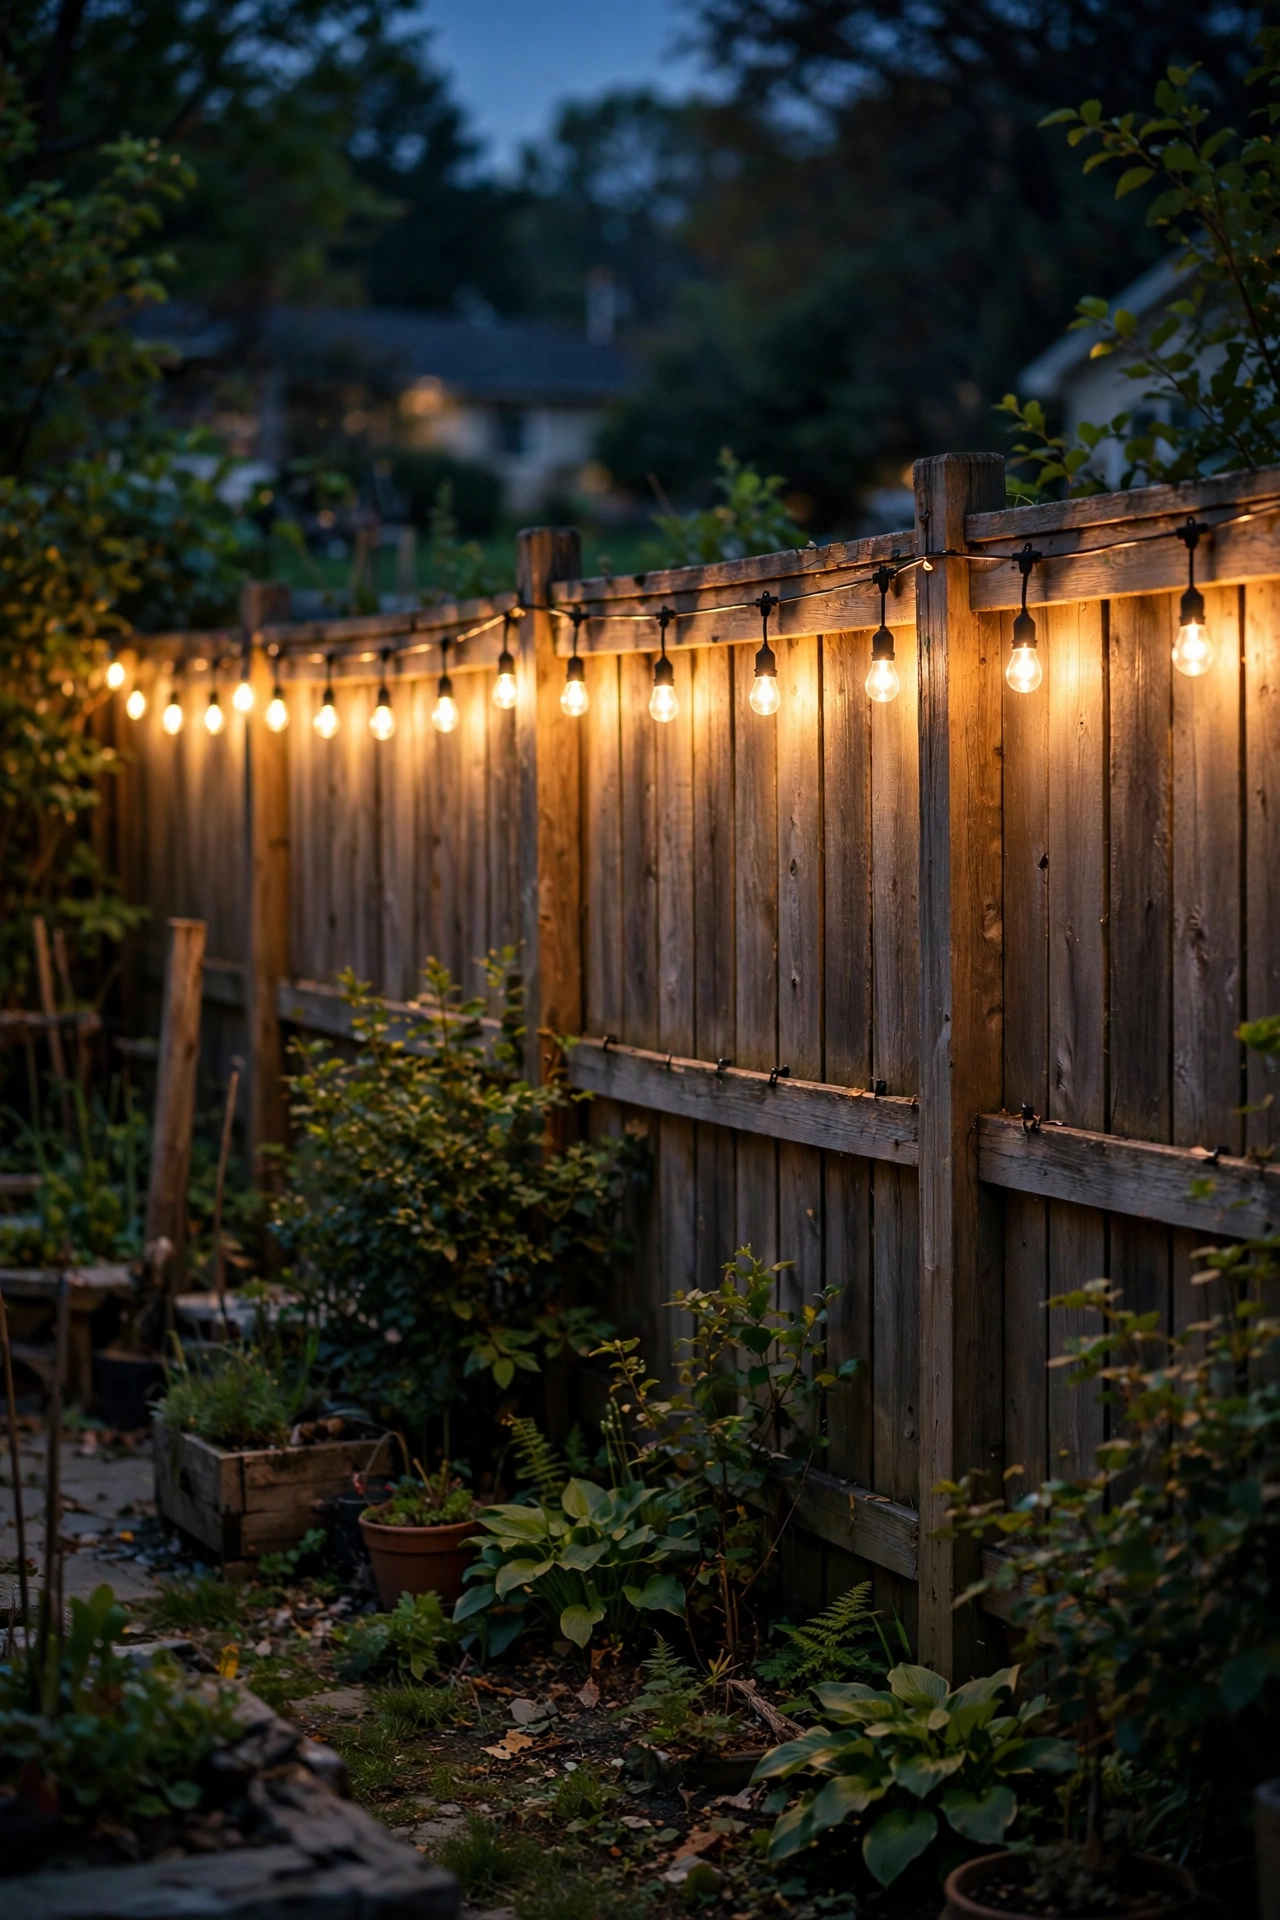
3. Warm String Lights Along the Top Rail
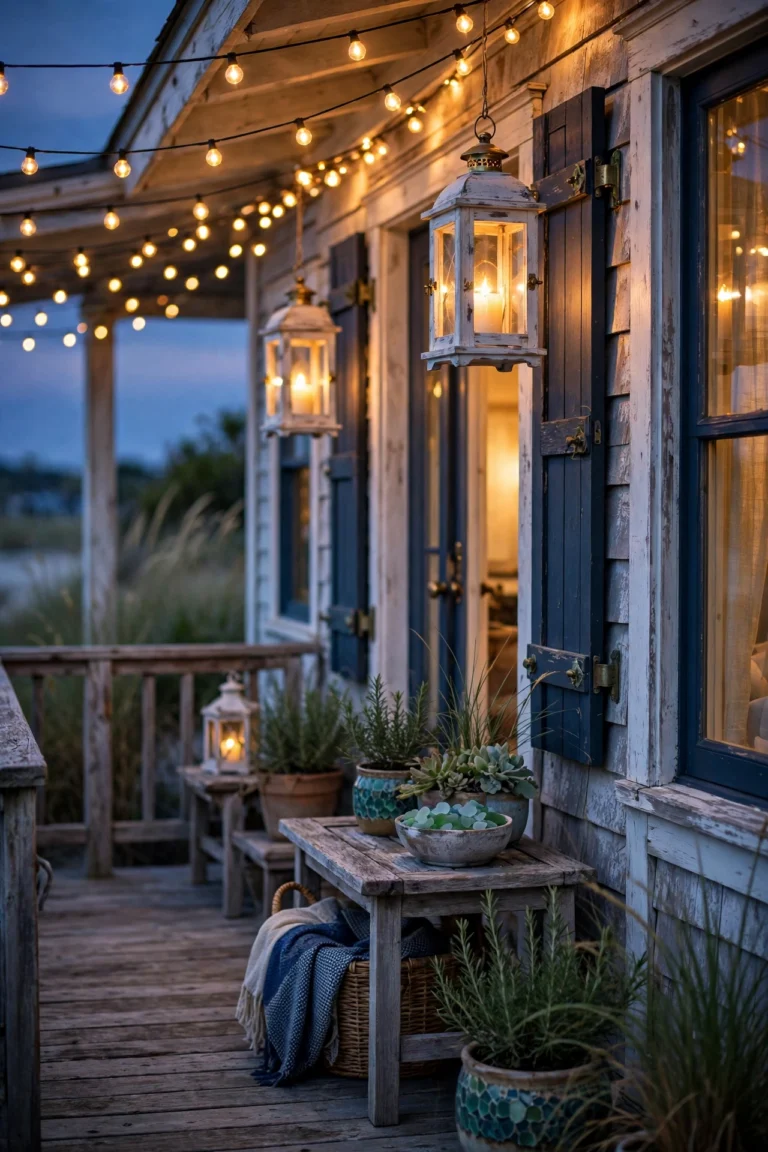
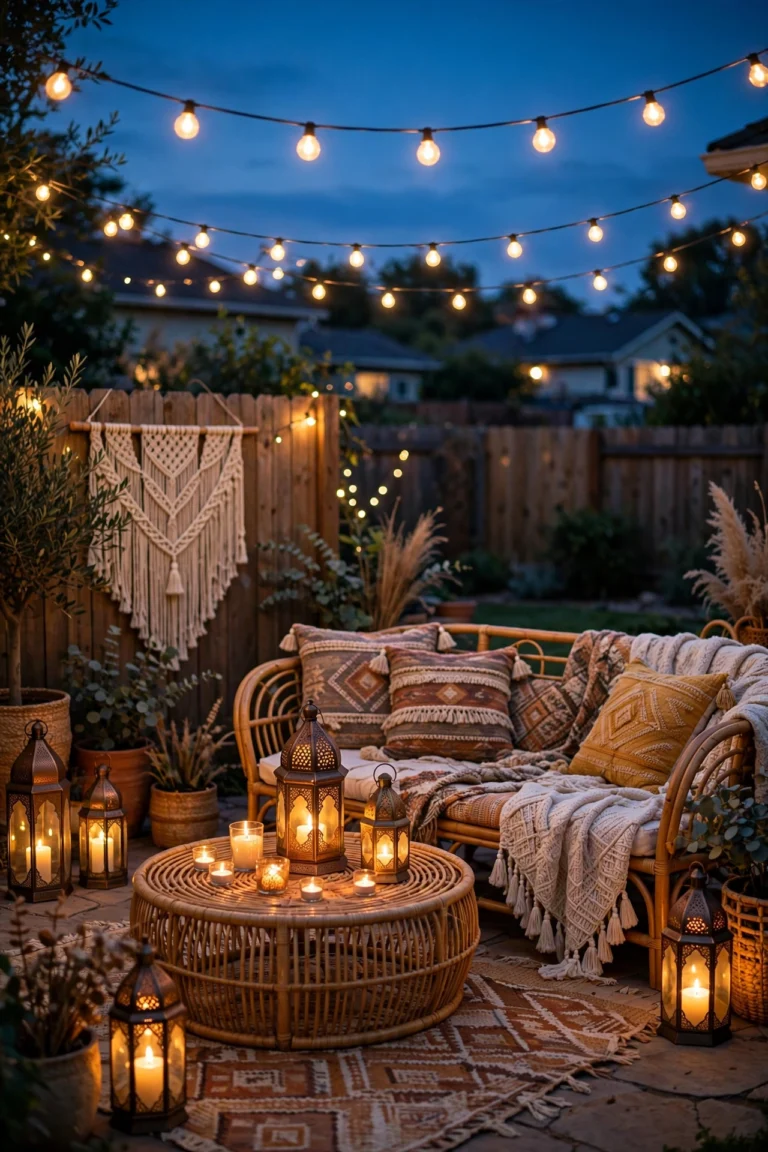
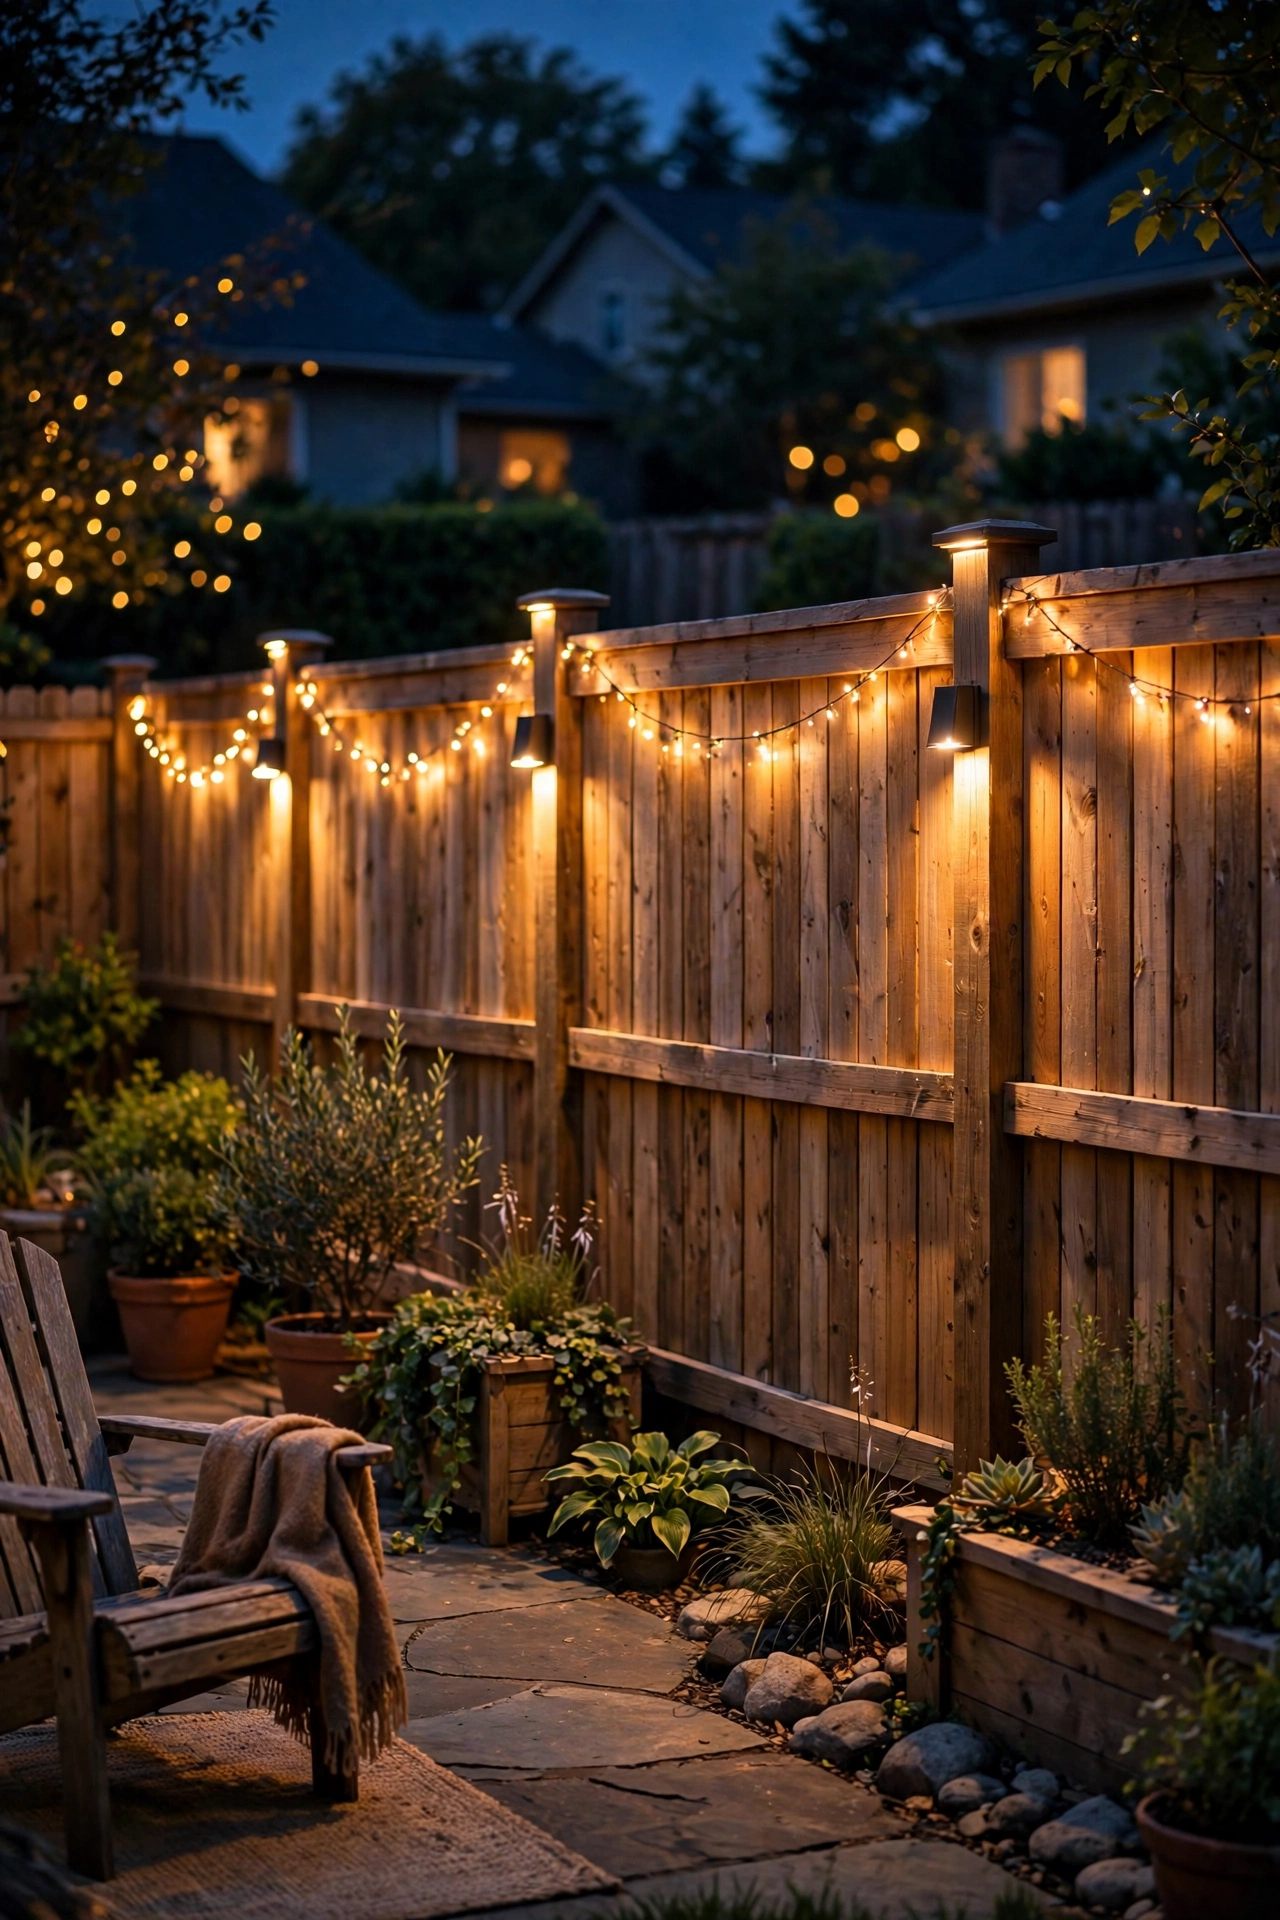
String lights are the fastest way to make a fence feel like an occasion instead of a boundary. Draped or clipped along the top rail, they give you that soft, festival-glow that makes even a weeknight dinner outside feel a little celebratory.
The trick is attachment without damage, especially if you rent or just love your fence. Skip the staple gun. Use small screw-in cup hooks on wood (they leave a tiny, barely-visible hole), adhesive-backed clips on vinyl, or zip-tie the strand to a chain-link. For a clean look, run the strand in a gentle swag between posts rather than pulled taut — a slight dip of 2 to 4 inches per span reads romantic; a taut wire reads industrial. Keep the lights about 6 feet above grade so they're above eye line when you're seated — that kills glare completely.
In my experience, LED filament strands in warm white are the sweet spot: they sip power, they don't get hot, and one plug-in strand can run 50+ feet. If your fence line is far from an outlet, solar string lights work, but hang the panel somewhere it genuinely gets sun, not tucked under a eave. And buy one spare strand — nothing's sadder than a dark gap in January.
Suggested budget range: $25 – $75.
4. Motion-Sensor Spotlight at the Gate and Corners
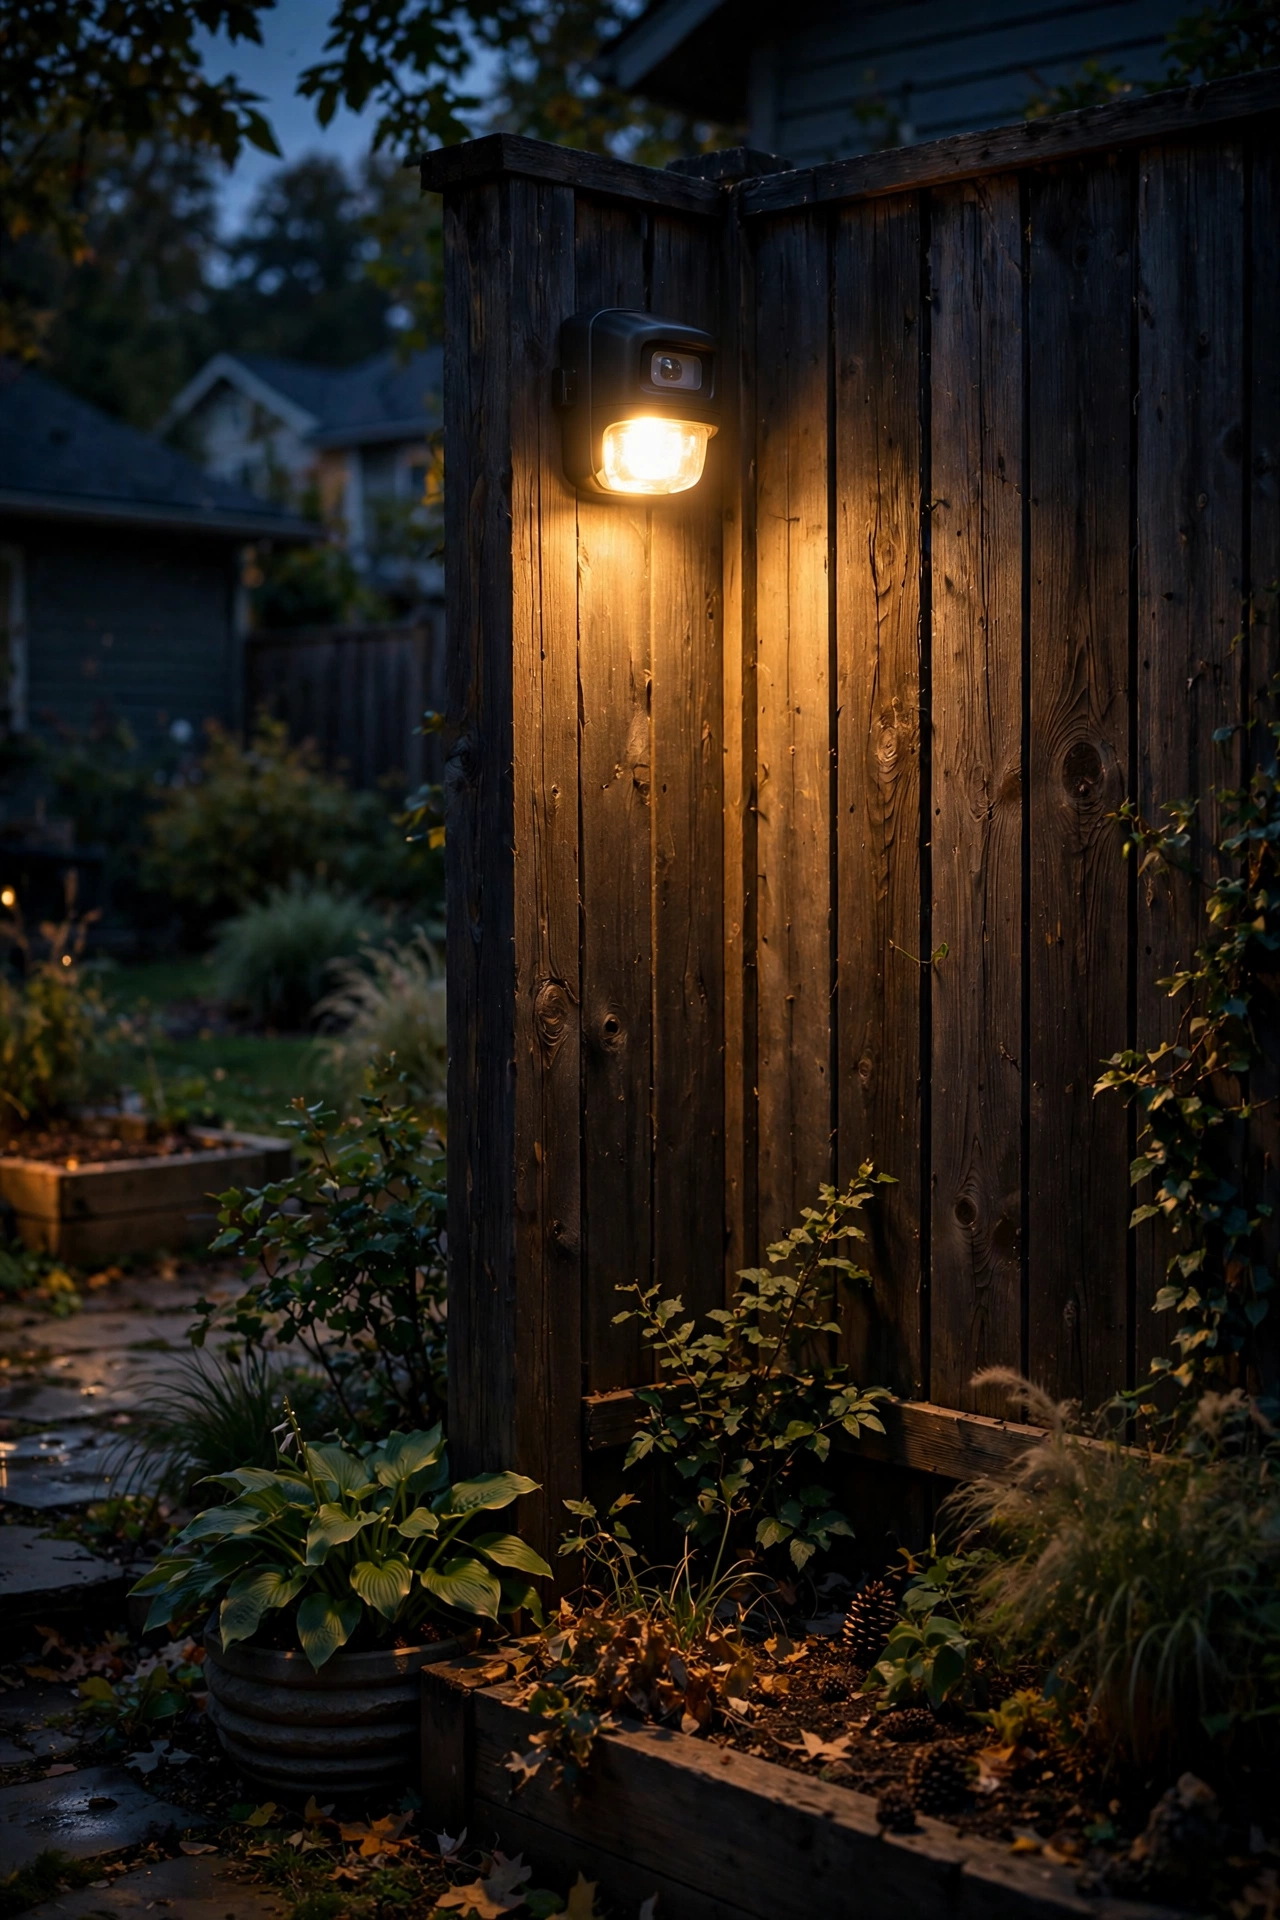
Security lighting doesn't have to be an ugly floodlight that blinds the neighbors. A well-aimed motion-sensor spotlight at your gate or at dark fence corners gives you the security benefit without the harsh vibe. It sits dark and invisible all night, then snaps on for 30 seconds when something moves — which startles intruders and lets you see who's at the gate.
Mount it 7 to 9 feet high on the fence post or a nearby wall, aimed downward at about a 45-degree angle so the light hits the ground, not your neighbors' windows. Angle matters more than brightness here: a 700-lumen fixture aimed at the path is more effective than a 2000-lumen one spraying sideways. Keep the motion sensitivity moderate so cats and wind-blown branches don't trigger it all night.
For a deeper dive into placement and settings, I have a whole guide on motion sensor placement around your home — worth a look before you drill anything. Pair the spotlight with your decorative fence lighting on separate circuits so the pretty glow never blinks off when the sensor fires.
Suggested budget range: $35 – $90.
5. Recessed Post Lights (Post-Sleeve Style)
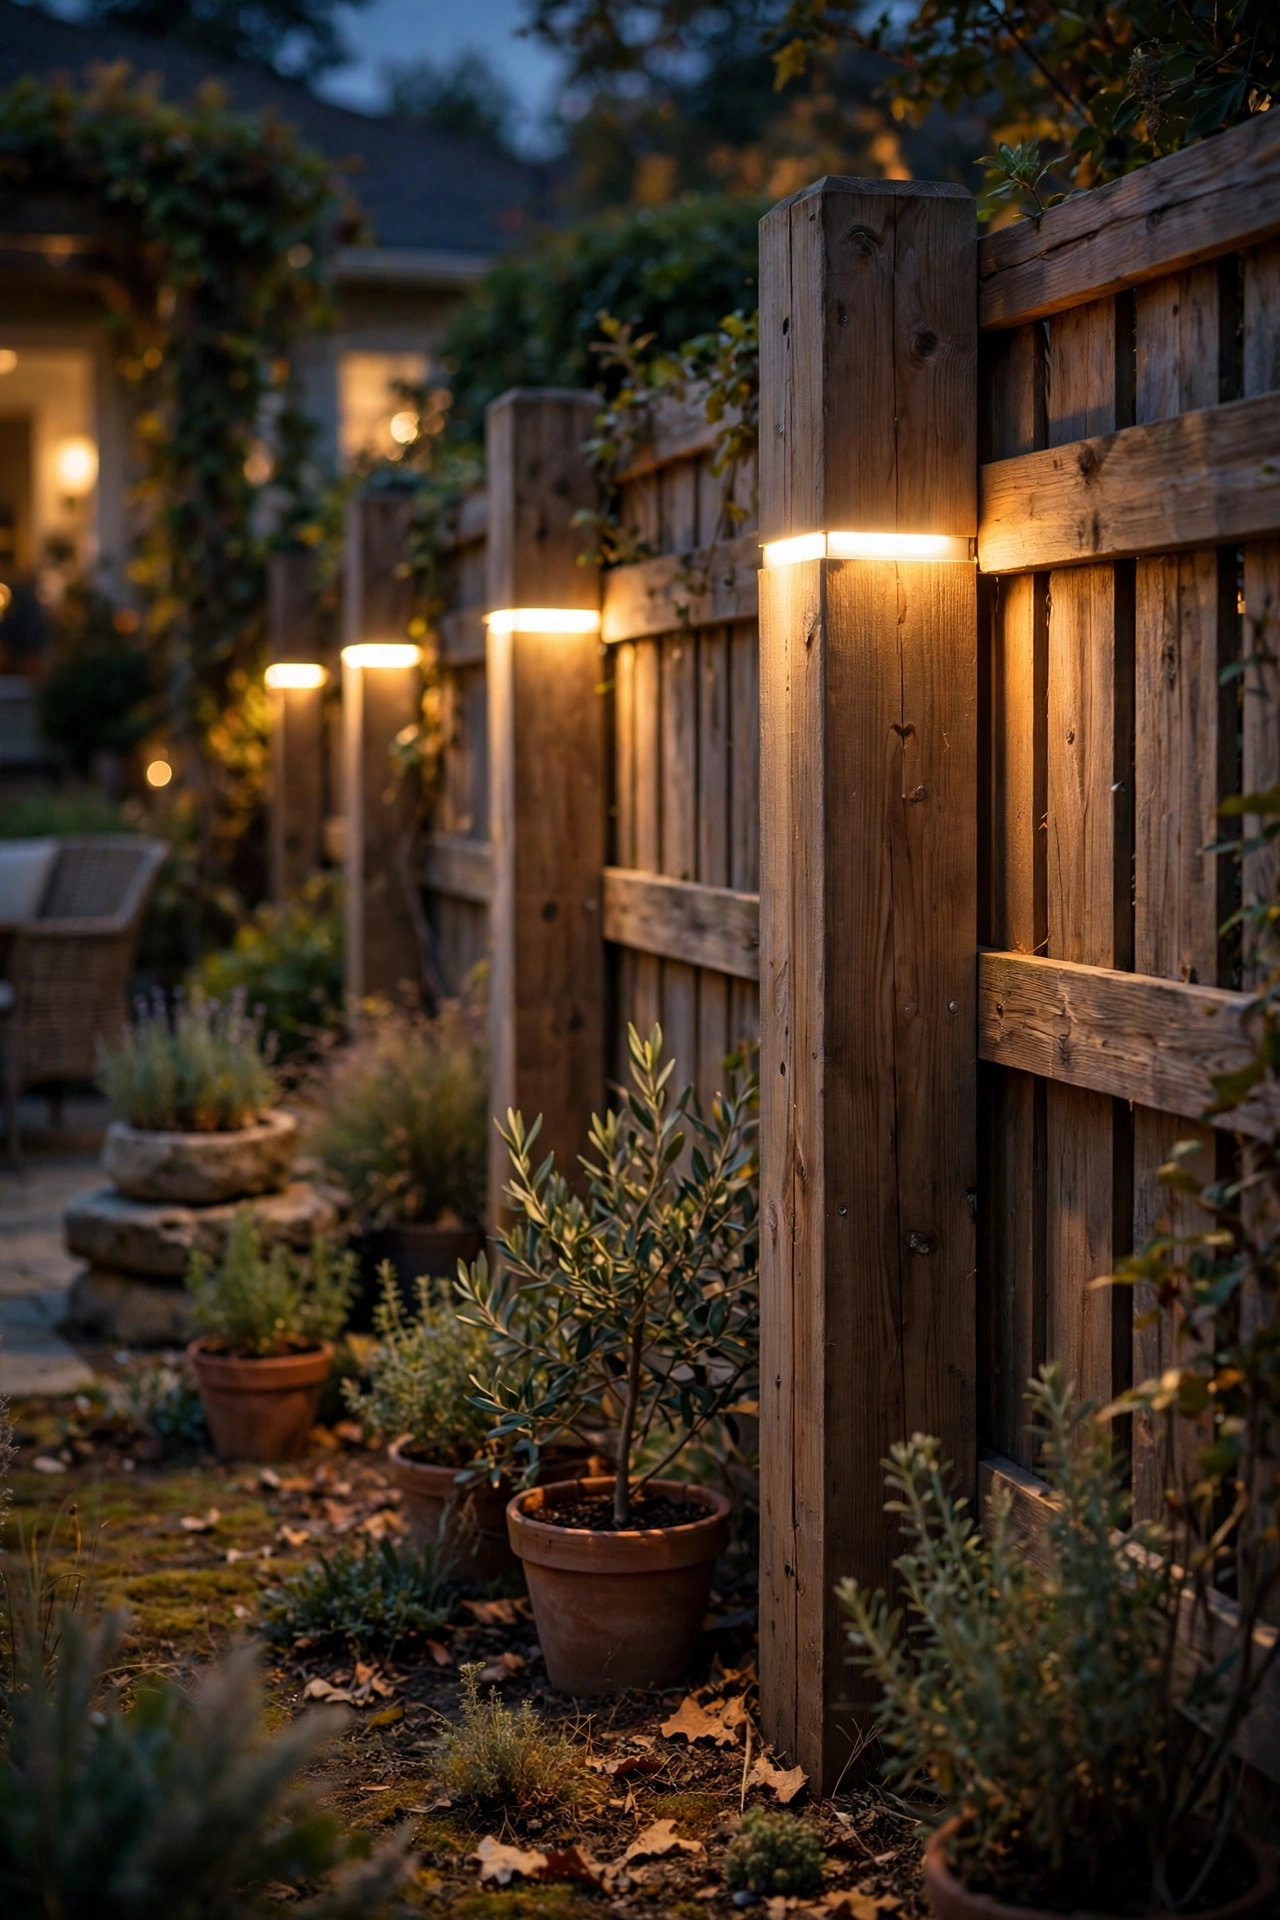
Here's one for anyone building a new fence or replacing posts: hollow post sleeves with a small light chamber. These look like ordinary square fence posts during the day, but a light inside shines softly out through a frosted band or louvered slot near the top. No visible fixture, no visible wire — just a clean glowing post.
Because the light source is recessed, there's zero glare at eye level, which makes this perfect for fences near seating areas or along a pool. Most versions are low-voltage wired, running a cable through the post down to your transformer line. Spacing: light every post in key zones (near the patio, along the gate path), then leave the rest plain — the rhythm of lit and unlit posts looks intentional, and honestly it saves real money on long runs.
Plan this during the build if you can; retrofitting hollow sleeves onto existing posts is fiddly. If you're pouring new posts, run conduit while you have the holes open — future you will be so grateful. Height of the light band: about 4 inches below the post top reads best in my experience.
Suggested budget range: $40 – $120 per post, wired.
6. Uplights at the Fence Base
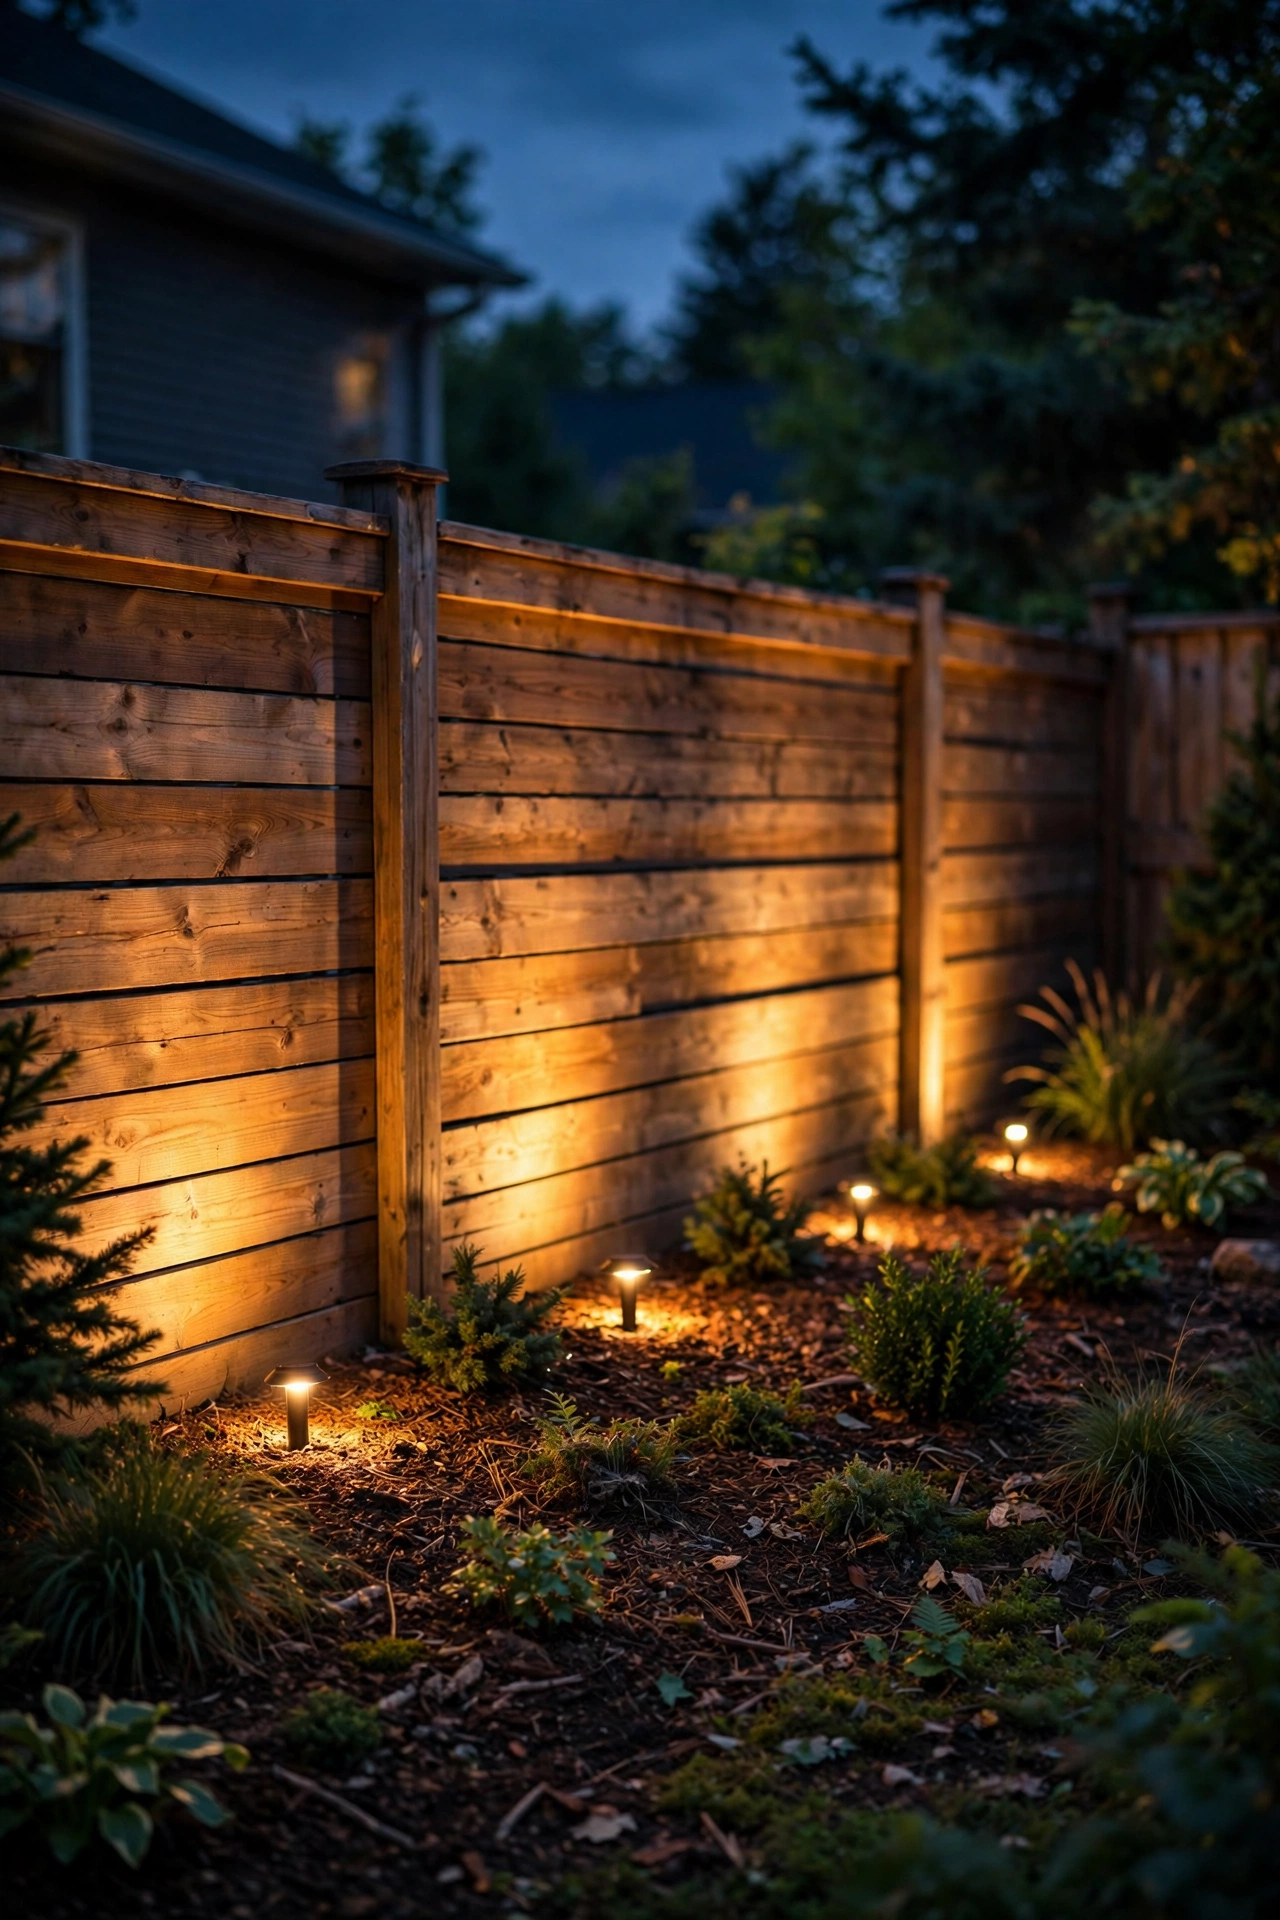
Want drama? Wash your fence in light from below. Small well-style or puck uplights tucked into a mulch bed at the fence base throw light up the boards, and the effect is pure evening theater — every texture pops, shadows stretch, and your fence becomes a backdrop instead of a boundary.
Placement is everything: set each fixture 12 to 18 inches out from the fence face, aimed straight up, spaced 8 to 10 feet apart. Any closer and you get hot spots; any farther and the beams thin out. For a 6-foot privacy fence, a 3- to 5-watt LED per fixture is plenty — more than that and you're lighting your neighbor's second floor, which is how complaints start. Use shielded fixtures or add a small glare shield so you never see the bare source from your patio.
If you're torn between solar and wired for this kind of work, wired wins hands-down — uplighting needs consistent output that shaded solar panels can't promise. Here's my full breakdown on the LED vs solar exterior lights debate if you want the numbers.
Suggested budget range: $90 – $250 for a 40-foot run.
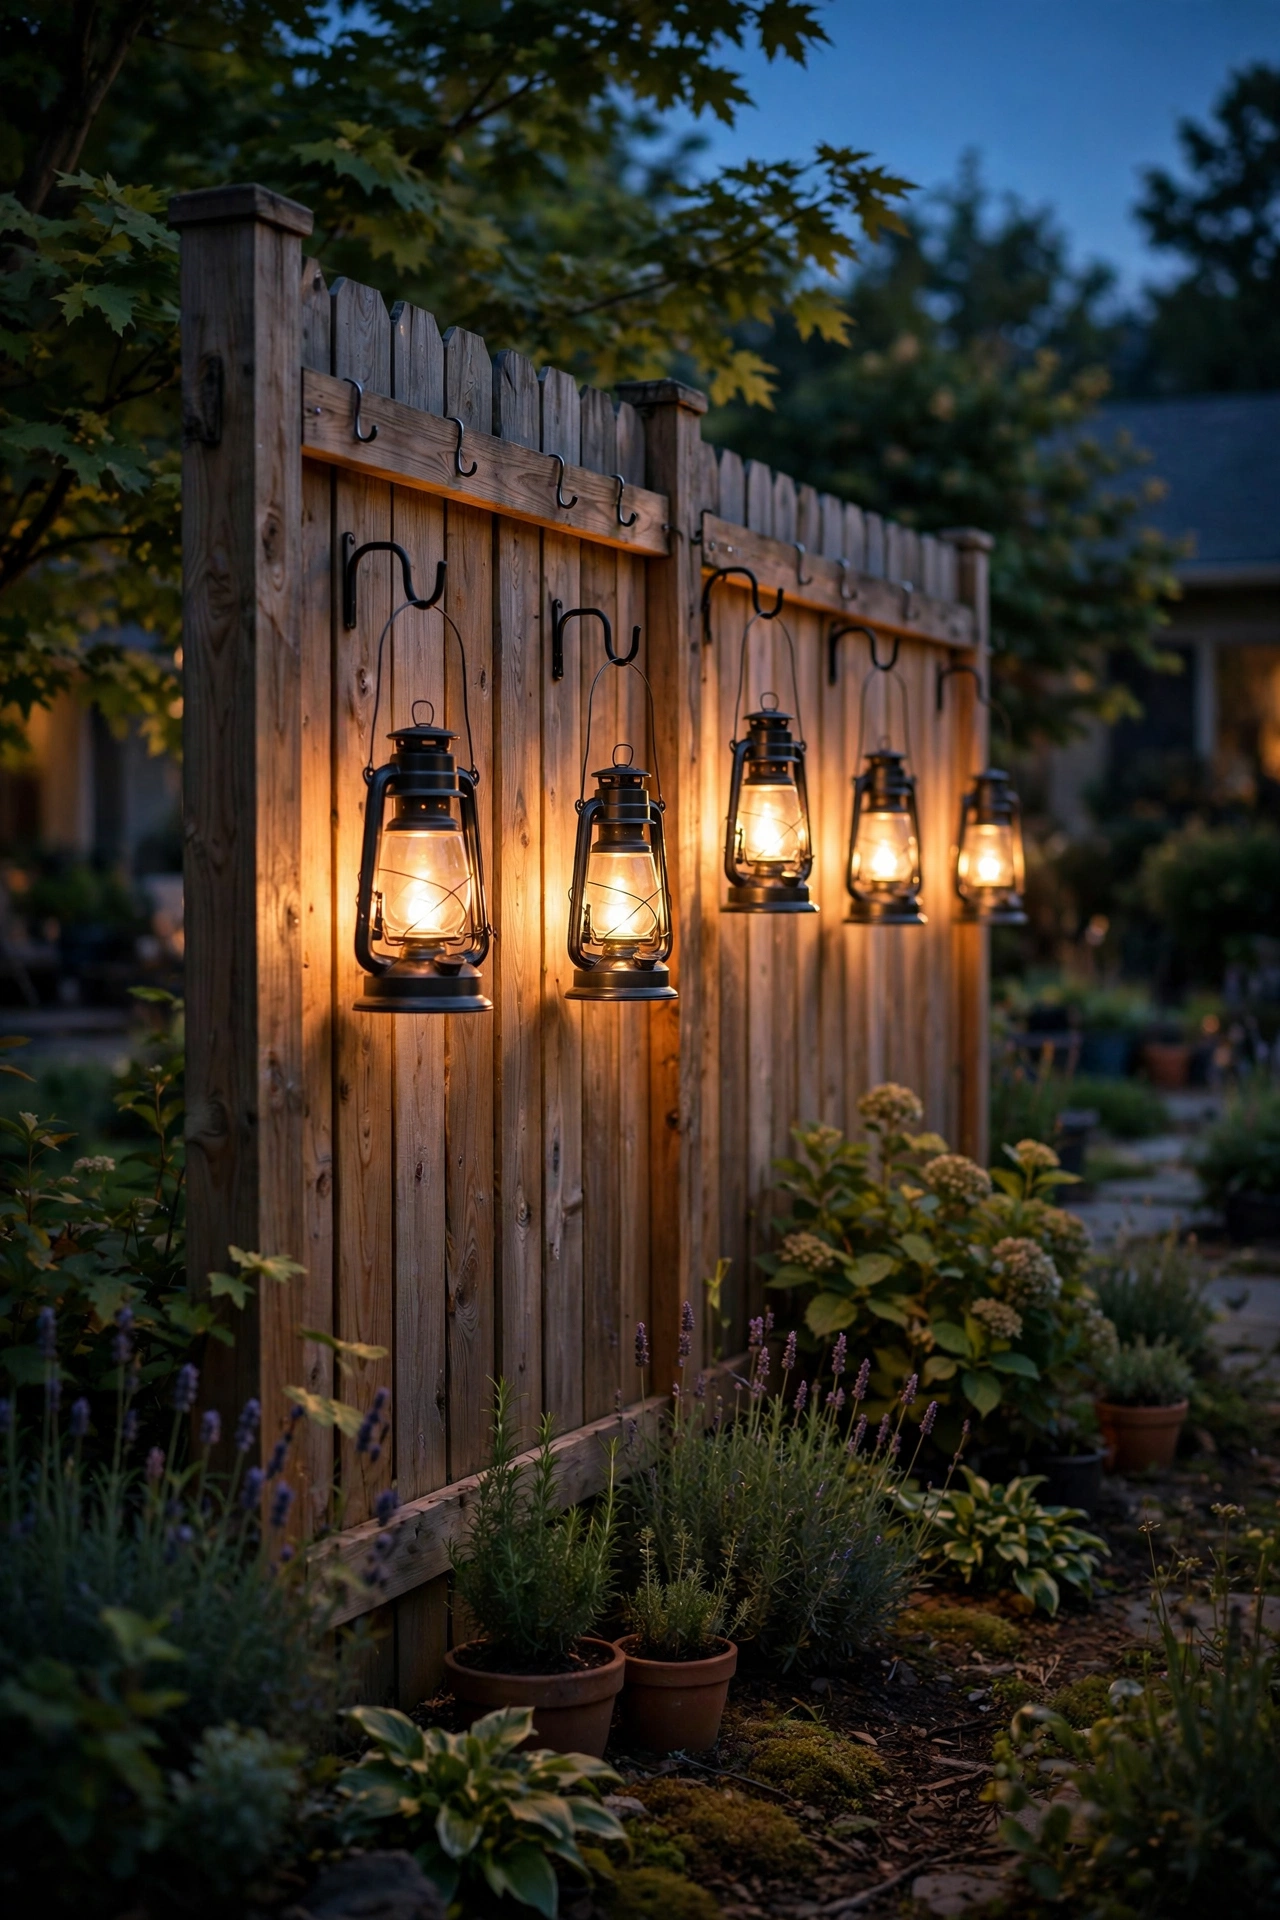
7. Outdoor Lanterns Hung on Fence Hooks
There's something about a real lantern shape on a fence that makes a backyard feel like a villa in the Mediterranean. Hang outdoor lanterns on simple shepherd's-crook-style hooks or fixed brackets along the fence, and you get pools of warm light at about chest height — flattering, human-scale light that string lights can't quite match.
How-to: mount sturdy hooks or small wall-lantern brackets every 8 to 12 feet on the posts (posts carry weight better than boards — always anchor to a post). Hang solar or LED-candle lanterns inside; real candles are a fire risk next to a dry wooden fence, so please don't. In my experience, grouping three lanterns of different heights at a corner or beside the gate looks better than one lonely lantern every ten feet — clusters read as styling, singles read as wayfinding.
For fixture inspiration, browse my collection of outdoor wall lantern ideas — many of those designs hang beautifully on a fence bracket too. Safety note: keep lanterns at least a foot away from any climbing vines or hanging plants, and make sure the hook holds the lantern clear of the fence face so heat (even LED heat) never builds up against wood.
Suggested budget range: $15 – $45 per lantern and hook.
8. LED Strip Light Under the Top Rail
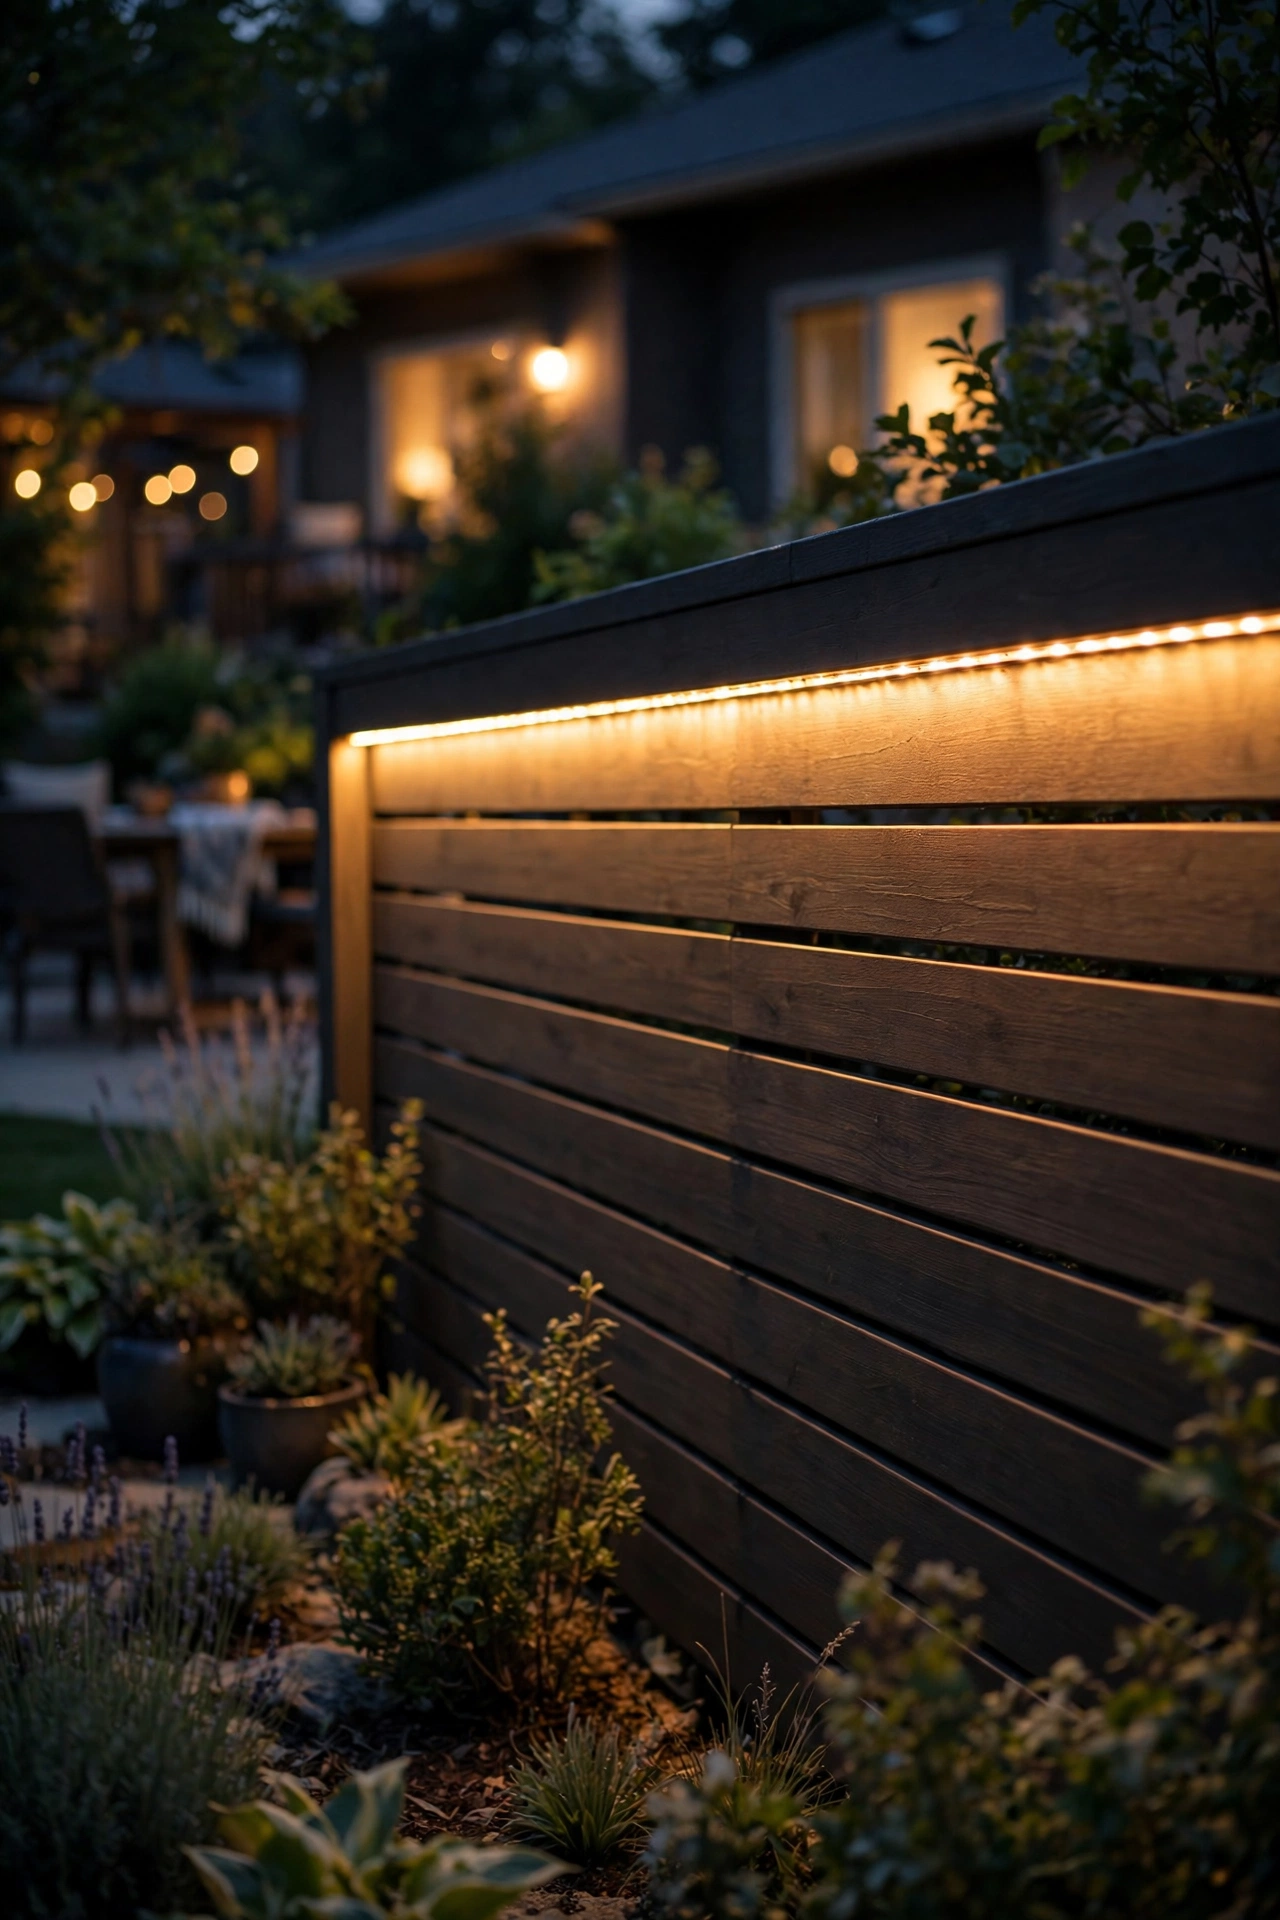
Want a continuous ribbon of light with no visible bulbs at all? Run an LED strip channel under the top rail along the whole fence run. From across the yard you see nothing but a seamless wash of light tracing your property line — it looks incredibly modern, and it's honestly easier to install than it sounds.
Use an aluminum channel with a frosted diffuser, mounted with clips under the rail. The diffuser is the secret: bare LED strips give you harsh dots; a diffuser turns them into one smooth line. Outdoor-rated strips (IP65 or better) only — fence tops get rained on from every direction. Cut and connect at the marked solder points every few feet, and power with a 12-volt driver sized to your total run length; most drivers handle up to about 16 feet of strip, so long fences need multiple drivers or a bigger one.
Warm white (2700K–3000K) is my default, but this is also the one fixture type where I say go ahead and consider RGBW if you love hosting — one remote turns your fence into party lighting. Mount the strip slightly toward the inside of the rail so rain drips off the outside edge, not onto your electronics.
Suggested budget range: $60 – $180 for a 40-foot run.
9. Solar Hanging Jar Lights on Fence Boards
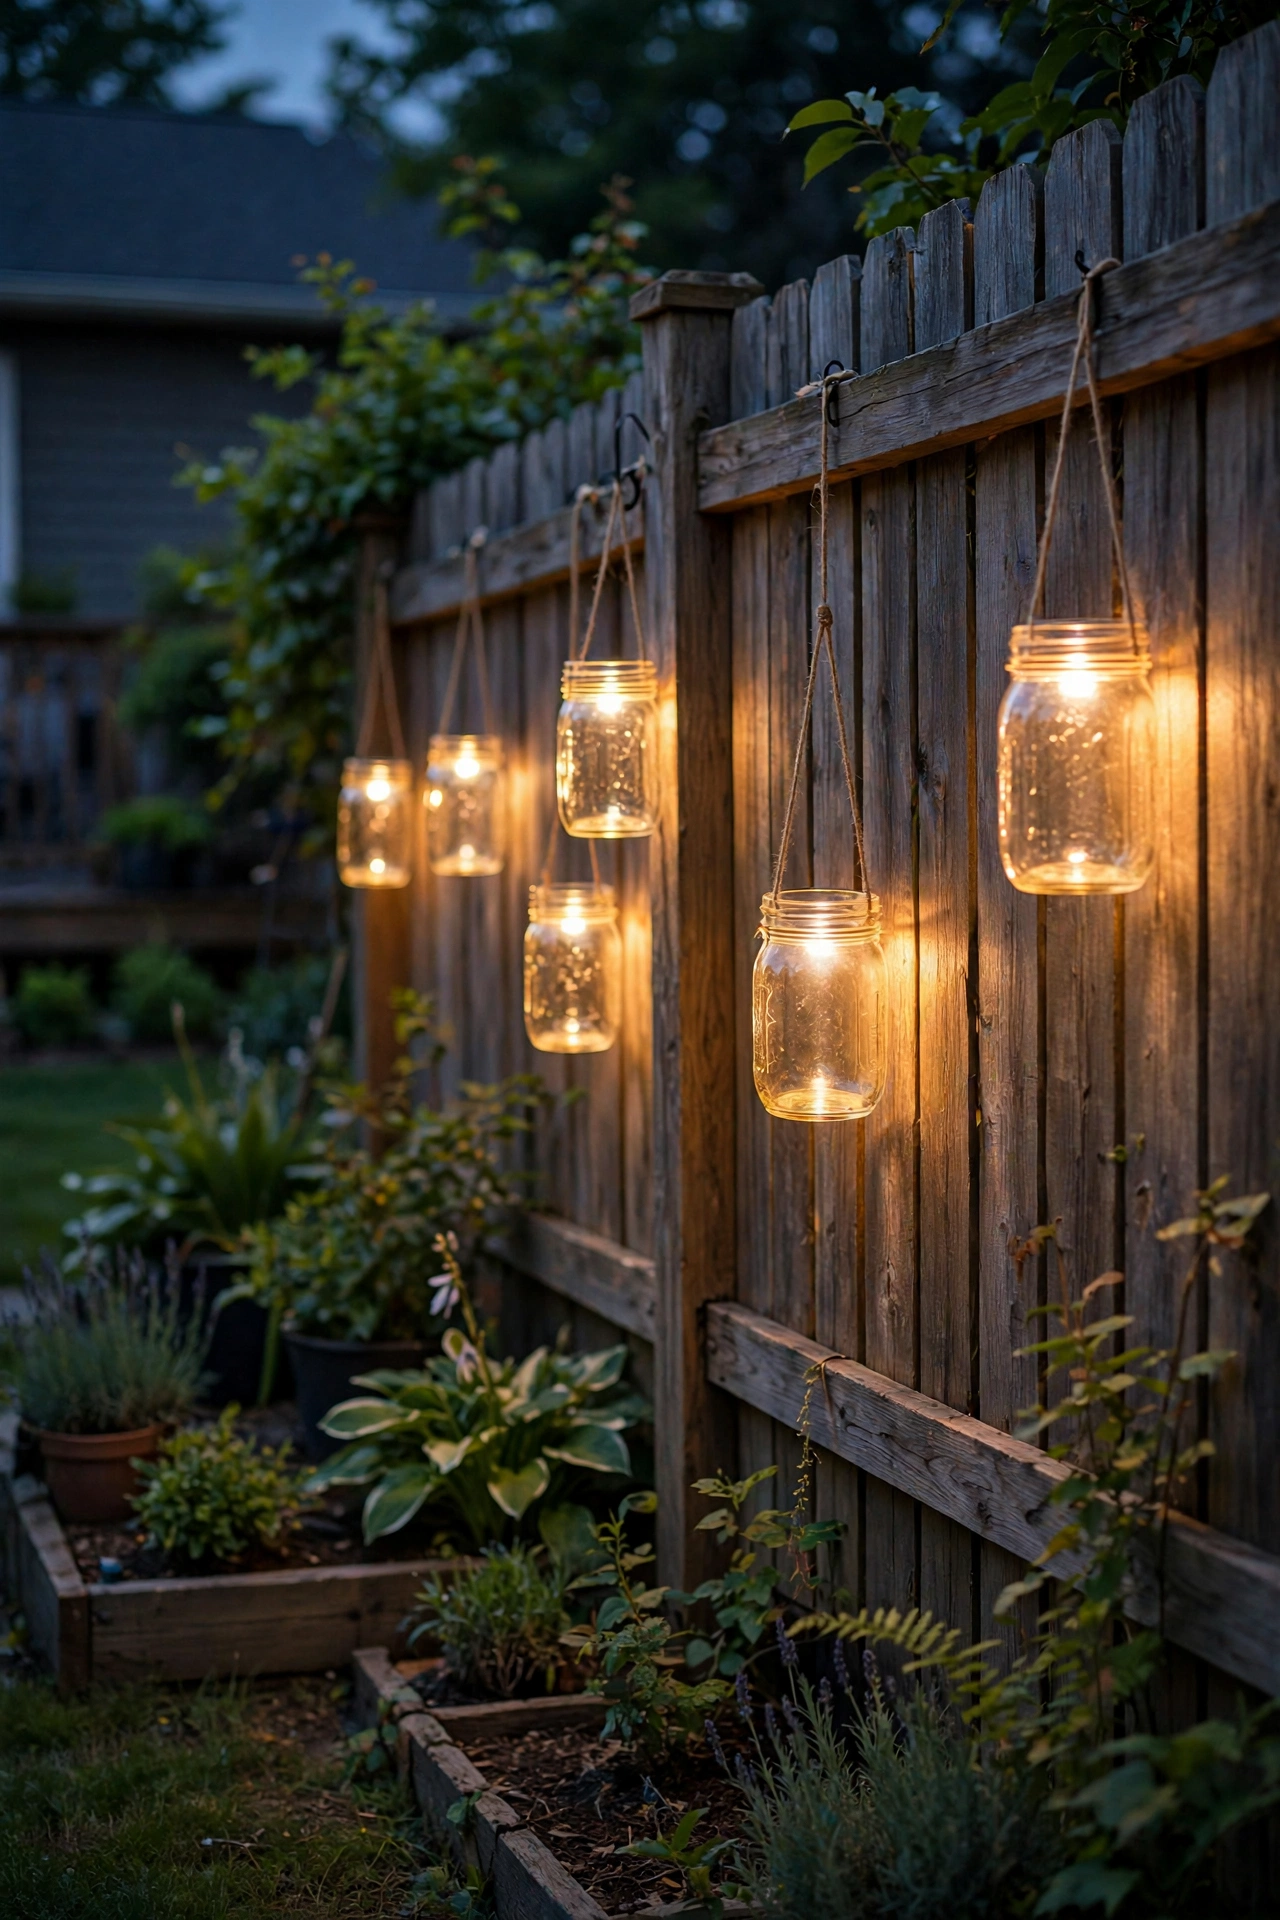
This is my favorite budget-friendly crafty idea, and kids love it too. Hang mason-style jars or small glass vessels from the fence boards, each with a solar fairy-light cap or a tiny solar puck inside. By day they're cute rustic decor; by night each jar becomes a little glowing lantern.
Attach with a simple screw hook into the board (or an over-the-rail hanger if you don't want holes), and vary the hanging heights between 4 and 5 feet so they read like floating fireflies rather than a marching band. Space them irregularly — 2 to 4 feet apart in clusters of three or five — because symmetry kills the charm here. Use frosted or seeded-glass jars to diffuse the light; clear jars show the harsh little LED dots and it looks cheap.
The caps are the engine: make sure each little solar panel faces up and isn't shaded by the rail above, or it won't charge. And honestly? Bring them inside during hail or heavy frost seasons — the jars last years if you do, months if you don't. This is the cheapest idea on the list with one of the biggest charm payoffs.
Suggested budget range: $20 – $60 for a set of 8–10.
10. Accent Spotlights on Landscaping Near the Fence
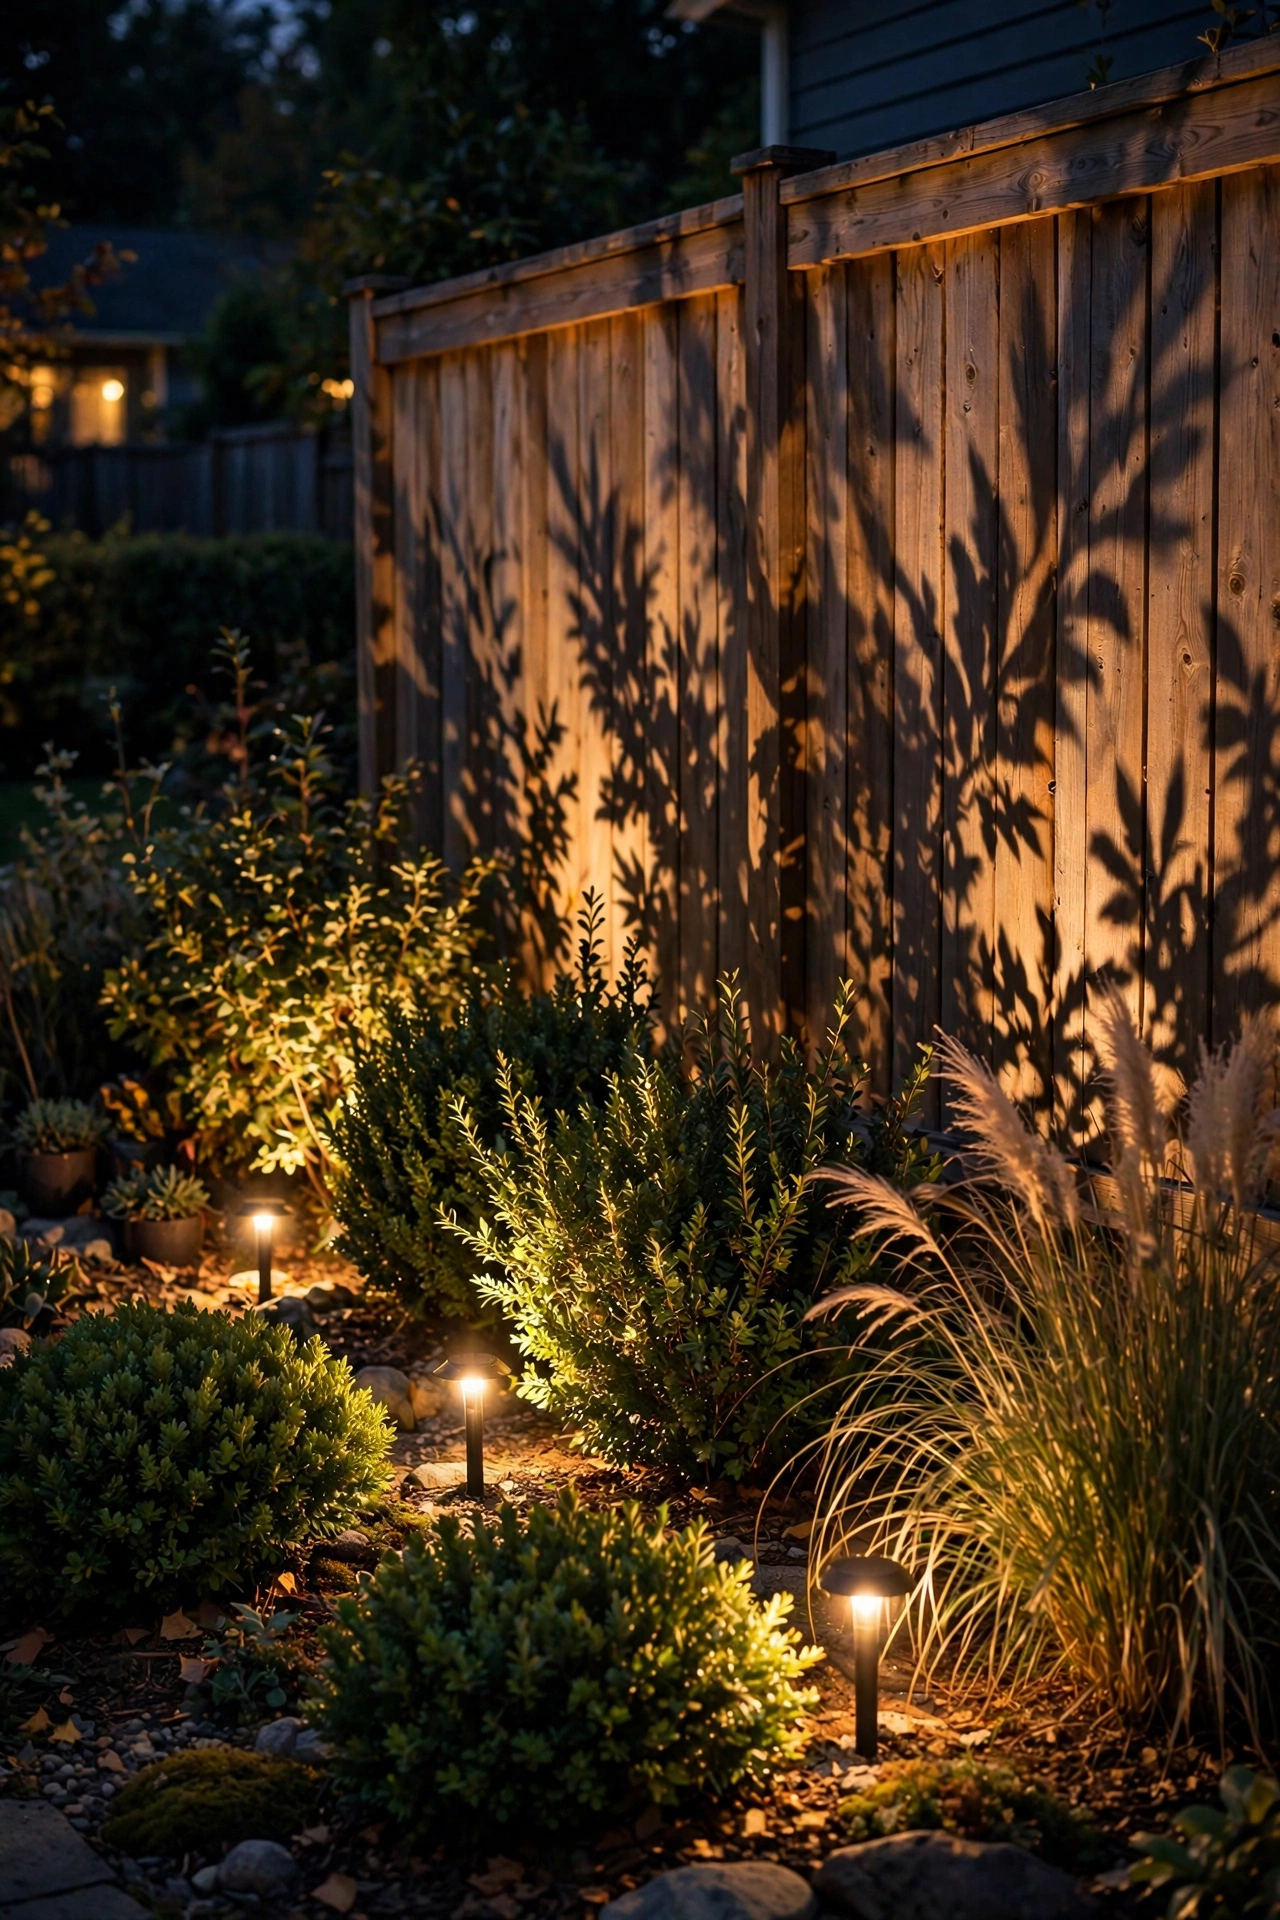
Here's a layering trick the pros use: don't light the fence itself — light what's *in front* of it. A few low-voltage spotlights aimed at shrubs, ornamental grasses, or a small tree near the fence cast gorgeous shadows up onto the boards behind them, and the fence becomes a canvas for your landscaping instead of the star of the show.
Mount each spotlight at ground level, 2 to 3 feet out from the plant, aimed up through the foliage at a slight angle toward the fence. The layered silhouette effect — plant in front, dappled shadow on fence — gives you depth that flat fence lighting never achieves. Use a 2700K narrow beam (35–40 degrees) so you hit the plant and the fence, not the whole neighborhood.
This is perfect for fences that are a little weathered or plain — you're not highlighting the boards, you're using them as a backdrop, and it works on any fence material including chain-link and vinyl. Wire them into the same low-voltage system as any other accent lights so everything runs on one timer. Adjust after dark; what looks right in daylight never looks right at night.
Suggested budget range: $25 – $60 per spotlight.
11. Fence-Mounted Sconce Pairs on Gate Posts
Your gate is the front door of your backyard — treat it like one. A pair of small sconces flanking the gate posts (or mounted directly on the gate posts themselves) frames the entrance, lights the latch area so you're not fumbling with keys in the dark, and signals "this home is cared for" to everyone who sees it.
Symmetry is the whole point here: two matching fixtures, mounted at 5 to 6 feet, one on each gate post. On wood posts, a simple surface-mounted box with two screws is all it takes; on vinyl, use a mounting block so you don't crack the post. Keep them modest in size — a 6- to 8-inch fixture on a 4×4 post looks balanced; anything bigger overwhelms it. Downward-facing designs (light exits the bottom only) keep glare out of guests' eyes as they walk in.
If your gate gets heavy daily use, hardwired sconces on a timer or dusk-to-dawn sensor are worth the electrician visit — it's a one-time cost for a fixture you'll use every single night. For side and back gates, a single sconce on one post works fine; save the pairs for the main entrance.
Suggested budget range: $40 – $110 for the pair, fixtures only.
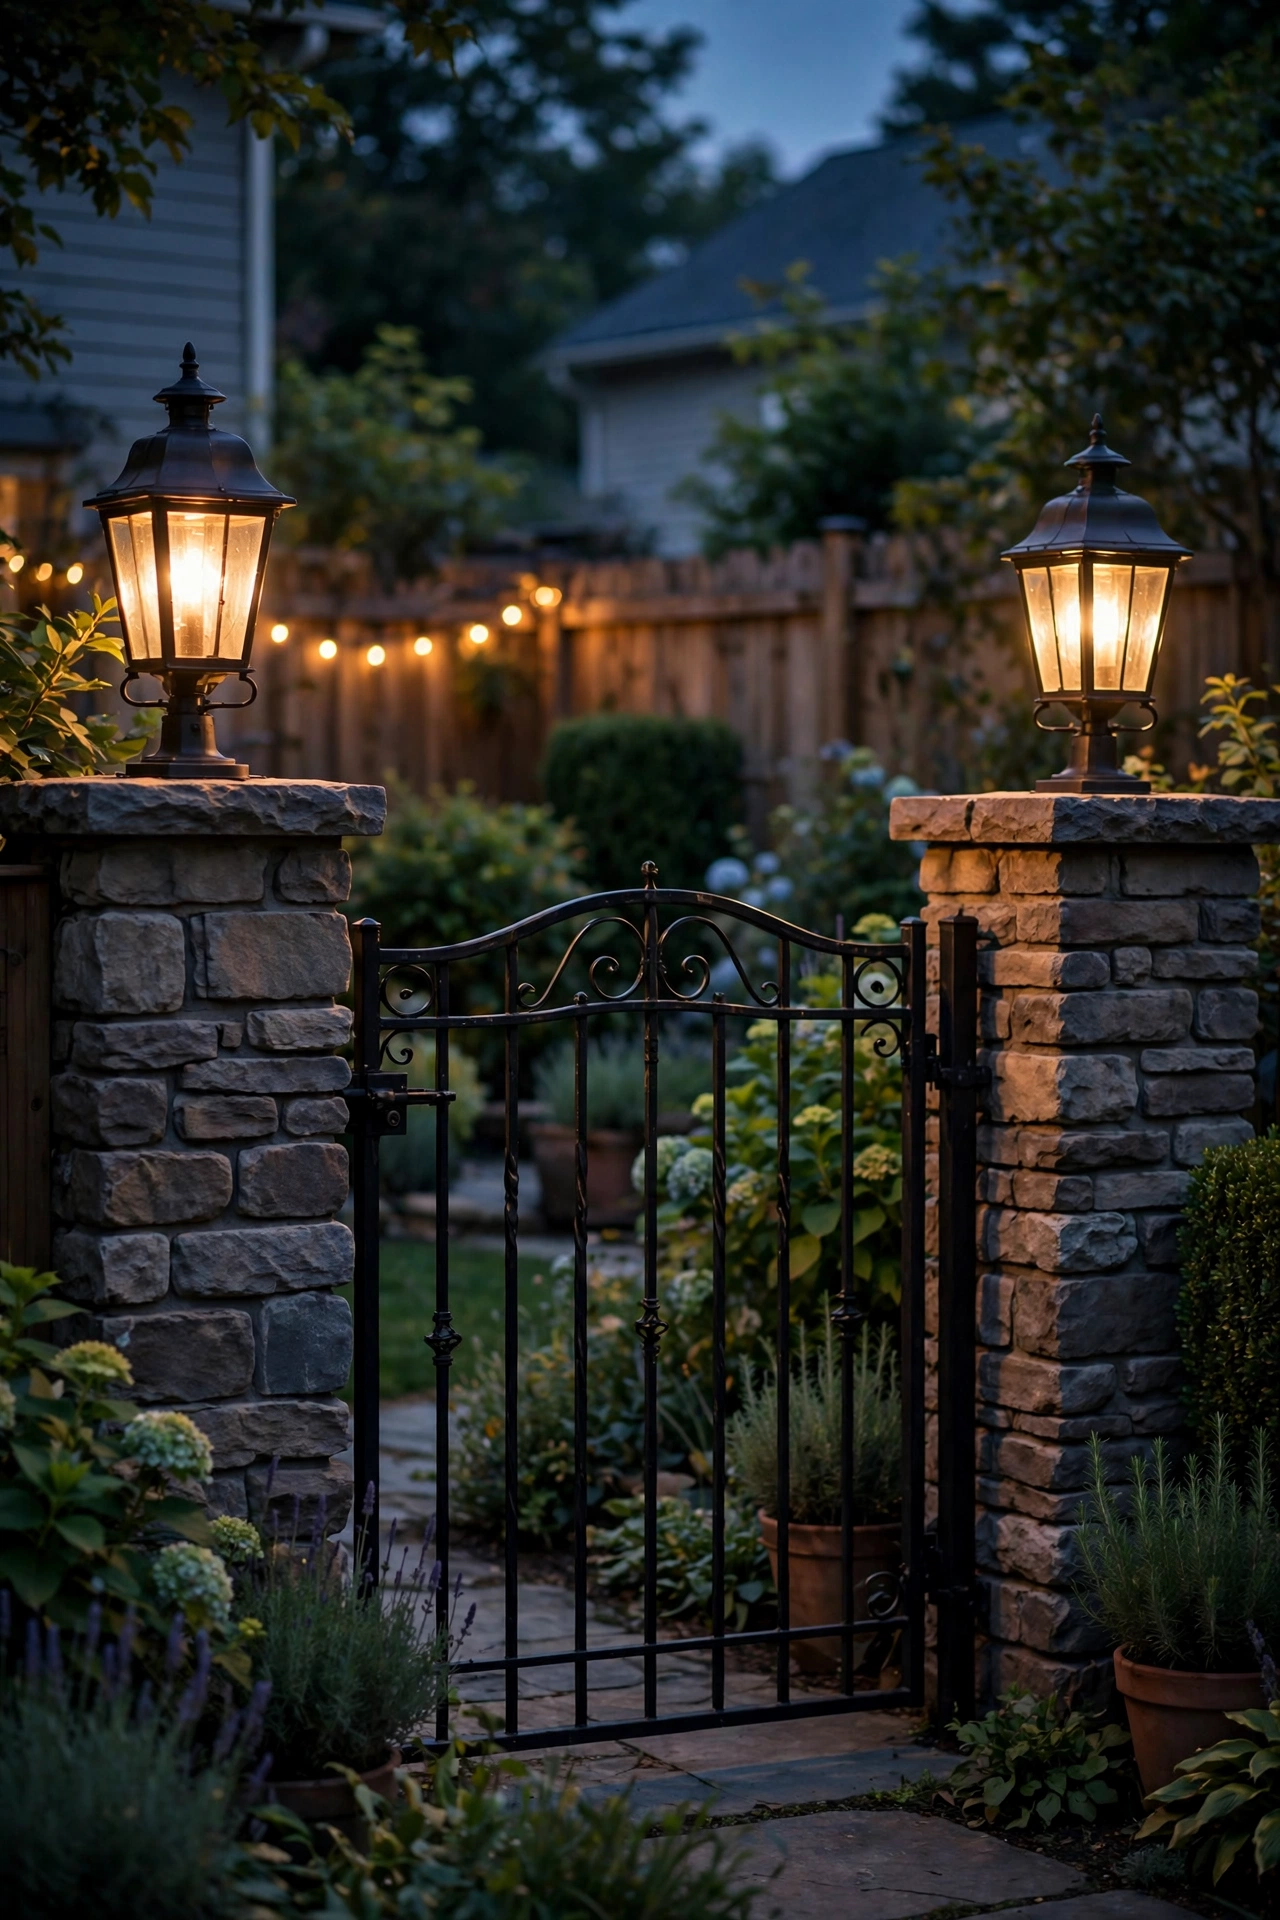
12. Fairy-Light Weave Through Chain-Link or Slatted Fences
Chain-link fences and slatted fences are secretly the best canvases for fairy lights, because you can weave the strands right through the gaps — no clips, no hooks, no damage at all. The result is a living wall of sparkle that's downright magical.
For chain-link, weave a solar or battery micro-LED strand in a loose zigzag, catching it in every third or fourth diamond, at about 4 to 5 feet high so the sparkle sits at eye level from the patio. For slatted fences, thread the strand in and out of the slats in horizontal bands — two or three bands spaced a foot apart look like ribbons of light. Keep the color warm white; cool white on chain-link reads industrial no matter what you do.
In my experience, this is a two-person, one-hour job for a 30-foot run, and it comes down just as easily for winter — a big plus if you get snow loads. Because there's zero attachment hardware, it's the perfect answer for renters too. One caveat: keep the strand from sagging onto the ground at the bottom where mowers and trimmers live; tie the loose end up at the last post.
Suggested budget range: $20 – $50.
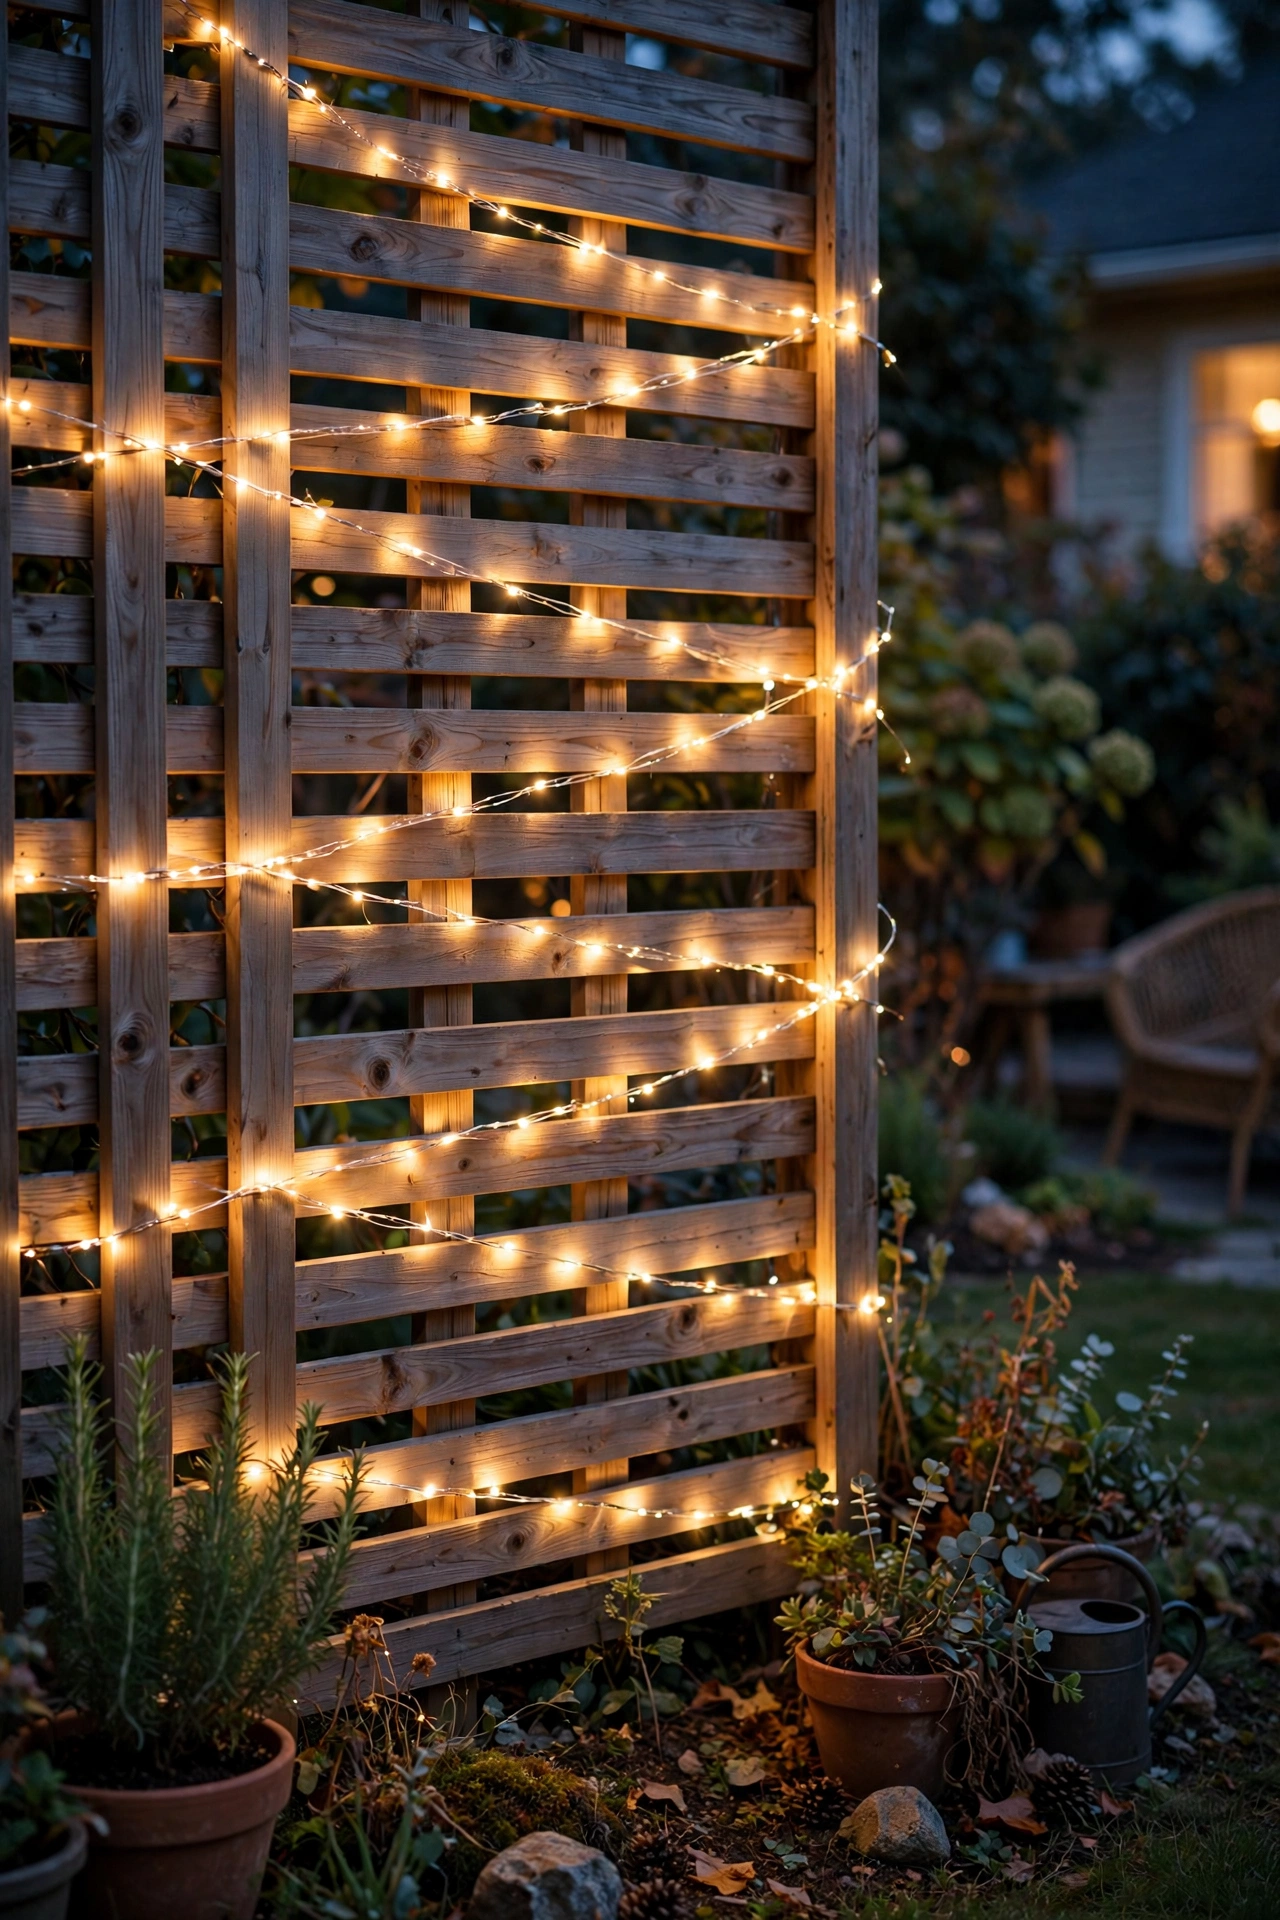
13. Grazing Light Along a Slatted Fence
Horizontal slat fences are having a moment, and grazing light is how you show them off after dark. Grazing means placing the light source very close to the surface — a few inches away — so the light rakes across the slats, emphasizing every line and gap with long, crisp shadows. It's minimal, modern, and honestly stunning.
The simplest way: mount small downlights or an LED strip on the *underside* of each horizontal slat gap, or install slim puck lights at the base aimed straight up along the face. Because the light hugs the surface, you need very little of it — 1 to 2 watts per fixture is genuinely enough. Space fixtures every 4 to 6 feet for a continuous graze.
This technique is all about restraint, so keep the color temperature consistent (2700K across every fixture) and resist the urge to mix in other fence lighting in the same sightline — grazing plus string lights in one view gets busy fast. It's a premium look that works best as the *only* treatment on a feature fence run, like the stretch behind your seating area. Let that one run be the star; light the rest of the fence more simply.
Suggested budget range: $80 – $200 for a 20-foot feature run.
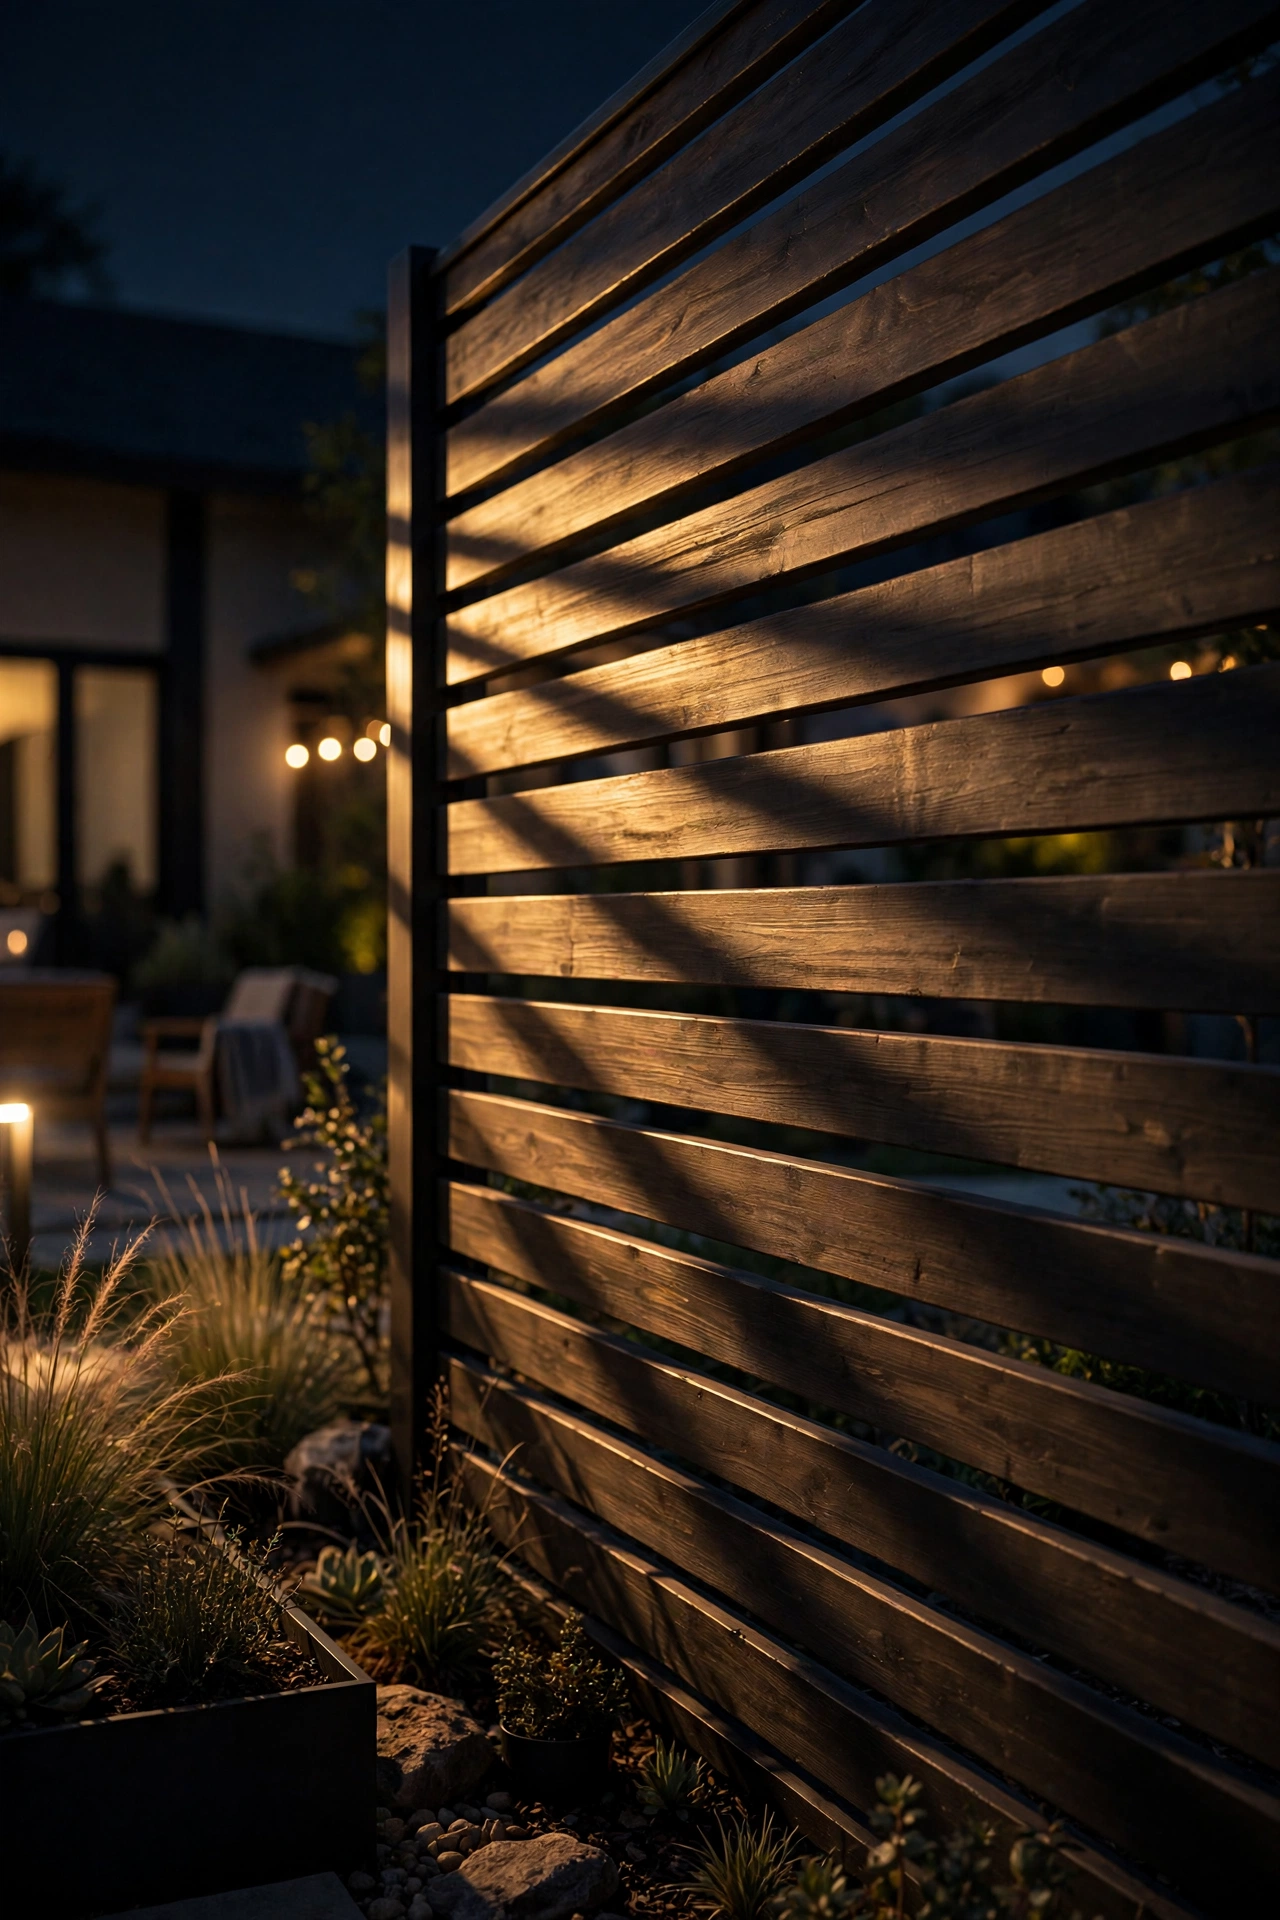
14. Solar Rail Mini-Spots on Every Post
Think of these as the solar-powered cousin of idea #2: small puck-style solar spotlights that clip or screw onto the top of each fence rail or post, aimed down or slightly outward. They give you that downlight-wash effect with zero wiring — each unit has its own tiny panel and charges independently.
Mount them on the top rail between posts (one per 6-foot section works well) rather than on the posts themselves, so the light falls between the solar caps from idea #1 if you're using those — combining caps *and* rail spots every few feet is too much of a good thing, so pick one rhythm. Angle each spot slightly downward and inward so the beam kisses the fence boards instead of spraying into the yard. They sit about 2 inches tall, so they're nearly invisible by day.
Be realistic about solar limits: these shine for 6 to 8 hours on a good charge and dim toward dawn, and shaded runs will underperform. In my experience they work best as accent lighting on fences that get full afternoon sun. Check the lumen rating before you buy — anything under 30 lumens per spot is a firefly, not a light. Above that, they genuinely hold their own.
Suggested budget range: $30 – $70 for a pack of 6.
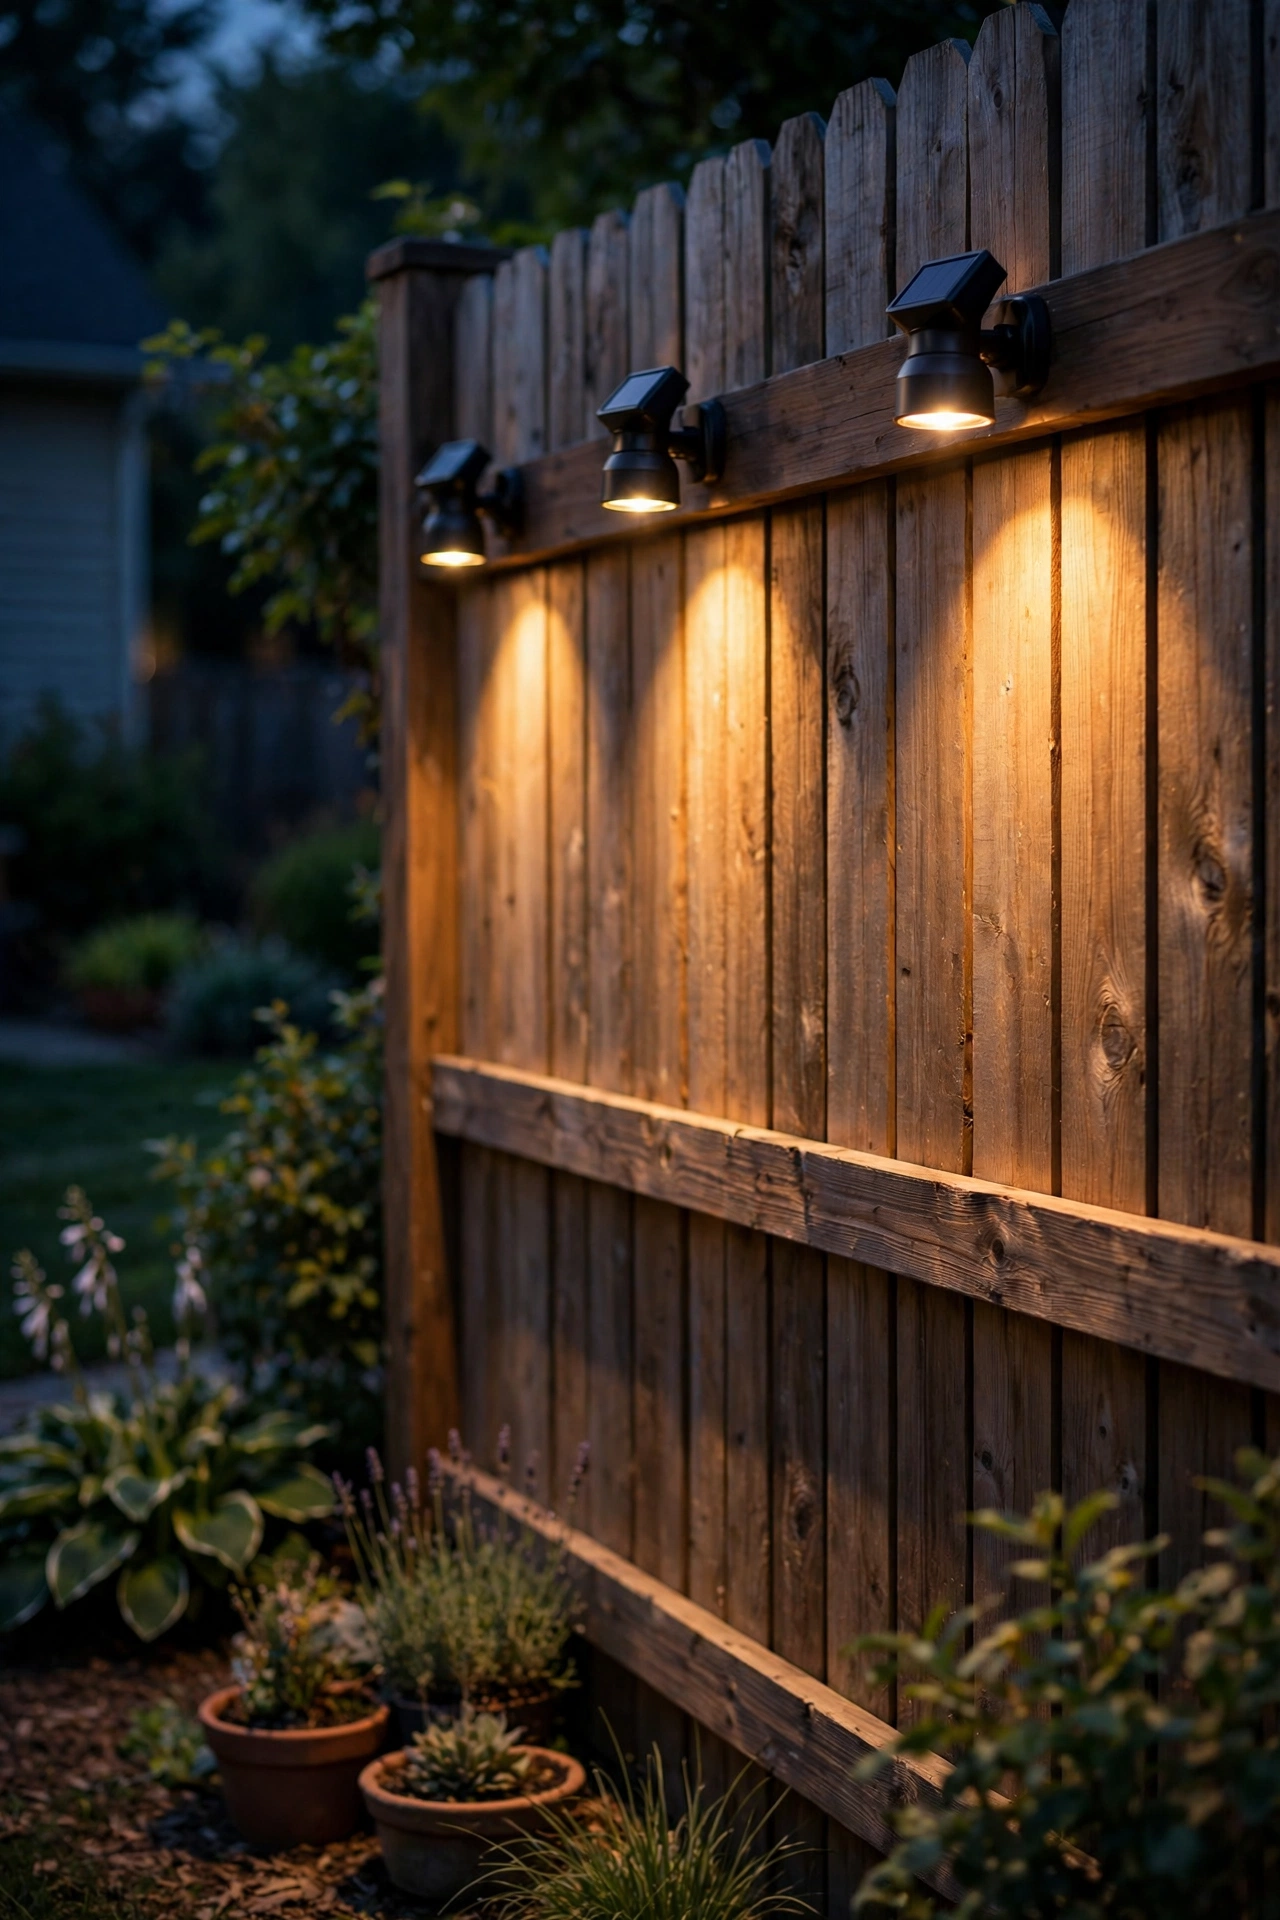
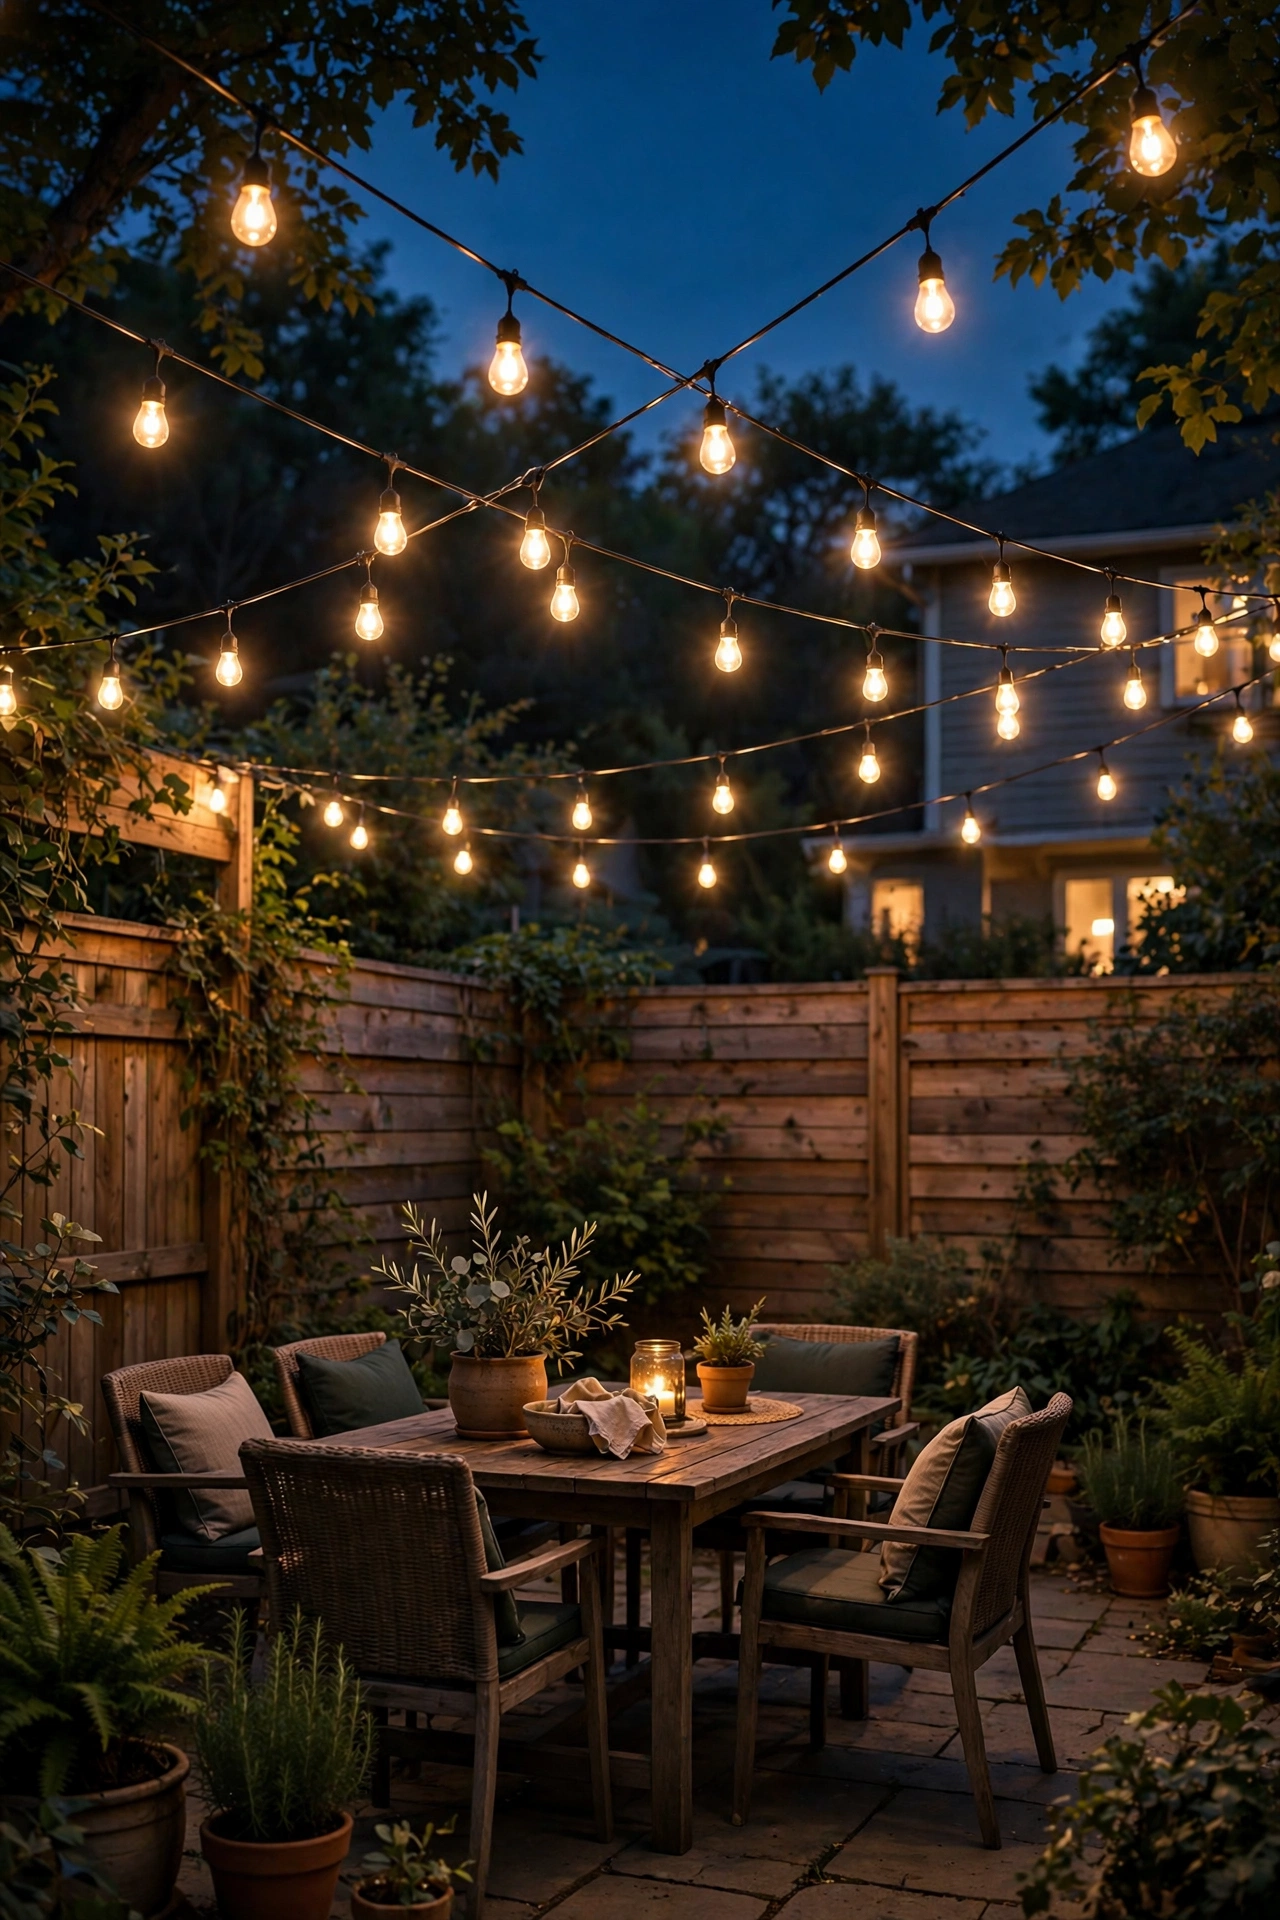
15. String Lights Crisscrossing Fence to Fence
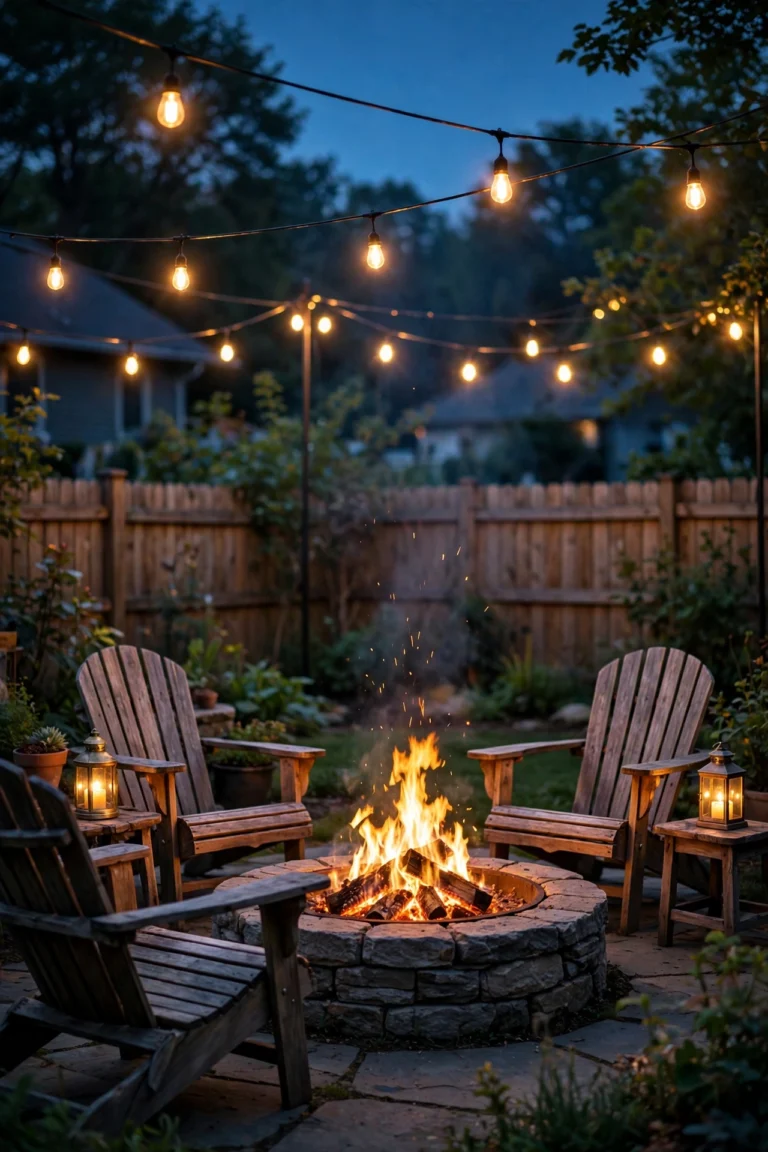
If your yard is fenced on multiple sides, skip the perimeter-only approach and zigzag string lights *across* the yard from fence to fence, or from the fence to the house. You're building a canopy of light overhead, and the effect is pure enchantment — the yard feels like an outdoor room with a glowing ceiling.
You'll need a support line: run a thin steel cable or heavy-duty guide wire between opposite fence posts first (posts at least 6 feet tall; anything lower and tall guests become the light show). Then drape your string lights along the wire in gentle swags. Anchor the wire with eye bolts into the posts — this is a structural thing now, so don't skimp: a sagging, wind-loaded wire can pull a post out of plumb over time. Keep the span under 25 feet between supports if you can.
Height check: lights should hang at least 7 feet above any path so nobody walks through them. And use outdoor-rated extension cords on a GFCI outlet, always — overhead runs plus rain is exactly what GFCIs exist for. This is a weekend project with a spectacular payoff; honestly, it's the single most transformative idea on this list for entertaining.
Suggested budget range: $60 – $150 including cable and hardware.
16. Color-Changing Strips for Holidays and Parties
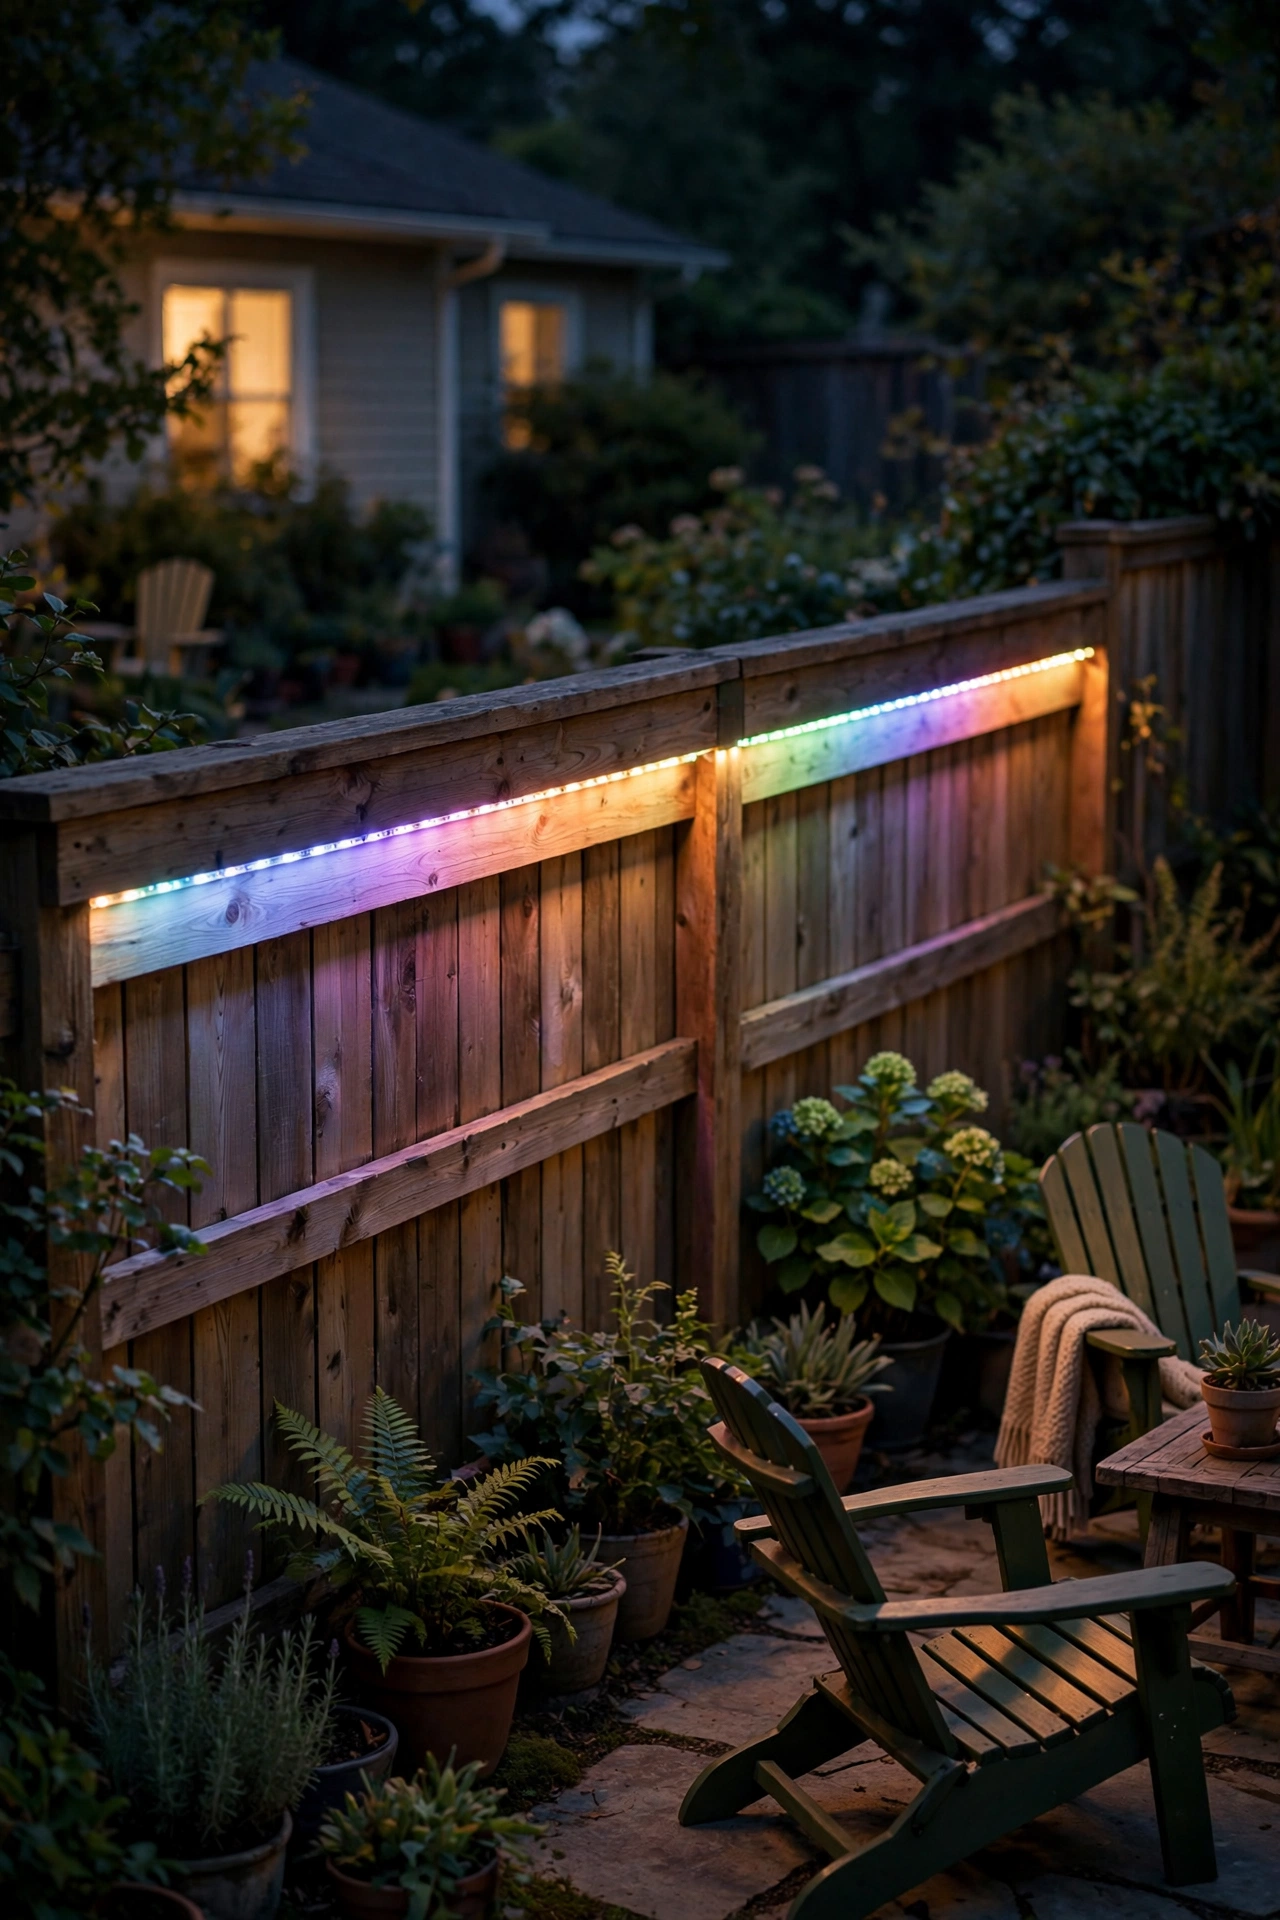
Here's where fence lighting gets fun. An RGBW LED strip (color-changing plus true warm white) run along your fence rail gives you elegant warm white 360 days a year — and orange for Halloween, red and green for December, team colors for the big game, all from your phone. One installation, endless moods.
Install it exactly like idea #8 — aluminum channel, diffuser, IP65 or better — because the holiday version lives or dies on the same build quality. The difference is the controller: a simple Wi-Fi or Bluetooth controller lets you set colors, dim, and even run gentle animated effects for parties. Mount the controller and power supply in a weatherproof box at one end of the run, and keep all connections under the rail's drip line.
A word of restraint from experience: animated rainbow chase effects get old by the second party, and they will absolutely annoy the neighbors. Use solid colors, keep the brightness moderate, and schedule an automatic off-time so your fence isn't glowing magenta at 3 a.m. Your neighbors will thank you, and honestly so will you.
Suggested budget range: $80 – $200 for a 40-foot run with controller.
17. Stake Lights Along the Inside Fence Line
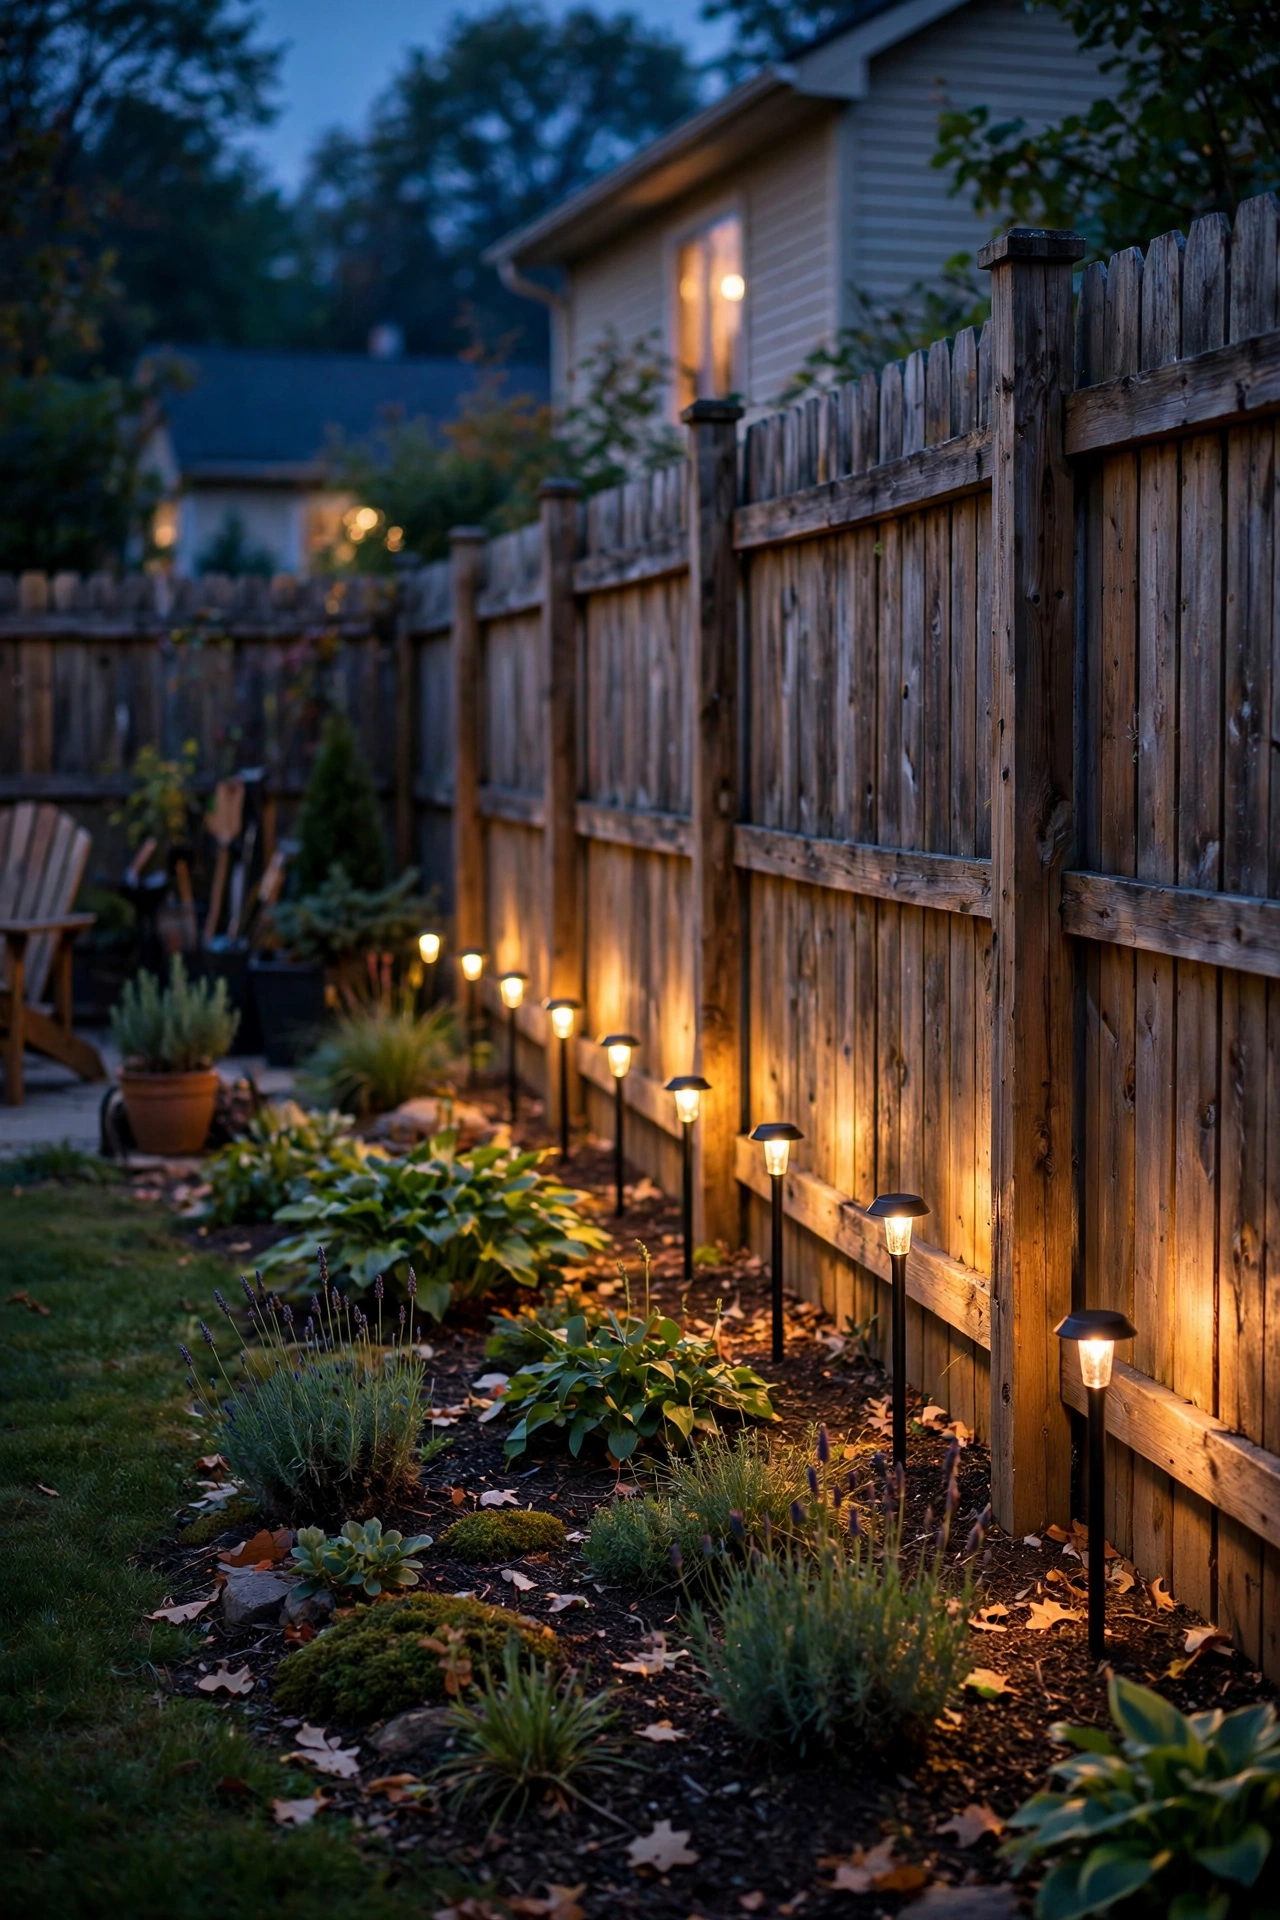
Our last idea is the gentlest one: low pathway-style stake lights set 18 to 24 inches inside the fence line, aimed at or along the fence base. They don't light the fence directly so much as trace its outline in a dotted line of warm light — a soft boundary glow that makes the whole yard feel bigger and safer without any fixture touching the fence itself.
This is the ideal choice for renters, HOA-restricted neighborhoods, or anyone who doesn't want to drill into their fence. Just push the stakes into the soil, space them 6 to 8 feet apart, and aim the heads slightly toward the fence so each one kisses the bottom boards with light. Solar stakes work fine here since each gets full sky exposure; wired low-voltage stakes give you more consistent brightness and timer control.
Keep them clear of the mower path and string-trimmer zone — broken stakes are the number-one casualty of this idea, and a little mulch ring around each one both protects them and looks tidy. At 2700K with frosted lenses, these read as calm and welcoming, never harsh. It's a simple finishing layer that ties the whole yard together.
Suggested budget range: $40 – $100 for a set of 10.
Frequently Asked Questions
Should I use solar or wired lights on my fence?
It depends on the job. Solar is perfect for decorative, low-stakes lighting — post caps, fairy lights, hanging jars — where a dimmer night or a cloudy-day fade doesn't matter. No wiring, no electrician, move them anytime. Wired low-voltage wins for anything functional or dramatic: downlights, uplights, grazing effects, and security spotlights need consistent brightness that only a transformer can guarantee. My rule of thumb: if the light has a *job* (security, steps, entrances), wire it; if it's *atmosphere*, solar is fine. I break down the full comparison with real numbers in my LED vs solar exterior lights guide.
How do I mount lights on a fence without damaging it?
You've got plenty of no-damage options. For wood, small screw hooks leave holes you can barely see — but if even that bothers you, use over-the-rail hangers that hook onto the top rail. On vinyl, adhesive-backed outdoor clips or magnetic hooks (for metal-cored posts) hold string lights without a single hole. Chain-link and slatted fences are the easiest of all: weave fairy lights right through the gaps with zero hardware. And stake lights set inside the fence line (idea #17) need no fence contact at all — perfect for renters and strict HOAs.
How bright should fence lights be so they don't bother the neighbors?
Keep it warm and modest. Stick to 2700K–3000K warm white — it reads as cozy, not commercial — and aim every fixture *downward or at your own fence*, never sideways into neighboring windows. For accent lighting, 30–100 lumens per fixture is plenty along a fence; reserve brighter output (500+ lumens) for motion-sensor security spots aimed at your own ground. A simple test: stand in your neighbor's yard after dark. If you can see bare bulbs or feel glare, add shields, aim downward, or dim. When in doubt, dimmer and warmer wins every time.
How do I weatherproof fence lights for year-round use?
Start with the right rating: look for IP65 or higher on anything mounted on the fence itself — that means dust-tight and protected against rain from any direction. Tuck wire connections under rails or inside weatherproof boxes, never lying in soil where they'll corrode. For solar fixtures, wipe the panels clean every few months and bring delicate glass pieces (like hanging jars) inside during hail or deep frost. In snowy climates, mount fixtures above your typical snow-drift line and clear heavy snow off rails so it doesn't crush string lights. A little seasonal attention keeps everything glowing for years.
A Fence That Glows Is a Yard That Lives
If there's one principle to take away from these fence lighting ideas, it's the one I started with: layer. A single lonely floodlight makes a fence feel like a compound; a few layered sources — soft caps on the posts, a gentle wash down the boards, one warm string of light overhead — make it feel like home. Privacy, security, and glow aren't competing goals. Done right, they're the same project.
Start with one idea this weekend. The solar post caps or a simple string of lights along the top rail will change how your yard feels by tonight — and once you see it, you'll want to add the next layer. If you're hungry for more ways to light your outdoor space, browse the rest of our lighting ideas here on the site — your fence is just the beginning.
Happy lighting, friends — Sarah